In Bon Appétit’s weeknight-friendly take on Moroccan tagine, it taps classic flavor powerhouses to create the robust sauce: peppery harissa (if yours is mild, you may to throw in a pinch of crushed red pepper flakes for balance), sweet dried fruit, briny olives, and warming spices like cinnamon and cumin. If lamb isn’t your bag, feel free to swap in ground beef or chicken instead. But hey, lamb is our bag!
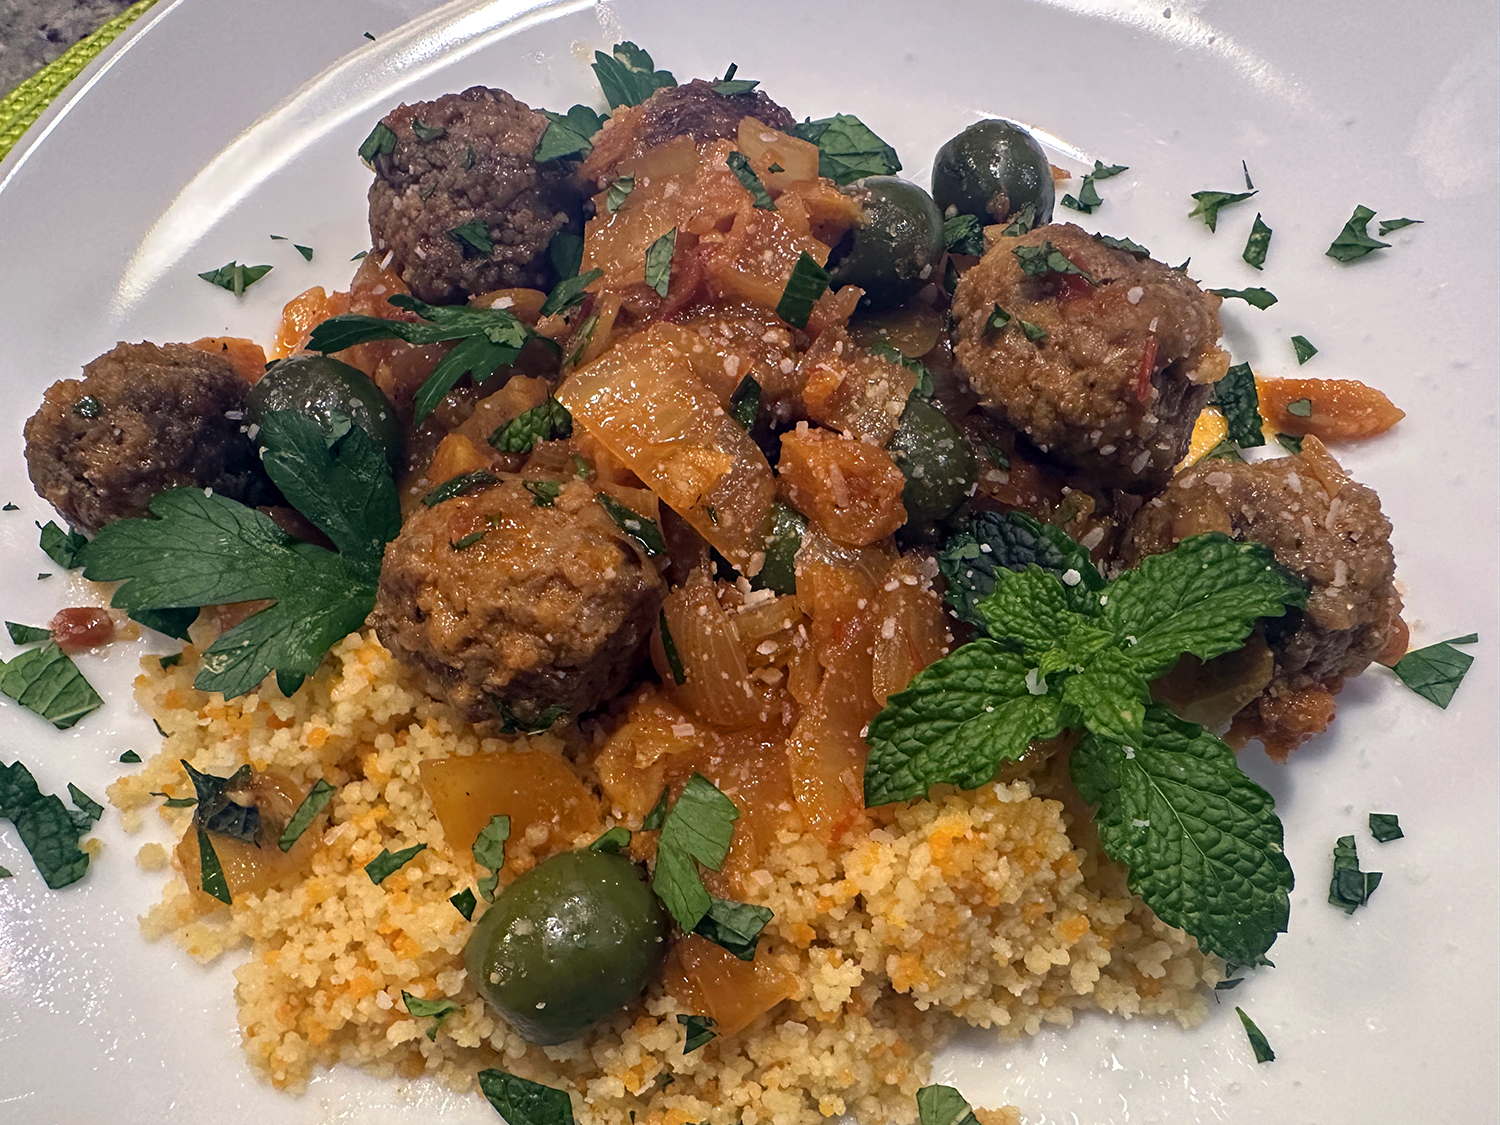
Incorporating dried dates instead of apricots (that’s what we had on hand), will result in a darker sauce. And we made our tri-colored couscous with homemade chicken stock for an additional bump of flavor.
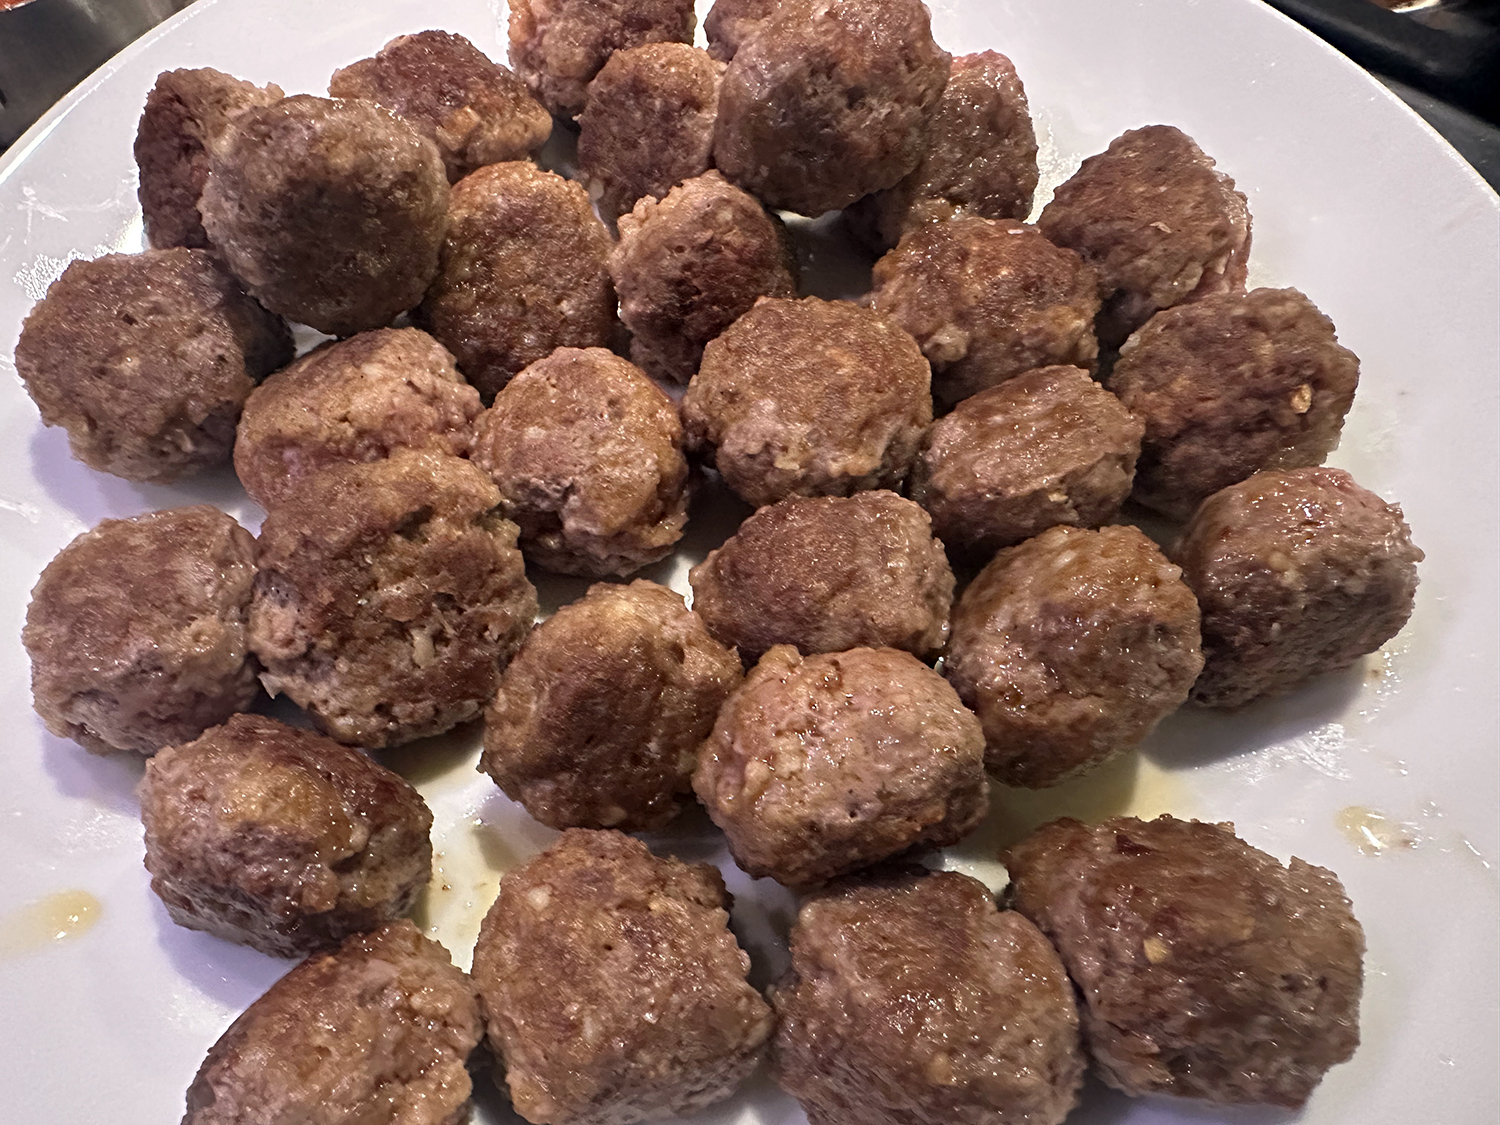
You’ll get about 30 meatballs, so the dish could possible feed a fifth diner.

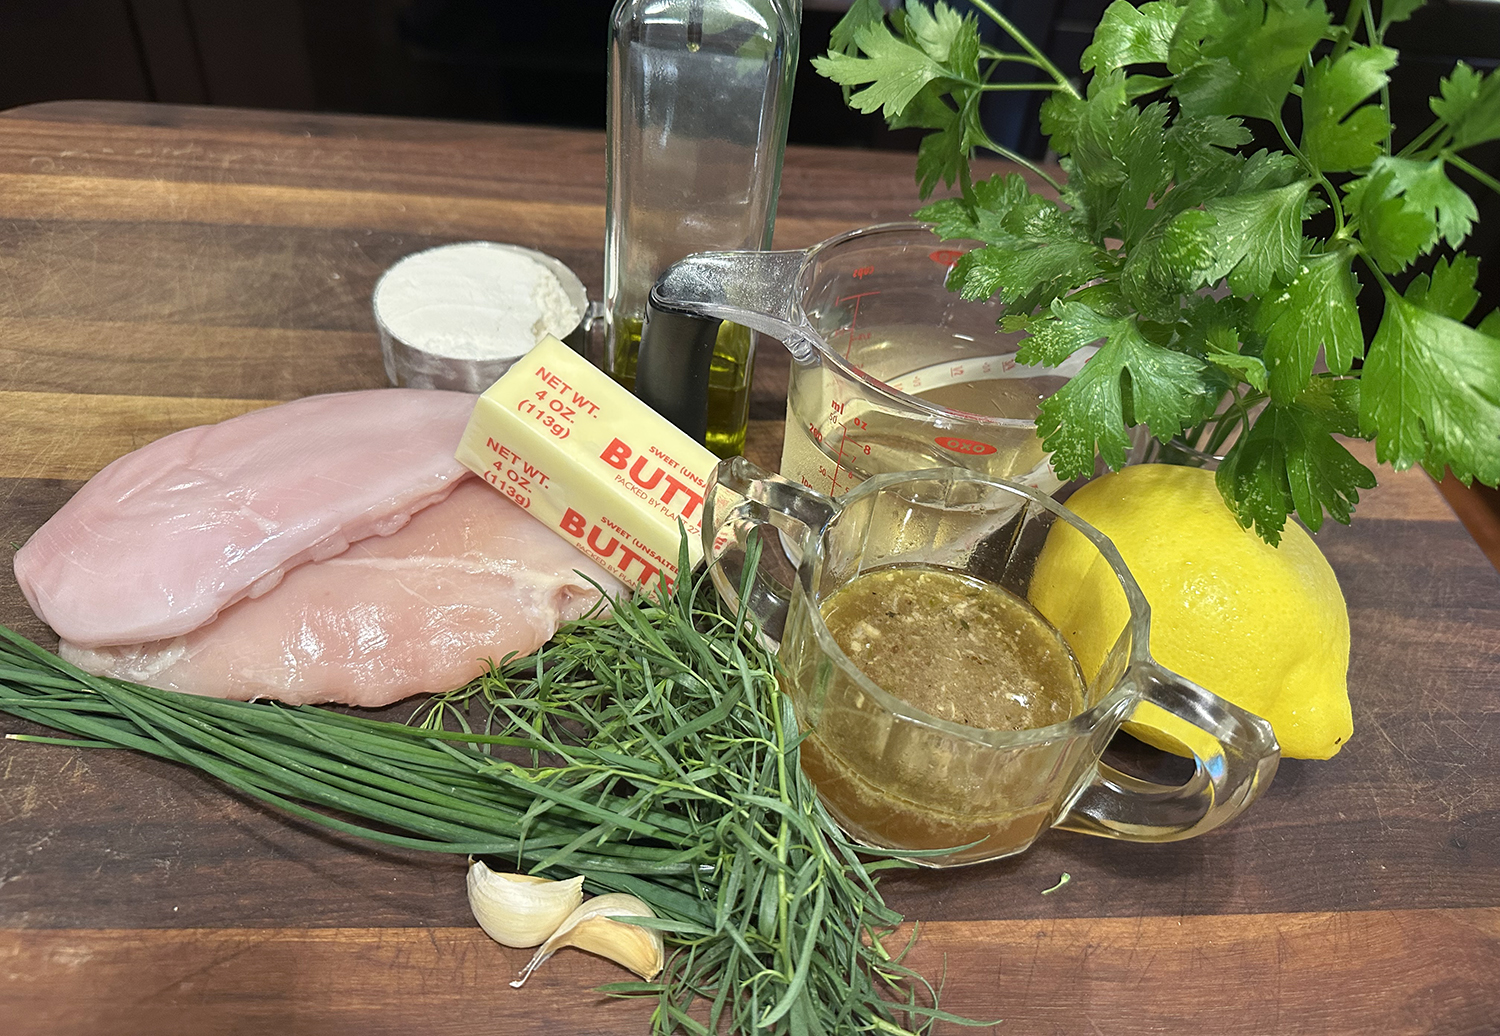
Ingredients
Meatball Tagine
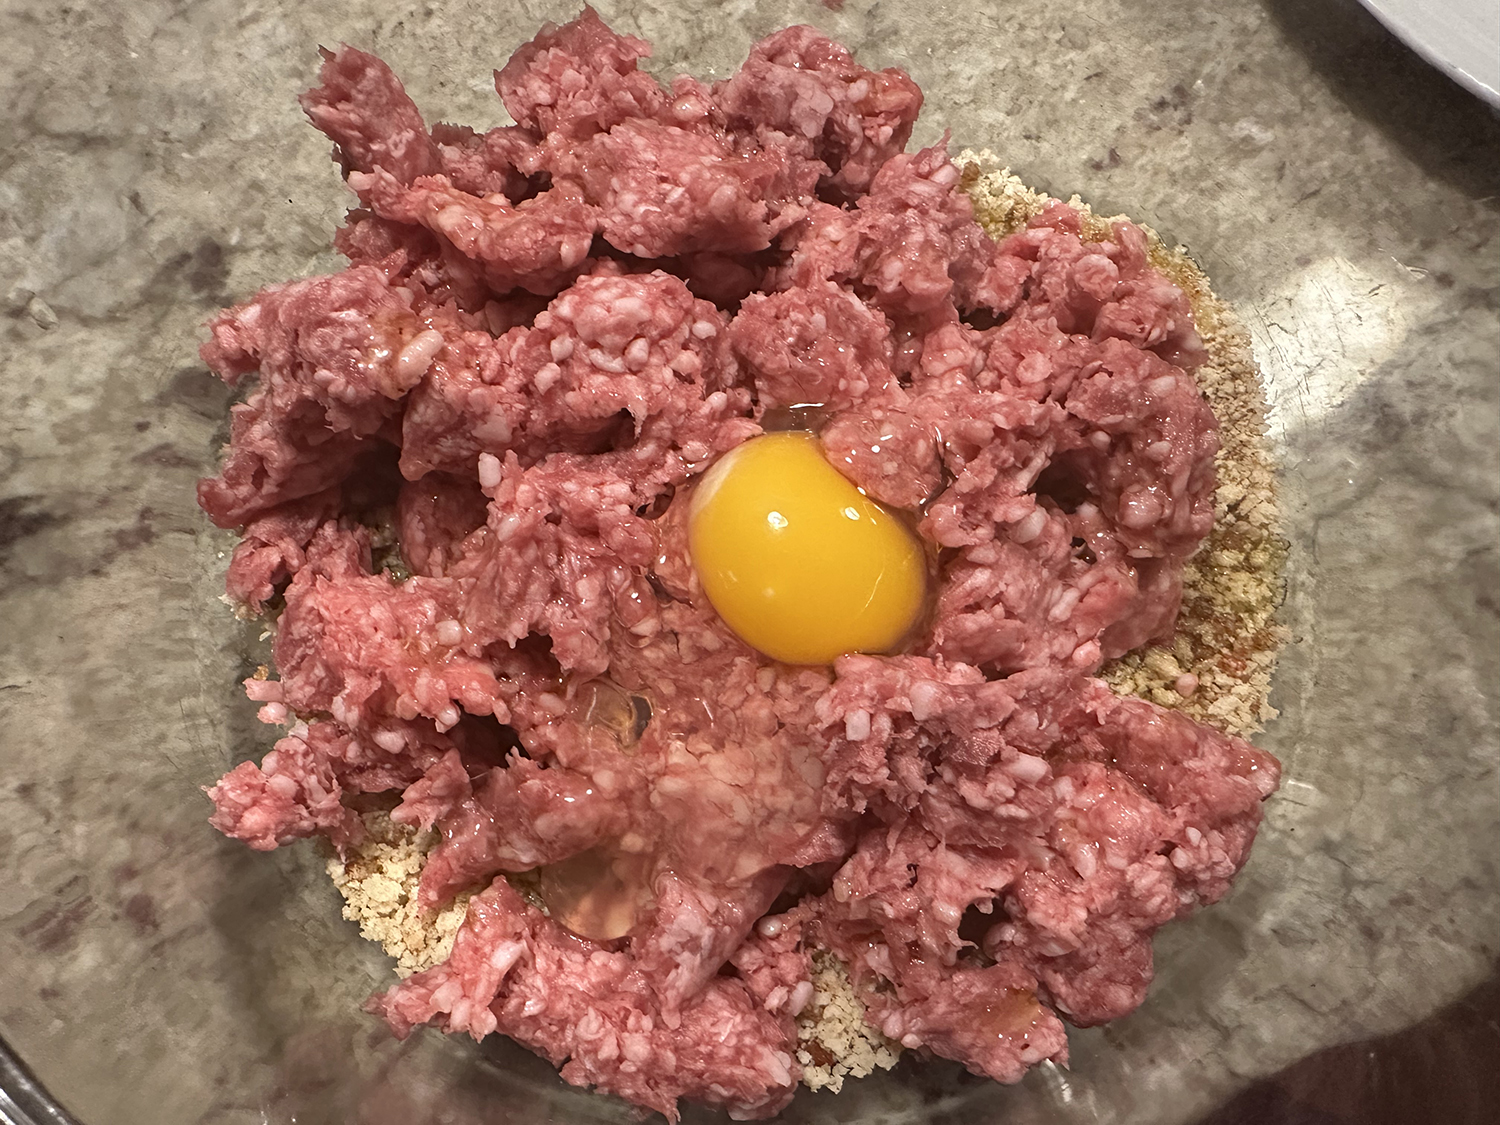
- 1 large egg, beaten to blend
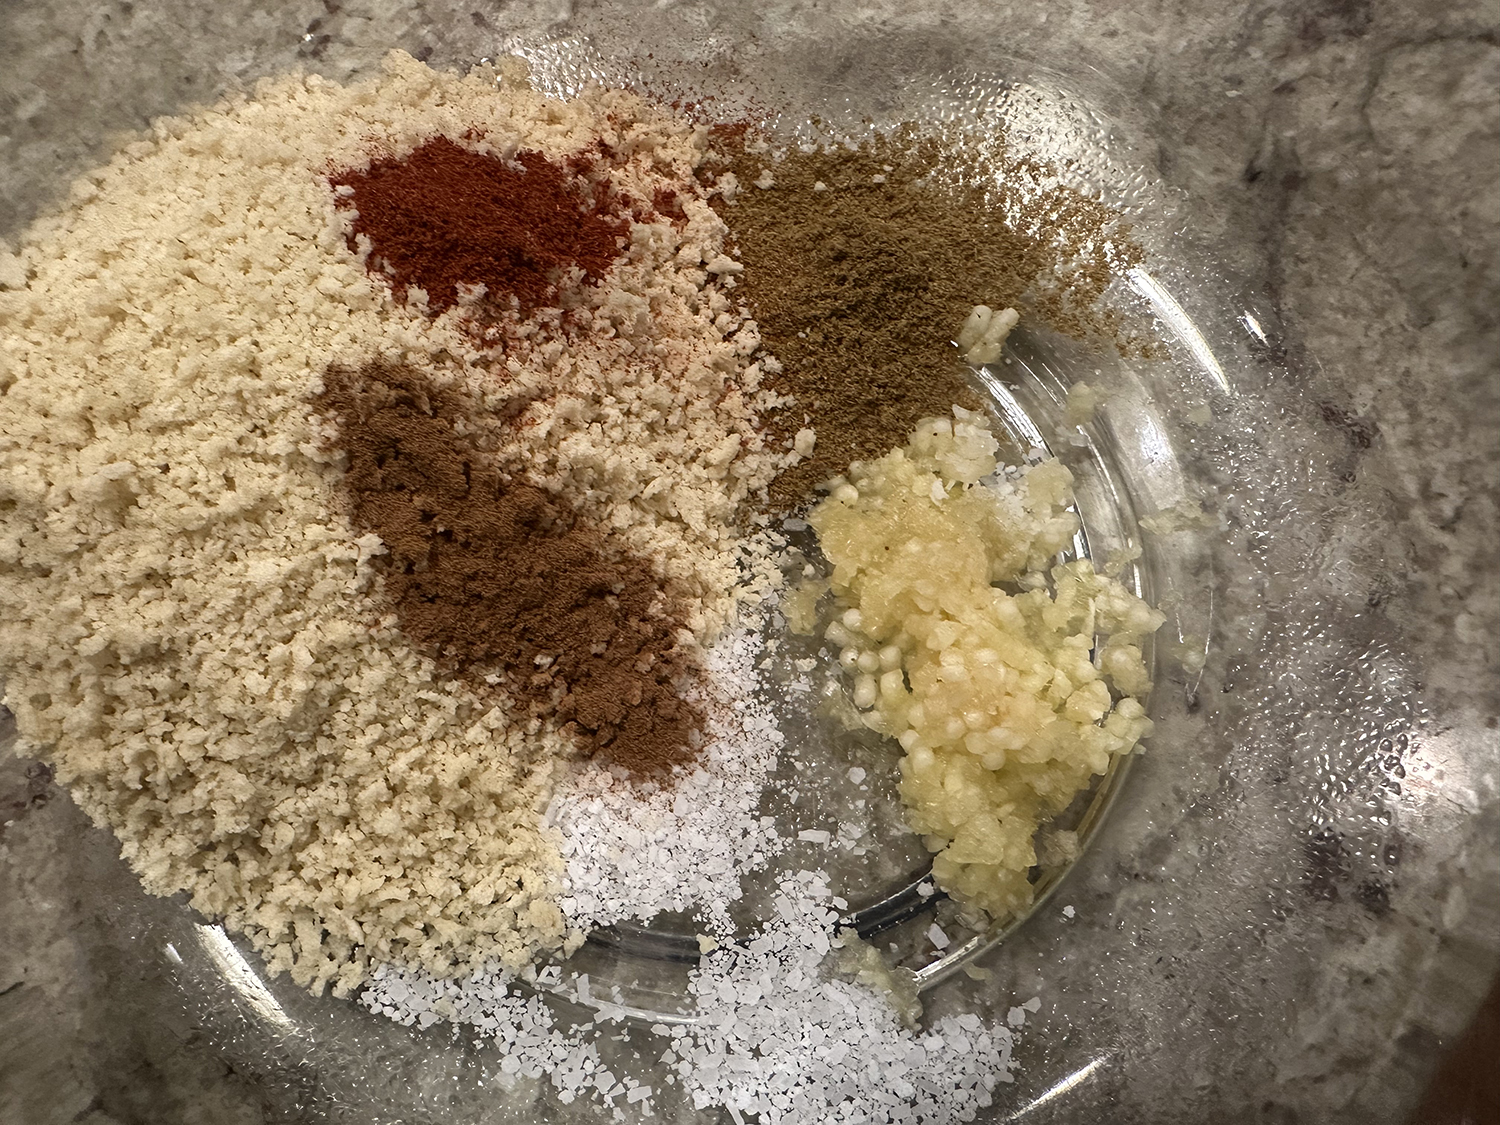
- 5 garlic cloves, 1 finely grated, 4 thinly sliced
- 1 lb. ground lamb, OR ground beef or chicken
- 1 cup panko
- ½ tsp. smoked paprika
- ¼ tsp. ground cinnamon
- 5 Tbsp. extra-virgin olive oil, divided
- 2 tsp. cumin, divided
- 1½ tsp. Diamond Crystal or ¾ tsp. Morton kosher salt, divided, plus more
- 1 large onion, coarsely chopped
- ½ cup pitted green olives
- ¼ cup coarsely chopped pitted Medjool dates, OR dried apricots
- ⅓ cup mild (or spicy) harissa paste
- Freshly ground pepper
- 2 Tbsp. red wine vinegar
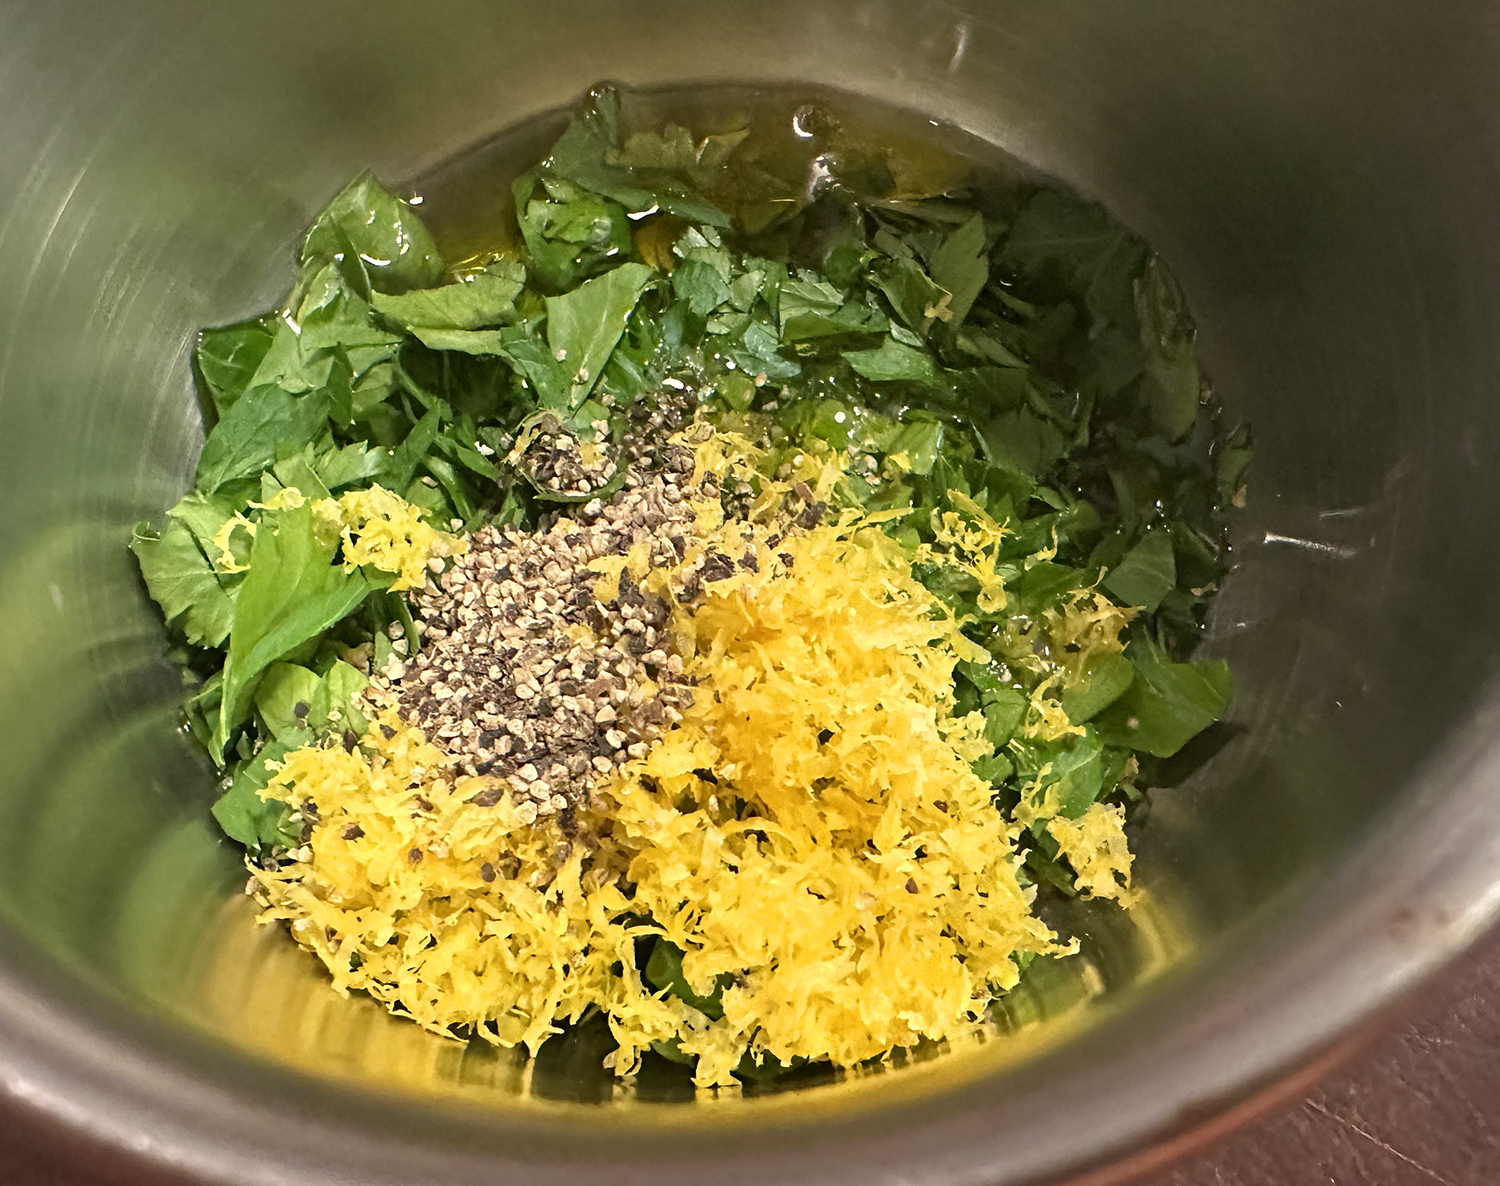
- Cooked Moroccan couscous, mint leaves, and parsley leaves with tender stems (for serving)


Directions
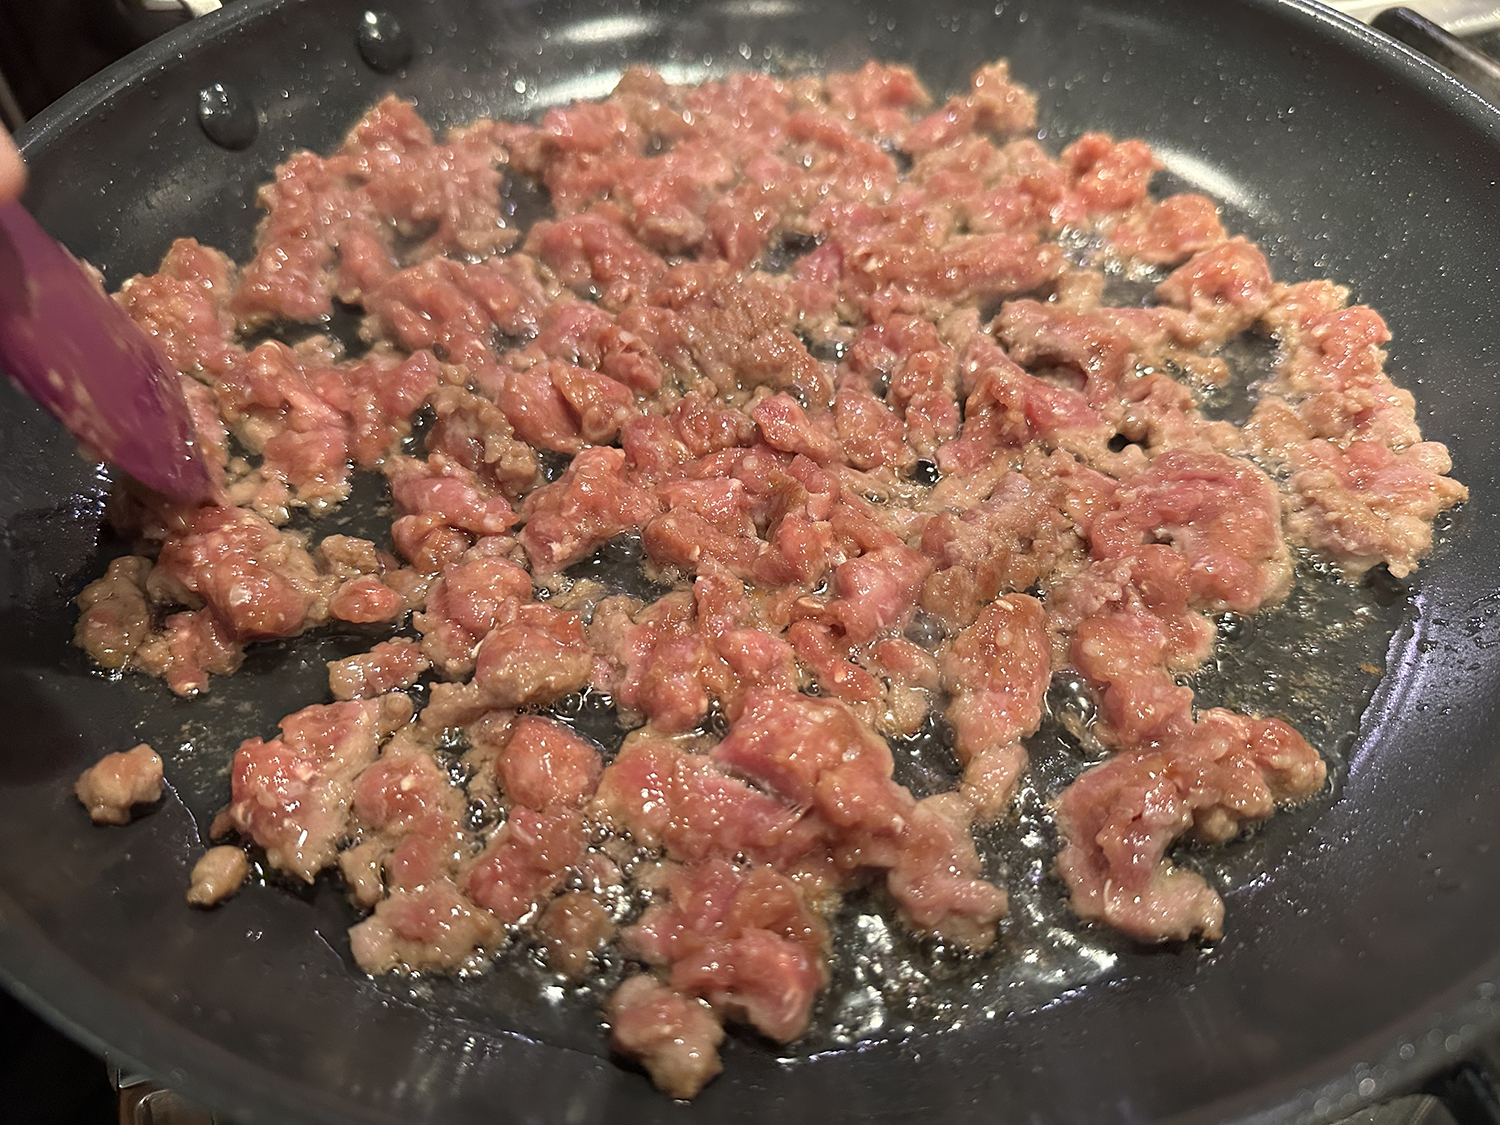
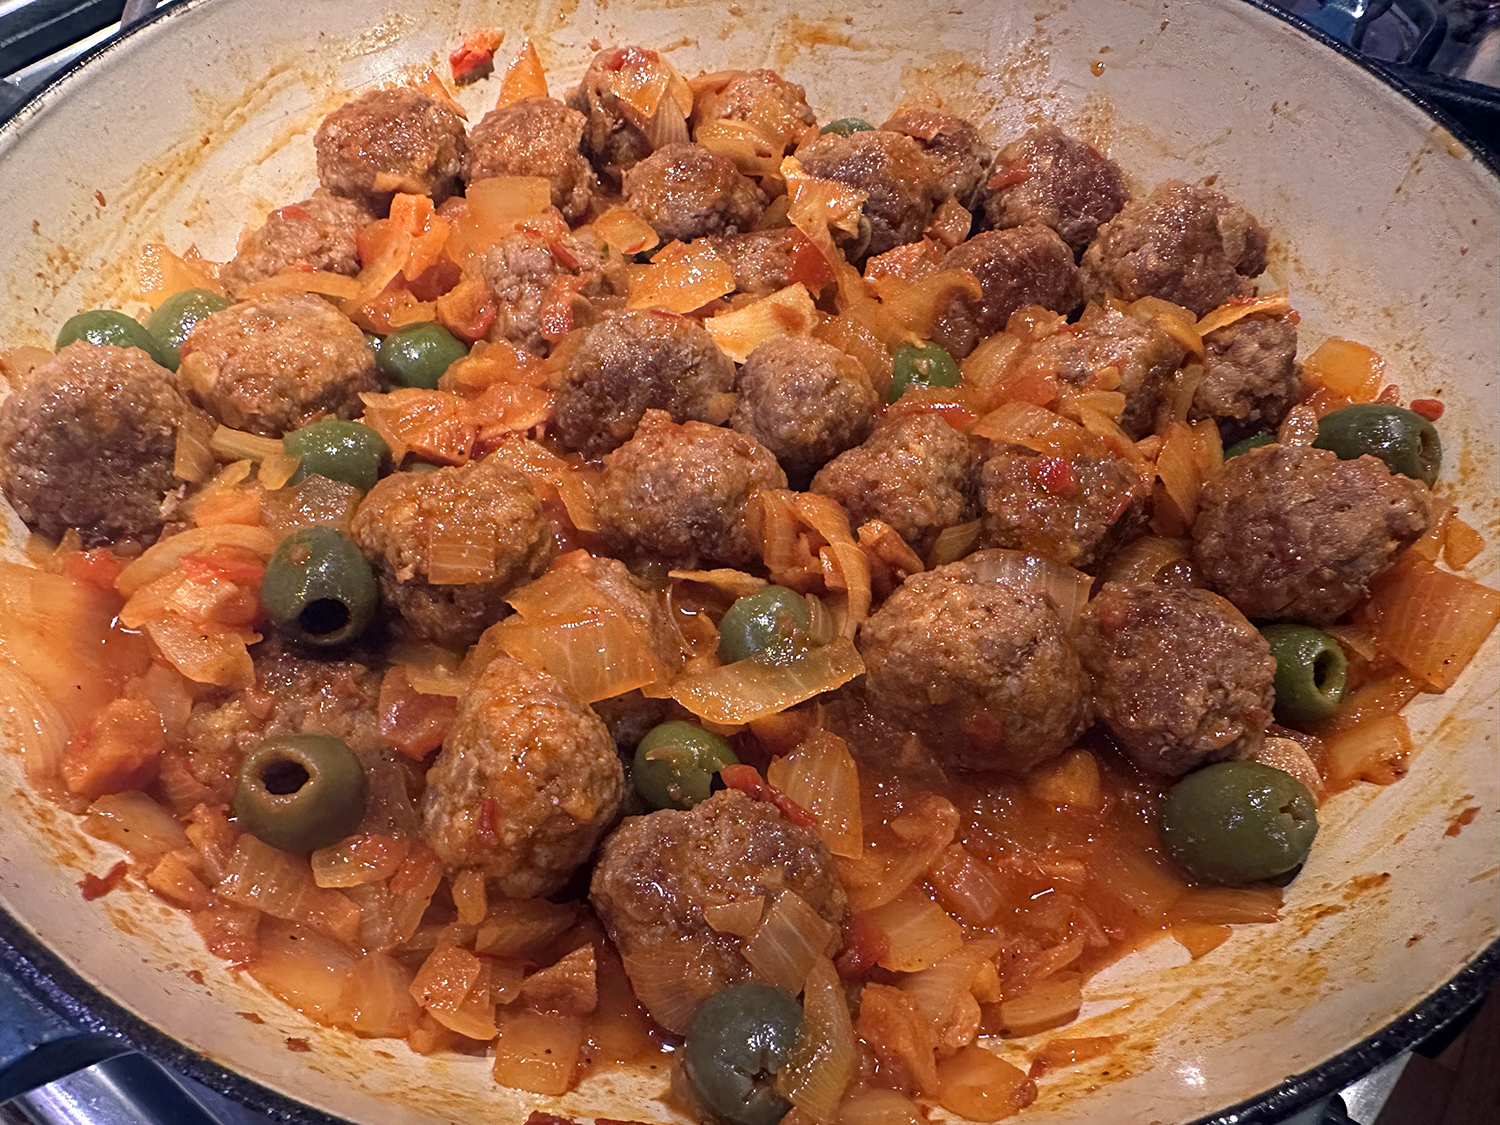
- Place 1 large egg, beaten to blend, 1 garlic clove, finely grated, 1 lb. ground lamb, 1 cup panko, ½ tsp. smoked paprika, ¼ tsp. ground cinnamon, 3 Tbsp. extra-virgin olive oil, 1 tsp. cumin, 1 tsp. Diamond Crystal or ½ tsp. Morton kosher salt, and 1 Tbsp. water in a large bowl. Using your hands, gently mix until combined, then break into golf-ball-size pieces and roll into balls.
- Heat remaining 2 Tbsp. extra-virgin olive oil in a medium Dutch oven or other heavy pot over medium-high. Cook meatballs in a single layer, undisturbed, until browned underneath, about 3 minutes. Turn over and cook until browned underneath, about 3 minutes (they will not be cooked through). Using a slotted spoon, transfer meatballs to a plate.
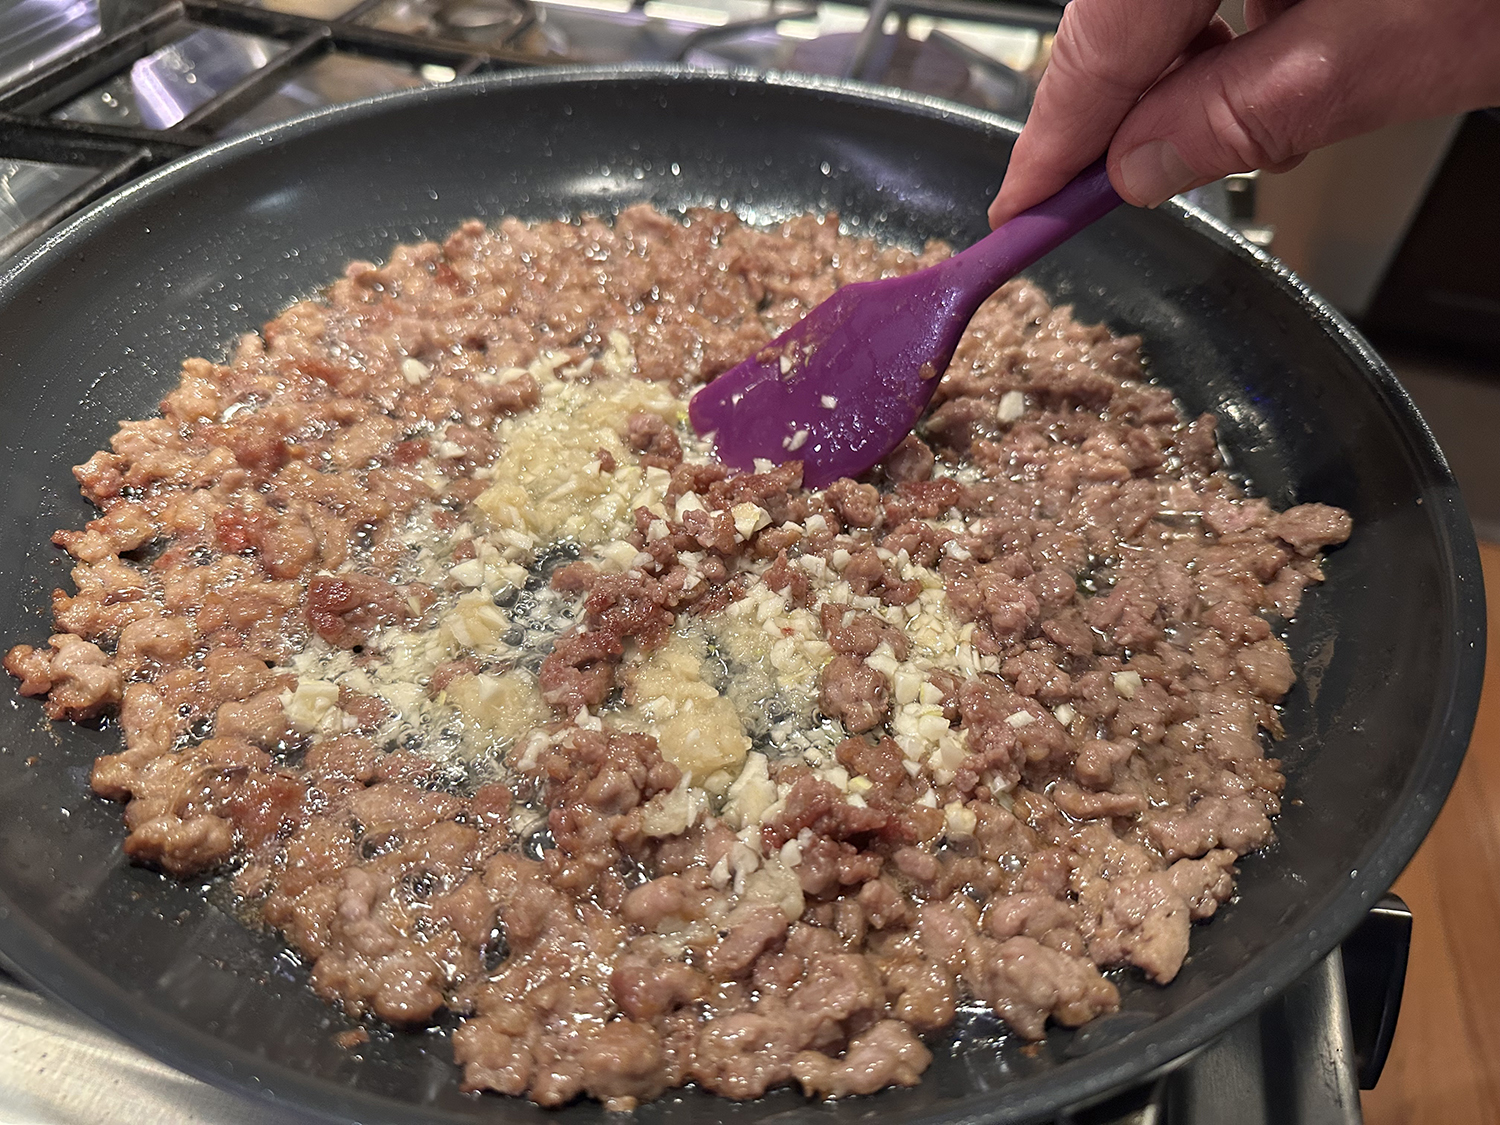
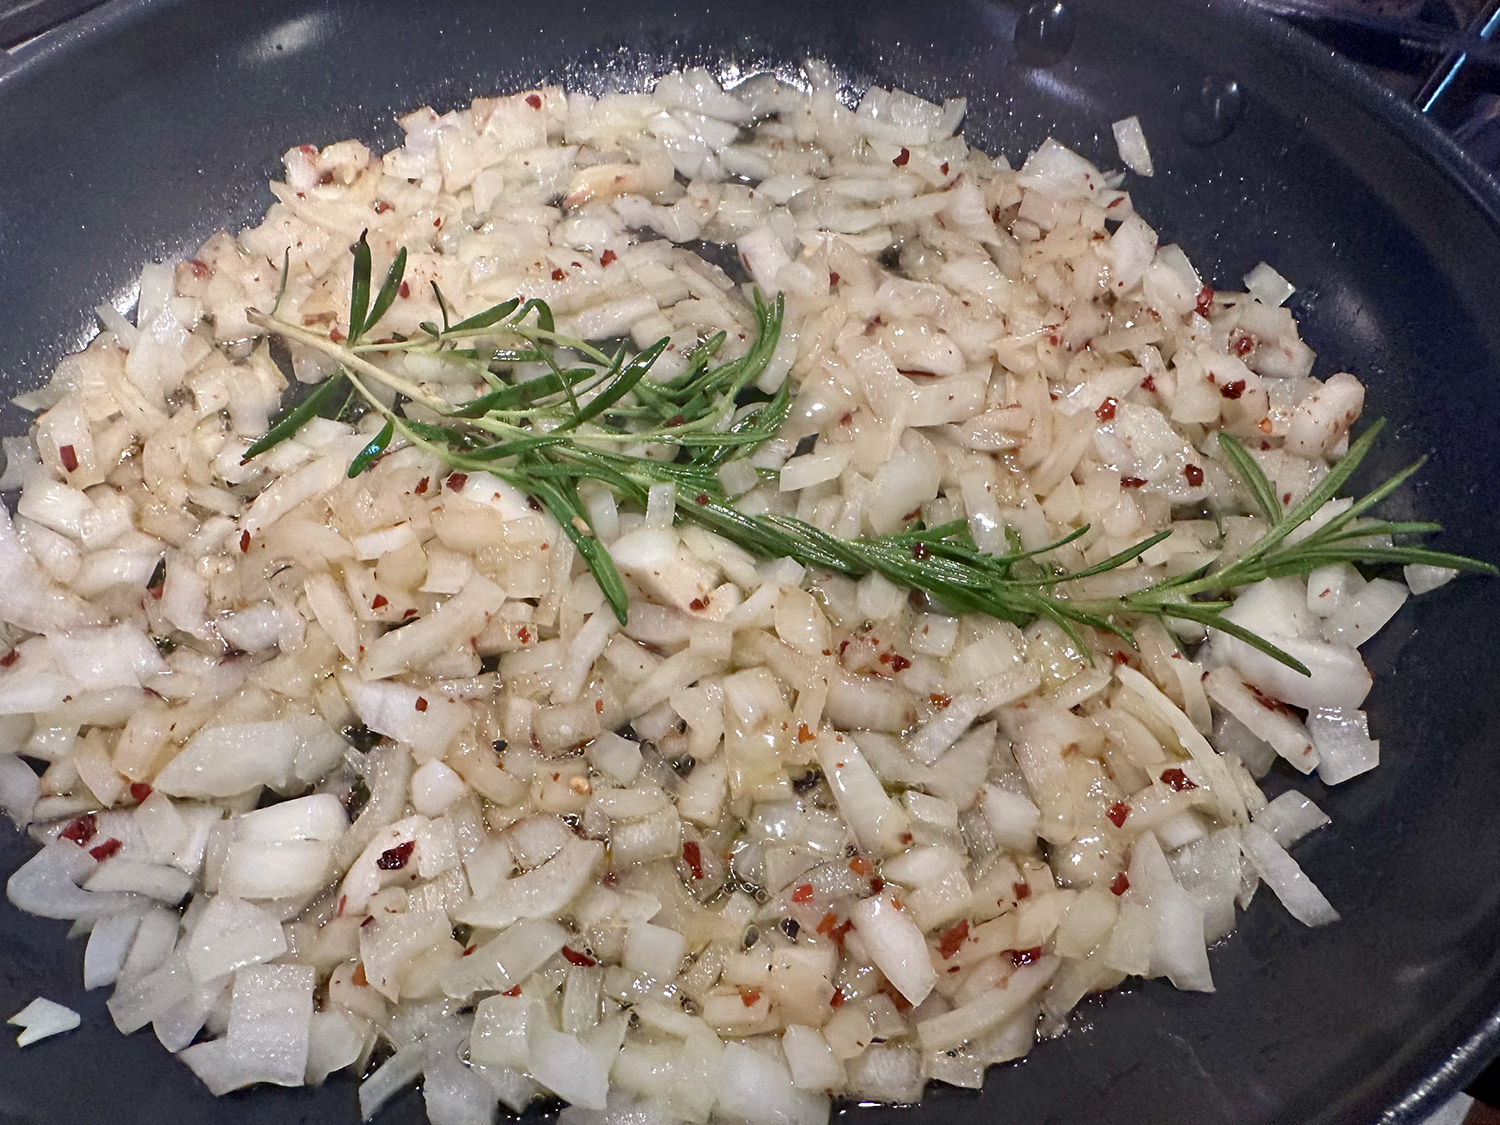
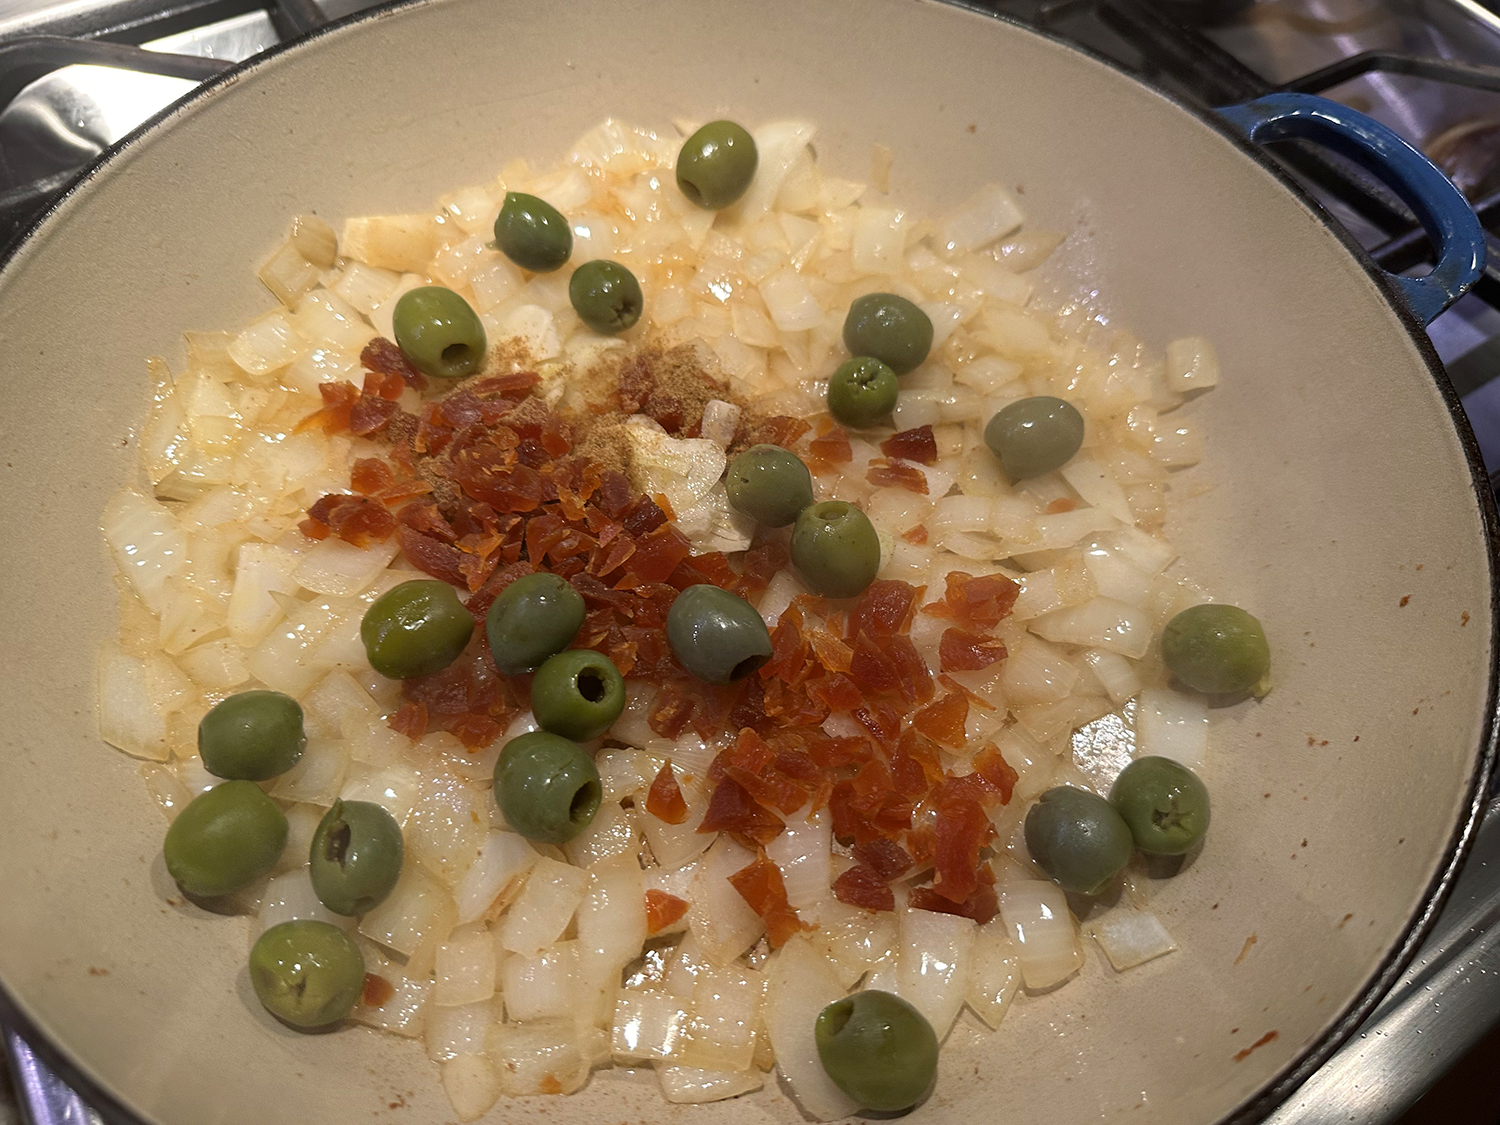
- Pour off all but 2 Tbsp. fat from pot; discard. Add 1 large onion, coarsely chopped, and ½ tsp. Diamond Crystal or ¼ tsp. Morton kosher salt and cook over medium-high, stirring occasionally, until onion is softened and starting to brown around edges, about 3 to 5 minutes.
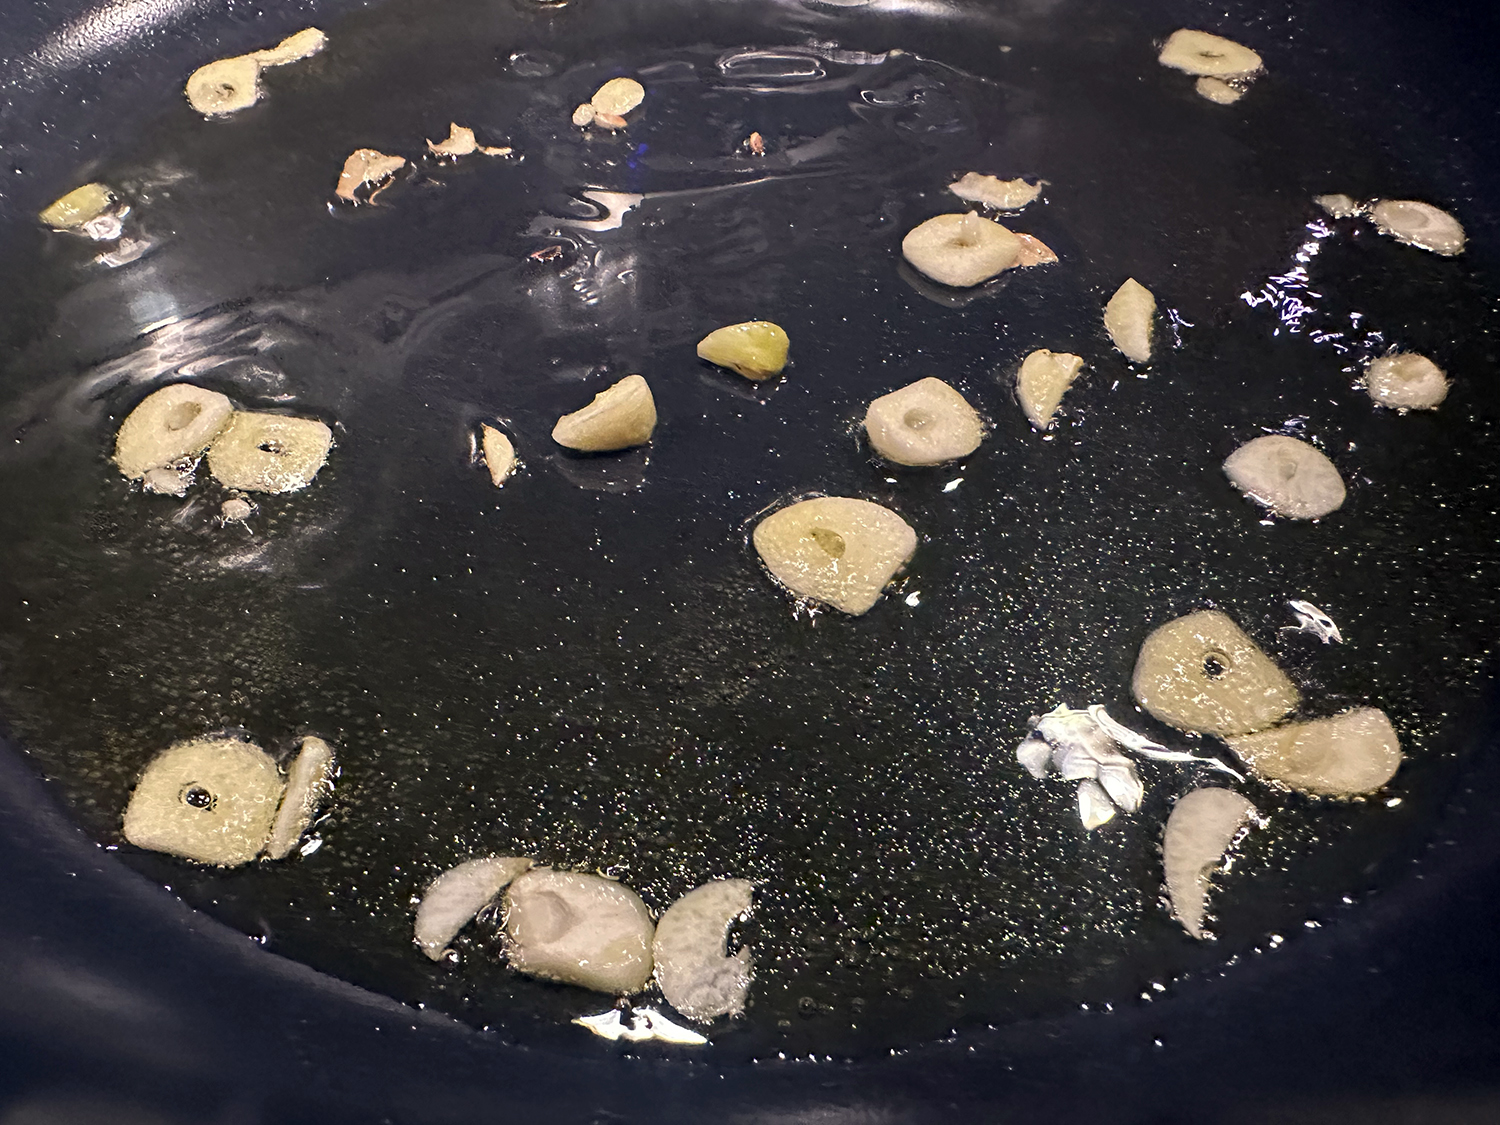
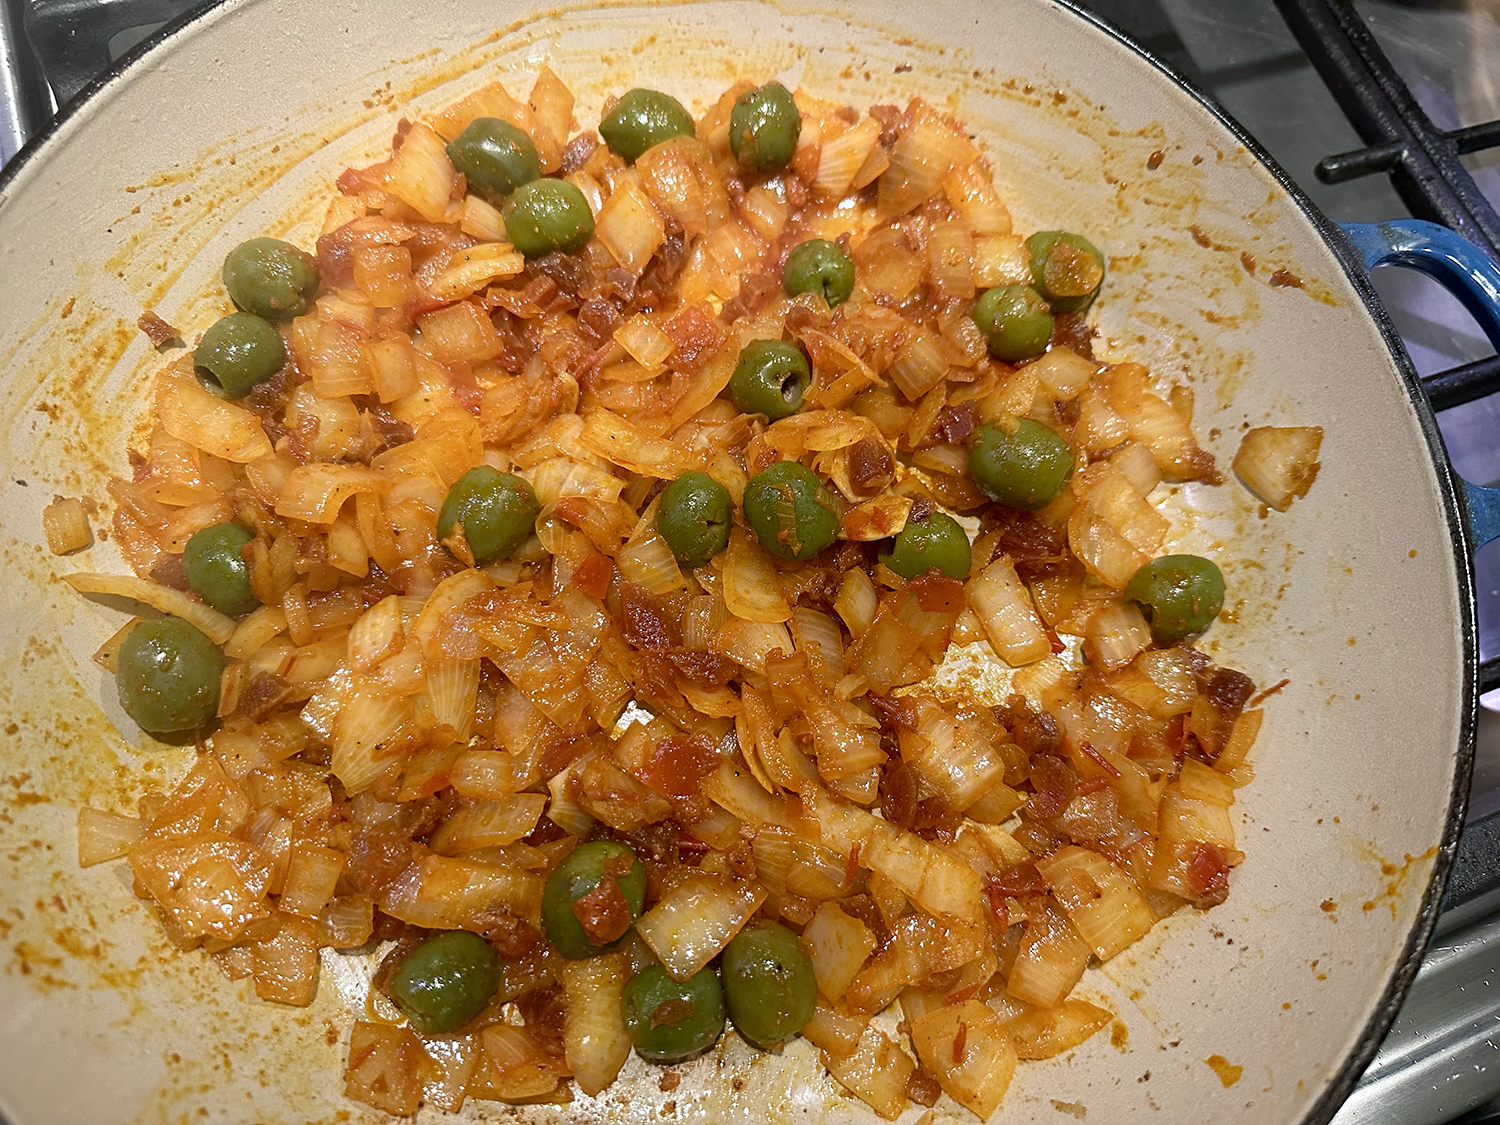
- Add 4 garlic cloves, thinly sliced, ½ cup pitted green olives, ¼ cup coarsely chopped pitted Medjool dates or dried apricots, and remaining 1 tsp. cumin. Cook, stirring often, until fragrant, about 1 minute.
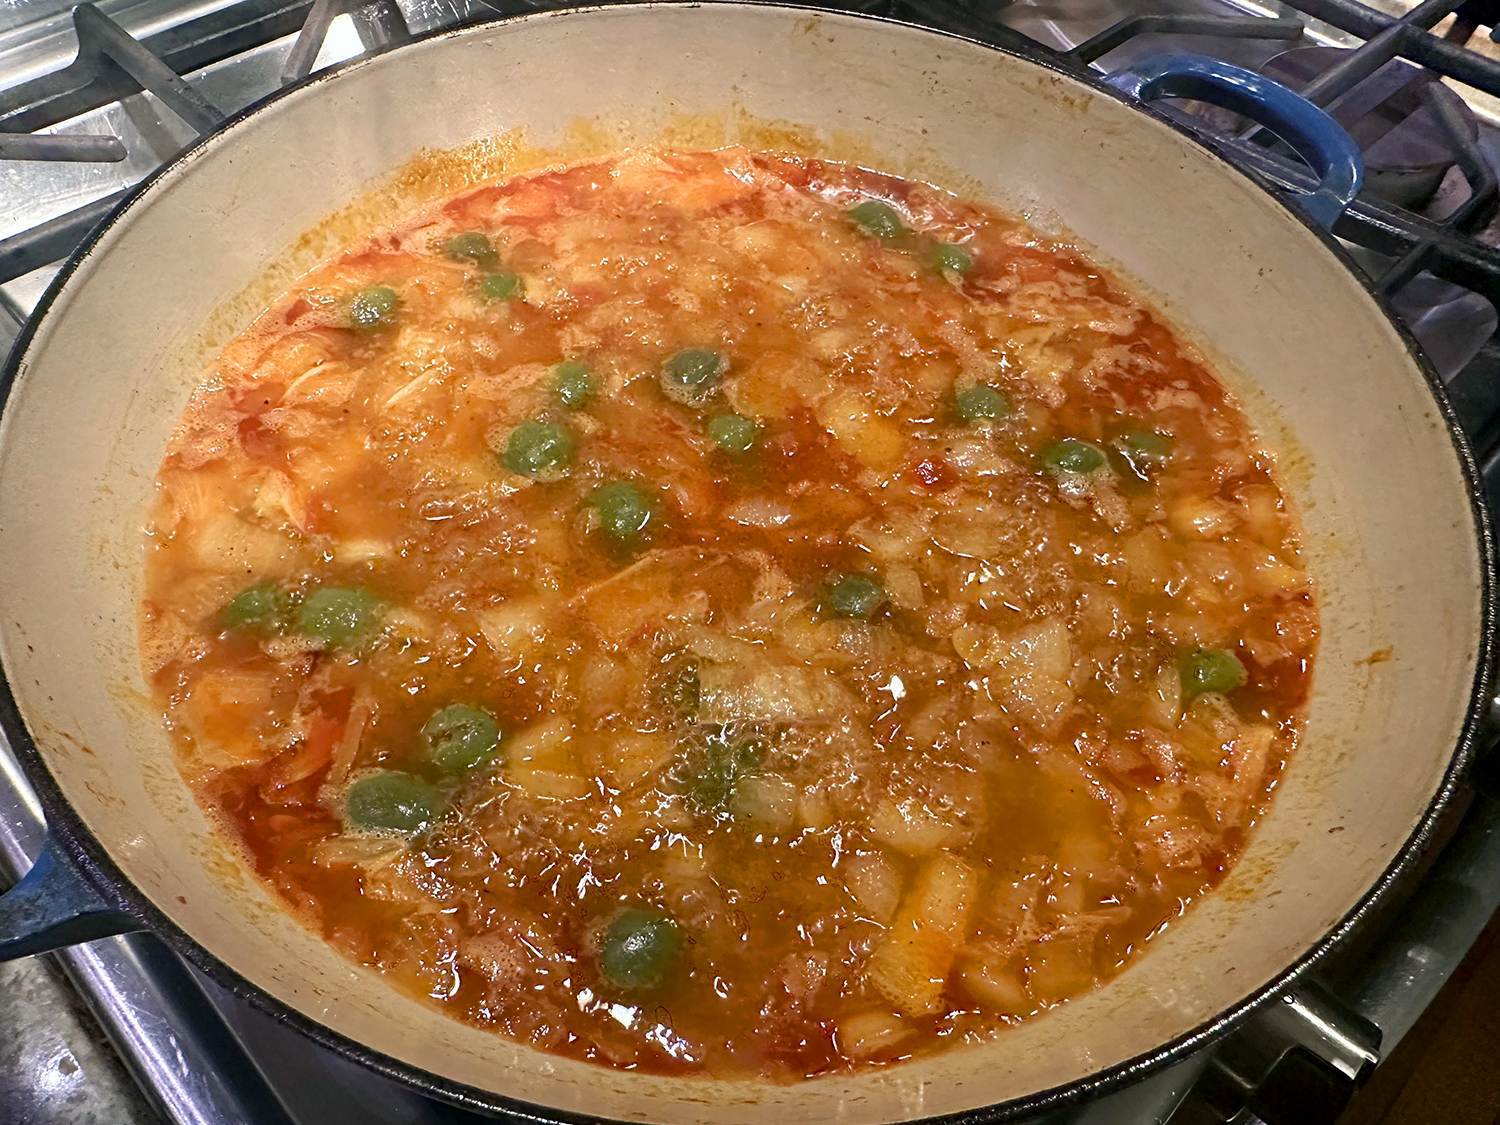
- Add ⅓ cup mild harissa paste and season with freshly ground pepper. Cook, stirring occasionally, until slightly darkened in color, about 2 minutes. Add 2½ cups water and bring sauce to a vigorous simmer. Cook, stirring occasionally, until slightly reduced, 10–12 minutes. Taste and season with salt.
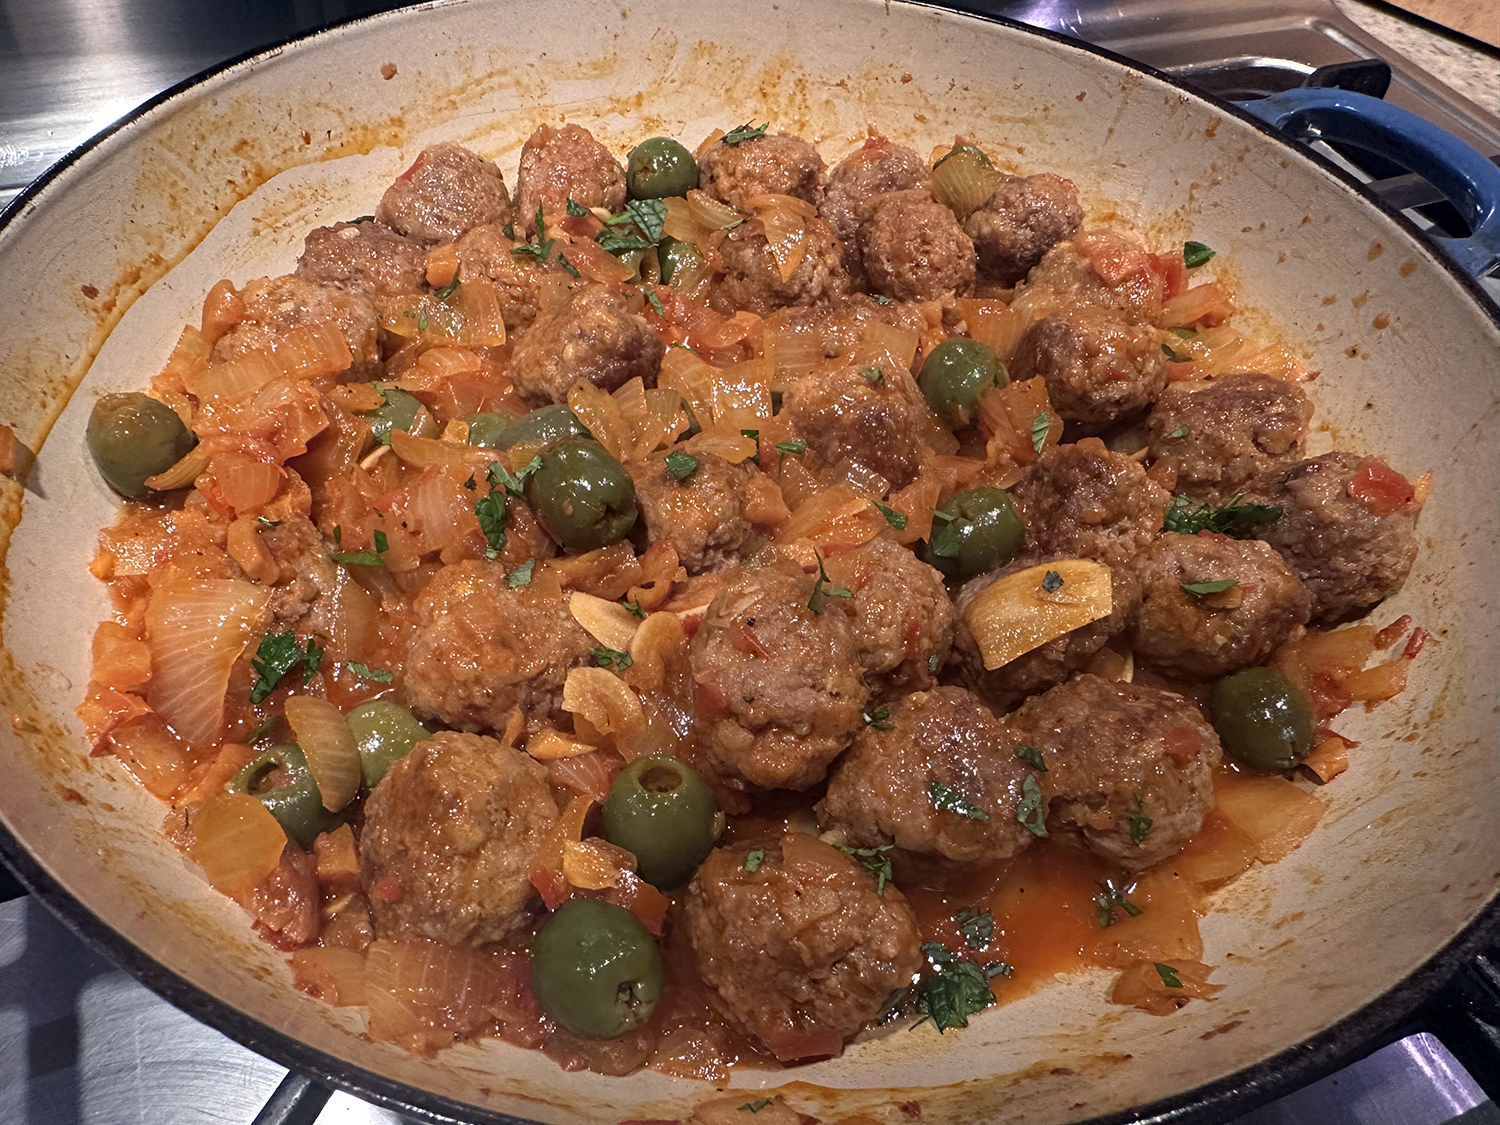
- Add meatballs to sauce, reduce heat to medium, and simmer until meatballs are cooked through and sauce is thickened, 7–9 minutes. Remove pan from heat and stir in 2 Tbsp. red wine vinegar.
- Serve meatballs over cooked Moroccan couscous, topped with mint leaves and parsley leaves with tender stems.
Adapted from a recipe by Kendra Vaculin for Bon Appétit