Monthly Archives: November 2021

Chicken Tagine with Apricots, Butternut Squash and Spinach

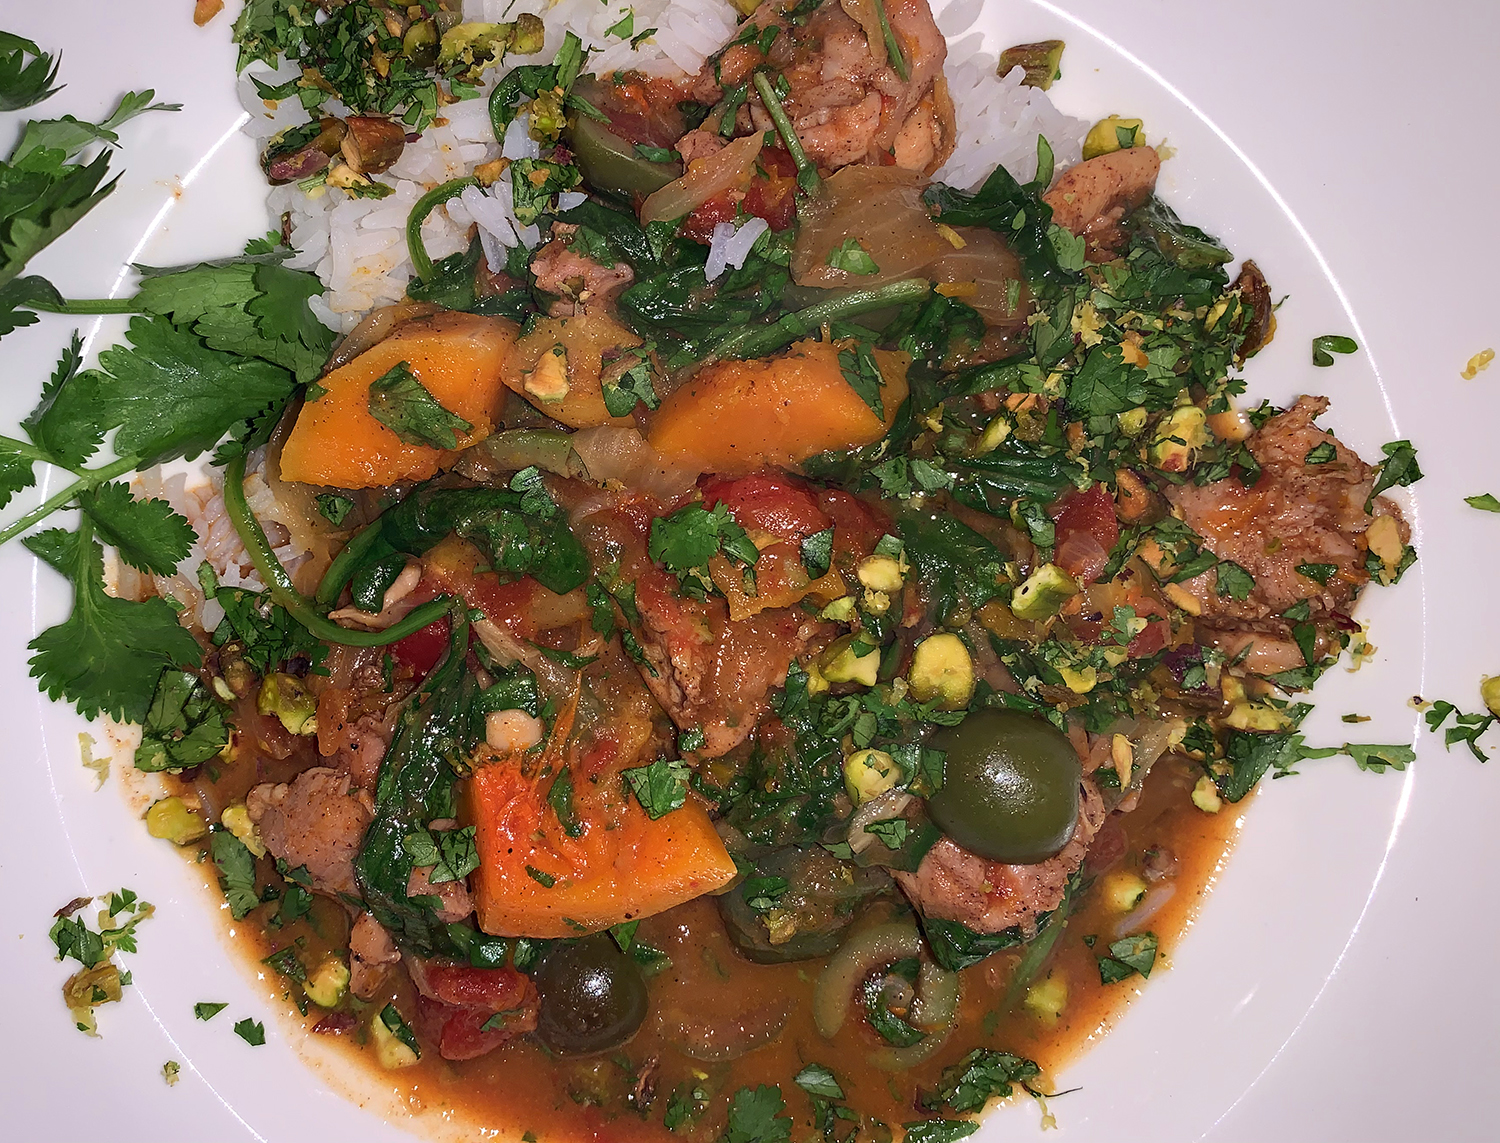
WOW, this tagine from Milk Street has it all! The richness of the dish comes from layers of flavor, not from laborious browning. There is a little heat from the cayenne, sweetness from the apricots and butternut squash, saltiness from the olives, a tad of sour from the citrus, acidity from tomatoes, and a bit of crunch from the pistachios.

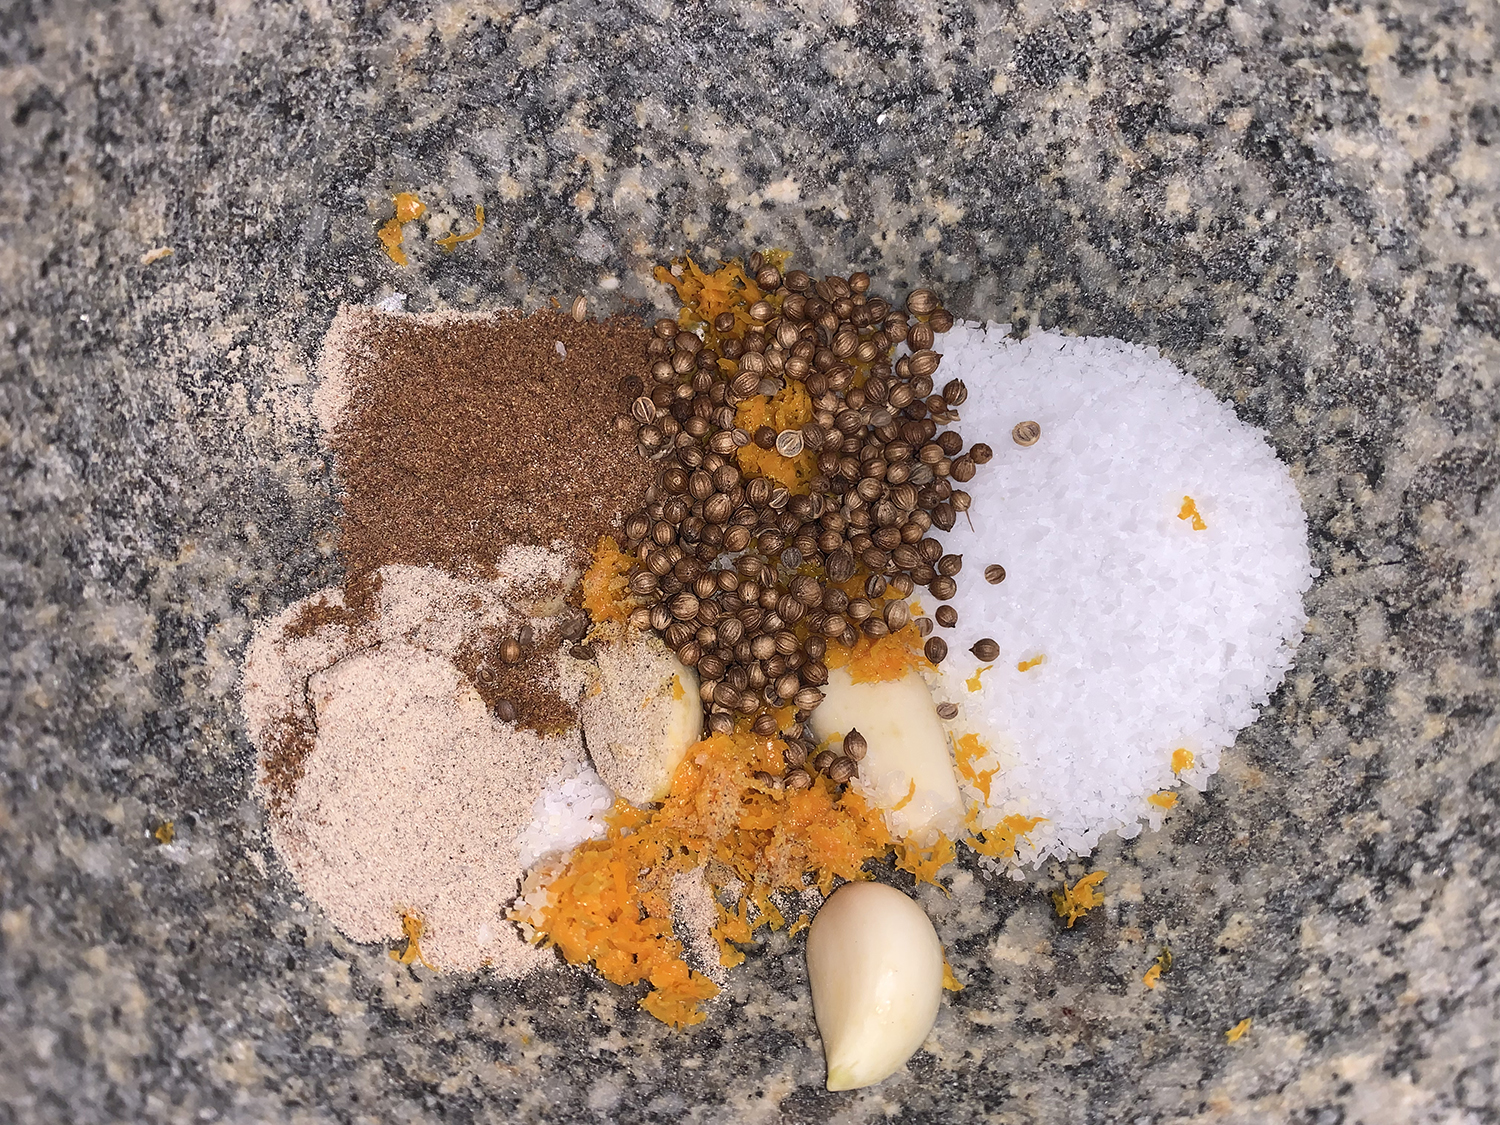
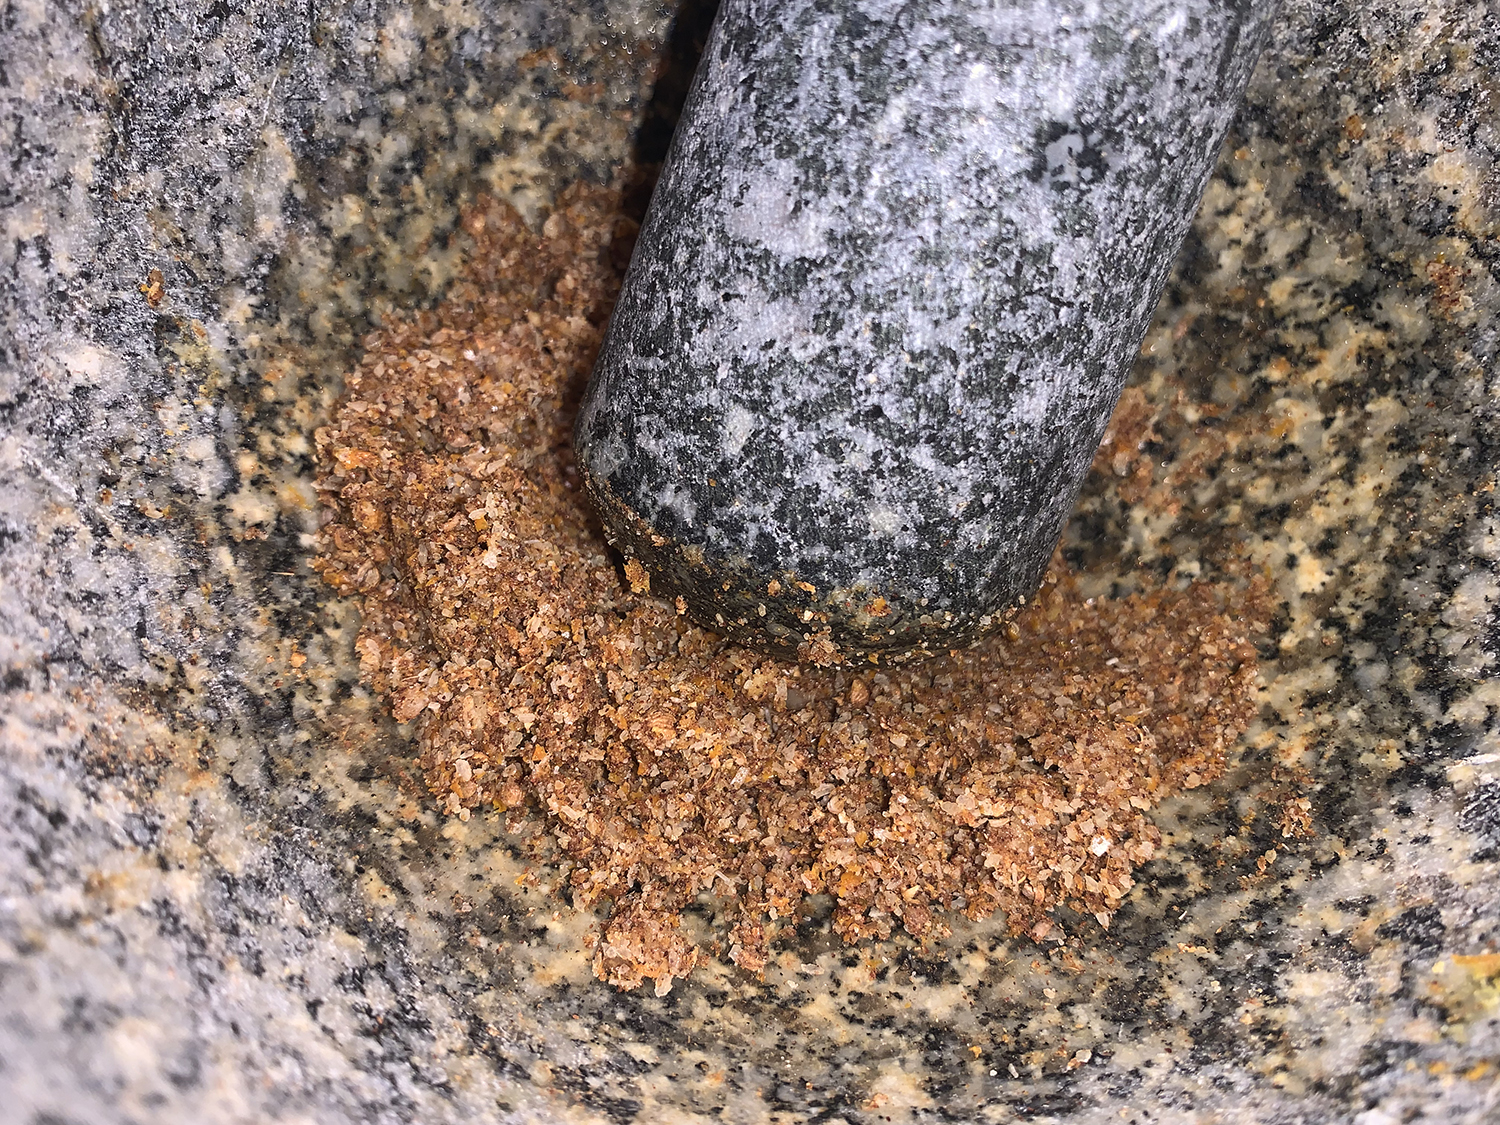
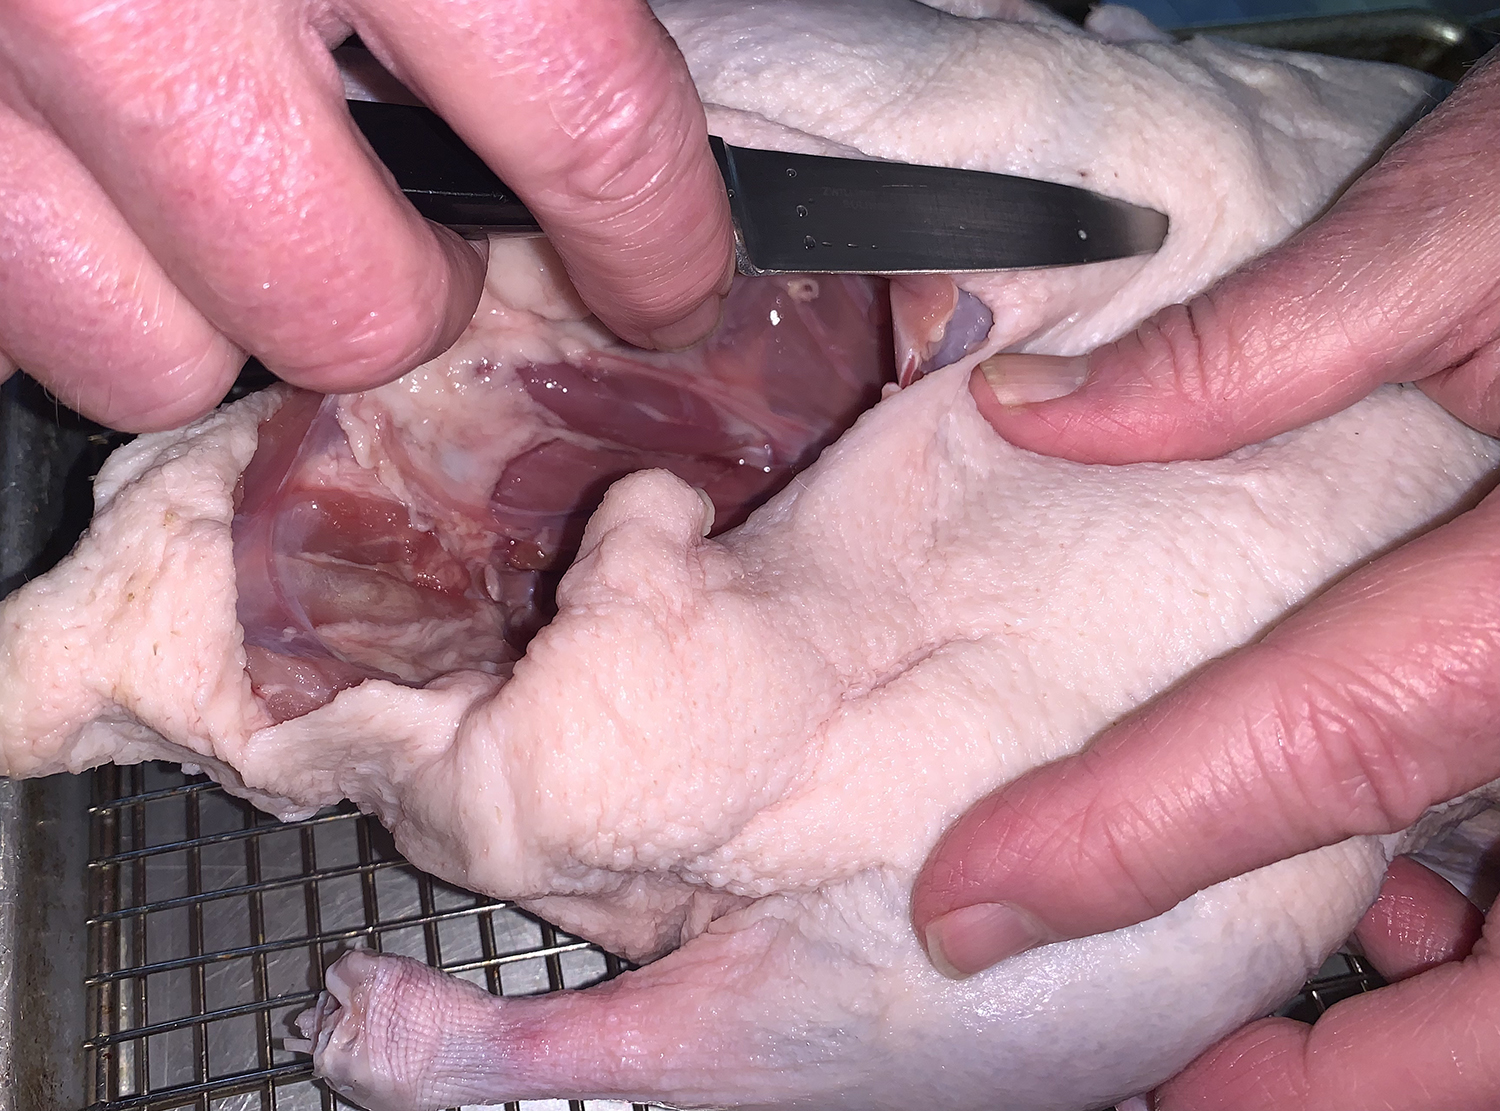
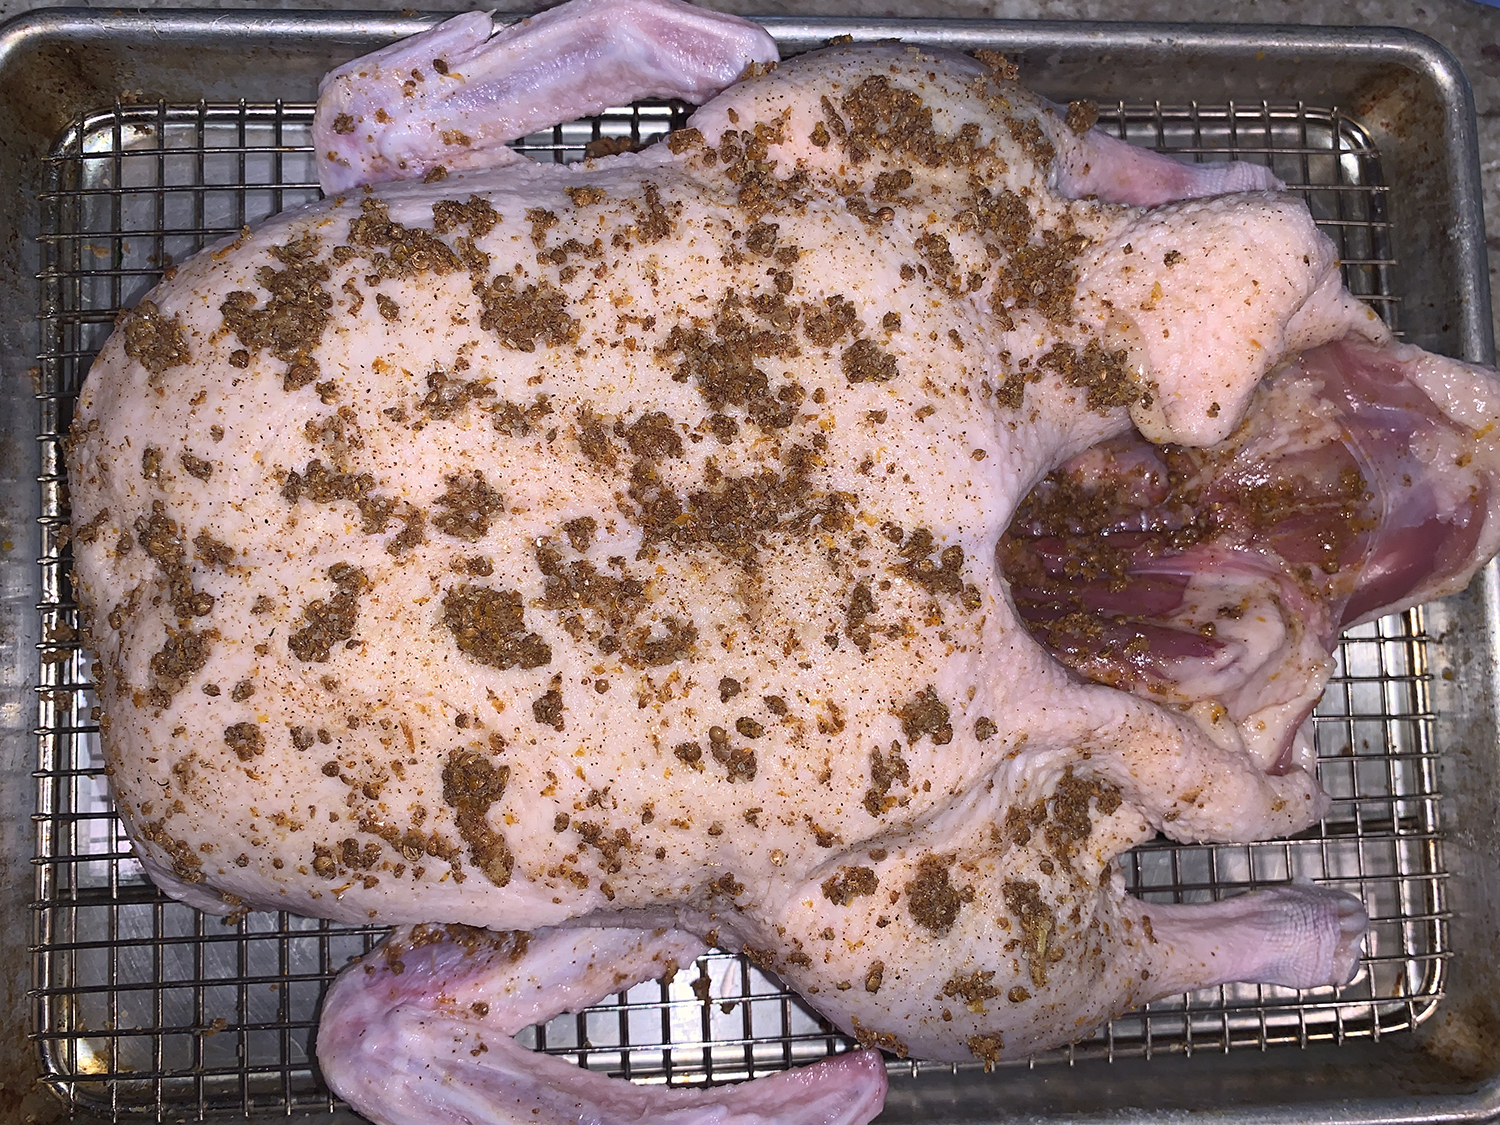
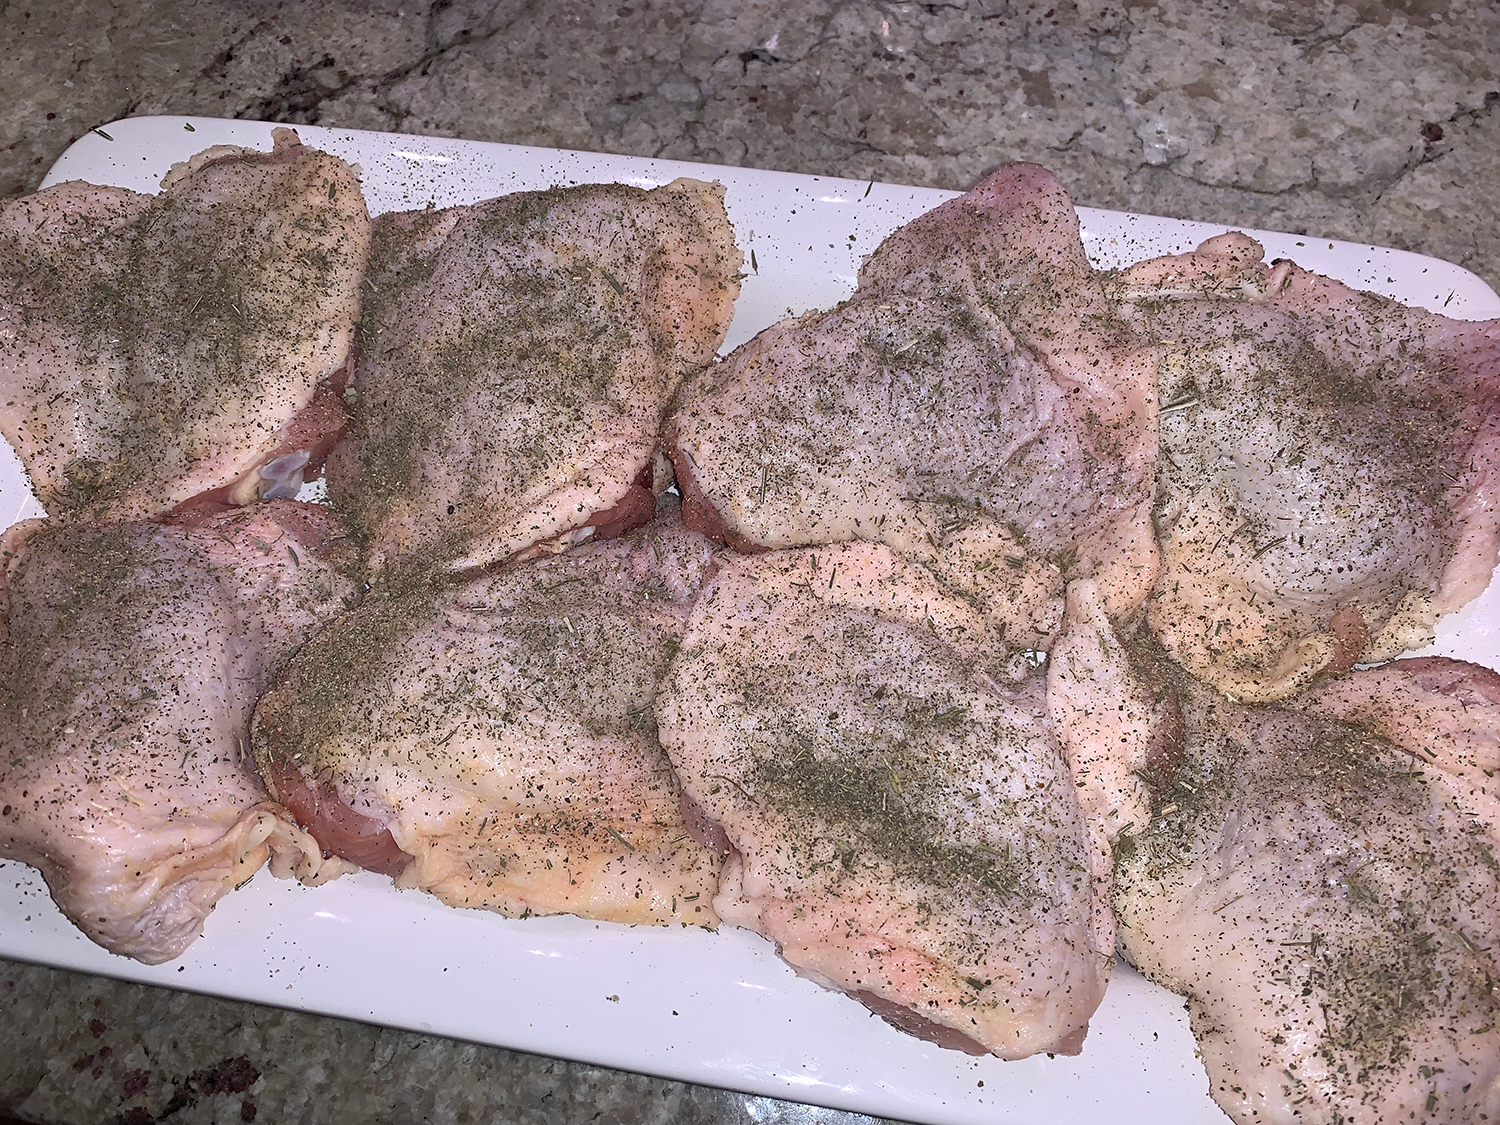
Instead of using an actual tagine dish, a large Dutch oven does the trick. A fragrant spice paste seasons the chicken and acts as a base for the stew. While preparing the remaining ingredients, trim, cut and season the chicken first to let it absorb the flavors. Apricots add sweetness and vibrant color, that is balanced by briny green olives. An equal amount of carrots can be substituted for the butternut squash.

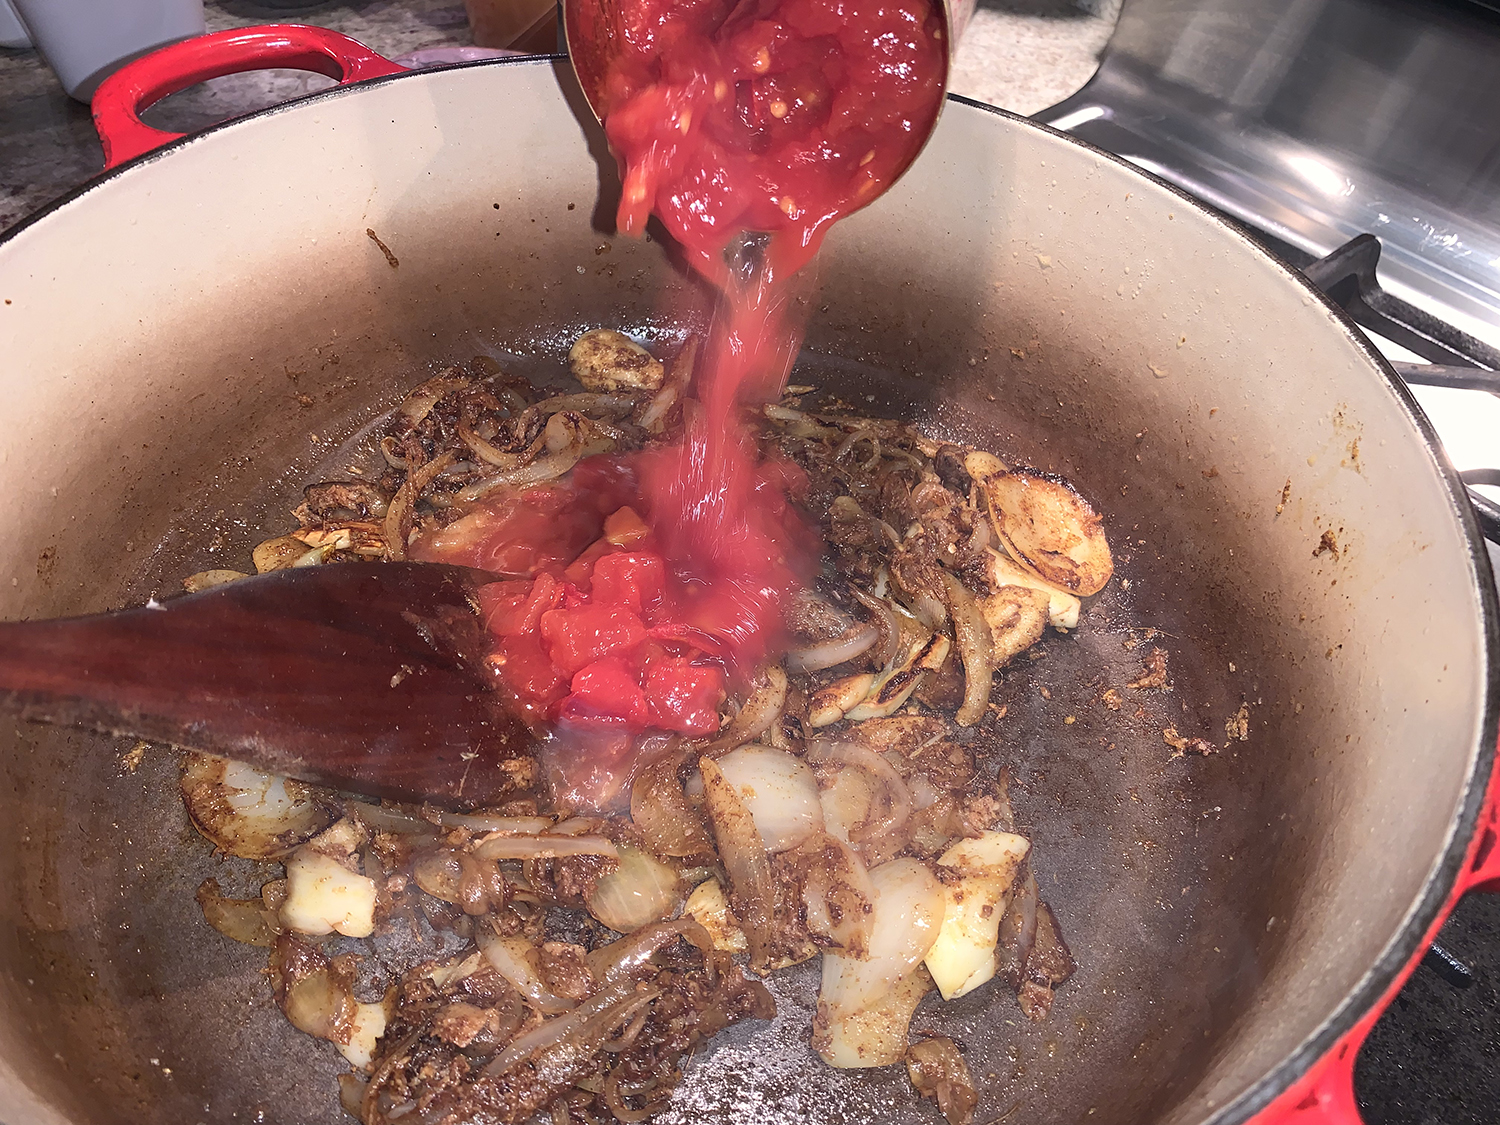
Don’t drain the diced tomatoes. Their liquid adds sweetness and acidity to the stew.

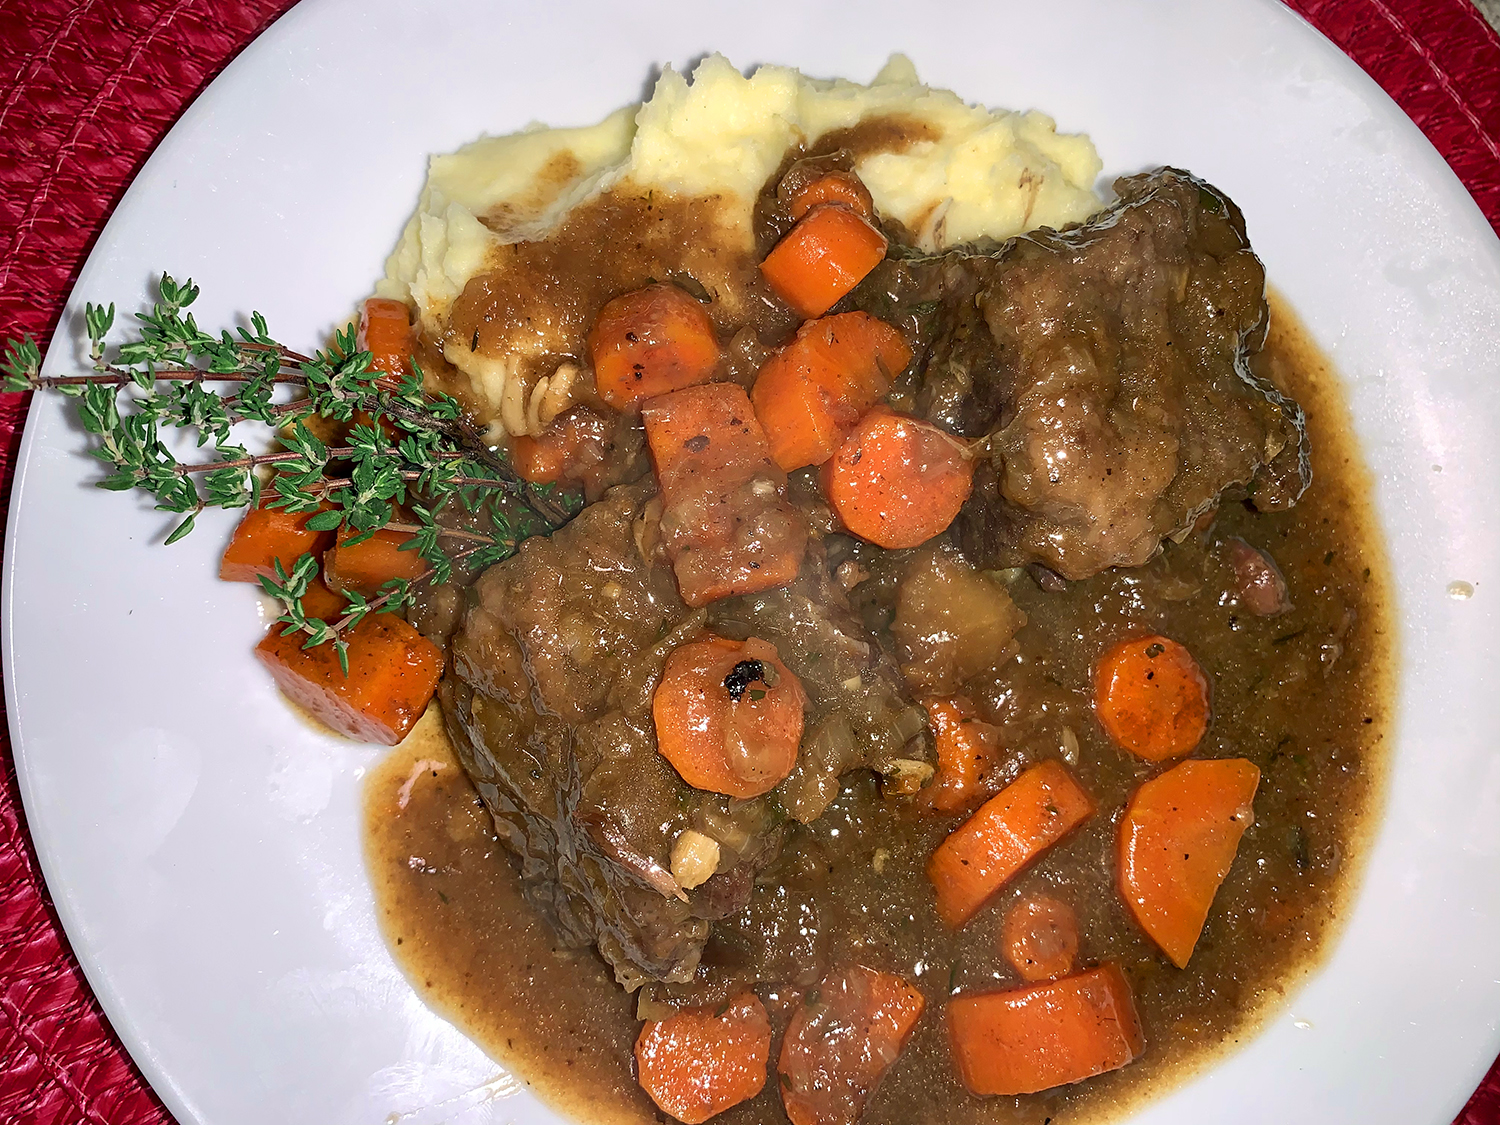
No, this is not your typical quick weeknight recipe. Not only does it involve a lot of ingredients, it’ll take close to two hours total from prep through time to eat. But it is sooo worth it! Serve the tagine with couscous, rice or warmed pita bread.

Chicken Tagine with Apricots, Butternut Squash and Spinach

  • Servings: 4
  • Difficulty: easy
  • Print

Ingredients

  • 4 Tbsp. extra-virgin olive oil, divided
  • Kosher salt and ground black pepper
  • 2 tsp. ground cinnamon
  • 2 tsp. ground cumin
  • 2 tsp.s sweet paprika
  • 1 tsp. ground coriander
  • 1/4 tsp. ground cayenne
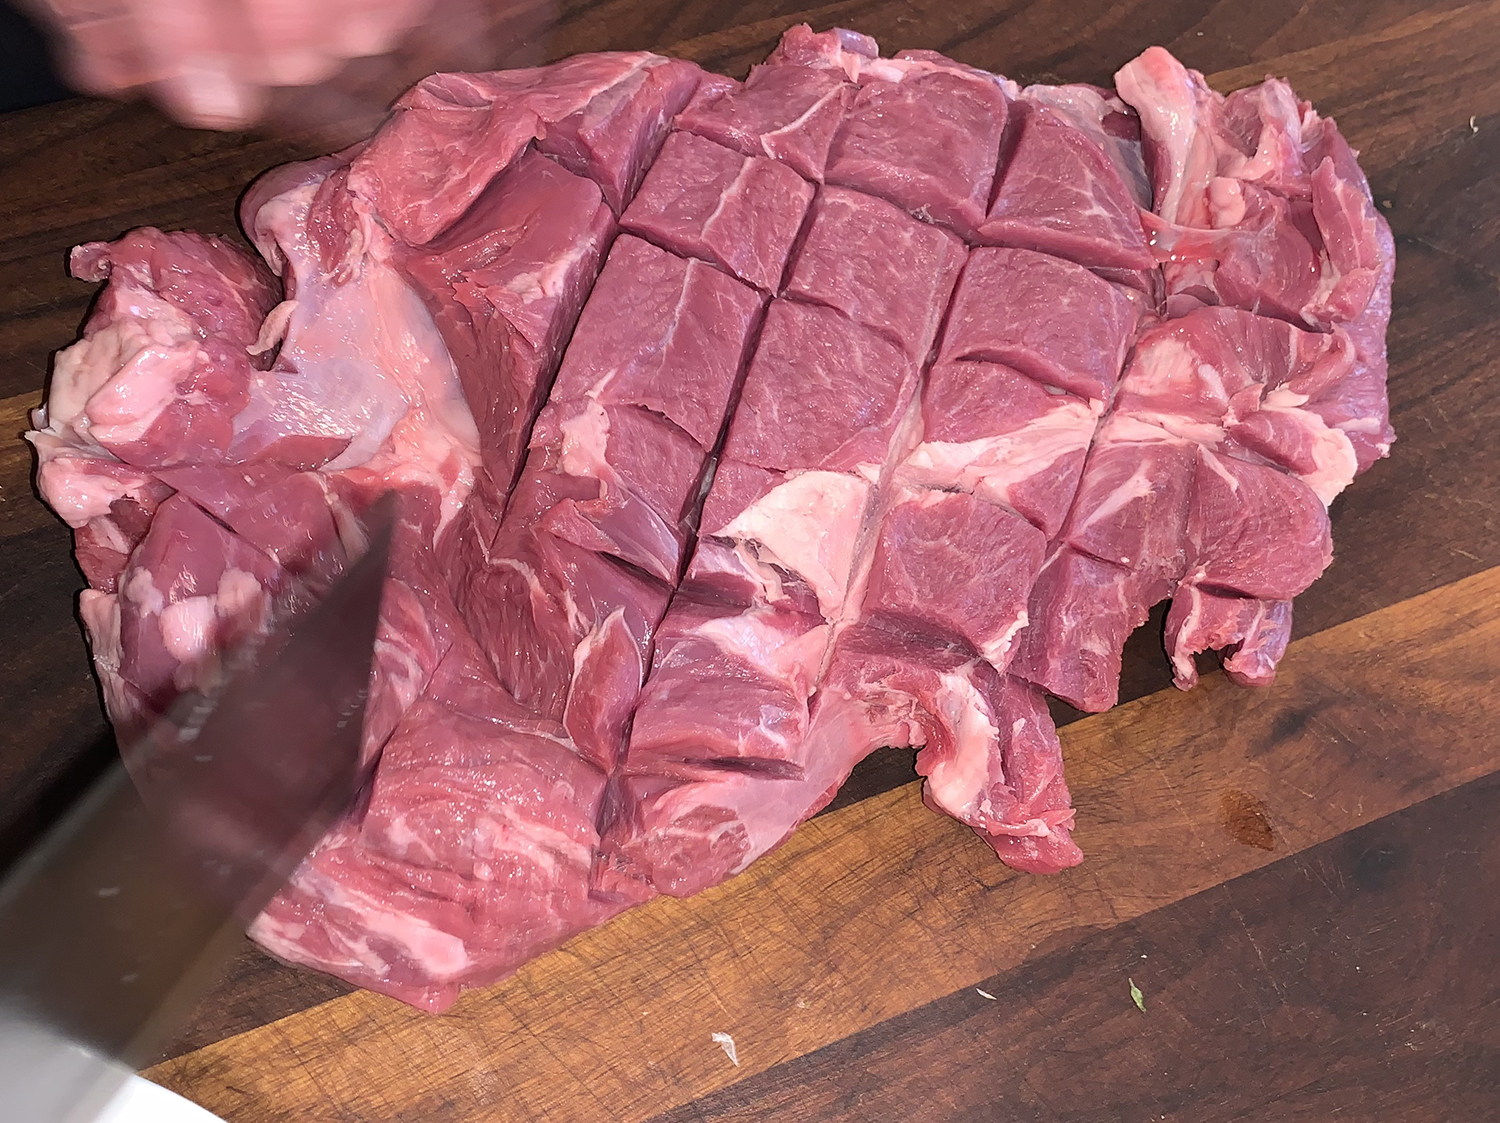
  • 1½ lbs. boneless, skinless chicken thighs, trimmed and cut into 1½-inch pieces
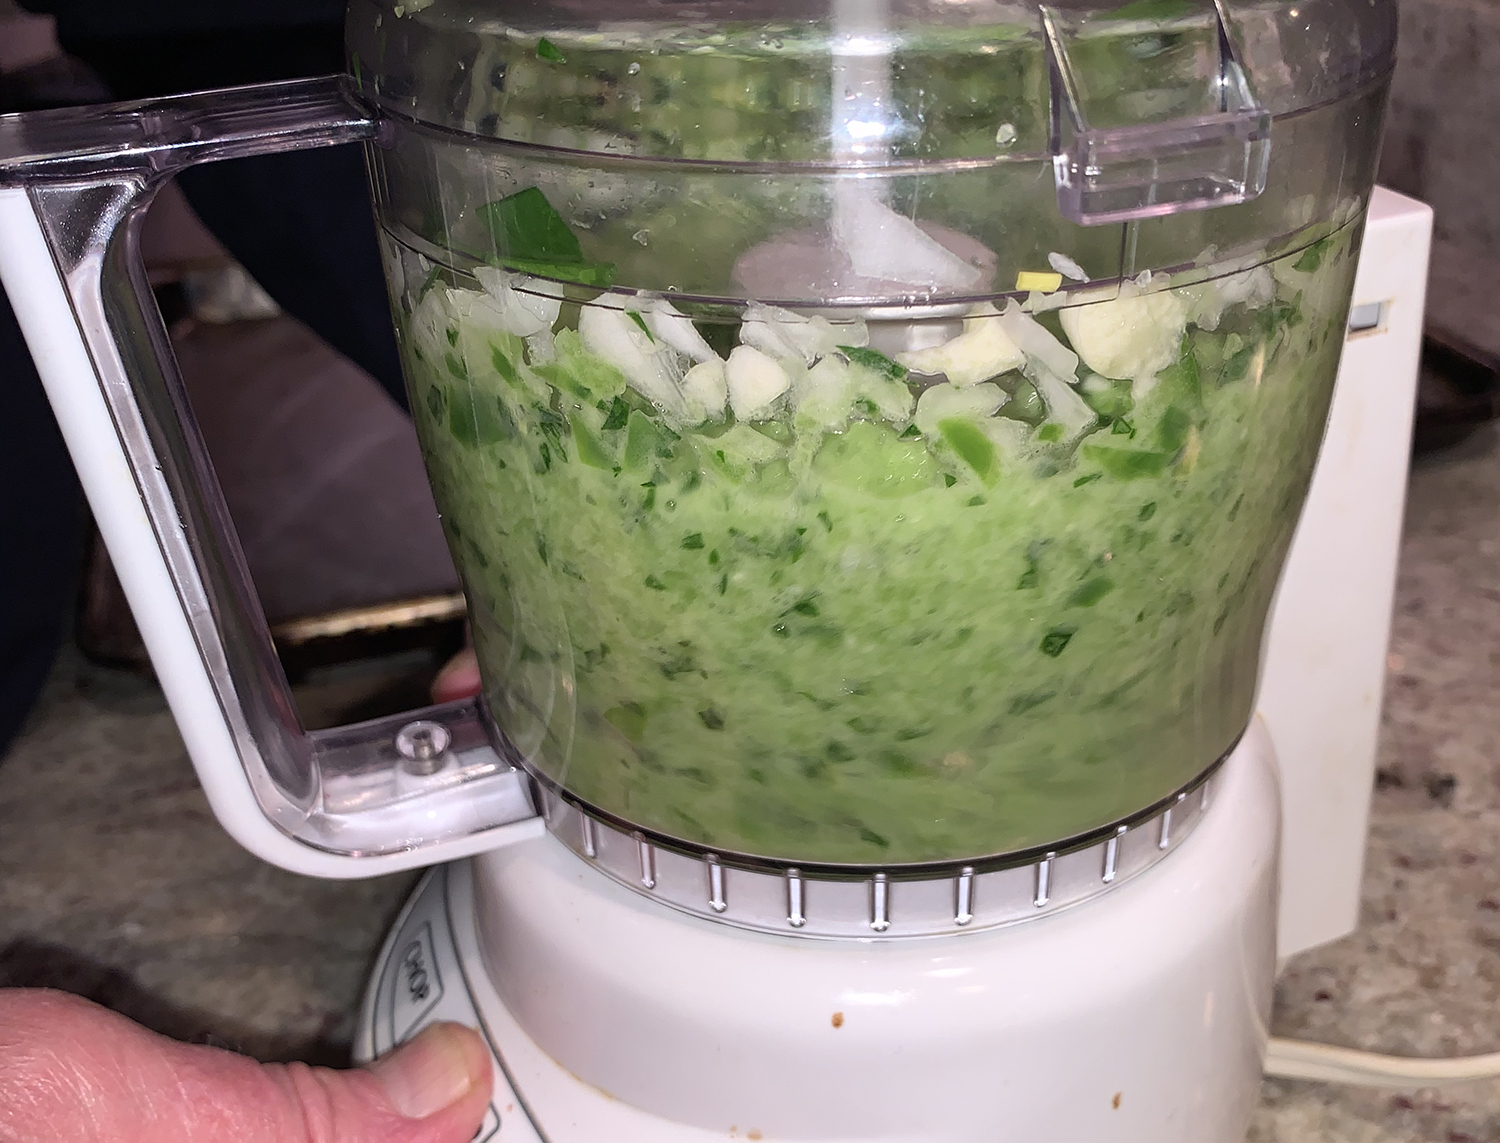
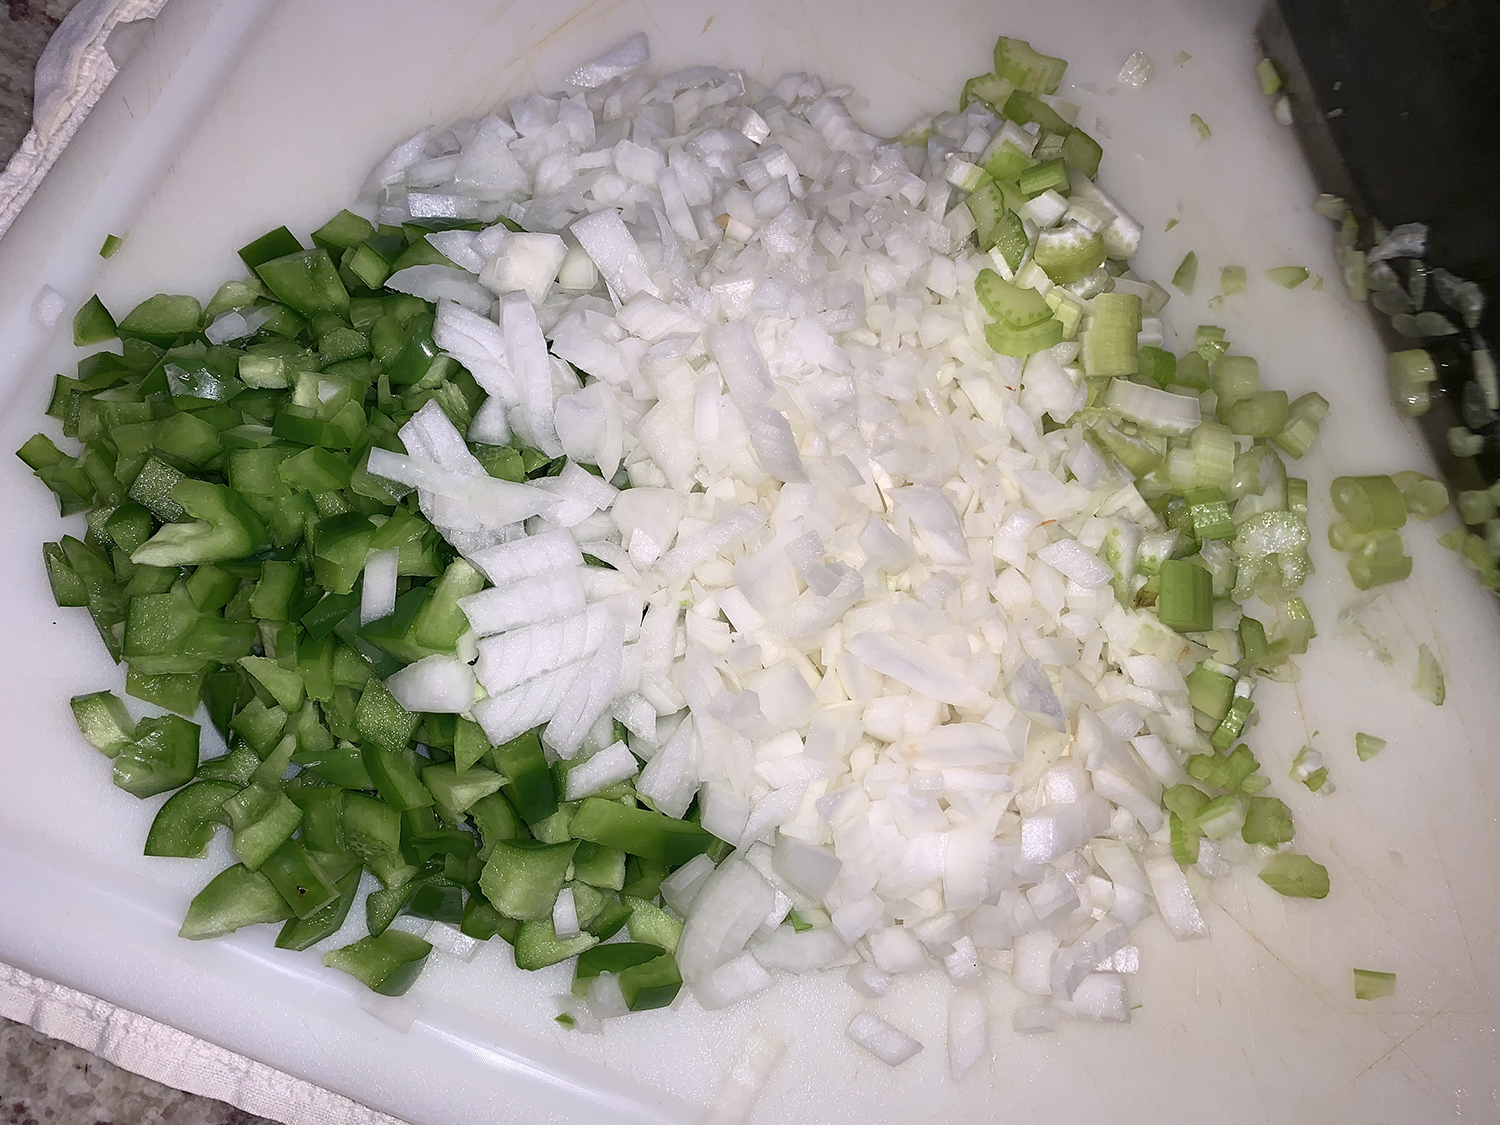
  • 1 large yellow onion, thinly sliced lengthwise
  • 4 garlic cloves, peeled and smashed
  • 4 tsp. grated fresh ginger
  • 2½ cups low-sodium chicken broth
  • 1 14-oz. can diced tomatoes
  • 3/4 cup dried apricots, quartered
  • 8 oz. peeled butternut squash, cut into ¾-inch cubes (about 2 cups)
  • 1 cup cracked Greek green olives, pitted and halved
  • 1 cup chopped fresh cilantro, divided
  • 1/4 cup pistachios, toasted and chopped
  • 2 tsp. grated lemon zest, plus 3 Tbsp. lemon juice (1 to 2 lemons)
  • 4 oz. baby spinach (about 4 cups)

Directions

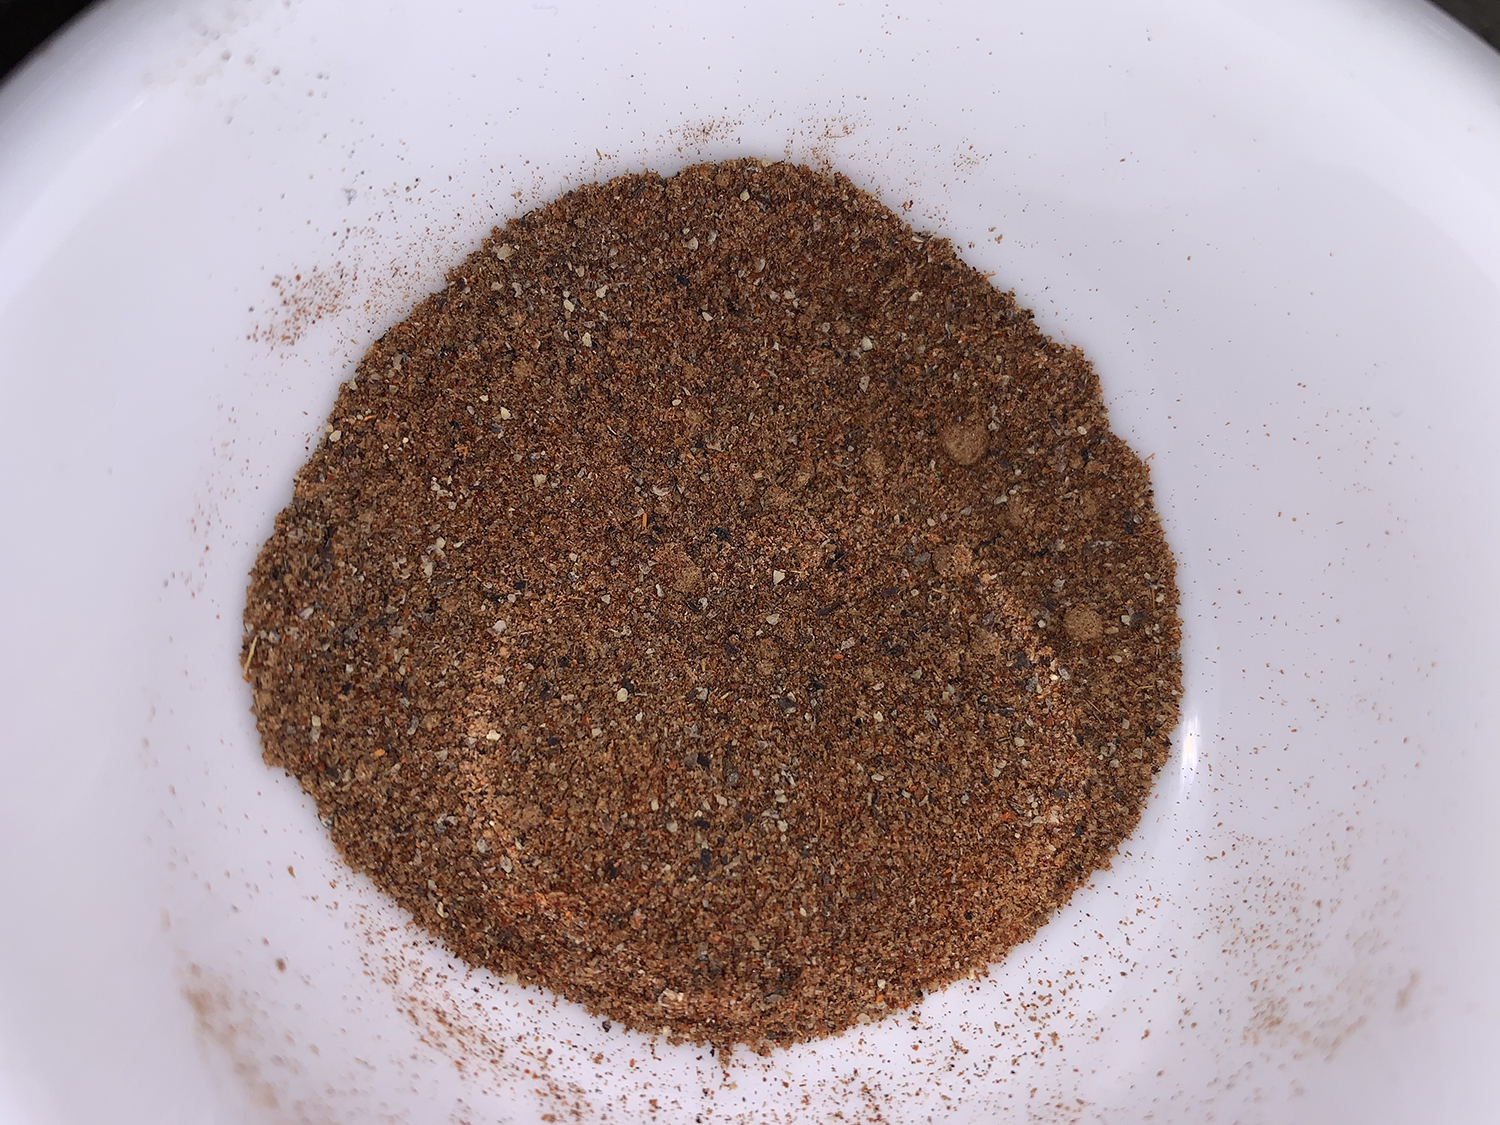
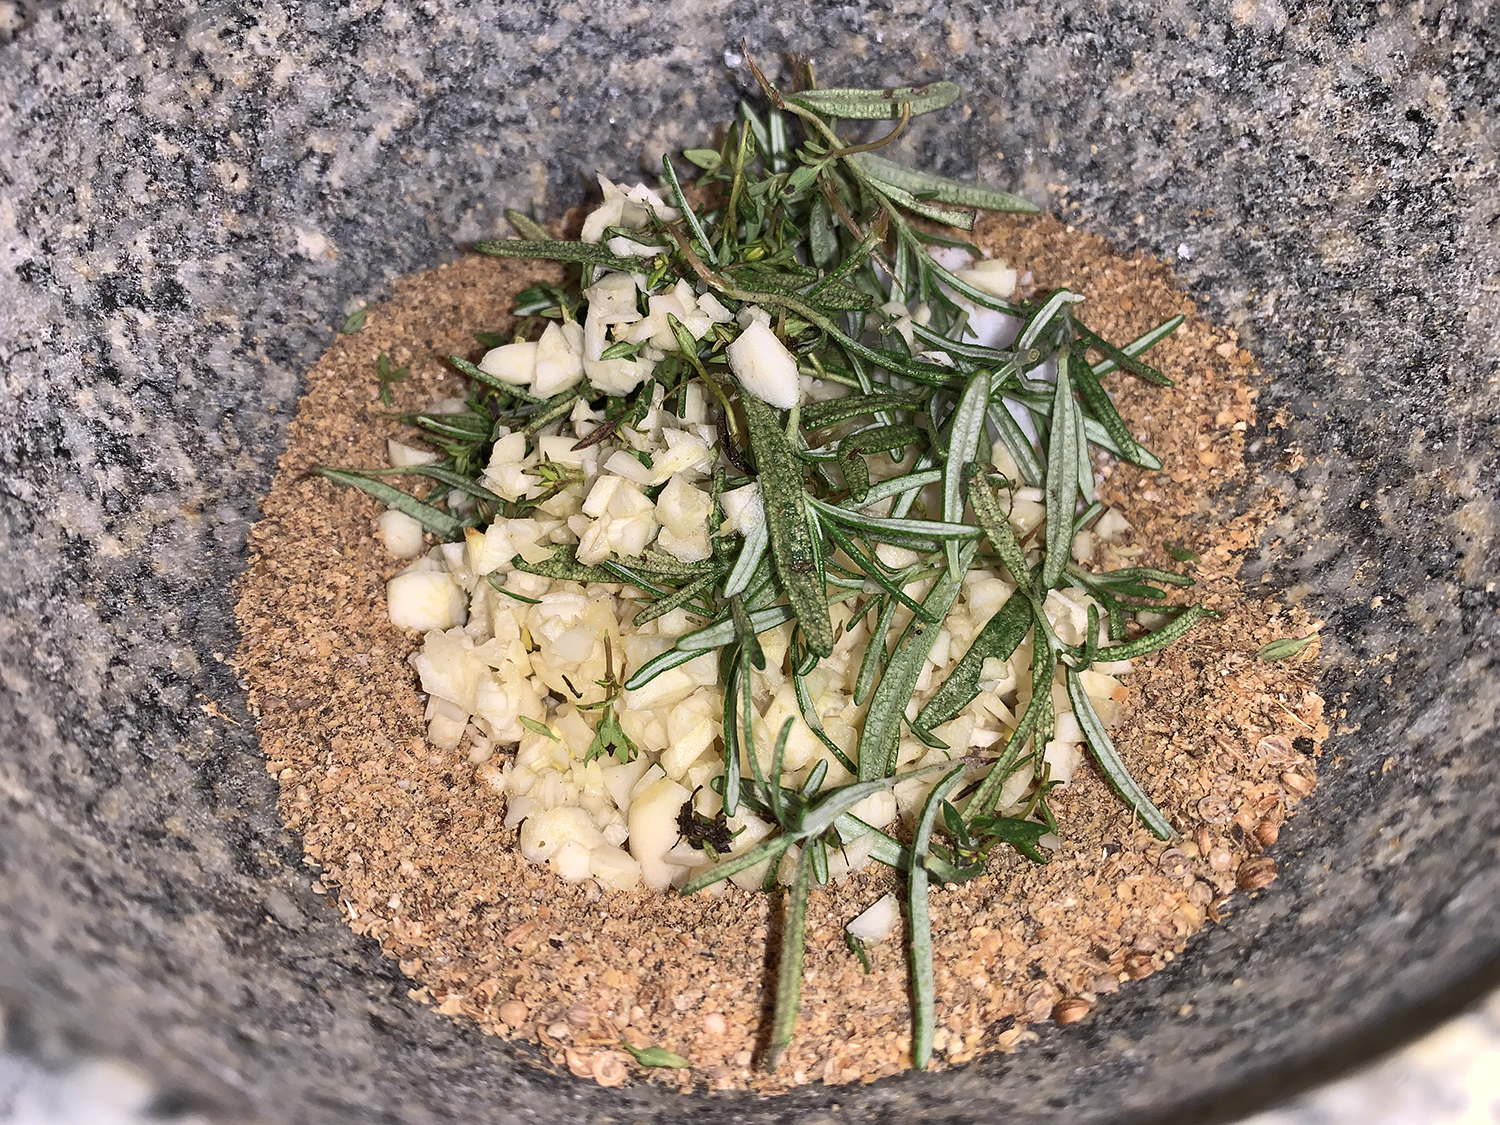
  1. In a small bowl, stir together 2 tablespoons of the oil, 2½ teaspoons salt, ½ teaspoon black pepper, the cinnamon, cumin, paprika, coriander and cayenne.
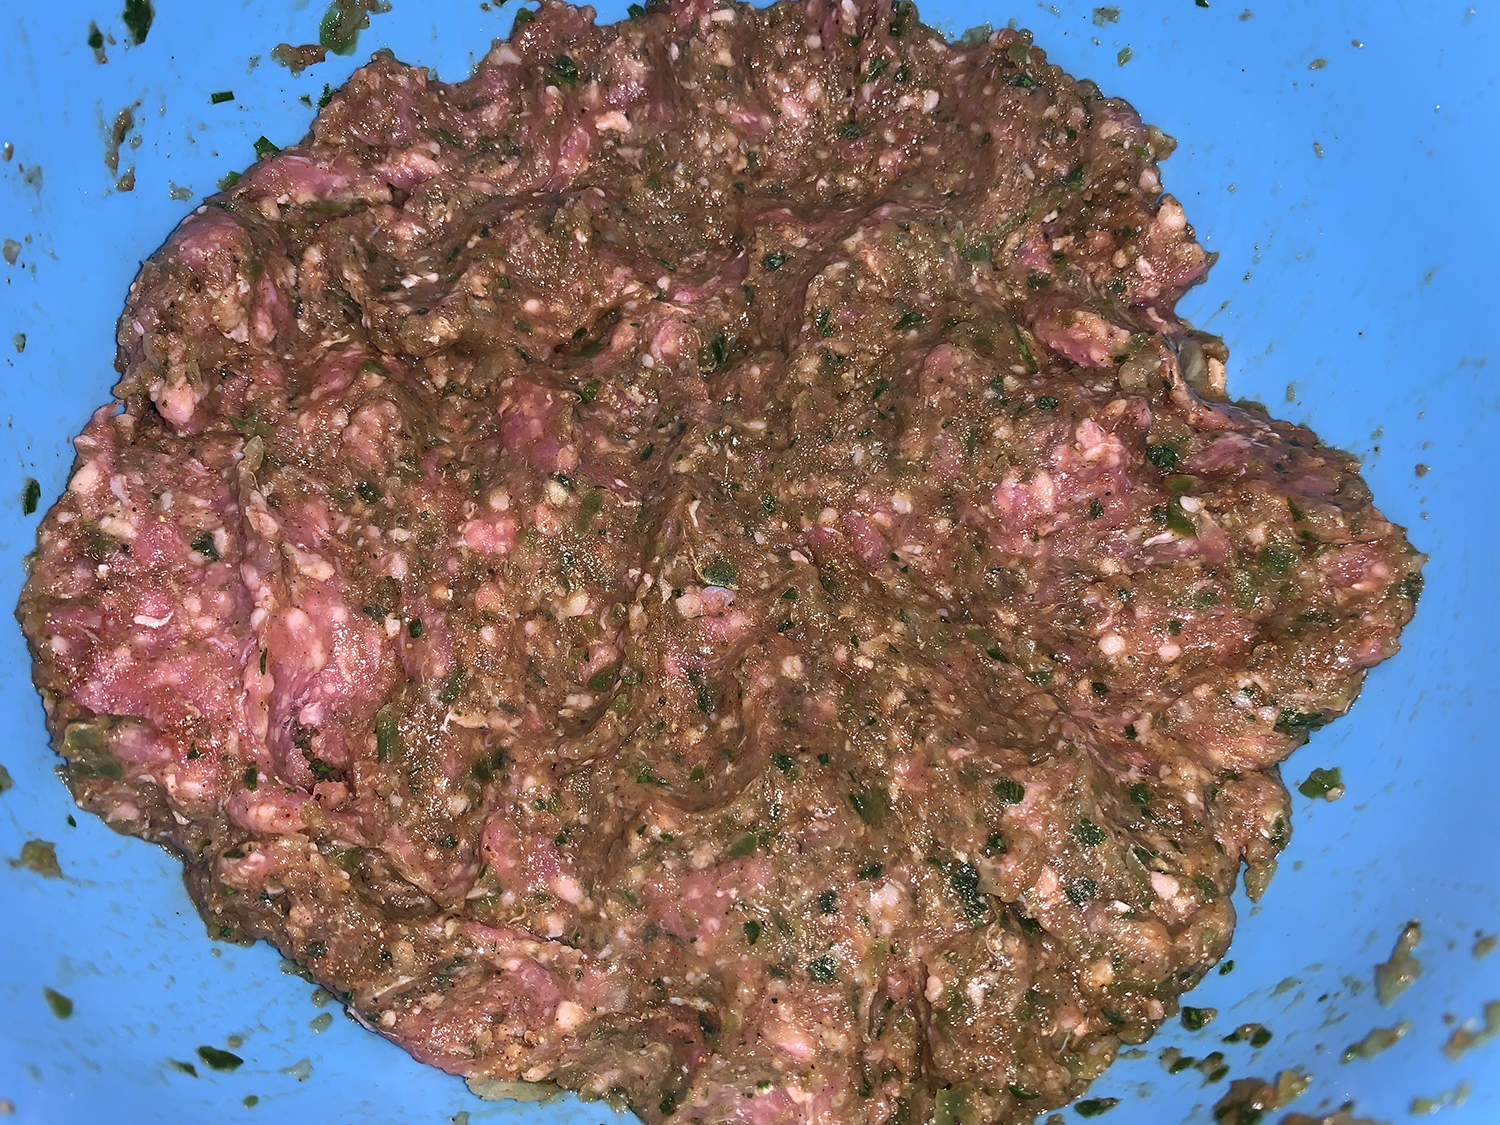
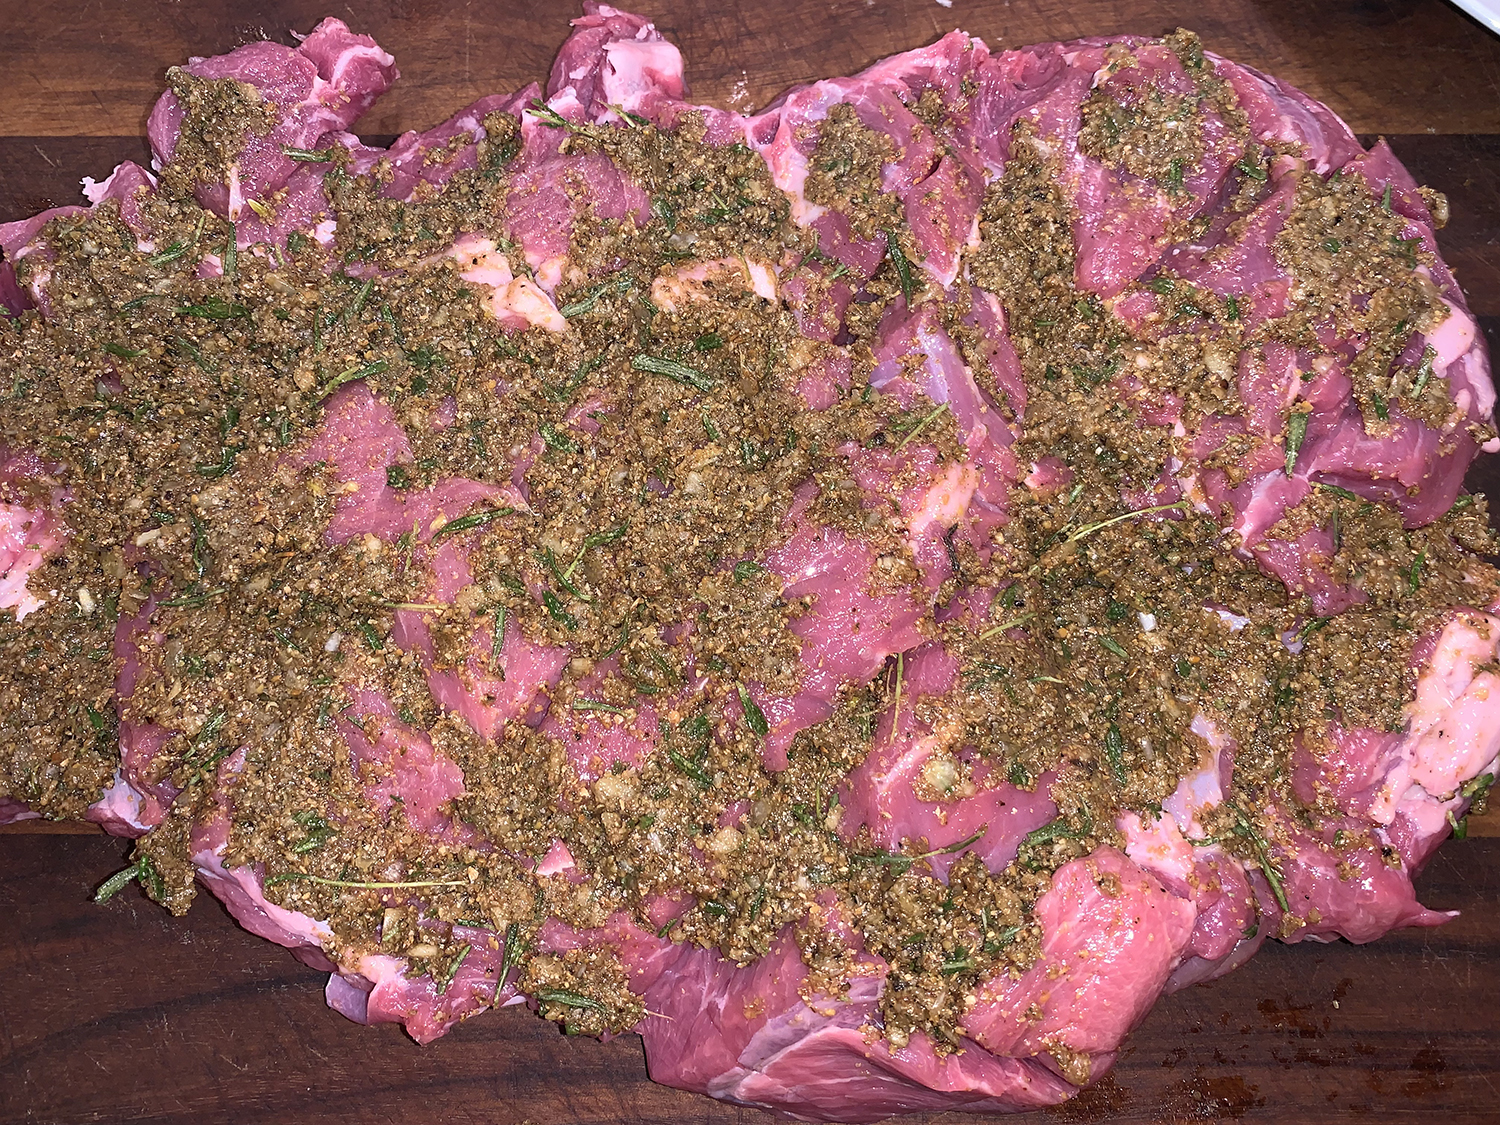
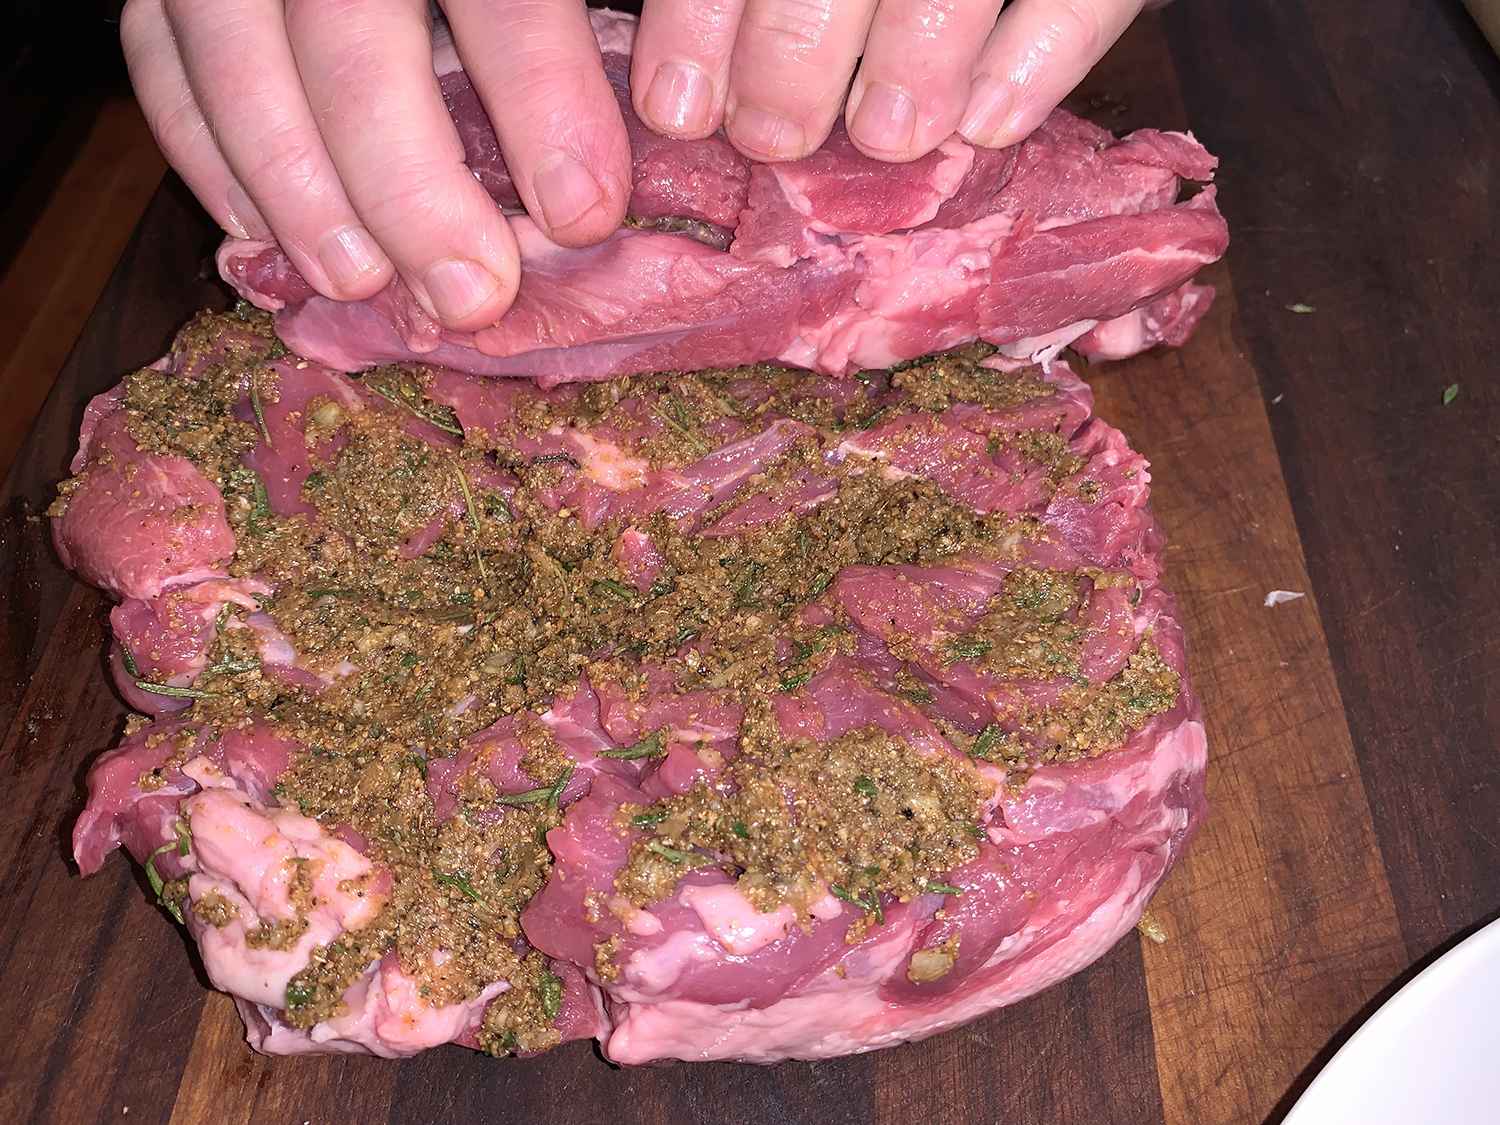
  2. In a medium bowl, toss the chicken with half the paste, rubbing the meat to coat evenly; set aside.
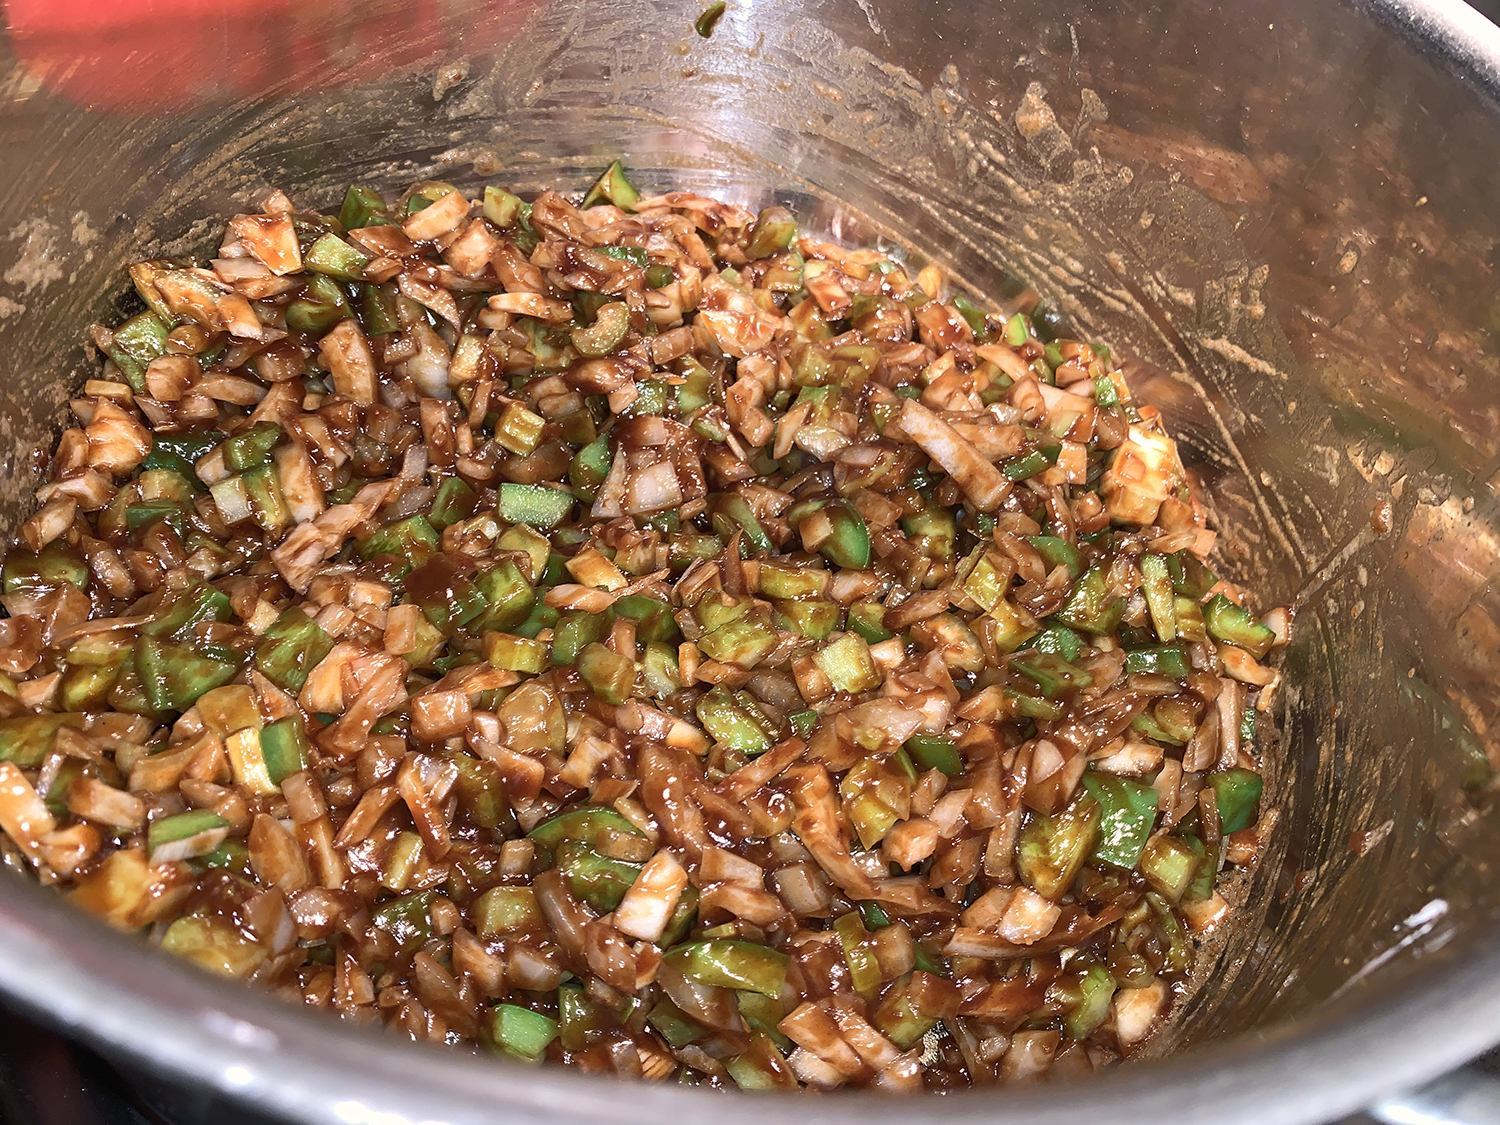
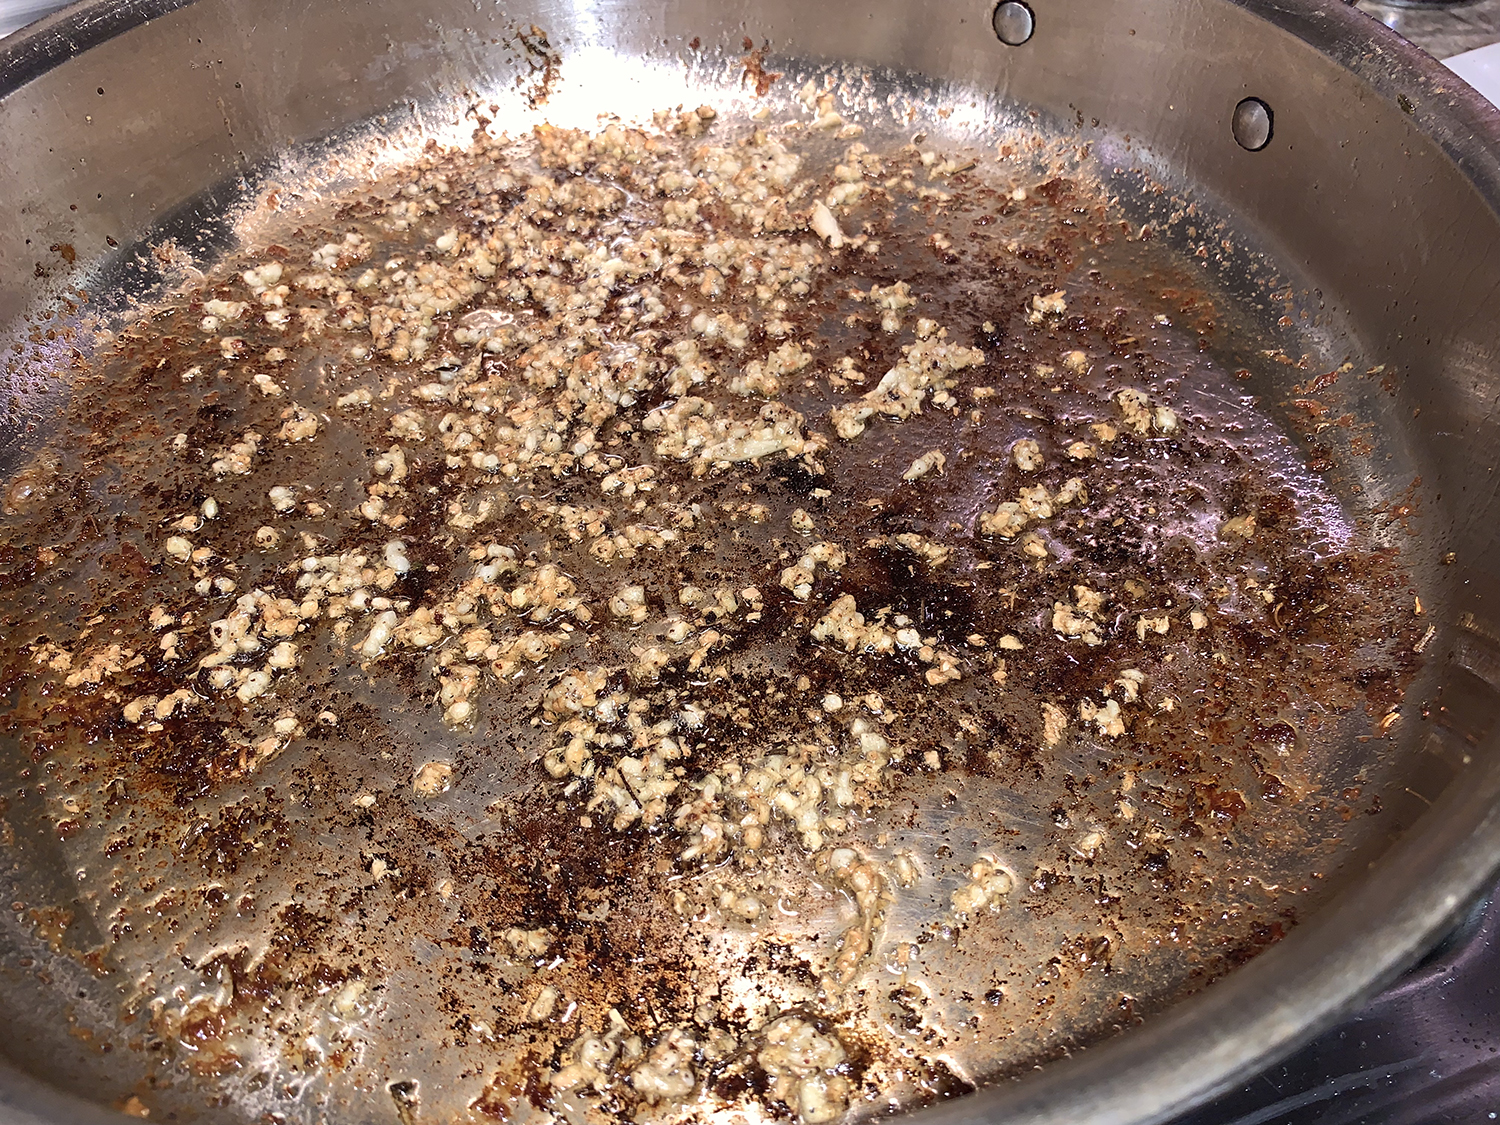
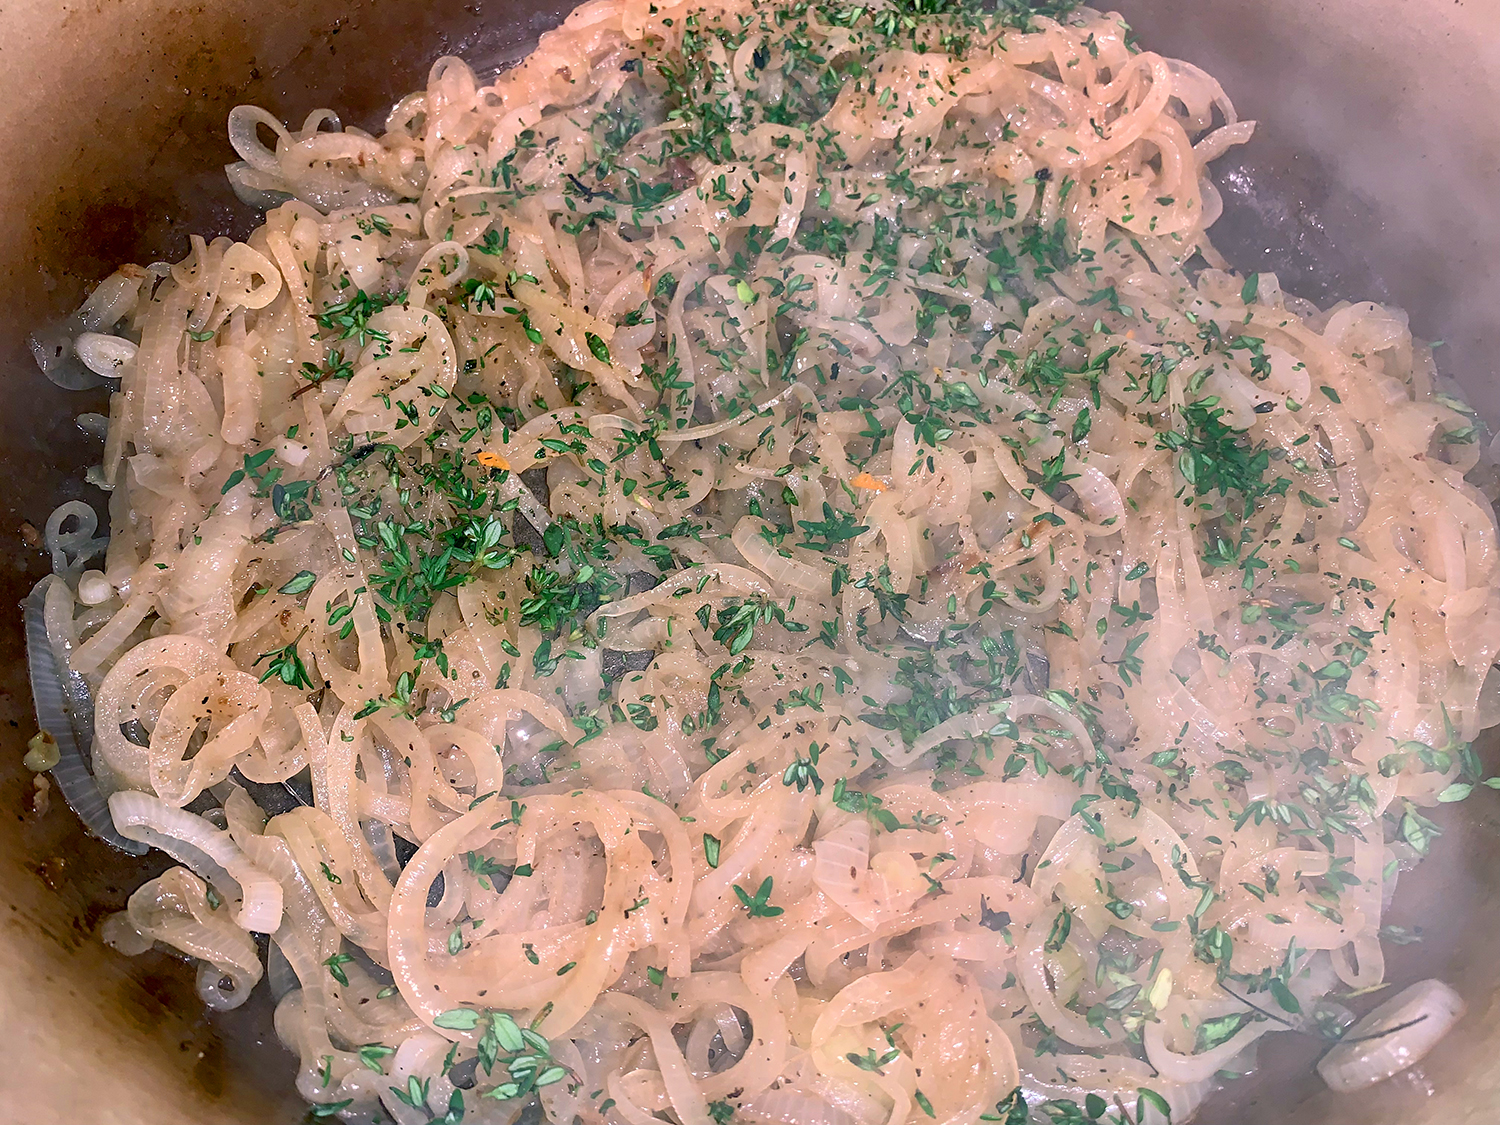
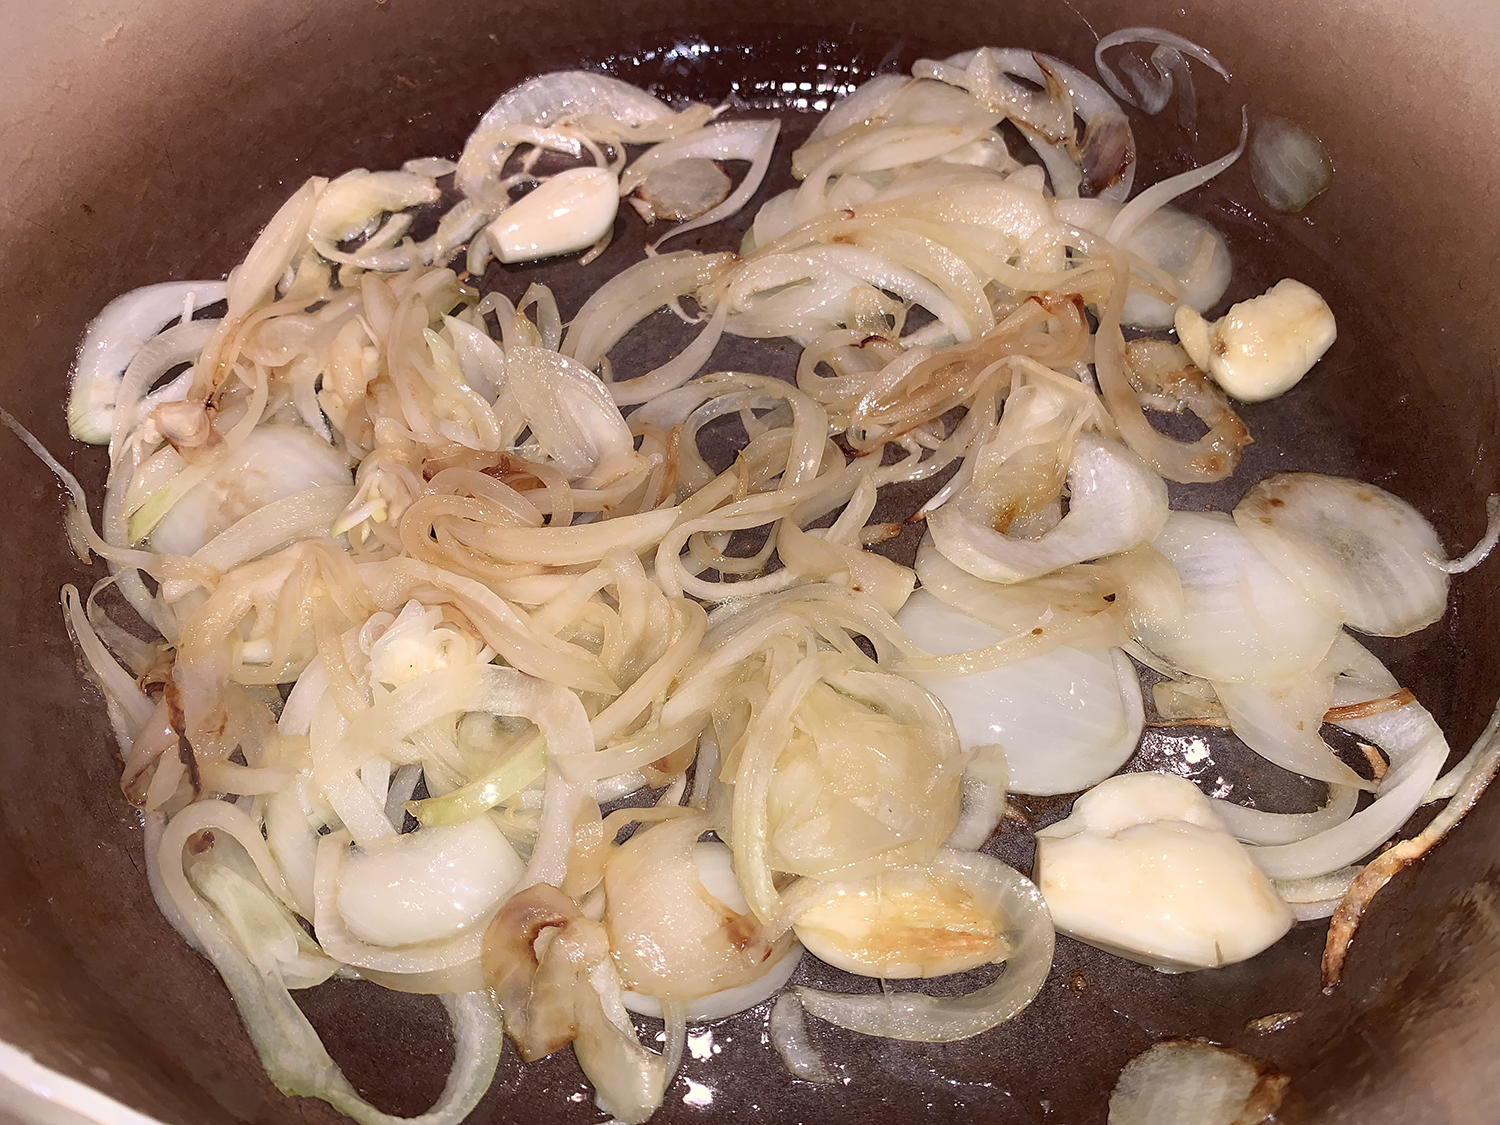
  3. In a large Dutch oven over medium-high, combine the onion, garlic, remaining 2 tablespoons of oil and ¼ teaspoon salt. Cook until the onion is browned and softened, 7 to 9 minutes.
  4. Add the ginger and remaining spice paste and cook, stirring constantly, for 1 minute.
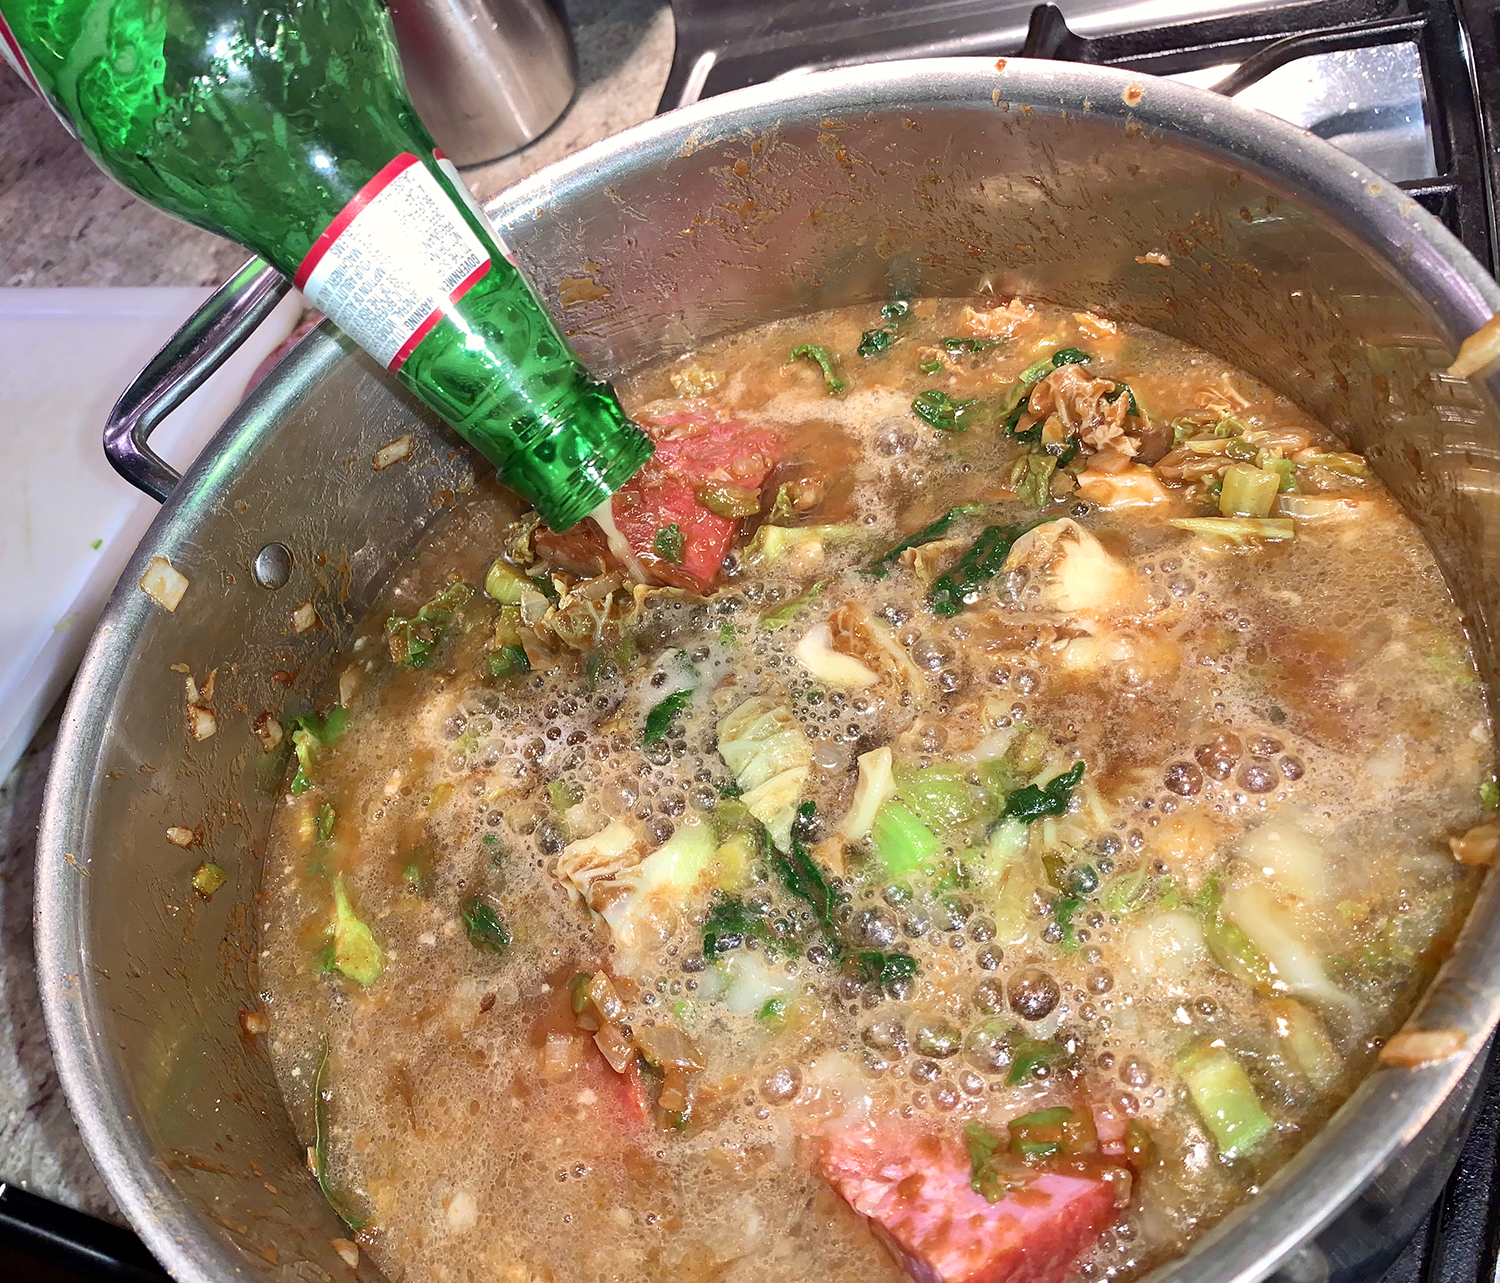
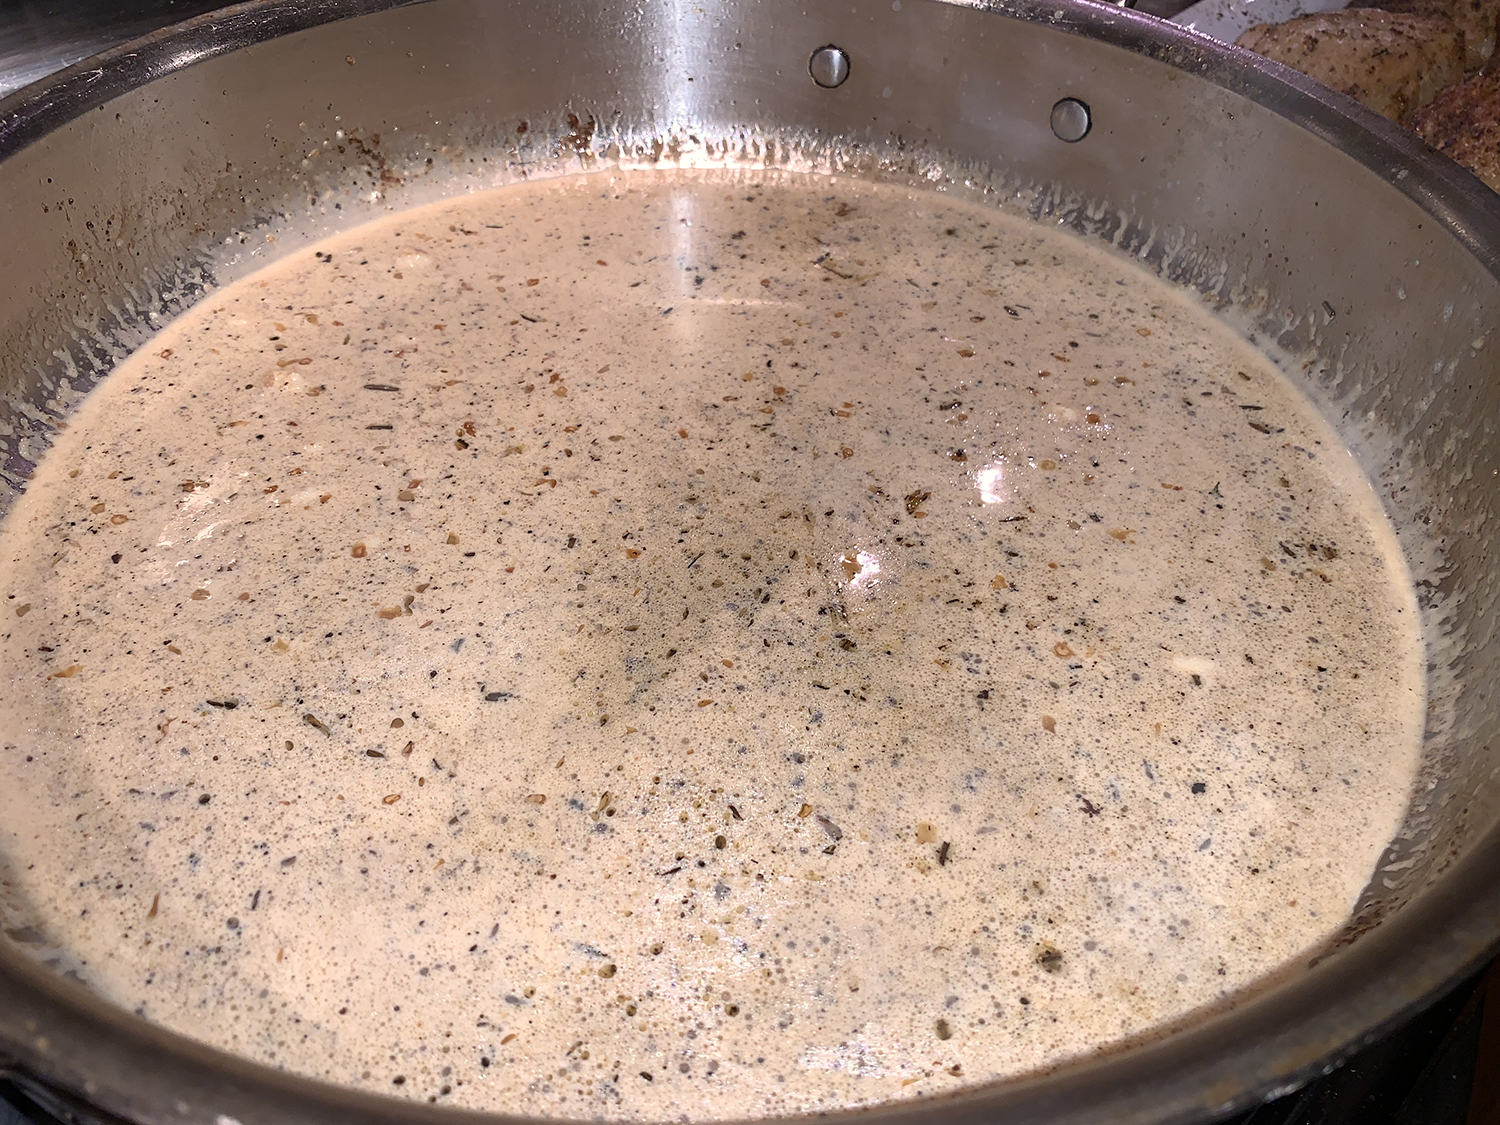
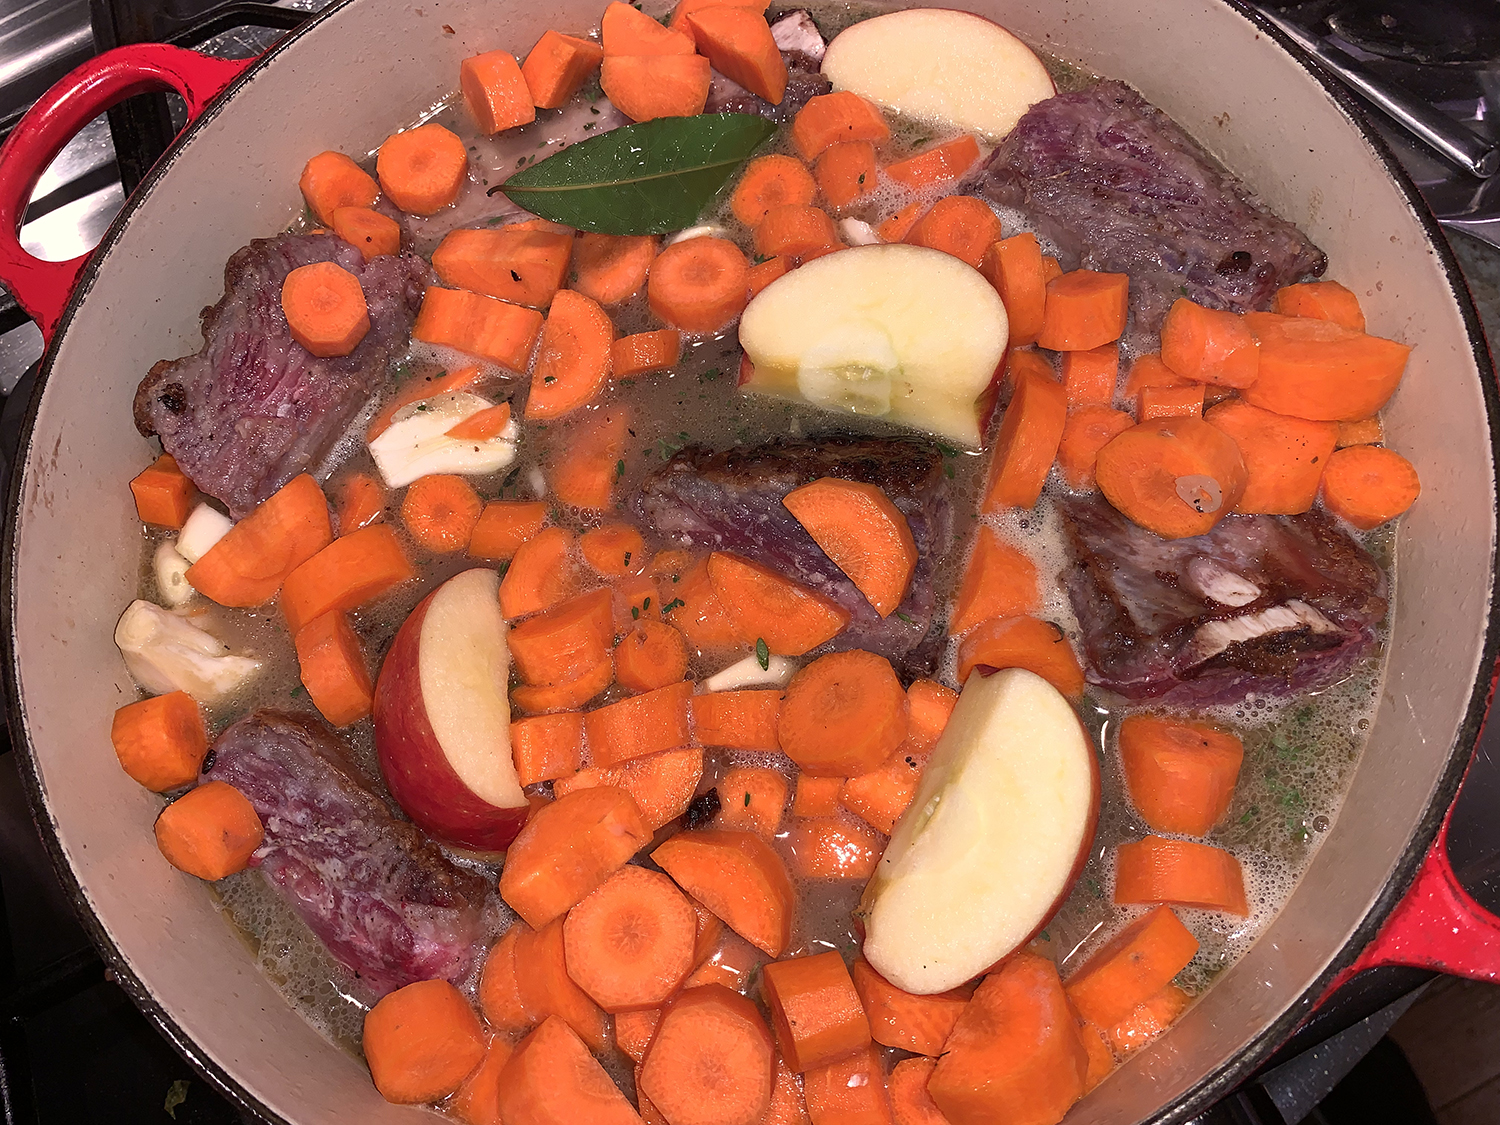
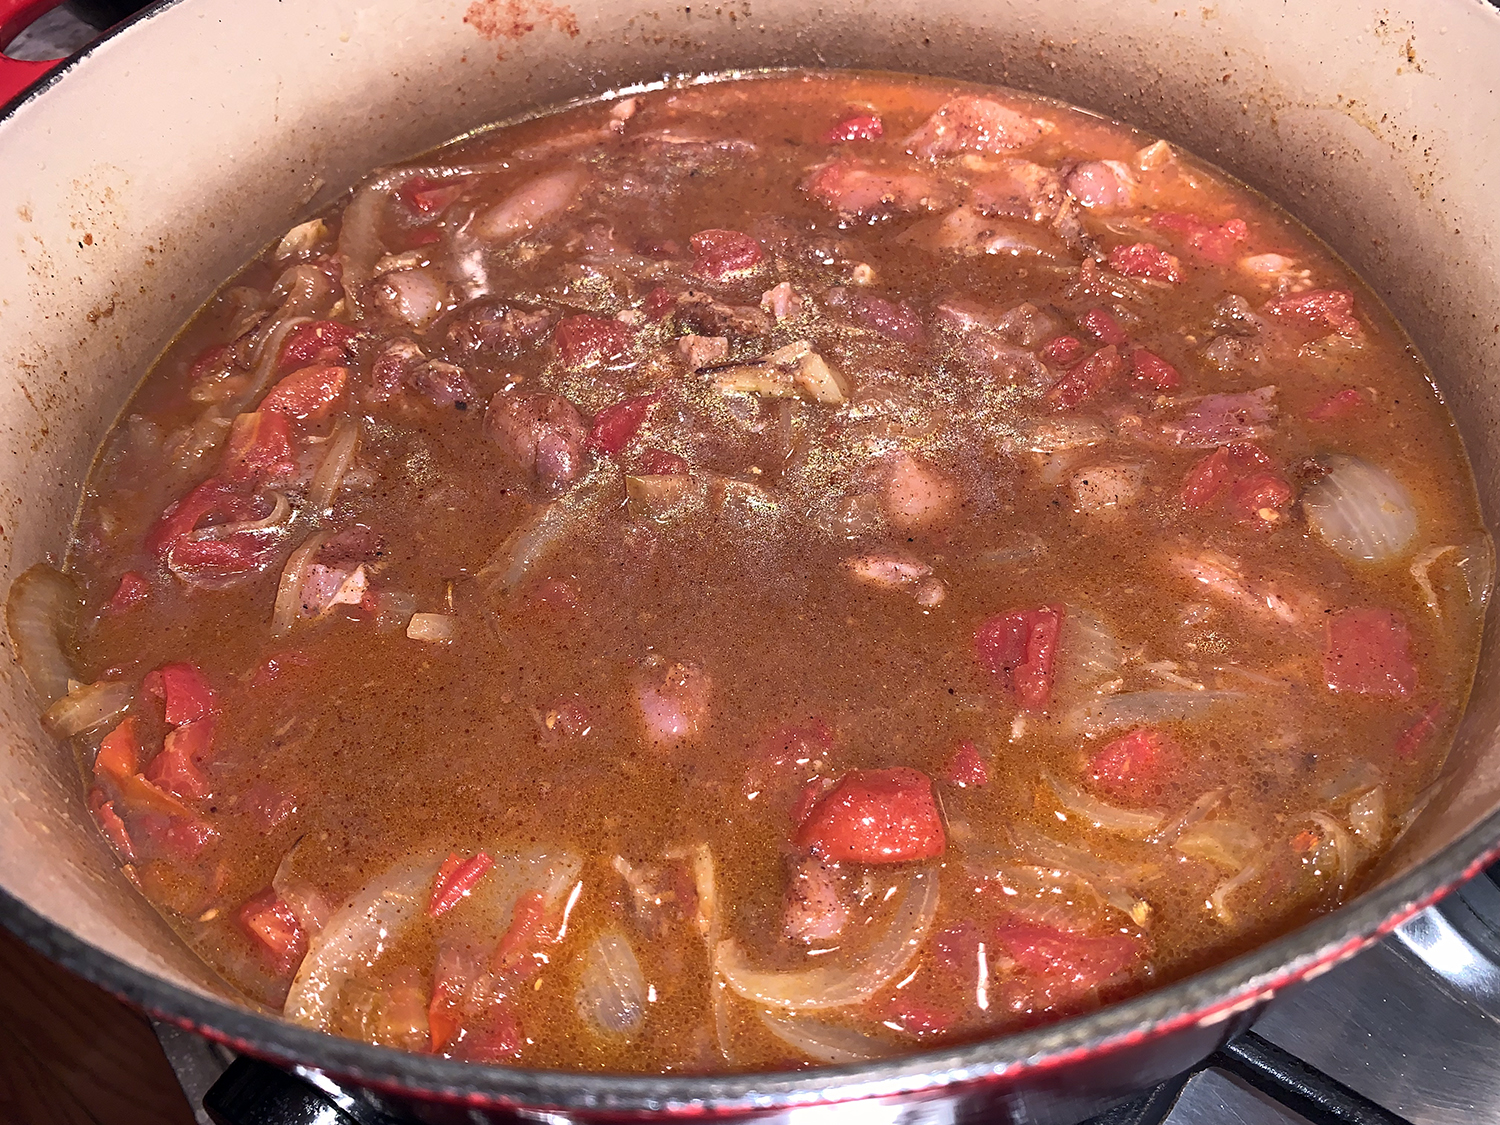
  5. Add the broth, tomatoes and apricots and bring to a boil, scraping up any browned bits.
  6. Add the chicken, return to a boil, then reduce heat to medium-low and simmer for 10 minutes.
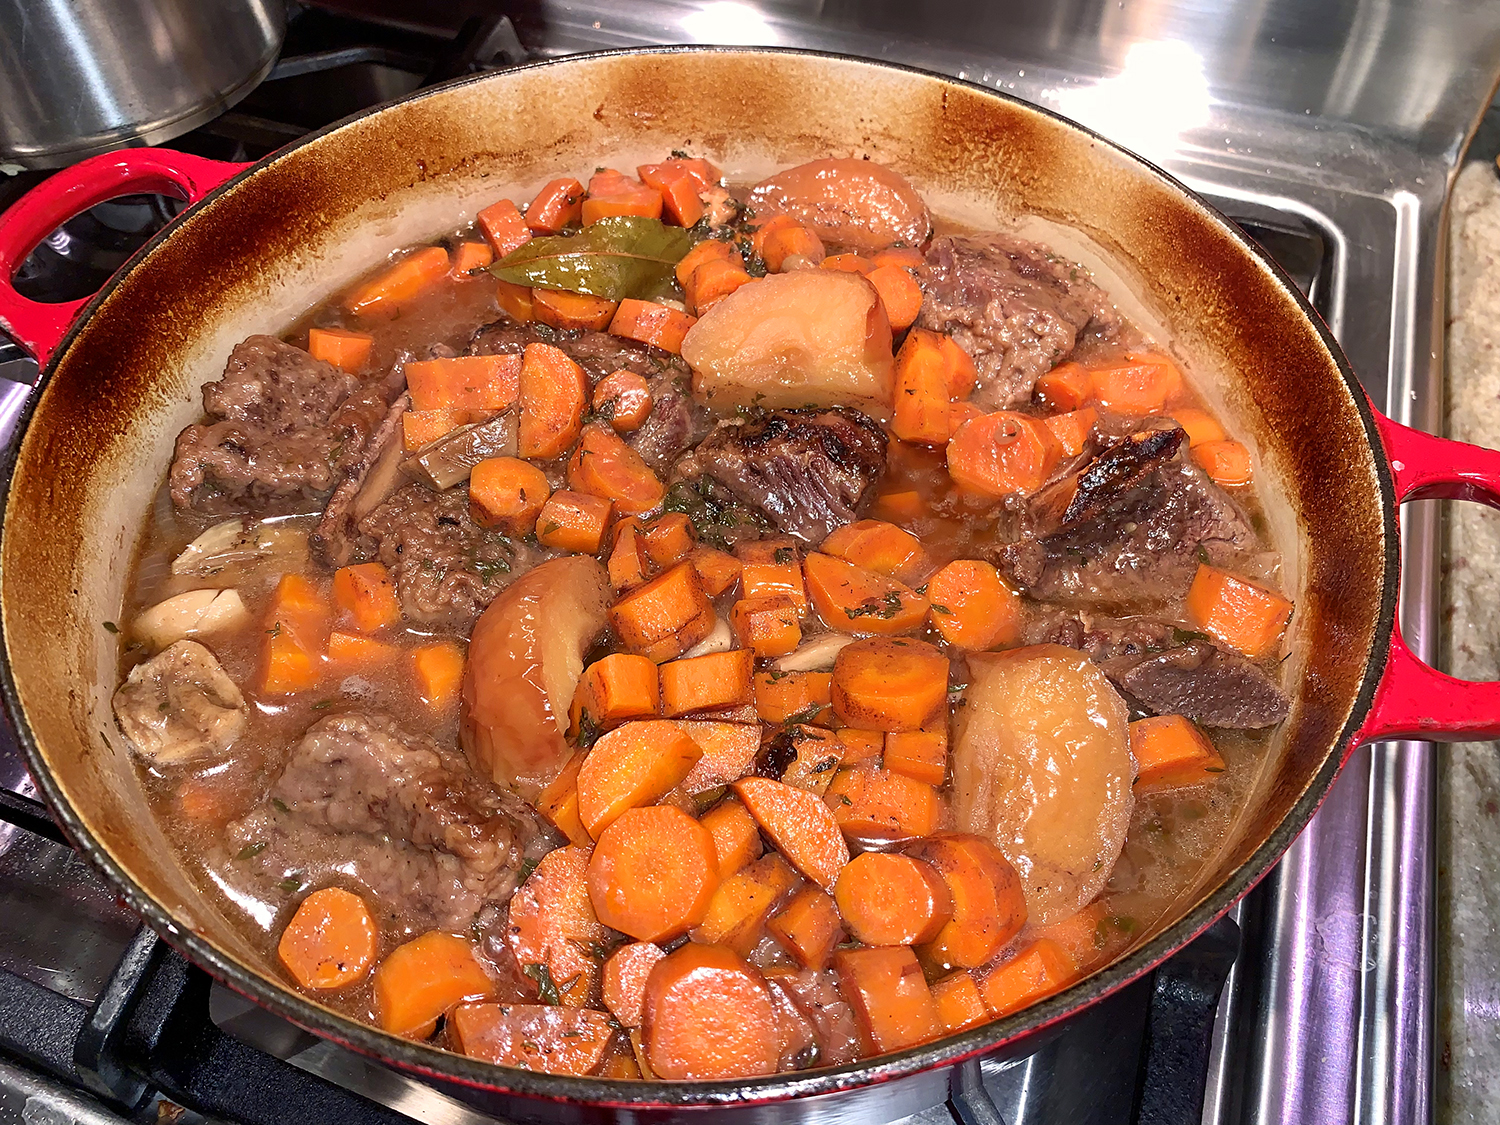
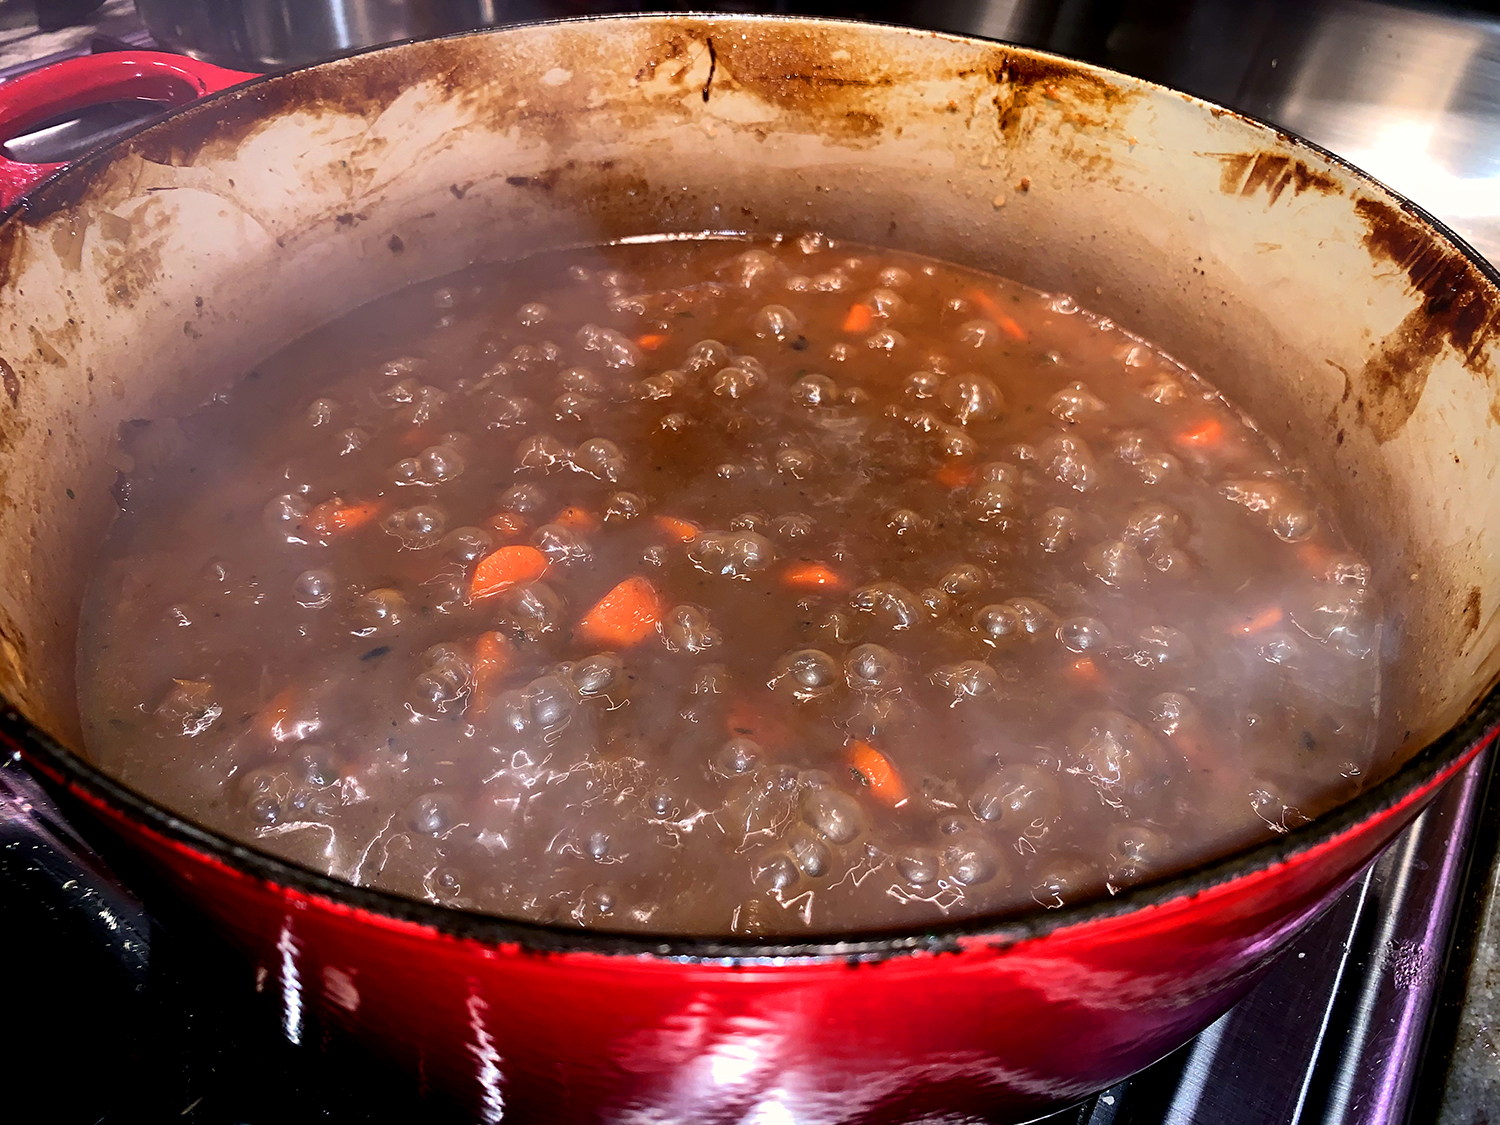
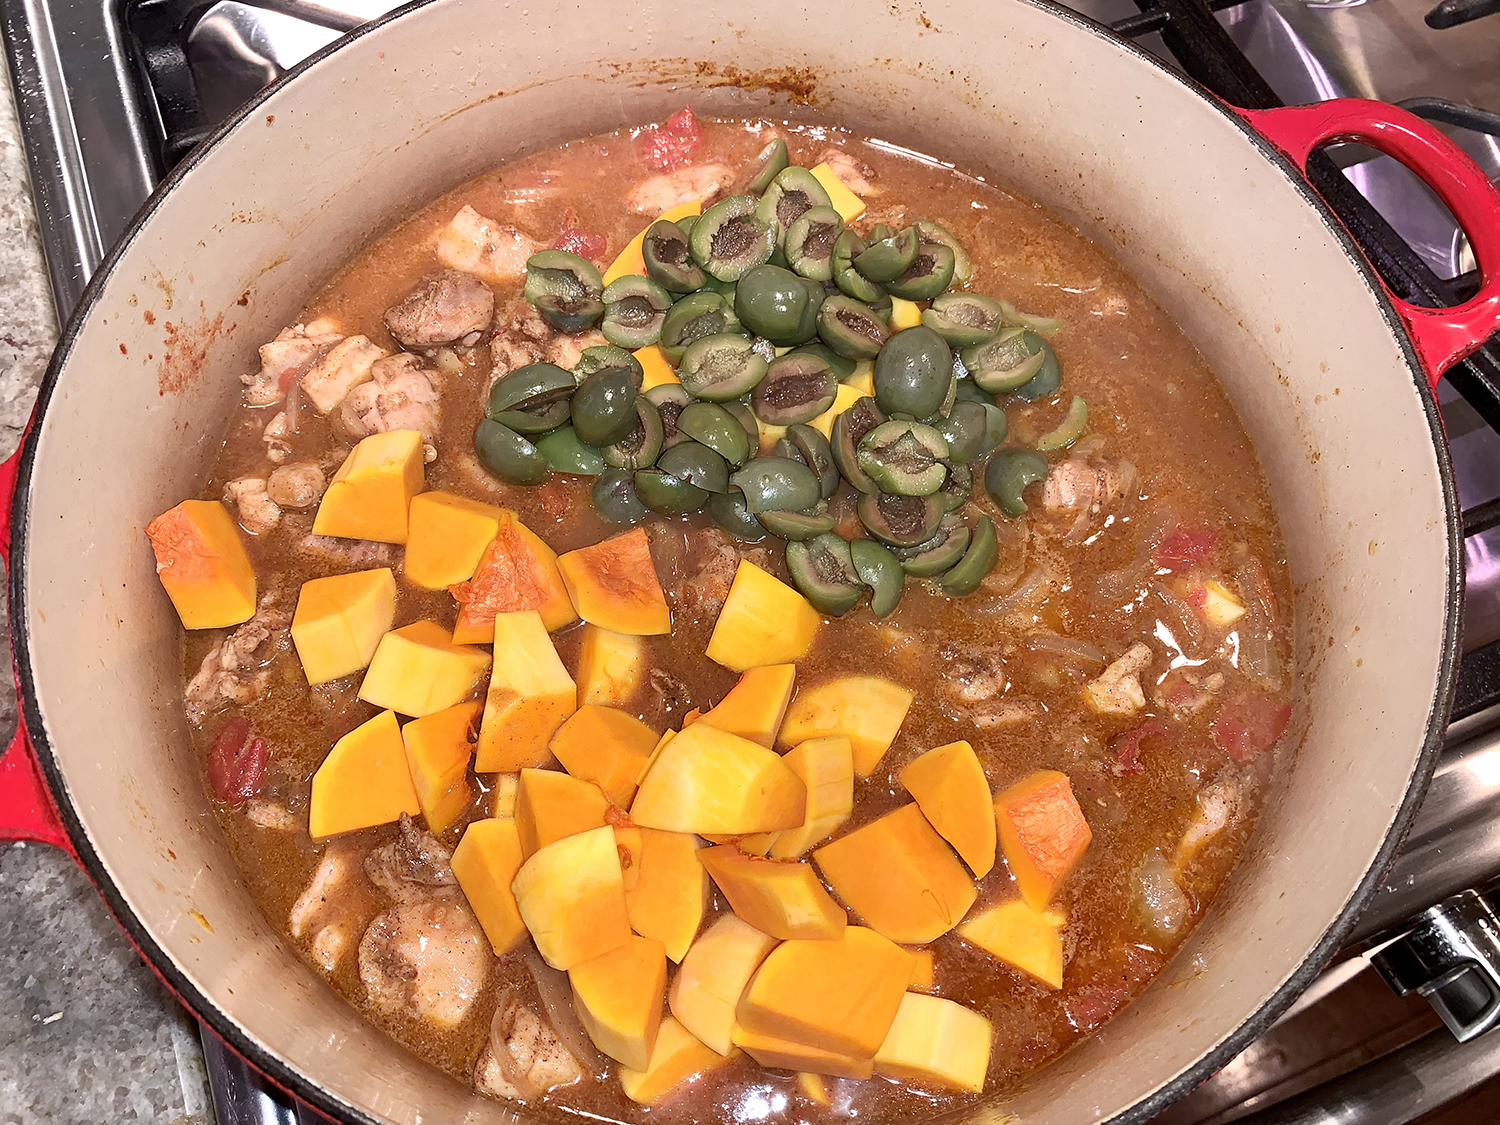
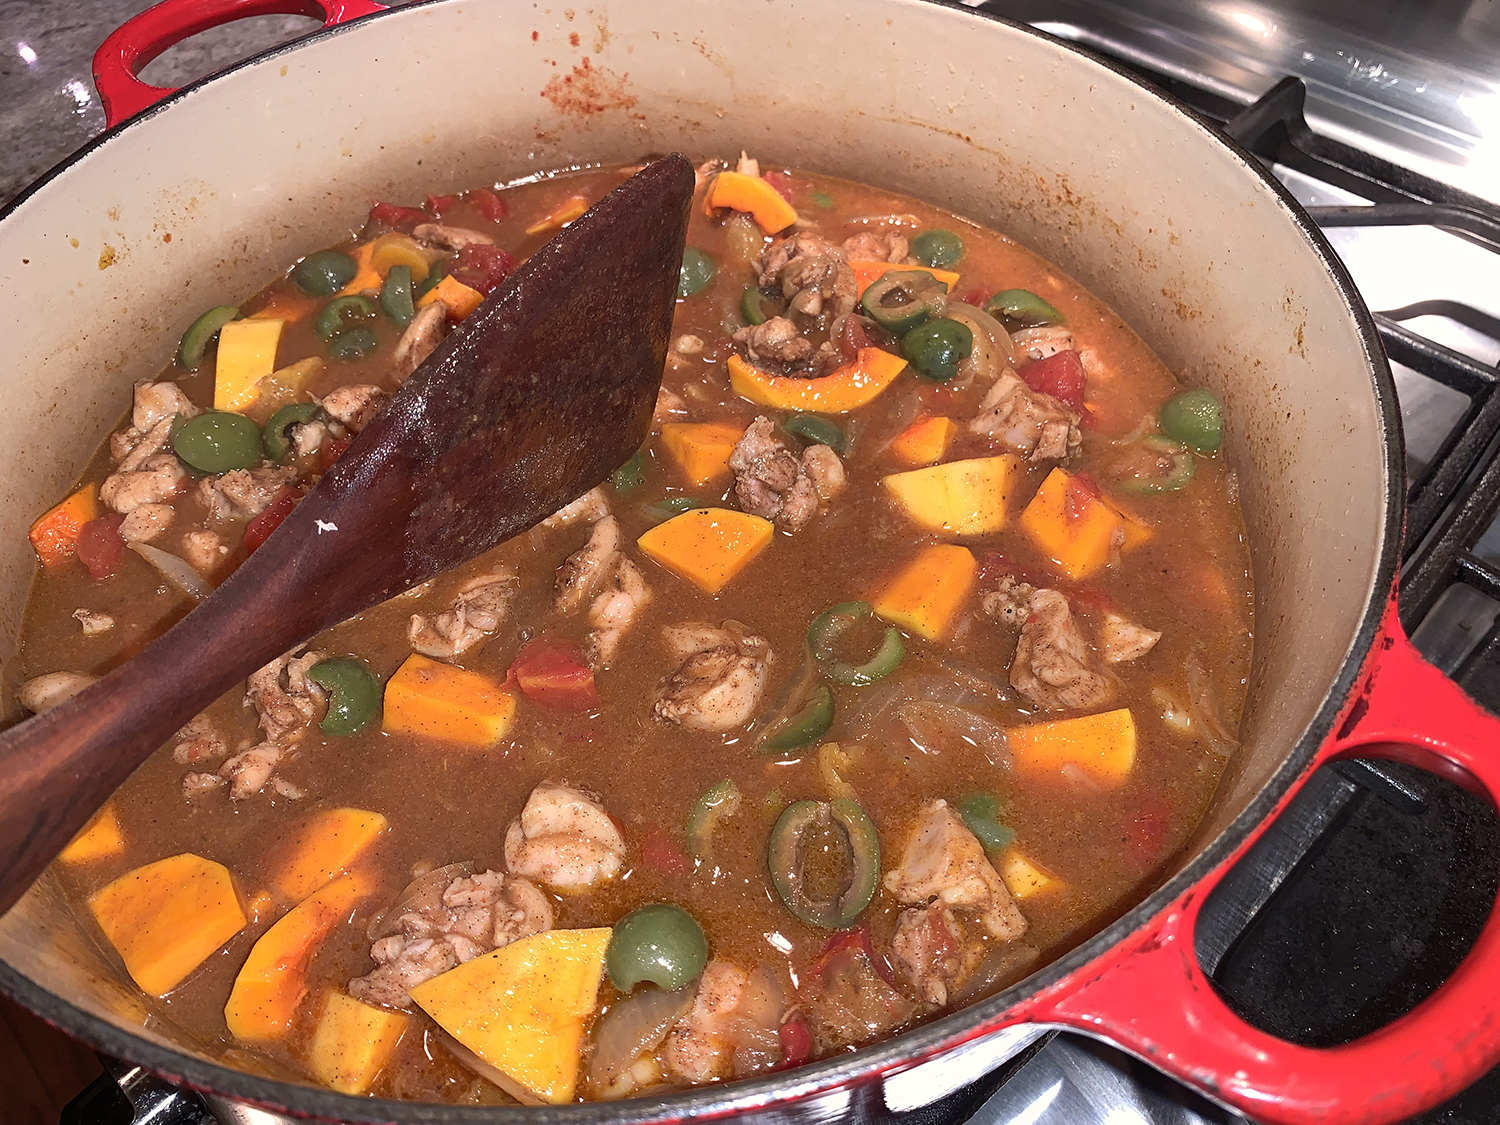
  7. Add the squash and olives, return to a simmer and cook, partially covered, until the liquid has thickened and the squash is tender, 20 to 25 minutes, stirring occasionally and adjusting the heat to maintain a medium simmer.
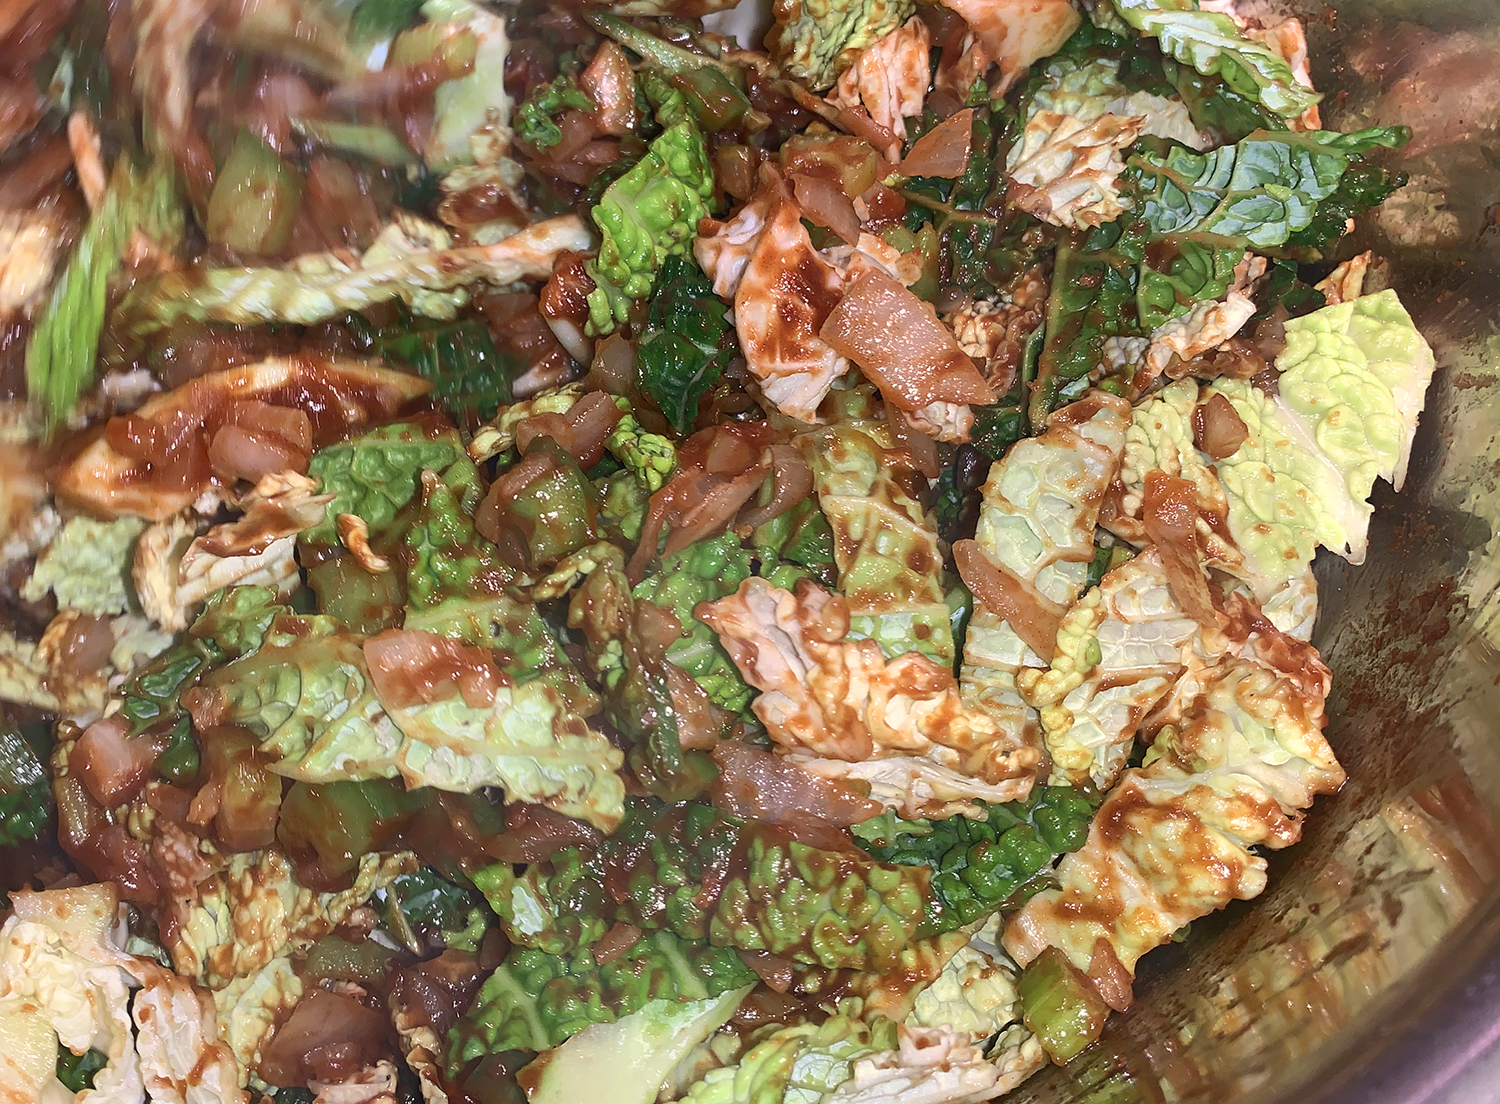
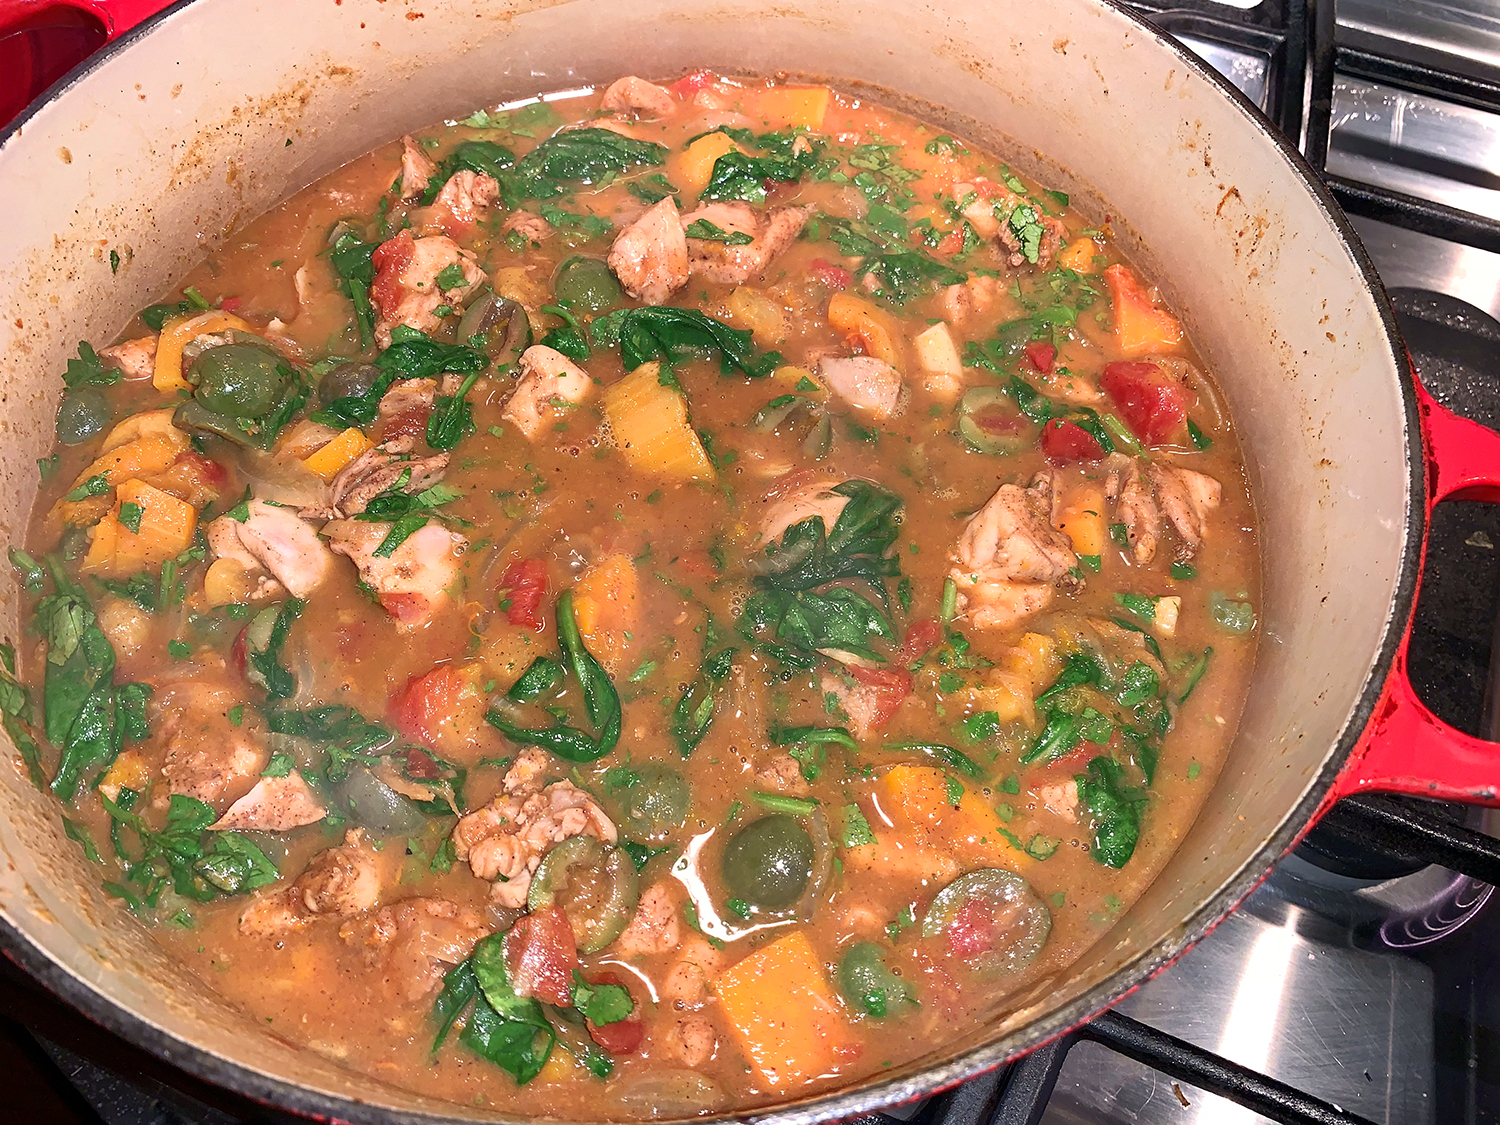
  8. Meanwhile, in a medium bowl, stir together ½ cup of the cilantro, the pistachios and lemon zest. Stir the spinach into the stew and cook until wilted, 1 to 2 minutes.
  9. Stir in the remaining ½ cup of cilantro and the lemon juice, then taste and season with salt, pepper and more lemon juice, if necessary.
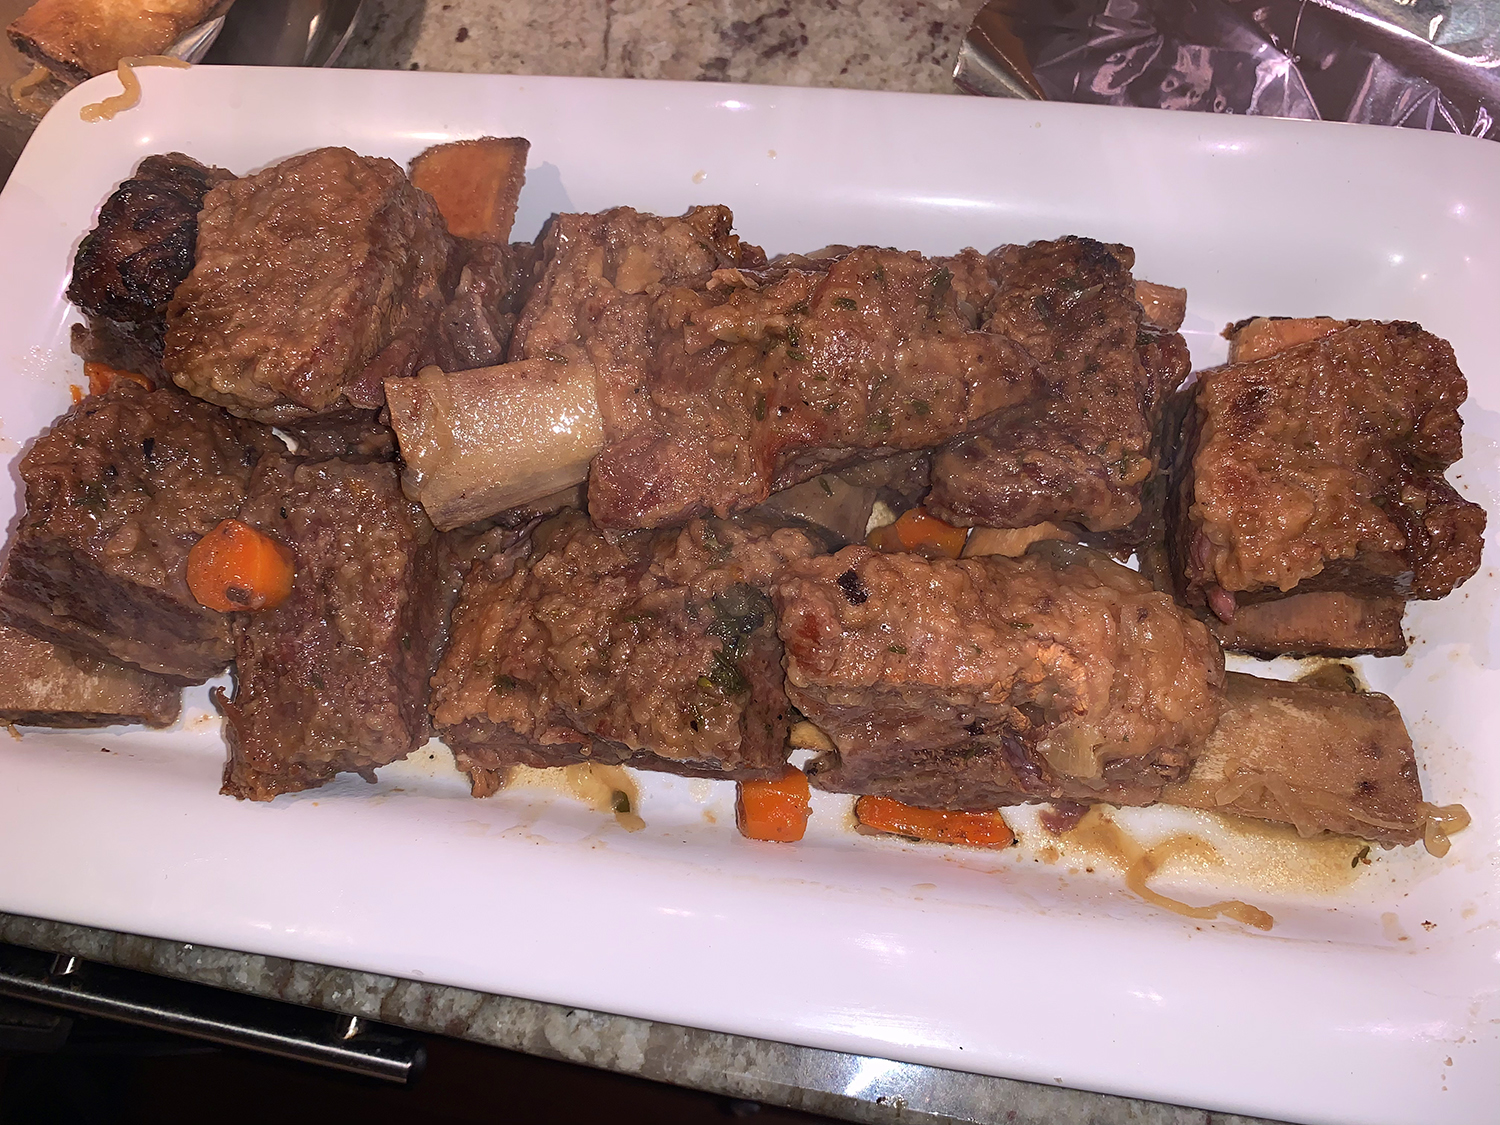
  10. Serve topped with the cilantro-pistachio mixture.

http://www.lynnandruss.com

Recipe by Elizabeth Germain for Milk Street

Egyptian Hawawshi

An Egyptian street food, hawawshi (pronounced ha-WOW-shi) is a riff on the hamburger, if you will. It is basically dough (or pita in this case) stuffed with a mixture of ground meat—lamb or beef—that is seasoned with tantalizing warm spices, onions, garlic, hot peppers and fresh herbs.

There are three components to making these hawawshi patty sandwiches: the seasonings, the meat mixture, and pita pockets—we used the multi-grain variety. This satisfying sandwich is typically served hot without much else to accompany it, although we both felt it needed a sauce of some sort, such as tahini or tzatziki, neither of which we had. Instead, we made a quick mixture of mayo and Sriracha and spread it in the pocket. And it’s never a bad idea to add a side salad…

Since the original recipe (shown below) made 12 sandwiches, we cut it in half, which also gave us a few leftover for lunches.

Egyptian Hawawshi

  • Servings: 12 pockets
  • Difficulty: easy
  • Print

Ingredients

  • 1 large yellow onion quartered
  • 2 garlic cloves
  • 1 green bell pepper, cored and cut into large chunks
  • 1 jalapeno, halved and seeded (leave some of the seed if you like heat)
  • ½ oz. fresh parsley stems, trimmed
  • 2 lbs. lean ground lamb or beef
  • 3 Tbsp. tomato paste
  • Kosher salt
  • Extra virgin olive oil
  • 6 pita pockets

For the Hawawshi Seasoning (Spice Mixture)

  • 1 tsp. coriander
  • 1 tsp. allspice
  • 1 tsp. paprika
  • 1 tsp. black pepper
  • ½ tsp. cumin
  • ¾ tsp. cardamom
  • ¼ tsp. cinnamon

Directions

  1. Heat the oven to 400 degrees F.
  2. In a small bowl, add the spices and mix to combine.
  3. Put the onion, garlic, bell pepper, jalapeno, and parsley in the bowl of a food processor fitted with a blade, pulse a few times until finely chopped. Transfer the mixture to a sieve to drain excess liquid (it helps to push with the back of a spoon).
  4. Transfer the onion mixture to a large mixing bowl. Add the ground beef and tomato paste. Mix to combine. Add the spice mixture and a dash of kosher salt. Mix again until the mixture is well combined and the spices are well distributed within the meat mixture.
  5. Cut the pita loafs in halves to create 12 pita pockets.
  6. Prepare a large sheet pan brushed with a bit of extra virgin olive oil.
  7. Stuff each pita pocket with ⅓ cup of the meat mixture. Using the back of a spoon, spread the meat mixture inside the pita pockets.
  8. Arrange the pitas in the prepared sheet pan. Brush the pita pocket tops with a bit of extra virgin olive oil.
  9. Bake in the heated oven for 15, then carefully turn the pitas over and cook on the other side another 5 to 10 minutes until the meat is fully cooked and the pita is crispy on both sides.

http://www.lynnandruss.com

Adapted from a recipe by Suzy Karadsheh

Brined and Stuffed Roast Pork with Pears

Because pork loin is so lean, it has a tendency to dry out rather quickly in the cooking process. But this fool proof brining method will leave you with the most juicy pork loin roast you’ve ever eaten. The unsung hero of meat cooking, the brining process is similar to marinating. Unlike marinating though, brining actually packs the cells of the meat full of moisture. Thanks to The Hubs for thinking of pairing this recipe with the brining process.

The most common and most important component of brining is salt. In many cases brown sugar is also used to offset some of the saltiness of the brine solution. Once you have the main components of salt, water and sugar, you can pretty much throw any herb in there you want. Following the advice from Grilling Companion, we added bay leaves, rosemary, thyme and black peppercorns.

Afterward, the boneless pork loin was stuffed with a flavorful herb-and-garlic mixture and roasted with fresh Anjou pears and leeks. Finally, a creamy mustard pan sauce, which we doubled, added the finishing touch to this succulent dish. Brussels sprouts and butternut squash made for a healthy side dish with deep roasted flavors.

And I’d be remiss if I didn’t give a shout out to what our guests contributed. Along with welcome bottles of wine, the Zarrilli’s started the party with a not only attractive, but also delicious, leek and artichoke tart on puff pastry; while the Mortka’s put a bright note on the finale with their exquisite homemade apple bundt cake drizzled in a caramel glaze and topped with whipped cream.

Our first course for dinner was the most luscious Cream of Carrot and Caramelized Apple Soup which set the tone for the follow-up courses with the fruit-herb-vegetable-centric theme.

Brined and Stuffed Roast Pork with Pears

  • Servings: 8-10
  • Difficulty: moderate
  • Print

Ingredients

The Brine

  • 4 – 5 lb. pork loin roast with a nice fat layer on the top
  • 6 cups water
  • 1/2 cup salt
  • 1/2 cup dark brown sugar
  • 2 bay leaves
  • 1 handful peppercorns
  • 4 sprigs thyme
  • 2 sprigs rosemary

The Pork Loin

  • 3/4 cup packed fresh flat-leaf parsley leaves
  • 1/4 cup packed roughly chopped fresh sage, plus whole sage leaves for roasting
  • 3 whole garlic cloves, plus 2 cloves, minced
  • Salt and freshly ground pepper, to taste
  • 5 Tbsp. olive oil
  • 1 boneless pork loin roast, about 3 1/2 lb., halved horizontally
  • 3 ripe red Anjou pears, halved lengthwise
  • 4 leeks, white portions only, trimmed, halved
      lengthwise and rinsed
  • 1 Tbsp. all-purpose flour
  • 3 oz. dry white wine
  • 3⁄4 cup chicken broth
  • 3 Tbsp. whole-grain mustard
  • 3 oz. cup heavy cream

Directions

The Brine

  1. Combine the brown sugar and salt in the water and bring to a boil.
  2. Stir until dissolved and then add the rest of the brine ingredients.
  3. Lower heat and simmer for about 5 minutes.
  4. Turn off the heat and allow to cool completely to room temperature.
  5. Once the solution has completely cooled, add the pork loin roast and brine solution to a Ziplock type bag. Seal and squeeze out as much air as possible.
  6. Put the sealed bag with the now brining pork roast into a pot or large bowl, one that can hold all of the liquid in case something happens to the bag. Place the bowl containing the brining meat into a refrigerator for at least 12 hours, up to 24 hours.

The Pork Loin

  1. Position a rack in the lower third of an oven and preheat to 400°F.
  2. In a mini food processor, process the parsley, chopped sage, whole garlic, salt, pepper and 3 tablespoons of the olive oil until a fine paste forms. Spread the mixture on the cut side of one half of the pork loin, then place the other half on top.
  3. Tie the roast together with kitchen twine and tuck whole sage leaves underneath the twine. Season the roast with salt and pepper.
  4. In a 5 1/2-quart Dutch oven over medium-high heat, warm the remaining 2 tablespoons olive oil. Add the pears, cut side down, and cook until browned, about 5 minutes. Transfer to a plate. Add the pork to the pot and brown on all sides, about 8 minutes total. Transfer to a plate. Place the leeks, cut side down, in the pot in a single layer. Set the pork on top and place the pears along the sides of the pot.
  5. Roast until an instant-read thermometer inserted into the center of the pork registers 140°F, 45 to 55 minutes. Transfer the pork to a carving board, cover loosely with aluminum foil and let rest for 10 minutes before carving. Transfer the leeks and pears to a platter.
  6. Pour the pan drippings into a bowl and discard all but 2 teaspoons. of the fat. Warm the reserved fat in the pot over medium-high heat. Add the minced garlic and flour and cook, stirring frequently, for 30 seconds. Add the wine and cook, stirring frequently, for 1 minute.
  7. Add the broth and pan drippings and cook until slightly thickened, about 3 minutes. Remove the pot from the heat and whisk in the mustard and cream. Season with salt and pepper.
  8. Cut the pork into slices and arrange on the platter. Pour some of the sauce over the slices and pass the remainder alongside.

http://www.lynnandruss.com

Recipe compliments of William Sonoma Kitchen; brining method from Grilling Companion

Cream of Carrot and Caramelized Apple Soup

The day before a small dinner party, we made this wonderful soup by Mikel López Iturriaga which combines carrots, apples, leeks and onions as the main stars. Our overall meal revolved around a veggie- and fruit-centric theme, despite the fact the main entrée was a herb-stuffed pork loin roast. So this soup fit into the rotation nicely as the first course.

With the addition of honey, we were a bit concerned the soup may be too sweet, but the alliums countered that sweetness and the mint and yogurt finish provided a cool refreshing note. The finished soup is silky smooth and creamy, yet there is no cream in it!

One of the best we’ve ever eaten, it is moving on up into that Top Ten range of best soups ever. Of course, anytime you make a recipe that calls for stock or broth, you’ll enhance the depth of flavor by using homemade, as opposed to the bland store-bought varieties.

Cream of Carrot and Caramelized Apple Soup

  • Servings: 6
  • Difficulty: easy
  • Print

Ingredients

  • 1 1⁄2 lbs. carrots, peeled, chopped into 1⁄2-inch pieces
  • 3 Golden Delicious apples, washed, cored and peeled
  • 1 1⁄2 large leeks, trimmed and washed thoroughly, chopped into 1⁄2-inch pieces
  • 1 1⁄2 yellow onions, peeled and chopped into 1⁄2-inch pieces
  • 4 cups (1 qt.) chicken or vegetable broth, preferably homemade
  • 2 Tbsp. honey
  • 2 Tbsp. butter
  • 4 oz. apple liqueur
  • 4 sprigs thyme, tied in a bundle
  • 1 cup whole milk Greek yogurt
  • 1 Tbsp. chopped fresh mint leaves
  • 1 pinch ground cumin
  • Extra virgin olive oil
  • Salt and pepper

Directions

  1. Peel and chop the leek (white and light green parts only), the onion, and the carrot into half-inch pieces. Poach them covered in a large soup pot over medium-low heat with a pinch of salt and about 3 tablespoons olive oil for about 20 minutes or until the onion is tender. Do not brown the vegetables.
  2. Add the broth and thyme bundle, bring to a boil, then lower heat and simmer, covered, for 20 minutes, or until carrots are very tender.
  3. Meanwhile, core and peel the apples, then cut each into 8 segments. Place on a large plate and daub them with the honey.
  4. Place the butter in a 12-inch non-stick skillet over a medium heat. When it is melted and hot, add the apple segments making sure that the broad side of each one makes contact with the bottom of the skillet. Caramelize them for about 5 minutes or until they achieve a dark golden color, then turn them and caramelize the other side, about another 5 minutes.
  5. Once the apple pieces are tender and golden, add them to the soup pot. Remove the skillet from the heat and add the apple liqueur and stir to loosen the fond on the bottom of the skillet. Return the skillet to a medium-high heat and boil for about 2 minutes.
  6. Add this sauce to the soup, cook the soup for a couple minutes more and then puree the mixture until it is velvety smooth and no pieces of the apple peel are visible. If the soup appears too thick, add some additional broth. Season with salt and pepper to taste.
  7. Allow the soup to rest for several hours. It’s best made the day before you plan to serve it.
  8. When ready to serve, bring the soup gently to a simmer.
  9. In a small bowl, mix the yogurt, cumin, mint, and salt and pepper to taste. Serve the hot soup with a tablespoon of the yogurt as garnish.

http://www.lynnandruss.com

Recipe from Mikel López Iturriaga for El País

Lazy Person’s Peking Duck

We are not particularly lazy cooks in the kitchen, in fact, quite the opposite. But the Molly Stevens Whole Roast Duck with Hoisin Sauce recipe—also dubbed Lazy Person’s Peking Duck—from her All About Roasting cookbook, caught our eye because of that description. We’ve had a duck in the auxiliary freezer for a few months and our mouths were watering for a super-crispy skinned duck feast.

Typically, authentic Peking duck requires a lengthy preparation process. In order to replicate that without putting yourself through the wringer, Molly recreated this version with crackly, crisp skin and the sweet Asian accent of hoisin sauce. However, keep in mind, the seasoned duck will need 24 to 48 hours in the refrigerator (so you’ll have plenty of time to be lazy whilst it refrigerates). Well, our duck marinated nearly 54 hours because we had to push the meal off by a day.

The duck slow roasts to render its fat, but prodigious pricking of the skin with a sharp knife also helps release the fat as it melts. Growing up, Mom cooked duck for Sunday supper a few times per year, and I distinctly remember her pricking the duck skin often—I couldn’t wait to enjoy the succulent meat and crispy skin! And that anticipation hasn’t waned a bit all these decades later.

Once done, the meat will almost be falling off the bone, and it will be moist and tender thanks to the natural basting from the bird’s own fat. It’s wise to keep an empty can nearby as you remove the excess fat over the course of the roasting process.

The recipe calls for a 5-6 pound duck to feed four. Ours was much smaller than that at only 3 1⁄2 pounds, yielding about 2 1⁄2 servings. Keep size in mind when planning dinner.

Whole Roast Duck with Hoisin Sauce

  • Servings: 4
  • Difficulty: moderate
  • Print

Ingredients

For the Spice Rub and Duck

  • 1 Tbsp. kosher salt
  • 2 garlic cloves, minced
  • 2 tsp. finely grated orange zest
  • 1 1⁄4 tsp. coriander seed, lightly toasted
  • 1 1⁄4 tsp. Chinese five-spice powder
  • 1⁄2 tsp. ground white pepper
  • 1 Pekin (Long Island) duck, 5-6 lbs., giblets removed

For the Glaze

  • 3 Tbsp. Hoisin sauce
  • 2 Tbsp. orange liqueur, such as Triple Sec or Grand Marnier
  • 1 Tbsp. honey
  • 1 tsp. sesame oil

Directions

  1. Trim and season the duck: In a mortar or spice grinder, grind the salt, garlic, zest, coriander seeds, five-spice powder, and pepper into a coarse paste.
  2. Make 20 to 30 small slits in the duck skin, using a sharp paring knife held parallel to the surface so that you pierce the skin and fat without cutting into the meat. Be sure to make slits on the back and thighs as well as the breast. Rub about two thirds of the spice mixture into the duck cavity and then rub what remains all over the skin. Set the duck on a rack set over a baking sheet and allow to air-dry in the refrigerator for at least 24 hours and up to 48 hours.
  3. Heat the oven: Position a rack in the center of the oven and heat to 325 degrees F (300 degrees F convection). Let the duck sit at room temperature as the oven heats.
  4. Roast the duck: Arrange the duck breast down on a roasting rack in a roasting pan (about 12 by 14 inches) and roast for 1¼ hours. Remove the pan from the oven and spoon or pour off most of the fat. (A turkey baster can make this job easier.) Using sturdy tongs inserted in the duck’s cavity, flip the duck over. Pierce the skin again all over the breast and legs with a knife. Return the duck to the oven to continue roasting until the meat around the thighs feels tender when prodded (a skewer should penetrate the thigh with no resistance), the legs feel loose in their joints, and an instant-read thermometer inserted into the thickest part of the thigh (without touching bone) registers 175 degrees F, another 1 to 1¼ hours. (You can roast the duck a day ahead to this point.)
  5. Glaze and blast the duck: Remove the duck from the oven and increase the oven temperature, preferably to 500 degrees F convection, if you have it, or to 525 degrees F standard. In a small bowl, whisk together the hoisin sauce, orange liqueur, honey, and sesame oil. Carefully transfer the duck (on the roasting rack) to a rimmed baking sheet. Paint the breast and legs with about half the glaze and return the duck to the hot oven. Paint again after 5 minutes, and continue roasting until crispy and mahogany-colored, about 3 minutes in a convection oven, 5 minutes in a standard oven.
  6. Let rest and carve: Transfer the duck to a carving board, ideally one with a trough, and let it rest for 5 to 10 minutes before carving. Carving a duck is much like carving a small version of a goose. Be sure each person gets both breast meat and a thigh or leg.
  7. You can use the pre-seasoning and slow roasting method from the Whole Roast Duck with Hoisin Sauce recipe with just about any flavors you like, including just simple salt and pepper. Just be sure to use at least 1 tablespoon of salt per bird in the pre-salting step. Follow the trimming and roasting instructions (steps 1-3). Omit the glaze, but do give the duck that final blast of heat to brown it beautifully.

http://www.lynnandruss.com

Recipe compliments of Molly Stevens from her All About Roasting cookbook

Chicken Skillet with Mustard-Cider Sauce

In this quick stove-top dish, hard cider, thyme and whole grain mustard combine for a delicious pan sauce over bone-in chicken pieces. Perfect for a week night meal when you are pressed for time but still expect a flavorful dinner, and I do mean spot-on Fall flavors!

Instead of using just thighs, we decided on a combination, white meat for the Mrs., and dark for The Mr. Two bone-in breasts halves were chopped in half again to create four pieces and were combined with 4 thighs.

Now, after reading through the preparations, we both realized there would be no way the Brussels sprouts would be tender in the small amount of time they allotted. I made the executive decision to brown them in the pan drippings after the chicken was removed. After a couple of minutes, the apple wedges were then added for 4 minutes as per instructions. This method worked out well, with the sprouts browning, absorbing the pan flavors and softening just enough.

The other major change was at the end. After removing all of the poultry and veggies to a platter and covered with tinfoil to keep warm, we reduced the thin pan sauce down to a thicker consistency. Bring the sauce to a rolling boil for a couple of minutes and when you can drag a spatula through it and leave a trail, the sauce has thickened. Remove foil from platter, and pour the sauce over its contents. Top with bacon—oh, of which we used 7, instead of 4, thick slices 🙂

Chicken Skillet with Mustard-Cider Sauce

  • Servings: 4
  • Difficulty: easy
  • Print

Ingredients

  • 4 slices bacon, chopped
  • 8 bone-in, skin-on chicken thighs (about 3 1/2 lbs.)
  • 2 med. tart red apples, cored and cut into wedges
  • 1 12-oz. bottle hard cider
  • 2 Tbsp. chopped fresh thyme
  • 2 Tbsp. whole-grain mustard
  • 1 tsp. kosher salt
  • 12 oz. Brussels sprouts, trimmed and halved (2 cups)

Directions

  1. In a very large skillet, cook the bacon over medium heat until crisp. Remove from the pan, reserving the drippings in the skillet.
  2. Add the chicken, skin side down, and cook until browned, 10-12 minutes, turning once. Remove the chicken from the skillet.
  3. Add the Brussels sprouts to the pan drippings cut side down, let them brown undisturbed for 2-3 minutes. Add the apples to the sprouts, and cook until browned on both sides, stirring occasionally, about 4 minutes total. Remove the apples and sprouts, keep divided on a plate. Drain and discard drippings from skillet if necessary.
  4. Add the cider, thyme, mustard and salt to the skillet, scraping up any browned bits. Bring to a boil, and reduce heat to a simmer.
  5. Return chicken to skillet and cook, covered for 10 minutes.
  6. Add the Brussels sprouts, cook, covered for 5 minutes.
  7. Add the apples, cook, uncovered, until the chicken is done (at least 175°F), 3 to 5 minutes more.
  8. After removing all contents from skillet to platter, cover the food with tinfoil. Heat the sauce to a rolling boil and reduce down until a spatula can pull through and leave a trail.
  9. Divide the chicken, Brussels sprouts, and apples among dinner plates. Spoon the cider mixture over the top, and sprinkle each serving with the cooked bacon.

http://www.lynnandruss.com

Roughly adapted from a recipe in Fine Cooking Magazine

Sous Vide Leg of Lamb with Salsa Verde

This is a great meal for a slow, cool Sunday afternoon—provided you have an immersion circulator for the sous vide process. If you don’t own one, Christmas is coming up and it could make your list—just sayin’. Sous vide, which means “under vacuum” in French, refers to the process of vacuum-sealing food in a bag, then cooking it to a very precise temperature in a water bath. This technique produces wonderful results that are impossible to achieve through any other cooking method.

The benefits:

Consistency. Because you cook your food to a precise temperature for a precise amount of time, you can expect very consistent results. Taste. Food cooks in its juices. This ensures that the food is moist, juicy and tender. Waste reduction. Traditionally prepared food dries out and results in waste. For example, on average, traditionally cooked steak loses up to 40% of its volume due to drying out. Steak cooked via precision cooking, loses none of its volume. Flexibility. Traditional cooking can require your constant attention. Precision cooking brings food to an exact temperature and holds it. There is no worry about overcooking.

It’s actually very affordable and easy to get started with sous vide cooking thanks to the recent availability of sous vide devices built for the home cook. We own a Joule which is the smallest sous vide tool on the market. But it’s also the most powerful. It heats to the perfect temperature—no more, no less—which means that your proteins won’t overcook, ever. Even if they cook for extra time. 

As far as this recipe, by all means, feel free to use whatever dried herbs you happen to have on hand. Don’t have coriander? No biggie. Only have dried rosemary? Don’t sweat it. Create a taste profile that suits your own preferences. The amounts below indicate how much overall you’ll need.

To begin, season the leg of lamb liberally on both sides with kosher salt. Lay with the fat cap side down and score the top with a sharp pairing knife by dragging the knife across in diagonal lines both ways. Rub your herb mixture all over the scored side. Roll it up, and secure in place with butcher’s twine. Simply, vacuum seal the rolled leg of lamb and she’s ready for her water bath.

Our roast was only 2 1⁄2 pounds and we got 4-5 servings out of it, so a 5-pounder would yield 8-10 servings. It was delicious! We prefer our lamb medium-rare, but if you like yours less pink, adjust the immersion circulator to preheat the water bath temperature as needed.

Sous Vide Leg of Lamb with Salsa Verde

  • Servings: 6-8
  • Difficulty: moderate
  • Print

Ingredients

For the lamb:

  • 3-5 lb. boneless leg of lamb
  • 1 Tbsp. mustard seeds, lightly toasted
  • 1 Tbsp. coriander seeds, lightly toasted
  • 1 Tbsp. cumin seeds, lightly toasted
  • 1 tsp. peppercorns
  • 2 tsp. kosher salt
  • 4 garlic cloves
  • Leaves of 1 rosemary sprig
  • Leaves of 2 thyme sprigs
  • 2 Tbsp olive oil
  • Ghee or butter for searing

For the salsa verde (optional):

  • 1/4 cup chopped parsley
  • 1/2 tsp. flaked sea salt
  • Juice of half a lemon
  • Zest of one lemon
  • 2 Tbsp. olive oil

Directions

  1. Using your immersion circulator, preheat water bath to 130° F.
  2. Add all the ingredients except the lamb, ghee, and salsa verde ingredients to a food processor or use a mortar and pestle to grind them into a paste.
  3. Season the leg of lamb liberally on both sides with additional kosher salt. Lay with the fat cap side down (you can trim this if you want) and score the top with a sharp pairing knife (this means dragging the knife across in diagonal lines both ways).
  4. Rub the herb mixture all over the scored side. Roll it up, and secure in place with butcher’s twine.
  5. Vacuum seal the rolled leg of lamb or add to a gallon-sized zipper top bag and remove all the air. Add to preheated water bath and cook for 3-5 hours.
  6. When done, remove from the water bath and bag. Pat leg of lamb as dry as possible with paper towels.
  7. Get a cast iron skillet searing hot—as hot as possible—and add enough ghee to coat the skillet. Sear the leg of lamb on all sides until golden brown. You may need to prop up the lamb roast with tongs to make sure it is browned all over.
  8. Let the leg of lamb rest for a moment on the cutting board. Prep the salsa verde by mixing together all ingredients. Taste and adjust seasoning as desired.
  9. Remove the twine from the leg of lamb and slice into 1/2 inch slices. Top with salsa verde and serve!

http://www.lynnandruss.com

Recipe from Chelsea Cole, food blogger for A Duck’s Oven

Cabbage and Smoked Ham Butt Gumbo

BAM! If you were a connoisseur of food television back in the day, you’ll recognize that phrase from famed chef Emeril Lagasse. The basis for this gumbo recipe hails from Emeril, with a few changes of our own.

It uses an ingredient we had never heard of, filé powder, also known as gumbo filé. It is an herbal powder made from the dried and ground leaves of the sassafras tree, native to eastern North America. Powdered sassafras leaves were first used in cooking by the Choctaw Indians of the Southern U.S. When the Cajuns (Acadians) arrived in Southern Louisiana, they began using the spice as a thickener and flavoring in their soups, stews, and gumbos. It was easy enough to locate at our local supermarket, but you could also order online.

The original called for two ham hocks, but luckily the grocery store was out. Luckily?? The butcher steered us toward a better option, a smoked ham butt, which is all meat and has very little fat. Therefore I renamed the recipe to reflect that switch.

And instead of using chicken stock, we incorporated our homemade ham stock which added oodles of additional flavor. The Emeril Essence you can buy online, get at Target, or make your own from the recipe below, which uses mostly seasonings already in your pantry.

Cabbage and Smoked Ham Butt Gumbo

  • Servings: 6-8
  • Difficulty: moderate
  • Print

Ingredients

  • 1 cup vegetable oil
  • 1 cup flour
  • 1 1/2 cups chopped onions
  • 1 cup celery, chopped
  • 1 large bell pepper, chopped
  • 1 head Savoy cabbage, julienned
  • 2 lbs. smoked ham butt, quartered
  • 1 1/2 tsp. salt
  • 1/4 tsp. cayenne
  • 3 bay leaves
  • 4 cups ham stock, preferably homemade
  • 3 cups water
  • 12 oz. beer
  • 1 Tbsp. Emeril’s Essence (see recipe below)
  • 2 Tbsp. chopped parsley
  • 1/2 cup chopped green onions
  • 1 Tbsp. filé powder
  • 2 cups cooked white rice

Directions

  1. Combine the oil and flour in a large cast-iron or enameled cast-iron Dutch oven, over medium heat.
  2. Stirring slowly and constantly for 20 to 25 minutes, make a dark brown roux, the color of chocolate.
  3. Add the onions, celery, and bell peppers and continue to stir for 4 to 5 minutes, or until wilted.
  4. Add the cabbage and continue to sauté for 2 minutes.
  5. Add the ham butt quarters, salt, cayenne, and bay leaves. Continue to stir for 3 to 4 minutes.
  6. Add the stock, beer and Essence. Stir until the roux mixture and stock are well combined. Bring to a boil, then reduce heat to medium to low. Cook, uncovered, stirring occasionally, for 2 1/2 hours.
  7. Skim off any fat that rises to the surface. Continue to simmer for 30 minutes.
  8. Remove from the heat . Stir in the parsley, green onions, and filé powder.
  9. Remove the bay leaves and ham butt chunks. Shred the ham once cooled enough to handle and place the meat back into the gumbo.
  10. Serve in deep bowls with the rice.

Emeril’s Essence

Ingredients

  • 2 1/2 Tbsp. paprika
  • 2 Tbsp. salt
  • 2 Tbsp. garlic powder
  • 1 Tbsp. black pepper
  • 1 Tbsp. onion powder
  • 1 Tbsp. cayenne pepper
  • 1 Tbsp. dried oregano
  • 1 Tbsp. dried thyme

Combine all ingredients thoroughly. Yields 2/3 cup.

http://www.lynnandruss.com

Adapted from an online recipe from Emeril Lagasse

Soy-Glazed Flank Steak with Blistered Green Beans

This Asian steak entrée gets loads of complexity from just a spoonful or two of flavor powerhouses like fresh ginger, peanut oil, and Asian chili paste, like sambal oelek—an Indonesian chile that adds a nice level of heat and a hint of sweetness to the quick stir-fry.

You definitely want to blister those beans, so keep stirring for 5-plus minutes over a very hot burner. Then when it’s time to cook the meat, it’s best to do so in two batches so as to sear the steak instead of steaming it.

Soy-Glazed Flank Steak with Blistered Green Beans

  • Servings: 4
  • Difficulty: easy
  • Print

Ingredients

  • 1 lb. fresh green beans
  • 1 lb. beef flank steak
  • 6 cloves garlic, minced
  • 1 Tbsp. minced fresh ginger
  • 2 – 3 Tbsp. peanut oil
  • 4 green onions (white parts only), sliced diagonally
  • 2 Tbsp. sweet rice wine (mirin)
  • 2 Tbsp. soy sauce 
  • 1 tsp. packed brown sugar
  • 1 tsp. Asian chili paste (sambal oelek)
  • Sesame seeds, toasted; hot cooked rice; snipped fresh herbs; chopped green onion (optional)
  • Steamed rice according to package directions

Directions

  1. If desired, trim and cut green beans in half diagonally.
  2. Trim fat from meat. Thinly slice meat across the grain into bite-size strips.
  3. In a small bowl combine garlic and ginger.
  4. In an extra-large skillet or wok heat 2 Tbsp. of the oil over medium-high heat. Add green beans; cook and stir 7 to 8 minutes or until blistered and brown in spots. Remove beans and drain on paper towels.
  5. If necessary, add remaining 1 Tbsp. oil to hot skillet. Add garlic mixture; cook and stir 30 seconds.
  6. Add meat, half at a time; cook and stir 3 minutes or until slightly pink in center. Return all of the meat to skillet. Add the next five ingredients (through chili paste); cook and stir 1 minute.
  7. Return beans; cook and stir 2 minutes more or until heated through.
  8. If desired, sprinkle meat mixture with sesame seeds and/or serve with rice sprinkled with herbs, chopped green onion, and/or coarse salt.
  9. Serve over steamed rice.

http://www.lynnandruss.com

Adapted from a recipe for Fine Cooking Magazine

Roasted Kale and Red Onions

Found in a recent Fine Cooking Magazine, this tasty side dish recipe is a perfect combination of balsamic vinegar, kale, and red onion. The side made a wonderful partner to our Roasted Loin Chops with Charmoula.

With only the two of us, we cut the amount of onions and kale in half, the balsamic vinegar and chicken broth by a third, and the remaining ingredients were kept the same. The original recipe is intact below.

Roasted Kale and Red Onions

  • Servings: 8
  • Difficulty: easy
  • Print

Ingredients

  • 3 large red onions, cut in wedges 
  • 6 Tbsp. olive oil, divided 
  • ¾ tsp. salt
  • ½ tsp. ground black pepper
  • ½ cup chicken broth 
  • 3 Tbsp. balsamic vinegar
  • 1 Tbsp. butter
  • 2 bunches (about 1-1/4 1bs.) kale, stems removed coarsely chopped
  • 2 cloves garlic, minced

Directions

  1. Preheat oven to 375 degrees F.
  2. Line large roasting pan with foil; set aside.
  3. In bowl toss onion with 1 tablespoon of the oil, 1/4 teaspoon of the salt, and 1/4 teaspoon of the pepper; set aside.
  4. Heat 1 tablespoon of the oil in large skillet; add onion mixture. Cook over medium-high heat 5 minutes, stirring occasionally, until onions begin to brown. Reduce heat to medium-low. Add broth and vinegar. Cover; cook 15 minutes or until onions are tender.
  5. Add butter. Increase heat to high. Cook 2 to 3 minutes, shaking pan occasionally, until onions are glazed.
  6. Meanwhile, add kale to roasting pan. Toss with remaining oil, garlic, salt, and pepper. Roast, uncovered, 15 minutes, tossing 3 times.
  7. To serve, gently toss with onions.

http://www.lynnandruss.com

Healthy Blueberry Banana Bread

Here’s a take on banana bread that’s a bit healthier than many. It incorporates whole wheat flour, Greek yogurt, honey instead of sugar, and blueberries, in addition to the bananas. Our blueberries were fresh frozen. We had bought them from a local farm market at the height of their season, and flash froze them on a baking sheet before packing them in a ziploc. If you plan to incorporate frozen, thaw the berries before using them in this recipe; the same applies to frozen bananas–which ours were.

To keep the blueberries from all sinking to the bottom of the batter, dust them in flour first, then save about 20 berries to lay on the top of the batter to give the loaf some visual color. Because we had whole milk yogurt on hand, that’s what we used instead of 2%.

Next time I may line the pan with parchment. Even though I greased the pan before pouring in the batter, it was difficult to release the cooked loaf, and some stuck to the bottom of the pan. Any leftovers after two days, wrap tightly in saran wrap and then tinfoil and store in the fridge to protect against mold.

Healthy Blueberry Banana Bread

  • Servings: 1 loaf/10 slices
  • Difficulty: easy
  • Print

Ingredients

  • 3 very ripe bananas, peeled and broken into large chunks
  • 2 eggs
  • ½ cup 2% plain Greek yogurt
  • ⅓ cup honey
  • 1 tsp. vanilla extract
  • 1 tsp. baking soda
  • 1 ½ cups whole wheat flour
  • 1 cup blueberries, thawed if frozen

Directions

  • Preheat the oven to 350˚F.
  • In a medium bowl, mash bananas. Mix eggs, yogurt, honey, vanilla extract, and baking soda into mixture.
  • Add flour and mix.
  • Add blueberries and gently fold into mixture. Save about 20 blueberries for the top.
  • Pour the batter into a greased 9 x 5-inch bread pan. Top with the saved berries.
  • Bake for about 50 minutes, or until a toothpick comes out clean from the middle of the bread. (Our loaf took 65 minutes, so keep an eye on the bread.)
  • Allow to cool at least 20 minutes before inverting out of pan and serving.

http://www.lynnandruss.com

Adapted from a recipe from tasty.co

Low-Carb Spinach Artichoke Chicken

Spinach artichoke chicken is an easy and delicious keto skillet recipe. It features crispy chicken thighs in a rich cream sauce with spinach, artichokes, garlic, and parmesan. However, the original recipe only called for half (which we deemed too paltry) of the spinach and artichokes so we doubled that, as noted in the list below. Also, we added two more thighs to total eight, allowing two per person for a dinner feeding four.

This AMAZING recipe takes all the rich flavors of a great spinach artichoke dip and turns it into a full meal. And it’s an easy one pan recipe that’s ready in about an hour. Truly delicious! Typically, I am more of a white meat fan, while The Hubs prefers dark meat. Next time I may include a mix of thighs and chicken breast quarters, but again, maybe not…

Instead of frozen, fresh spinach works in this recipe as well. You obviously won’t need to thaw and squeeze it; simply chop it up and stir it into the sauce before transferring the dish to the oven.

Low-Carb Spinach Artichoke Chicken

  • Servings: 4
  • Difficulty: easy
  • Print

Ingredients

  • 8 chicken thighs, bone in, skin on
  • 2 tsp. Italian seasoning
  • Salt and pepper
  • 3 Tbsp. olive oil or avocado oil
  • 4 cloves garlic, minced
  • ⅓ cup chicken broth
  • ⅔ cup heavy whipping cream
  • 1 oz. Parmesan cheese, finely grated
  • 12 oz. artichoke hearts, drained and chopped
  • 10 oz. frozen spinach, thawed and squeezed dry

Directions

  1. Preheat the oven to 350F. Pat the chicken thighs dry and sprinkle all over with the Italian seasoning, salt, and pepper.
  2. Heat the oil over medium heat in a large (at least 12″) ovenproof skillet. Add the chicken thighs, skin side down, and cook undisturbed for 3 to 4 minutes, until golden brown. (Our chicken skin took 8 minutes to get a nice golden brown.)
  3. Flip the thighs over and cook another 4 minutes, then transfer to a plate. Drain most of the fat from the pan and discard.
  4. Add the garlic to the pan and sauté until fragrant, about 1 minute.
  5. Stir in the broth to deglaze the pan, scraping up any browned bits. Bring to a simmer. Add the cream and Parmesan and continue to cook until slightly thickened, another minute or two.
  6. Stir in the chopped artichokes and the spinach until well combined. Place the chicken thighs on top of the cream sauce and bake 20 to 25 minutes, until the chicken is cooked through to a temp of 170° to 175°, and the sauce is bubbling.

http://www.lynnandruss.com

Roughly adapted from an online recipe from All Day I Dream About Food

Fideos with Chorizo and Arugula

Spanish fideos are thin, vermicelli-like noodles that typically are used to make a paella-like dish also called fideos. According to Milk Street where we obtained this recipe, the noodles are toasted until golden before cooking to bring out a nutty flavor and aroma. Here, vermicelli or angel hair pasta, broken into small pieces, is matched with rich and meaty Spanish chorizo, fire-roasted tomatoes that accentuate the smoky notes of the sausage, and peppery arugula or grassy parsley for fresh color and flavor.

TIP: Don’t forget to remove the paper casing off of the chorizo.

The real challenge is breaking the pasta down into 1 inch-sized pieces without spraying them all over the kitchen. Most of ours were actually 2 inches in length and it worked out fine, although, we did need to sweep up the floor some…

We paired ours with steamed broccolini, but a simple salad and/or crusty bread are perfect accompaniments too.

Fideos with Chorizo and Arugula

  • Servings: 4
  • Difficulty: easy
  • Print

Ingredients

  • 3 Tbsp. neutral oil
  • 4 oz. Spanish chorizo, halved lengthwise and thinly sliced
  • 8 oz. vermicelli or angel hair pasta, broken into rough 1-inch lengths
  • 3 medium garlic cloves, minced
  • 14½ oz. can diced fire-roasted tomatoes
  • 4 cups lightly packed baby arugula, chopped OR 1 bunch flat-leaf parsley, chopped OR a combination
  • Kosher salt and ground black pepper

Directions

  1. In a 12-inch skillet, cook the oil and chorizo, stirring, until the oil turns red and the chorizo begins to sizzle. Using a slotted spoon, transfer to a small bowl.
  2. Add the pasta to the oil in the skillet and cook, stirring, until evenly browned, about 5-7 minutes.
  3. Add the garlic and cook, stirring, until fragrant.
  4. Add the tomatoes with juices and 2 cups water. Simmer, uncovered and stirring occasionally and adjusting the heat to maintain a simmer, until the pasta is tender and the majority of the liquid has evaporated, about 15 minutes.
  5. Place the arugula in a large pasta bowl, add the chorizo, then top with the hot pasta mixture. Stir until well combined. Season with salt and pepper.

http://www.lynnandruss.com

Adapted from a recipe from Julia Rackow for Milk Street

Cider Braised Short Ribs with Caramelized Onions

Warm temperature season is behind us which signals it’s time for braised dishes. If there’s one cozy cool weather meal you need to be making, it’s these braised short ribs which are slow-cooked in apple cider with fresh herbs and sweet caramelized onions. It’s simple to put together and unbelievably scrumptious. Serve over a bed of creamy, garlicky mashed potatoes and you’ll have the perfect dinner for a cold night in.

The pairing of sweet apple cider and tangy caramelized onions is a combo with beefy short ribs that can’t be beat. Your kitchen will smell incredible as this slow cooks for hours. Those jammy onions practically melt into the sauce.

Now there were two major changes we made to the directions. First, we saw no reason to wipe out the pan after browning the ribs. Why would you discard that wonderful flavor? Then, at the end, after removing the bay leaves, also remove the ribs and place them onto a platter tightly covered with foil. Keep the pot on the burner and bring contents to a rolling simmer, stirring often. Mash the apple quarters so that they release their pectin and thicken the gravy, then continue to reduce down the sauce for another 10 to 15 minutes.

About 45 minutes before the dish is done, don’t forget to start your creamy mashed potatoes!

Cider Braised Short Ribs with Caramelized Onions

  • Servings: 6
  • Difficulty: easy
  • Print

Ingredients

  • 5 lbs. bone in beef short ribs
  • 3 Tbsp. all-purpose flour
  • Kosher salt and black pepper
  • 1 Tbsp. salted butter
  • 4 yellow onions, thinly sliced
  • 2 cups apple cider
  • 2 cups chicken broth or dry white wine
  • 6 carrots, chopped
  • 6 cloves garlic, smashed
  • 2 Tbsp. chopped fresh thyme
  • 1 apple, quartered (optional)
  • 2 bay leaves

Directions

  1. Preheat the oven to 325° F.
  2. Season the short ribs with salt and pepper, then rub with flour to coat. Heat a large oven-safe Dutch Oven over high heat, sear the ribs on both sides. Remove the ribs to a plate. Do this in two batches.
  3. Add the butter and onions and cook 5 minutes, until softened. Add a 1/2 cup apple cider, season with salt and pepper, and continue cooking another 5-8 minutes, until the cider has evaporated and the onions are lightly golden.
  4. Add the thyme, then add the short ribs back to the pot. Add the remaining 1 1/2 cups cider, broth or wine, carrots, garlic, and bay leaves. Arrange the apples around the meat. Cover and roast in the oven for 2 1/2 to 3 hours or until the short ribs are tender and falling off the bone.
  5. Remove the bay leaves. Place the ribs onto a clean platter and cover tightly with foil.
  6. Put the pot on a burner over medium heat and bring to a rolling simmer, adjusting heat as needed. With a rubber spatula mash the apple quarters; the pectin in them helps to thicken the sauce. Reduce down for about 10-15 minutes more.
  7. Serve the ribs over a bed of mashed potatoes. Drizzle with the pan sauce and onions.

http://www.lynnandruss.com

Adapted from an online recipe from Half-Baked Harvest