When it comes to snacking, this gal sits deep in the camp of the spicy and savory. I had about a half-pound of pecans that I wanted to spice up—without sugar, as many candied varieties include. I found just what I was looking for on kitchn.com, and now consider myself an addict (The Hubs too!).
While the recipe below is for a whole pound, I only made half of it, mainly because that’s the amount of nuts we had on hand. It was New Year’s Eve and we were spending the evening home alone, so I made this as one of our treats for the celebration. Well, we couldn’t stop ourselves from munching on them during the afternoon, so I had to hide them from ourselves until party time!
There is no denying the power of the pecan, and here are a few reasons why according to American Heart Association. Pecans reduce the risk of heart disease with an abundance of “good” heart healthy fats. These unsaturated fats can have a protective effect by lowering total blood cholesterol when eaten in moderation.
They contain more than 19 vitamins and minerals—including vitamin A, vitamin E, folic acid, calcium, magnesium, phosphorus, potassium, several B vitamins and zinc. One ounce of pecans provides 10 percent of the recommended daily value for fiber. Also, a natural, high-quality source of protein they contain very few carbohydrates and no cholesterol and are naturally sodium-free.
And if that isn’t enough, pecans, especially these, are just so dang good!

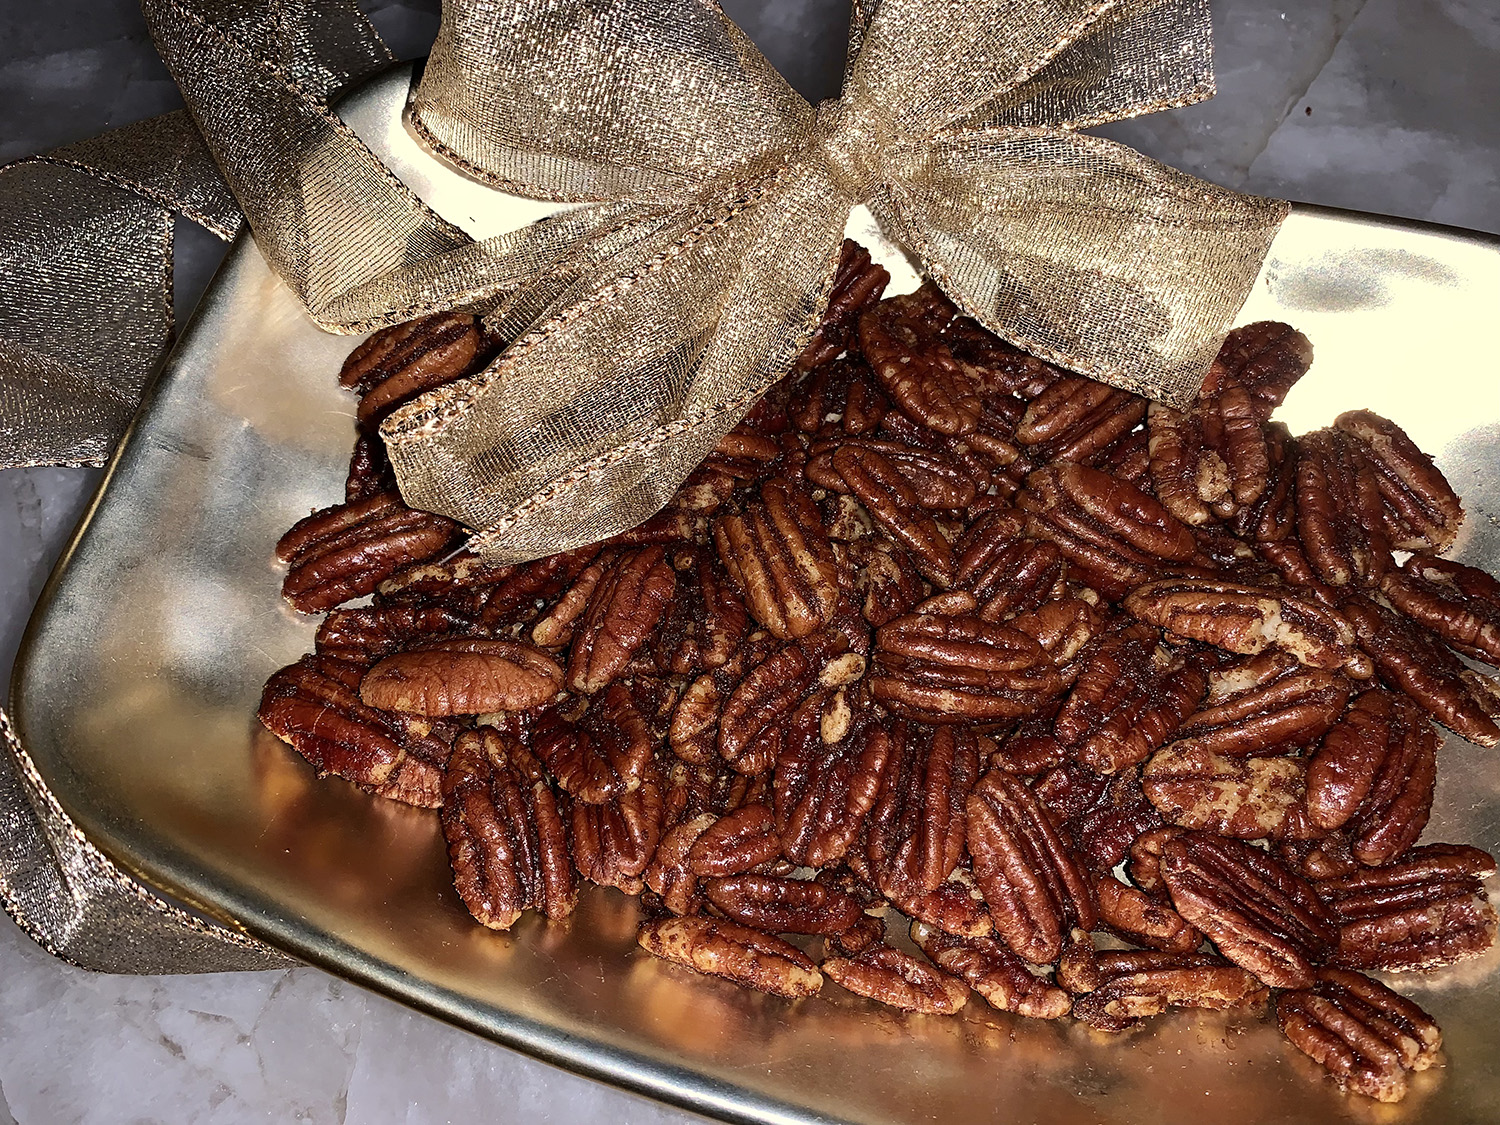
Savory Spiced Pecans
Ingredients
- 4 cups (1 lb.) pecans halves
- 1/3 cup (5 1/3 Tbsp.) unsalted butter, melted
- 2 tsp. Worcestershire sauce
- 1 1/4 tsp. kosher salt
- 1/2 tsp. garlic powder
- 1/2 tsp. ground mustard
- 1/2 tsp. Tabasco sauce, or to taste
- 1/4 tsp. cayenne pepper, or to taste


Directions
- Preheat oven to 300°F.
- Place the pecans in a large mixing bowl.
- In a small sauce pan, melt the butter. Whisk in the Worcestershire sauce, salt, garlic powder, ground mustard, Tabasco, and cayenne.
- Pour the butter mixture over the pecans and stir until well combined. Taste a pecan and add more Tabasco or cayenne if desired.
- Arrange the pecans on a large sheet pan and bake for 20-22 minutes until toasted and lightly browned, stirring halfway cooking time to prevent burning.
- Remove from the oven and cool completely, tossing occasionally, before transferring to an airtight container.
Adapted from a recipe by Nealey Dozier for ktchn.com