Monthly Archives: February 2022

Pan-Seared Thick-Cut Bone-In Pork Chops

Can’t get much simpler than this. Few ingredients, three steps, main dish done. Achieving deeply browned, juicy bone-in pork chops starts with choosing the right chop: Use 1½-inch-thick rib chops, which are thick enough to build up a browned exterior before cooking through.

Start the chops in a cold (not preheated) nonstick skillet (we used our well-seasoned carbon steel skillet) over high heat and flip them every 2 minutes so that the meat’s temperature increases gradually, allowing a crust to build up on the outside without overcooking the interior. Starting the chops in a cold pan helps the meat heat up slowly and evenly, and using a nonstick pan means that no oil is necessary.

If you have time, salt the chops for at least 1 hour or up to 24 hours before cooking: Sprinkle each chop with 1½ teaspoons of Diamond Crystal Kosher Salt (if using Morton, which is denser, use only 1⅛ teaspoons), refrigerate them, and pat them dry with paper towels before cooking. If the pork is enhanced (injected with a salt solution), do not salt the chops ahead. Make sure to include the bones when serving; they’re great for nibbling—it might be a battle as to who of the four diners get them though… 

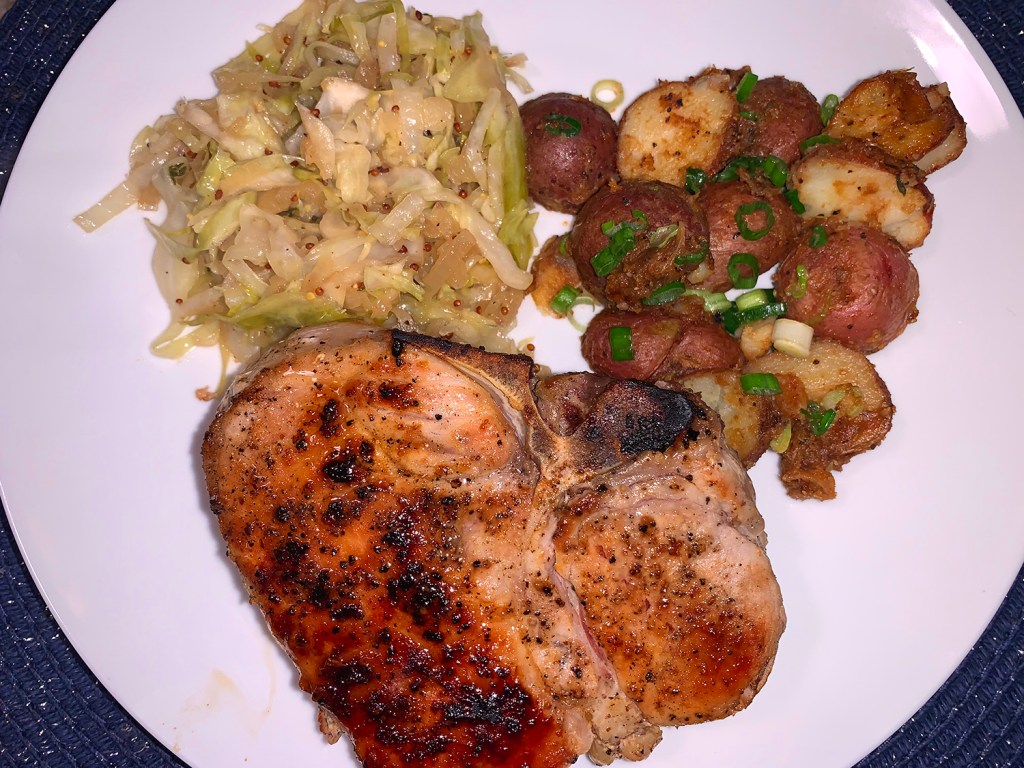
Yes, quite simple. However, every 2 minutes for about 25 minutes, you’ll need to flip the meat. But it resulted in perfectly cooked pork chops without much effort or other ingredients. Our sides included Beer Braised Cabbage and Braised Red Potatoes with Miso and Scallions. Since there was only the two of us, the chops were served whole—but there was plenty of leftovers for another meal.

Pan-Seared Thick-Cut Bone-In Pork Chops

  • Servings: 4
  • Difficulty: easy
  • Print

Ingredients

  • (14- to 16-oz.) bone-in pork rib chops, 1½ inches thick, trimmed
  • 1 Tbsp. Kosher salt
  • ½ tsp. pepper

Directions

  1. Pat chops dry with paper towels and sprinkle both sides with pepper. Place chops 1 inch apart in cold 12-inch nonstick or carbon-steel skillet, arranging so narrow part of 1 chop is opposite wider part of second. Place skillet over high heat and cook chops for 2 minutes. Flip chops and cook on second side for 2 minutes. (Neither side of chops will be browned at this point.)
  2. Flip chops; reduce heat to medium; and continue to cook, flipping chops every 2 minutes, until exterior is well browned and meat registers 140 degrees, 10 to 15 minutes longer. (Chops should be sizzling; if not, increase heat slightly. Reduce heat if skillet starts to smoke.)
  3. Transfer chops to carving board and let rest for 5 minutes. Carve meat from bone and slice ½ inch thick. (When carving chops, meat at tapered end near bone may retain slightly pink hue despite being cooked.) Season meat with coarse or flake sea salt to taste. Serve with bones.

http://www.lynnandruss.com

Recipe from Cook’s Illustrated
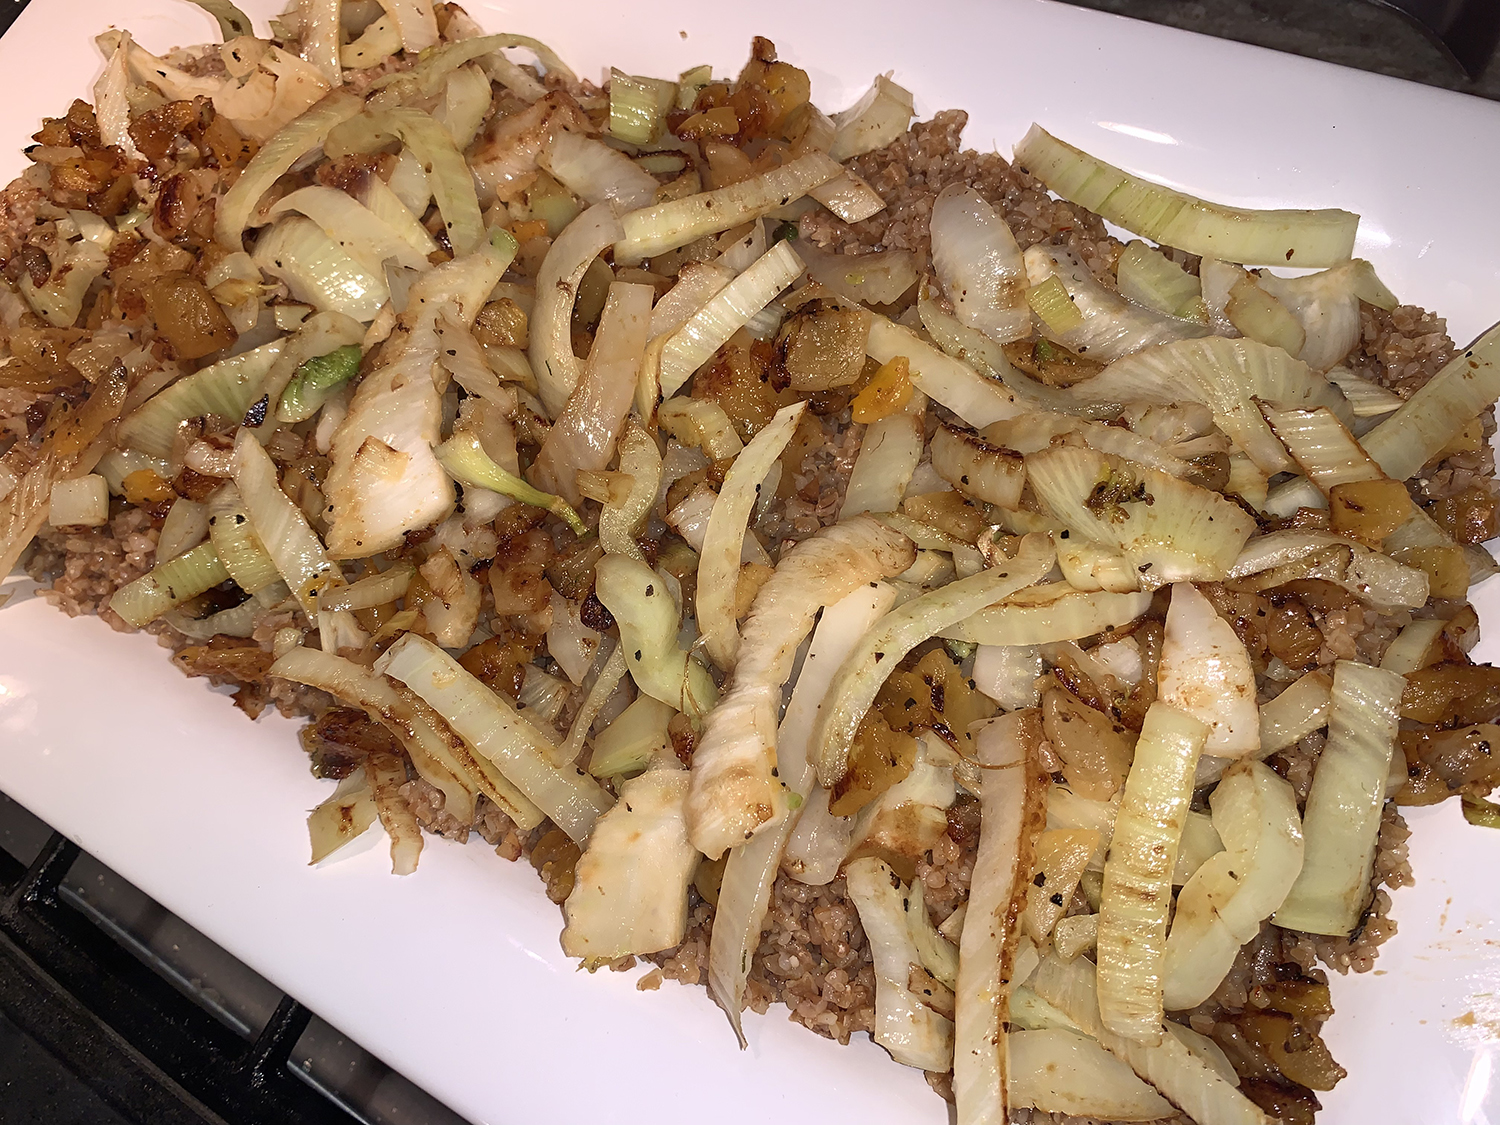
Saffron Bulgur with Fennel and Turkey Sausage

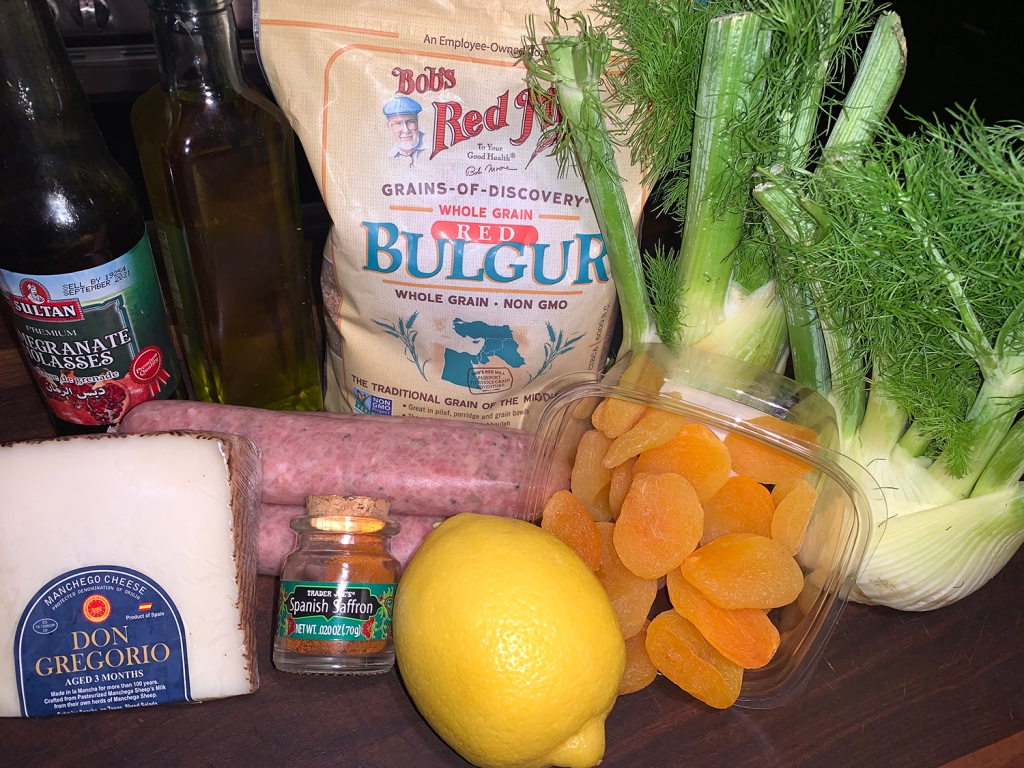
This bright, bold, hearty bulgur dish radiates hues of golden saffron. Turkey sausage lends deep savor and dinnertime heft to the floral bulgur, and is given the golden treatment with a saffron-infused pomegranate vinaigrette.

And if that isn’t enough, efflorescent caramelized fennel deepens the savory notes, and dried apricots add contrasting texture and pleasant sweetness. Topping it all is Manchego cheese which provides divergent sharpness and saltiness. I errantly shredded the cheese instead of shaving it, but the flavor was still the same.

Very good, and very filling!

Saffron Bulgur with Fennel and Turkey Sausage

  • Servings: 4
  • Difficulty: easy
  • Print

Ingredients

  • 1 1⁄2 cups medium-grind bulgur (do not use cracked wheat)
  • 1⁄4 tsp. table salt, divided, plus more for cooking the bulgur
  • 3 Tbsp. extra-virgin olive oil, divided
  • 1 lb. Italian Turkey sausage
  • 2 fennel bulbs, 1⁄4 cup fronds, minced, stalks discarded, bulbs halved, cored and sliced 1⁄4 inch thick
  • 1⁄2 cup dried apricots, chopped
  • 1⁄2 tsp. pepper, divided
  • 1⁄4 tsp. saffron threads, crumbled
  • 2 Tbsp. pomegranate molasses
  • 1 tsp. grated lemon zest
  • 2 oz. Manchego cheese, shaved

Directions

  1. Bring 4 quarts water to a boil in a large pot. Stir in bulgur and 1 teaspoon salt and cook until tender, about 5 minutes. Drain well and set aside.
  2. Heat 1 tablespoon oil in a 12-inch nonstick skillet over medium heat until shimmering. Add sausage and cook until browned on all sides and registers 160°, 6 to 8 minutes. Transfer to a cutting board, cover with foil and let rest. Slice sausage 1/2-inch thick on the diagonal just before serving.
  3. Pour off all but 2 teaspoons fat from skillet (or add oil to equal 2 teaspoons). Add sliced fennel, apricots, 1⁄2 cup water, 1⁄8 teaspoon salt, and 1⁄4 teaspoon pepper, cover, and cook over medium heat for 1 minute.
  4. Uncover and continue to cook, stirring occasionally, until fennel is spotty brown, 2 to 4 minutes; set aside until ready to serve. (This step took 8 minutes for the fennel to start browning.)
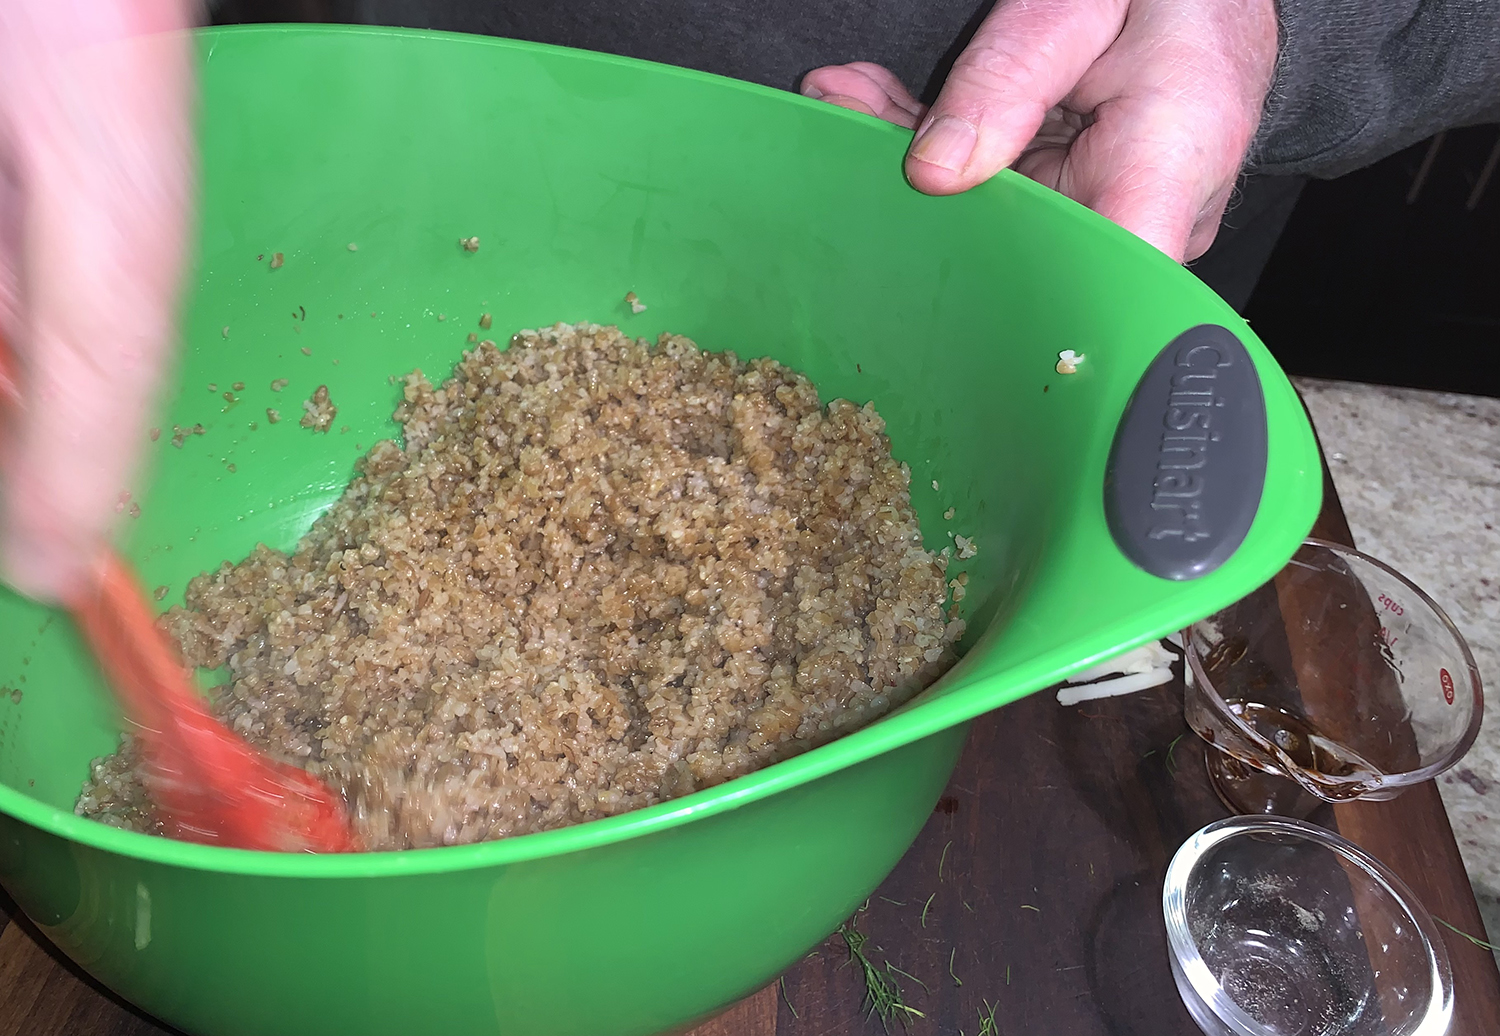
  5. Combine saffron with 2 teaspoons water in a large bowl and let sit for 5 minutes. Whisk in remaining 2 tablespoons oil, 1⁄8 teaspoon salt, 114 teaspoon pepper, pomegranate molasses and lemon zest, then stir in bulgur to coat.
  6. Season with salt and pepper to taste. Divide among individual bowls, then top with fennel mixture and sausage slices. Sprinkle with fennel fronds and Manchego cheese shavings. Serve.

http://www.lynnandruss.com

Recipe from “More Mediterranean” by America’s Test Kitchen

Braised Red Potatoes with Miso and Scallions

For a simple, one-pot potato side dish that features the benefits of both boiling and roasting, Cook’s Illustrated got creative. They combined halved small red potatoes, butter, and salted water in a 12-inch skillet and simmered this mixture until the potatoes turned creamy and the water fully evaporated.

In the then-dry skillet, the potatoes and butter were left alone to fry and develop great flavor and color. Finally, subtle aromatics like thyme and garlic balance well with last-minute additions like miso, Dijon or lemon juice.

Our only issue was that the miso mixture wasn’t loose enough to spread with the hot potatoes. We suggest removing the potatoes to a bowl when done. *Put the miso-garlic mixture in the hot skillet and add two tablespoons of water. Using a wooden spatula, combine the mixture and water while scraping up any browned bits on the bottom of the pan. When fully combined, pour the sauce over the potatoes, add scallions, and toss gently before serving.

NOTE: We had to use a 14-inch regular skillet because it was the only pan large enough to fit all of the potatoes in one layer, plus it had a lid. This dilemma prompted us to purchase an adjustable lid to fit our two larger nonstick skillets.

Braised Red Potatoes with Miso and Scallions

  • Servings: 4-6
  • Difficulty: easy
  • Print

Ingredients

  • 1 ½ pounds small red potatoes, unpeeled, halved
  • 2 cups water
  • 3 Tbsp. unsalted butter
  • 3 garlic cloves, peeled
  • 3 sprigs fresh thyme
  • ¾ tsp. salt
  • 1 Tbsp. red miso, Dijon or lemon juice
  • ¼ tsp. pepper
  • ¼ cup minced scallions

Directions

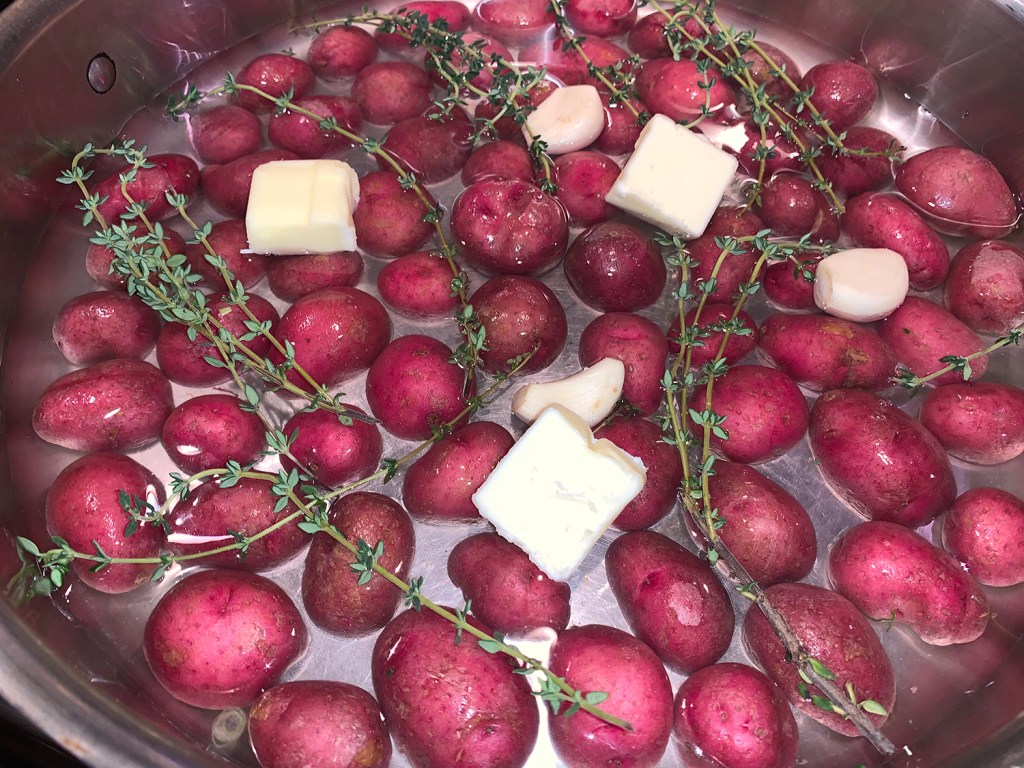
  1. Arrange potatoes in single layer, cut side down, in 12-inch nonstick skillet. Add water, butter, garlic, thyme, and salt and bring to simmer over medium-high heat. Reduce heat to medium, cover, and simmer until potatoes are just tender, about 15 minutes.
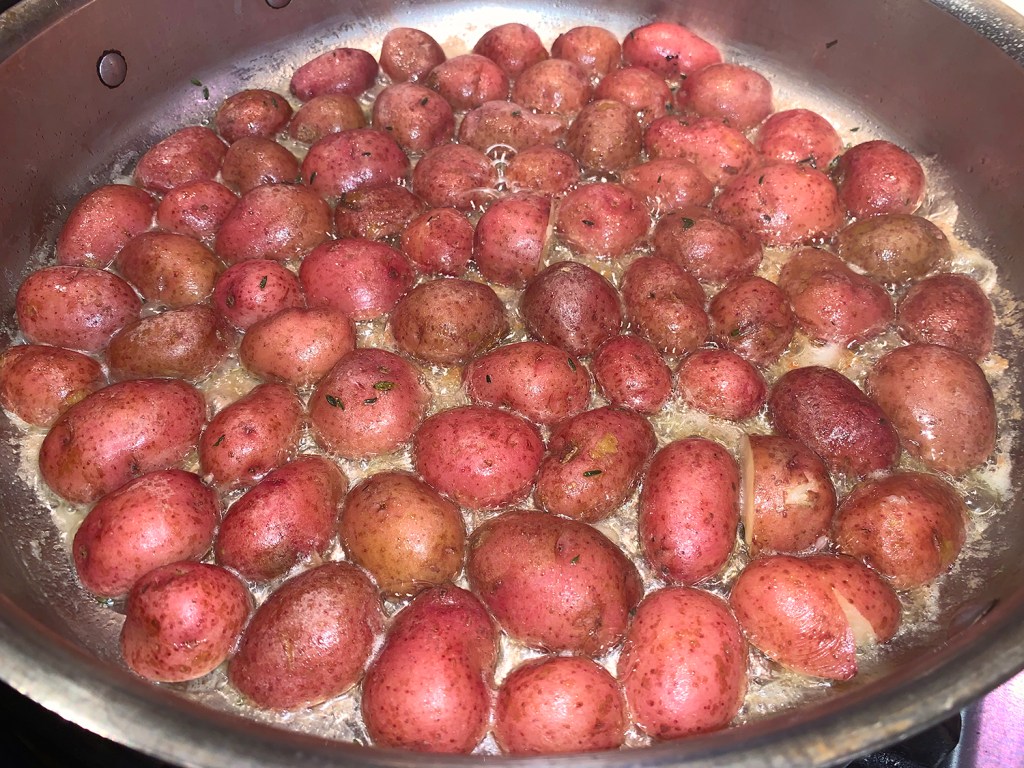
  2. Remove lid and use slotted spoon to transfer garlic to cutting board; discard thyme. Increase heat to medium-high and vigorously simmer, swirling pan occasionally, until water evaporates and butter starts to sizzle, 15 to 20 minutes. When cool enough to handle, mince garlic to paste. Transfer paste to bowl and stir in miso, lemon juice and pepper.
  3. Continue to cook potatoes, swirling pan frequently, until butter browns and cut sides of potatoes turn spotty brown, 4 to 6 minutes longer. Off heat, add garlic mixture and chives and toss to thoroughly coat. (*See note above about alternative way to coat potatoes with miso mixture.) Serve immediately.

http://www.lynnandruss.com

Recipe from Cook’s Illustrated

PotLikker

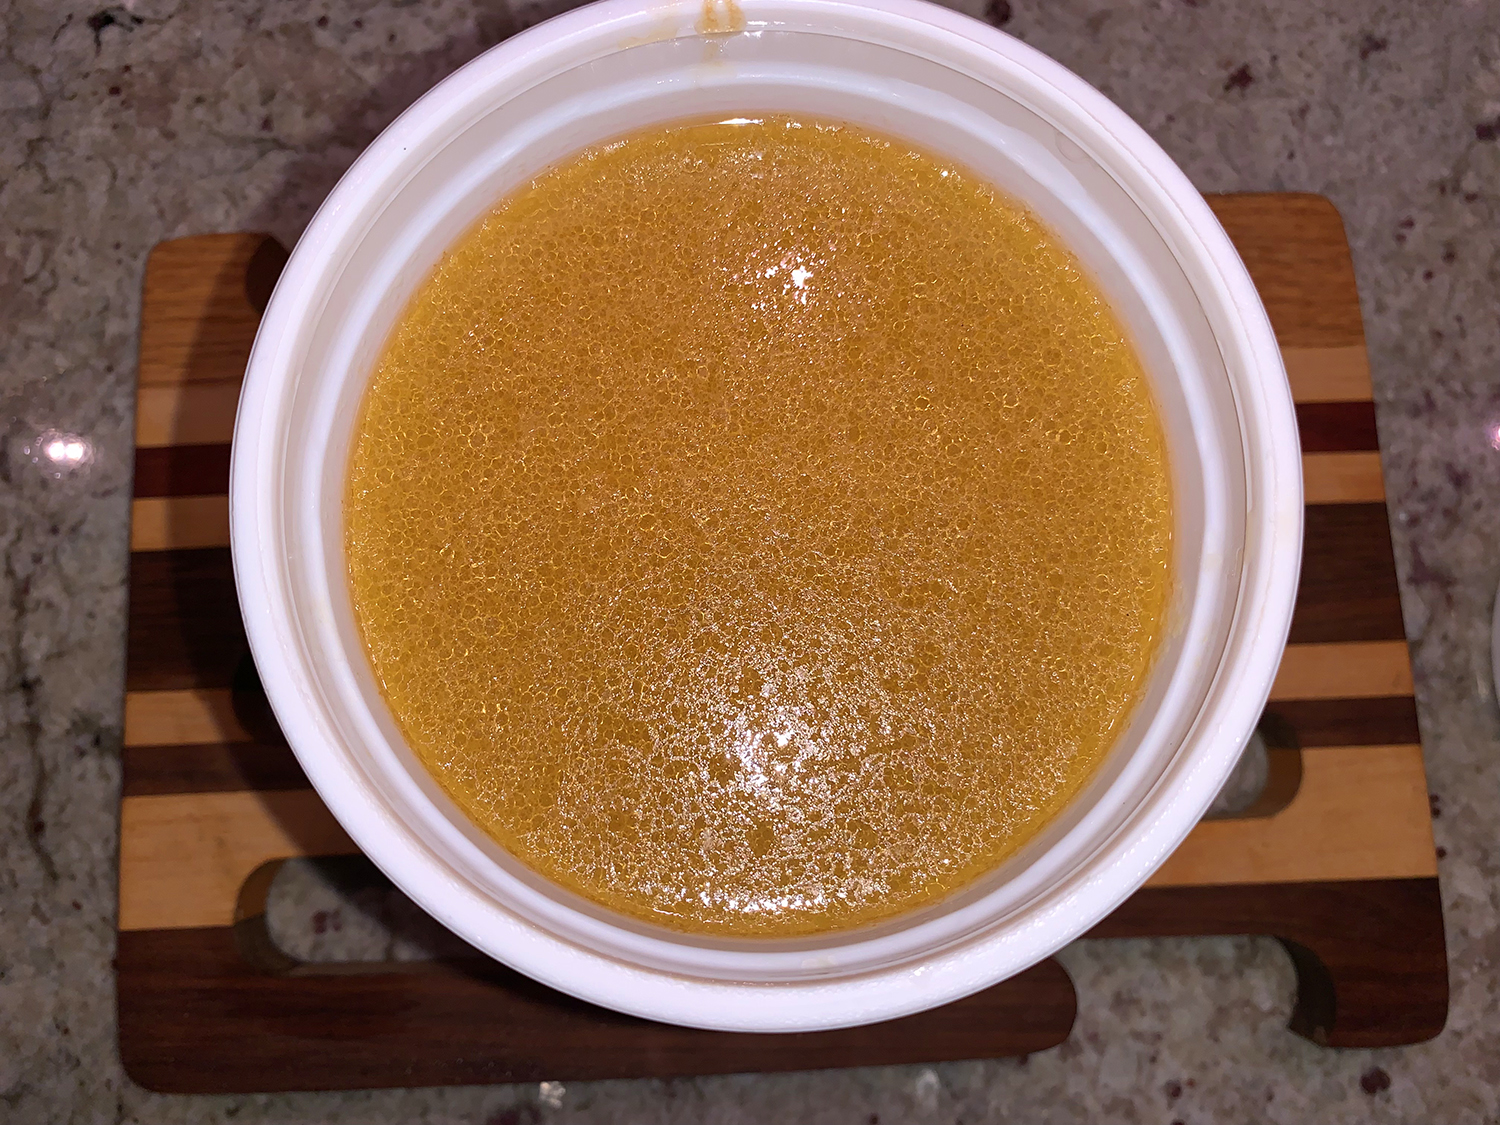
Curious? We certainly were. Let me put your mind at ease. Potlikker, or Pot Liquor, a Southern tradition, is the brothy liquid gold left behind after boiling greens and beans. However, here potlikker is made from scratch and used as an ultra-concentrated broth—often the first step in imbuing a dish with layers of meaty flavor. The potlikker is made with dry-cured country ham, but if you can’t find it, get smoked ham hocks which will bring similar intensity.

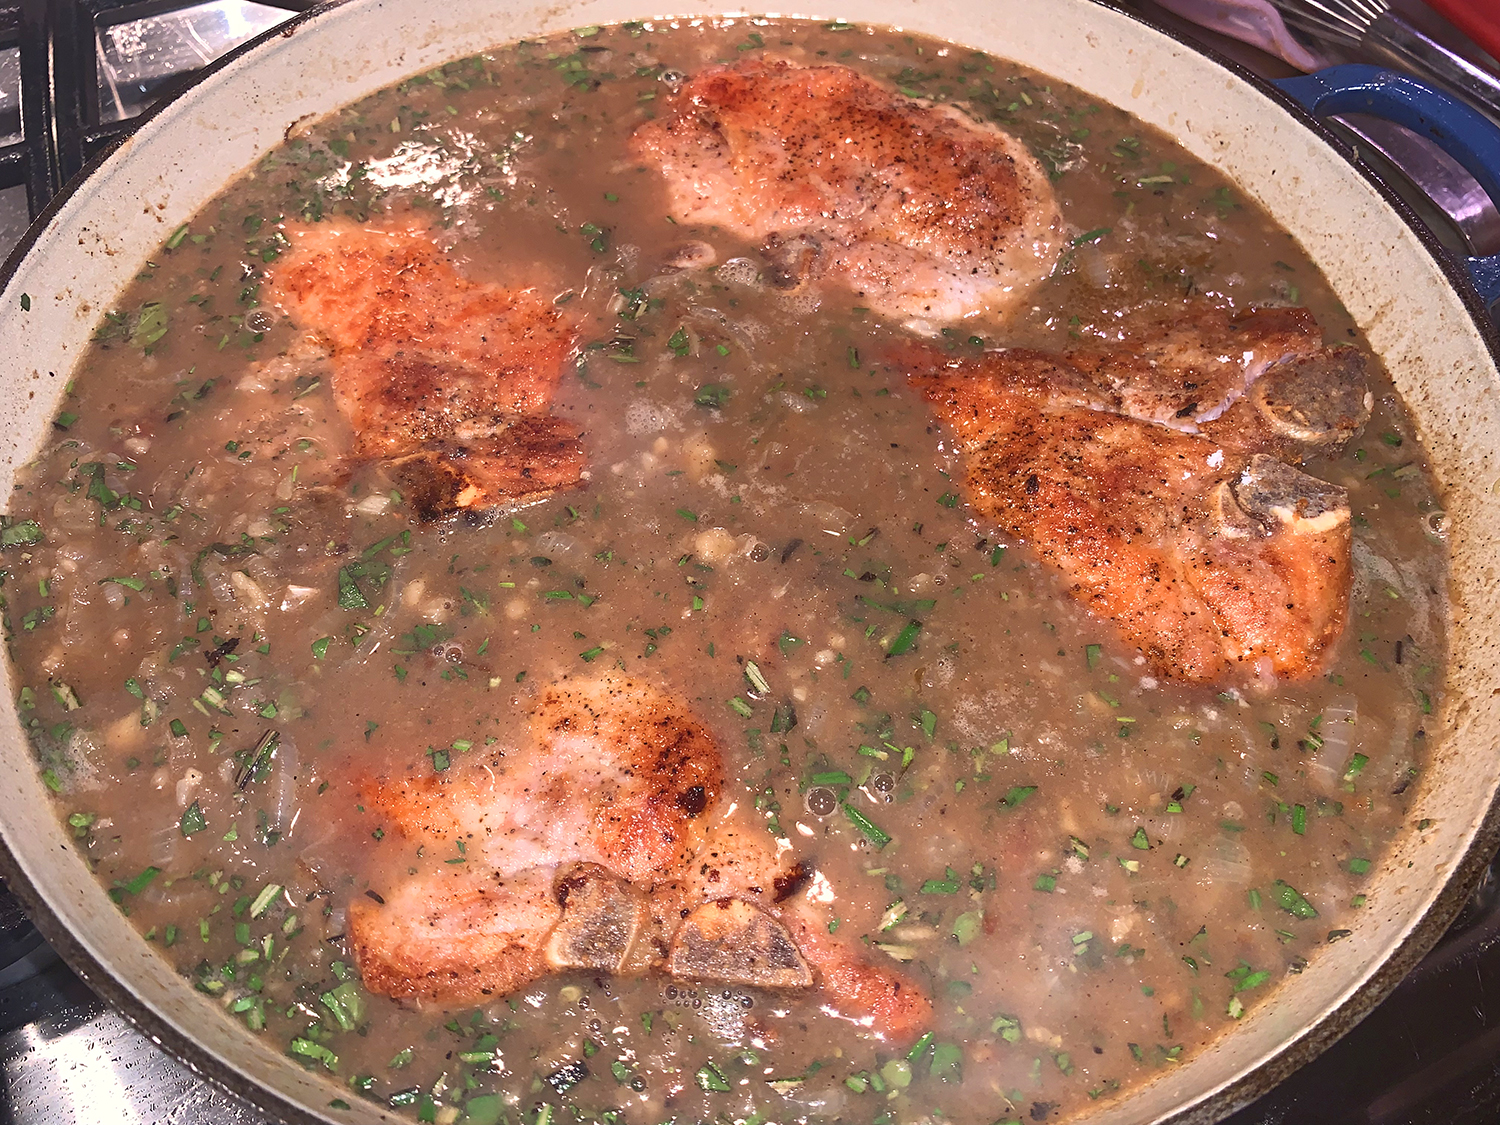
The juicy seared pork chops get smothered in a rich brown gravy made with the savory Country Ham Potlikker for layer upon layer of Southern comfort. Making the broth is a crucial first step, so be sure to read through the recipe before you begin to make the Smothered Pork Chops dinner. We actually made the potlikker the day before, which saved a lot of time on dinner day.

We served our chops over hot buttered egg noodles with a wedge of braised cabbage.

*After the simmering was done, we deemed the sauce too thin. The pork chops were removed to a platter and covered with foil, while we reduced the sauce by boiling it over medium-high heat for an extra 10 minutes. When ready, remove the foil from the meat and pour the thicker sauce over the chops, sprinkle with thyme leaves and serve.

The meal was outstanding! We practically became plate-lickers of the potlikker sauce left on the dinnerware… The Bon Appétit article had a few more potlikker broths and companion recipes, so I’m sure this won’t be the last. For instance, Braised Chicken Thighs with Olives and Herbs to go with a smoked paprika and sun-dried tomato potlikker… my mouth is watering already…

Country Ham Potlikker Gravy

  • Servings: Yields 2 1⁄2 cups
  • Difficulty: easy
  • Print

Ingredients

  • 1 1½-oz. piece country ham or one 12-oz. smoked ham hock
  • 2 garlic cloves, finely chopped
  • ¾ tsp. crushed red pepper flakes
  • ½ tsp. Diamond Crystal or ¼ tsp. Morton kosher salt

Directions

  1. Bring ham, garlic, red pepper flakes, salt, and 1 quart water to a boil in a large saucepan. Reduce heat and simmer, skimming foam from surface as needed, 1 hour.
  2. Strain through a fine-mesh sieve into a medium heatproof bowl. Pick out ham and reserve for another use; discard remaining solids.

Do Ahead: Potlikker can be made 5 days ahead. Let cool. Transfer to an airtight container and chill, or freeze up to 3 months.

http://www.lynnandruss.com

Smothered Pork Chops in Potlikker Gravy

  • Servings: 4
  • Difficulty: easy
  • Print

Ingredients

  • 1½ cups (or more) Country Ham Potlikker
  • 2 Tbsp. distilled white vinegar
  • 2 Tbsp. Worcestershire sauce
  • 1 tsp. Dijon mustard
  • 1 tsp. ground allspice
  • 1 tsp. mild-flavored (light) molasses
  • ⅓ cup all-purpose flour
  • 4 1″–1½”-thick bone-in pork chops
  • Kosher salt, freshly ground pepper
  • ⅓ cup vegetable oil
  • 2 medium onions, thinly sliced
  • 6–8 garlic cloves, finely chopped
  • 1 Tbsp. finely chopped marjoram
  • 1 Tbsp. finely chopped rosemary
  • 1½ tsp. finely chopped thyme, plus leaves for serving

Directions

  1. Whisk together potlikker, vinegar, Worcestershire sauce, mustard, allspice, molasses, and 1 cup water in a medium bowl; set potlikker mixture aside.
  2. Place flour in a shallow bowl. Pat pork chops dry; season with salt and pepper. Dredge chops in flour, shaking off excess, and transfer to a platter. Set remaining flour in bowl aside.
  3. Heat oil in a large Dutch oven or other heavy pot over medium-high. Working in 2 batches, cook pork chops until golden brown, about 3 minutes per side; transfer to a plate.
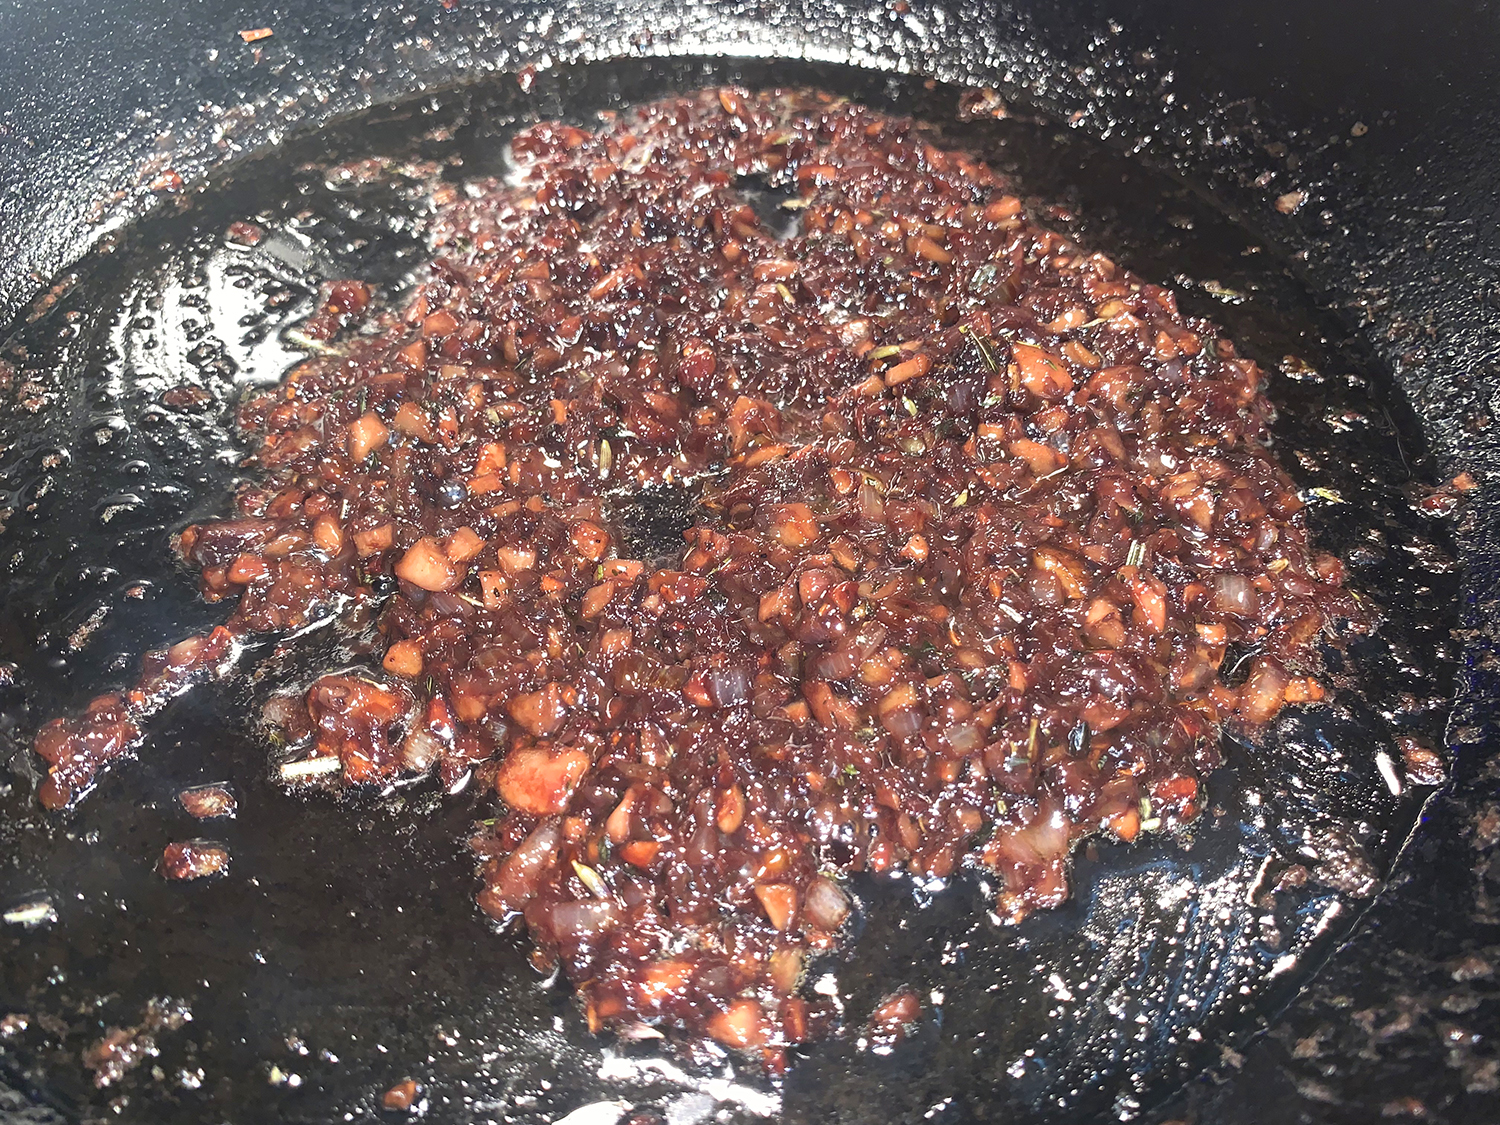
  4. Reduce heat to medium. Add onions and garlic; cook, stirring, until onions are softened, about 4 minutes. Reduce heat to low. Sprinkle reserved flour evenly over; cook, stirring often and scraping up any browned bits, until onions are beginning to brown, 6–8 minutes.
  5. Add reserved potlikker mixture; whisk until incorporated and lump-free. Bring to a boil, then add marjoram, rosemary, and 1½ tsp. thyme. Reduce heat to medium-low; return pork chops and any accumulated juices to pot. Cover and simmer until pork chops are tender, 70–80 minutes. If gravy looks too thick, thin with more potlikker or water. (*If it’s too thick, reduce the sauce, see above.) Taste gravy and season with more salt as needed.
  6. Transfer pork chops to a platter; top with thyme leaves.

http://www.lynnandruss.com

Adapted from a recipe by Carla Hall for Bon Appétit

Individual Beef Wellington

The back story. This elegant staple of 1960s dinner parties derives its name from The Duke of Wellington, the nineteenth century English statesman and military officer. The name is not due to his gourmet tastes, however, but because the final dish is said to resemble the shiny dark military boots he wore.

Boots aside, it was Valentine’s and we wanted to treat ourselves at home as opposed to dining out. Initially our plan was a surf and turf riff of some sort, but then The Hubs ran across these individual “wellies” from NY Times Cooking, and we never looked back. The dinner, with a fantastic bottle of rioja wine, red salad, red baby bliss potatoes and the most mouth-watering tender braised leeks was a moment in Heaven, sigh.

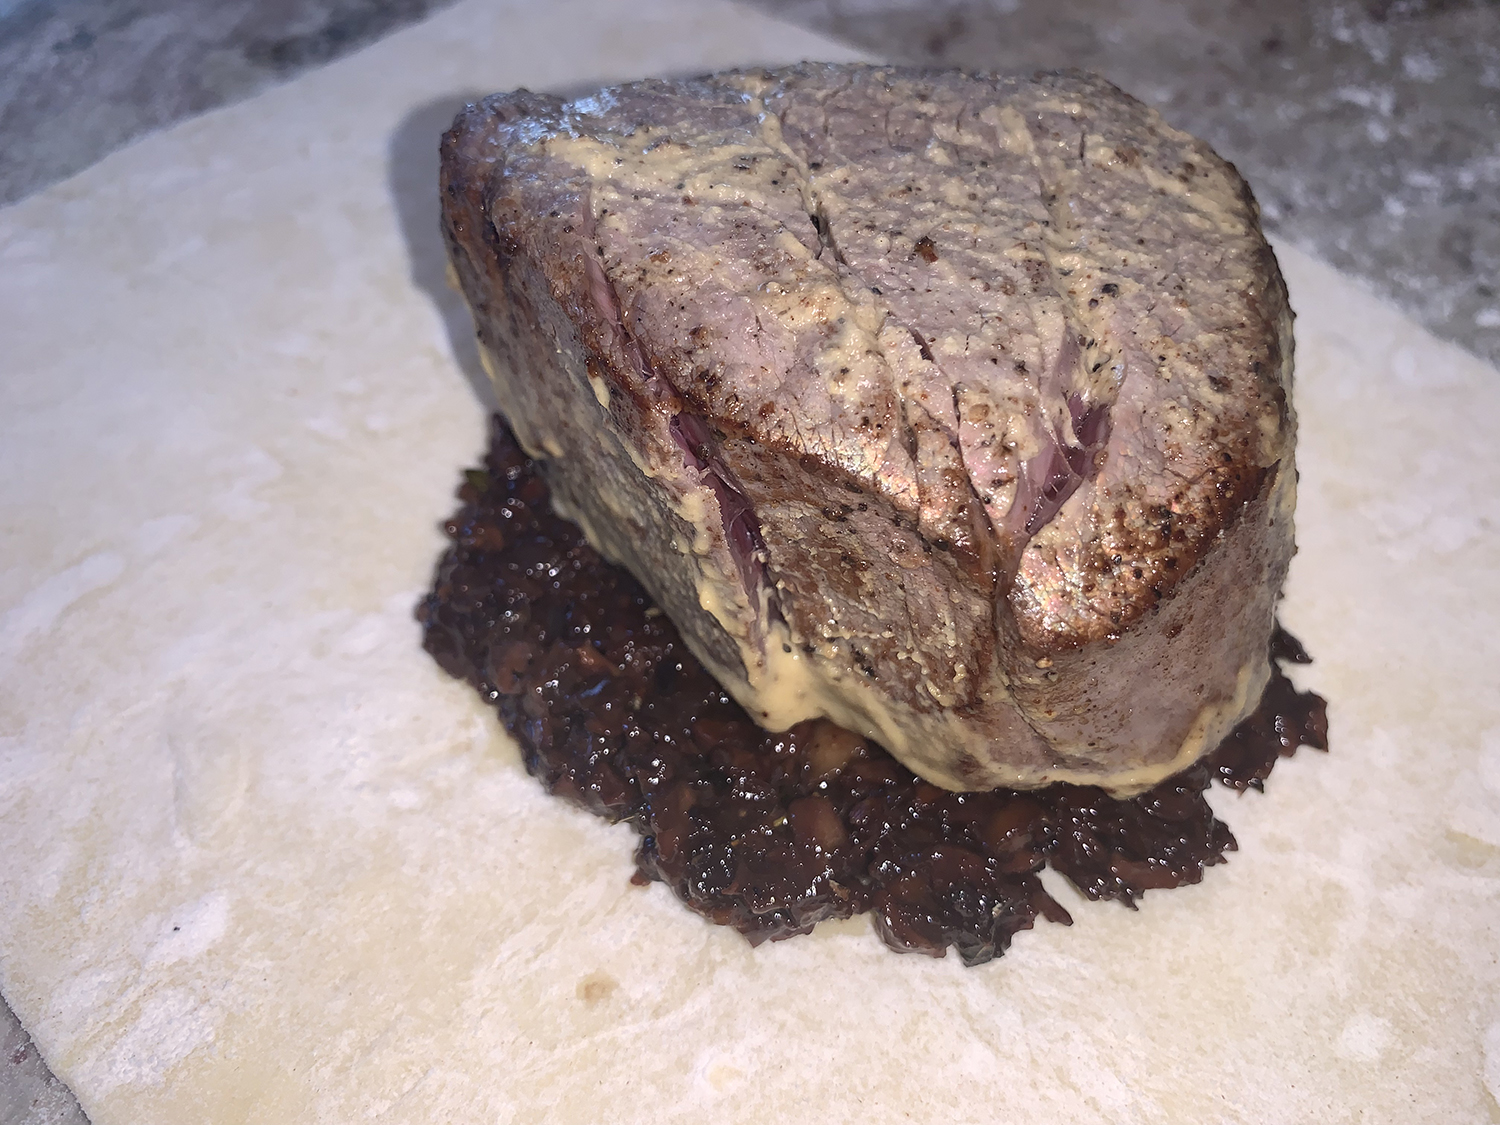
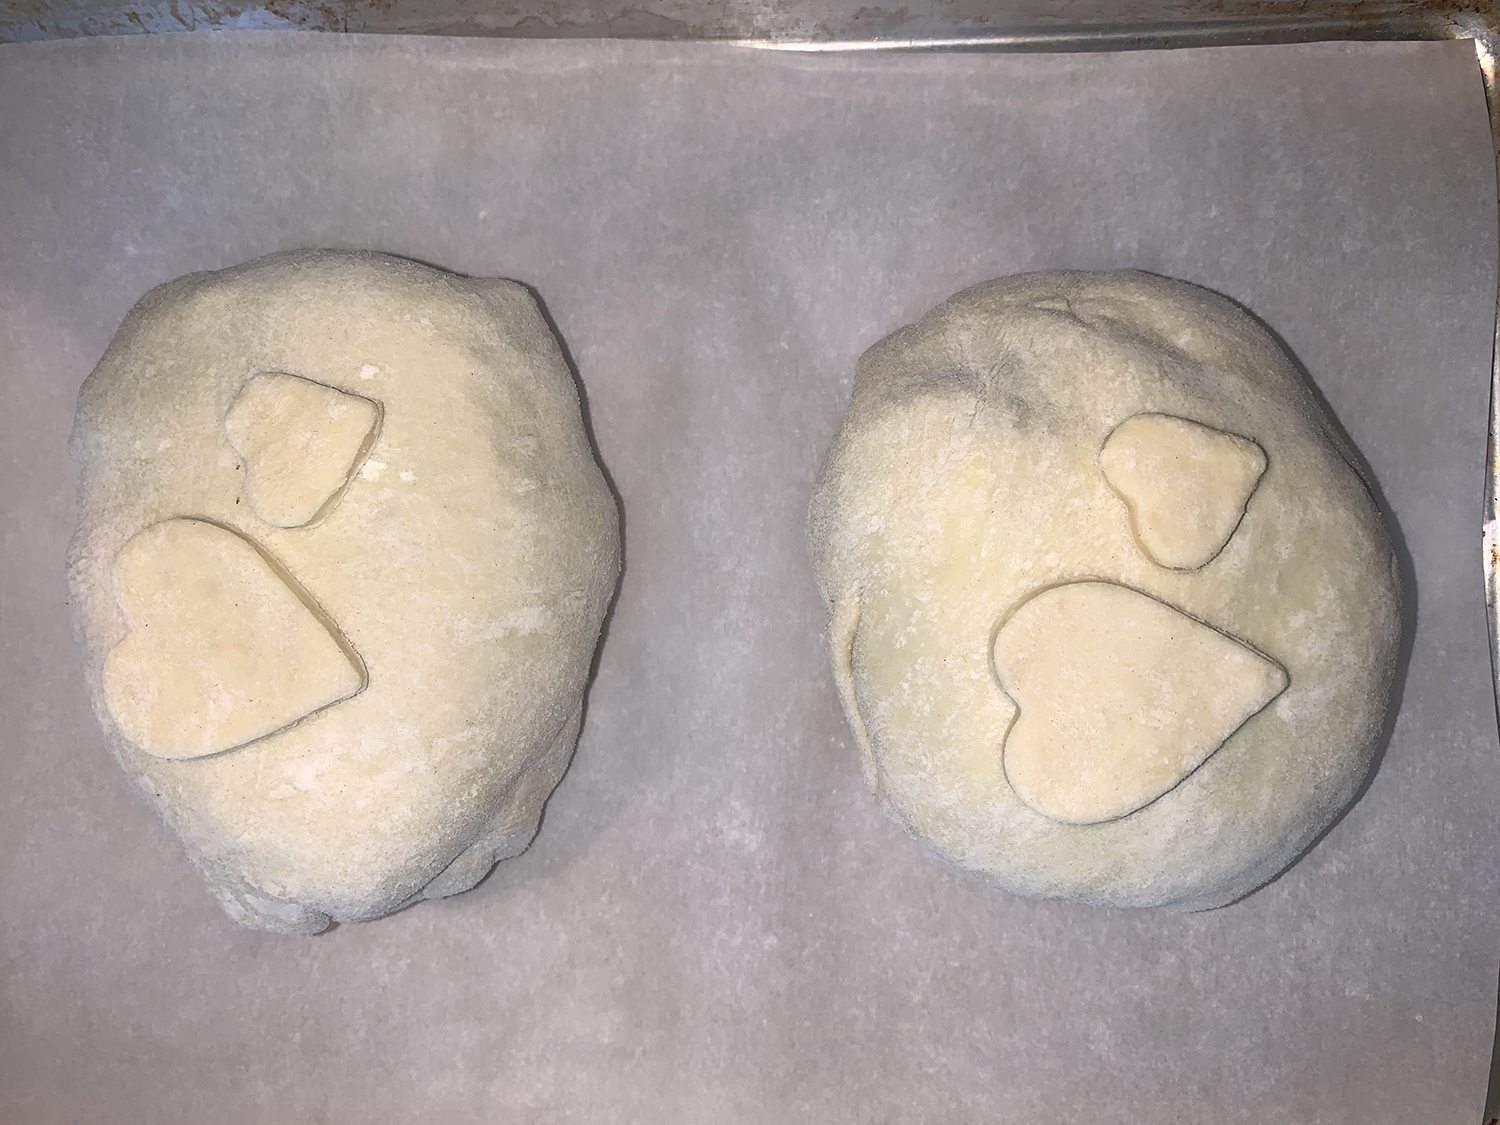
Beef Wellington traditionally is a 2 to 4 pound beef tenderloin topped with mushroom duxelles and foie gras pate, and then encased in puff pastry. The preparation is simplified by instead wrapping individual beef filets. The Hubs had the romantic idea of adding heart embellishments with the leftover puff pastry and I whole”heart”edly jumped on that idea ❤

The filets need to be cut about 1 1/2-inches thick to ensure that the meat doesn’t dry out or become overcooked while roasting in the oven. If the meat is cut thinner, reduce the oven cooking time appropriately. And if your filets are greater than six ounces, the puff pastry may need to be cut into a larger square in order to envelop the meat completely. Ours were over 6 ounces, yet I managed with just the one sheet.

Also, the cooking plus resting time, is for meat that’s served medium-rare. If you like your meat more done, increase the initial cooking time in the skillet by another minute or two, and monitor the doneness of the meat from the oven with an instant-read thermometer. This recipe makes 2 servings, but it easily can be doubled.

Individual Beef Wellington

  • Servings: 2
  • Difficulty: intermediate
  • Print

Ingredients

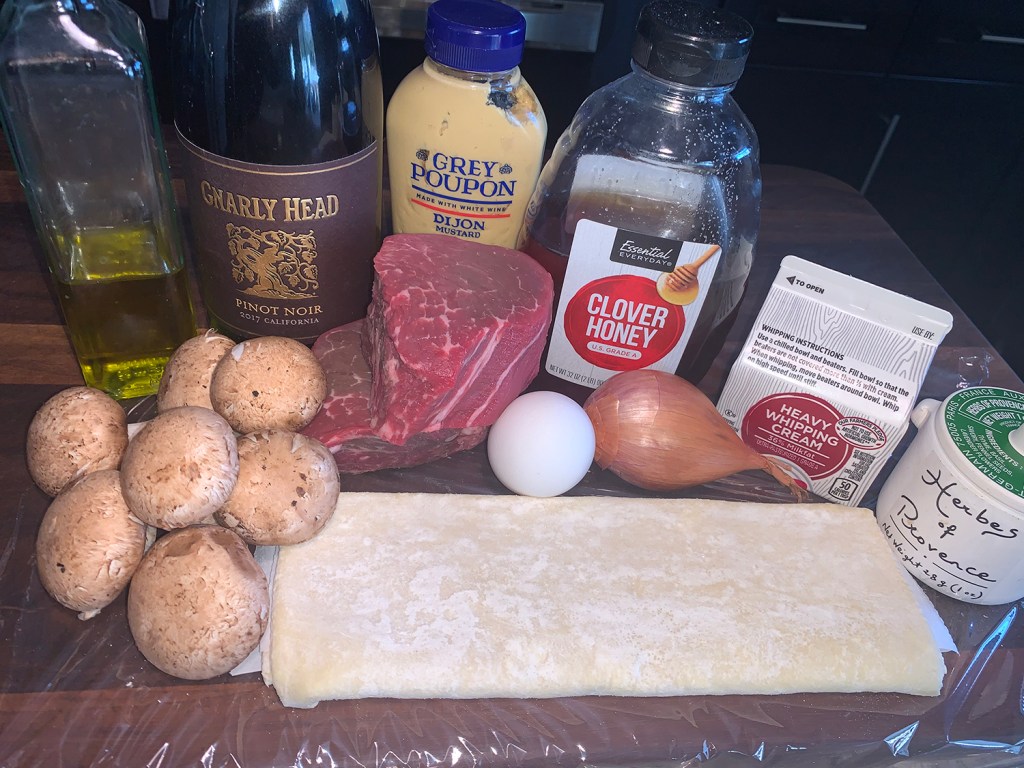
  • 2 Tbsp. olive oil
  • 2 (6-oz.) filet mignons, at least 1 1/2″ thick
  • Salt and freshly ground black pepper
  • 2 tsp. Dijon mustard
  • 4 oz. cremini mushrooms, wiped clean, stemmed, and finely chopped
  • 1 large shallot, minced
  • 1/2 tsp. herbes de Provence
  • 1 tsp. honey
  • 1/4 cup dry red wine
  • 2 Tbsp. heavy cream
  • Frozen puff pastry (1 sheet from 17 1/4-oz. package), thawed but still cold
  • 1 large egg

Directions

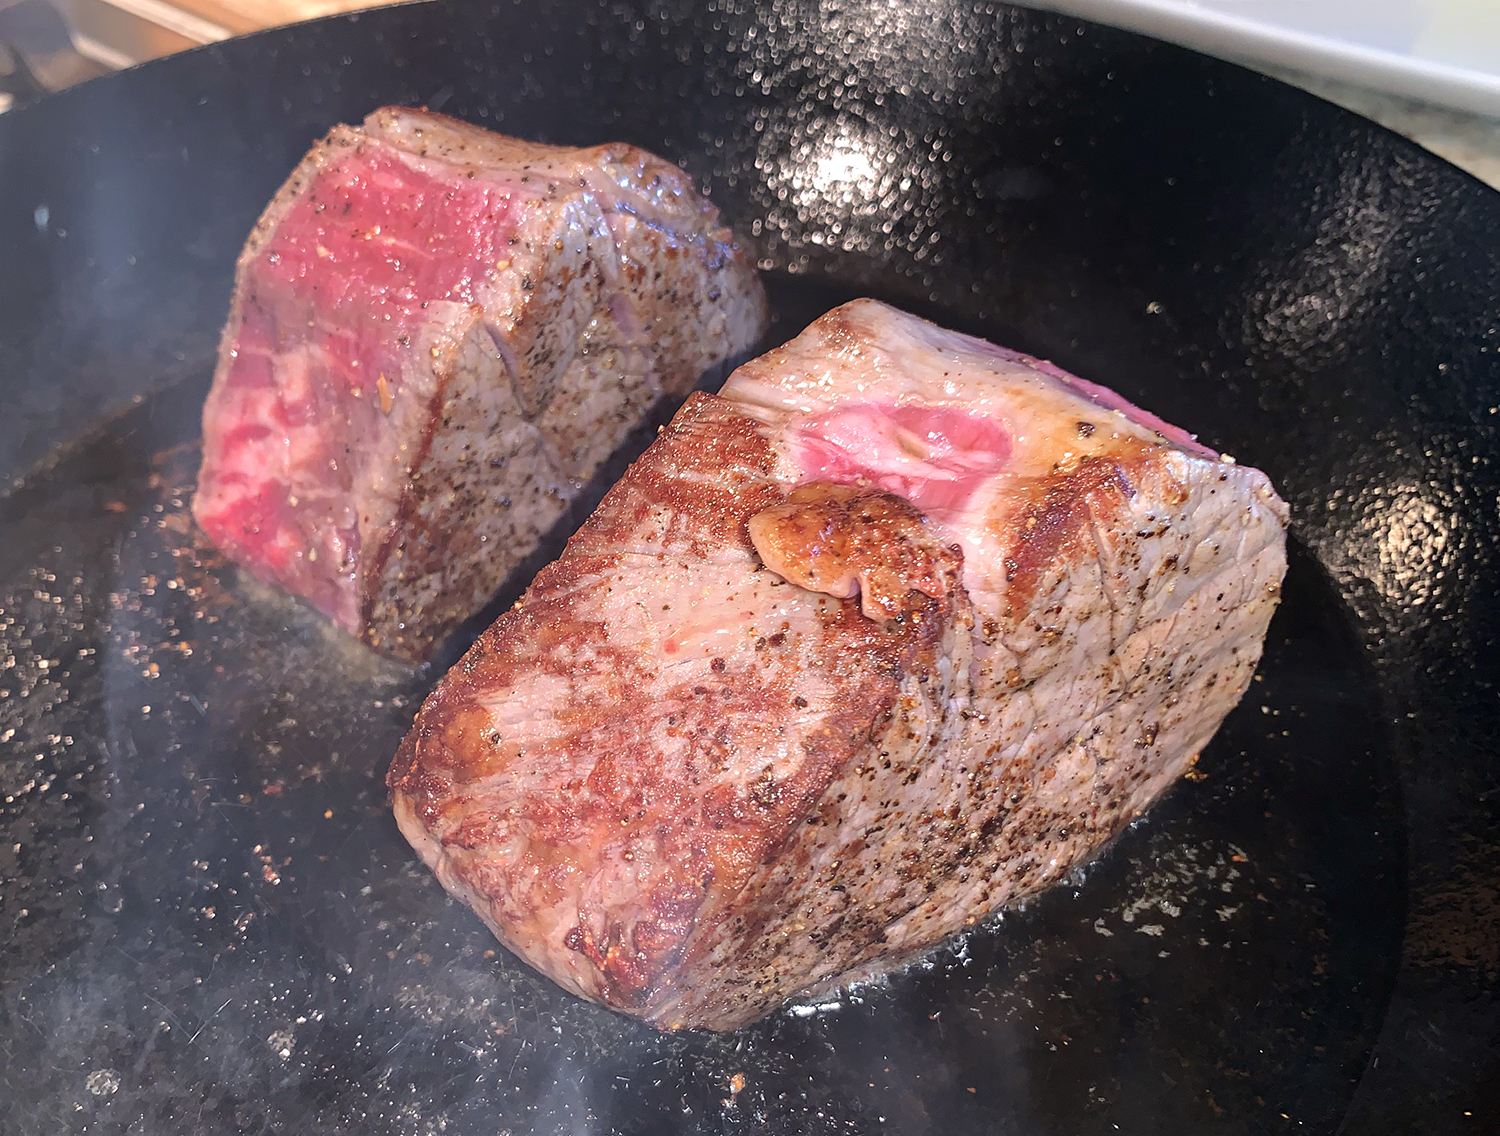
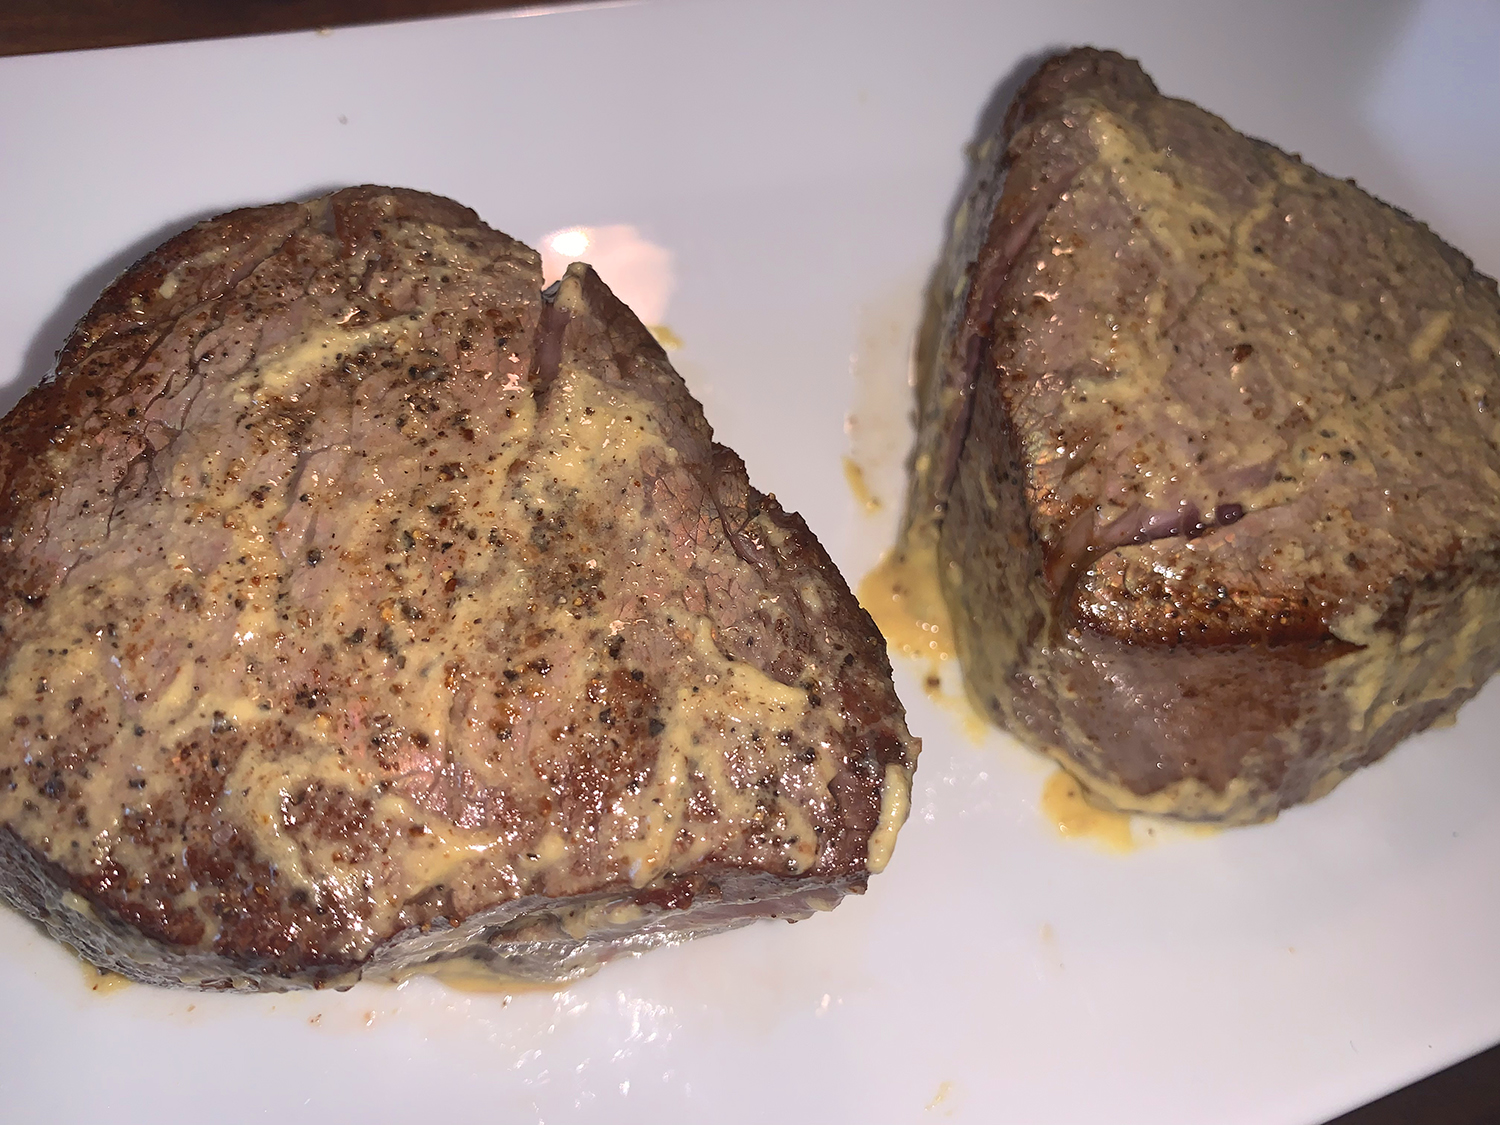
  1. Heat a large skillet over medium-high heat and add 1 tablespoon oil. Generously season the filet mignons with salt and pepper, and sear until the surfaces on the top, bottom and rounded sides are no longer raw, about 2 minutes total. Transfer the steaks to a plate, reserving the oil in the skillet. Brush or spread on the Dijon mustard all over each filet and refrigerate until cool, about 15 minutes.
  2. Turn the heat to medium-high, and add the remaining 1 tablespoon oil to the skillet. Add the mushrooms and shallot, season with salt and pepper, and cook, stirring occasionally, until deeply browned and no longer watery, about 10 to 12 minutes. Be patient: The mushrooms will first release some water; then, once that liquid evaporates, the vegetables will start to brown. If they are starting to stick before they brown, lower the heat or add a little water to the pan.
  3. When the mushrooms are deeply browned, reduce the heat to medium and stir in the herbes de Provence, honey, wine and cream. Let the liquids bubble and reduce until the moisture is thick and jammy, about 2 minutes. transfer to a small dish and refrigerate until cool.
  4. To assemble the Wellingtons, cut the puff pastry sheet in half (it doesn’t matter which direction). Lightly flour your working surface. Use a rolling pin to evenly roll each sheet into an 1/8-inch-thick rectangle. Mount a filet mignon-size circle of the chilled mushroom mixture in the center of each rolled-out sheet, evenly dividing the mixture between the 2 sheets. Top each mound of mushrooms with a filet.
  5. Carefully bring the edges of the puff pastry up and over the steaks, stretching the dough if needed to completely cover the meat. Twist the tops of the dough to seal the filling, as if you’re making dumplings. You want an even, uniform layer of pastry, so trim any overlapping dough as you go. When the tops are nicely sealed, flip the Wellingtons over, seam side down, and transfer to a parchment lined sheet pan. You can use your hands to gently tighten each Wellington into perfectly smooth spheres. Refrigerate to chill completely before baking, at least 30 minutes or up to 24 hours (ours were refrigerated 6 hours).
  6. Heat the oven to 425°. In a small dish, whisk the egg until homogenous and, using a pastry brush or your fingers, evenly coat the entire outsides of the chilled Wellingtons with the egg, discard the remainder. Bake until the pastry is golden brown, 17 to 20 minutes. The internal temperature should read 120° for medium-rare (it will continue to cook as it rests.)
  7. Transfer the Wellingtons to serving plates.Let them rest for about 15 minutes before serving.

http://www.lynnandruss.com

Recipe from the NYTimes Cooking

Coconut Milk Chicken Stew with Sweet Potatoes and Bell Peppers

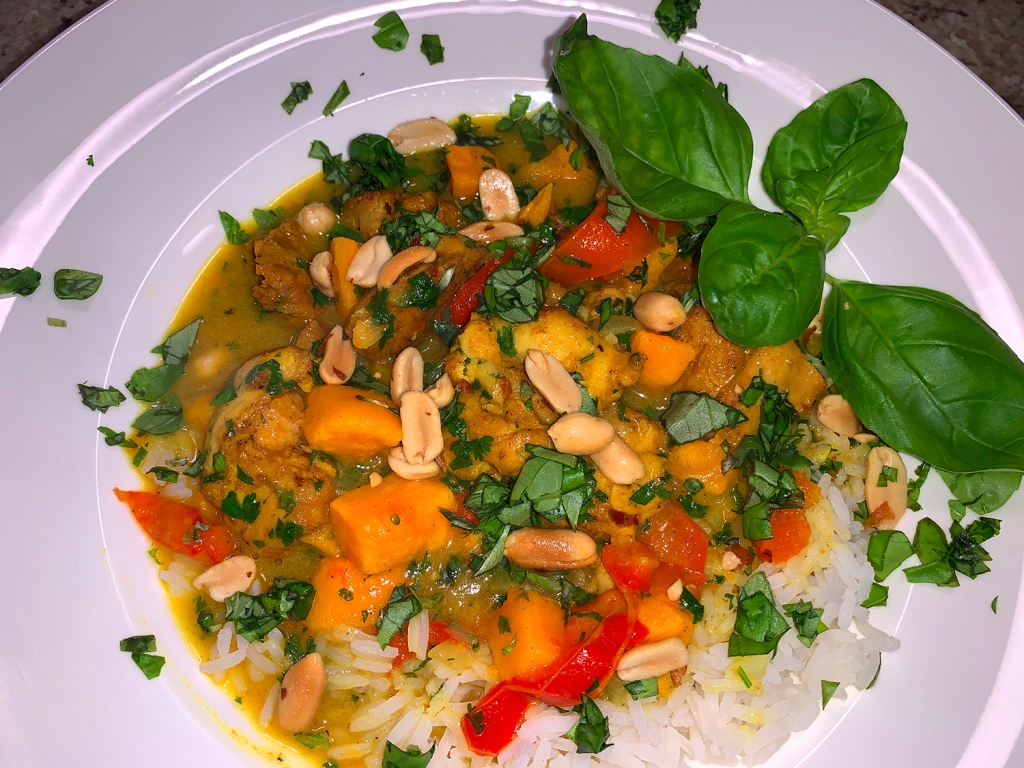
This Coconut Milk Chicken Stew with Sweet Potatoes and Bell Peppers recipe is a wonderful fusion of Thai flavors. It’s the perfect bowl of warming comfort food brimming with color and flavor. Made with chicken thighs, spices, sweet potatoes, bell peppers and creamy coconut milk, it’s cozy, creamy, perfectly spiced and filled with vegetables. Finish each bowl off with steamed rice, herbs, and plenty of lime.

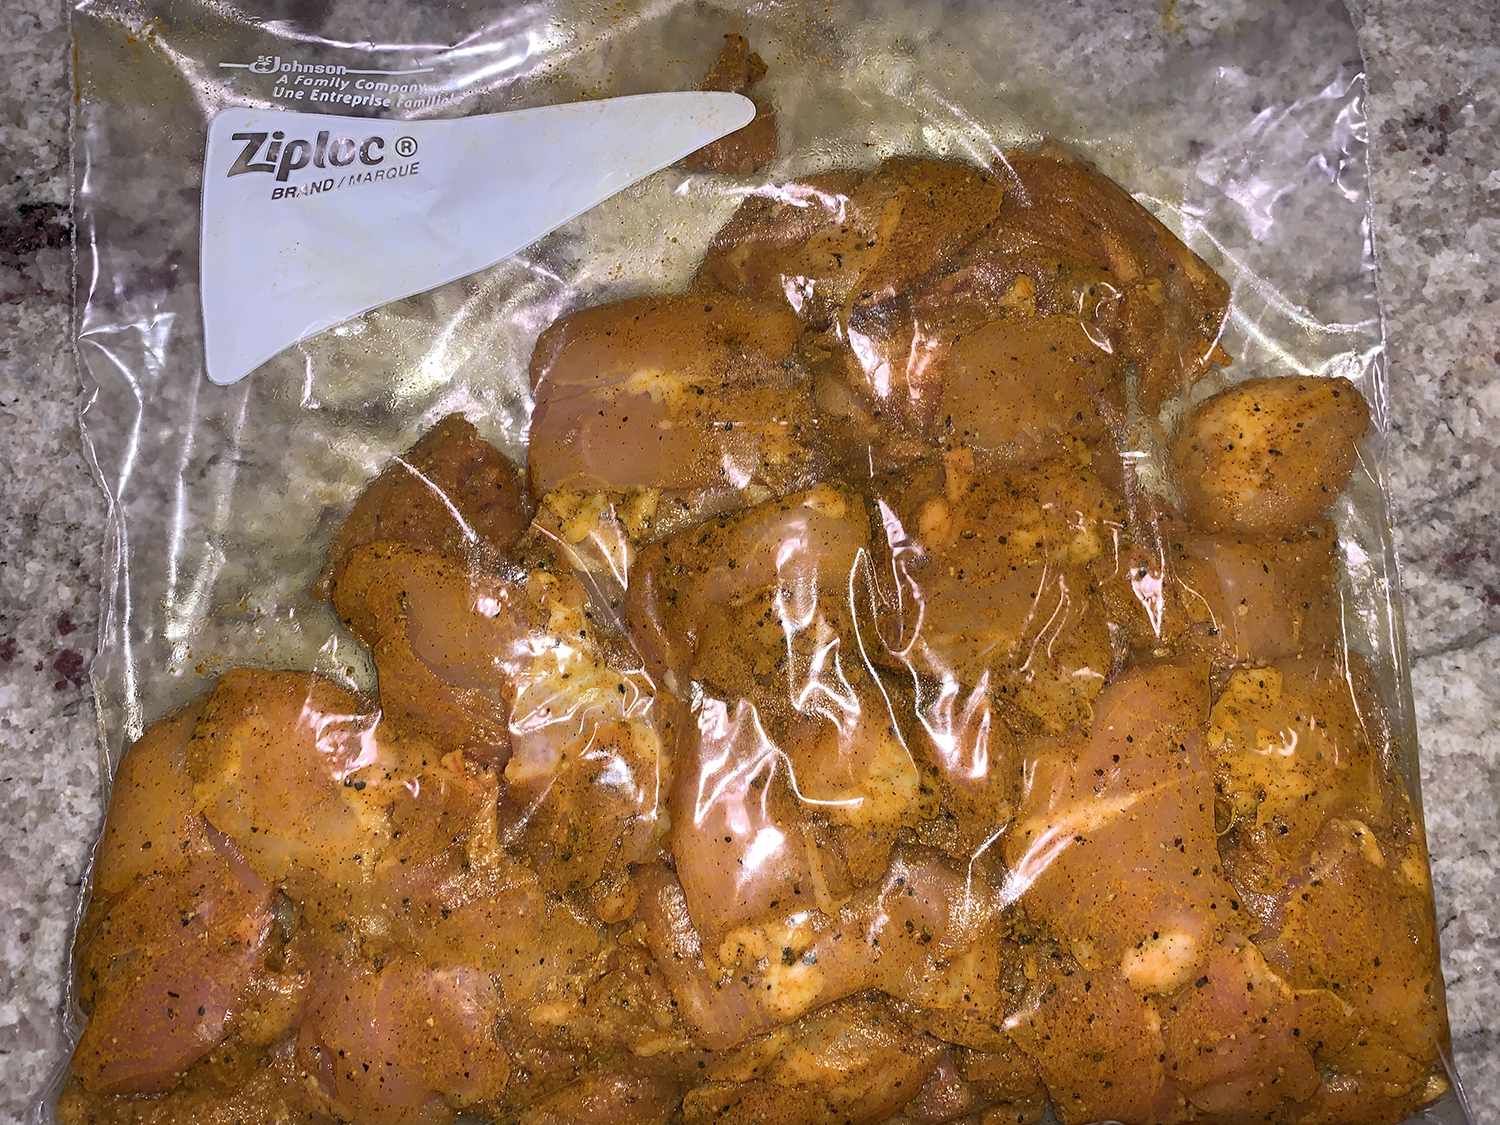
The spice mix on the chicken is key to the flavor. It’s a mix of turmeric, ginger, cumin and black pepper. After tossing the chicken with the spices, if you have the opportunity, let the chicken get happy overnight to take on even more flavor. You don’t have to do this, but even a few hours in the fridge adds more depth to the dish.

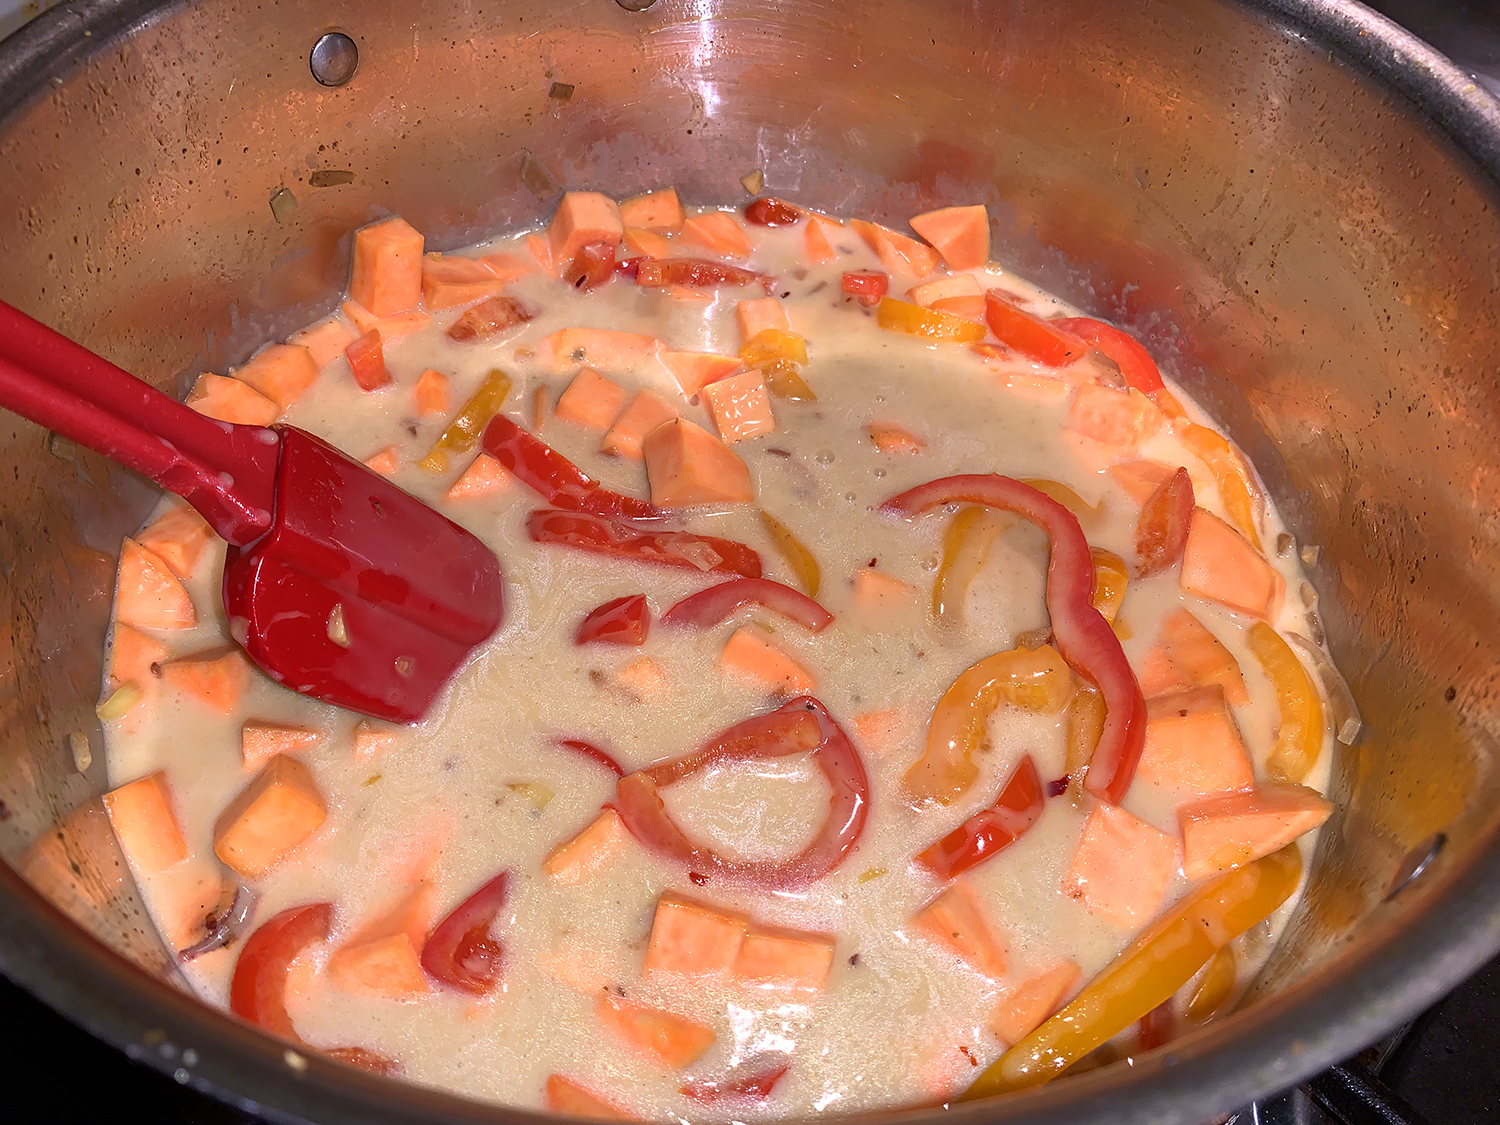
When everything is in, just simmer the chicken in the pot and let it slowly cook in the coconut milk. It doesn’t take too long, about 30 minutes or so for thighs (shorter if you’re using breasts.) The coconut milk is obviously creamy and flavorful, but it also prevents the poultry from drying out and creates super tender pieces of chicken.

Coconut Milk Chicken Stew with Sweet Potatoes and Bell Peppers

  • Servings: 4-6
  • Difficulty: easy
  • Print

Ingredients

  • 2 lbs. boneless, skinless, chicken thighs, trimmed of fat and cut into 2-inch chunks
  • 1 Tbsp. ground turmeric
  • 1 Tbsp. ground ginger
  • 1 tsp. ground cumin
  • 1 tsp. black pepper
  • Kosher salt
  • 3 Tbsp. sesame oil or extra virgin olive oil
  • 2 bell peppers, seeded and sliced
  • 2 medium shallots, chopped
  • 4 cloves garlic, chopped
  • 1/2 tsp. chili flakes, or more
  • 2 medium sweet potatoes, peeled and cut into 1/2″ cubes
  • 2 cans 14 oz. full-fat coconut milk, whisked until creamy
  • 2 Tbsp. fish sauce (or soy sauce)
  • 1/2 cup fresh cilantro, chopped
  • Steamed rice, for serving
  • 1/2 cup Thai basil leaves
  • 2 limes, quartered, for serving
  • Roasted peanuts

Directions

  1. Toss the chicken with the turmeric, ginger, cumin, pepper, a pinch of salt, and 1 tablespoon oil. Let sit 5 minutes or up to overnight in the fridge.
  2. Heat 1 tablespoon oil in a large Dutch oven set over medium-high heat. Add 1/2 the chicken and sear on both sides until browned, about 2 minutes. Pull the chicken out of the pan, and repeat with remaining half of chicken.
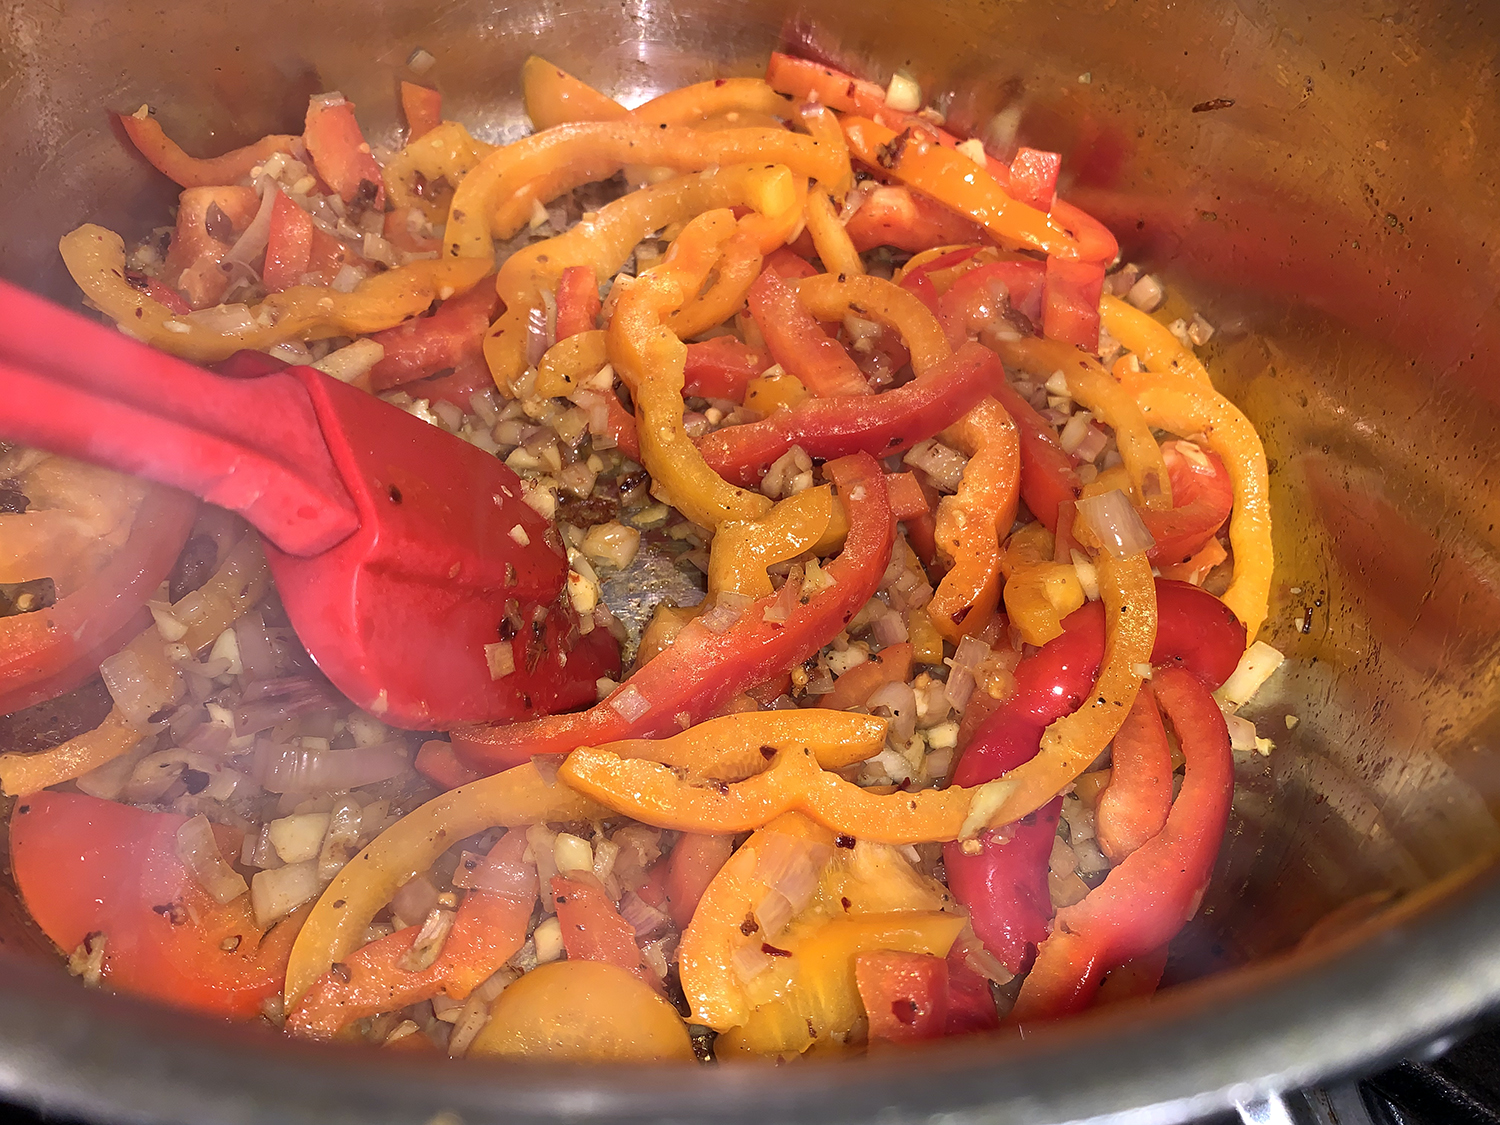
  3. To the pot, add 1 tablespoon olive oil, the peppers, shallots, garlic, and chili flakes, cook 3 minutes, then toss in the sweet potatoes. Reduce the heat to med-low. Pour in the coconut milk and fish sauce. Slide the chicken and any juices on the plate into the milk.
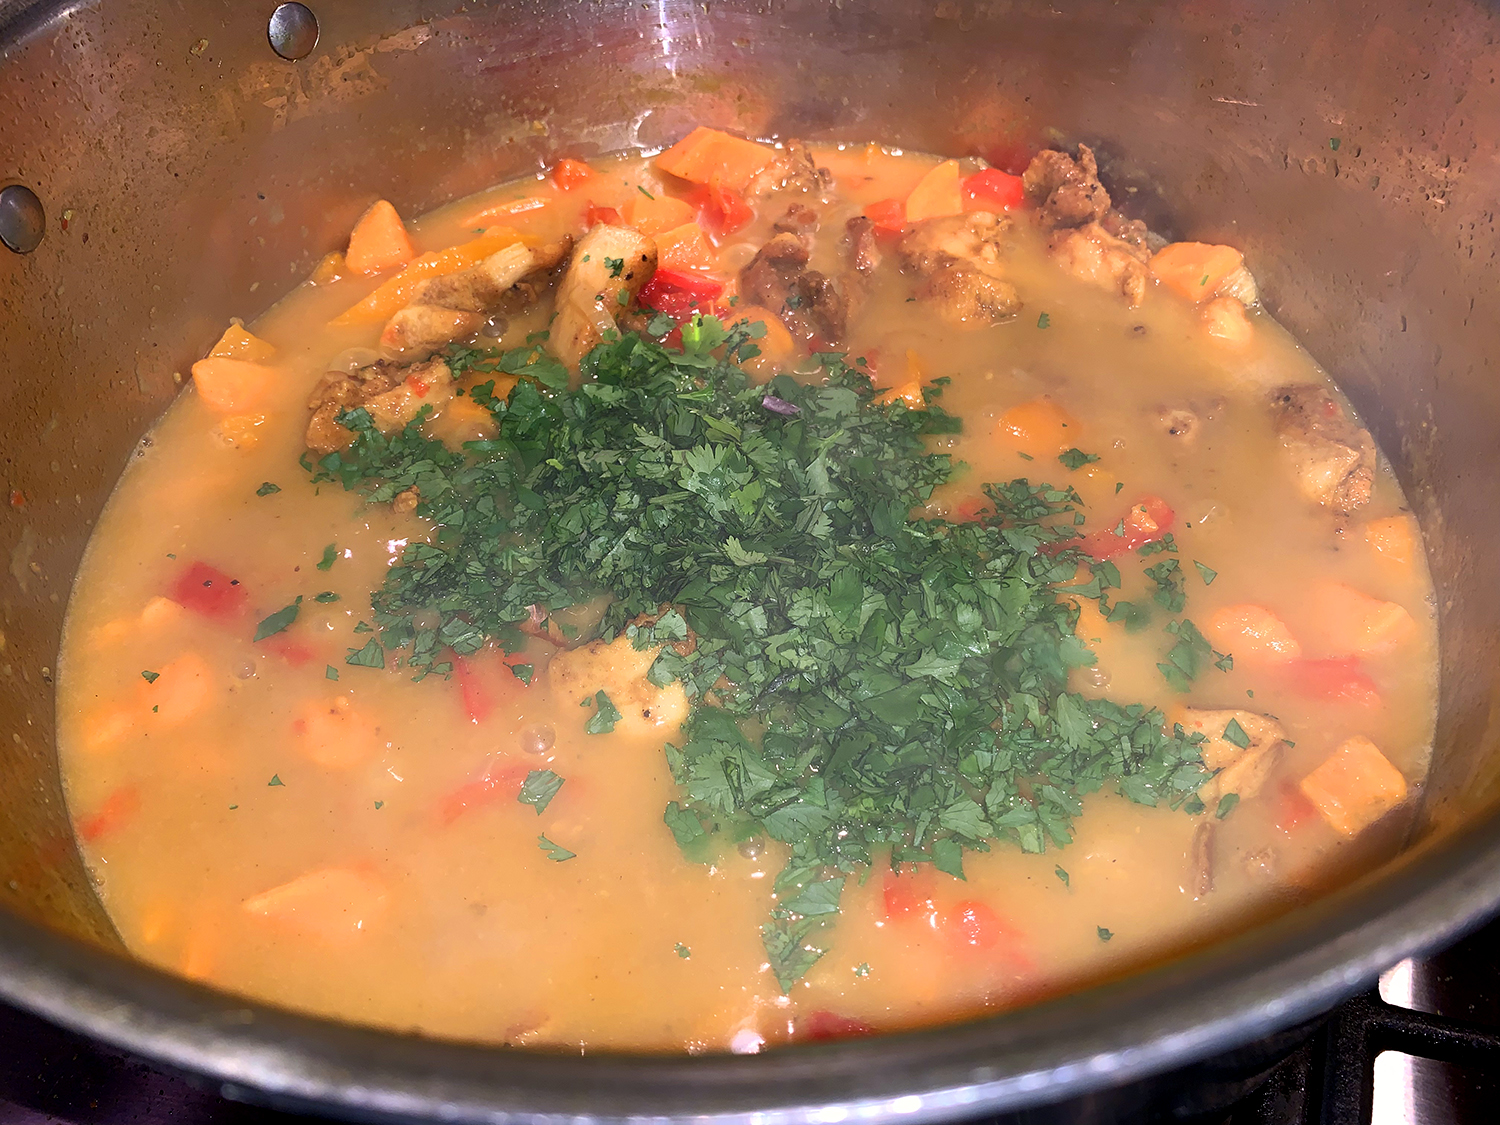
  4. Simmer, uncovered for 30 minutes, or until the chicken is cooked through ad potatoes are tender. If the sauce becomes too thick, cover the pot and reduce heat to low. Stir in the cilantro and season with salt.
  5. Meanwhile, make the steamed rice according to package directions.
  6. Divide rice between bowls, then spoon the chicken and sauce over the rice. Top with basil, peanuts, and serve with lime wedges.

http://www.lynnandruss.com

Recipe loosely adapted from Half-Baked Harvest

Braised Leeks; Two Options

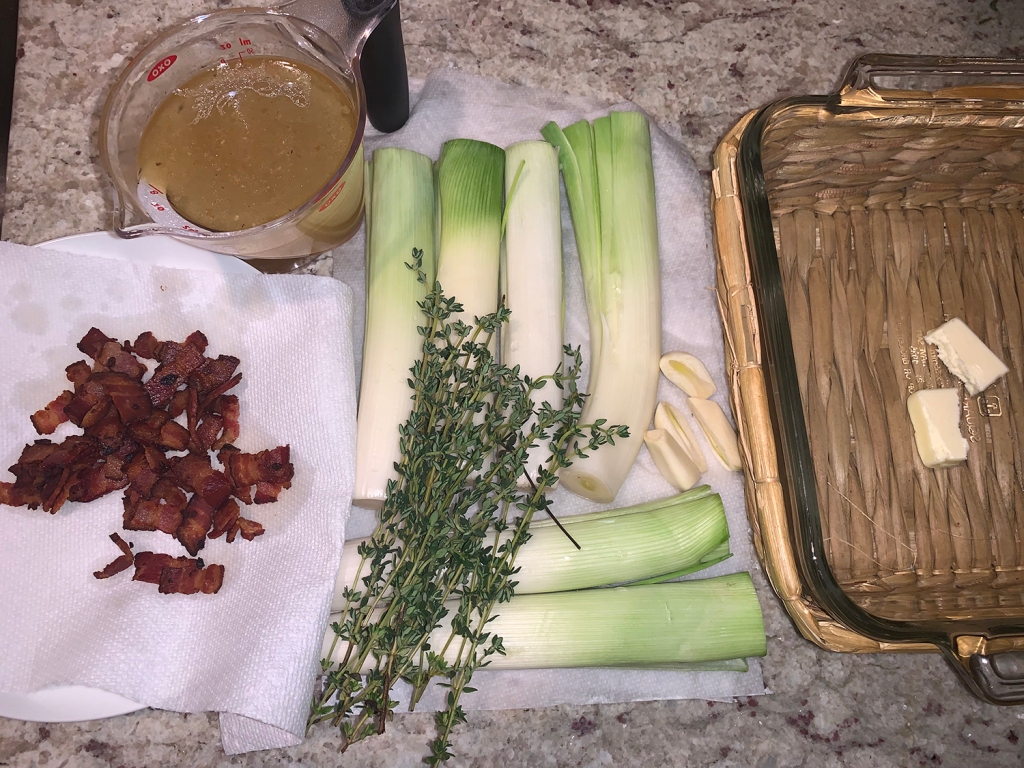
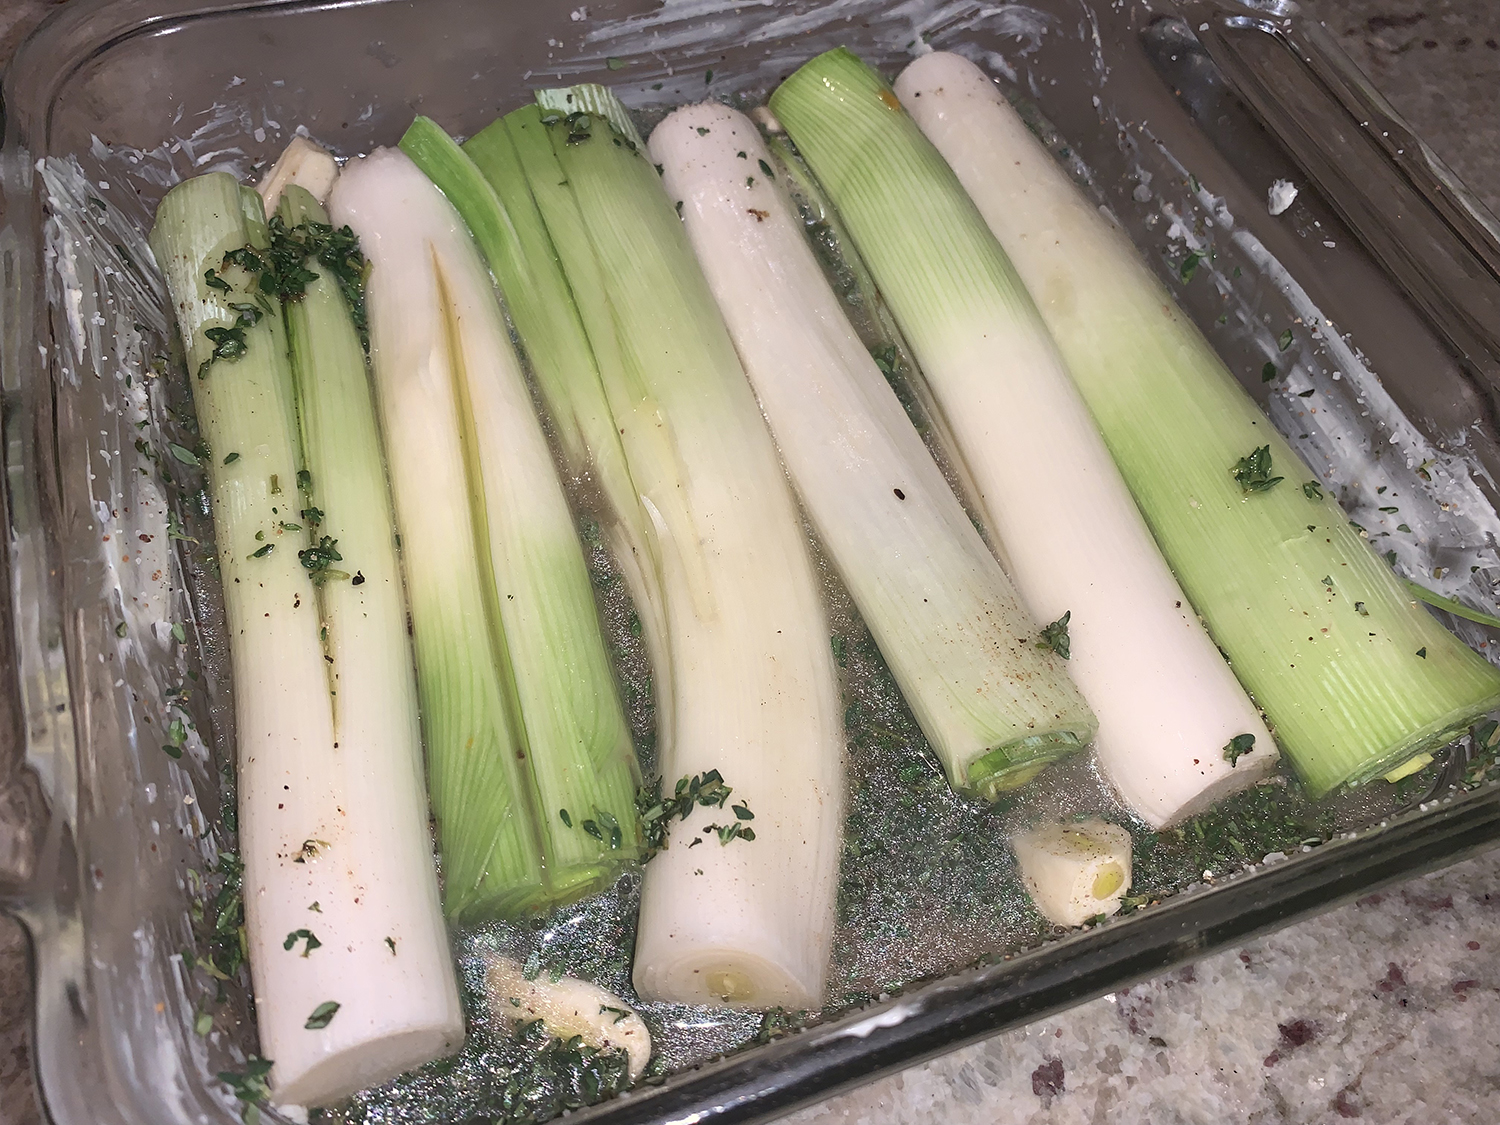
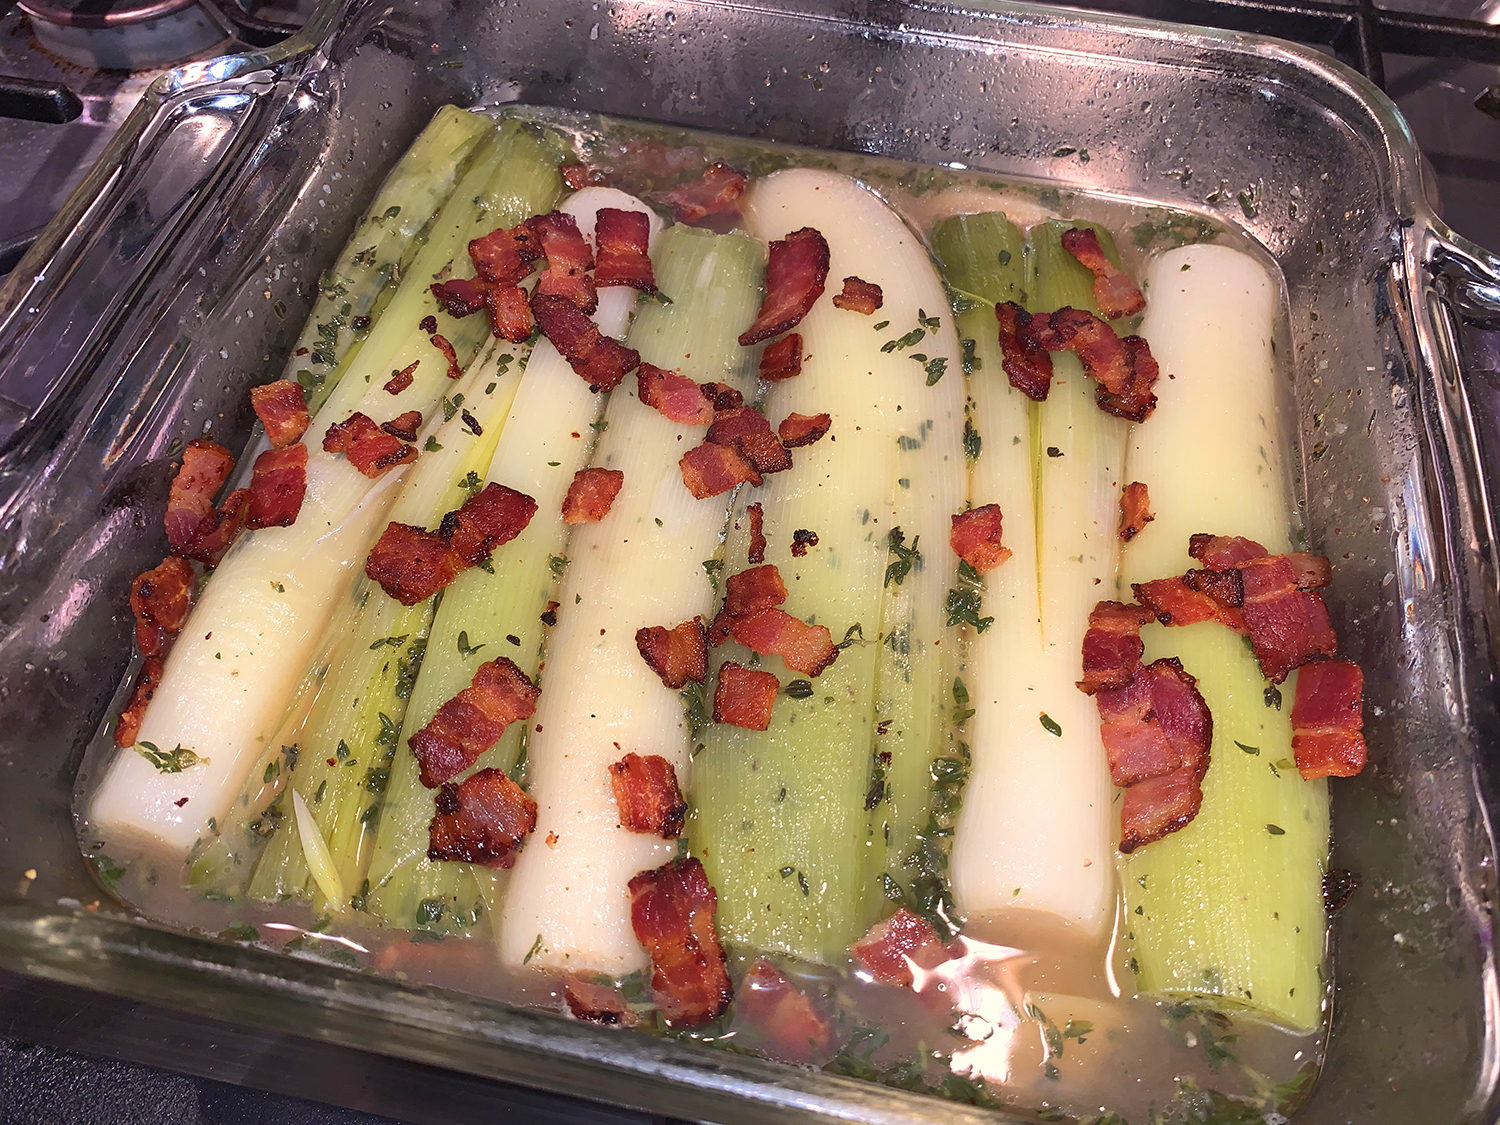
In the allium family, leeks are the tallest and offer the sweet taste of onion but with an earthier, grassy herbal character, and we love them! This first Braised Leeks with Bacon and Thyme recipe hailing from Molly Stevens “All About Braising” cookbook braises the leeks slowly in chicken broth until they collapse into blessed tenderness.

As Molly describes, braising reveals all of their goodness and brings out a complexity of flavor that would be lost by boiling or steaming. They are infinitely versatile and made a perfect accompaniment to our roasted chicken dinner. Serve them hot, warm, at room temperature or even a little chilled. They’ll keep for several days in the refrigerator.

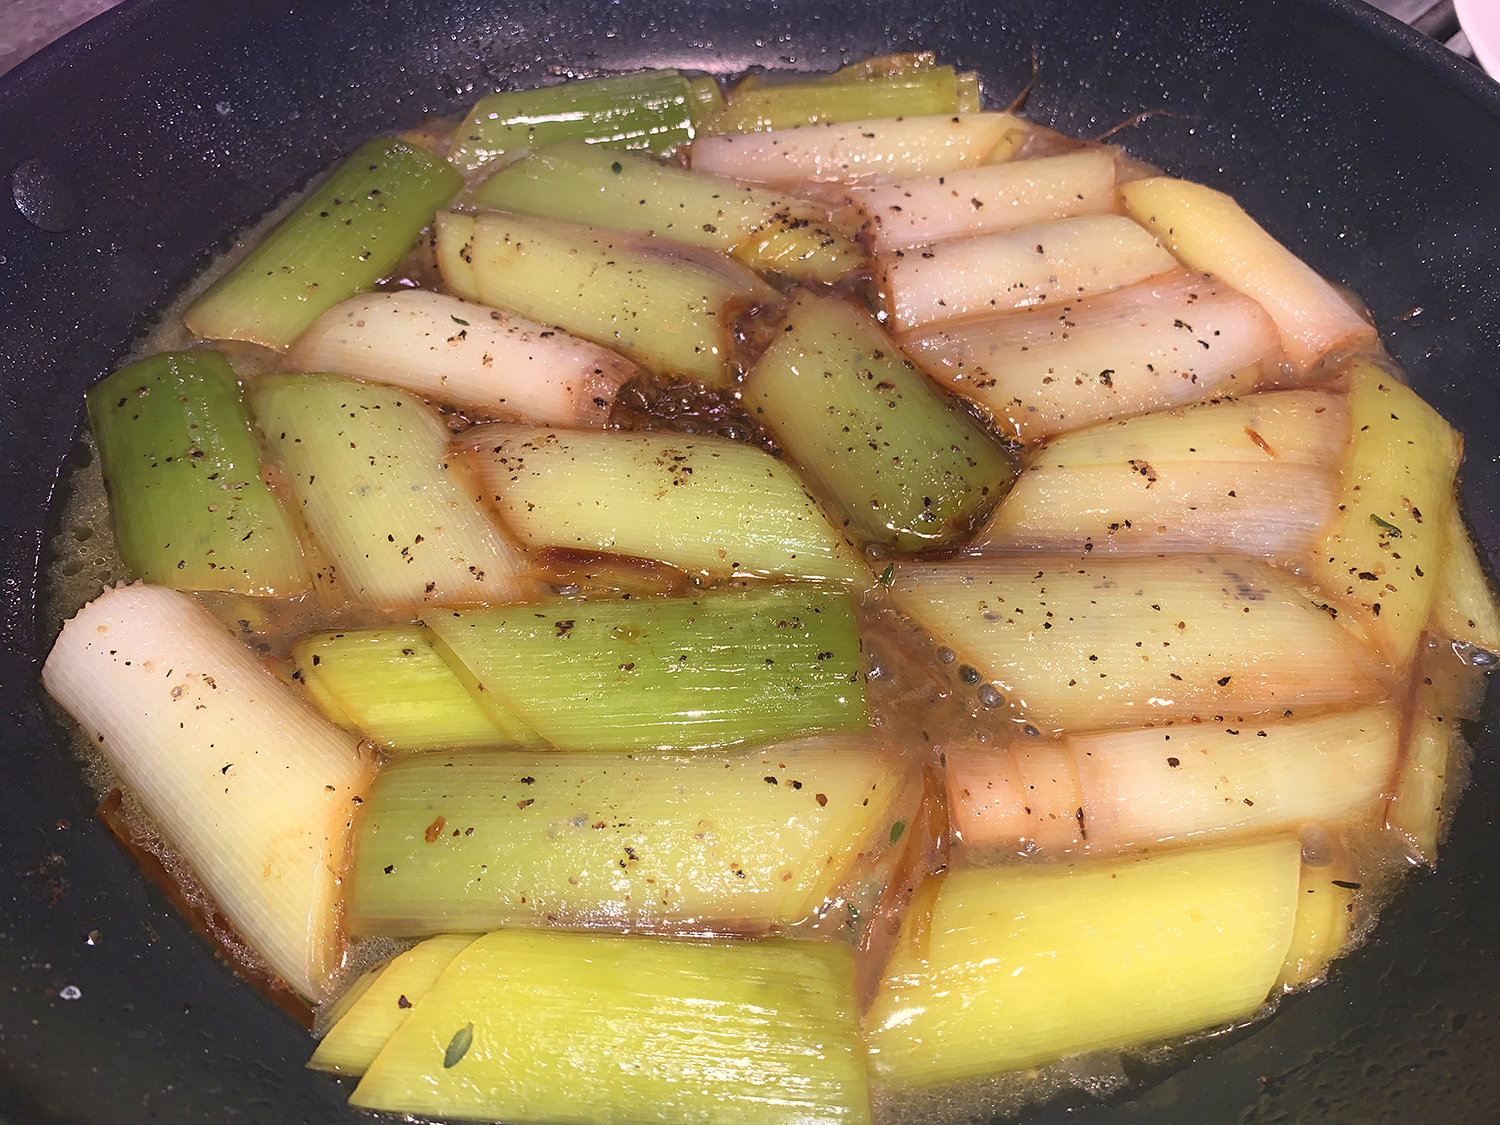
Option number two is a vegetarian dish from Milk Street. Braised Leeks with Balsamic Glaze are meltingly tender. They are poached in olive oil and water then drizzled with a tangy-sweet balsamic glaze. The vegetable retains its mild spring onion flavor with none of the raw allium pungency—a wonderful example of letting the natural flavor of an ingredient shine through!

Leeks are at their best in the fall and winter. Shop for leeks that feel solid at the base, not at all squishy. The green top portion should be dark, not dried out. Inspect the white portion to see that it’s smooth and bright, not split or slimy. Late-season leeks may have developed solid woody cores, an indication it is way past their prime, and shouldn’t be purchased.

Braised Leeks with Bacon and Thyme

  • Servings: 6
  • Difficulty: easy
  • Print

Ingredients

  • 4 slices thick-cut bacon, cut into 1/2-inch-wide strips
  • 1 tsp. butter
  • 4 to 5 lbs. medium to large leeks
  • 2 garlic cloves, peeled and cut lengthwise in half
  • Coarse salt and freshly ground pepper
  • Freshly grated nutmeg
  • 1 1/2 Tbsp. chopped fresh thyme (do not substitute dried)
  • 1 cup chicken stock, preferably homemade
  • 1/2 lemon

Directions

  1. Place the bacon in a medium skillet, set over medium heat, and fry, stirring often with a slotted spoon, until mostly crisp but with some softness remaining, 8-10 minutes. Transfer the bacon to a plate lined with paper towels to drain, and set the skillet aside.
  2. Preheat the over to 325°F. Butter a 13-by-9-inch baking dish. (We didn’t have as many leeks so we used a 9×9 square dish.)
  3. With a large knife trim off the root end of each leek, but leave the base intact. Get rid of the heaviest green part and any tough white parts. Cut off the tops at the point where the green turns from pale and smooth to dark and leathery.
  4. Cut the leeks lengthwise in half, without cutting completely through the root end, Wash the leeks thoroughly, holding them upside down under cold running water and flaring the layers to let the water run through to remove all the sand.
  5. Shake off the excess water and place them in one layer in the prepared baking dish. Tuck the garlic halves in the dish and season with salt, pepper and nutmeg. Sprinkle on the thyme.
  6. Pour off as much fat from the reserved bacon skillet, without discarding the bacon drippings. Place over high heat, add the stock, and bring to a boil to deglaze the pan, scraping with a wooden spoon. Pour the hot stock over the leeks.
  7. Cover the dish tightly with foil and place on a rack in the lower third of the oven. Braise for 30 minutes.
  8. Turn the leeks over with tongs, and continue braising uncovered until the leeks are fork tender, another 15-25 minutes. Scatter the reserved bacon over the leeks and continue braising for an additional 15 minutes, or until the leeks are soft enough to be easily pierced with the tip of a knife.
  9. With tongs and a slotted spoon, transfer the leeks and bacon to a platter, and cover with foil to keep warm. Pour any remaining juices, along with those from the platter, into a skillet and reduce down to 1/4 cup. Add a generous squeeze of lemon, taste for salt and pepper, and simply pour over the leeks. Serve warm or room temperature.

http://www.lynnandruss.com

Braised Leeks with Balsamic Glaze

You want to make sure not to stir the leeks too vigorously or too often when browning them. Stir gently just once or twice, without flipping them, so they color evenly. And once the water goes into the pan and the cover goes on, it’s best to simply shake the skillet, not stir its contents, so the leeks hold together.

These leeks just melted in the mouth! We omitted the sliced almonds for this meal; and next time we would cut the glaze in half. Although it was very good, we didn’t even use all of it and it was still a lot.

Braised Leeks with Basamic Glaze

  • Servings: 4
  • Difficulty: easy
  • Print

Ingredients

  • 1 lb. leeks, white and light green parts only, outer layers removed
  • 2 cup extra-virgin olive oil
  • 2 Tbsp. salted butter, cut into 2 pieces
  • Kosher salt and ground black pepper
  • 6 thyme sprigs, plus 1 teaspoon chopped fresh thyme
  • 1/4 cup balsamic vinegar
  • 1 tsp. honey
  • 3 Tbsp. sliced almonds, toasted (optional)

Directions

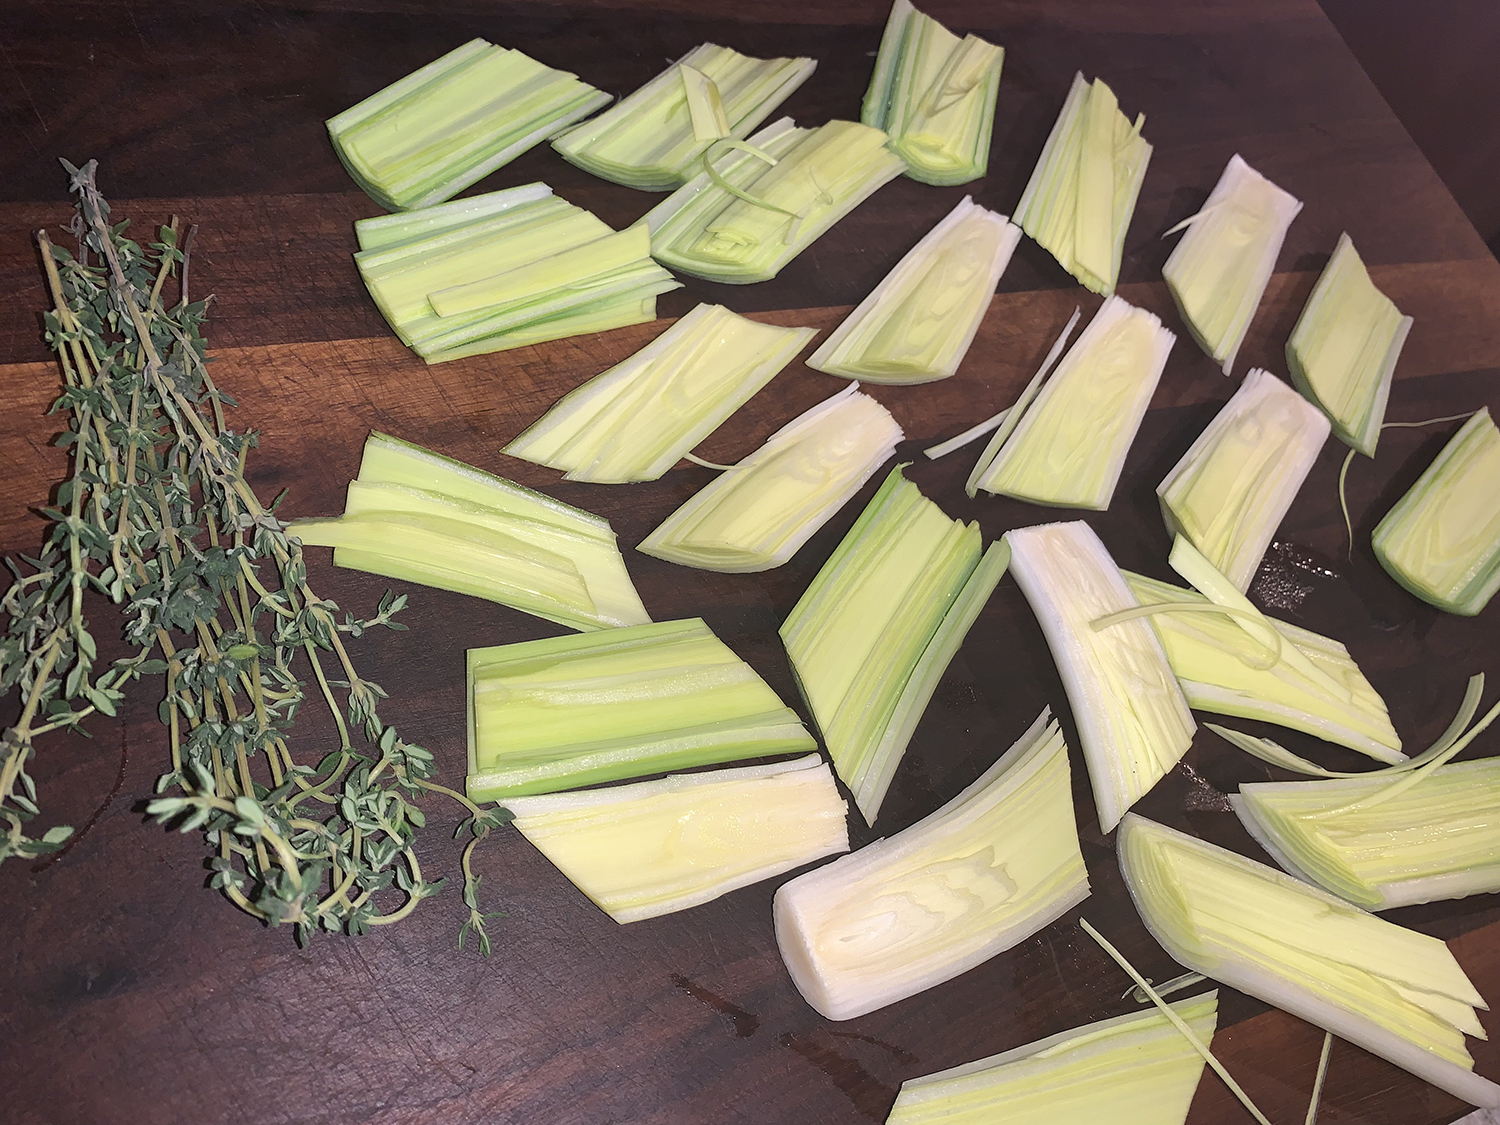
  1. Cut the leeks in half lengthwise. Fill a large bowl with water, submerge the leek halves and swish them around to remove the grit between the layers. Pour off the water and repeat until the leeks are clean, then pat dry. Cut the leeks on the diagonal into 2-inch sections, keeping the layers intact as much as possible.
  2. In a 12-inch skillet, combine the oil, butter and leeks, adding them to the pan cut side down. Set the pan over medium-high and cook, gently stirring only once or twice so the layers do not separate, until the leeks are lightly browned, 4 to 6 minutes.
  3. Add ¼ teaspoon salt and ½ teaspoon pepper, then slowly add ⅔ cup water. Add the thyme sprigs, cover and reduce to medium-low. Cook, occasionally shaking the skillet, until a knife inserted into the leeks meets no resistance and most of the water has evaporated, about 20 minutes.
  4. Using a slotted spoon, transfer the leeks to a platter, leaving the oil in the skillet. Remove and discard the thyme sprigs. Add the vinegar and honey to the pan, then cook over medium, stirring often, until the mixture is syrupy, 2 to 4 minutes.
  5. Taste and season with salt and pepper, then pour over the leeks. Sprinkle with the chopped thyme and the almonds, if using.

http://www.lynnandruss.com

Hoisin Broccoli and Tofu Traybake

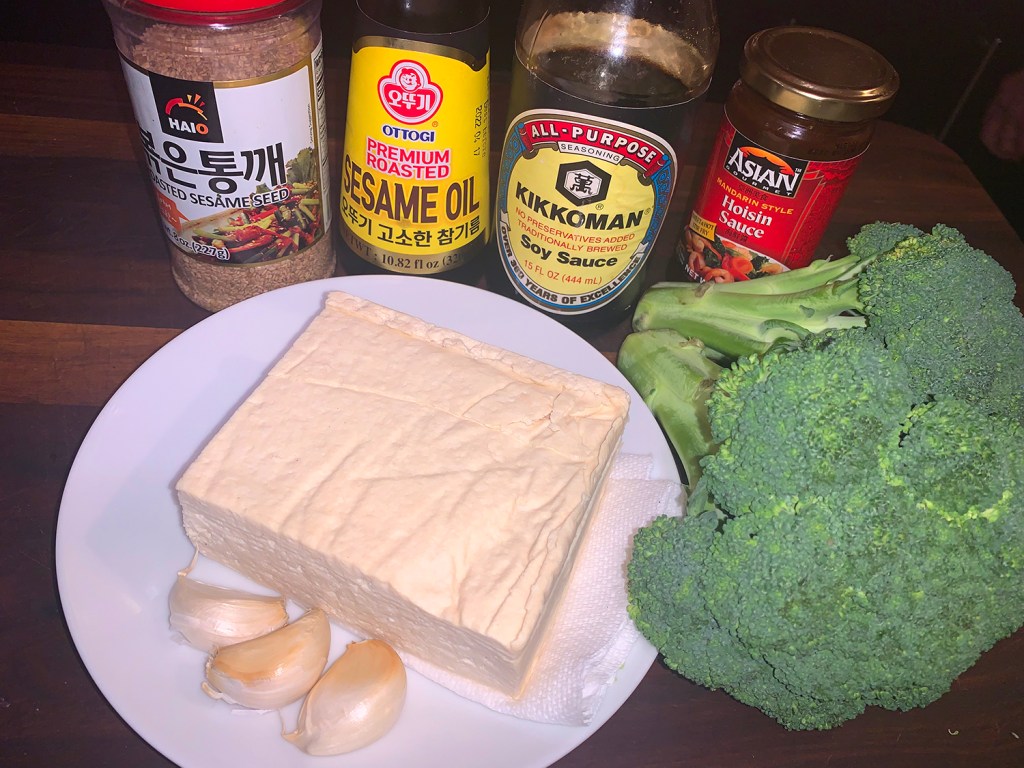
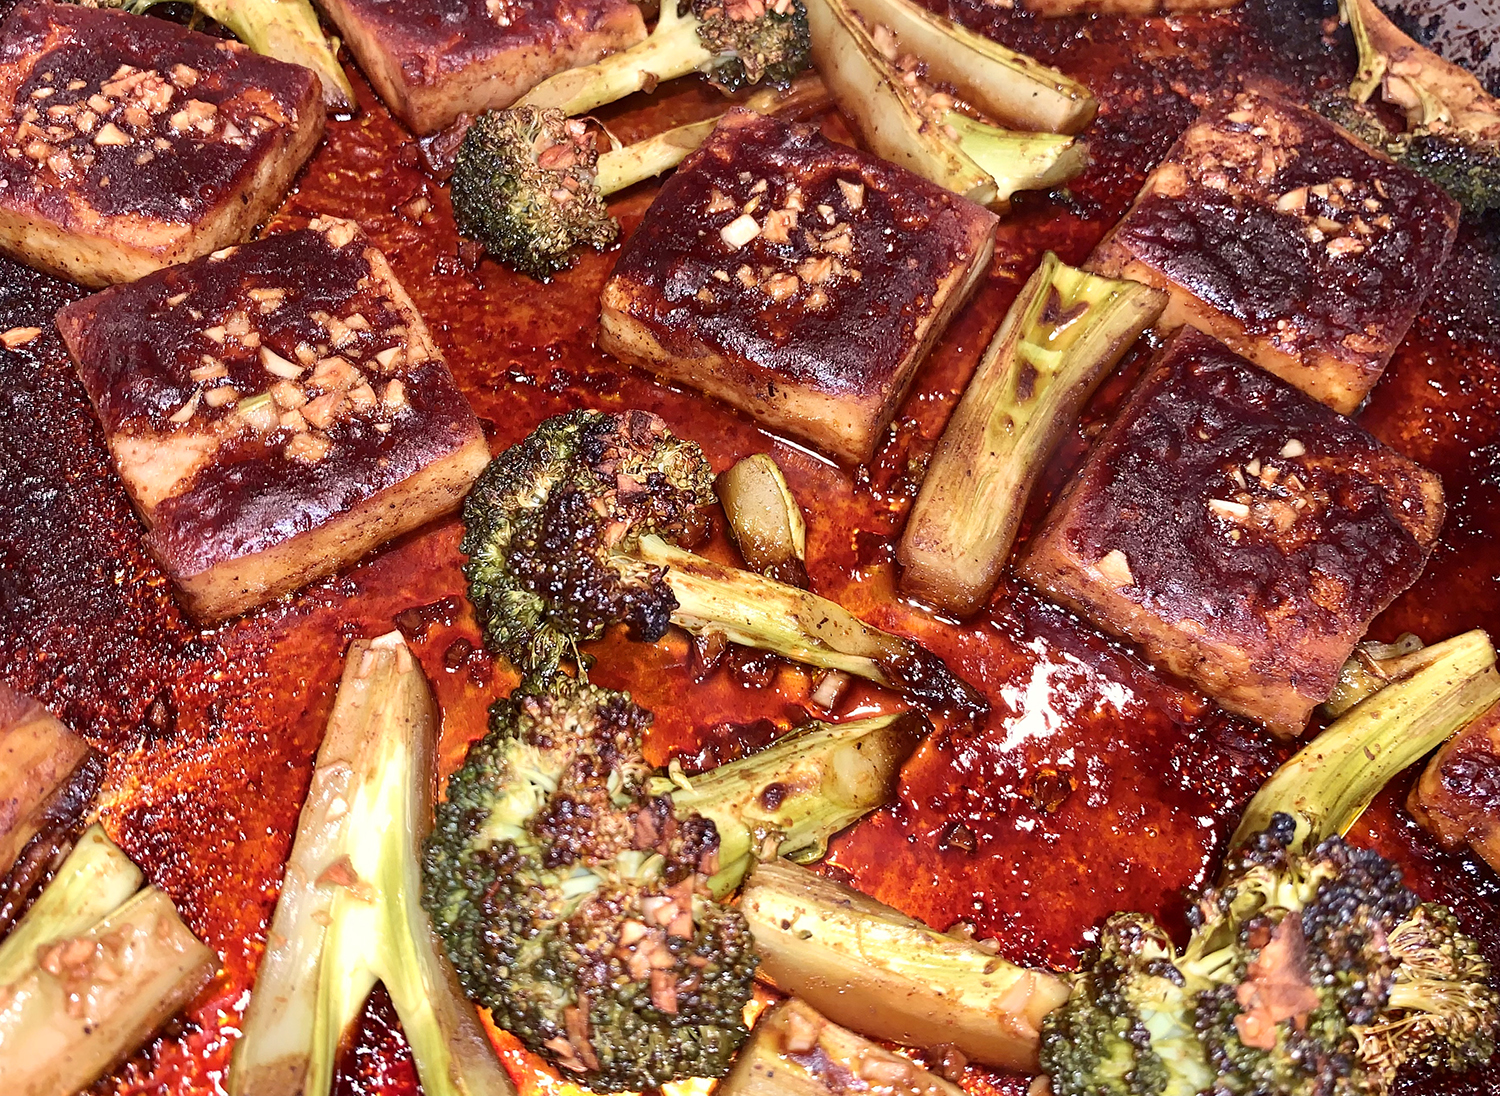
Traybake, a savory, one-pan meal cooked on a baking sheet in the oven is a home chef’s friend. This simple vegetarian traybake combines several pantry staples—hoisin, soy sauce and garlic—with broccoli and tofu and yields a hearty, satisfying main.

A 475°F oven develops the right amount of flavorful char on the broccoli and cooks the florets to a pleasing tender-crisp texture. While steamed rice is the usual accompaniment, we went a step further and made Vegetable Fried Rice.

A bit short on the hoisin sauce, we decided to make up the 1/4 cup deficit by including oyster sauce. The end result was less sweet and more to our liking.

Don’t skip the baking-sheet prep. Be sure to line it with foil and mist it with cooking spray. The sugar in the hoisin makes things a little sticky in the oven. The foil and cooking spray help ensure the broccoli and especially the more fragile tofu release from the baking sheet.

Hoisin Broccoli and Tofu Traybake

  • Servings: 4
  • Difficulty: easy
  • Print

Ingredients

  • 3/4 cup hoisin sauce
  • 3 Tbsp. soy sauce
  • 3 medium garlic cloves, finely chopped
  • 1 Tbsp. toasted sesame oil
  • 1 lb. broccoli crowns, cut into 1½-inch florets
  • 14 oz. container firm OR extra-firm tofu, drained, halved lengthwise, cut crosswise into ½-inch-thick slices and pressed dry
  • Toasted sesame seeds, to serve

Directions

  1. Heat the oven to 475°F with a rack in the middle position. Line a rimmed baking sheet with foil and mist with cooking spray.
  2. In a small bowl, stir together the hoisin, soy sauce, garlic and sesame oil. In a medium bowl, toss the broccoli with half of the hoisin mixture until evenly coated. Distribute in an even layer on the prepared baking sheet.
  3. Transfer the remaining hoisin mixture to the now-empty bowl, add the tofu and gently toss to coat. Place the tofu on the baking sheet, arranging it in a single layer, being sure that all the slices lay flat against the baking sheet.
  4. Roast the broccoli and tofu without stirring until the broccoli is charred and tender-crisp, about 25 minutes. Using a wide metal spatula, transfer to a platter. Sprinkle with sesame seeds.
  5. Optional garnish: Chopped fresh cilantro

http://www.lynnandruss.com

By Calvin Cox for Milk Street

Beer-Braised Cabbage

To pump up the flavors of the braising liquid in this Beer-Braised Cabbage, Cook’s Country chose a light-bodied lager. They also used beer-complementing ingredients like sautéed onion, mustard, vinegar, and thyme. To ensure the cabbage doesn’t overcook from extended simmering, the braising liquid is simmered until slightly thickened before adding the cabbage.

We paired the cabbage with a pan-seared pork chop and braised red potatoes with miso and scallions.

A great side dish that’s quick enough for a weeknight. You can substitute ¼ teaspoon of dried thyme for the fresh. This hearty side dish was a nice complement to the pork, although you can serve it as a vegetarian side.

Beer-Braised Cabbage

  • Servings: 4
  • Difficulty: easy
  • Print

Ingredients

  • 2 Tbsp. unsalted butter
  • 1 onion, chopped fine
  • ½ cup beer, preferably light-bodied lager
  • 1 Tbsp. whole grain mustard
  • ½ tsp. minced fresh thyme
  • 1 small head green cabbage (about 1 lb.), halved, cored, and sliced thin
  • 2 tsp. cider vinegar
  • Salt and pepper

Directions

  1. Melt butter in large skillet over medium-high heat. Cook onion until softened, about 5 minutes.
  2. Stir in beer, mustard, and thyme and simmer until slightly thickened, about 2 minutes.
  3. Add cabbage and vinegar and cook covered, stirring occasionally, until wilted and tender, about 8 minutes.
  4. Season with salt and pepper. Serve.

http://www.lynnandruss.com

Recipe from Cook’s Country

Pescatarian Pantry Pasta

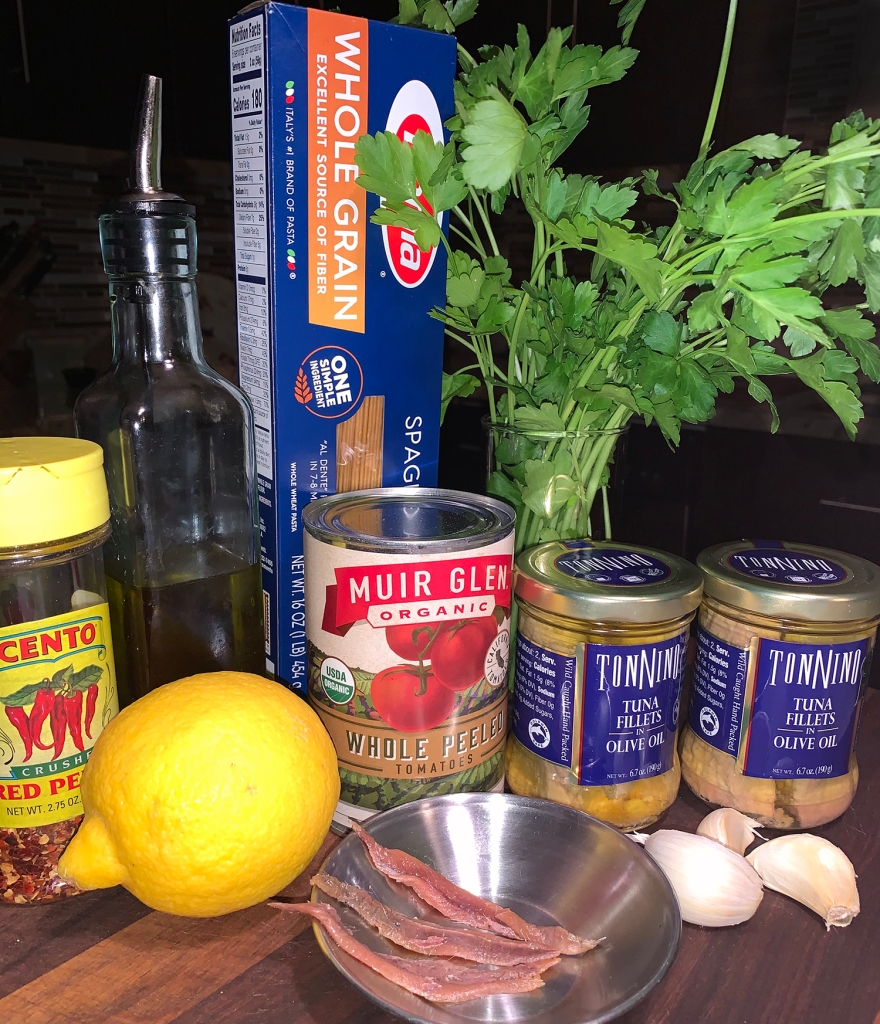
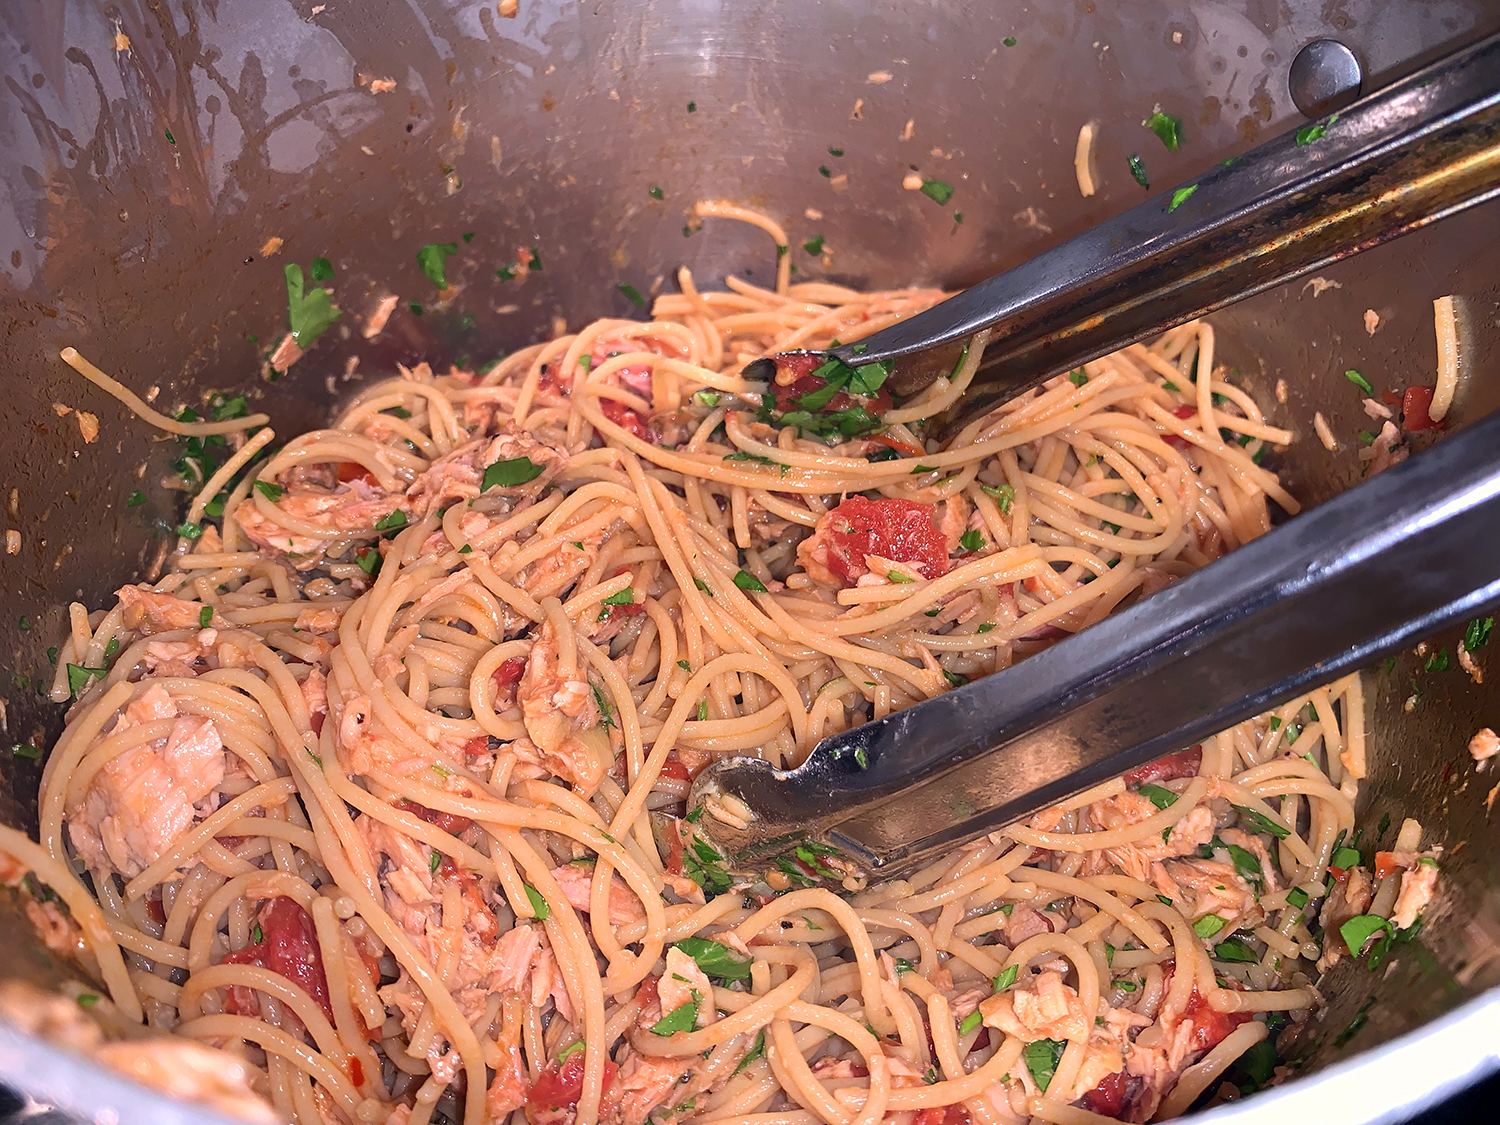
For this Spaghetti al Tonno pasta dish, it uses two jars of olive oil–packed tuna and a small amount of canned whole tomatoes, crushed by hand to produce small, supple pieces. Lots of garlic, some cooked in olive oil and the rest simply warmed through, contribute potent flavor to the tomato sauce, along with red pepper flakes for heat and anchovies for a briny backbone.

To ensure that the tuna stays moist and silky, stir it into slightly underdone spaghetti along with the tomato mixture off the heat and simply let it warm through. This not only gently warms the fish through so that it holds its moisture, but also hedges against mushy spaghetti.

Spaghetti or linguine are preferred for this dish (we used whole wheat pasta), but short or tubular shapes such as penne, fusilli, farfalle, ziti, or rigatoni also work. Likewise, oil-packed tuna is recommended, but if you happen to have water-packed tuna instead, don’t let that stop you. For a spicier dish, use the full ½ teaspoon of red pepper flakes.

The tuna brand we buy is Tonnino. With rich flavor and silky, thick‑cut yellowfin fillets, it is a step above most brands. Yes, it costs a few extra dollars, but it yields pasta al tonno that’s posh enough for company, and can bring a luxurious touch to any weeknight meal. And aren’t you worth at least a few extra bucks?

*Now here’s the thing. If you are using the more expensive jarred tuna, why would you discard the oil it is packed in? Use that oil and add some EVOO if needed to make the 1/2 cup called for in the recipe.

Spaghetti al Tonno

  • Servings: 4
  • Difficulty: easy
  • Print

Ingredients

  • 2 5- to 7-oz. jars/cans olive oil-packed tuna, drained* (see head note)
  • 1 Tbsp. lemon juice
  • 1 tsp. table salt, divided, plus salt for cooking pasta
  • ½ tsp. pepper, divided
  • ½ cup extra-virgin olive oil*, divided, plus extra for drizzling
  • 1½ Tbsp. minced garlic, divided
  • 3 anchovy fillets, rinsed, patted dry, and minced
  • ¼–½ tsp. red pepper flakes
  • 1 14.5-oz. can whole peeled tomatoes, drained with juice reserved, crushed by hand to small pieces
  • 12 oz. spaghetti
  • 6 Tbsp. chopped fresh parsley, divided

Directions

  1. Bring 4 quarts water to boil in large pot. While water comes to boil, gently stir tuna, lemon juice, ¼ teaspoon salt, and ¼ teaspoon pepper together in small bowl.
  2. Heat 2 tablespoons oil, 1 tablespoon garlic, anchovies, and pepper flakes in saucepan over medium heat, stirring occasionally, until oil sizzles gently and anchovies break down, 1½ to 2 minutes.
  3. Stir in tomatoes and their juice and ½ teaspoon salt. Increase heat to high and bring to strong simmer. Adjust heat to maintain gentle simmer and cook, stirring occasionally, until slightly thickened, 6 to 7 minutes. Cover and keep warm over low heat.
  4. Add spaghetti and 1 tablespoon salt to boiling water. Cook, stirring often, until barely al dente. Reserve ½ cup cooking water. Drain pasta and return it to pot.
  5. Off heat, add tomato mixture, remaining ¼ teaspoon salt, remaining ¼ teaspoon pepper, and remaining 1½ teaspoons garlic and toss until pasta is well coated. Add tuna mixture and toss gently. Cover and set aside for 3 minutes so flavors can meld and pasta can finish cooking.
  6. Adjust consistency of sauce with reserved cooking water as needed.
  7. Add ¼ cup parsley and remaining 2 tablespoons oil and toss to combine. Season with salt and pepper to taste.
  8. Distribute among pasta bowls. Drizzle each portion with extra oil, if using. Sprinkle with remaining 2 tablespoons parsley and serve.

http://www.lynnandruss.com

Recipe from Cook’s Illustrated

Shoulder Lamb Chops with Fennel and Capers

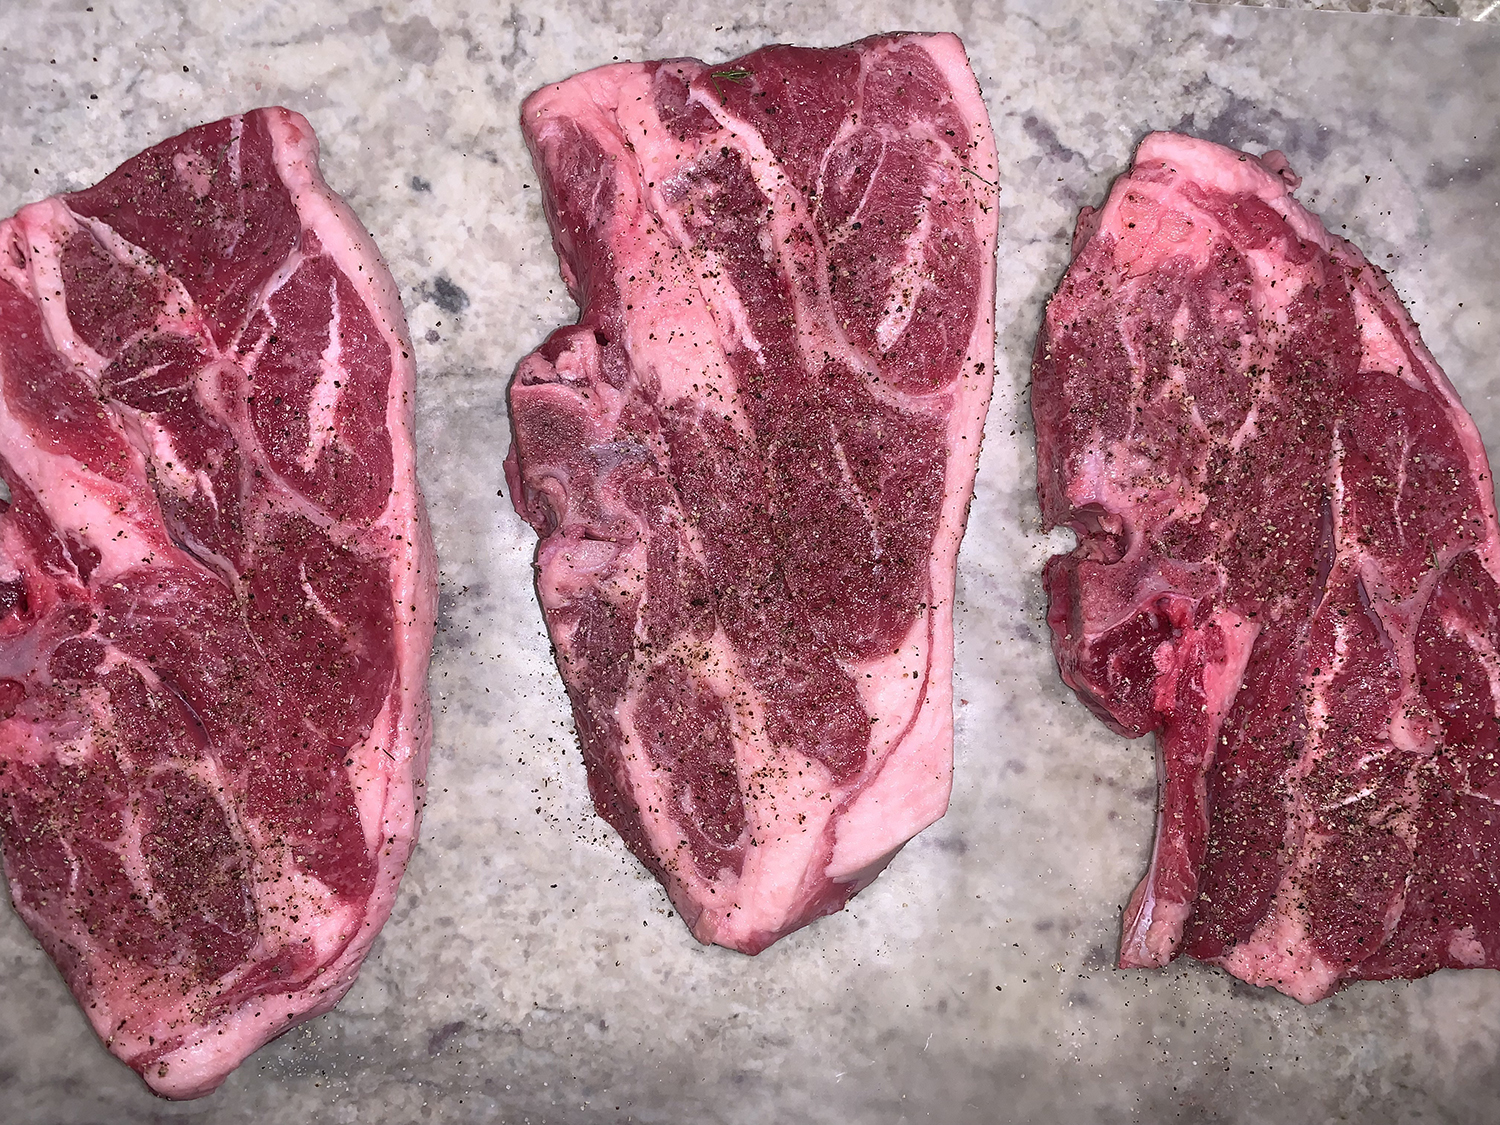
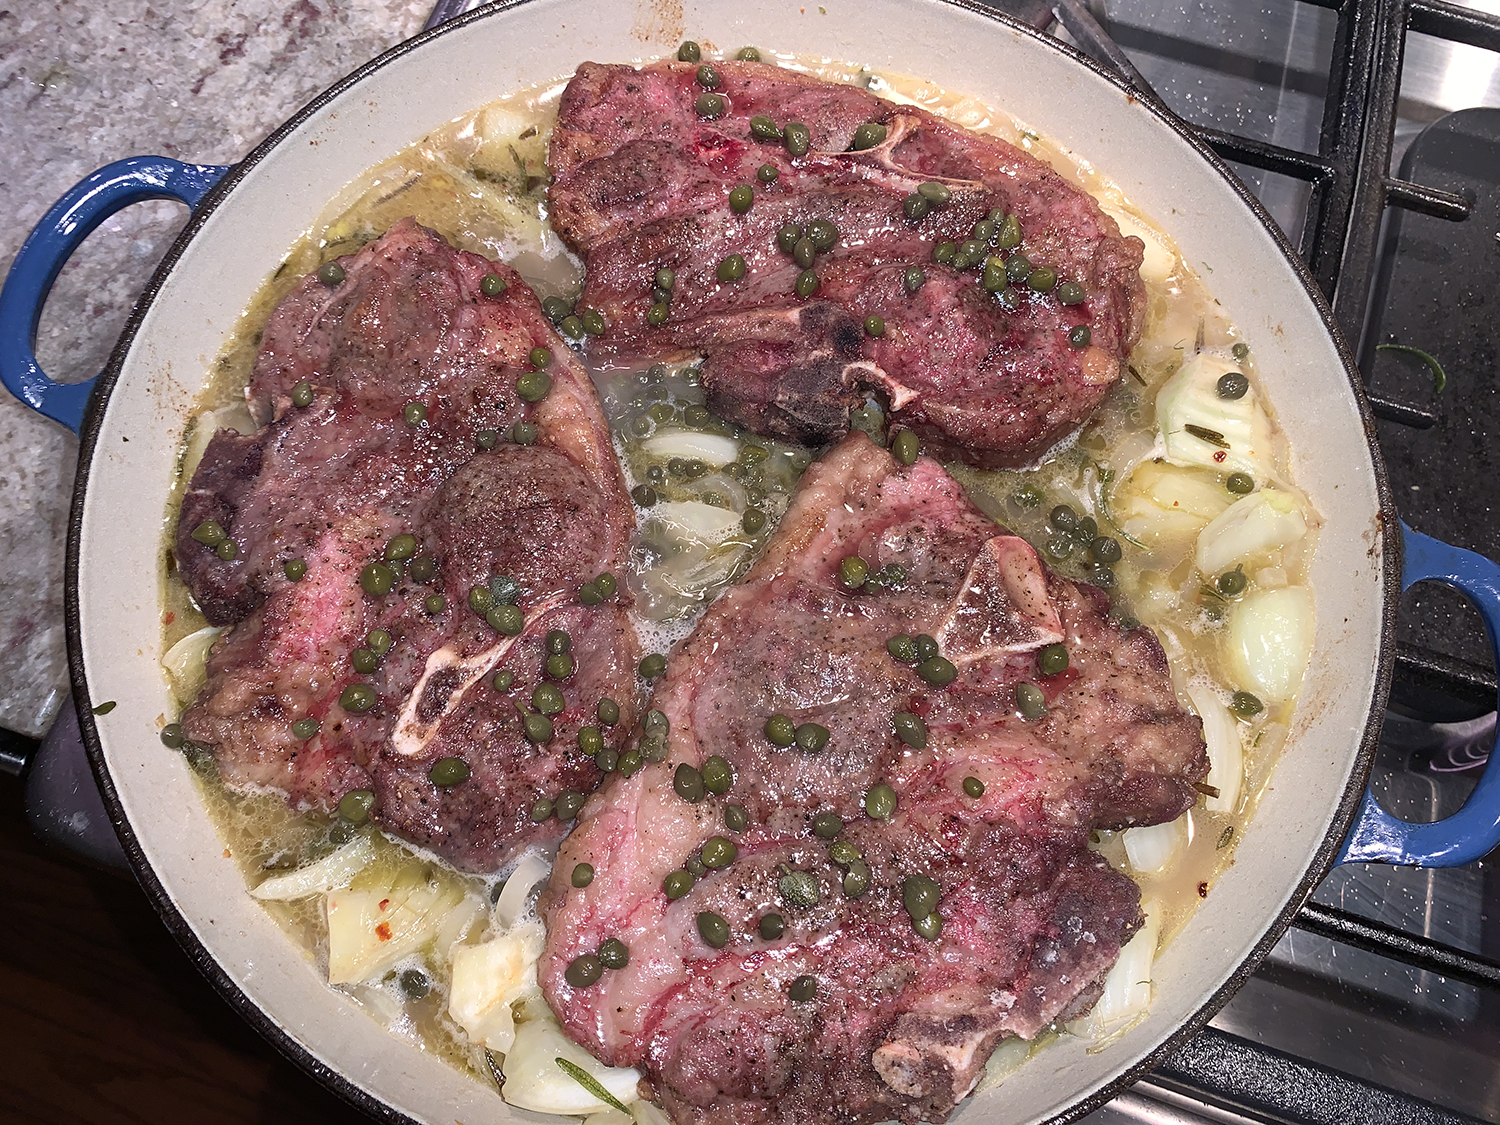
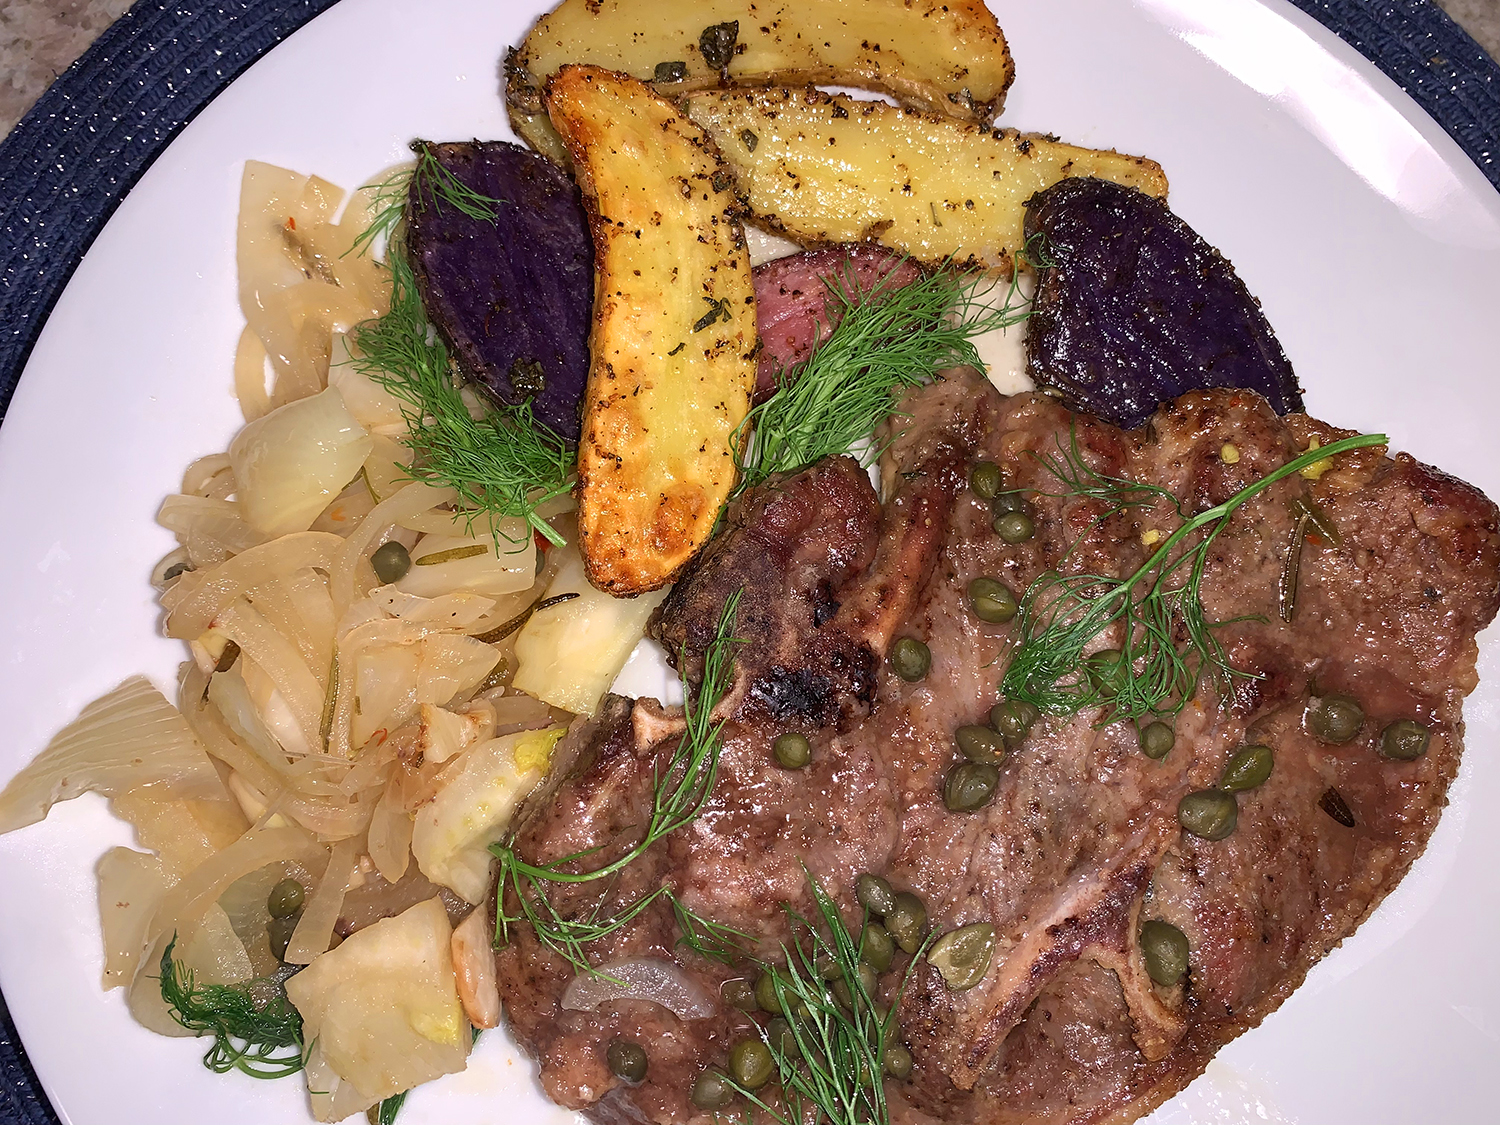
The flavors were amazing in this dish from Mastering the Art of Italian Cooking by Lidia Bastianich, one of our favorite Italian chef/authors. With rosemary, fennel, capers, onion and homemade stock, you can’t help but start salivating from the heady aromas while you’re cooking.

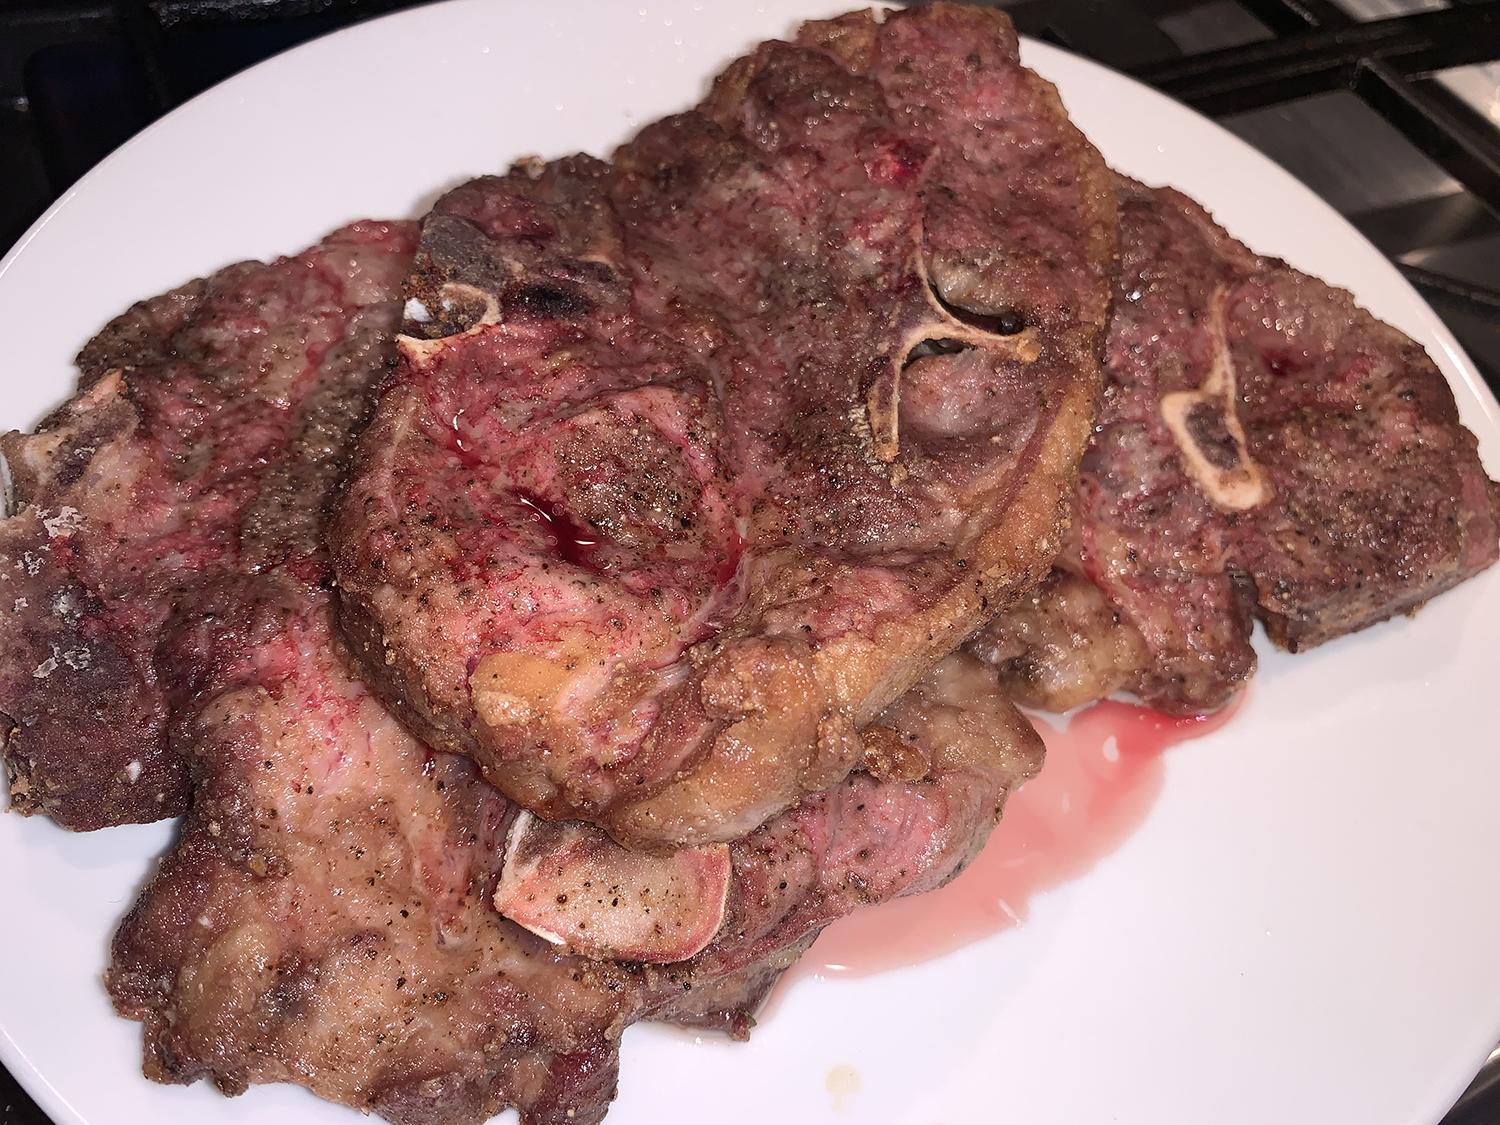
Shoulder lamb chops are usually not as costly as other cuts, but you do have to deal with a little more fat and bone. With only three chops, we still needed to brown them in two batches, which the original instructions didn’t indicate. Too closely together in the skillet, and the meat will steam instead of brown.

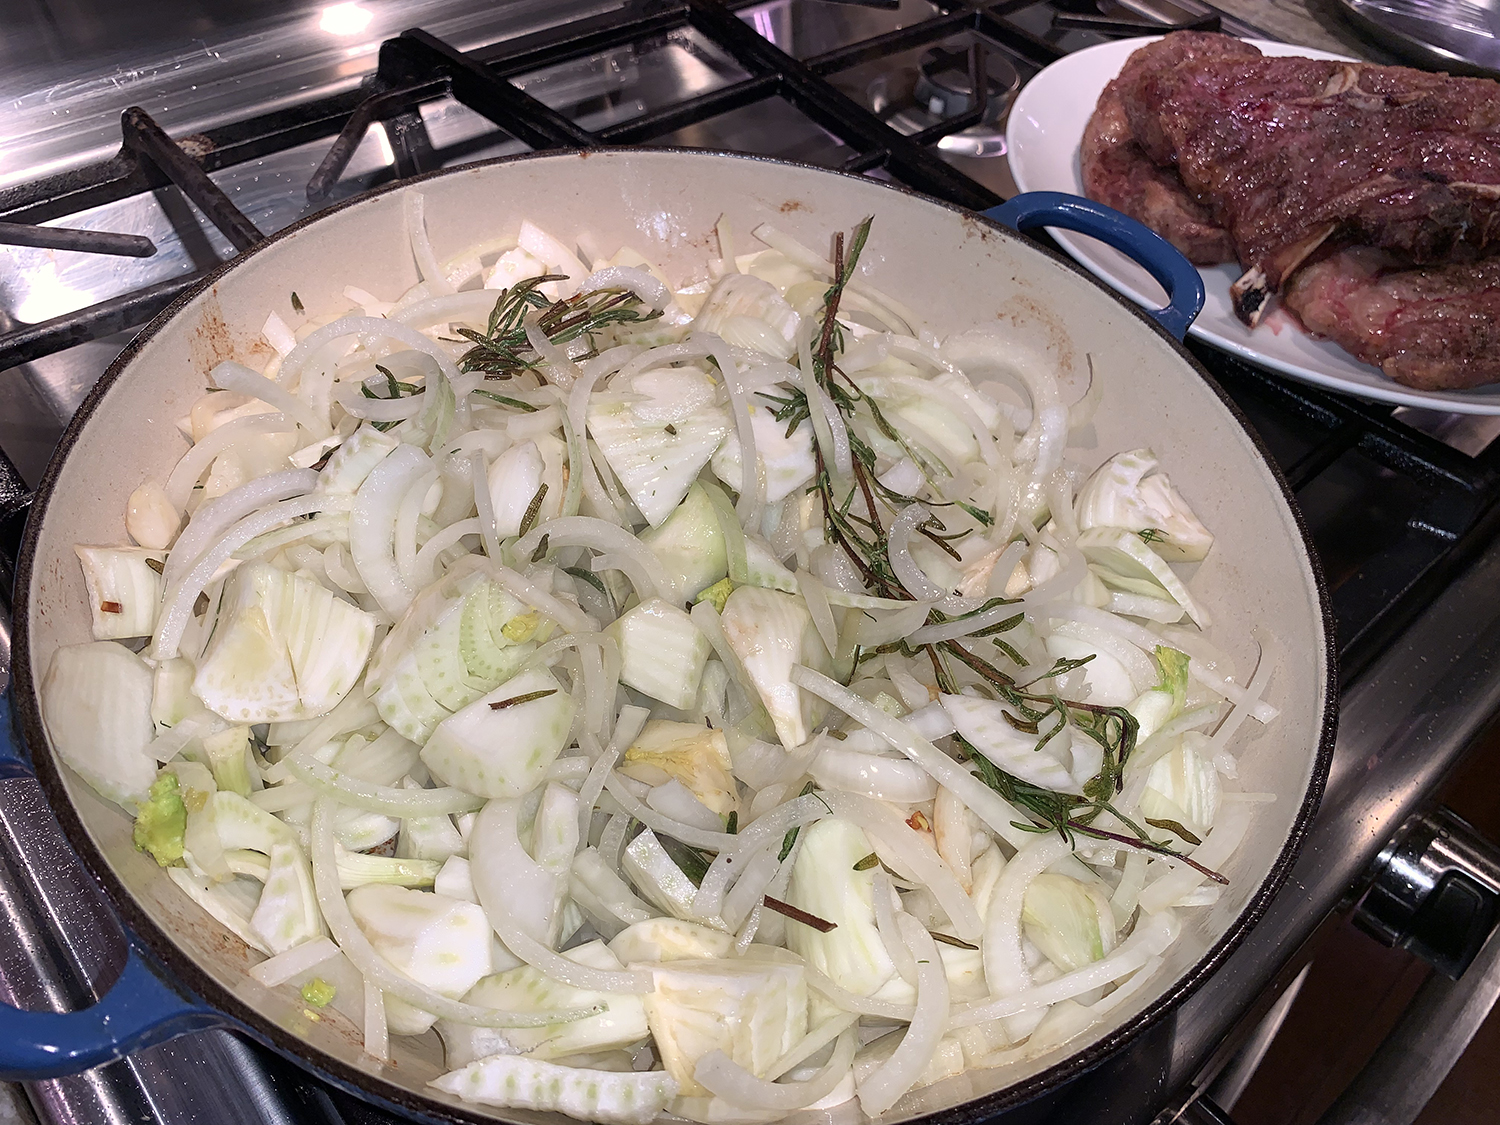
One major difference we will do next time is reduce the amount of stock from 2 cups down to 1 cup (this is noted in the list of ingredients below). After the chops were removed from the skillet, we tented them with foil, and reduced down the liquid in the pan (which still included the other ingredients).

And what is with throwing out the garlic?? That’s like tossing the baby out with the bath water, a sacrilege in our opinion! Otherwise, it was a fabulous recipe.

Shoulder Lamb Chops with Fennel and Capers

  • Servings: 4
  • Difficulty: easy
  • Print

Ingredient

  • 4 1⁄2-inch thick bone-in shoulder lamb chops
  • 2 tsp. kosher salt
  • All-purpose flour, dredging
  • Vegetable Oil for frying
  • 3 Tbsp. extra-virgin olive oil
  • 6 garlic cloves, crushed and peeled
  • 4 sprigs fresh rosemary
  • 2 large fennel bulbs, trimmed, cored, and cut into 1-inch chunks
  • 2 medium onions, sliced
  • 1⁄4 tsp. crushed red pepper flakes
  • 1⁄4 cup red wine vinegar
  • 1 cup chicken stock, preferably homemade
  • 1⁄4 cup drained tiny capers in brine

Directions

  1. Season lamb chops with 1 teaspoon of the salt. Spread some flour on a plate and dredge the chops in the flour, tapping off the excess.
  2. Heat a large skillet over medium-high heat, and add 1⁄4 inch of vegetable oil. Cook the chops until they are crisp and browned on both sides, about 3 minutes per side. Remove them to a plate. (It’s likely you will need to do this in 2 batches.)
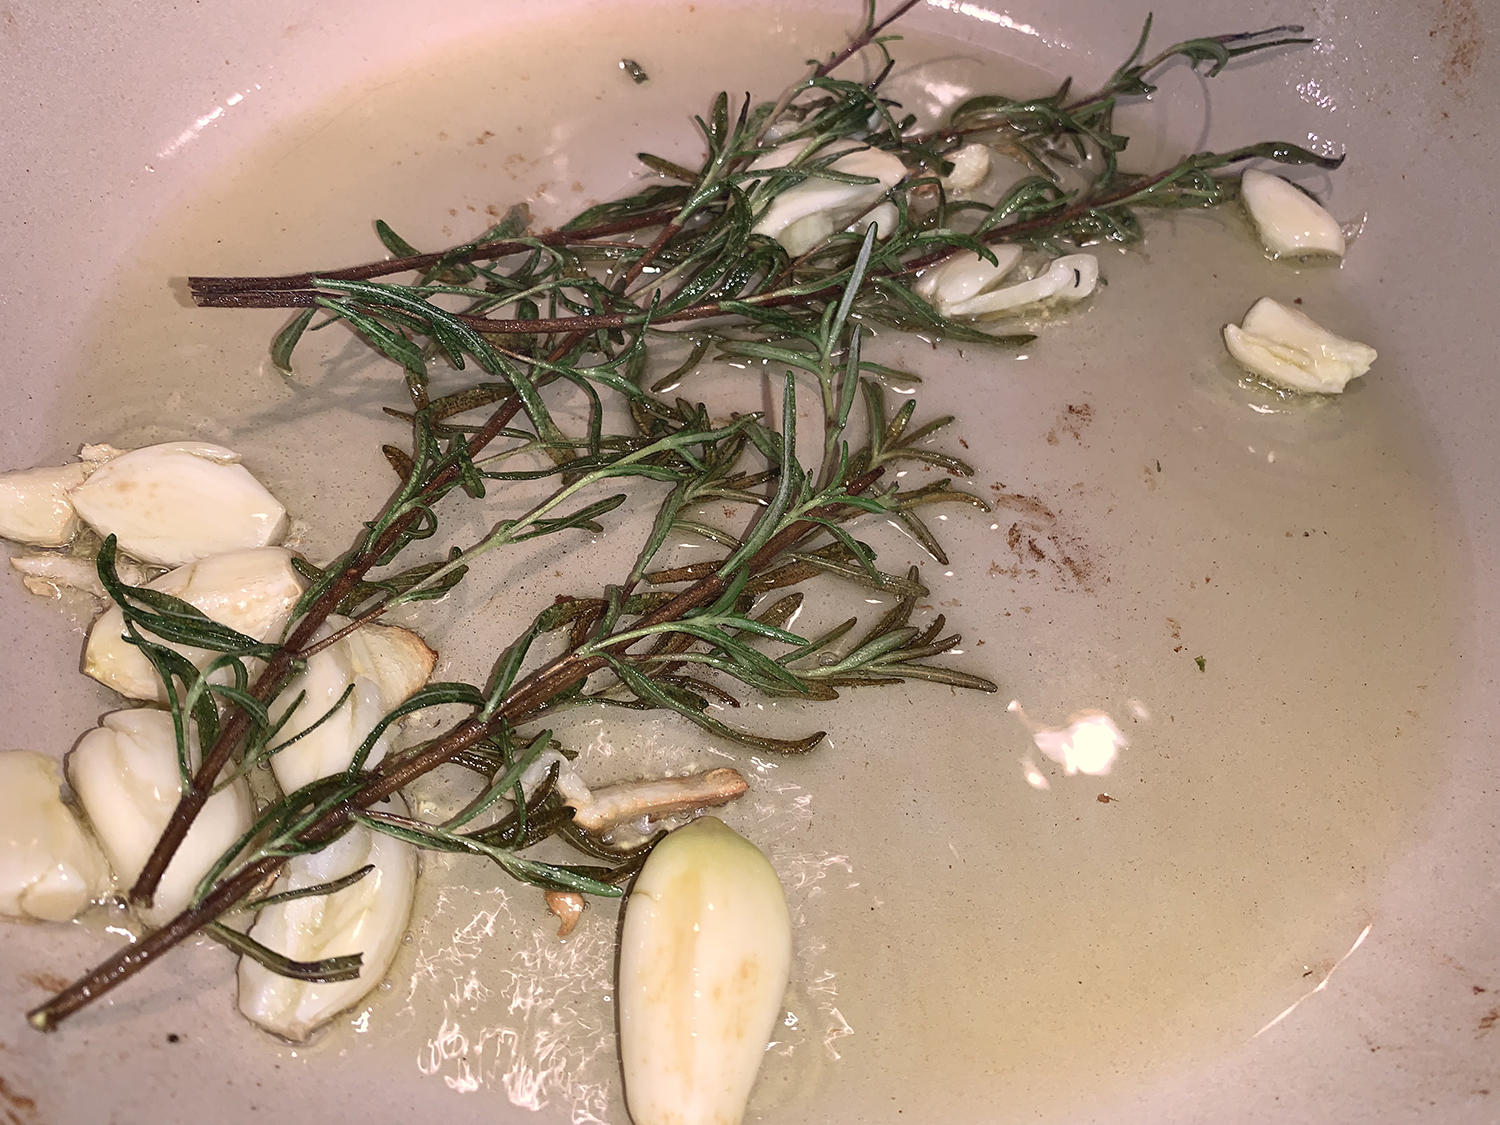
  3. Pour out the oil and wipe the skillet clean. Set skillet over medium heat, and add olive oil. When the oil is hot, add the garlic and rosemary. Once the garlic and rosemary are sizzling, add the fennel and onions, and season with the remaining salt and the red pepper flakes. Cook, stirring to make sure the vegetables don’t burn, until they are wilted and golden, about 10 minutes.
  4. Add the vinegar and bring it to a boil. Add the stock. Reduce the heat so the sauce is simmering, and add the chops and capers.
  5. Simmer, covered, until the chops are tender, about 35 to 40 minutes. Remove the rosemary stems and garlic (no way!), and serve.

http://www.lynnandruss.com

Original recipe from Lidia Bastianich

Spatchcock Chicken with Potatoes and Lemon

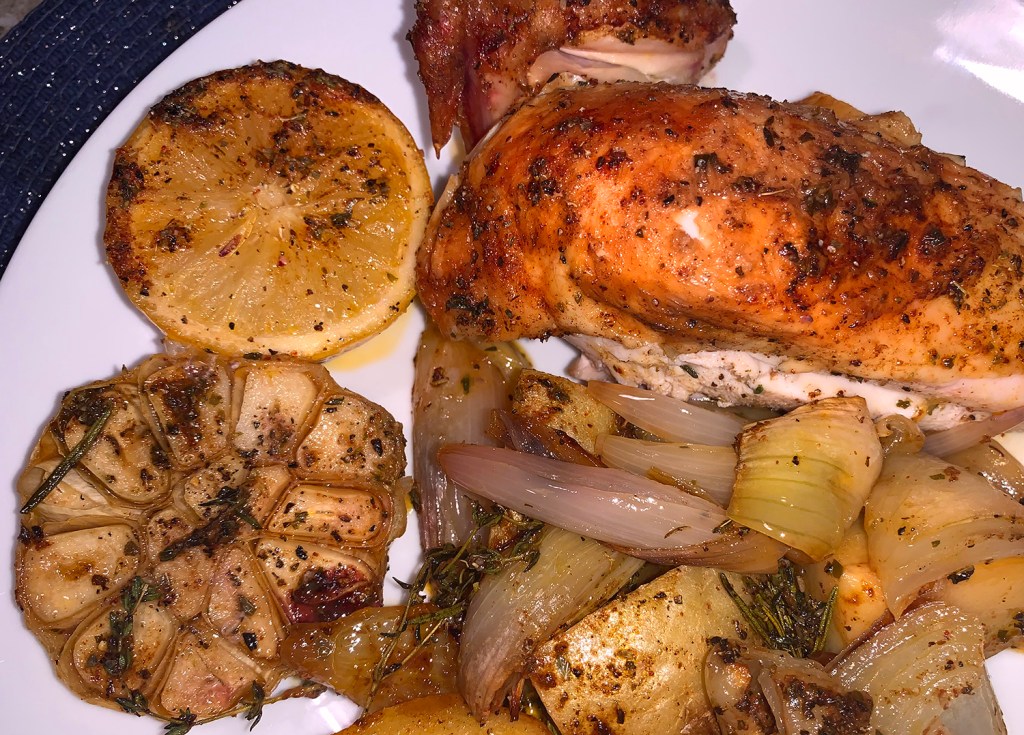
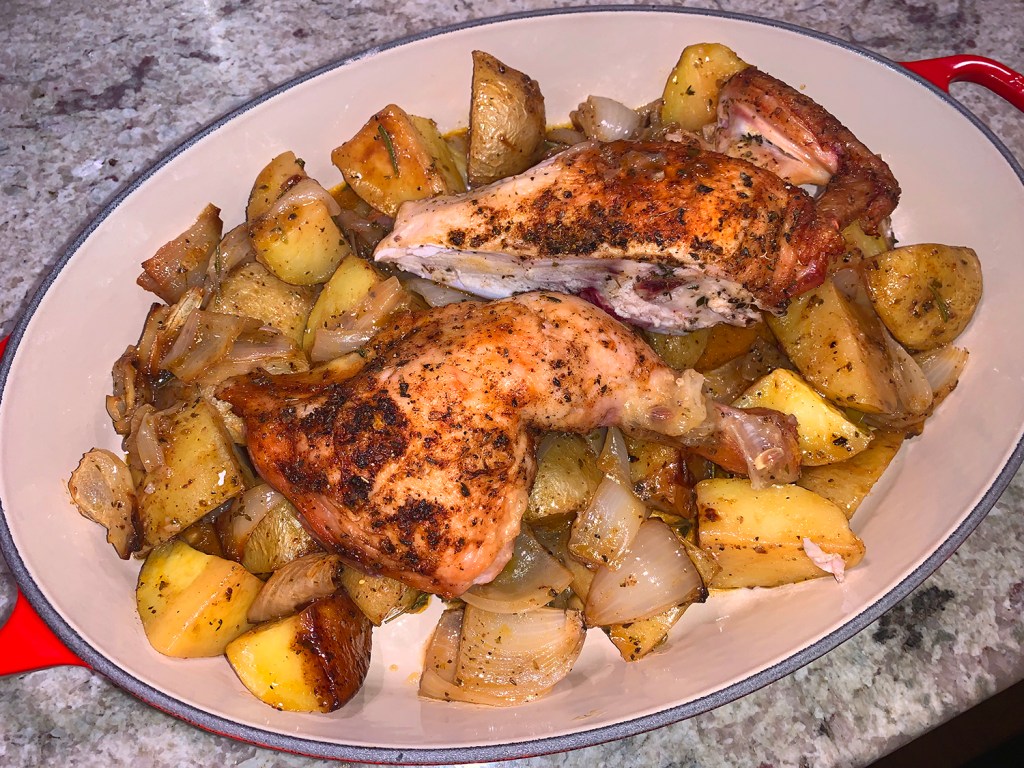
A FOODGASM. That’s what The Hubs dubbed this dinner as we sucked the bones clean. “And in the blog, you can say that I said so.” So I took him up on his offer.

If roast chicken and potatoes are in your wheel house, then you must put this on your short list. The succulent poultry, mouth-watering potatoes, and variety of alliums, paired with herbs and seasonings all melded together into one harmonious orgy on the palette.

According to Spanish chef/author Mikel López Iturriaga, getting all the parts of a roasted chicken done just right is one of the greatest challenges of roasting poultry: when the thigh is cooked to temperature the breast is usually already dry, and if you remove the chicken from the oven earlier in order to keep the breast juicy, the thigh is still raw.

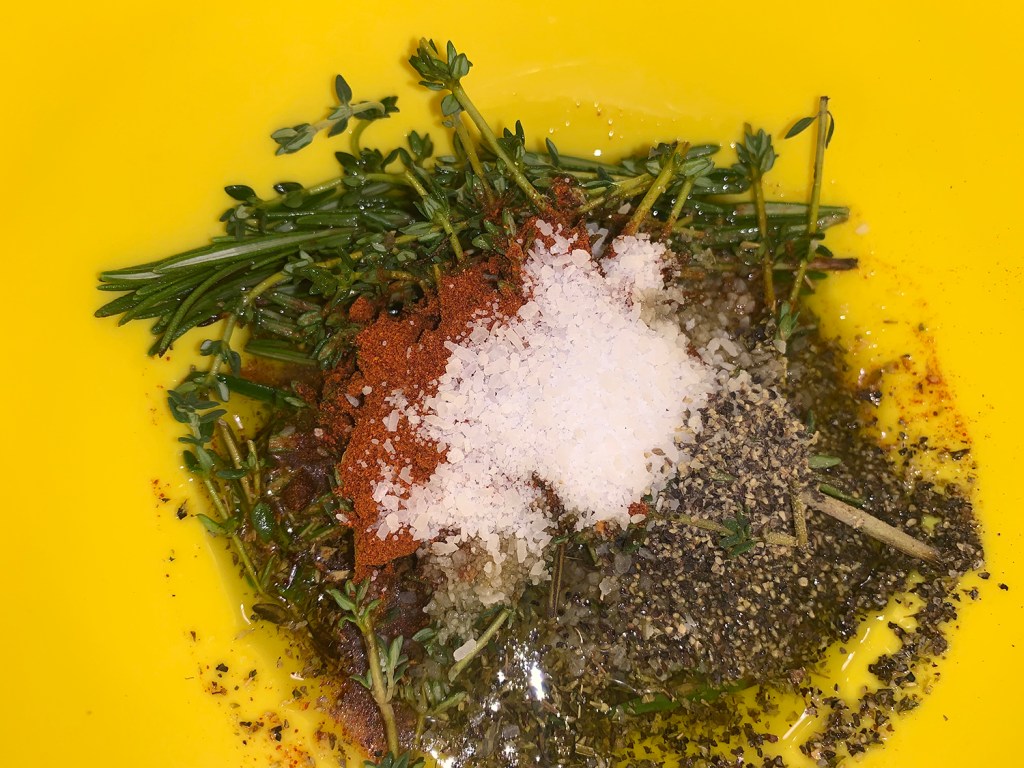
As Mikel claims, there are many tricks to overcome this dilemma, but the most effective has the name of a Lepidoptera, it’s called “butterflied chicken,” also known as spatchcock chicken. It’s about cutting the bird in such a way to leave it flattened. Not only does it have the advantage of bringing together cooking times for all of the parts, but it makes the cooking process much faster. In a half-hour, you can have it ready.

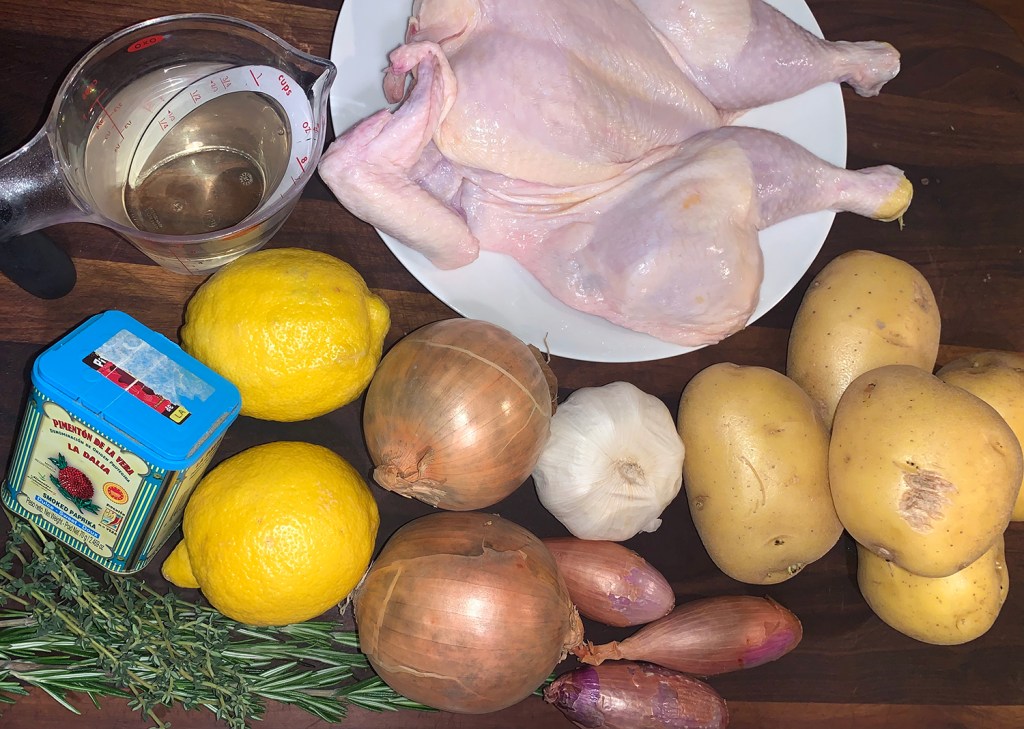
Now, as is our MO, we made a few changes. We added shallots in addition to the onions, increased the potato quotient, and didn’t remove garlic or potato skins. Count yourself lucky if you have leftovers. The most difficult part was waiting the extra 10 minutes for the bird to rest before carving and serving…

Spatchcock Chicken with Potatoes and Lemon

  • Servings: 4
  • Difficulty: easy
  • Print

Ingredients

  • 1 whole chicken, (3 1/2 to 4 lbs.), spatchcocked
  • 7 oz. dry white wine, or dry vermouth
  • 2 medium onions, or combination of onions and shallots
  • 4 medium Yukon Gold potatoes
  • 2 lemons, one cut in half horizontally and the other juiced
  • 1 head garlic, outer skin removed to reveal the cloves and cut in half horizontally
  • 3 sprigs fresh rosemary, each broken into 2 pieces
  • 3 sprigs fresh thyme, each broken into 2 pieces
  • 2 bay leaves, broken into halves
  • 1 Tbsp. pimentón dulce, (sweet smoked paprika)
  • 1 Tbsp. dried oregano
  • 1 tsp. freshly ground black pepper
  • Salt, to taste
  • Extra virgin olive oil

Directions

  1. Heat the oven to 475 degrees.
  2. Cut the potatoes in half, and then cut each half into three wedges. Do the same with the onions. If using shallots, cut them in half from top to bottom. Place the vegetables in a baking or roasting pan with sides high enough to allow the chicken to be placed on a rack over top of the vegetables. Add the lemon and garlic halves, drizzle everything with olive oil, mix well, and place in the preheated oven for 15 minutes.
  3. In a bowl, mix together 6 tablespoons of olive oil, the rosemary, thyme, bay leaves, pimentón, oregano, pepper, and a generous amount of salt. Cover the chicken well with a portion of this mixture reserving the remainder to pour over the vegetables.
  4. After the vegetables have been roasted for 15 minutes, remove them from the oven and pour the remaining marinade, lemon juice, and wine or vermouth over them. Place a rack over the top of the roasting pan and place the chicken on it, skin side up. Return the roasting pan to the oven.
  5. After 15 minutes, lower the oven temperature to 400 degrees and continue roasting for an additional 15 to 20 minutes, or until the chicken skin is golden and juices run clear. After removing the roasting pan from the oven, allow everything to rest for 10 minutes before serving.

http://www.lynnandruss.com

Recipe from Mikel López Iturriaga for El Pais

Cheesy Italian Baked Beans

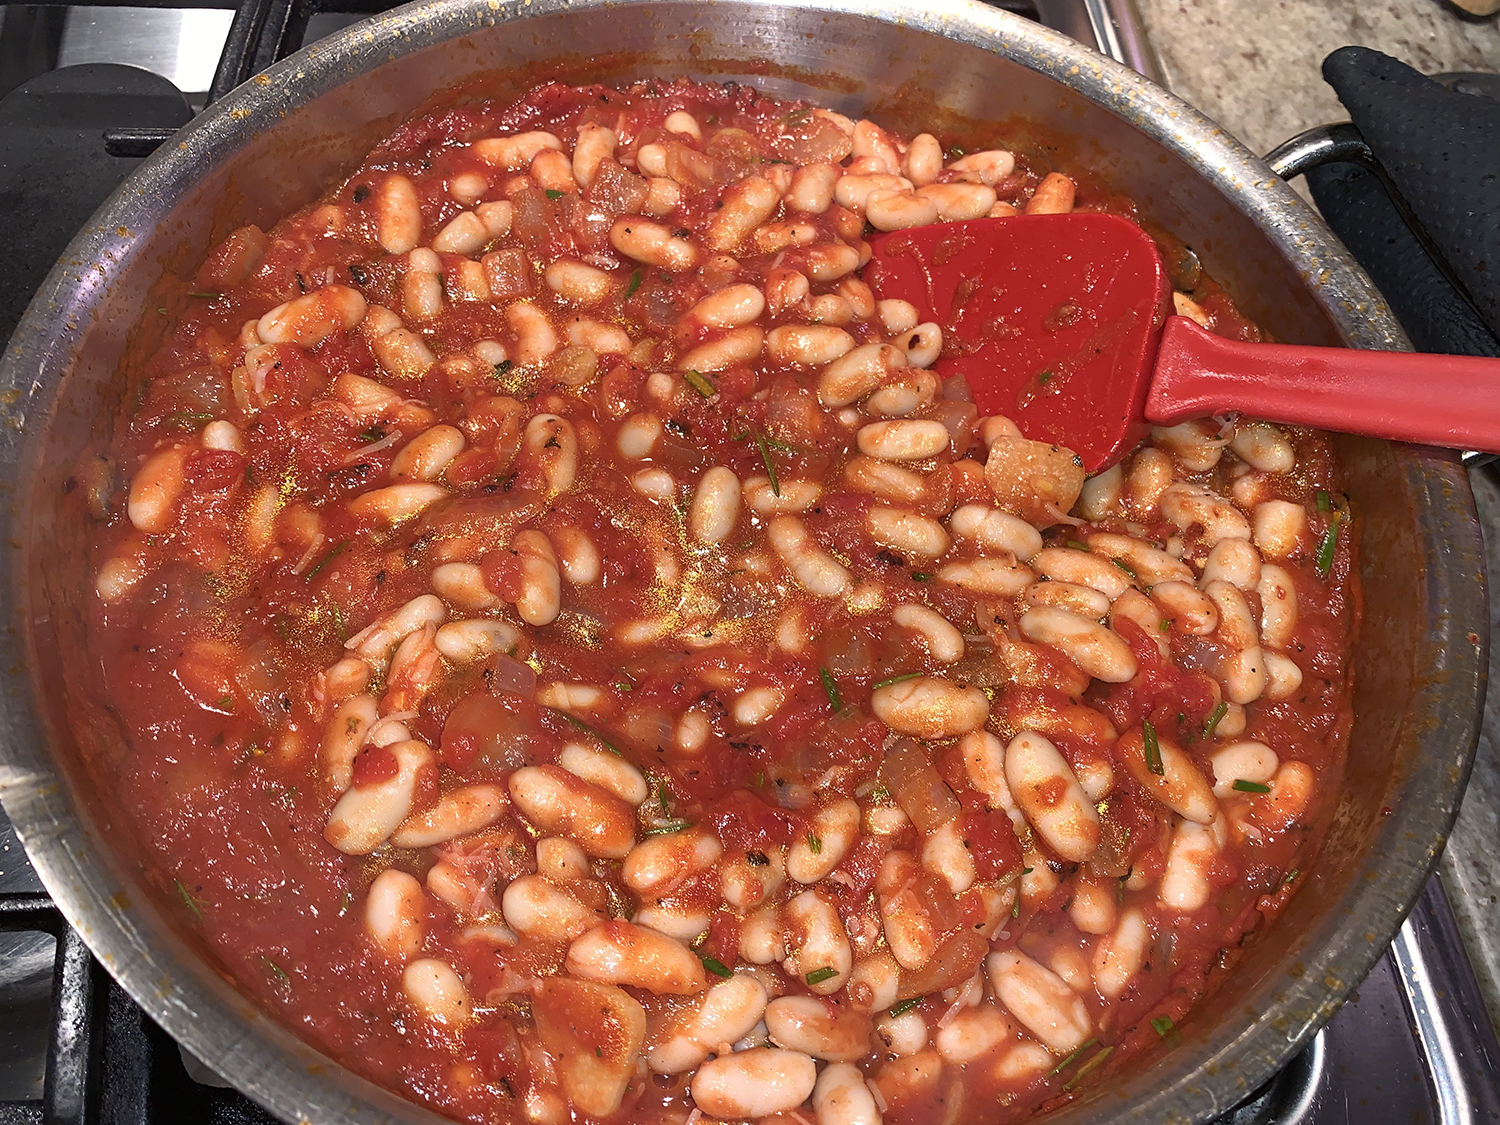
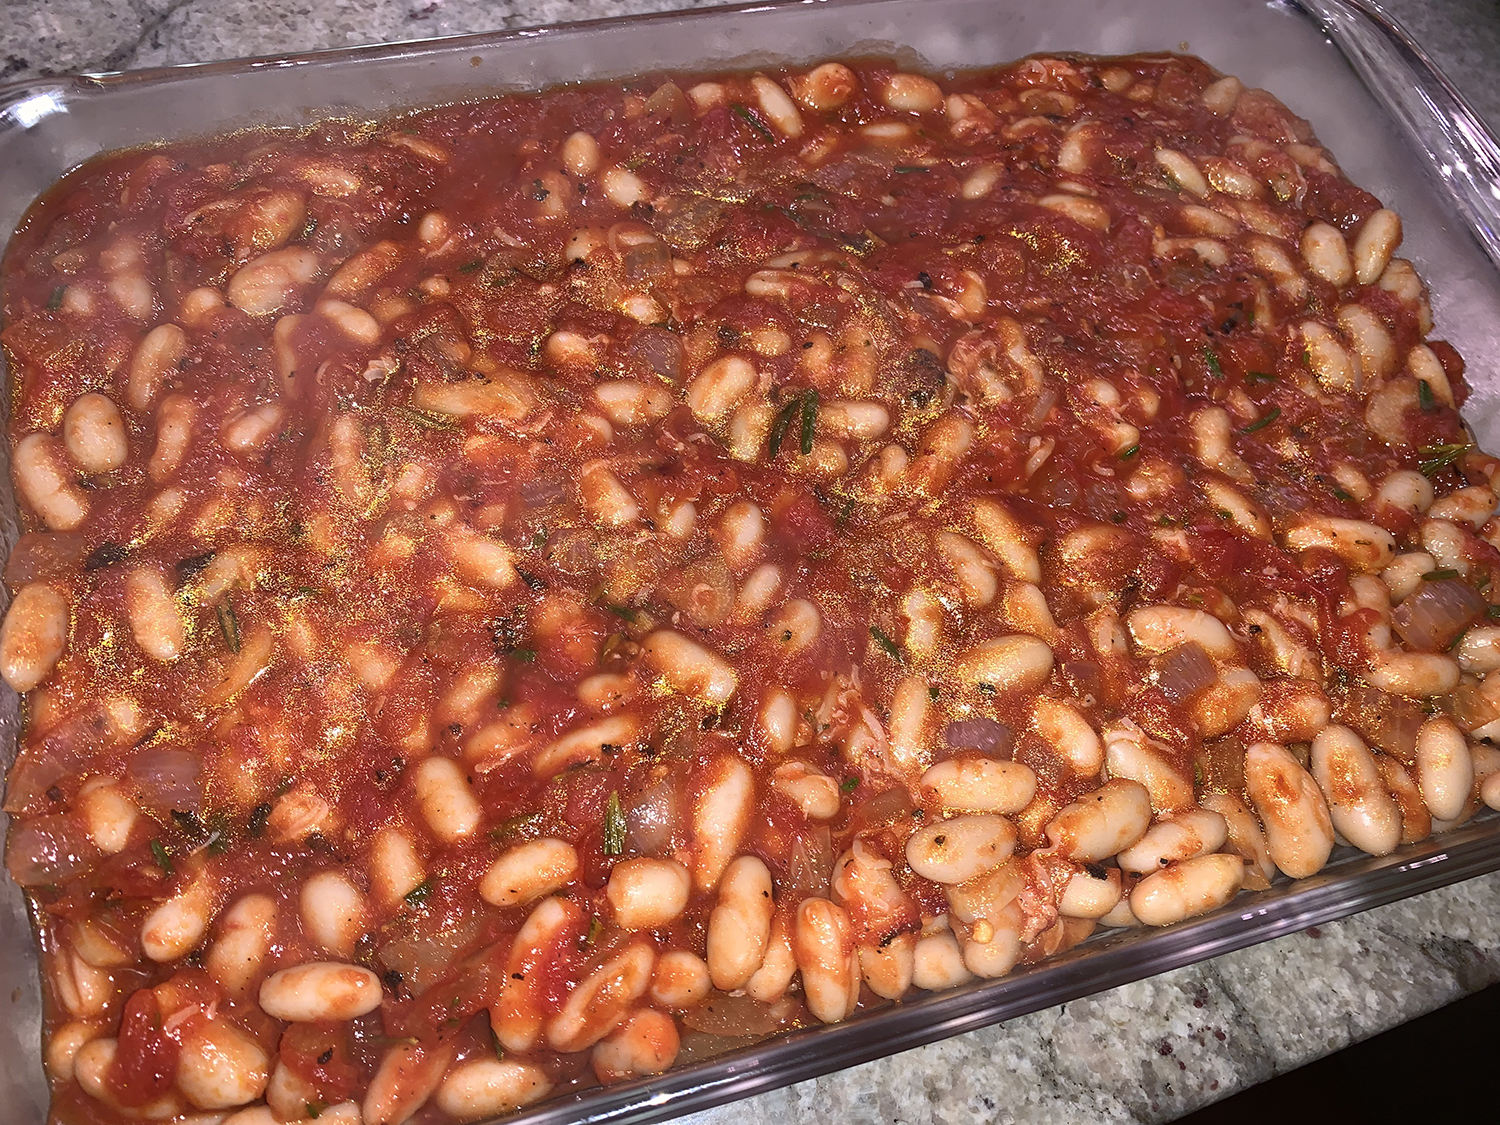
Flexible in that this Cheesy Italian Baked Beans recipe could be your main dish, or part of a meal as a side. Here, traditional Italian ingredients like onion, garlic, tomatoes, cheese, and rosemary put a spin on classic baked beans.

The prep is minimal and afterward it only cooks in the oven for about 20 minutes. When it came to topping the casserole with the shredded fontina cheese, I may have put a bit more than the 1/2 cup that was called for… like 50% more 🙂

I added a final step of letting the casserole sit for 5-10 minutes after removing from the oven. We paired the entrée with a side of steamed broccolini and a toasted whole grain baguette with garlic and parmesan.

Cheesy Italian Baked Beans

  • Servings: 6
  • Difficulty: easy
  • Print

Ingredients

  • 2 Tbsp. extra-virgin olive oil
  • ½ cup coarsely chopped yellow onion 
  • 3 cloves garlic, sliced
  • 1 28-oz. can fire-roasted crushed tomatoes, undrained
  • ¼ cup fresh rosemary leaves, coarsely chopped, plus additional for garnish
  • 3 15-oz. cans cannellini beans, rinsed and drained
  • ¾ cup shredded Parmesan cheese 
  • Crushed red pepper
  • Coarse salt and freshly ground black pepper
  • ½ cup cup shredded Fontina cheese

Directions

  1. Preheat oven to 400°F. In a large skillet heat olive oil over medium-high heat. Add onion, garlic, and 1/8 tsp. salt. Cook and stir for 5 minutes or until tender.
  2. Stir in tomatoes and rosemary. Bring to boiling; boil gently, uncovered, 5 minutes or until slightly thickened.
  3. Stir in beans and half the Parmesan. Season to taste with crushed red pepper, salt, and black pepper. Transfer to a 2-qt. rectangular baking dish. Top with remaining Parmesan and the Fontina. Bake 15 to 20 minutes or until beginning to lightly brown around the edges.
  4. Remove from the oven and let sit for 5-10 minutes to thicken.
  5. Sprinkle with additional rosemary before serving.

http://www.lynnandruss.com

Adapted from a recipe in Fine Cooking Magazine

Spanish Beef Stew with Mushrooms and Sherry

The city of Jerez de la Frontera—commonly shortened to Jerez— is in a corner of the Andalusia region in southern Spain. It is home to sherry, the unique fortified wine that is produced in an area known as the Sherry Triangle. We were lucky enough to visit there a few years ago and experience a sherry tasting.

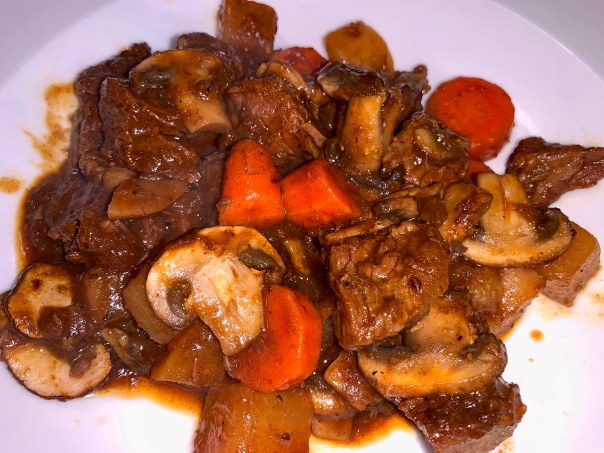
This beef stew got its origins in the “triangle.” It features tender, succulent pieces of beef, silky, supple mushrooms and a braising liquid rich with both sherry wine and sherry vinegar. The stew is familiar and comforting, yet deliciously different thanks to the wine’s tangy, nutty notes and the aged woodsiness and mellow acidity of the vinegar.

Milk Street adapted the recipe, adding a turnip along with the carrots and cinnamon to complement the wine. They say for this recipe simply seek a fino or manzanilla sherry—both are dry, bright and light, and therefore excellent counterpoints for the richness of the beef and mushrooms.

The sherry vinegar? If you can spare the expense, opt for gran reserva which is aged for at least 10 years and has a smooth, complex flavor, balanced acidity and mahogany hue. But, if that’s not an option, reserva (which we used) or any aged sherry vinegar, though less nuanced than gran reserva, will work perfectly well.

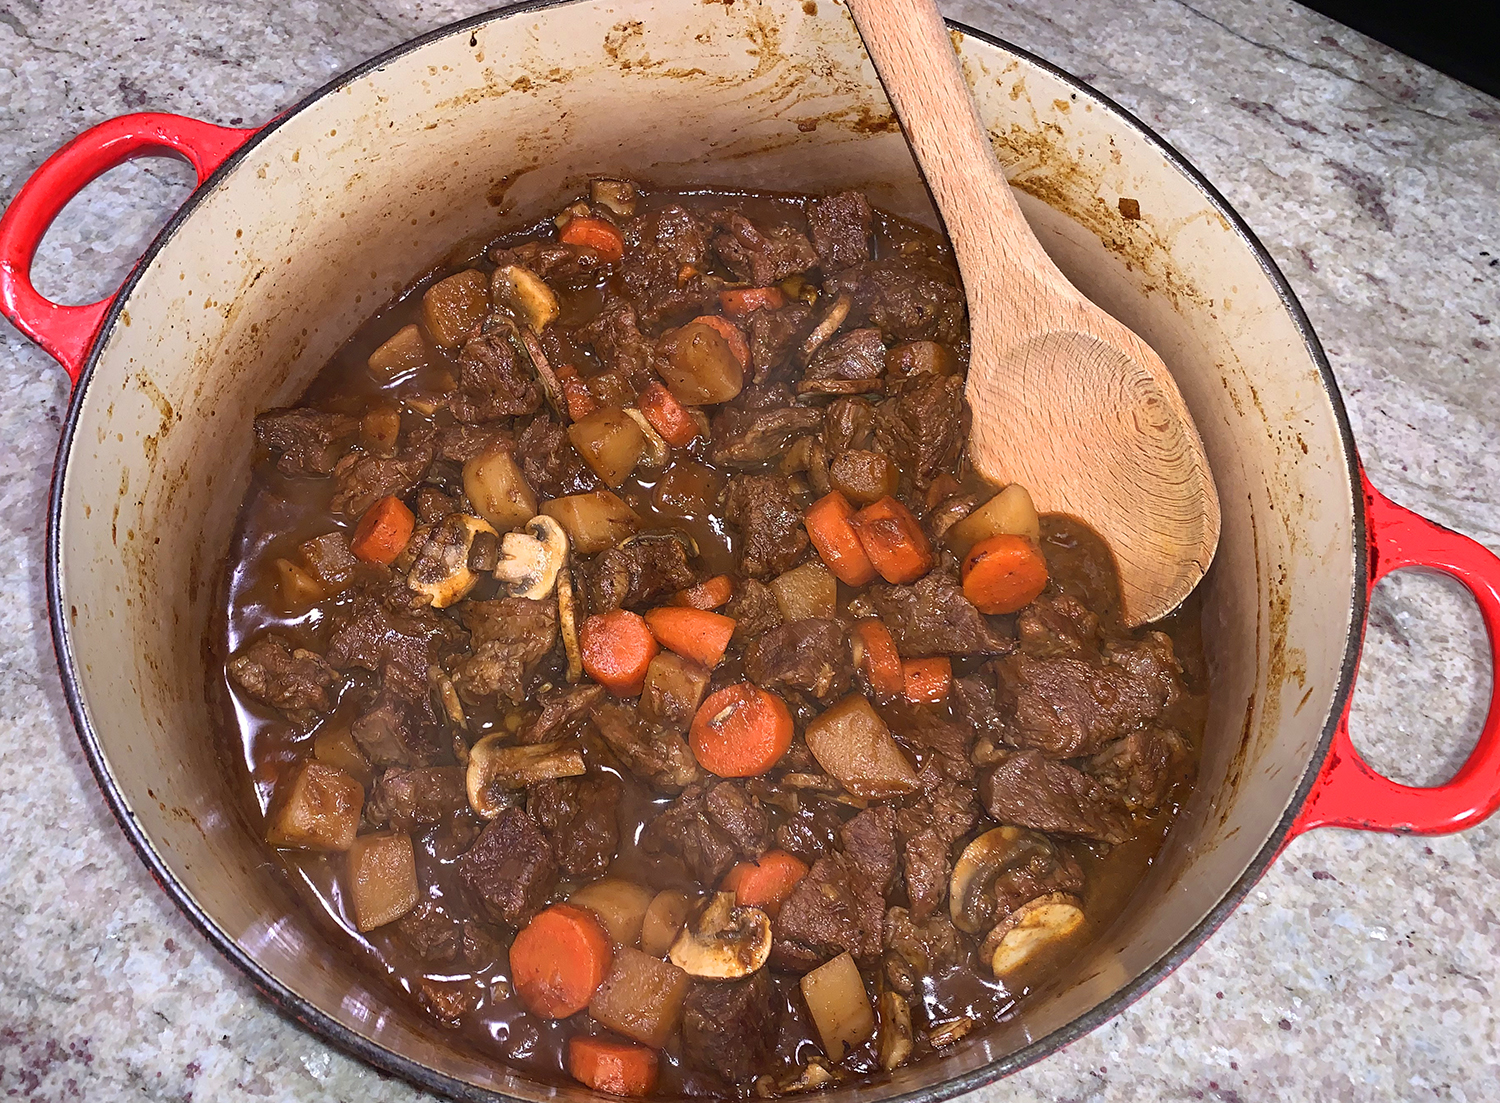
After one hour with the pot covered, there seemed to be too much liquid, so we left it uncovered to help some of that evaporate. After the hour and a half elapsed, we still weren’t happy with how watery it seemed so we removed the contents with a slotted spoon to a covered bowl, and reduced the liquid another 10 minutes. The beef, veggies and mushroom slices were added to the pot for the final 10 minutes.

The perfect meal on a lazy Sunday afternoon after a massive snowstorm… in fact, we both agreed, the BEST stew we’ve ever had! Confession, we were wiping our bowls clean of any residual sauce…

The original recipe claimed it would feed 4 to 6. If you served it over polenta or mashed potatoes, maybe 4 to 5? We got three portions. Next time we’ll add in another carrot and an extra turnip to make it more veggie-forward.

*NOTE: Don’t use sherry cooking wine or domestically produced “dry sherry.” To get the right complexity and balance of richness and acidity, look for fino or manzanilla sherry produced in Spain. Also, avoid sweet sherry for the obvious reasons.

Spanish Beef Stew with Mushrooms and Sherry

  • Servings: 4
  • Difficulty: easy
  • Print

Ingredients

  • 2 Tbsp. extra-virgin olive oil
  • 2 lbs. boneless beef chuck roast, trimmed of excess fat and cut into 1- to 1½-inch pieces
  • 4 medium garlic cloves, peeled
  • 1 medium yellow onion, halved and thinly sliced
  • Kosher salt and ground black pepper
  • 2 medium carrots, peeled and sliced ½ inch thick
  • 1 small white turnip, peeled and cut into ½-inch cubes
  • 2 bay leaves
  • 1 cinnamon stick
  • 4 tsp. sweet paprika
  • 1/2 tsp. grated nutmeg
  • 1 cup fino or manzanilla sherry*
  • 1 qt. low-sodium beef broth
  • 2 Tbsp. good-quality aged sherry vinegar, plus more to taste
  • 4 z. oyster or cremini mushrooms, trimmed and thinly sliced

Directions

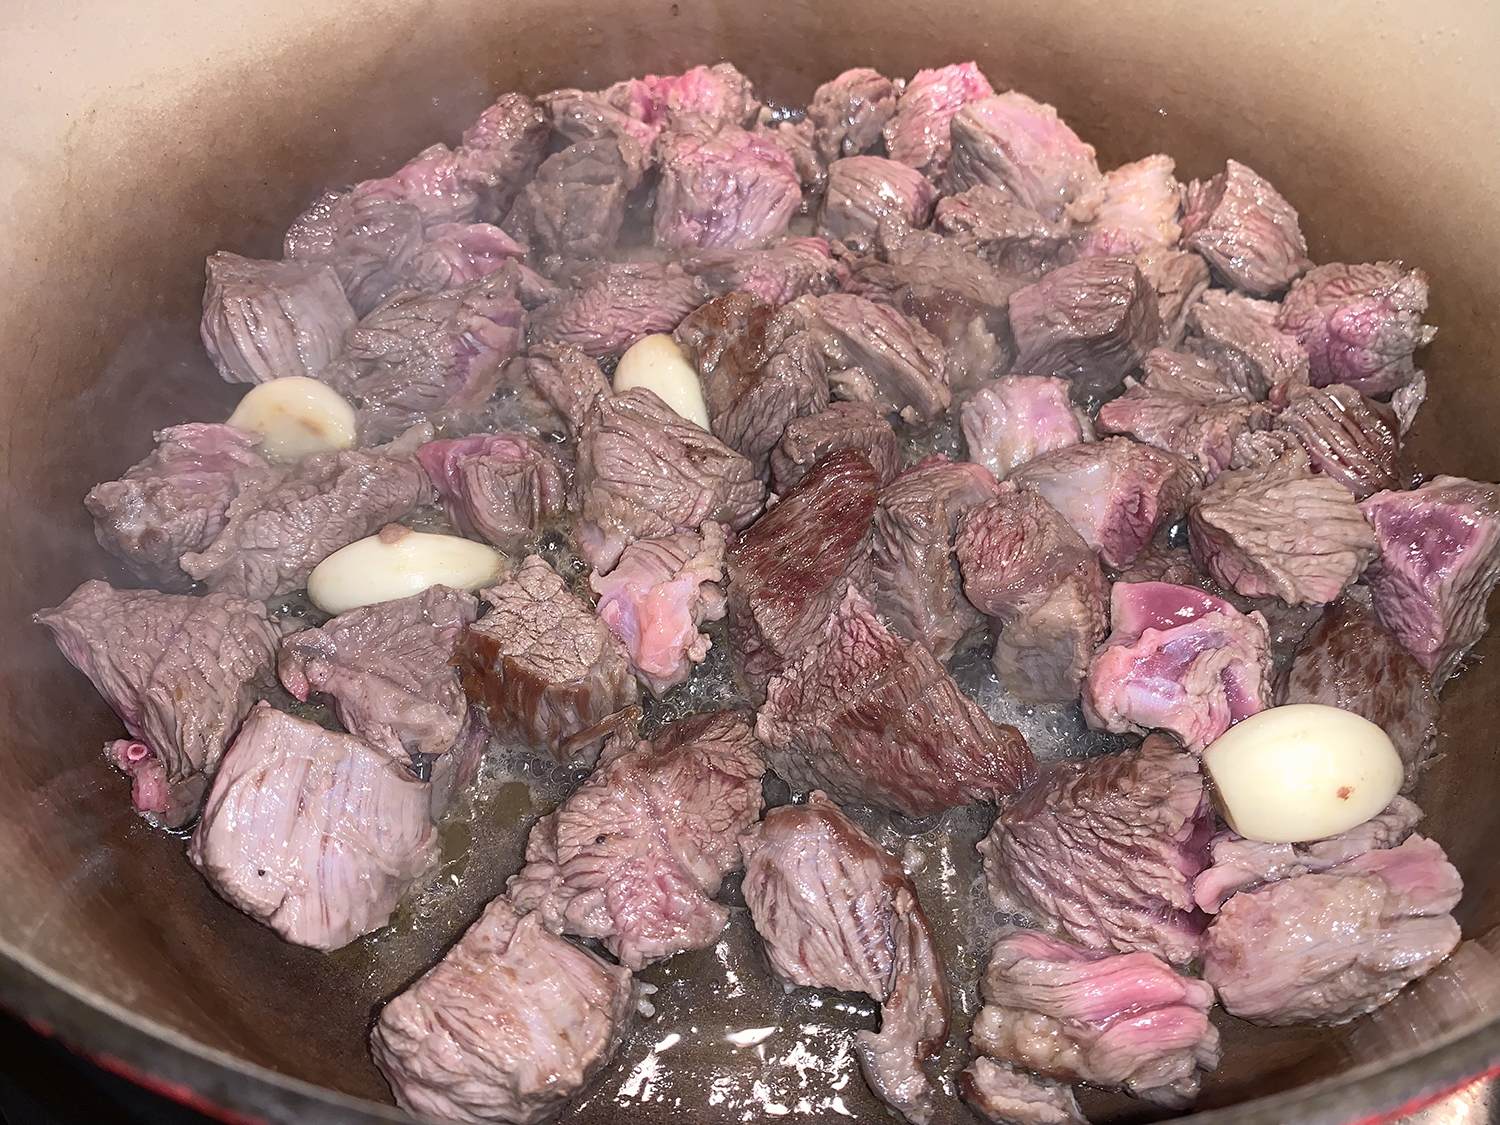
  1. In a large Dutch oven over medium-high, heat the oil until shimmering. Add the beef and garlic, then cook, stirring occasionally, until lightly browned, about 5 minutes. Using a slotted spoon, transfer to a medium bowl and set aside; reserve the fat in the pot.
  2. To the same pot, add the onion and 1 teaspoon salt; cook over medium, stirring often, until golden brown, 8 to 10 minutes.
  3. Add the carrots, turnip, bay, cinnamon, paprika and nutmeg; cook, stirring, until fragrant, about 30 seconds.
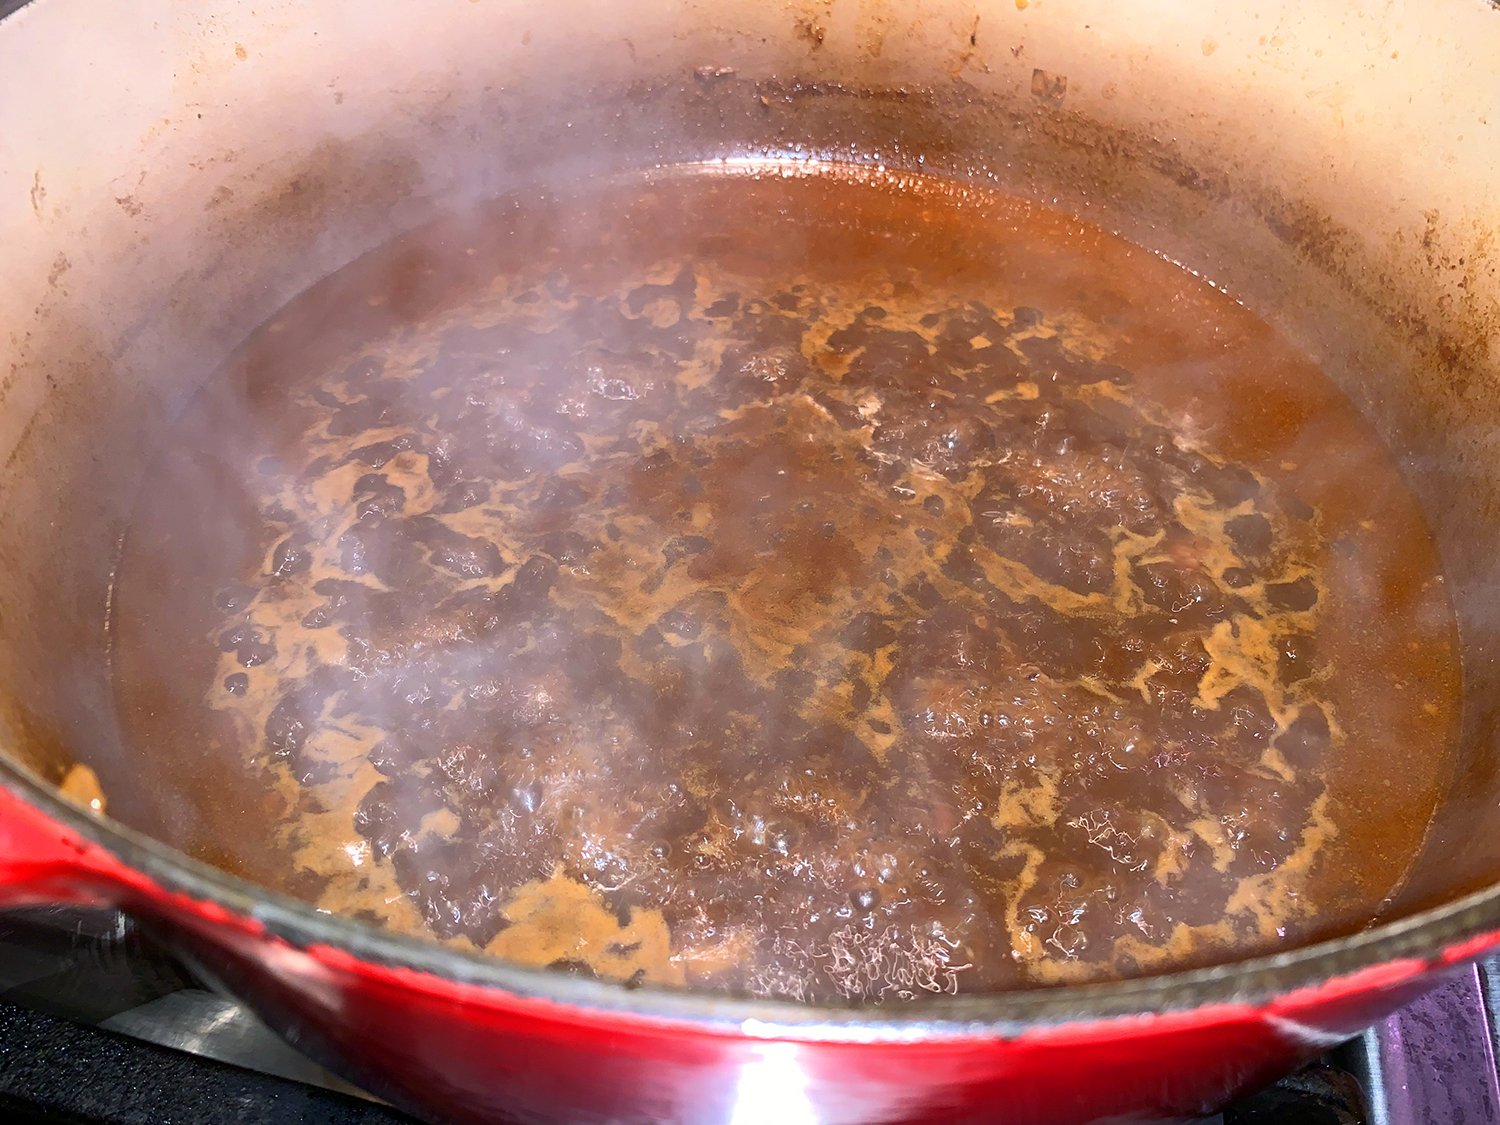
  4. Add the sherry and bring to a simmer over medium-high, scraping up any browned bits; cook, stirring occasionally, until reduced by about half, 3 to 5 minutes.
  5. Stir in the broth, vinegar and ¼ teaspoon pepper. Return the beef and garlic, along with the accumulated juices, to the pot. Bring to a simmer, then cover partially. Reduce to medium-low and cook, stirring occasionally, until a skewer inserted into the beef meets just a little resistance, about 1½ hours.
  6. Stir in the mushrooms and cover completely. Reduce to low and cook, stirring once or twice, until the mushrooms are tender, 10 to 15 minutes.
  7. Off heat, remove and discard the cinnamon and bay. Taste and season with salt, pepper and additional vinegar, if needed.

http://www.lynnandruss.com

Adapted by Courtney Hill for Milk Street
Linguine with Artichokes, Lemon and Pancetta
Milk Street got the idea for this pasta dish from “Pasta Grannies” by Vicky Bennison. The unusual sauce is made by blitzing artichokes in a blender. Canned artichokes are used instead of fresh for ease, but first they are browned in a mixture of olive oil and rendered in pancetta fat to build flavor in the sauce. The crisp bits of pancetta lend texture and saltiness, lemon adds brightness and balance, and a generous amount of Parmesan ties all the elements together. Voila!

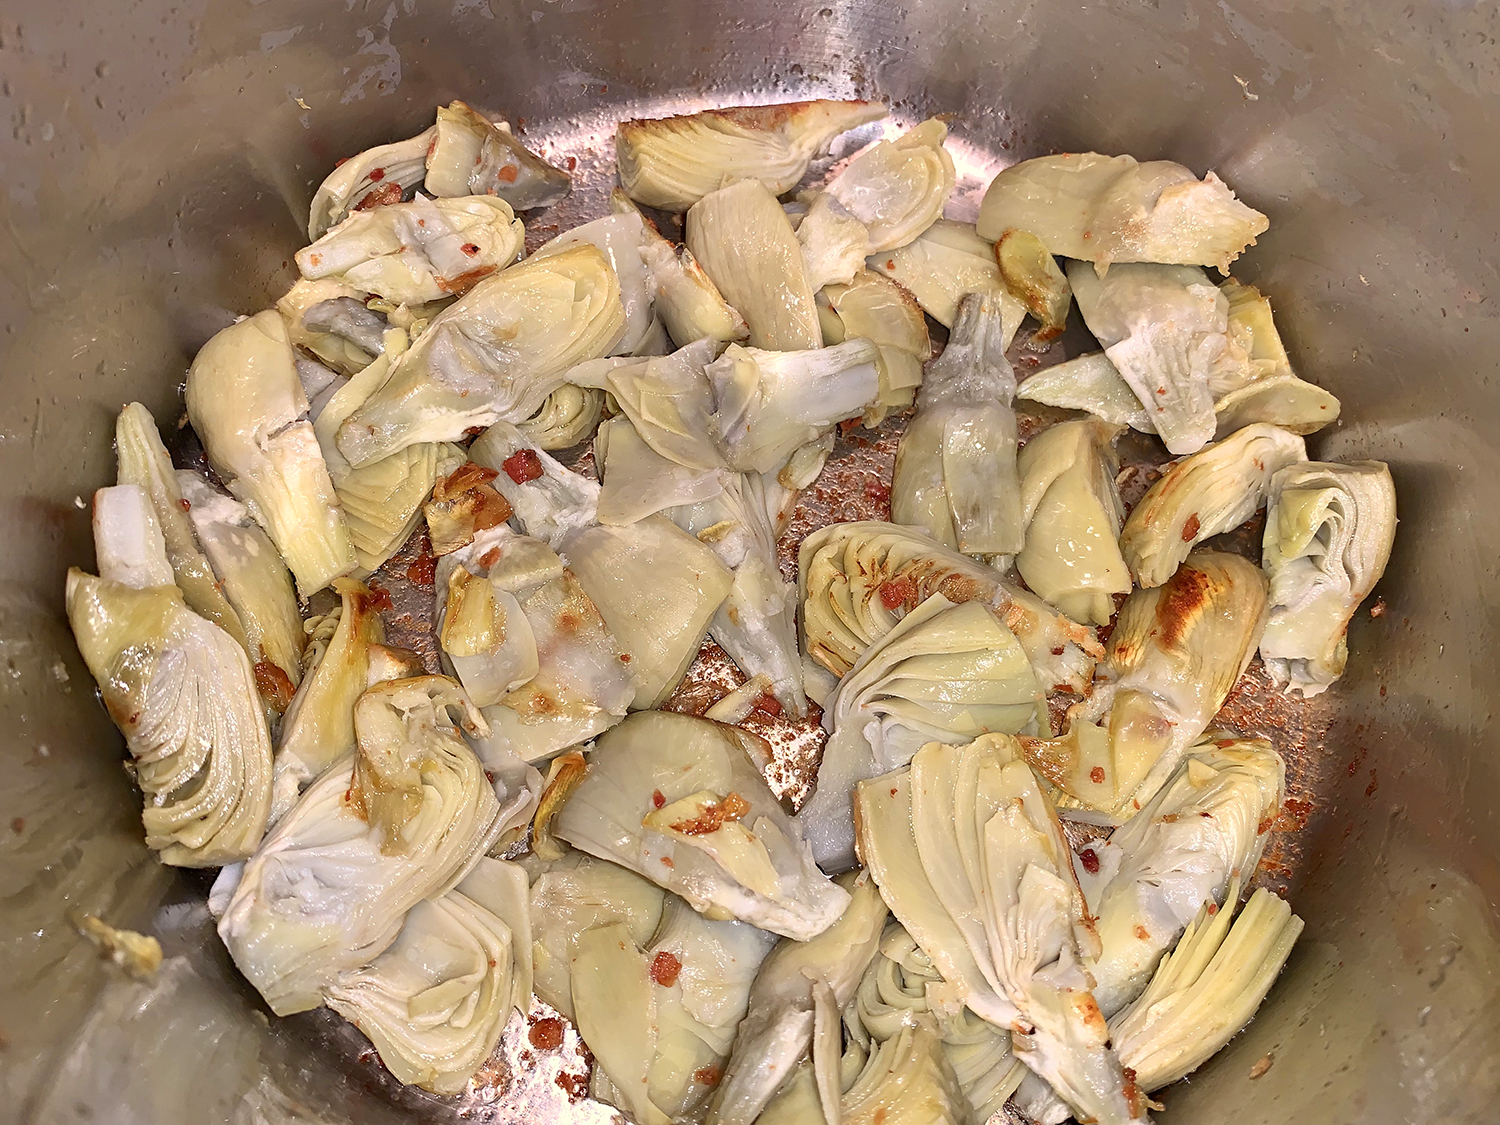
With a minimum of ingredients, this lovely pasta dish can be served as a first course or as the main entrée. Instead of canned, we used frozen artichokes—just make sure to really dry those chokes, otherwise they won’t brown. Using a wider pan would accelerate the browning process. In fact, you may want more of them for the topping!

Don’t use marinated artichokes for this recipe, as their flavor is too sharp and tangy. After draining the artichokes, make sure to pat them dry so they caramelize when added to the pot. Don’t forget to reserve about 2 cups of the pasta water before draining the noodles. You will need it for pureeing the artichokes and building the sauce. And we used every drop of those 2 cups, so perhaps save a bit more…

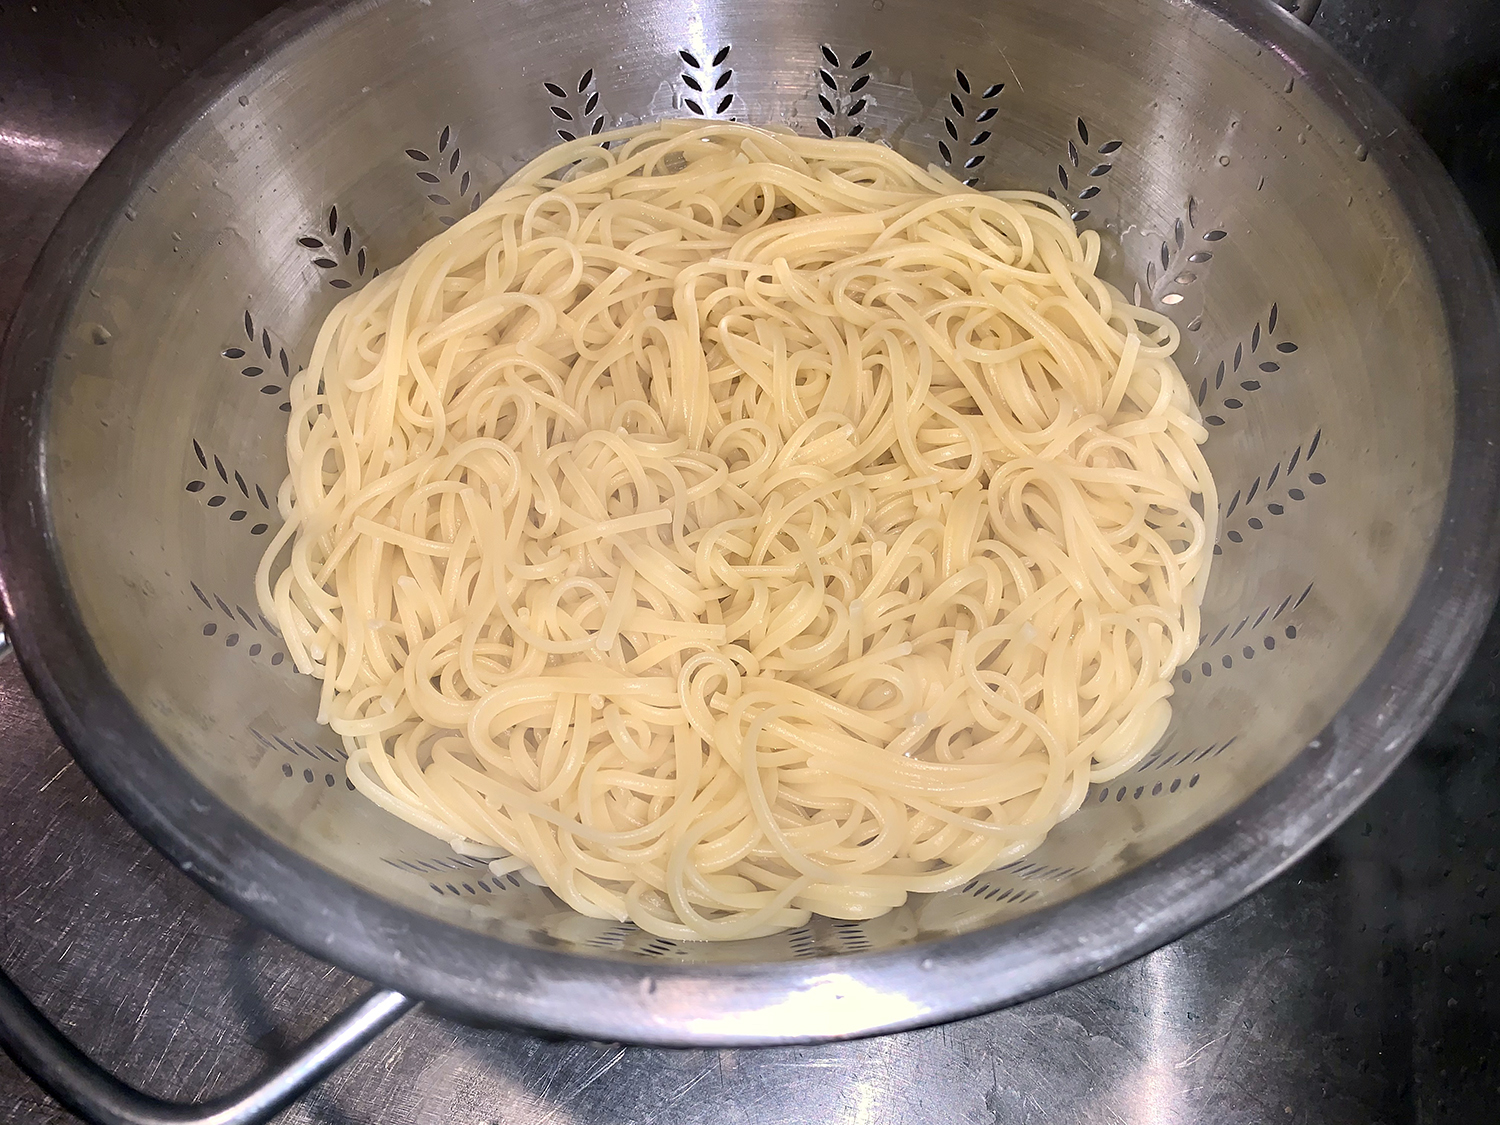
One other note. Instead of letting the cooked pasta sit in a colander while you make the rest of the dish, use two pots. As the linguine boils, cook the pancetta and then the artichokes in another. This way, everything comes together at one time and is guaranteed to be piping hot.

Linguine with Artichokes, Lemon and Pancetta

  • Servings: 4
  • Difficulty: easy
  • Print

Ingredients

  • 1 lb. linguine OR fettuccine
  • Kosher salt and ground black pepper
  • 1 Tbsp. extra-virgin olive oil, plus more to serve
  • 4 oz. pancetta, chopped
  • 14 oz. can artichoke hearts, drained, patted dry and quartered if whole
  • 1 Tbsp. grated lemon zest, plus 3 tablespoons lemon juice
  • 2 oz. Parmesan cheese, finely grated (1 cup), plus more to serve
  • ½ cup finely chopped fresh flat-leaf parsley OR chives OR basil

Directions

  1. In a large pot, bring 4 quarts water to a boil. Stir in the pasta and 1 tablespoon salt, then cook, stirring occasionally, until al dente. Reserve about 2 cups of the cooking water, then drain.
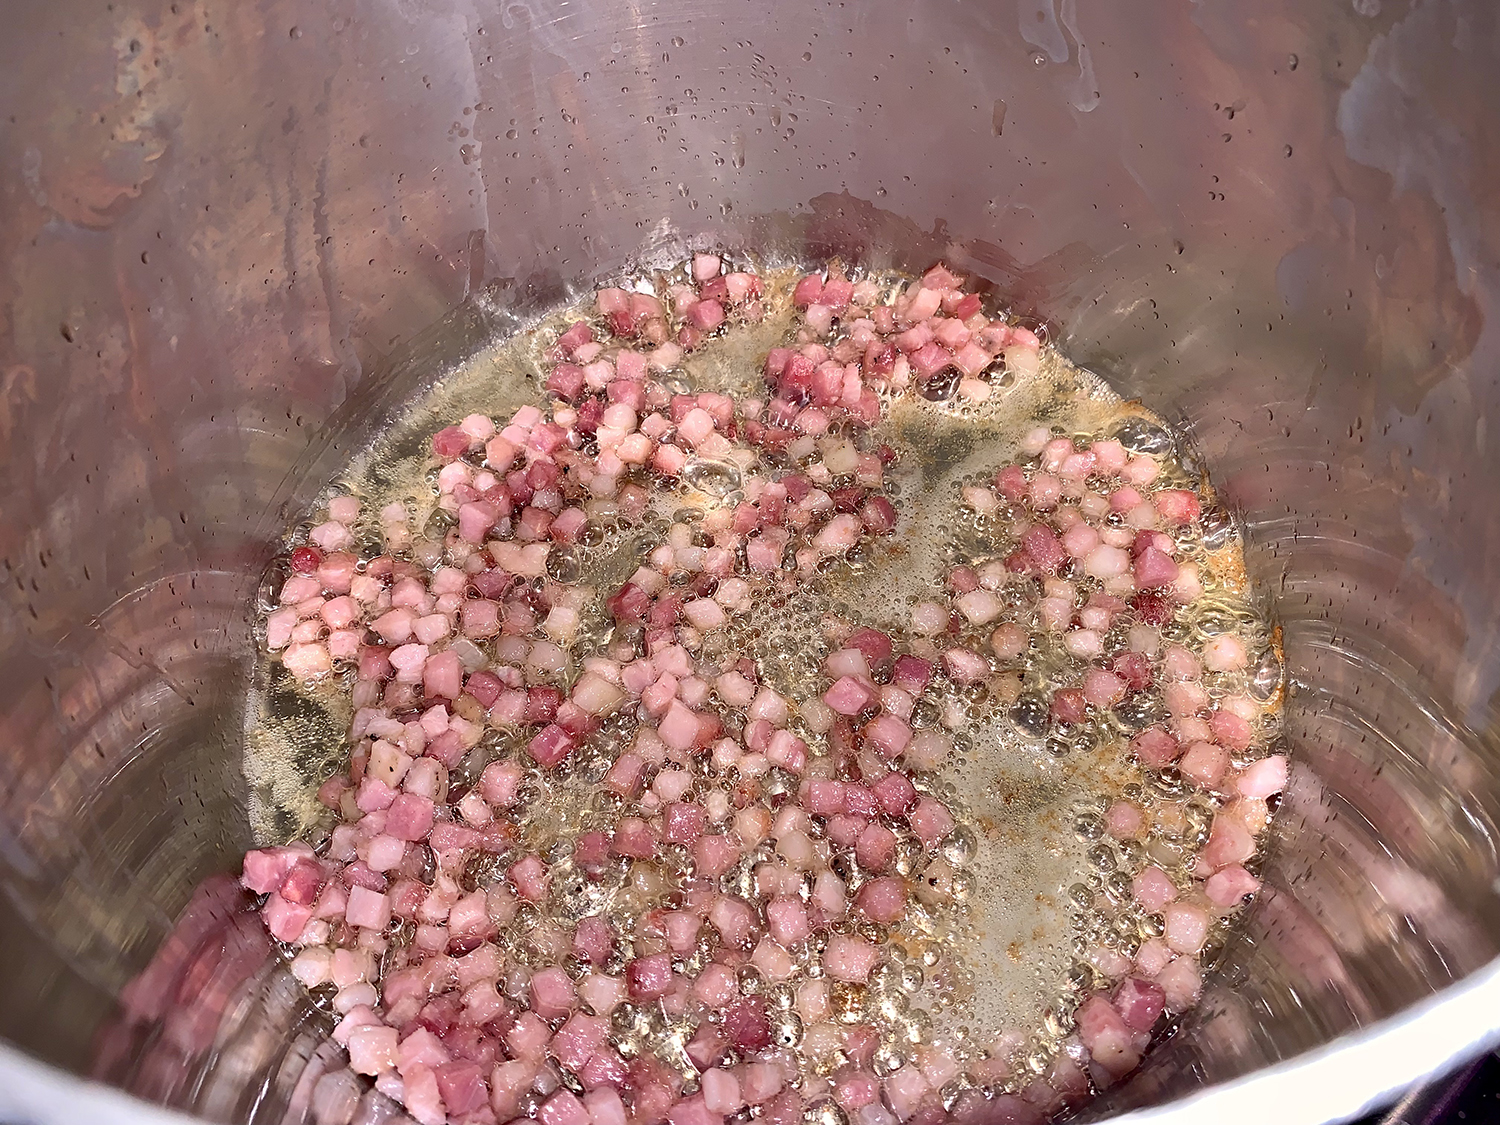
  2. In the same pot over medium, heat the oil until shimmering. Add the pancetta and cook, stirring, until crisp, 3 to 4 minutes. Using a slotted spoon, transfer to a small plate; set aside.
  3. Add the artichokes to the pot and cook, stirring, until beginning to brown at the edges, 3 to 4 minutes. Remove the pot from the heat. Transfer half the artichokes to a small bowl; add the remainder to a blender. Reserve the pot.
  4. To the artichokes in the blender, add ½ cup cooking water, the lemon juice and ¼ teaspoon each salt and pepper; puree until smooth. In the same pot over medium, bring 1 cup of the remaining cooking water to a simmer, scraping up any browned bits.
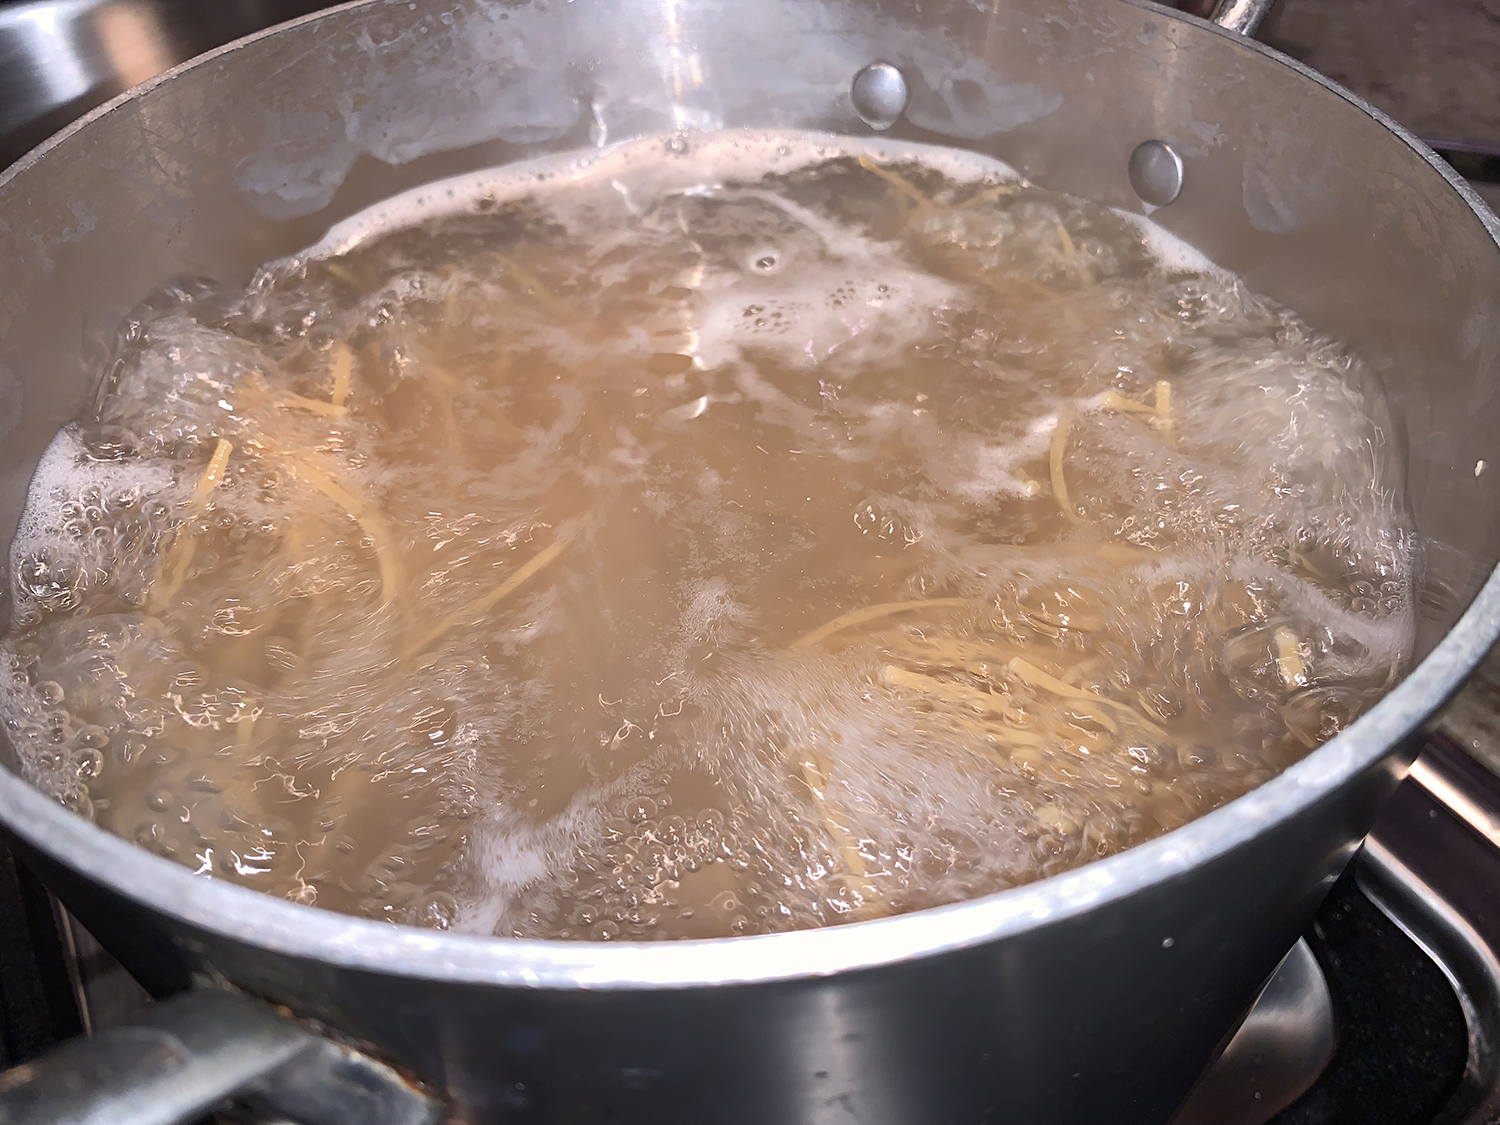
  5. Add the artichoke puree, the pasta, lemon zest, pancetta, Parmesan and parsley. Cook, tossing to combine, just until the noodles are heated through, 1 to 2 minutes; add more reserved water as needed to make a silky sauce. Taste and season with salt and pepper.
  6. Transfer to a serving bowl and top with the reserved artichokes, along with additional oil and Parmesan.

http://www.lynnandruss.com

Recipe by Rose Hattabaugh for Milk Street