From a recent issue of Milk Street, we found out that Carne Vinha D’alhos, or pork with wine and garlic, is a traditional Christmas dish from the Portuguese island of Madeira and the precursor to the spicy Indian curry called vindaloo.
To make it, chunks of pork are marinated in a heady mixture of wine, vinegar, garlic and herbs for up to a few days before they’re cooked until tender. This version of Madeiran Pork with Wine and Garlic was streamlined using pork shoulder instead of leaner pork loin, and the meat can marinate anywhere from 1 to 48 hours. (Ours marinated for 24 hours.)
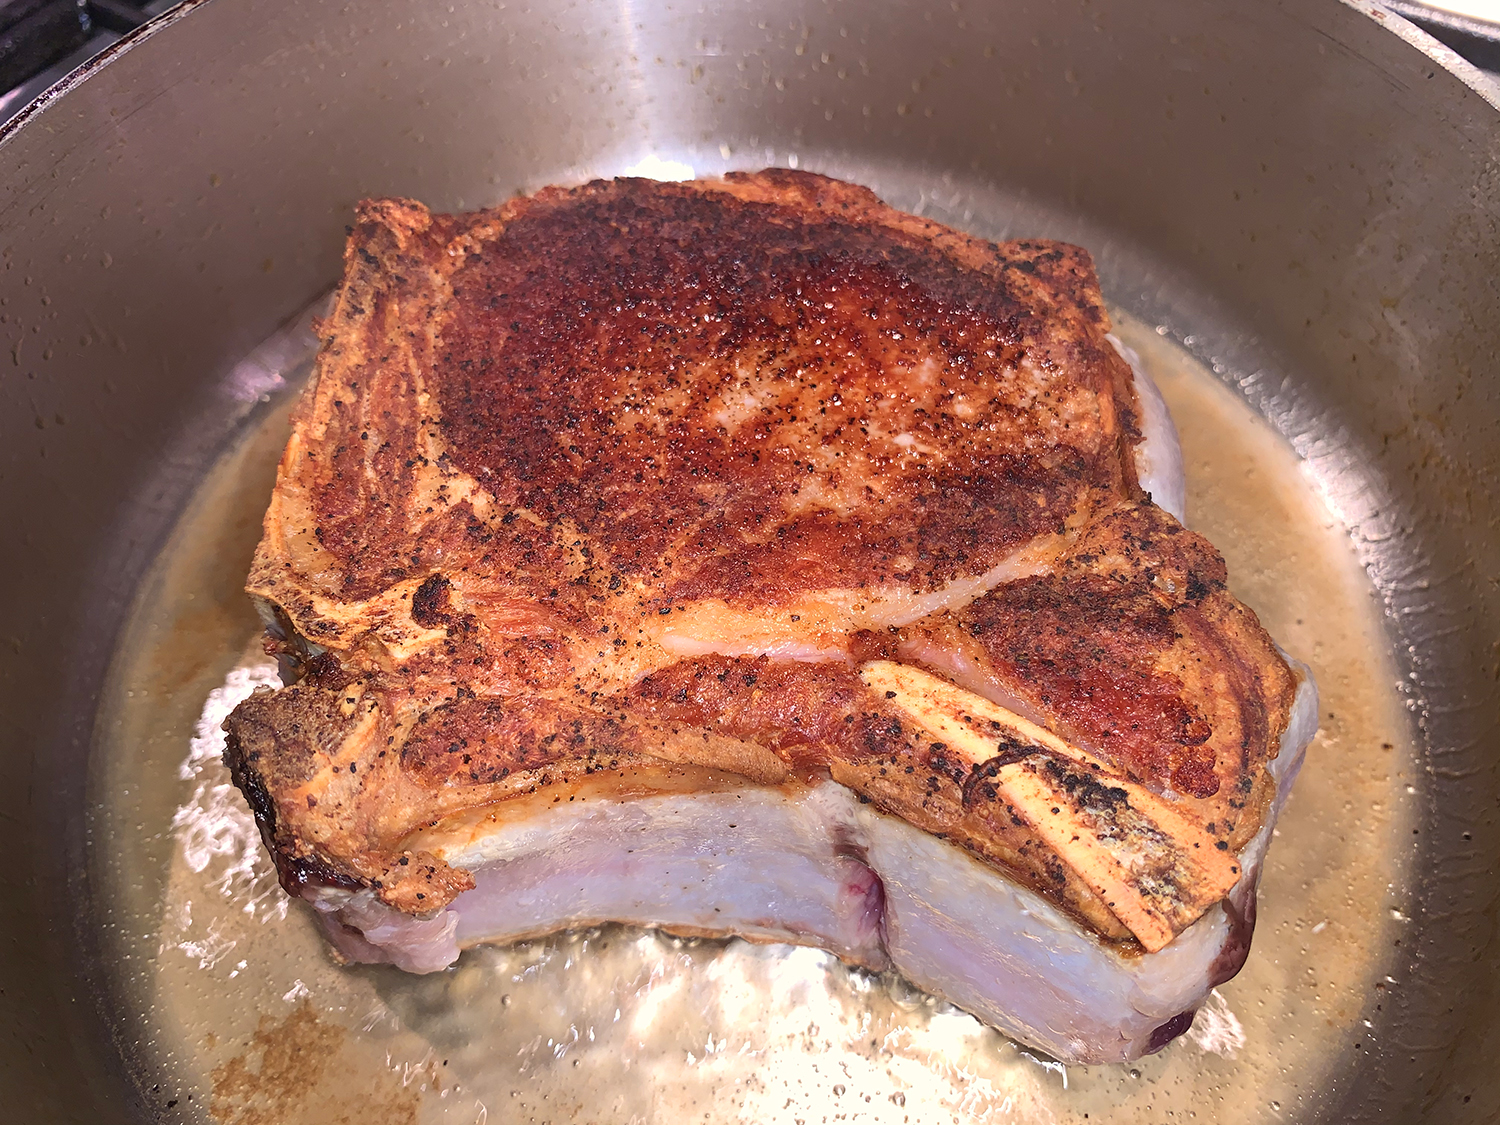
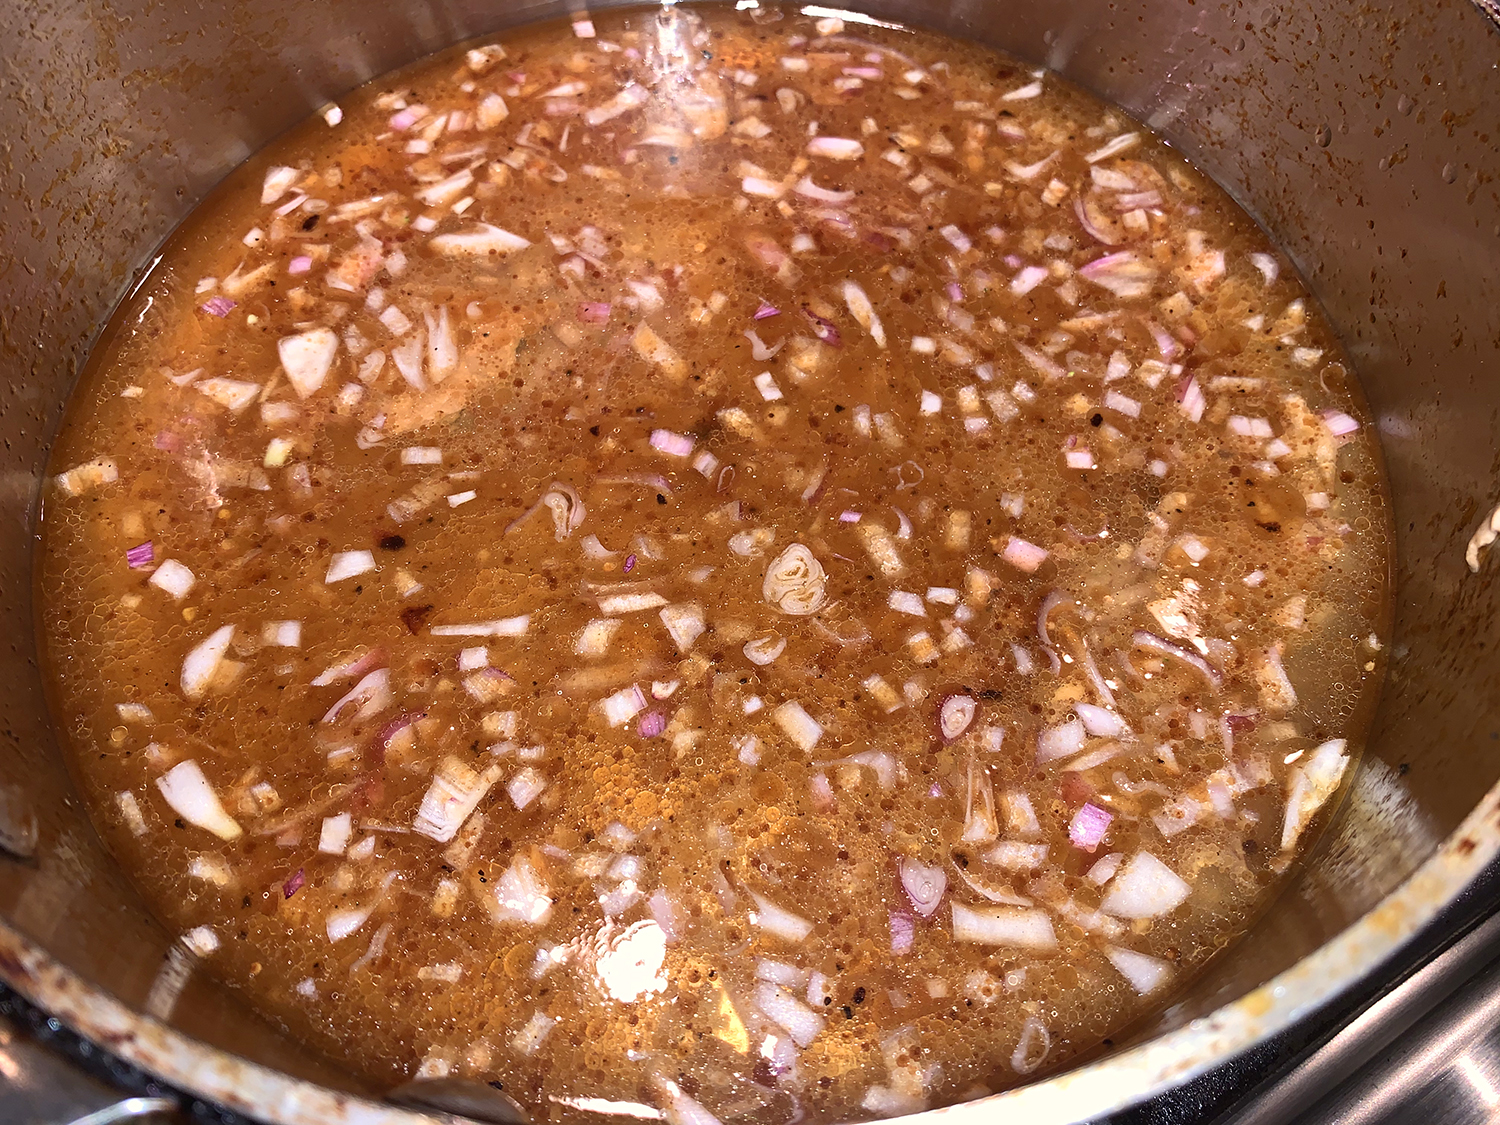
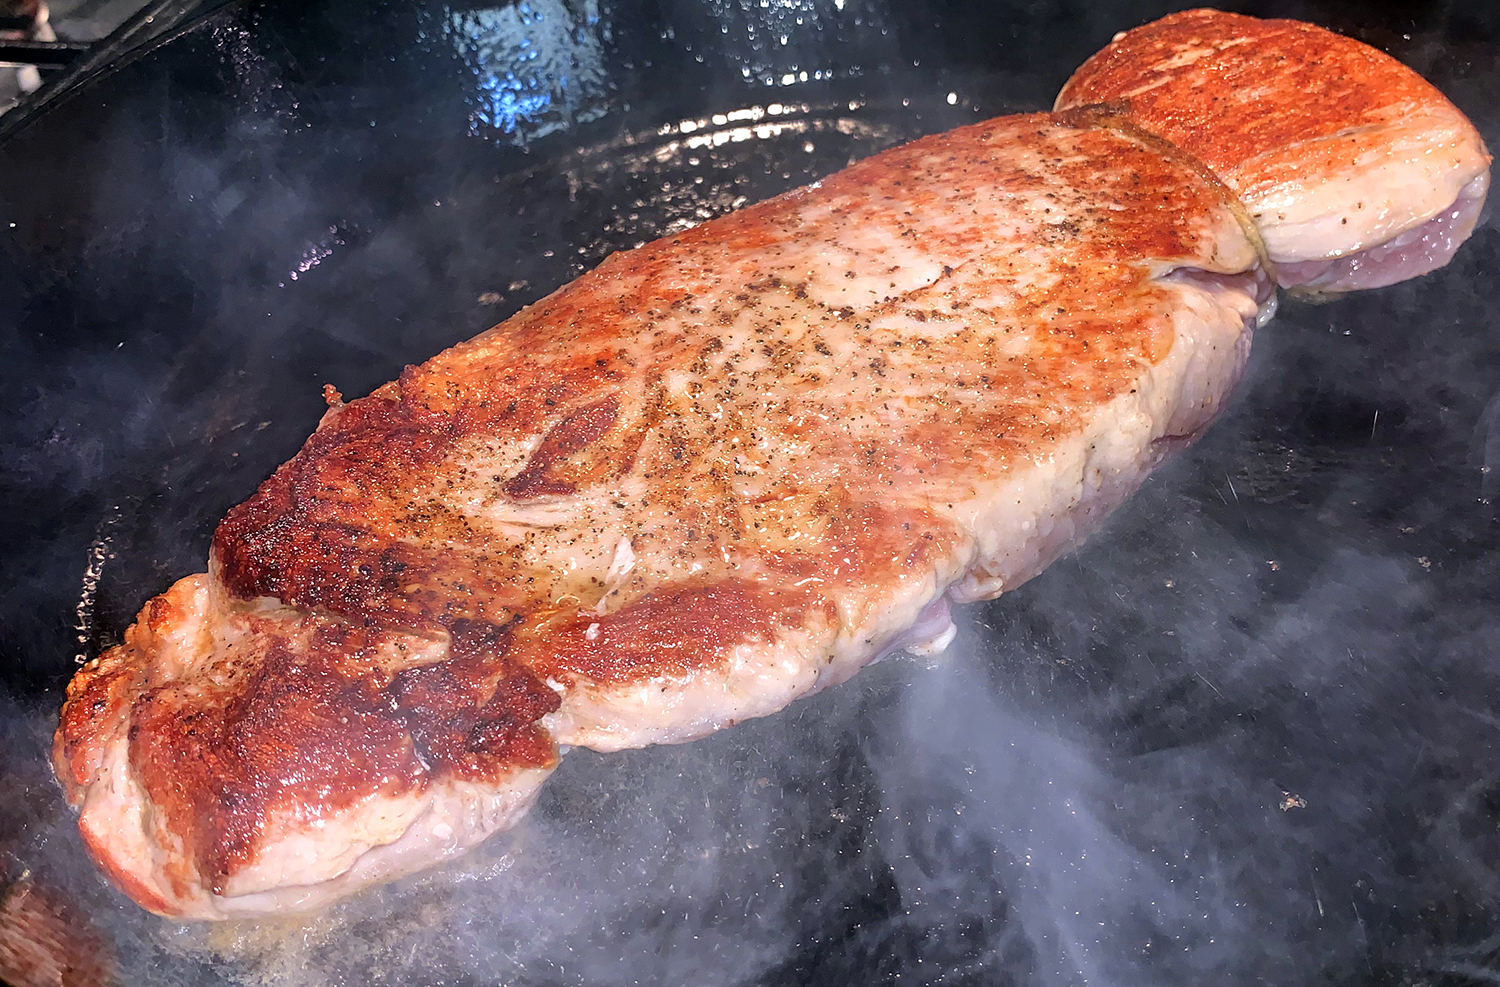
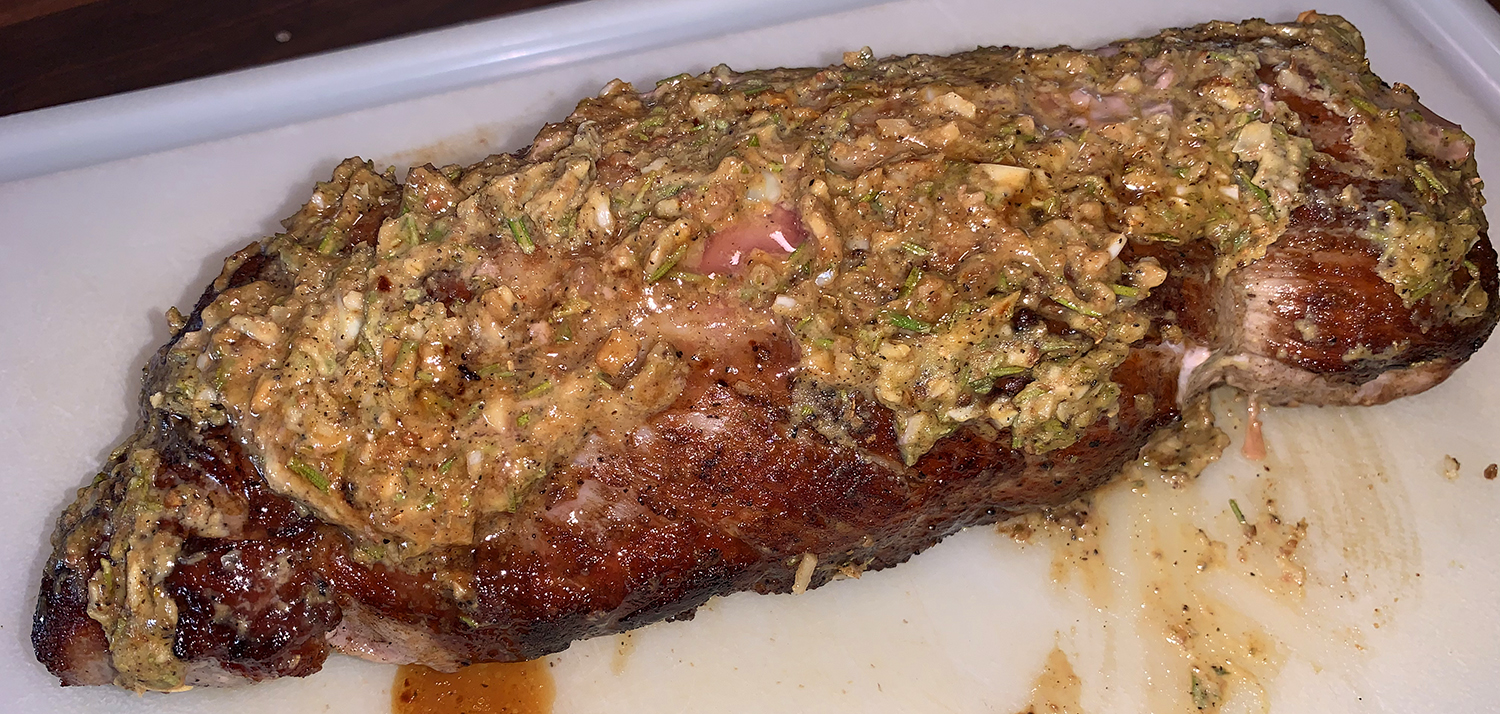
Pork shoulder is a cut that requires lengthy cooking to become tender, so this oven-braised for about 1½ hours. Next, you brown the meat after simmering to develop a rich, flavorful caramelization. The marinade is then reduced to a light glaze, and the pork is finished by coating it with the reduction.
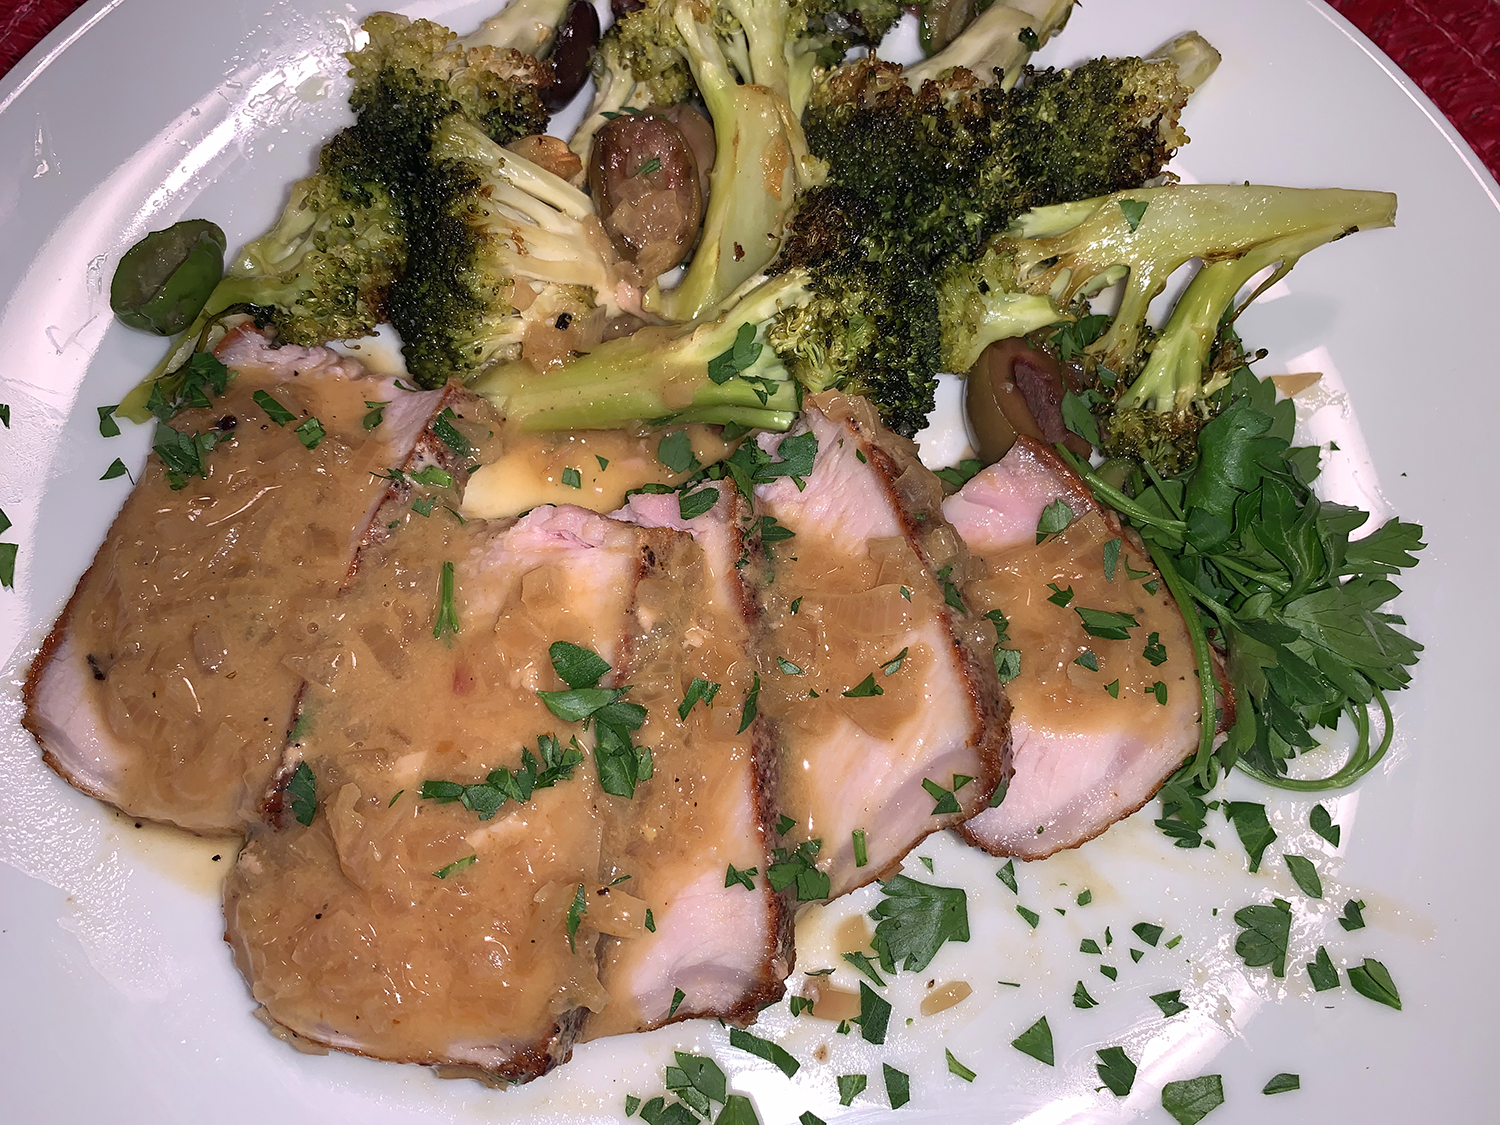
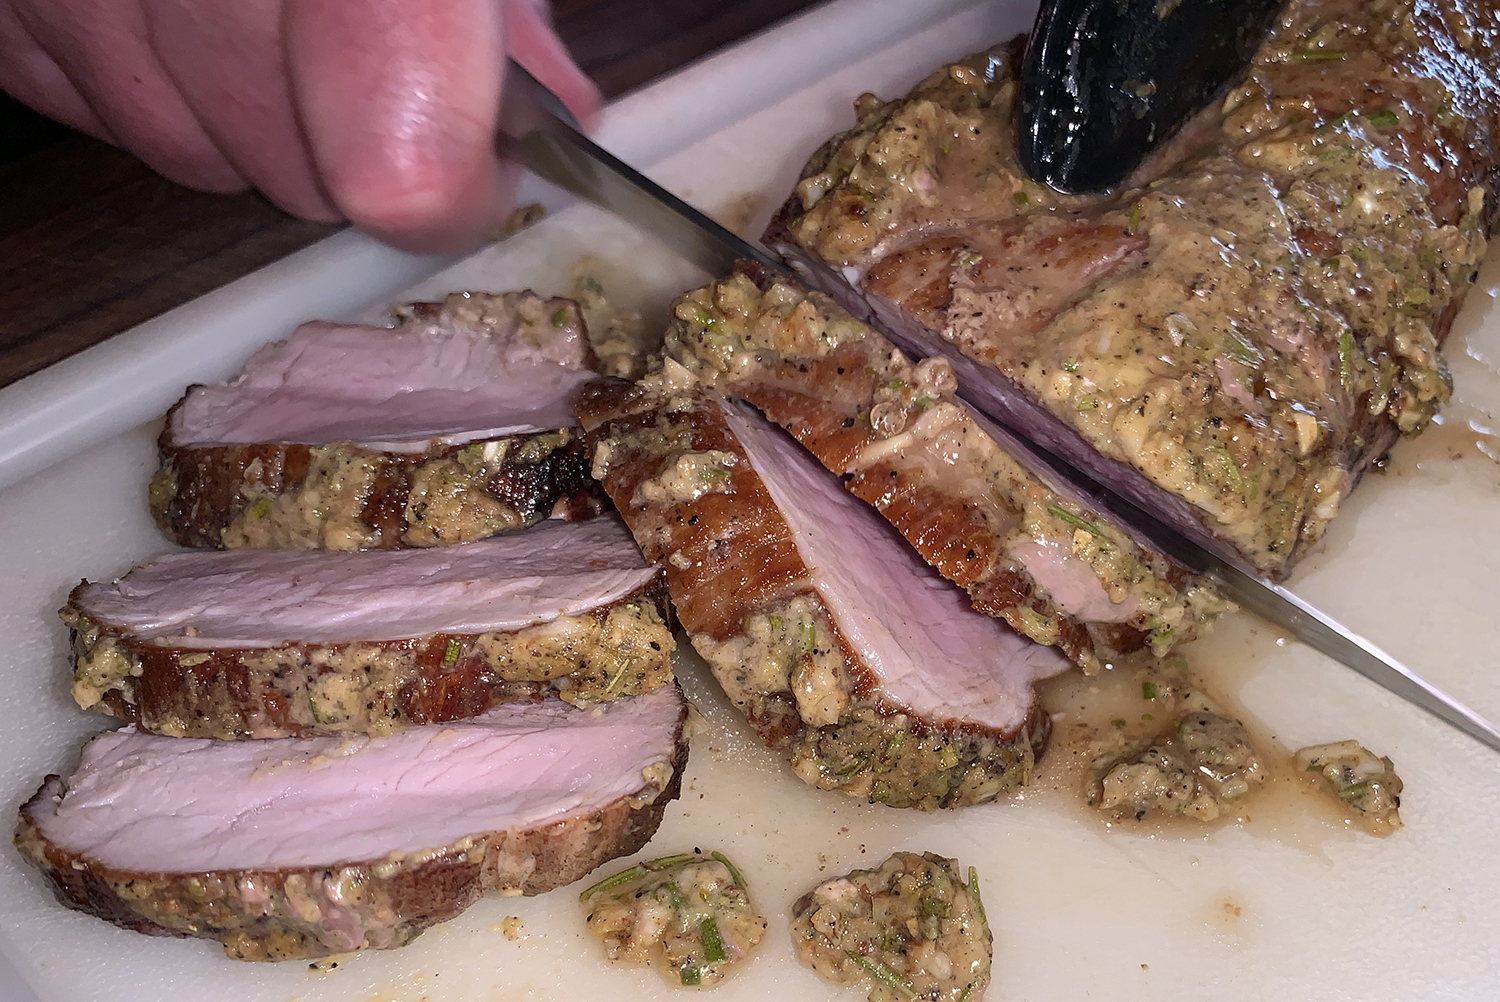
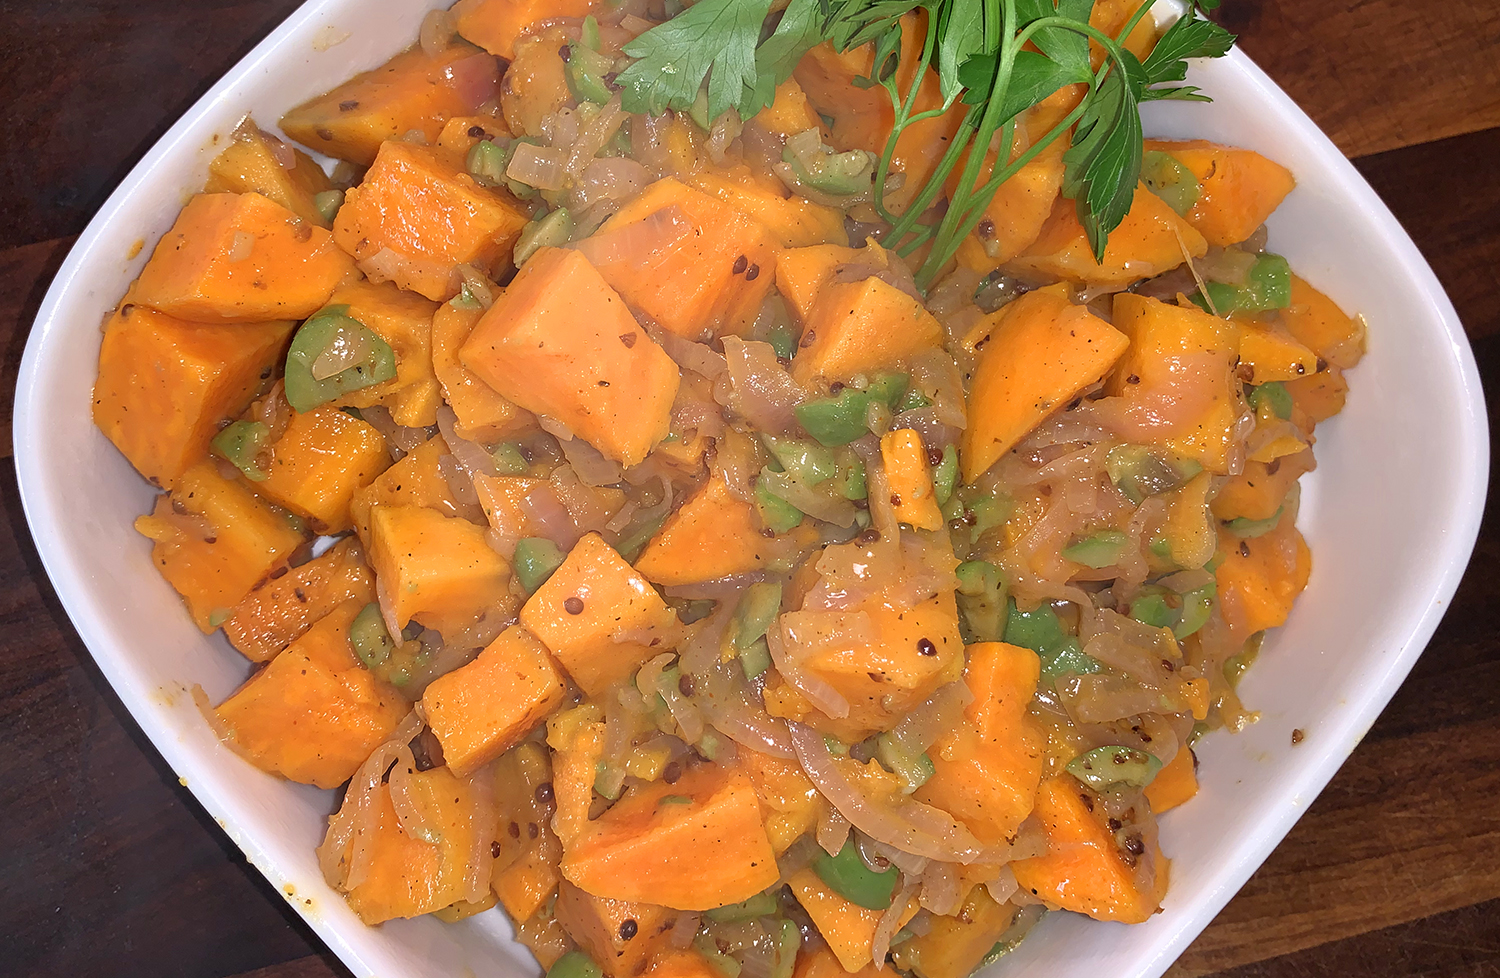
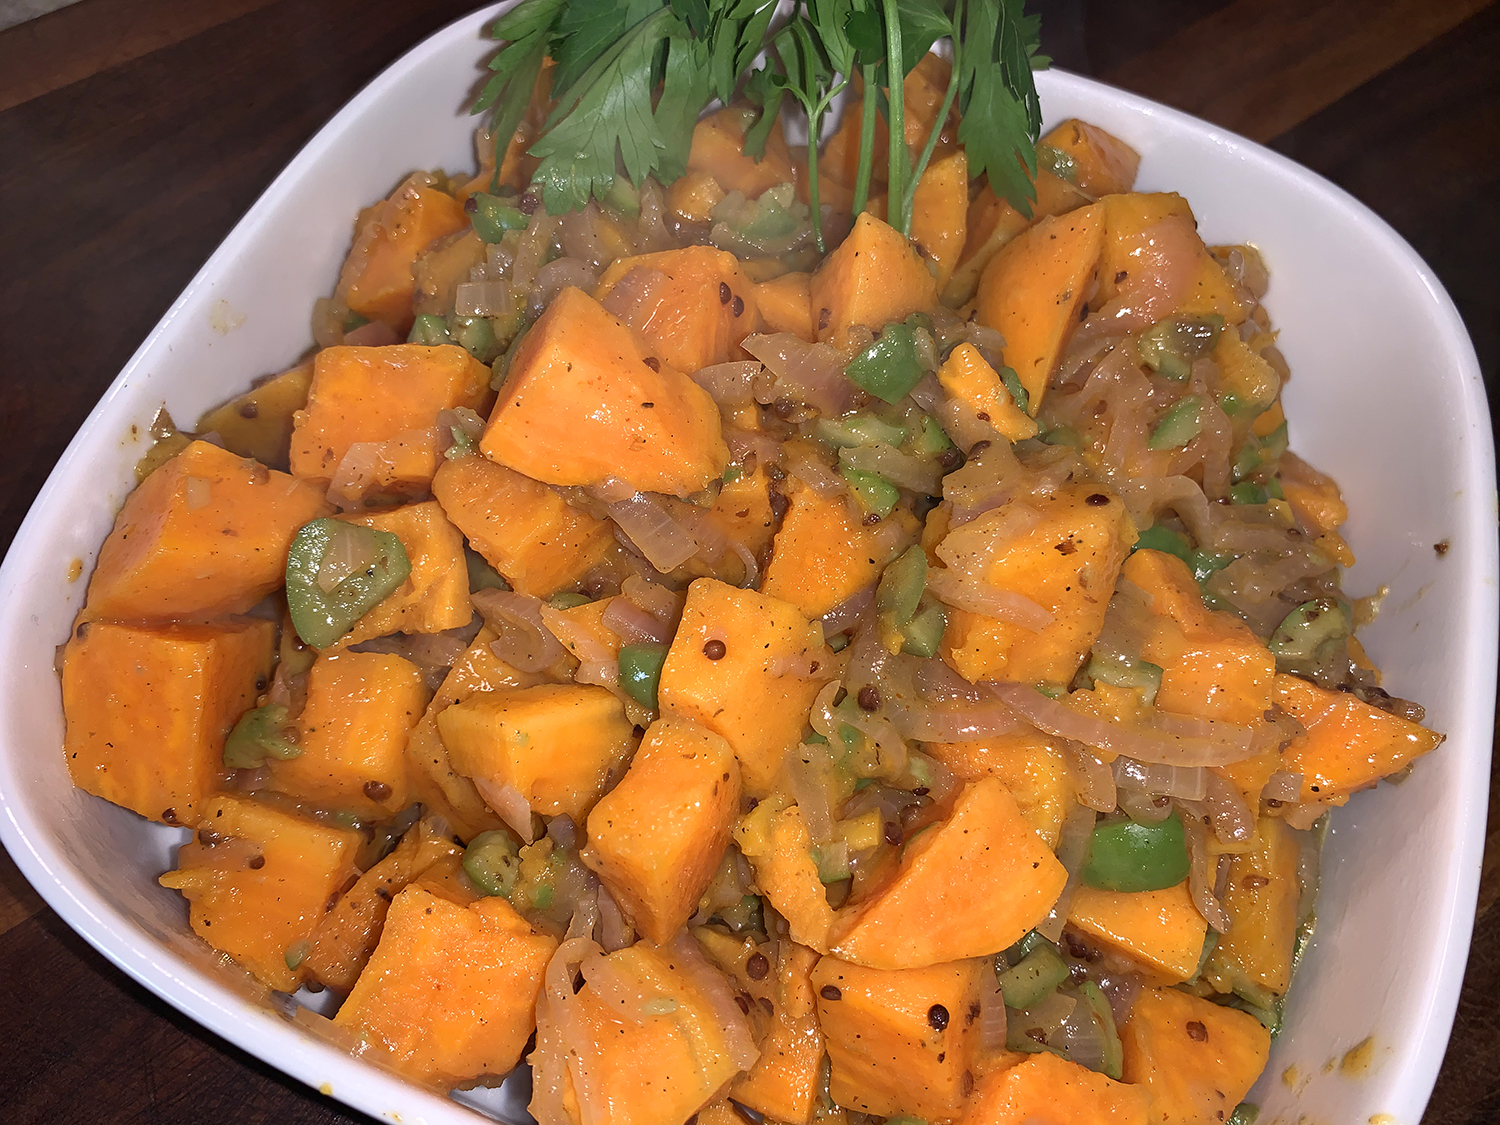
In Madeira, the pork typically is piled onto crusty rolls to make sandwiches, but we paired ours with another recipe from Milk Street: Portuguese Wine-Braised Potatoes with Garlic and Chiles where a mixture of wine and chicken broth are used for simmering the spuds to render them soft and tender.

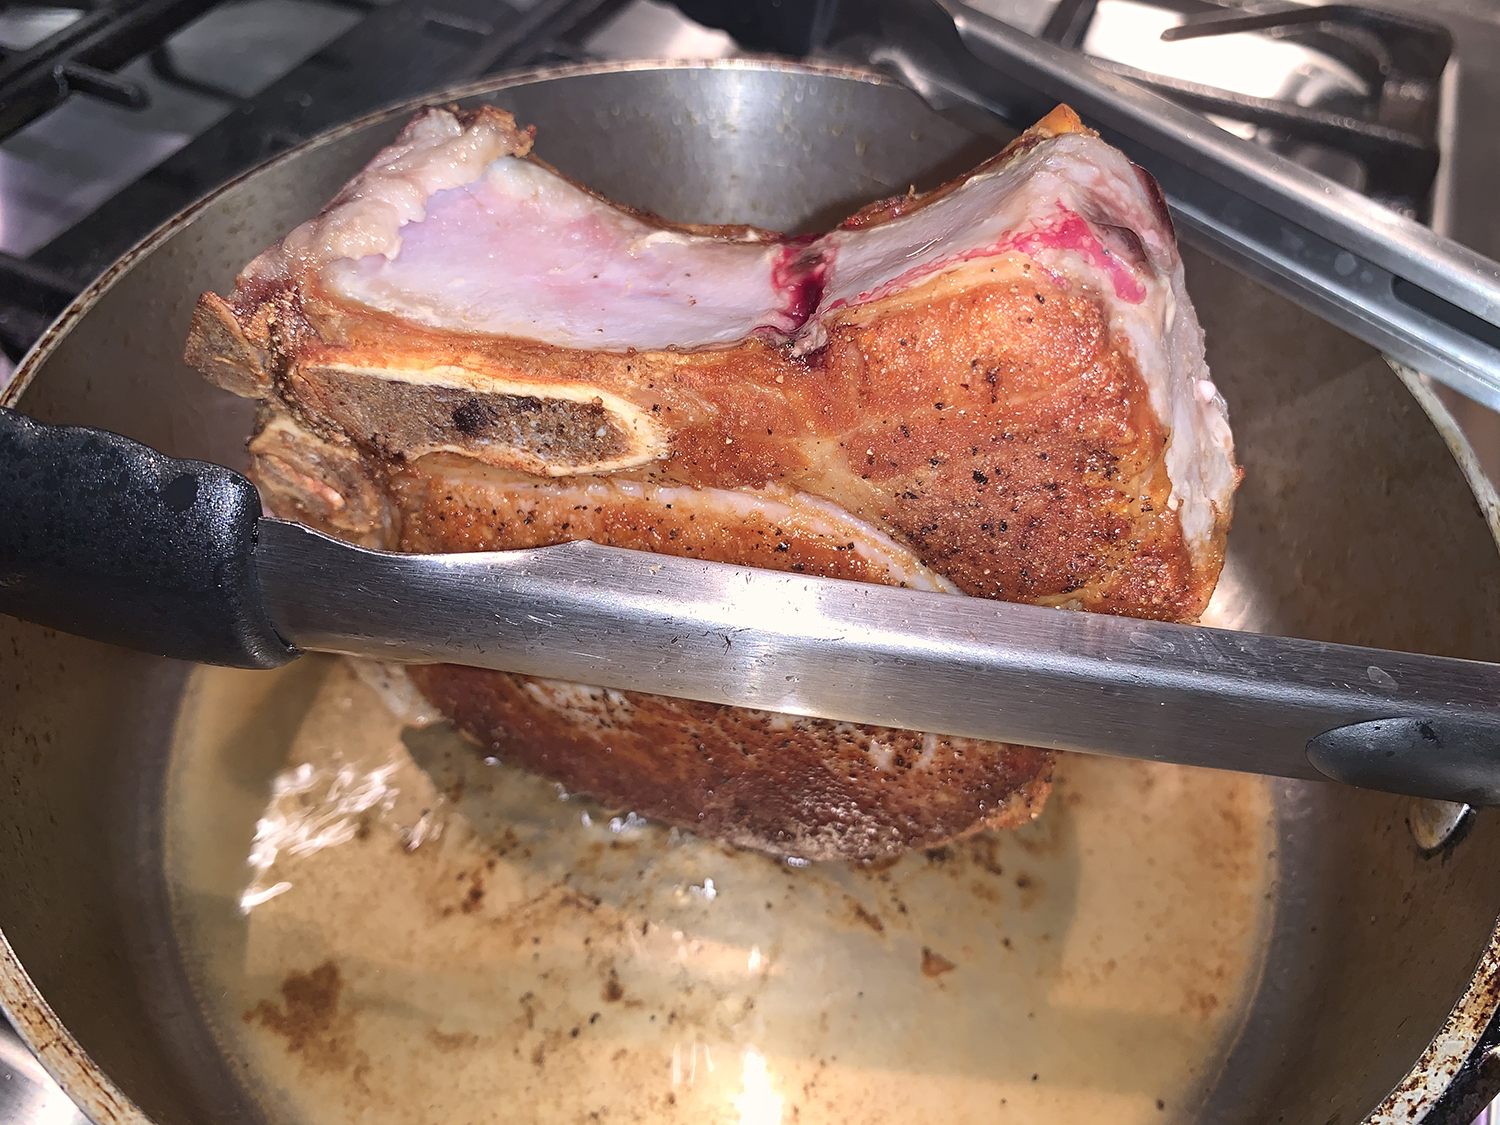
After simmering the pork, be sure to drain the pieces on a rack as directed. This helps ensure nice caramelization when the pork is browned in the skillet. Finally, when skimming the fat off the braising liquid, be sure to reserve it for browning the pork.
Tip: Don’t use an uncoated cast-iron Dutch oven. Enamel-coated cast-iron is fine, but in an uncoated cast-iron pot—even in one that is well seasoned—the acidity of the marinade may react with the iron, producing metallic “off” flavors. A stainless steel cooking surface is fine, too, but avoid aluminum unless it has been treated to make it nonreactive.

Madeiran Pork with Wine and Garlic
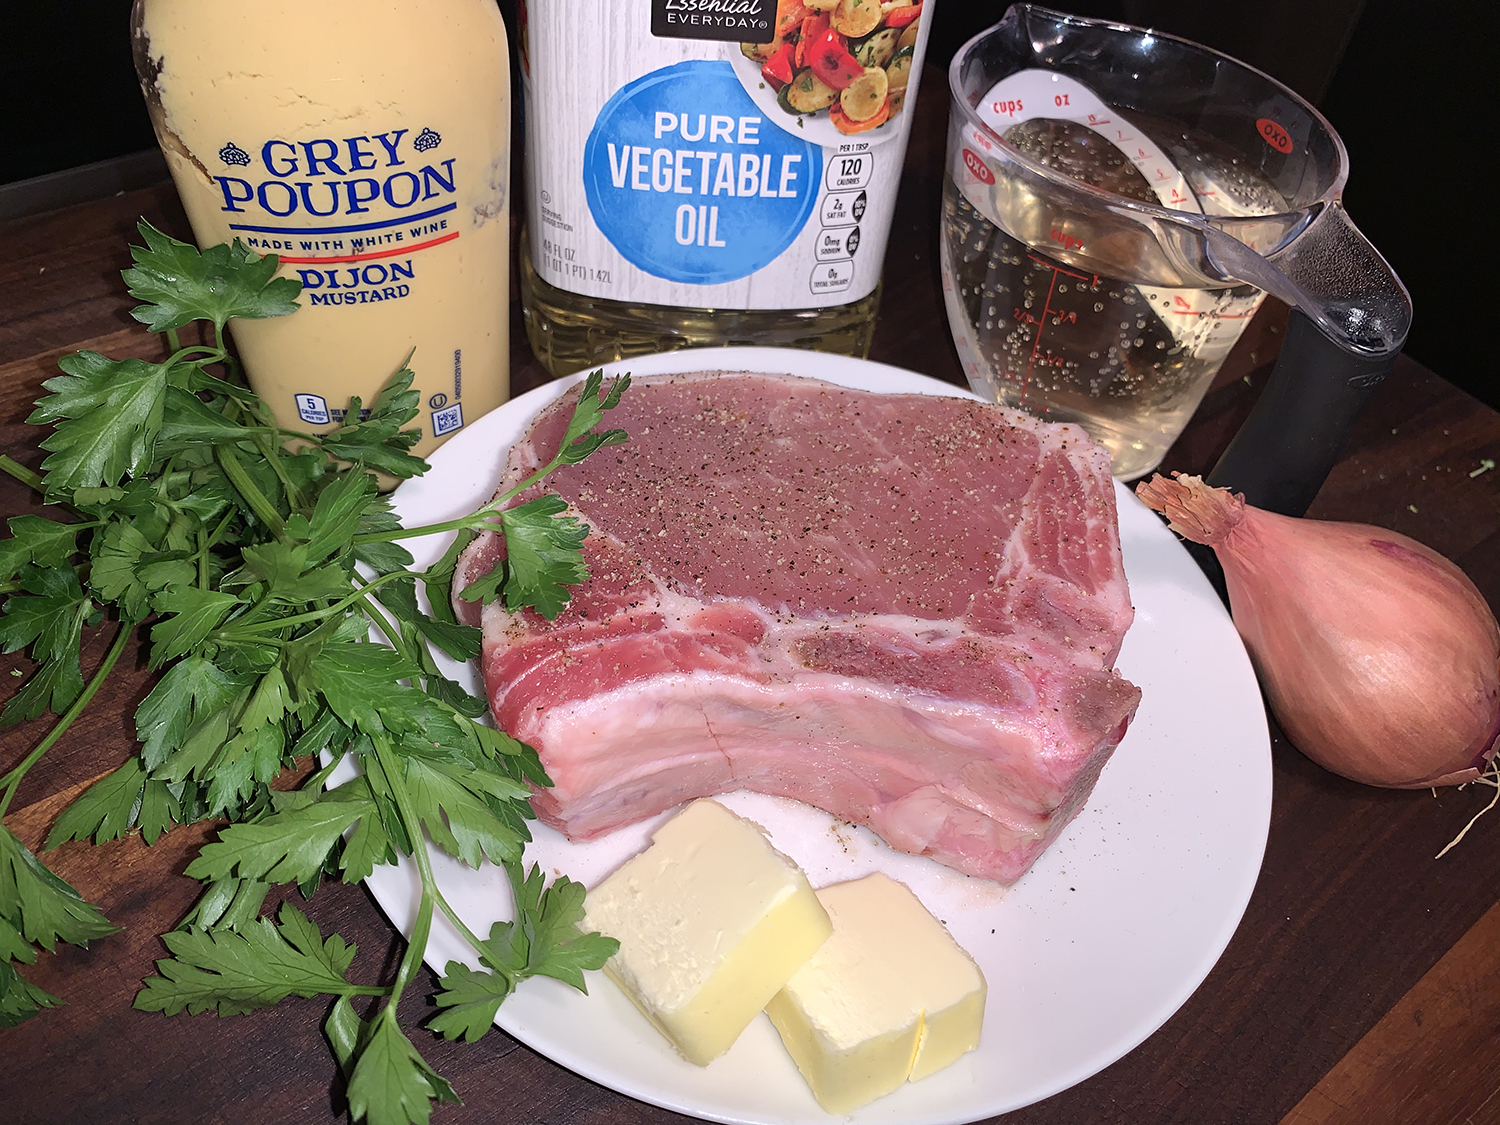
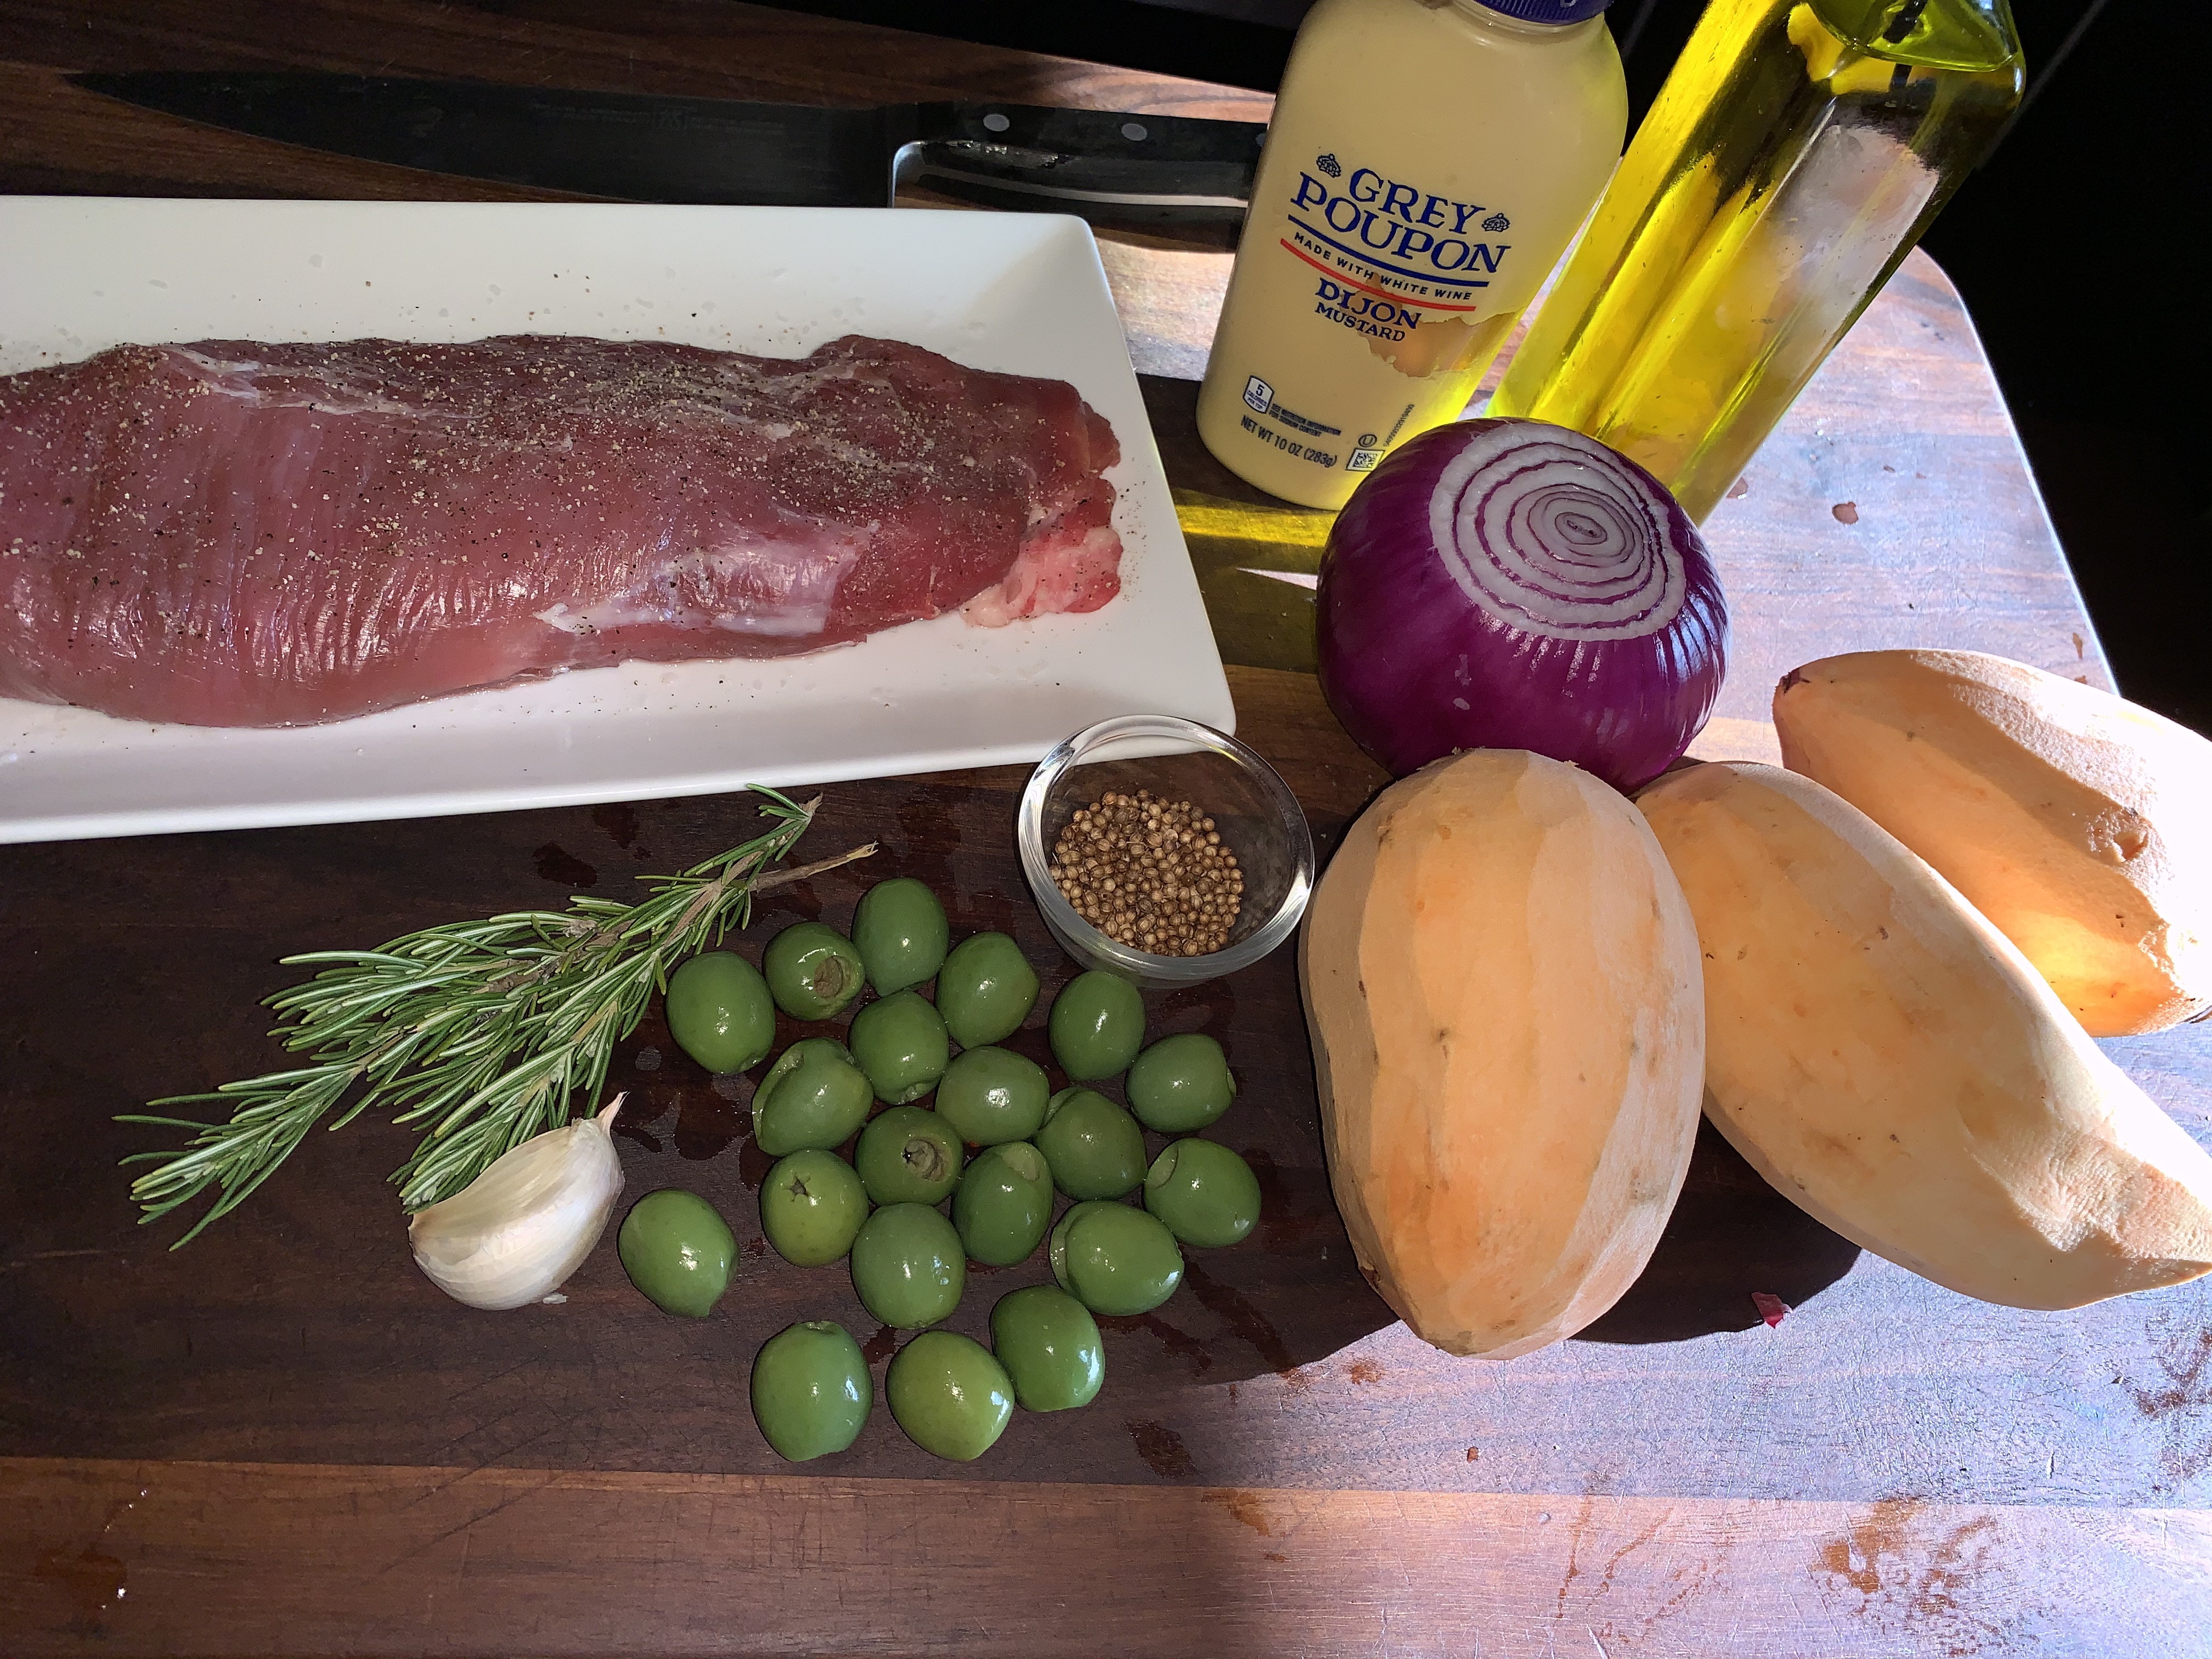
Ingredients
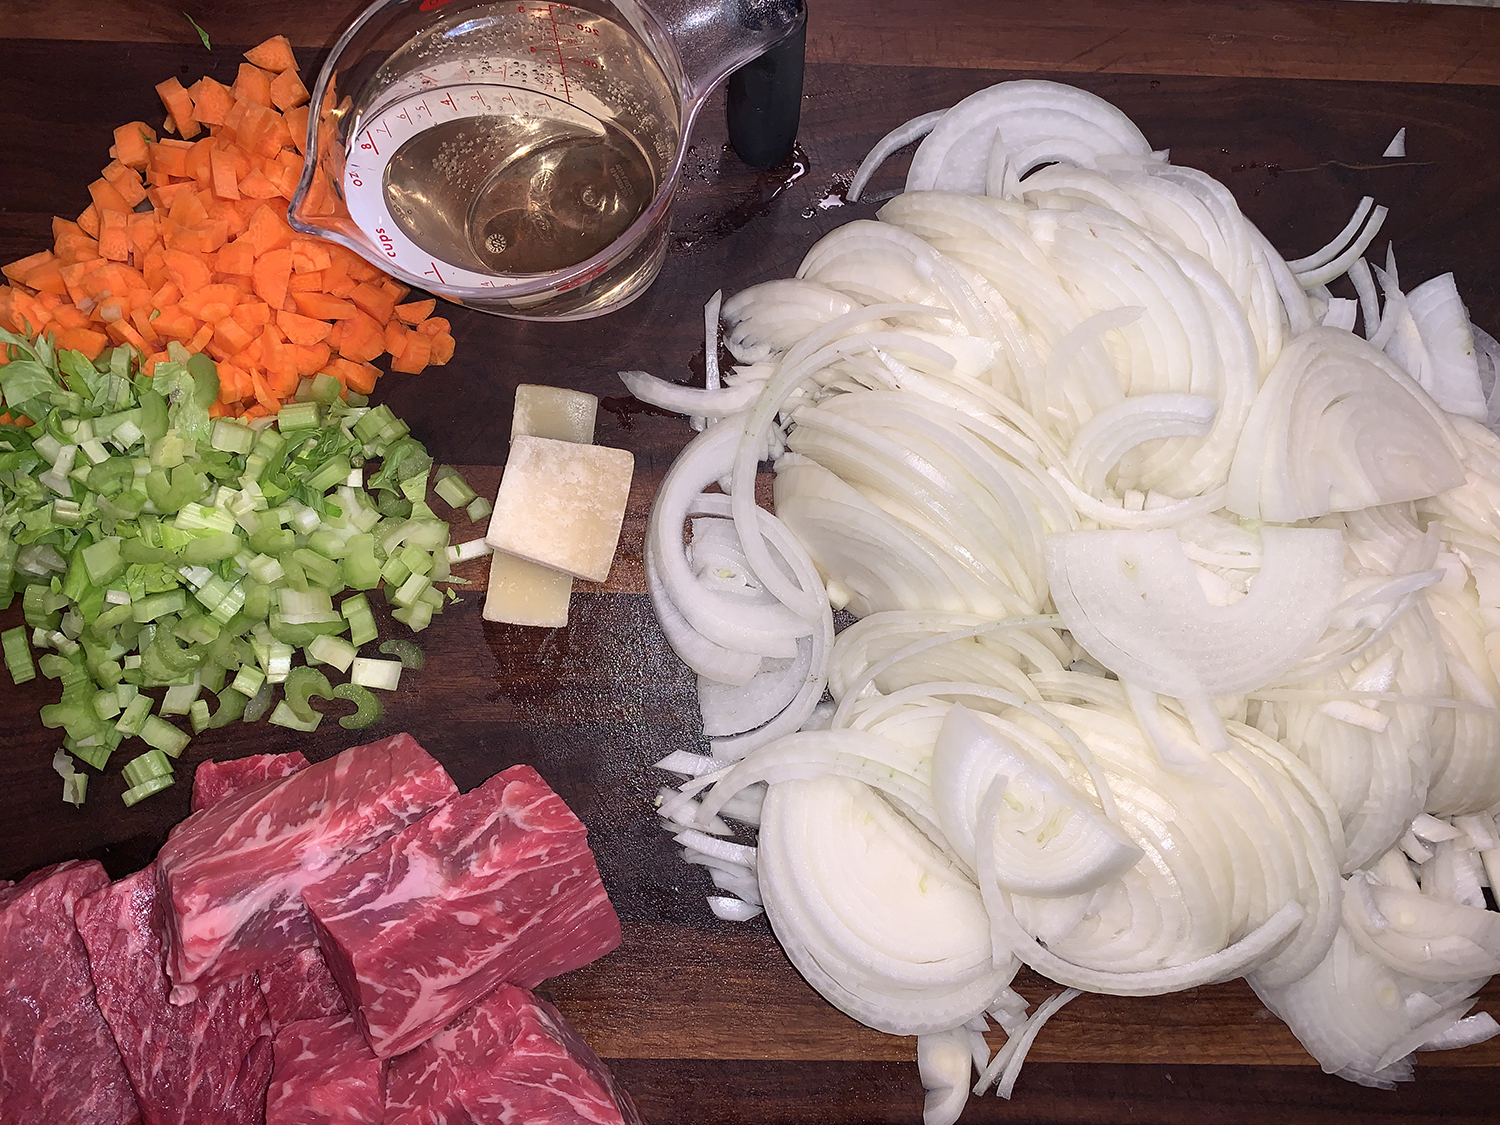
- 5 lbs. boneless pork shoulder, trimmed and cut into 1- to 1½-inch chunks
- 2 cups dry white wine
- 1 cup cider vinegar
- 10 bay leaves
- 6 medium garlic cloves, smashed and peeled
- 1 Tbsp. dried oregano
- 1 tsp. red pepper flakes
- 6 whole cloves (optional)
- Kosher salt and ground black pepper
- 1 cup Madeira wine
- ¼ cup minced fresh oregano


Directions
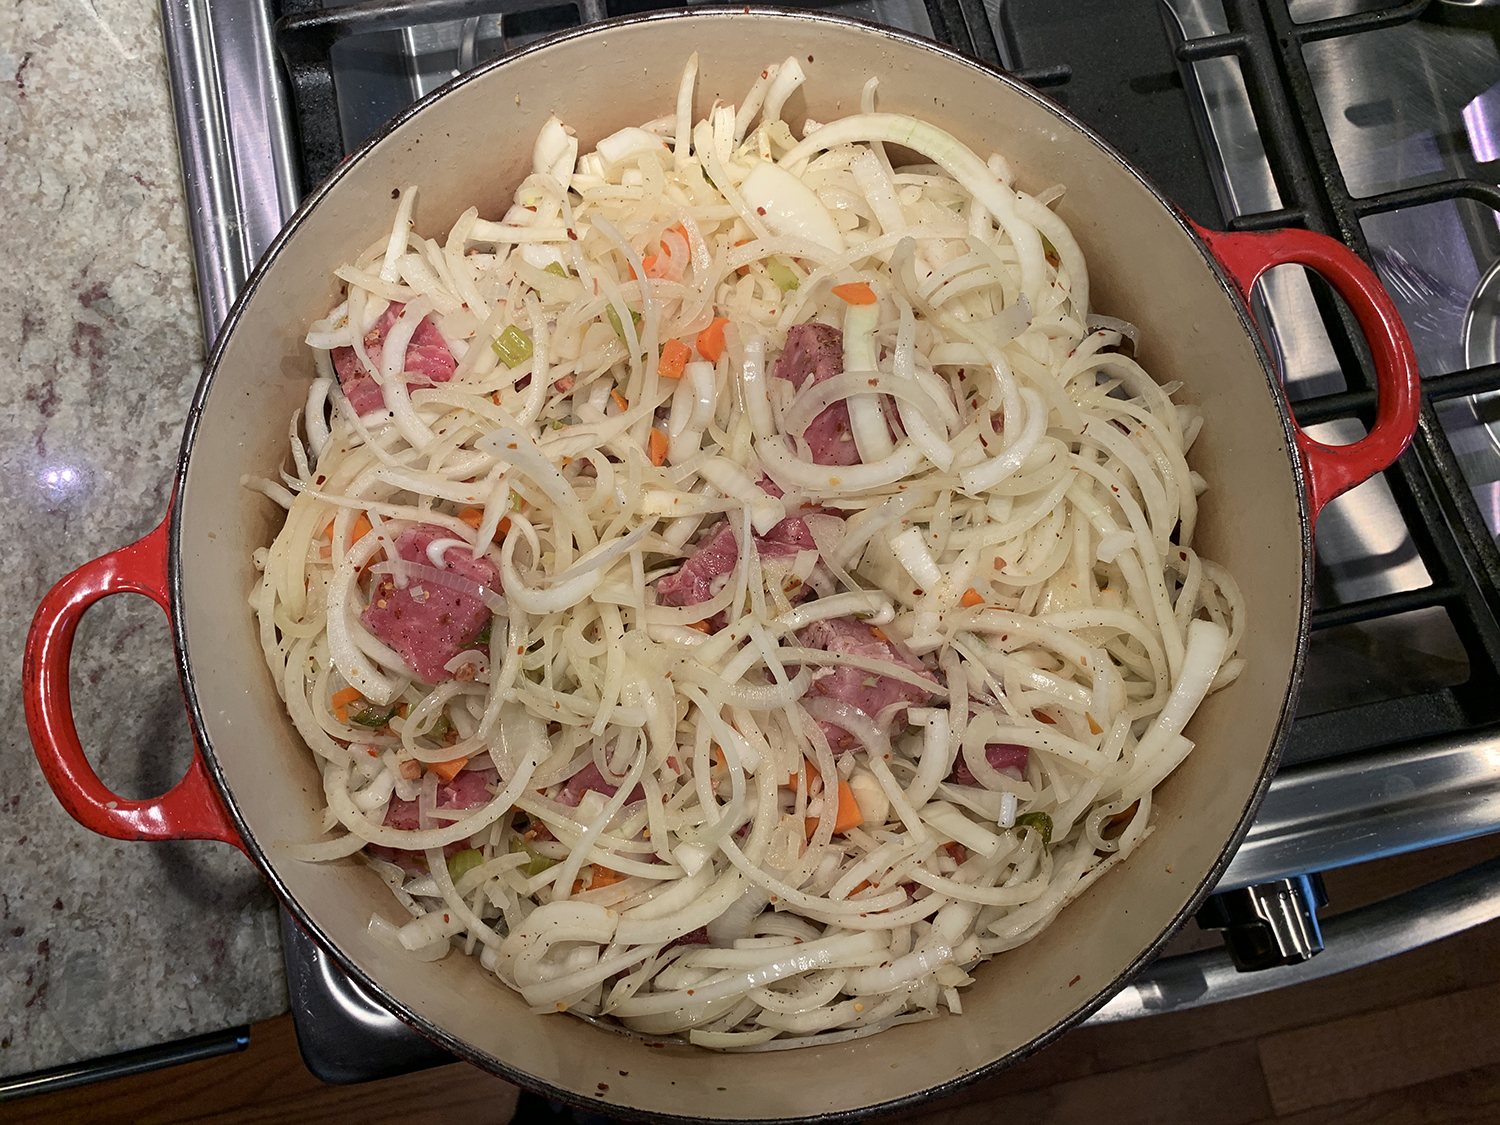
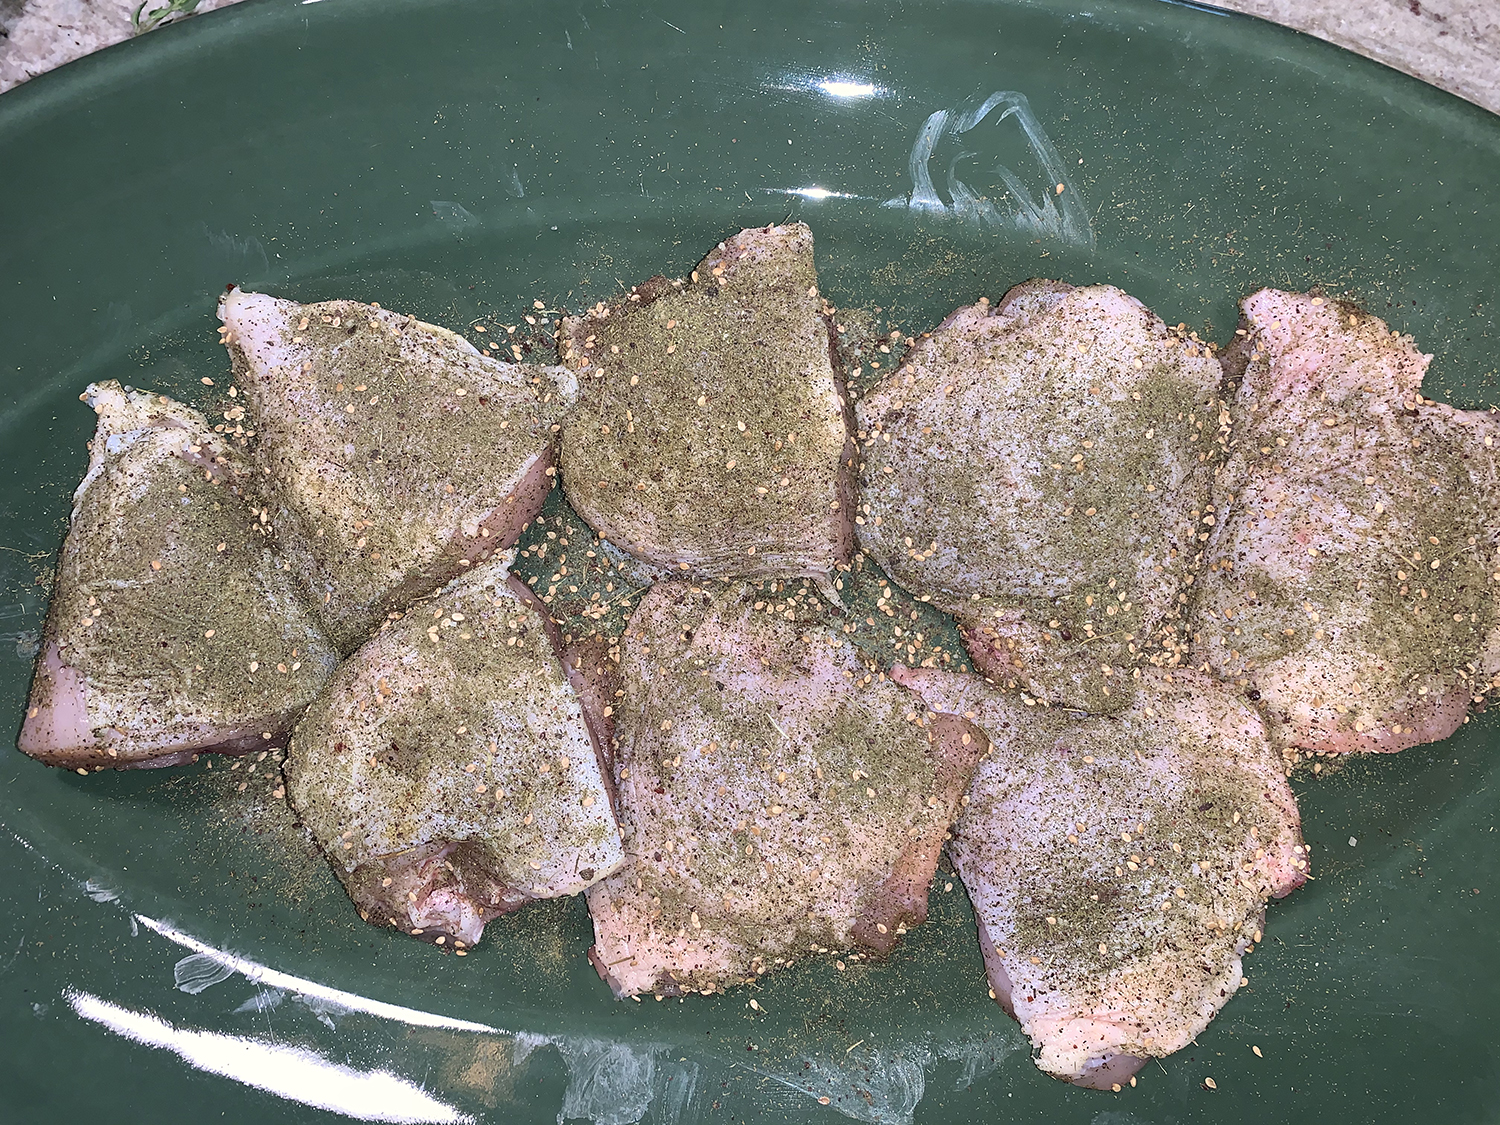
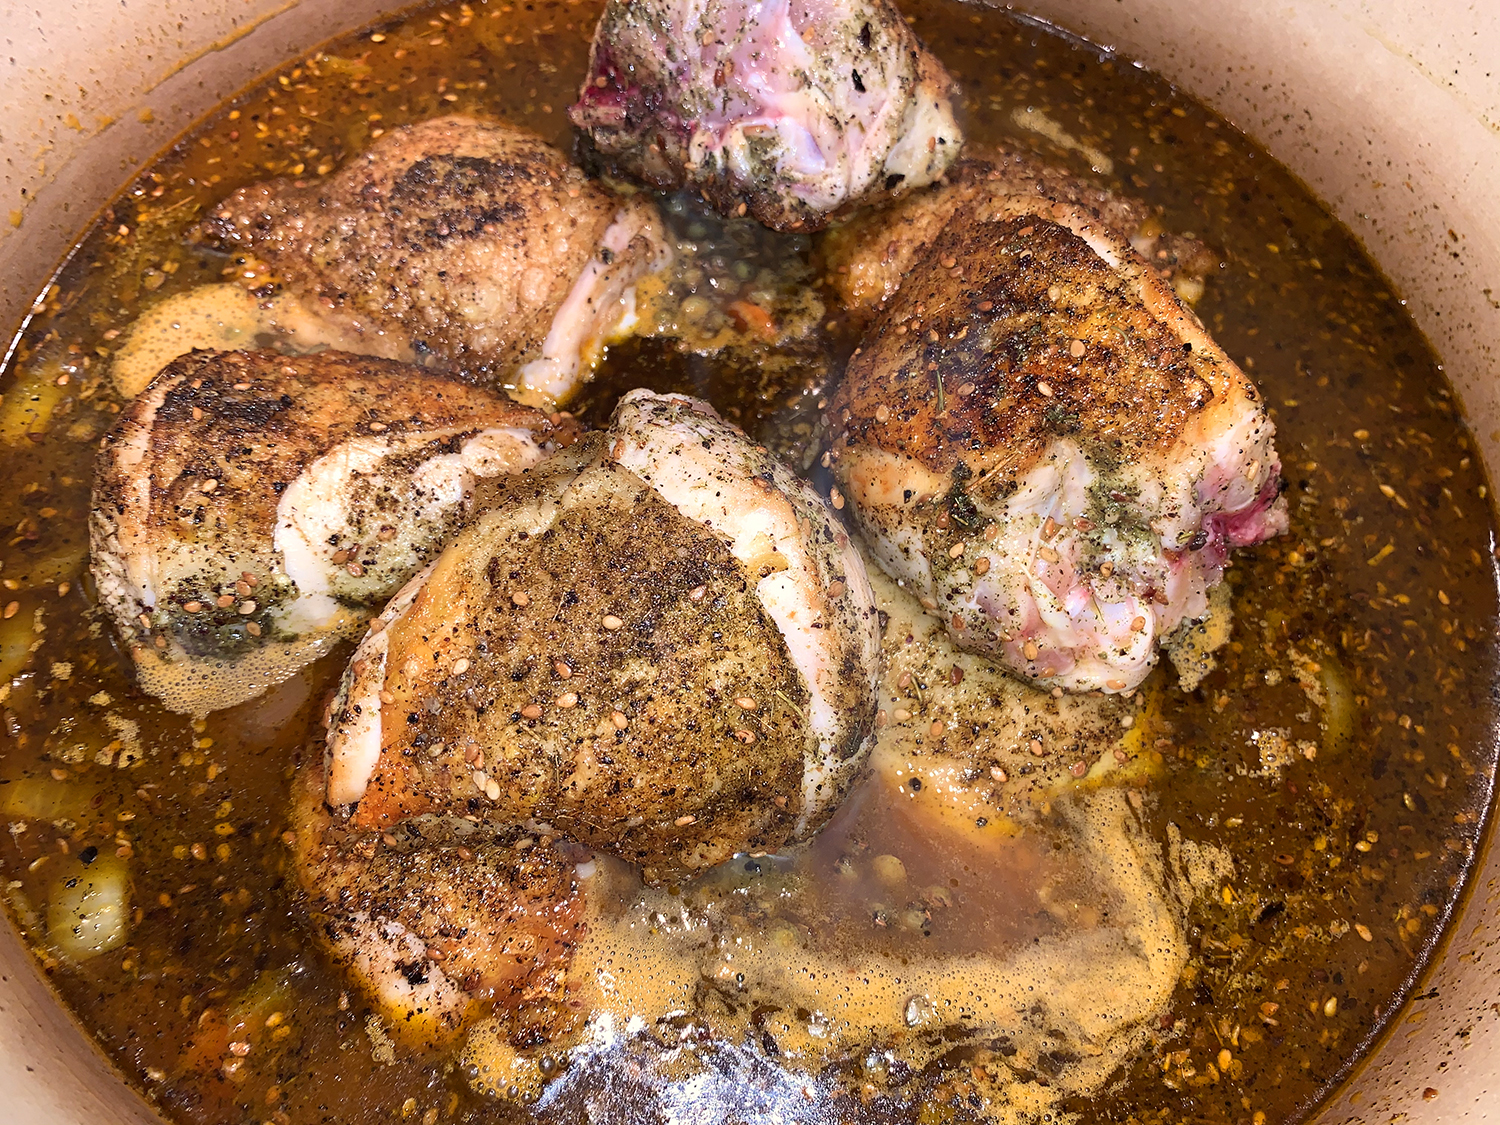
- In a large Dutch oven, stir together the pork, wine, vinegar, bay, garlic, dried oregano, pepper flakes, cloves (if using) and 1 teaspoon each salt and pepper. Cover and refrigerate for at least 1 hour or for up to 48 hours.
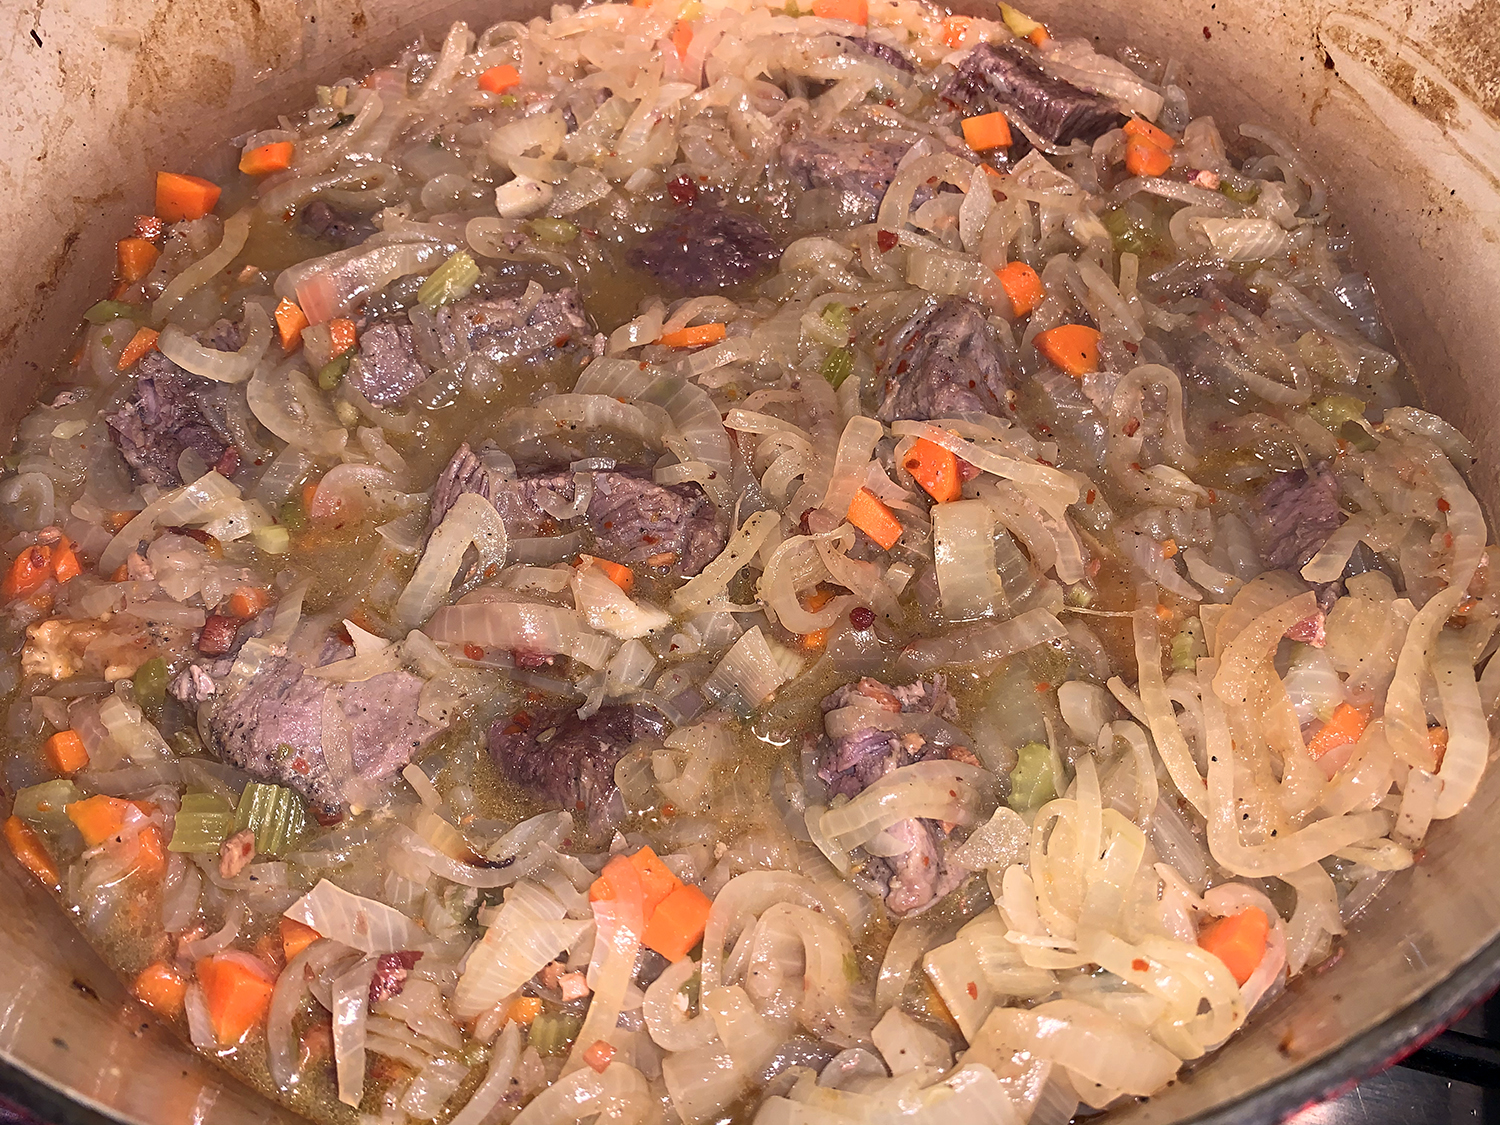
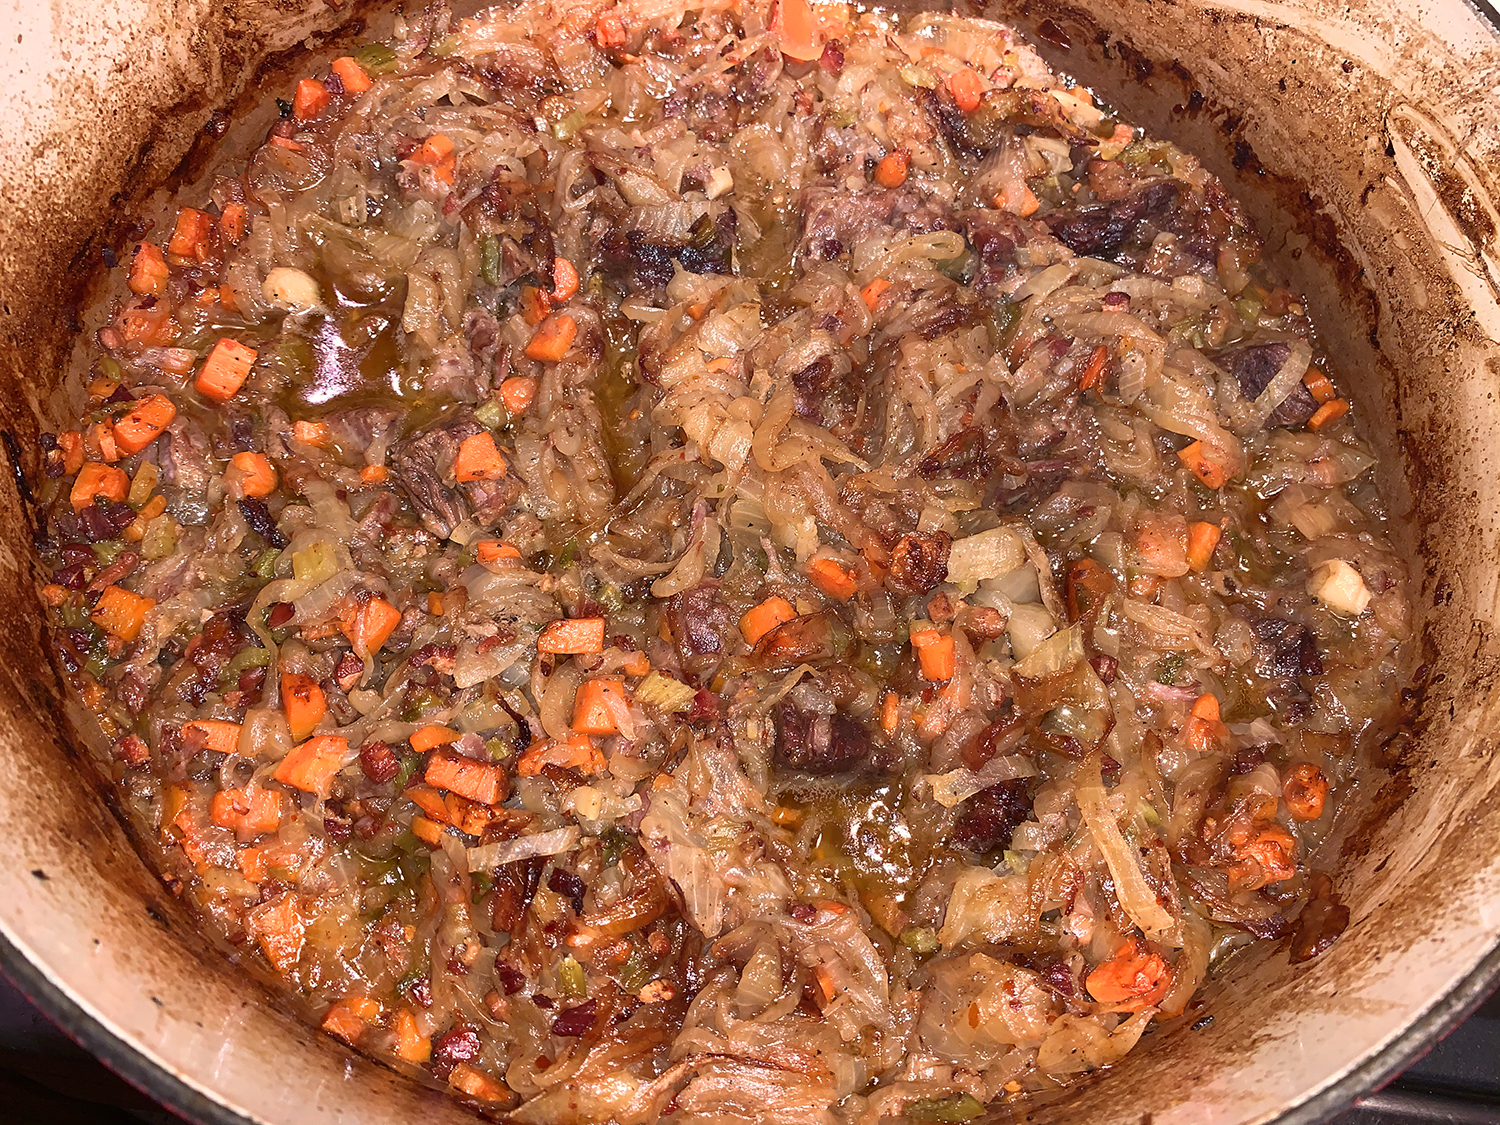
- When you are ready to cook the pork, heat the oven to 325°F with a rack in the lower-middle position. Set the pot, uncovered, over medium-high and bring to a simmer, stirring occasionally. Re-cover, transfer to the oven and cook until a skewer inserted into the pork meets just a little resistance, about 1½ hours, stirring once about halfway through.
- Set a wire rack in a rimmed baking sheet. Using a slotted spoon, transfer the pork and garlic to the rack, removing and discarding the bay and cloves (if used); set aside. Tilt the pot to pool the cooking liquid to one side, then use a wide spoon to skim off as much fat as possible; reserve the fat. Or use a fat separator.
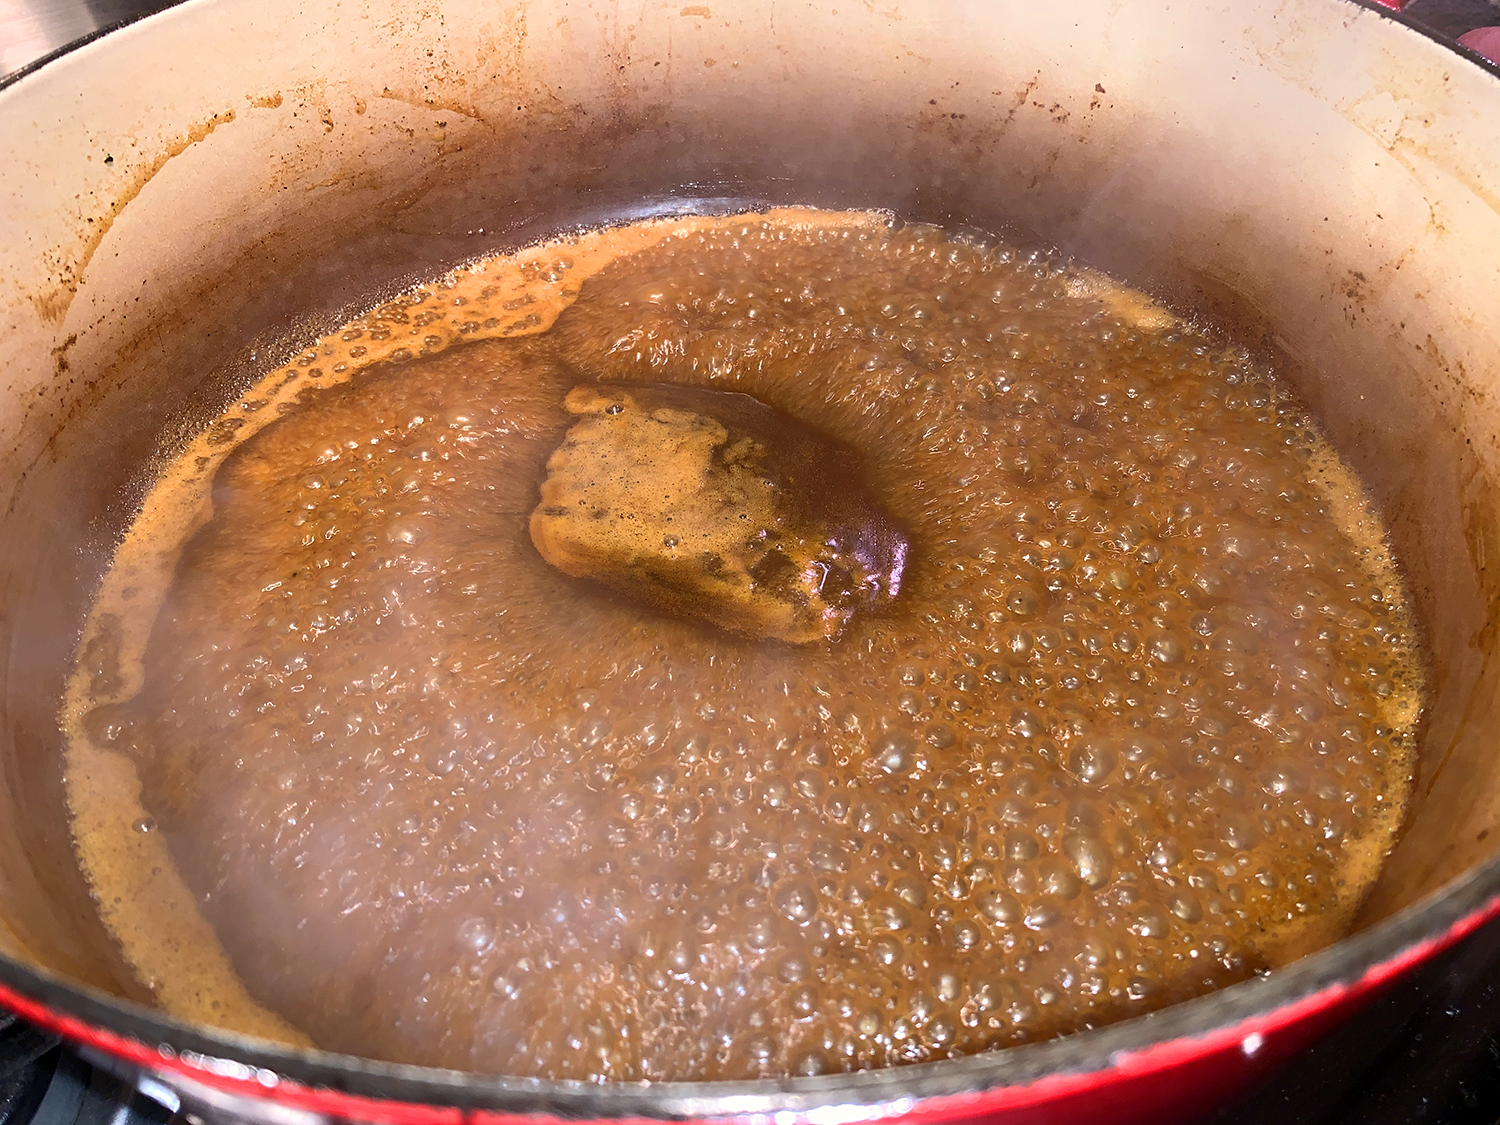
- Add the Madeira to the pot, bring to a boil over medium-high and cook, stirring occasionally, until the mixture has reduced to about 1 cup, 15 to 20 minutes; set aside. (We ended up with a LOT of liquid, so it took twice as long to reduce.) Remove and discard any large bits of fat on the exterior of the pieces of pork.
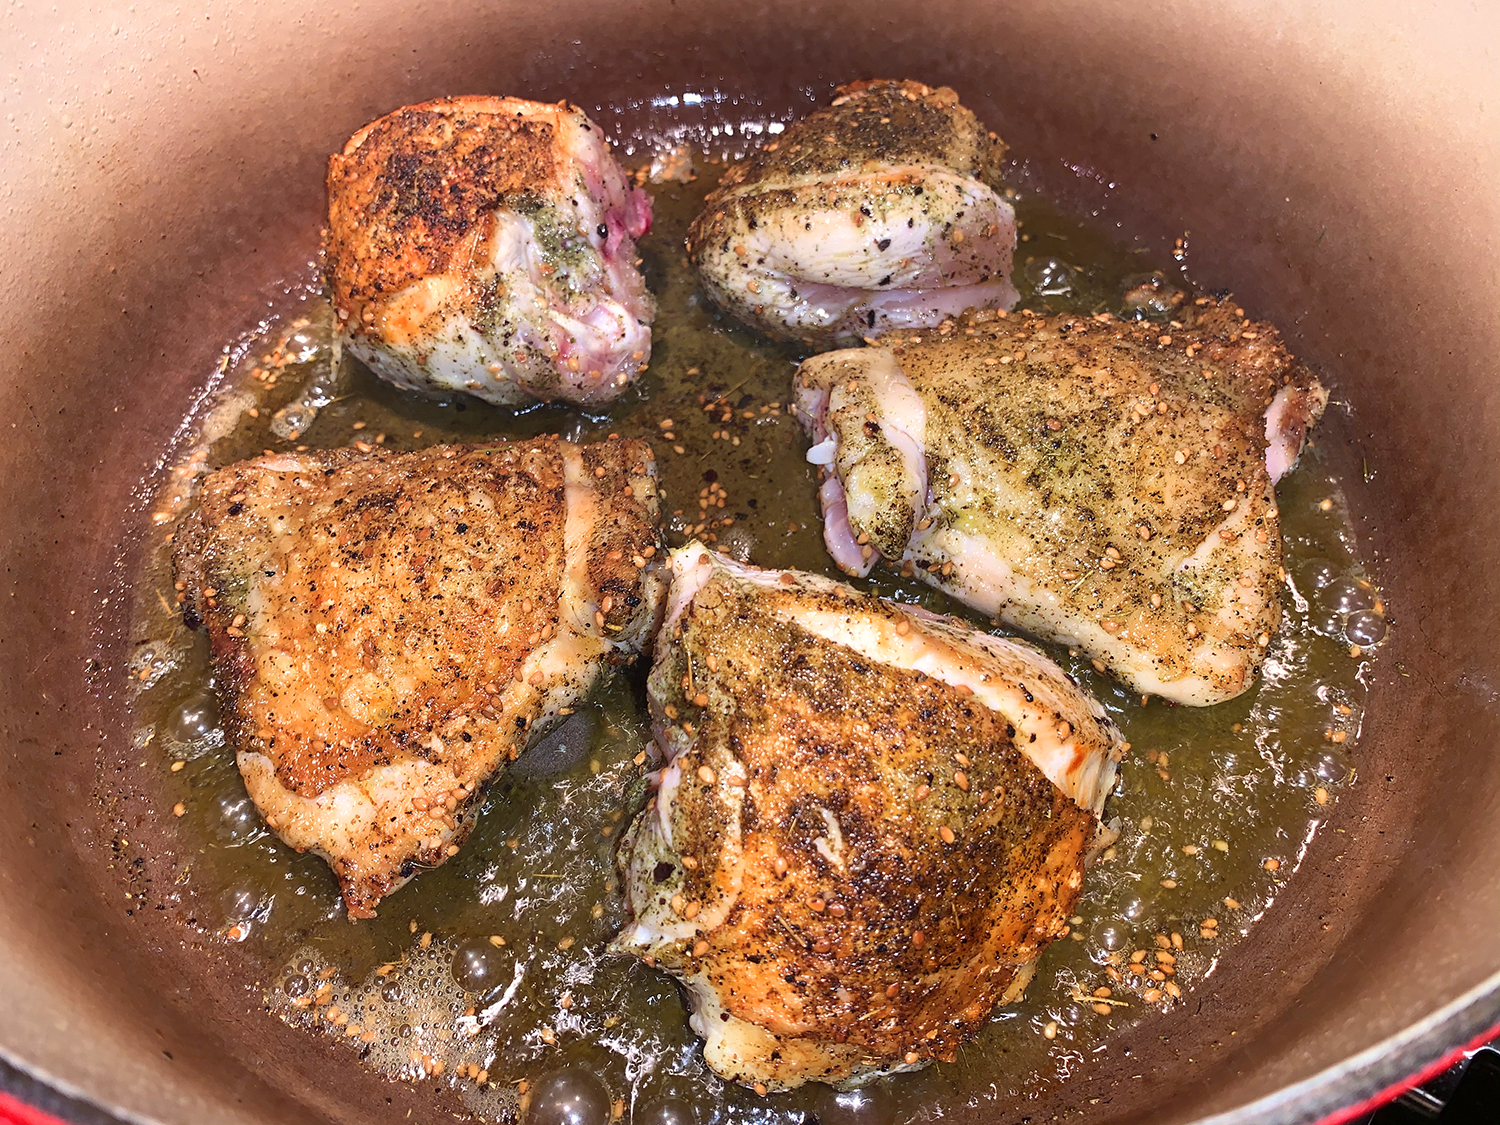
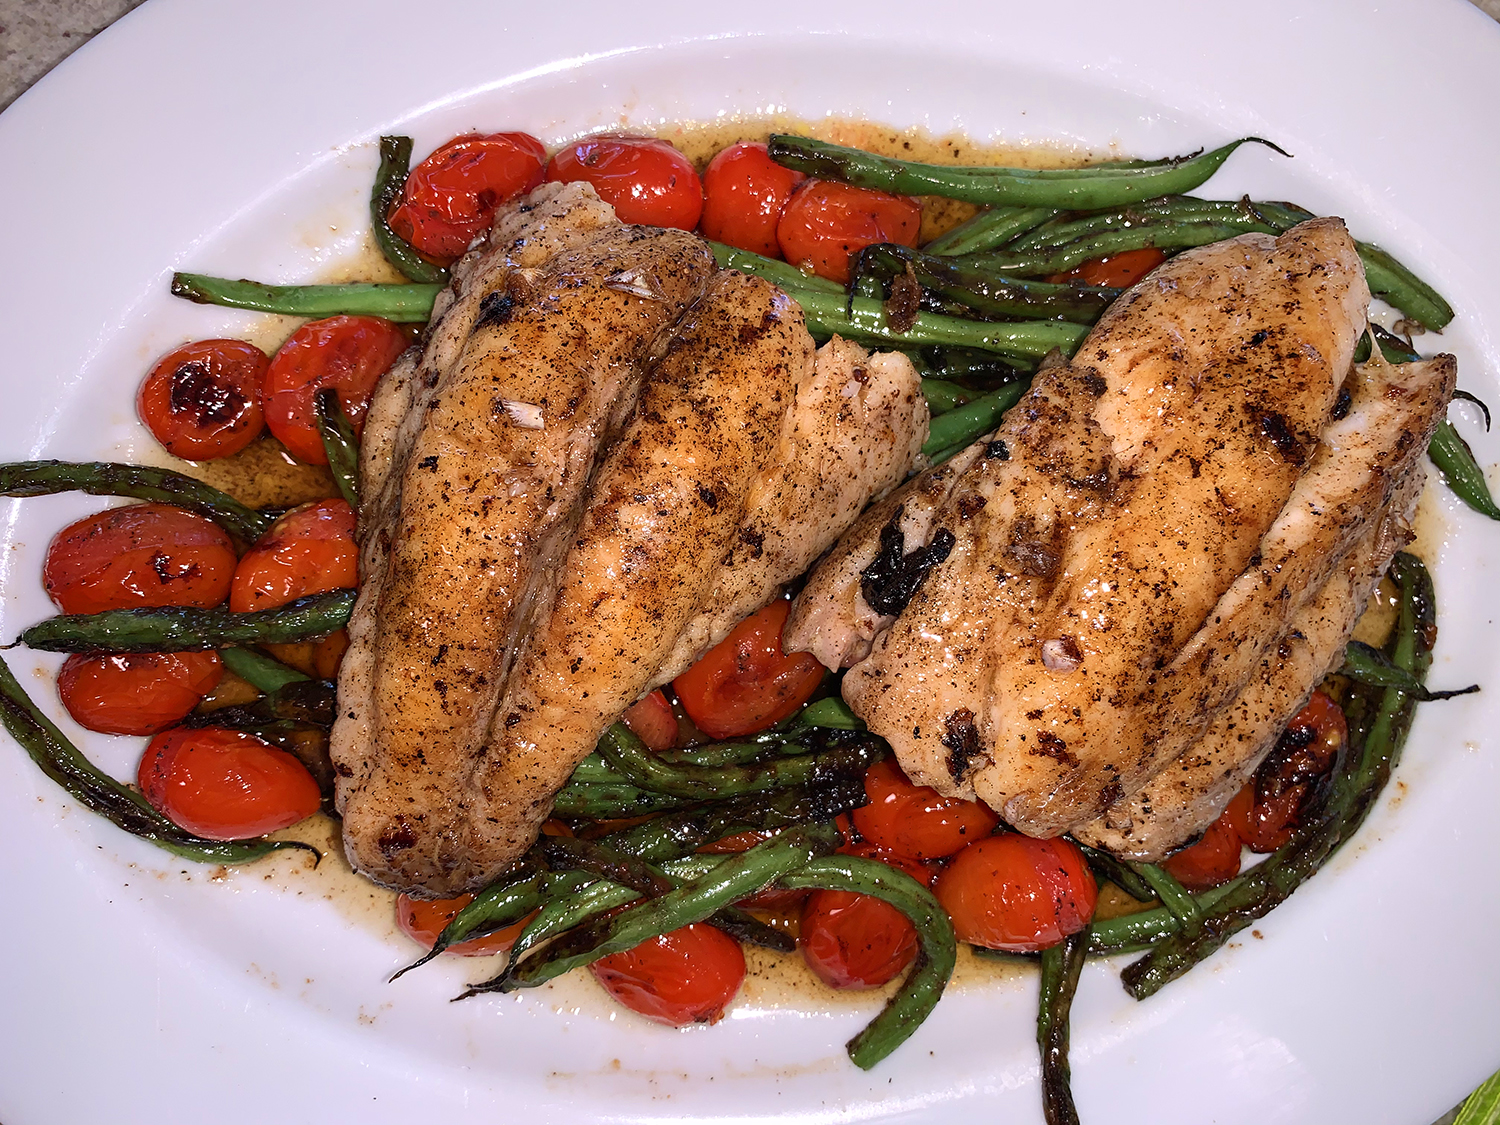
- In a 12-inch nonstick skillet over medium-high, heat 2 tablespoons of the reserved pork fat until barely smoking. Add the pork and cook, stirring every 2 to 3 minutes, until well browned on all sides, 5 to 7 minutes.
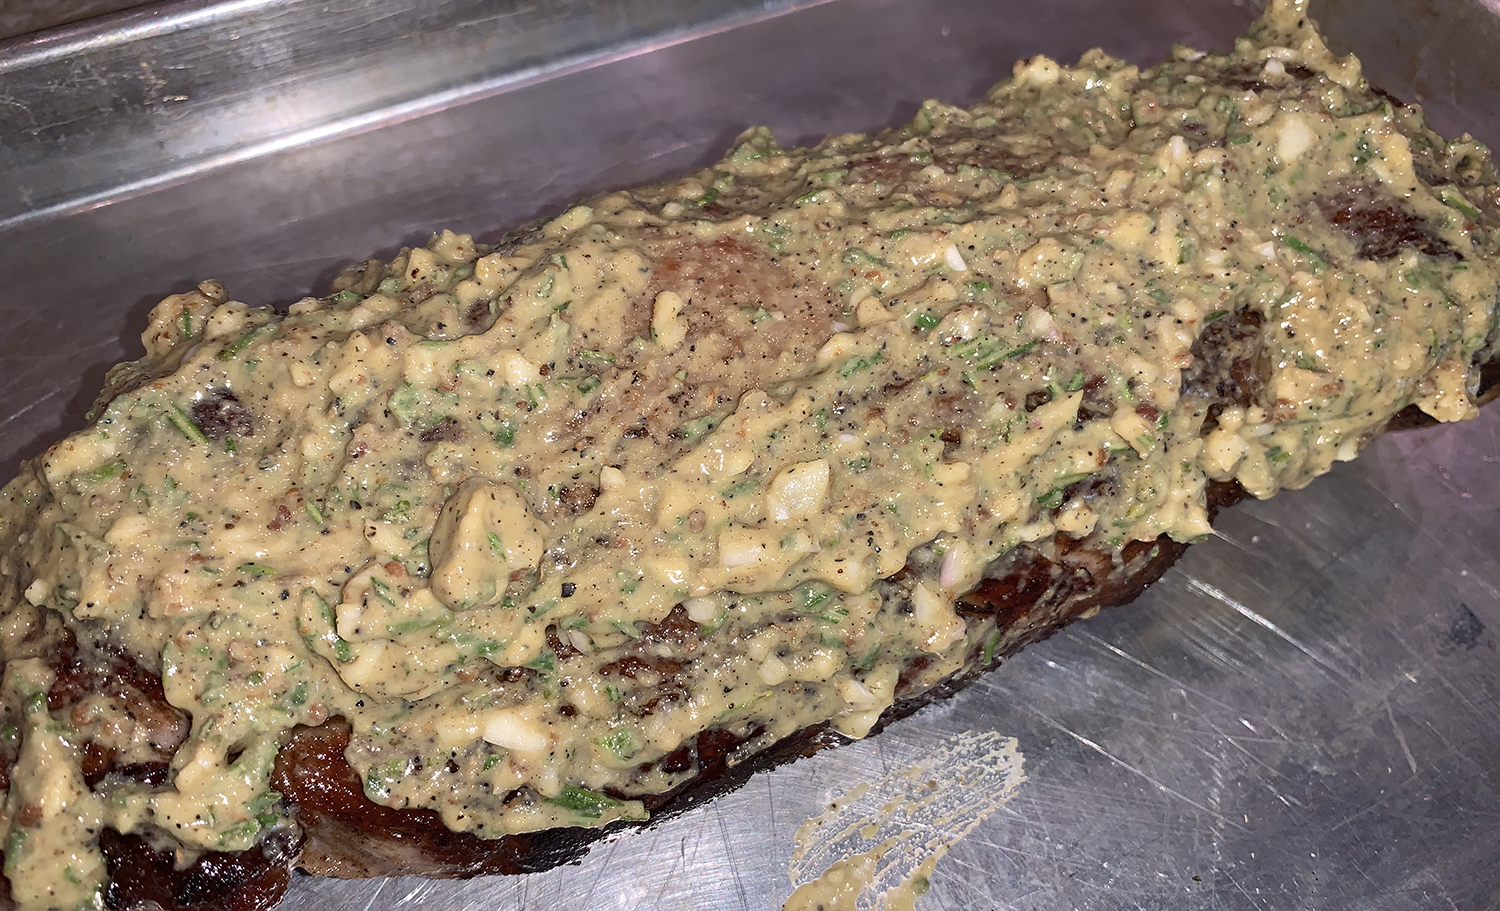
- Remove the skillet from the heat and add the reduced cooking liquid. Return to medium-high and continue to cook, stirring occasionally, until the liquid has reduced and the pork is lightly glazed and begins to sizzle, 3 to 5 minutes.
- Taste and season with salt and black pepper, then stir in the fresh oregano. Transfer to a serving dish.

Recipe by Diane Unger for Milk Street