Monthly Archives: January 2022

Kung Pao Cauliflower

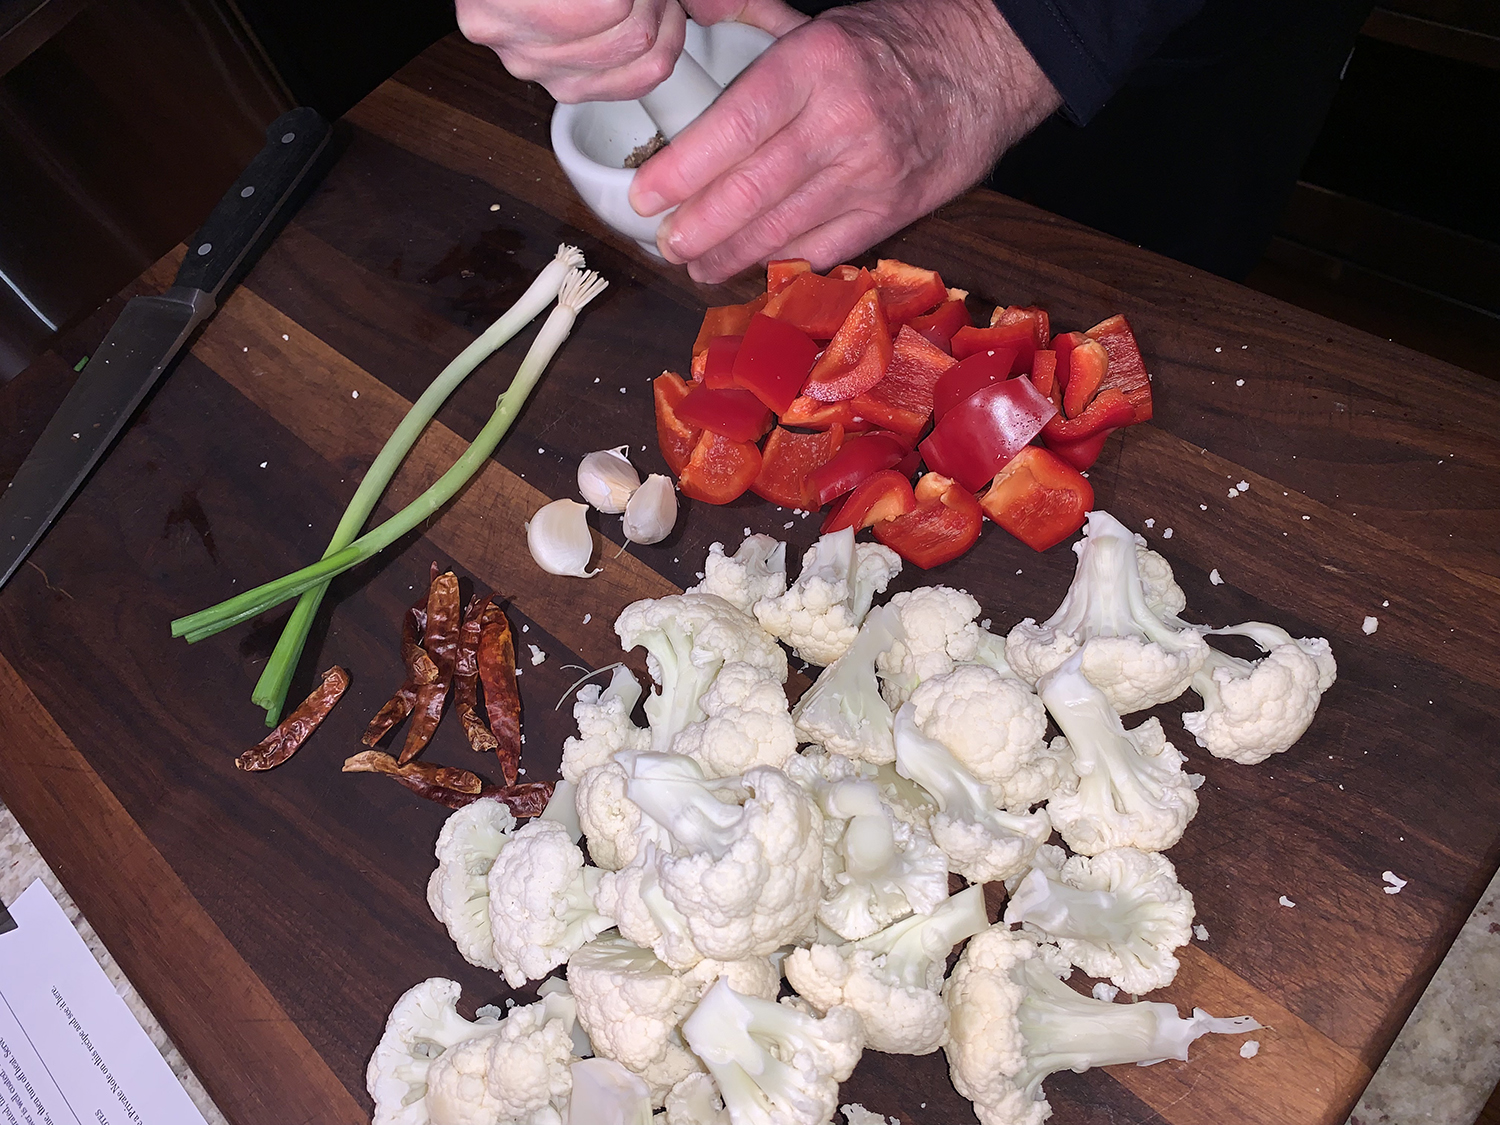
Even though Kung Pao Chicken originated in China’s Sichuan Province, it has become an iconic Chinese-American dish. The popular stir-fry typically includes chicken, vegetables and peanuts tossed in a dark, salty, sweet and spicy sauce, but in this vegan take, cauliflower steps in for the chicken.

Dark soy sauce is more caramel-flavored and less salty than regular soy sauce, and it adds color and richness to the dish. If you don’t have dark soy, substitute with regular soy sauce or hoisin sauce.

Make sure you have a lid for your skillet or wok on hand before you start cooking, as covering the cauliflower allows it to cook quicker and more evenly. And as with any stir-fry, always prep each ingredient ahead of cooking because you won’t have time in between.

Now, The Hubs inadvertently made more sauce than called for. He was using the “ounce” side of the small measuring cup instead of the “tablespoon” side. So he ended up doubling the soy sauces, vinegar, sugar and cornstarch. The vegetable stock remained at 1/4 cup. It ended up being a good mistake, as we tend to prefer our stir-fries on the saucier side anyway.

Kung Pao Cauliflower

  • Servings: 4
  • Difficulty: easy
  • Print

Ingredients

  • 1 Tbsp. dark soy sauce
  • 1 Tbsp. soy sauce
  • 1 Tbsp. black vinegar
  • 1 Tbsp. granulated sugar
  • 1/4 cup vegetable stock or water
  • 1 tsp. cornstarch
  • 3 Tbsp. neutral oil, such as grapeseed or canola
  • 1 head cauliflower (about 2 lbs.), cut into small 2-inch-long florets
  • Kosher salt
  • 1 green or red bell pepper, core, seeds and membrane removed, and cut into 1-inch pieces
  • 1 tsp. Sichuan peppercorns, lightly ground in a mortar and pestle, spice grinder or crushed with a rolling pin
  • 8 whole dried chiles, such as er jing tiao or chiles de árbol
  • 2 cloves garlic, finely chopped
  • 1 piece ginger, (1-inch) peeled and finely sliced
  • 1/3 cup roasted peanuts
  • 2 scallions, white and green parts, finely sliced
  • Steamed rice, to serve

Directions

  1. In a small bowl, whisk together the dark soy sauce, soy sauce, black vinegar, sugar, vegetable stock or water, and cornstarch. Set aside.
  2. Heat wok or large (12-inch) skillet on medium-high until very hot. Add 2 tablespoons of oil, the cauliflower florets and 1/2 teaspoon salt, and toss for 1 minute. Cover and cook for 5 to 6 minutes, tossing the cauliflower every 1 1/2 minutes or so, until the cauliflower is crisp-tender and charred in some parts. Remove from the pan and set aside.
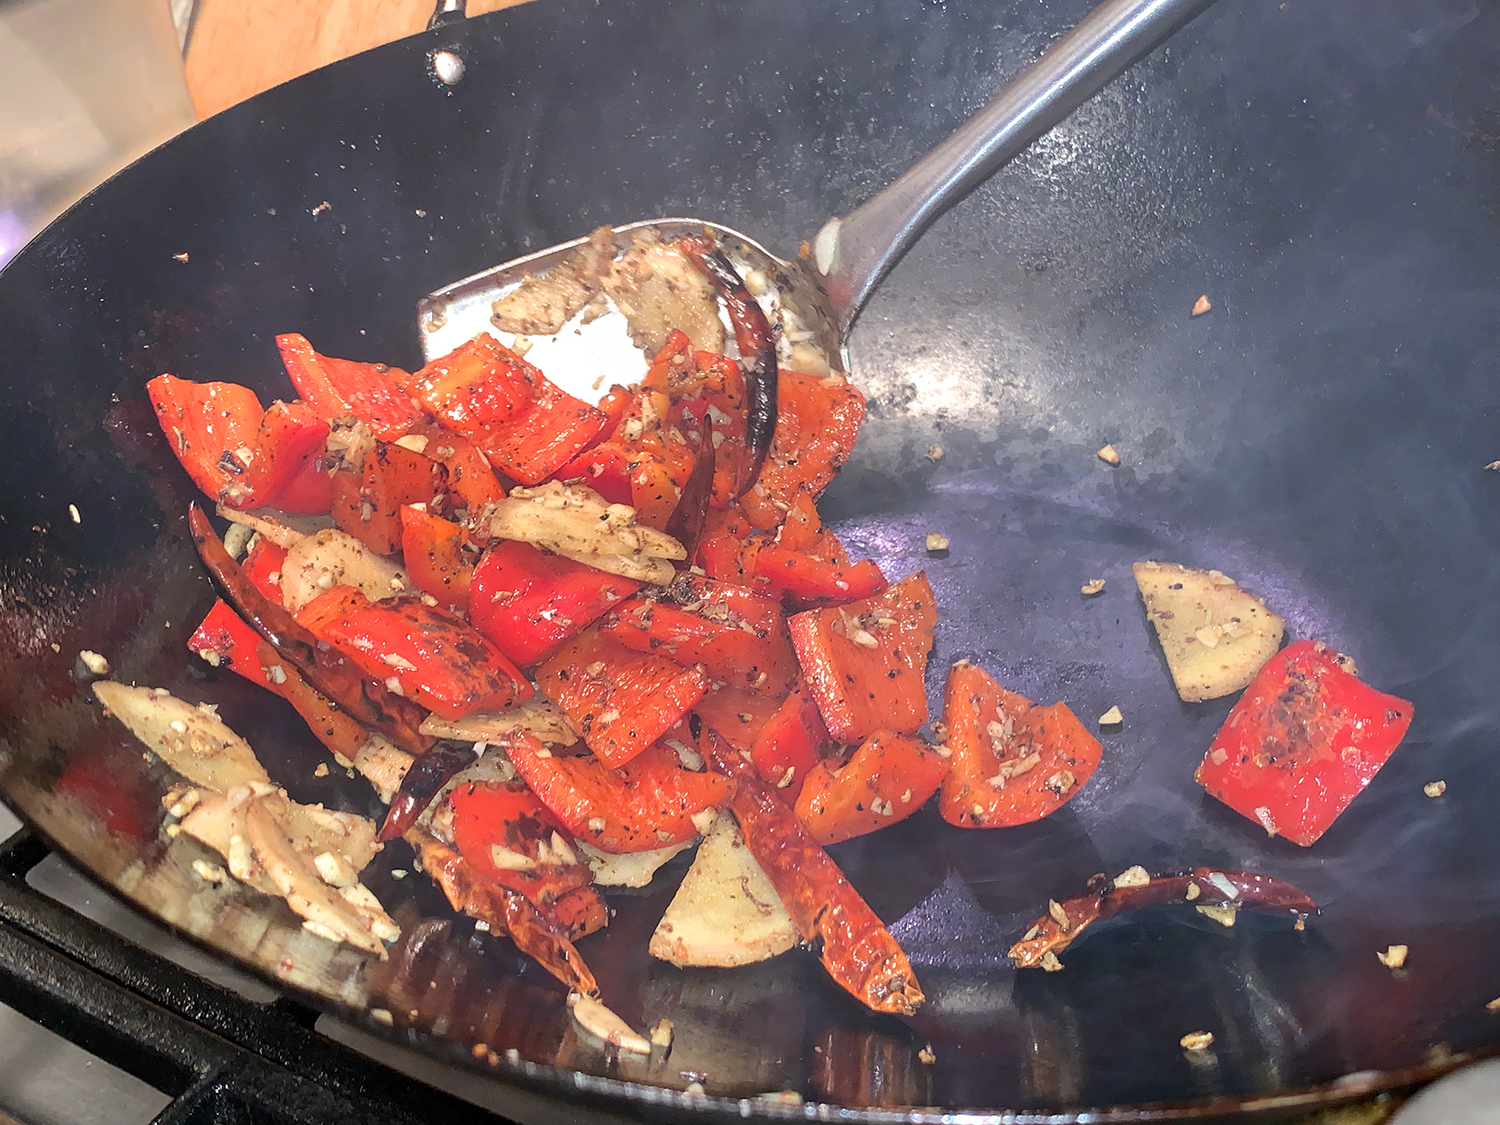
  3. In the same wok or skillet, add the remaining 1 tablespoon of neutral oil, along with the bell pepper. Toss for 1 minute, then add the Sichuan peppercorns and whole dried chiles, and stir for 1 minute until fragrant.
  4. Add the garlic and ginger, and stir for 30 seconds, then add the cauliflower back to the pan. Stir the sauce in the bowl to make sure the cornstarch is well incorporated, then pour it over the cauliflower and toss until the cauliflower is well coated.
  5. Toss in the peanuts and scallions, stir to combine, then turn off heat. Serve with rice.

http://www.lynnandruss.com

Recipe from Hetty McKinnon for The NY Times Cooking

Bacon-Wrapped Roast Lamb with Anchovy and Garlic

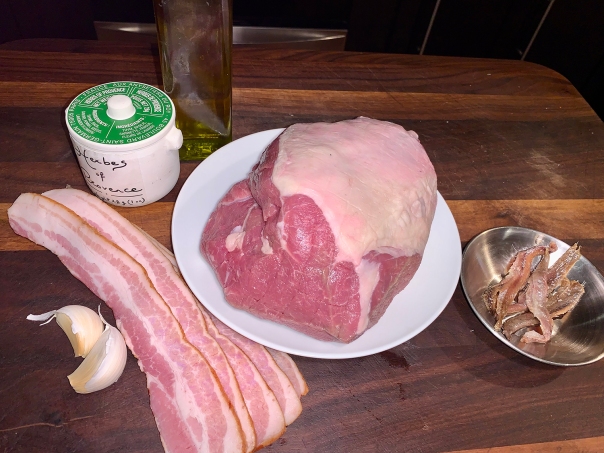
So elegant, yet so simple, this roasted leg of lamb is truly company-worthy. It originally calls for a 4-pound roast, but we had a 2 1⁄2 pounder on hand, so we used that—though we did not cut back on the anchovy-garlic-herbs mixture which lends it so much umami goodness. Even if you are not an anchovy fan, you’d never know they were in the dish because their flavor just melds so perfectly with the other ingredients. DON’T leave them out.

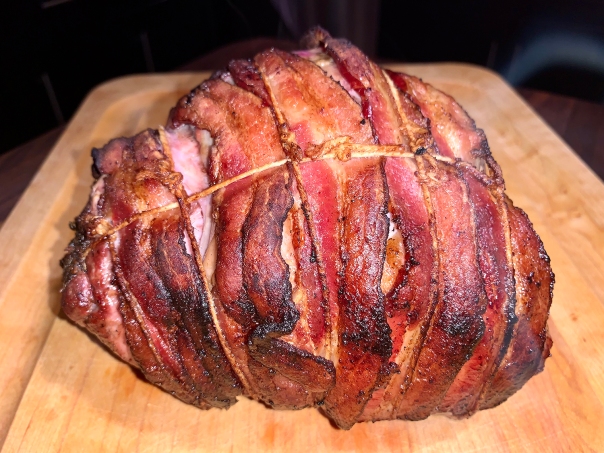
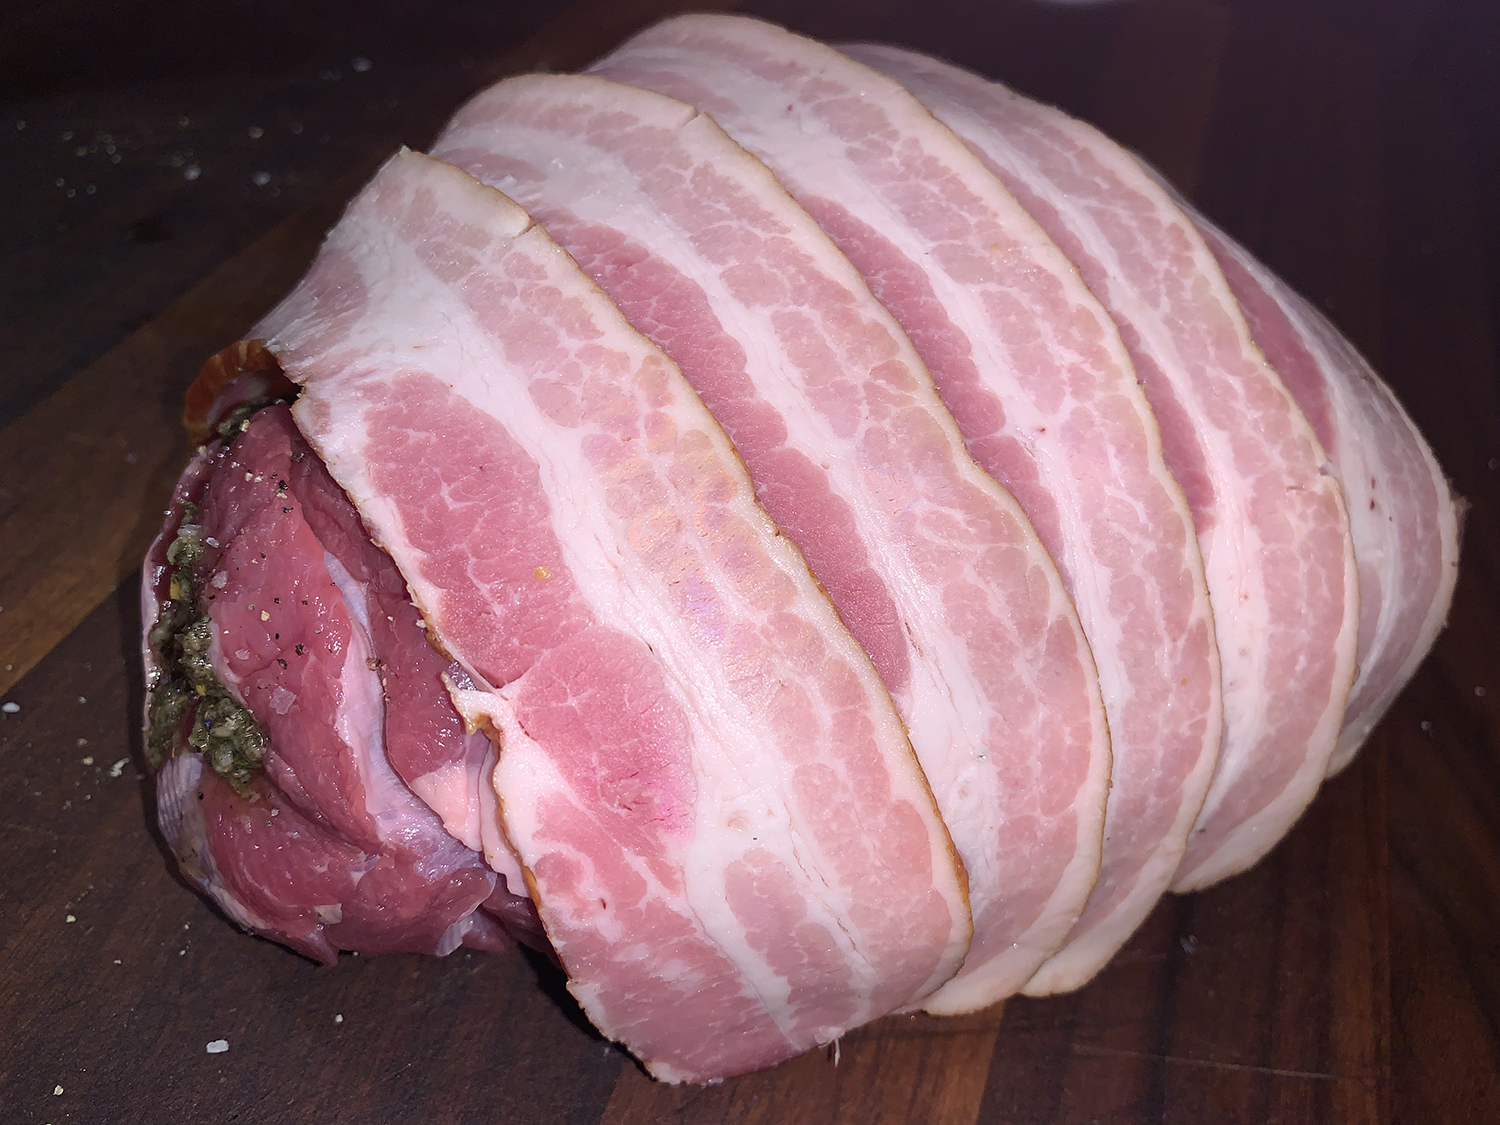
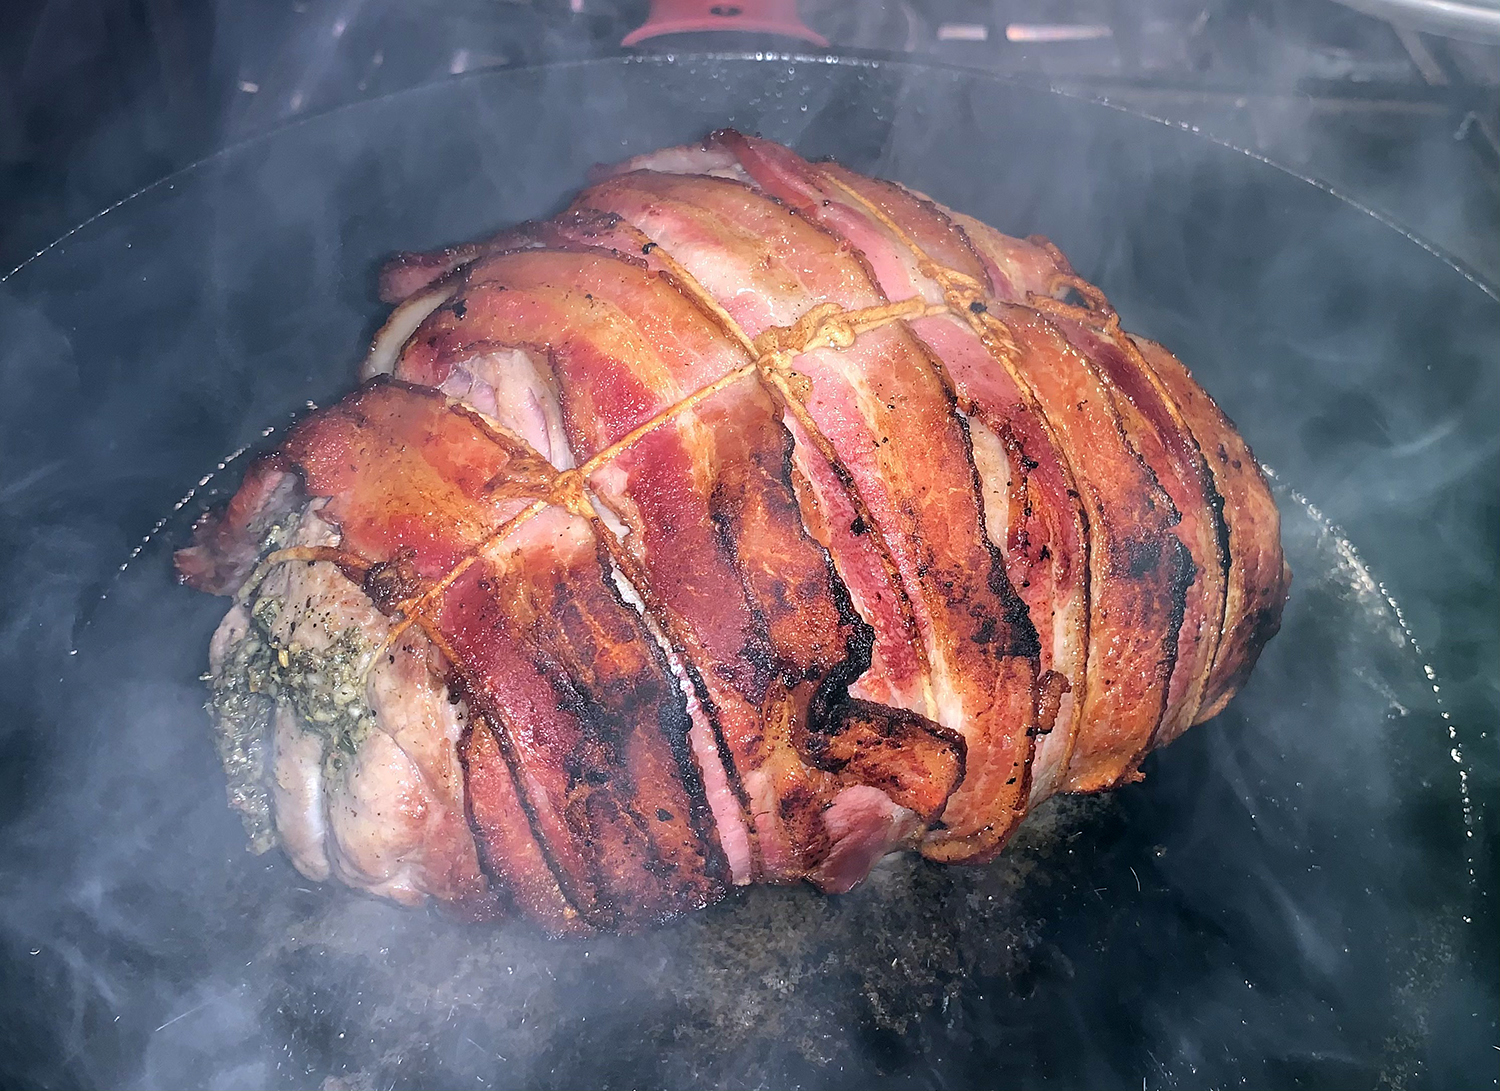
And the icing on the cake so to speak? The bacon slices overlap each other across the top of the roast which create a beautiful crusty and golden exterior. And because our lamb was smaller in size, it took less strips of bacon to cover it.

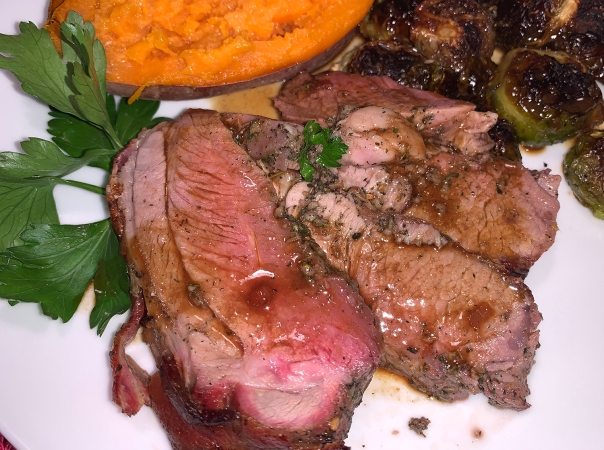
Paired with baked sweet potatoes and roasted Brussels sprouts, all of which cook at the same 425°F temperature as the lamb—just different lengths of time—everything can be done in just one oven at the same time. Dinner done!

Bacon-Wrapped Roast Lamb with Anchovy and Garlic

  • Servings: 8-10
  • Difficulty: easy
  • Print

Ingredients

  • 4 anchovy fillets
  • 2 large cloves garlic, coarsely chopped
  • 2 Tbsp. herbes de Provence
  • 4 Tbsp. olive oil
  • 4 lbs. leg of lamb, rolled and boneless
  • 12 slices bacon
  • Salt and freshly ground pepper

Directions

  1. Heat oven to 425 degrees. Place anchovy fillets, garlic and herbs in food processor, and process until finely chopped. With machine running, add olive oil in a thin stream, and process until mixture forms an oily paste. Transfer paste to a small bowl and set aside.
  2. Dry the lamb well with paper towels and open flat on work surface. Sprinkle inside of lamb with salt and pepper and spread paste evenly over it. Roll lamb up tightly. Arrange bacon in overlapping slices on top of lamb, and tie roast as snugly as possible with butcher’s twine.
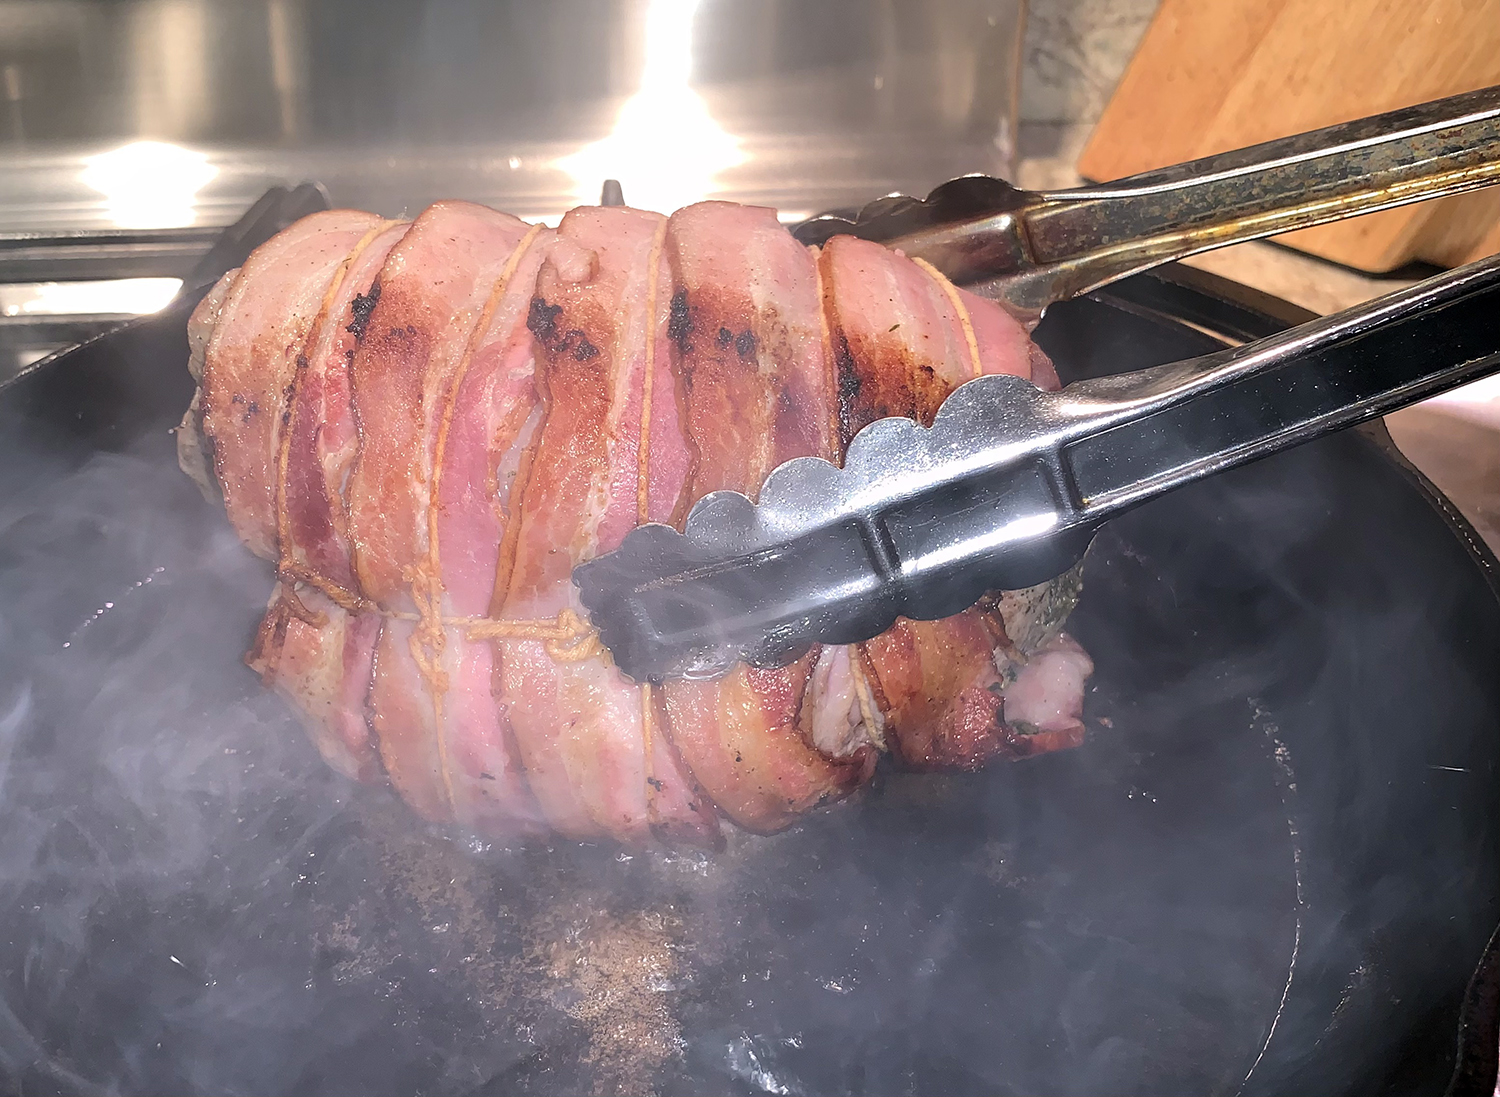
  3. Heat an oven-proof, 10-12 inch wide skillet over high heat 5 minutes. Sear lamb, bacon side down, until brown, about 4 minutes. Turn lamb with tongs and continue searing until all sides are browned, about 12 minutes total.
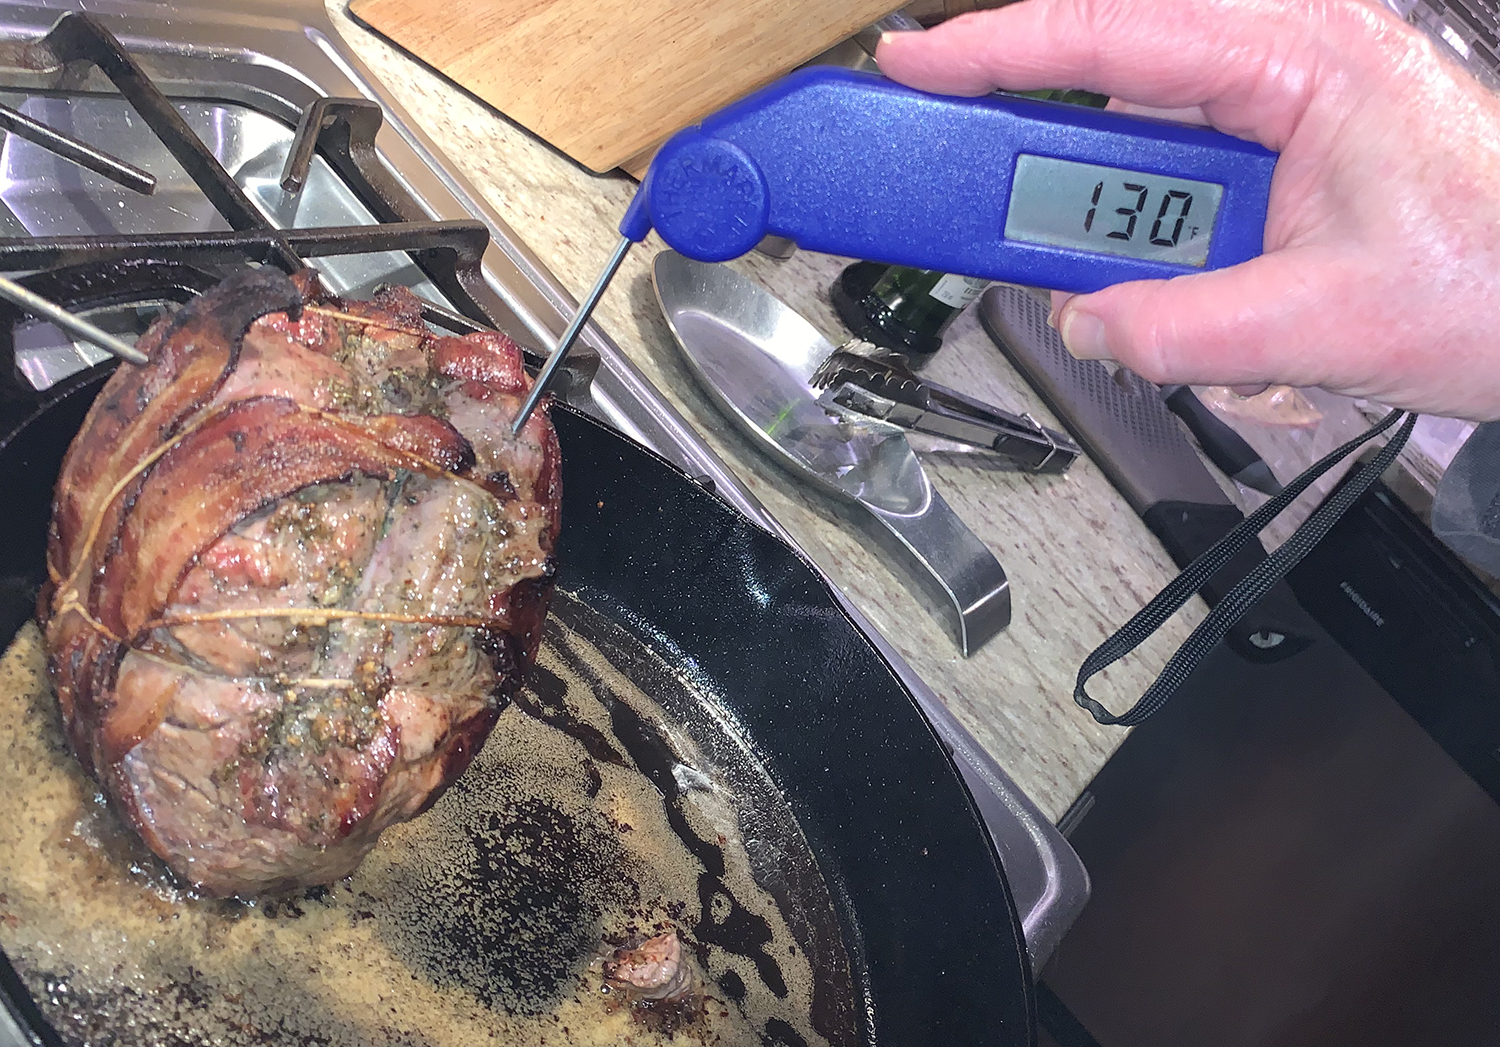
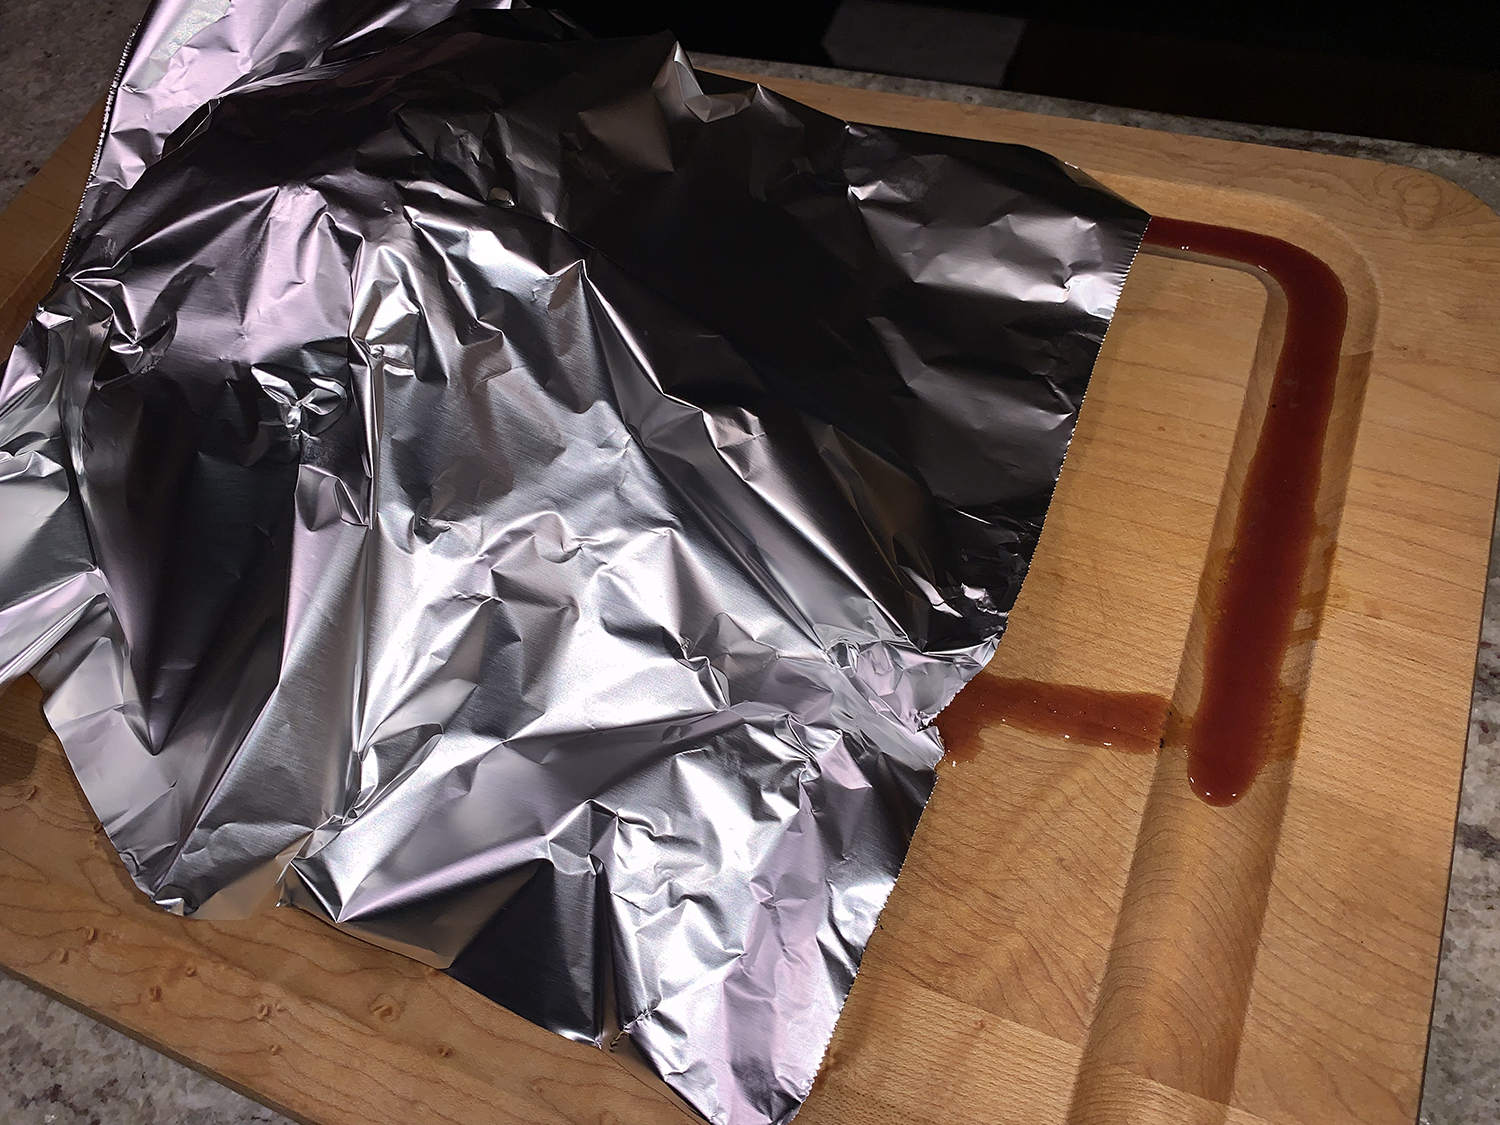
  4. Transfer skillet to oven and roast until lamb registers 130 degrees on instant-read meat thermometer, about 40 to 45 minutes. Remove lamb from oven and let rest, covered loosely with foil, at least 10 minutes before slicing.
  5. Make a pan sauce if desired.

http://www.lynnandruss.com

Recipe from NY Times Cooking

Cast-Iron Green Chile Tamale Pie

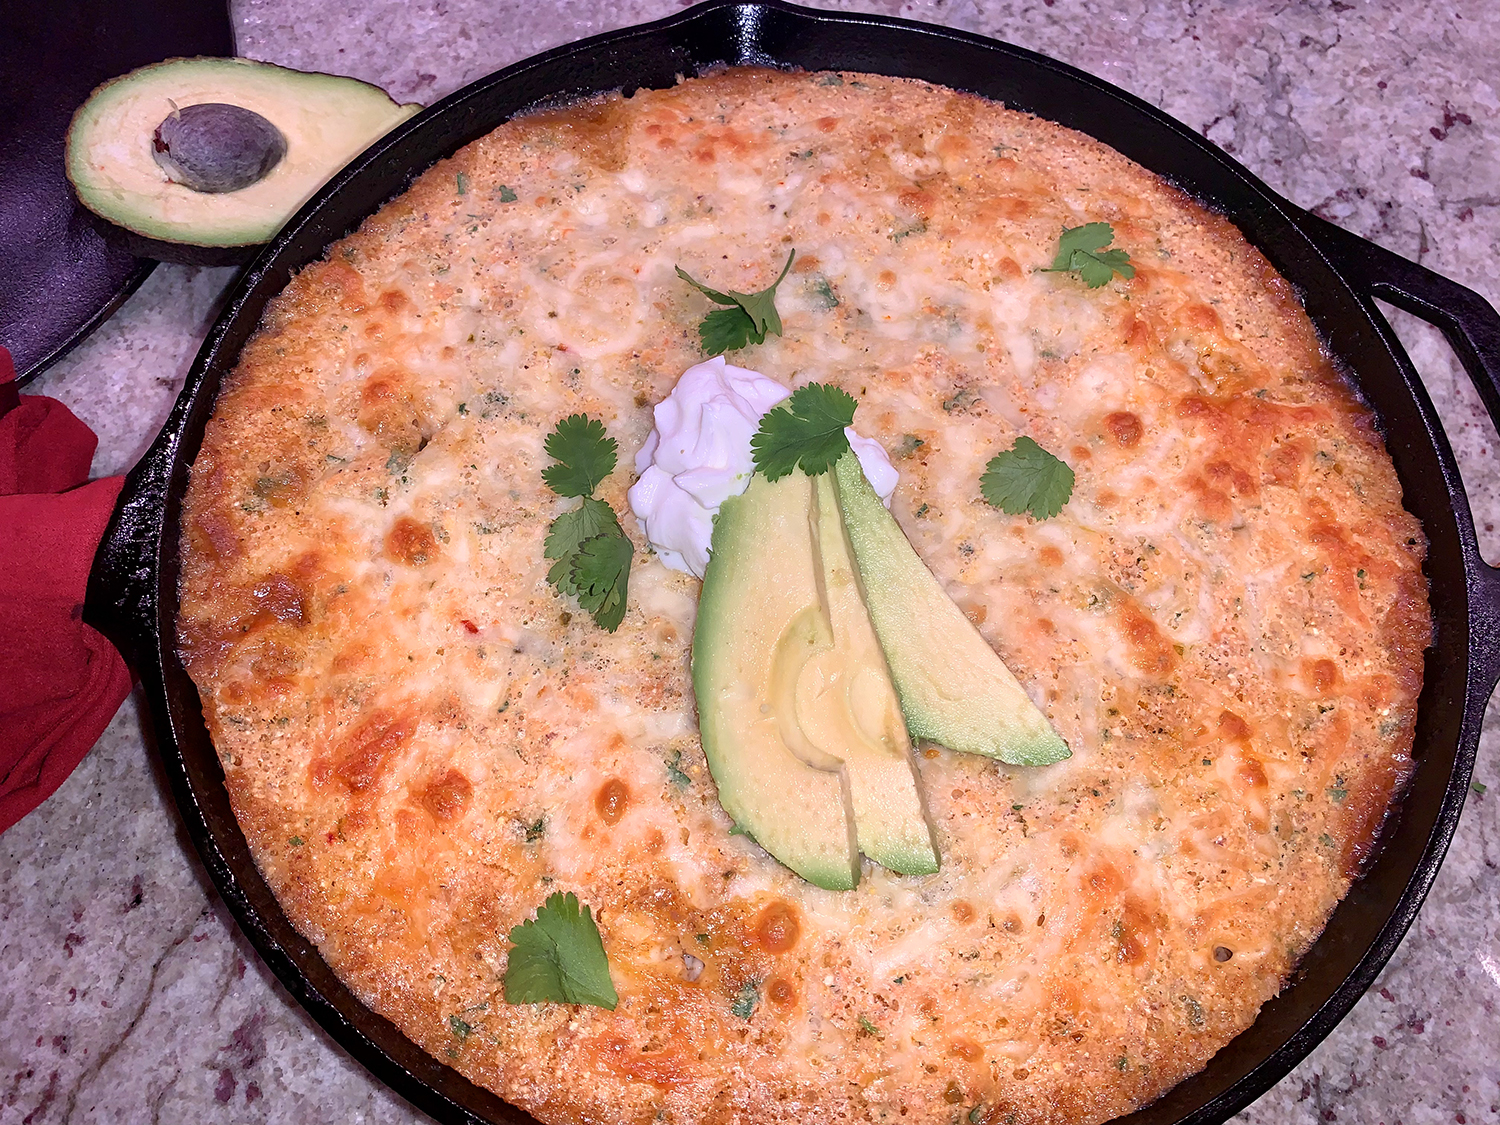
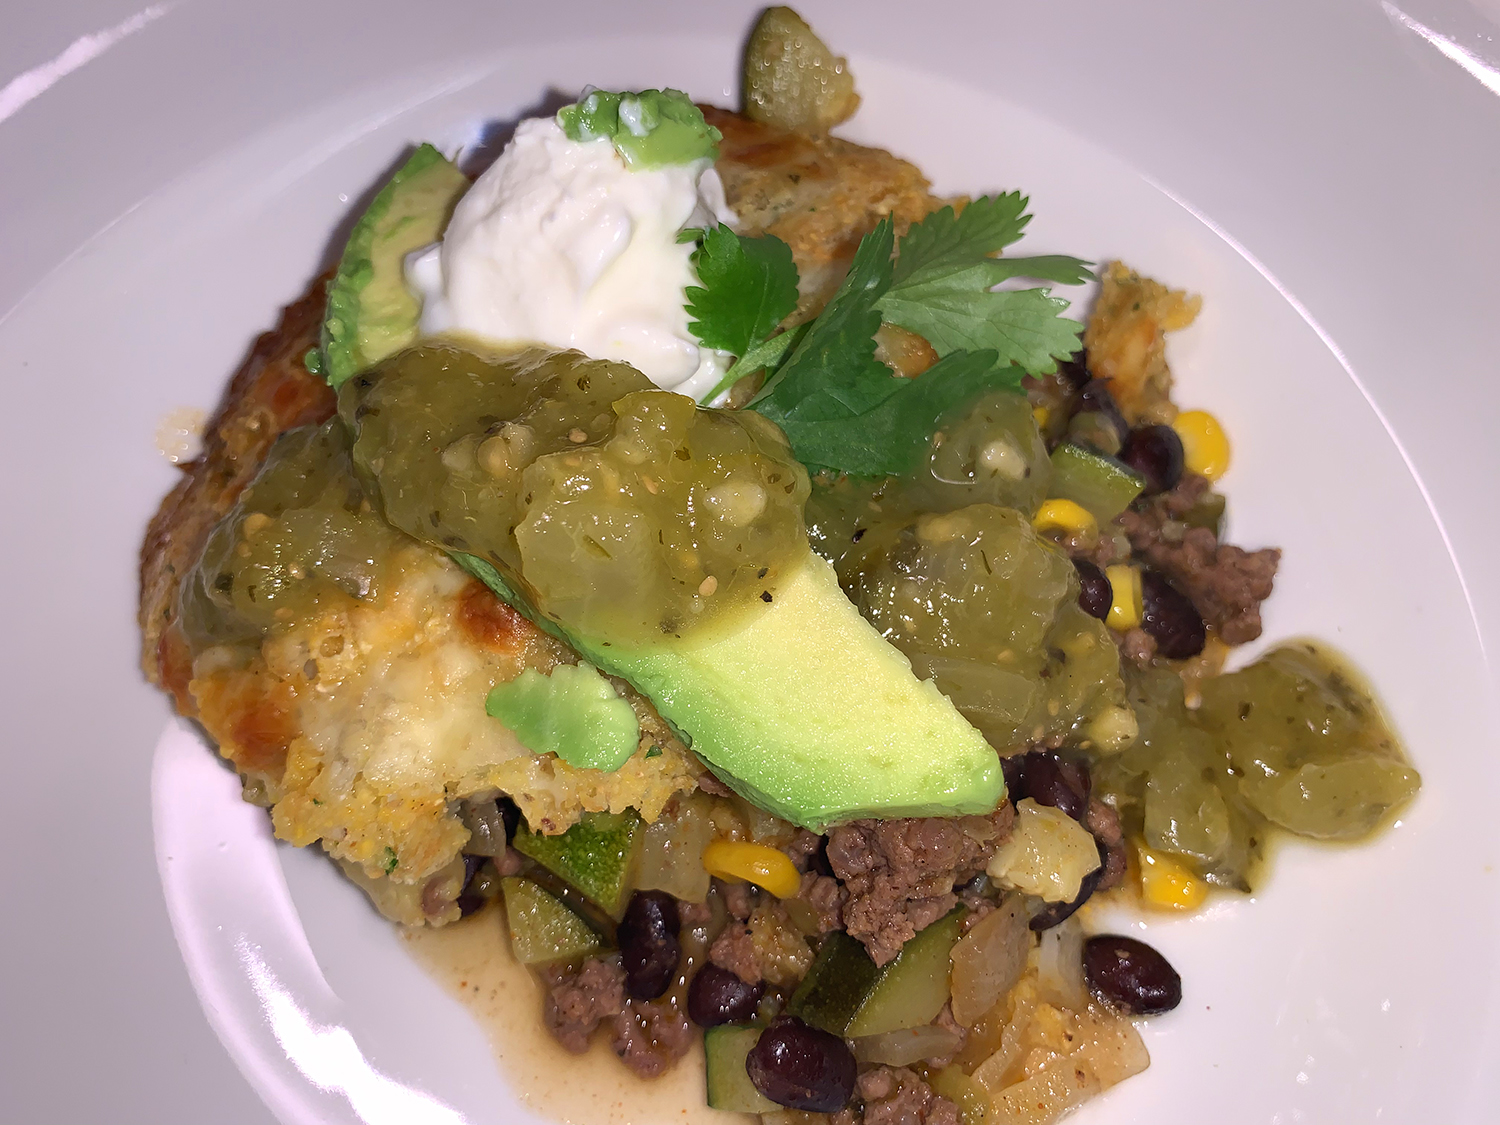
We found this version of Tamale Pie in a recent issue of Fine Cooking Magazine. Its name is due to the awesome layer of cornbread that sits on top of the ground beef (or ground turkey) filling, mimicking masa-wrapped, meat-filled tamales. In lieu of more traditionally used canned tomatoes, this Southwest riff favors green chiles and tangy, tomatillo-spiked salsa verde.

As is often the case, we put our own spin on the recipe. In this instance, we doubled the amounts of beans and onion. Originally I planned on using ground turkey in place of ground beef, but the supermarket was out of it. (Still dealing with COVID supply and delivery issues two years later!)

After it was fully cooked, and I went to spoon out a portion, there seemed to be a fair amount of liquid in the bottom of the skillet. Once in my dinner bowl however, the fluid soaked up into the cornbread topping. Perhaps replacing the zucchini with red pepper—which has less moisture content—would be a good alternative and add a nice pop of color.

Based on some of the ingredients, you may think it is spicy. And yes, it does have a slight kick, but I wouldn’t scale back on any of the suggested amounts. An alternative, if spice is just not your thing, incorporate milder salsa verde and chopped green chiles. We both thought that the leftovers, when reheated, were even better than the first go-around—plus any liquid had been reabsorbed.

Cast-Iron Green Chile Tamale Pie

  • Servings: 4-6
  • Difficulty: easy
  • Print

Ingredients

For the filling

  • 1 lb. 85% lean ground beef
  • 1 medium zucchini, chopped
  • 1/2 medium yellow onion, chopped
  • 1 Tbsp. chili powder
  • 1 cup mild or spicy salsa verde; more for serving
  • 1/2 cup cooked black or pinto beans
  • 1/2 cup fresh or thawed frozen yellow corn kernels
  • 1 4-oz. can mild or spicy chopped green chiles (undrained)
  • Kosher salt

For the cornbread topping

  • 1 cup stone-ground yellow cornmeal
  • 1/4 cup all-purpose flour
  • 1 Tbs. sugar
  • 1 tsp. baking powder
  • 1 tsp. kosher salt
  • 1/2 tsp. baking soda
  • 1 cup buttermilk
  • 3 Tbsp. unsalted butter, melted
  • 1 Tbsp. chopped fresh cilantro leaves; more for garnish
  • 1 large egg
  • 1 cup shredded Monterey Jack or pepper Jack cheese
  • Sour cream and avocado slices, for serving

Directions

Make the filling

  1. Preheat the oven to 400°F.
  2. In a deep 10-inch wide cast-iron skillet, cook the beef over medium-high heat until browned, breaking it into pieces with a wooden spoon, 6 to 8 minutes.
  3. Add the zucchini, onion, and chili powder, reduce heat to medium, and cook, stirring occasionally, until softened, about 5 minutes.
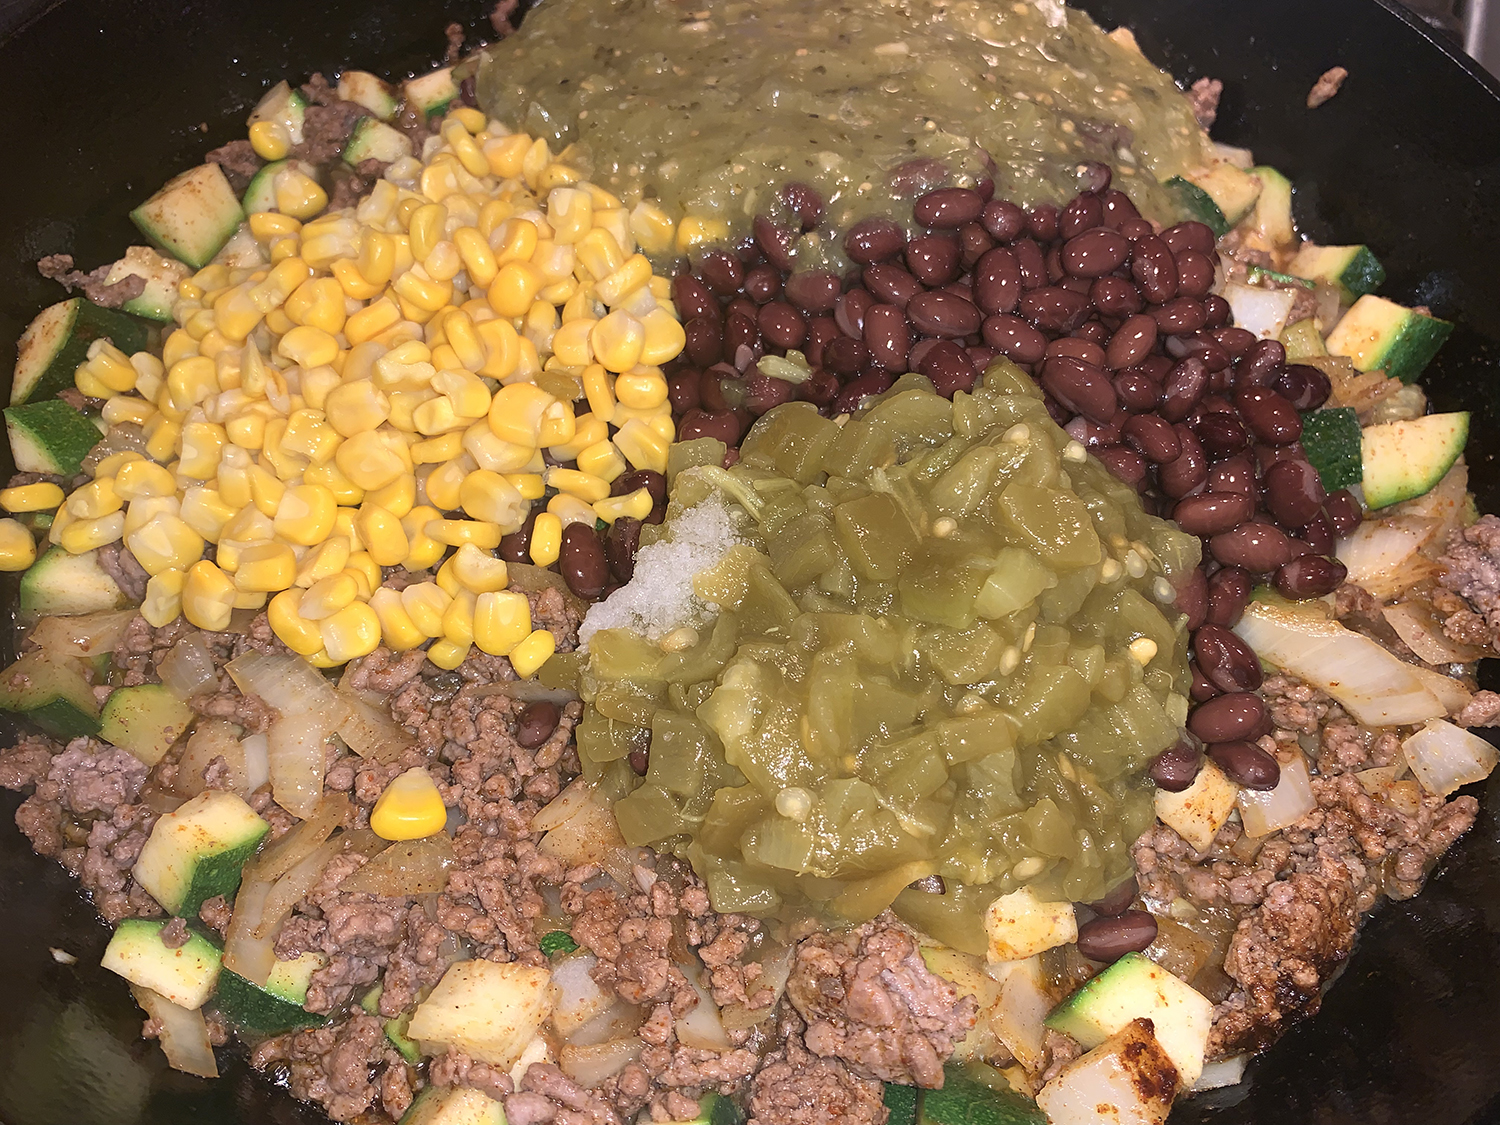
  4. Stir in the salsa, beans, corn, green chiles, and salt. Remove from the heat.

Make the cornbread topping

  1. In a medium bowl, whisk together the cornmeal, flour, sugar, baking powder, salt, and baking soda, and set aside.
  2. In another medium bowl, whisk together the buttermilk, butter, cilantro, and egg. Add the wet ingredients to the dry ingredients, and stir just until combined.
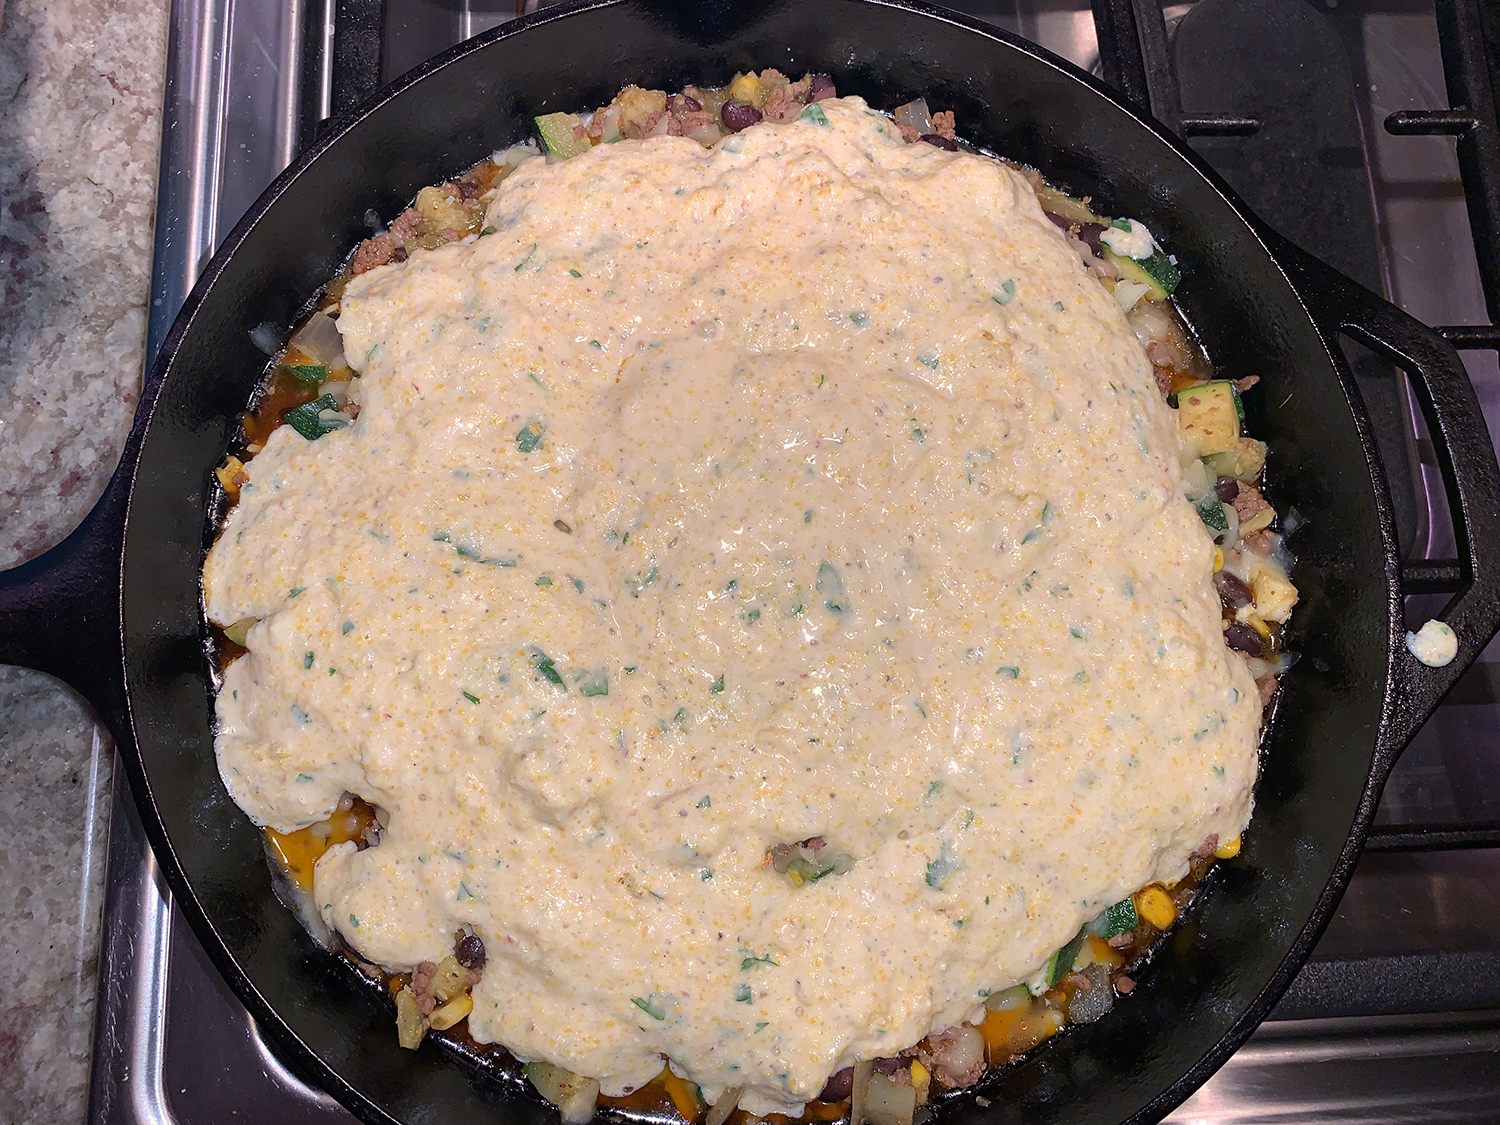
  3. Scatter half of the cheese over the beef mixture in the skillet, then pour the cornbread batter over and spread to the edges. Sprinkle with the remaining cheese.
  4. Bake until cornbread is cooked through and golden brown, about 25 minutes.
  5. Serve with additional salsa, sour cream, and avocado slices. Garnish with cilantro.

http://www.lynnandruss.com

Adapted from a recipe by Liz Pearson for Fine Cooking

Meal on Wheels, For Real

Friends of ours, husband and wife, were in a car accident, and while luckily they weren’t seriously injured, they were not in any mood, or condition, to cook for themselves for a period of days. Their daughter set up a “Meals on Wheels” type of delivery system called Meal Train, whereas each night friends and/or family members made a hot meal to be delivered to their household in the evening at the time of their choosing.

What a fantastic idea! The couple filled out an online form which described their likes and dislikes (i.e. nothing too spicy, prefer chicken and pasta dishes), and the link was emailed to the group. We chose our day and then the recipe based on their criteria. Our contribution? Chicken Paprikash. And just as The Hubs was leaving to transport the goods, he commented that one of their passions was delivering meals on wheels to those in need. What goes around, comes around…

This Hungarian classic can be on the table (or in the car as the case would be) in an hour if you use an Instant Pot or pressure cooker. And less than 10 ingredients to boot! To streamline the process even more, prep the dill while the chicken cooks, as it’s not used until the end of cooking to finish the sauce and as a garnish. We happened to use dried dill, saving even more time.

Paprika is a key ingredient in this dish, so make sure yours is fresh and fragrant; paprika that has gone stale and lost its flavor and color will result in a bland, lackluster stew. Buttered egg noodles are the perfect accompaniment. Even though you might be tempted, don’t use low-fat sour cream. It lacks richness and body and will make a lean, watery chicken paprikash.

Chicken Paprikash

  • Servings: 3-4
  • Difficulty: easy
  • Print

Ingredients

  • 2 Tbsp. salted butter
  • 1 large yellow onion, finely chopped
  • Kosher salt and ground black pepper
  • 2 Tbsp. sweet paprika
  • 1 Tbsp. tomato paste
  • 3 lbs. bone-in, skin-on chicken thighs, skin removed and discarded
  • 1 cup sour cream
  • 1 Tbsp. cornstarch
  • 4 Tbsp. chopped fresh dill, divided
  • Egg noodles, cooked to package directions

Directions

  1. On a 6-quart Instant Pot, select More/High Sauté. Add the butter and let melt. Add the onion, ½ teaspoon salt and ¼ teaspoon pepper, then cook, stirring occasionally, until the onion is golden brown, about 6 minutes.
  2. Add the paprika and tomato paste and cook, stirring, until fragrant, about 1 minute.
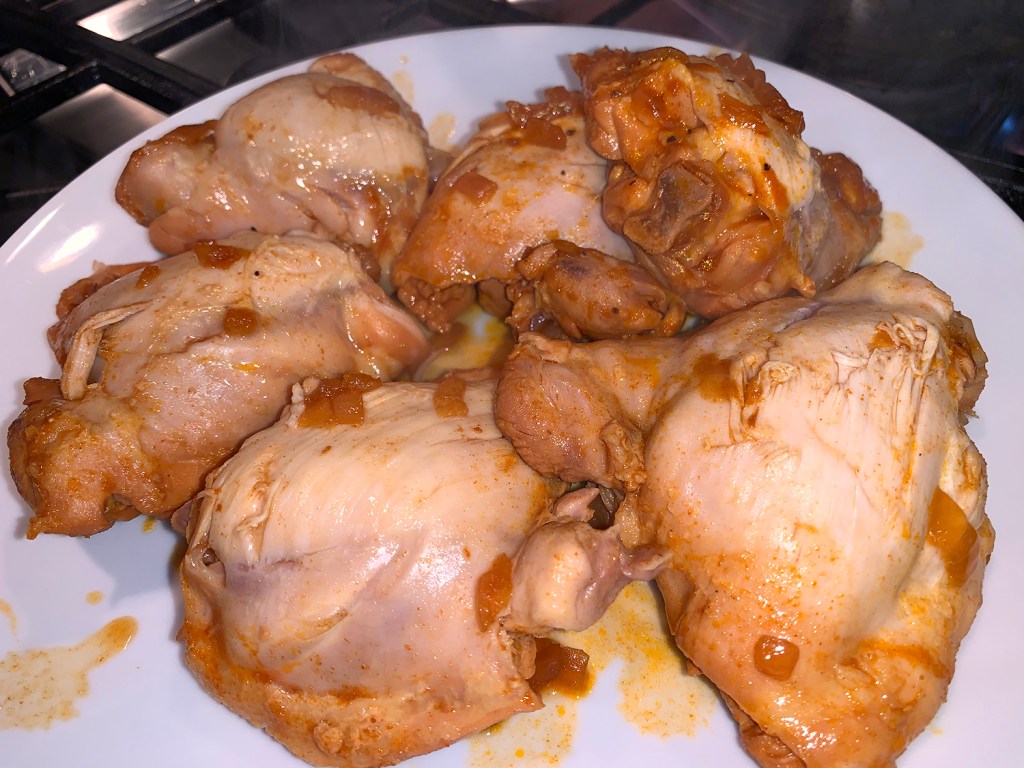
  3. Stir in ½ cup water, scraping up the browned bits. Nestle in the chicken in an even layer, slightly overlapping the pieces if needed.
  4. Cancel, lock the lid in place and move the pressure valve to Sealing. Select Pressure Cook or Manual; make sure the pressure level is set to High. Set the cooking time for 10 minutes.
  5. When pressure cooking is complete, allow the pressure to reduce naturally for 10 minutes, then release the remaining steam by moving the pressure valve to Venting. Press Cancel, then carefully open the pot.
  6. Using tongs, transfer the chicken to a dish and tent with foil.
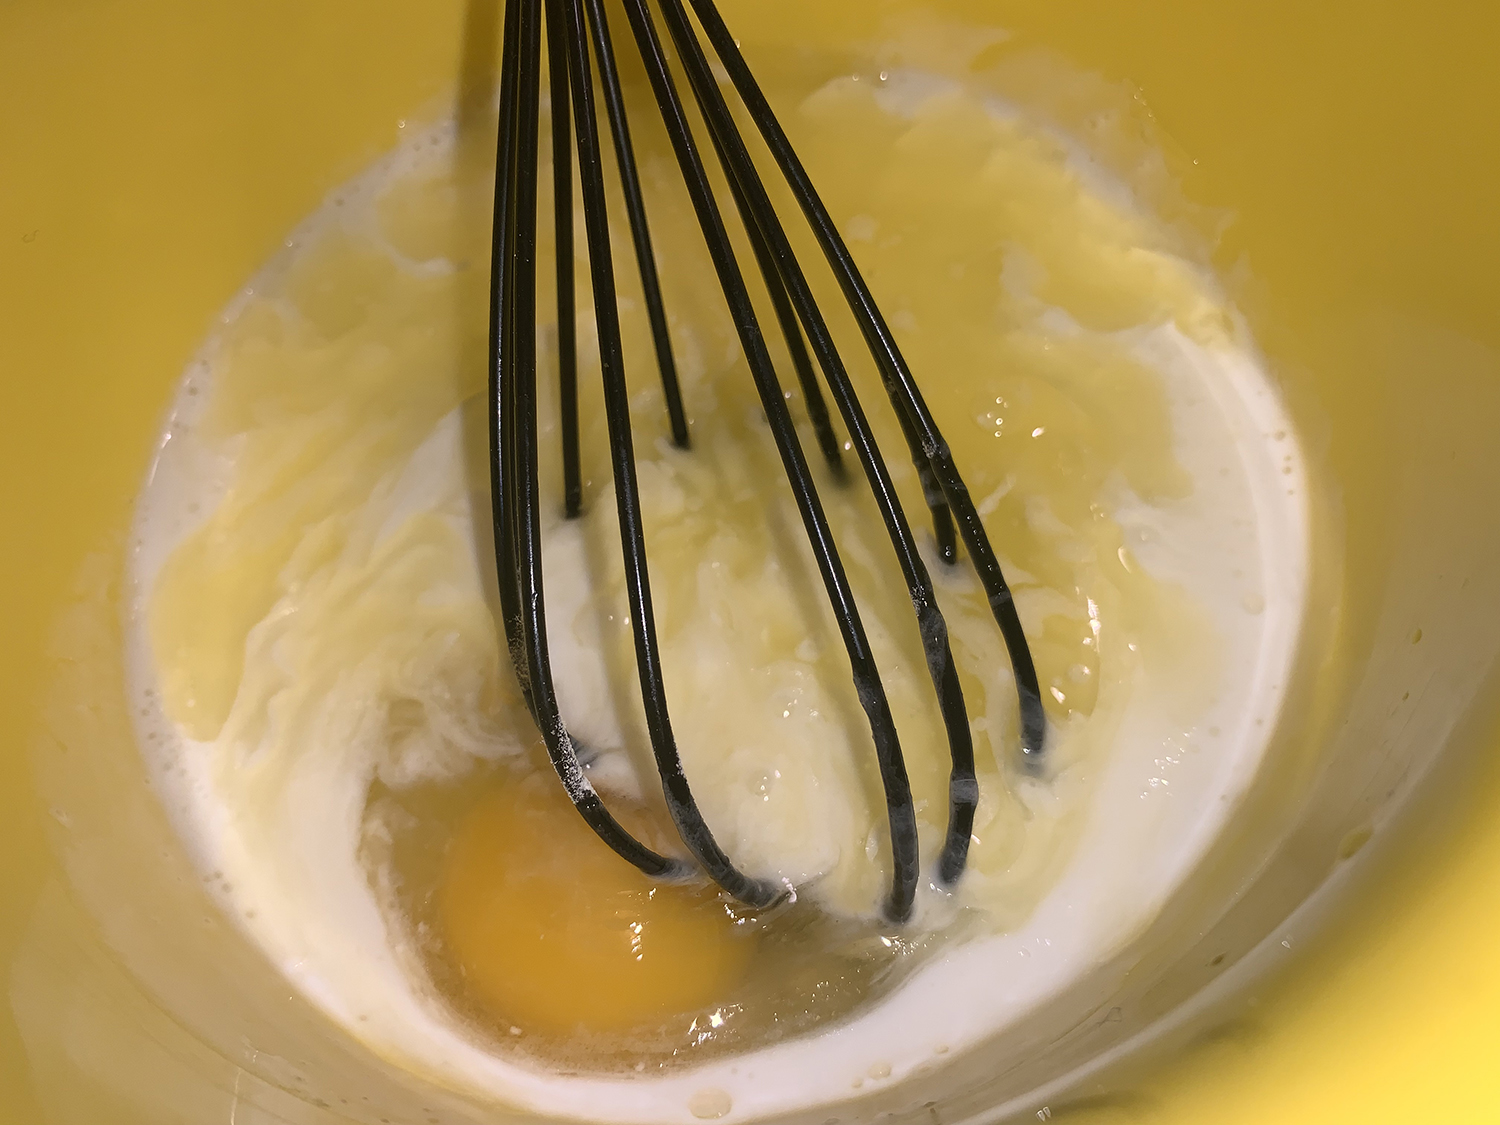
  7. In a small bowl, whisk together the sour cream and cornstarch. Stir the mixture into the pot, then select More/High Sauté and cook, whisking constantly, until the sauce begins to simmer and is lightly thickened.
  8. Press Cancel to turn off the pot, then taste and season with salt and pepper. Stir in 2 tablespoons of dill. Using potholders, carefully remove the insert from the housing and pour the sauce over the chicken.
  9. Serve over hot cooked egg noodles and sprinkle with the remaining 2 tablespoons dill (or parsley).

http://www.lynnandruss.com

Thanks to Milk Street for this easy recipe

Stir-Fried Pork and Sweet Peppers with Peanuts

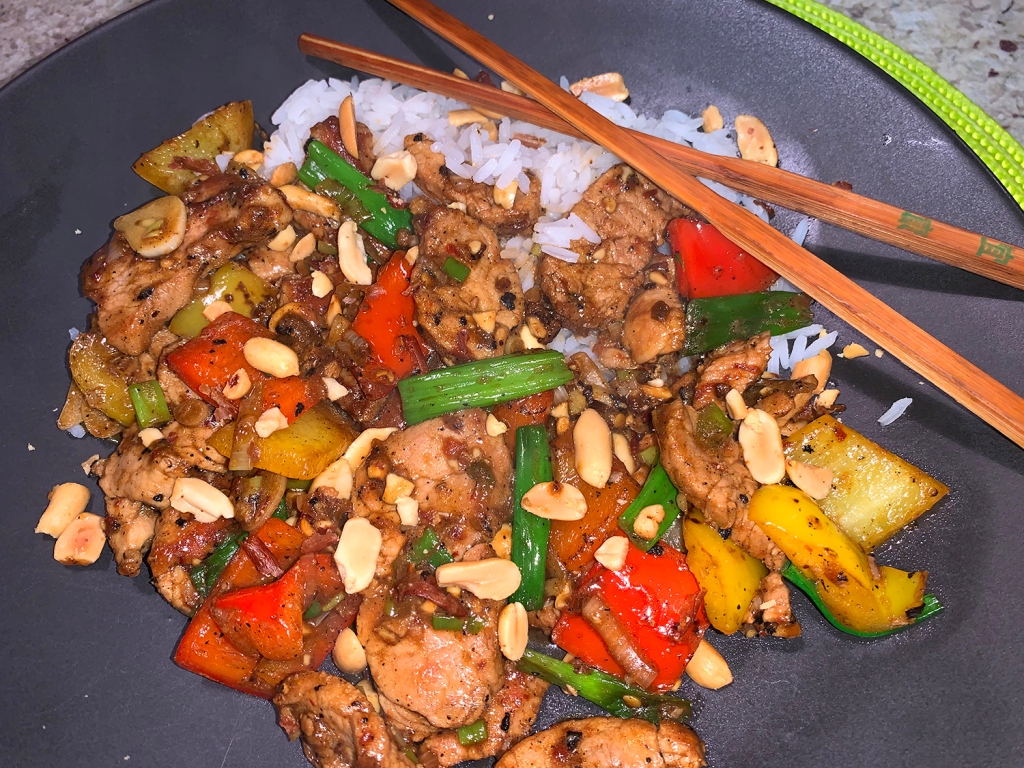
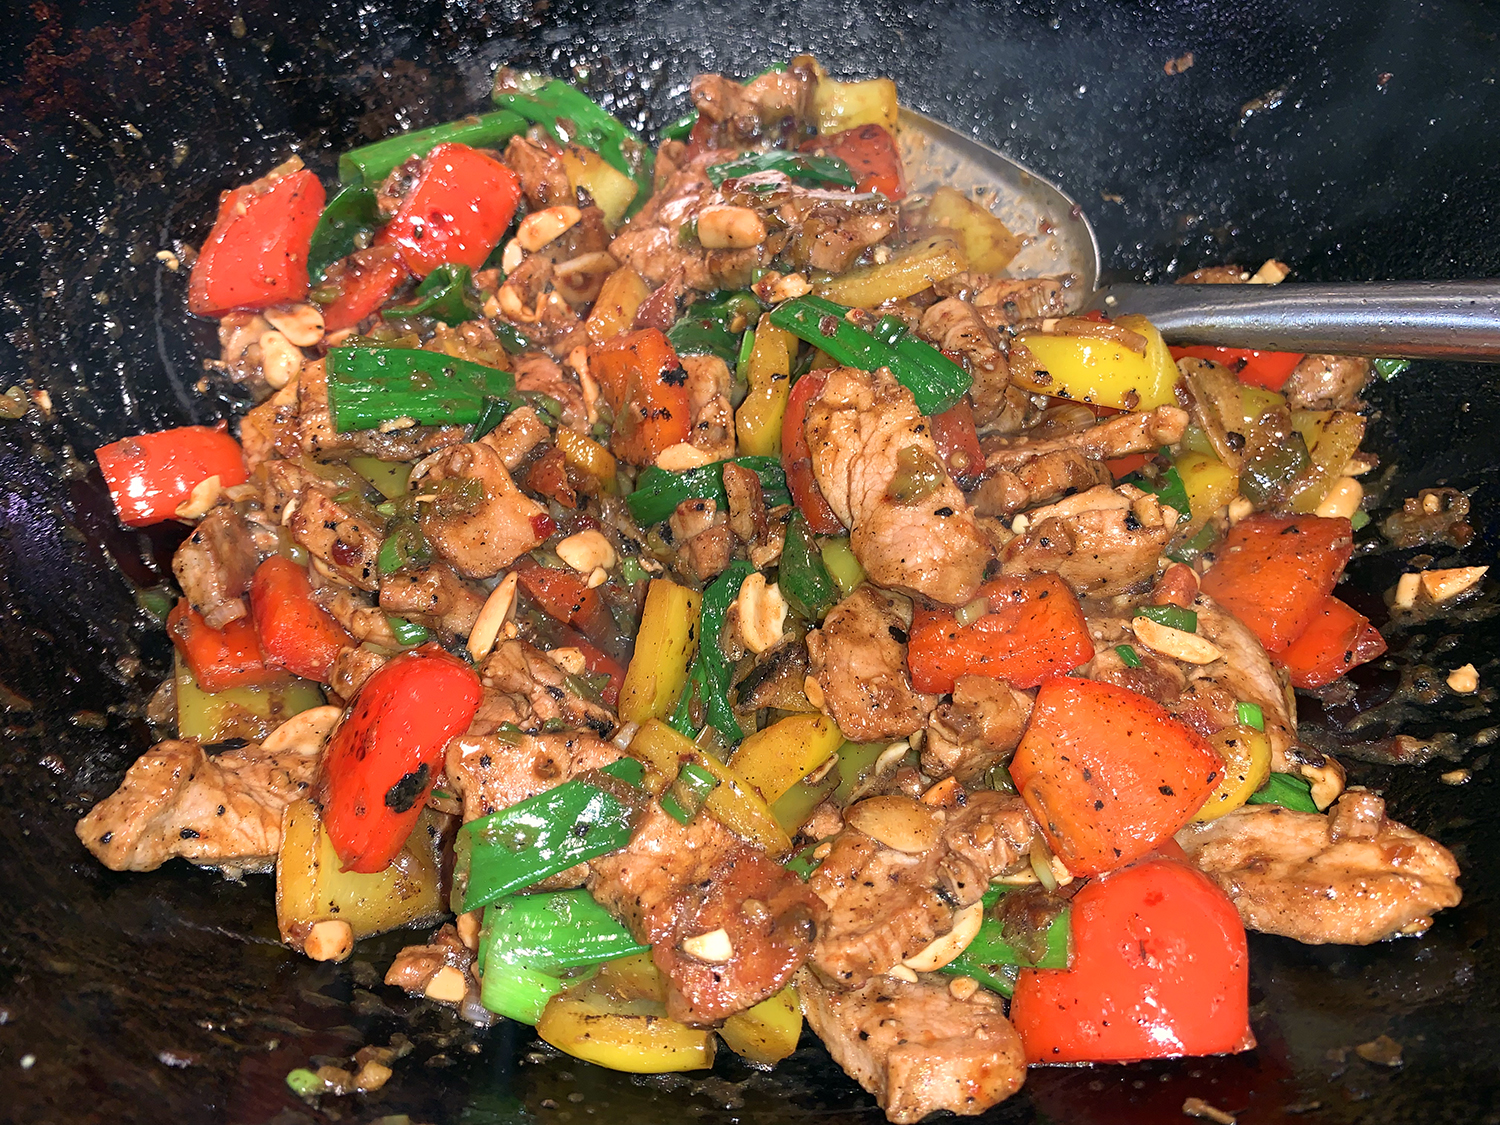
Yes indeed, the flavors in this colorful stir-fry from Milk Street are a fantastic combination of savory, sweet, tangy, garlicky, spicy and nutty. The chili-garlic sauce can be moderated depending on your tolerance for spicy, and those peanuts add just the right amount of crunch.

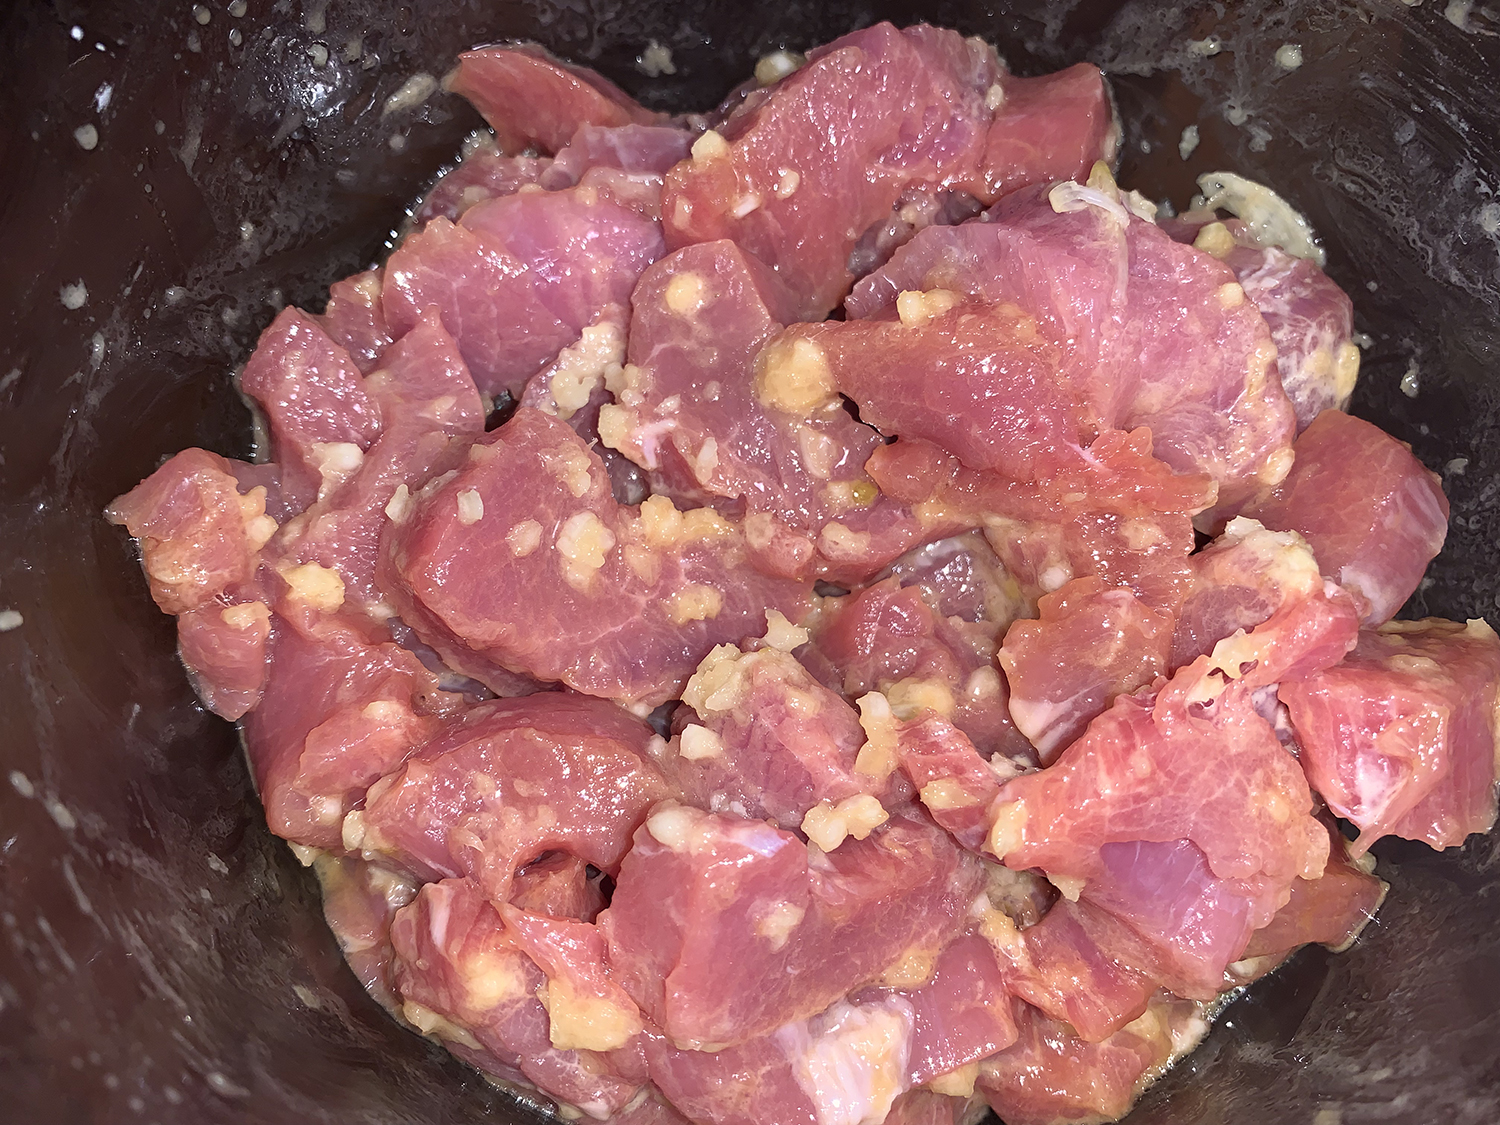
Briefly marinating the sliced tenderloin means that the meat browns beautifully in the skillet and also adds flavor and moisture to an otherwise lean and mild cut. Balsamic vinegar may seem like an odd ingredient in a stir-fry, but it mimics the subtle sweetness, moderate acidity and maltiness of Chinese black vinegar and probably already is in your pantry. Serve with steamed white rice.

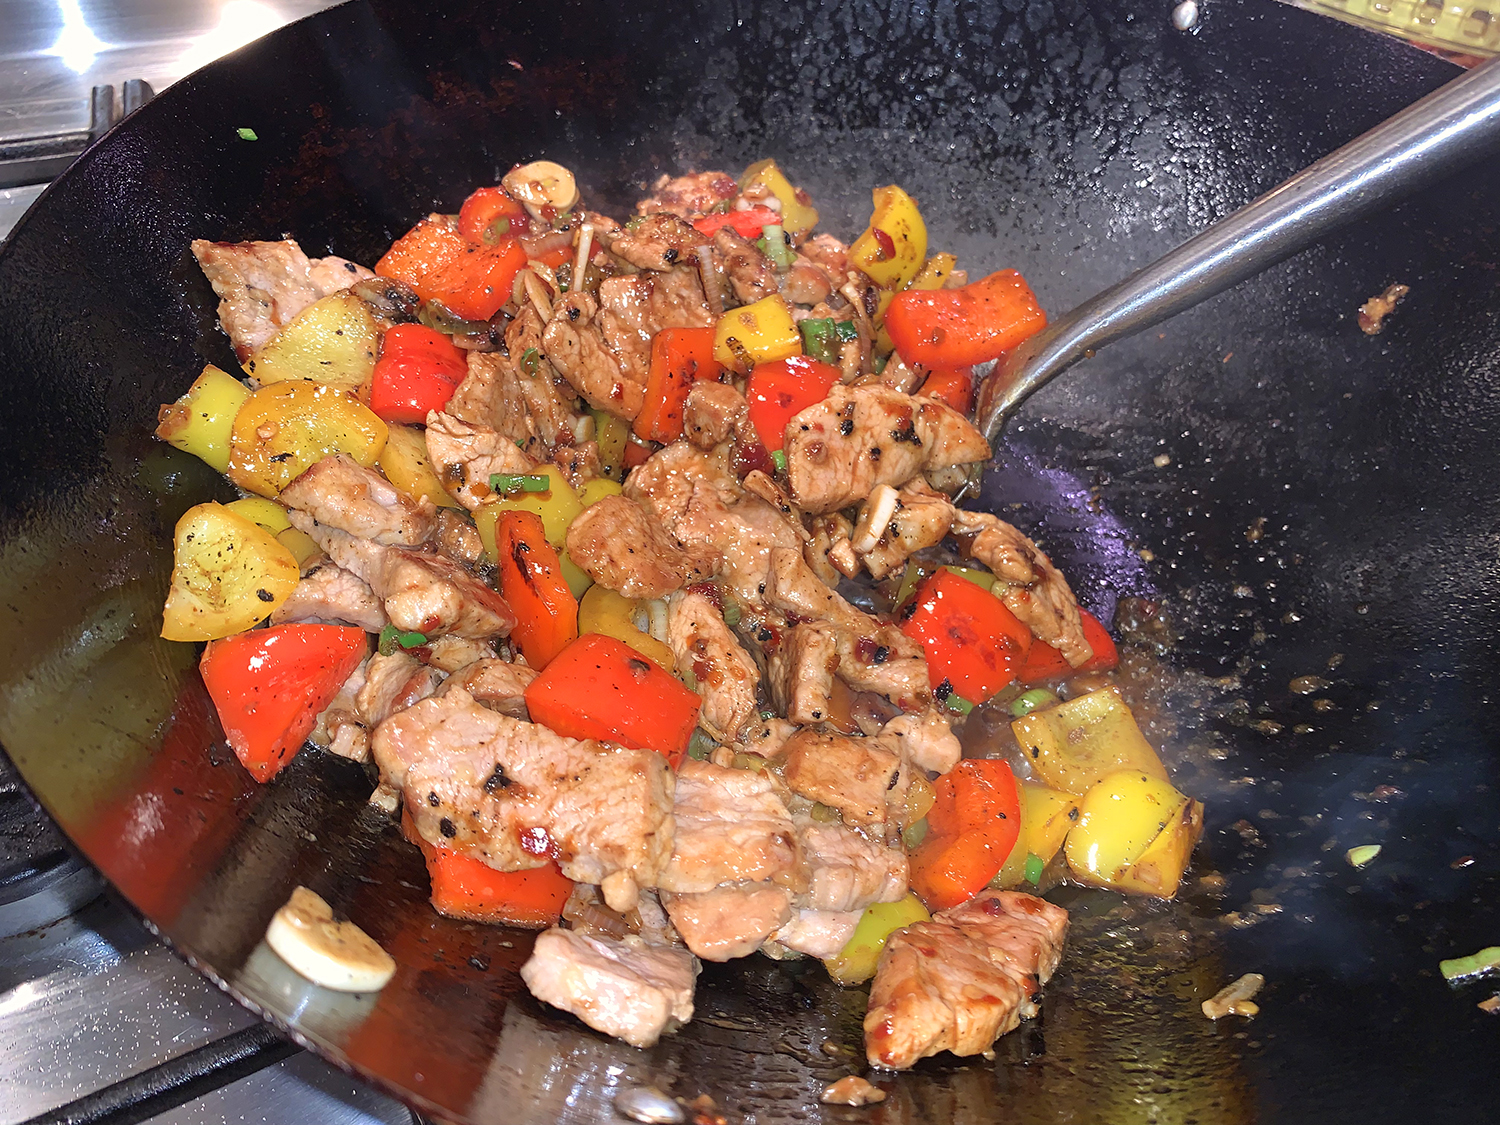
Instead of a nonstick skillet, we used a well-seasoned wok. The Hubs swears you get a hotter heat with the added benefit of pushing ingredients up the sides.

Warning: Don’t use a conventional (that is not nonstick) skillet. The pork will char and stick to the skillet instead of nicely browning.

Stir-Fried Pork and Sweet Peppers with Peanuts

  • Servings: 4-6
  • Difficulty: easy
  • Print

Ingredients

  • 1 1/4 lb. pork tenderloin, trimmed of silver skin and sliced crosswise ⅛ to ¼ inch thick
  • 3 Tbsp. grapeseed or other neutral oil, divided
  • 3 Tbsp. dry sherry, divided
  • 2 Tbsp. soy sauce, divided
  • 3 garlic cloves, 1 minced, 2 thinly sliced
  • 1 Tbsp. cornstarch
  • 2-3 Tbsp. chili-garlic sauce
  • 1 1/2 Tbsp. balsamic vinegar
  • 2 medium red, yellow or orange bell peppers, stemmed, seeded and cut into 1- to 1½-inch pieces
  • 1 bunch scallions, whites thinly sliced, greens cut into 1½-inch lengths, reserved separately
  • 1/2 cup roasted peanuts, roughly chopped

Directions

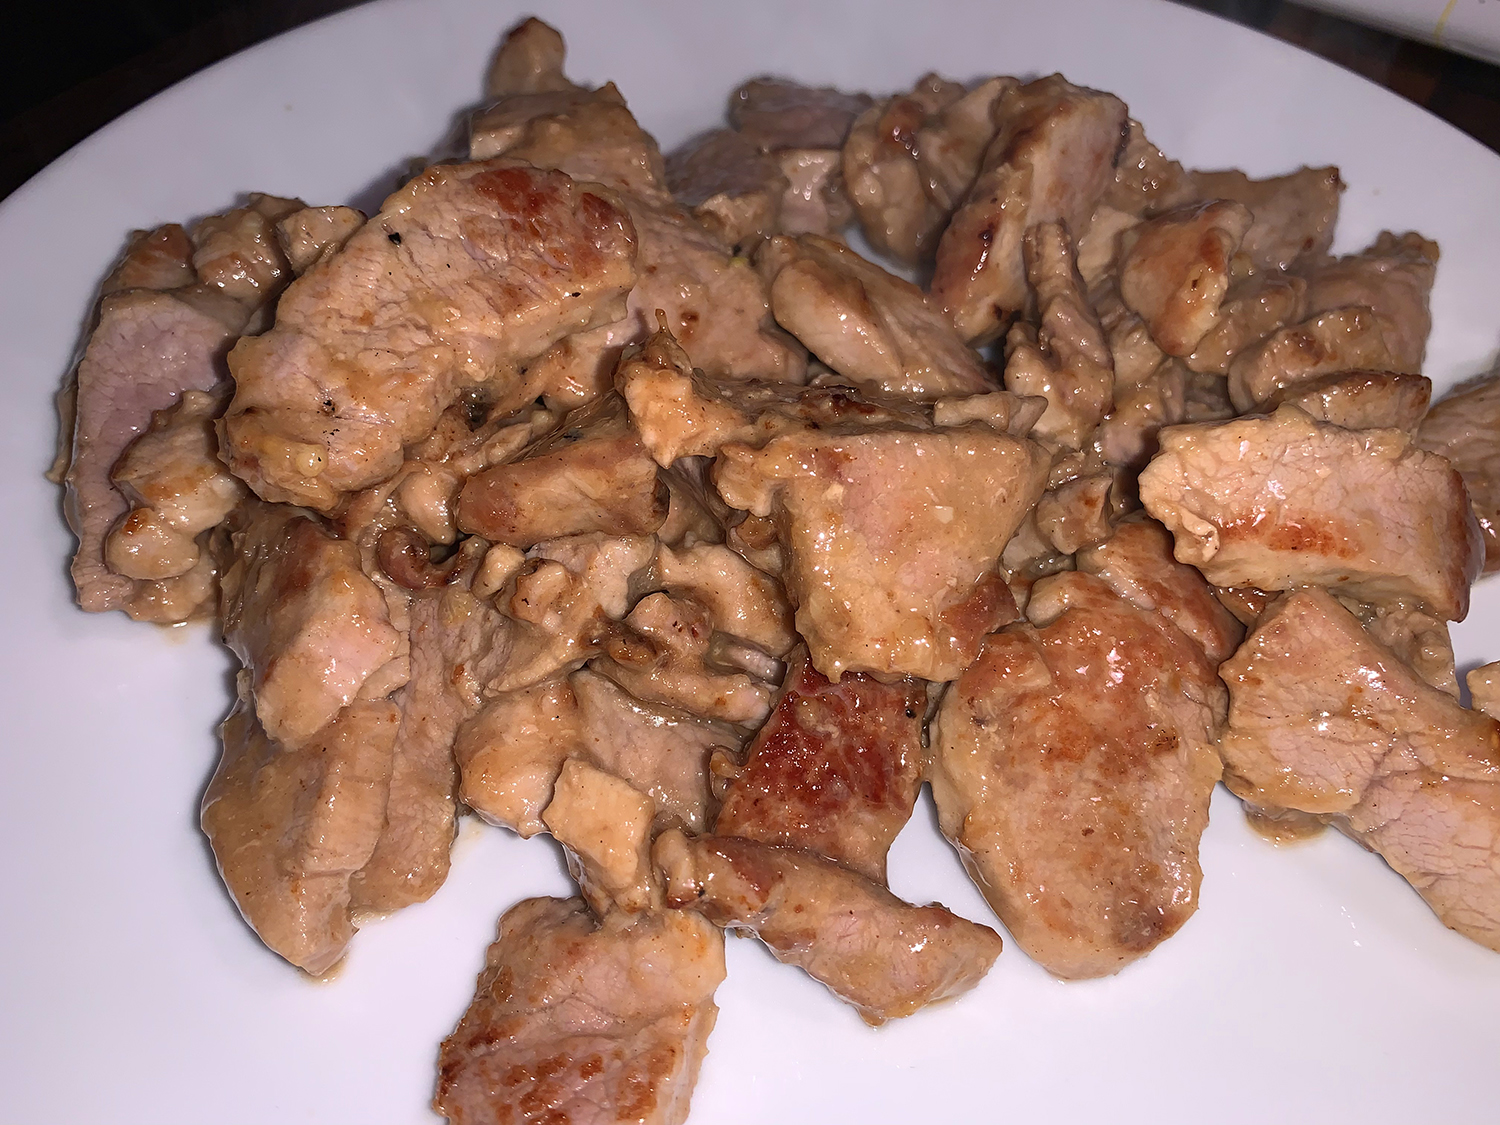
  1. In a medium bowl, stir together the pork, 1 tablespoon of the oil, 1 tablespoon of the sherry, 1 tablespoon of the soy sauce, the minced garlic and the cornstarch. Let stand for about 15 minutes.
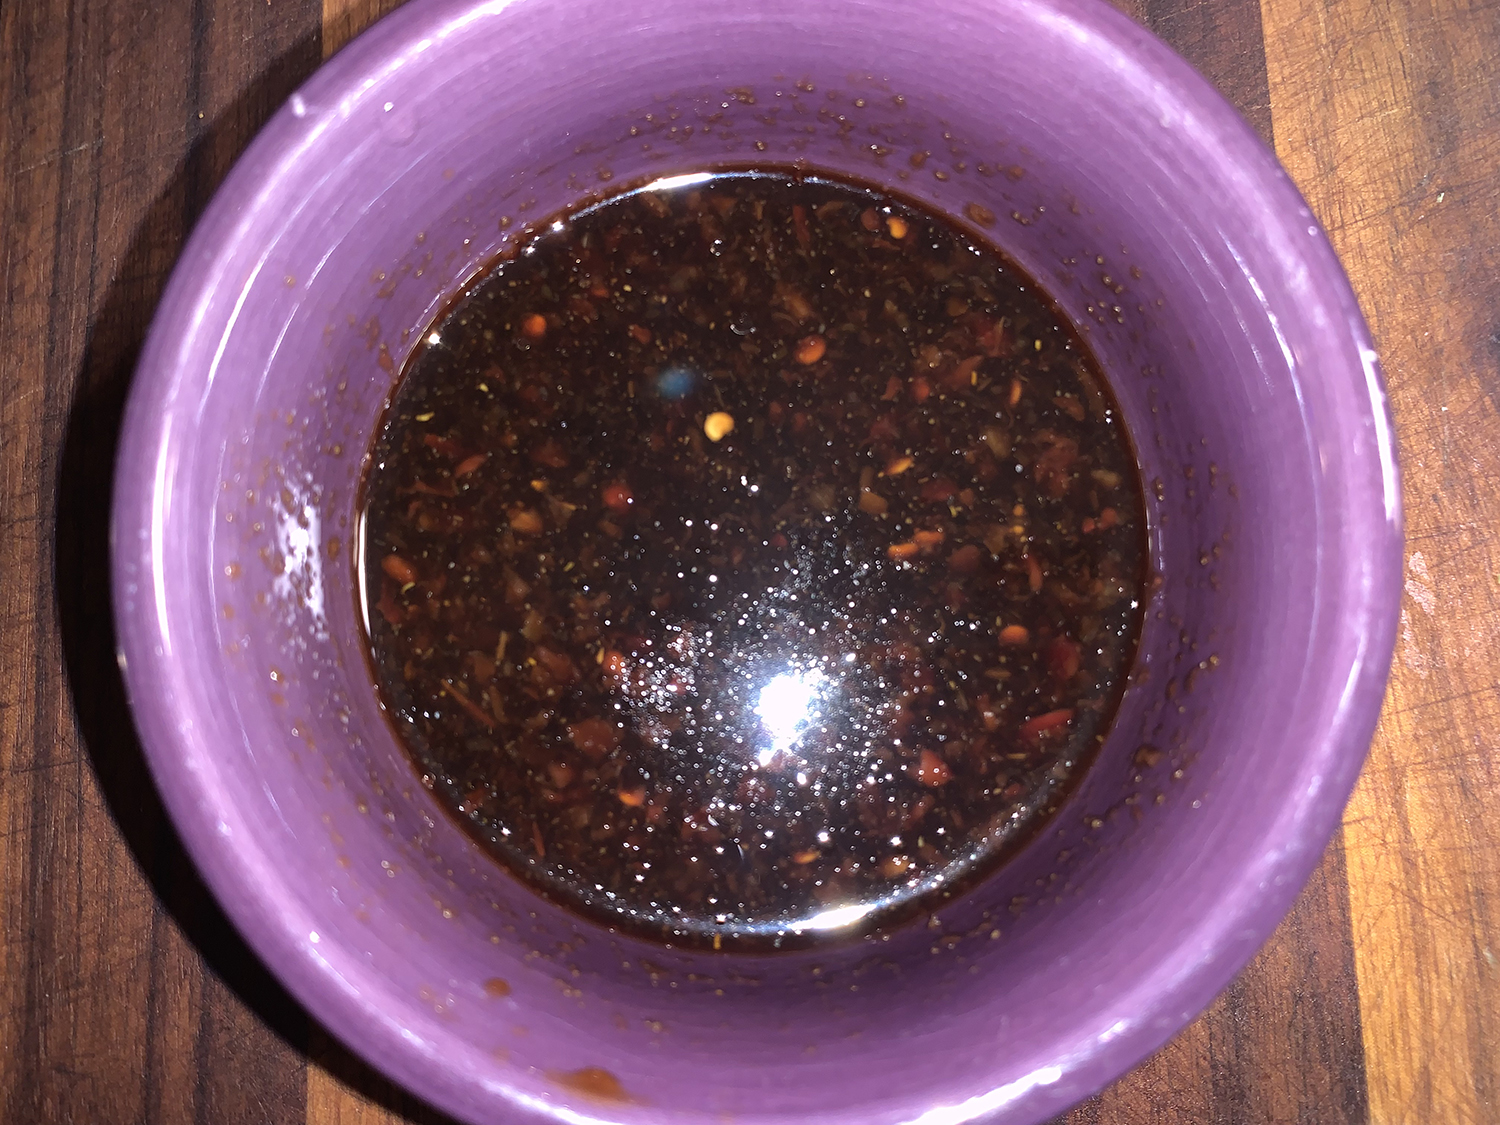
  2. Meanwhile, in a small bowl, stir together the remaining 2 tablespoons sherry, remaining 1 tablespoon soy sauce, chili-garlic sauce and vinegar.
  3. In a 12-inch nonstick skillet over medium-high, heat another 1 tablespoon oil until barely smoking. Add the pork in an even layer and cook, stirring once or twice, until well browned, 4 to 5 minutes; transfer to a plate.
  4. Add the remaining 1 tablespoon oil to the skillet and heat until shimmering. Add the bell peppers and cook, stirring occasionally, until tender-crisp, 6 to 7 minutes.
  5. Add the scallion whites and sliced garlic; cook, stirring, until fragrant, 30 to 60 seconds.
  6. Add the pork and accumulated juices, sauce mixture and scallion greens; cook, stirring, until the sauce is lightly thickened, 30 to 60 seconds.
  7. Off heat, stir in half the peanuts. Transfer to a serving dish and sprinkle with the remaining peanuts.

http://www.lynnandruss.com

Adapted from a recipe by Calvin Cox for Milk Street

Lemon-Rosemary Melting Potatoes

“These full-flavored potatoes are a great new approach to your typical potato side dish. The potatoes roast, then “melt” with the flavors of lemon, rosemary and garlic. They’re good enough for a special occasion, but easy enough for a weeknight.”
EatingWell

We paired our potatoes with a sous vide, pan-seared steak and spinach sautéed with garlic and olive oil.

The original recipe indicates the potatoes will serve six. They were so good, we barely got three portions from them, so I would plan on a maximum of four servings.

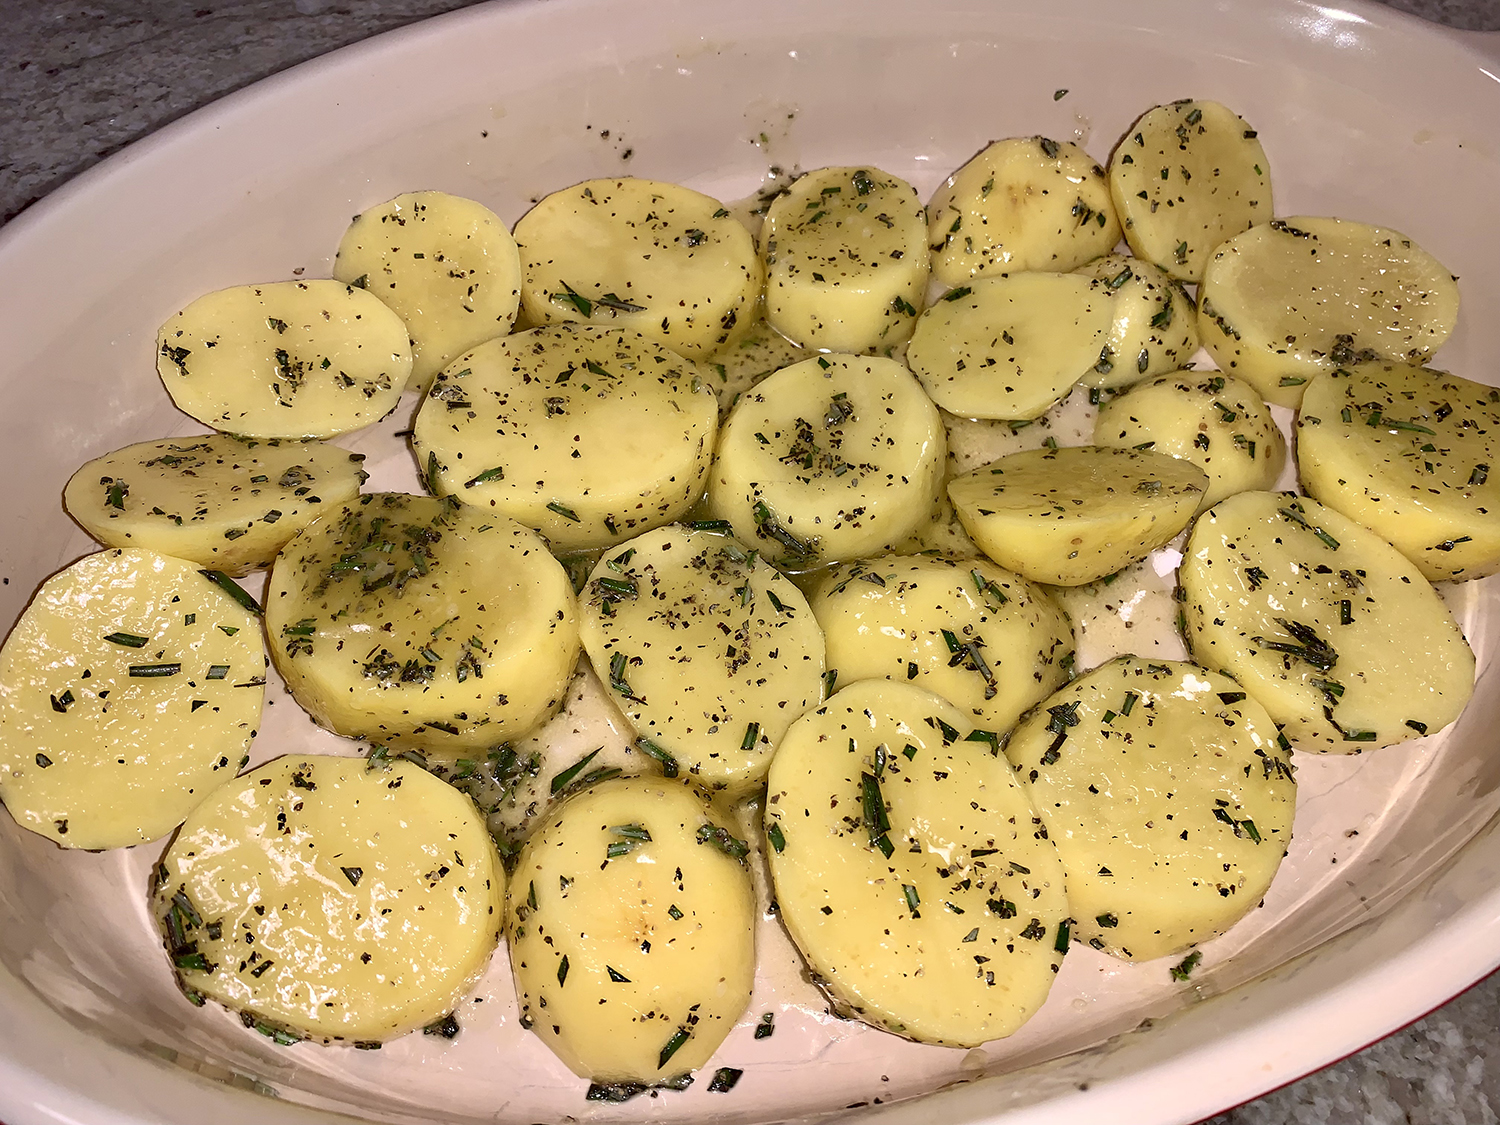
A word to the wise, DO NOT use glass or stone bakeware. When it’s time to add the broth and lemon, even though the liquids are room temperature, there’s a high likelihood the very hot dish will crack, trust us on this one. Either a metal pan or enameled cast-iron one are good choices. Ideally, the pan should have a wide enough bottom to accommodate the potato slices arranged in a single layer.

Lemon-Rosemary Melting Potatoes

  • Servings: 4
  • Difficulty: easy
  • Print

Ingredients

  • 2 lbs. Yukon Gold potatoes, peeled and sliced 1 inch thick 
  • 2 Tbsp. butter, melted
  • 2 Tbsp. extra-virgin olive oil
  • 1 Tbsp. chopped fresh rosemary, plus more for garnish
  • ¾ tsp. salt
  • ½ tsp. ground pepper
  • ¾ cup vegetable or chicken broth
  • ¼ cup lemon juice 
  • 2 Tbsp. sliced garlic

Directions

  1. Position rack in upper third of the oven; preheat to 500 degrees F.
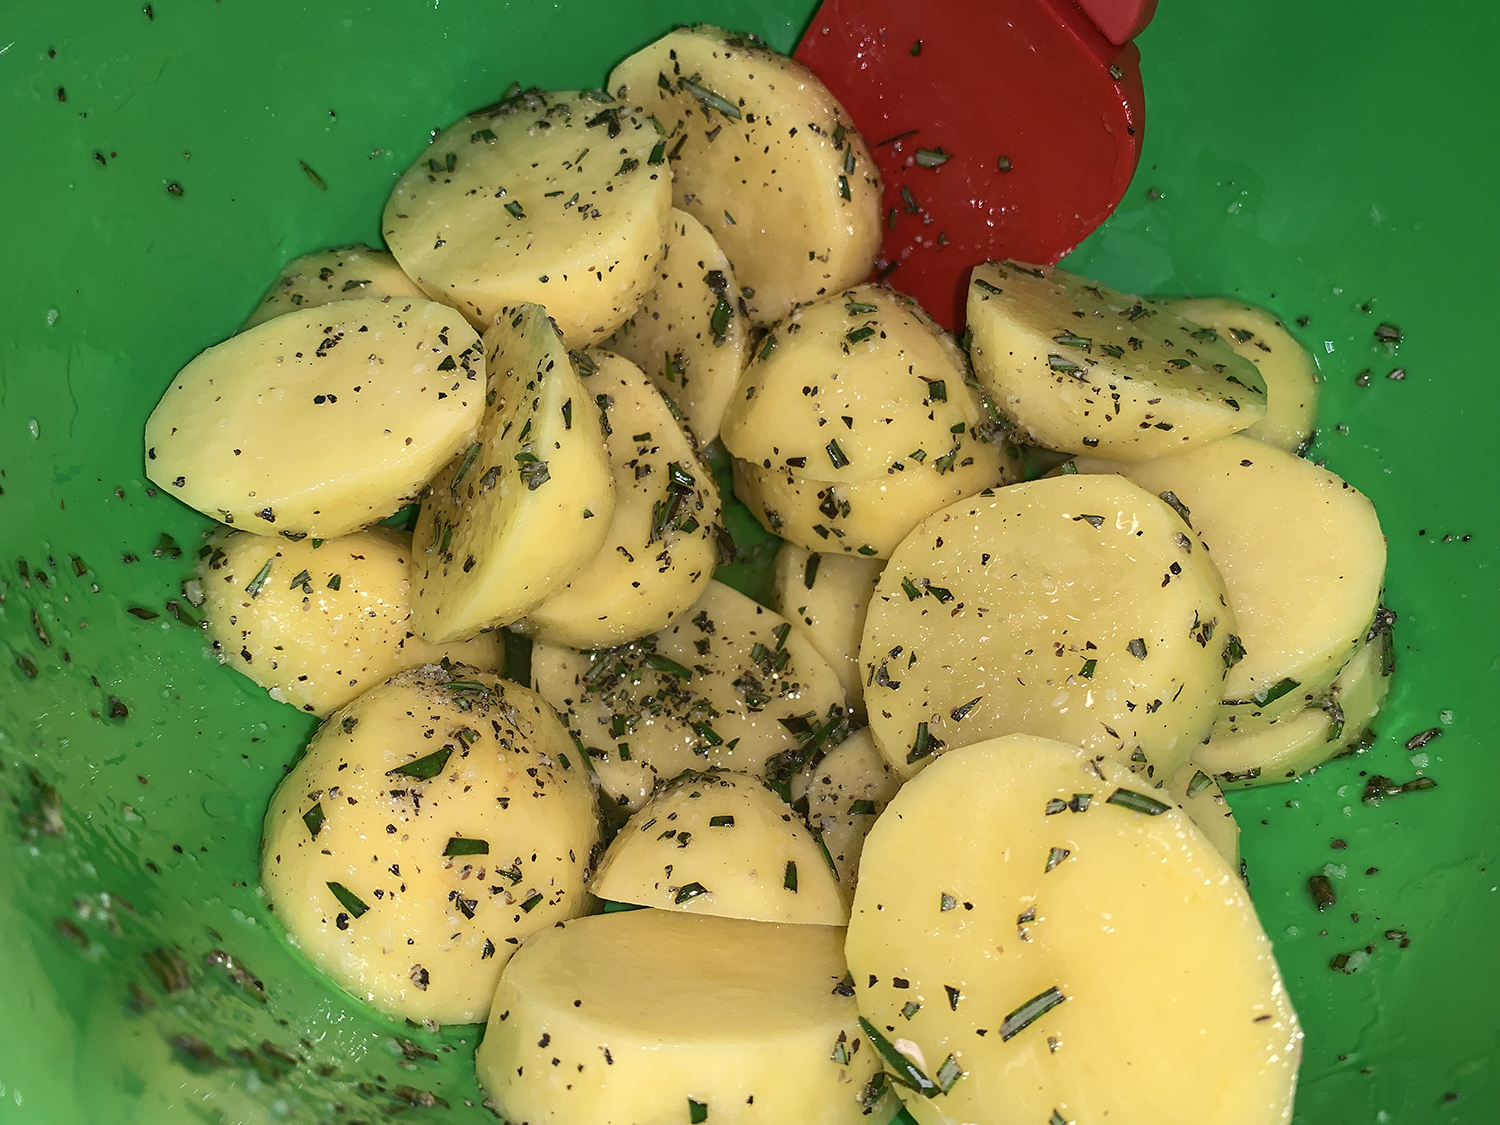
  2. Toss potatoes, butter, oil, rosemary, salt and pepper in a large bowl. Arrange the potatoes in a single layer in a 9-by-13-inch metal baking pan. (Don’t use a glass dish, which could shatter.) Roast, turning once, until browned, about 30 minutes.
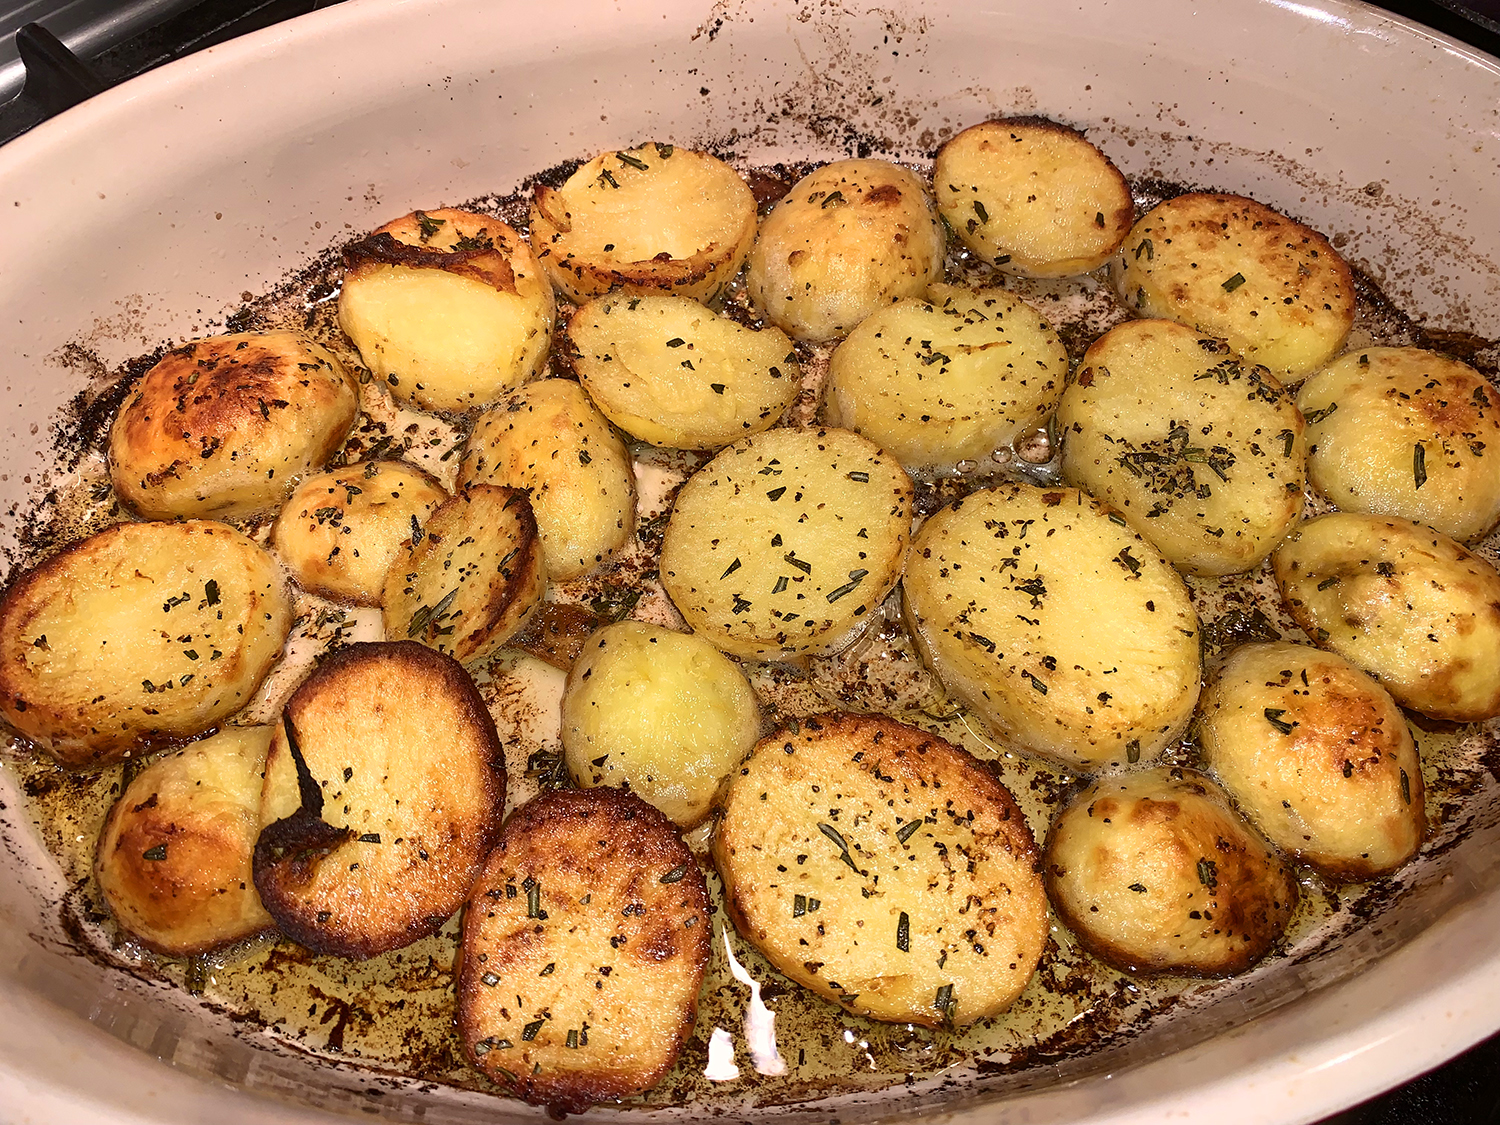
  3. Carefully add broth, lemon juice and garlic to the pan. Continue roasting until most of the liquid is absorbed and the potatoes are very tender, 10 to 12 minutes more.
  4. Garnish with additional rosemary.

http://www.lynnandruss.com

Recipe from EatingWell Magazine

Chicken alla Diavolo with Broccoli

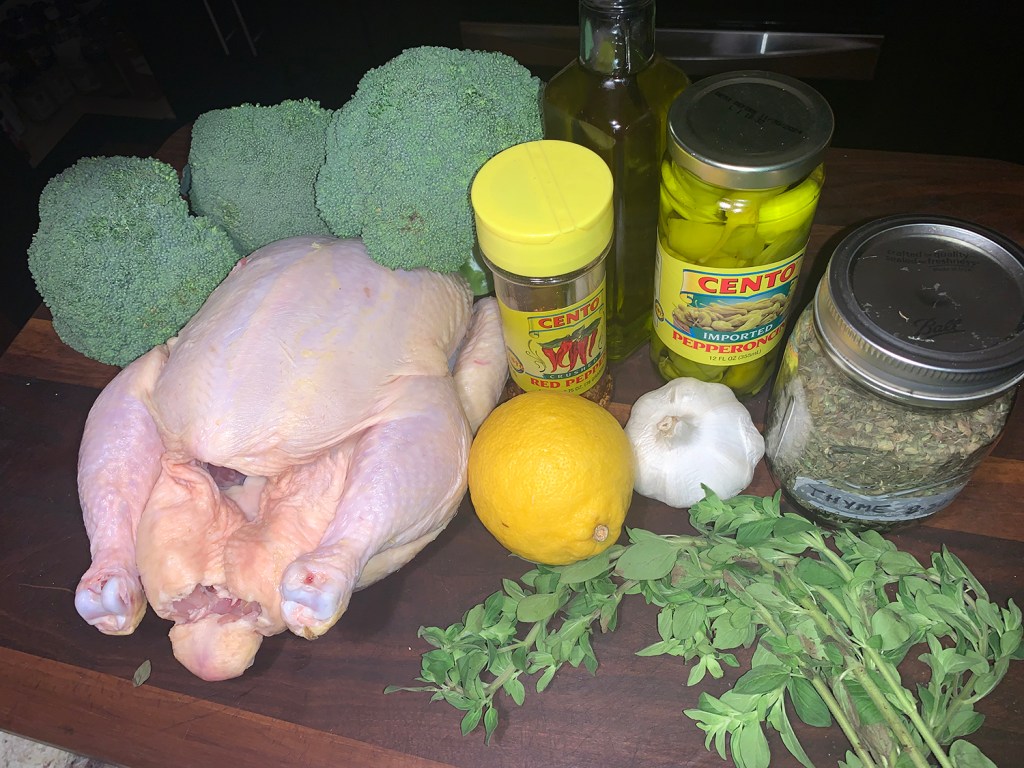
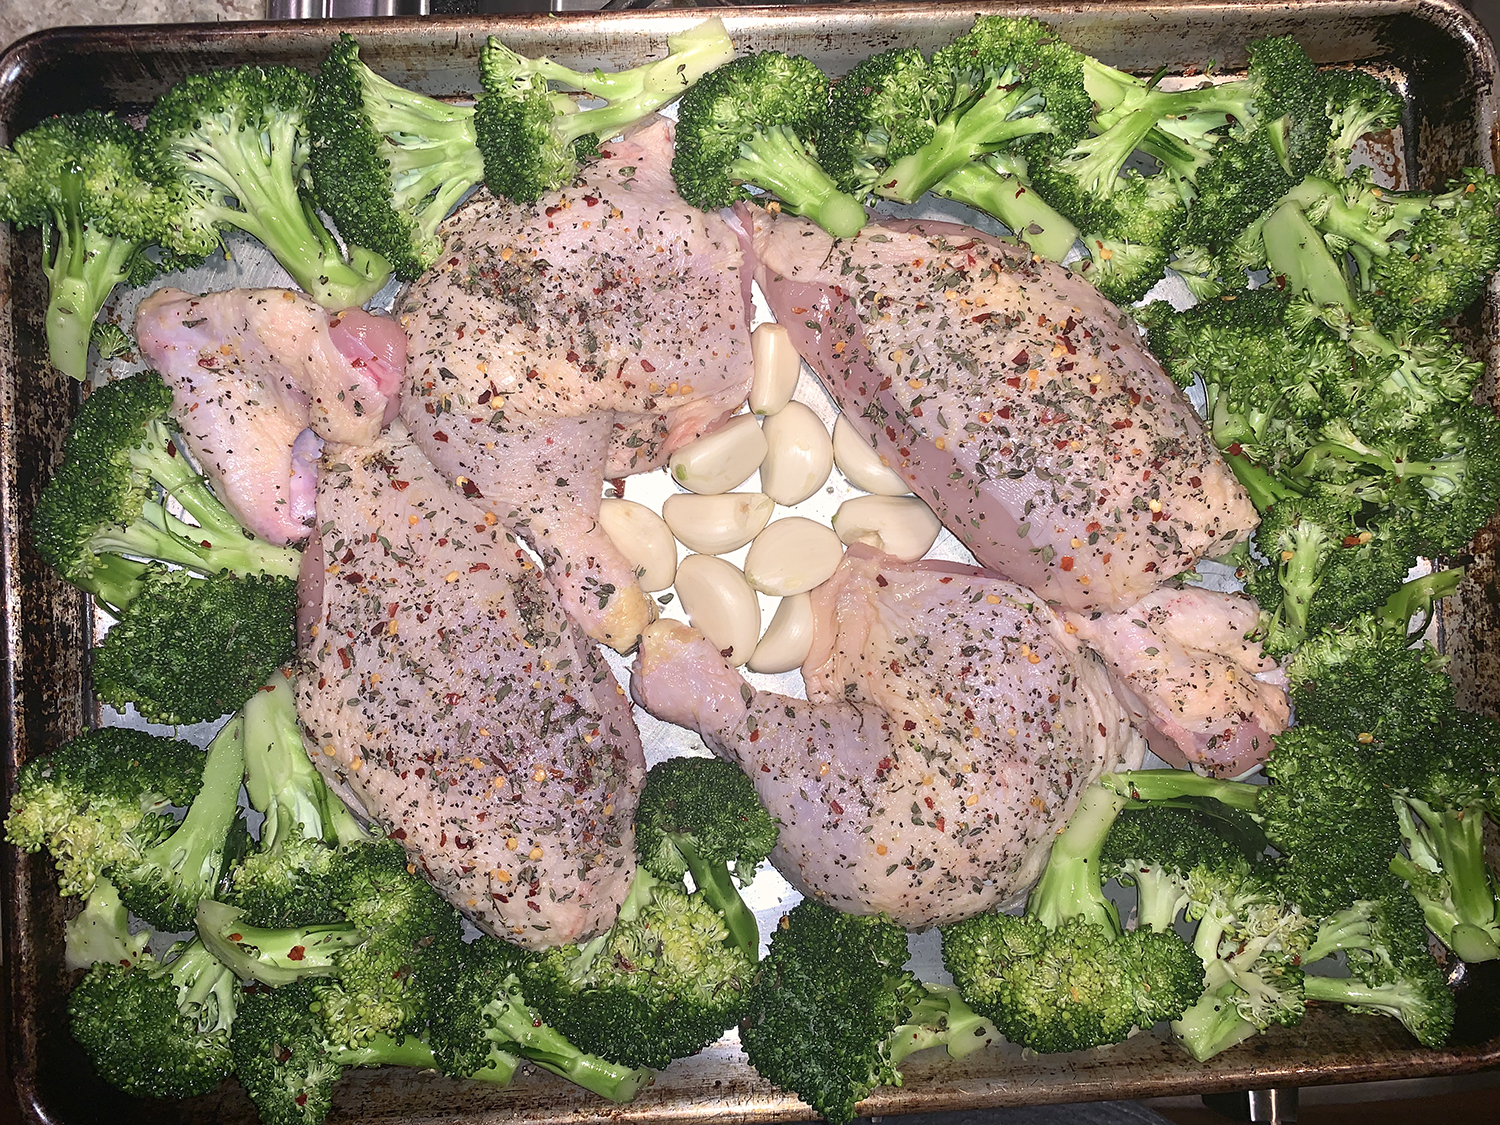
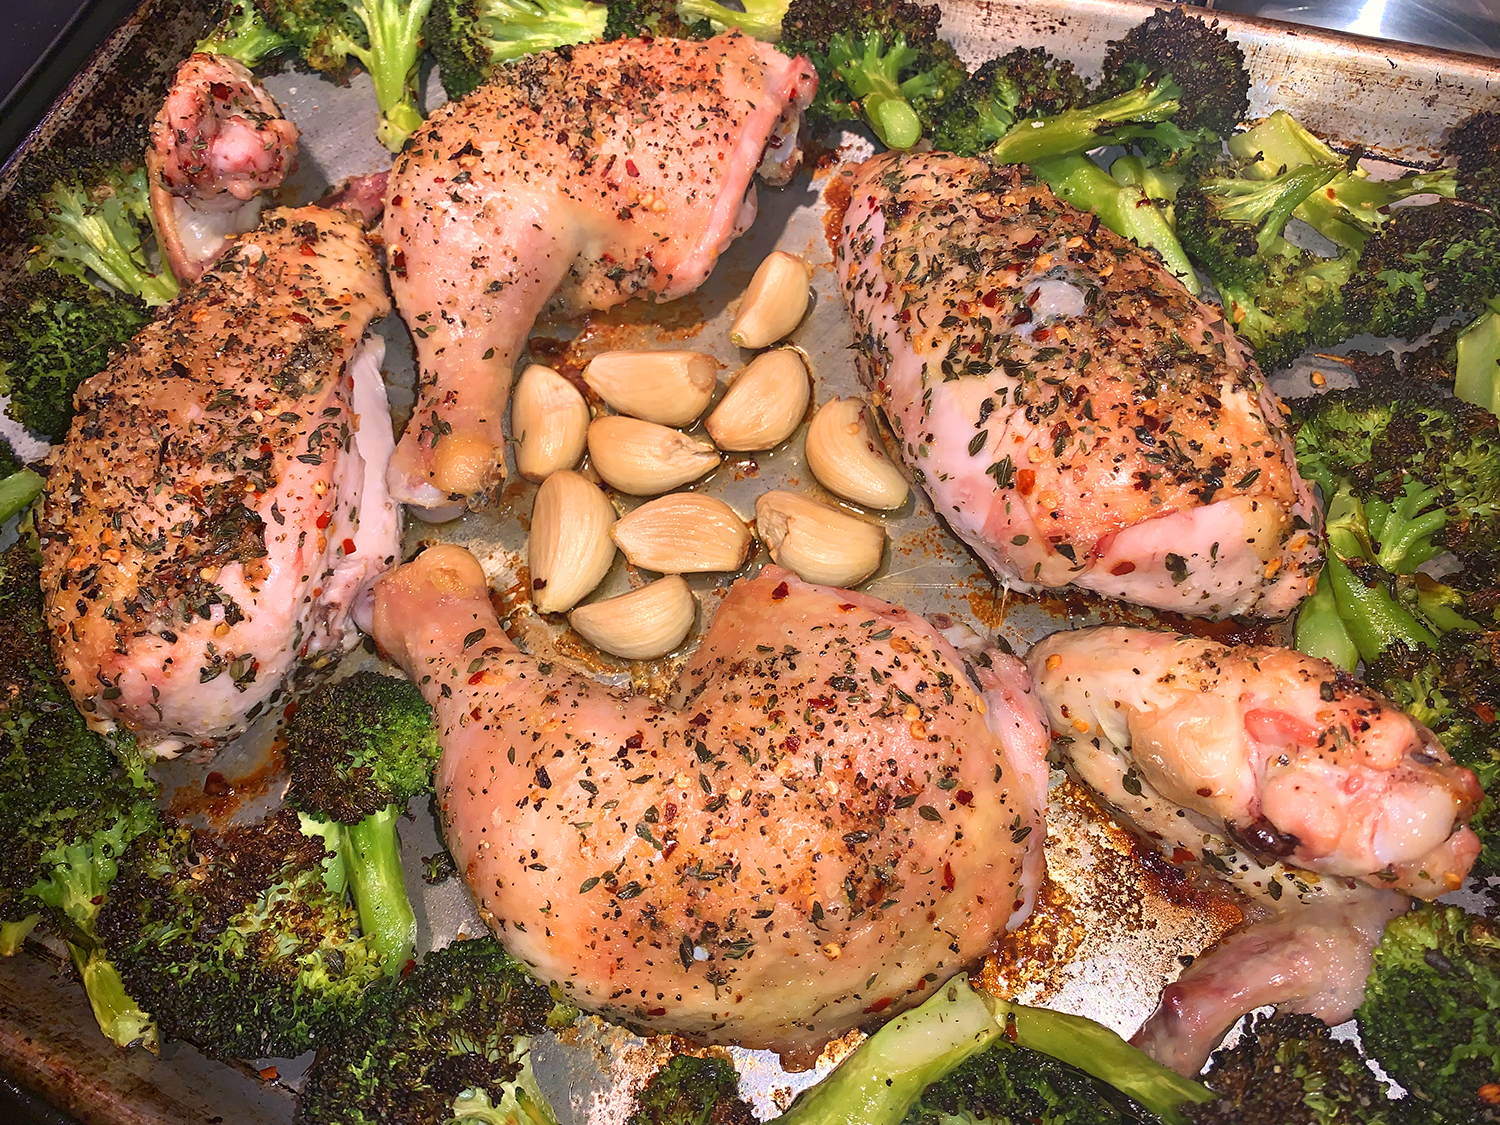
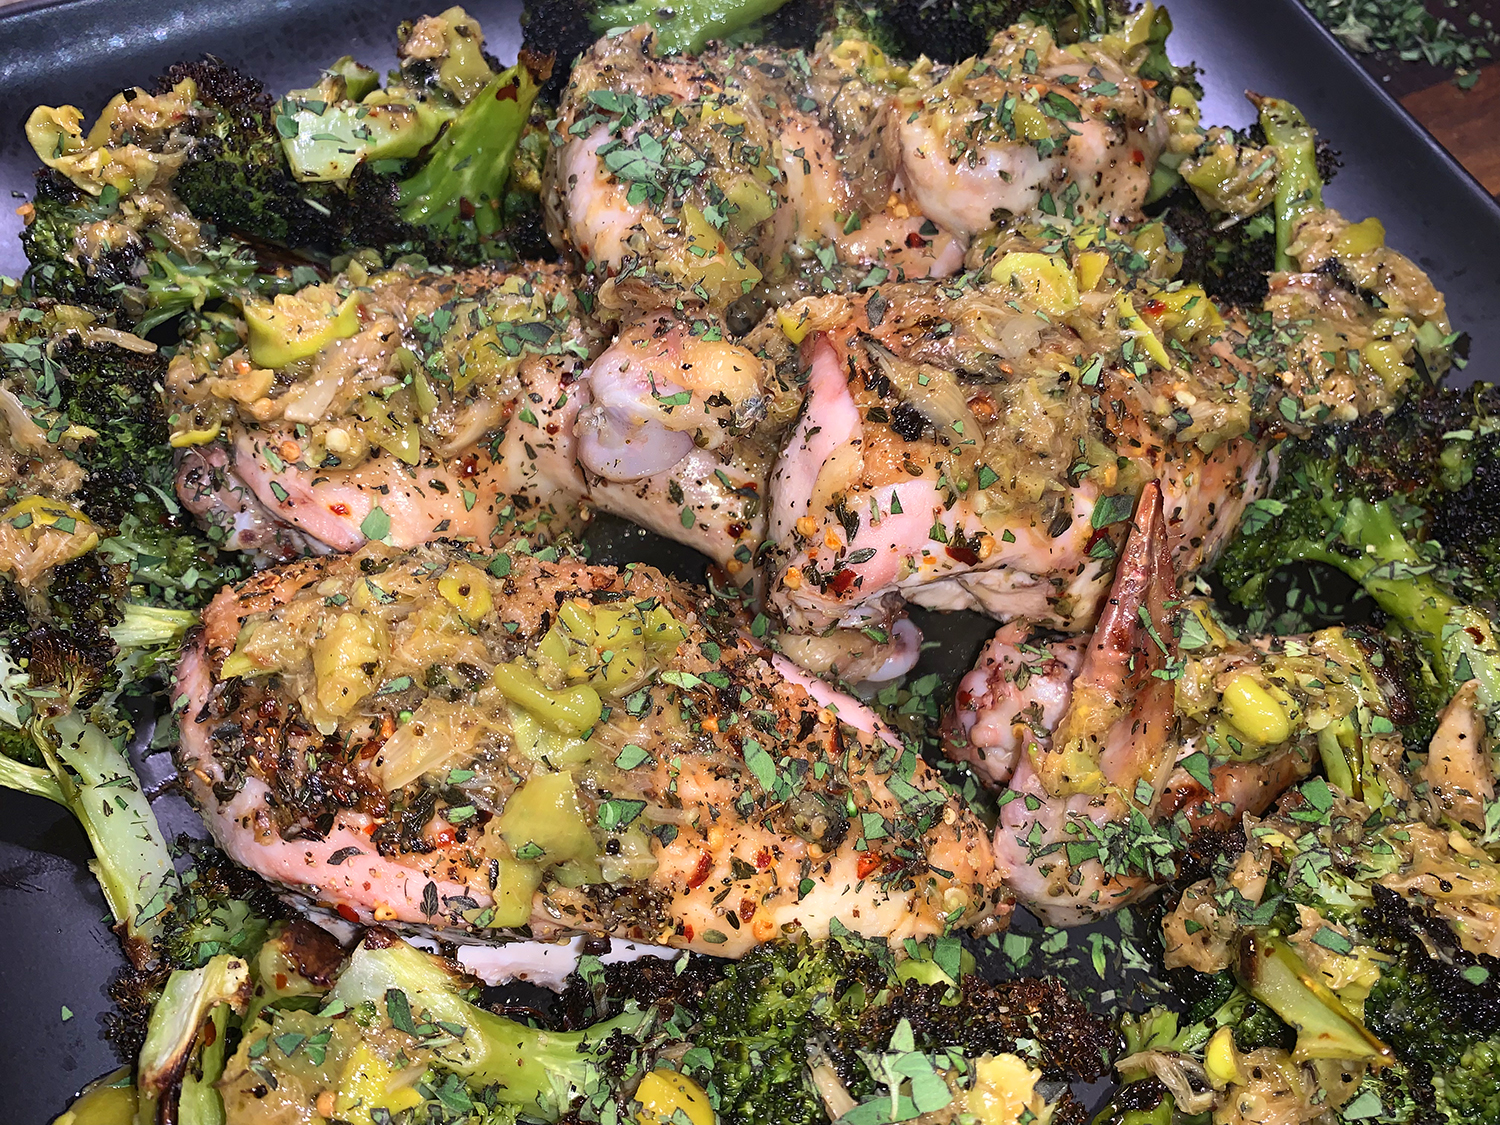
Here’s a one-pan meal that has risen to the top of our list—pretty much after one bite! The chicken was amazingly moist and juicy, the broccoli florets cooked just right, and the hot, sour and vinegary peperonicini-garlic topping was a WOW factor!

The chicken for Italian pollo alla diavola, or devil’s-style chicken, usually is spatchcocked and grilled. The name is a reference to cooking the chicken over flames and/or the seasonings that make the bird diabolically spicy.

For this easy weeknight version, Milk Street quick-cooks chicken parts instead of a whole bird, seasons them generously with both red pepper flakes and black pepper, then roasts them on a baking sheet in a very hot oven. The broccoli florets also get tossed onto the baking sheet for a complete one-pan dinner. A simple garlic-lemon pan sauce spiked with peperoncini finishes the dish and adds another layer of piquancy.

We used a whole 4-pound-plus chicken. First because, we both prefer different meat options; and secondly because we like to have the extra parts, neck, back, gizards, ect. for our “body bag” which we store in the freezer until such time we need to make homemade chicken stock again. And a whole chicken is typically cheaper than buying the sum of its parts separately. But, yes it is a bit more work. If you prefer to buy already cut up thighs, and or breasts, by all means, do so.

About that broccoli. Don’t cut the crowns into small florets. Keep them in largish 3-inch pieces so they don’t overcook. The baking sheet will be crowded after the broccoli is added, but both the chicken and broccoli reduce in size during cooking.

Two steps not mentioned in the original directions, but that we think are necessary is to, first, massage the chicken parts with oil so that the rub will adhere to the skin. Second, oil the center of the rimmed baking sheet where the garlic cloves will be, and then drizzle a bit more oil over the cloves.

Chicken alla Diavolo with Broccoli

  • Servings: 4
  • Difficulty: easy
  • Print

Ingredients

  • 1 Tbsp. dried thyme
  • 1¼ tsp. red pepper flakes
  • Kosher salt and ground black pepper
  • 4 12-oz. bone-in, skin-on chicken breasts or 3 pounds bone-in, skin-on chicken thighs, trimmed and patted dry
  • ¼ cup plus Tbsp. extra-virgin olive oil, divided
  • 2 lbs. broccoli crowns, cut into 3-inch florets
  • 8 medium garlic cloves, peeled
  • 1 Tbsp. grated lemon zest, plus lemon wedges to serve
  • ½ cup chopped drained peperonicini
  • ¼ cup lightly packed fresh oregano, chopped

Directions

  1. Heat the oven to 475°F with a rack in the middle position.
  2. In a large bowl, stir together the thyme, pepper flakes and 2 teaspoons each salt and black pepper. Sprinkle 2 tablespoons of the mix onto all sides of the chicken. To the remaining seasoning mix in the bowl, add the ¼ cup oil and the broccoli, then toss to coat.
  3. Place the garlic in the center of a rimmed baking sheet, then arrange the chicken, skin up, around the garlic; this placement helps prevent the garlic from scorching during roasting. Arrange the broccoli in an even layer around the chicken. Roast until the thickest part of the breasts (if using) reaches 160°F and the thickest part of the thighs (if using) reaches 175°F, about 30 minutes.
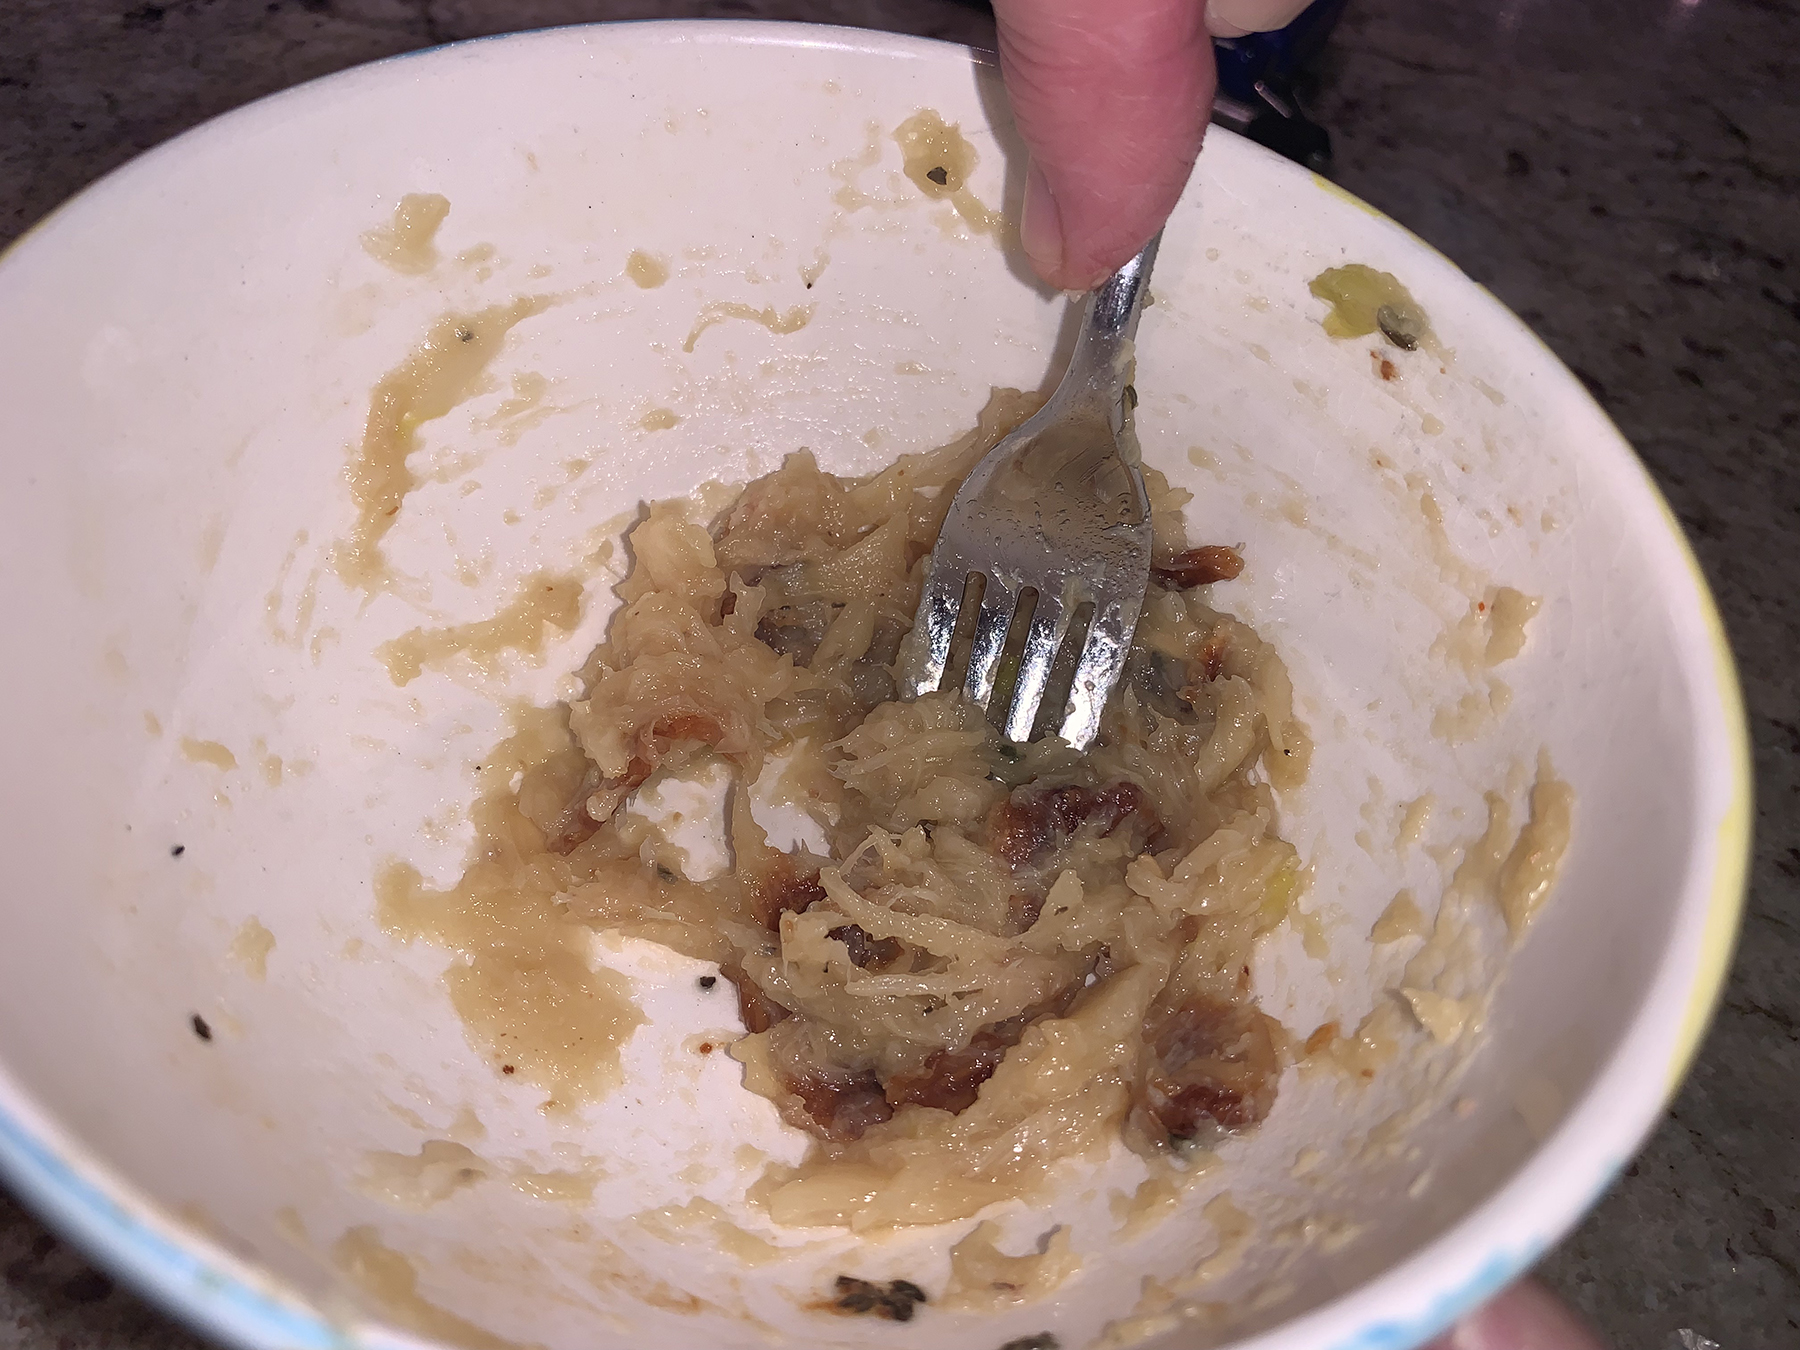
  4. Using tongs, transfer the chicken and broccoli to a serving platter. Transfer the garlic to a medium bowl and, using a fork, mash to a rough paste.
  5. Carefully pour ¼ cup water onto the baking sheet and scrape up any browned bits. Pour the pan juices over the garlic and add the lemon zest and peperoncini, then whisk in the remaining 2 tablespoons oil. Taste and season with salt and pepper.
  6. Pour the sauce over the chicken and broccoli, then sprinkle with oregano. Serve with lemon wedges.

http://www.lynnandruss.com

Recipe by Rose Hattabaugh for Milk Street

Pan-Seared Salmon With Miso Rice and Ginger-Scallion Vinaigrette

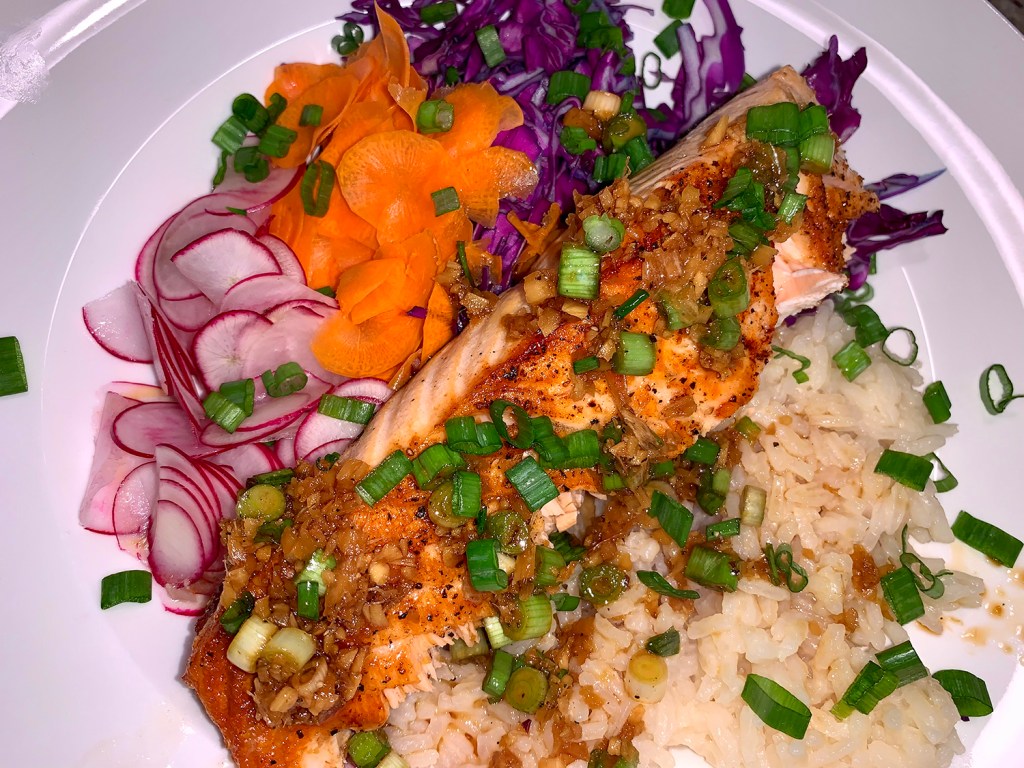
This simple weeknight meal makes great use of pantry staples to create complex flavors with minimal work. Miso is often used to flavor soups or sauces, and here, it is added to raw rice before cooking, which results in a delightfully sticky, savory steamed rice. Fragrant and nutty basmati is called for, but any long-grain rice, such as jasmine (which we used), will work.

Shredded cabbage brings freshness and crunch to the finished dish, but use whatever crispy vegetable you have on hand such as shredded Brussels sprouts, carrots, snap peas, and/or radishes. We had leftover red cabbage, so we used that along with shredded carrots and radishes providing wonderful pops of color!

If possible, use a hand mandoline to get paper thin carrot and radish slices. And if you desire a heftier meal, add some canned chickpeas, white beans or black beans, although neither of us thought it would be necessary.

To finish, the vibrant tang of the bright ginger-scallion vinaigrette balances the richness of the roasted salmon, which we cooked only a pound for the two of us. But if you make the full 1 1/2 pounds, you may want to consider doubling that scallion vinaigrette.

Probably the biggest change we made to the recipe was how we cooked the fish. Instead of in the oven on a rimmed baking sheet, we used a non-stick skillet, and cooked skin-side down for the first 6 minutes, then carefully turned it over to finish, about another 2 minutes.

Quick, easy, colorful and healthy. What more can you ask for as a weeknight meal?

Pan-Seared Salmon With Miso Rice and Ginger-Scallion Vinaigrette

  • Servings: 4
  • Difficulty: easy
  • Print

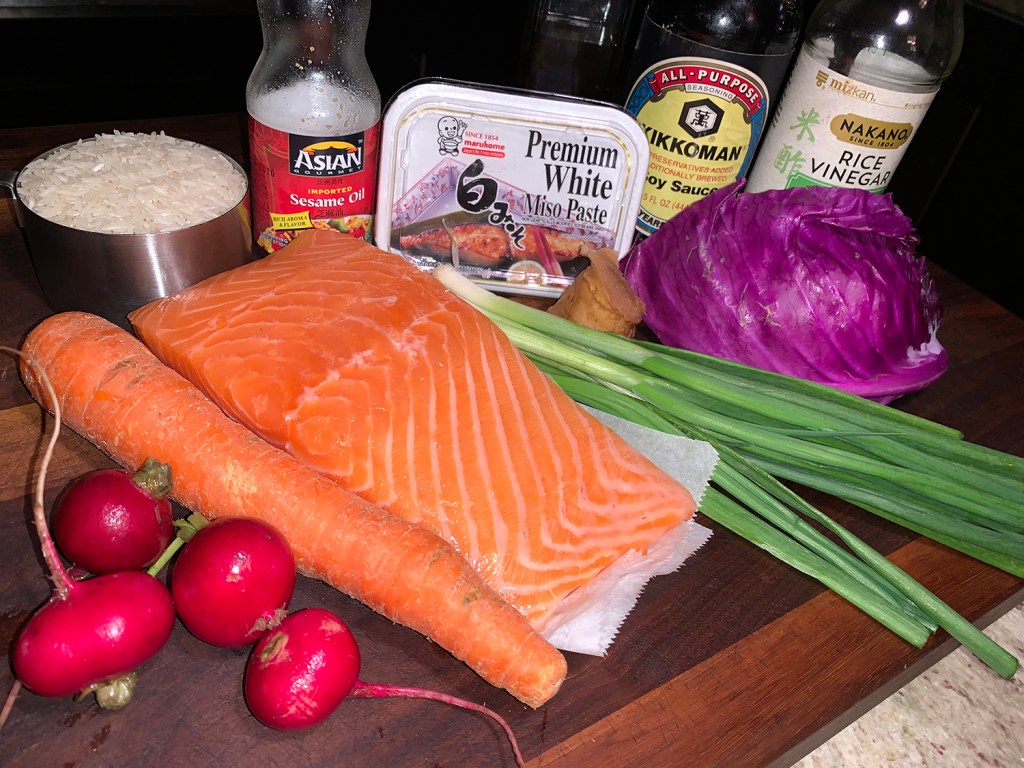
Ingredients

  • 1/4 cup white or sweet miso
  • 1 1/2 cups basmati or other long-grain rice
  • 4 skin-on salmon fillets, (6-ounces each)
  • 2 Tbsp. extra-virgin olive oil
  • Kosher salt and black pepper
  • 1/4 cup low-sodium soy sauce
  • 1/4 cup chopped scallions, plus more for garnish
  • 1 Tbsp. distilled white vinegar or unseasoned rice vinegar
  • 1 Tbsp. minced fresh ginger
  • 4 cups finely shredded cabbage, such as green, Napa or savoy; OR a mix of thinly sliced cruciferous veggies (about 8 ounces)
  • Toasted sesame oil, for serving

Directions

  1. Heat oven to 425 degrees.
  2. In a medium saucepan, whisk miso with 2 1/4 cups water until dissolved. Stir in rice and bring to a boil. Cover, reduce heat to low and cook until all of the liquid is absorbed and rice is tender, about 15 minutes. Remove from heat and let stand for 5 minutes. Fluff rice with a fork (it will be a little sticky).
  3. On a rimmed baking sheet, rub salmon all over with olive oil, season with salt and pepper and arrange skin-side up. Roast until fish is just opaque and cooked to medium, 8 to 10 minutes. OR, in a non-stick skillet over medium-high, sear the salmon skin side down for 6 minutes until golden brown and crisp. Carefully flip over and sear another 2 minutes or so. For medium to medium-rare, aim for 125˚F to 135˚F.
  4. In a small bowl, combine soy sauce, scallions, vinegar and ginger, and season with salt and pepper.
  5. Divide miso rice and cabbage, and other vegetables if using, among bowls. Top with salmon, ginger-scallion vinaigrette and sesame oil.

http://www.lynnandruss.com

Loosely adapted from a recipe by Kay Chun for NY Times Cooking

Autumn in New England

It’s not Autumn, and I’m not in New England, but this cocktail still works on a number of levels. While this may sound like a book or movie title, it’s actually an adult libation we found in our copy of America’s Test Kitchen’s book “How to Cocktail.” They point out that apple and sage are a pairing that taste as if they were always meant to be together, and that’s why this drink works. The piney, slightly astringent notes of the sage are mellowed by the bright sweetness of apples.

A couple of sage leaves are muddled in maple syrup to infuse with herbal flavor. Apple cider’s sweet, slightly fermented flavor adds even more depth, as does the smoky, caramelized bourbon. Keeping with the apple theme, a bit of cider vinegar with its bracing acidity adds another touch of savoriness to balance things out.

Cheers!

Autumn in New England Cocktail

  • Servings: 2 drinks
  • Difficulty: easy
  • Print

Ingredients

  • 6 sage leaves, plus small sprigs for garnish
  • 1 Tbsp. maple syrup
  • 4 oz. bourbon
  • 2 oz. apple cider
  • 1⁄2 oz. cider vinegar

Directions

  • Add sage leaves and syrup to base of cocktail shaker and muddle until fragrant, about 30 seconds.
  • Add bourbon, apple cider, and vinegar, then fill shaker with ice. Shake until just combined and chilled, about 5 seconds
  • Double-strain cocktail into old-fashioned glasses half-filled with ice, or containing one large cube.
  • Garnish with sage sprigs and serve.

http://www.lynnandruss.com

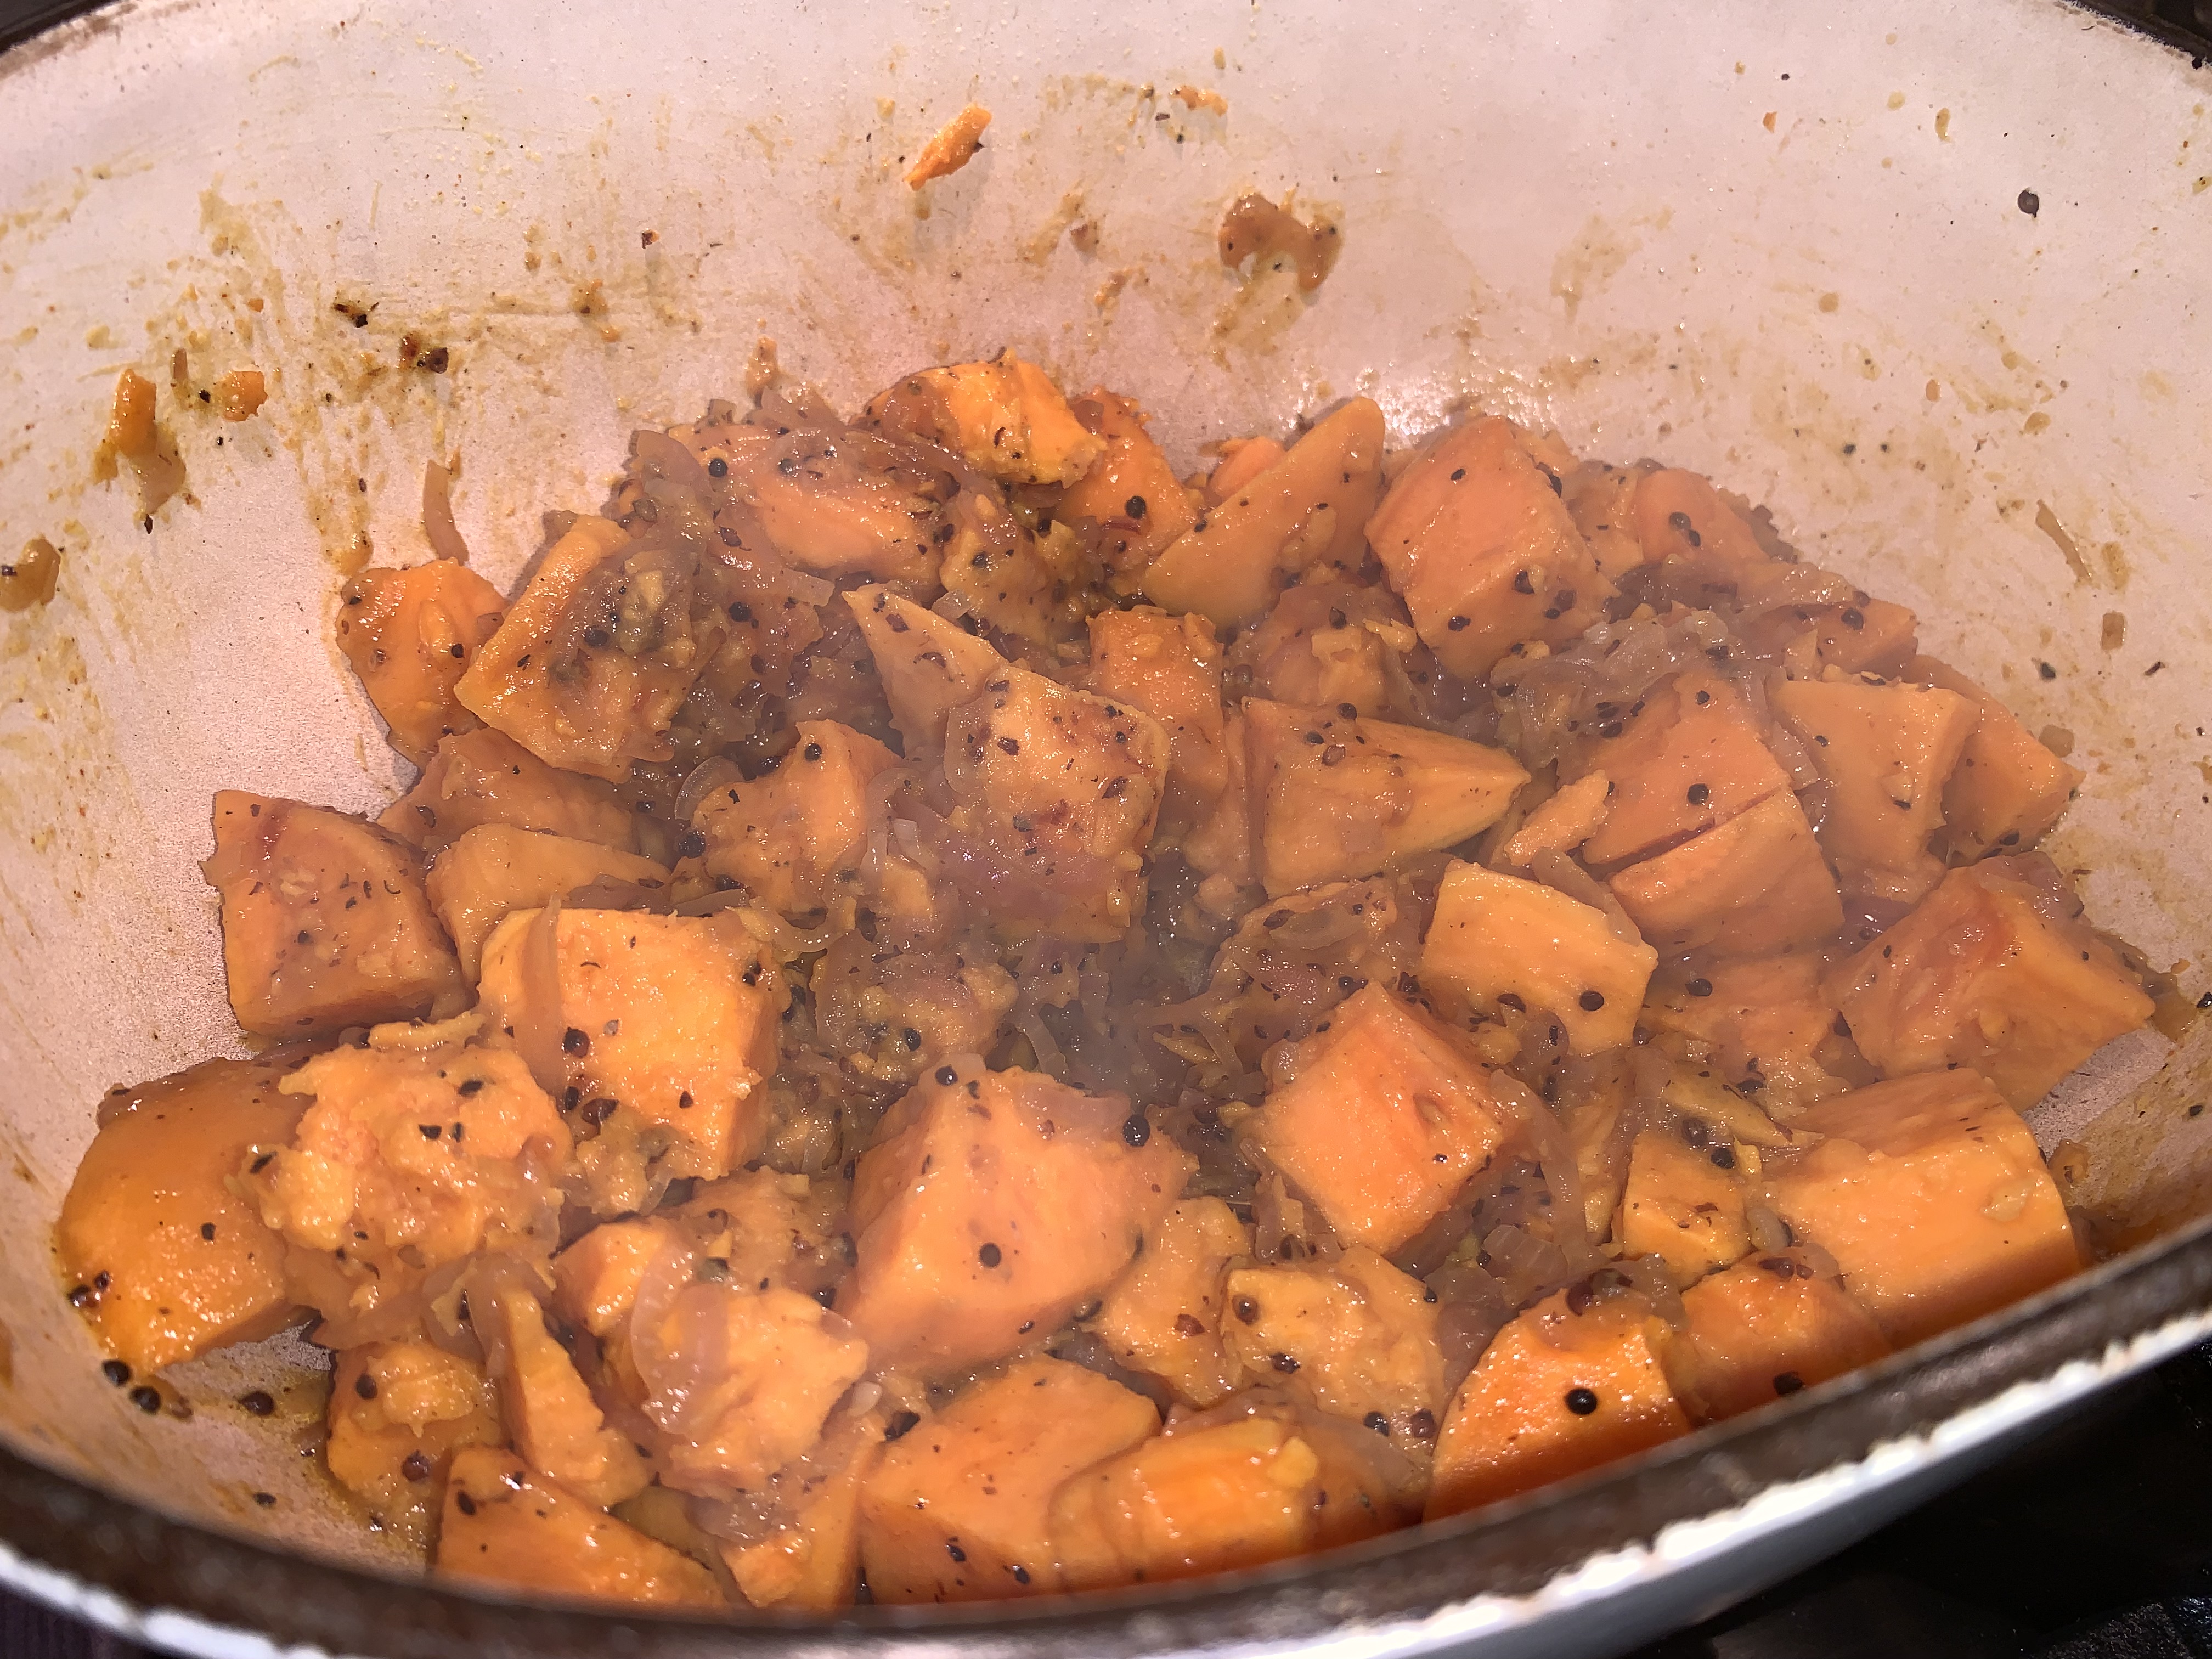
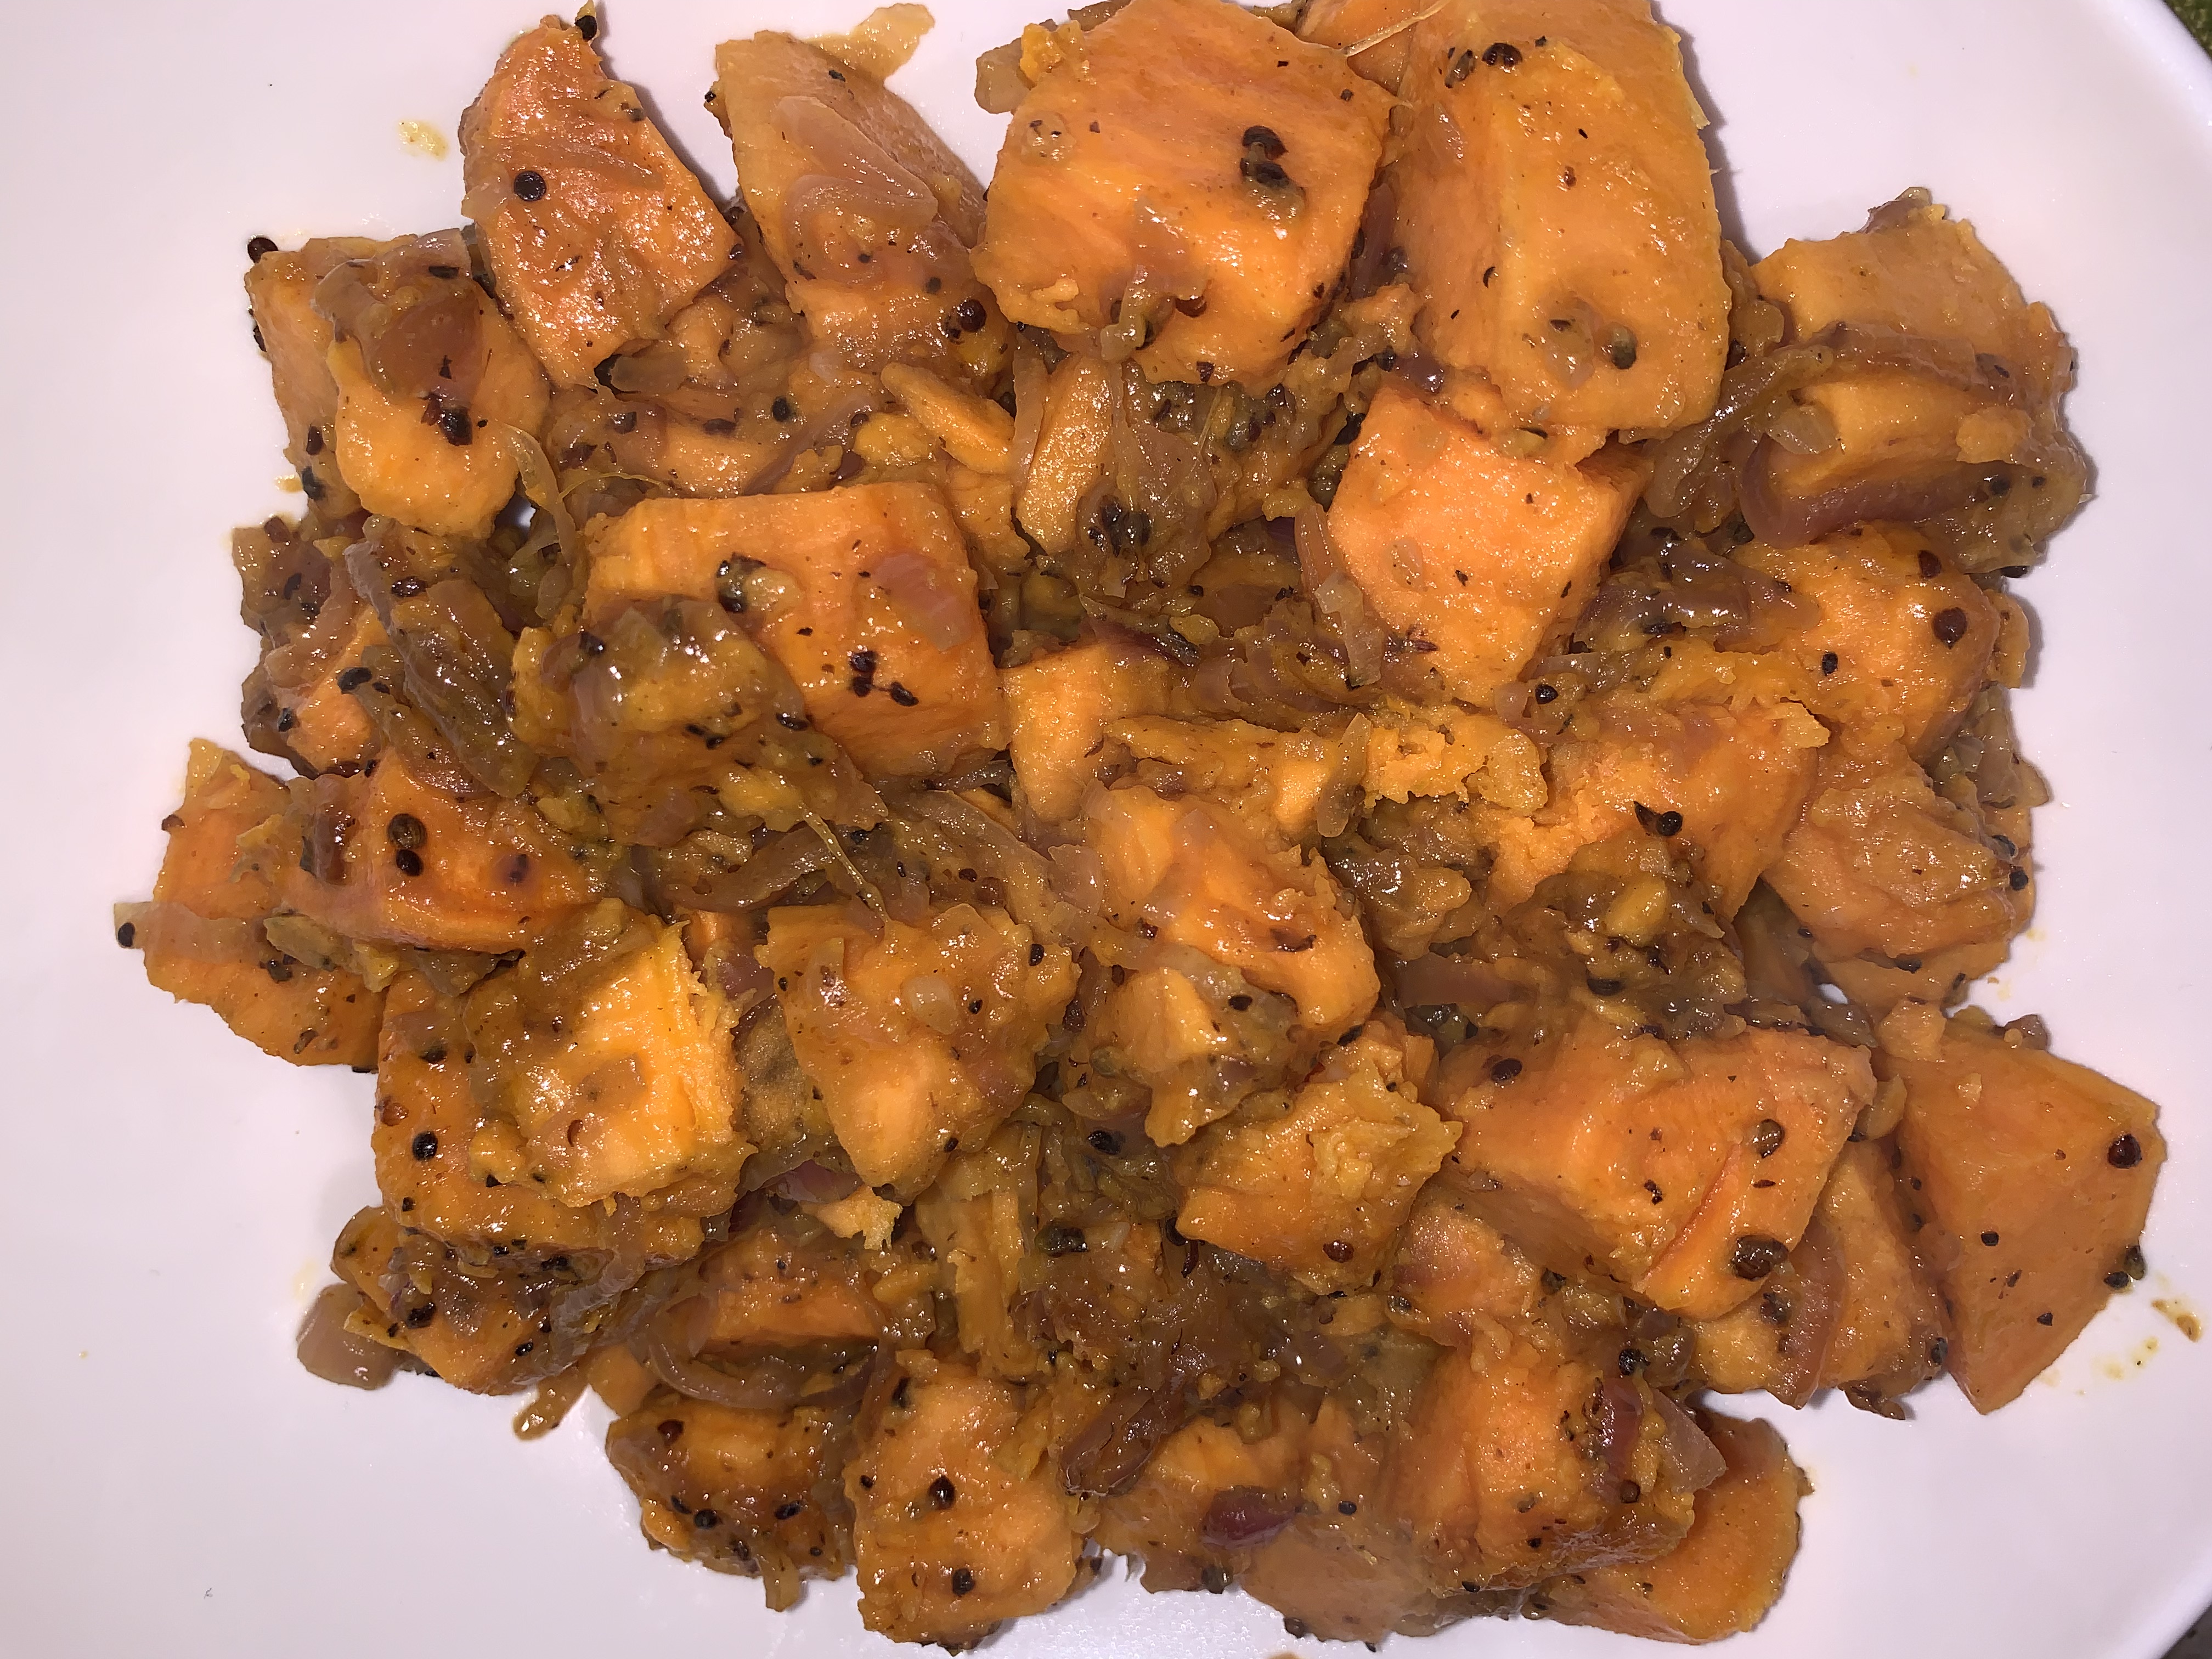
Braised Sweet Potatoes with Coriander and Orange

This colorful side dish features an unusual combination of flavors; the inspiration comes from a recipe in “365,” a cookbook by German food blogger Meike Peters. Earthy sweet potatoes pair well with the subtle citrusy notes of coriander and the fruitiness of orange juice, while savory onion, spicy cayenne and salty olives balance the natural sugars. Although we skipped the olives altogether this time in reference to the rest of the meal.

We love the texture and flavor pop of lightly crushed coriander seeds; a mortar and pestle are the best tools for the task but the bottom of a heavy skillet works, too; OR put them in a small ziploc and mash with a heavy meat club. If you prefer, you can use 1 tablespoon ground coriander in place of the seeds, but it will require less than a minute to bloom in the oil.

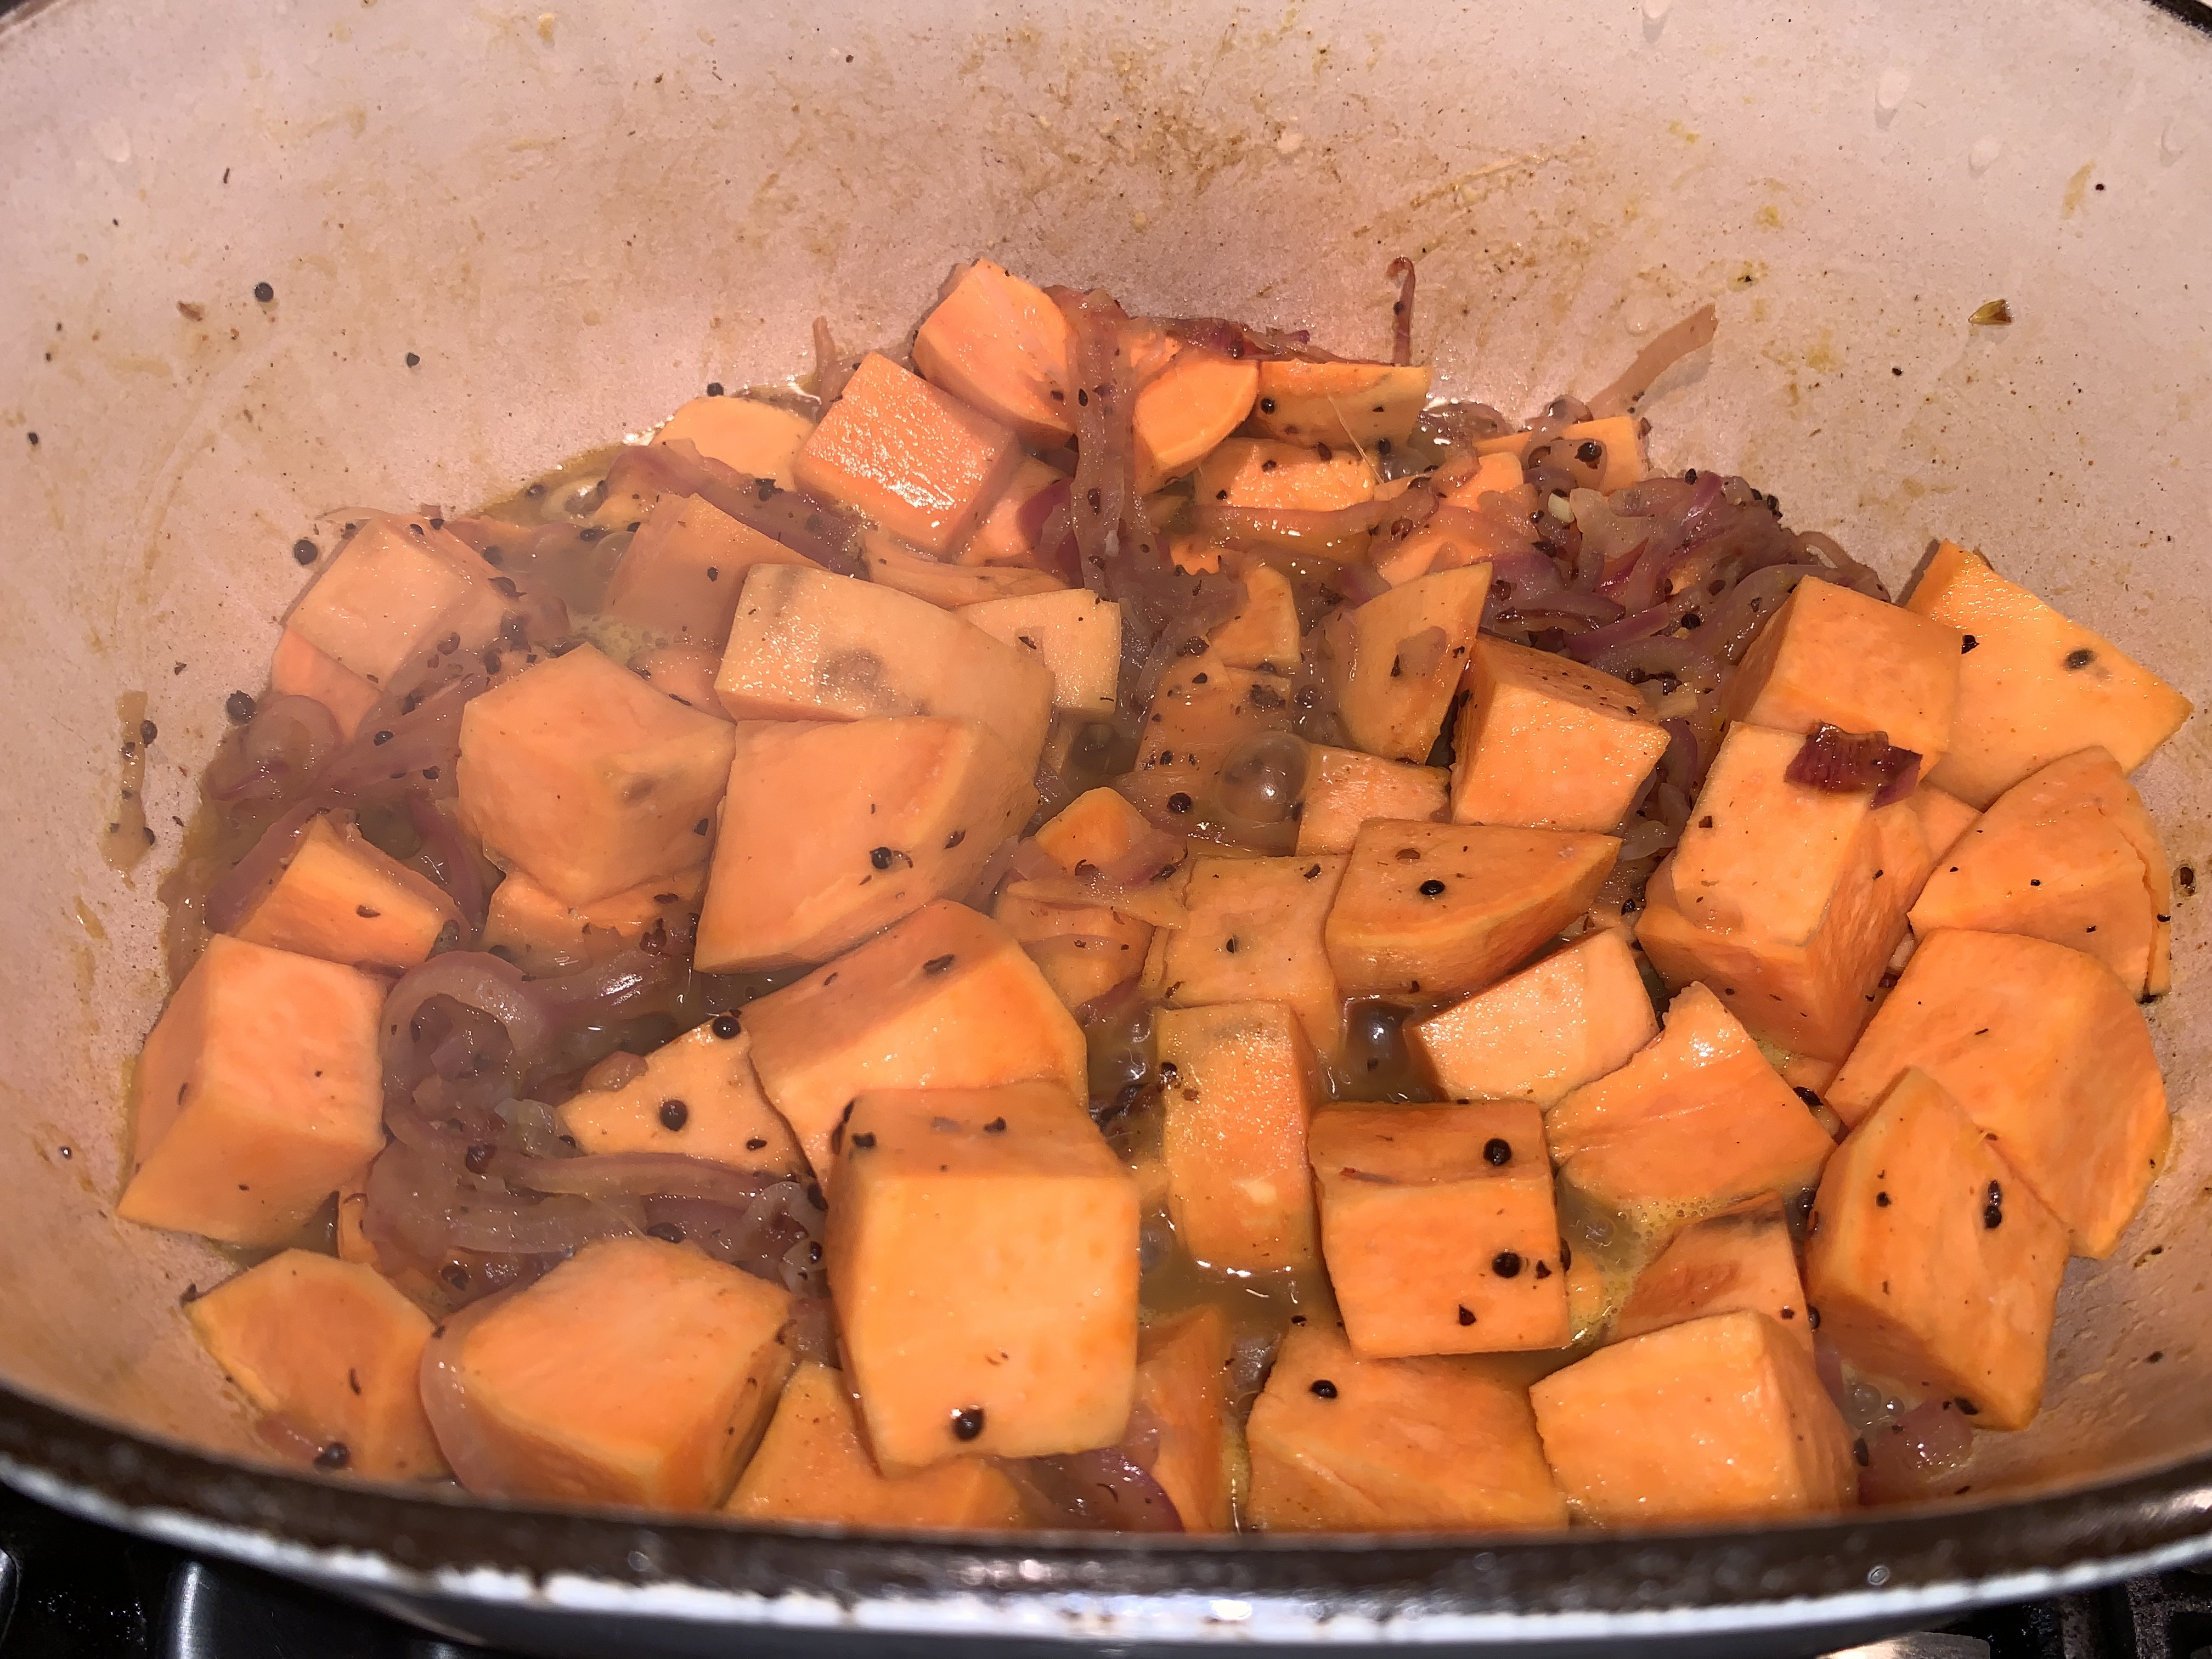
Don’t use a narrow saucepan or pot for this recipe. The wider diameter of a Dutch oven allows the potatoes to be distributed in a thinner layer, which results in more even cooking. If you like sweet potatoes, you’ll LOVE this amped-up version of the colorful spuds.

Braised Sweet Potatoes with Coriander and Orange

  • Servings: 4
  • Difficulty: easy
  • Print

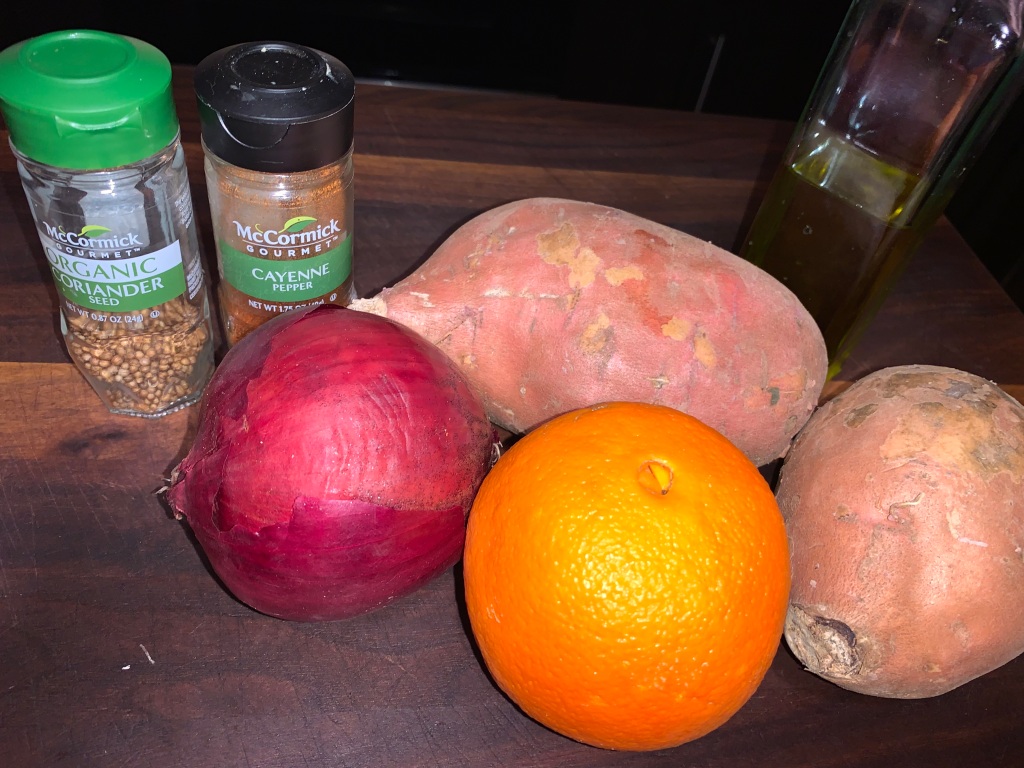
Ingredients

  • 3 Tbsp. extra-virgin olive oil
  • 2 tsp. coriander seeds, lightly crushed
  • 1 medium red onion, peeled, halved and thinly sliced
  • Kosher salt and ground black pepper
  • 2 lbs. orange-flesh sweet potatoes, peeled and cut into 1-inch chunks
  • 2/3 cup orange juice
  • 1/4 tsp. cayenne pepper
  • 1/2 cup black or green pitted olives, or a mixture, chopped (optional)

Directions

  1. In a Dutch oven over medium-high, cook the oil and coriander seeds, stirring, until fragrant and sizzling, 2 to 4 minutes. Add the onion and ¼ teaspoon salt, then cook, stirring occasionally, until the onion is softened and lightly browned, 3 to 5 minutes.
  2. Add the sweet potatoes, orange juice, cayenne, ½ teaspoon salt, ¼ teaspoon pepper and ½ cup water. Bring to a simmer, cover and reduce to medium. Cook, stirring occasionally, until a skewer inserted into the potatoes meets no resistance, 8 to 11 minutes.
  3. Uncover and cook, stirring constantly, until the liquid has almost fully reduced and the potatoes are glazed, about 2 minutes. Off heat, stir in the olives, if using. Taste and season with salt and pepper.

http://www.lynnandruss.com

Recipe by Albert Stumm for Milk Street

Sous Vide Pork Loin Roast with Garlic Herb Rub

This recipe for sous vide pork loin roast with a garlic herb rub produces the juiciest, most flavorful pork roast you’ve ever had! Just 3-5 hours at 140 degrees F for a perfect medium roast.

FYI, if you purchase a roast bigger than 4 pounds, it is recommend you cut it in half to make it easier to work with. You can freeze the other half or vacuum seal them in different bags and cook them together.

As the water bath warms up, the pork loin gets prepped with the garlic rosemary paste and spread all over the meat. The roast is then placed in a vacuum-sealed bag and clipped to the side of the water bath container with the immersion blender.

This table below shows the time pretty much remains the same, but the temp needs to be regulated for your preferred end result. We like ours medium, so when it reached 140° out it came for the final searing treatment. Instead of trusting our not-so-popular broiler, we opted to accomplish the sear in a carbon-steel skillet, making sure to include browning the end caps. A pair of tongs comes in handy to hold the meat steady.

ResultTempTime
Medium Rare130 degrees F3-5 hours
Medium140 degrees F3-5 hours
Medium-Well150 degrees F3-5 hours
Well Done160 degrees F3-5 hours
Our sides included Red Cabbage Glazed with Maple Syrup and Sweet Potatoes with Orange and Coriander

Sous Vide Pork Loin Roast with Garlic Herb Rub

  • Servings: 6-8
  • Difficulty: easy
  • Print

Ingredients

Pork Loin Roast:

  • 3-4 lb. pork loin roast
  • Leaves from 1 sprig rosemary
  • 5 cloves of garlic, peeled
  • 2 tsp. kosher salt
  • 1/2 tsp. freshly cracked black pepper
  • 1/2 tsp. red pepper flakes, optional
  • 1/2 tsp. olive oil, if necessary

Sauce (optional):

  • Liquid from sous vide bag
  • Juice of 1/2 lemon
  • 1 Tbsp. chopped fresh parsley
  • 1/2 tsp. flaked sea salt

Directions

  1. Preheat a water bath to your desired temp with an immersion circulator. 130F for medium rare, 140F for medium, 150F for medium-well, 160F for well done.
  2. Prepare the rub by adding garlic cloves, rosemary, salt, pepper, and red pepper flakes to a food processor (or large mortar and pestle) to make a paste. If it needs to be thinned out a bit, add olive oil and continue to process.
  3. Rub this mixture all over the pork loin roast.
  4. Vacuum seal the pork loin roast, or use another air removal method if desired.
  5. Add to water bath and cook for 3-5 hours.
  6. When the roast is done, preheat a large cast-iron or carbon steel skillet. Remove the roast from the water bath and the bag, saving the liquid, and place roast in the skillet. Sear for several minutes on all sides, including the ends, until deeply golden brown.
  7. In a bowl, whisk together the liquid from the bag, lemon juice, parsley, and flaked sea salt.
  8. Slice the pork roast into thick slices and serve with sauce.

http://www.lynnandruss.com

Adapted from a recipe by Chelsea Cole

Roast Chicken with Couscous, Roasted Red Peppers and Basil

No fuss, no muss—perfect dinner for us. Every now and again (or perhaps all of the time), you want a quick, simple, yet satisfying meal. If that meal is a golden-brown, juicy, and tender roast chicken, then this recipe from Cook’s Illustrated (CI) is the ticket.

In a different twist, CI instructs to trim off excess skin and fat from the cavity and cut small slits in the skin above and below the thigh. Cutting these slits allows the juices to drain from the chicken into the skillet, where they brown, concentrate, and develop more flavor. Prior to roasting, the skin is brushed with melted butter instead of oil to facilitate browning.

Roasting the chicken breast side up in a preheated skillet set in a 400-degree oven helps the legs finish cooking at the same time as the breast. When the breast registers 150 to 155 degrees, remove the chicken from the oven and let it rest, tented with foil, for 15 minutes on a moated cutting board so that it can gently rise to the serving temperature of 160 degrees.

Even though our chicken weighed in at 5 pounds, it took only an additional 5 minutes to come to temp. While the bird rests, use the umami-rich jus as a base for cooking an ultra-flavorful side dish of couscous with roasted red peppers.

NOTE: This recipe was developed with Diamond Crystal Kosher Salt; if using Morton Kosher Salt, which is denser, decrease the amount for the chicken to 1¾ teaspoons and the amount for the couscous to ¼ teaspoon.

Roast Chicken with Couscous, Roasted Red Peppers and Basil

  • Servings: 4
  • Difficulty: easy
  • Print

Ingredients

  • 1 Tbsp. kosher salt, divided
  • ½ tsp. pepper1 (4-lb.) whole chicken, giblets discarded
  • 1 Tbsp. unsalted butter, melted
  • 2 Tbsp. vegetable oil
  • 4 garlic cloves, sliced thin
  • ¾ cup couscous
  • ½ cup water, more or less*
  • 5 tsp. red wine vinegar
  • ¾ cup jarred roasted red peppers, chopped fine
  • 2 Tbsp. chopped fresh basil

Directions

  1. Adjust oven rack to middle position and heat oven to 400 degrees.
  2. Stir 2½ teaspoons salt and pepper together in small bowl. Place chicken breast side up on cutting board. Using kitchen shears, thoroughly trim excess fat and skin from cavity. Lift 1 drumstick and use paring knife to cut ½-inch slit in skin where drumstick and thigh meet. Turn chicken on side so breast faces edge of counter. Cut ½-inch slit in skin where top of thigh meets breast. Repeat both cuts on opposite side of chicken. Tuck wingtips behind back. Sprinkle about one-third of salt mixture into cavity.
  3. Brush top and sides of chicken with melted butter. Sprinkle remaining salt mixture evenly over all sides of chicken.
  4. Heat oil in 12-inch skillet over medium-high heat until shimmering. Place chicken breast side up in skillet; transfer to oven; and roast until thickest part of breast registers 150 to 155 degrees, 1 hour to 1 hour 10 minutes, rotating skillet halfway through roasting.
  5. Lift the chicken cavity side down to drain the juices from the bird into the skillet. Transfer chicken to a moated carving board and let rest, tented with foil, for 15 minutes (chicken temperature will continue to rise as it rests).
  6. Meanwhile, pour pan juices into fat separator. Add 1 tablespoon fat to now-empty skillet. Add garlic and cook over medium-low heat, stirring occasionally, until garlic is pale golden brown, about 3 minutes.
  7. Add couscous and stir until well combined. Stir in all defatted pan juices with *enough water to equal one cup, vinegar, and remaining ½ teaspoon salt and bring to simmer. Spread red peppers in even layer over couscous; turn off heat; cover; and let sit until couscous is just tender and all liquid is absorbed, about 10 minutes.
  8. Carve chicken and transfer to platter. Pour any accumulated juices over the poultry pieces.
  9. Fluff couscous, stir in basil, season with salt to taste, and transfer to bowl. Serve chicken with couscous.

http://www.lynnandruss.com

Adapted from a recipe by Cooks Illustrated

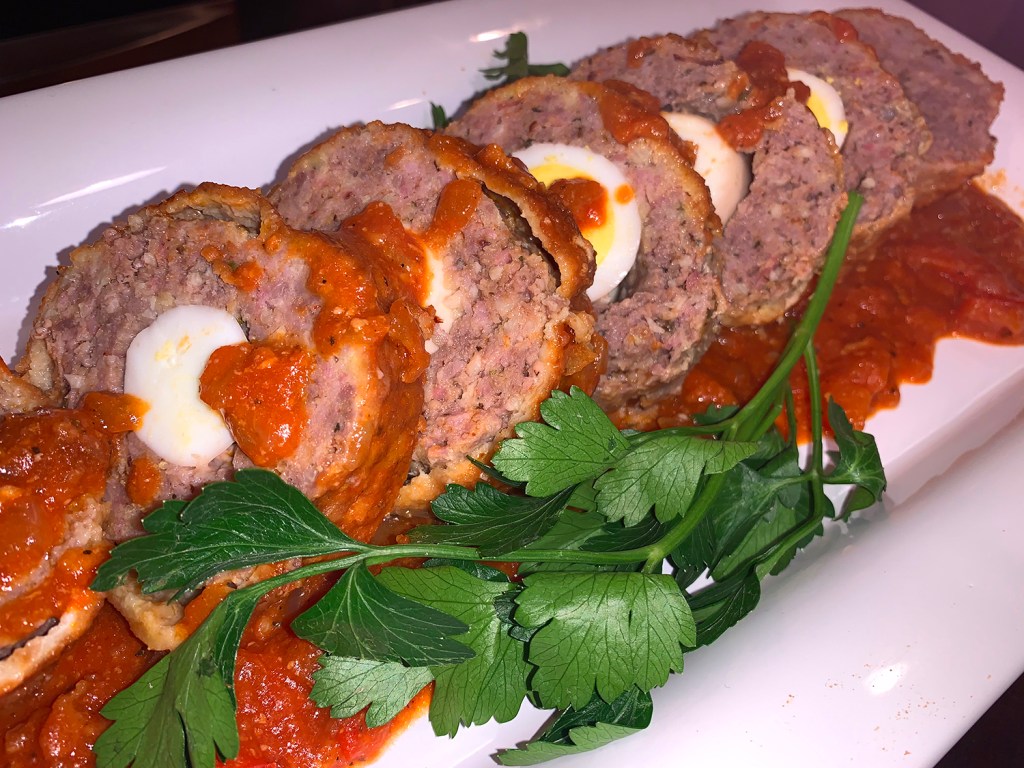
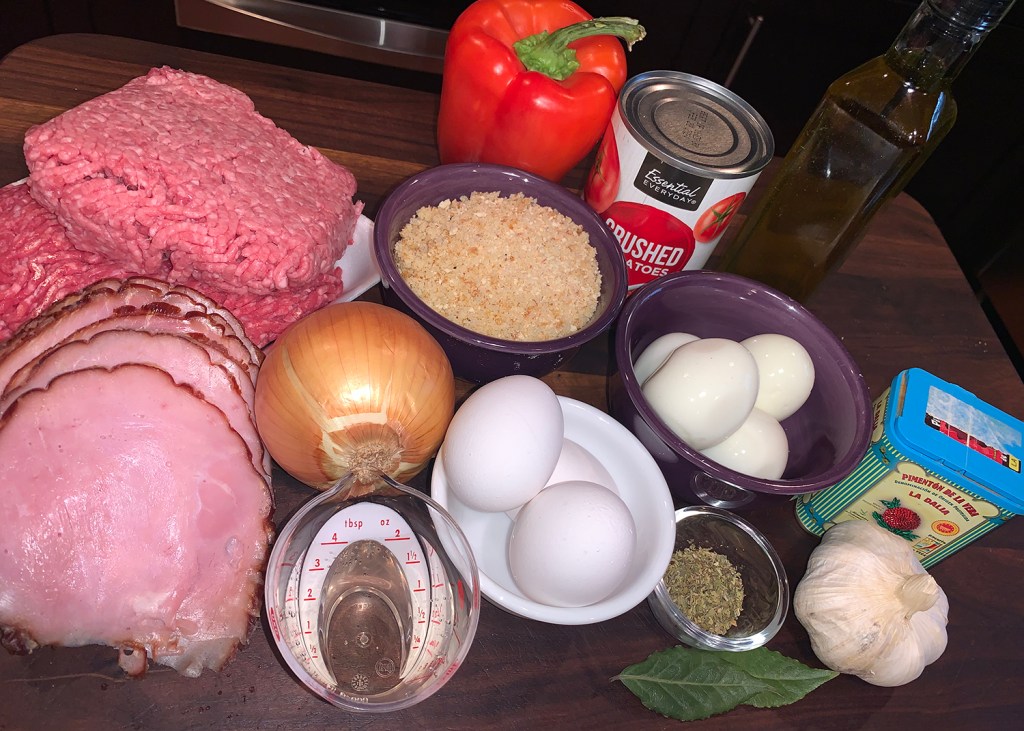
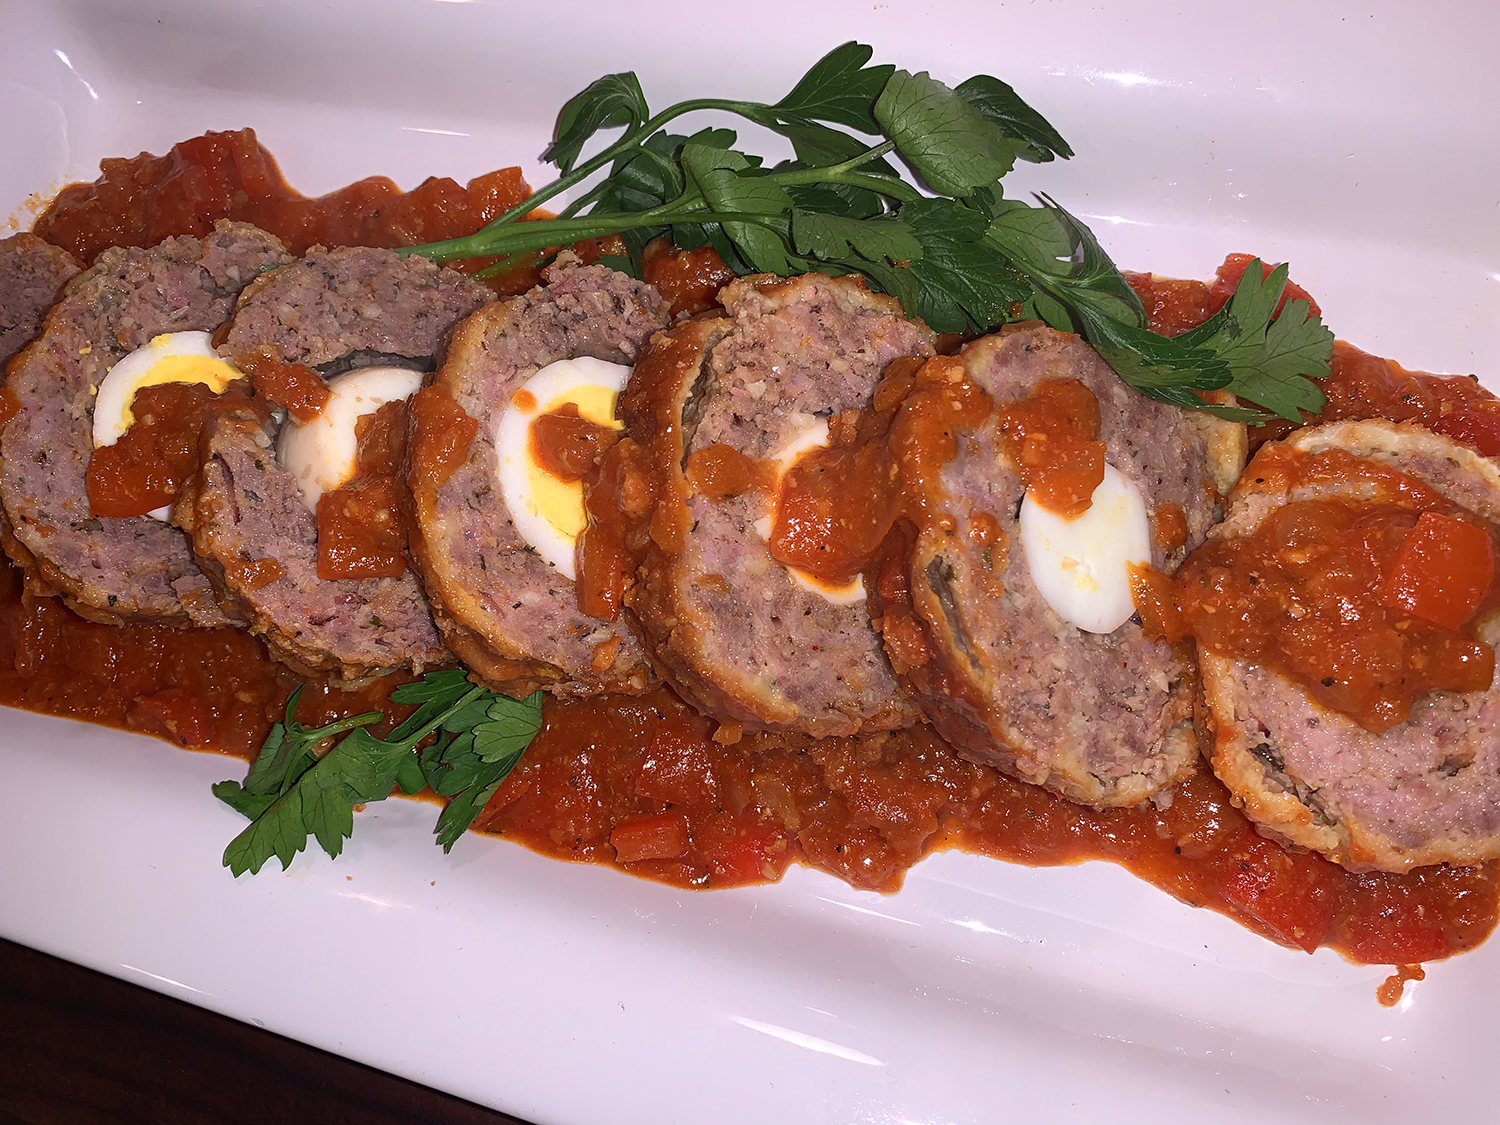
Cuban-Style Egg-Stuffed Meatloaf

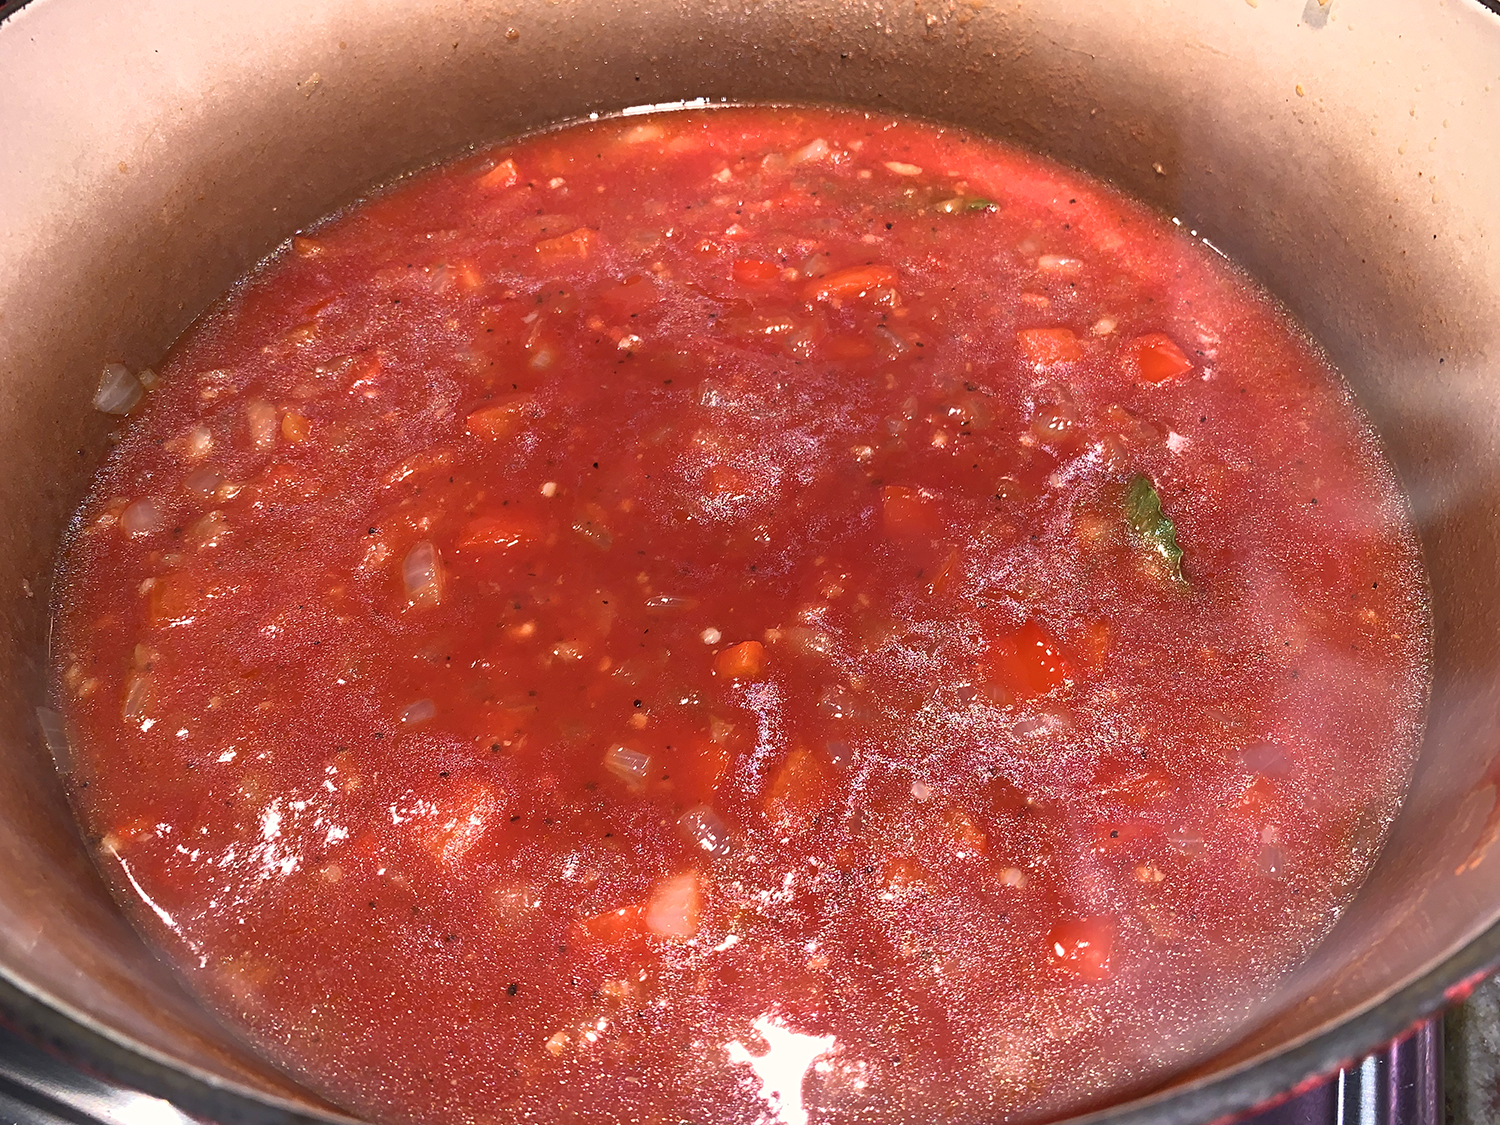
This pure comfort food, with unique qualities from the Spanish, Caribbean and African influences is Pulpeta meatloaf, Cuban style—stovetop-easy and hides a savory surprise. It’s loaded with classic Cuban flavors, starting with a sofrito-like base of sautéed onion, bell pepper and garlic. Smoked paprika and cumin add depth, while oregano and bay leaf bring herbal notes. And the acidity from white wine and crushed tomatoes balances the savoriness of the meat.

According to Milk Street where we sourced this recipe, it provides a couple of good stopping points for make-ahead convenience. The loaves can be shaped and then refrigerated for up to 24 hours. Or the loaves can be fully cooked, cooled in the sauce and refrigerated in the pot for up to three days; set the pot over medium-low for about 20 minutes, occasionally turning the loaves, to gently rewarm. 

I made the hard boiled eggs a day prior; and formed the meatloaves in the morning, wrapped and refrigerated them for 8 hours until I was ready to start cooking in the evening.

Breaded, browned, then braised in a garlicky, wine-brightened tomato sauce, and flavored with smoked paprika and bay, the well-seasoned loaf hides hard-cooked eggs at the center. As you can see at a glance, it definitely requires more work to prepare than American meatloaf. But if you have an afternoon to spare, you won’t be disappointed.

TIP: Don’t be afraid to firmly compact the meat mixture around the eggs when forming the loaves so there aren’t any gaps between the eggs and meat. This will help the loaves hold together during breading, cooking and slicing. Also, be sure to turn the loaves at least once during simmering and stir the sauce as it reduces to ensure there’s no scorching on the bottom of the pot.

Cuban-Style Egg-Stuffed Meatloaf, Pulpeta

  • Servings: 6
  • Difficulty: moderate
  • Print

Ingredients

  • 4 oz. (1 sleeve) saltine crackers
  • 10 medium garlic cloves, 6 smashed and peeled, 4 minced
  • 4 oz. thinly sliced ham, roughly torn or chopped
  • 7 large eggs, 3 raw, 4 hard-cooked and peeled
  • 1 lb. 80 percent lean ground beef
  • 8 oz.s ground pork
  • 2 tsp. smoked paprika, divided
  • 1 tsp. dried oregano
  • Kosher salt and ground black pepper
  • 2 Tbsp. plus ¼ cup extra-virgin olive oil, divided
  • 1 medium yellow onion, finely chopped
  • 1 medium green or red bell pepper, stemmed, seeded and chopped
  • 2 bay leaves
  • 1 cup dry white wine
  • 14 1/2 oz. can crushed tomatoes (1 ⅔ cups)
  • 1 cup water

Directions

  1. In a food processor, pulse the crackers until broken down into a mix of fine and flaky crumbs, 10 to 14 pulses. Transfer to a pie plate (you should have about 1¼ cups); set aside. To the food processor, add the smashed garlic and the ham; pulse until finely chopped, about 4 pulses. Add 2 of the raw eggs; pulse a few times to combine. Transfer the mixture to a large bowl.
  2. To the ham-egg mixture, add the ground beef and pork, 1½ teaspoons of the paprika, the oregano, ⅓ cup of the cracker crumbs, 2 teaspoons salt and 1 teaspoon pepper. Using your hands, mix until the ingredients are thoroughly combined.
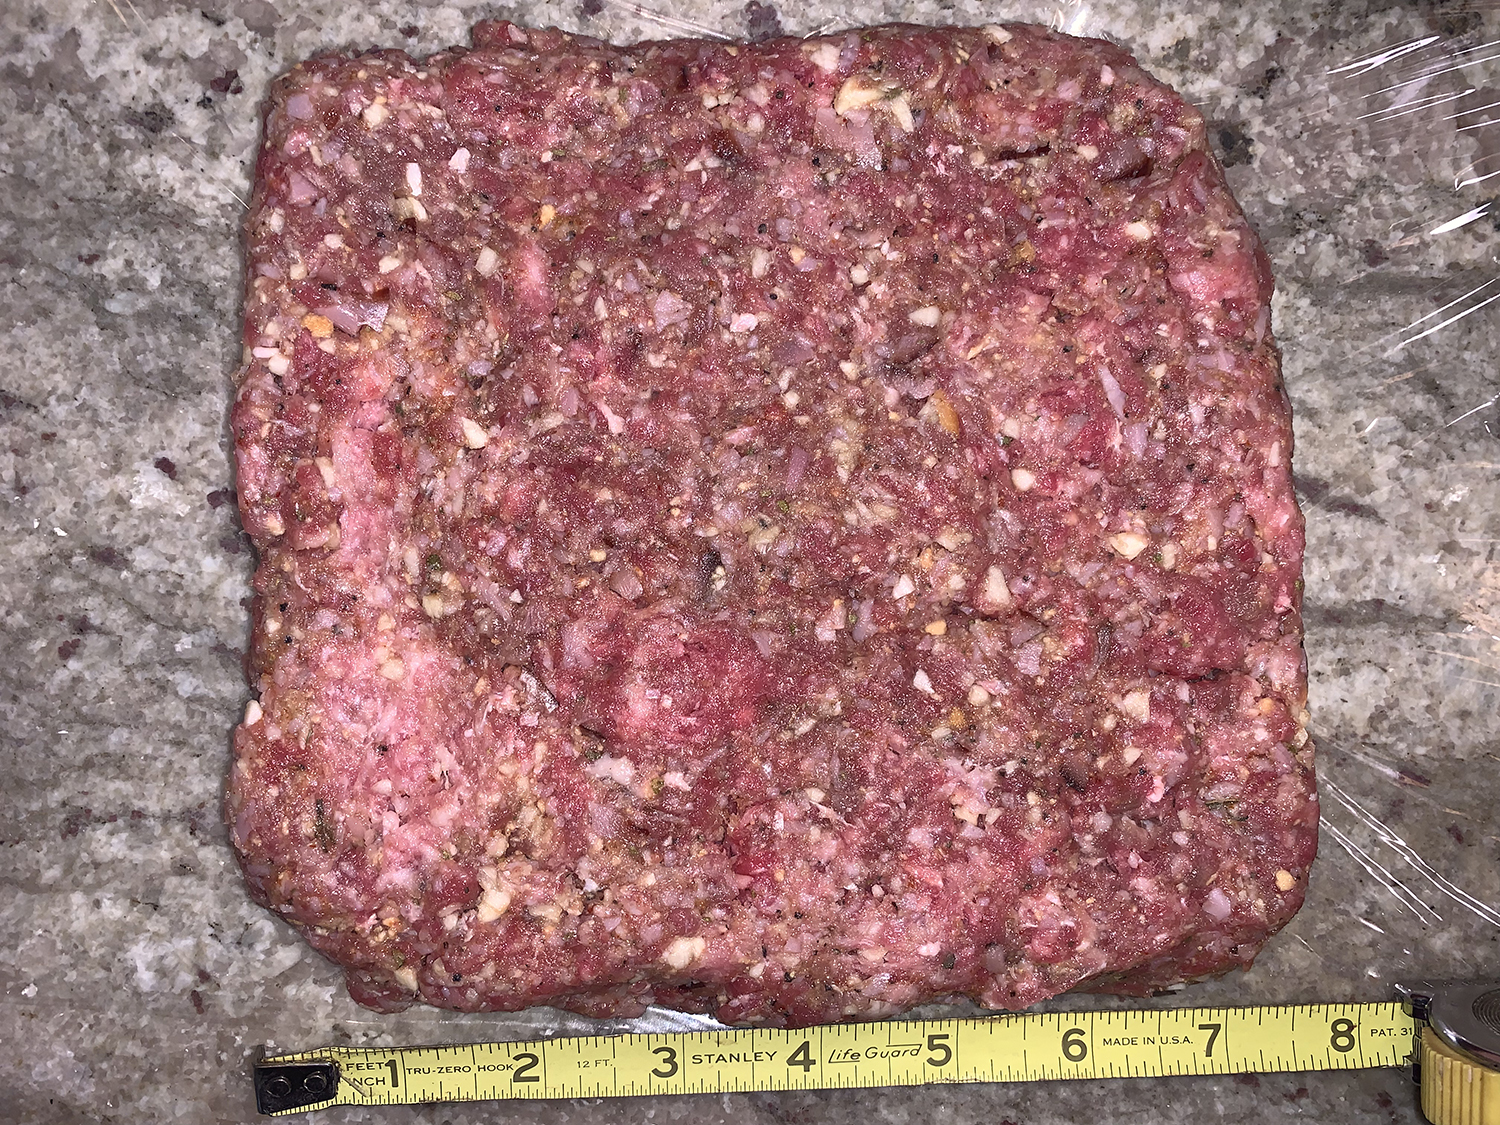
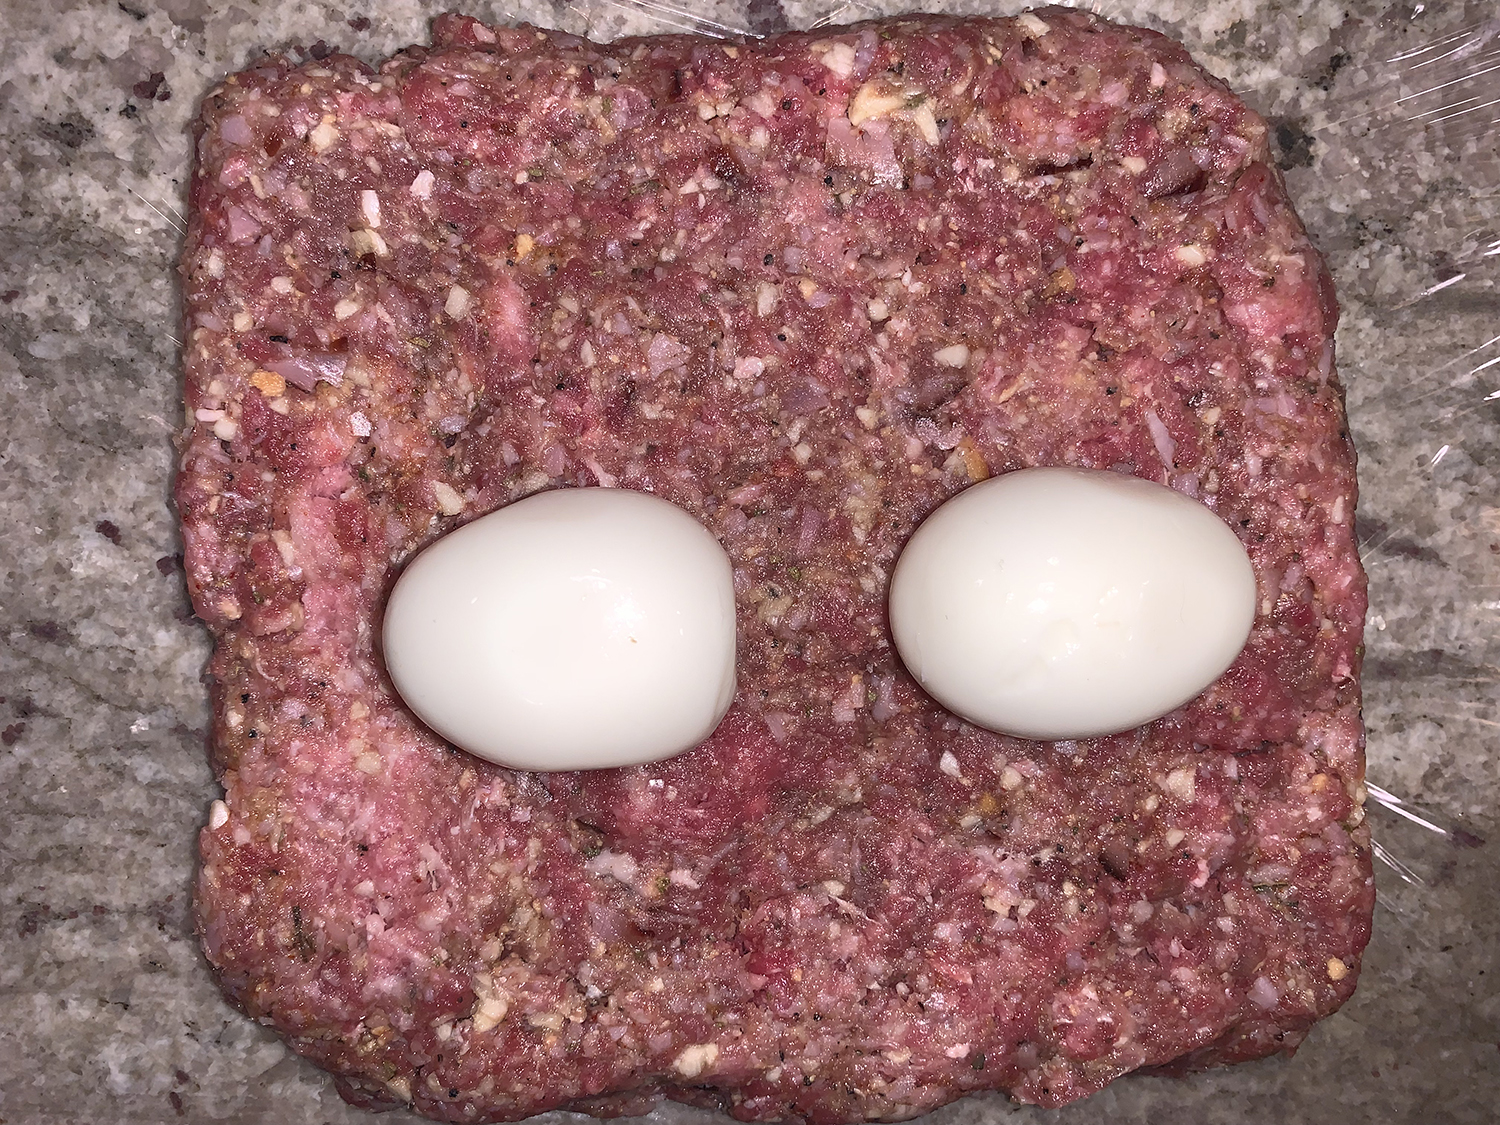
  3. Lay a 12-inch square of plastic wrap on the counter. Place half of the meat mixture in the center. Using your hands, press the mixture into a rough 7-inch square. Place 2 of the hard-cooked eggs lengthwise along the center, then bring the sides of the meat mixture up to fully enclose the eggs and form the meat mixture into a cylinder about 5 inches long and 3 inches in diameter; compact the meat mixture with your hands to ensure there are no gaps around the eggs.
  4. Lift the end of the plastic nearest you up and over the cylinder and wrap it securely, then, without applying pressure, roll away from you to fully and tightly enclose the cylinder in plastic.
  5. Twist the ends of the plastic to seal. Using another 12-inch square of plastic wrap, form the remaining meat mixture in the same way, enclosing the remaining 2 hard-cooked eggs inside. Set both cylinders on a large, flat plate or tray and refrigerate for at least 1 hour or up to 24 hours.
  6.  When you are ready to cook the meat loaves, in a large Dutch oven over medium, heat the 2 tablespoons oil until shimmering. Add the onion, bell pepper, bay, minced garlic, remaining ½ teaspoon paprika, ¾ teaspoon salt and ½ teaspoon pepper. Cook, stirring often, until the vegetables are softened, 8 to 11 minutes. Add the wine, bring to a simmer and cook, stirring, until the alcohol evaporates, about 2 minutes. Stir in the tomatoes and 1 cup water; bring to a simmer, then cover and set aside while you bread and brown the loaves.
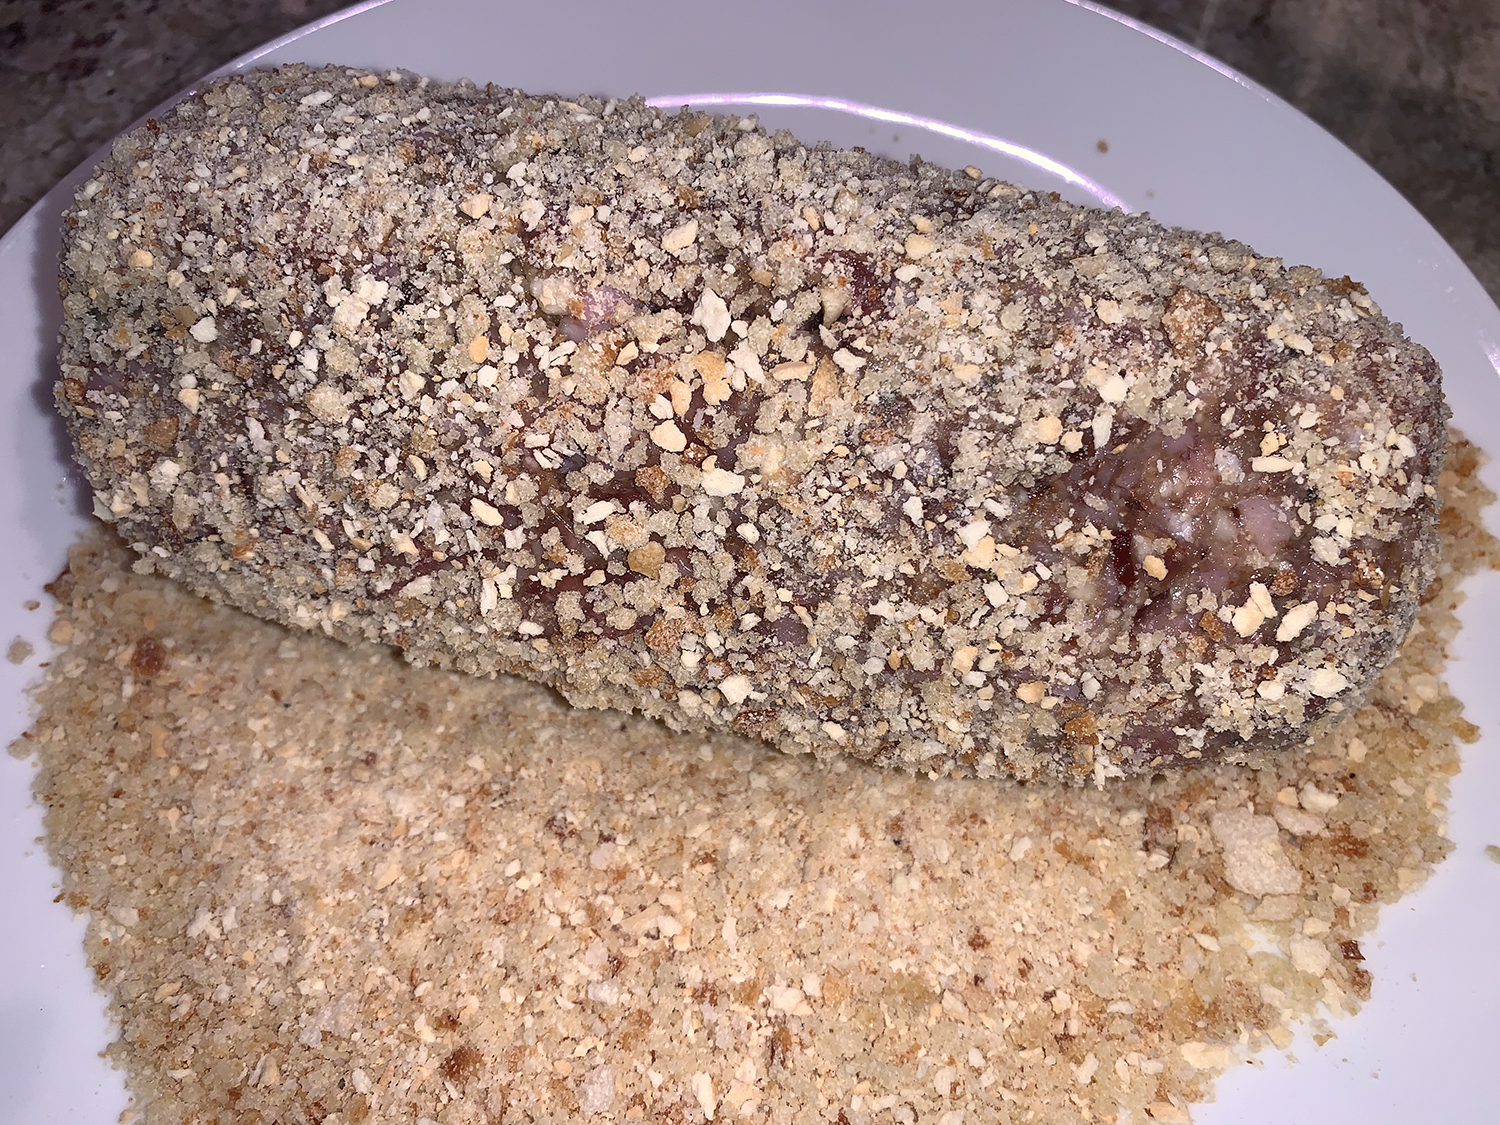
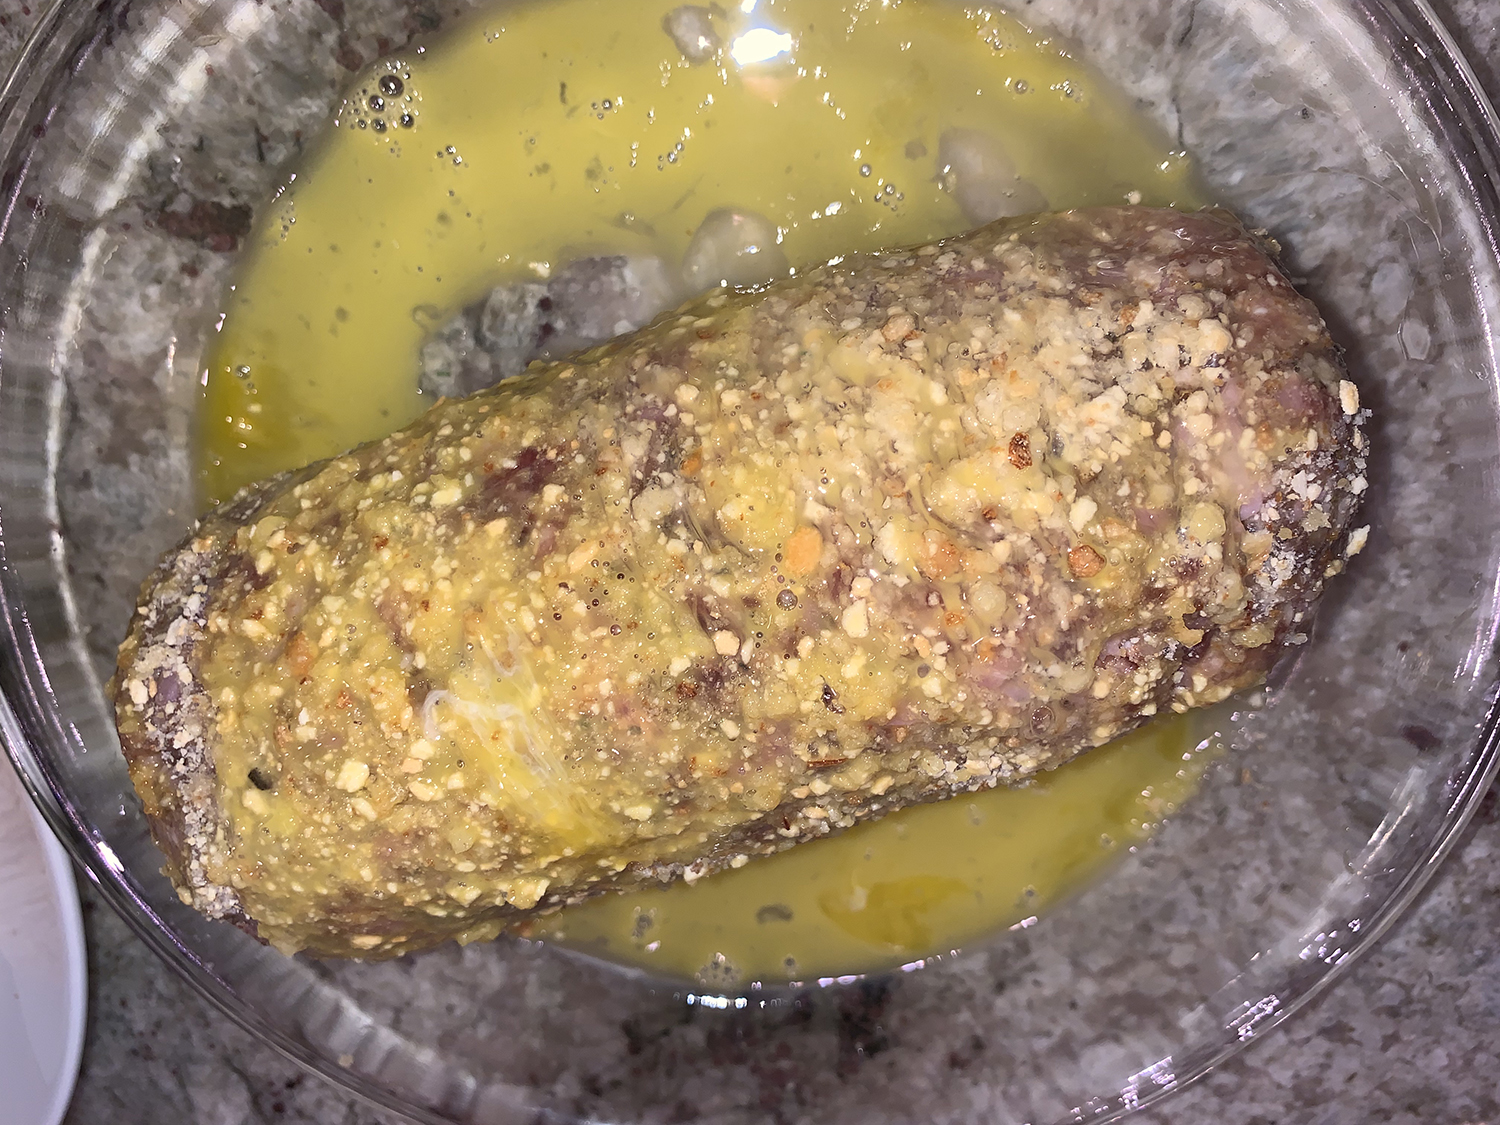
  7. Have ready the cracker crumbs in the pie plate. In another pie plate or similar dish, beat the remaining raw egg with a fork. Unwrap the meat loaves. Place 1 loaf in the cracker crumbs and carefully turn to coat on all sides. Transfer to the beaten egg and turn to coat, then coat again with cracker crumbs, gently pressing to adhere. Return the breaded loaf to the plate. Bread the second loaf in the same way.
  8. Return the sauce, covered, to a simmer over low. In a 12-inch skillet over medium-high, heat the ¼ cup oil until shimmering. Add the loaves and cook, carefully rotating them with a wide metal spatula about every minute, until golden brown all around, about 5 minutes total; reduce the heat as needed if the loaves are browning too quickly. Using the spatula and tongs, transfer the loaves from the skillet to the Dutch oven, nestling them into the sauce and spooning some sauce over the top. Cover, bring to a simmer over medium-low and cook for 15 minutes.
  9. Carefully turn the loaves in the sauce, re-cover and cook, stirring occasionally and reducing to low as the sauce thickens, until the center of each loaf reaches 160°F, another 10 to 15 minutes. (Ours took a total of 25 minutes more after turning to come to 160°.) Remove the pot from the heat, uncover and let rest for about 10 minutes.
  10. Transfer the loaves to a cutting board. Remove and discard the bay from the sauce. If the sauce is thin, bring to a simmer over medium and cook, stirring often, until slightly thickened, 2 to 4 minutes. Taste and season with salt and pepper. Cut the loaves into 1-inch slices. Spoon some sauce onto a serving platter, place the slices on top and serve with the remaining sauce on the side.

http://www.lynnandruss.com

By Courtney Hill for Milk Street

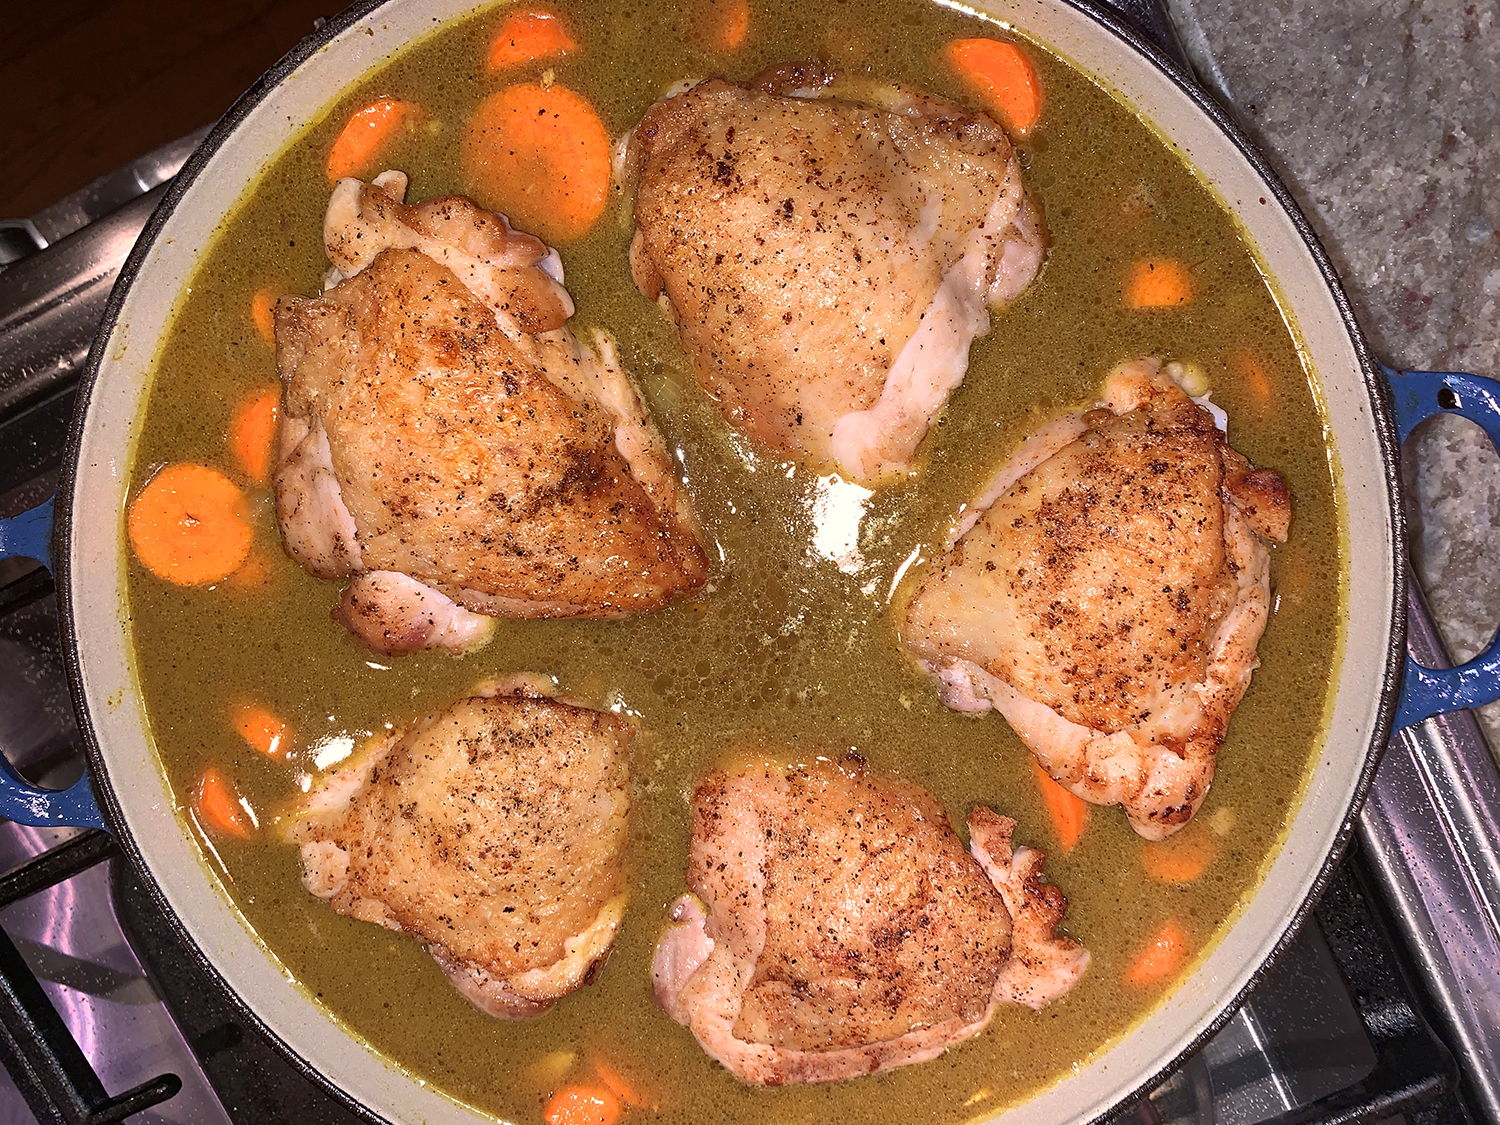
One-Pot Japanese Curry Chicken and Rice

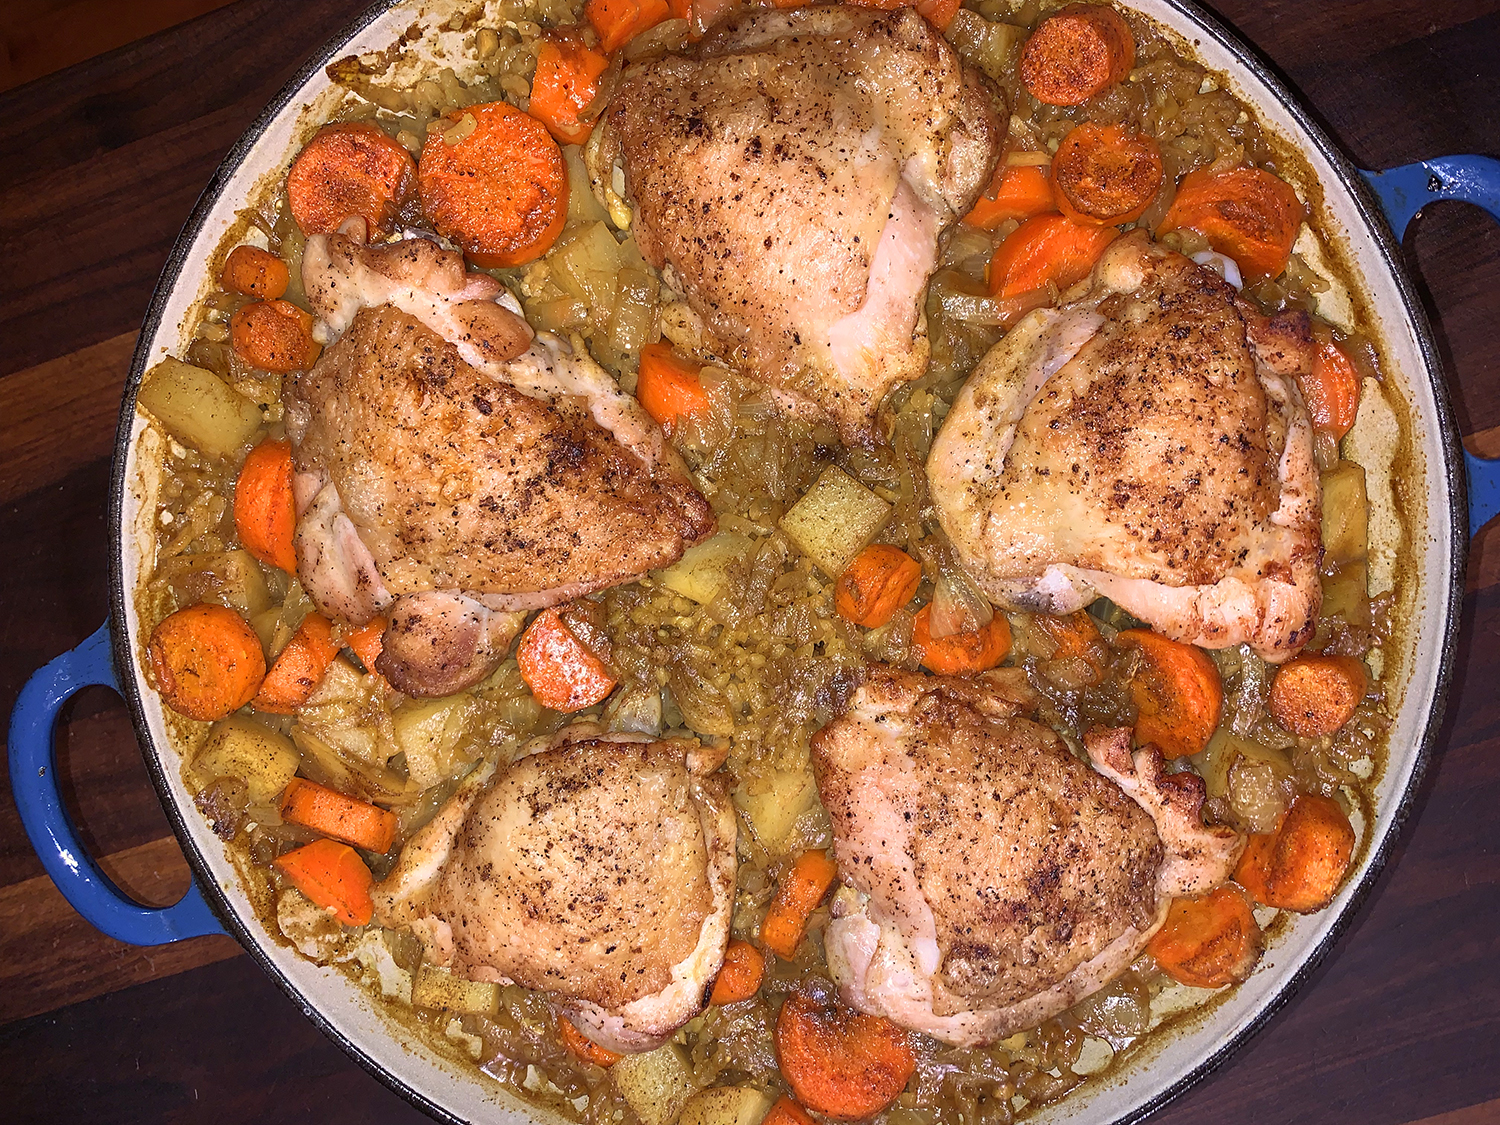
An easy weeknight version of Indian curry, this Japanese-riff is a one-pot meal featuring juicy chicken thighs, vegetables and rice. Instead of relying on store-bought or homemade instant curry roux, the recipe builds on a few spices to mimic traditional Japanese curry flavors.

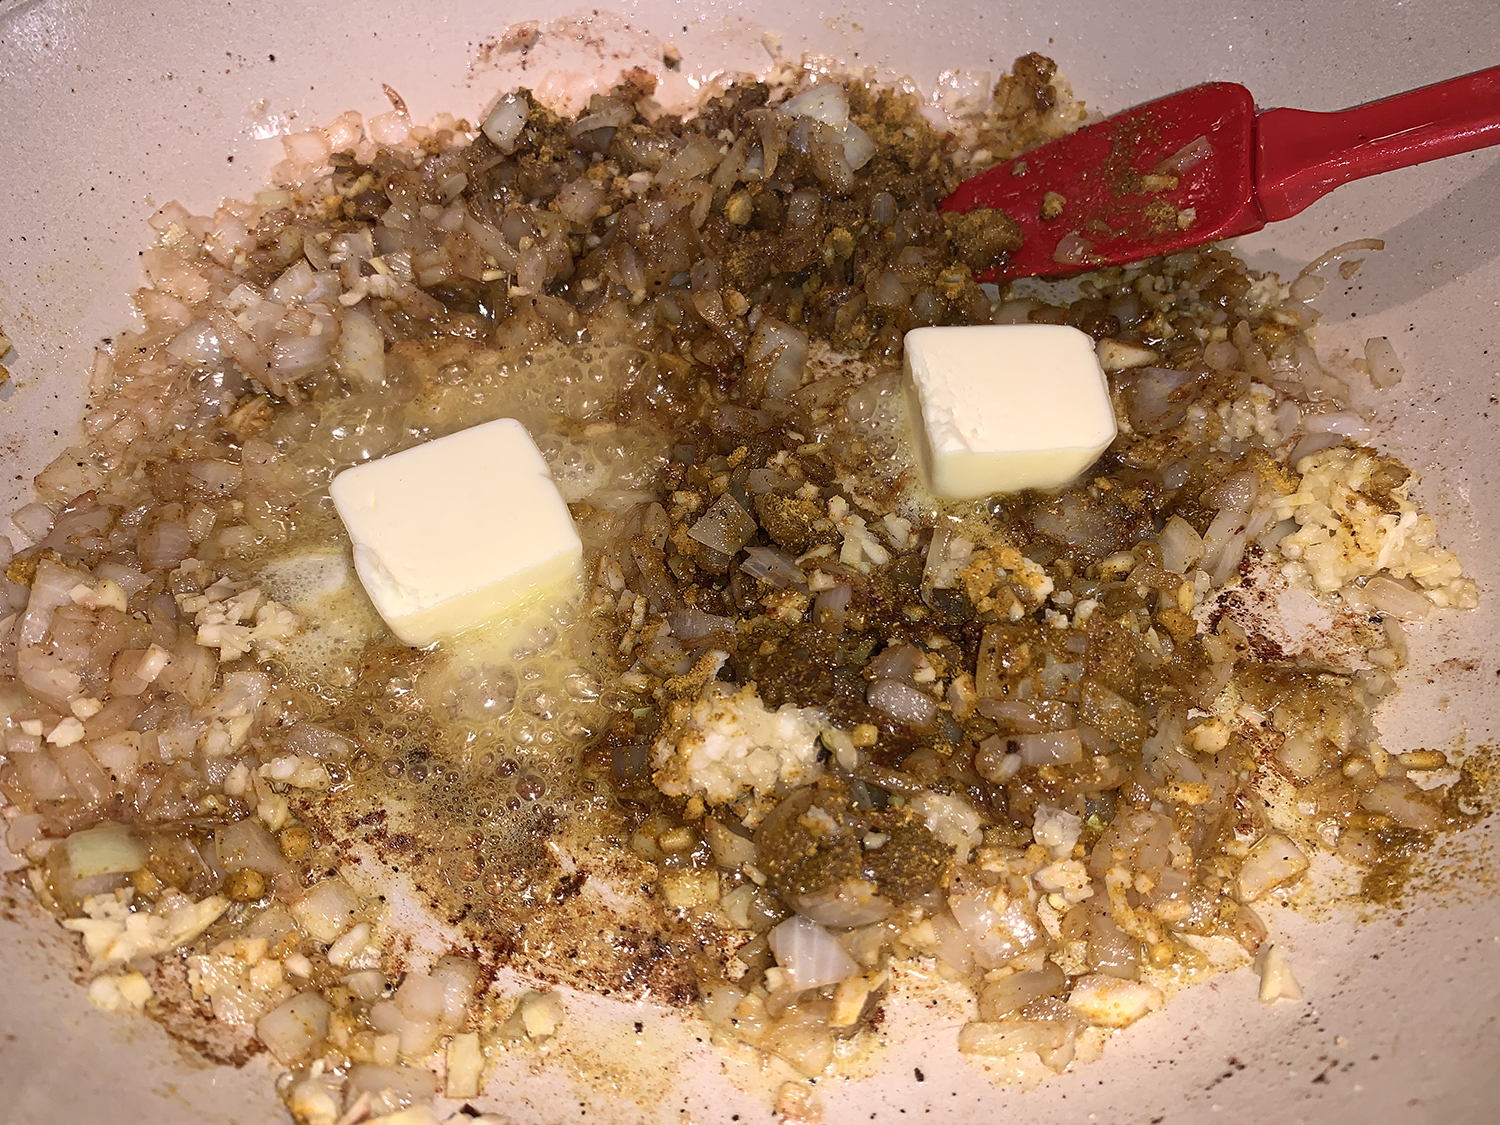
Curry powder, ground nutmeg and Worcestershire sauce are combined and bloomed in butter to create the round and rich sauce. Onions, potatoes and carrots create the bulk of traditional Japanese curry. You can easily substitute sweet potatoes, cauliflower and/or peas to address family preferences.

Kay Chun’s original recipe called for 2 pounds of large chicken thighs. The math doesn’t add up here. We bought a package nearly 2 1⁄2 pounds containing only 5 thighs—and they weren’t necessarily “large,” so if you were serving 6 people, that would be a challenge. I say forget the poundage, and just buy 6 large thighs—there is enough rice mixture to support that many servings.

It is suggested you serve in bowls. Maybe because we used a “paella” rice which is really absorbent, there wasn’t much liquid and could have been served on plates. Speaking of liquid, of course we used homemade stock which adds oodles of flavor. And we nearly doubled the amount of minced fresh ginger to really amp up the Asian flavor.

One-Pot Japanese Curry Chicken and Rice

  • Servings: 4-6
  • Difficulty: easy
  • Print

Ingredients

  • 6 bone-in, skin-on chicken thighs
  • 2 Tbsp. canola oil
  • Kosher salt and black pepper
  • 3 Tbsp. unsalted butter
  • 1/2 cup finely chopped onion
  • 3 Tbsp. Madras curry powder
  • 1 Tbsp. minced garlic
  • 1 Tbsp. minced fresh ginger
  • 3/4 tsp. ground nutmeg
  • 1 1/2 cups short-grain white rice, rinsed until water runs clear
  • 1 large baking potato (about 1 lb.), peeled and cut into 1/2-inch cubes
  • 3 medium carrots, sliced 1/2-inch-thick
  • 3 1/2 cups chicken broth
  • 2 Tbsp. Worcestershire sauce
  • Chopped scallions pickles, kimchi and/or hot sauce, for serving

Directions

  1. Heat oven to 375 degrees. Rub chicken with 1 tablespoon oil, and season with salt and pepper.
  2. In a large Dutch oven or heavy pot (at least 3 1⁄2 quarts), heat remaining 1 tablespoon oil with 1 tablespoon butter over medium until butter is melted. Working in two batches, brown chicken 3 to 4 minutes per side, and transfer to a plate.
  3. Add onion to the pot, season with salt and pepper and cook, stirring, until softened, 2 minutes. Add curry powder, garlic, ginger, nutmeg and the remaining 2 tablespoons butter, and stir until butter is melted and spices are fragrant, 1 minute.
  4. Add rinsed rice and stir until evenly coated in spices. Add potato, carrots, broth and Worcestershire sauce, scraping bottom of pot to lift up any browned bits. Season broth generously with salt and pepper. Arrange chicken and any accumulated juices on top, skin-side up, and bring to a boil over high. Cover and bake for 20 minutes.
  5. Uncover and bake until most of the liquid is absorbed and chicken is golden and cooked through, about 10 minutes longer.
  6. Divide chicken and rice among bowls, and garnish with scallions. If desired, serve with any combination of pickles, kimchi and hot sauce.

http://www.lynnandruss.com

Adapted from a recipe by Kay Chun for NY Times Cooking
Tortellini-Vegetable Bake

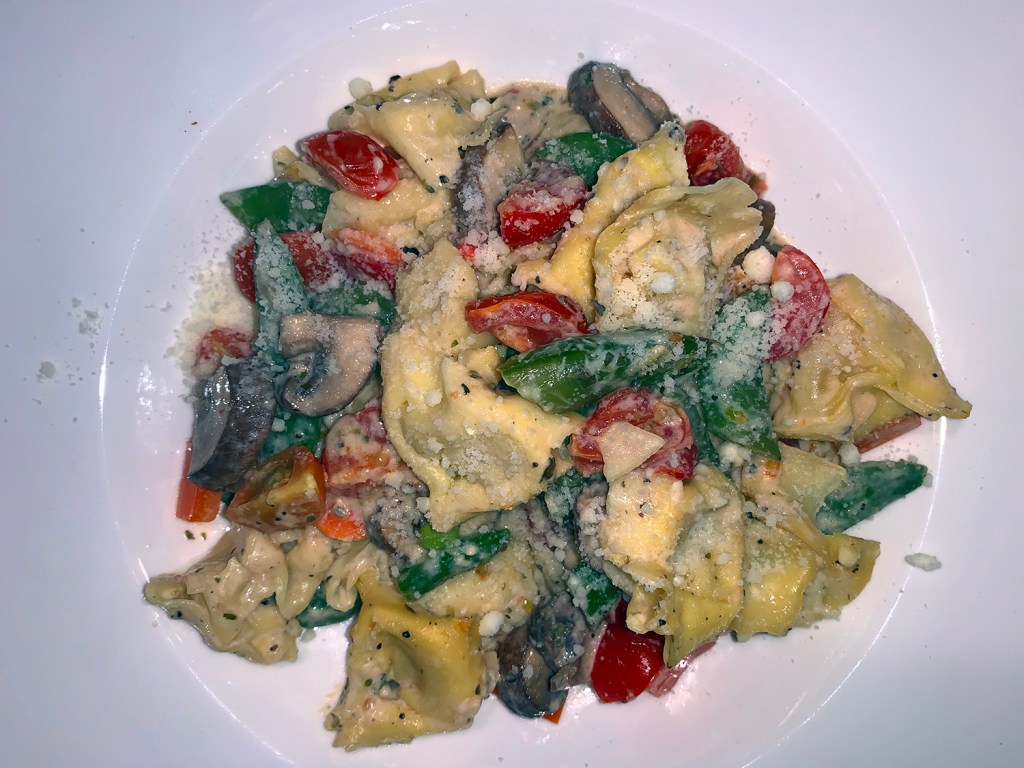
Looking for a new twist on a meatless pasta with veggies dish? How about this Tortellini-Vegetable Bake? While it does have quite a bit of dairy, there is also a wide variety of vegetables. Add a side salad, and your meal is complete!

We have to disagree with the Better Homes & Gardens qualification stating it feeds eight. Unless you eat very little, and/or you are serving other sides and bread, six portions is probably more realistic.

And it wasn’t until we were done eating and I referred back to the original recipe that I noticed I had only incorporated 4 ounces of cream cheese, instead of eight (yes, a senior moment). But you know what, we didn’t miss it, so we saved ourselves some calories.

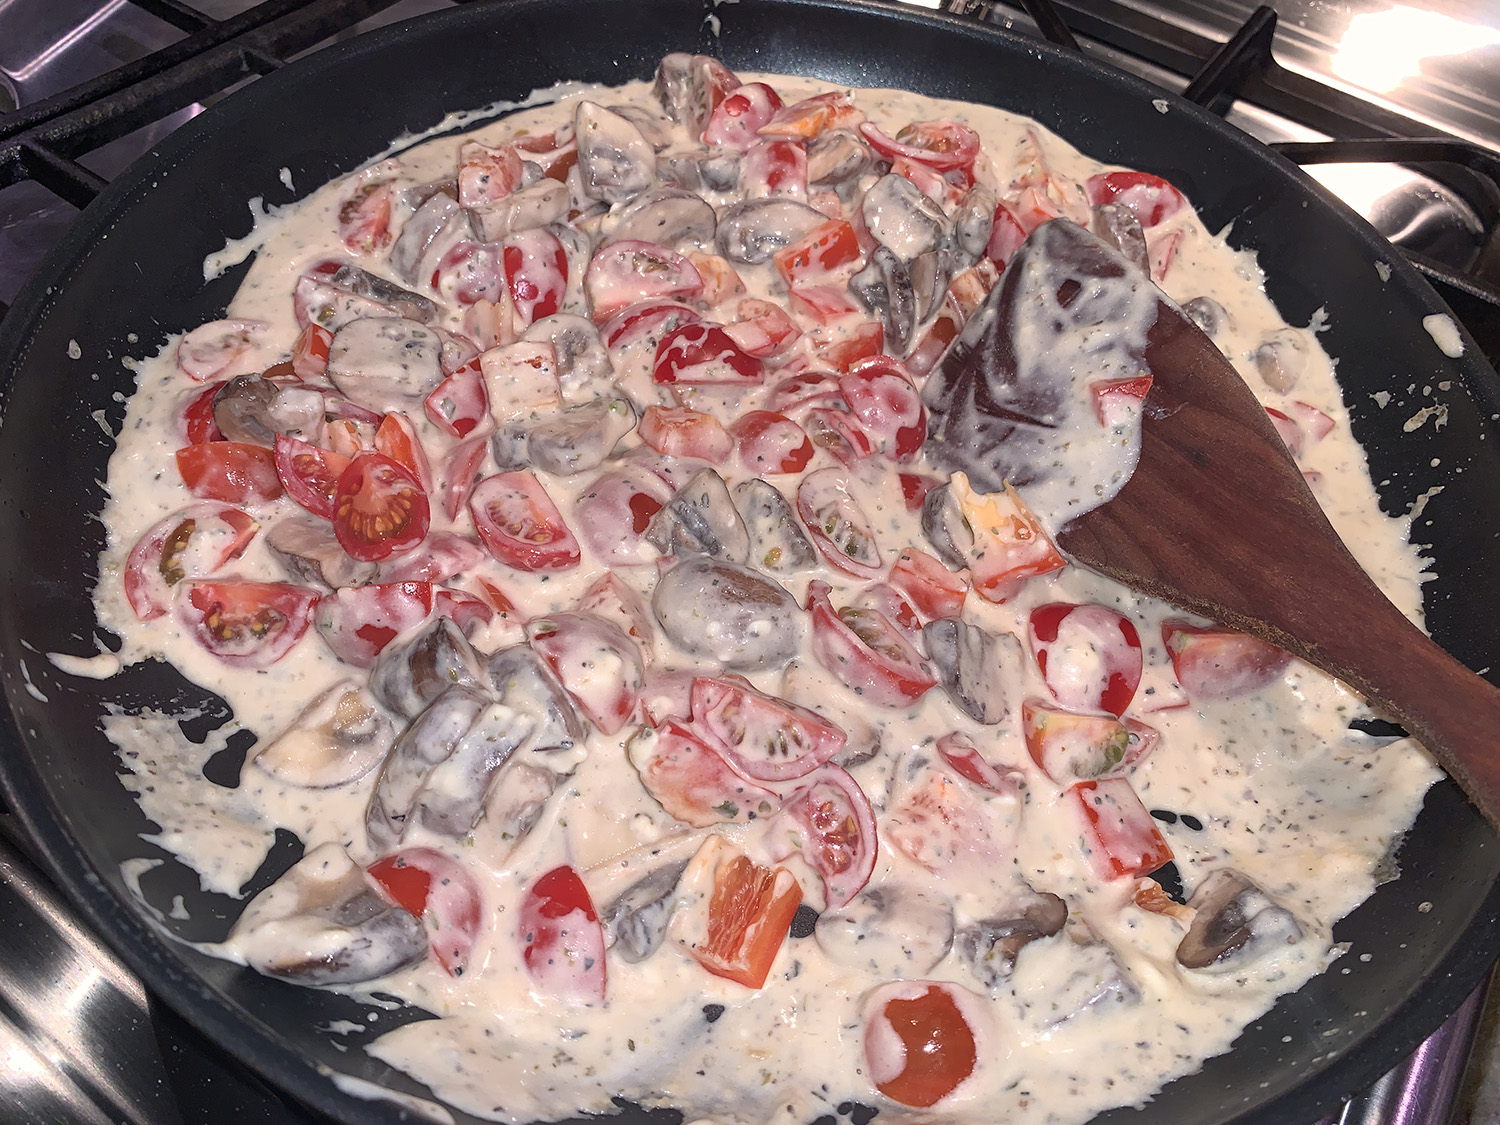
BH&G noted prep time was 30 minutes, I’m saying at least 45 in reality. And in Step 4, they originally said to mix everything in the skillet before spooning it into the baking dish. No way José. Better idea to mix the mushrooms, bell peppers and tomatoes into the cream sauce in the skillet, place the tortellini mixture into the casserole dish, then spoon the cream sauce over that and mix well. Save yourself the agony of cleaning up the spillage if you were to try and blend it altogether in the skillet first.
Oh, and we doubled (so much for saving calories) the amount of grated Parmesan to four tablespoons, divided between topping it before it goes in the oven, and two tablespoons when it comes out piping hot.

Tortellini-Vegetable Bake

  • Servings: 8
  • Difficulty: easy
  • Print

Ingredients

  • 2 9-oz. packages refrigerated cheese tortellini
  • 8 oz. fresh sugar snap peas, trimmed and halved crosswise
  • 1 medium carrot, sliced 1⁄8″ thick
  • 1 Tbsp. butter
  • 1 cup sliced fresh mushrooms
  • ⅓ cup vegetable broth
  • 2 tsp. all-purpose flour
  • 1 ½ tsp. dried oregano, crushed
  • ½ tsp. garlic powder
  • ½ tsp. ground black pepper
  • 1 cup milk
  • 1 8-oz. package cream cheese, cubed and softened
  • 1 Tbsp. lemon juice
  • 1 cup quartered cherry tomatoes
  • ½ cup coarsely chopped red or green sweet pepper (1 small)
  • 1/4 cup grated Parmesan cheese, divided

Directions

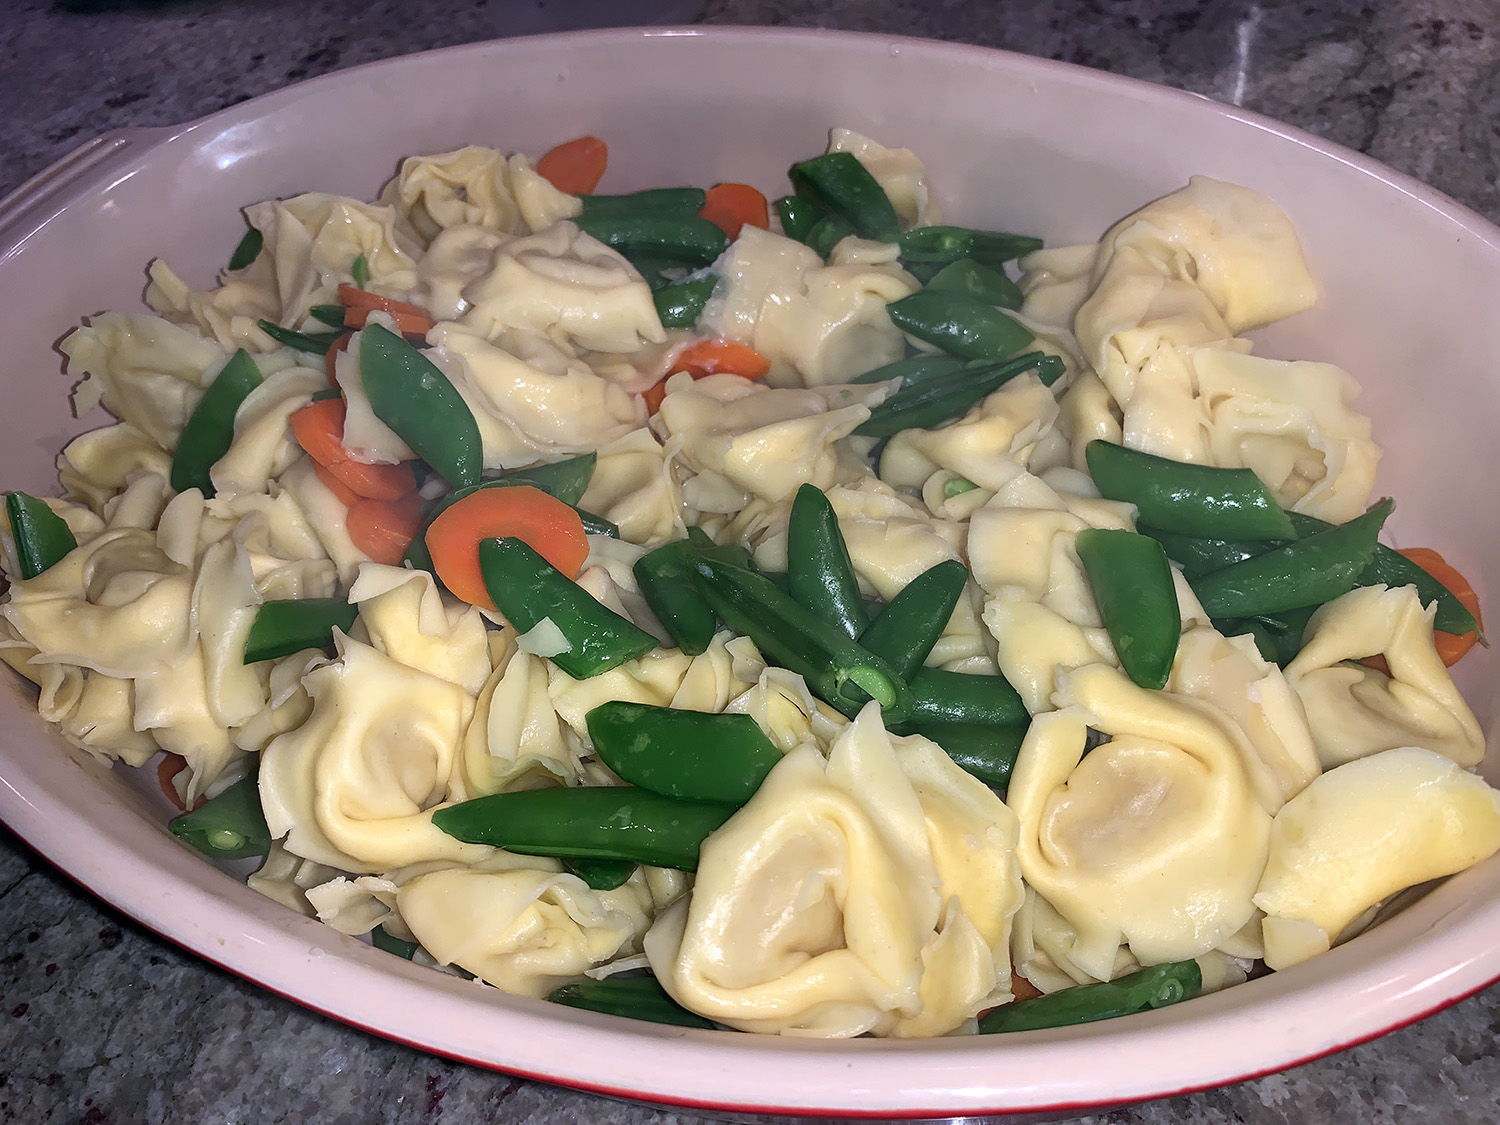
  1. Preheat oven to 350°F. Cook tortellini according to package directions, adding sugar snap peas and carrot for the last 1 minute of cooking; drain.
  2. Meanwhile, in a 12-inch skillet melt butter over medium heat. Add mushrooms; cook about 5 minutes or until mushrooms are tender, stirring occasionally. Remove from skillet.
  3. In a screw-top jar combine broth, flour, oregano, garlic salt, and black pepper. Cover and shake until smooth. Add to the same skillet; add milk. Cook and stir until thickened and bubbly. Add cream cheese; cook and stir until smooth. Remove from heat; stir in lemon juice.
  4. Stir mushrooms, tomatoes, and sweet pepper into cream cheese mixture in skillet, the pour into an ungreased 3-quart baking dish. Spoon tortellini mixture over the other veggies in the casserole dish. Sprinkle 2 tablespoons of the grated Parm on top, cover with foil.
  5. Bake, covered, about 30 minutes or until heated through. Sprinkle with remaining Parmesan cheese.

http://www.lynnandruss.com

Recipe adapted from Better Homes & Gardens