Monthly Archives: January 2022

Cranberry Beans with Spanish Chorizo and Red Cabbage

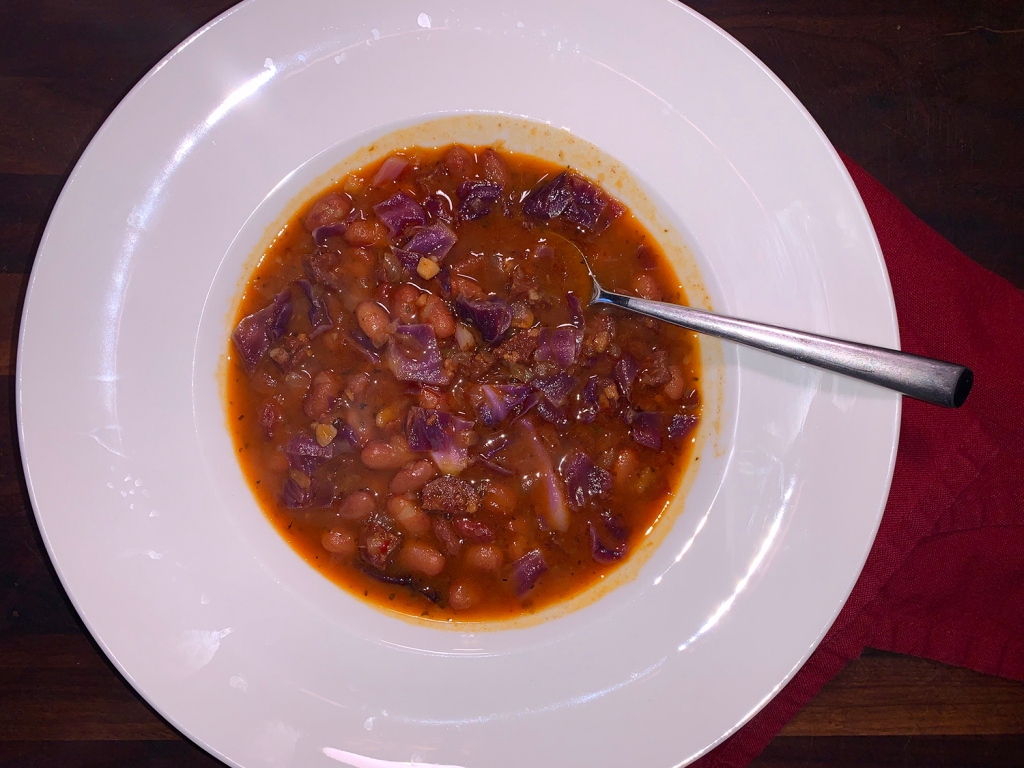
This hearty dish is a simplified take on a Spanish recipe called alubias rojas con sacramentos. Instead of using multiple varieties of cured pork, as is traditional, Milk Street uses only chorizo and heightens the flavor of the beans by cooking them in chicken broth. Also added are both sweet paprika and smoked paprika.
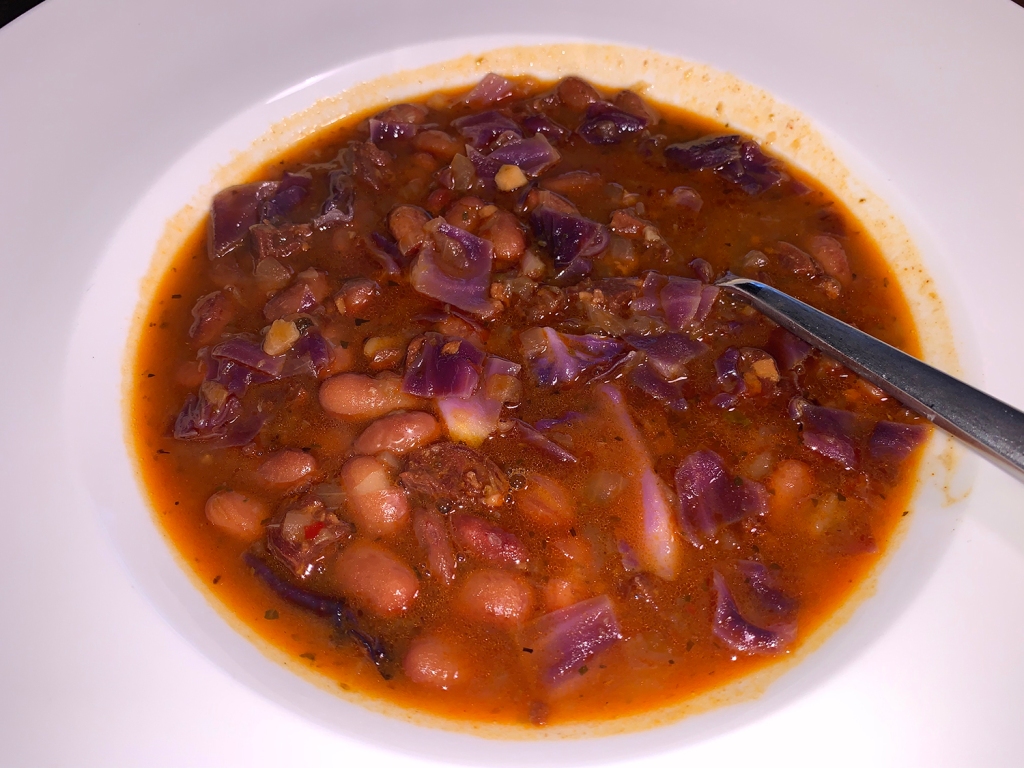
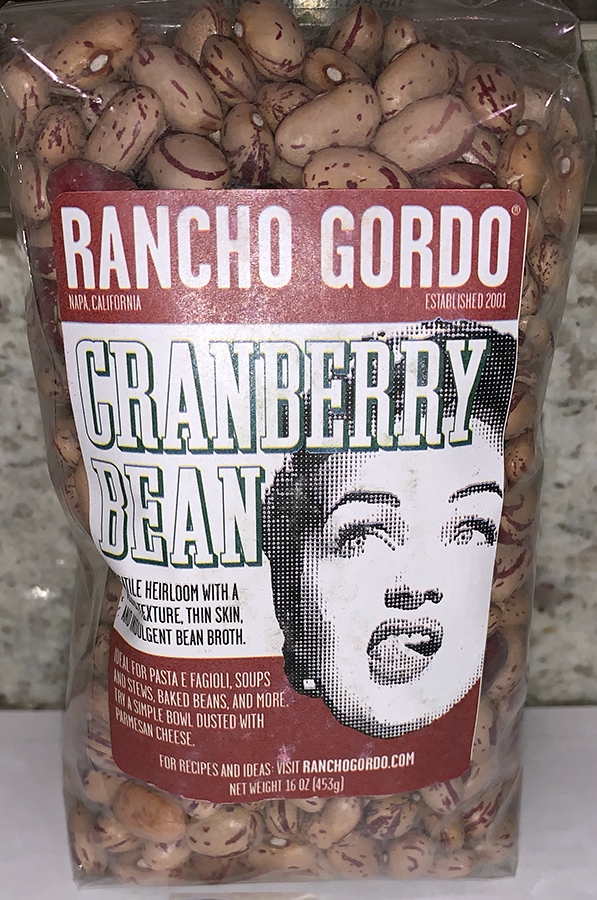
Cranberry is an odd name for a lovely, versatile bean. The beans are approximately the size of kidney beans, but with a mottled reddish brown and white coloration; they’re also known as Roman beans or borlotti beans. They are soft and dense with a velvety, rich texture; and the thin skins help produce a rich bean broth. These beautiful beans might be hard to source at your local grocery store, but they are easily accessible online.

Heads up, don’t use fresh Mexican chorizo, as it has a different flavor and texture. Dry-cured Spanish chorizo, which typically is sold in small links and is firm like salami, is the correct type of sausage for this recipe.

There was no garlic in the original recipe, which The Hubs thought odd because the Spanish culture uses the allium a LOT! As the Spanish food critic Xavier Domingo put it, “There are many cuisines of Spain, but they all have one thing in common: garlic.” So guess what? We added a couple of cloves, and I included it in the list below.

This recipe uses and Instant Pot. In lieu of that, we followed the fast method using our pressure cooker. FYI, you could also choose to make this the slow method way in your pot which will take about 7 hours as opposed to the 25 minute cooking time in Step 5.

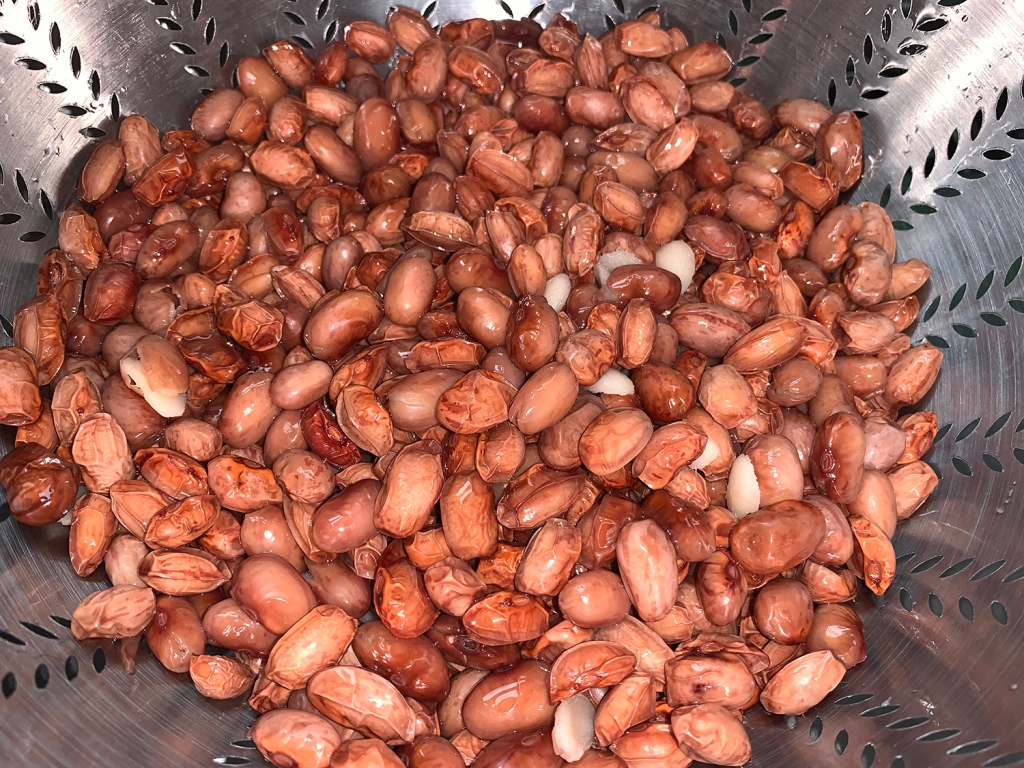
To make sure the cranberry beans were fully cooked, they got 5 minutes in the pressure cooker, then they were drained and rinsed before using. Baking soda and salt were added to the cooking liquid and combined with the pectin in the skins to make them more elastic so they could expand without bursting. The baking soda is a strong alkali that strengthened the cell walls of the beans, resulting in soft creamy beans and cooked more quickly.
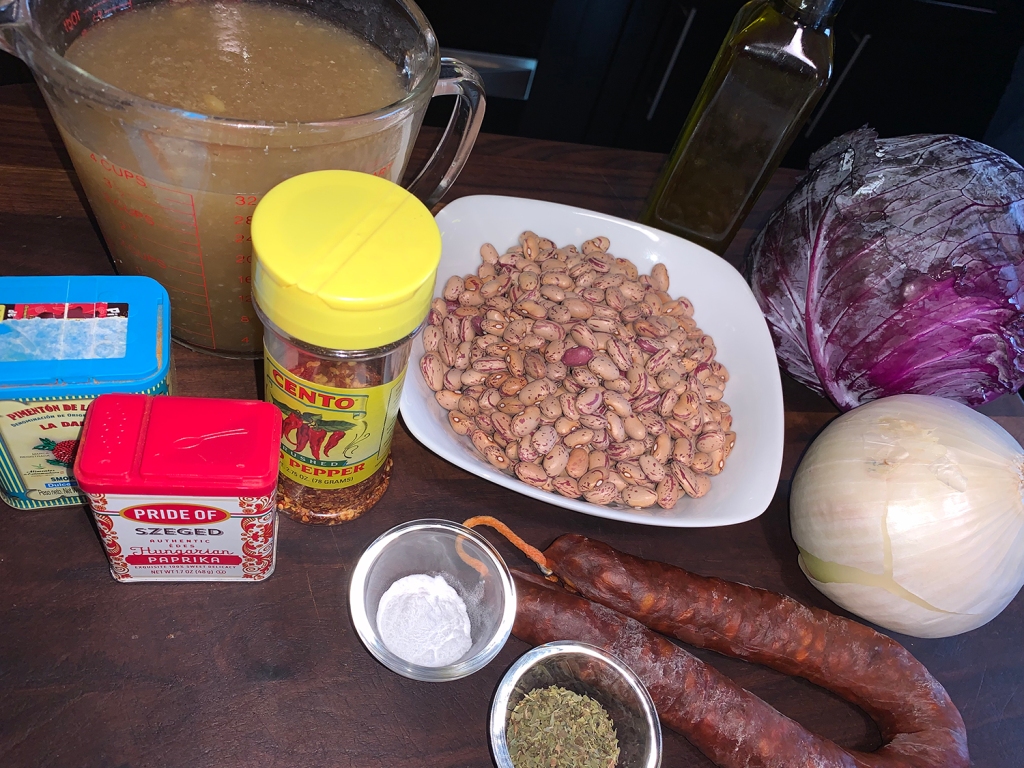
Cranberry Beans with Spanish Chorizo and Red Cabbage

  • Servings: 6
  • Difficulty: easy
  • Print

Ingredients

  • 1 lb. dried cranberry beans, rinsed and drained
  • Kosher salt and ground black pepper
  • ½ tsp. baking soda
  • 2 Tbsp. extra-virgin olive oil
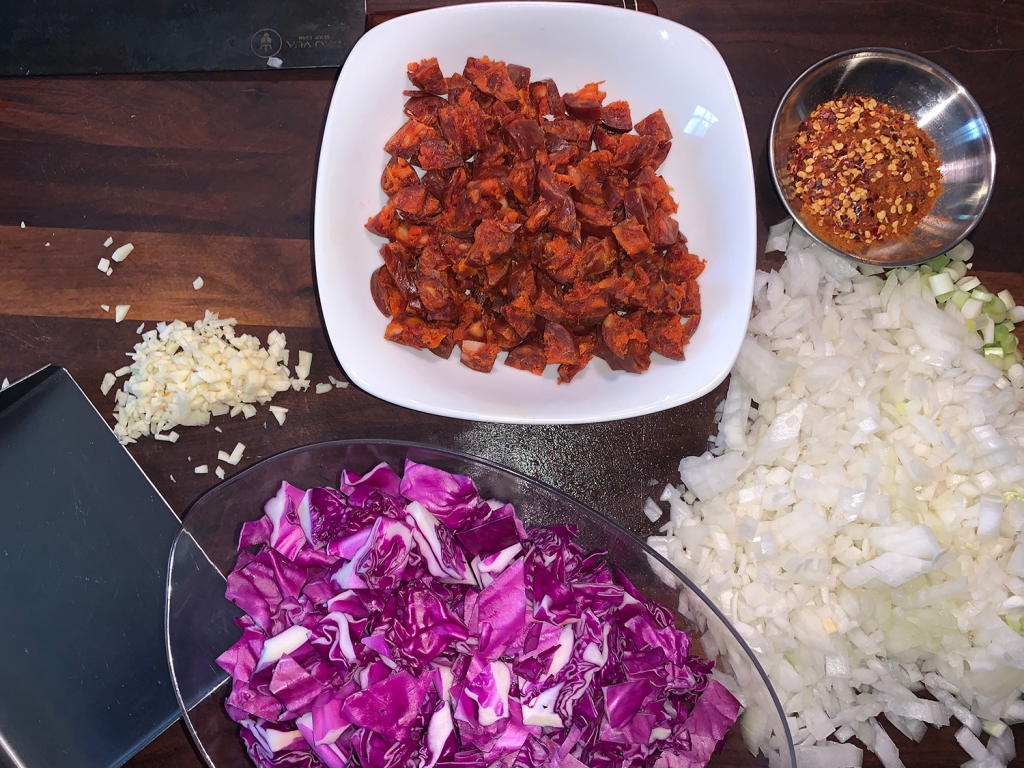
  • 6 oz. Spanish chorizo, casing removed, quartered lengthwise and sliced ¼ inch thick
  • 1 large yellow onion, finely chopped
  • 2 cloves garlic, peeled and minced
  • 1 Tbsp. sweet paprika
  • 1 tsp. smoked paprika
  • ½ tsp. red pepper flakes
  • 1 tsp. dried oregano
  • 1½ qts. chicken broth, preferably homemade
  • ½ small head red cabbage, about 8 oz., cored and finely chopped
Directions

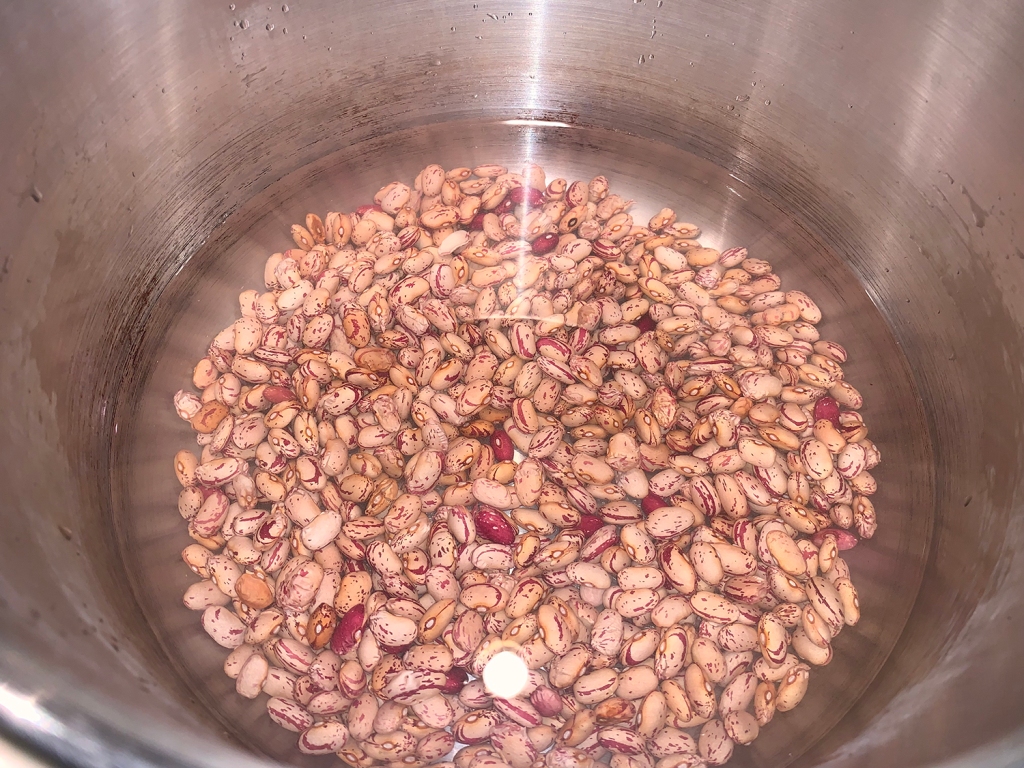
  1. In a 6-quart Instant Pot, stir together the beans, 2 teaspoons salt, the baking soda and 6 cups water. Lock the lid in place and move the pressure valve to Sealing. Select Pressure Cook or Manual; make sure the pressure level is set to High. Set the cooking time for 5 minutes. When pressure cooking is complete, quick-release the steam by moving the pressure valve to Venting. Press Cancel, then carefully open the pot.
  2. Using potholders, carefully remove the insert from the housing and drain the beans in a colander; return the insert to the housing. Rinse the beans under cool water; set aside.
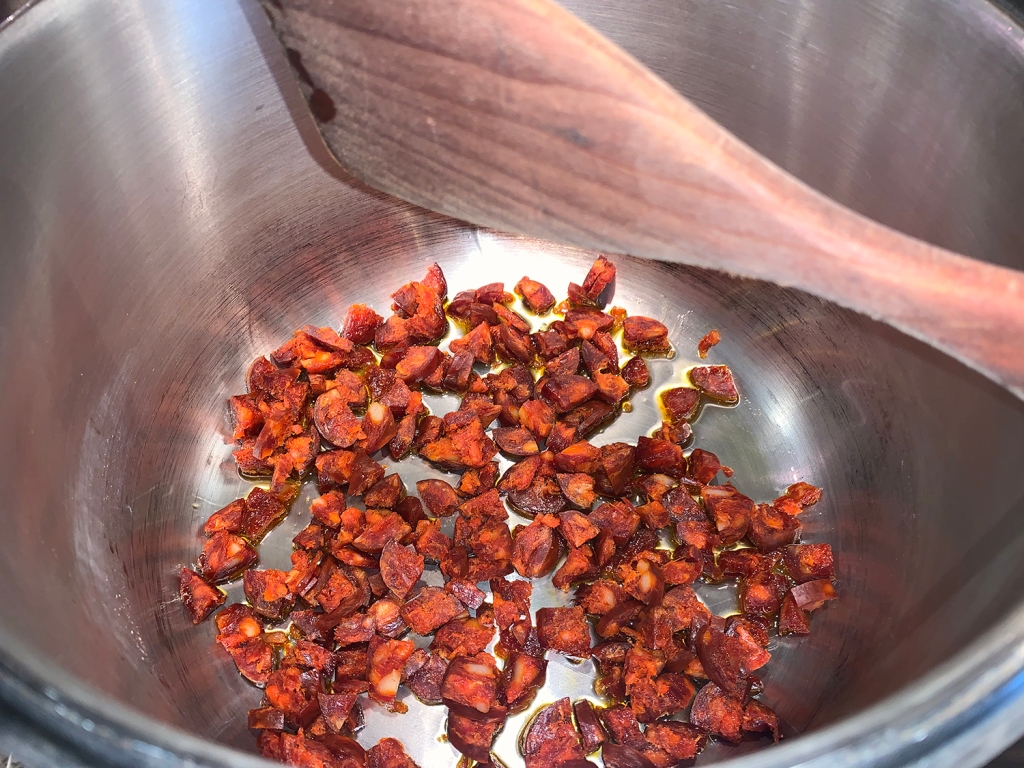
  3. Select More/High Sauté on the Instant Pot. Add the oil and chorizo and cook, stirring occasionally, until the chorizo releases its fat and begins to brown, about 5 minutes. Add the onion and garlic and cook, stirring occasionally, until the onion is lightly browned, 6 to 8 minutes.
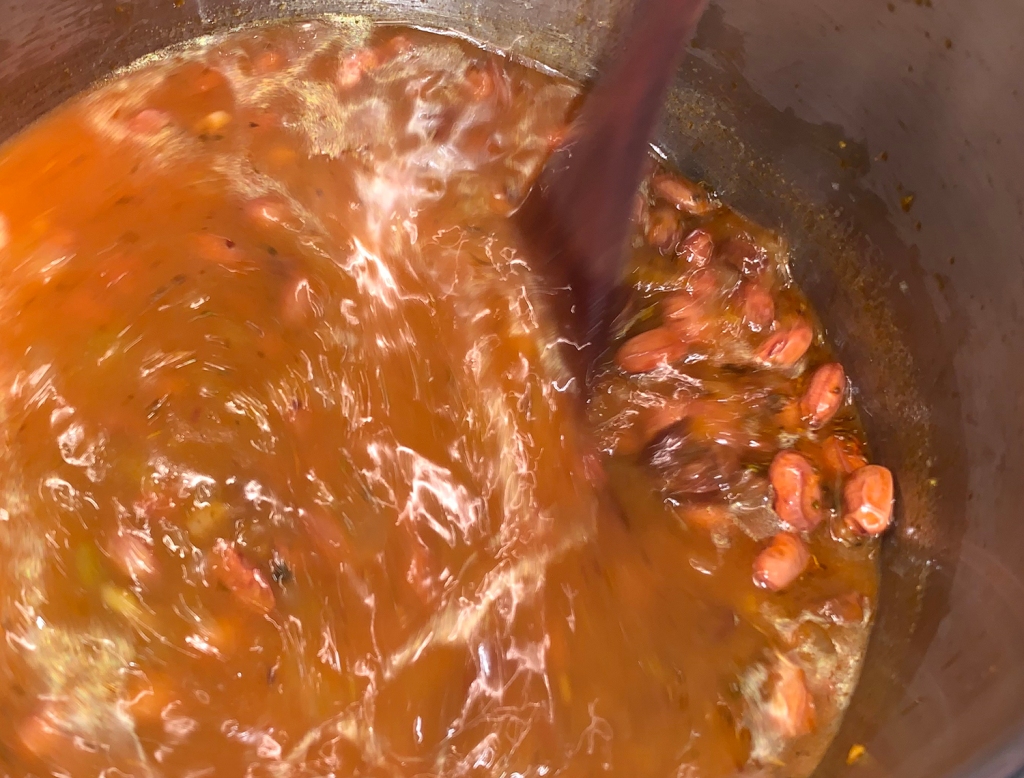
  4. Stir in both paprikas, the pepper flakes and oregano, then cook until fragrant, about 30 seconds. Stir in the broth and beans, then distribute in an even layer.
  5. Press Cancel, lock the lid in place and move the pressure valve to Sealing. Select Pressure Cook or Manual; make sure the pressure level is set to High. Set the cooking time for 25 minutes. When pressure cooking is complete, allow the pressure to reduce naturally for 20 minutes, then release the remaining steam by moving the pressure valve to Venting. Press Cancel, then carefully open the pot.
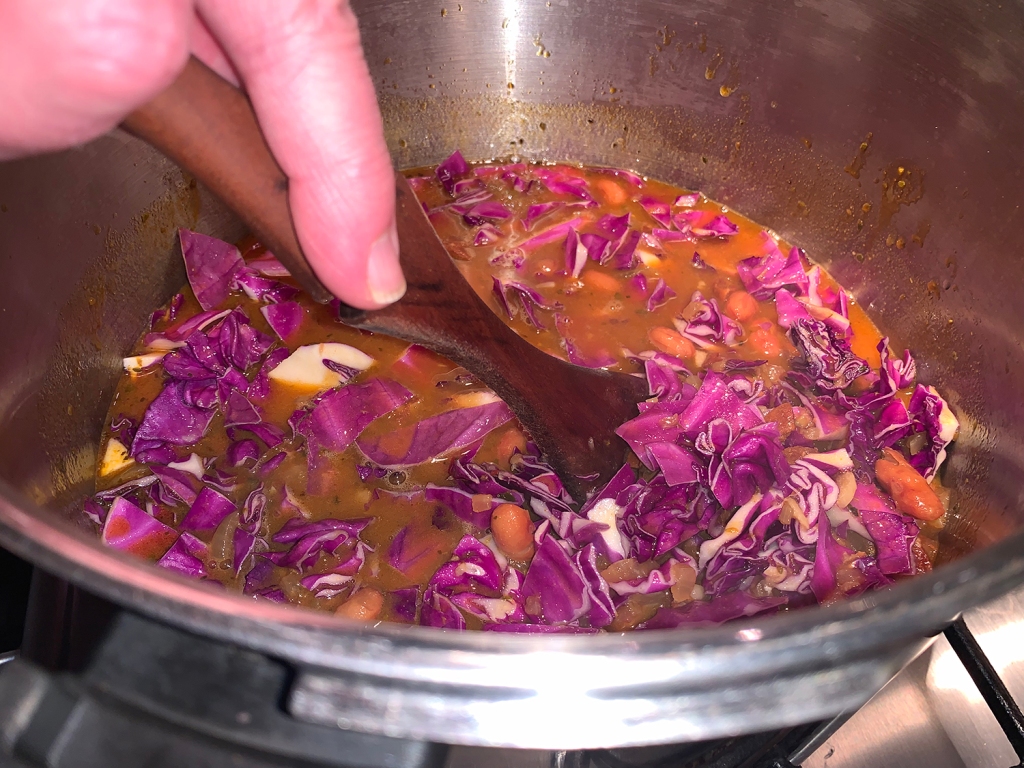
  6. Stir the beans, then select More/High Sauté. Stir in the cabbage and cook, stirring occasionally, until the cabbage is tender, 5 to 8 minutes. Press Cancel to turn off the pot. Let stand for 15 minutes, then taste and season with salt and pepper.

http://www.lynnandruss.com

Adapted from recipe by Diane Unger for Milk Street

Rustic Sausage and Fennel Meatloaf with Gravy

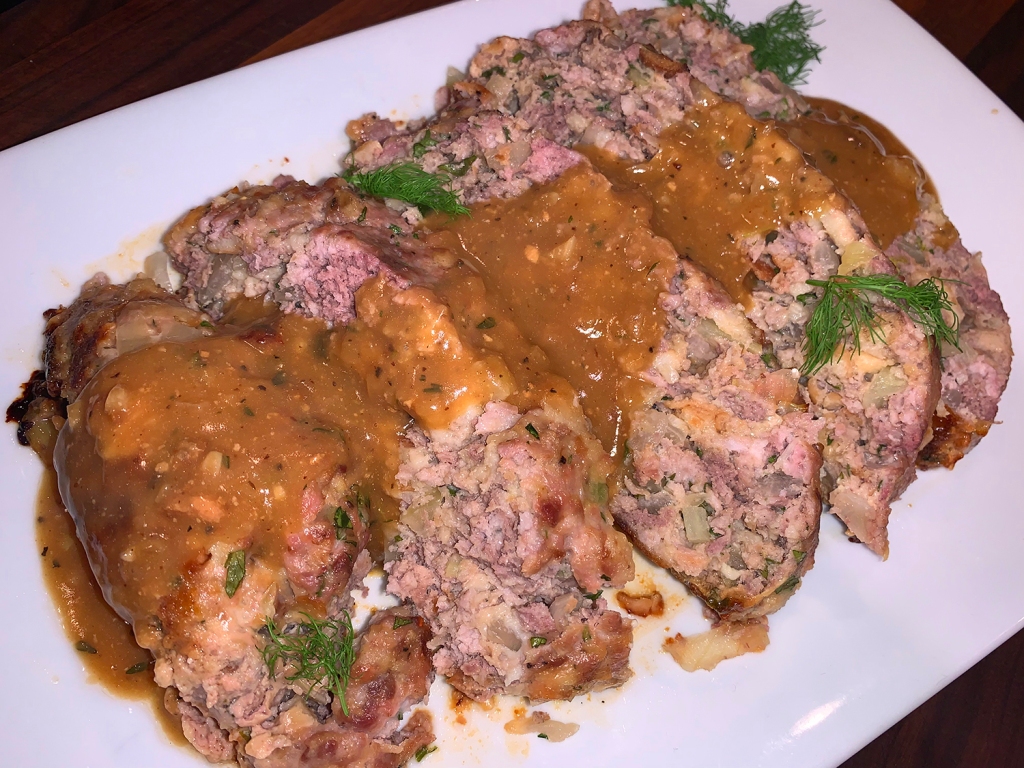
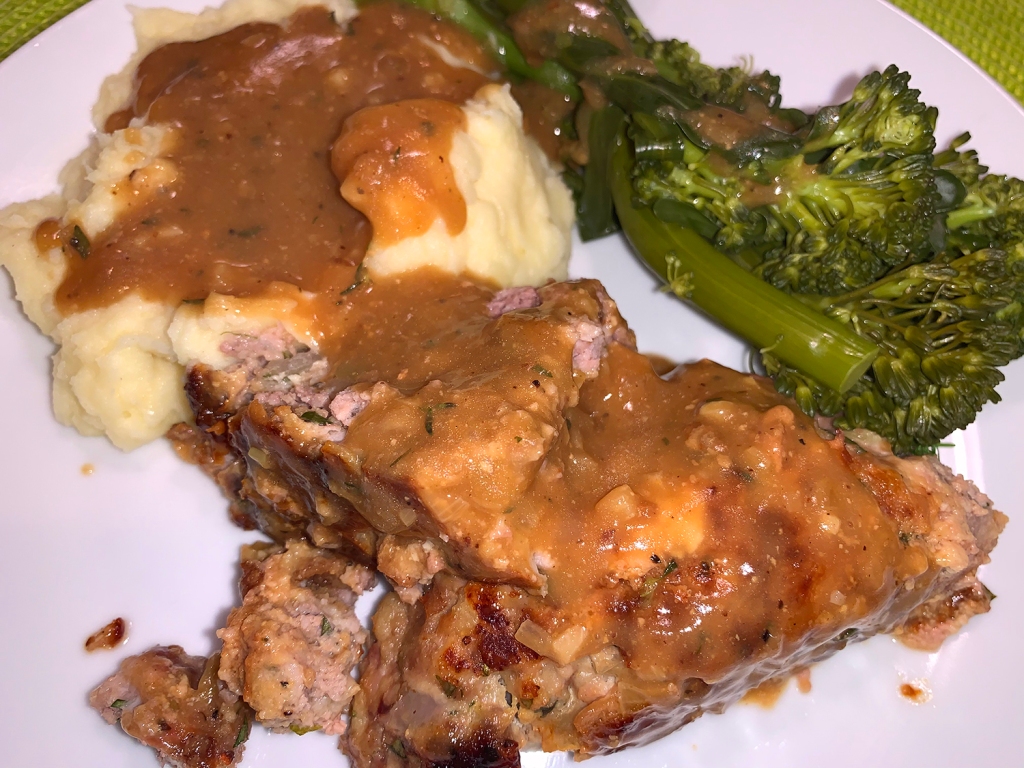
A few years back, Fine Cooking published an article showcasing a variety of meatloaf recipes. It also instructed how to build your own loaf based on items from specific categories. From those, I made this rustic version, which is a blend of the two. It was surprisingly light and not dense as some meatloaves can be.

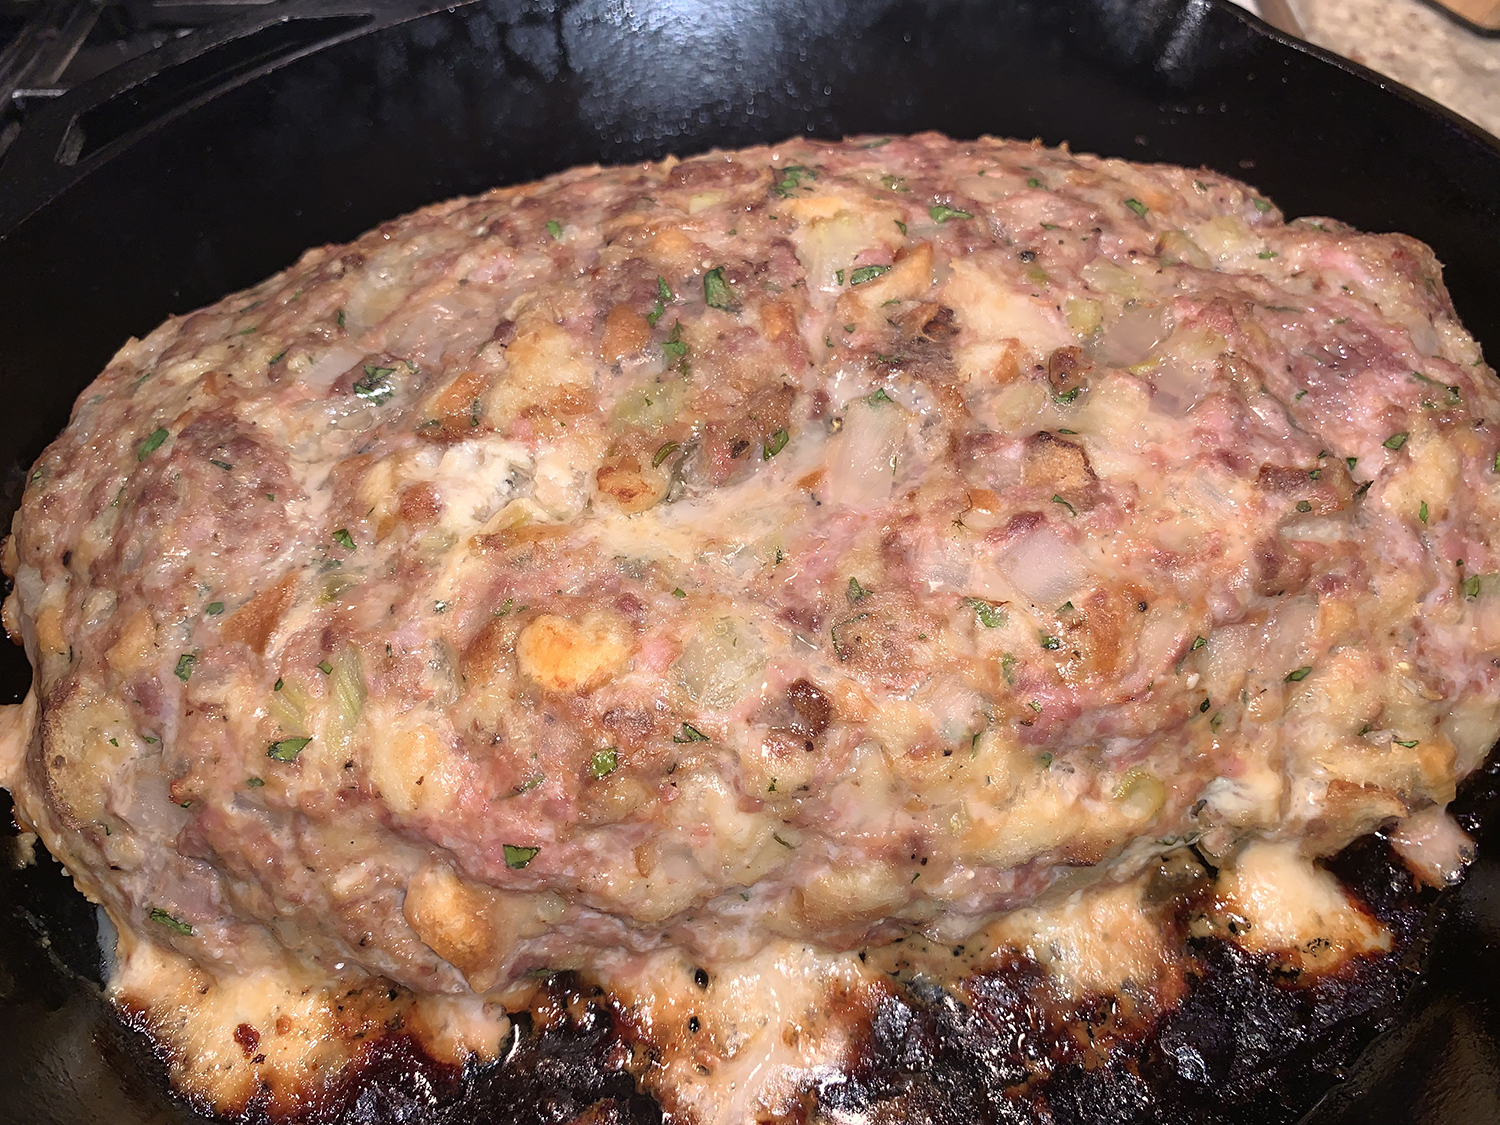
We also wanted a gravy, so, in lieu of a loaf pan, we cooked the meatloaf in a large, heated cast-iron skillet to facilitate browning on the bottom as well as the top and sides. When finished cooking, this provided some tasty drippings for the base of the gravy.

Of course, since this serves up to eight meals, we sliced one half for two separate dinners, freezing the other half for another time.

Rustic Sausage and Fennel Meatloaf with Gravy

  • Servings: 8-10
  • Difficulty: moderate
  • Print

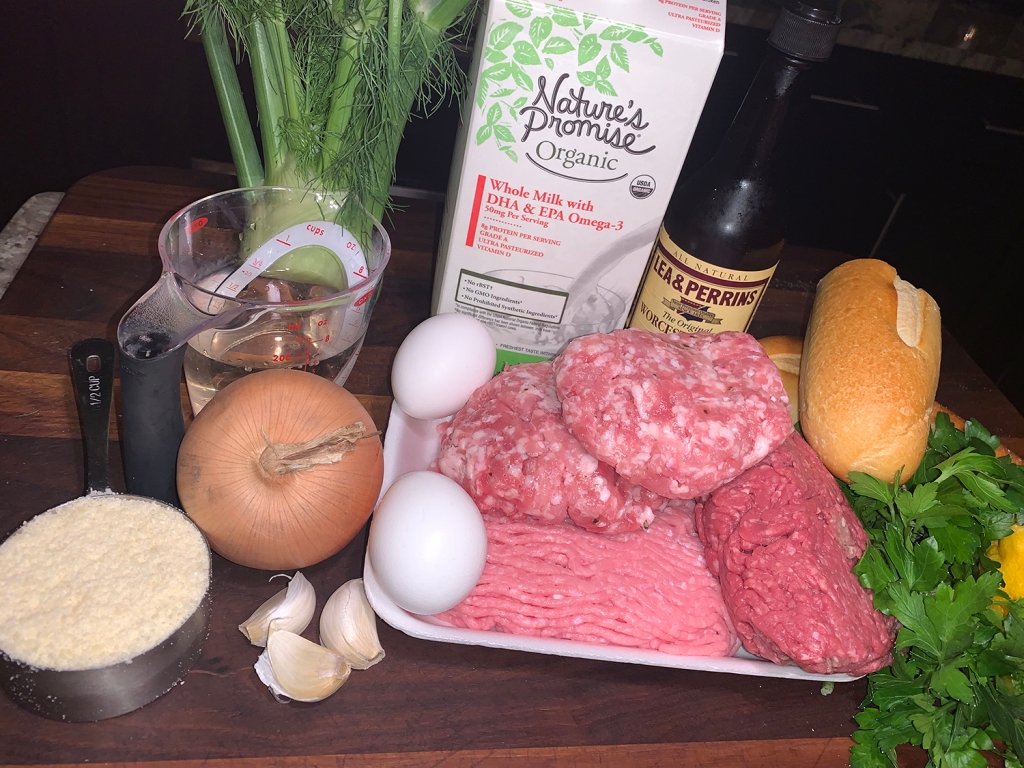
Ingredients

  • 4 Tbsp. canola or olive oil, divided
  • 1 medium yellow onion, chopped small
  • 1/2 small fennel bulb, core removed and chopped small (save some fronds for garnish, if desired)
  • 3 large cloves garlic, finely chopped
  • 3/4 cup dry white wine
  • 4 oz. medium-coarse white bread, such as Italian or French, cut into 2-inch pieces (about 2-1/2 cups)
  • 1 cup whole milk
  • 2/3 lb. bulk sweet sausage
  • 2/3 lb. ground beef
  • 2/3 lb. ground veal
  • 2 large eggs
  • 1/2 cup finely grated Parmigiano-Reggiano
  • 1/4 cup chopped fresh parsley
  • 1 Tbsp. Worcestershire sauce
  • Kosher Salt
  • Freshly ground black pepper

Gravy

  • Pan drippings from meatloaf
  • 4 Tbsp. butter
  • 3 cups beef broth, heated
  • 1 small shallot, minced
  • 1 garlic clove, minced
  • 3/4 tsp. thyme, minced
  • 6 Tbsp. flour
  • 1/2 tsp. Worcestershire sauce

Directions

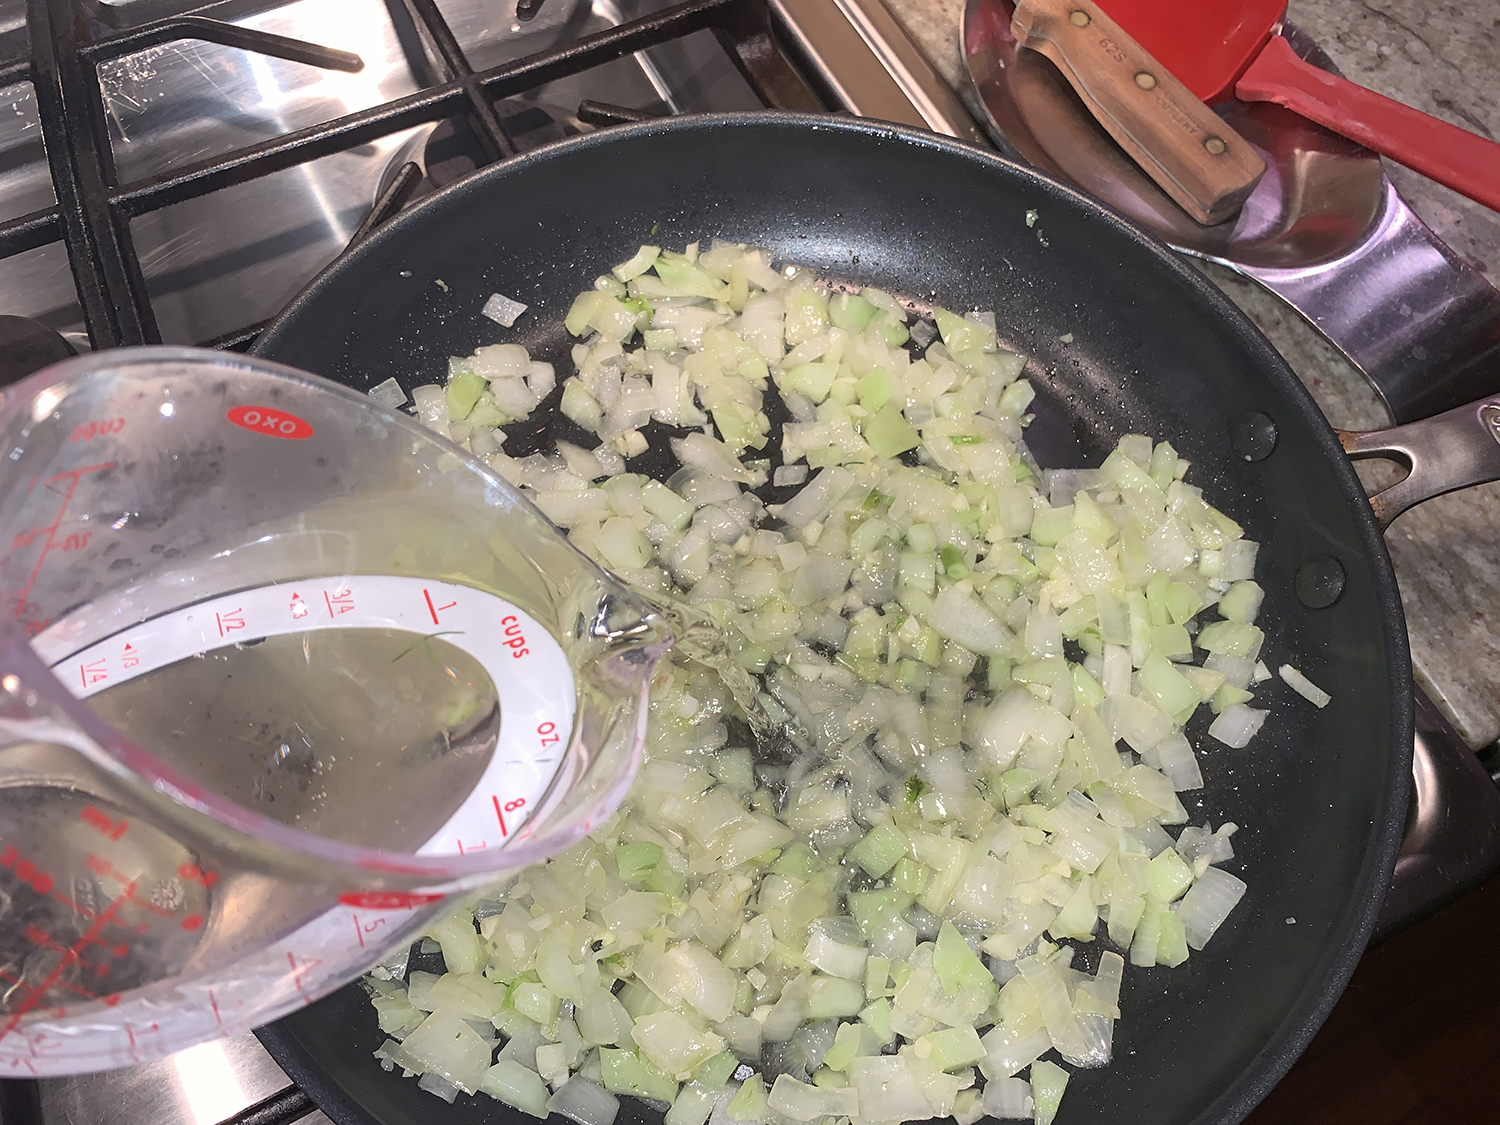
  • Heat 2 Tbs. of the oil in a 10- to 12-inch skillet over medium-low heat. Cook the onion, fennel and garlic, stirring frequently, until softened and just beginning to brown, about 8 minutes.
  • Add the white wine, and simmer briskly, until almost dry, 4 to 5 minutes. Transfer to a large bowl and let cool until warm.
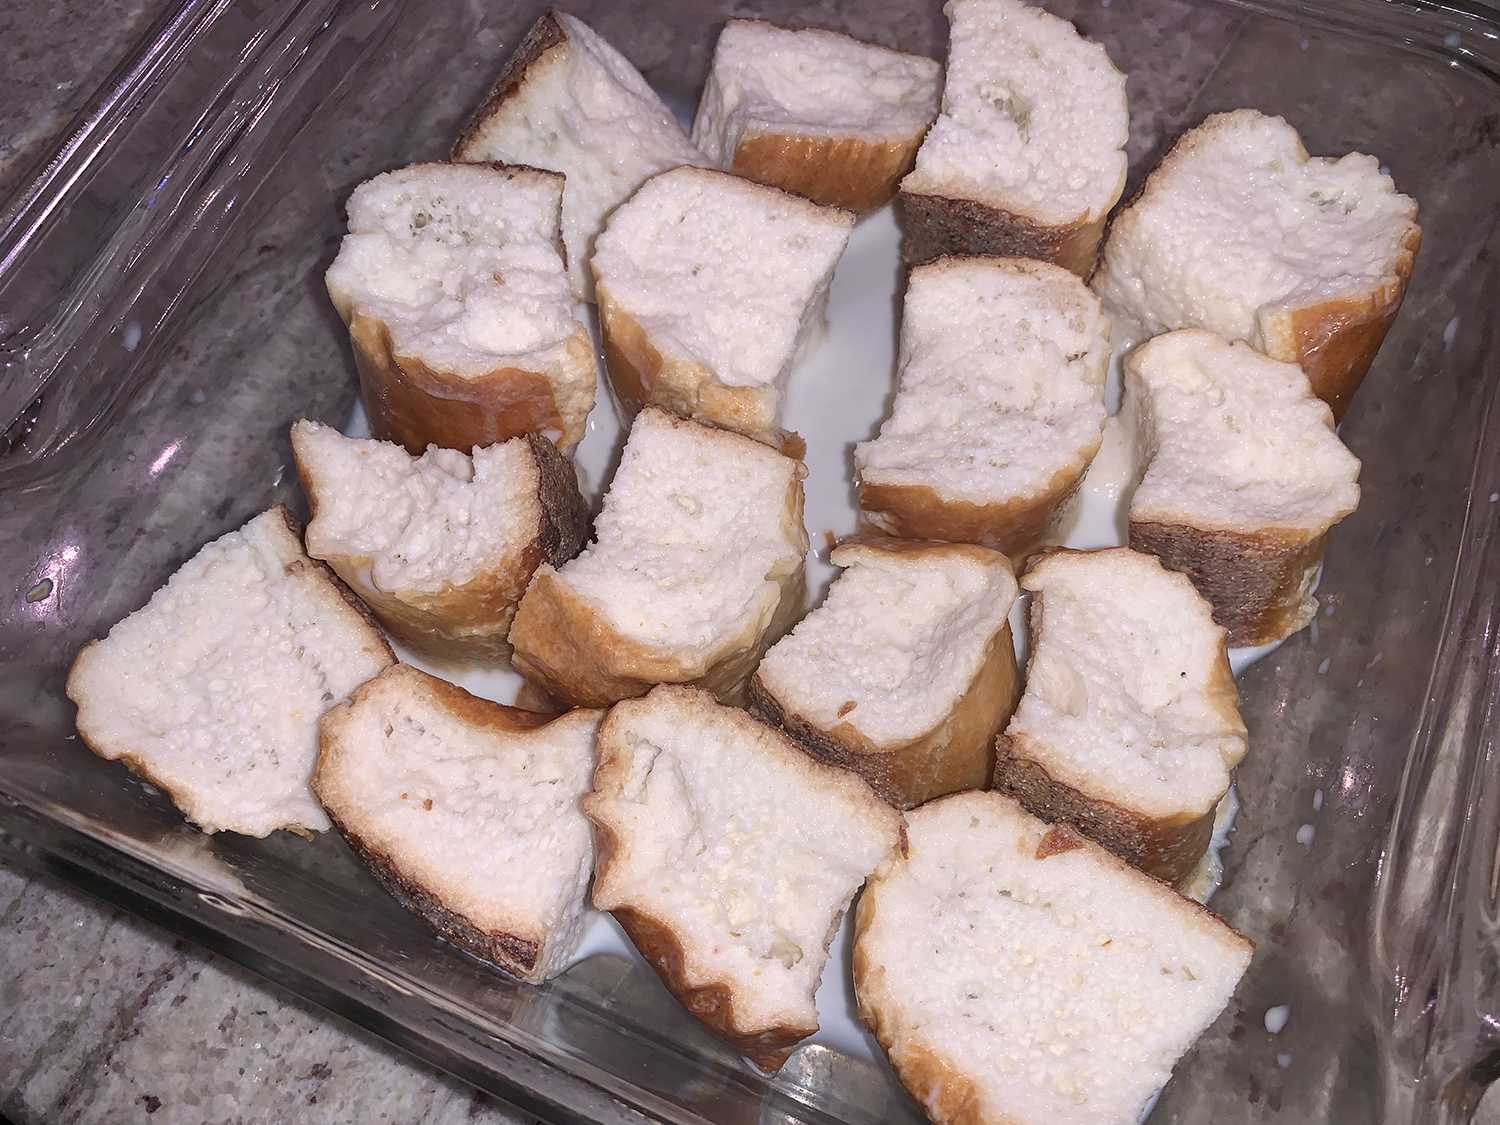
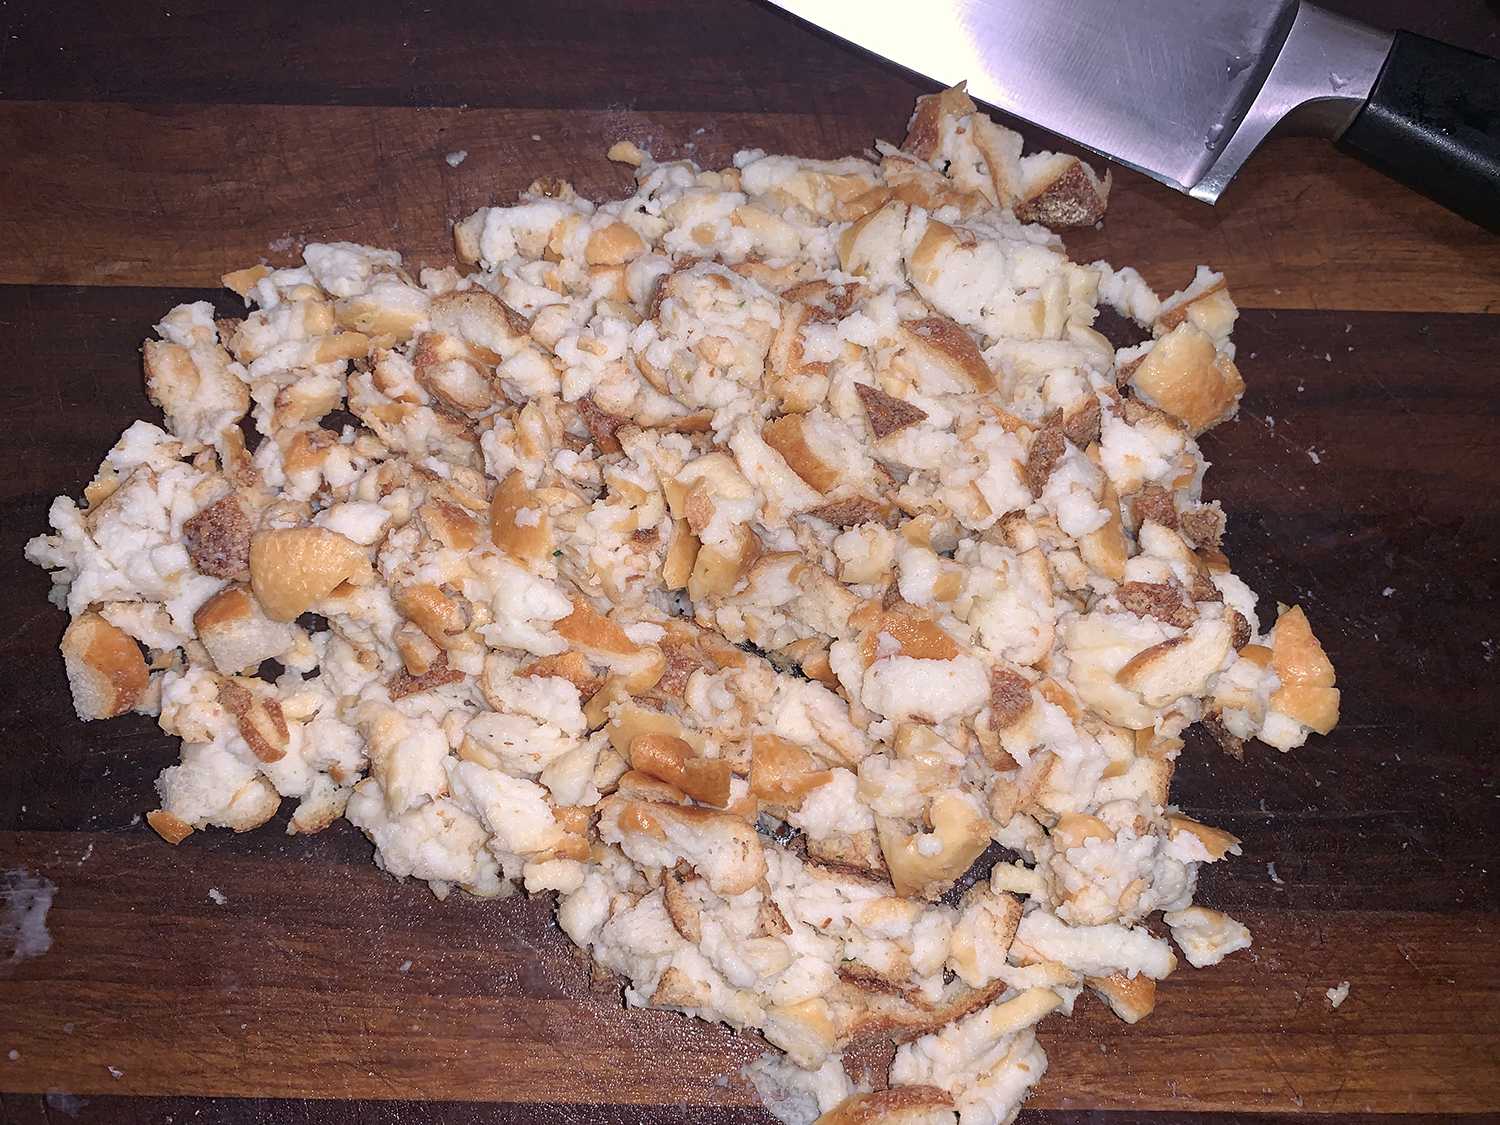
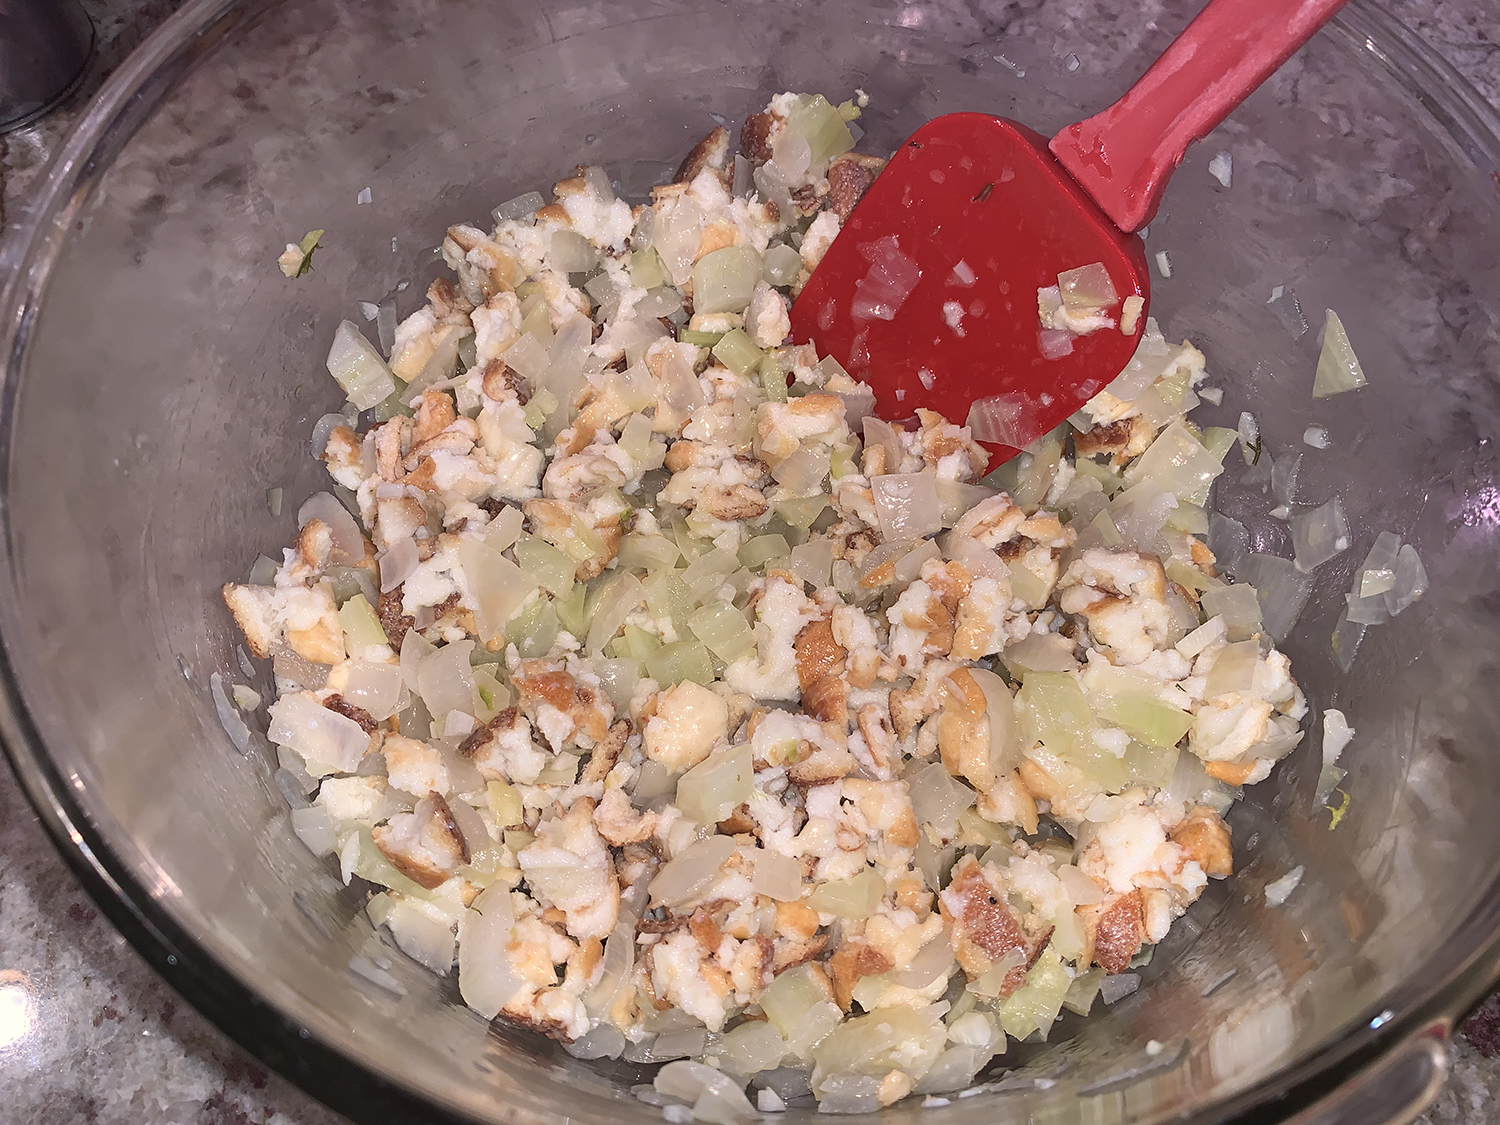
  • In a shallow dish that holds it in a single layer, soak the bread in the milk, flipping once, until soggy but not falling apart, 5 to 10 minutes, depending on the coarseness and freshness of the bread. Lightly squeeze a handful of bread at a time to remove some of the milk (it should be wet but not drenched). Finely chop and add to the bowl with the onion mixture.
  • Position a rack in the center of the oven and heat the oven to 375°F.
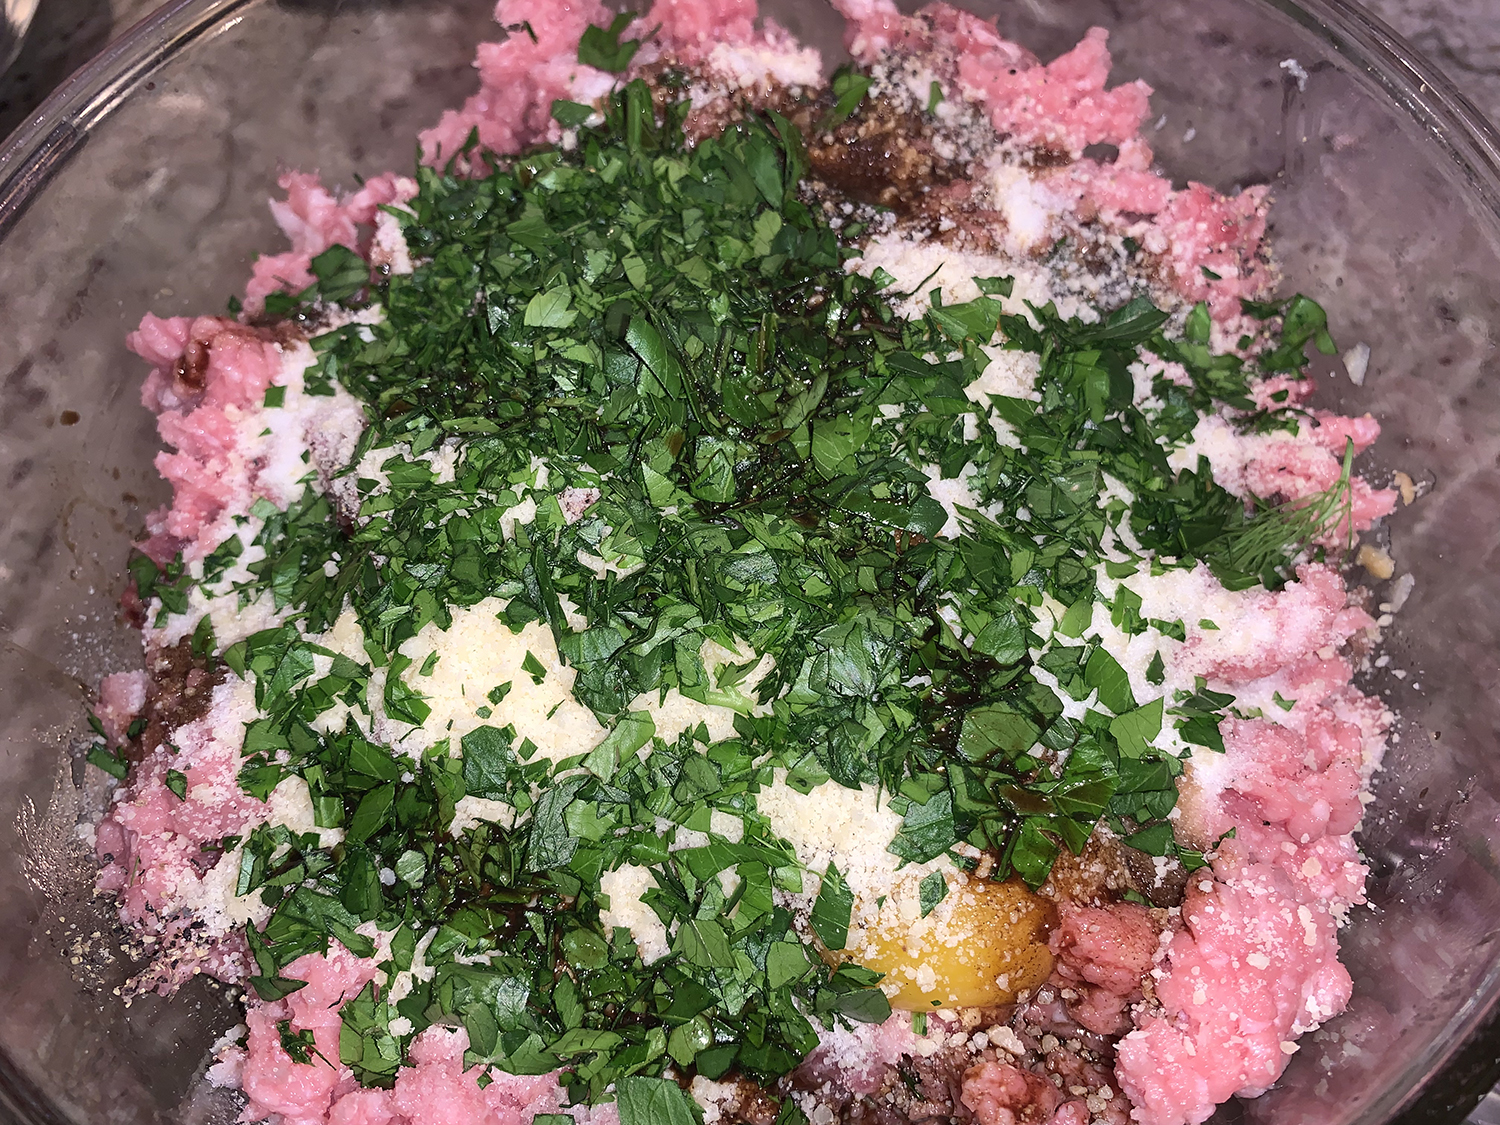
  • Add the beef, veal, and sausage and eggs to the onion mixture. Scatter the Parmigiano, and parsley over the meat, and then sprinkle with the Worcestershire, 2-1/4 teaspoon salt, and 1/2 teaspoon pepper. Use your hands to gently mix all the ingredients until just combined; try not to compact the mixture as you do this.
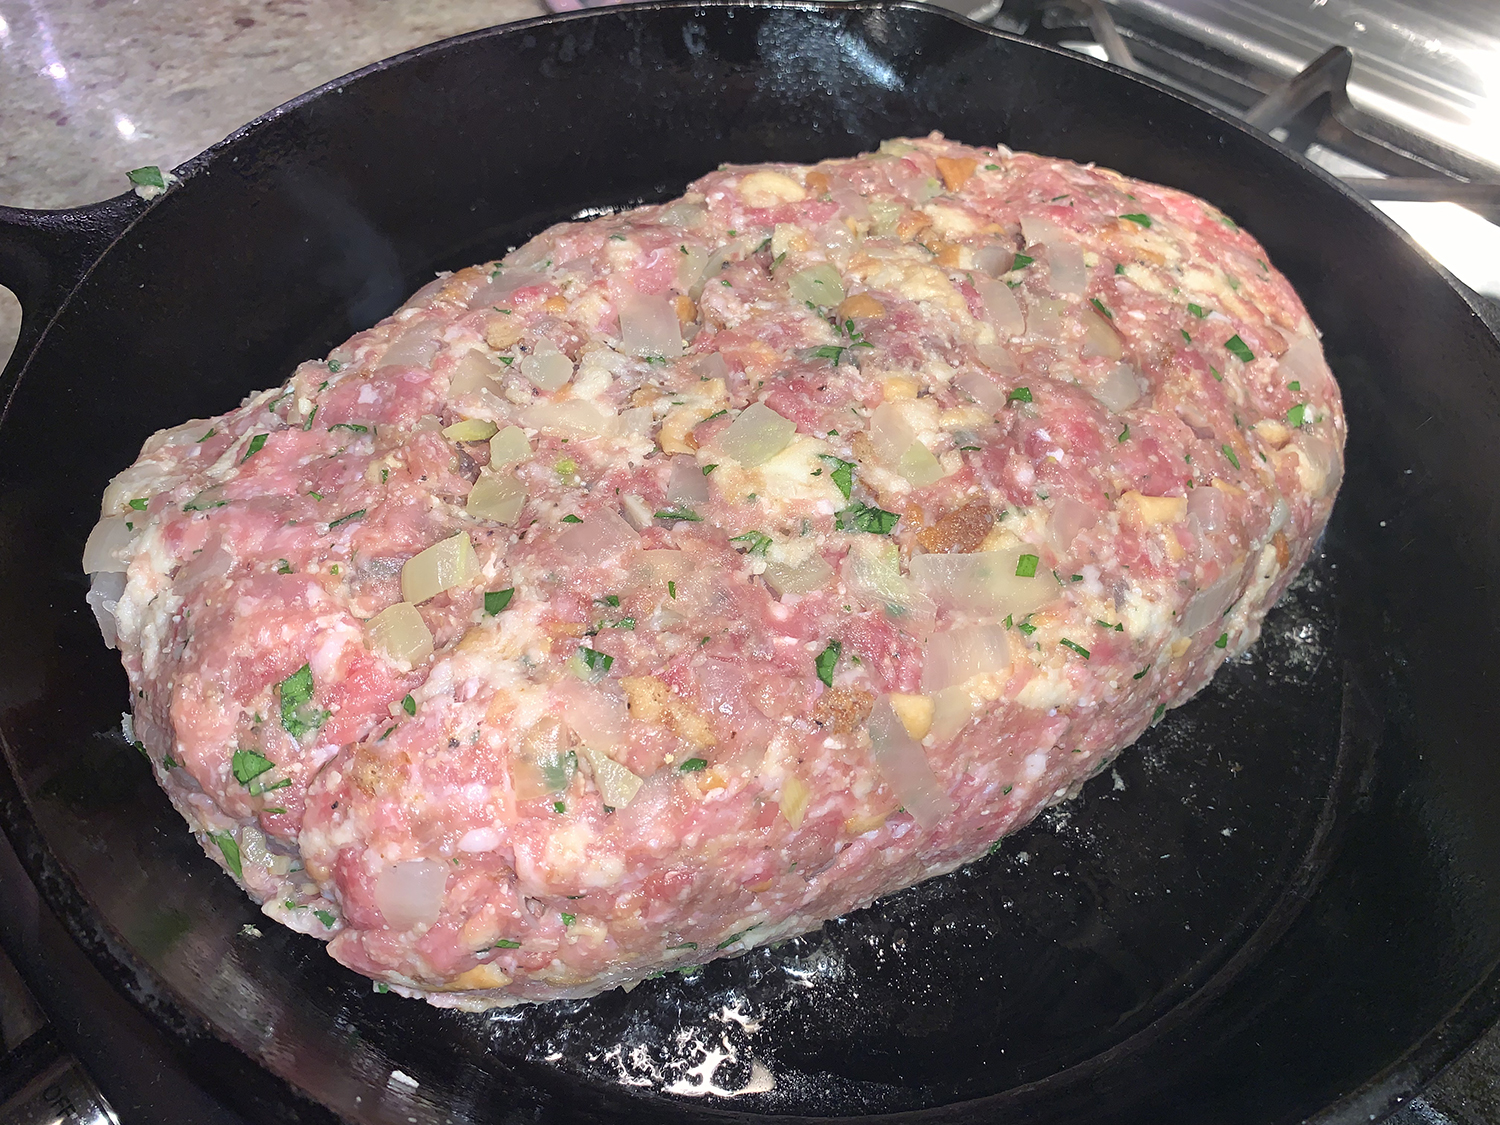
  • Heat 2 tablespoons oil in a large cast-iron skillet. Form a rectangular block from the meatloaf mixture that will fit into your skillet. Carefully transfer the meatloaf into the hot skillet and put the skillet into the preheated oven. Bake until an instant-read thermometer registers 160°F in the center of the meatloaf, 40 to 55 minutes. (Ours was done at 45 minutes.) Remove the meatloaf to a platter and cover with foil while you make the gravy.
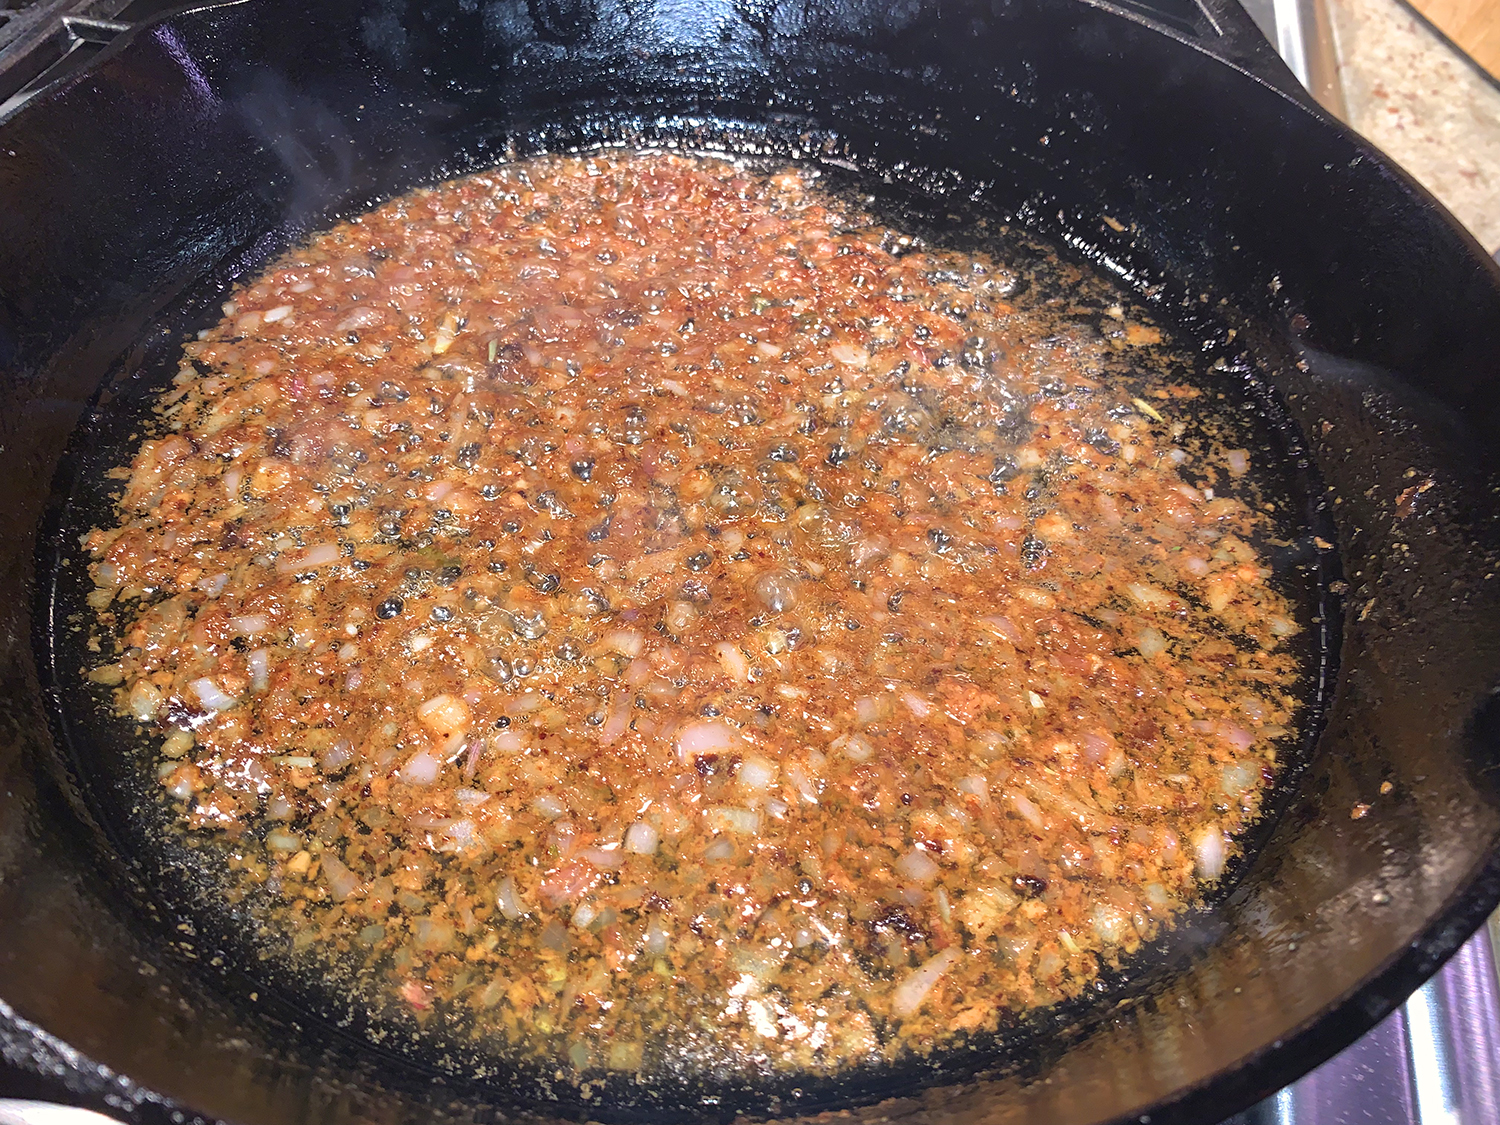
  • Add enough butter to the pan drippings to equal 6 tablespoons. (We had 2 tablespoons in the pan so we added 4 tablespoons of butter.) Sauté the minced shallot in the fat and drippings until it softens.
  • Add garlic and thyme and sauté another 30 seconds.
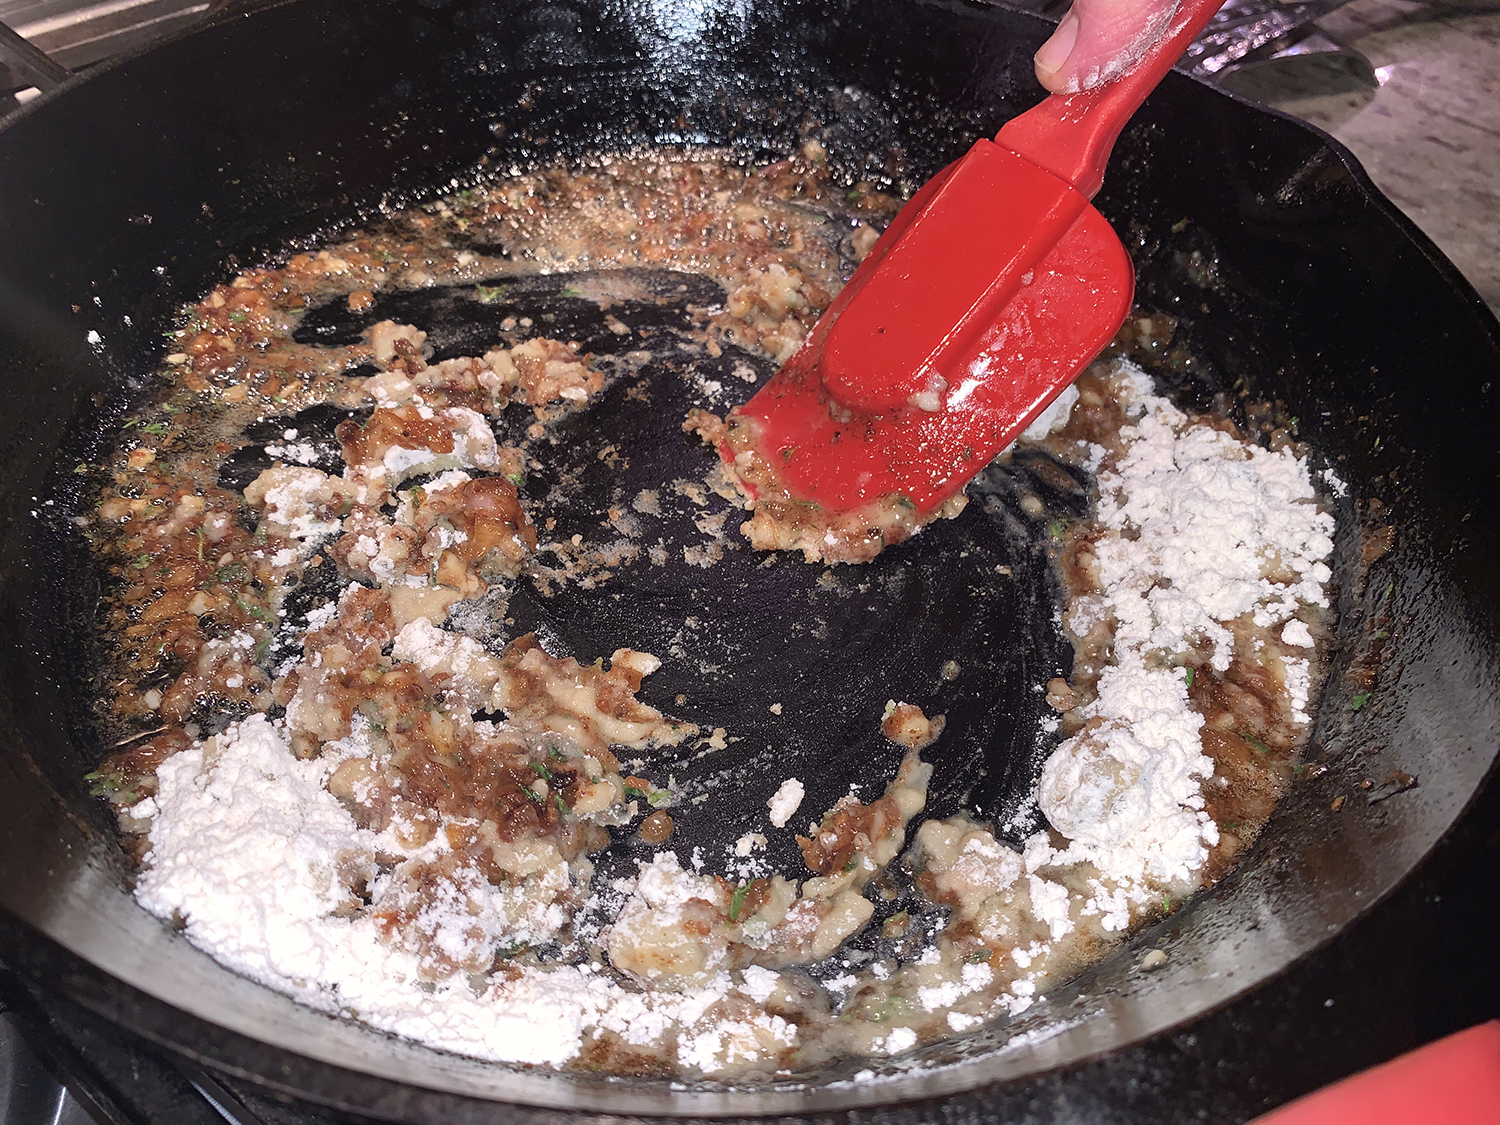
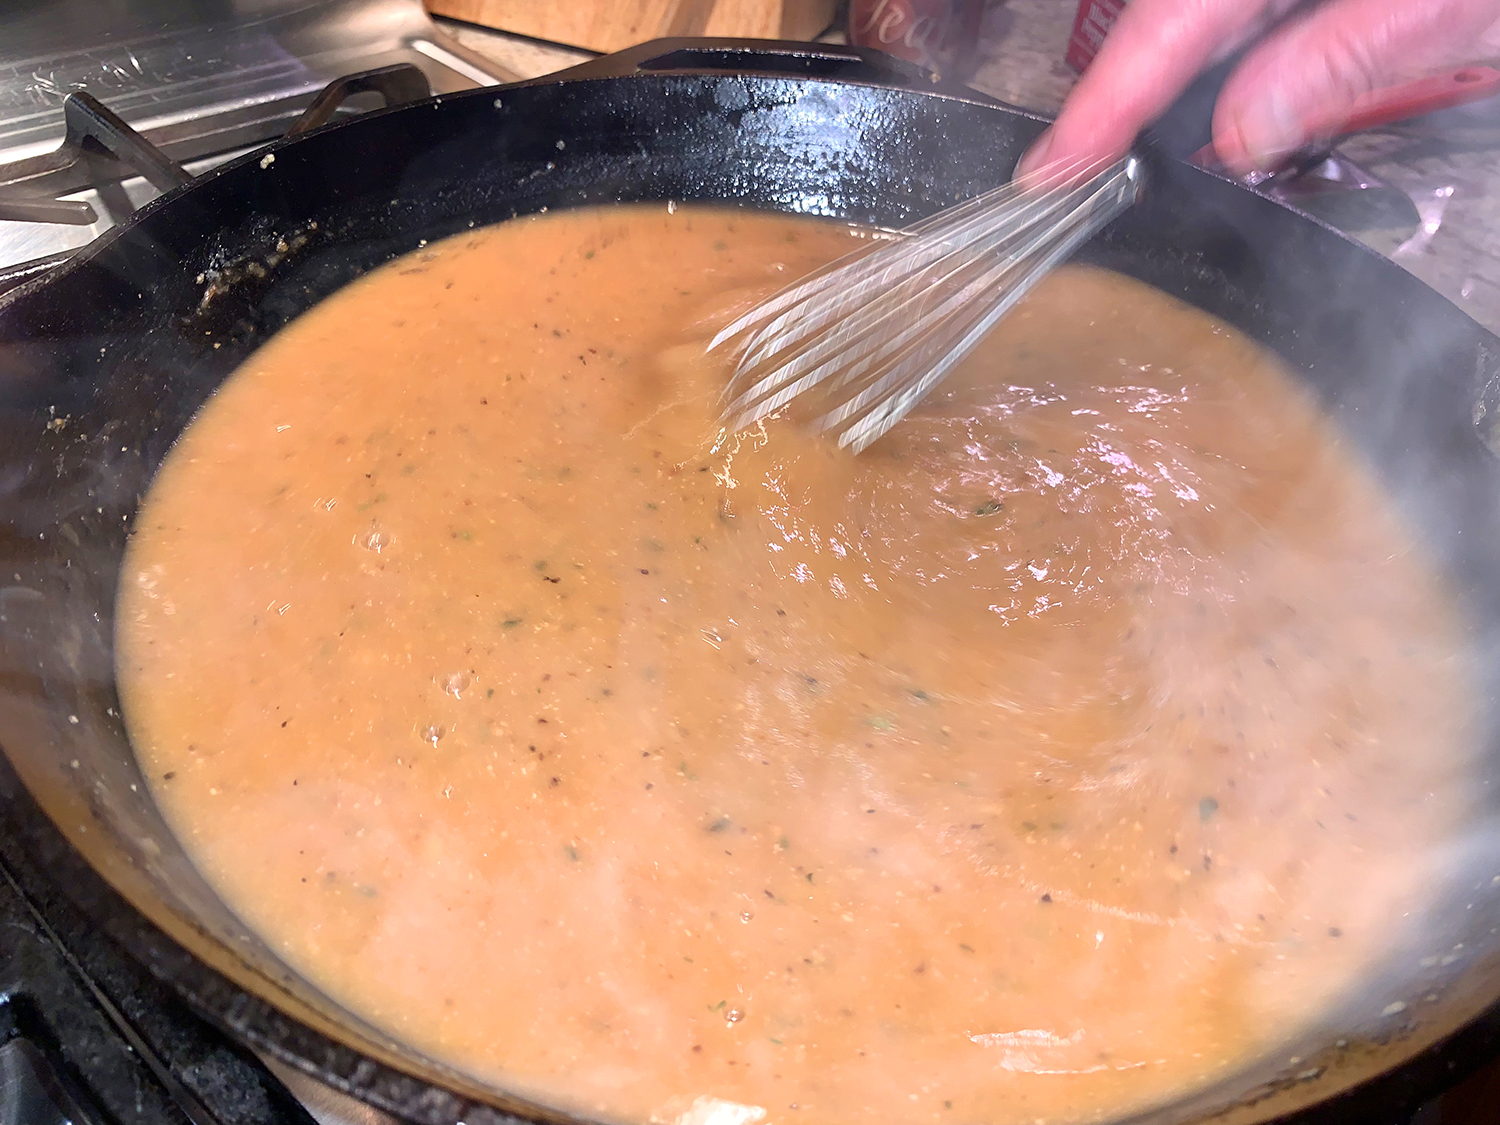
  • Stir in flour and cook for 2 minutes. Whisk in hot broth and Worcestershire sauce. Scrape up any browned bits and smooth out lumps.
  • Simmer gravy 10-15 minutes. Taste and adjust seasonings.
  • Arrange 1-inch slabs of meatloaf on the platter, top with gravy. Serve extra gravy at the dinner table.
Serve with mashed potatoes and a side veg.

http://www.lynnandruss.com

Loosely adapted from a recipe by Allison Ehri Kreitler for Fine Cooking

Cheesy and Creamy Fennel Gratin

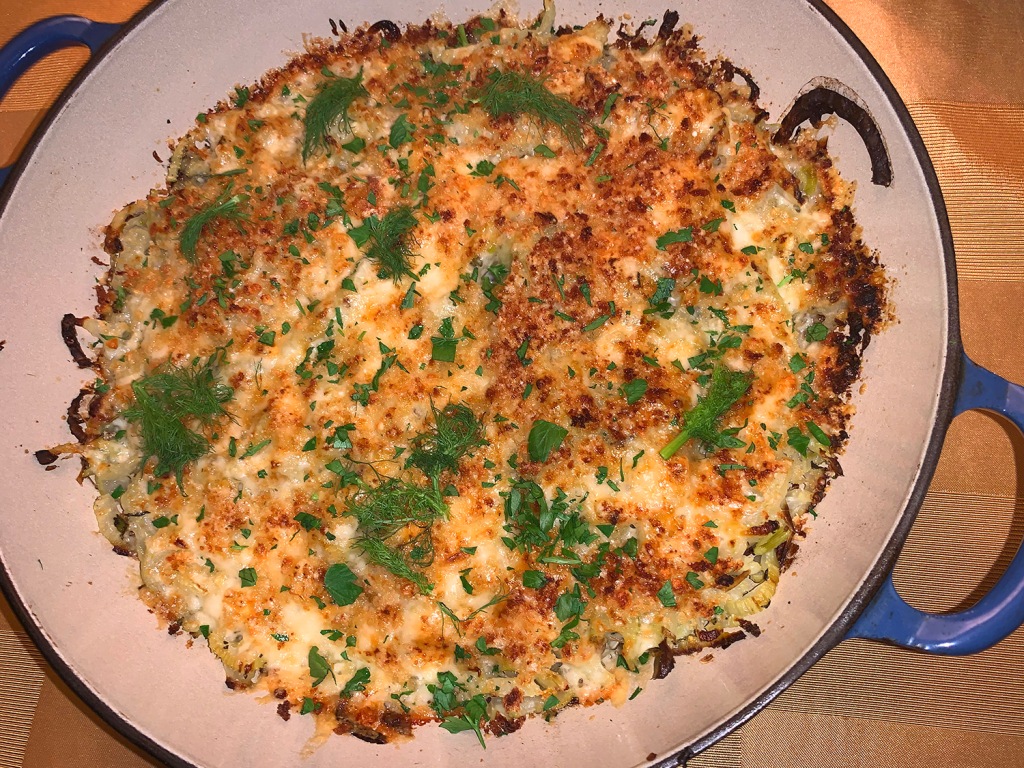
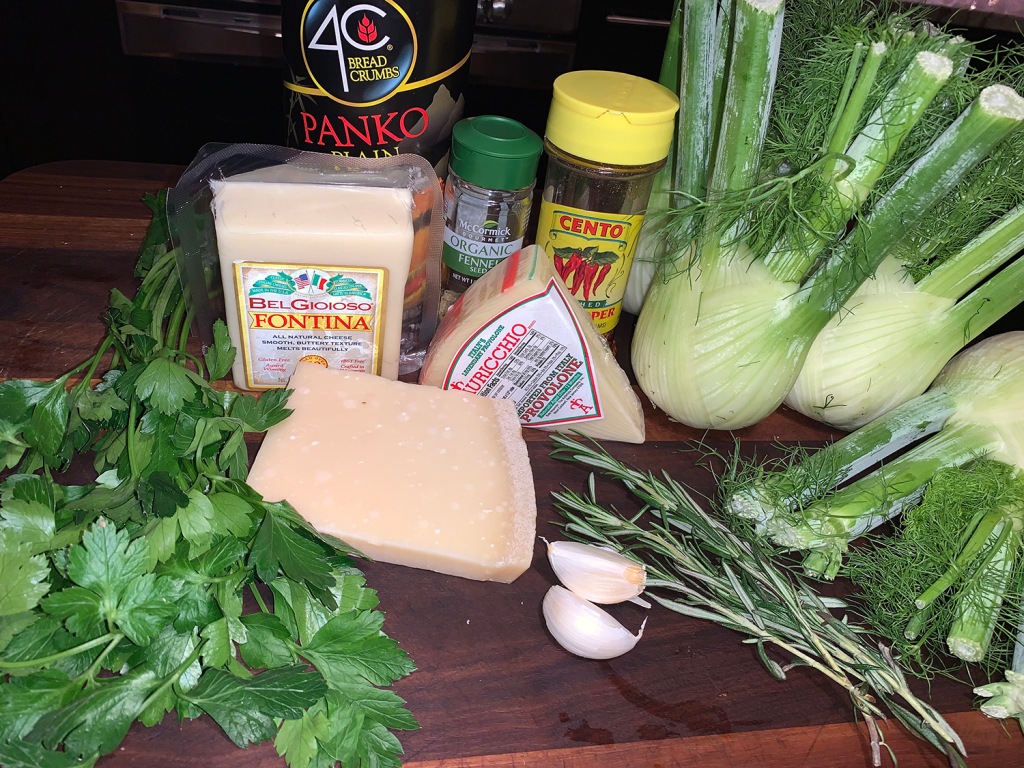
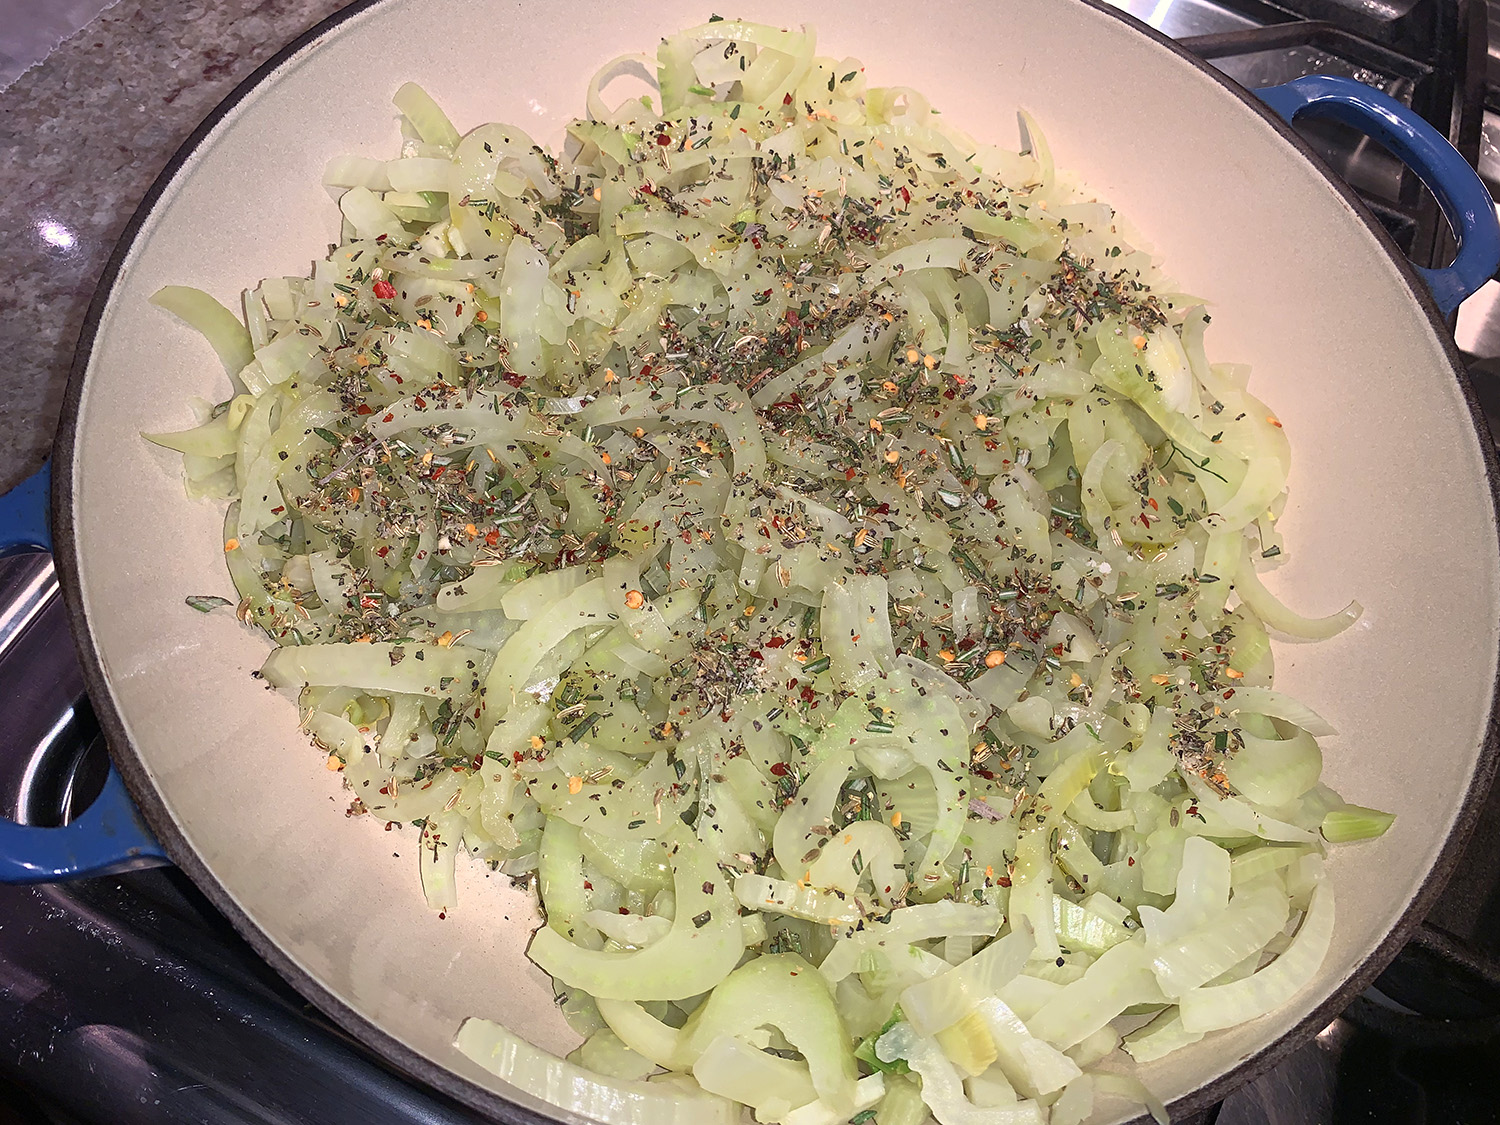
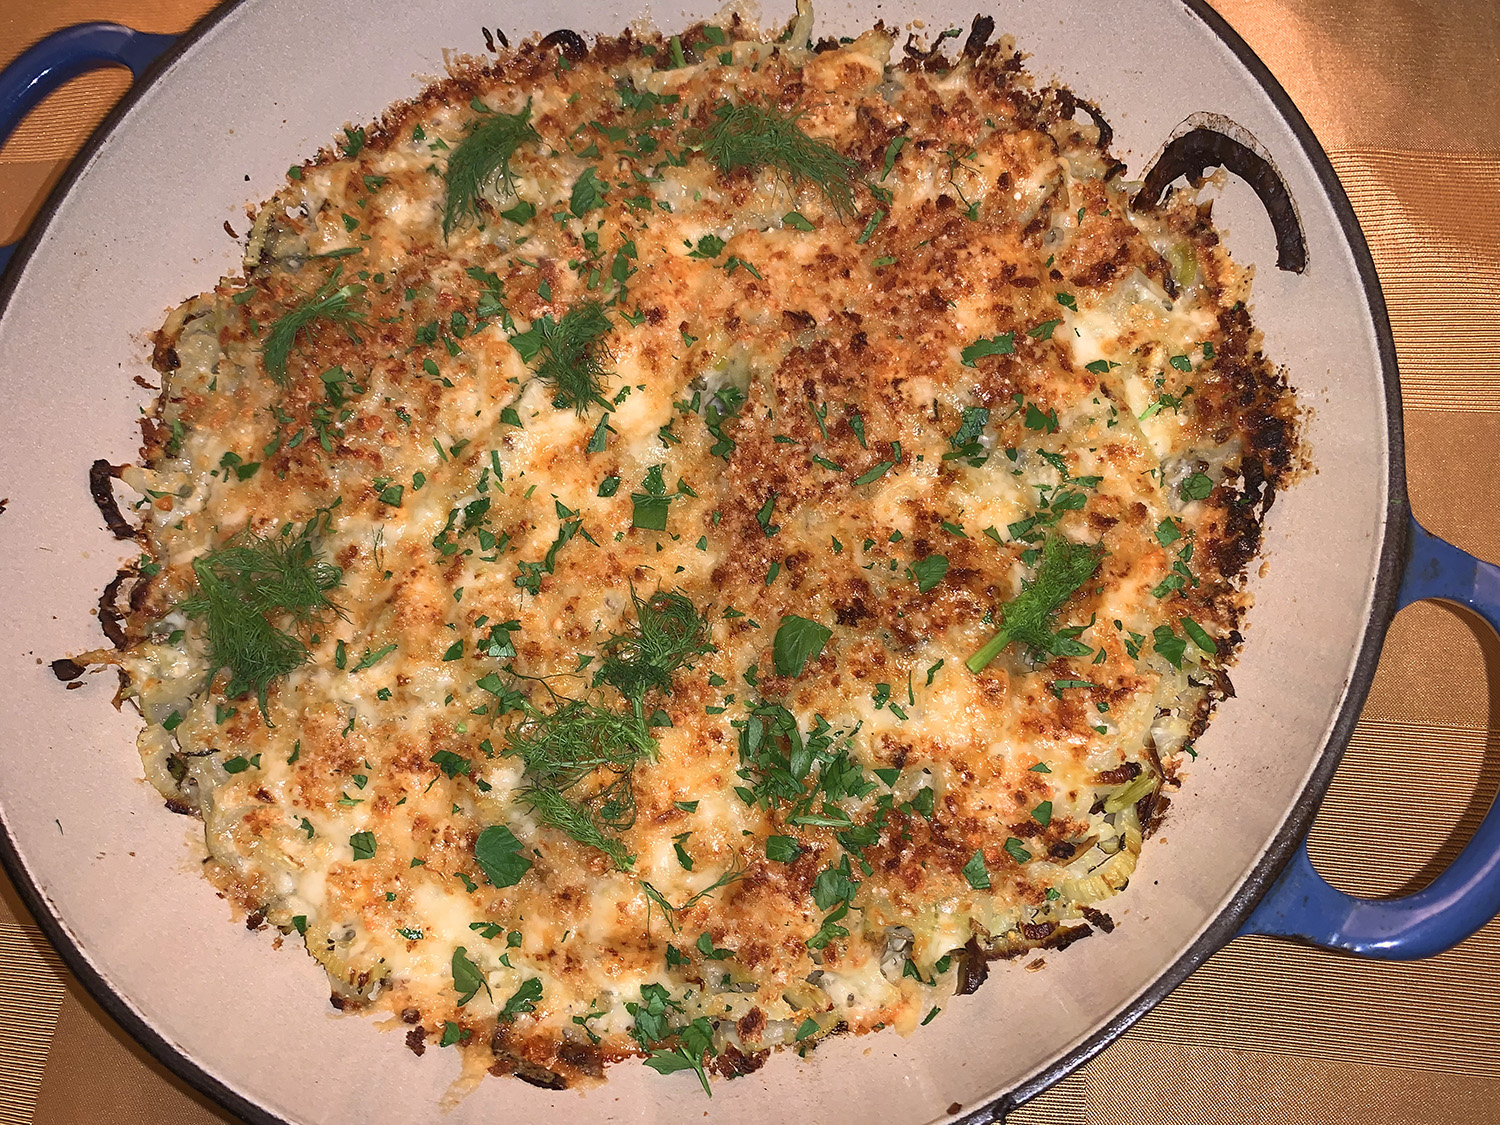
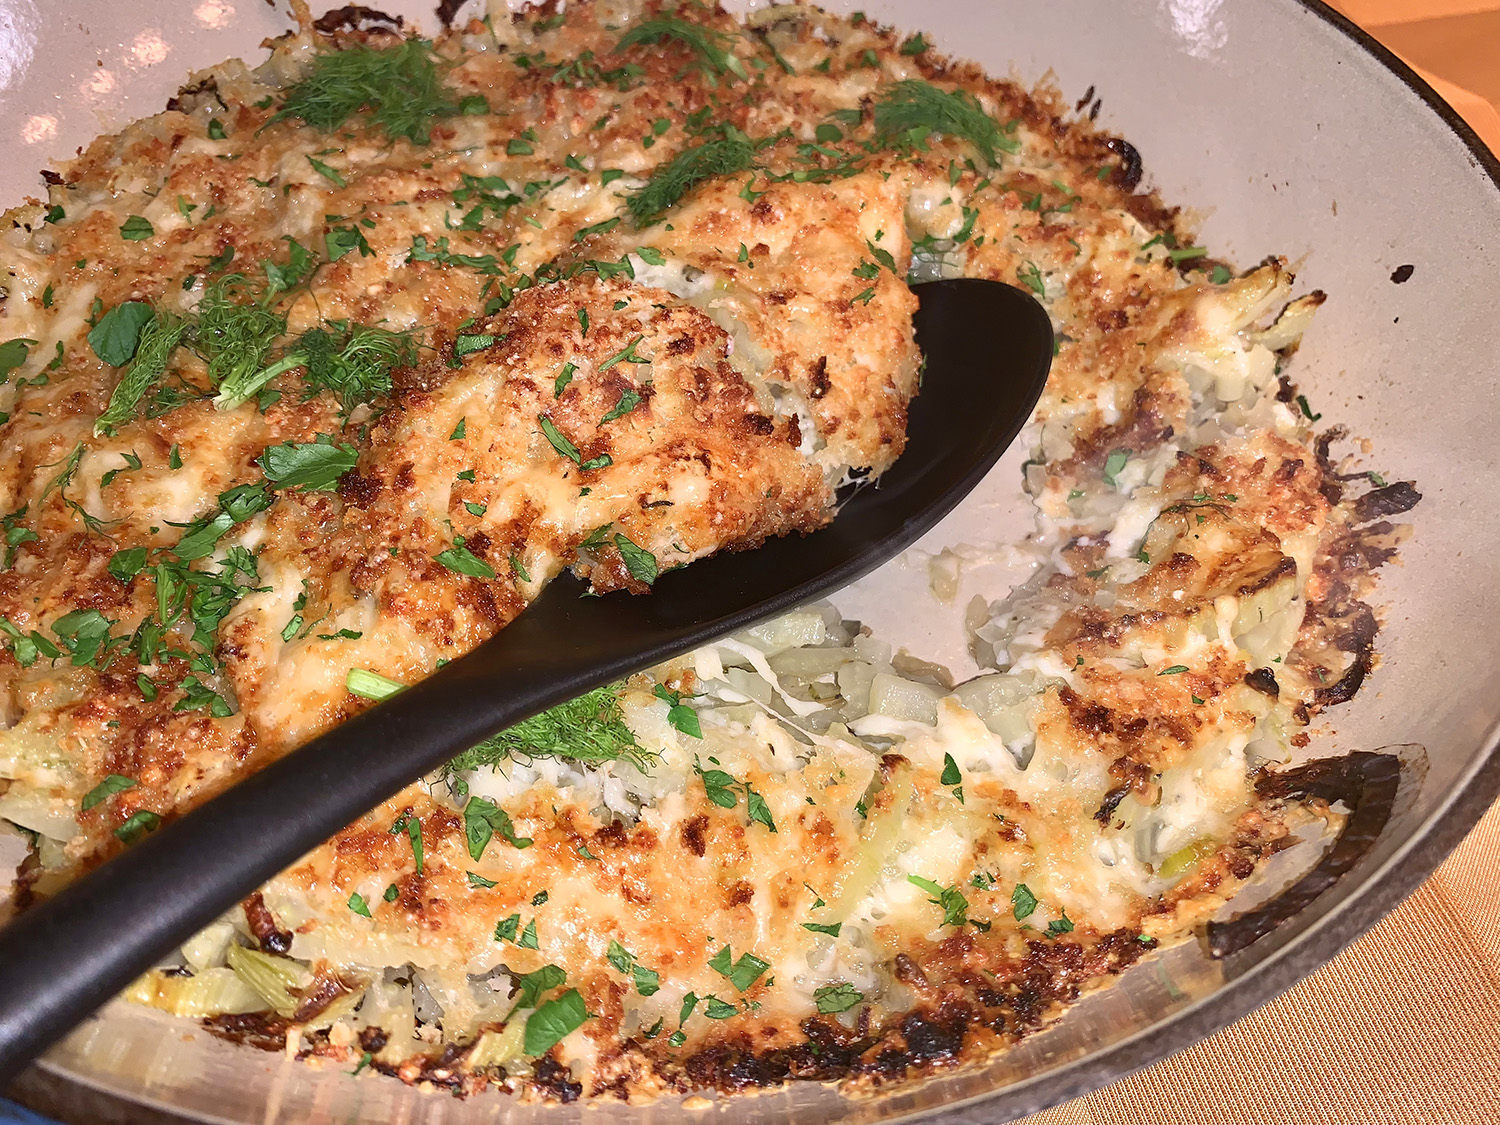
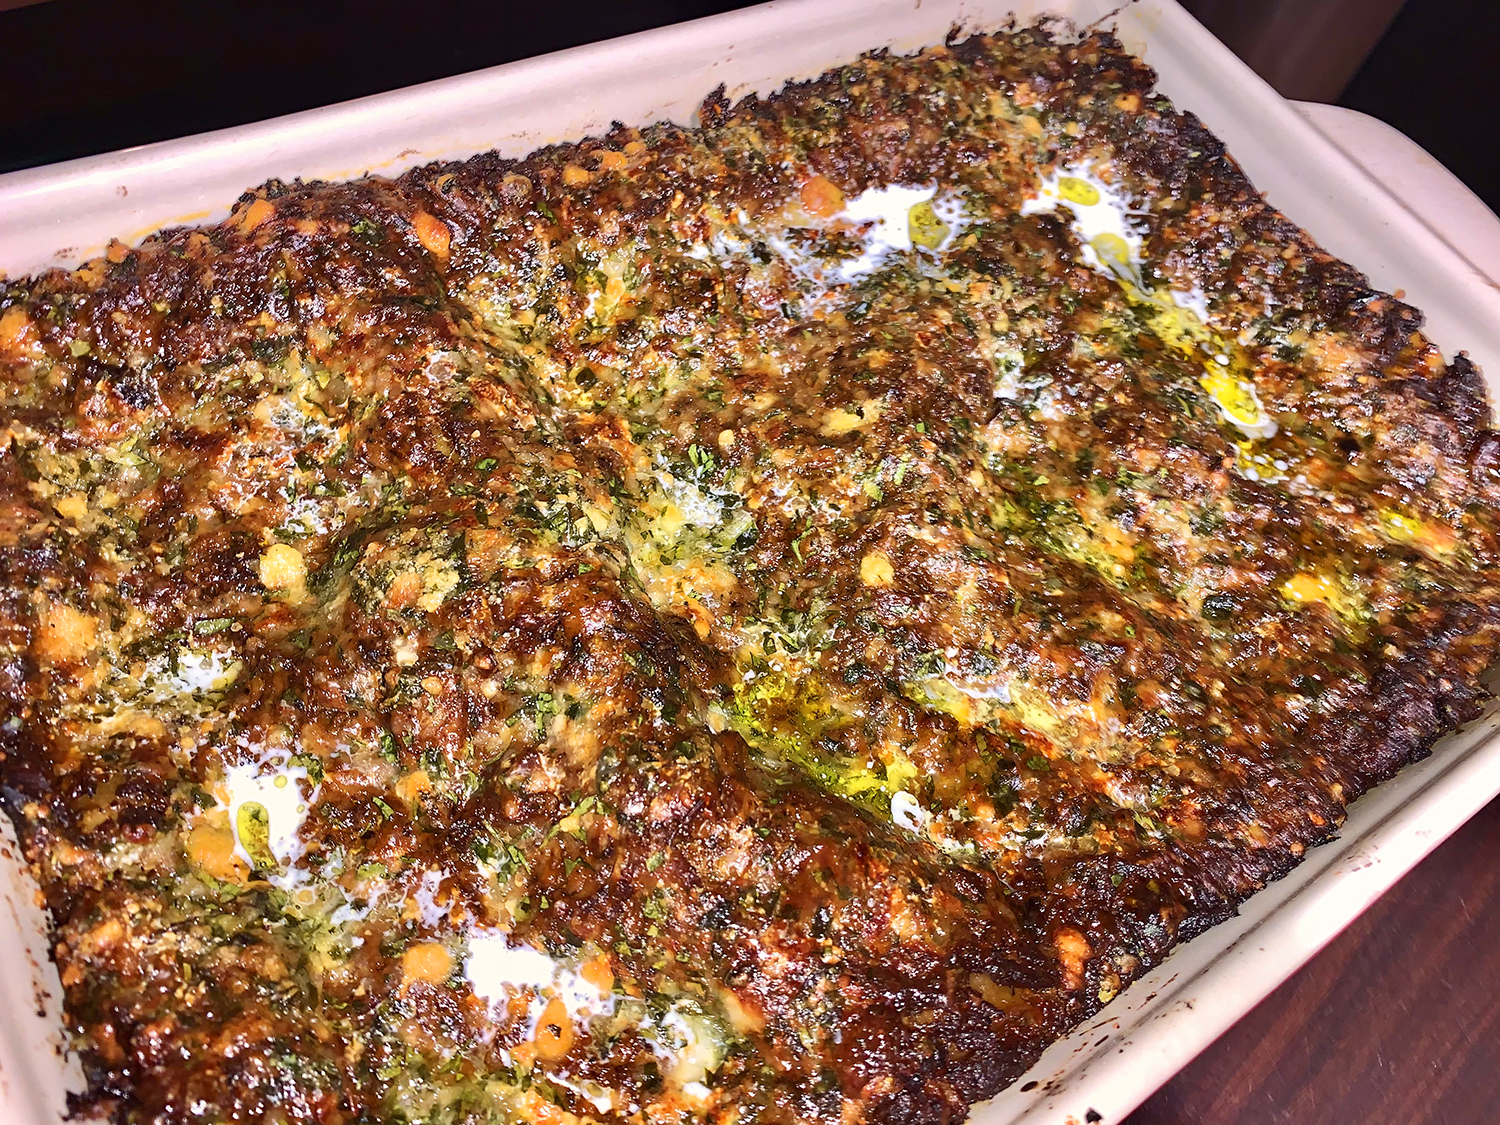
Hands down, one of our most favorite side dishes ever! American chef and cookbook author David Tanis‘ homey but sophisticated Cheesy and Creamy Fennel Gratin casserole, incorporates fresh mozzarella, fennel seed, garlic, crushed red pepper and rosemary, plus a hearty glug of olive oil to help the flavors meld in the oven.

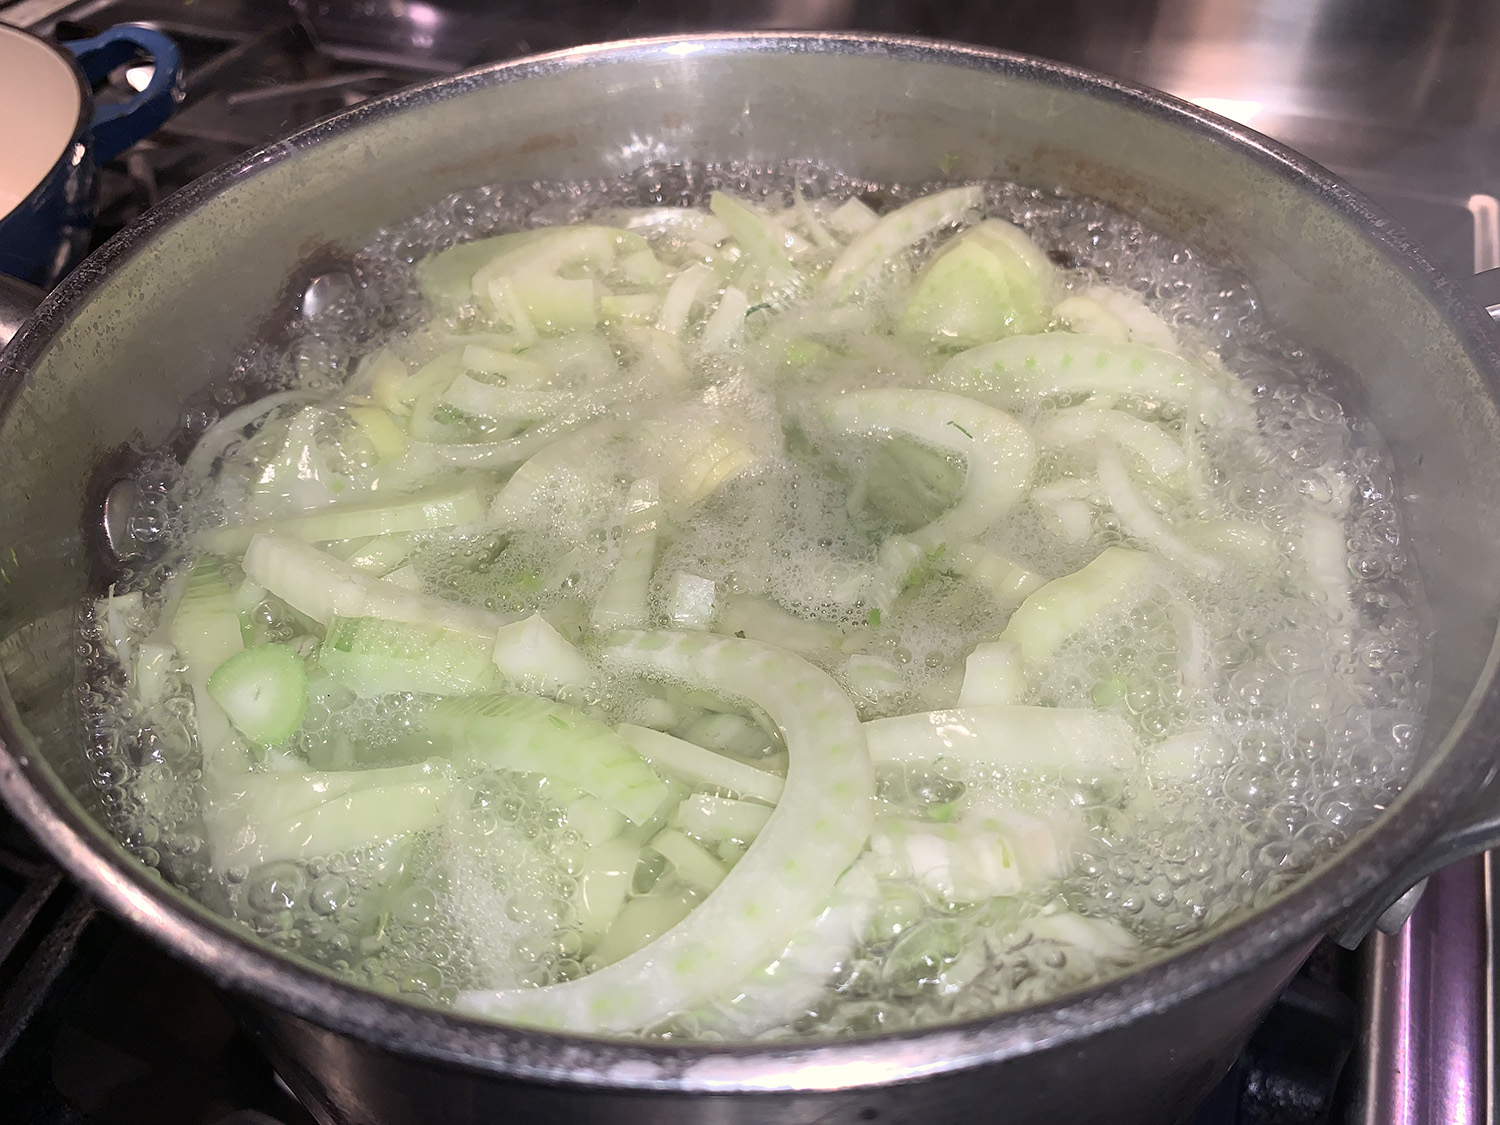
To avoid stringy and tough cooked fennel, David explains in his latest book, “David Tanis Market Cooking,” to blanch the fennel for a few minutes, drain, then run under cold water, a process that just barely tenderizes the fennel slices. The result, after baking, strikes the ideal balance between toothsome bite and jammy caramelized onion.

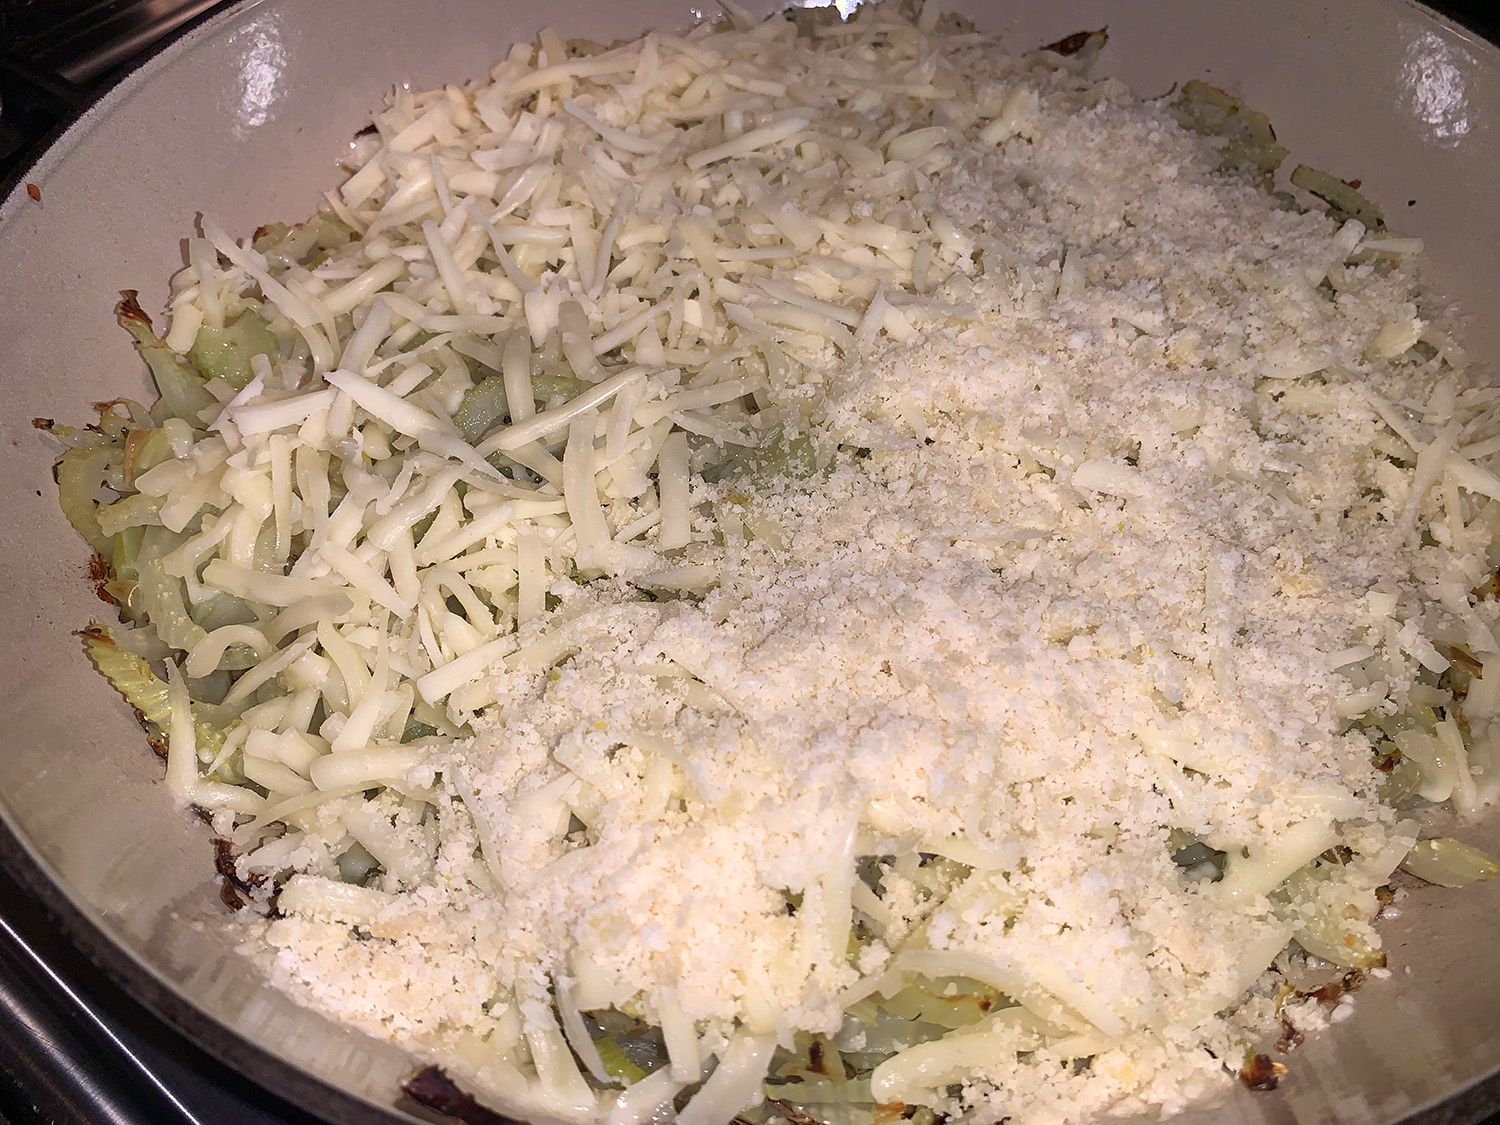
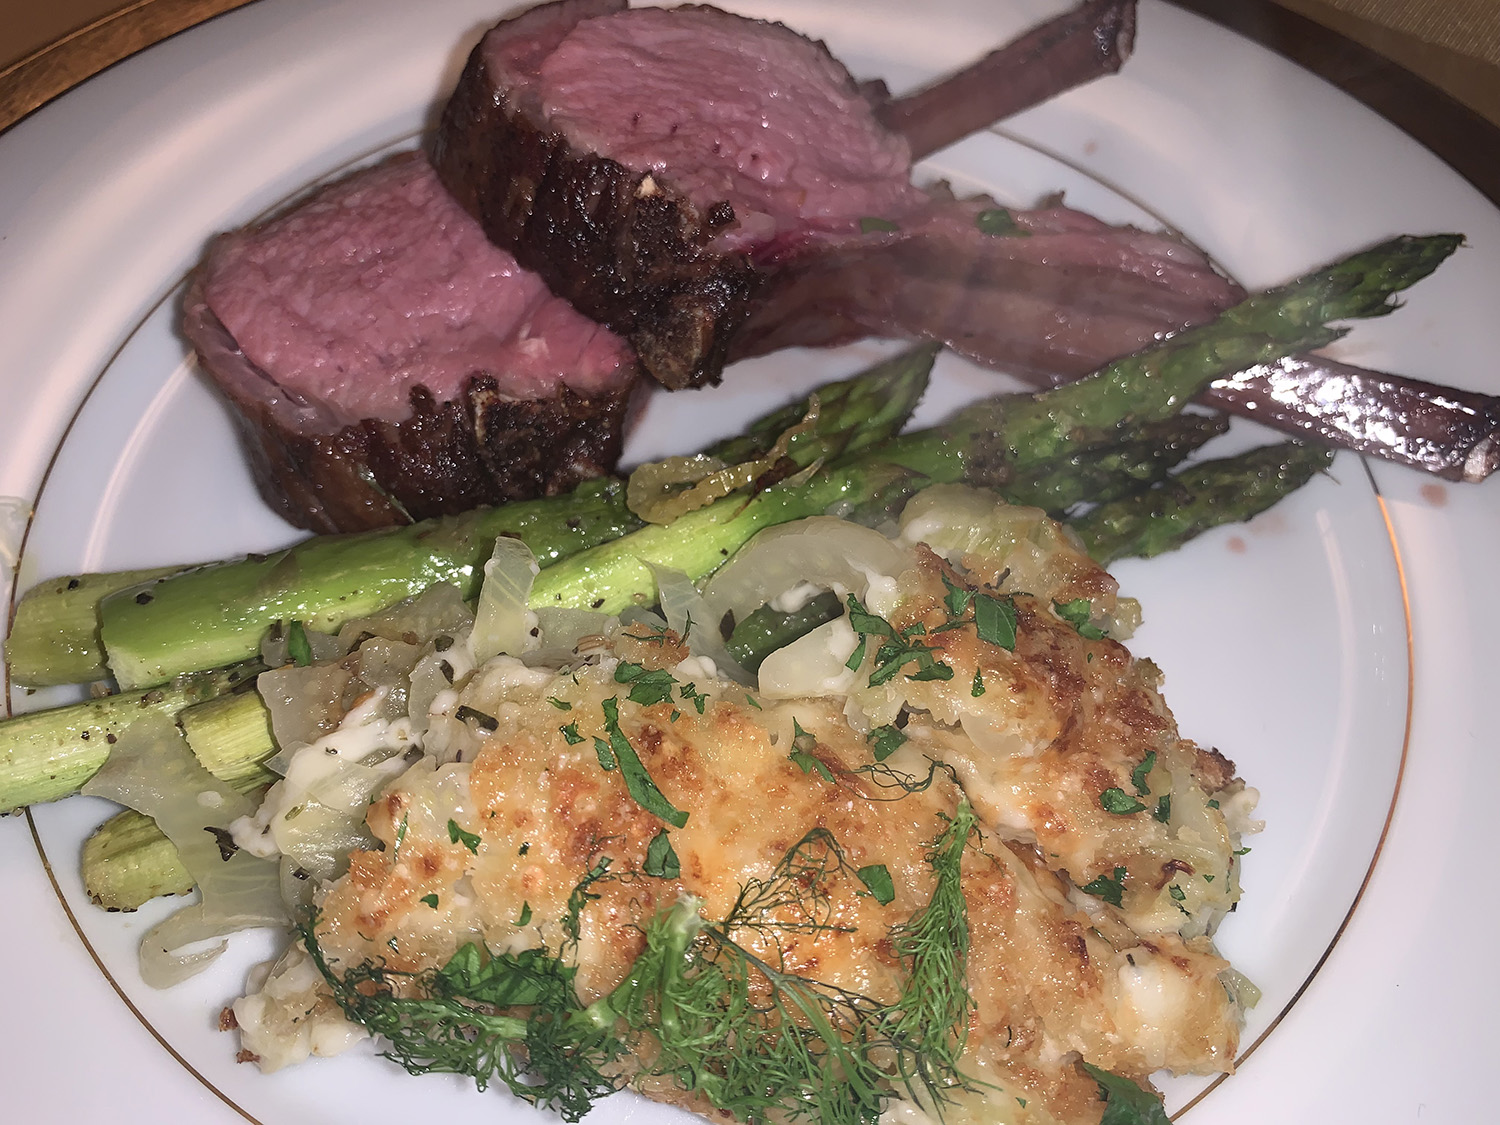
Since many supermarket mozzarellas lack the creaminess of harder-to-find fresh, Milk Street (where we found this recipe) opts for a blend of shredded fontina and provolone. And mixing Parmesan into panko breadcrumbs creates a solid crust that contrasts with the tender fennel beneath. Finally, a sprinkle of fresh parsley adds a pop of color and grassy notes to balance the cheese. This simple combination elevates the dish into something much more than the sum of its parts, and was a perfect compliment to our rack of lamb entrée.

Important: Don’t use a baking dish or pan that is not broiler safe. After baking, the gratin spends a couple minutes under the broiler to brown the topping, so be sure the vessel can withstand the intense heat.

Cheesy and Creamy Fennel Gratin

  • Servings: 4-6
  • Difficulty: easy
  • Print

Ingredients

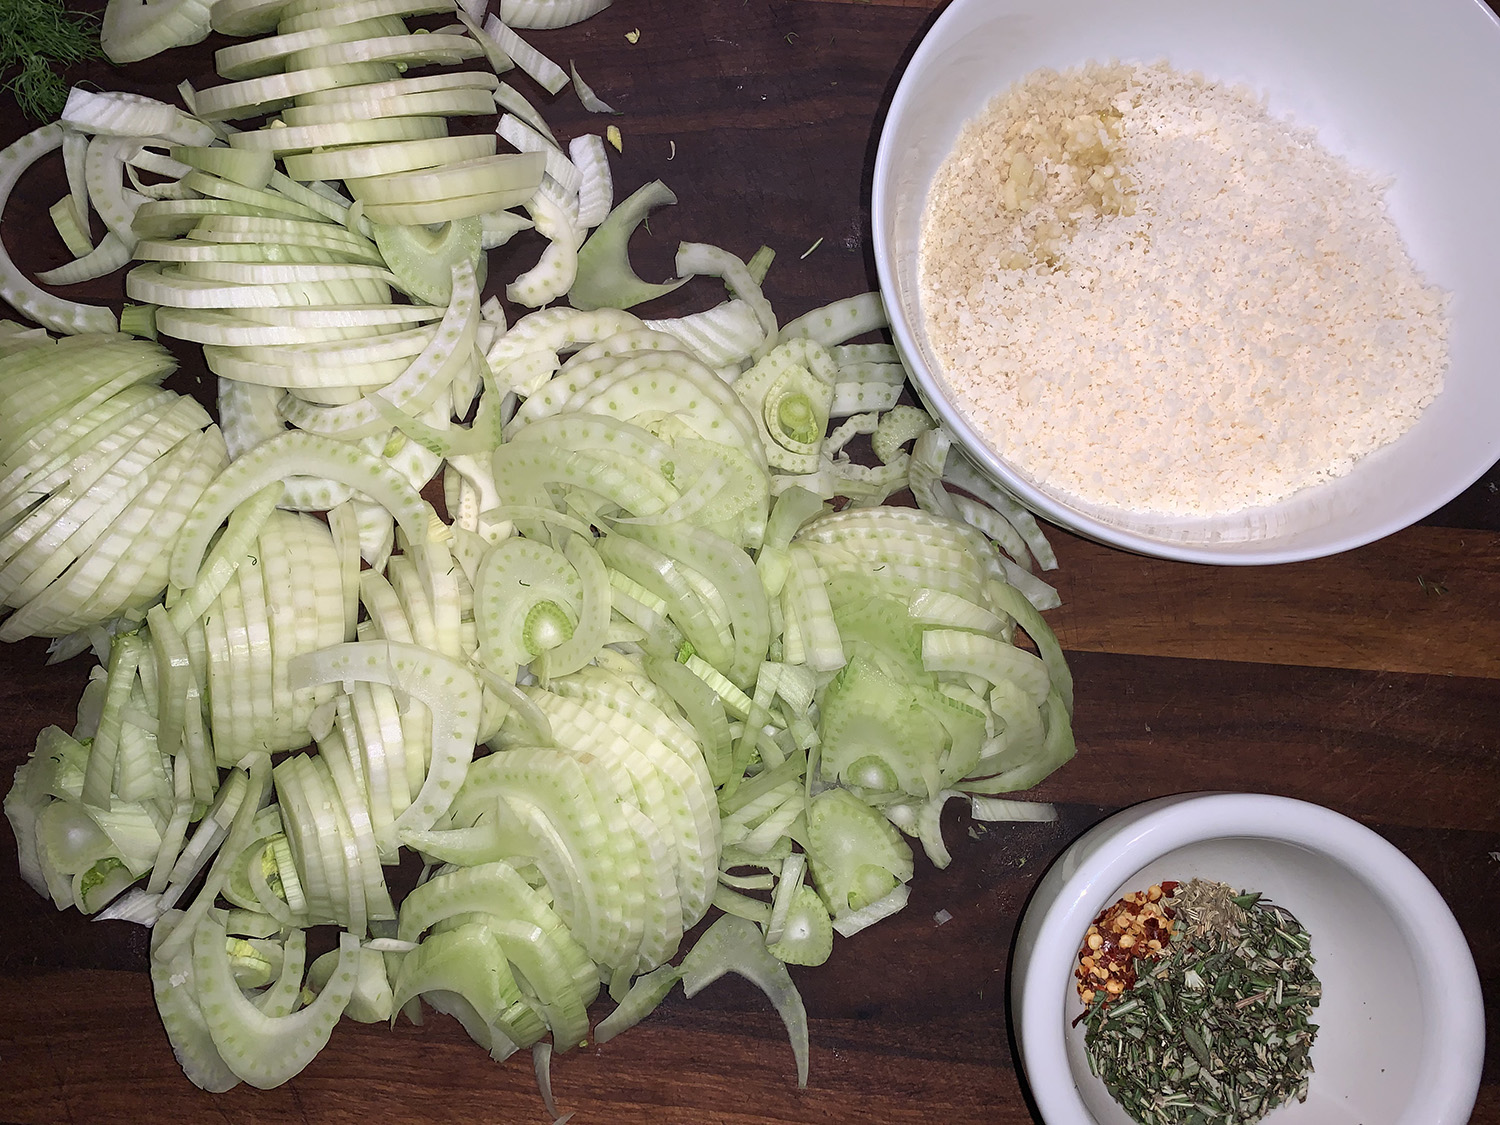
  • 4 medium fennel bulbs (about 2½ lbs. total), halved lengthwise, cored and sliced about ¼ inch thick
  • Kosher salt and ground black pepper
  • 2 Tbsp. extra-virgin olive oil
  • 2 tsp. finely chopped fresh rosemary
  • 1 tsp. fennel seeds, lightly crushed
  • 1/4 tsp. red pepper flakes
  • 1 1/2 oz. Parmesan cheese, finely grated (¾ cup)
  • 1/4 cup panko breadcrumbs
  • 2 medium garlic cloves, minced
  • 4 oz. fontina cheese, shredded (1 cup)
  • 4 oz. provolone cheese, shredded (1 cup)
  • 1/3 cup lightly packed fresh flat-leaf parsley, chopped

Directions

  1. Heat the oven to 450°F with a rack in the upper-middle position.
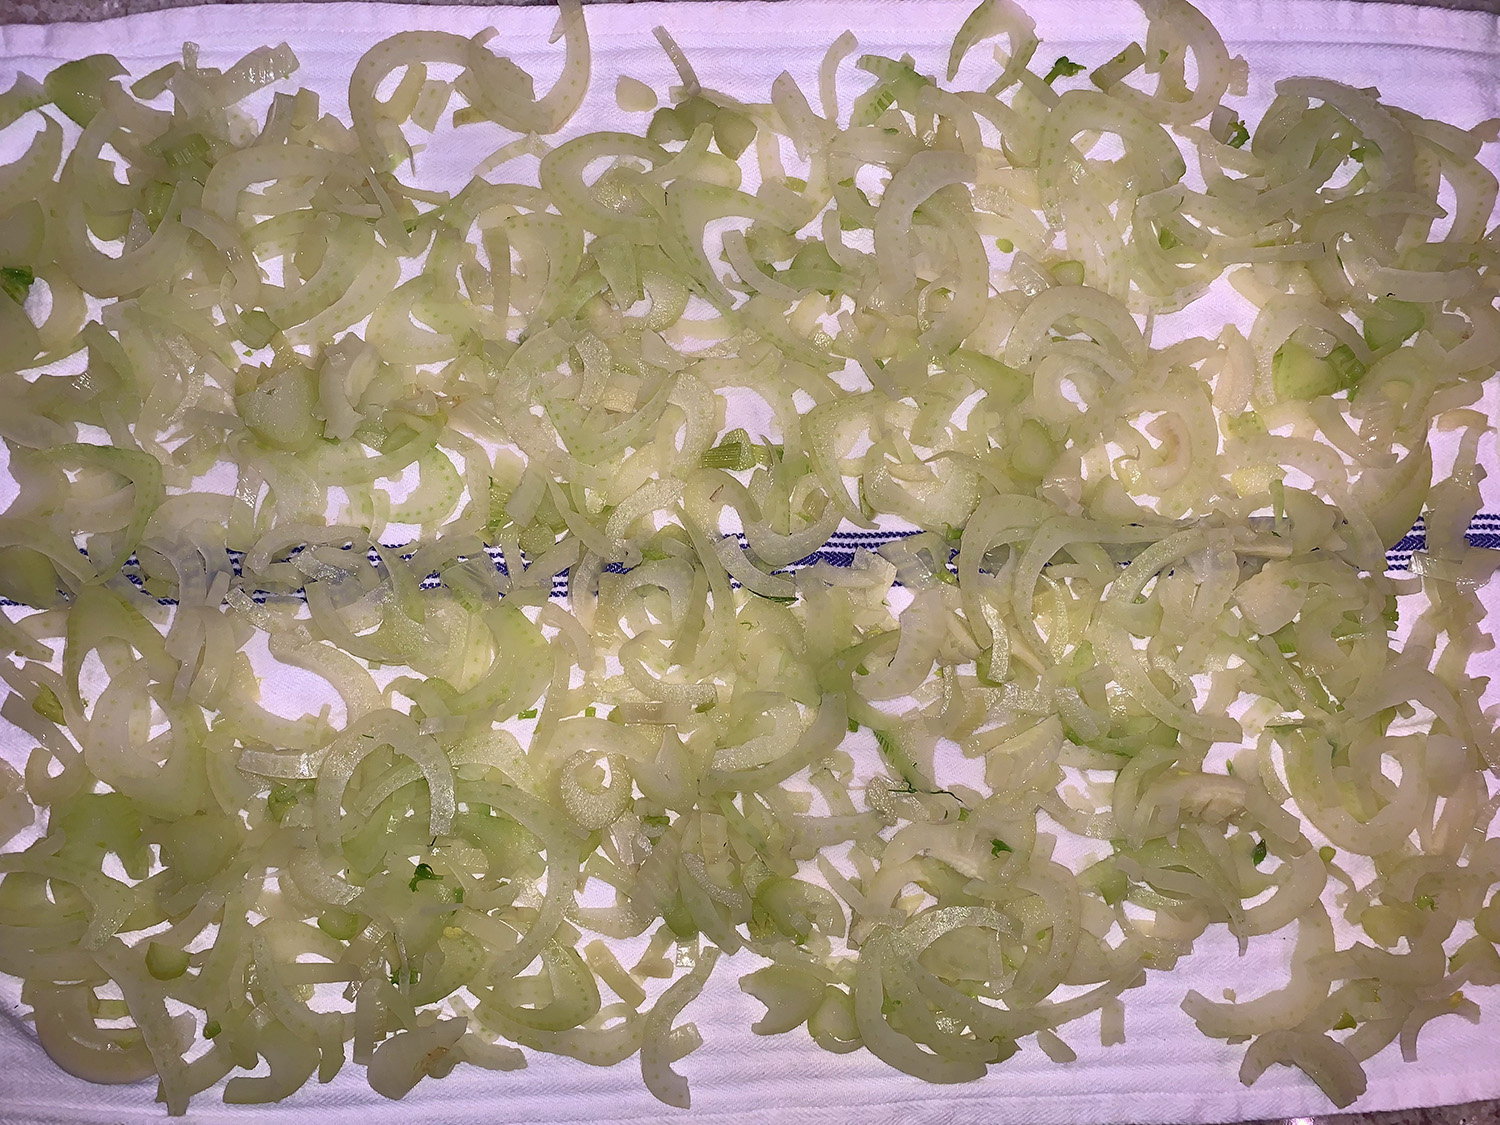
  2. In a large pot, bring 2 quarts water to a boil. Add the fennel and 1 tablespoon salt, then cook for 3 minutes. Drain in a colander and rinse under running cold water until cool to the touch. Shake the colander to remove as much water as possible, then lay the slices out on a kitchen towel and thoroughly pat them dry.
  3. In a 9-by-13-inch broiler-safe baking dish, toss together the fennel, oil, rosemary, fennel seeds, pepper flakes and ¼ teaspoon each salt and black pepper; distribute in an even layer.
  4. Roast until beginning to brown and a skewer inserted into the fennel meets no resistance, 25 to 30 minutes.
  5. Meanwhile, in a small bowl, stir together the Parmesan, panko and garlic.
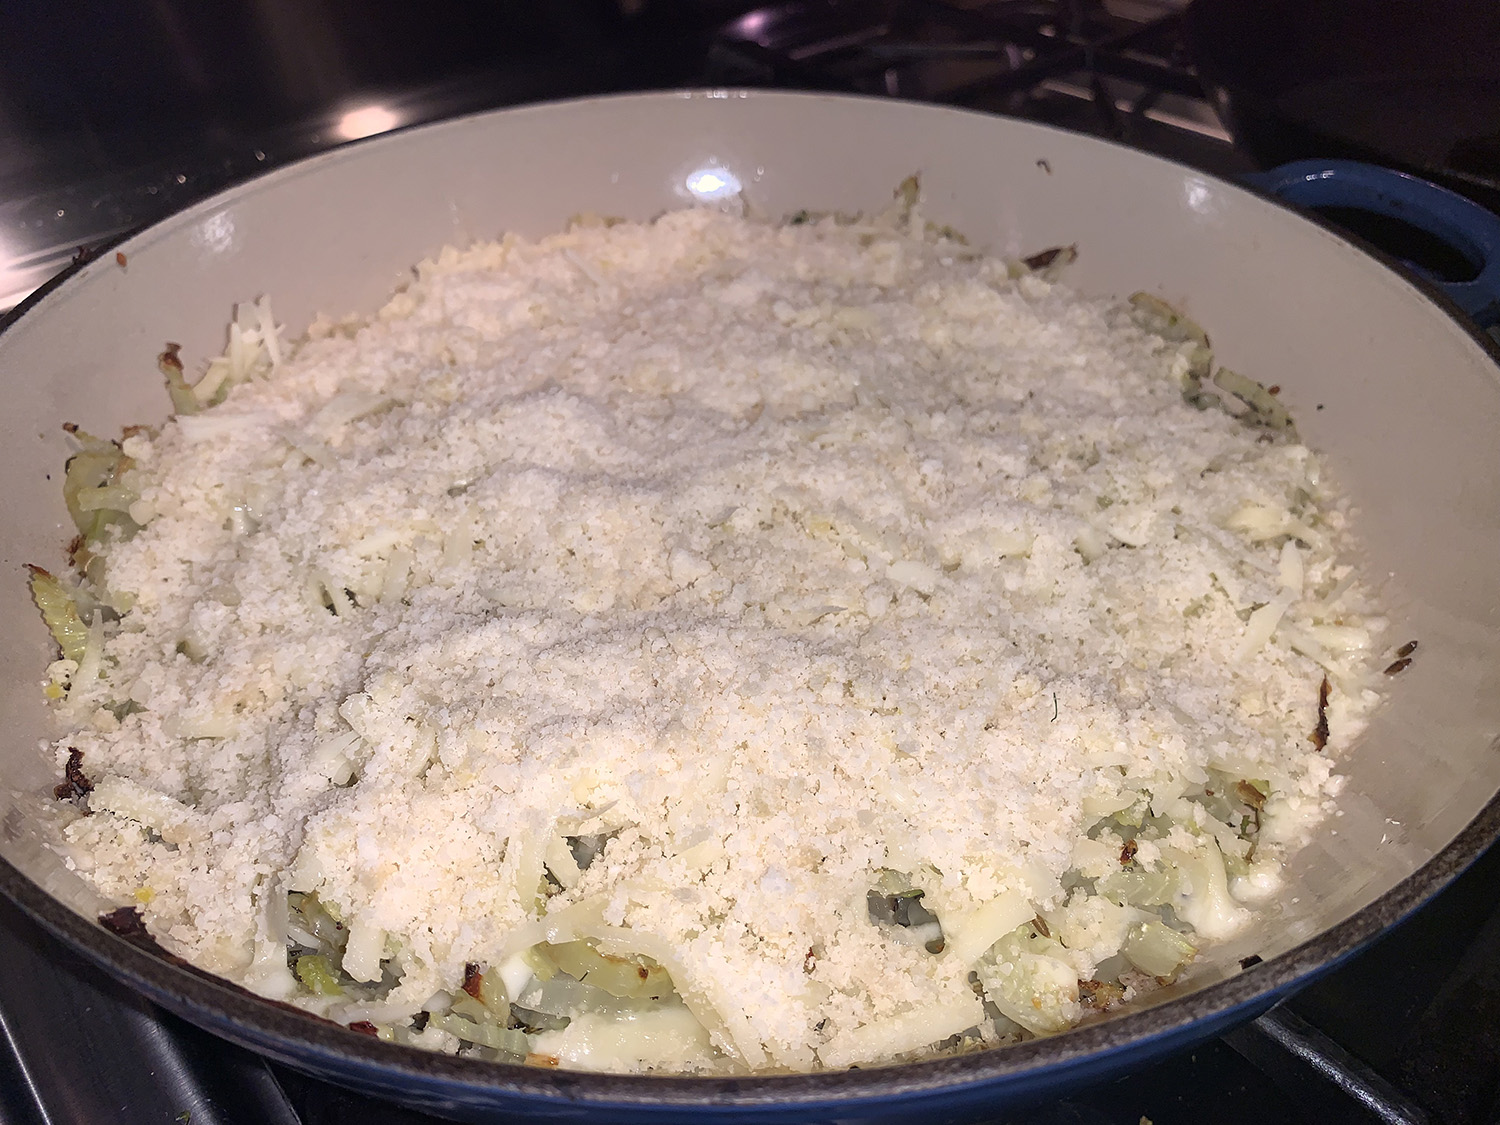
  6. Remove the baking dish from the oven and turn on the broiler. Evenly distribute the fontina and provolone over the top of the fennel, then sprinkle on the Parmesan-panko mixture.
  7. Broil until the top is nicely browned, 2 to 3 minutes. Remove from the oven and cool for 5 minutes. Sprinkle with the parsley and serve.

http://www.lynnandruss.com

Adapted by Calvin Cox for Milk Street
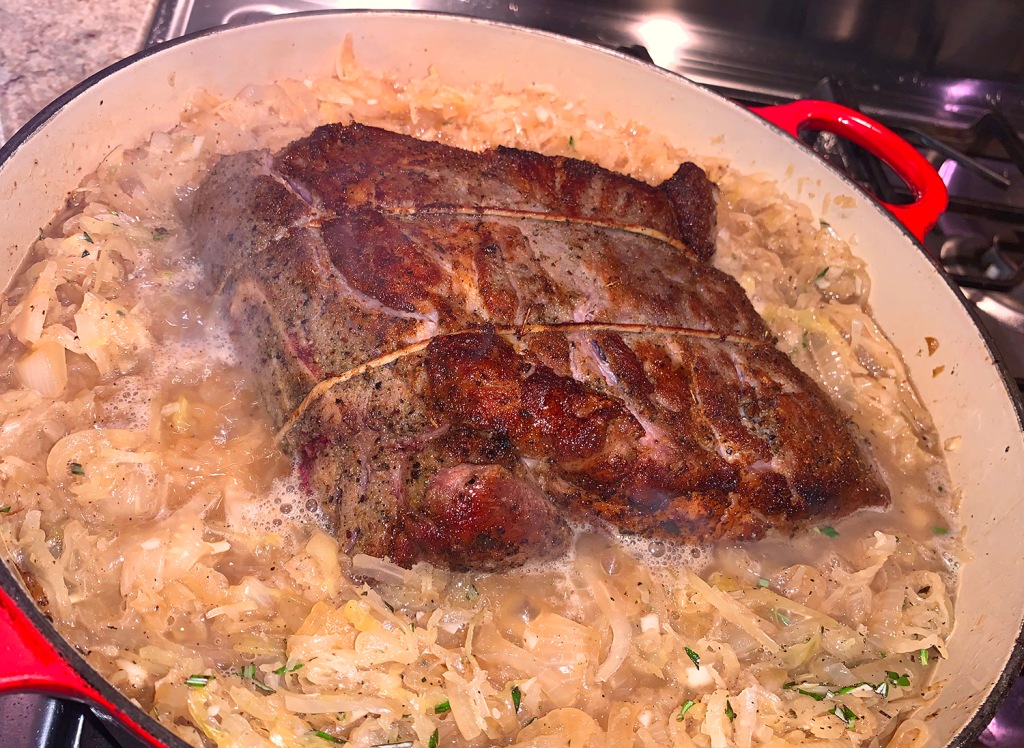
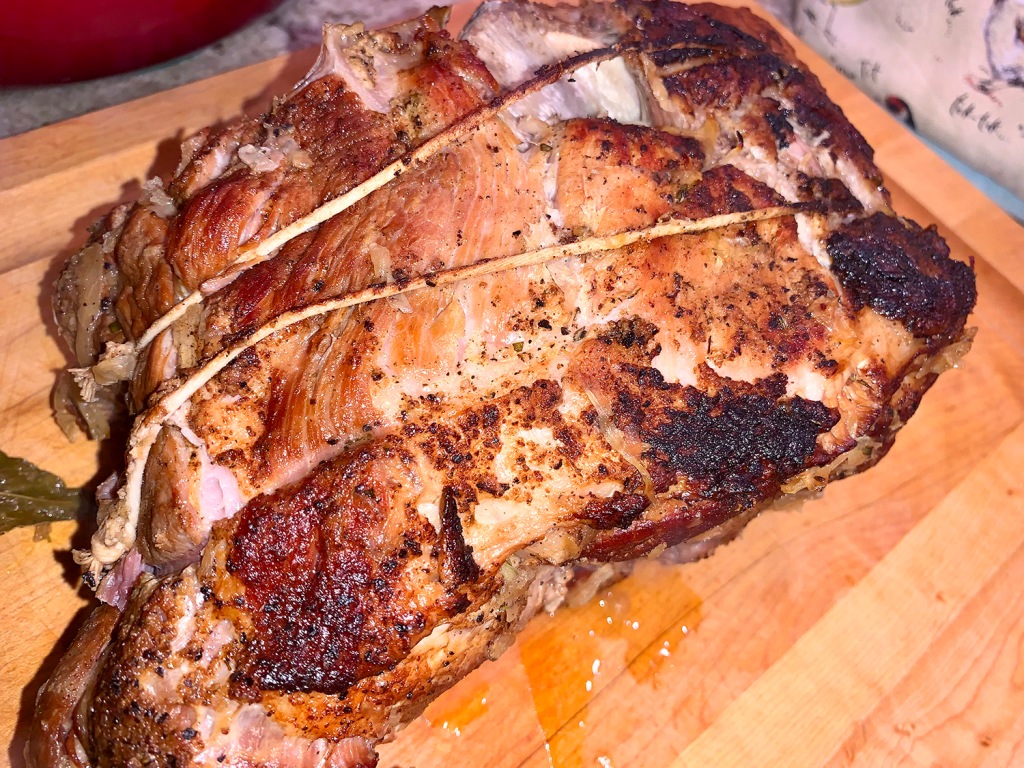
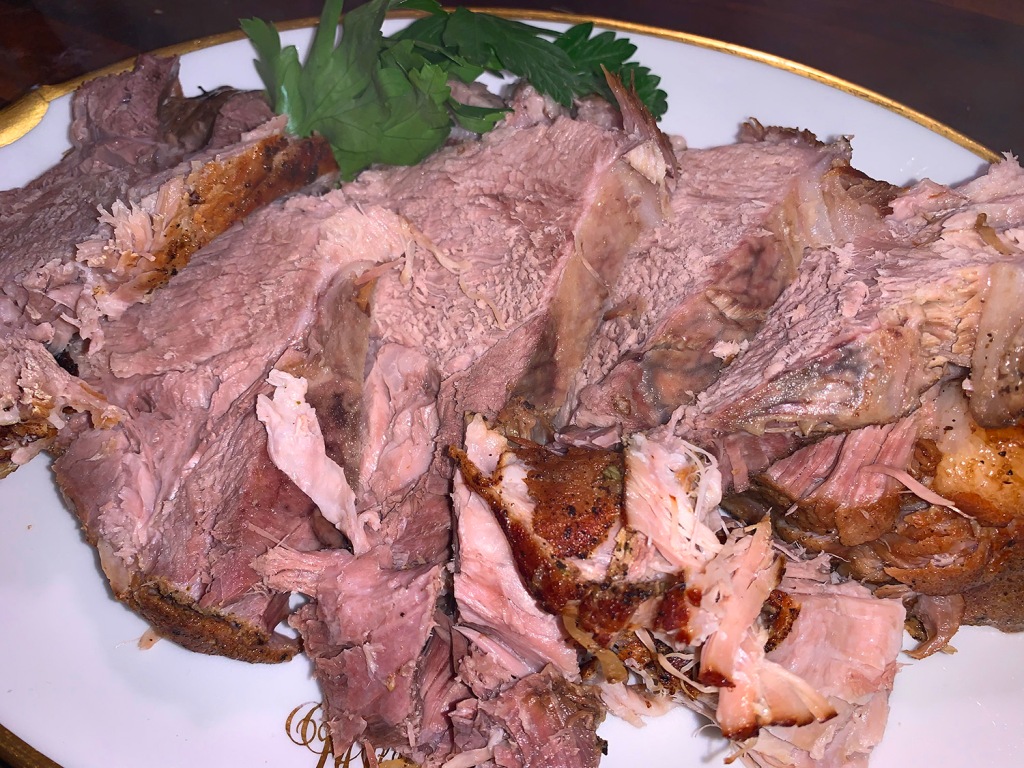
Russ’s Braised Pork and Sauerkraut

COVID-19 and its variants are following us into 2022, so invite good luck into your new year. For the Pennsylvania Dutch, that means pork and sauerkraut, which is good luck because pigs root around with their snouts in a forward motion. (You always want to move forward, not backward in life, of course.) Sauerkraut is made with cabbage, which is considered lucky because it’s green just like money.

It is also a household tradition on my husband’s German side of the family to serve pork and sauerkraut on New Year’s Day. A tradition I couldn’t quite get jiggy with when we first started dating twenty-plus years ago; however, I am now a huge convert. If you can’t beat ’em, join ’em, right?

This year the plan was to host a small NYD dinner party, thus the large piece of meat. Unfortunately, all of those folks came down with COVID a few days prior and were under quarantine, so it was just the two of us… I guess we didn’t start the good luck process early enough?

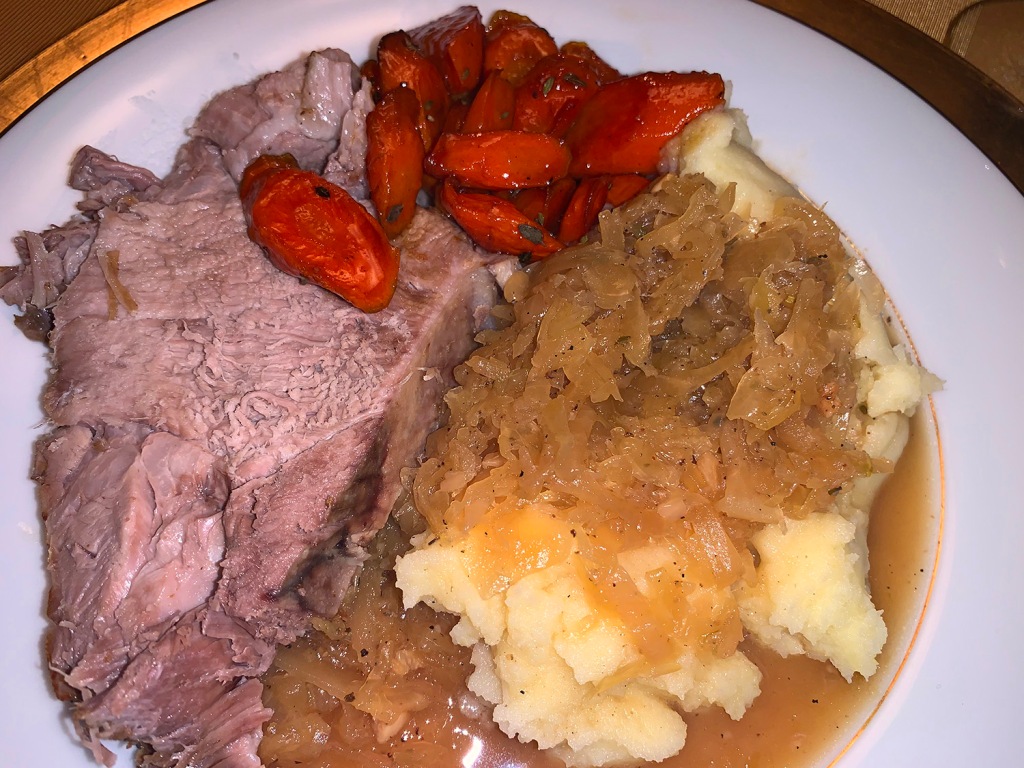
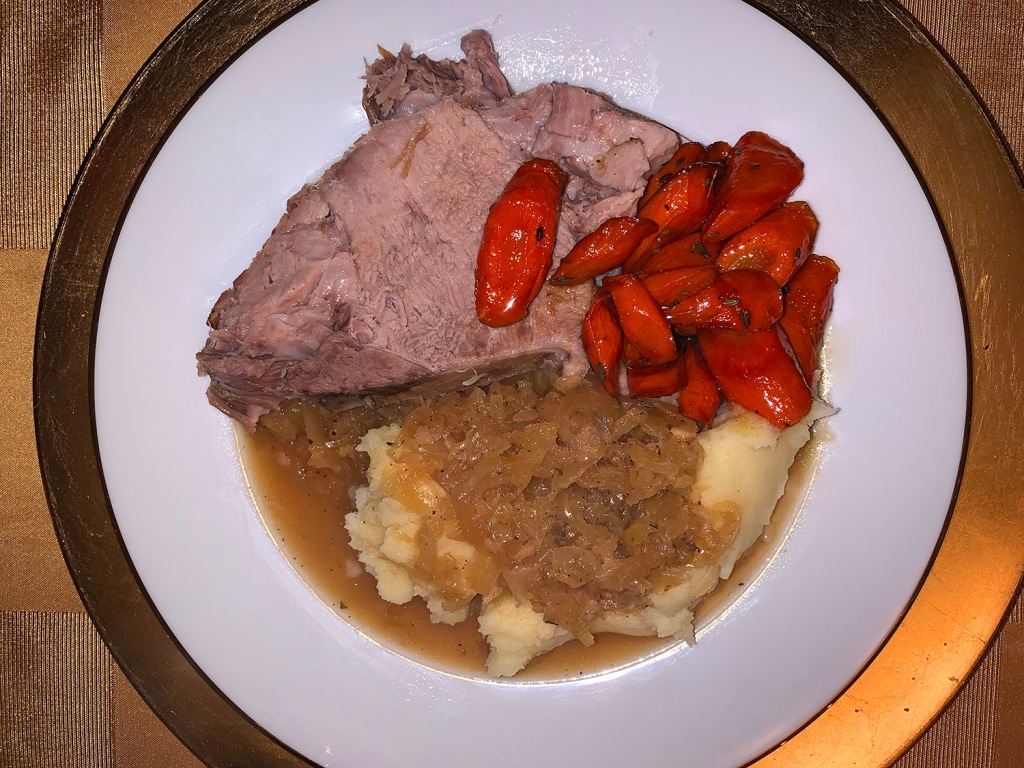
One minor switcharoo we made this time was using some hard cider brewed by son Daniel instead of the beer, lending a slight apple taste to the dish. Along with garlicky mashed potatoes, our other side was Whiskey-Glazed Carrots.

The Hubs made sure the COVID crew got part of the good luck meal too. He drove over all of the leftovers the following day. Paying it forward. See, their good luck has already started…

Russ's Braised Pork and Sauerkraut

  • Servings: 8
  • Difficulty: easy
  • Print

Ingredients

  • 1 Tbsp. salt
  • 1 1/2 tsp. onion powder
  • 1 1/2 tsp. garlic powder
  • 1 1/2 tsp. ground black pepper
  • 1/2 tsp. dried oregano, ground finely
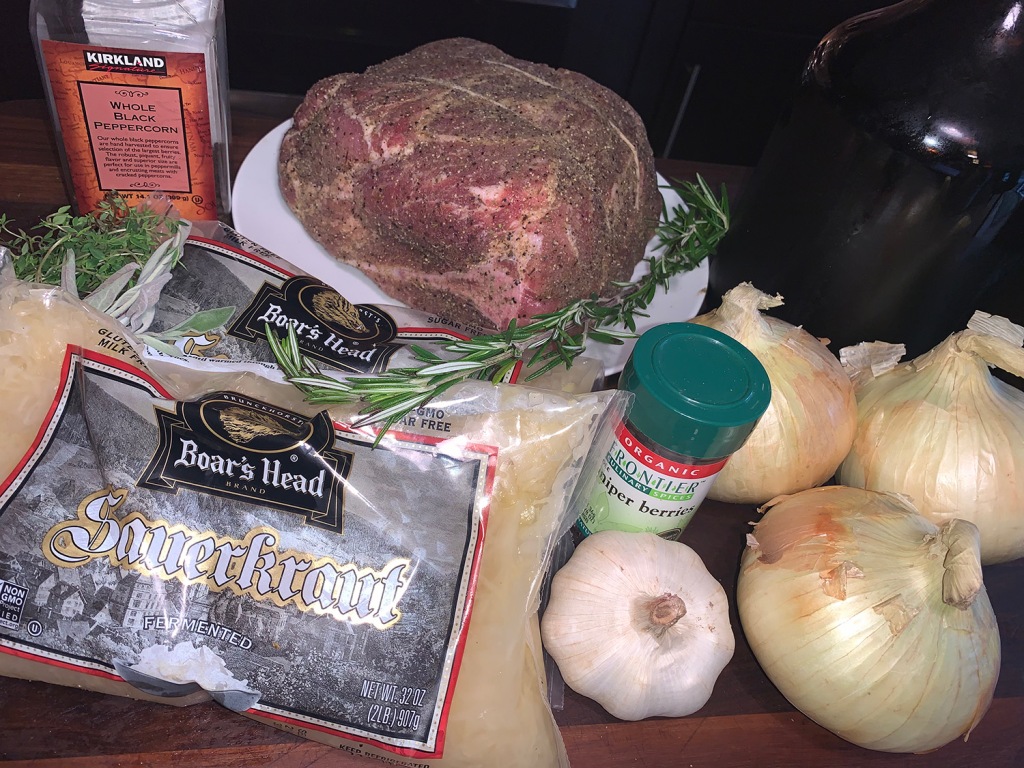
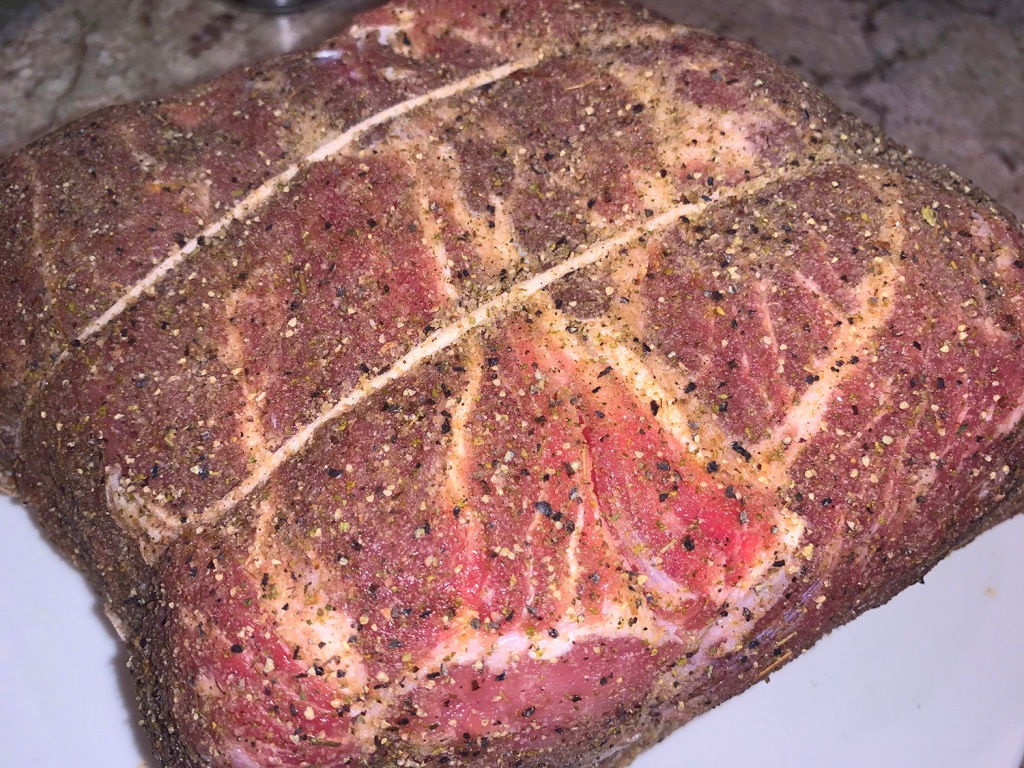
  • 1 bone-in or boneless pork shoulder, 5-6 lbs.
  • 3 large onions, peeled and sliced
  • 8 cloves garlic, peeled and chopped
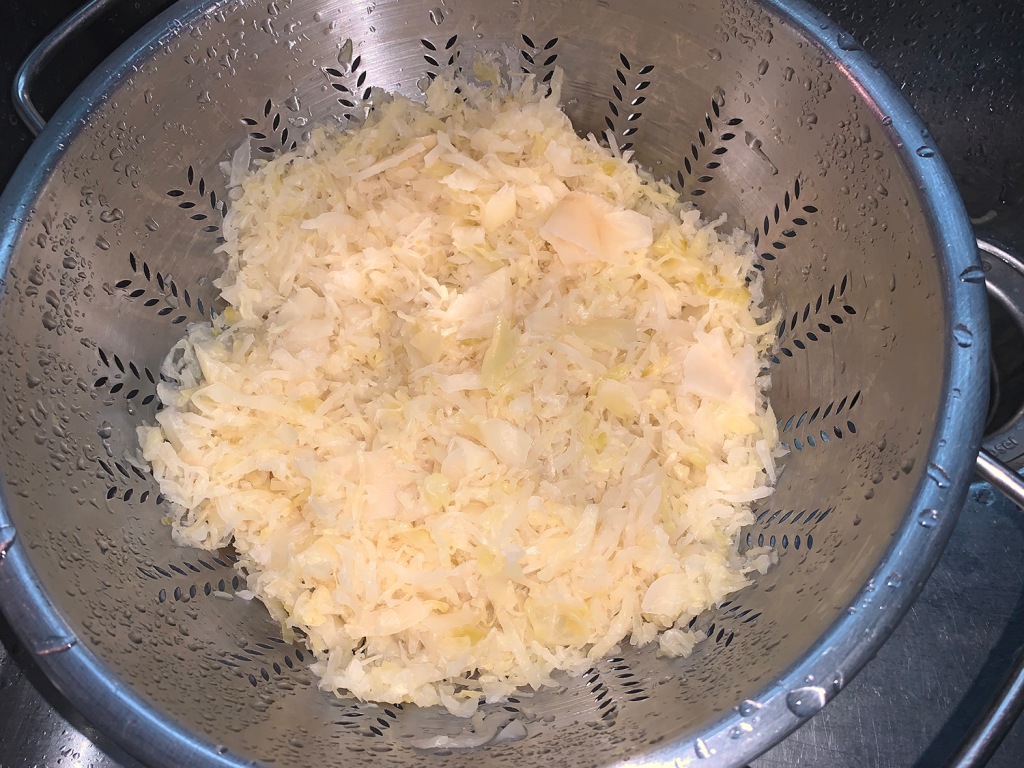
  • 4 lbs. sauerkraut, drained
  • 2 bottles amber beer
  • 2 bay leaves
  • 1 stalk rosemary
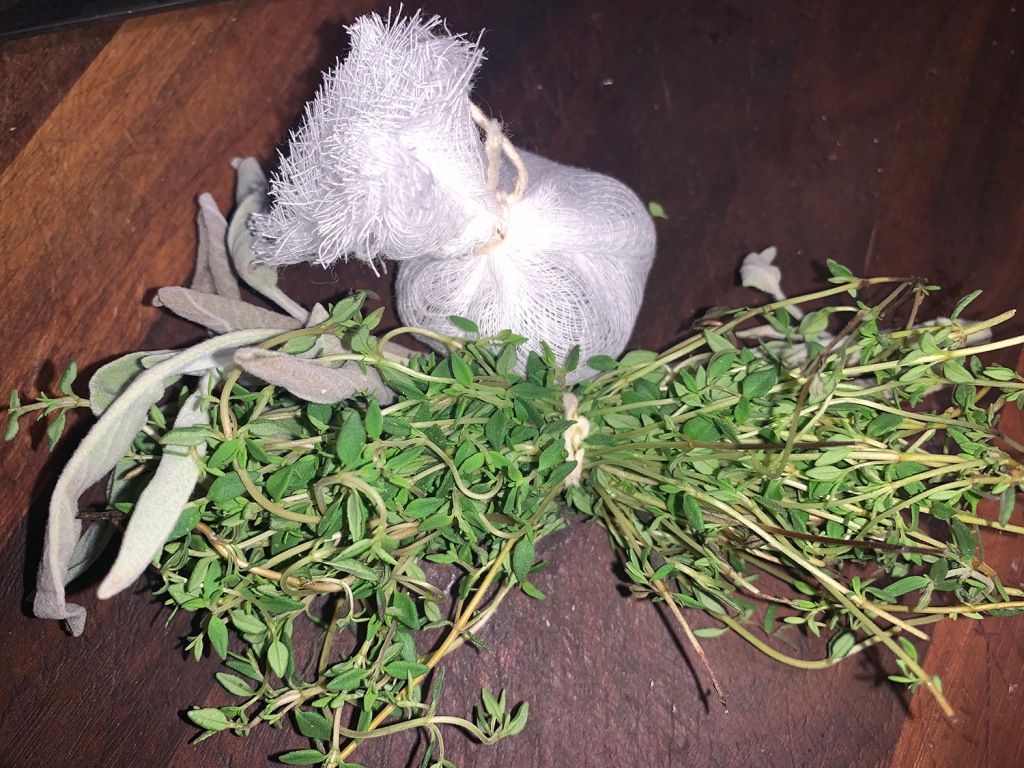
  • 6 stems thyme, tied in a bunch
  • 1 Tbsp. black peppercorns
  • 6 juniper berries (optional), lightly crushed
  • Olive oil

Directions

  1. At least 8, or preferably 24 hours before cooking the pork, combine the first five ingredients and rub all of over the pork. Wrap the meat tightly in plastic wrap, place on a plate and refrigerate. Remove meat from refrigerator and allow to warm at room temperature about an hour before you plan to cook it.
  2. Make a bouquet garni with the peppercorns and the juniper berries (if using them) and set aside. Be sure to double or triple the cheesecloth.
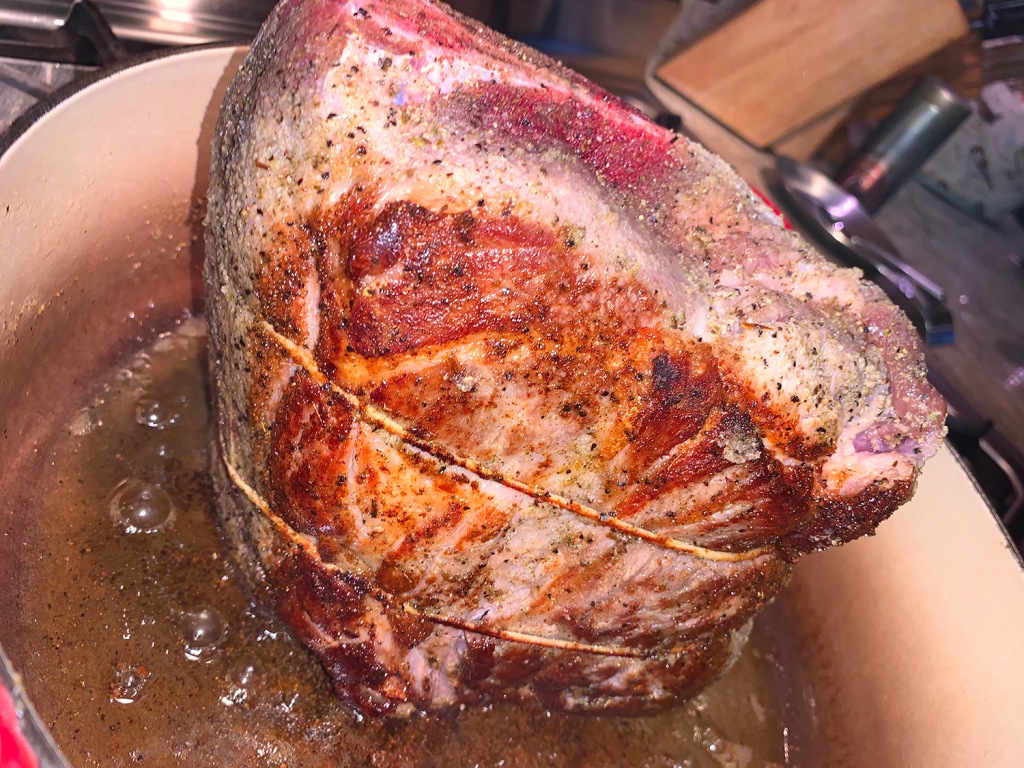
  3. Preheat the oven to 300 degrees F. In a large Dutch oven with a tight fitting lid, heat 3 tablespoons of olive oil over a medium high flame until shimmering. Unwrap the pork shoulder and brown on all sides, about 15-20 minutes. Remove meat from pot and set on plate while you complete the next steps.
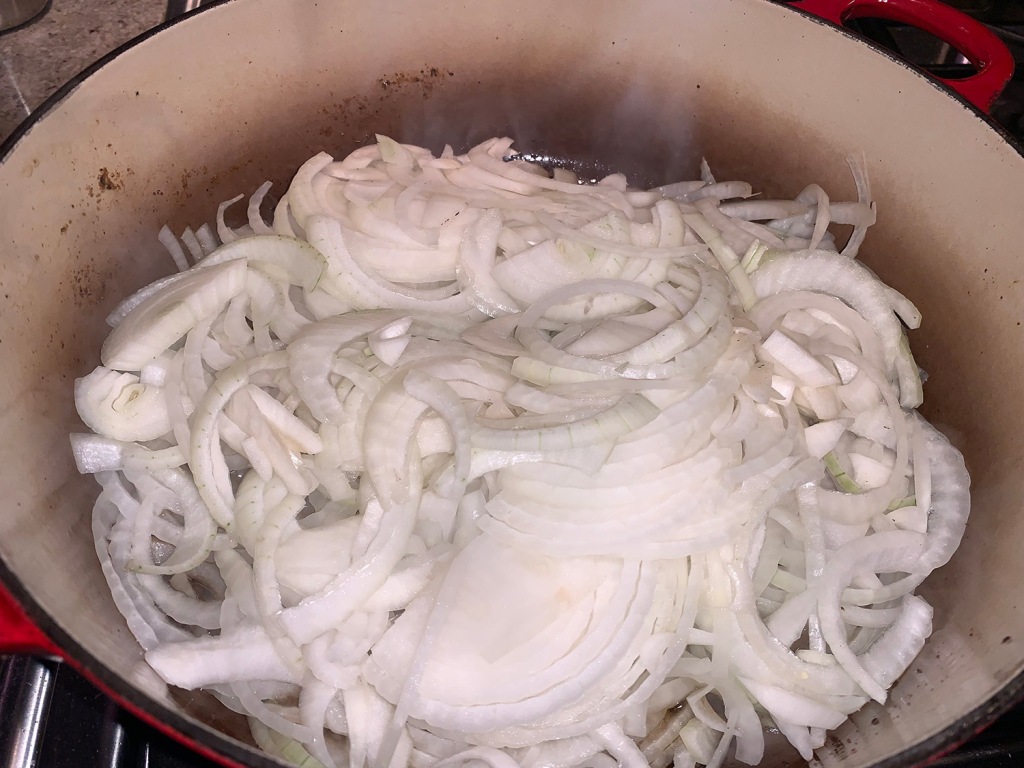
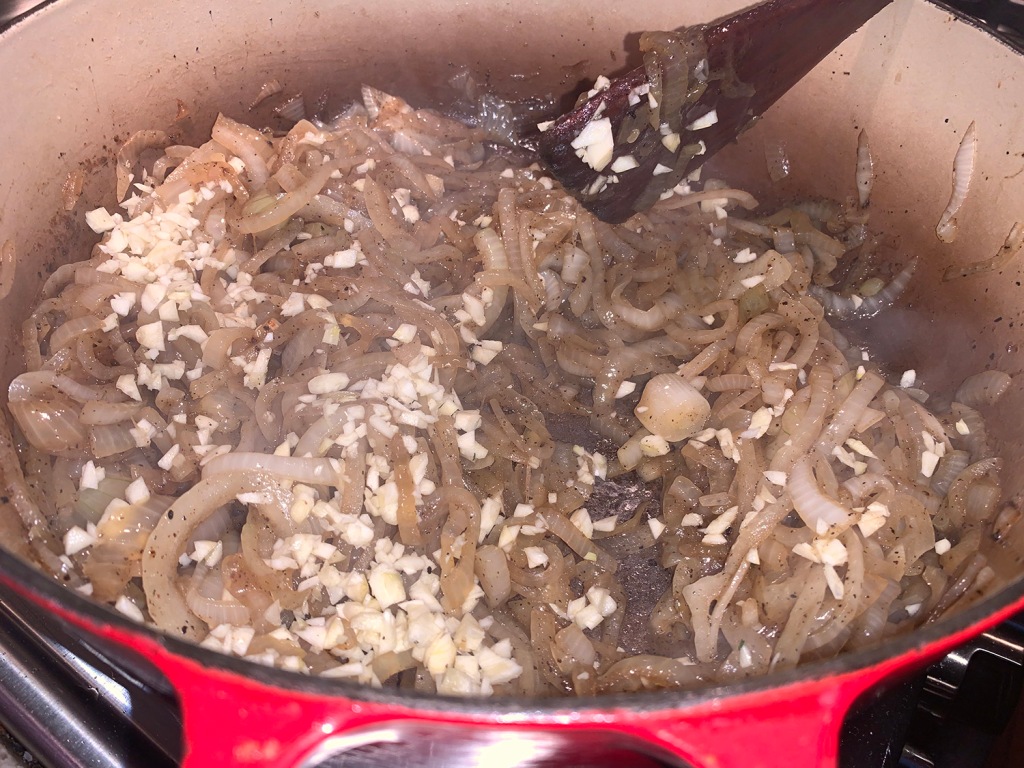
  4. Add the sliced onions to the pot and sauté until they be come translucent. Add the chopped garlic and sauté for about one minute. Add the drained sauerkraut, then the 2 bottles of beer. Mix everything together well, making sure to deglaze the bottom of the pan. Add the bay leaves, thyme, sprig of rosemary and the bouquet garni. Mix well again with the sauerkraut and onions.
  5. Return the pork shoulder to the pot, nestling it into the sauerkraut. Place a sheet or parchment or aluminum foil over the pot, then put on the lid, ensuring that it fits tightly. Place the pot in the preheated oven and cook for 2 hours. Turn the roast, then return it to the oven for another 1 1/2 to 2 hours or until the meat is very tender and falls apart easily.
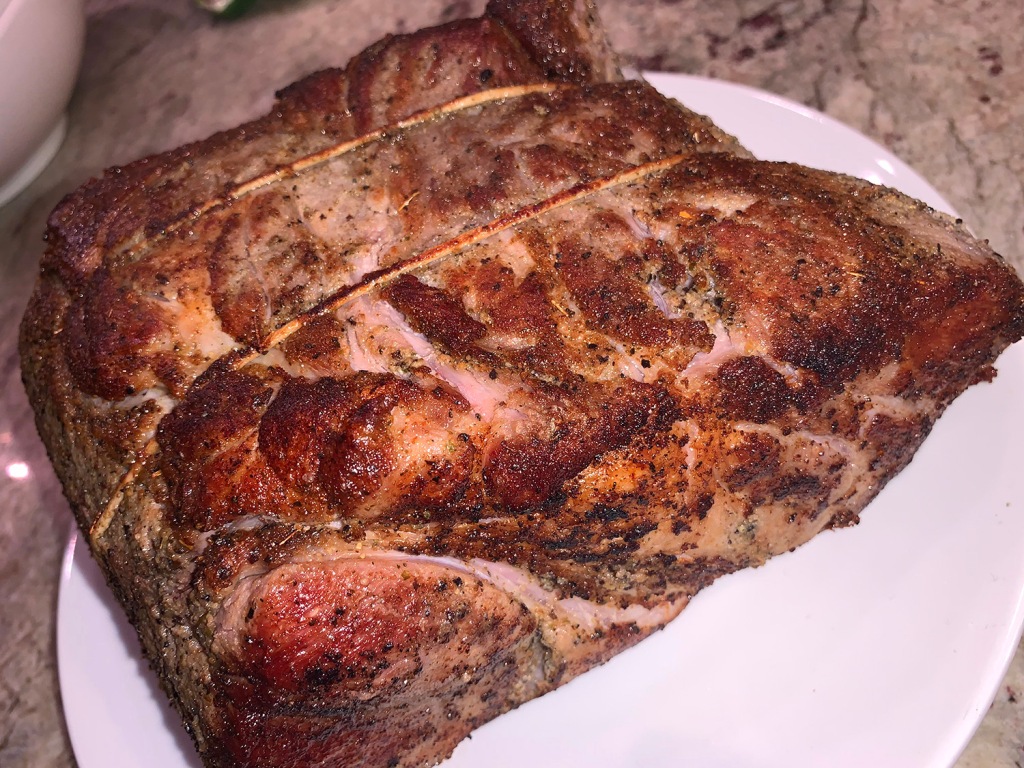
  6. To serve, remove the pork shoulder from the pot to a platter to carve. Remove the bay leaves, rosemary sprig, thyme and bouquet garni and discard. Give the sauerkraut mixture a good stir and serve with the pork.
http://www.lynnandruss.com

Feast for Funghi Fanatics

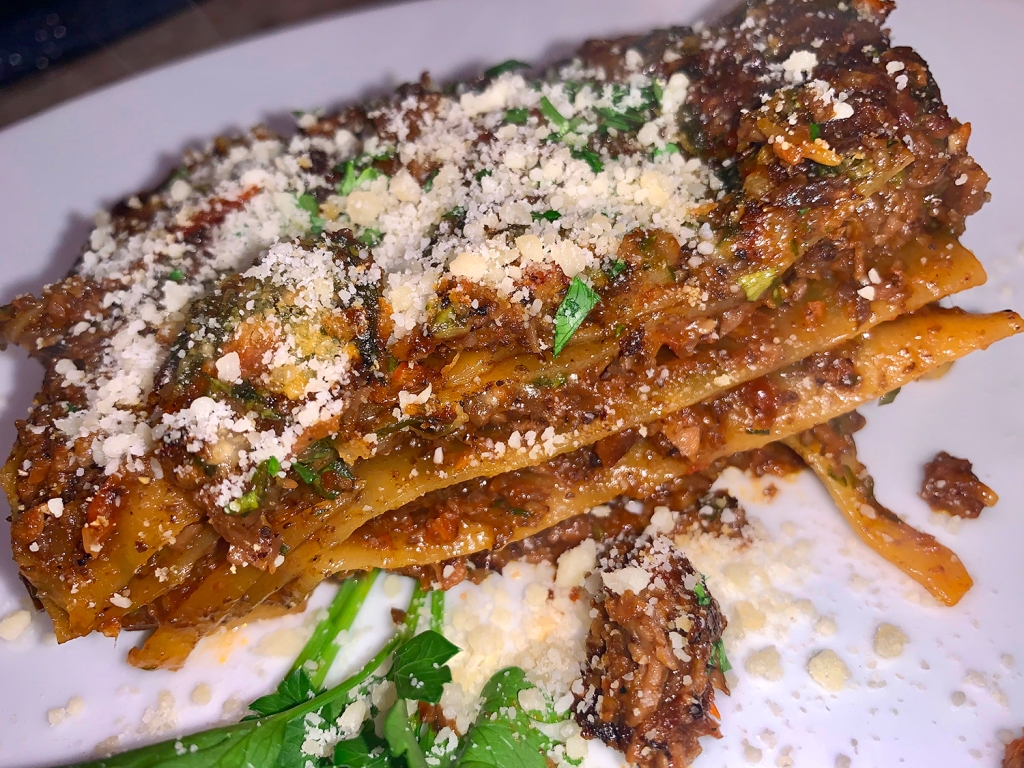
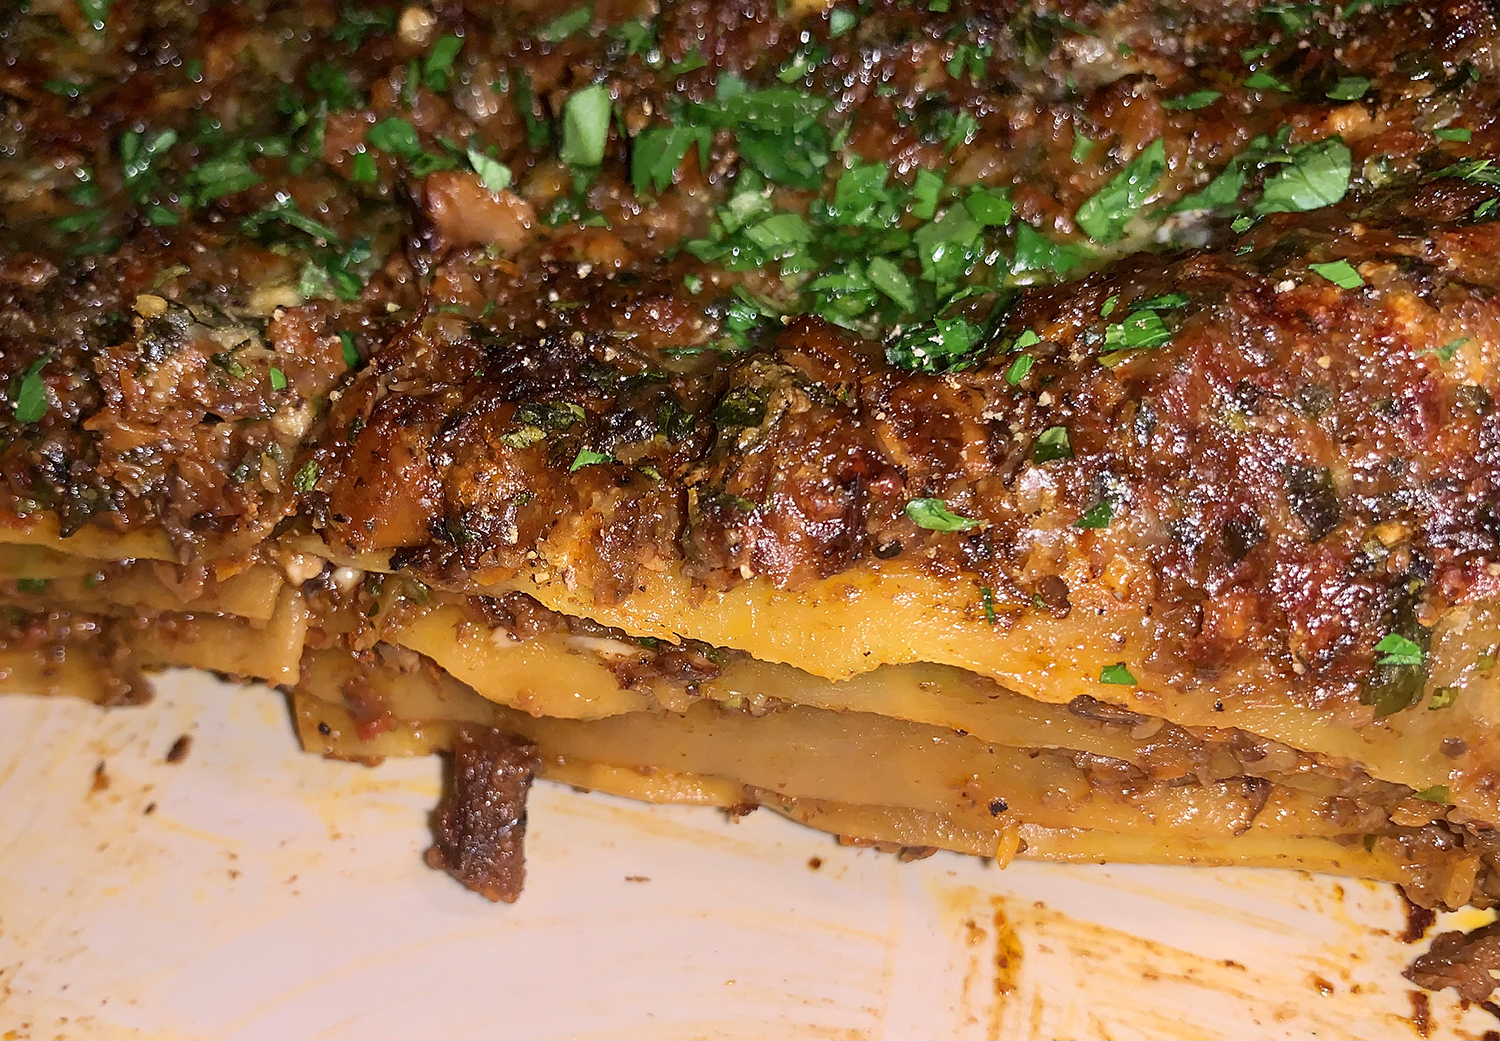
A glorious meat-free dish that contains four types of mushroom and two types of cheese which lend it the most satisfying, and savory intensity. They claim there’s a fair amount of heat in this Spicy Mushroom Lasagna, but we beg to differ, we could barely detect any heat. However, if you feel the need to tone it down a bit, reduce the amount of pepper and omit the chili altogether.

The mushrooms are the star here and their flavor truly shines. Those layers of flavor and umami build on each other with each delicious bite. Yes, quite a LOT of time and effort is necessary, as it is prep- and ingredient-intense, yet the result is well worth your effort. To get ahead, build the lasagna one day, chill, then bake the next.

One reviewer wrote “The umami factor here was really off the charts. To me it was one of those rare recipes in which all the ingredients sound good by themselves and smell wonderful when cooking, but when brought together, the finished product is head and shoulders above the individual parts.” We have to agree…

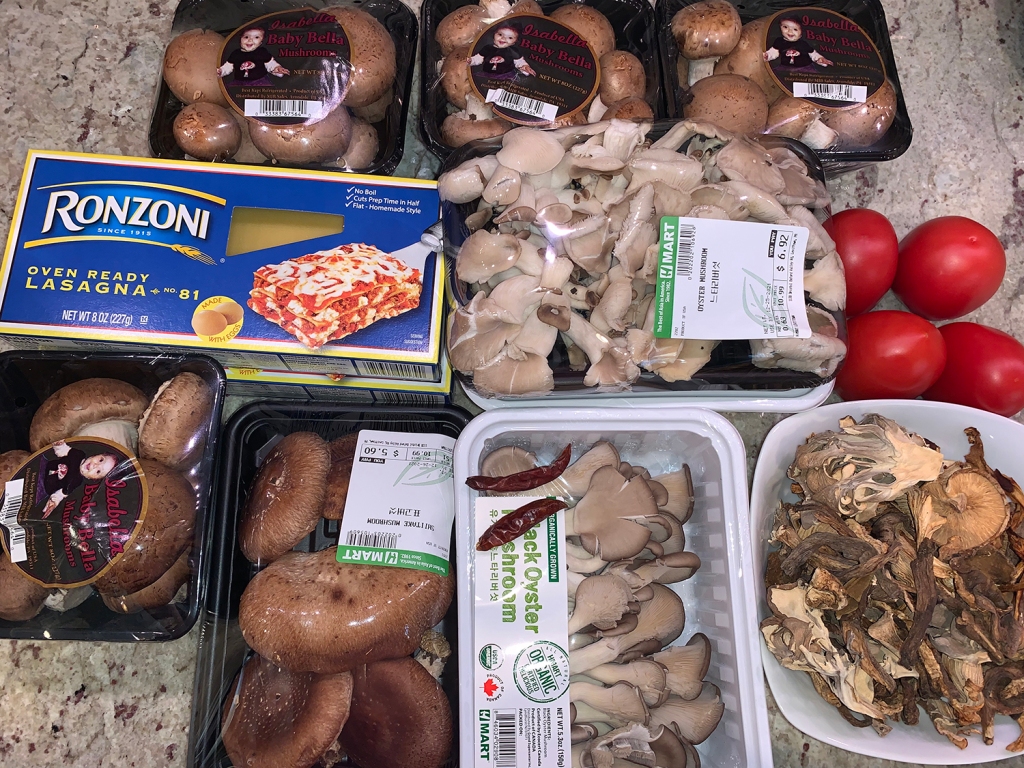
You will be dehydrating the fresh mushrooms and rehydrating the dried mushrooms, then mixing them altogether to obtain a very tasty, meaty consistency. While the original recipe called for only two plum tomatoes, we decided to double that and added in 4 large. Paired with a side salad and a glass of wine, it was the perfect Sunday evening meal.

Spicy Mushroom Lasagna

  • Servings: 8
  • Difficulty: moderate
  • Print

Ingredients

For the fresh mushrooms

  • 26 oz. cremini or baby bella mushrooms halved
  • 18 oz. oyster mushrooms or other wild mushrooms
  • 3 Tbsp. olive oil
  • 1 tsp. table salt

For the dried mushrooms

  • 2 1/4 oz. dried porcini mushrooms
  • 1 oz. dried wild mushrooms or dried porcini mushrooms
  • 2 dried red chili peppers roughly chopped (seeded if desired)
  • 2 cups plus 2 Tbsp. hot vegetable stock

For the filling

  • 1 onion, peeled and quartered
  • 5 garlic cloves, peeled and roughly chopped
  • 1 carrot, peeled and quartered
  • 6 Tbsp. olive oil
  • 4 medium plum tomatoes, quartered
  • 1/3 cup tomato paste
  • 1 1/2 tsp. table salt
  • 1 3/4 tsp. freshly ground black pepper plus more as desired
  • 3 1/3 cups water
  • 9 Tbsp. heavy cream (just a touch more than 1/2 cup)
  • 2/3 cup pecorino, finely grated
  • 2/3 cup Parmesan, finely grated
  • 1/4 cup fresh basil leaves, finely chopped
  • 1/2 cup parsley leaves, finely chopped, plus 1 tsp.
  • 12 oz. oven-ready dried lasagna sheets (about 14 sheets)

Directions

Roast the fresh mushrooms

  1. Preheat the oven to 450°F. Line a large rimmed baking sheet with parchment paper.
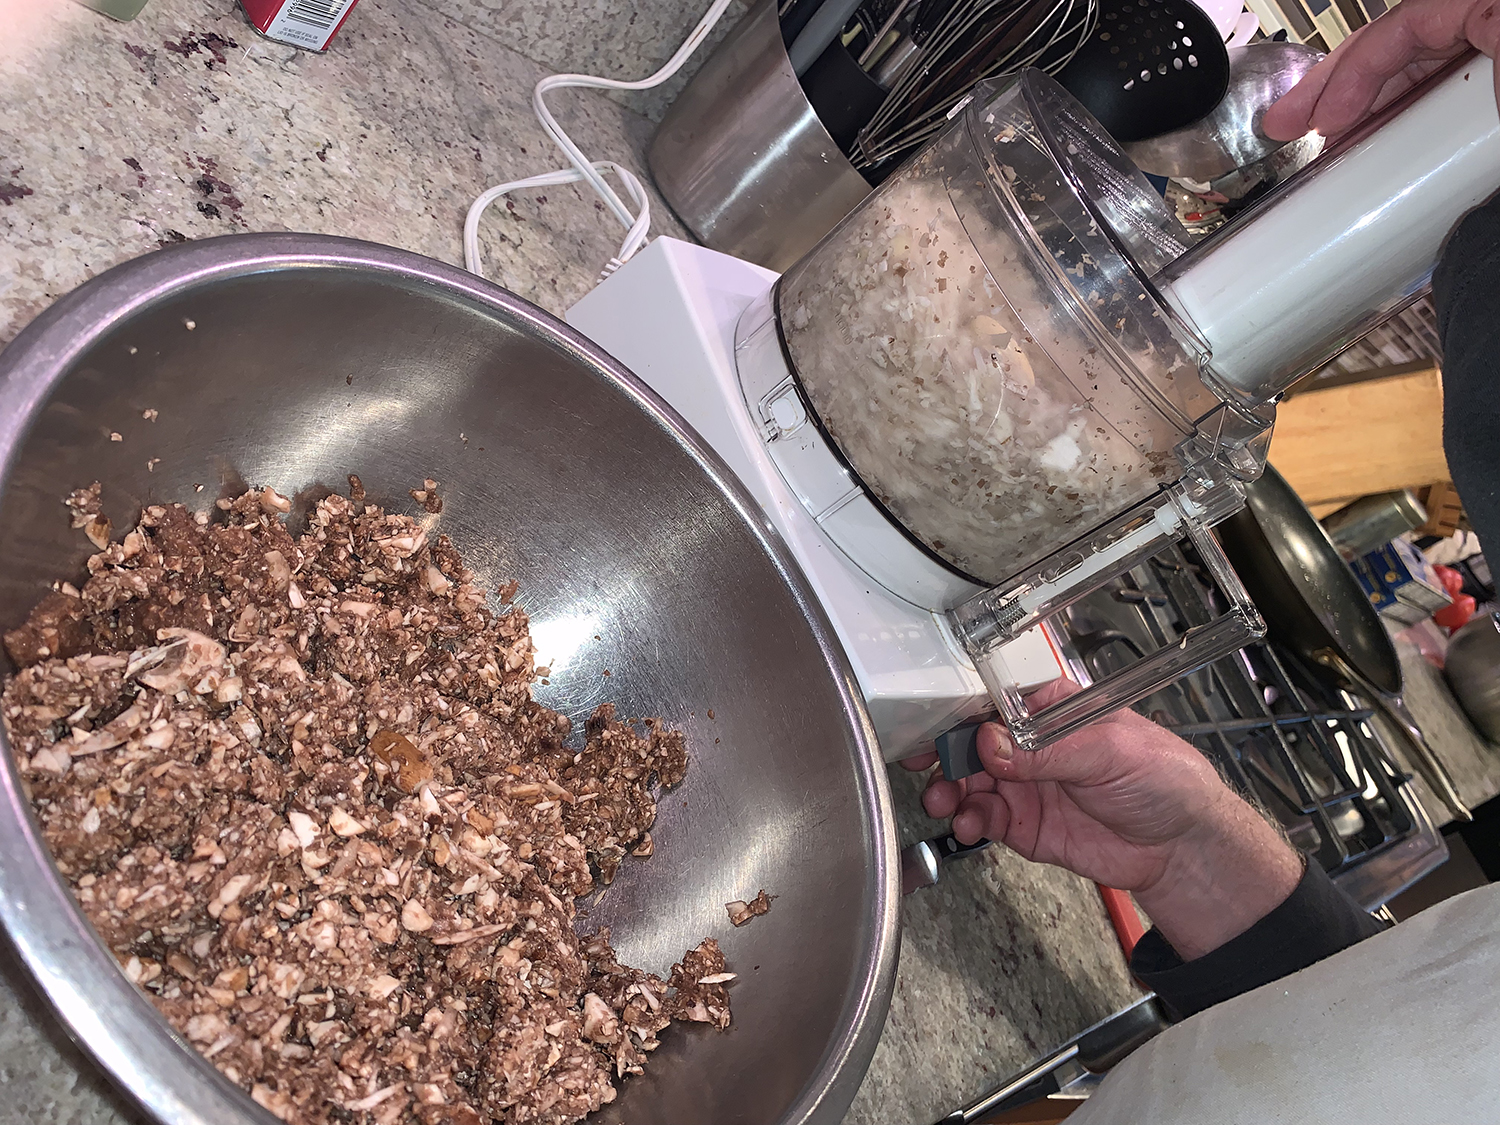
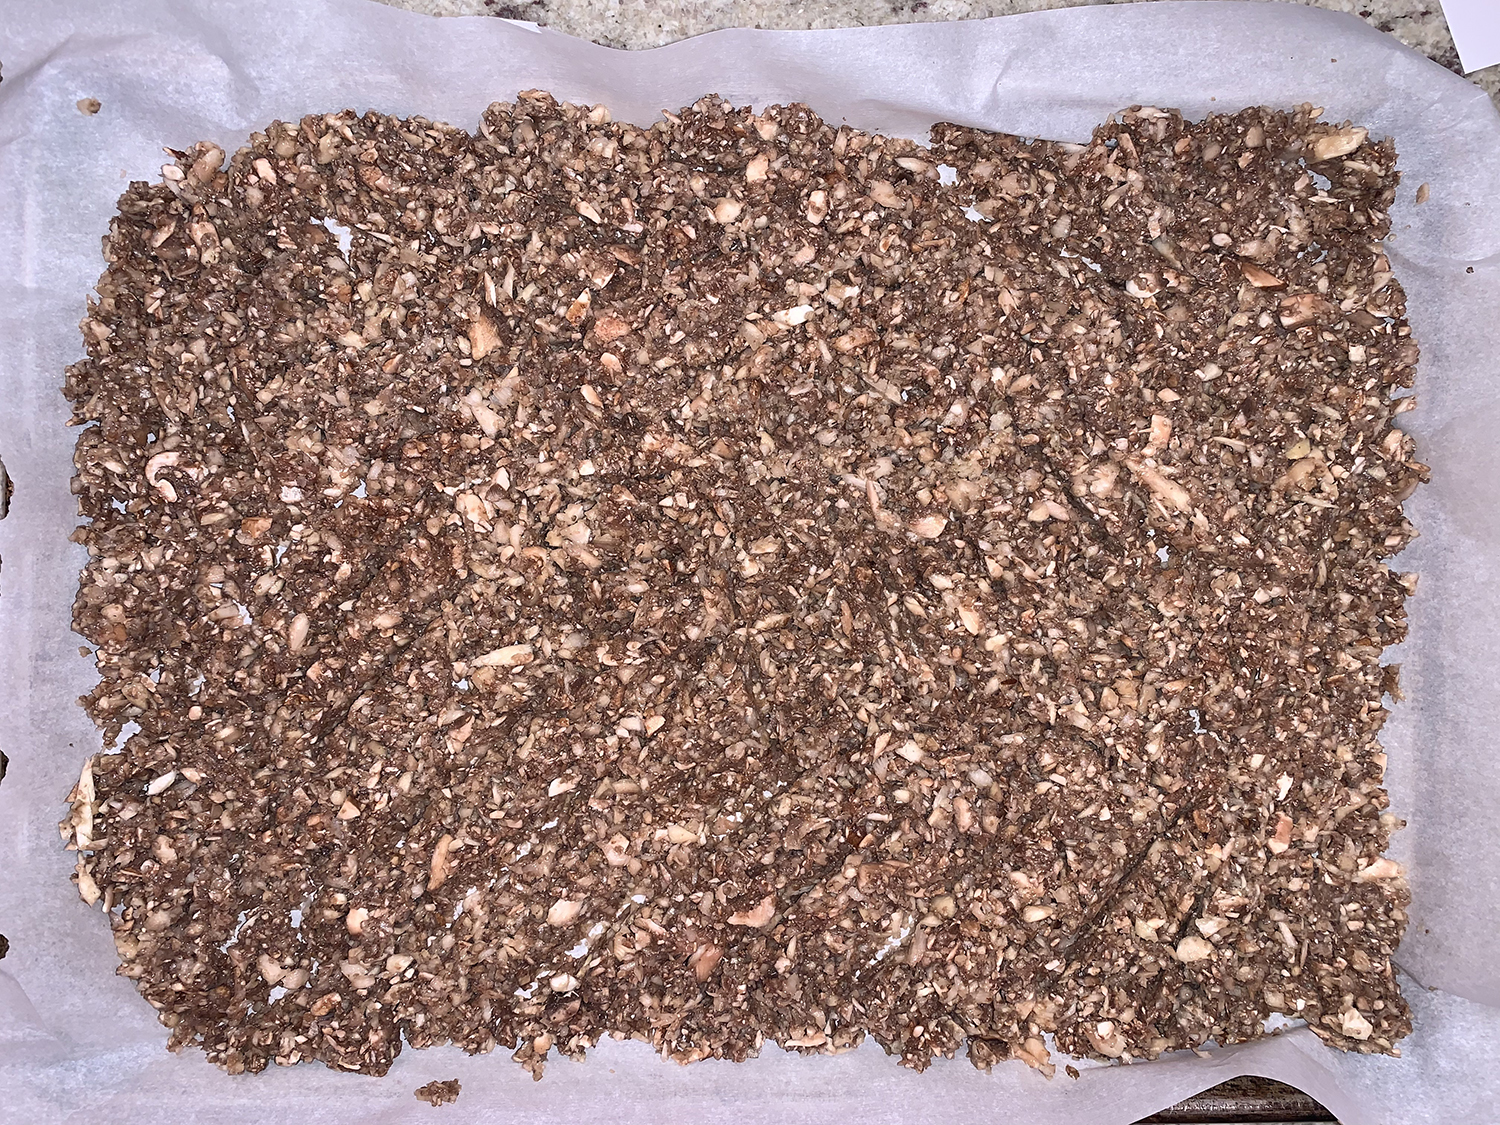
  2. In a food processor, working in 3 or 4 batches, add the button mushrooms and oyster mushrooms and pulse each batch until finely chopped (or finely chop everything by hand). Avoid filling the processor bowl more than halfway so that the mushrooms are finely chopped and not over processed.
  3. In a large bowl, toss the chopped mushrooms with the oil and salt. Spread out on the prepared baking sheet.
  4. Roast near the top of the oven, stirring 3 or so times throughout, until the mushrooms are golden brown and have reduced in volume significantly, 30 to 45 minutes. Let cool.
  5. Decrease the oven temperature to 425°F.

Rehydrate the dried mushrooms

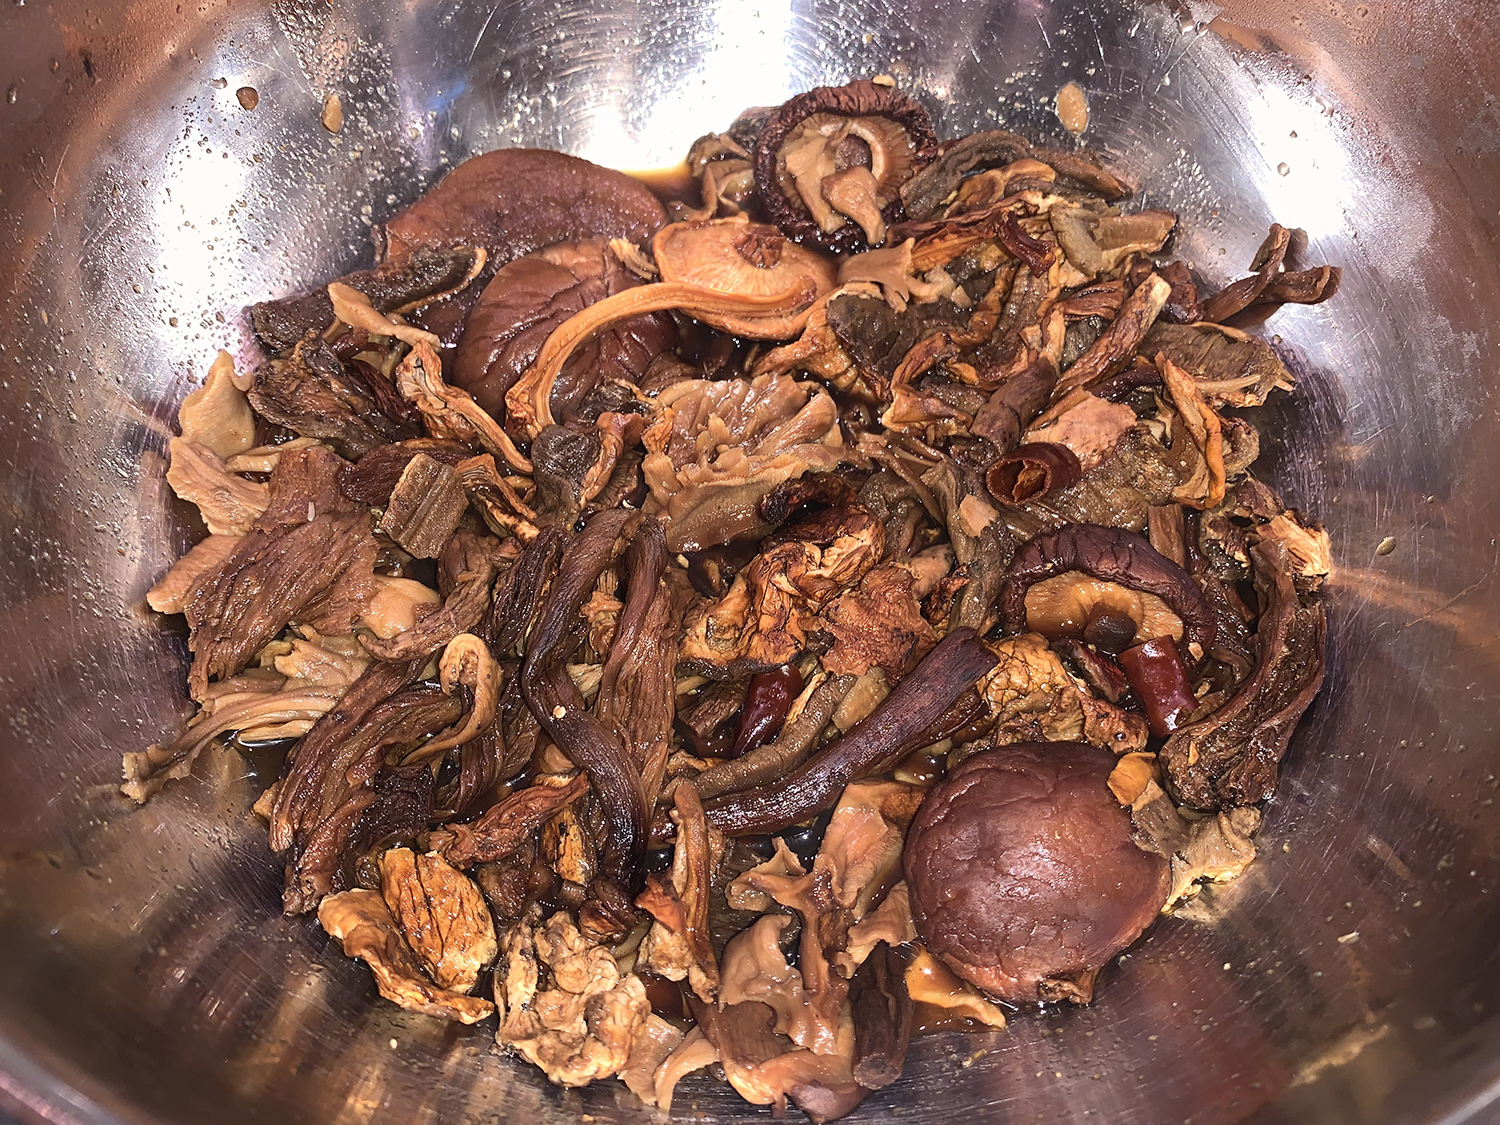
  1. Meanwhile, in a large bowl, combine all the dried mushrooms, the chiles, and hot stock, and let soak for 30 minutes. Strain the liquid into another bowl, squeezing as much liquid from the mushrooms as possible to get just under 1 1/2 cups—if you have any less, top up with water.
  2. Very roughly chop the rehydrated mushrooms (you want some chunks) and finely chop the chili peppers. Set the stock and mushrooms aside separately.

Make the filling

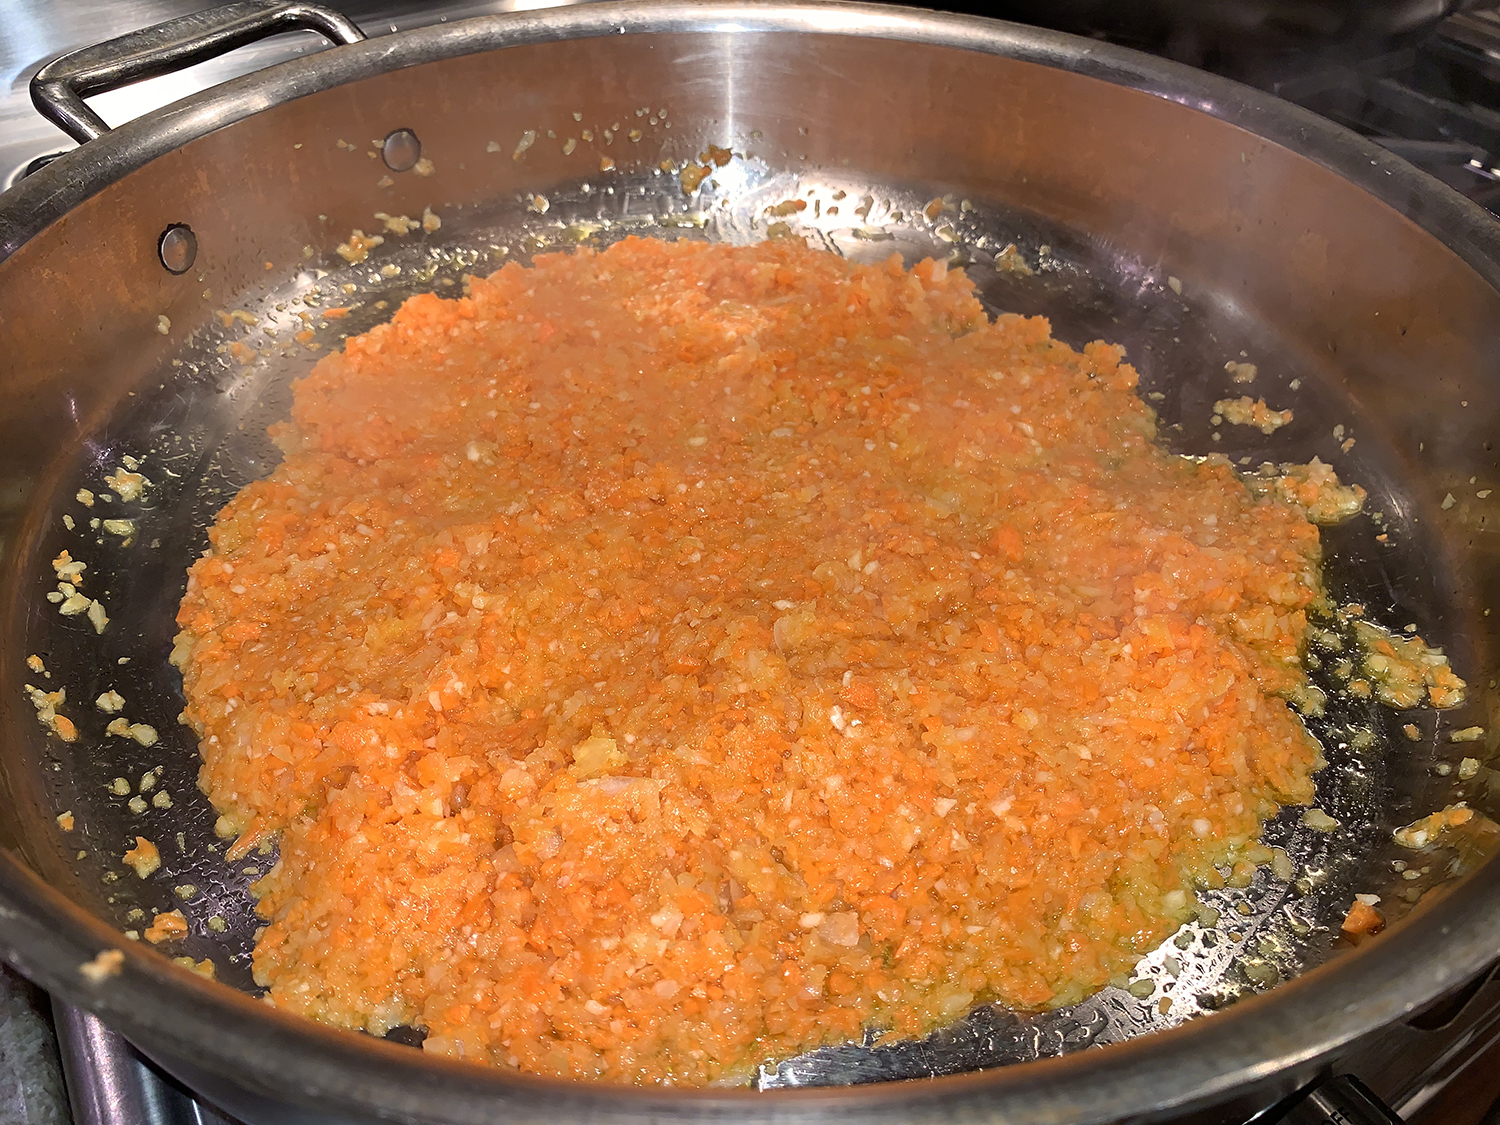
  1. In the food processor, combine the onion, garlic, and carrot, and pulse until finely chopped or finely chop everything by hand.
  2. In a large sauté pan or pot over medium-high heat, warm 4 tablespoons oil. Once hot, add the onion mixture and cook, stirring occasionally, until softened and golden, about 8 minutes.
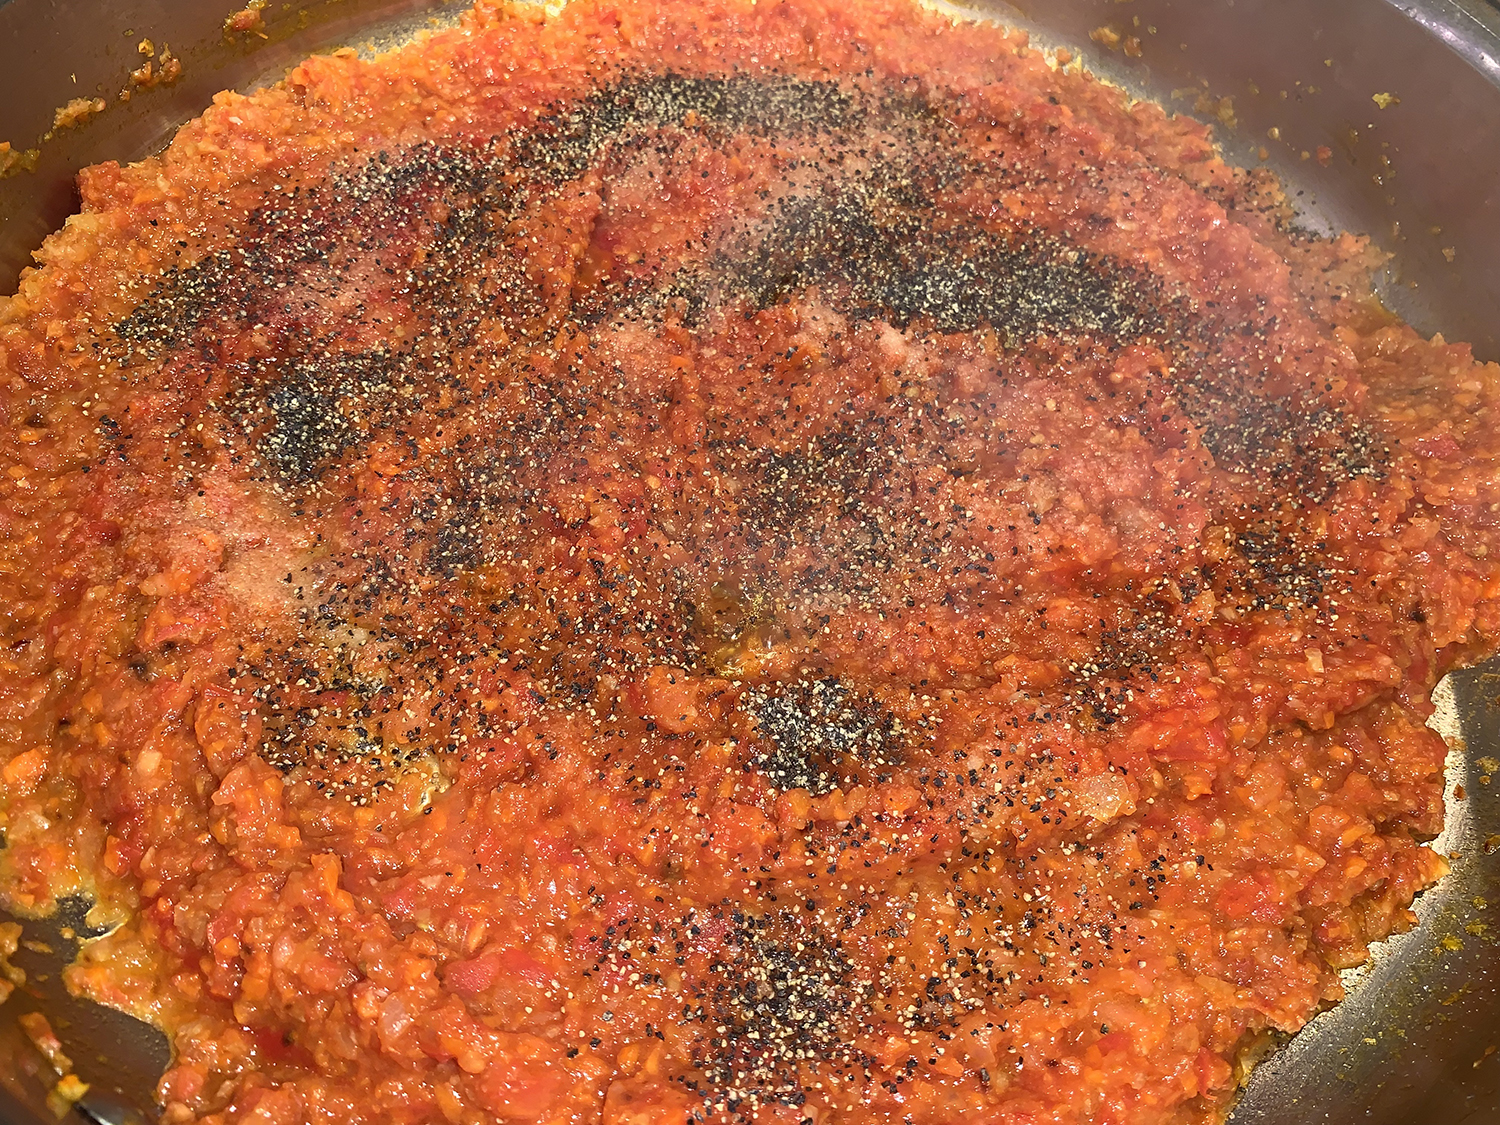
  3. In the food processor, pulse the tomatoes until finely chopped or finely chop by hand and then add them to the pan along with the tomato paste, salt, and pepper. Cook, stirring occasionally, for 7 minutes.
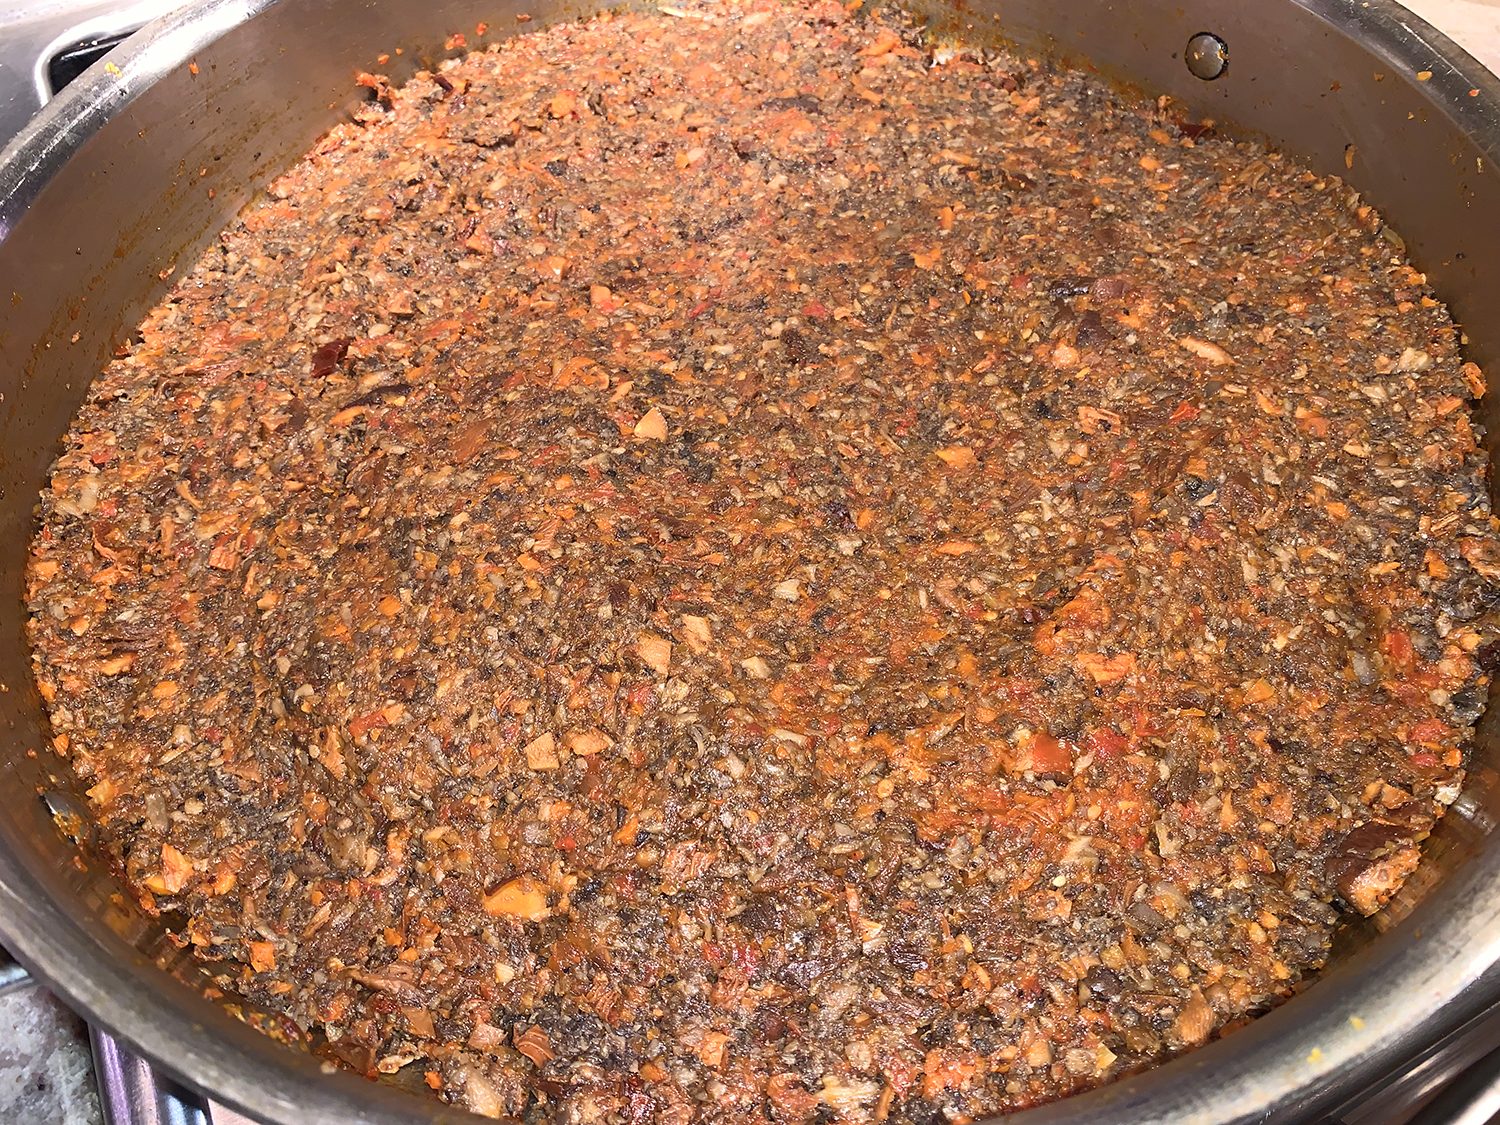
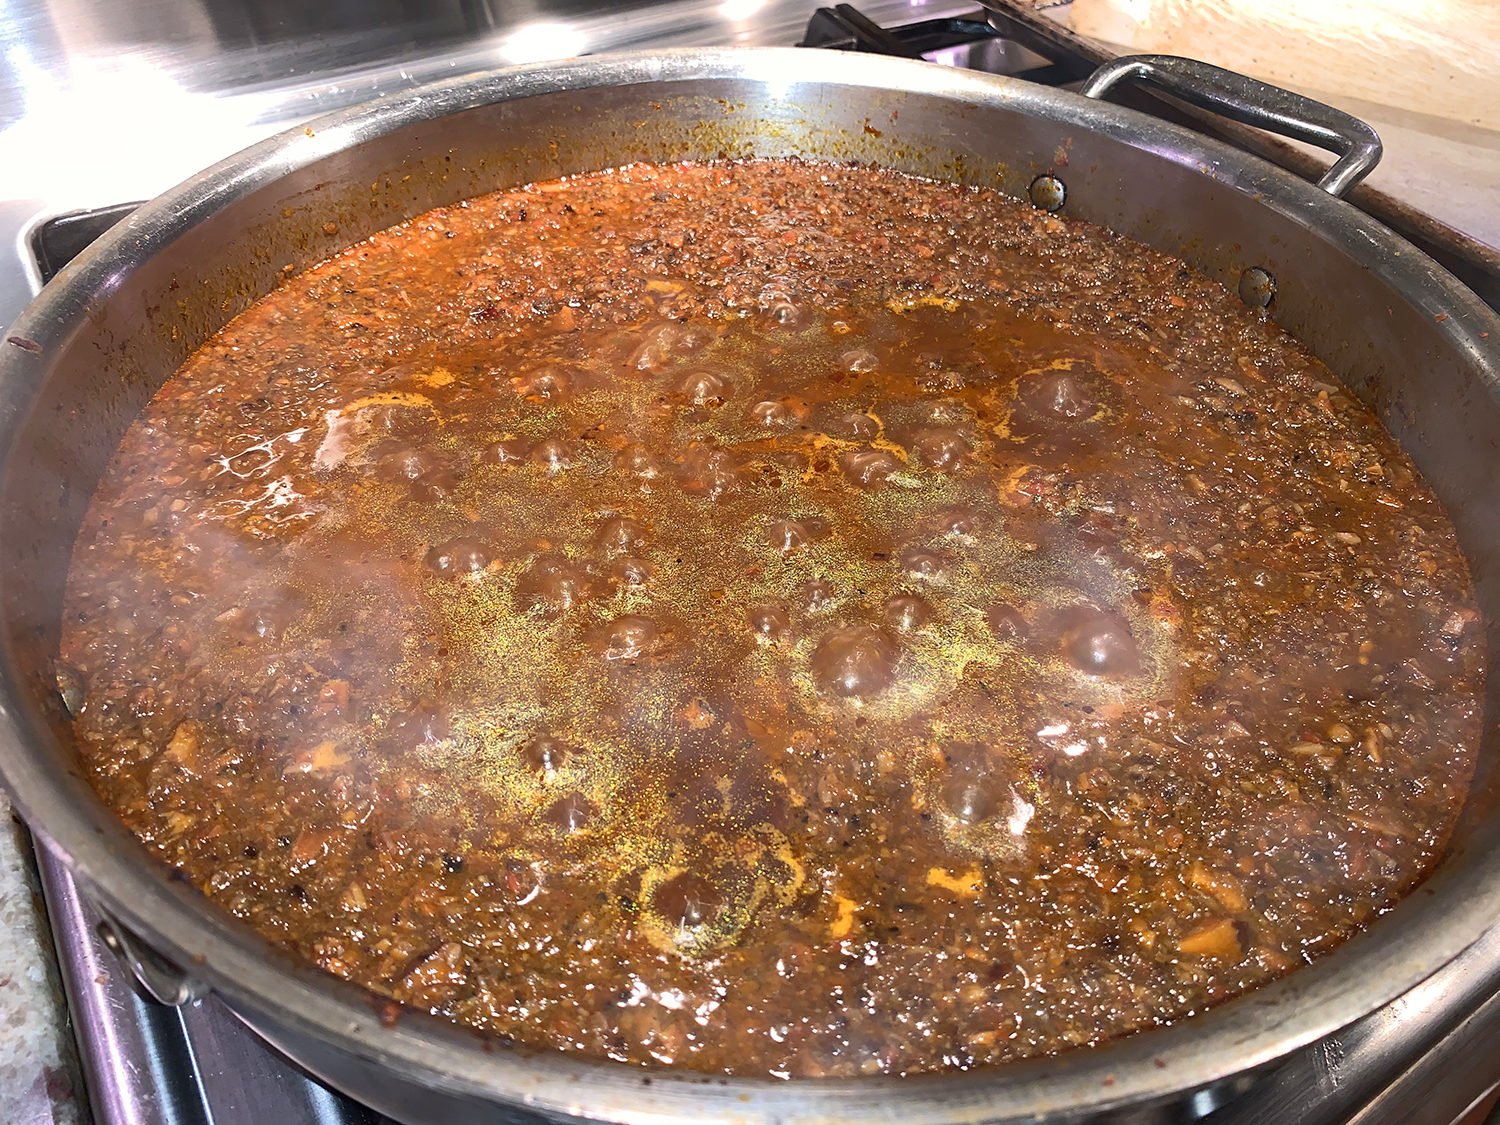
  4. Add the rehydrated mushrooms and chiles and the roasted mushrooms and cook for 9 minutes, stirring only once during the cooking. Resist the urge to stir more frequently; you want the mushrooms to be slightly crisp and browned on the bottom.
  5. Stir in the water and reserved stock and bring to a simmer. Reduce the heat to medium and cook, stirring occasionally, until you get the consistency of a ragù, about 25 minutes.
  6. Stir in 7 tablespoons of the cream and simmer for 2 minutes more, then remove from the heat.
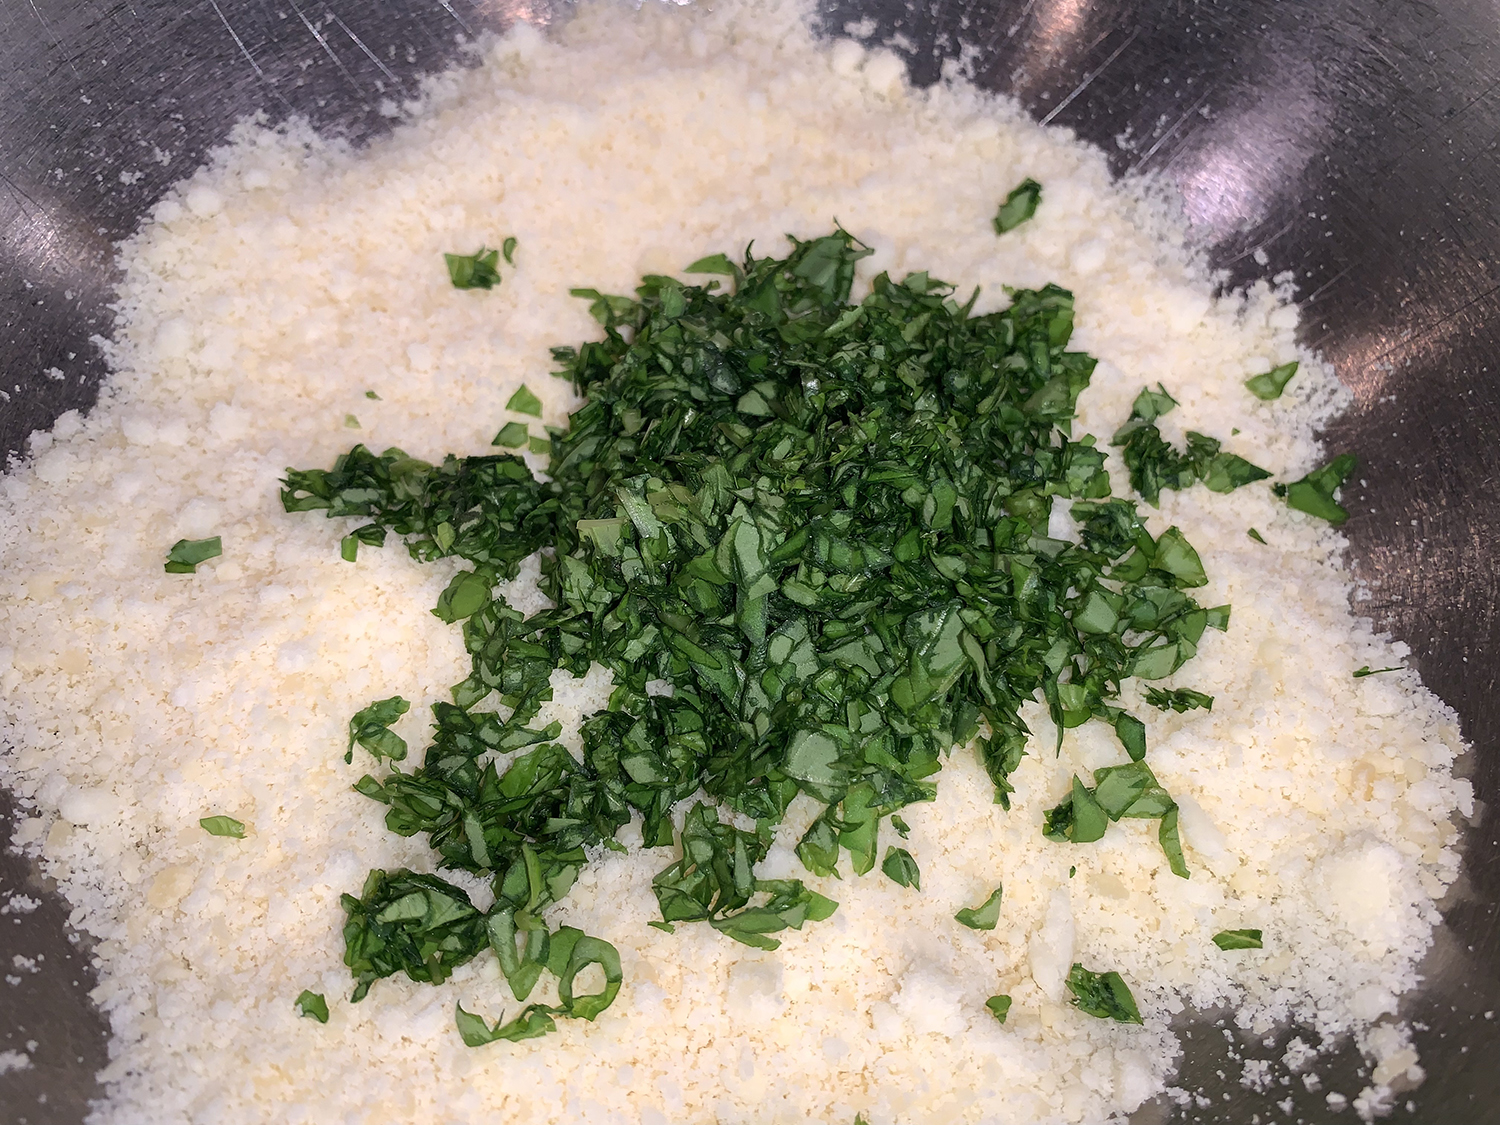
  7. In a small bowl, combine both cheeses, the basil, and 1/2 cup parsley.
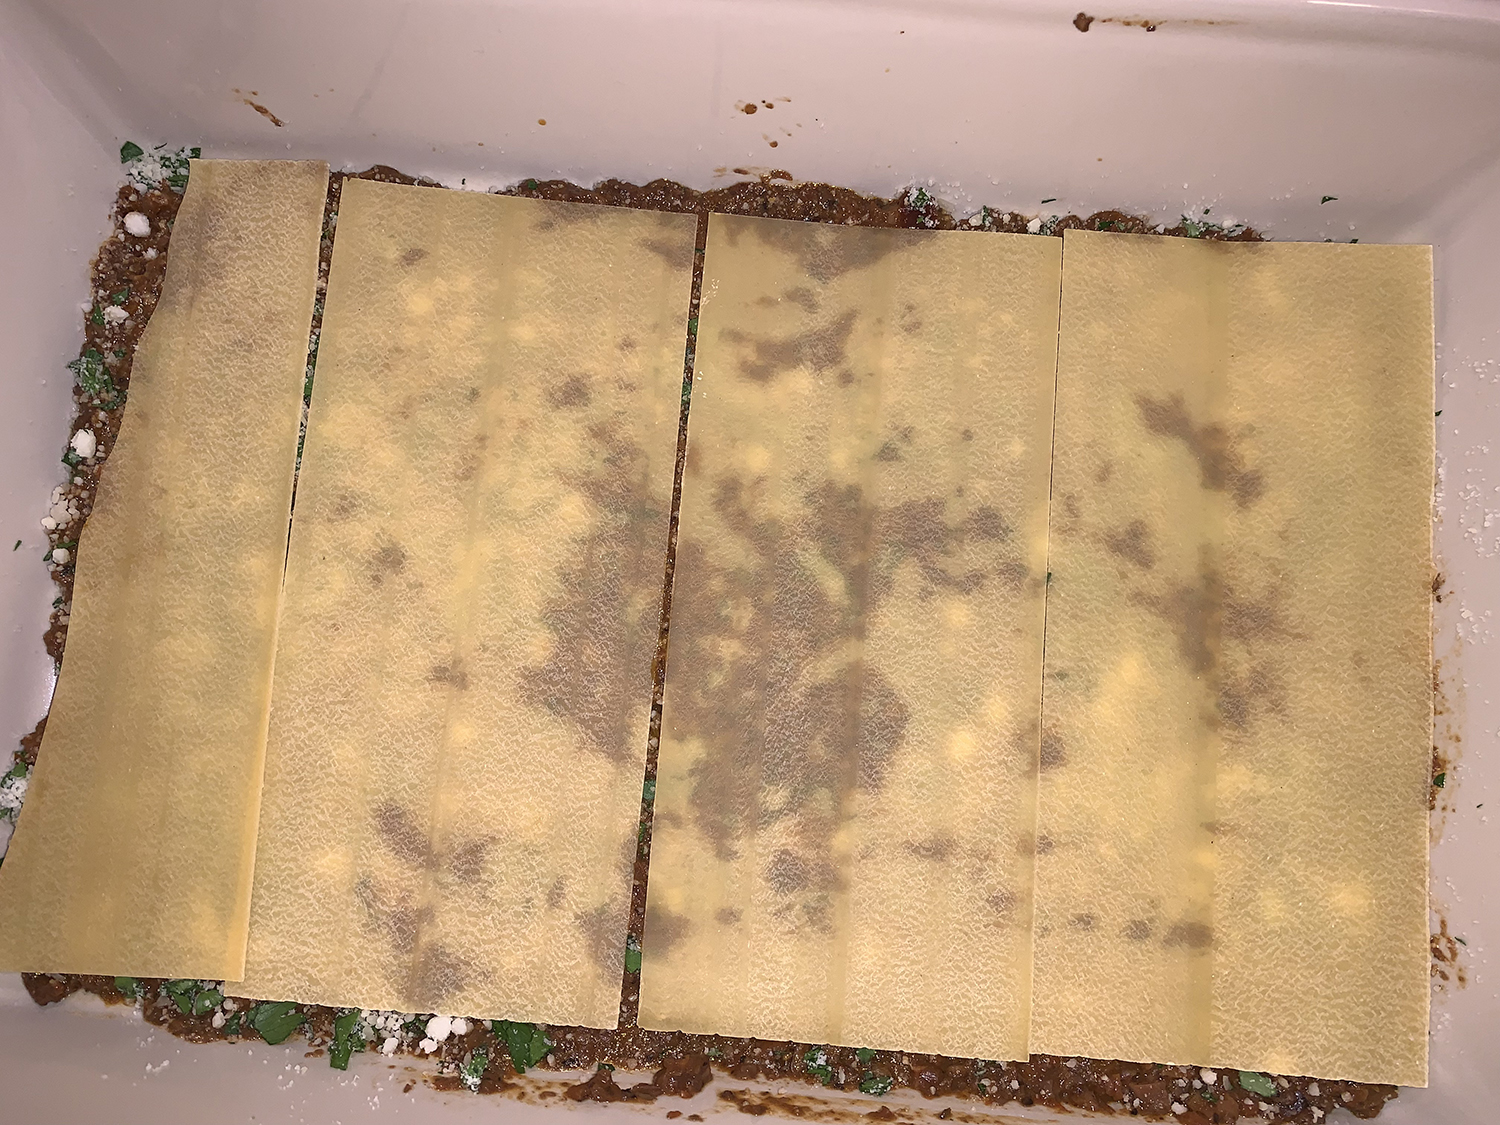
  8. Spread 1/5 of the sauce in the bottom of a round 12-inch baking dish or a 9-by-13-inch rectangular dish, then top with 1/5 of the cheese mixture, followed by a layer of lasagna sheets, broken to fit where necessary. Repeat these layers 3 more times in that order. Finish with a final layer of sauce and cheese; that’s 5 layers of sauce, 5 layers of cheese, and 4 layers of pasta.
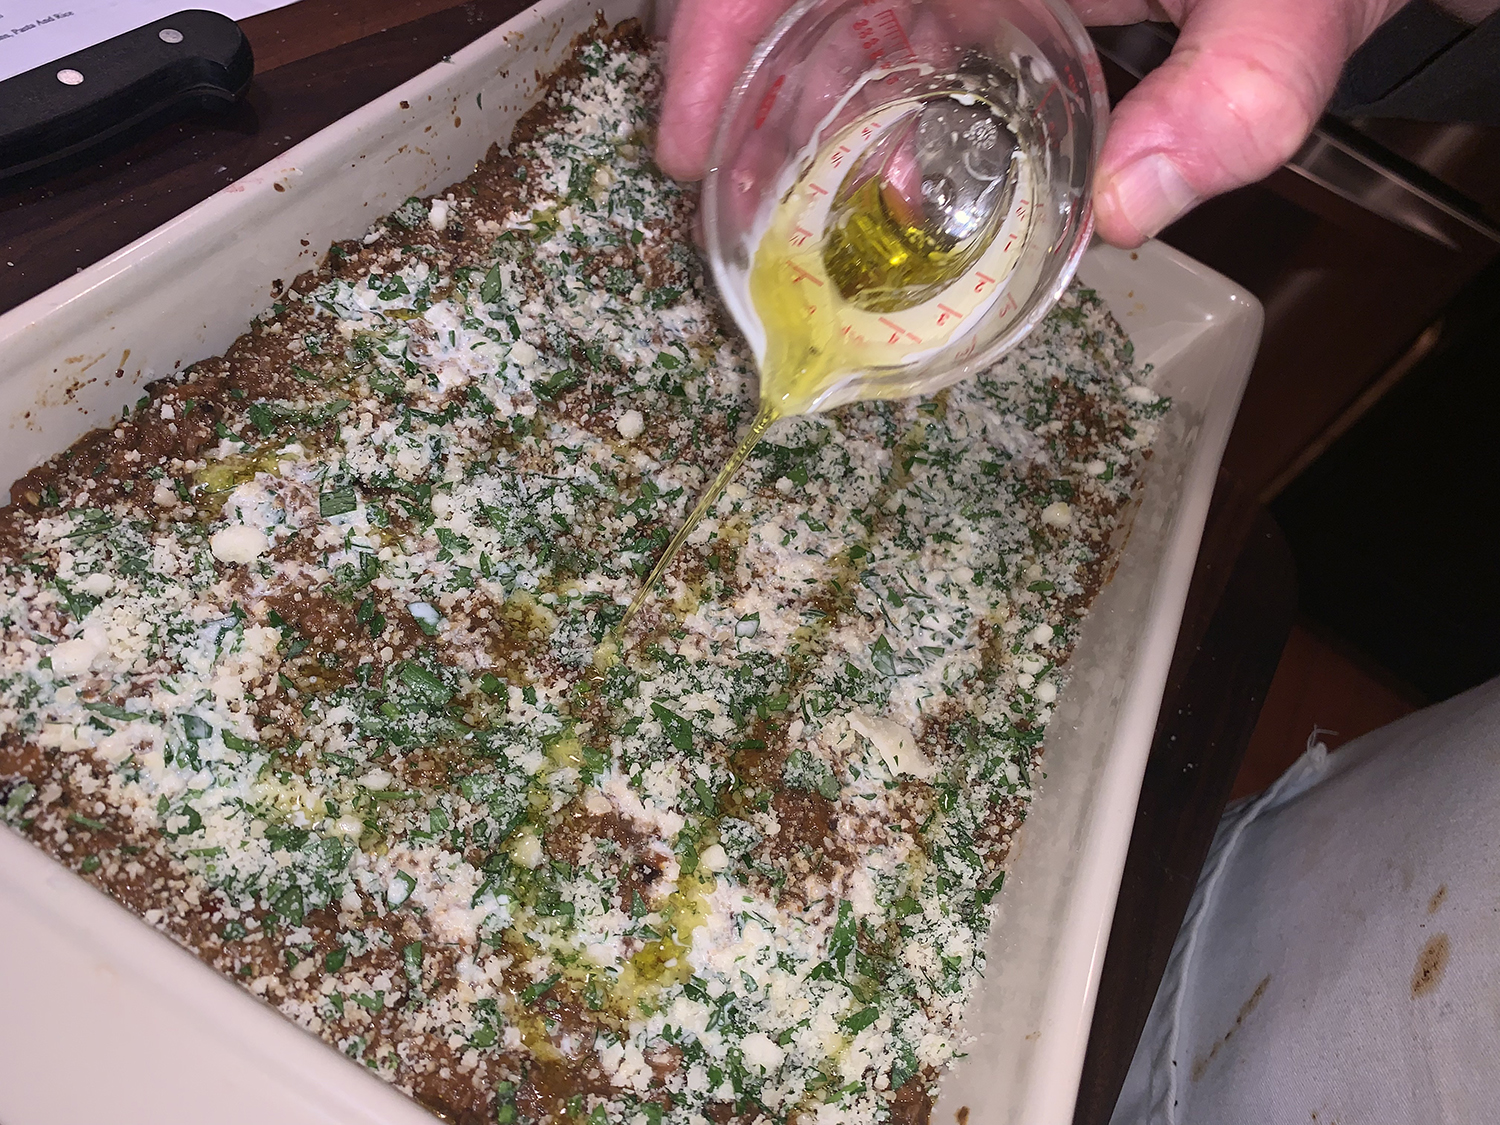
  9. Drizzle with 1 tablespoon cream and 1 tablespoon olive oil, then cover with aluminum foil and bake for 15 minutes. Remove the foil, increase the temperature to 450°F, and bake for 12 minutes more, rotating the dish halfway through.
  10. Turn the oven to the broil setting and broil until the edges are brown and crisp, about 2 minutes.
  11. Set aside to cool for 5 minutes or so, then drizzle with the remaining 1 tablespoon cream and 1 tablespoon oil. Sprinkle with the 1 teaspoon parsley and finish with a good grind of pepper. Serve immediately.

http://www.lynnandruss.com

Recipe from Yotam Ottolenghi and Ixta Belfrage

Sous Vide Rack of Lamb

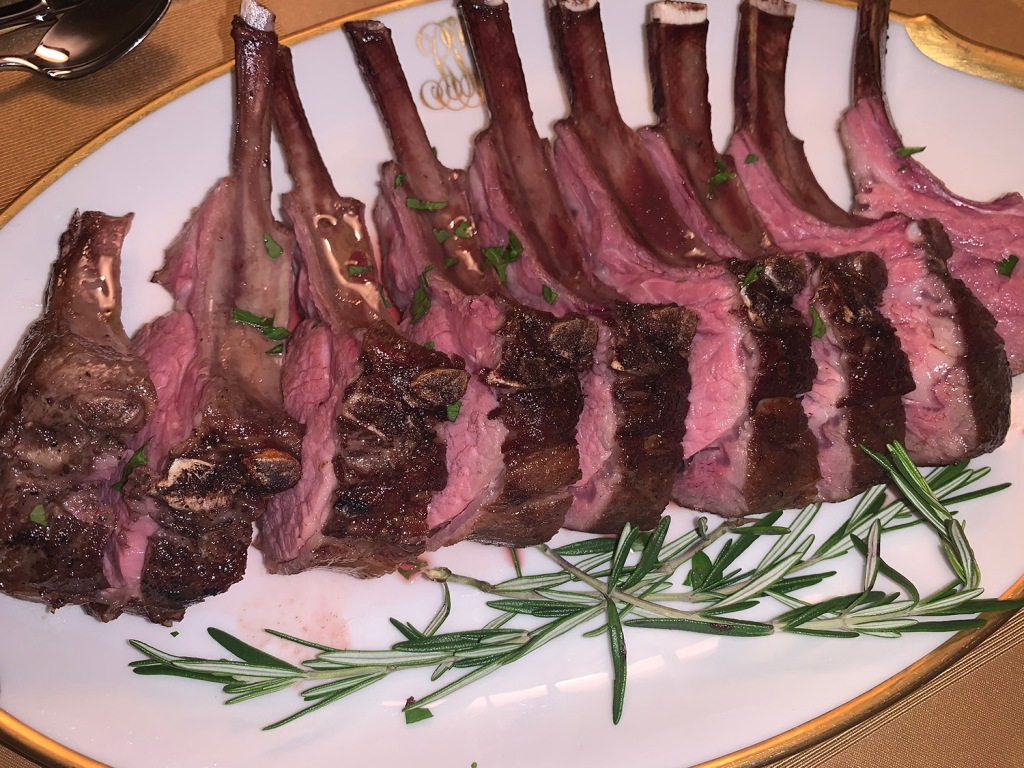
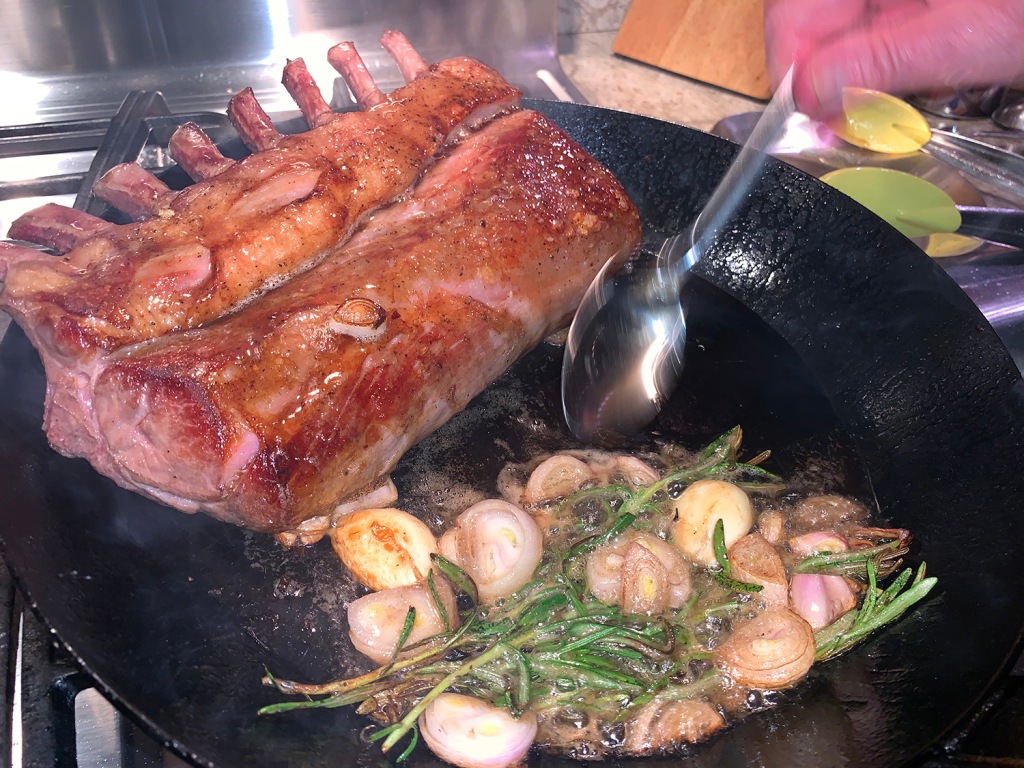
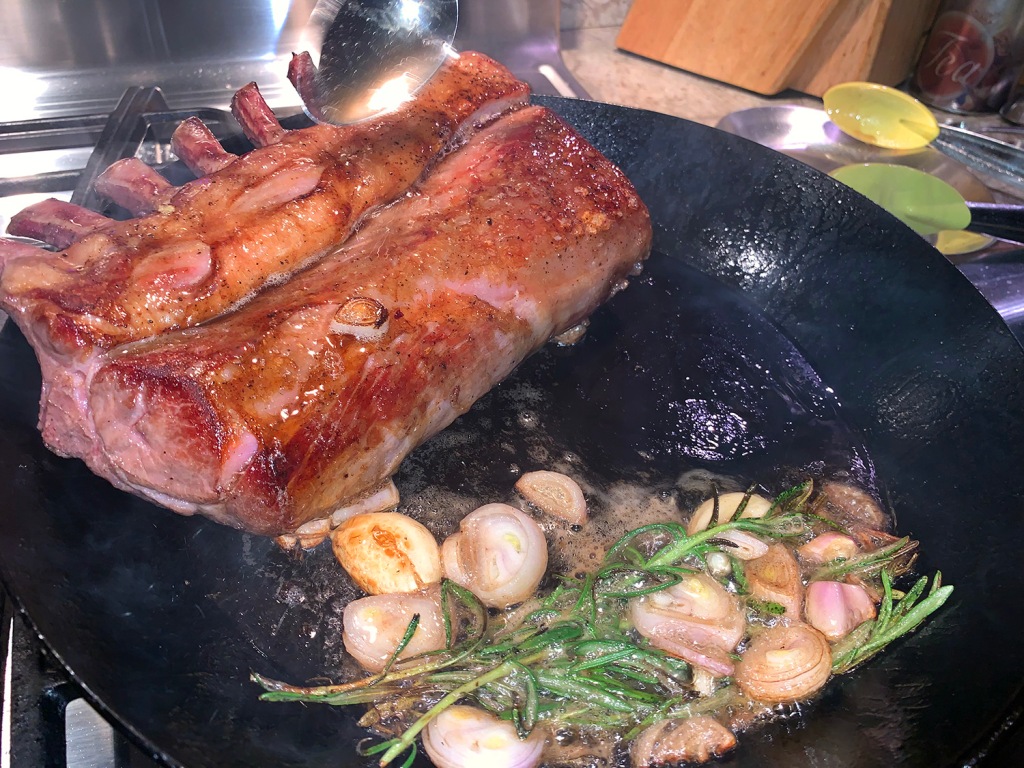
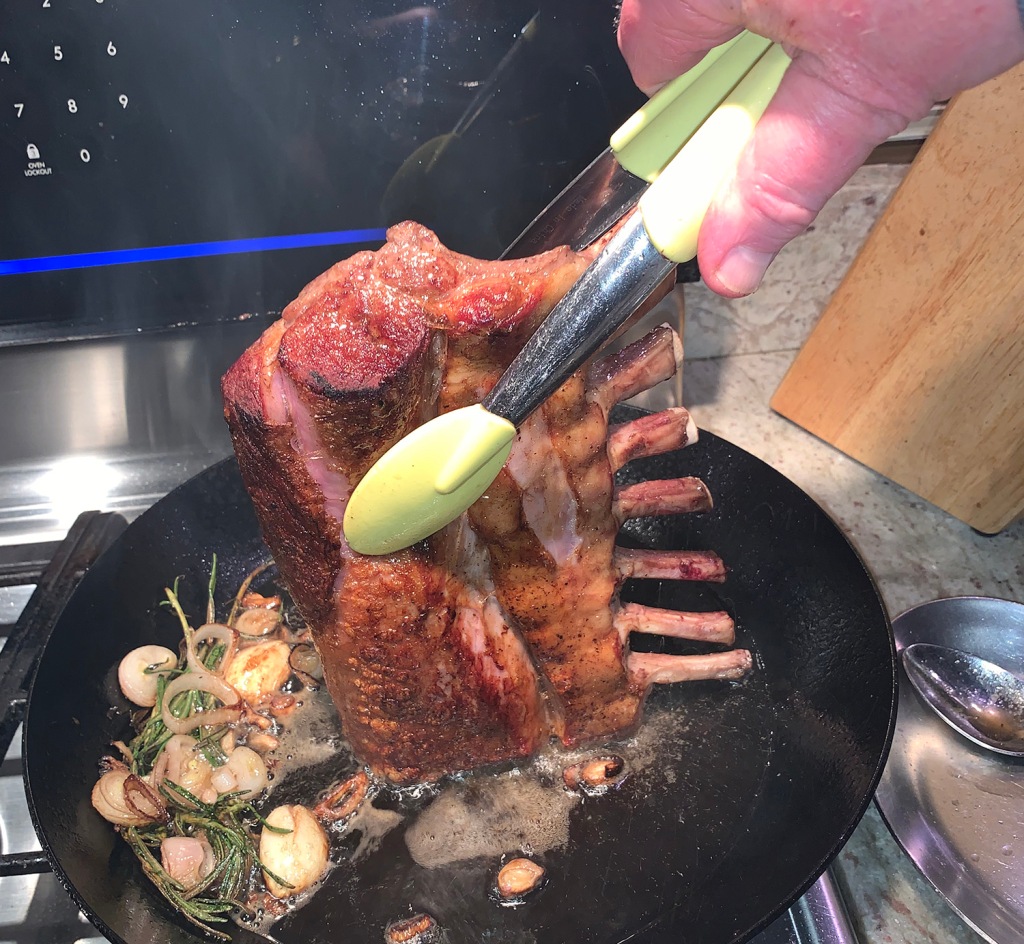
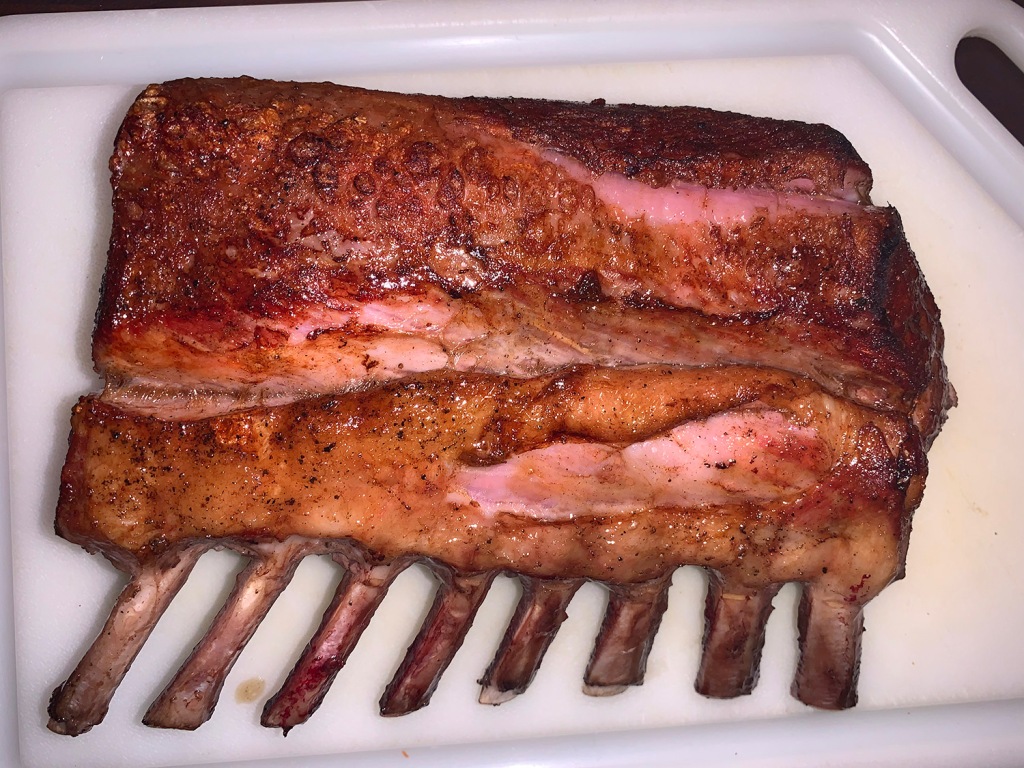
For rack of lamb that’s evenly medium-rare from edge to edge, sous vide cooking is by far the best approach. It works because slow, precise cooking followed by high heat gives you perfectly even results with a nice dark crust. Basting with butter and aromatics during searing adds flavor to the lamb.

Lamb tends to be leaner and smaller than a steak, which means that it’s even more susceptible to accidental overcooking. All of this makes it an ideal candidate for cooking sous vide, which makes overcooking nearly impossible and perfectly edge-to-edge medium-rare results the norm.

With sous vide, the doneness of a lamb rack is by and large determined by the maximum internal temperature it reaches during cooking. For instance, so long as the interior does not rise above 130°F (54°C), it will never cook beyond medium-rare—which works for us!

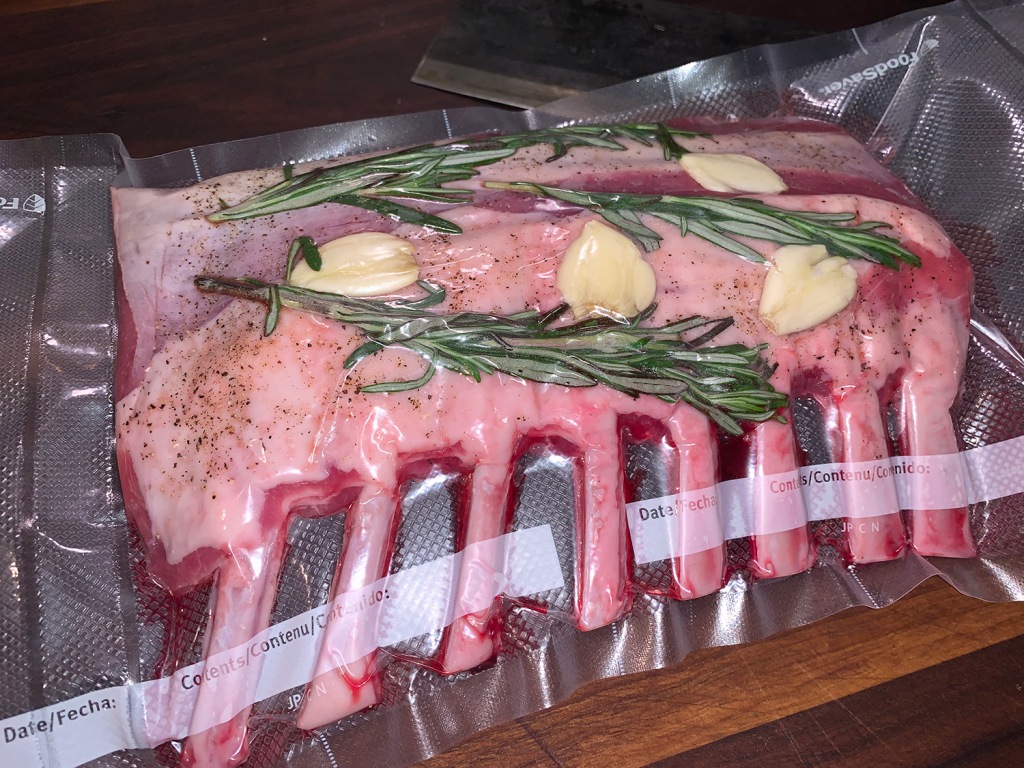
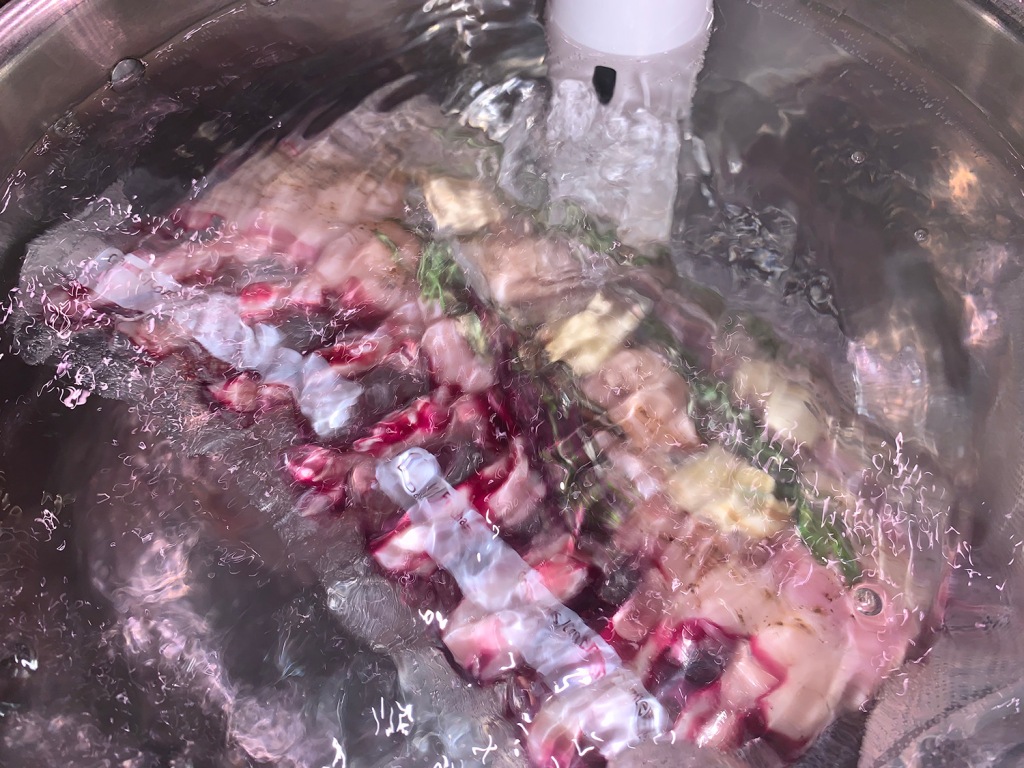
The down side? It takes longer. A traditionally cooked rack of lamb goes from fridge to plate in about 30 minutes. A sous vide rack of lamb will take more than an hour, though, with sous vide cooking, this time is almost 100% hands-off. We add thyme or rosemary sprigs, along with sliced shallots and garlic cloves (but no added fats such as butter or oil) to the bags with the lamb during cooking. Adding the same aromatics to the pan as you sear will bolster that flavor further.

Because sous vide techniques cook from edge to edge with more or less perfect evenness, there is no temperature gradient inside. A medium-rare rack of lamb should be 130°F from the very center to the outer edge, with only the outer surfaces hotter after searing. Thus, sous vide lamb can be served immediately after searing.

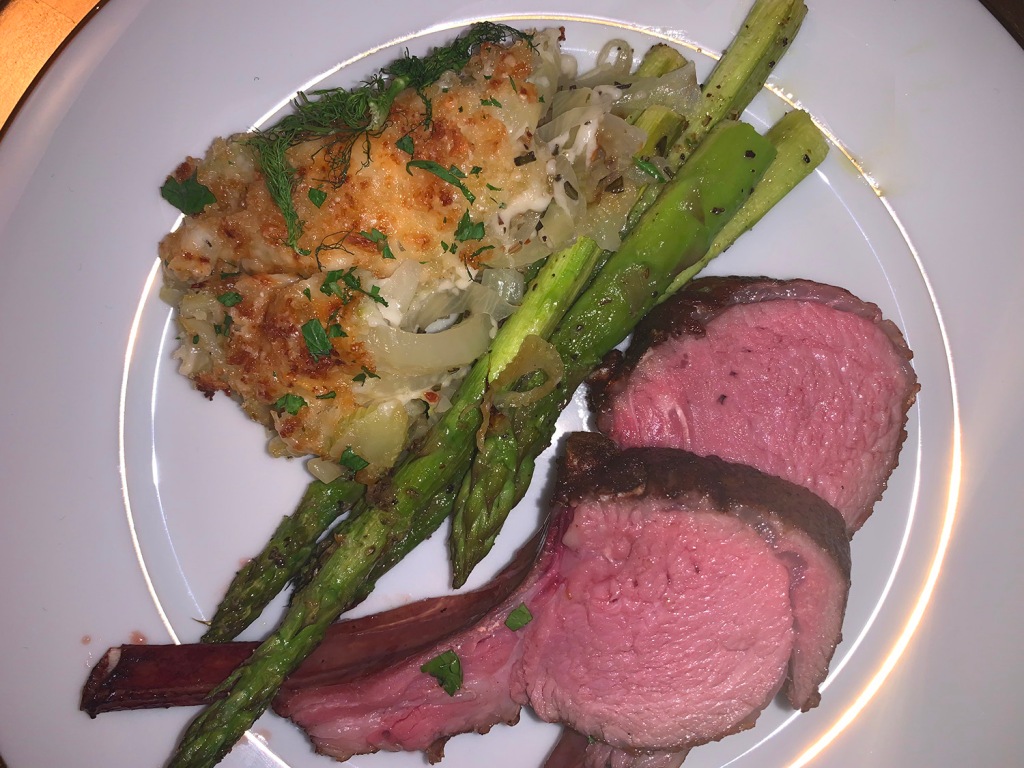
So have all of your sides ready. Our lamb was paired with the most fabulous Cheesy and Creamy Fennel Gratin and perfectly roasted asparagus.

recipe title=”Sous Vide Rack of Lamb” servings=”4″ time=”2 hr, 15 min” difficulty=”easy”]

Ingredients

  • 2 (8-bone) racks of lamb, about 2 lbs. total
  • Kosher salt and freshly ground black pepper
  • Aromatics, such as fresh thyme or rosemary sprigs, sliced shallots, and sliced garlic
  • 2 Tbsp. vegetable, canola, or rice bran oil
  • 2 Tbsp. unsalted butter

Directions

  1. Preheat a sous vide immersion circulator to desired final temperature according to chart above and in notes section. Season lamb generously with salt and pepper. Place racks in two individual sous vide bags, along with herbs, garlic, and shallots, and distribute evenly. Seal bags using a vacuum sealer, or seal plastic zipper-lock bags using the water displacement method. Place bags in preheated water bath (130°F/54°C for medium-rare) for 2 hours.
  2. Remove lamb from bags and carefully pat dry with paper towels.
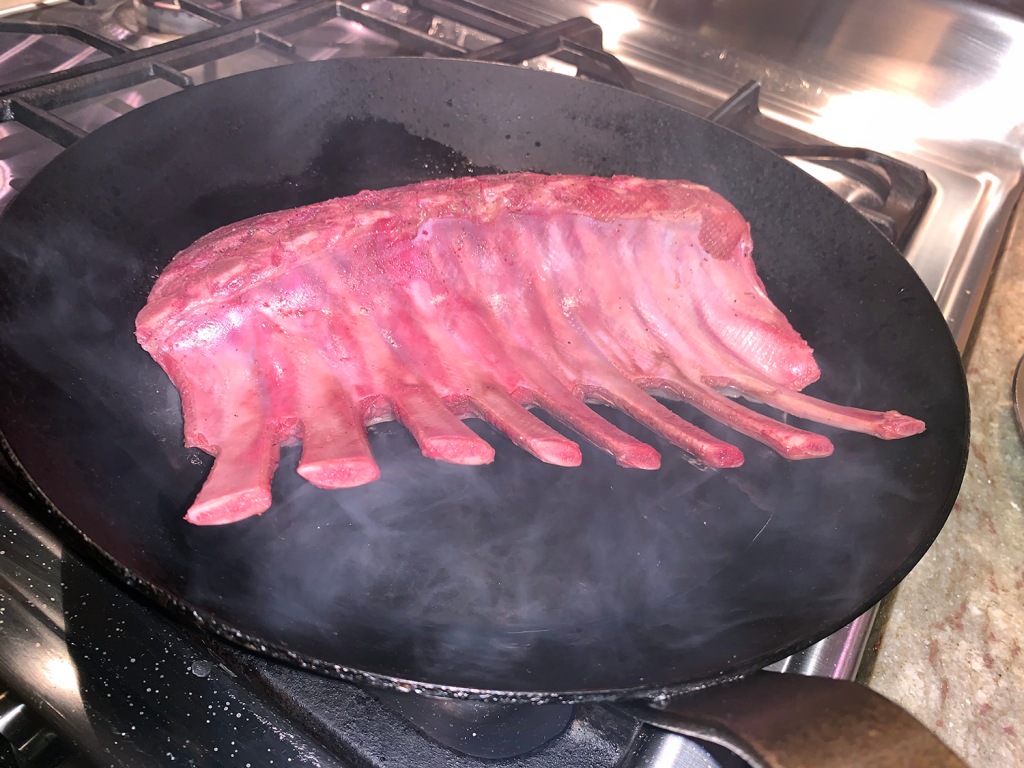
  3. Add vegetable, canola, or rice bran oil to a heavy cast iron or stainless steel skillet set over the hottest burner you have. Preheat skillet until it starts to smoke. Gently place lamb, meaty side down, in skillet, using your fingers or a set of tongs. (Work in batches if pan is not large enough to accommodate both racks.) Add 1 tablespoon butter per rack, along with fresh aromatics. Sear first side, moving rack around pan and basting it with hot melted butter and herbs, until well browned, 30 to 45 seconds. Flip and brown second side, about 30 seconds longer. Transfer to a wire rack set in a rimmed baking sheet to rest, then repeat with second rack if necessary, using fresh butter and aromatics.
  4. Lamb can be immediately carved and served as directed in step 5. Alternatively, allow it to rest for up to 10 minutes while you set the table. To re-crisp, reheat pan drippings until smoking-hot, then pour them over resting lamb racks just before carving and serving.
  5. Transfer cooked lamb to a cutting board. Carve it by holding rack upright (the bones make a good handle) and slicing down after every two rib bones with a sharp knife. You’ll have to work your knife around a little bit to find the joint between the vertebrae as you reach the bottom. (Don’t force your knife through a bone, or you may chip or dull it.) Serve immediately.
A cheesy fennel gratin and roasted asparagus were the perfect side dishes.

http://www.lynnandruss.com

[/recipe]

Recipe by J. Kenji López-Alt for Serious Eats