Monthly Archives: February 2024

Mujaddara (Middle Eastern Rice with Lentils, Frizzled Onions, and Lemony Yogurt Sauce)

Just as there are umpteenth recipes for chili, so there are for mujaddara—that vegetarian Middle Eastern rice-and-lentil dish topped with crisp-fried onions and tangy yogurt sauce. It borrows ingredients and techniques from cookbook authors like Yotam Ottolenghi and Paula Wolfert, plus skilled home cooks. If you have time, toast the spices whole, then grind them yourself—it’s worth the extra step, but not necessary.

Never heard of Mujaddara? Mujaddara is a signature Middle Eastern dish of lentils, rice, and deeply caramelized onions. A bold and comforting dish that’s typically served with a topping of crispy onion rings and a side of plain yogurt with a fresh Mediterranean salad such as cucumber and tomato salad, fattoush salad, or shirazi salad.

The secret to an authentic mujadara recipe is in the onions. This dish starts and ends with onions. First, deeply caramelized chopped onions are cooked with the rice and lentils, imparting flavor and the deep, golden hue this dish is known for. And to finish your mujaddara, you’ll top the cooked rice and lentils with thinly sliced, crispy onions. Alas, ours never got super crispy, we think due to the skillet not being wide enough. Instead they steamed more than crisped.

Mujaddara (Middle Eastern Rice with Lentils, Frizzled Onions, and Lemony Yogurt Sauce)

  • Servings: 6
  • Difficulty: moderate
  • Print

Ingredients

FOR THE SAUCE:

  • 1 cup full-fat plain Greek yogurt
  • 1 clove garlic, grated
  • 1 tsp. finely grated lemon zest
  • 2 Tbsp. fresh lemon juice
  • Kosher salt, to taste
  • Ground sumac and extra-virgin olive oil, for garnish (optional)

FOR THE RICE AND LENTILS:

  • 1 1/2 cups olive or vegetable oil, for frying
  • 4 medium onions, (1 1/2 lbs.) halved through the root end then thinly sliced
  • Kosher salt
  • 1 cup basmati rice, rinsed in a strainer until the water runs clear
  • 2 tsp. ground coriander
  • 2 tsp. ground cumin
  • 3/4 tsp. ground cinnamon
  • 1/2 tsp. ground allspice
  • 1/4 tsp. ground turmeric
  • 1 pinch cayenne pepper, or more to taste
  • 4 cloves garlic, finely chopped
  • 1 1/4 cups brown or green lentils, rinsed and checked for any debris
  • Coarsely chopped parsley leaves or cilantro, for garnish
  • 4 scallions, trimmed and thinly sliced (optional)

Directions

  1. In a small serving bowl, stir together the yogurt, garlic, lemon zest, lemon juice, and salt to taste. Cover and refrigerate.
  2. Place the lentils in a small saucepan, cover with plenty of water, bring to a boil, and cook for 12 to 15 minutes, until the lentils have softened but still have a little bite. Drain and set aside.
  3. To a large pot with a lid, such as a Dutch, add 1½ cups of oil and turn the heat to high. When it’s hot and shimmering, reduce the heat to medium-high, add one-third of the onions, and fry, stirring occasionally with a slotted spoon, until crisp and deep golden brown, about 5-7 minutes. Using the slotted spoon, transfer to a paper-towel-lined baking sheet and sprinkle with salt. Repeat with the two remaining batches of onions, adding a little extra oil to the pot if needed. When all of the onions have been fried, strain the oil into a heatproof container and set aside.
  4. To the empty pot, add the coriander, cumin, cinnamon, allspice, turmeric, cayenne, garlic, and 3 tablespoons of the reserved oil and turn the heat to medium. Cook, stirring continuously, until fragrant, about 1-2 minutes. Add the rice and cook, stirring continuously, until translucent, about 2 minutes, then add 1 1/2 cups of water and 1 teaspoon of salt. Stir in the lentils and bring to a boil. Turn the heat to low, cover, and cook until the rice is cooked and has absorbed the water, about 15 minutes. Turn off the heat and remove the pot from the stove, lift off the lid, and quickly cover the pan with a clean tea towel. Seal tightly with the lid and let rest for 10 minutes.
  5. Remove the lid and the dish towel. Stir in half of the reserved onions, fluffing the rice as you go with a fork. Pile the mixture into a serving bowl, then scatter with the remaining onions and garnish with parsley or cilantro and the sliced scallions, if using. Uncover the yogurt sauce, sprinkle with sumac, drizzle with oil, and serve on the side.

http://www.lynnandruss.com

Recipe by Jerusalem: A Cookbook, by Yotam Ottolenghi and Sami Tamimi

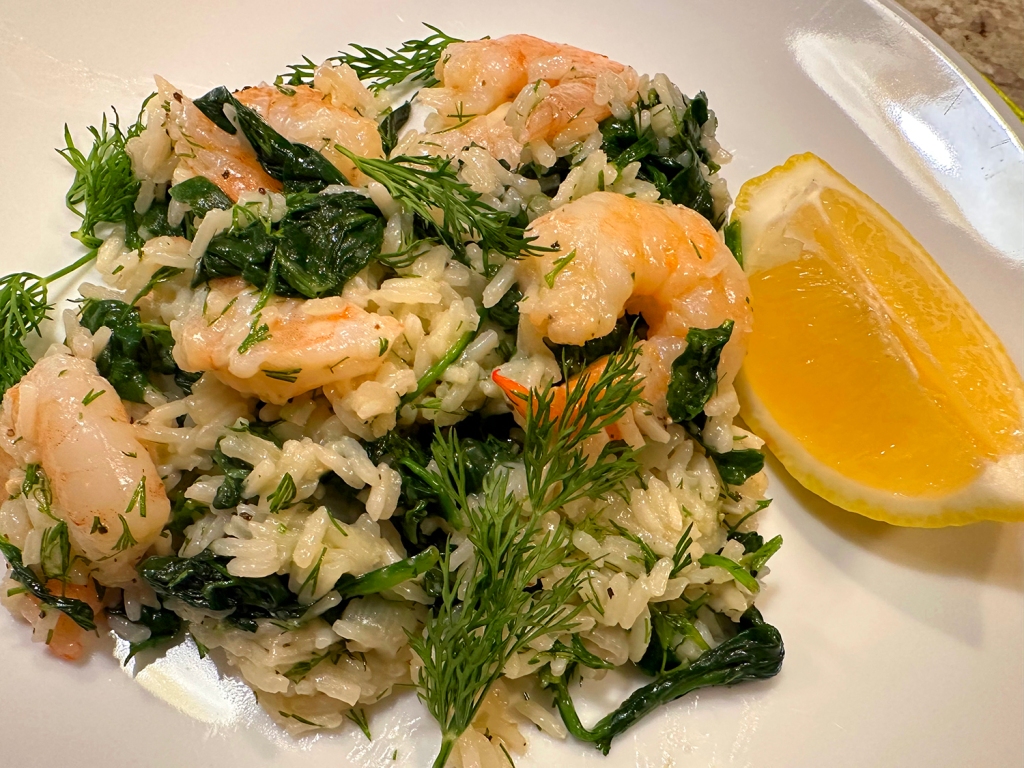
Greek-Style Spinach Rice with Shrimp and Dill

Loved this shrimp and rice recipe from Milk Street, where we found it in a recent issue of their magazine under Tuesday Night Dinners. We try to have a seafood/fish dinner at least once a week, and this was not only easy, but delicious!

Spanakorizo, or spinach rice (literally translated), is a homestyle Greek dish. The addition of shrimp creates a complete one-pot meal. With dill and lemon as accents, the flavors are fresh and bright, but a little butter used to wilt the spinach and olive oil drizzled on as a final flourish add a satisfying richness. To simplify prep, look for shrimp that are sold already peeled and deveined.

Don’t use a wide pot, such as a Dutch oven, to make this recipe. We found that a large surface area can result in unevenly cooked grains. The narrower diameter of a saucepan is the better choice. Don’t peek at the shrimp after adding them to the rice, except while stirring them into the rice after the first 10 minutes. Keeping the lid on traps heat in the pan so the shrimp cook through.

Greek-Style Spinach Rice with Shrimp and Dill

  • Servings: 4
  • Difficulty: easy
  • Print

Ingredients

  • 2 Tbsp. salted butter
  • 2 5-oz. containers baby spinach
  • 2 Tbsp. extra-virgin olive oil, plus more to serve
  • 2 medium shallots, halved and thinly sliced
  • Kosher salt and ground black pepper
  • 1½ cups long-grain white rice, rinsed and drained
  • 1 lb. extra-large (21/25 per pound) shrimp, peeled (tails removed), deveined and patted dry
  • 1 cup lightly packed fresh dill, roughly chopped
  • 1 tsp. grated lemon zest, plus 3 Tbsp. lemon juice

Directions

  1. In a large saucepan over medium-high, heat the butter until bubbling. Add the spinach and cook, stirring, until wilted but still bright green, about 1 minute. Transfer to a bowl, including any liquid released by the spinach; set aside.
  2. Set the same pan over medium-high. Add the oil, shallots and ¼ teaspoon salt, then cook, stirring often, until the shallots are translucent, about 2 minutes. Add the rice, 2½ cups water, and ¼ teaspoon each salt and pepper. Stir to combine, then bring to a boil. Cover, reduce to low and cook until the liquid has been absorbed, 15 to 18 minutes. Meanwhile, season the shrimp with salt and pepper.
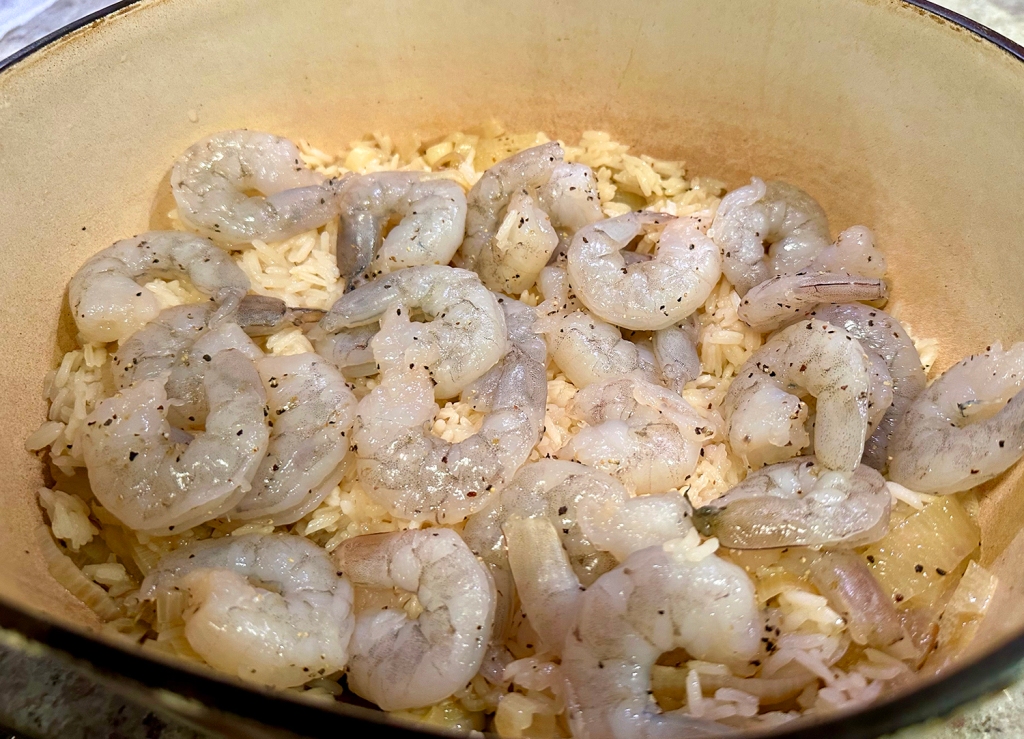
  3. When the rice is done, remove the pan from the heat. Quickly and evenly scatter the shrimp over the surface, re-cover and let stand for 10 minutes. Using a fork, fluff the rice and fold in the shrimp. Re-cover and let stand until the shrimp are opaque throughout, another 5 to 7 minutes.
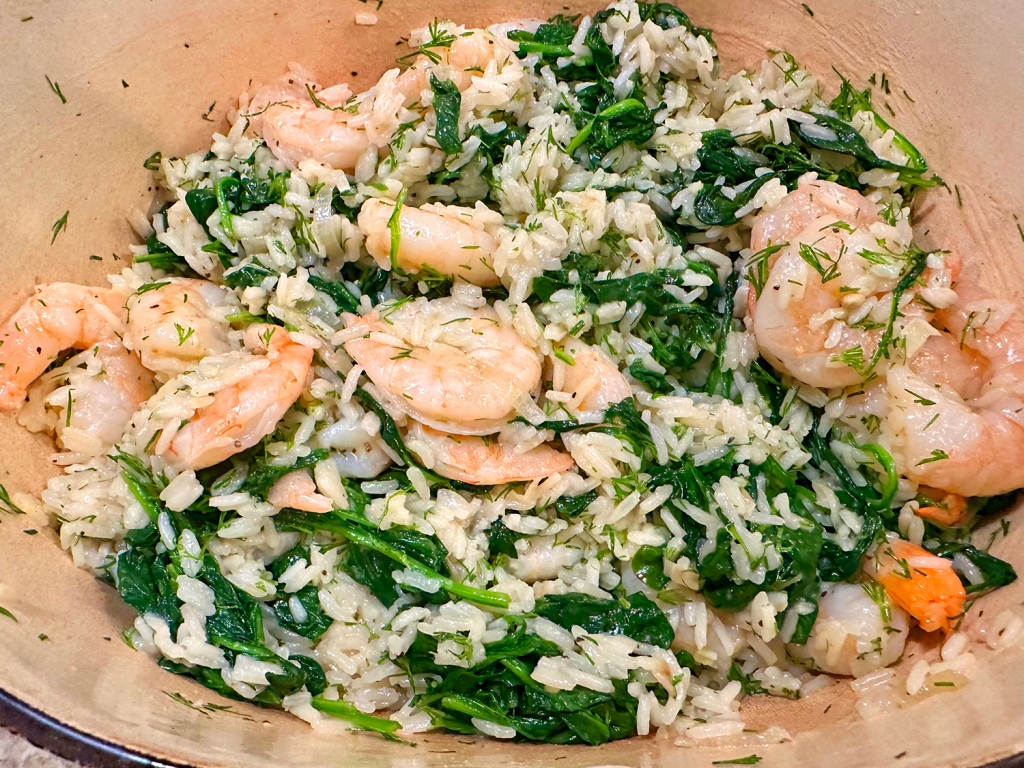
  4. Add the spinach with its liquid, the dill and the lemon zest and juice, then fold until well combined. Taste and season with salt and pepper. Serve drizzled with additional oil.

http://www.lynnandruss.com

Recipe by Rebecca Richmond for Milk Street

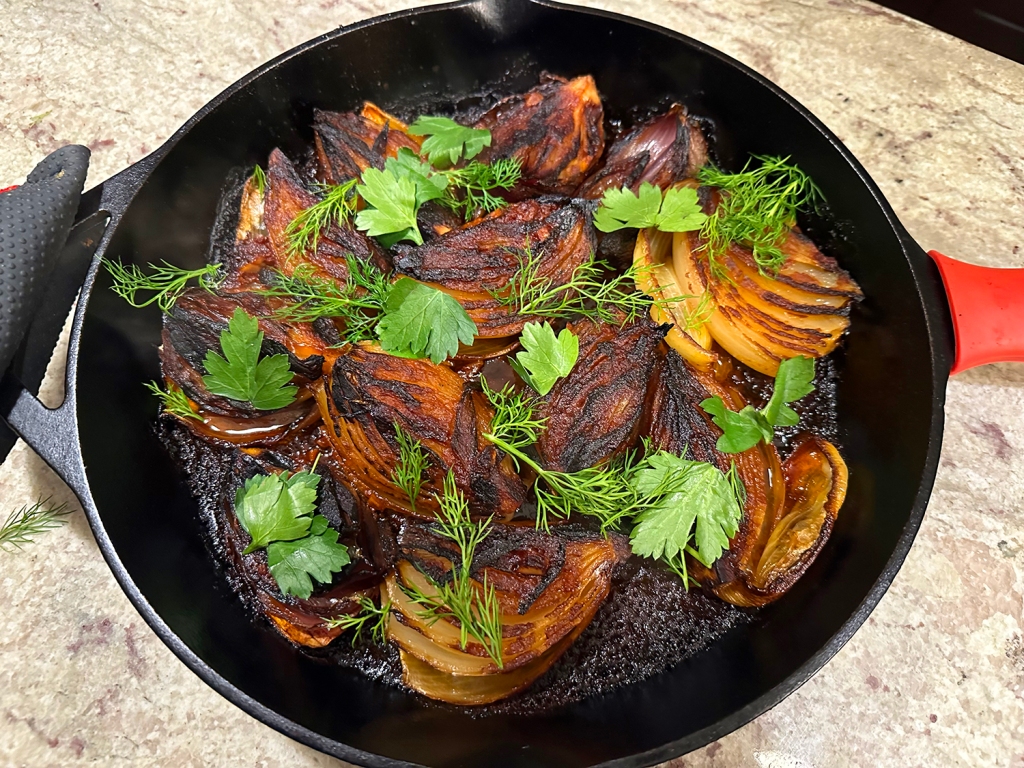
Tomato-Roasted Onions with Paprika

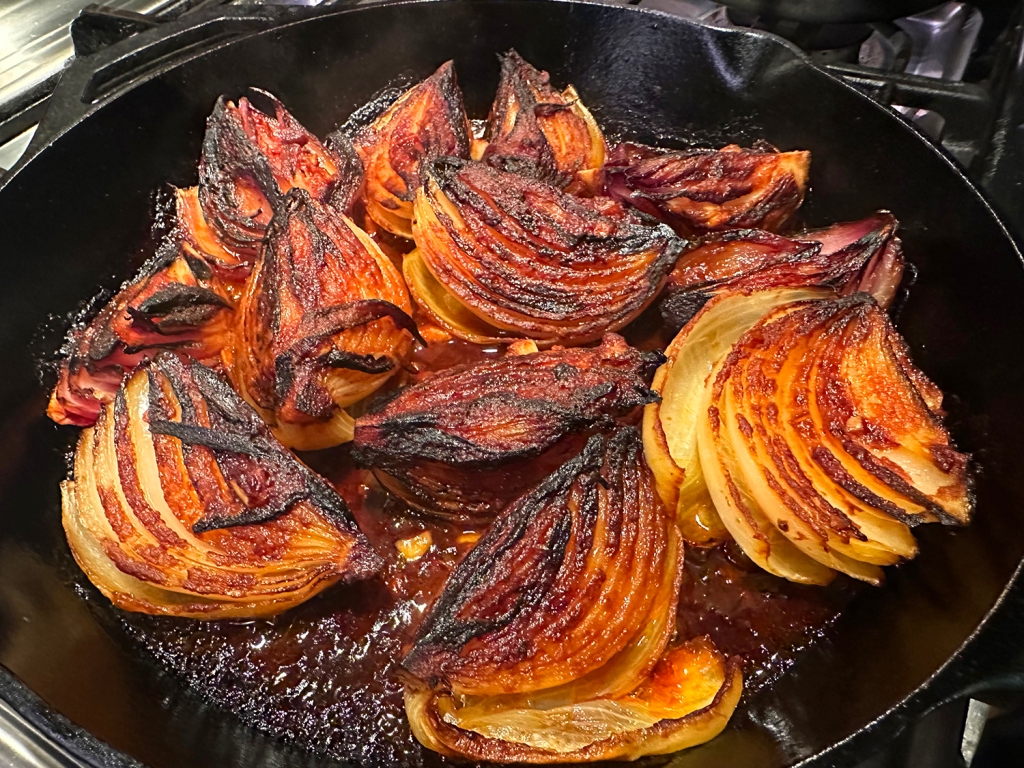
We have never considered onions as an entrée—side dish, absolutely; condiment, of course; salad addition, naturally. But onions can be a startling delight when they’re served as the main event. Here, a hot sear produces a glorious collection of complex flavors, and the gentle roast that follows renders the collection of onions fully spoonable, soft like butter on a hot day.

If you’re looking for proof that onions can be more than just background players, this is it. Sweet paprika balances the richness of the dish, lending its vibrant red hue and a fruity, mild heat. To better appreciate every nuance of the onions, serve this simply—a side of buttered egg noodles or rice will do nicely.

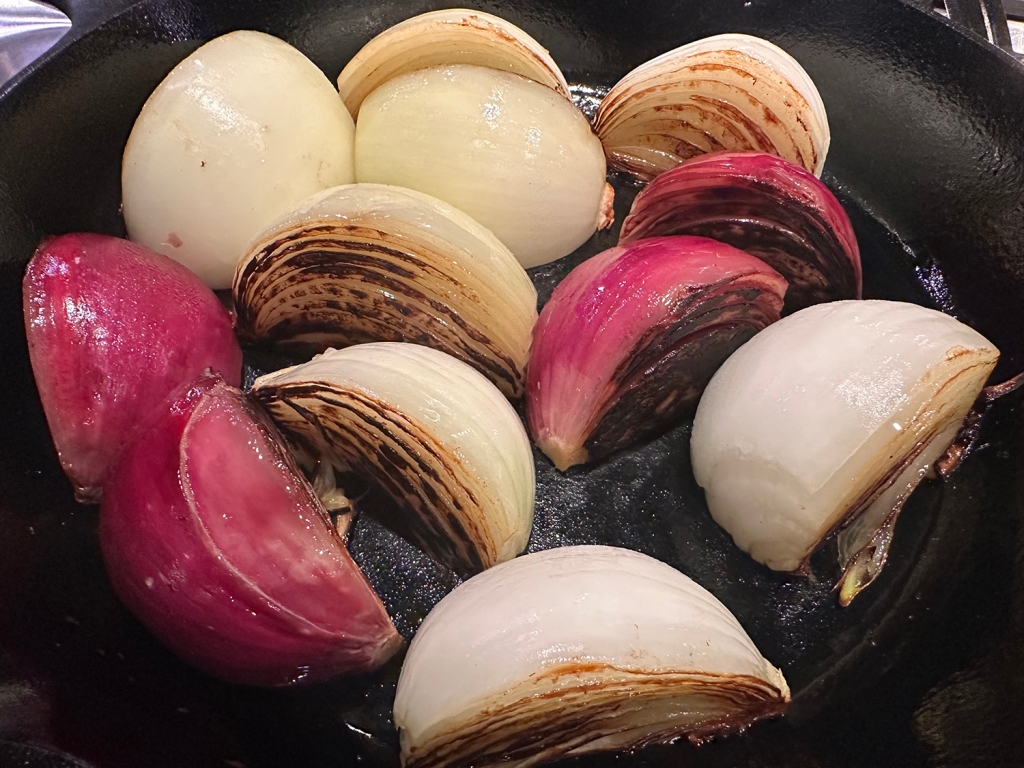
But we went whole hog and paired the onions with a reverse-seared NY strip steak and a side salad. The recipe calls for a mix of six small onions, we bought three large. Therefore our wedges were much bigger than they would have been with small onions. Luckily they all fit in a large cast-iron skillet, so we didn’t need to brown them in two batches. However, we did need to brown them almost 50% longer.

Next time, we will cover the skillet for the first 30 minutes in the oven, then remove the cover, cooking until the onions are tender all the way through.

Tomato-Roasted Onions with Paprika

  • Servings: 4-6
  • Difficulty: easy
  • Print

Ingredients

  • 6 garlic cloves, coarsely chopped
  • ¼ cup double-concentrated tomato paste
  • ¼ cup extra-virgin olive oil
  • 3 Tbsp. paprika
  • 1 Tbsp. vegetable or beef bouillon paste
  • 2 tsp. apple cider vinegar
  • 2 tsp. sugar
  • 2 tsp. Diamond Crystal or 1¼ tsp. Morton kosher salt, plus more
  • 2 Tbsp. (or more) vegetable oil
  • 2 lb. mixed onions (about 6 small), roots trimmed with ends left intact, peeled, quartered through root ends
  • Dill sprigs and parsley leaves with tender stems (for serving)

Directions

  1. Place a rack in middle of oven; preheat to 375°. Mix 6 garlic cloves, coarsely chopped, ¼ cup double-concentrated tomato paste, ¼ cup extra-virgin olive oil, 3 Tbsp. paprika, 1 Tbsp. vegetable or beef bouillon paste, 2 tsp. apple cider vinegar, 2 tsp. sugar, and 2 tsp. Diamond Crystal or 1¼ tsp. Morton kosher salt, and ¾ cup water in a small bowl to combine; set garlic mixture aside.
  2. Heat 2 Tbsp. vegetable oil in a medium cast-iron skillet over medium-high. Working in batches if needed and adding up to 1 Tbsp. more vegetable oil to pan if it looks dry at any point, arrange 2 lb. mixed onions (about 6 small), roots trimmed with ends left intact, peeled, quartered through root ends, cut side down, in pan with tongs (be careful and stand back; the oil will spatter) and season lightly with salt. Cook until charred underneath, about 5 minutes; repeat for the other cut side of each wedge. If working in batches, transfer onions to a plate as you go (be gentle here; you want them to hold their shape).
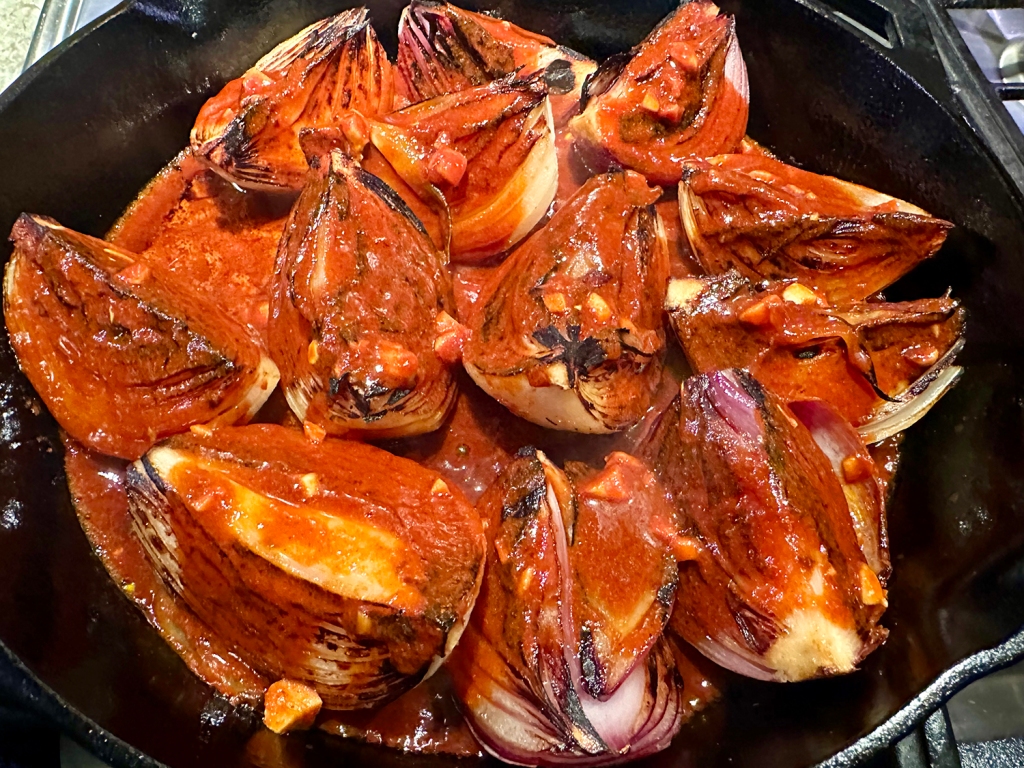
  3. Return all onions to pan if you cooked them in batches and arrange so cut sides are facing up. Add reserved garlic mixture and shake pan gently to settle sauce. Bake in oven until onions are very tender and oil begins to separate from tomato paste, 30–40 minutes. (Our large onion wedges took over an hour before they were completely softened the entire way through.)
  4. Scatter dill sprigs and parsley leaves with tender stems over onions to serve.

http://www.lynnandruss.com

Recipe by Shilva Uskokovic for Bon Appétit

Eggplant with Garlic Sauce

If you are an eggplant fan, you need to add this stir-fry to your shortlist. Chinese eggplant with garlic sauce, or “fish fragrant eggplant” (yuxiang qiezi) is a familiar dish in many American Chinese restaurants and buffets these days, but it’s also a dish with many authentic variations in China. Here is another version of this much-loved classic.

In most cases, Chinese restaurants make this Chinese eggplant with garlic sauce dish by deep frying the eggplant, resulting in very tasty, soft eggplant, but also a very oily dish. This Chinese eggplant with garlic sauce uses a fraction of the oil in restaurant versions and is a game-changing healthy dish!

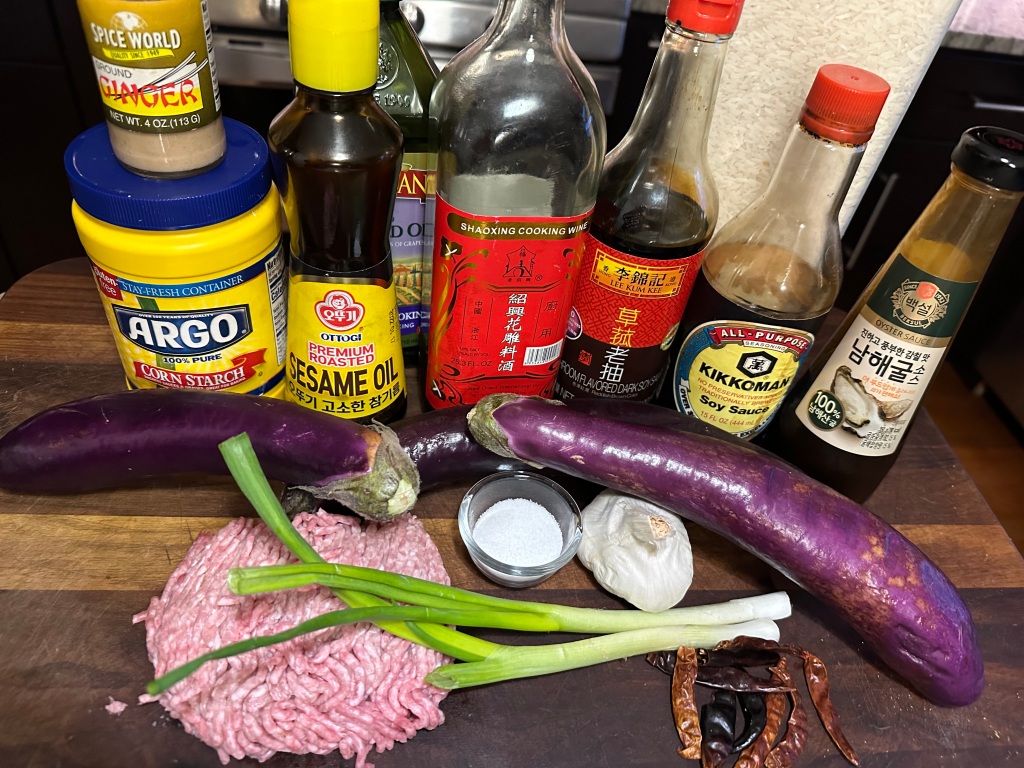
The eggplant pieces had to be cooked in two batches to ensure they would brown instead of steam. If you need to do this also, it will add some time to the overall recipe. As far as the ground pork, we used a bit more (25%) than called for. If you are vegetarian, you can skip the meat altogether or replace it with tofu.

Eggplant with Garlic Sauce

  • Servings: 2-4
  • Difficulty: easy
  • Print

Ingredients

FOR THE SAUCE MIXTURE:

  • 1/2 cup hot water
  • 1 Tbsp. corn starch
  • 1 tsp. toasted sesame oil
  • 1 Tbsp. light soy sauce
  • 1/2 tsp. dark soy sauce
  • 1 Tbsp. sugar
  • 1 Tbsp. Shaoxing wine or sherry
  • 1 Tbsp. rice vinegar
  • 1 1/2 Tbsp. oyster sauce or vegetarian oyster sauce
  • 1/8 tsp. ground white pepper
  • 6 cloves garlic, (finely minced), divided

FOR THE REST OF THE DISH:

  • 2-3 Japanese or Chinese eggplants, (about 1 pound)
  • 2 scallions, white and green parts finely chopped
  • 4 Tbsp. neutral oil, divided
  • 4 oz. ground pork, chicken, or turkey (optional)
  • 2 tsp. minced fresh ginger
  • 5 dried red chilies, or more to taste, seeded and sliced into small pieces

Directions

  1. Combine the sauce ingredients, adding only half of the minced garlic, in a small bowl and set aside. Reserve the remaining half of the garlic for later.
  2. Wash the eggplants, cut the ends off, and slice them into equal-sized pieces. After slicing, separate the green and white portions of the scallions into roughly two piles.
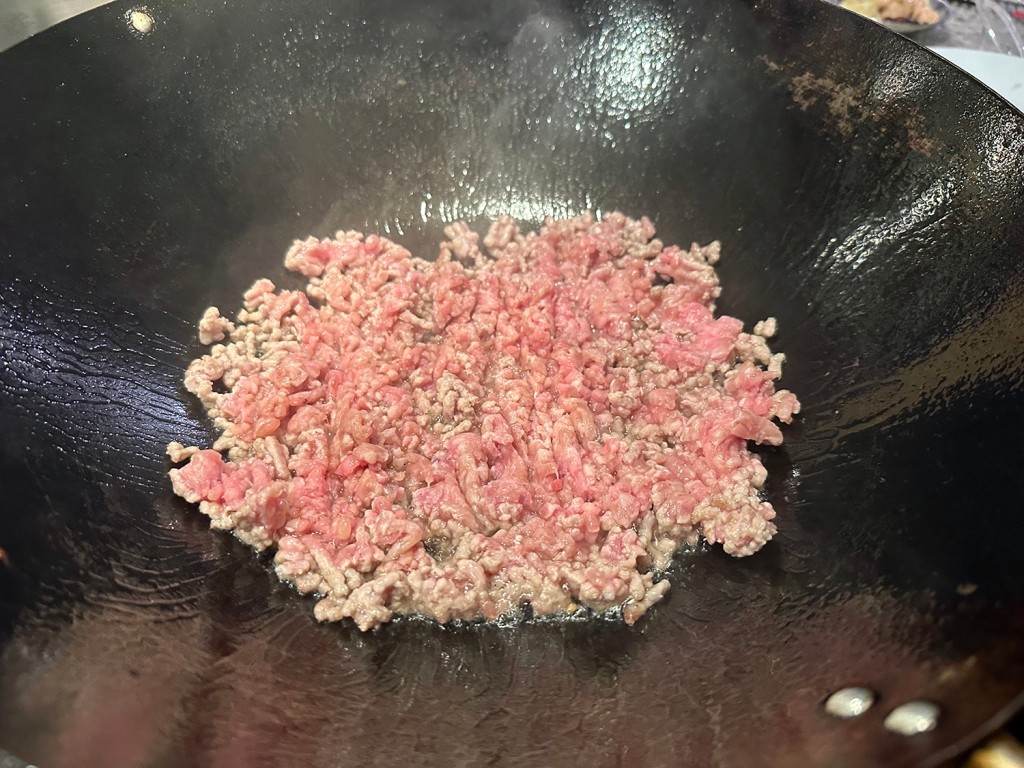
  3. Over medium-high heat, heat 1 1/2 tablespoons of oil in your wok. Add half of the eggplant and spread it into a single layer, then reduce the heat to medium. Let it sear until brown, about 3 minutes, then begin flipping and stirring it occasionally until it’s lightly browned all over. Take this first batch of eggplant out of the pan, heat a second tablespoon and a half of oil, and do the same with your second batch. Set all the cooked eggplant aside on a plate.
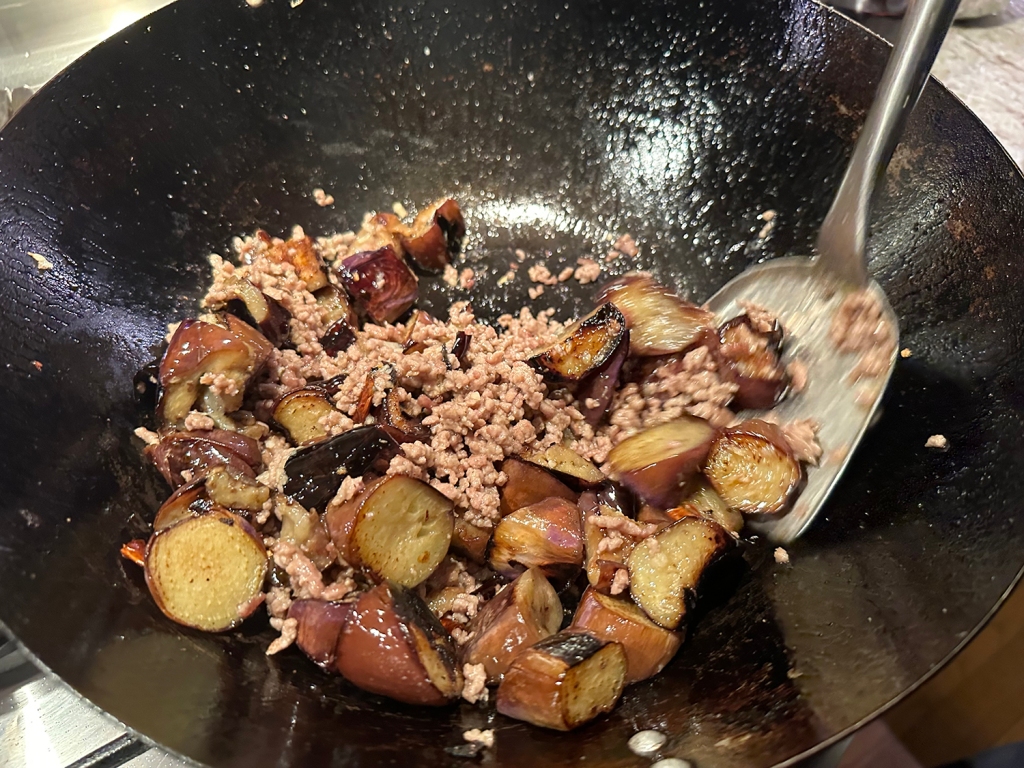
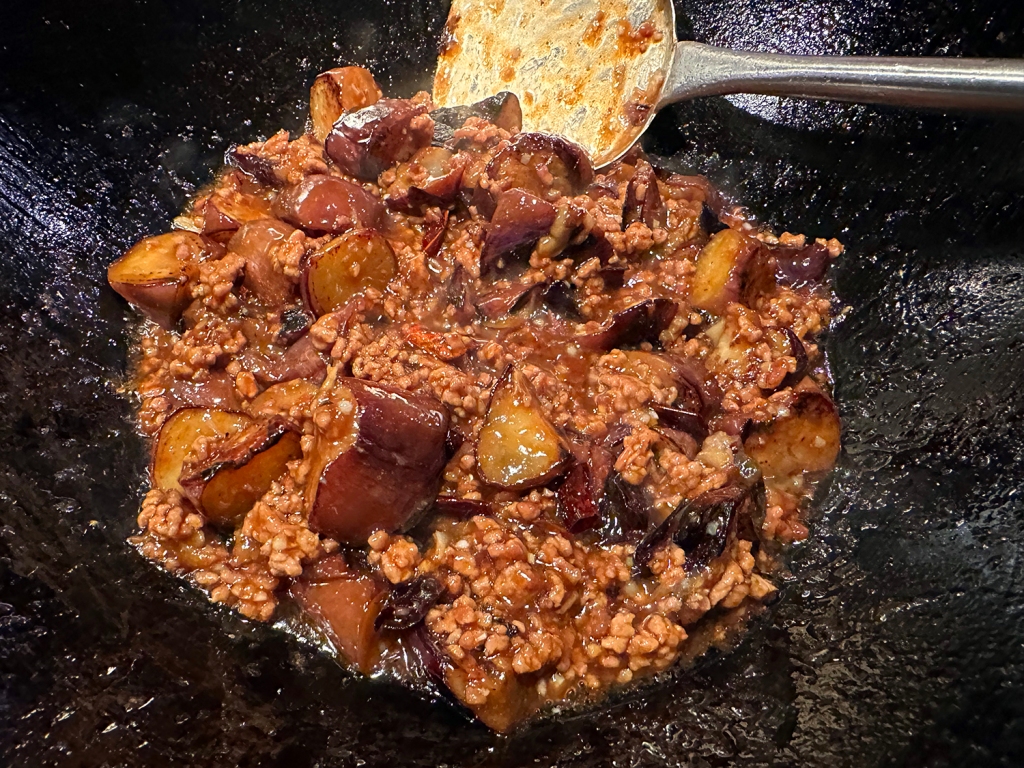
  4. Set the heat to high and add the last tablespoon of oil to the wok along with the ground pork and cook until opaque, breaking it up into small bits as you go. Add the ginger, dried chili peppers, and 3 cloves of minced garlic. Cook for 1 to 2 minutes, stirring constantly, until the aromatics are fragrant and lightly toasted. Add the eggplant back in, along with the stir-fry sauce. Stir-fry everything together for another 2 minutes, making sure everything is well combined.
  5. Toss in the scallions and stir-fry for another 20 seconds. Serve immediately with white or brown steamed rice.

http://www.lynnandruss.com

Recipe from the Woks of Life Cookbook

Braised Baby Potatoes with Dijon and Tarragon

What if you could get the creamy interiors produced by steaming baby potatoes and the browned exteriors produced by roasting—without doing either of those things? Well, we just had to find out…

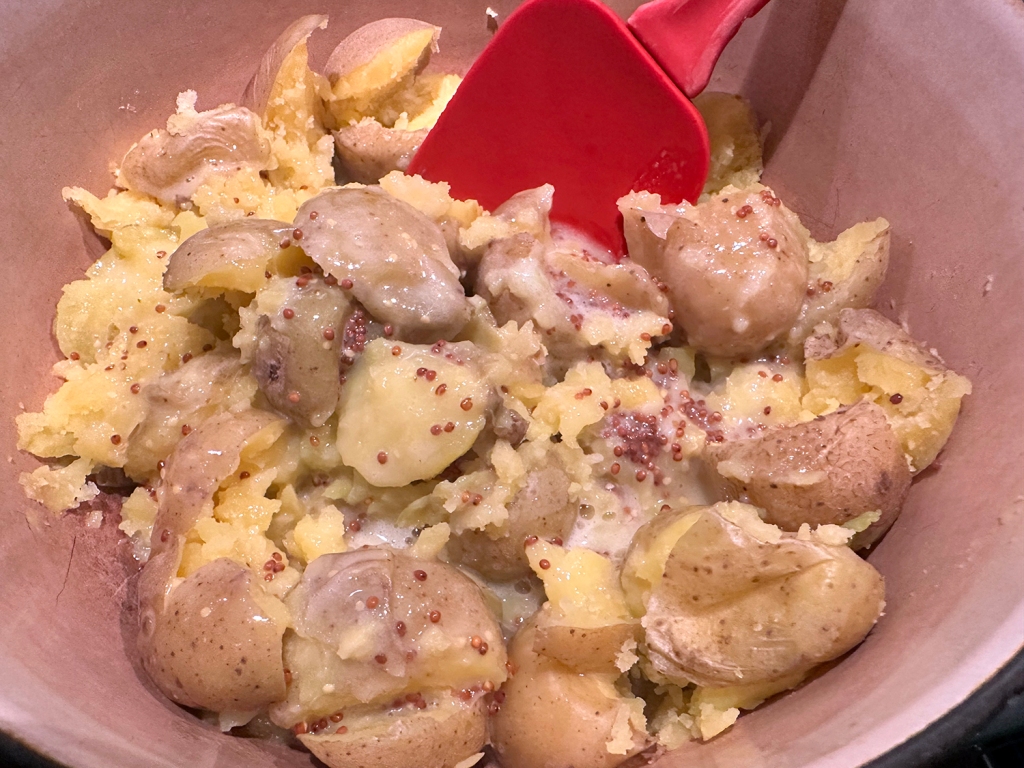
This is a creative recipe for a simple, one-pot potato side dish that features the benefits of both boiling and roasting. Halved small potatoes (about 1 1/2 inches in diameter) are combined with butter, and salted water in a 12-inch skillet. Then they are simmered until the potatoes turn creamy and the water fully evaporates.

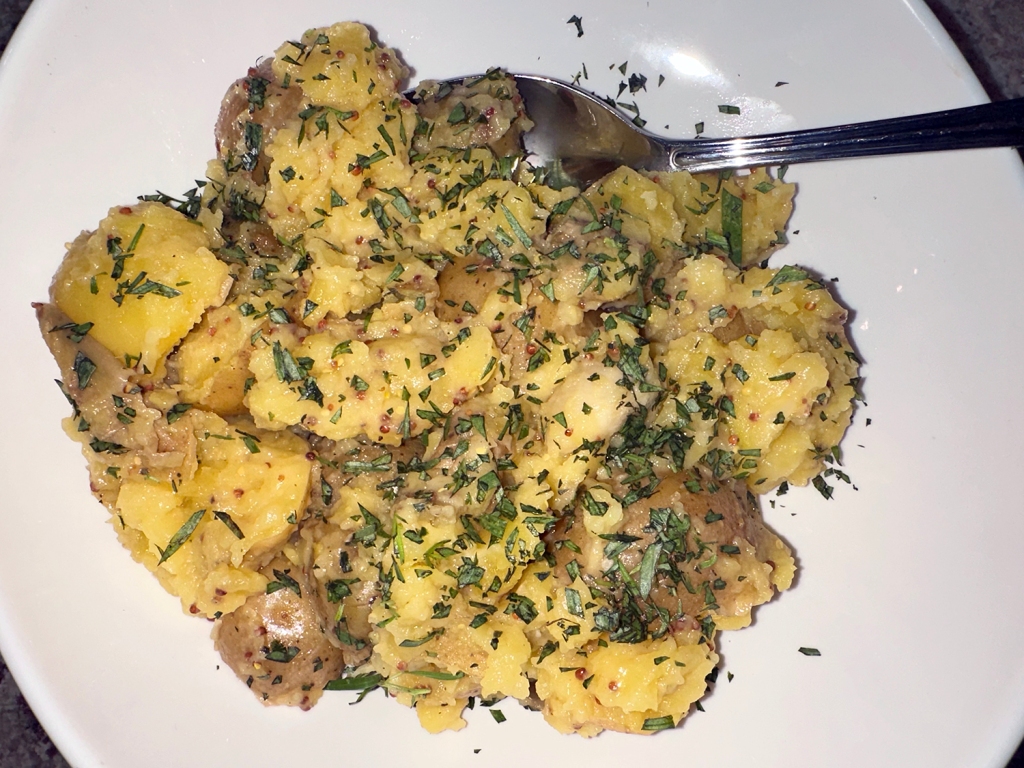
In the then-dry skillet, the potatoes and butter are left alone to fry and develop great flavor and color. Subtle aromatics like thyme and garlic balance well with last-minute additions like Dijon mustard. Potatoes turn nicely browned and the dressing is just enough to give them good flavor.

As you may have noticed, we did not use red potatoes due to the fact that the supermarket was only carrying large red spuds. Therefore, we opted for small yellow potatoes. In another twist, whole grain mustard was substituted for the Dijon.

Braised Baby Potatoes with Dijon and Tarragon

  • Servings: 4-6
  • Difficulty: easy
  • Print

Ingredients

  • 1 ½ lbs. small red potatoes, unpeeled, halved; about 1 1/2 inches in diameter
  • 2 cups water
  • 3 Tbsp. unsalted butter
  • 3 garlic cloves, peeled
  • 3 sprigs fresh thyme
  • ¾ tsp. salt
  • 2 tsp. Dijon mustard
  • ¼ tsp. pepper
  • 1 Tbsp. minced fresh tarragon

Directions

  1. Arrange potatoes in single layer, cut side down, in 12-inch nonstick skillet. Add water, butter, garlic, thyme, and salt and bring to simmer over medium-high heat. Reduce heat to medium, cover, and simmer until potatoes are just tender, about 15 minutes.
  2. Remove lid and use slotted spoon to transfer garlic to cutting board; discard thyme. Increase heat to medium-high and vigorously simmer, swirling pan occasionally, until water evaporates and butter starts to sizzle, 15 to 20 minutes. When cool enough to handle, mince garlic to paste. Transfer paste to bowl and stir in mustard and pepper.
  3. Continue to cook potatoes, swirling pan frequently, until butter browns and cut sides of potatoes turn spotty brown, 4 to 6 minutes longer. Off heat, add garlic mixture and tarragon and toss to thoroughly coat. Serve immediately.

http://www.lynnandruss.com

Recipe courtesy of America’s Test Kitchen for Cook’s Illustrated

Carabaccia (Tuscan Onion Soup)

For this recipe, we were beta testers for America’s Test Kitchen (ATK). As part of the rules, we were unable to post anything until it was published in their magazine and online; which was six months after the fact.

In the same vein as French Onion Soup, the buttery, sweet savoriness of carabaccia, Tuscany’s centuries-old red onion soup, introduces you to an entirely different side of allium complexity.

As ATK explains, Carabaccia is a simple, centuries-old Tuscan onion soup made by softening (but not browning) and then simmering loads of onions in water until the liquid is gently savory-sweet; the soup is served with toasted bread, grated Parmesan or Pecorino, and perhaps a poached egg.

For this take, 2 pounds of thin-sliced red onions are softened by first simmering them covered, with a little water, salt, and olive oil, so that the moist heat would encourage them to quickly collapse. Then they are briefly cooked uncovered to evaporate the liquid and concentrate their flavor; finally they are simmered with water, sage, and bay leaf to infuse the broth with the onions’ sweet savor.

Stirring grated Parmesan into the soup enhances its flavor. While the soup simmers, you broil slices of crusty bread and poach the eggs. To serve, placed a slice of toast in each bowl and top with a poached egg; then ladle the soup around the bowl.

Carabaccia is traditionally made with water but feel free to use your favorite chicken or vegetable broth in Step 2. A rasp grater works well for grating the Parmesan. Serve this soup with a poached egg spooned on top of the toast before the soup is ladled into the bowl.

Carabaccia (Tuscan Onion Soup)

  • Servings: 4
  • Difficulty: easy
  • Print

Ingredients

  • 2 lbs. red onions, halved and sliced through root end ¼ inch thick
  • 5 cups water, divided; OR chicken or vegetable broth
  • 3 Tbsp. extra-virgin olive oil, divided
  • ¾ tsp. table salt, divided
  • 2 sprigs fresh sage
  • 1 bay leaf
  • ½ cup (1 oz.) finely grated Parmesan cheese, plus extra for serving
  • 4 poached eggs
  • 4 (½-inch-thick) slices thick-crusted country bread

Directions

  1. Bring onions, 1 cup water, 2 tablespoons oil, and ½ teaspoon salt to boil in Dutch oven over high heat. Adjust heat to medium, cover, and cook at rapid simmer, stirring occasionally, until onions have fully softened and collapsed, 18 to 20 minutes. Uncover and continue to cook, stirring occasionally, until liquid evaporates (onions should not brown), 6 to 8 minutes. (Onions can be refrigerated for up to 3 days or frozen for up to 1 month.)
  2. Add sage sprigs, bay leaf, remaining 4 cups water, and remaining ¼ teaspoon salt. Bring to boil, adjust heat to gentle simmer and cook, covered, for 30 minutes. Remove sage sprigs and bay leaf. Stir in Parmesan. Season with salt and pepper to taste.
  3. Meanwhile, adjust oven rack about 6 inches from broiler element and heat broiler. Place bread on aluminum foil-lined rimmed baking sheet, drizzle with remaining 1 tablespoon oil and season with salt and pepper. Broil until browned, crisp, and starting to char at edges, 2 to 4 minutes. Flip bread and continue to broil until bottom is starting to char, 2 to 4 minutes longer.
  4. Place 1 slice bread in bottom of each individual bowl. Top bread with poached egg. Ladle soup into bowl. Serve, passing Parmesan separately.

http://www.lynnandruss.com

Recipe from Annie Petito for America’s Test Kitchen

Spatchcocked Roasted Chicken with Gochujang Butter

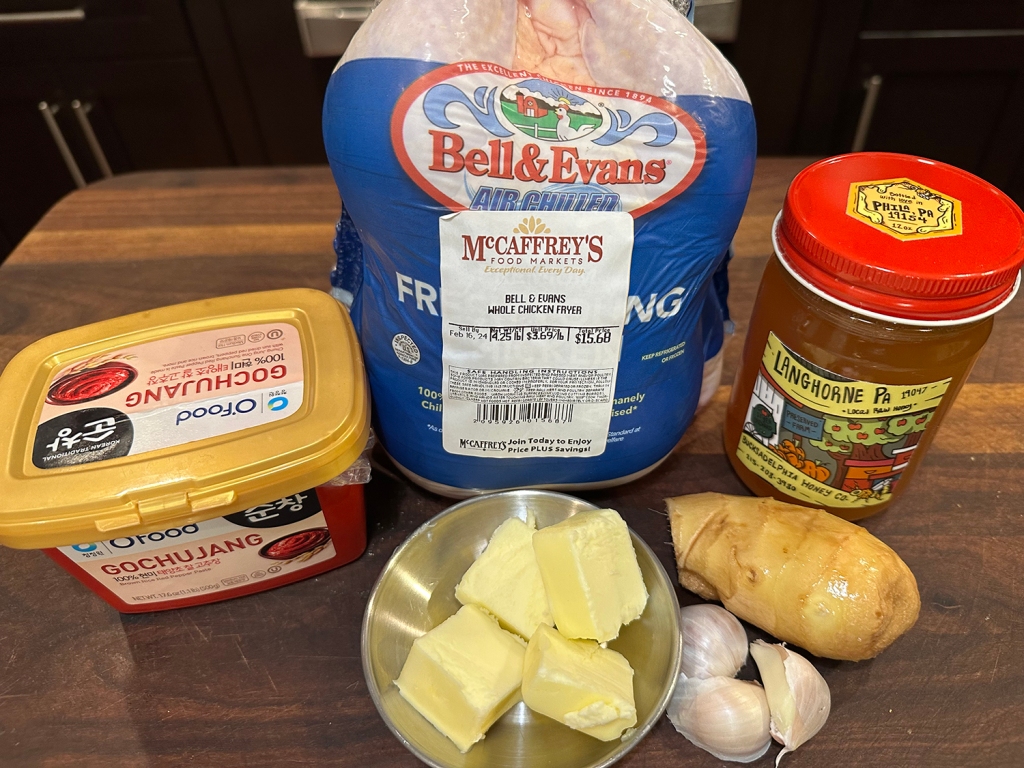
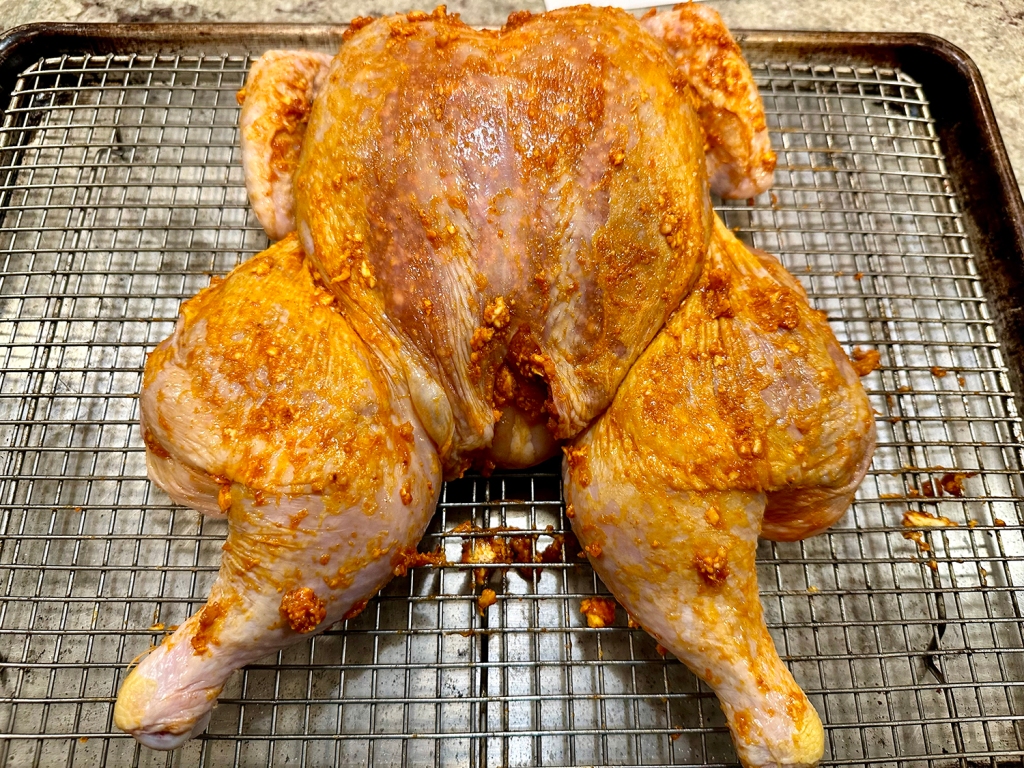
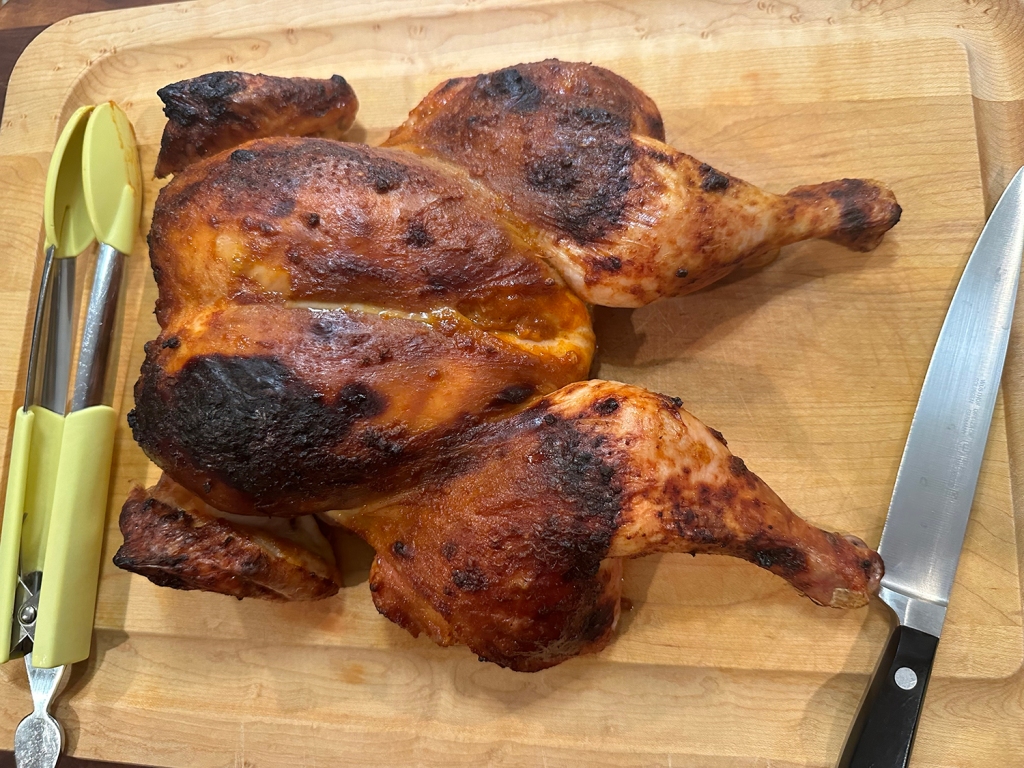
Yet another juicy roasted chicken recipe to add to your growing list. In my humble opinion, there is always room for one more fabulous juicy, flavorful chicken recipe. For this, a Korean-inspired seasoning paste elevates a simple roast chicken with spicy-sweet flavor. The blend includes softened butter, gochujang and honey, plus fresh ginger and garlic, which mellow and sweeten as they cook.

The paste is smeared under the bird’s skin, directly on the meat, so it takes on the bold flavors. Gochujang, one of our pantry staples, is a fermented chili paste commonly used in Korean cooking; it is loaded with spiciness, a hint of sweetness and lots of umami. You’ll find it in the international section of the supermarket or in Asian grocery stores.

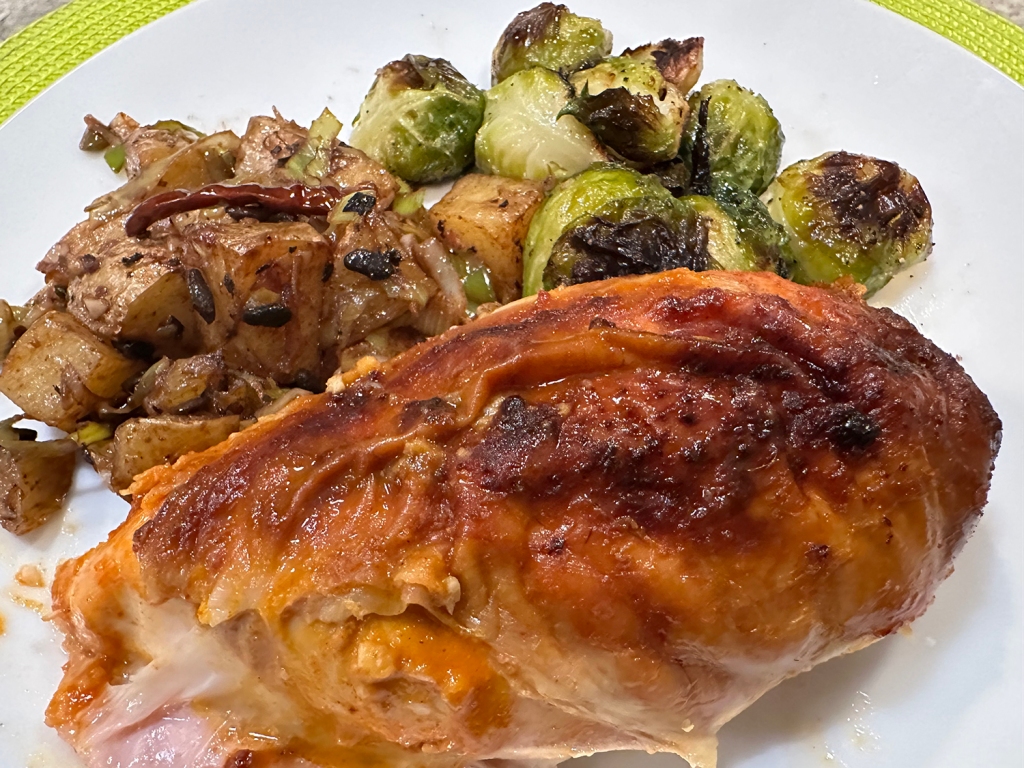
Serve with steamed rice. Or, as in our case, with sides of roasted Brussels Sprouts and Spicy Black Bean, Twice-Cooked Potatoes that have an Asian bent.

Spatchcocked Roasted Chicken with Gochujang Butter

  • Servings: 4
  • Difficulty: easy
  • Print

Ingredients

  • 4 Tbsp. salted butter, room temperature
  • 1/4 cup gochujang
  • 4 tsp. finely grated fresh ginger
  • 3 medium garlic cloves, finely grated
  • 1 Tbsp. honey
  • Kosher salt
  • 4 lb. whole chicken

Directions

  1. Heat the oven to 425°F with a rack in the middle position. Set a wire rack in a rimmed baking sheet. In a small bowl, stir together the butter, gochujang, ginger, garlic, honey and ½ teaspoon salt; set aside.
  2. Place the chicken breast down on a cutting board. Using sturdy kitchen shears, cut along both sides of the backbone, end to end; remove the backbone and discard. Spread open the chicken, then turn it breast up. Using the heel of your hand, press down firmly on the thickest part of the breast until the wishbone snaps.
  3. Season the underside of the chicken with salt, then place it breast up on the wire rack. With your fingers, carefully loosen the skin from the meat on the breast and thighs. Using a spoon, distribute the butter mixture under the skin in those areas, then massage the skin to evenly spread the mixture and rub it into the flesh. Rub any remaining gochujang paste on the outside of the bird and season the skin side with salt, then tuck the wing tips to the back.
  4. Roast until well browned and the thighs reach 175°F, check at about 40 minutes. If it has not reached temperature, continue cooking for 10-15 minutes more. Let the chicken rest for about 10 minutes, then carve.

http://www.lynnandruss.com

Recipe by Dimitri Demopolous for Milk Street

Black Pepper Beef

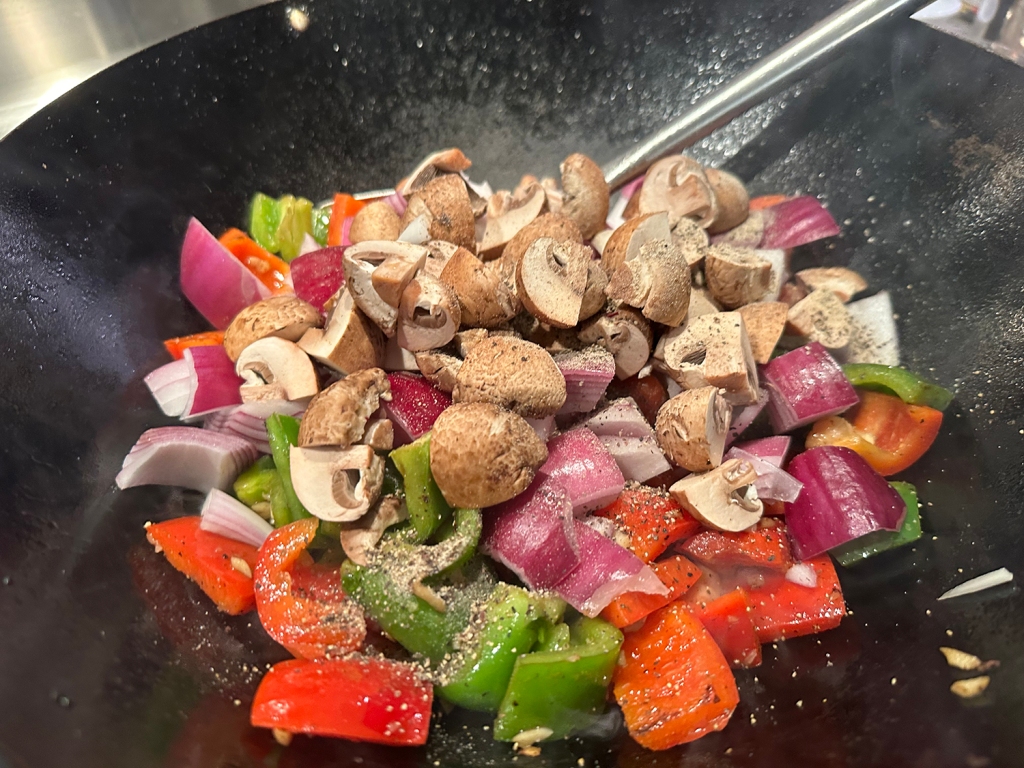
Hands-down better than your local Chinese take-out, this Chinese pepper steak recipe is a quick and easy stir-fry loaded with tender beef, peppers and onions in a luscious brown sauce. It hails from “The Woks of Life” by the Leung family.

Most of the time required for this recipe is in the preparation, but it’s not actually difficult to pull off. So long as you have everything prepared and within reach, things will go smoothly at the wok. The active cooking time in your wok or pan is less than 15 minutes before it’s ready to be served with steamed white rice.

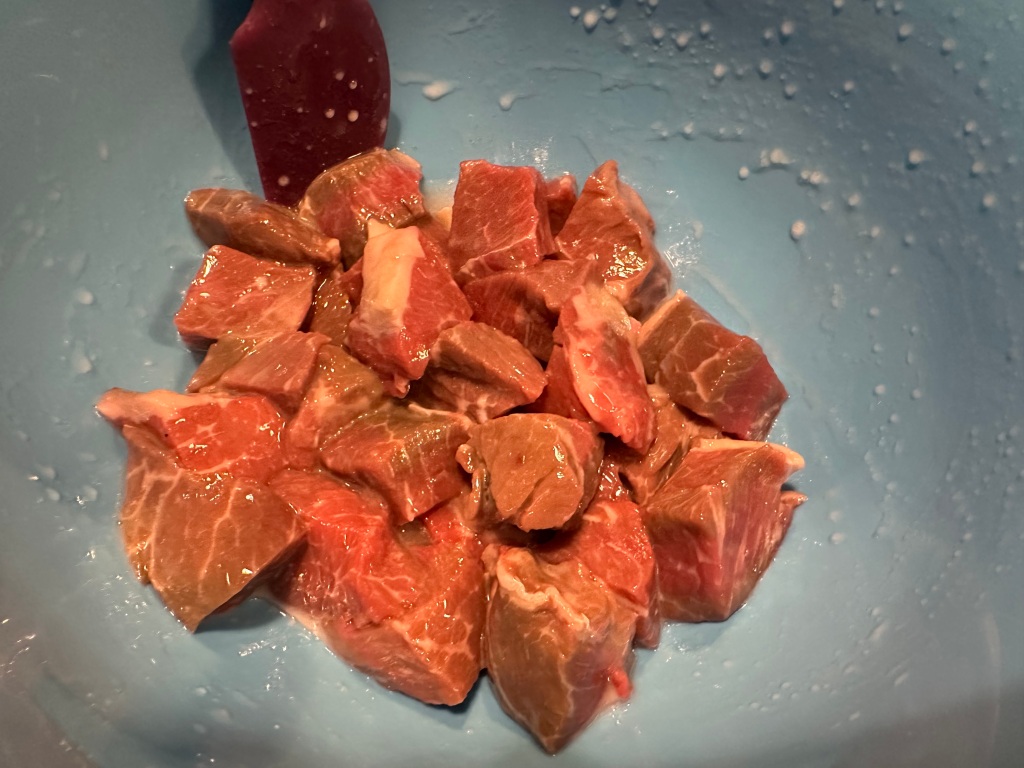
Avoid any “pre-cut beef for stir-fry” that your grocery store sells. It usually looks like long rectangular beef sticks, cut from lean beef. These are too thick and chunky, and generally turn out tough. So what IS the best cut of beef for stir-fry?

The original recipe called for beef tenderloin. At nearly $35 per pound, we decided to go for something more reasonably priced and chose sirloin. Another option is flank steak, but we don’t advise using chuck roast which was listed as a substitute.

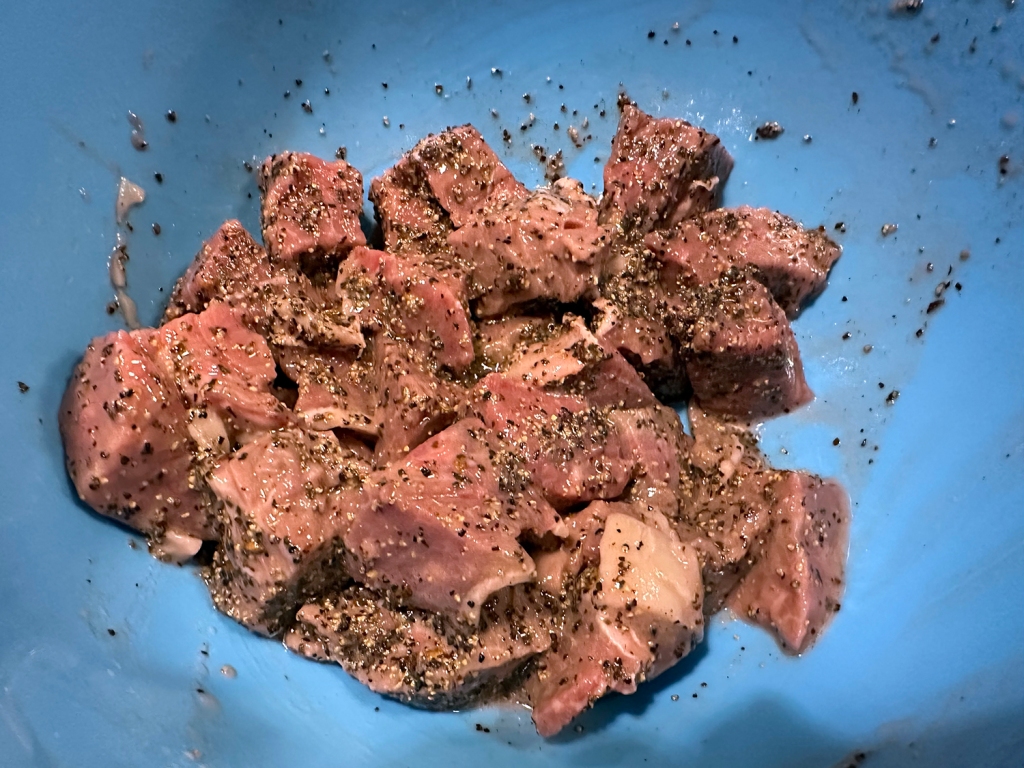
With several different pepper spices, we opted to use the lower amount, 1 1/2 tablespoons of ground black pepper. Using a full 2 tablespoons will likely be too much. While black pepper is a constant companion for salt in American kitchens, you don’t see it very often in Chinese cooking (it’s almost always white pepper.)

Black Pepper Beef

  • Servings: 4
  • Difficulty: easy
  • Print

Ingredients

  • For Velveting the Beef:
  • 1 lb. flank steak, (or sirloin steak)
  • 2 Tbsp. water
  • 1 tsp. cornstarch
  • 1 Tbsp. neutral oil
  • 1/4 tsp. table salt
  • For the Sauce:
  • 1/2 cup beef stock or water, warmed
  • 1 Tbsp. oyster sauce
  • 1 Tbsp. light soy sauce
  • 1 tsp. ketchup
  • 1/2 tsp. sugar
  • 1/4 tsp. sesame oil
  • For the Pepper Seasoning:
  • 1 1/2 to 2 Tbsp. coarsely ground black pepper
  • 1/2 tsp. white pepper
  • 1/2 tsp. ground Sichuan peppercorns
  • For the Rest of the Dish:
  • 1 green bell pepper, cut into 1″pieces
  • 1 red bell pepper, cut into 1″pieces
  • 1 medium red onion, cut into 1″pieces
  • 4 oz. cremini or button mushrooms, quartered
  • 2 Tbsp. neutral oil
  • 1/2 tsp. ginger
  • 2 cloves garlic (chopped)
  • 2 Tbsp. Shaoxing wine
  • 2 tsp. cornstarch
  • 1 Tbsp. water

Directions

  1. Slice the beef into 1 1/4-inch cubes. Then velvet the beef: in a medium bowl, mix the beef with 2 Tbsp. water, 1 tsp. cornstarch, 1 Tbsp. neutral oil, and 1/4 tsp. table salt. Toss to coat, then set aside for at least 30 minutes.
  2. Make the sauce by mixing together the beef stock, cornstarch, oyster sauce, Shaoxing wine, soy sauce, ketchup, sugar, and sesame oil. Set aside.
  3. Make the pepper seasoning in a small bowl by combining black pepper, white pepper, ground Sichuan peppercorns, and salt. Season the beef cubes with 2/3 of the pepper mix, pressing the spices into the beef. Reserve the rest for later.
  4. Cut the bell peppers and onion into 1-inch pieces. You can also cut them into thin strips if you like. Just make sure that the pepper and onion pieces are all about the same size, so they cook evenly.
  5. Heat the wok over high heat until smoking. Add 1 tablespoon of oil to coat the wok. Sear the beef on both sides, about 30 seconds per side. Give everything a final stir, transfer it to a plate, and set aside. The beef should be about 80% cooked.
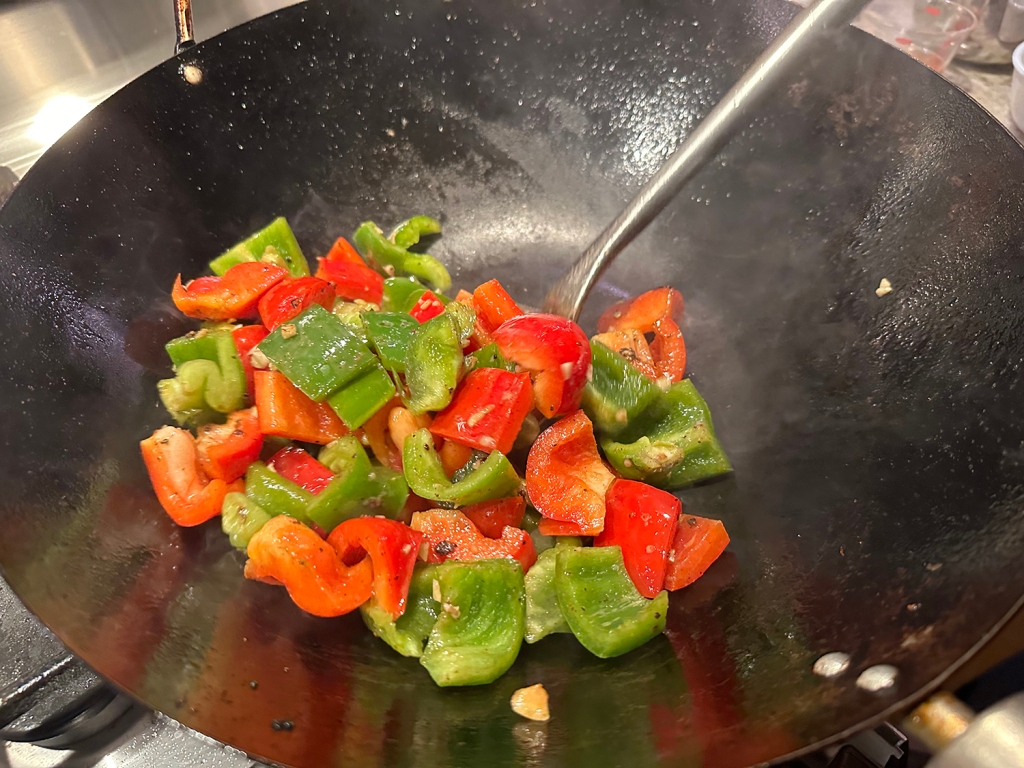
  6. Reduce the heat to medium-high. Add the remaining tablespoon of oil. Toss in the ginger, and caramelize for about 10 seconds. Then add the garlic, bell peppers, and onions. Stir-fry for 1 minute. Pour the Shaoxing wine around the perimeter of the wok, then stir-fry for 1 minute.
  7. Add the sauce mixture, and stir it around to deglaze, loosening any browned bits in the wok. Combine 2 tsp. cornstarch and 1 Tbsp. water in a small bowl to make a slurry. Drizzle half the slurry into the wok, stirring constantly until it is thick enough to coat a spoon.
  8. Add the beef along with any juices. Gently toss with the sauce and vegetables until combined.
  9. At this point, if the sauce is not thick enough, add the remaining cornstarch slurry and stir-fry for another 10 to 15 seconds to thicken. Once the sauce is simmering and thickened to your liking, transfer it to a serving plate, and serve it with steamed rice!

http://www.lynnandruss.com

Recipe from The Woks of Life by Bill Leung

Home-Style Tofu Stir-Fry

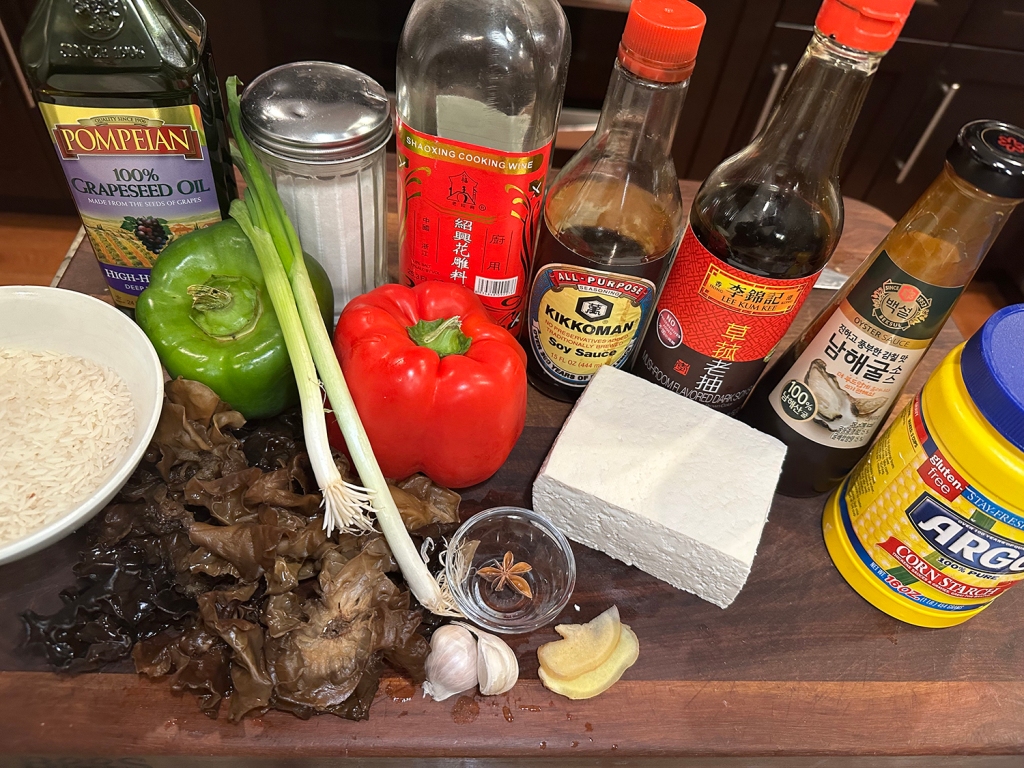
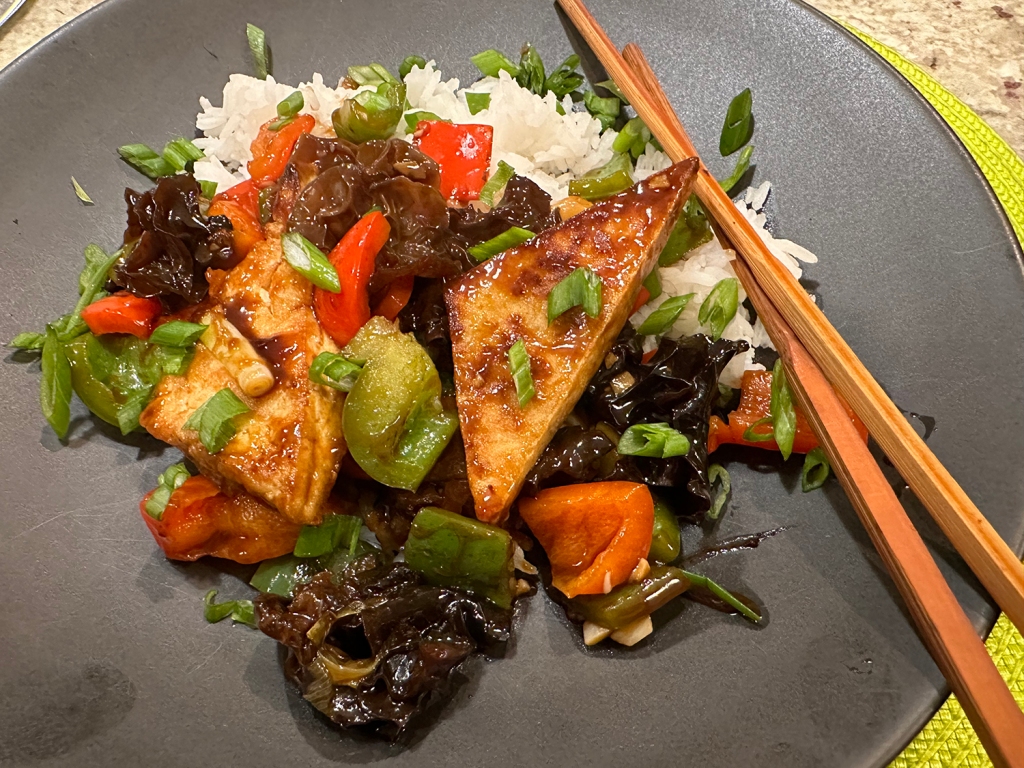
This home-style tofu recipe from “The Woks of Life” is as delicious as it is comforting. With firm tofu slices, some aromatics, crisp veggies and a light sauce, it’s perfect over rice and so easy to make. Just keep in mind, you’ll need to rehydrate the dried mushrooms for two hours prior to cooking.

On some Chinese menus you may notice the word jiā cháng in front of several dishes. It translates to “home-style or family-style.” So the dish can vary greatly depending on what the chef’s interpretation of “home” tastes like.

Now we made a few changes, (all included in recipe below) starting with incorporating a whole red, and a whole green bell pepper, rather than half of each. We also increased the sauce by 50%; cut the tofu into smaller triangles than originally noted; and fried the tofu pieces in two batches, in the same wok instead of an additional cast-iron skillet.

Home-Style Tofu Stir-Fry

  • Servings: 4
  • Difficulty: easy
  • Print

Ingredients

For the Mushrooms and Tofu:

  • 2/3 cup dried wood ear mushrooms
  • 1 lb. firm tofu

For the Sauce:

  • 1 1/2 tsp. dark soy sauce
  • 1 1/2 Tbsp. light soy sauce
  • 1 1/2 Tbsp. oyster sauce, or vegetarian oyster sauce
  • 3/4 tsp. sugar
  • 3/4 tsp. table salt
  • 1/4 cup Shaoxing wine
  • 1/2 cup water
  • 1 1/2 Tbsp. cornstarch

For the Rest of the Dish:

  • 4 Tbsp. neutral oil, divided
  • 2 cloves garlic, minced
  • 2 slices fresh ginger, each 1/8-inch thick
  • 1 star anise
  • 1 red chili pepper, deseeded and thinly sliced, optional
  • 1 red bell pepper, seeded and cut into 1-inch pieces
  • 1 green pepper, seeded and cut into 1-inch pieces, or 2 long hot green peppers or Anaheim peppers
  • 3 scallions, white parts separated from the green parts and cut on the diagonal into 2-inch lengths
  • 1 Tbsp. water
  • 1 Tbsp. Shaoxing wine

Directions

  1. Prepare the Mushrooms and Tofu: In a medium bowl, cover the wood ear mushrooms with enough water to cover by 2 inches and soak for at least 2 hours or until rehydrated. Rinse them to remove any grit or dirt. Drain and cut the mushrooms into bite-size pieces. Drain the tofu and pat it dry. Cut it crosswise into 1/2-thick rectangles, then cut each rectangle into 4 triangles.
  2. Make the Sauce: In a small bowl, combine the water, wine, cornstarch, oyster sauce, light soy sauce, dark soy sauce, sugar, and salt. Mix well and set aside.
  3. Pan-Fry the Tofu: Heat a wok over medium-high heat until lightly smoking. Add 3 tablespoons of the neutral oil and swirl it around the wok to coat the surface. Carefully add half of the tofu pieces in a single layer and fry for 4 minutes on the first side until golden brown. Use a thin spatula to carefully flip the tofu pieces and fry on the other side for another 4 minutes. Transfer the tofu to a plate. Repeat.
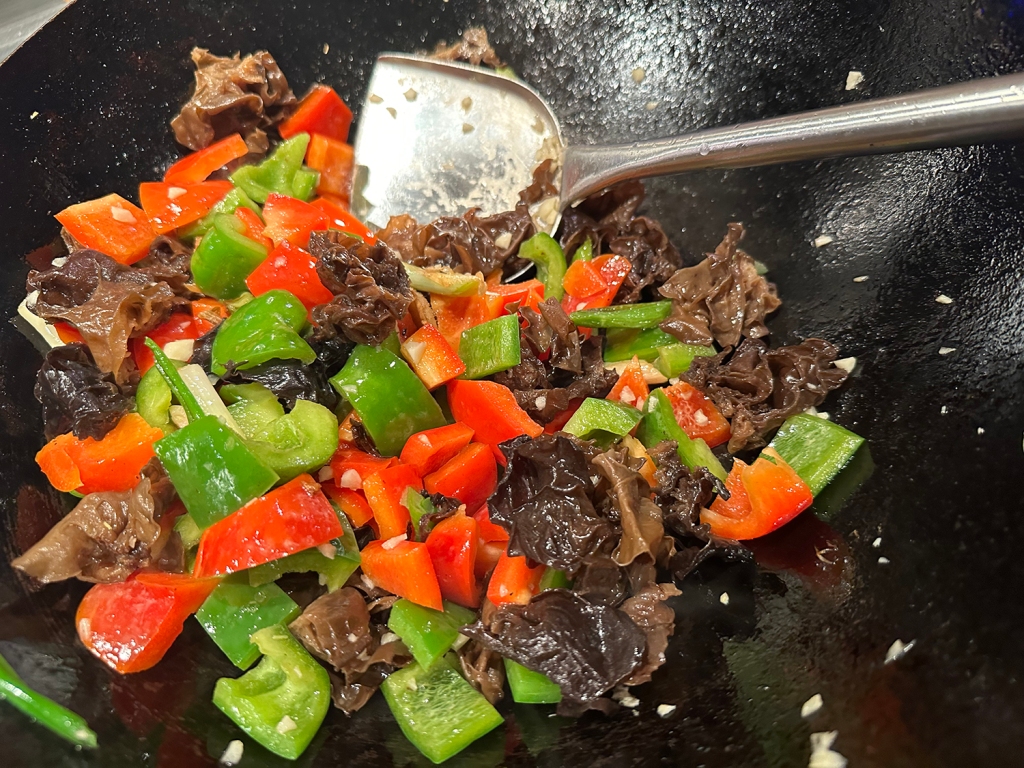
  4. Assemble the Dish: Over medium heat, add the remaining tablespoon of oil along with the ginger slices and star anise. Toss quickly for 20 seconds, then add the white part of the scallions and stir fry for another 30 seconds. Add the wood ears, garlic, peppers, and 1 tablespoon water. Stir fry for 2-3 minutes until the peppers are tender but still have a fresh crunch. Increase the heat to medium-high and add the Shaoxing wine around the perimeter of the wok.
  5. Stir the sauce to make sure the cornstarch is well incorporated into the liquid. Add the sauce to the wok and bring it to a simmer. Let the sauce thicken until coats the back of a spoon. (If it’s too thick, add a splash of water.) Stir in the tofu and add the green parts of the scallions. Mix until the tofu and vegetables are evenly coated in sauce and the scallions are wilted. Serve.

http://www.lynnandruss.com

Adapted from a recipe by Judy Leung for Woks of Life

Pork Pot Roast with Apricots, Cardamom and Ginger

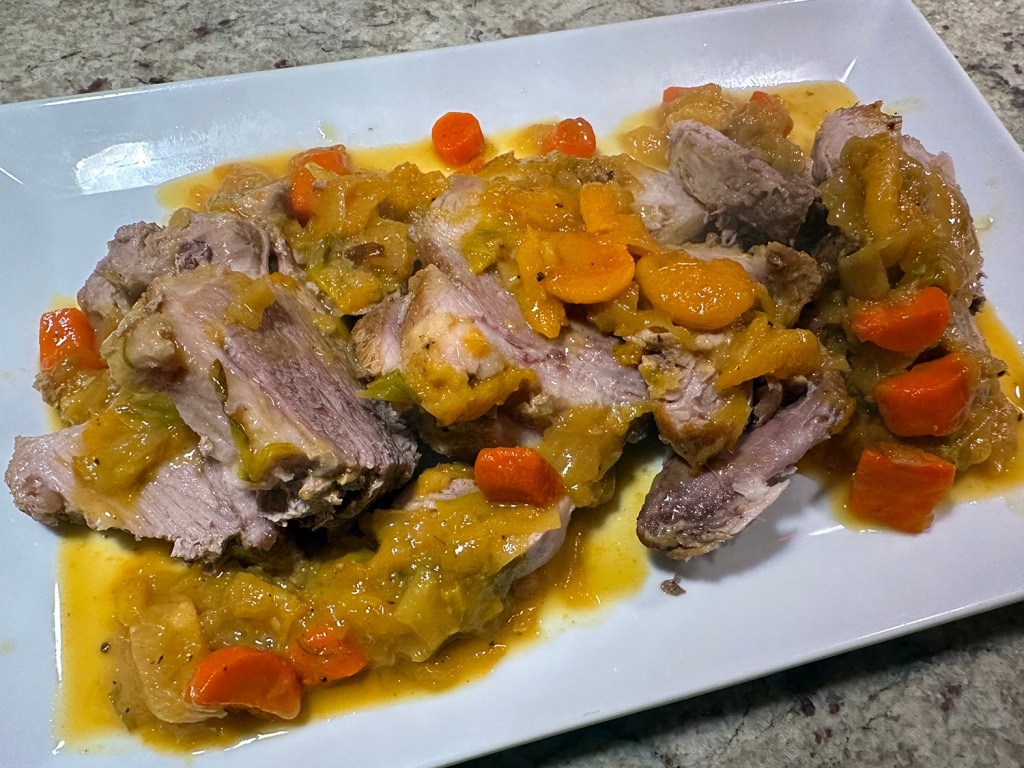
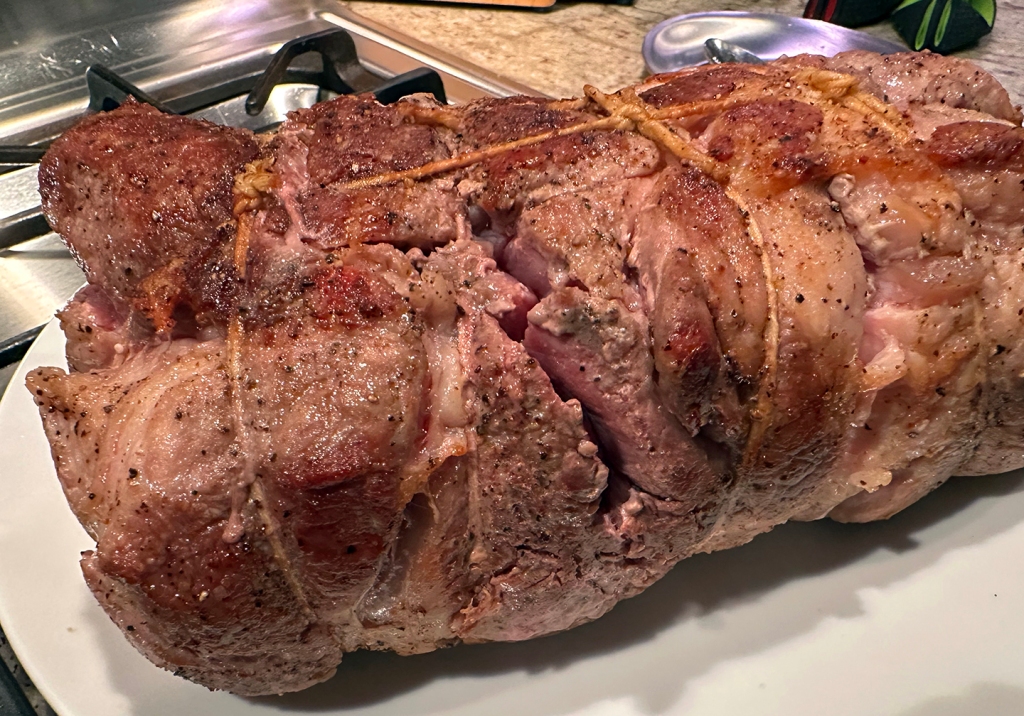
In a word, ASTOUNDING! Also, elegant, classic and simple. It’s a one-pot meal that’s perfect for Sunday night. Yes it takes a while to make, but most of it will be the time spent in the oven. Pork and fruit are the perfect pairing, as we’ve seen time and again with recipes like holiday ham with pineapple rings, or applesauce spooned over pork chops. It’s that pleasure of sweet-tart-savory combinations.

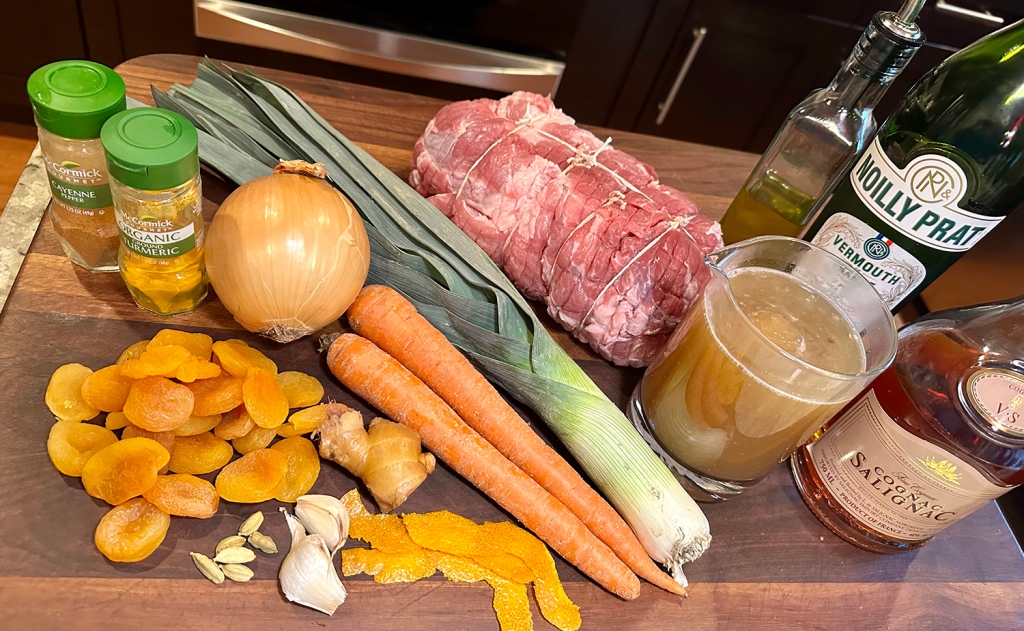
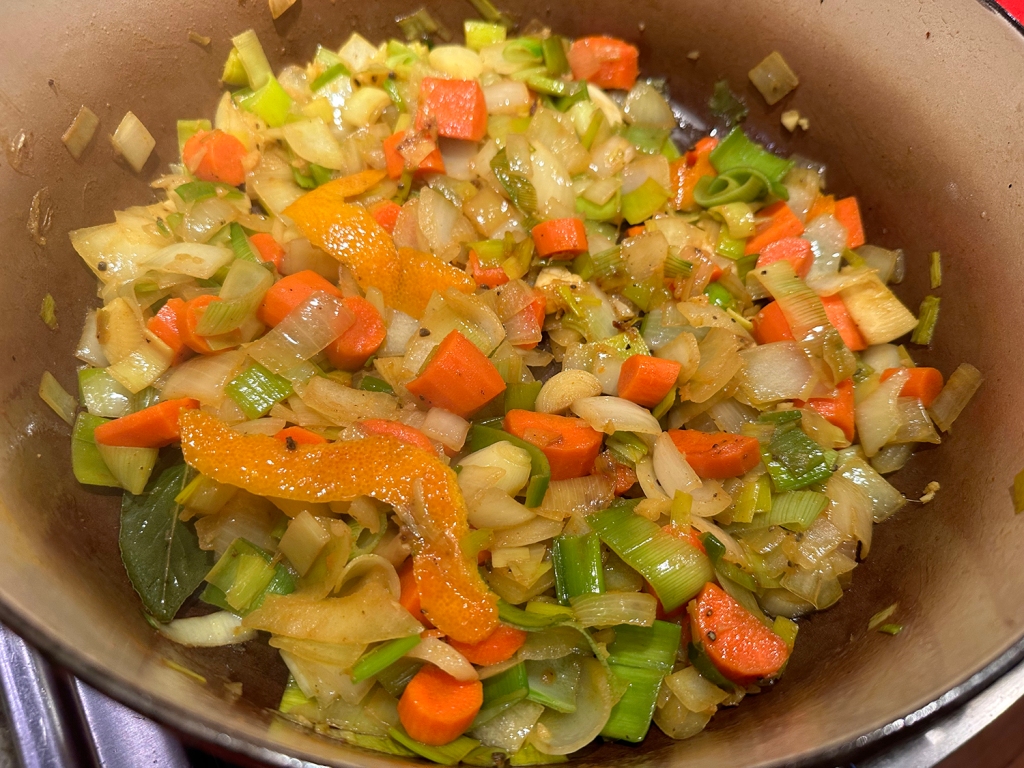
In this version, chef-author Molly Stevens uses dried apricots because their pale orange flesh collapses into the sauce, which comes out every bit as pretty as it is tasty. The cardamom lends the whole dish its exotic perfume, while being backed up by a gang of other compatible flavors—ginger, turmeric, cayenne, garlic and orange.

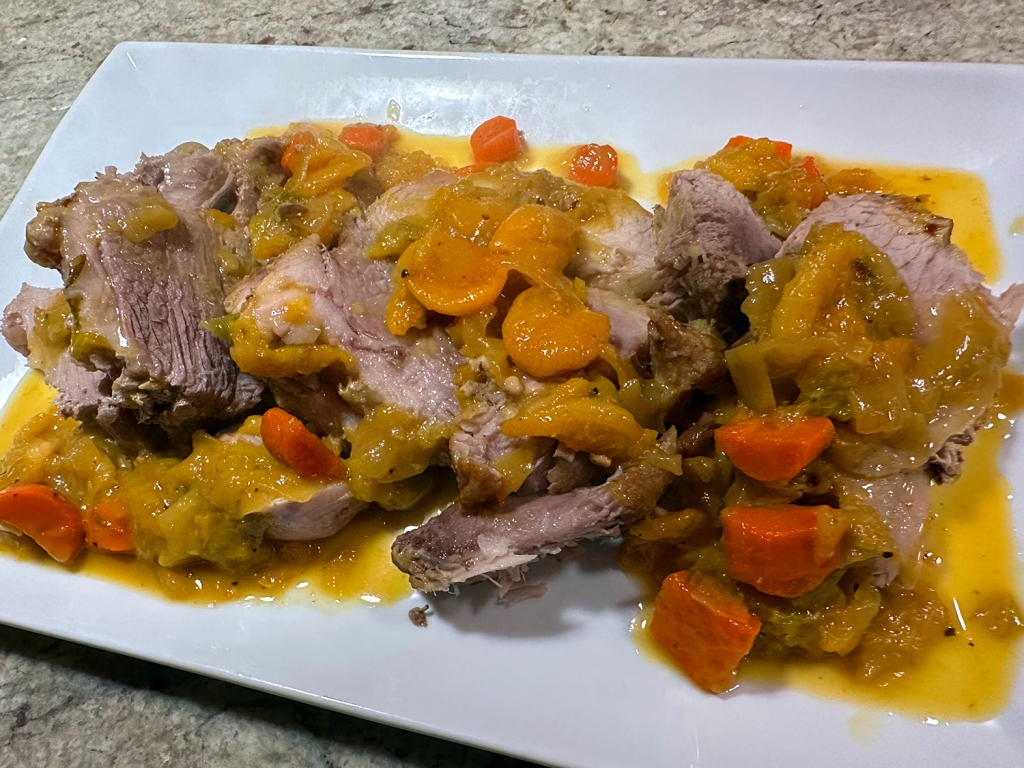
This company-worthy dinner can be served over couscous, wild rice, or as in our case, garlicky mashed potatoes which became the perfect vehicle to hold that lovely sauce! If you care to pair the meal with wine, off-dry Riesling or Pinot Gris make good companions.

Pork Pot Roast with Apricots, Cardamom and Ginger

  • Servings: 6-8
  • Difficulty: easy
  • Print

Ingredients

  • One 4 1/2 to 5-lb. boneless pork shoulder roast, preferably Boston butt
  • Coarse salt and freshly ground black pepper
  • 2 Tbsp. extra-virgin olive oil
  • 1 medium leek, white and pale green part only, coarsely chopped (about 1 cup)
  • 2 carrots, coarsely chopped
  • 1 medium yellow onion (about 6 oz.), coarsely chopped
  • 6 cardamom pods, husks split and discarded, seeds lightly crushed
  • 1/2 tsp. ground turmeric
  • 1/4 tsp. cayenne
  • 1 Tbsp. minced or grated fresh ginger
  • 2 large garlic cloves, peeled and bruised
  • 3 strips orange zest, removed with a vegetable peeler (each about 3 inches by 3/4 inch)
  • 1 bay leaf
  • 1/2 cup dry white wine
  • 2 cups chicken stock
  • 1 cup dried apricots (about 6 1/2 oz.)

Directions

  1. Heat the oven to 325 degrees
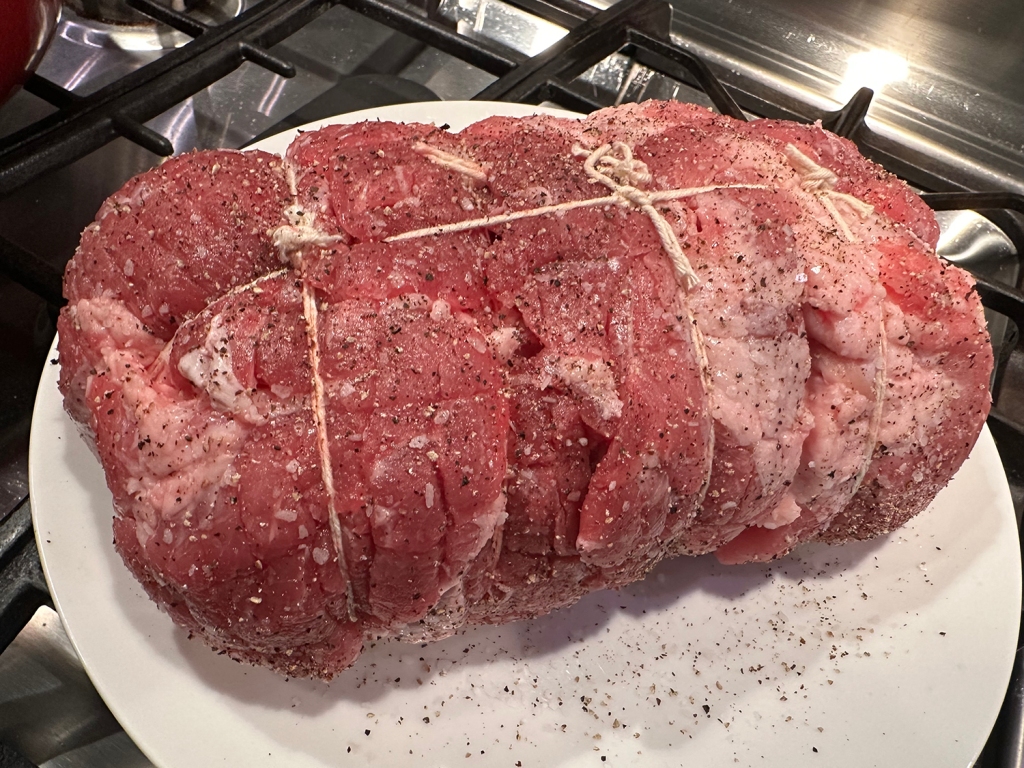
  2. Trim any especially thick bits of fat from the pork, but do be sure to leave some. Roll and tie the pork (or have your butcher do it for you).
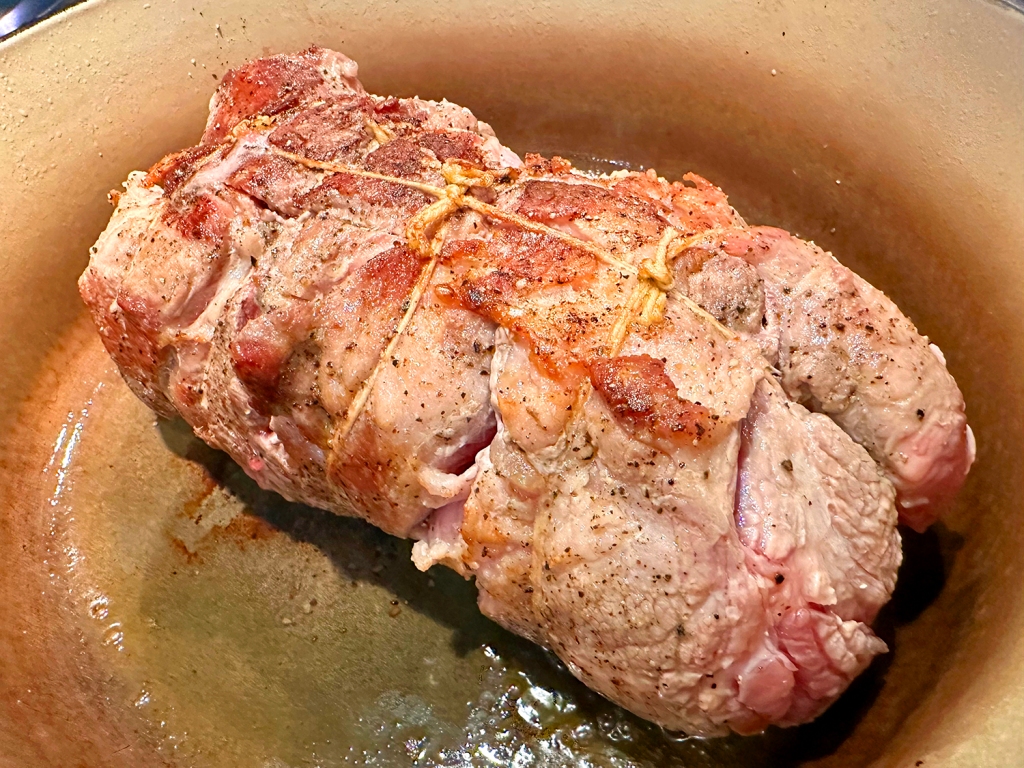
  3. Pat the pork dry with paper towels. Season all over with salt and pepper. Pour the oil into a Dutch oven that will hold the pork snugly (4 to 5 quart works well), and heat over medium heat. Sear the pork on all sides, until deeply browned but not at all burnt, 15 to 20 minutes total. Transfer the pork to a plate.
  4. Discard all but 1 tablespoon of the fat, and return the pot to medium heat. Add the leek, carrots, and onions, stir in the crushed cardamom, turmeric, and cayenne, and cook, stirring once or twice, until the vegetables begin to soften but do not take on much color, about 5 minutes. Add the ginger, garlic, orange zest, and bay leaf and cook until the spices are quite fragrant, another 2 minutes.
  5. Add the wine and let it boil for 4 minutes, scraping the sides and bottom of the pot. Pour in the stock and bring to a boil. Add the apricots and boil for another 2 minutes.
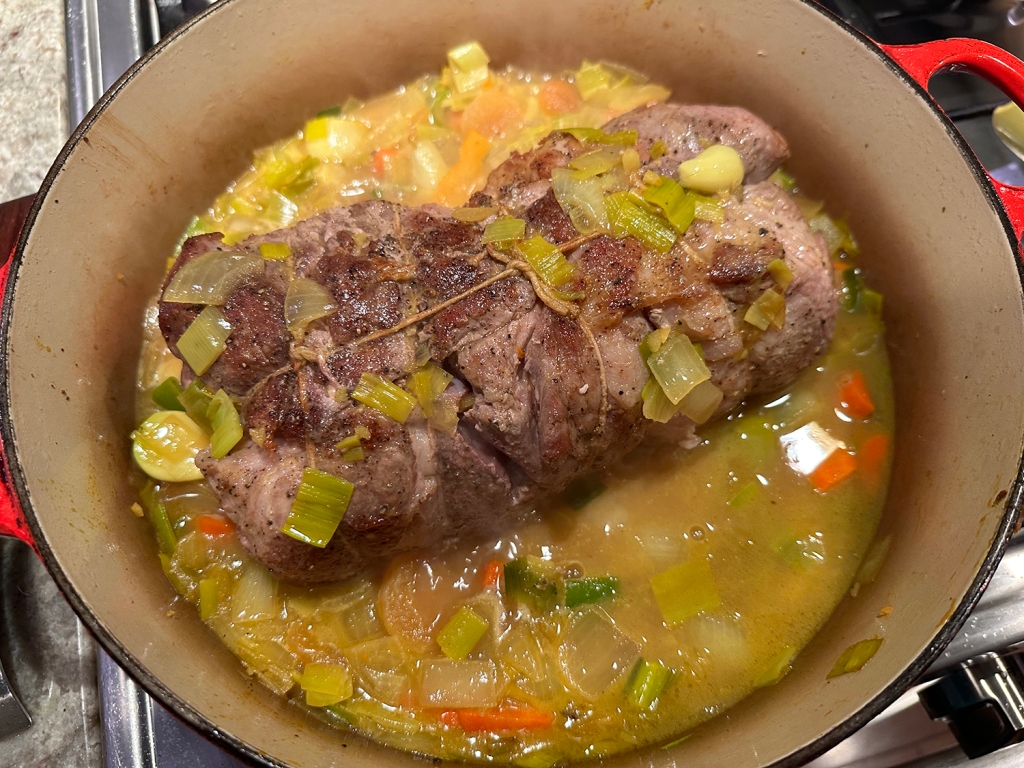
  6. Place the pork on top of the vegetables and fruit. Add any accumulated juices from the plate. bring the liquid to a simmer and spoon some over the pork. Cover the meat with sheet of parchment paper, pressing down so that it almost touches the meat and the edges extend over the sides of the pot about an inch. Cover and slide the pot onto a shelf in the lower third of the oven to braise. Check that the liquid is simmering gently, every 30 minutes and give the pork a turn. If the liquid is simmering too aggressively, lower the oven heat 10 or 15 degrees. Continue to braise gently until the pork is fork-tender, about 2 hours in all.
  7. Remove the pork from the pot and set it on a carving board or platter to catch the juices. Cover loosely with foil, and let rest for 10 minutes.
  8. Return the pot to the top of the stove and skim off as much surface fat as you can with a wide spoon. If the sauce is very thin reduce it by boiling over medium-high heat for about 5 minutes. It should be the consistency of a thick vinaigrette. Taste for salt and pepper. Pour any juices that have accumulated under the pork into the sauce, and stir.
  9. Remove the strings from the pork, and carve into 1/2-inch-thick slices. Serve with sauce and apricots.

http://www.lynnandruss.com

Recipe from Molly Stevens book “All About Braising”

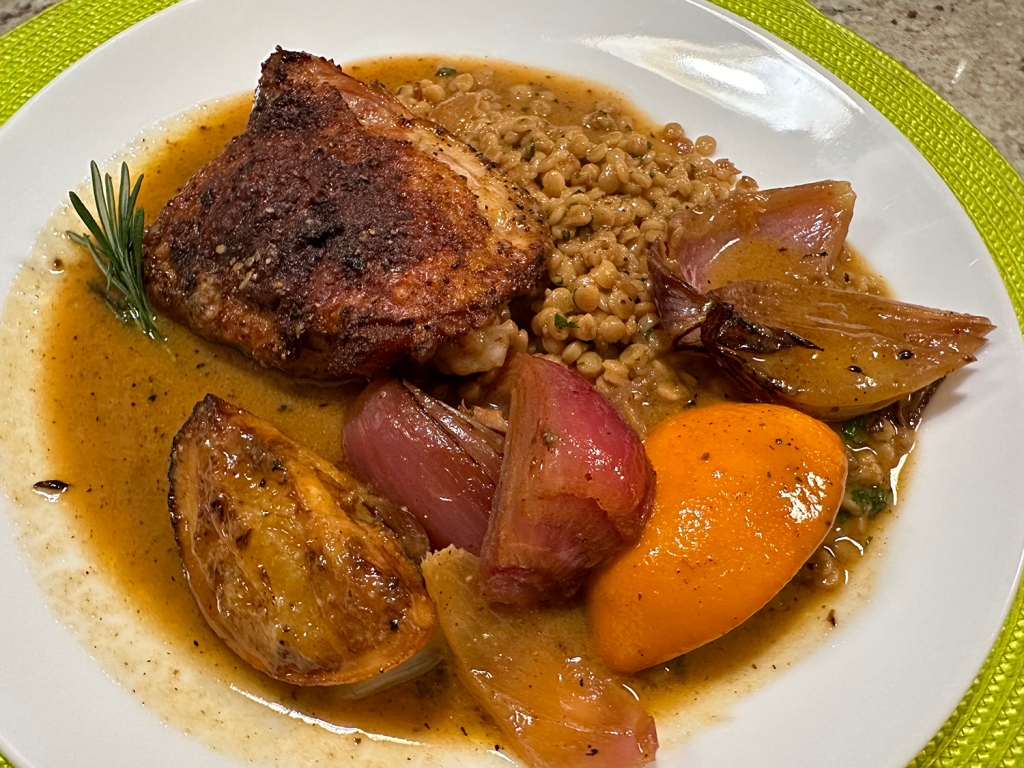
Orange-Wine-Braised Chicken Thighs

Chicken is the basis for at least one of our meals most weeks. It is so versatile and pretty much all meat eaters love the bird. But if it is bland and dry, then nobody is happy. And this recipe is anything but.

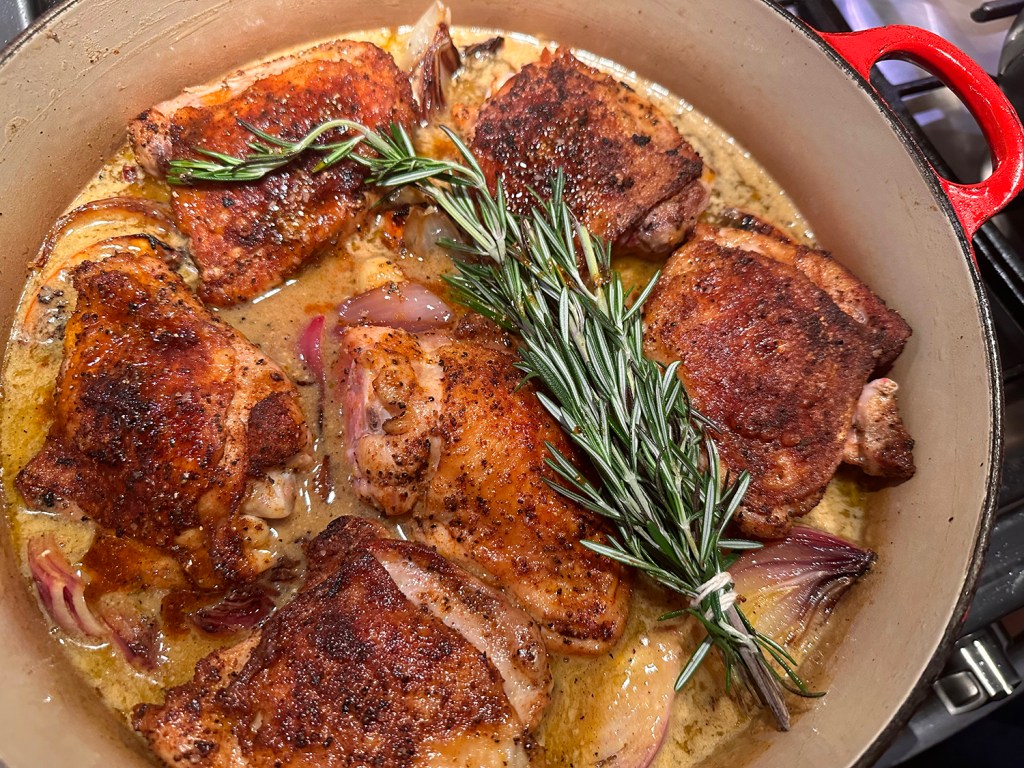
For a brighter winter braise, this recipe turns to floral, sweet-tart oranges and zippy, tannic orange wine. (We did not have orange wine so we used a rosé.) The result: falling-off-the-bone tender chicken and a spoon-coating sauce that keeps you going back for bite after bite. The duo offers a just-right balance of acid and sugar and a hit of fermented complexity that mellows out in the sauce while giving it structure.

Orange wine, simply put, is made from white grapes that have been fermented with their skins (like red wine). The result is a complex drink with deep flavor. It’s a broad category, and flavors can range drastically from bottle to bottle. For this recipe, it is recommended to use something dry to balance out the citrus. Taste before using: If your bottle skews sweet, you can still use it; just omit the sugar from the recipe.

The skin was crispy, the meat juicy, and the sauce was beyond measure!!

Orange-Wine-Braised Chicken Thighs

  • Servings: 4
  • Difficulty: easy
  • Print

Ingredients

  • 1½ tsp. paprika
  • 1 Tbsp. plus 1 tsp. Diamond Crystal or 2¼ tsp. Morton kosher salt, divided, plus more
  • 2½ tsp. freshly ground pepper, divided, plus more
  • 2½ lb. skin-on, bone-in chicken thighs (about 6 medium), patted dry
  • ¼ cup (or more) extra-virgin olive oil
  • 2 small oranges, cut into quarters
  • 3 small red onions, roots trimmed, with ends left intact, peeled, quartered through root ends
  • 12 garlic cloves, peeled
  • 2 Tbsp. all-purpose flour
  • 2 cups orange wine, dry rosé, or tart, high-acid white wine (such as Sauvignon Blanc or Riesling)
  • 1 cup fresh orange juice
  • 1 cup low-sodium chicken broth
  • ⅓ cup Dijon mustard
  • 4 Tbsp. unsalted butter
  • 1 Tbsp. granulated sugar
  • 4 sprigs rosemary, tied together with kitchen twine

Directions

  1. Place a rack in middle of oven; preheat to 350°. Mix 1½ teaspoons paprika, 1 tablespoon Diamond Crystal or 1¾ teaspoons Morton kosher salt, and 1½ teaspoons freshly ground pepper in a small bowl. Pat 2½ pounds skin-on, bone-in chicken thighs (about 6 medium) dry and sprinkle all over with spice mixture. Set aside.
  2. Heat ¼ cup extra-virgin olive oil in an ovenproof Dutch oven or other heavy pot over medium. Cook 2 small oranges, cut into quarters, on cut sides until browned and blackened in spots, about 2 minutes per side. (Oil might spatter, so have a lid nearby to place on top if needed.) Transfer oranges to a large plate.
  3. Add more oil to same pot if dry and cook 3 small red onions, roots trimmed, with ends left intact, peeled, quartered through root ends, on cut sides until browned, about 2 minutes per side. Transfer to plate with oranges. Add 12 garlic cloves, peeled, to pot and cook, stirring often, until browned, 2–3 minutes. Transfer to plate with oranges and onions.
  4. Working in batches if needed, cook reserved chicken thighs, skin side down, in pot, undisturbed, until deep golden brown underneath and they release easily from pan, 7–9 minutes. Turn skin side up and transfer to a separate plate.
  5. Cook 2 Tbsp. all-purpose flour in pot, stirring constantly, until no dry pockets remain, 30–60 seconds. Gradually pour in 2 cups orange wine, dry rosé, or tart, high-acid white wine, whisking constantly to prevent clumping, then stir in 1 cup fresh orange juice, 1 cup low-sodium chicken broth, ⅓ cup Dijon mustard, 4 Tbsp. unsalted butter, 1 tablespoon granulated sugar, remaining 1 teaspoon Diamond Crystal or ½ teaspoon Morton kosher salt, and remaining 1 teaspoon freshly ground pepper. Bring to a boil and cook until sauce is reduced by half and thinly coats a spoon, 8–10 minutes. Taste sauce and season with more salt and pepper if needed.
  6. Remove pot from heat and scatter oranges, onions, and garlic around. Nestle chicken thighs in, skin side up, so they’re about halfway in sauce; (we left ours sitting atop the oranges and onions to insure crispy skin) add 4 sprigs rosemary, tied together with kitchen twine. Roast in oven, uncovered, until chicken is very tender and easily pulls away from bones, about 1 hour.

http://www.lynnandruss.com

Recipe by Jesse Szewczyk for Bon Appétit Magazine

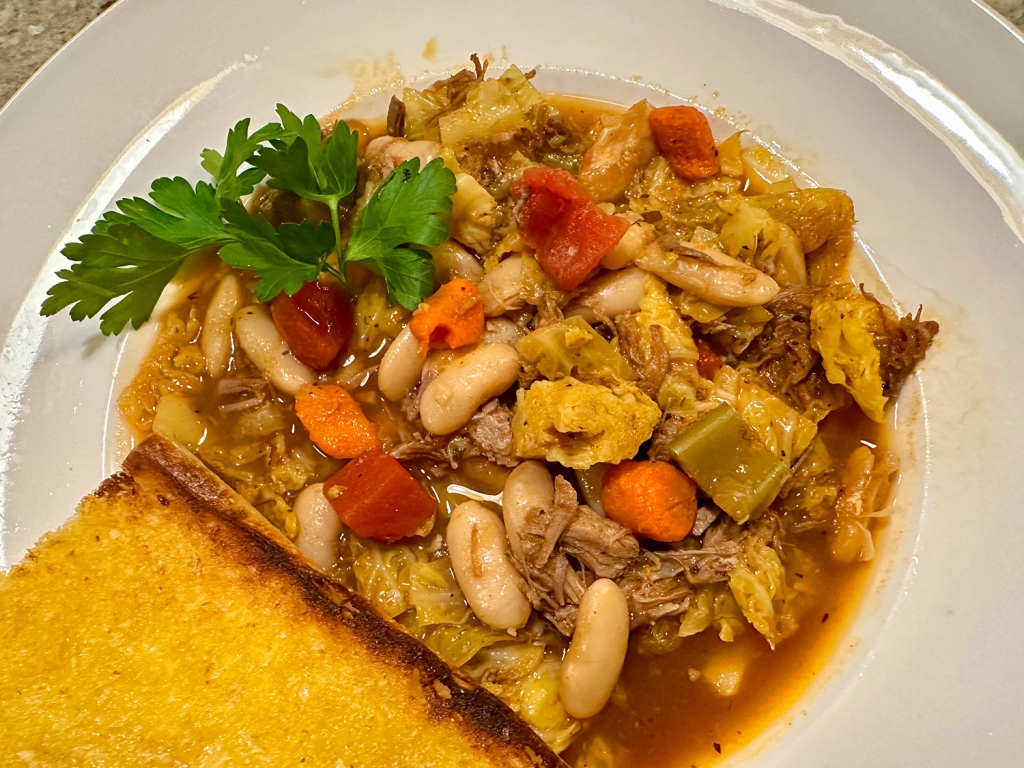
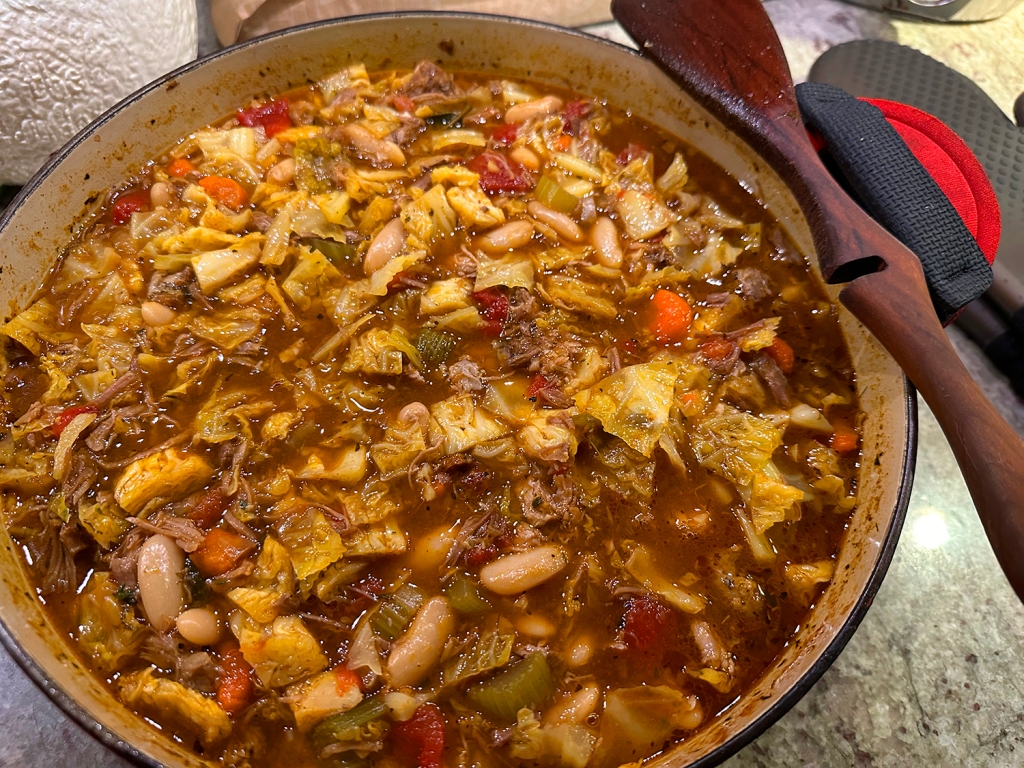
Hearty Hungarian-Style Stew with Pork and Cabbage

This hearty stew is made for cool weather. It is an investment in time, but will be at the ready to eat anytime of day or night with a quick warm up on the stove top or in a microwave. To bulk it up even more, serve with a slice of nice toasted garlic bread.

Think of all the healthy veggies that add nutrients and fiber. Take cabbage for example. Cabbage’s impressive advantages stem from its nutritional composition, which includes a diverse range of antioxidants and phytochemicals. The high levels of folate, antioxidants, fiber, and anti-inflammatory properties aid in the battle against cancer and that’s just to get started!

Your beans will have a creamier texture if soaked overnight for this recipe. If you’re short on time, quick-soak them: Place the rinsed beans in a large heat-resistant bowl. Bring 2 quarts of water and 3 tablespoons of salt to a boil. Pour the water over the beans and let them sit for 1 hour. Drain and rinse the beans well before proceeding with step 2.

Don’t forget to add the last two items, apple cider vinegar to brighten the dish, and the thyme bundle for an added depth of flavor.

Hearty Hungarian-Style Stew with Pork and Cabbage

  • Servings: 8
  • Difficulty: easy
  • Print

Ingredients

  • 1 lb. dried cannellini or other white beans, rinsed and picked over
  • 1 Tbsp. extra-virgin olive oil, plus extra for drizzling
  • 1 1/2 lbs. pork shoulder, trimmed of excess fat and cut into 1-inch pieces
  • 1 large onion, chopped medium (about 1 1/2 cups)
  • 2 medium celery ribs, cut into 1/2-inch pieces (about 3/4 cup)
  • 2 medium carrots, peeled and cut into 1/2-inch pieces (about 1 cup)
  • 8 medium garlic cloves, peeled and crushed
  • 4 cups chicken broth
  • 4 cups water
  • 2 bay leaves
  • 1/2 medium head savoy cabbage, cut into 1-inch pieces
  • 1 can diced tomatoes, (14.5-oz.)
  • 1 tsp. hot Hungarian paprika
  • 2 Tbsp. sweet Hungarian paprika, or more to taste
  • 2 tsp. dried marjoram
  • 1 tsp. dried dill
  • 5 sprigs fresh thyme, tied into a bundle
  • 2 Tbsp. apple cider vinegar
  • Ground black pepper, to taste

Directions

  1. Dissolve 3 tablespoons salt in 4 quarts cold water in large bowl or container. Add beans and soak at room temperature for at least 8 hours and up to 24 hours. Drain and rinse well.
  2. Adjust oven rack to lower-middle position and heat oven to 250 degrees. Heat oil in large Dutch oven over medium-high heat. Add pork shoulder and brown on all sides, about 8 minutes. Transfer pork to a plate and place in set aside.
  3. Reduce heat to medium. Add onion, celery, and carrots. Cook, stirring occasionally, until vegetables are softened and lightly browned, 10 to 16 minutes.
  4. Stir in garlic and cook until fragrant, about 1 minute. Stir in broth, water, bay leaves, pork (along with any juices on the plate), and soaked beans. Increase heat to high and bring to simmer. Cover pot, transfer to oven, and cook until beans are almost tender (very center of beans will still be firm), about 1 hour.
  5. Remove pot from oven and stir in cabbage, tomatoes with their juices, hot and sweet paprika, marjoram, and dill. Cover pot, return pot to oven and continue to cook until beans and greens are fully tender, 45 minutes to one hour longer.
  6. Remove pot from oven and stir in the apple cider vinegar, and submerge thyme bundle in stew. Cover and let stand 15 minutes. Discard bay leaves and thyme bundle and season stew with salt and pepper to taste. If desired, use back of spoon to press some beans against side of pot to thicken stew.

http://www.lynnandruss.com

Loosely adapted from an America’s Test Kitchen recipe

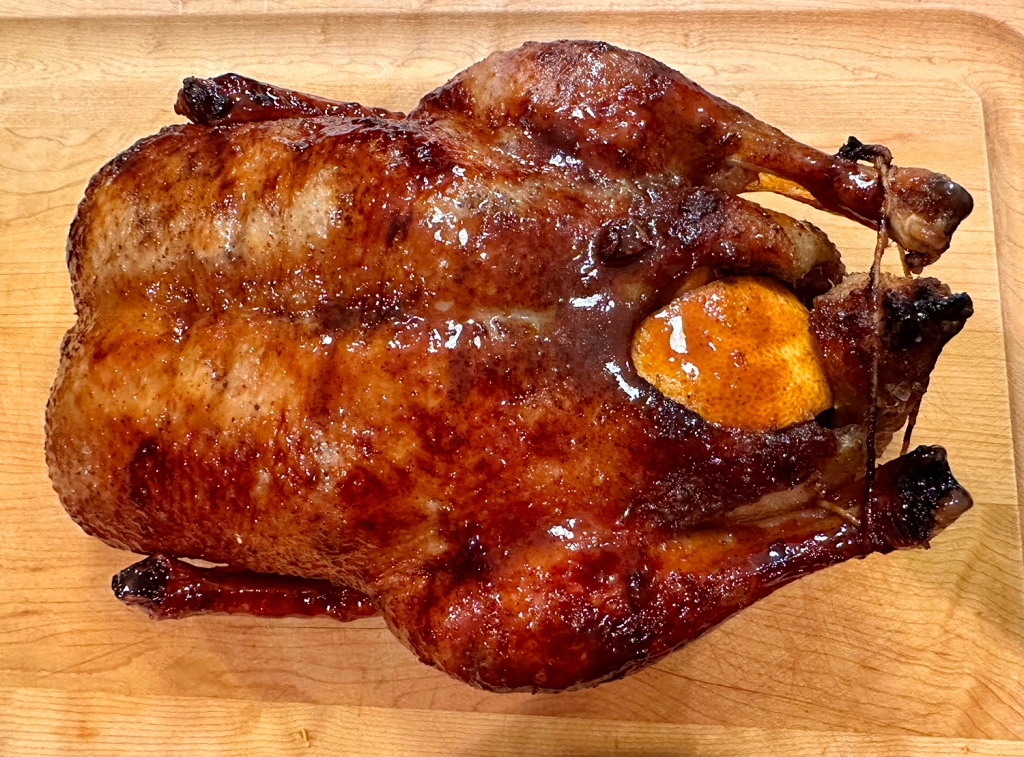
Roast Duck with Orange and Ginger

For a festive occasion, a burnished whole duck makes quite an impression — fancier than chicken and more elegant than turkey. When I was growing up, Mom roasted duck a few times a year, a favorite for most of the family.

I remember as a young teen going out to eat at a Chinese restaurant for the first time because it was my sister’s birthday and that was her venue of choice. Picky as I was, I was not a happy camper as I walked in, but was a convert when I walked out because I had ordered Wor Shu Opp (pressed almond duck).

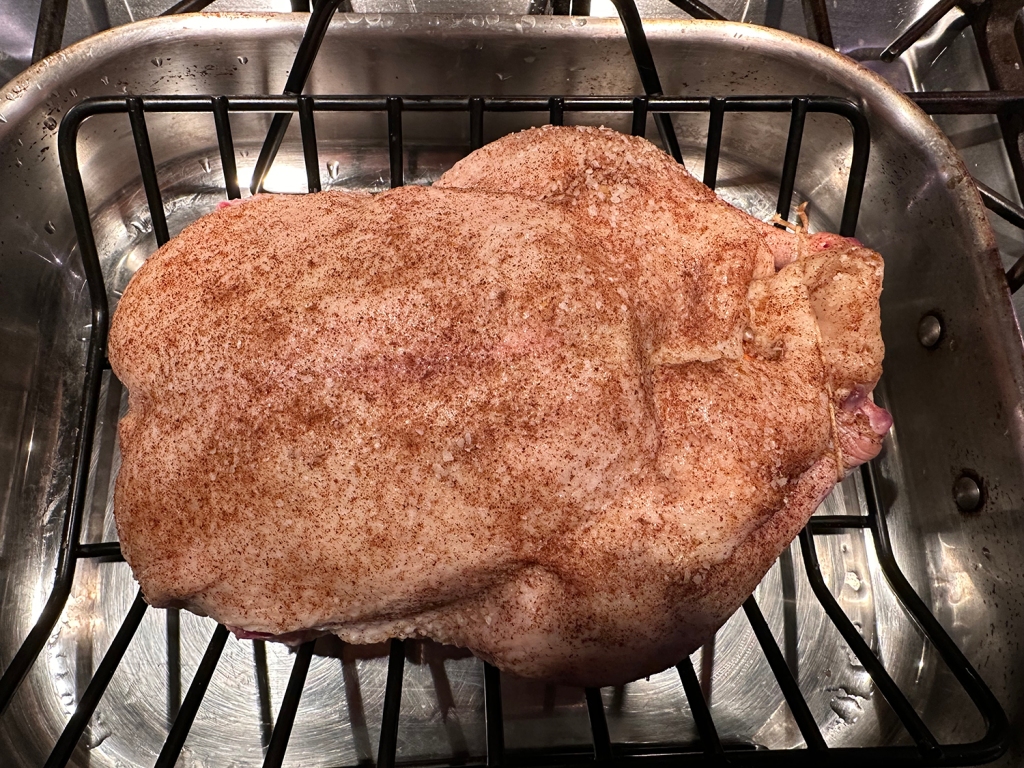
Roasting the duck is not so difficult to do. Seasoning the duck ahead and leaving it in the fridge overnight helps to deepen the flavor and keeps work to a minimum the following day. This one is seasoned with orange zest, along with fair amount of ginger and five-spice powder, which gives it a marvelous perfume. We paired ours with a Kobocha-Cauliflower Mash.

The ingredient list is minimal, and the hands-on prep doesn’t take long—most of the time the duck is either in the refrigerator or the oven. Because the bird gets glazed often, the skin will be a gorgeous burnished tawny color, but the skin won’t be extra crispy.

Keep in mind when serving more than 4 people, you will need two ducks. Of course there is no need to wait until a special occasion…

Roast Duck with Orange and Ginger

  • Servings: 4
  • Difficulty: easy
  • Print

Ingredients

For the Duck:

  • 1 Pekin (Long Island) duck, 5- to 6-lb.
  • 3 Tbsp. kosher salt
  • 1 Tbsp. five-spice powder
  • 1 large orange, zested and cut into 6 wedges
  • 1 Tbsp. grated ginger
  • 1 Tbsp. grated garlic

For the Glaze:

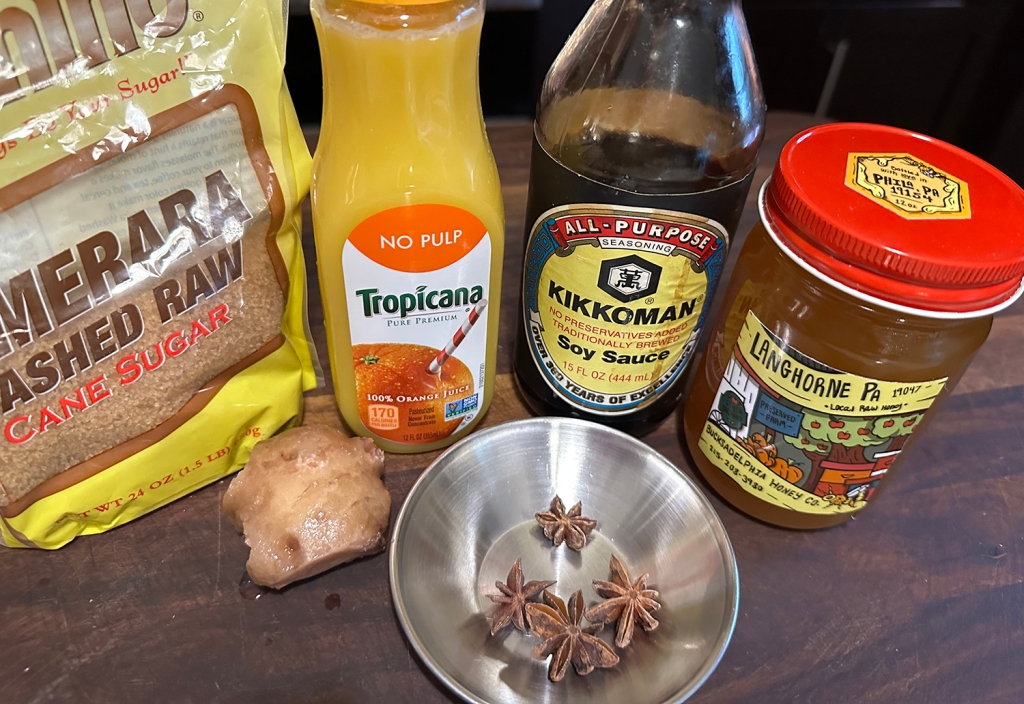
  • 2 cups orange juice
  • 1 Tbsp. honey
  • 2 Tbsp. Demerara sugar
  • 2 Tbsp. soy sauce
  • 1 piece ginger, (2-inch) thickly sliced
  • 3 star anise

Directions

  1. Rinse duck and pat dry. Remove neck and giblets and save for another purpose. Remove excess fat from cavity and tail area and trim off a bit of flappy neck skin. Prick duck skin all over with tip of sharp paring knife, making sure not to penetrate meat.
  2. Mix together salt and 5-spice powder. Season interior of duck with 1 tablespoon salt mixture; use remainder to generously season exterior (you may have a little left over).
  3. Combine orange zest with grated ginger and garlic, then smear mixture inside cavity. Place orange wedges in cavity. Tie legs together. Secure neck flap with wooden skewer or toothpicks. Place duck on rack in roasting pan breast-side-up and refrigerate overnight, uncovered.
  4. Heat oven to 350 degrees. Meanwhile, bring duck to room temperature and make the glaze: Bring orange juice, honey, sugar and soy sauce to a simmer. Add sliced ginger and star anise, then reduce mixture until you have a medium-thick syrup, about 10 minutes. Remove from heat and set aside.
  5. Roast duck for 2 hours, carefully pouring off fat and turning duck over every 30 minutes. Paint with glaze and roast for another 30 minutes (2 1/2 hours in all). Tent with foil if the glaze begins to get too dark. Duck is done when the temperature at the thickest part of the leg reads 165 degrees.
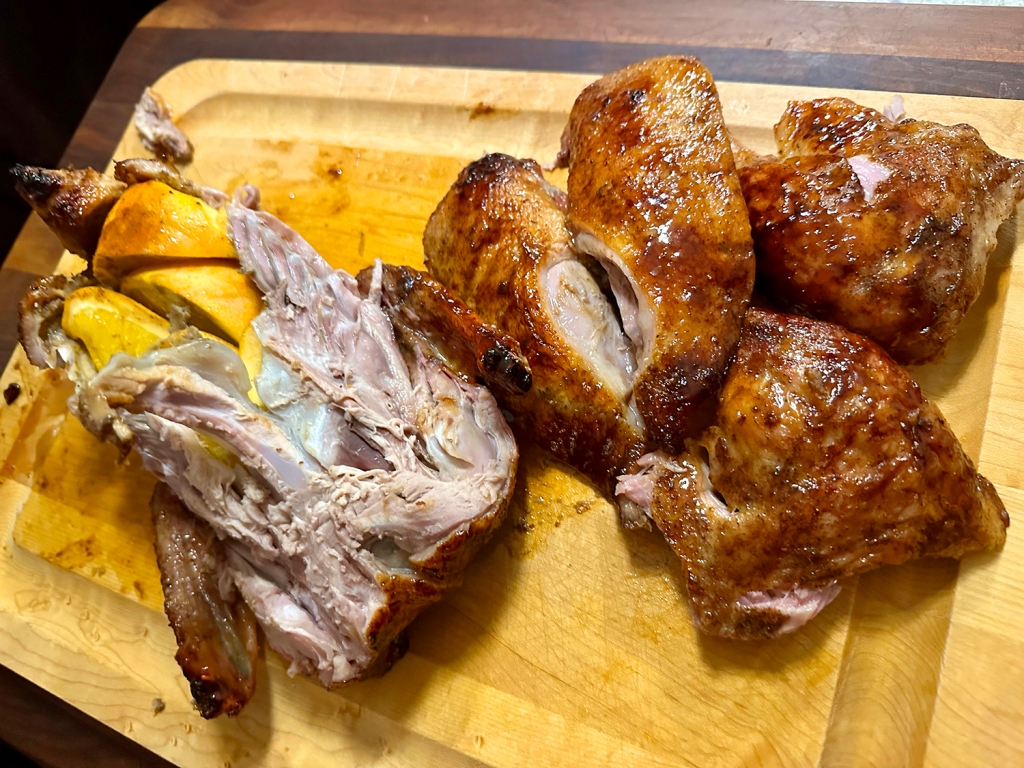
  6. Paint the duck once more, keep it warm and let rest for 20 minutes. Use poultry shears to cut into quarters (remove backbone first) or carve in the traditional way, removing legs from carcass and slicing breast.

http://www.lynnandruss.com

Recipe by Dave Tanis for NYTimes Cooking