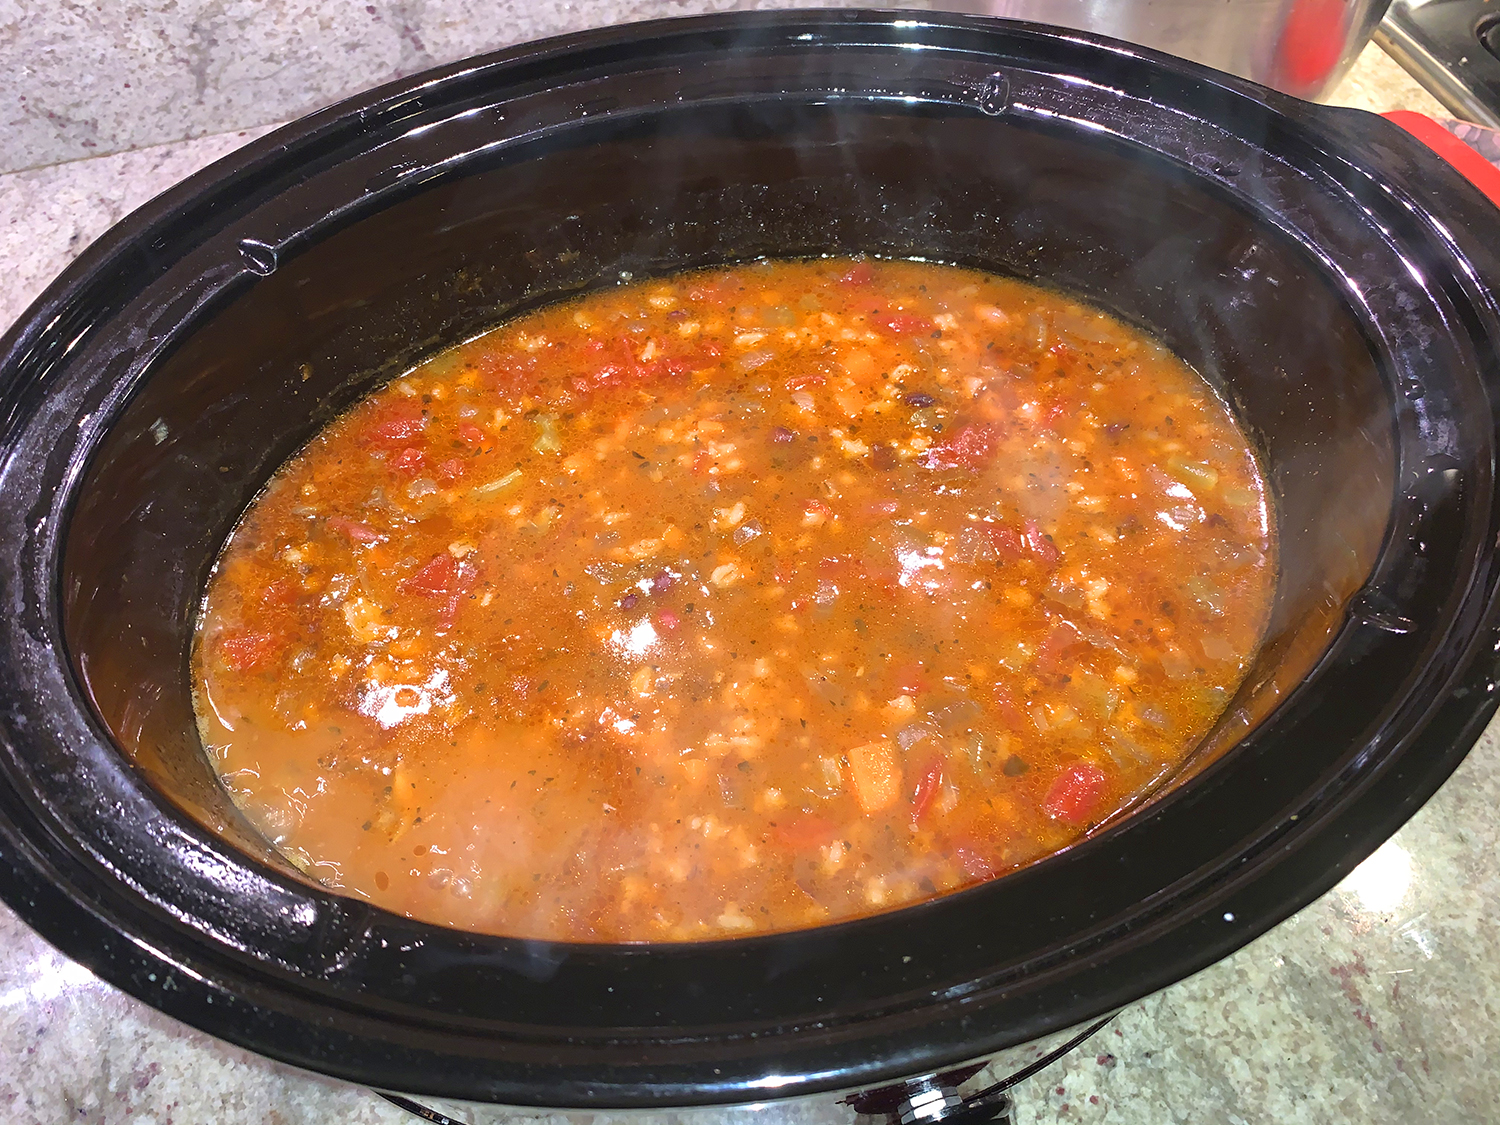
You may know from experience, most recipes for hearty winter vegetable soups are neither quick nor easy. So for a satisfying soup that doesn’t take the better part of a day to make, start with homemade chicken stock which adds tons of flavor. (Use vegetable broth if maintaining a vegetarian diet.) Then add soy sauce and ground dried porcini mushrooms. These ingredients bring a savory, almost meaty flavor to the soup base. Next, to make the soup more filling, include barley to a hearty combination of carrots, potatoes, leeks, cabbage, and turnips.
Turnips you say? While I’ve never been a fan of turnips in and of themselves (I mean when was the last time you ever craved a turnip?) I don’t mind them as part of a mix of vegetables, like in this soup. But they certainly have a health profile worth checking out.
Here’s the lowdown: Turnips are loaded with fiber and vitamins K, A, C, E, B1, B3, B5, B6, B2 and folate, as well as minerals like manganese, potassium, magnesium, iron, calcium and copper. They are also a good source of phosphorus, omega-3 fatty acids and protein. So yes, I will include them in fits and spurts throughout my meal plans.
Another startling statistic is the benefits of barley. Barley’s high fiber content helps food move through your gut and promotes a good balance of gut bacteria, both of which play important roles in digestion. Due to its high fiber content, it makes a great alternative to white rice dishes such as pilaf or risotto. One half cup is packed with 17.3 grams of fiber and 12.5 grams of protein!
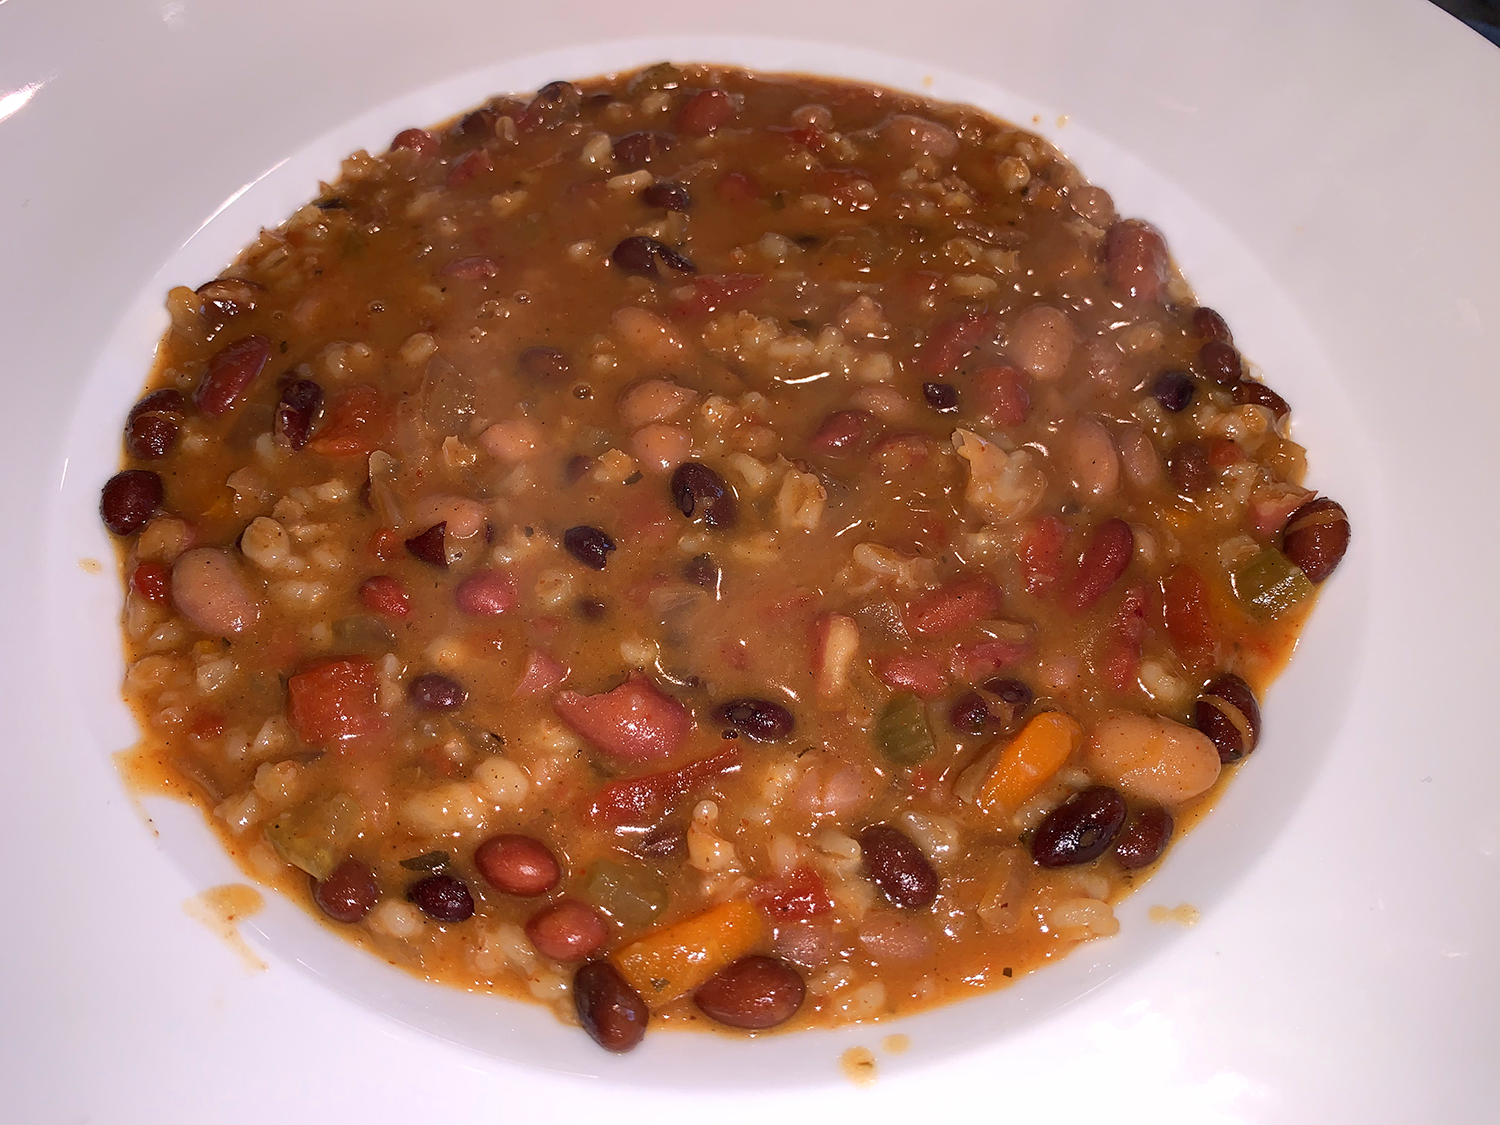
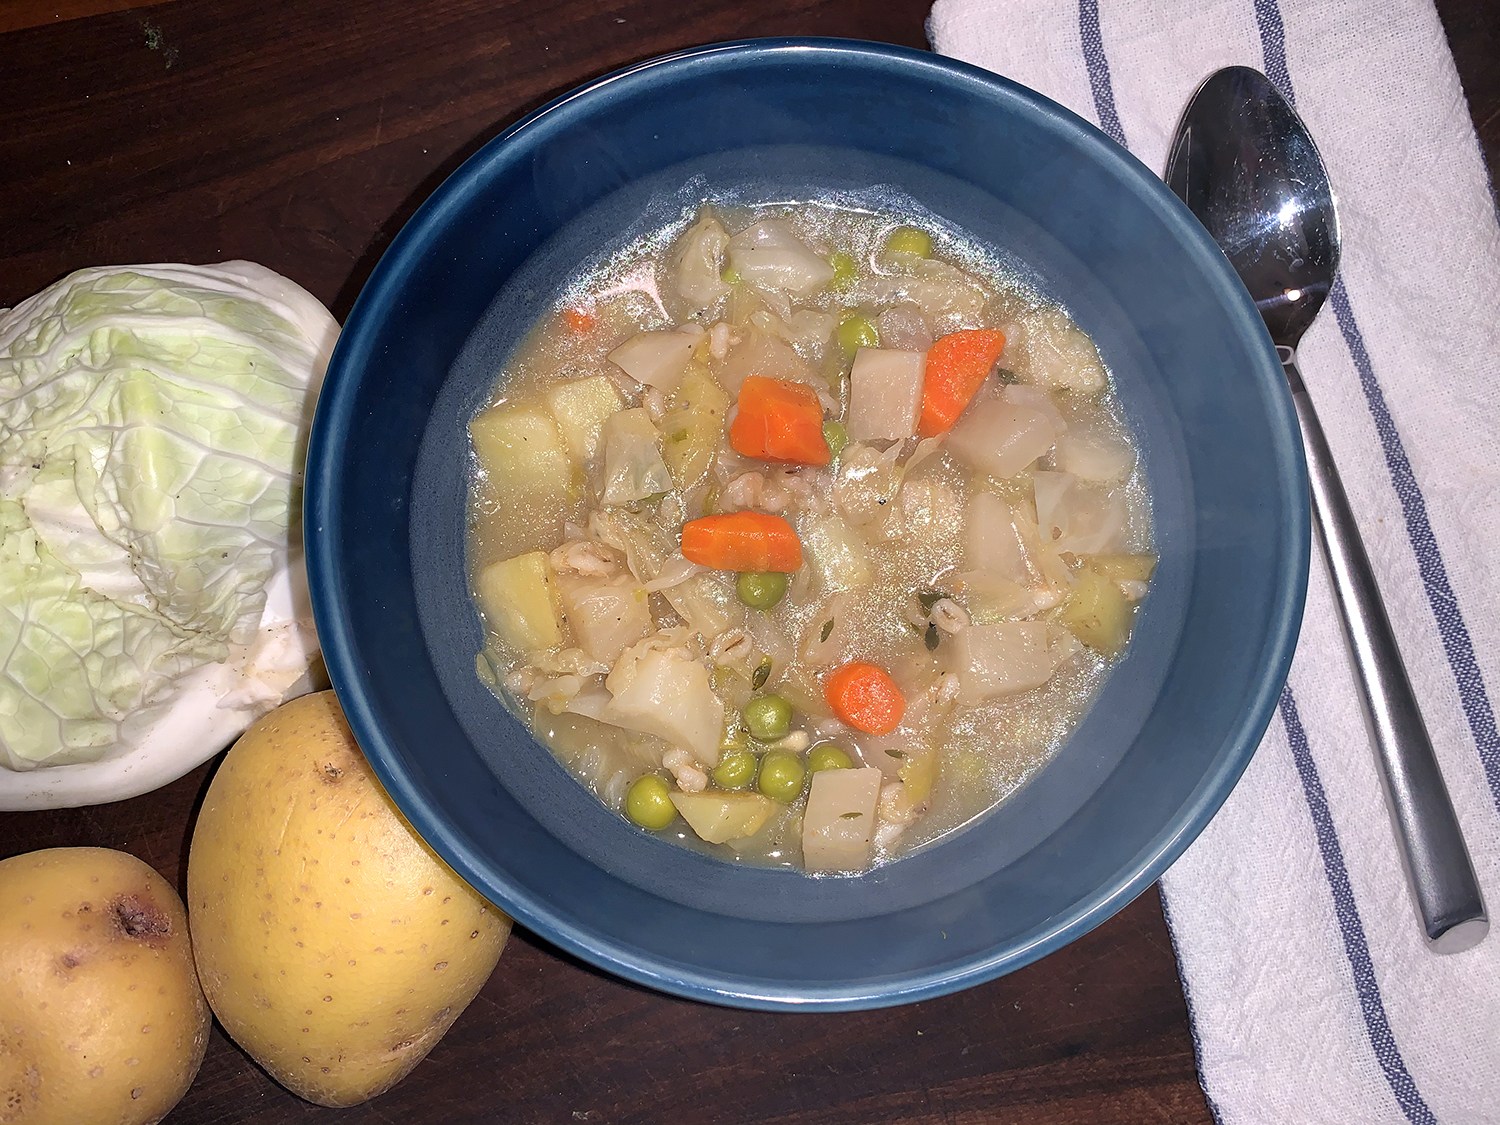
So bottom line, this soup is very good for you!
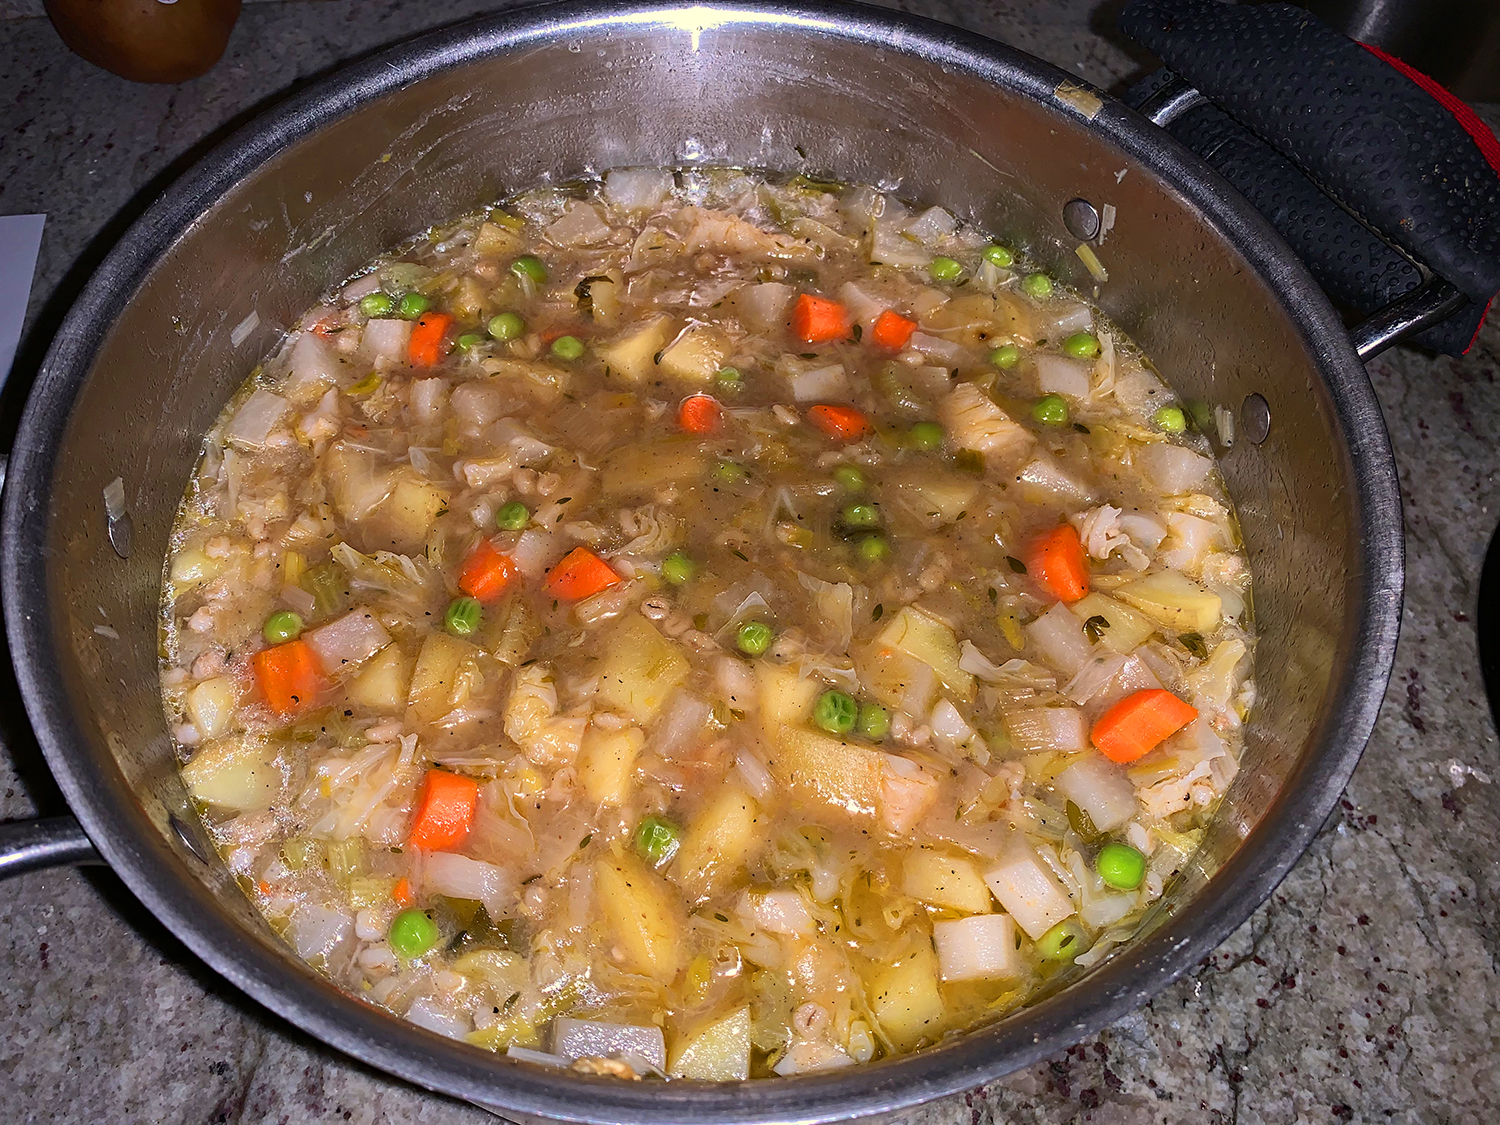
Farmhouse Vegetable and Barley Soup
Ingredients
- ⅛ oz. dried porcini mushrooms
- 8 sprigs fresh parsley plus 3 Tbsp. chopped
- 4 sprigs fresh thyme
- 1 bay leaf
- 2 Tbsp. unsalted butter
- 1 ½ lbs. leeks, white and light green parts sliced ½-inch thick and washed thoroughly
- 2 carrots, peeled and cut into ½-inch pieces
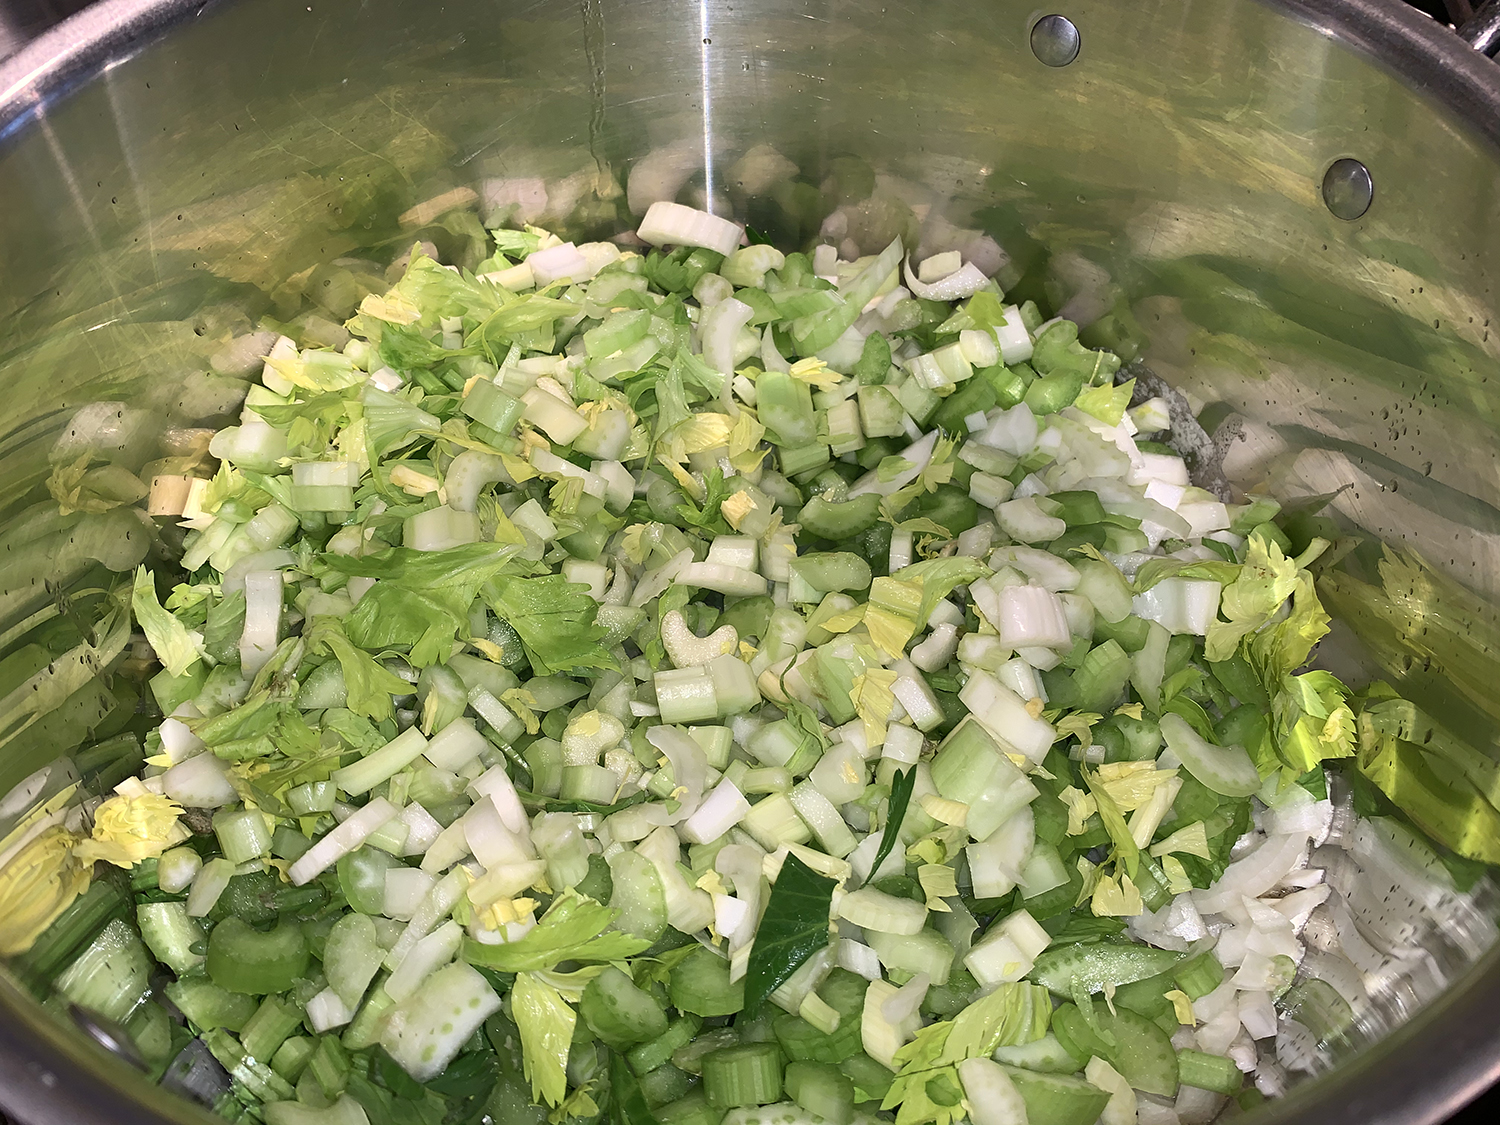
- 2 celery ribs, cut into 1/4-inch pieces
- ⅓ cup dry white wine
- 2 tsp. soy sauce
- Salt and pepper
- 6 cups water
- 4 cups low-sodium chicken broth or vegetable broth
- ½ cup pearl barley
- 1 garlic clove, peeled and smashed
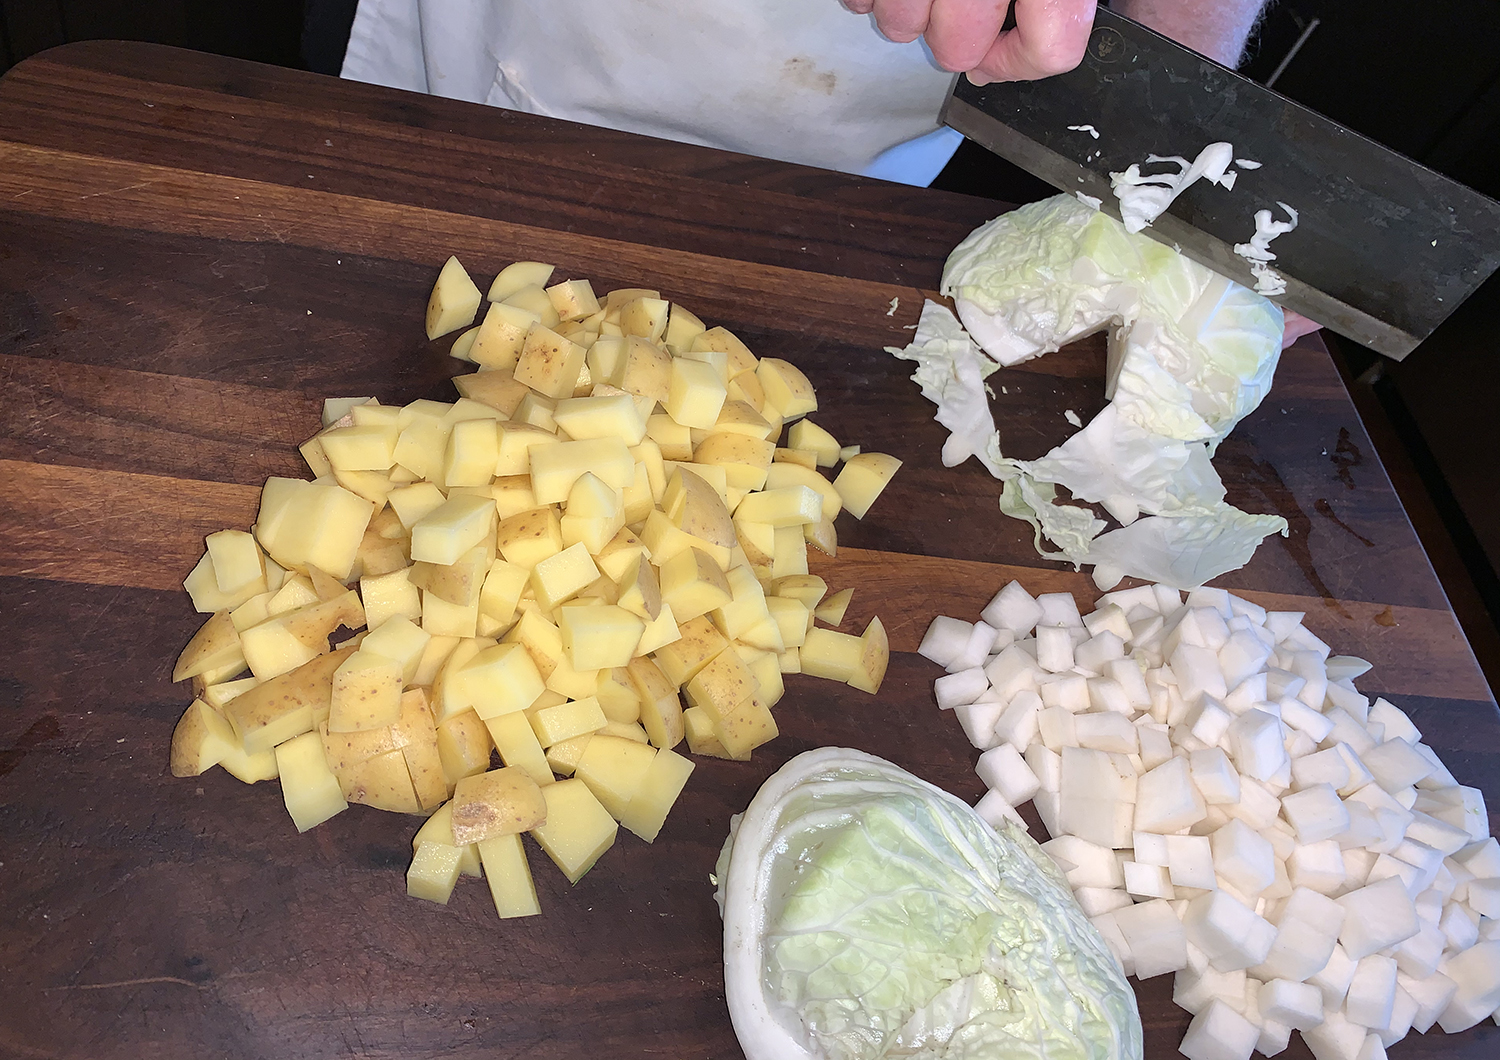
- 1 ½ pounds Yukon Gold potatoes, peeled and cut into 1/2-inch pieces
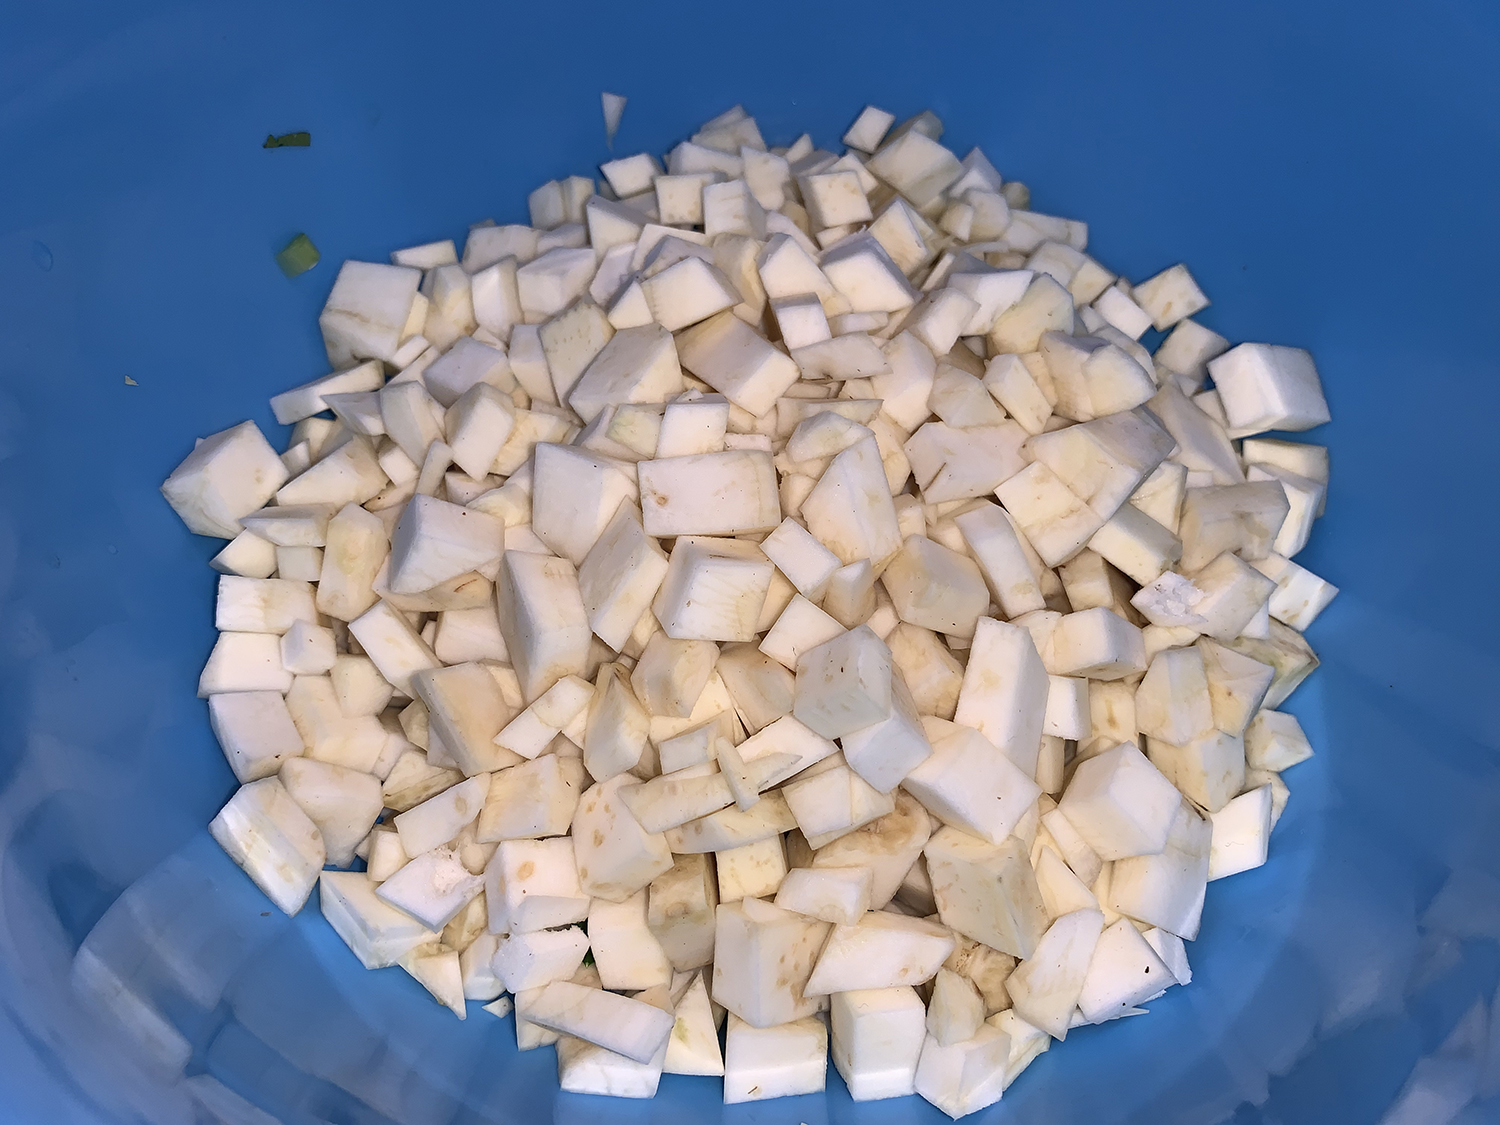
- 1 turnip, peeled and cut into 3/4-inch pieces
- 1 ½ cups chopped green cabbage
- 1 cup frozen peas
- 1 tsp. lemon juice
Directions
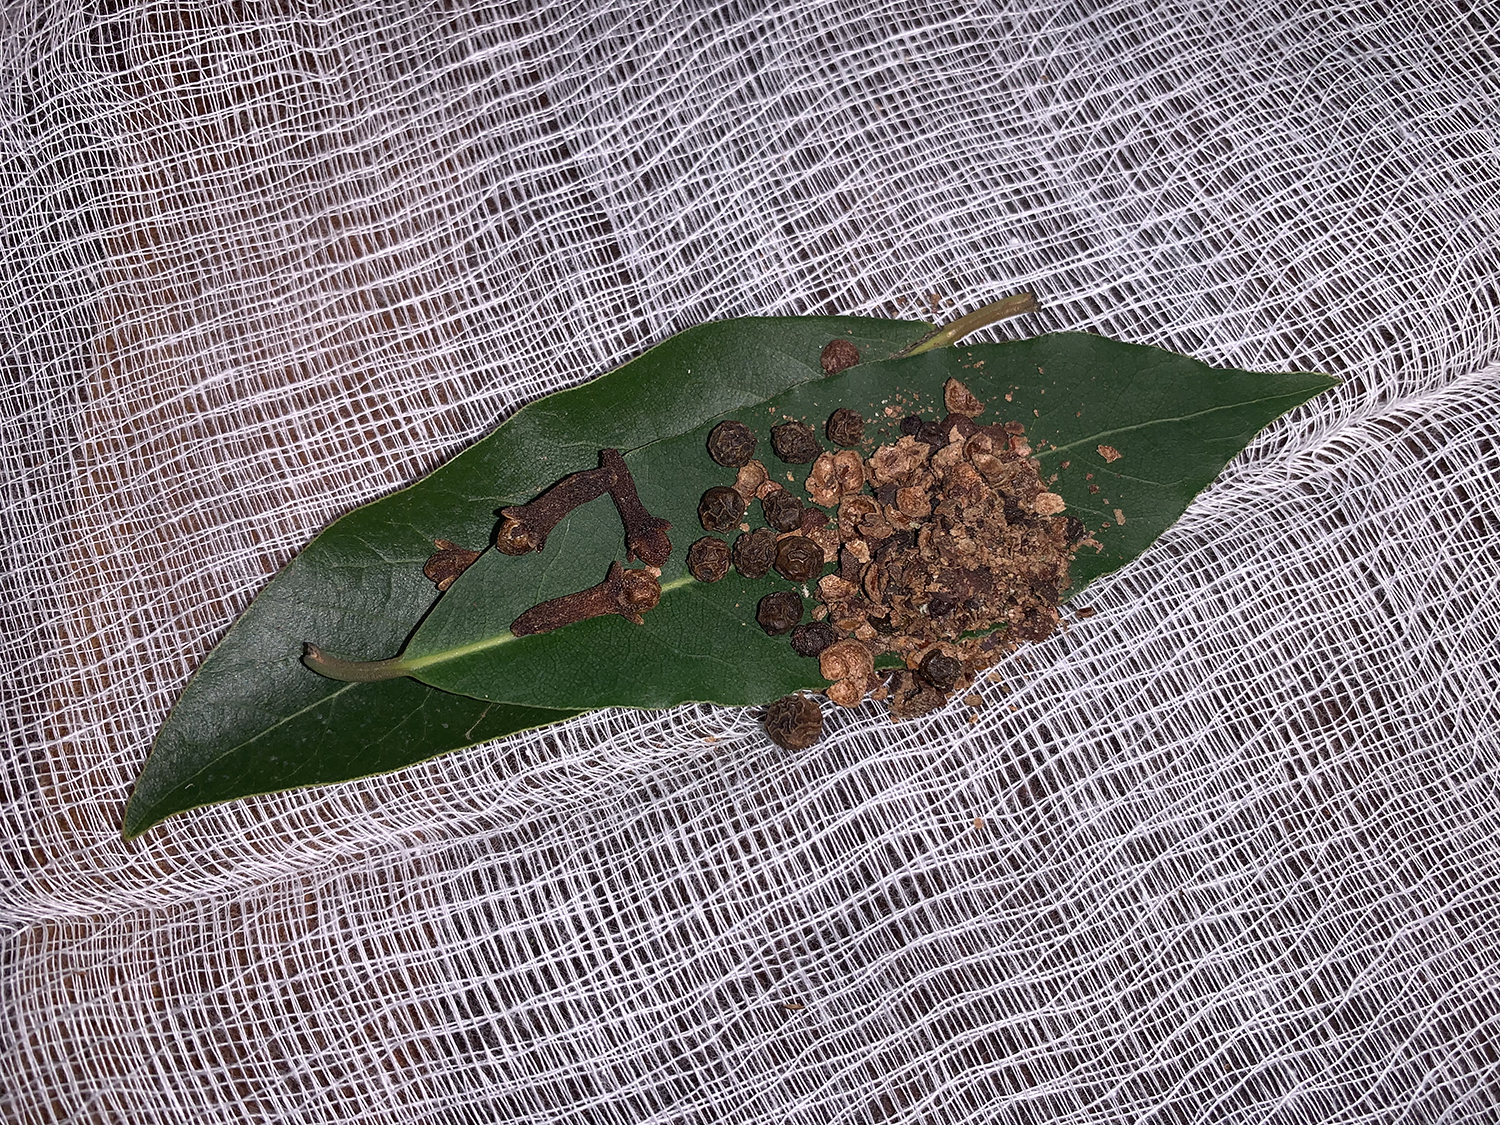
- Grind porcini with spice grinder until they resemble fine meal, 10 to 30 seconds. Measure out 2 teaspoons porcini powder; reserve remainder for other use. Using kitchen twine, tie together parsley sprigs, thyme, and bay leaf.
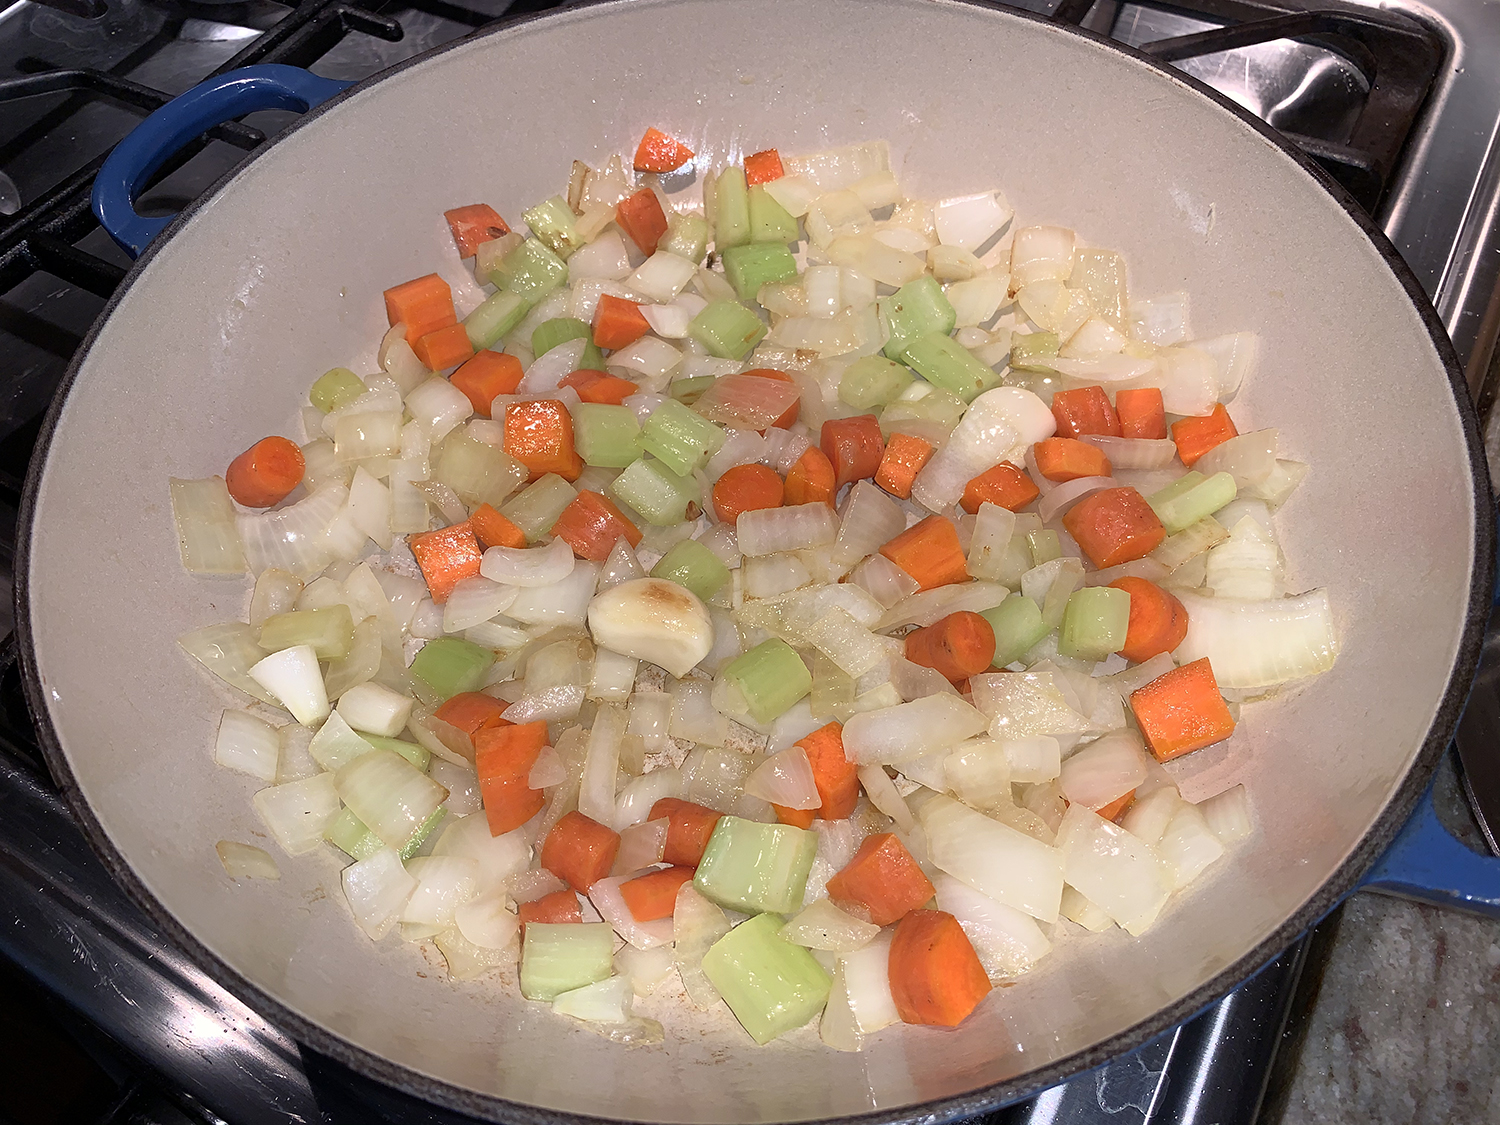
- Melt butter in large Dutch oven over medium heat. Add leeks, carrots, celery, wine, soy sauce, and 2 teaspoons salt. Cook, stirring occasionally, until liquid has evaporated and celery is softened, about 10 minutes.
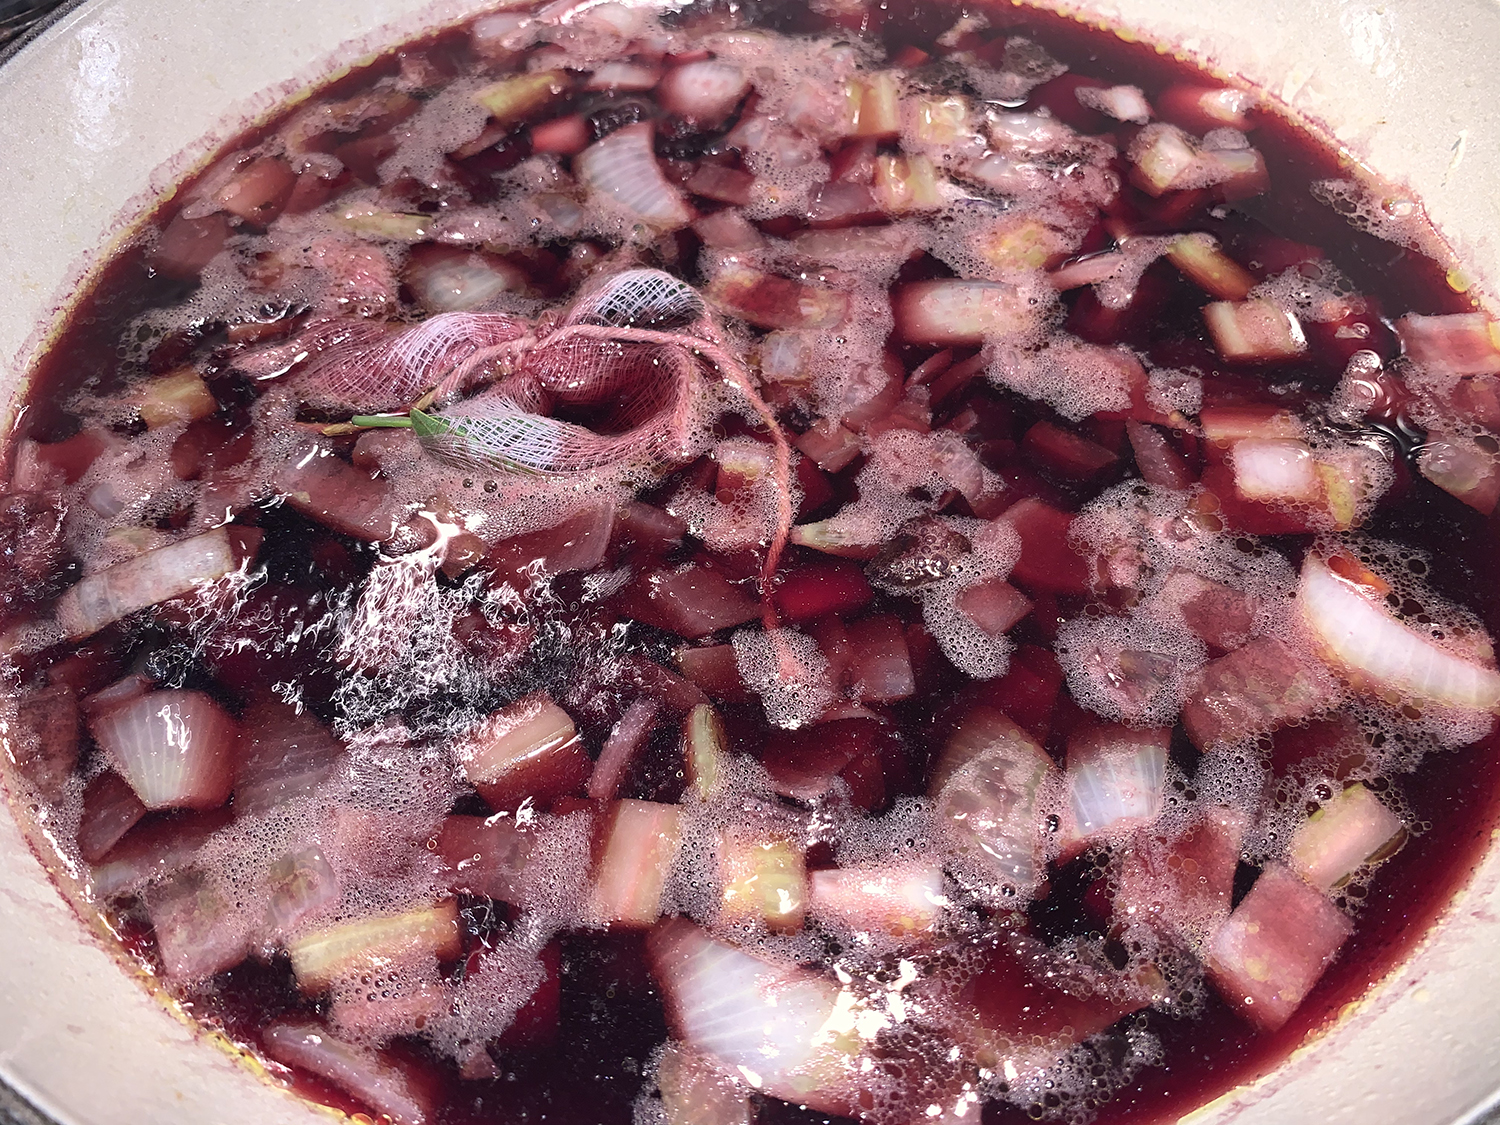
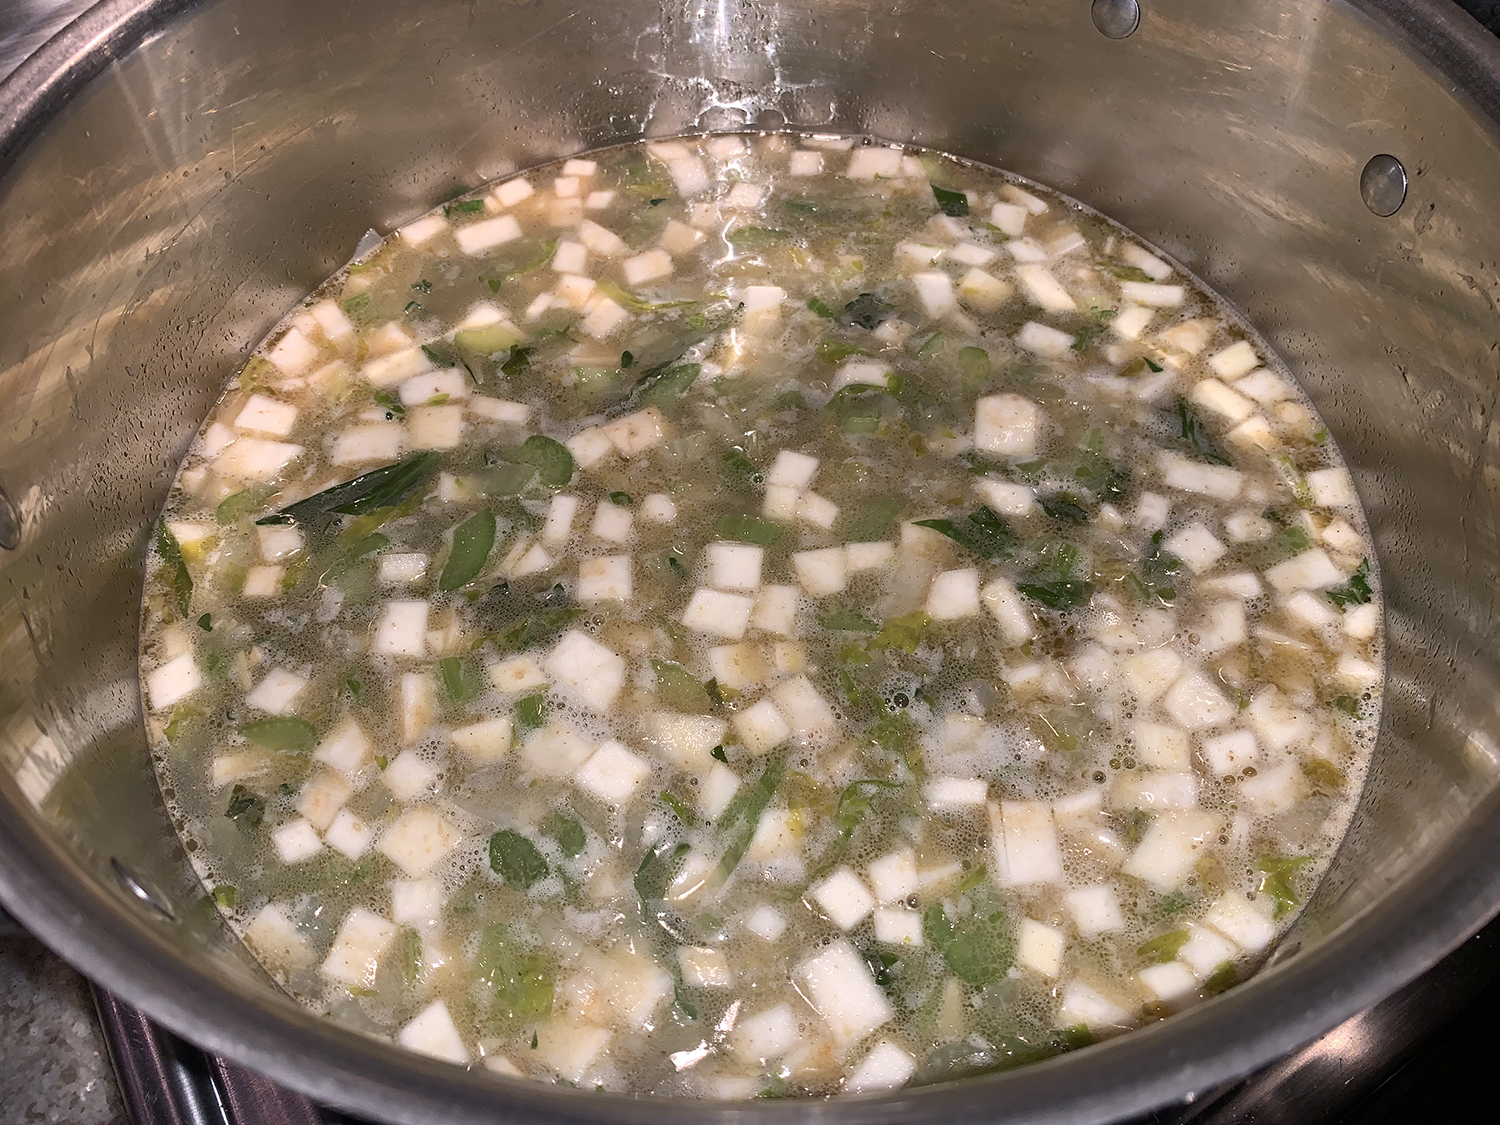
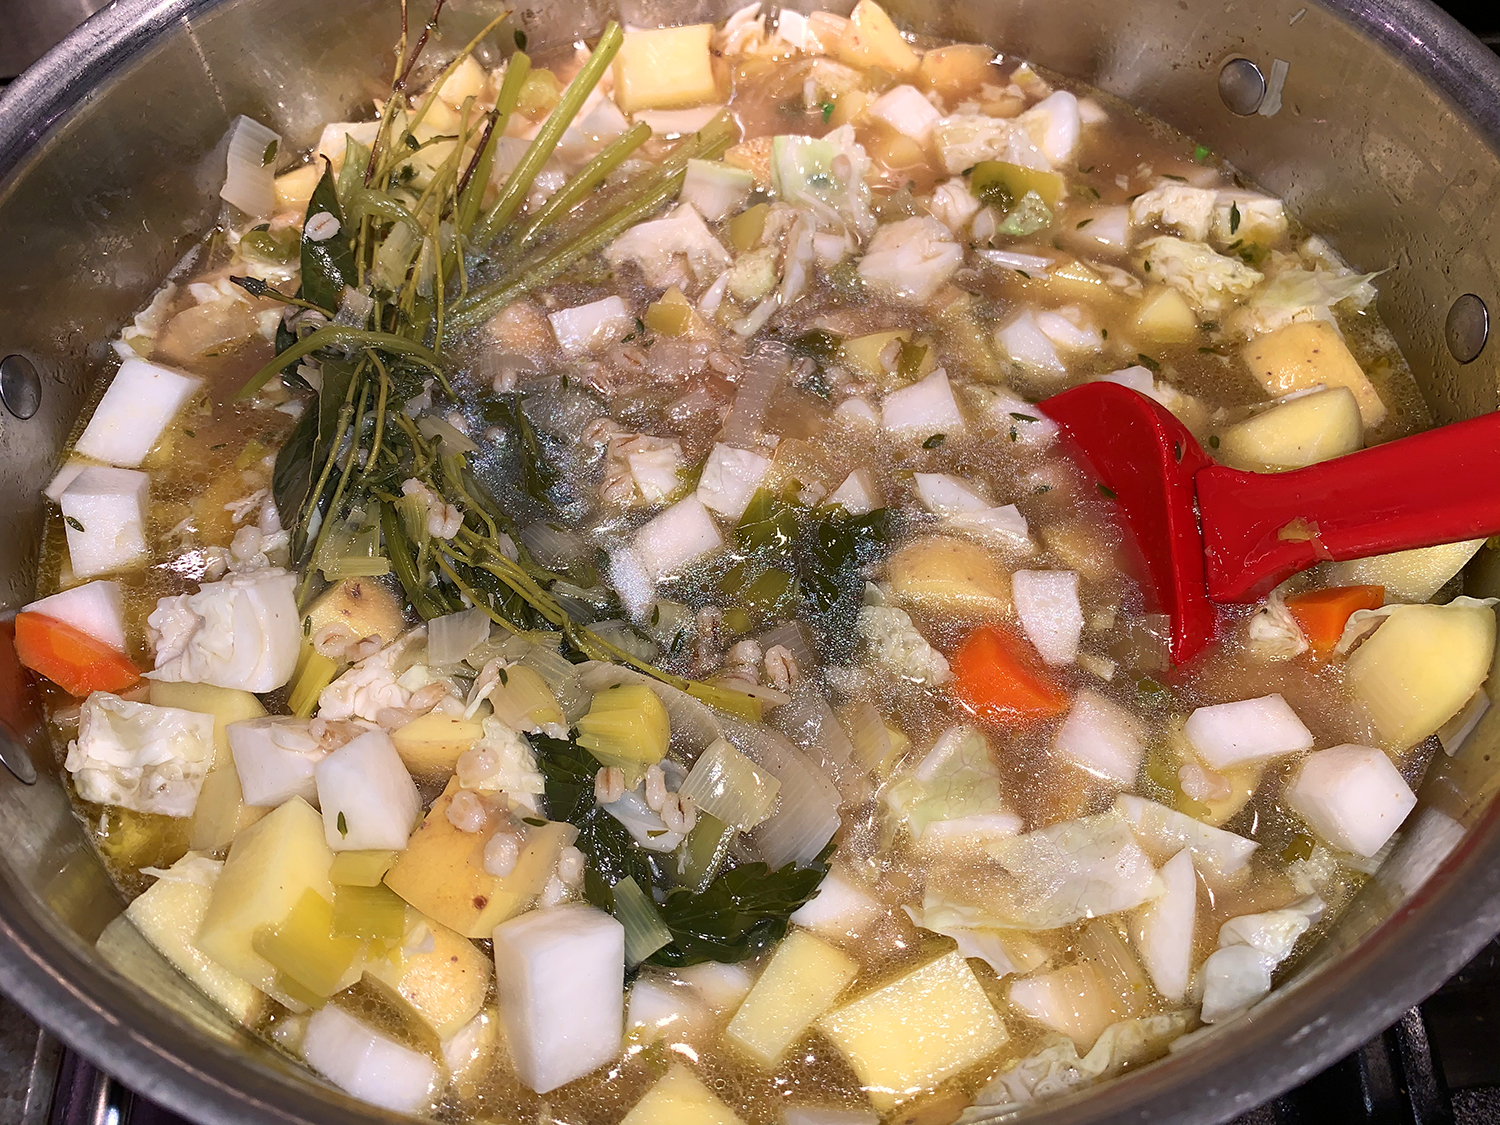
- Add water, broth, barley, porcini powder, herb bundle, and garlic; increase heat to high and bring to boil. Reduce heat to medium-low and simmer, partially covered, for 25 minutes.
- Add potatoes, turnip, and cabbage; return to simmer and cook until barley, potatoes, turnip, and cabbage are tender, 18 to 20 minutes.
- Remove pot from heat and remove herb bundle. Stir in peas, lemon juice, and chopped parsley; season with salt and pepper to taste.
Recipe from Cook’s Illustrated