Monthly Archives: May 2022

Braised Lamb Shoulder Chops with Capers, Balsamic Vinegar, and Red Peppers

Typically, we find lamb shoulder chops to be a tough cut of meat and benefit from a longer braise. However, Cook’s Illustrated tried a much shorter braise than usual for this lamb chop recipe—just enough to cook the meat. After only 15 to 20 minutes, they claimed the lamb was tender, but we beg to differ.  
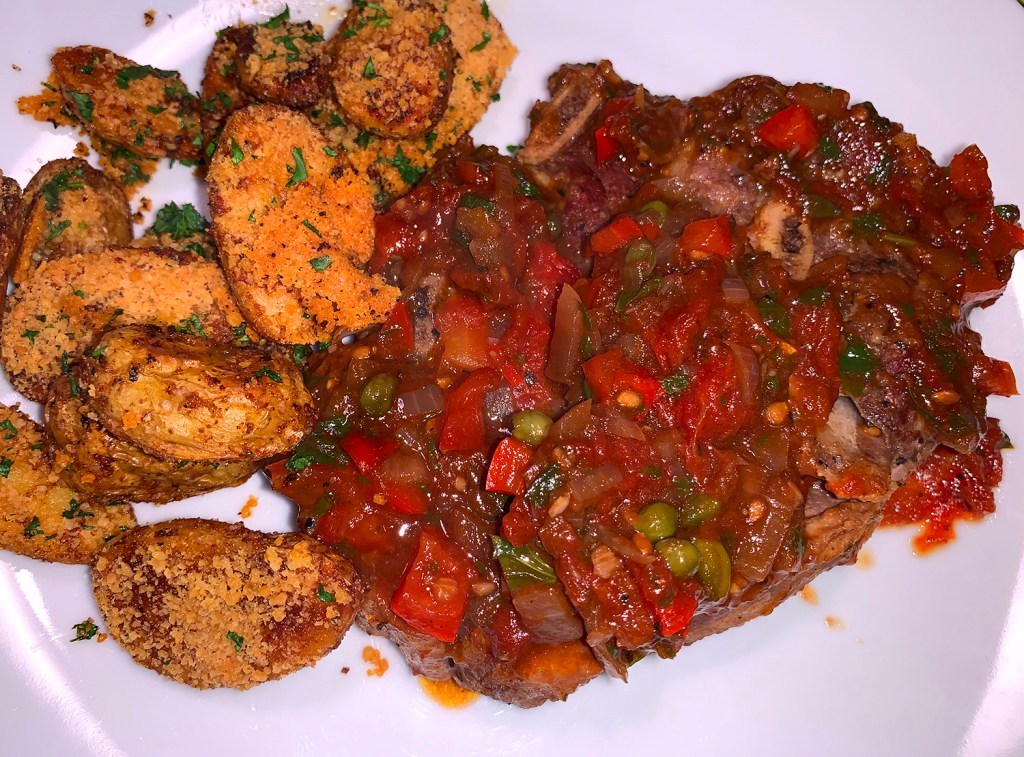
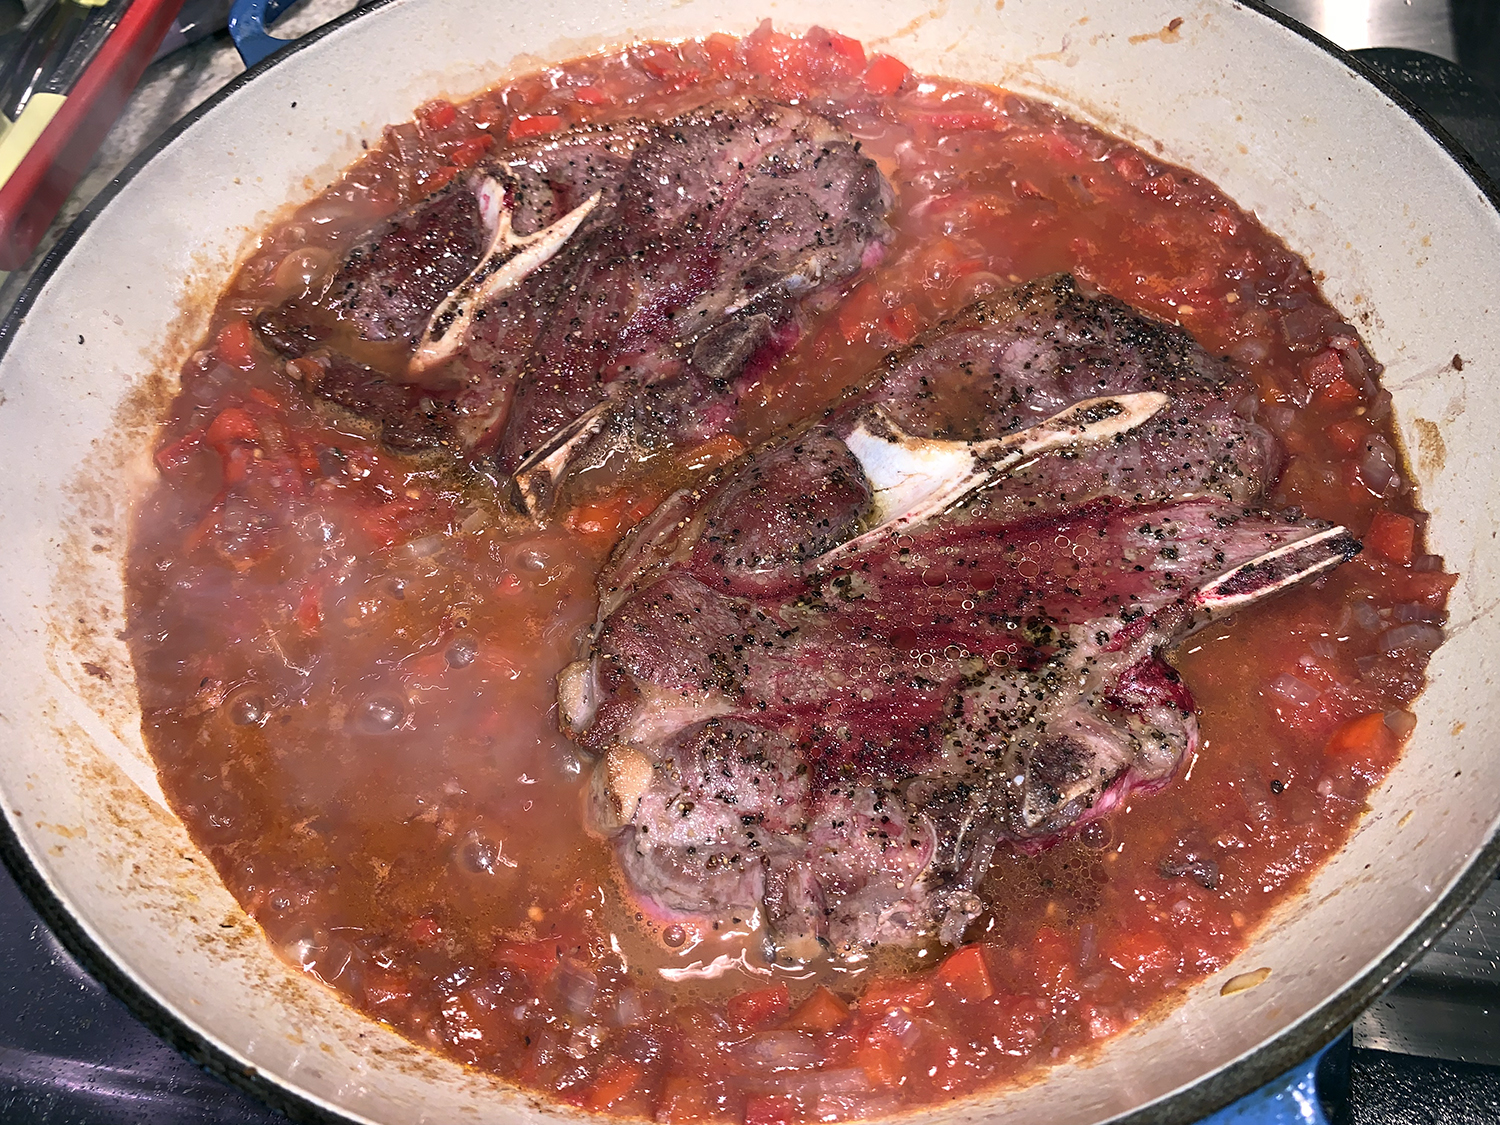
Our initial concerns at the short amount of time (15 to 20 minutes originally) the lamb chops cooked were well-founded. After 20 minutes, they were still tough and we added another 10 minutes to the braise. In fact, they could have used even more time to tenderize. In the past, we’ve always braised them, covered over low heat for 2 hours, until they were fall-apart tender.

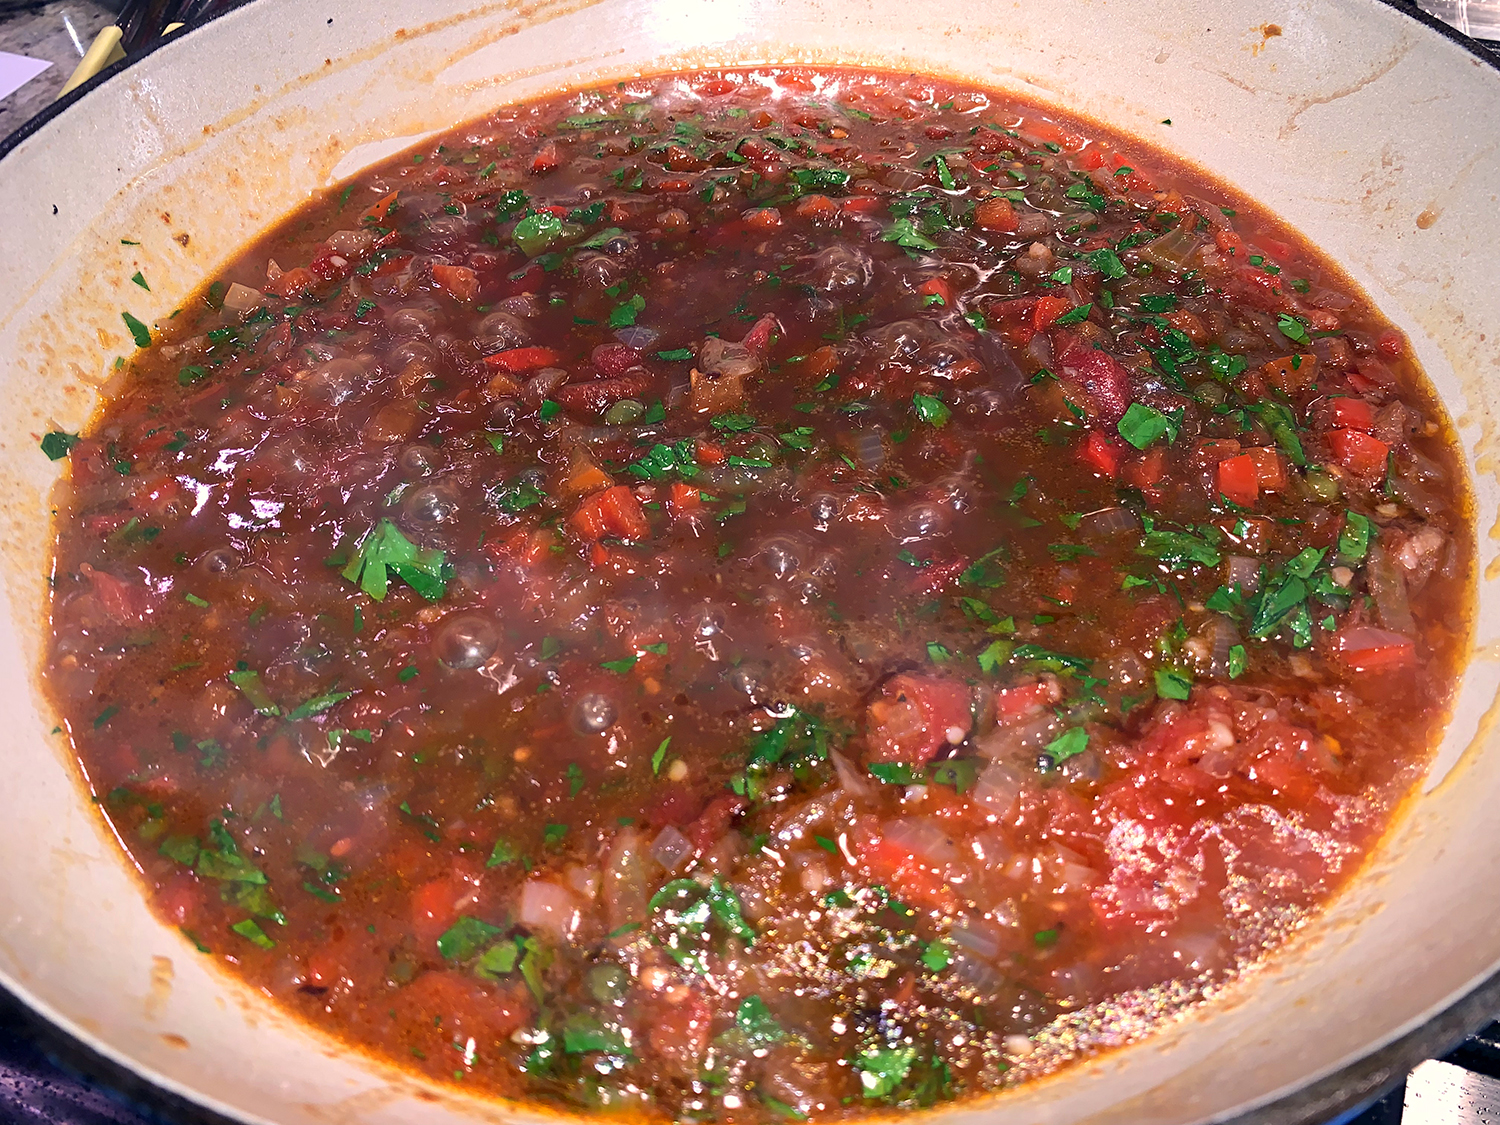
The much-anticipated caper and red pepper sauce with the deglazing liquid was delicious! Because we only cooked two chops, there was some sauce leftover which we made good use of on some pork chops the following day. Our pairings for the lamb included a side salad and a recent new potato fave, Crispy Parmesan Potatoes.

included

  • Servings: 4
  • Difficulty: easy
  • Print

Ingredients

  • 4 lamb shoulder chops, about 3/4 inch thick, trimmed of external fat
  • Salt and ground black pepper
  • 2 Tbsp. olive oil
  • 1 small onion, chopped fine
  • 1 red bell pepper, seeded and diced small
  • 2 small cloves garlic, minced
  • ⅓ cup dry red wine
  • 1 cup canned tomatoes packed in puree, chopped
  • 2 Tbsp. minced fresh parsley leaves
  • 2 Tbsp. capers, drained
  • 2 Tbsp. balsamic vinegar

Directions

  1. Sprinkle chops with salt and pepper to taste.
  2. Heat 1 tablespoon of the oil in 12-inch heavy-bottomed nonreactive skillet over medium-high heat. Cooking in 2 batches to avoid overcrowding, add 2 chops; sauté until brown on both sides, 4 to 5 minutes. Remove from pan; set aside. Repeat.
  3. Pour fat from pan; return pan to medium heat, adding remaining tablespoon of oil. Add onion and pepper; sauté until softened, about 4 minutes.
  4. Add garlic; cook until fragrant, about 1 minute longer.
  5. Add wine; simmer until reduced by half, scraping browned bits from pan bottom with wooden spoon, 2 to 3 minutes.
  6. Stir in tomatoes, then return chops to pan. Reduce heat to low; cover and simmer until chops are cooked through but tender, at least 30 minutes.
  7. Transfer chops to each of four plates. Stir parsley, capers, and balsamic vinegar into braising liquid; simmer until sauce thickens, 2 to 3 minutes. Adjust seasonings, spoon portion of sauce over each chop, and serve.

http://www.lynnandruss.com

Adapted from a recipe by Cook’s Illustrated

Greek Chicken and Potato Traybake

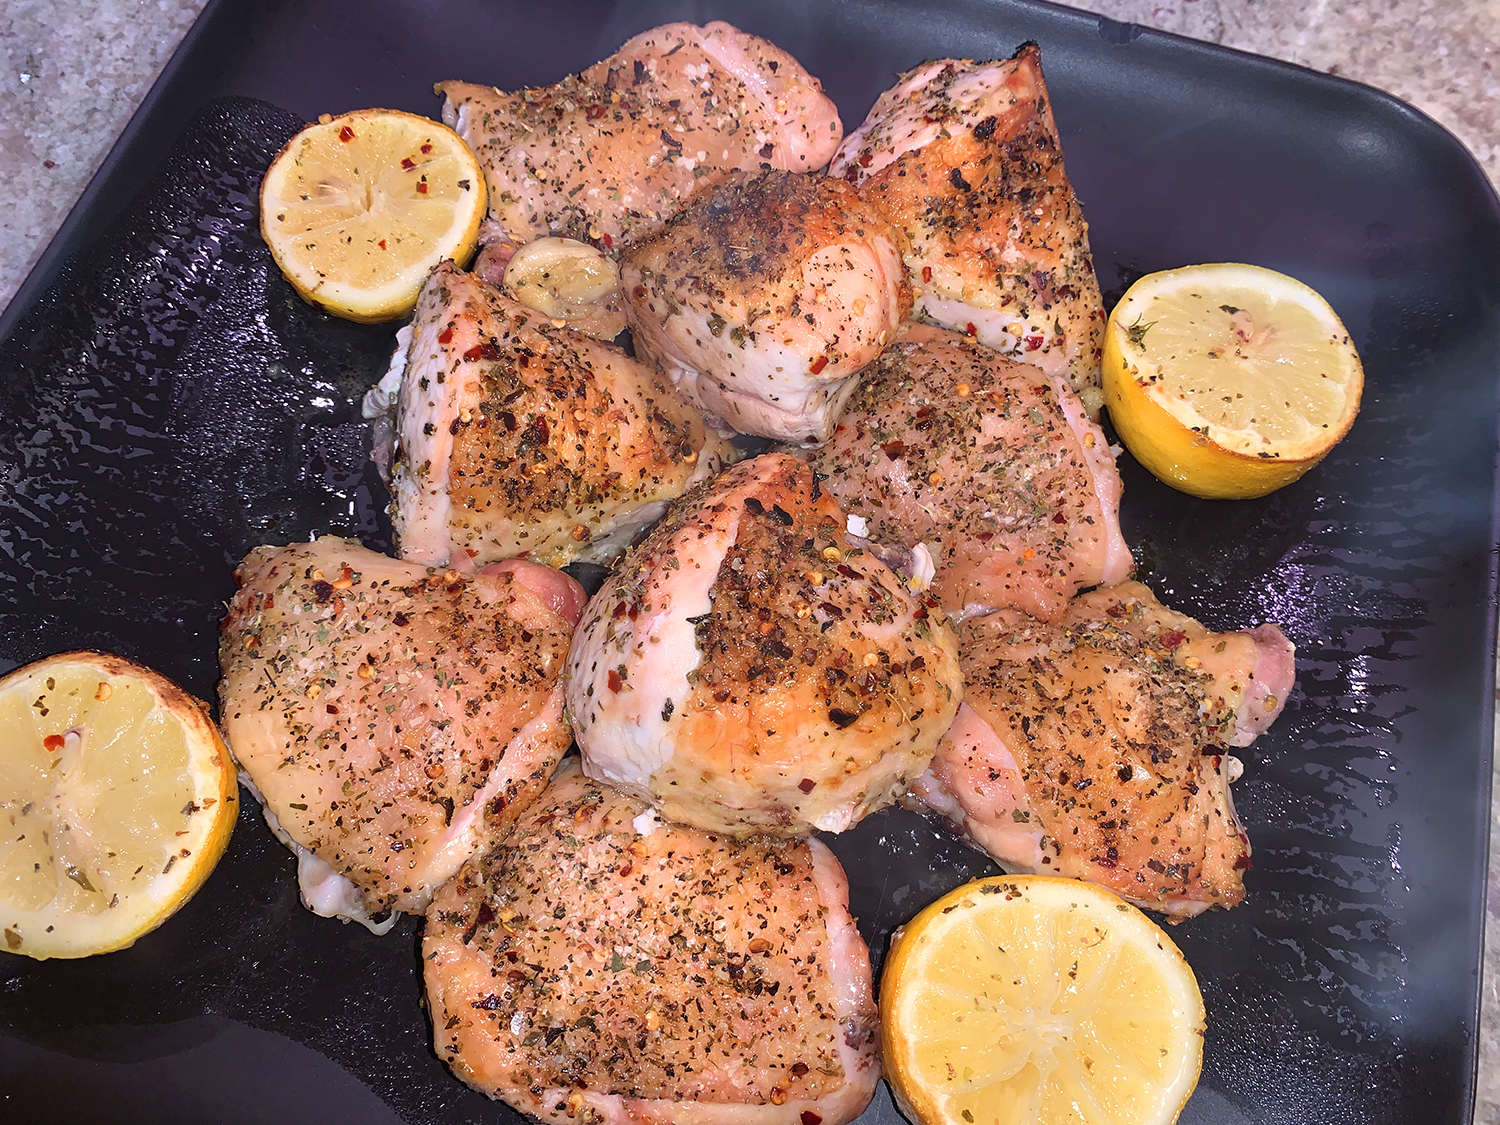
The Greek dish known as kotopoulo skorthato is typically called “Greek garlic-lemon chicken” in English, but the ensemble also includes potatoes, making it a delicious complete meal. OK, so we added a side of roasted broccolini to make it a more veggie-forward dinner.

For this riff, Milk Street used their trusty traybake technique—roasting the ingredients on a rimmed baking sheet in a hot oven to ensure the quickest cooking possible and to develop nice caramelization.

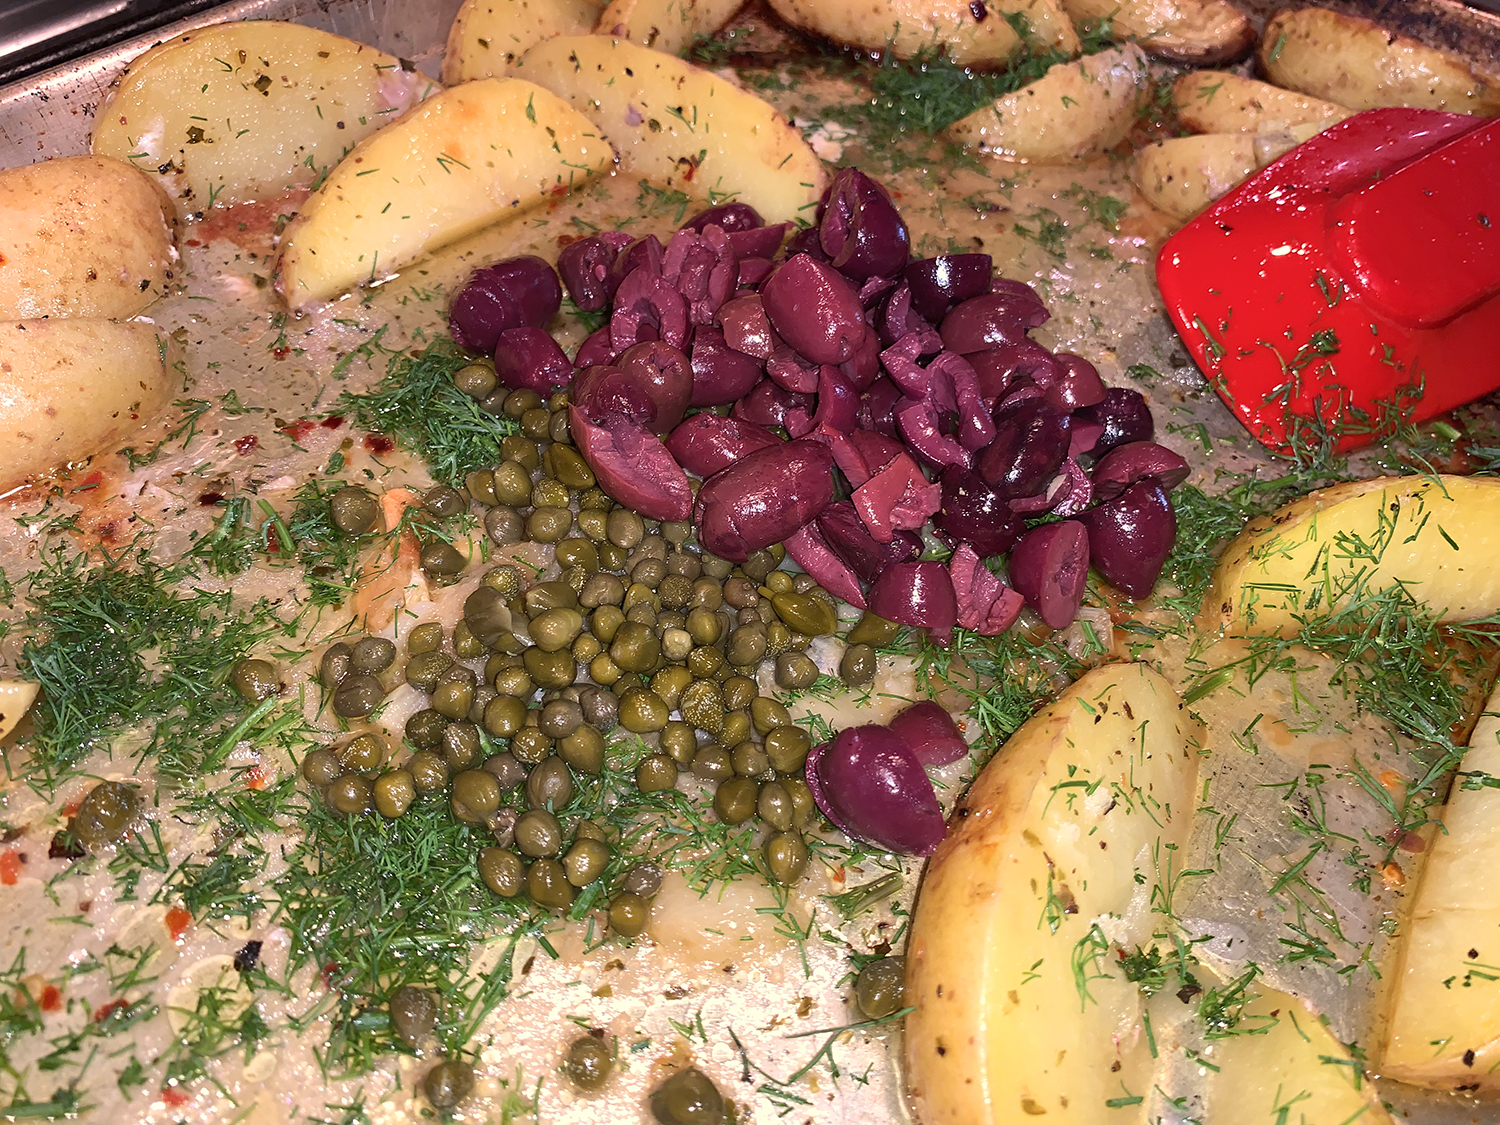
As a finale, toss in black olives, dill and capers to ratchet up the flavors. If using chicken breasts, try to purchase pieces that are close in size so they cook at the same rate. Since we used both thighs (for The Hubs) and breasts (for Yours Truly), we cut the breasts halves in half again, making them more uniform in size to the thighs.

Because we cooked 4 pounds of chicken pieces (25% more), we doubled the spice mixture so that we had enough to sprinkle on all sides of each piece. This meal was sooo flavorful, and not difficult at all!

Don’t use extra-large bone-in chicken breasts if you can help it; 12-ounce pieces work best. If unavoidable, keep in mind that bone-in breasts weighing about 1 pound each require 40 to 50 minutes of roasting.

Greek Chicken and Potato Traybake

  • Servings: 4
  • Difficulty: easy
  • Print

Ingredients

  • 1 tsp. dried oregano
  • ¼-½ tsp. red pepper flakes
  • Kosher salt and ground black pepper
  • 4 12-oz. bone-in, skin-on chicken breasts or 3 lbs. bone-in, skin-on chicken thighs, trimmed and patted dry
  • 2 Tbsp. extra-virgin olive oil
  • 1½ lbs. medium Yukon Gold potatoes, not peeled, cut into 1-inch-thick wedges
  • 2 lemons, halved crosswise
  • 8 medium garlic cloves, peeled
  • ½ cup pitted Kalamata olives, roughly chopped
  • 2 Tbsp. drained capers
  • 3 Tbsp. roughly chopped fresh dill, divided

Directions

  • Heat the oven to 475°F with a rack in the middle position. In a large bowl, stir together the oregano, pepper flakes, 1½ teaspoons salt and ½ teaspoon black pepper. Sprinkle 2 teaspoons of the mix onto all sides of the chicken. To the remaining seasoning mix in the bowl, add the oil, potatoes, lemon halves and garlic, then toss to coat.
  • Place the garlic in the center of a rimmed baking sheet, then arrange the chicken, skin up, around the garlic; this placement helps prevent the garlic from scorching during roasting. Arrange the lemons, cut sides up, and the potatoes in an even layer around the chicken. Roast until the thickest part of the breasts (if using) reaches 160°F and the thickest part of the largest thigh (if using) reaches 175°F, about 30 minutes.
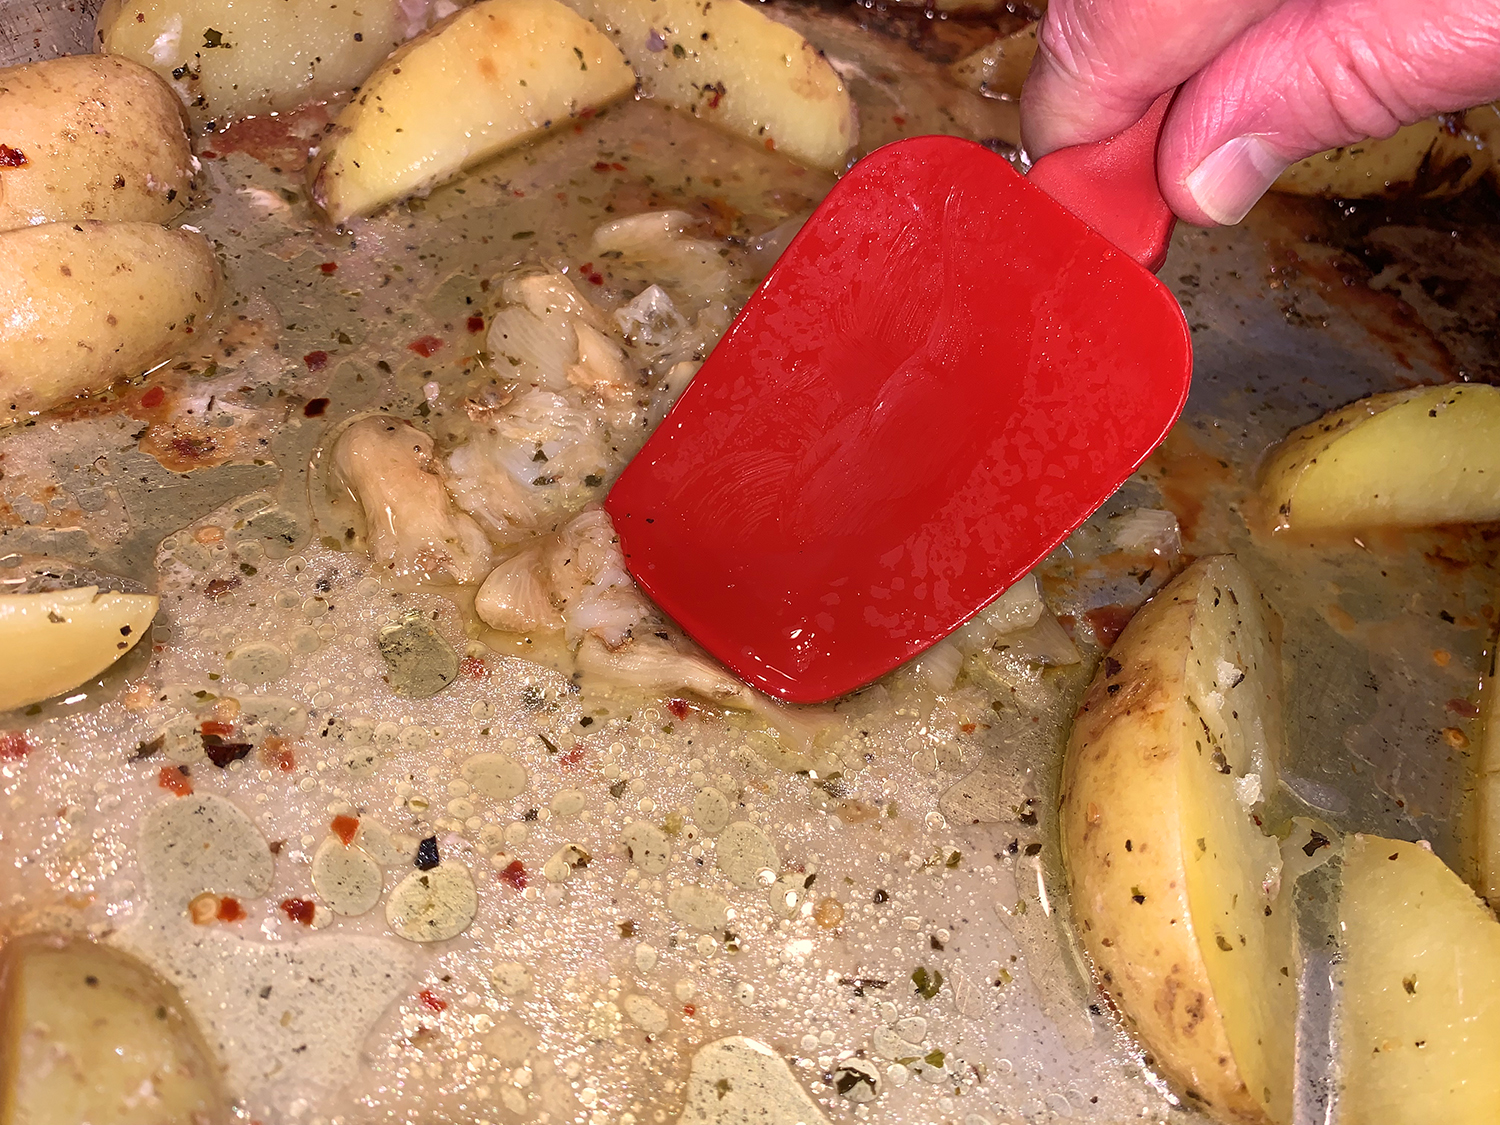
  • Using tongs, transfer the chicken and lemon halves to a serving platter. Push the potatoes to the edge of the baking sheet, leaving the garlic in the center. Using a fork, mash the garlic to a rough paste. Add the olives, capers and 2 tablespoons of the dill to the baking sheet, then, using a wide metal spatula, stir and toss the ingredients, scraping up any browned bits.
  • Transfer the potato mixture to the platter, placing it around the chicken. Sprinkle with the remaining 1 tablespoon dill.

http://www.lynnandruss.com

Adapted from a recipe by Rebecca Richmond for Milk Street

Tuscan Spring Soup

In Tuscany, the advent of spring doesn’t signal the end of soup season, like it might here in the Northeast. But it does mean the soups that are served take on a different tone. Tender vegetables meet a rich, meaty broth in this light Tuscan-inspired soup—just perfect for a not-too-hot Spring evening.

And while a hallmark of Tuscan cuisine is its rusticity, this soup is all about luxury. In stark contrast to the typical hearty Tuscan soups, which often cleverly repurpose scraps, only the finest ingredients go into a typical “garmugia”—a pairing of pricey meats and the season’s freshest vegetables.

In garmugia, meat is a seasoning, not the main event. To that end, Milk Street omits the veal, as the combination of beef broth and pancetta (plus a simmered rind of Parmesan) gives the soup a wonderfully savory depth that enhances the vegetables without competing with them.

For their clean vegetal flavors and year-round availability, this soup opts for scallions, asparagus, artichoke hearts and frozen peas. By cooking the vegetables in sequence—starting with the sturdiest, ending with the most delicate—each ingredient retains its character, ensuring that they’re not overcooked. The artichoke hearts are simmered first, then the asparagus, followed by the peas, all topped with a finishing sprinkle of scallion greens for a burst of zingy freshness.

“Each bite of the finished soup is a spoonful of spring in a bowl, no matter the season.”

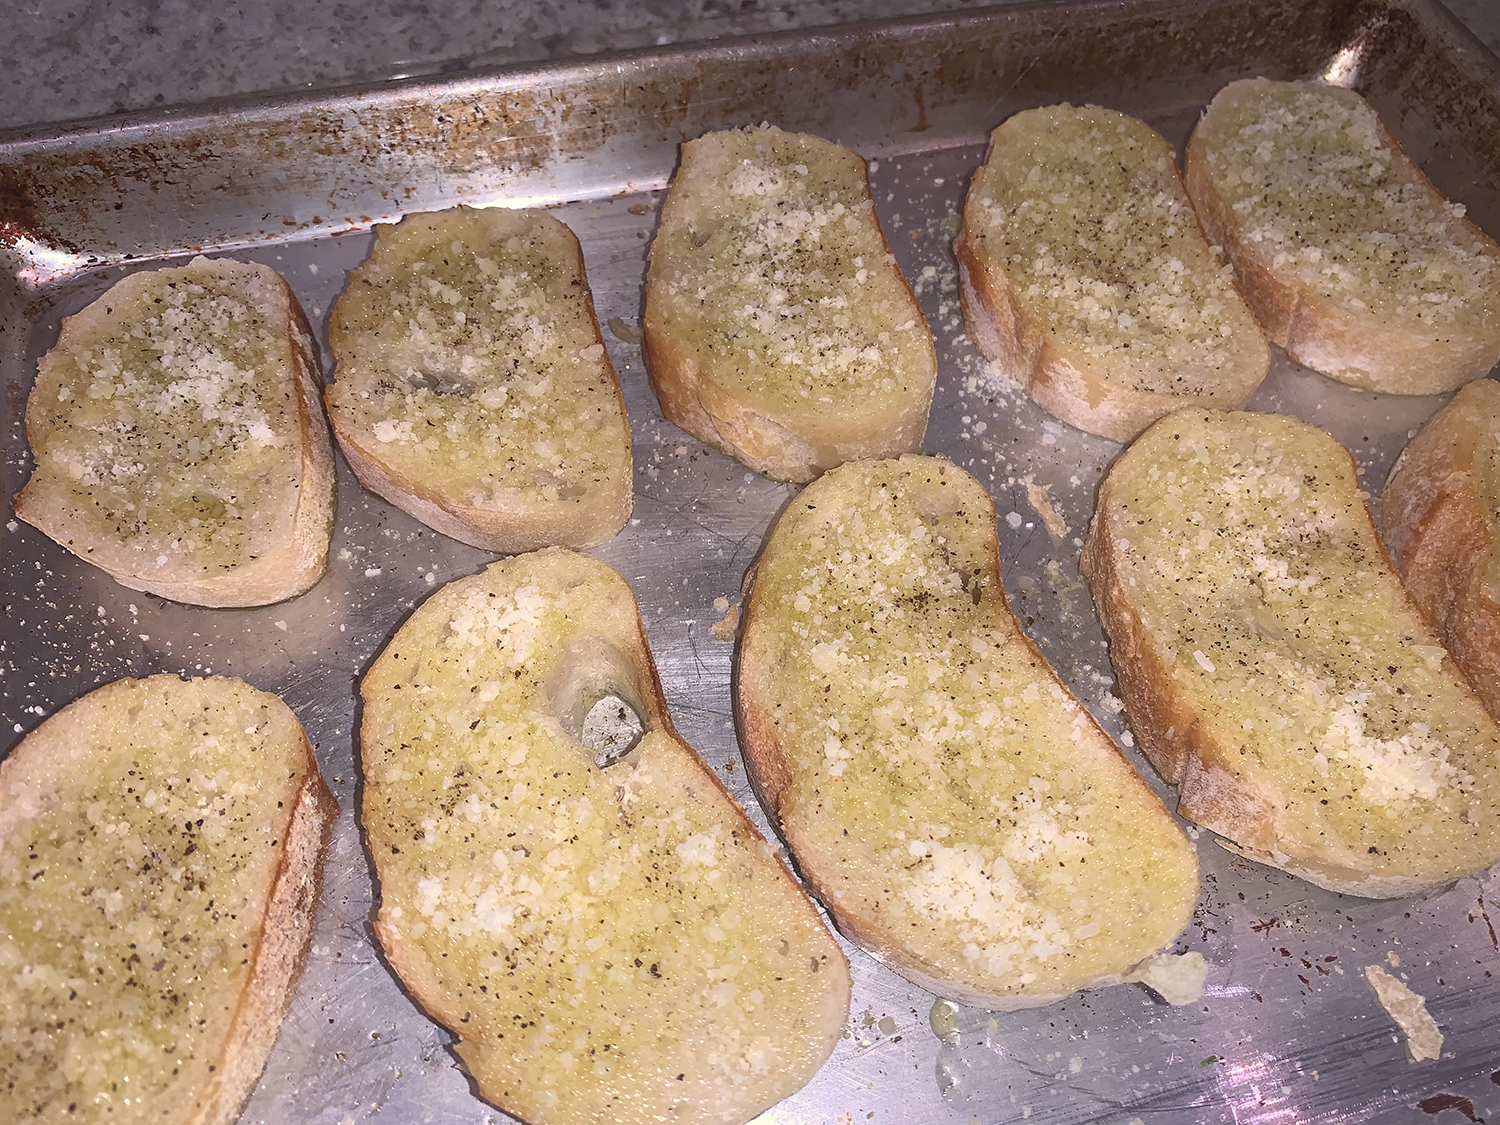
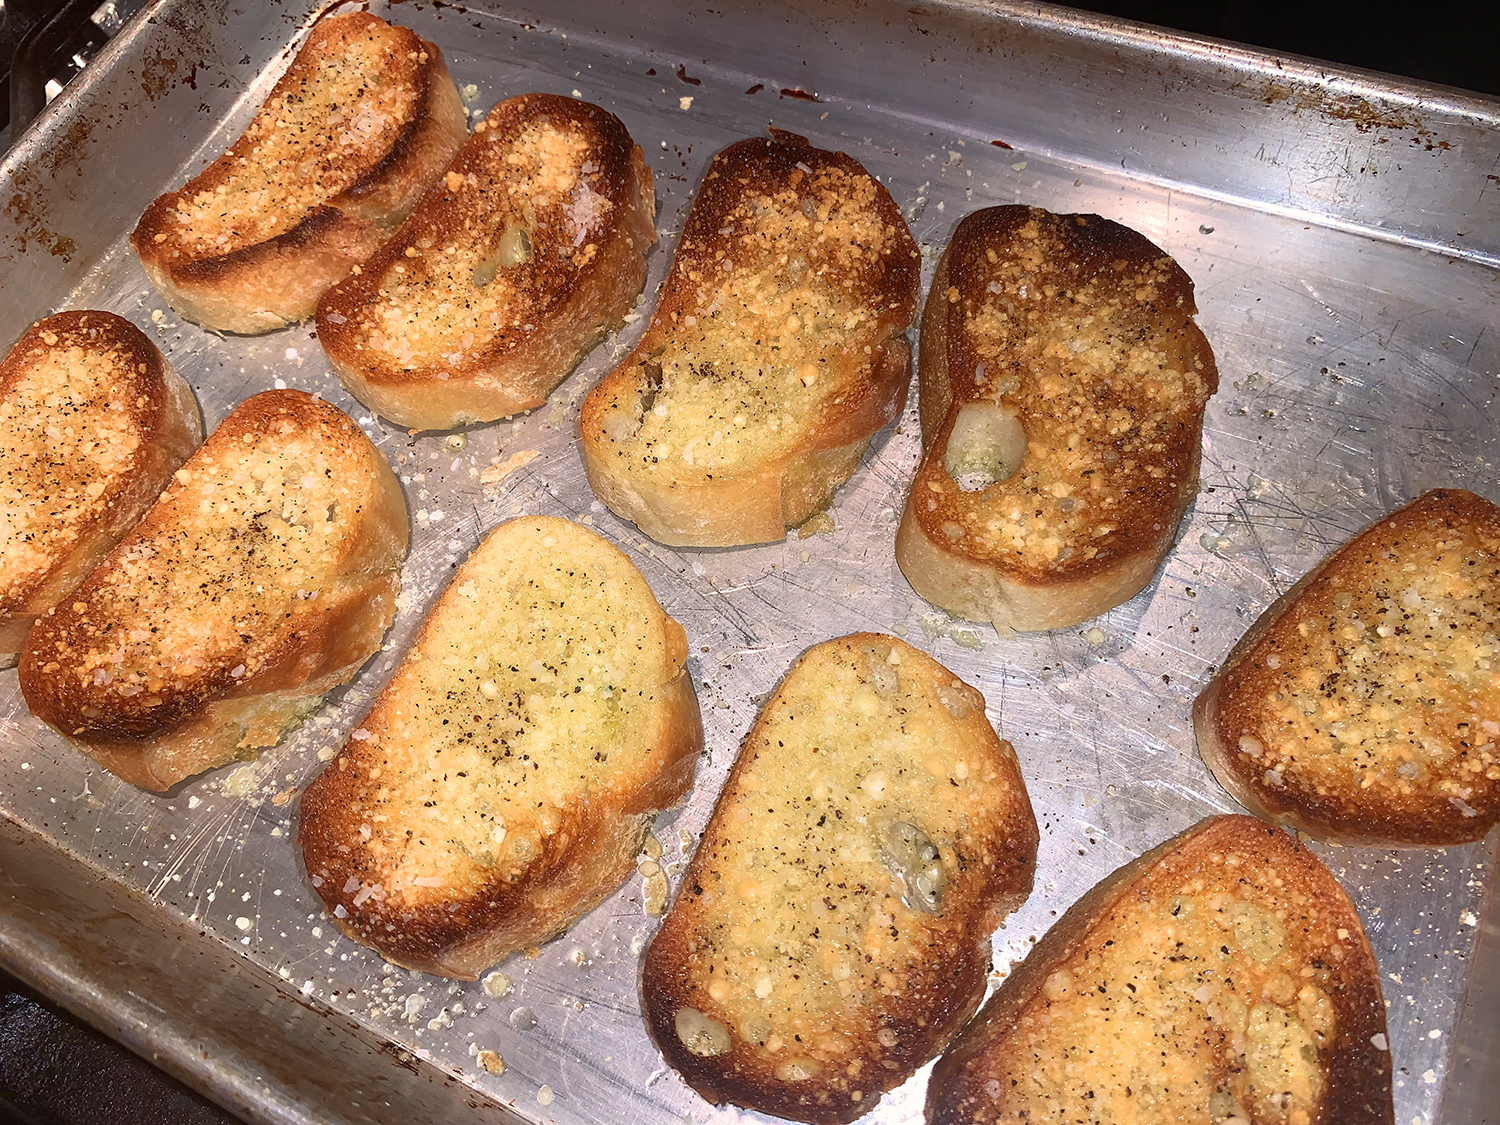
Milk Street instructs you to simmer the optional Parmesan rind into the mix to boost the umami notes. Canned artichoke hearts do well here, but frozen artichokes also work—just defrost and pat dry before use (you’ll need about 2 cups). To serve on the side, make savory Parmesan toasts that are perfect for dipping into the broth.

Don’t use ultra-slender asparagus, which will end up overcooked. Look for spears about the size of a pencil. To retain the bright-green color of the peas, don’t allow the soup to boil after the peas are stirred in.

Tuscan Spring Soup

  • Servings: 4
  • Difficulty: easy
  • Print

Ingredients

  • 4 Tbsp. extra-virgin olive oil, divided, plus more to serve
  • 3-4 oz. pancetta, chopped
  • 4 scallions, thinly sliced, whites and greens reserved separately
  • 4 thyme sprigs
  • 1½ qts. low-sodium beef broth
  • 1 chunk Parmesan rind (optional), plus ½ oz. Parmesan cheese, finely grated (¼ cup)
  • Kosher salt and ground black pepper
  • 8 oz. crusty white bread, sliced ½ inch thick
  • 14 oz. can artichoke hearts, rinsed, drained and quartered
  • 1 lb. asparagus, trimmed and cut into 1-inch lengths on the diagonal
  • ½ cup frozen peas, thawed

Directions

  • Heat the broiler with a rack about 6 inches from the element. In a large saucepan over medium, combine 1 tablespoon of oil and the pancetta. Cook, stirring occasionally, until the pancetta has rendered its fat and begins to brown, 3 to 5 minutes.
  • Add the scallion whites and thyme. Cook until the scallions are lightly browned, 1 to 2 minutes.
  • Add the broth, the Parmesan rind (if using) and ½ teaspoon pepper, then bring to a boil over medium-high.
  • Meanwhile, brush both sides of the bread slices with the remaining 3 tablespoons oil, then place in a single layer on a rimmed baking sheet. Sprinkle with the grated Parmesan, then broil until lightly browned, 1 to 2 minutes. Set aside.
  • When the soup reaches a boil, add the artichokes, reduce to medium and cook, stirring occasionally, for 5 minutes.
  • Add the asparagus and cook, stirring occasionally, until the asparagus is just tender, 2 to 4 minutes.
  • Stir in the peas, reduce to medium-low and cook, stirring, until the peas are heated through, about 3 minutes; do not allow the soup to boil.
  • Off heat, remove and discard the thyme and Parmesan rind (if used). Stir in the scallion greens, then taste and season with salt and pepper. Ladle into bowls, drizzle with additional oil and serve with the Parmesan toasts.

http://www.lynnandruss.com

Recipe by Shaula Clark for Milk Street

Prosciutto-Wrapped Figs with Goat Cheese and Honey

These addictive fig bites are very simple, but it’s crucial to use the best ingredients, from true Spanish ham to ripe, juicy figs, crunchy marcona almonds and best-quality olive oil. That being said, we couldn’t parse any Spanish dry-cured ham, such as jamon iberico or serrano and therefore opted for prosciutto. If you can locate the Spanish types, by all means use that.

The original recipe directs you to place the almonds on top of the ham-wrapped figs and goat cheese mixture. However, we didn’t think they’d stay atop the figs once encased, so we put the almond on top of the goat cheese and then wrapped it all in the thin slices of ham.

Just a word to the wise, let your guests know that there is a nut inside, so they aren’t surprised and think it’s a pit (as one of our guests thought)!

Prosciutto-Wrapped Figs with Goat Cheese and Honey

  • Servings: Yields 16 pieces
  • Difficulty: easy
  • Print

Ingredients

  • 8 fresh figs, stemmed and halved lengthwise
  • 1/4 cup ruby port
  • Black pepper
  • 4 oz. fresh goat cheese, at room temperature
  • 2 Tbsp. honey
  • 1 scallion, thinly sliced
  • Flaky sea salt, such as Maldon
  • 4 oz. very thinly sliced prosciutto, torn into 16 long strips
  • Extra-virgin olive oil, for drizzling
  • 16 marcona or roasted almonds
  • Small mint leaves, for garnish

Directions

  1. Arrange the figs cut side up on a plate. Drizzle with the port and season with black pepper. Let stand at room temperature for 10 minutes.
  2. Meanwhile, in a small bowl, using a fork, blend the goat cheese with the honey, scallion and a pinch of flaky sea salt.
  3. Dollop small spoonfuls of the goat cheese on the fig halves. Wrap each cheese-topped fig half in a strip of ham and transfer to a platter. Drizzle the figs with olive oil, top with the almonds, mint and sea salt and serve.

http://www.lynnandruss.com

Adapted from a recipe by Abraham Conlon for Food & Wine

Chocolate Olive Oil Cake

According to Milk Street, good olive oil is the secret to this rich, moist chocolate cake. Chocolate and olive oil might seem an unlikely pair, but in the Mediterranean, they are soul mates. And while the combination shows up in numerous desserts—from cookies to gelato—nowhere is this affinity more apparent than in the deliciously moist olive oil-based chocolate cakes made across Spain, Italy and Greece.

Your mouth watering yet? “Of all the ingredients that go into a cake, fat is one of the most important. Fat coats flour, which limits gluten formation to help cakes bake up fluffy, not chewy. Oil is particularly good at this, creating a plusher mouthfeel and softer crumb than butter because it is liquid at room temperature. Butter solidifies as it cools, resulting in a tougher texture.” So there you have it!

Double down by using both bittersweet chocolate and cocoa powder. Then enhance those flavors even further with two of chocolate’s other surprising bedfellows: espresso and lemon. Use espresso powder to amplify chocolate, as its roasty depth underscores the chocolate’s pleasant astringency. And lemon juice balances both with a shot of citrusy brightness.

Please don’t overbake the cake. Be sure to test it by inserting a toothpick into the center; it should come out with a few moist crumbs attached, as if baking brownies. Don’t be alarmed when the center of the cake deflates as it cools; this is normal. We brought it to a party and the guests gushed, giving it rave reviews. So friggin’ fudge-alicious that we made it a few weeks later for another party!

Chocolate Olive Oil Cake

  • Servings: 10-12
  • Difficulty: easy
  • Print

Ingredients

  • 1/3 cup all-purpose flour
  • 1/2 tsp. baking soda
  • 1/2 tsp. table salt
  • 4 oz. bittersweet chocolate, finely chopped
  • 3/4 cup olive oil
  • 1/4 cup cocoa powder, preferably Dutch-processed, plus more to serve (optional)
  • 1 tsp. instant espresso powder
  • 1 cup white sugar, divided
  • 4 large eggs, separated
  • 1/4 cup plus 2 Tbsp. lemon juice

Directions

  1. Heat the oven to 325°F with a rack in the lower-middle position. Mist a 9-inch springform pan with cooking spray. In a small bowl, whisk together the flour, baking soda and salt.
  2. In a medium saucepan over medium, bring about 1 inch of water to a simmer. Put the chocolate in a heatproof large bowl and set the bowl on top of the saucepan; be sure the bottom does not touch the water. Stir occasionally until the chocolate is completely melted. Remove the bowl from the pan. Add the oil, cocoa, espresso powder and 107 grams (½ cup) sugar; whisk until well combined. Add the egg yolks and lemon juice; whisk until smooth. Add the dry ingredients and gently whisk until fully incorporated.
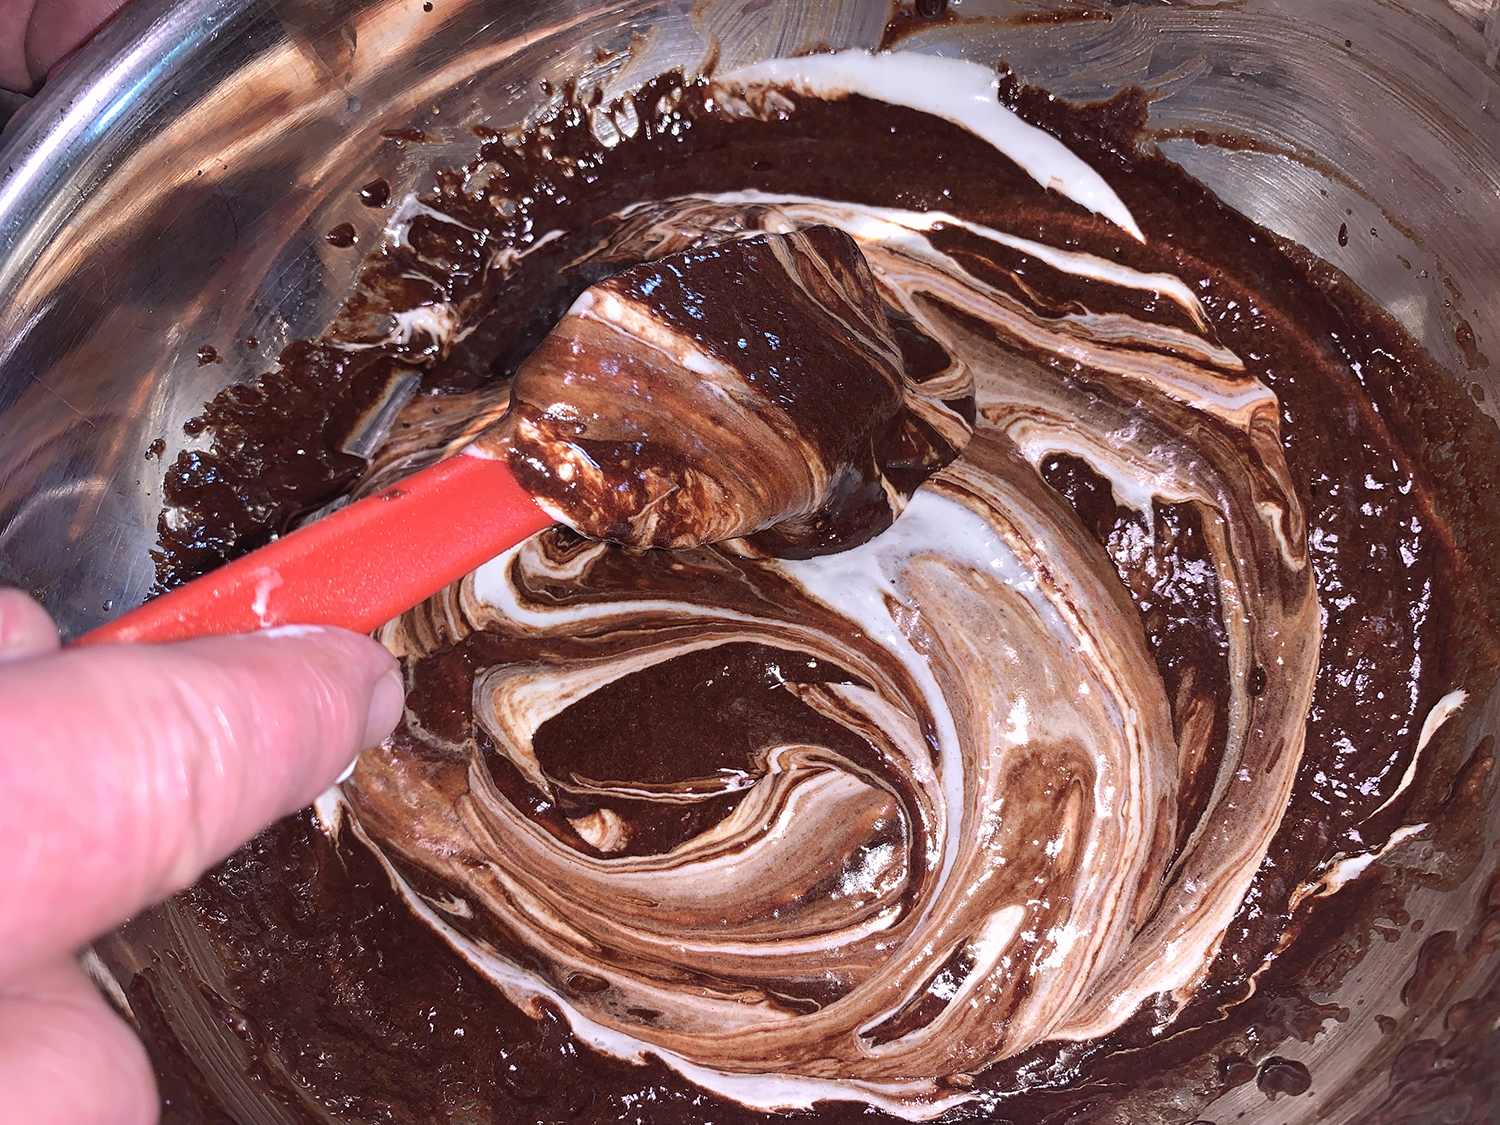
  3. In a stand mixer with the whisk attachment or in a large bowl with a hand mixer, whip the egg whites on medium-high until frothy, 1 to 2 minutes. With the mixer running, gradually add the remaining 107 grams (½ cup) of the sugar, then beat until the whites hold soft peaks, 1 to 2 minutes. Add about one-third of the whipped whites to the yolk-chocolate mixture and fold with a silicone spatula to lighten and loosen the base. Scrape in the remaining whites and gently fold in until well combined and no white streaks remain; the batter will be light and airy.
  4. Gently pour the batter into the prepared pan and smooth the surface. Bake until well risen, the surface is crusty and a toothpick inserted into the center of the cake comes out with a few crumbs attached, 45 to 50 minutes; do not overbake.
  5. Set the pan on a wire rack and immediately run a narrow-bladed knife around the edge of the cake to loosen the sides. Cool in the pan for at least 1 hour before serving; the cake will deflate as it cools. When ready to serve, remove the pan sides and, if desired, dust with cocoa.

http://www.lynnandruss.com

Recipe by Rose Hattabaugh for Milk Street

Strip Steaks with Spicy Tomato-Basil Sauce

In a recent Milk Street article we found this Strip Steaks with Spicy Tomato-Basil Sauce recipe which pairs a meaty steak with the sort of tomato sauce that might typically be used on pizza. There are many ways to prepare the dish, but this simple version is perfect for a weeknight meal.

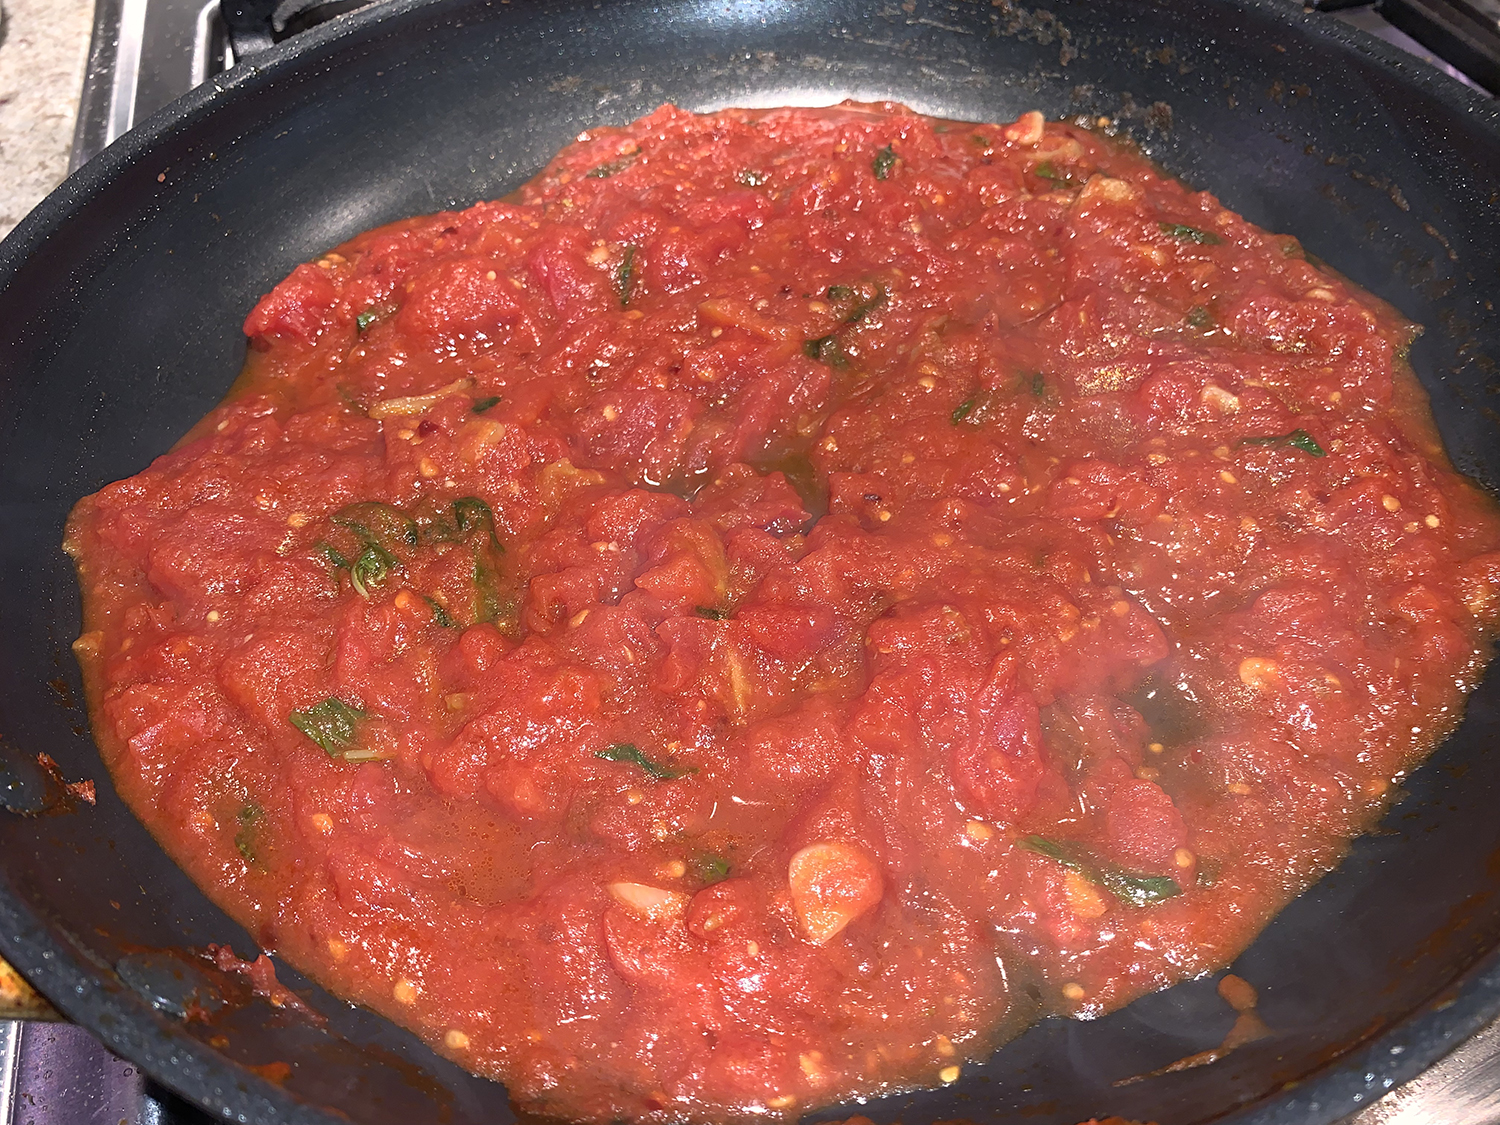
The sauce is made with canned tomatoes, a punchiness from garlic and pepper flakes, and the umami quotient gets a kick up with a few anchovy fillets (in case you’re worried, the sauce won’t taste fishy at all). Slice and sauce the seared strip steaks, then finish the dish with torn fresh basil and fruity olive oil.

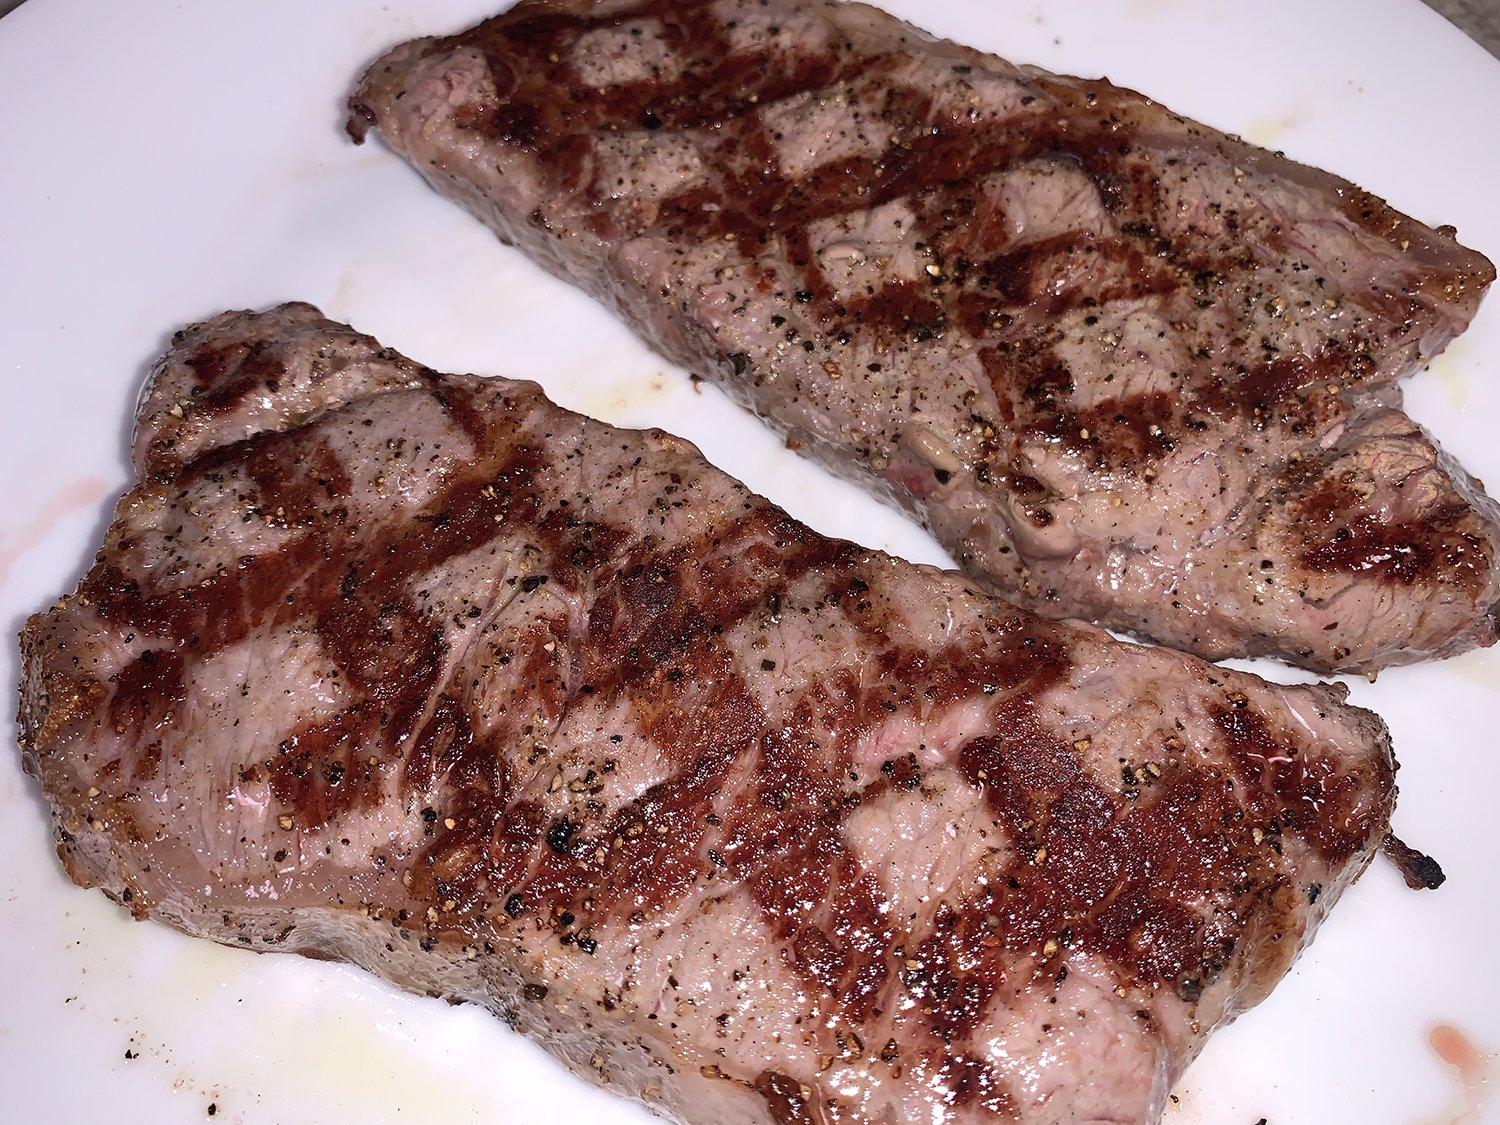
Our steaks were actually grilled because we wanted to take advantage of the nice weather, but either stovetop or hot grill sears the meat nicely. We served ours with orzo treated with olive oil and parsley; another option is thick slices of warm, crusty bread to dip in the sauce. And if you are lucky enough to have any of that fabulous sauce leftover, use it on pasta.

NOTE: Don’t use extra-virgin olive oil to sear the steaks; its smoke point is too low. Use grapeseed or another neutral oil to achieve a deep sear and to avoid the off flavor of overheated olive oil.

Keep in mind, the original recipe from Milk Street indicated this recipe would serve 4 to 6. The portions would be rather paltry if trying to feed six people. Our two strip steaks were smaller and a bit thinner, weighing in at just over a pound for two of them which rendered three servings.

Strip Steaks with Spicy Tomato-Basil Sauce

  • Servings: 2-4
  • Difficulty: easy
  • Print

Ingredients

  • 1 Tbsp. extra-virgin olive oil, plus more to serve
  • 2 medium garlic cloves, thinly sliced
  • 2-3 oil-packed anchovy fillets, chopped
  • 1/2-3/4 tsp. red pepper flakes
  • 28 oz. can whole peeled tomatoes, crushed by hand
  • 1/3 cup lightly packed fresh basil
  • Kosher salt and ground black pepper
  • 2 1-lb. beef strip steaks, each about 1 inch thick, trimmed and patted dry
  • 1 Tbsp. grapeseed or other neutral oil

Directions

  1. In a 12-inch skillet over medium-high, heat the olive oil until shimmering. Add the garlic and cook, stirring, until beginning to turn golden, 30 to 60 seconds.
  2. Add the anchovies and pepper flakes; cook, stirring, until fragrant, 30 to 60 seconds.
  3. Stir in the tomatoes with juices, a few basil leaves and ¼ teaspoon salt. Bring to a simmer, then simmer, stirring occasionally, until a spatula drawn through the sauce leaves a trail, 12 to 14 minutes. Transfer to a small bowl, cover and set aside; wipe out the skillet.
  4. Season the steaks on both sides with salt and black pepper. In the same skillet over medium-high, heat the neutral oil until barely smoking. Add the steaks, reduce to medium and cook until well browned on the bottoms, 5 to 7 minutes.
  5. Using tongs, flip the steaks and cook until the second sides are well browned and the centers register 120°F for medium-rare, another 5 to 7 minutes.
  6. Transfer to a platter, tent with foil and let rest for about 10 minutes.
  7. Transfer the steaks to a cutting board and slice them on the diagonal ¼ to ½ inch thick. Return to the platter and spoon on some of the sauce.
  8. Tear the remaining basil and sprinkle it over the top, then drizzle with additional olive oil. Serve the remaining sauce on the side.

http://www.lynnandruss.com

Recipe by Calvin Cox for Milk Street

Chili-Soy Noodles with Bok Choy and Peanuts

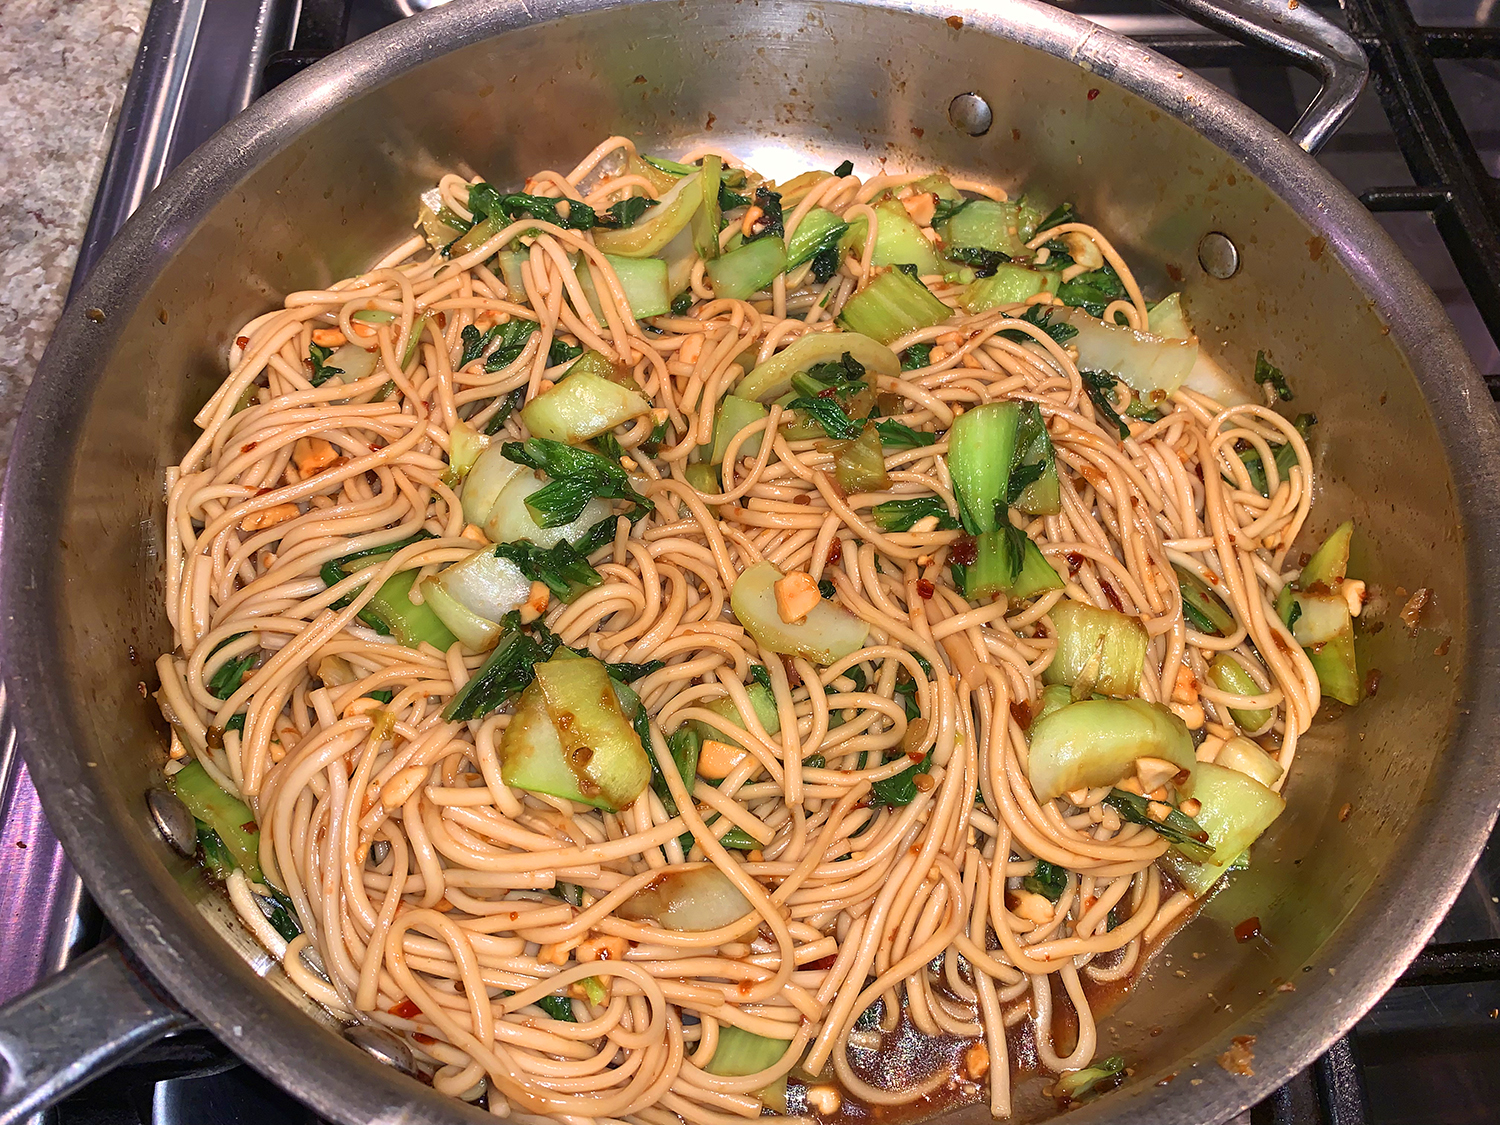
These noodles are an addictive combination of salty, spicy and sweet. For best results, use thick Asian wheat noodles, such as udon or lo mein, that cook up with chewy resilience. We try to include vegetarian dishes into our repertoire of meals, and this recipe is anything but ho-hum. Plus the ease of prep and limited ingredients let you serve dinner in under a half hour.

Chili crisp, a Chinese condiment sold in jars, is chili oil amped up with with red pepper flakes and additional spices. If you can find it, it’s a more flavorful alternative to standard chili oil. We used a chili-garlic paste, including the full two tablespoons. In fact, The Hubs added even more to his portion before tasting it–which probably wasn’t that wise 😉

If you want to amp up the veggies, one reviewer suggested including mushrooms, which we both agreed would be a good addition. Our Udon noodles weighed in at only eight ounces as opposed to the ten ounces the recipe called for. Luckily we didn’t have another mouth to feed because we polished off the entire skillet’s worth!

Chili-Soy Noodles with Bok Choy and Peanuts

  • Servings: 3-4
  • Difficulty: easy
  • Print

Ingredients

  • 10 oz. dried Asian wheat noodles
  • 1 Tbsp. neutral oil
  • 1 lb. baby bok choy, trimmed and sliced crosswise into ½-inch pieces
  • ⅓ cup low-sodium soy sauce
  • 2 Tbsp. packed brown sugar
  • 1-2 Tbsp. chili oil OR chili crisp, plus more to serve
  • ¾ cup unsalted roasted peanuts, finely chopped

Directions

  1. Cook the noodles in a large pot of salted boiling water until tender. Drain, rinse and drain again.
  2. In a 12-inch skillet, heat the neutral oil until shimmering. Add the bok choy and cook, stirring, until the stems are tender; transfer to a plate.
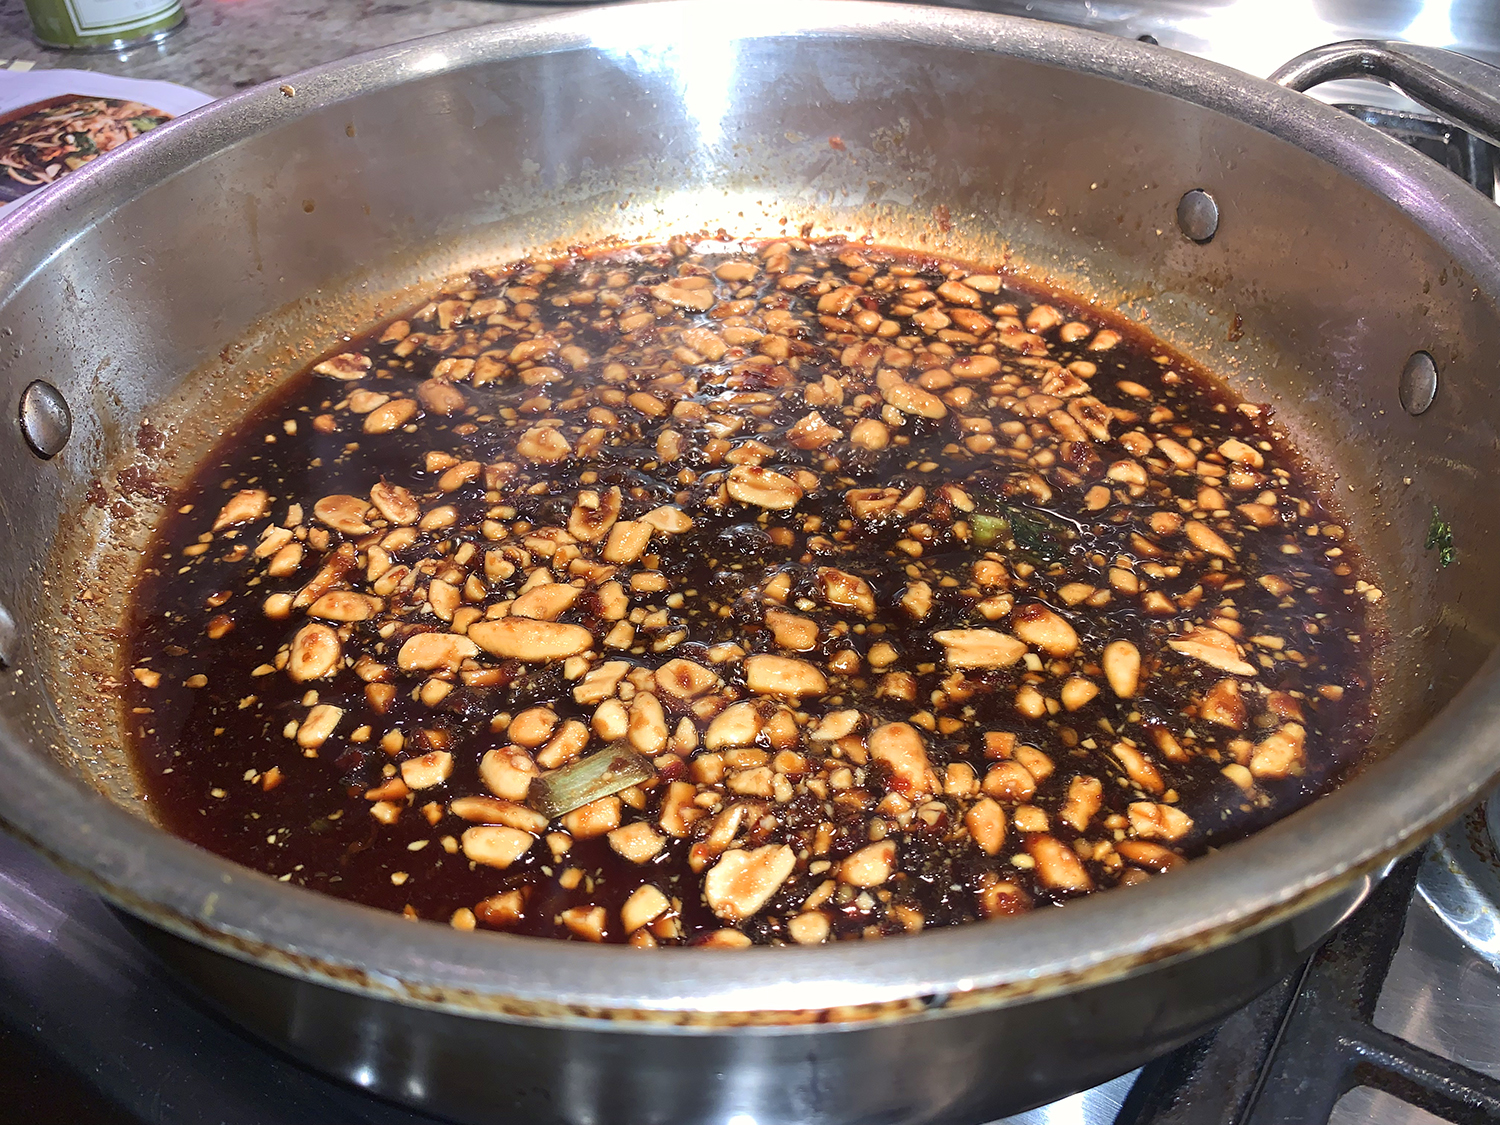
  3. In the same skillet, mix the soy, sugar, chili oil and half the peanuts. Simmer, stirring occasionally, until slightly thickened.
  4. Add the bok choy and noodles, then toss until warmed. Serve sprinkled with the remaining peanuts and drizzled with additional chili oil.

http://www.lynnandruss.com

Adapted from a recipe by Milk Street

Flank Steak with Tomato-Eggplant Ragù 

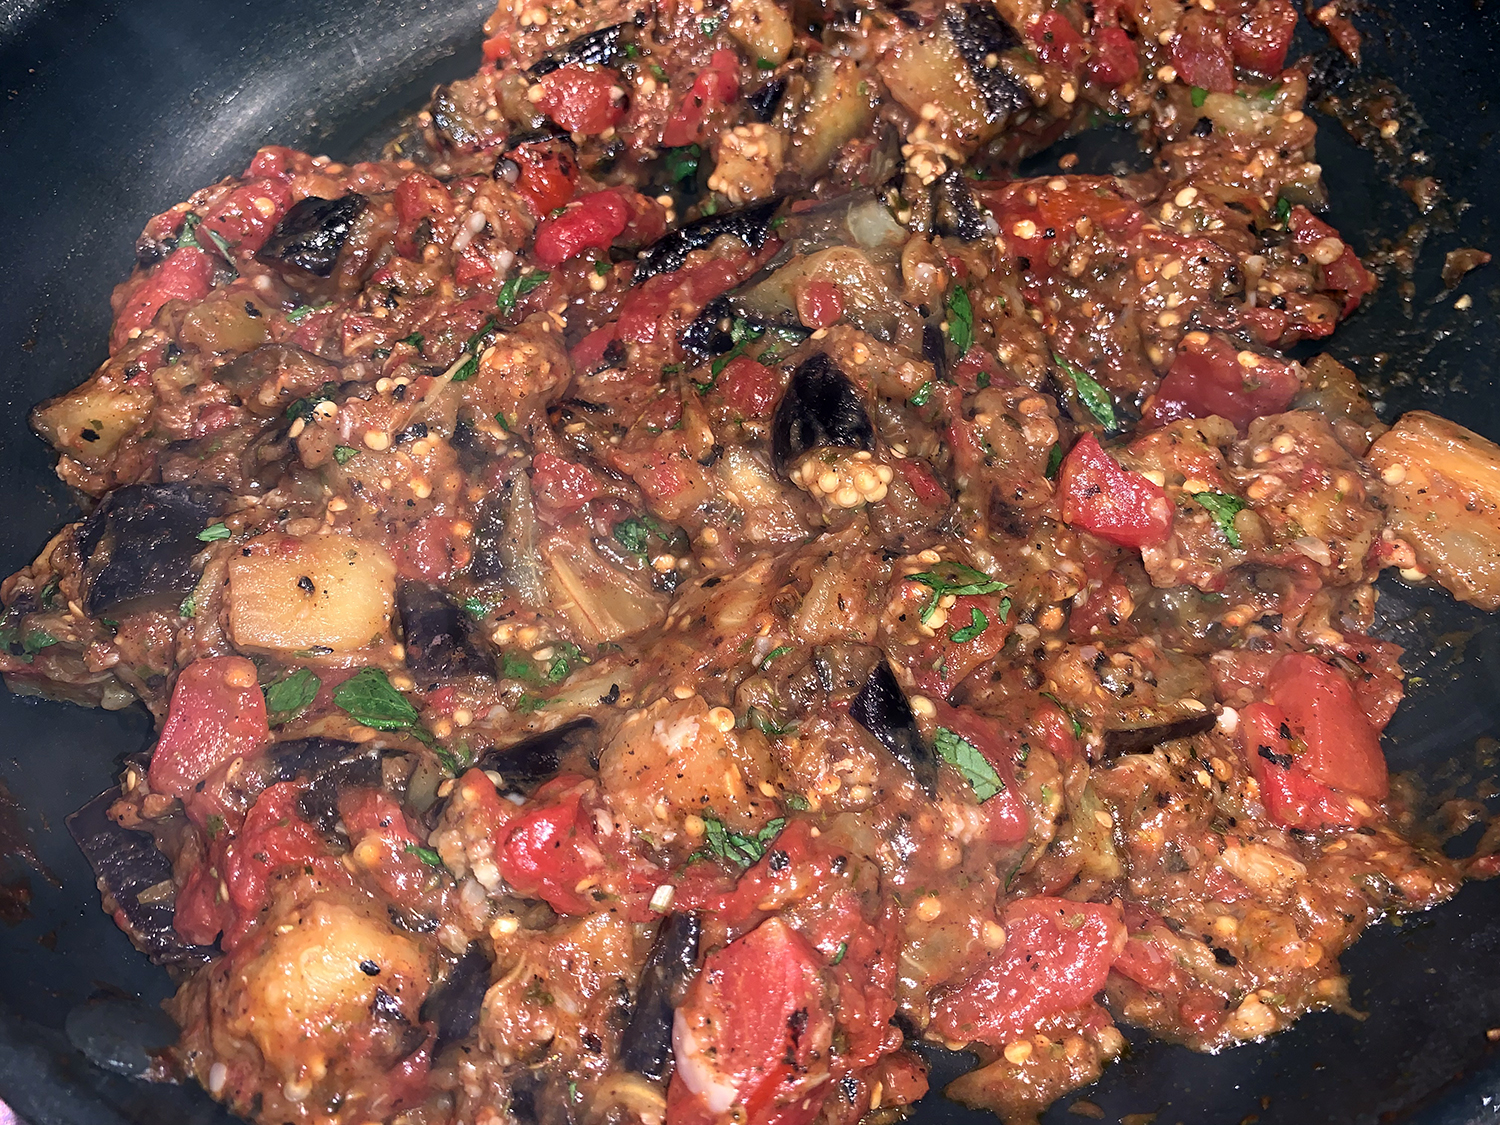
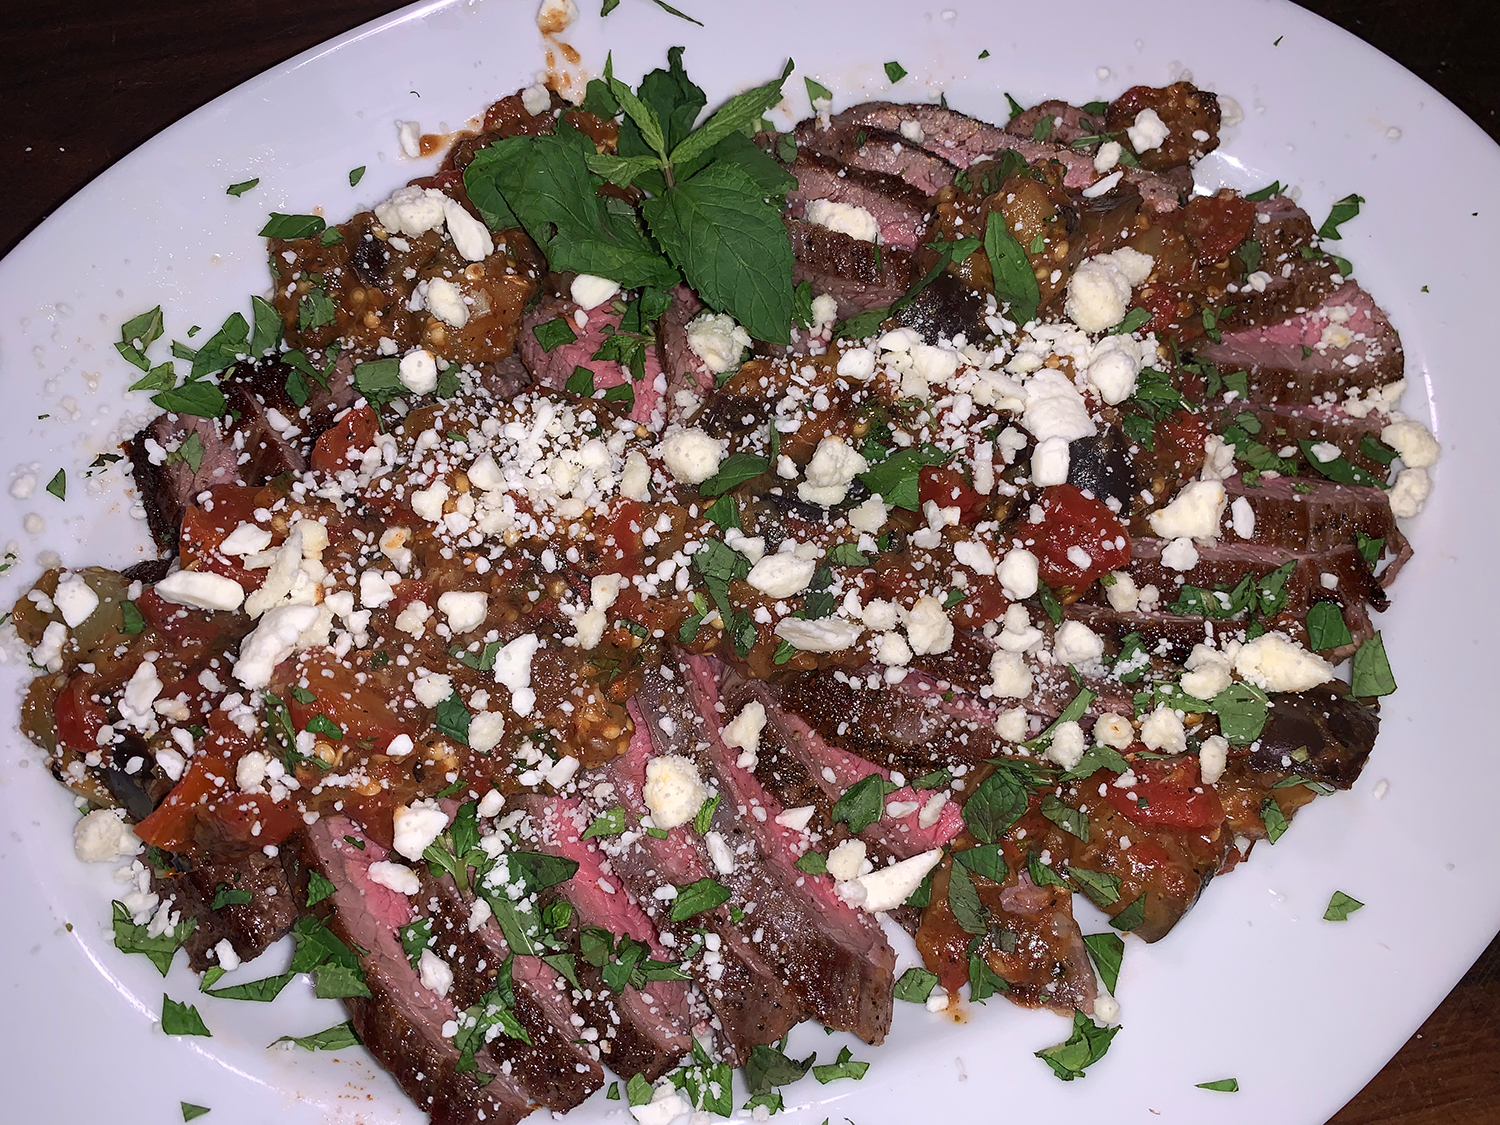
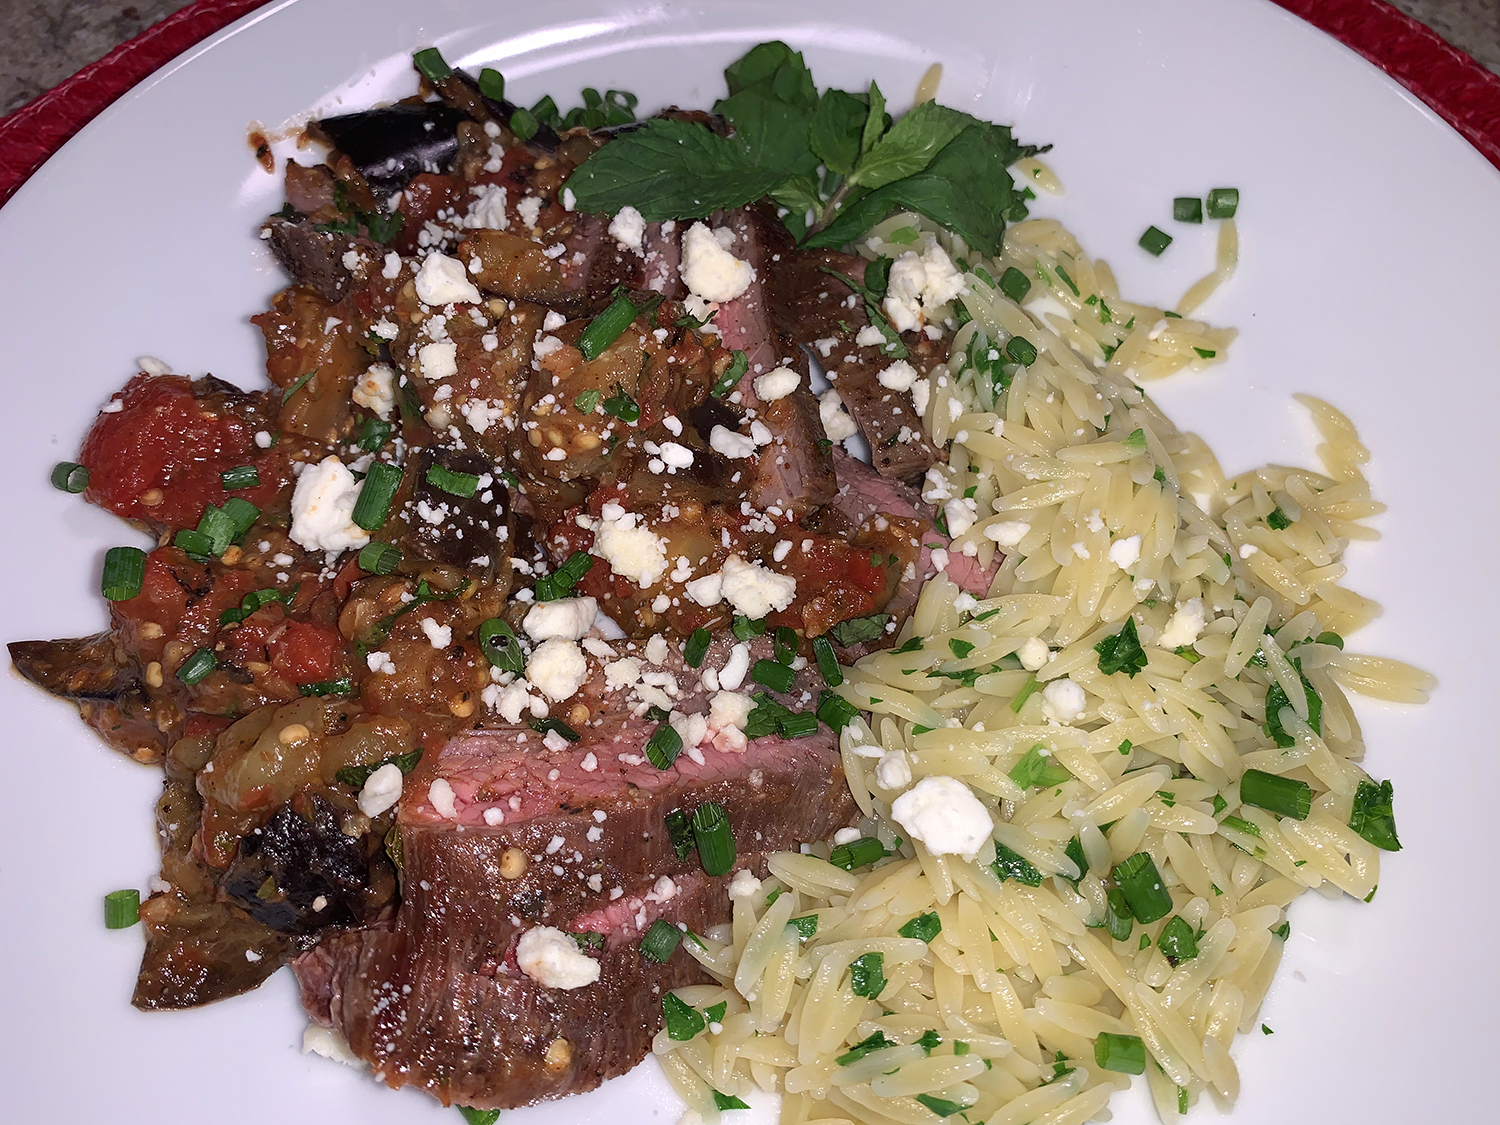
This dish borrows some of the flavors of Greek moussaka for a quick-one pan meal. Seared flank steak is finished with a wonderful rustic sauce-like side of eggplant, tomatoes, garlic and herbs. Crumbled feta cheese adds briny notes that contrast nicely with the sweetness of the vegetables and the richness of the beef.

We paired ours with rice pilaf doctored with herbs and olive oil.

Prep is pretty easy because there is no need to peel the eggplant, canned tomatoes are used, and the feta cheese is already crumbled; not to mention it all happens in one skillet.

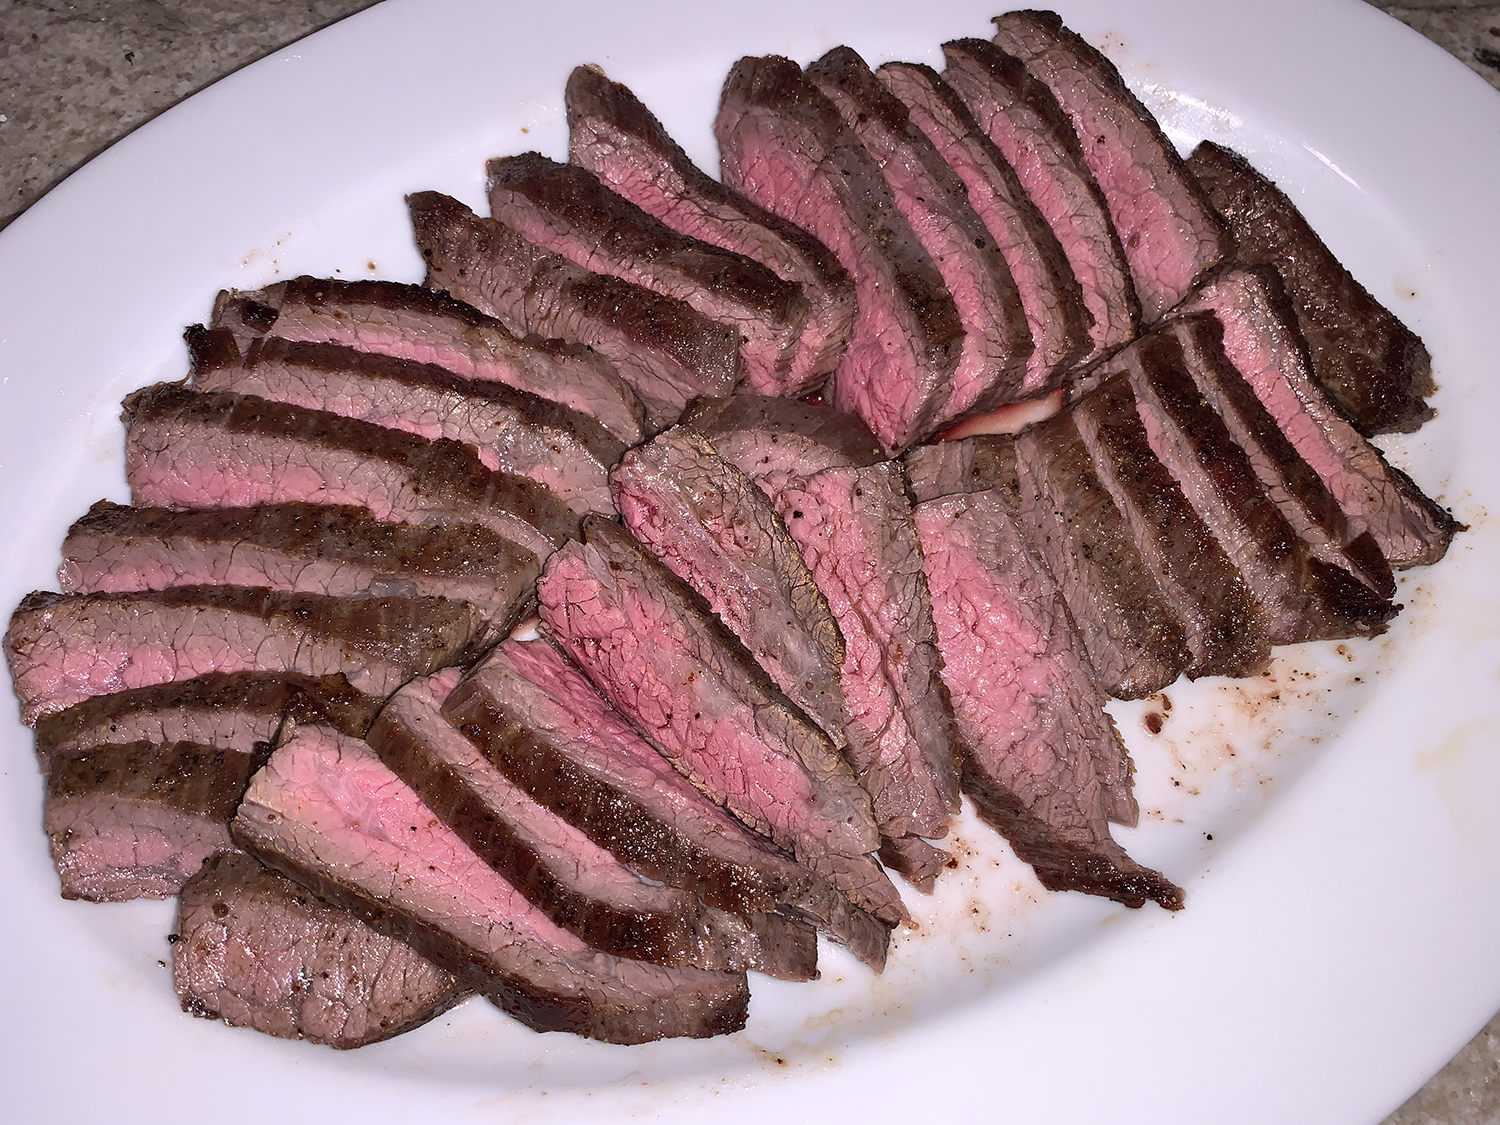
To keep the eggplant from drying out so that the pieces become silky-soft, don’t drain the juices from the tomatoes—the liquid helps form the sauce. When slicing the flank steak for serving, make sure to slice it against the grain for the tenderest texture.

Flank Steak with Tomato-Eggplant Ragù

  • Servings: 4-6
  • Difficulty: easy
  • Print

Ingredients

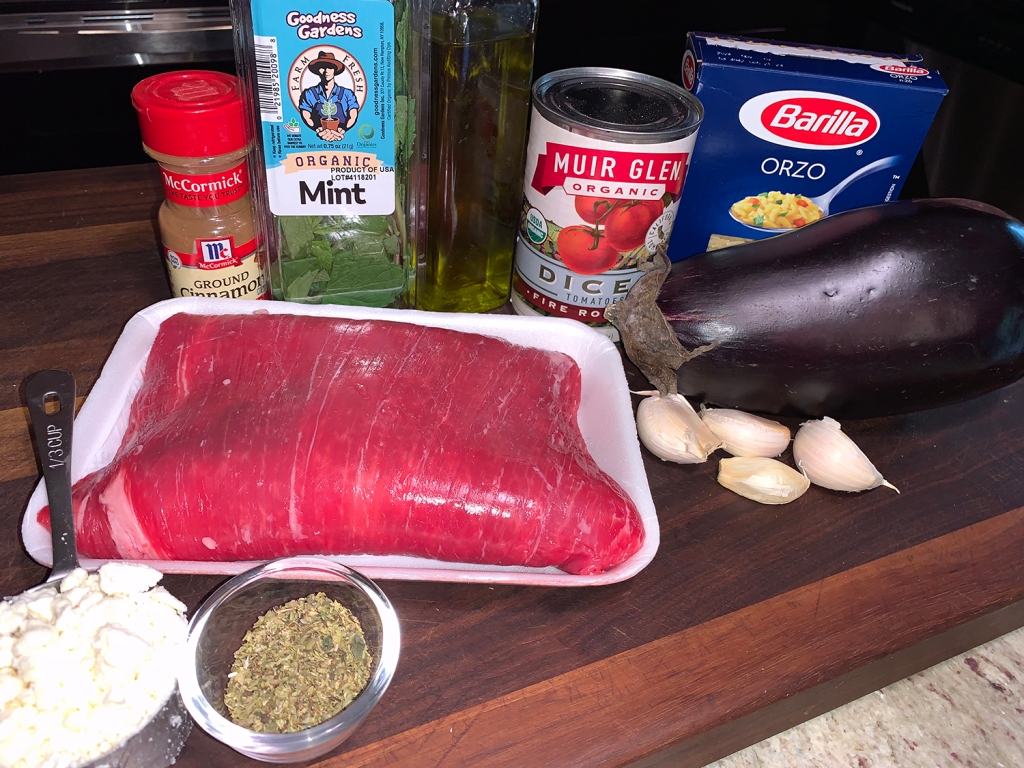
  • 1½ lbs. flank steak, trimmed, halved lengthwise, then crosswise
  • Kosher salt and ground black pepper
  • 4 Tbsp. extra-virgin olive oil, divided
  • 1 lb. eggplant, cut into 1-inch chunks
  • 14½ oz. can diced tomatoes, (don’t drain, save the juices)
  • 4 medium garlic cloves, minced
  • 2 tsp. dried oregano
  • ¾ tsp. ground cinnamon
  • ½ cup lightly packed fresh mint, chopped
  • 1½ oz. feta cheese, crumbled (about ⅓ cup)

Directions

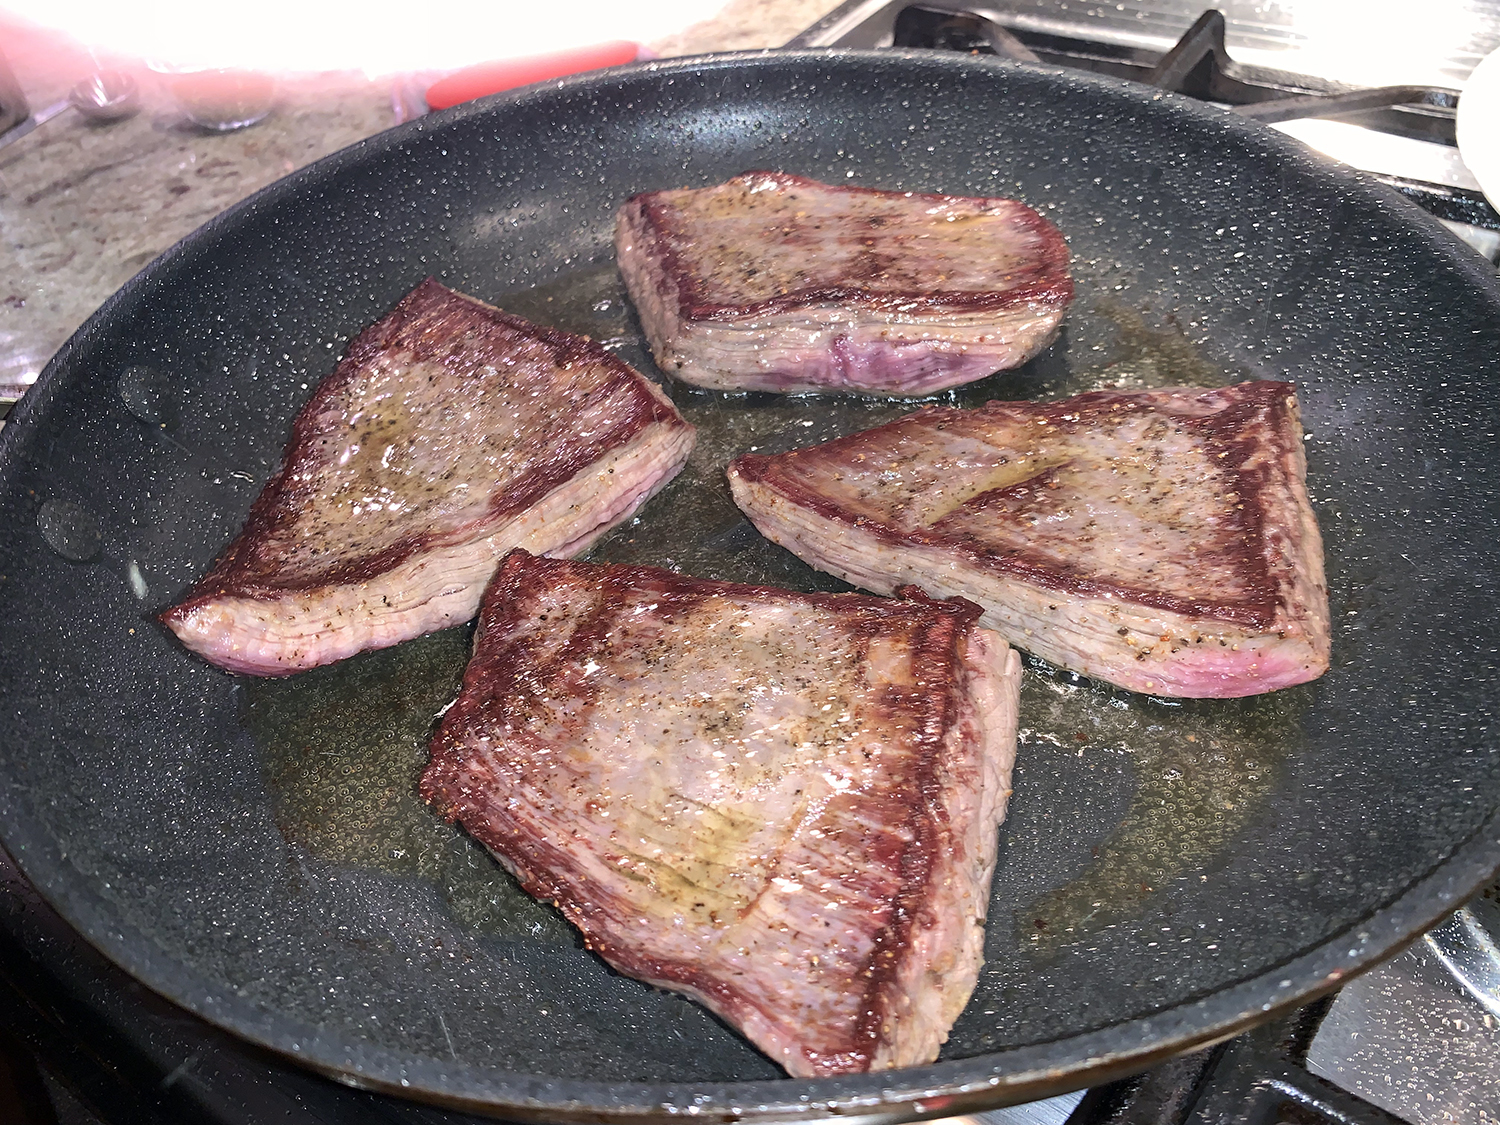
  • Season the steak with salt and pepper. In a nonstick 12-inch skillet over medium-high, heat 2 tablespoons of oil until shimmering. Add the steak and brown on both sides, 6 to 8 minutes total, flipping the pieces once. Transfer to a plate.
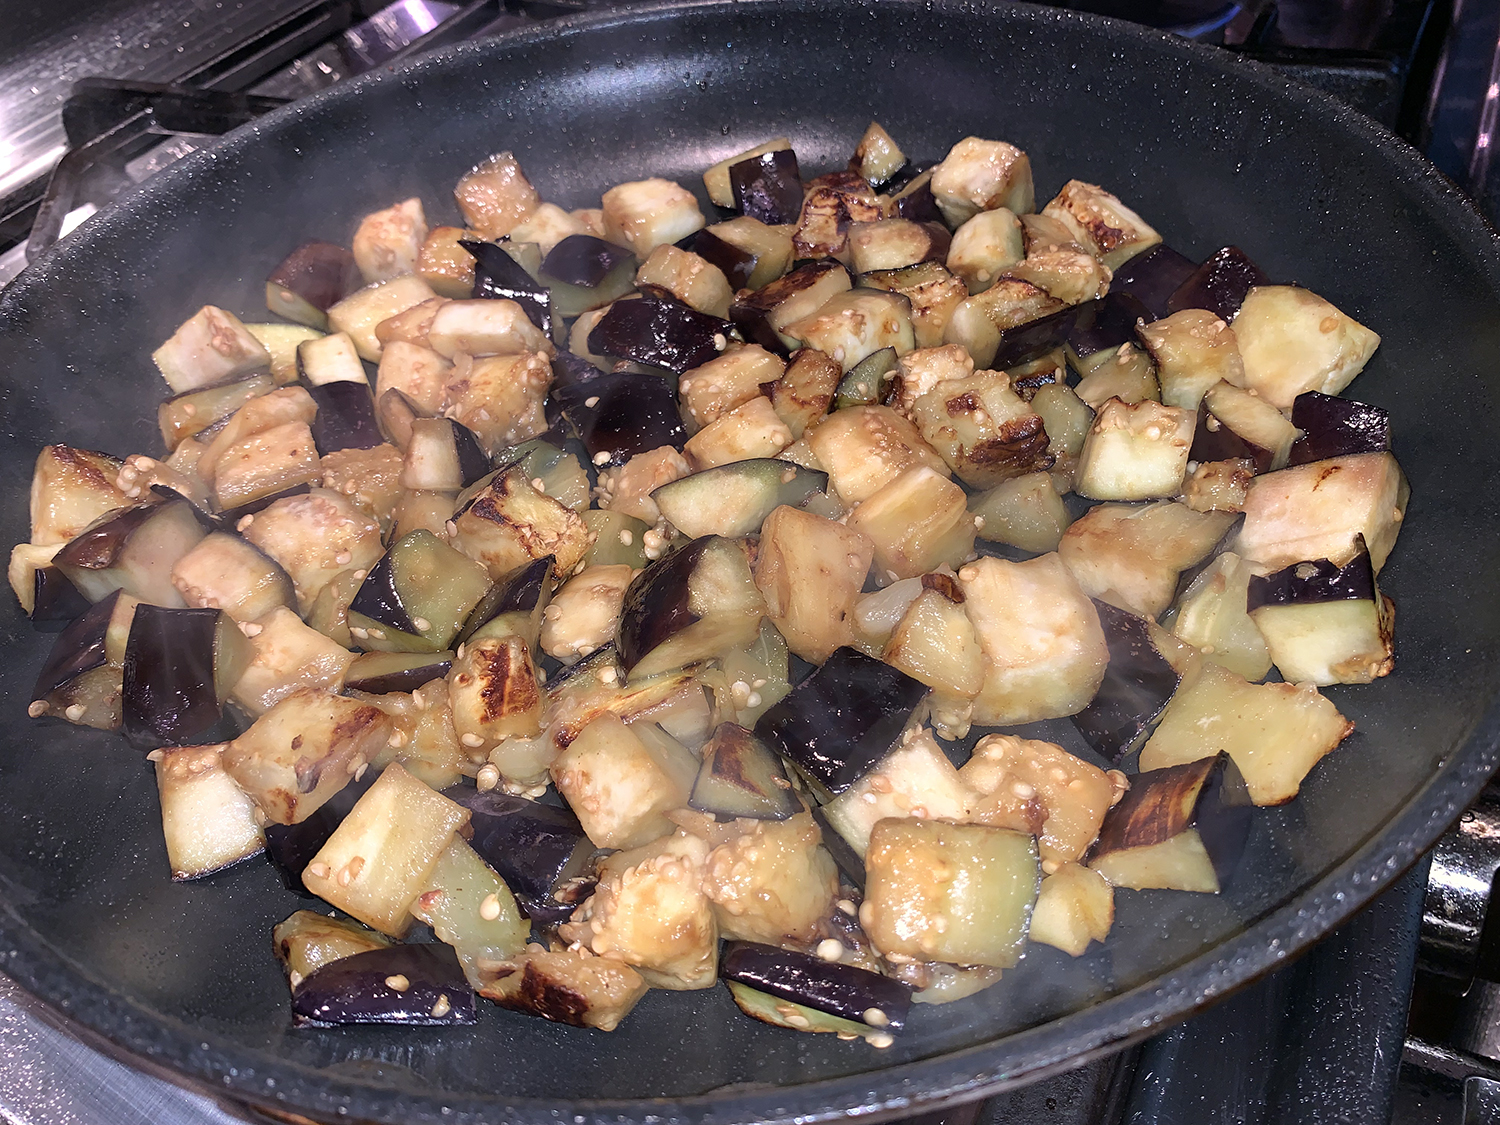
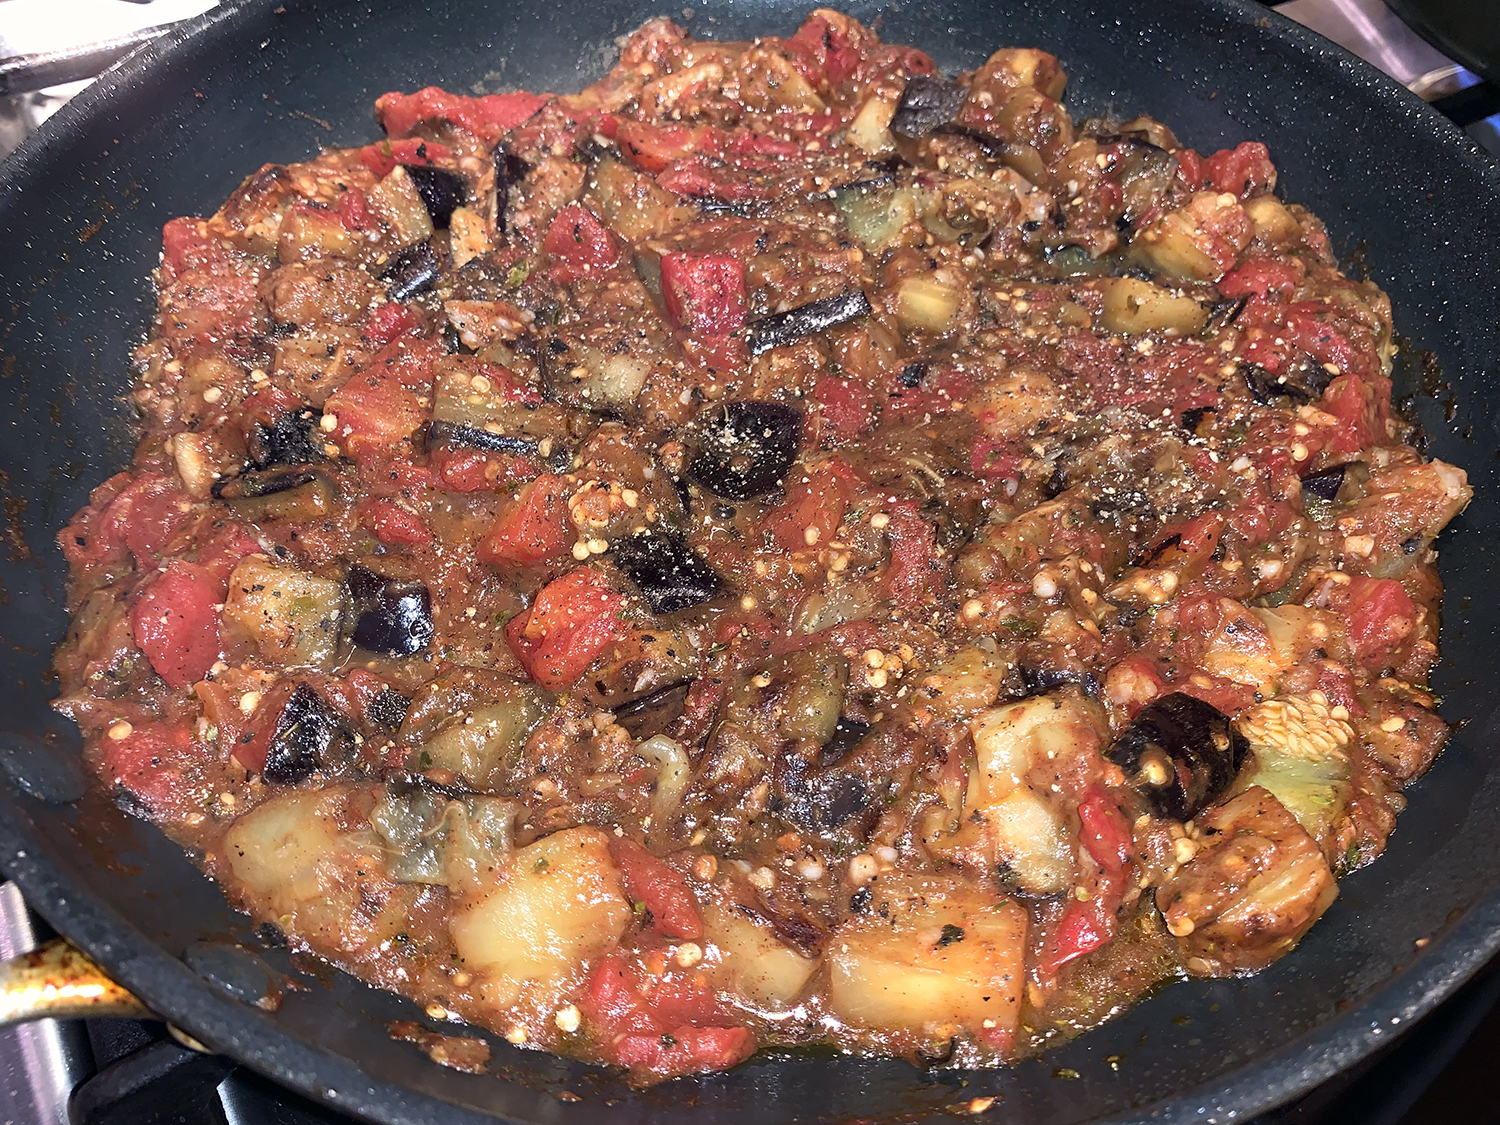
  • In the same pan over medium-high, combine the remaining 2 tablespoons oil, the eggplant and 1 teaspoon salt. Cook, stirring occasionally, until browned and softened, 5 to 6 minutes. Reduce to medium and add the tomatoes with juices, the garlic, oregano and cinnamon. Cook, stirring occasionally, until thickened and the eggplant has begun to break down, about 5 minutes.
  • Off heat, stir in any accumulated beef juices and half the mint. Taste and season with salt and pepper. Thinly slice the steak against the grain and place on a platter. Spoon the eggplant mixture on and around the steak, then sprinkle with feta and the remaining mint.

http://www.lynnandruss.com

Recipe by Julia Rackow for Milk Street

Frijoles Charros (Mexican Pinto Beans With Bacon and Chiles)

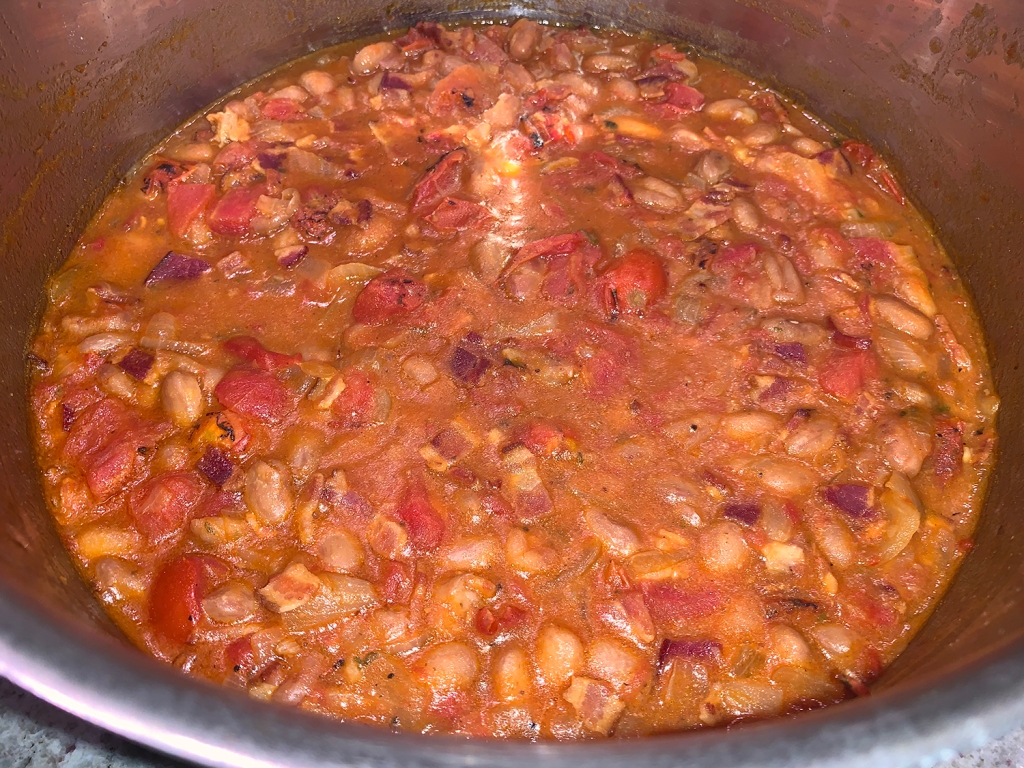
Quite possibly the best baked beans we’ve ever eaten! Invited to a Cinco de Mayo party, we were assigned a couple of side dishes to make, one of them being “Cowboy Beans”. The Hubs found this Mexican Pinto Beans With Bacon and Chiles by J. Kenji Lopez-Alts for Serious Eats and knew these were the ticket.

The ideal potluck or cookout dish is one that is easy to make in bulk, inexpensive, and doesn’t degrade with extended heating or reheating. We found the frijoles charros—Mexican cowboy beans cooked with onions, garlic, tomatoes, salted pork, and chiles—as the superb potluck dish. It meets the criteria and they’re extremely delicious. Dried beans are lightweight; while onions, garlic, chiles, and fresh or tinned tomatoes last a long time at room temperature.

We made two exceptions to the ingredients. The first was substituting cranberry beans in place of the pinto beans, which we think have more flavor. Secondly, the jalapeños were sautéed and kept as a garnish because we knew one guest was allergic to any type of chile. WOW, the beans got rave reviews!

*Epazote is a Mexican herb that can be found in Mexican specialty shops. If fresh epazote is unavailable, use a large pinch of dried in its place, or omit.

Mexican Pinto Beans With Bacon and Chiles

  • Servings: 8-12
  • Difficulty: easy
  • Print

Ingredients

  • 1 lb. dried pinto beans
  • Kosher salt
  • 6 cups homemade or store-bought chicken stock
  • 2 bay leaves
  • 2 sprigs epazote, optional*
  • 12 oz. diced bacon
  • 1 medium white or yellow onion, diced (about 8 oz.)
  • 2 serrano chiles or 1 jalapeño, minced (remove seeds and ribs if you prefer less heat)
  • 3 medium cloves garlic, minced (about 1 Tbsp.)
  • 2 14-oz. cans diced fire-roasted tomatoes
  • Large handful chopped fresh cilantro leaves and fine stems

Directions

  1. Place beans in a large bowl and fill with enough cold water to cover by at least four inches. Add 2 tablespoons (18g) kosher salt and stir to dissolve. Let soak 8 to 12 hours. Drain and rinse.
  2. In a large Dutch oven, add beans, stock, bay leaves, 2 teaspoons kosher salt, and epazote (if using). Bring to a boil over high heat, reduce to a bare simmer, cover, and cook until beans are just tender, about 45 minutes.
  3. Meanwhile, heat bacon in a 12-inch stainless steel or cast iron skillet over medium-high heat. Cook, stirring constantly, until fat is rendered and bacon is just starting to brown around the edges, about 5 minutes. Add onion and chiles and cook, stirring, until softened and just starting to brown, about 4 minutes. Add garlic and cook, stirring, until fragrant, about 30 seconds. Add tomatoes and cook, stirring and scraping up browned bits from the bottom of the pan, until the liquid is thick and the mixture begins to sizzle, about 3 minutes.
  4. Remove lid from Dutch oven, add bacon-tomato mixture, and continue cooking, stirring occasionally, until beans are completely creamy and liquid has thickened into a rich, creamy broth, about 20 minutes. Season to taste with salt. Discard bay leaves, stir in cilantro, and serve. Beans can be stored in the refrigerator for up to 1 week.

http://www.lynnandruss.com

Recipe by J. Kenji Lopez-Alts for Serious Eats

Pan-Roasted Pork Tenderloins with Apple, Sherry and Smoked Paprika

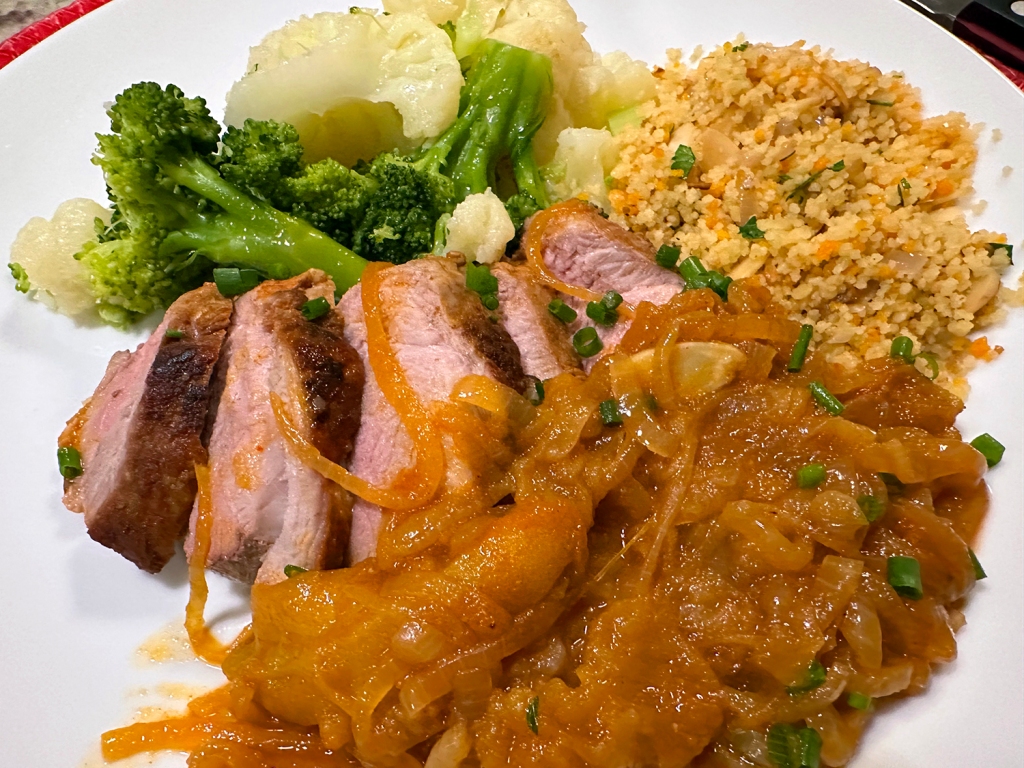
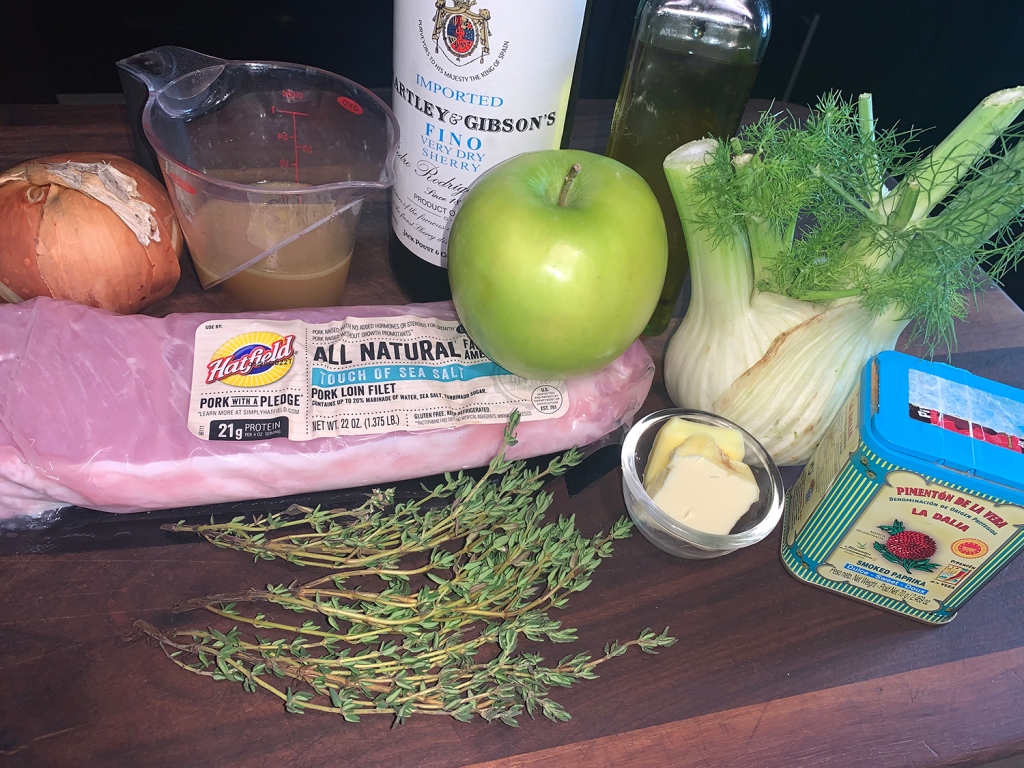
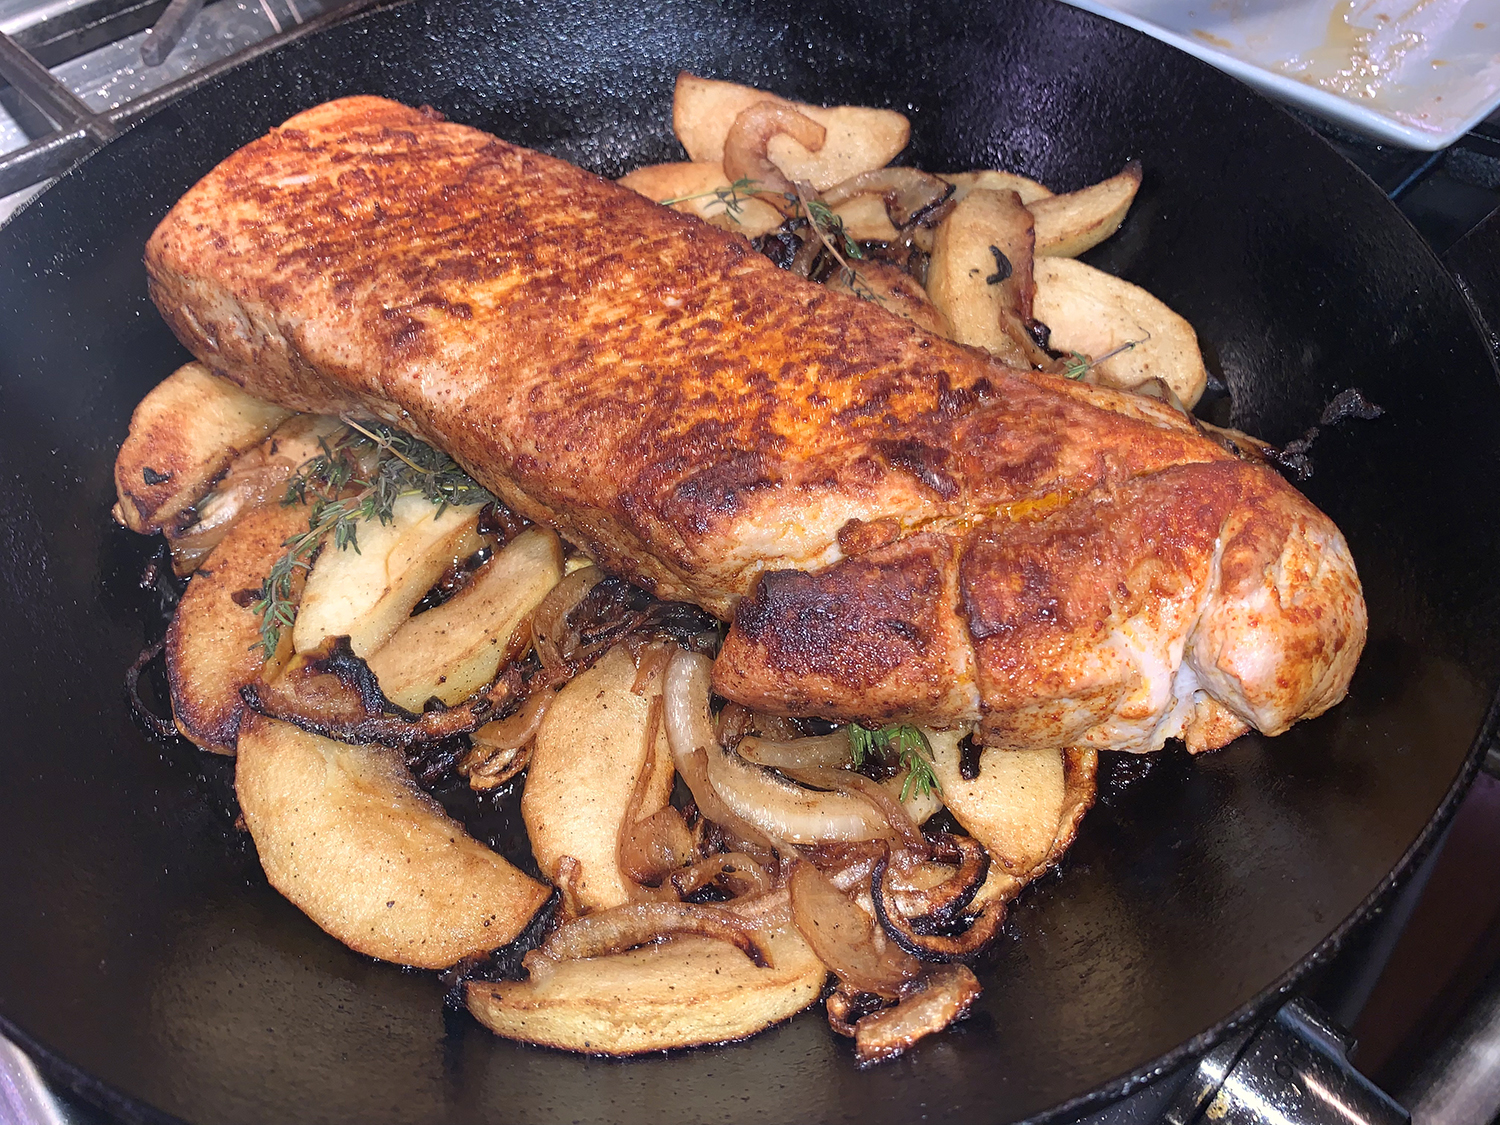
The inspiration for this Spanish spin on pork and apples comes from “Tapas: A Taste of Spain in America” by José Andrés. This version from Milk Street uses pork tenderloins that get a stovetop sear and finish in the oven on a bed of lightly sautéed onion and Granny Smith apple. The onion-apple mixture softens to a jammy relish-like accompaniment that is accented with smoked paprika and dry sherry. It’s a rich, woodsy complement to slices of the mild, meaty tenderloin.

We cooked only one tenderloin for the two of us which provided three servings of meat. The amount of ingredients for the sauce was kept the same because we prefer things saucy. Our accompaniments were roasted butternut squash cubes and a simple side salad. The flavors of the meal were outstanding!

Here it is again (above) a few years later served with a slivered almond couscous and steamed vegetables.

Pan-Roasted Pork Tenderloins with Apple, Sherry and Smoked Paprika

  • Servings: 4-6
  • Difficulty: easy
  • Print

Ingredients

  • 2 tsp. smoked paprika, divided
  • Kosher salt and ground black pepper
  • 2 1¼-lb. pork tenderloins, trimmed of silver skin and halved crosswise
  • 2 Tbsp. extra-virgin olive oil
  • 2 Tbsp. salted butter, divided
  • 1 medium yellow onion, halved and thinly sliced
  • 1 Granny Smith apple, peeled, halved, cored and cut into ½-inch-thick wedges
  • 5 sprigs thyme
  • ½ cup dry sherry
  • ¼ cup low-sodium chicken broth
  • 1 Tbsp. finely chopped fresh chives

Directions

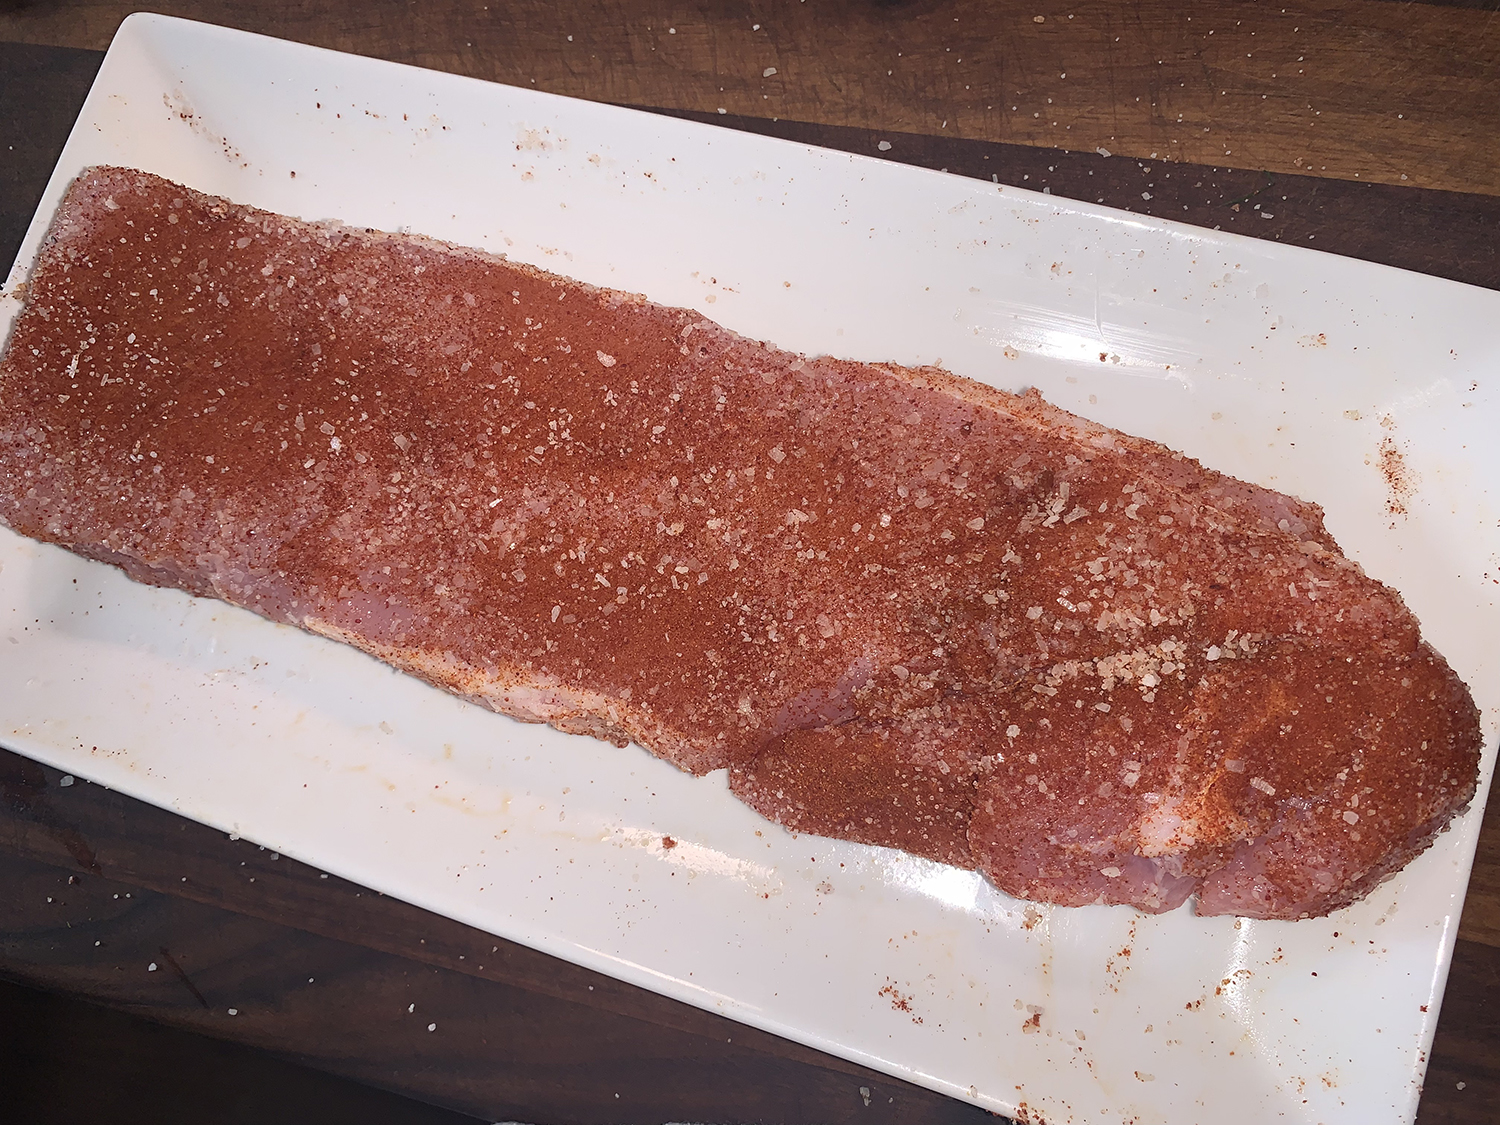
  1. Heat the oven to 450°F with a rack in the middle position. In a small bowl, mix together 1 teaspoon of paprika and 1½ teaspoons salt. Rub the mixture onto all sides of the pork.
  2. In an oven-safe 12-inch skillet over medium-high, heat the oil until shimmering. Place the pork in the skillet. Cook, turning occasionally, until lightly browned on all sides, about 4 minutes total. Transfer to a large plate.
  3. Add 1 tablespoon of butter, the onion and apple to the skillet. Cook over medium-high, stirring occasionally, until softened and golden brown, about 8 minutes. Distribute the mixture in an even layer, then scatter on the thyme. Place the pork on top, add any accumulated juices and transfer to the oven. Roast until the center of the thickest piece of tenderloin reaches 135°F or is just slightly pink when cut into, 9 to 12 minutes.
  4. Remove the skillet from the oven; the handle will be hot. Using tongs, transfer the pork to a cutting board and tent with foil. Add the sherry, broth and the remaining 1 teaspoon paprika to the pan, then cook over medium-high, stirring occasionally, until the liquid is slightly reduced and thickened, about 4 minutes.
  5. Remove the pan from the heat, then remove and discard the thyme. Add the remaining 1 tablespoon butter and stir until melted. Taste and season with salt and pepper. Using a slotted spoon, transfer the onion-apple mixture to a serving platter, leaving the liquid in the pan. Thinly slice the pork and arrange over the onion-apple mixture. Drizzle the pan liquid over the meat and sprinkle with the chives.

http://www.lynnandruss.com

Caramel Chocolate Chunk Cookies

Here’s another cookie without eggs as an ingredient. And you might be a bit confused because they get baked in muffin tins. Chef/author Dorie Greenspan claims, the purpose of which helps to caramelize the bottoms—thus the name. However, I think that’s stretching the truth a bit. The butter in the tin cups does make them easy to remove but doesn’t necessarily give them a noticeable caramelized bottom—but by no means takes away from the wonderful flavor of the cookie.

Once the dough has been refrigerated, it’s just a matter of cutting the logs into 1/2-inch slices, popping them into the muffin cups, and baking. Dorie says “You might be tempted to use a baking sheet, but I hope you won’t—the texture is really best in the muffin tins.” Seeing as how they disappeared quickly after baking them, I’d say they were a hit!

Caramel Chocolate Chunk Cookies

  • Servings: Yields about 2 dozen
  • Difficulty: easy
  • Print

Ingredients

  • 2 sticks unsalted butter, (8 oz.) cut into chunks, at room temperature
  • 1/2 cup sugar
  • 1/2 cup confectioners’ sugar
  • 1/2 tsp. fine sea salt
  • 1 tsp. pure vanilla extract
  • 2 cups all-purpose flour
  • 1 heaping cup of chunks of dark chocolate, or large chips

Directions

  1. In a large bowl, beat the butter, both sugars, and the salt together on medium speed until creamy, about 2 minutes. Beat in the vanilla. Add the flour all at once. Pulse a few times, just until the risk of flying flour has passed, and then beat on low speed until the flour is almost completely incorporated. Don’t beat too much—you want the mixture to be more clumpy than smooth.
  2. Add the chocolate and fold in with a flexible spatula.
  3. Knead the dough if necessary so it comes together. Divide it in half, and shape each hunk into a 6-inch-long log; they will be a scant 2 inches in diameter. Wrap each log in plastic, and refrigerate until firm, at least 2 hours. (The logs can be refrigerated for 3 days or frozen for 2 months.)
  4. Preheat the oven to 350°. Butter a muffin tin—two if you have them. Mark one log at ½-inch intervals, then cut into rounds with a chef’s knife, cutting hard through the chips. Place each puck in a muffin cup. Bake for 20 to 22 minutes, until the cookies are browned around the edges and slightly soft in the center.
  5. Let the cookies rest for 3 minutes, then gently pry each one out with the tip of a table knife and let cool on a rack. Let the pan cool, then repeat with the remaining log. Serve the cookies warm or at room temperature.

http://www.lynnandruss.com

Adapted from a recipe by Dorie Greenspan

Braised Asparagus with Lemon and Chives

Here, braising coaxes asparagus’s gentler side into the spotlight. It’s not the typical crisp-tender, not browned, nor vibrant green—but it may end up being one of your favorite ways to cook the spears. The vegetable is vigorously simmered in a copious amount of liquid, allowing the braising liquid to evaporate, leaving behind a light glaze that coats the asparagus.

As Cook’s Illustrated mentions, the crisp bite gives way to silkiness; the fresh vegetal flavor evolves into more-complex sweet nuttiness, and the braising liquid can travel into the spears, seasoning them inside and out.

The dish is finished with a less-is-more approach adding just a splash of acidity and a handsome sprinkle of fresh herbs to accentuate the vegetable’s sweet flavor.

FYI, this recipe is best with asparagus spears that are at least ¾ inch thick. We bought ours picked fresh at a local farm market. The benefit of thicker spears is you can peel off their firm, waxy skin without whittling them down to toothpicks.

Braised Asparagus with Lemon and Chives

  • Servings: 4
  • Difficulty: easy
  • Print

Ingredients

  • 1 lb. thick asparagus
  • 1 cup water
  • ¼ cup chicken broth
  • 2 Tbsp. extra-virgin olive oil
  • ¼ tsp. table salt
  • ¼ tsp. grated lemon zest plus 1 tsp. juice
  • 2 tsp. minced fresh chives, divided

Directions

  1.  Trim bottom inch of asparagus spears; discard trimmings. Peel bottom two-thirds of spears until white flesh is exposed.
  2. Bring water, broth, oil, and salt to simmer in 12-inch skillet over high heat. Add asparagus in even layer. Reduce heat to maintain vigorous simmer and cover. Cook, gently shaking skillet occasionally, until asparagus is tender and can be easily pierced with tip of paring knife, 8 to 10 minutes.
  3. Remove lid and continue to cook, shaking and swirling skillet, until skillet is almost dry and asparagus is glazed, 1 to 3 minutes longer.
  4. Off heat, add lemon zest and juice and half of chives and toss to coat.
  5. Transfer asparagus to platter, sprinkle with remaining chives, season with salt to taste, and serve.

http://www.lynnandruss.com

Paprika-Parmesan Smashed Potatoes

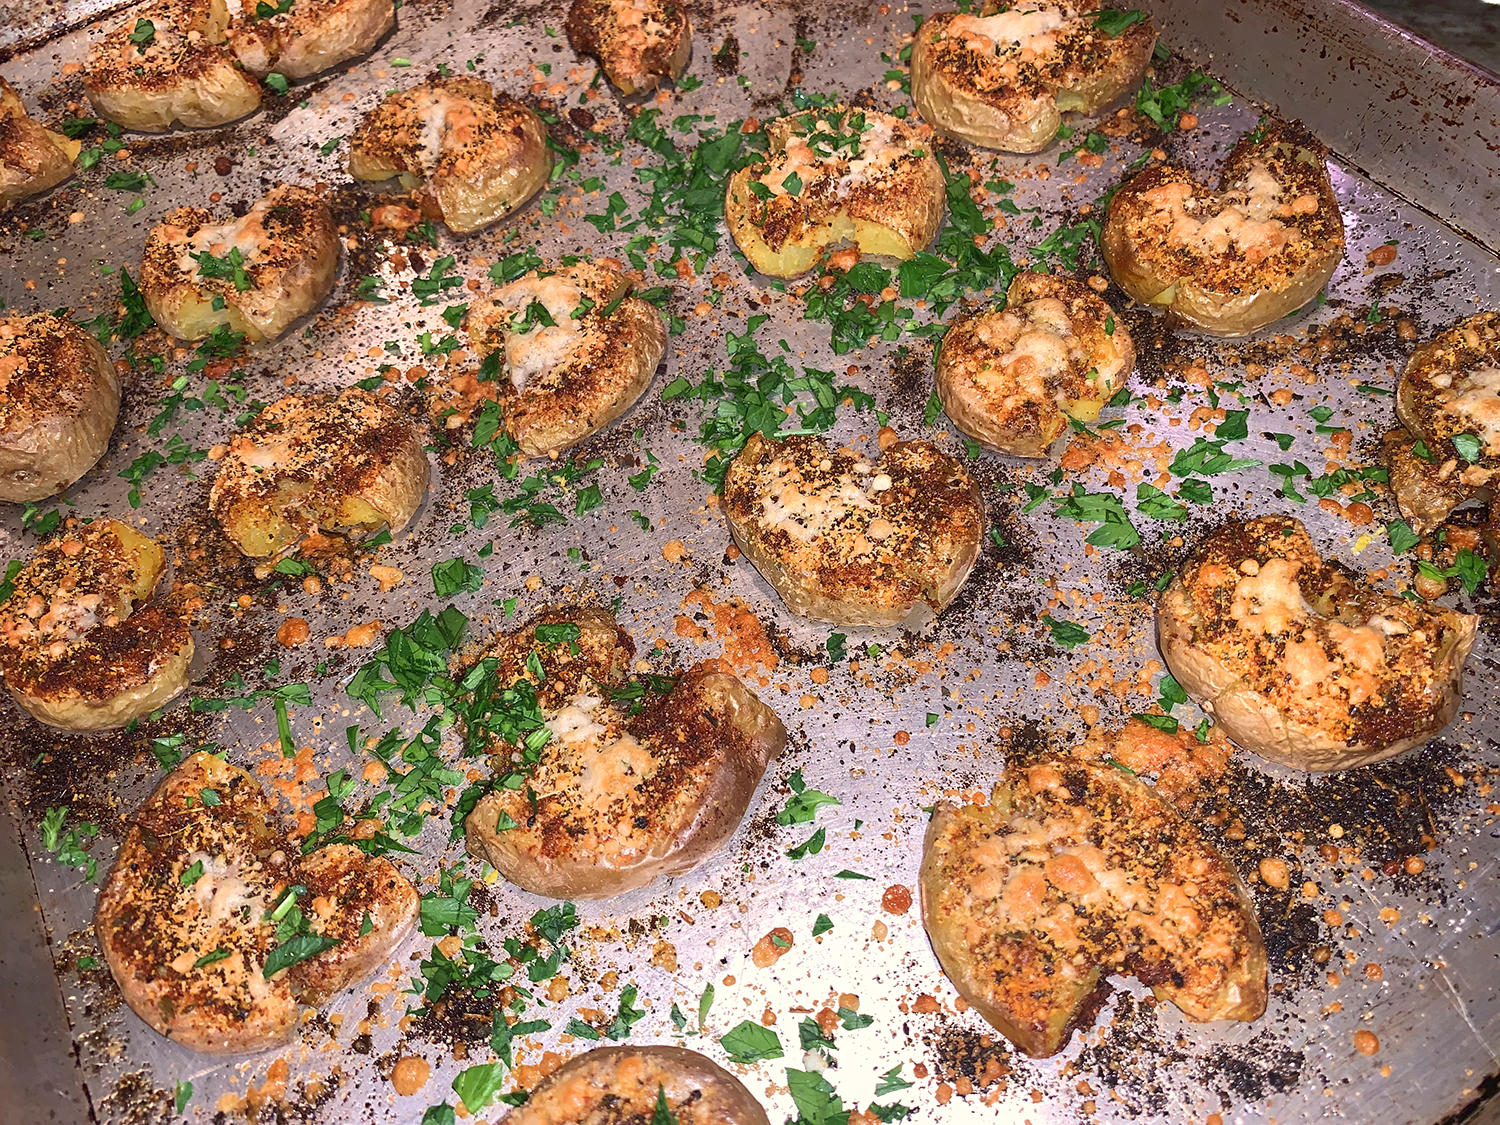
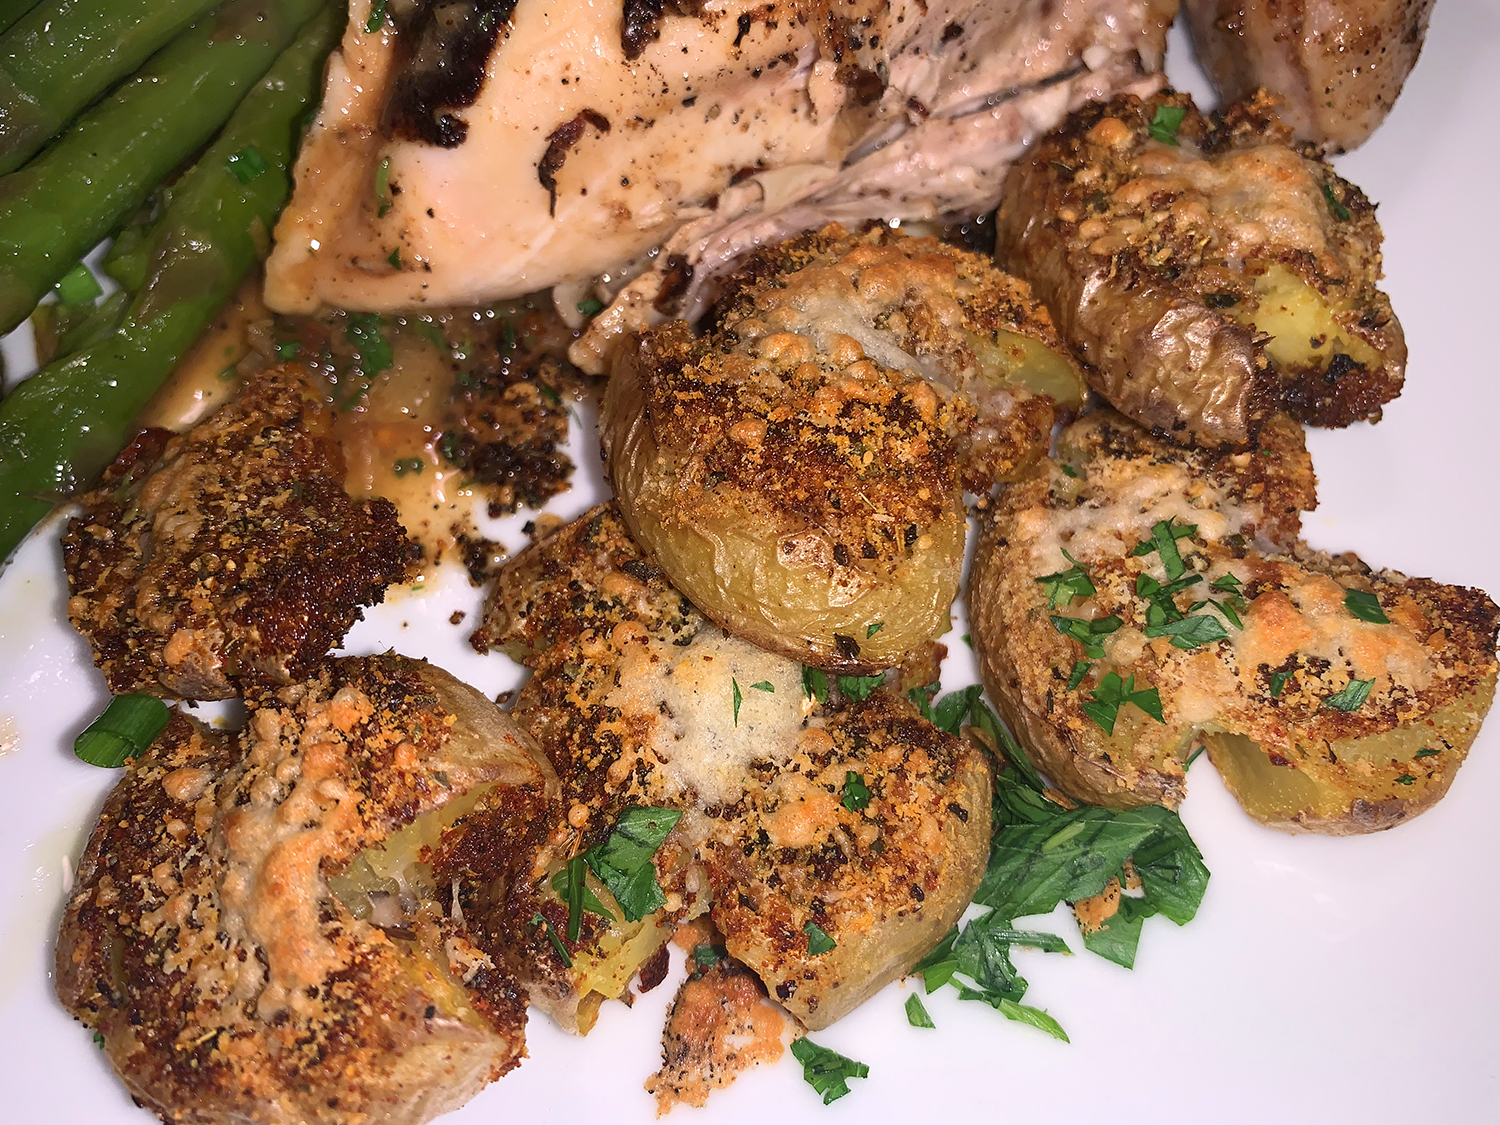
Paprika-Parmesan Smashed Potatoes with Garlic Aioli: the ultimate roasted potato side dish. Incredibly crispy, superbly spiced, and served with a downright addictive dipping sauce; although we opted to forego the aioli this time around.

The combination of bold spices and a garlicky dipping sauce really brings the humble potato to life. While this method involves boiling, smashing, and then roasting, you won’t believe how crispy the potatoes get for being roasted rather than deep-fried. Smashed potatoes are the perfect alternative when you’re craving crispy potatoes, but want something a bit more wholesome than French fries.

They paired beautifully with our Crispy Chicken Under a Brick, and a side of silky Braised Asparagus.

Paprika-Parmesan Smashed Potatoes

  • Servings: 4
  • Difficulty: easy
  • Print

Ingredients

  • 4 garlic cloves
  • 1.5 lbs baby yellow potatoes
  • 2 1/2 tsp. kosher salt, divided
  • 1 1/2 tsp. smoked paprika
  • 1 tsp. dried oregano
  • 1/2 tsp. garlic powder
  • 1/2 tsp. black pepper
  • 4 Tbsp. extra-virgin olive oil (sub avocado oil)
  • 1/4 cup mayonnaise (or avocado oil mayo)
  • 2 Tbsp. plain full-fat Greek yogurt
  • 1 Tbsp. finely chopped fresh chives, plus more for garnish
  • 2 tsp. fresh lemon juice
  • 2 Tbsp. grated Parmesan cheese

Directions

  1. Preheat oven to 450ºF. Place garlic cloves in a piece of a foil and drizzle with 1 teaspoon olive oil. Wrap the garlic in foil and place in the oven while it preheats. Continue roasting garlic while you boil the potatoes.
  2. Place the potatoes in a large pot, and cover with one inch of cold water. Add 2 teaspoons salt and bring to a boil. Once the water is boiling, set the timer for 15 minutes. At this point, the potatoes should be just past fork-tender. Drain potatoes in a colander and let sit for 5 minutes to allow water to completely drain off. Remove garlic from the oven and set aside. (Keep oven temperature at 450ºF)
  3. In a small bowl, combine smoked paprika, oregano, garlic powder, black pepper, and remaining 1/2 teaspoon salt; mix well. Drizzle 2 tablespoons olive oil on your largest baking sheet, making sure to coat all corners. Arrange potatoes on baking sheet, making sure to leave about 2 inches of space in between each one.
  4. Use the bottom of a measuring cup or a potato masher to gently “smash” each potato down until it is around 1/2-inch thick. Brush remaining 2 tablespoons oil over tops of potatoes and sprinkle with spice mixture. Roast potatoes for 20 minutes.
  5. Remove garlic from foil and roughly chop. Use the flat side of your knife blade (preferably a chef’s knife) to mash the garlic until it forms a paste. Add garlic to a bowl, along with mayonnaise, yogurt, 1 tablespoon. chopped chives, lemon juice, and a pinch of salt and pepper. Mix well to combine.
  6. Remove potatoes from the oven and sprinkle each one evenly with Parmesan. Place back in the oven for 5 more minutes.Transfer potatoes to a platter and garnish with extra chopped chives. Serve with garlic aioli.

http://www.lynnandruss.com

Adapted from a recipe found on dishingouthealth.com

Tsitsila Tabaka

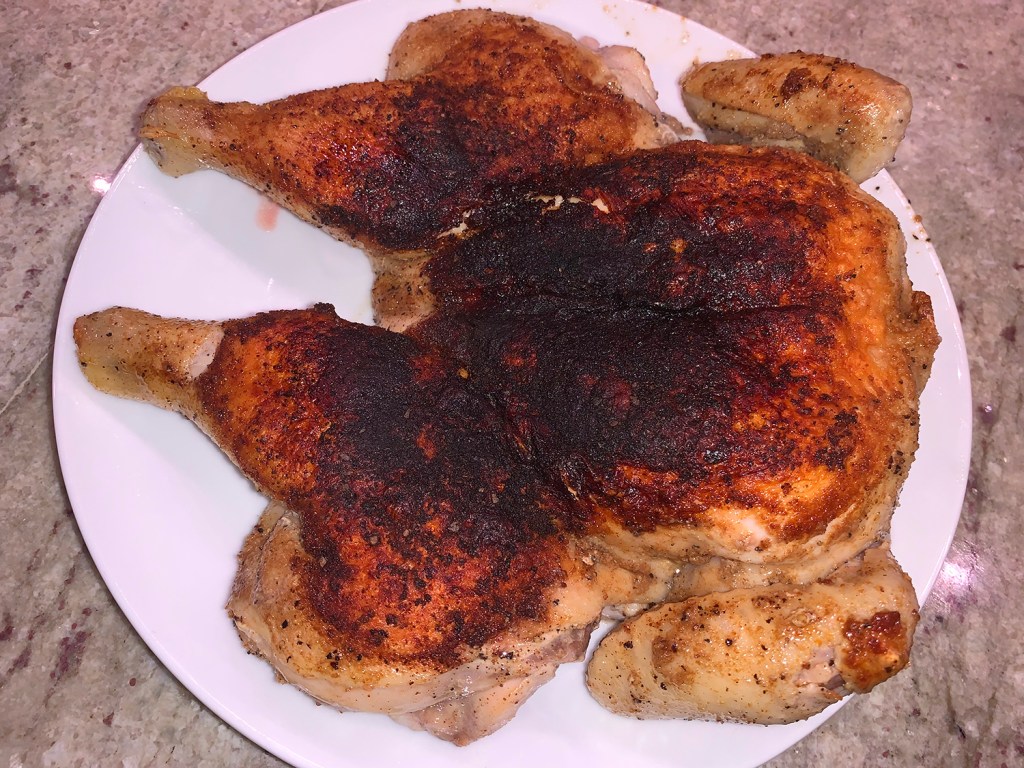
Motivation for this Crispy Chicken Under A Brick recipe was inspired from the European nation of Georgia, which borders Western Asia. The technique of employing Tsitsila Tabaka is a regional tradition that often calls for foiled-wrapped bricks and starting the bird on the stovetop. However it’s done, the rendered fat in the pan typically serves as a base for a simple garlic sauce that brims with flavor.

The chicken is spatchcocked, which puts thighs and breasts on the same plane for even cooking. Georgian cooks use a brick to keep their chickens truly flat. The weight presses the chicken down, ensuring the bird makes full contact with the pan’s hot surface, which renders the fat and ensures even browning. If crisp skin is what you’re after, this is the way to get it.

For the “brick,” we used a second heavy skillet ; it’s easier and works just as well. However, if you have them on hand, you instead could use one or two clean bricks wrapped in heavy-duty foil. Don’t use a chicken much larger than 4 pounds, as it may not fit comfortably in the skillet. Don’t forget to pat the chicken dry before searing. The drier the skin, the better it crisps. After searing, make sure to drain the fat in the pan before putting the bird in the oven; this reduces splatter.

Instead of simply seasoning the meat, you build flavor by marinating it in lemon juice, olive oil, garlic and herbs, such as rosemary, then searing the chicken, skin side down, with bricks (or heavy skillet) on top. Then flip it and finish it in the oven. An easy pan sauce with garlic, lemon and cilantro perfectly complements the chicken.

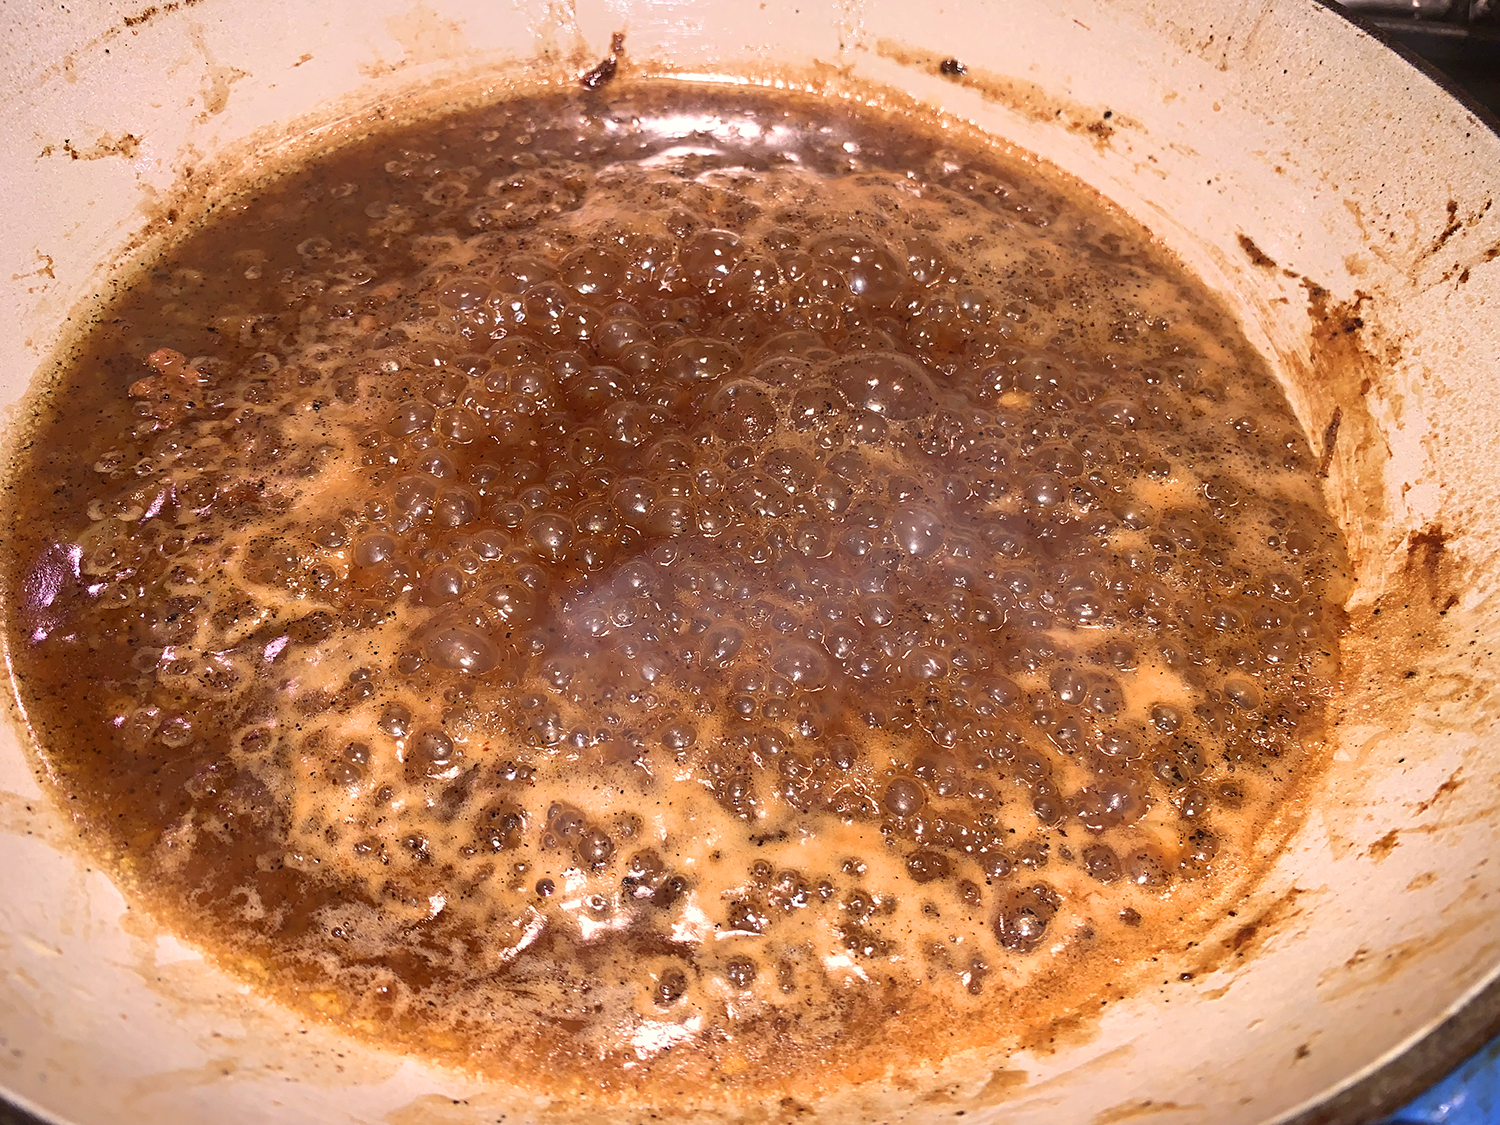
After roasting, use the same skillet to create the easy pan sauce. Cook garlic in butter, then deglazed the pan with chicken broth, scraping up the flavorful brown bits. Off heat, stir in cayenne pepper, lemon juice and fresh cilantro. Spooned over the crispy chicken, the cilantro and garlic in the sauce reinforced the coriander and garlic in the spice rub.

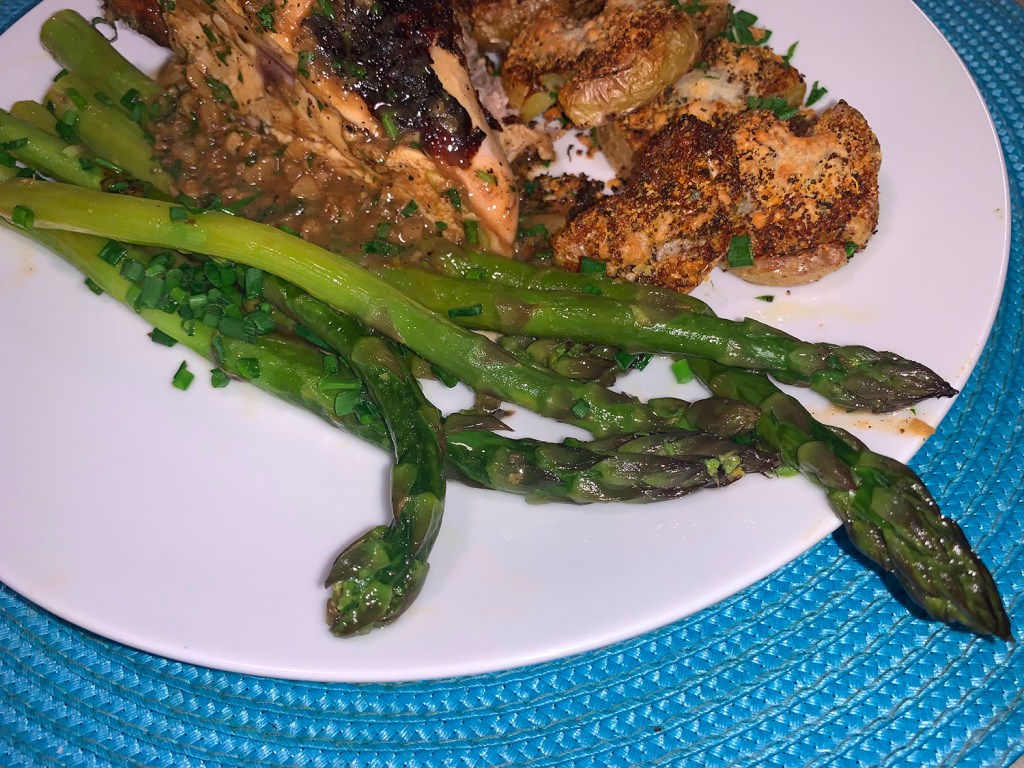
We paired our chicken with the most silky Braised Asparagus and crispy/creamy Paprika-Parmesan Smashed Potatoes. We were practically licking the plate when done. I’ll post those blogs in the near future.

Crispy Chicken Under a Brick

  • Servings: 4
  • Difficulty: easy
  • Print

Ingredients

  • 1 1/2 tsp. ground coriander
  • 1/2 tsp. granulated garlic
  • Kosher salt and ground black pepper
  • 1 4-lb. whole chicken
  • 1 Tbsp. grapeseed or other neutral oil
  • 2 Tbsp. salted butter
  • 8 medium garlic cloves, peeled and chopped
  • 2 cups low-sodium chicken broth
  • 1/8 to ¼ teaspoon cayenne pepper
  • 2 Tbsp. lemon juice
  • 1/4 cup lightly packed fresh cilantro, chopped

Directions

  1. In a small bowl, stir together the coriander, granulated garlic, 1½ teaspoons salt and ½ teaspoon black pepper. Place the chicken breast down on a cutting board. Using sturdy kitchen shears, cut along both sides of the backbone, end to end. Remove and discard the backbone (or save it to make broth). Spread open the chicken, then turn it breast up. Use the heel of your hand to press down firmly on the thickest part of the breast, until the wishbone snaps. Season all over with the spice mixture, rubbing it into the skin. Let stand, uncovered, at room temperature for 30 to 45 minutes.
  2. Heat the oven to 450°F with a rack in the lowest position. Thoroughly pat the chicken dry with paper towels. In a 12-inch oven-safe skillet over medium-high, heat the oil until just smoking. Place the chicken breast down in the pan. Lay a small sheet of foil over the chicken, then place a second heavy skillet or pot on top. Reduce to medium and cook until the skin is golden brown, 10 to 15 minutes, removing the weight and foil and checking every 4 to 5 minutes to ensure even browning.
  3. Using tongs, carefully transfer the chicken to a large plate, turning it breast up. Pour off and discard the fat in the skillet. Slide the chicken breast up back into the pan and place in the oven. Roast until the thickest part of the breast reaches 160°F, 25 to 35 minutes. Carefully transfer the chicken to a cutting board and let rest while you make the sauce.
  4. Set the skillet (the handle will be hot) over medium-high and cook the butter and garlic, stirring occasionally, until the garlic is lightly browned, about 2 minutes. Add the broth and bring to a simmer, scraping up any browned bits, then cook until the garlic is softened and the mixture is lightly thickened and reduced to about ¾ cup, 10 to 15 minutes. Using a silicone spatula, mash the garlic until almost smooth and mix it into the sauce.
  5. Off heat, stir in the cayenne, lemon juice and cilantro, then transfer to a serving bowl. Carve, then serve with the sauce.

http://www.lynnandruss.com

Recipe from Courtney Hill for Milk Street Magazine