Monthly Archives: September 2023

Creamy Red Curry Pasta

Pasta and red sauce? Not your typical pairing with tomato paste. Rather, this ode to pasta alla vodka brings in unexpected levels of flavor and intensity by using red curry paste—a staple of Thai cuisine. The other fragrant ingredients like chili peppers, lemongrass, and galangal are also staples in Thai cooking. Thus, The Hubs dubbed this dish Thaitalian, since it’s a fusion of Thai and Italian cuisines.

Finishing with coconut milk and lime juice rather than heavy cream and vodka adds extra layers of complexity to the clingy, rich sauce. A little spicy, a little sweet, and absolutely delicious, this flavor-packed, pantry-friendly meal is perfect for a quick weeknight dinner.

In a nod to the Thai aspect, we switched out lime for the lemon.
Creamy Red Curry Pasta

  • Servings: 4
  • Difficulty: easy
  • Print

Ingredients

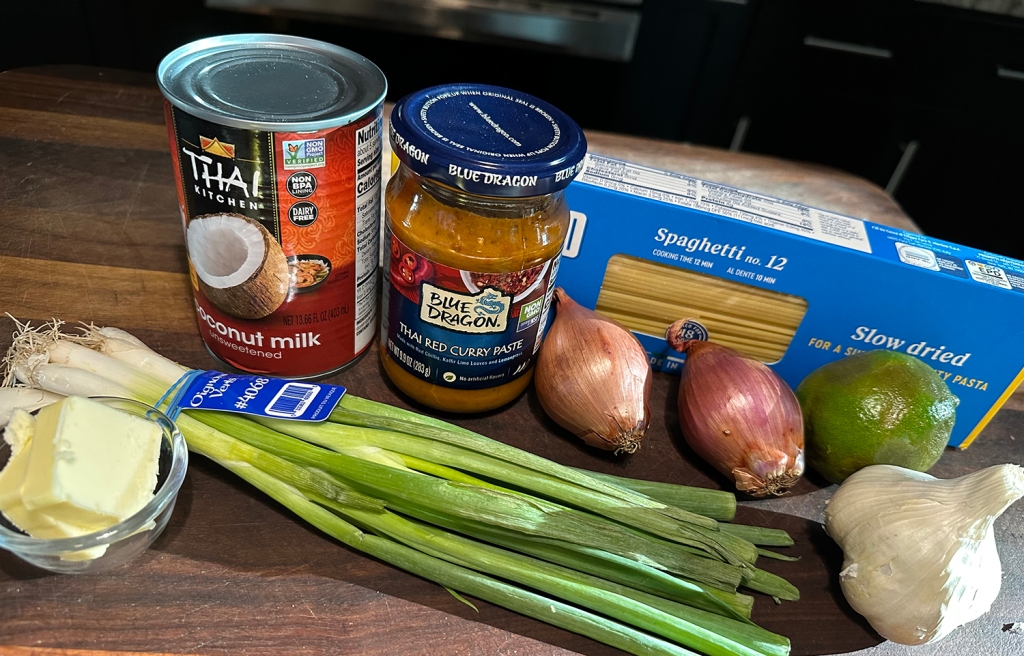
  • 1 lb. spaghetti
  • Kosher salt
  • 2 Tbsp. vegetable oil
  • 2 medium shallots, thinly sliced
  • 6 garlic cloves, thinly sliced
  • 1 4-oz. can red curry paste
  • 1 13.5-oz. can unsweetened coconut milk
  • 2 Tbsp. unsalted butter, cut into pieces
  • 2 tsp. fresh lime juice
  • Thinly sliced scallion greens and lime wedges (for serving)
Directions

  1. Cook 1 pound spaghetti in a large pot of boiling salted water, stirring occasionally, until just shy of al dente, about 1 minute less than package directions.
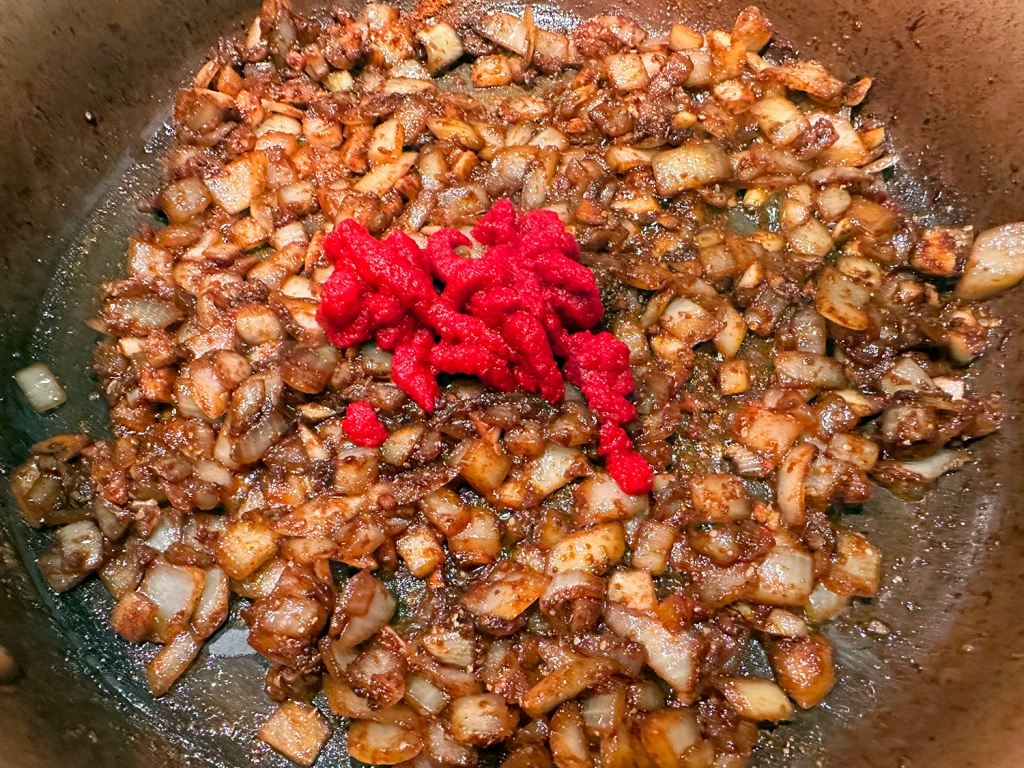
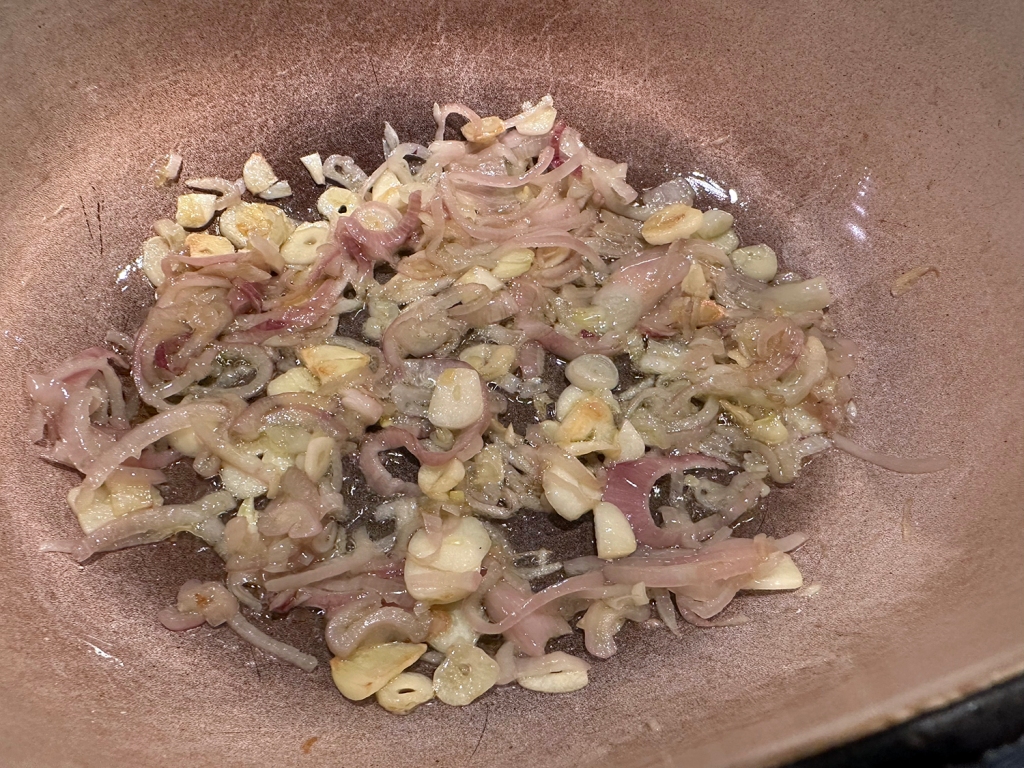
  2. Meanwhile, heat vegetable oil in a large Dutch oven or other heavy pot over medium. Cook shallots, thinly sliced, and garlic cloves, thinly sliced, stirring often, until softened, about 2 minutes. Add red curry paste and cook, stirring often, until paste is fragrant and slightly darkened and beginning to stick to bottom of pot, about 3 minutes.
  3. Pour in can of unsweetened coconut milk and bring to a simmer, stirring and scraping up any browned bits. Cook, stirring often, until sauce thickens enough to lightly coat a spoon, about 3 minutes.
  4. Using tongs, transfer pasta to sauce (a little water coming along is okay). Add 2 tablespoons unsalted butter, cut into pieces, and ½ cup pasta cooking liquid. Increase heat to medium; cook, tossing vigorously and adding more pasta cooking liquid by the ¼-cupful as needed, until sauce is silky and pasta is coated and glossy, about 2 minutes. Remove from heat and add fresh lime juice; toss to combine.
  5. Divide pasta among shallow bowls; top with thinly sliced scallion greens. Serve with lime wedges.

http://www.lynnandruss.com

Recipe by Rachel Gurjar for Bon Appétit

Cheesy, Spicy Black Bean Bake

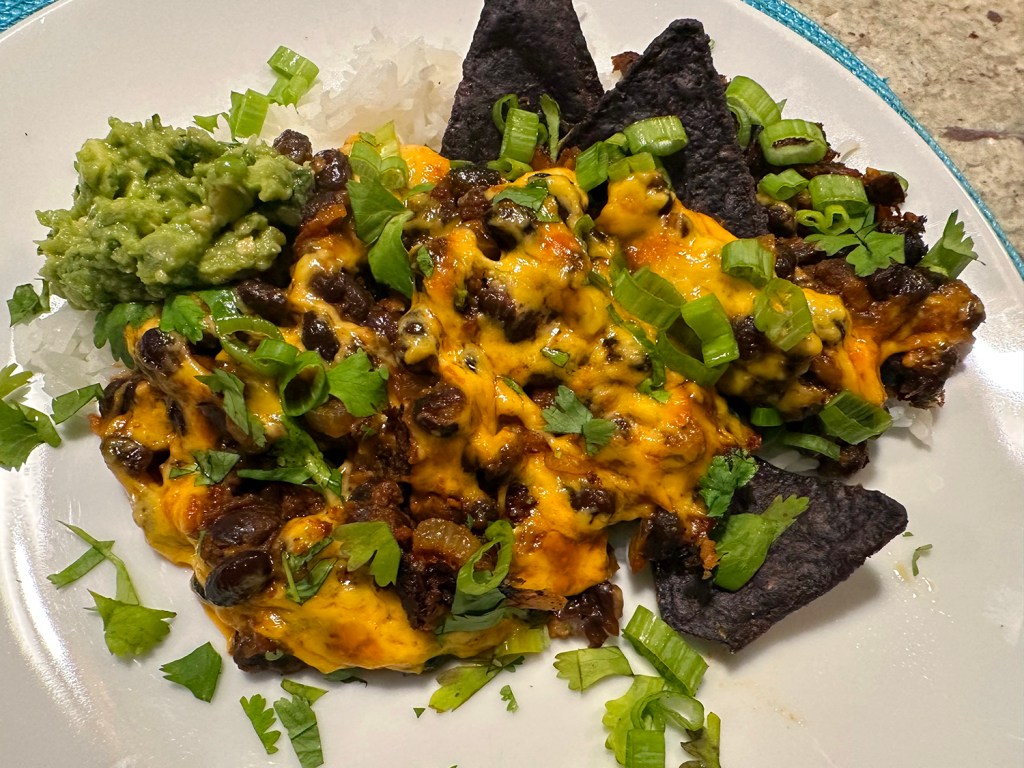
This smoky and spiced, black bean bake has lots of melty cheese and offers different suggestions for adjusting the spiciness. In the original recipe, the enchilada sauce was an option. We found that without it, the dish was too dry. While it makes a great party dip, it became our main dish on a bed of rice with a side salad.

Black beans shine in a deep-red mixture of fried garlic, caramelized tomato paste, smoked paprika and cumin. The whole skillet gets coated in a generous sprinkling of sharp Cheddar, then baked until melted. The final result is what you hope for from a really good chili or stew, but in a lot less time. For a spicier rendition, add a pinch of cayenne with the paprika, or douse the final skillet with hot sauce.

We served ours with Red Hot Blue corn chips, a bit of fresh guacamole, and a smattering of scallion slices and chopped cilantro. Other serving options include tortillas, tortilla chips, rice, a baked potato or fried eggs.

OPTIONS: A main dish served with tortilla chips or used as a side with tacos, burritos or enchiladas. Blend whole beans with refried beans. Add sautéed jalapeno or serrano peppers. Sprinkle in a liberal dose of freshly cracked peppercorns, or pour a few squirts of habanero sauce on top. Add a chopped chipotle pepper, 1 teaspoon adobo sauce, and cream cheese to the bean mixture before popping in the oven. Use hot smoked paprika for more intense spice.

Cheesy, Spicy Black Bean Bake

  • Servings: 4
  • Difficulty: easy
  • Print

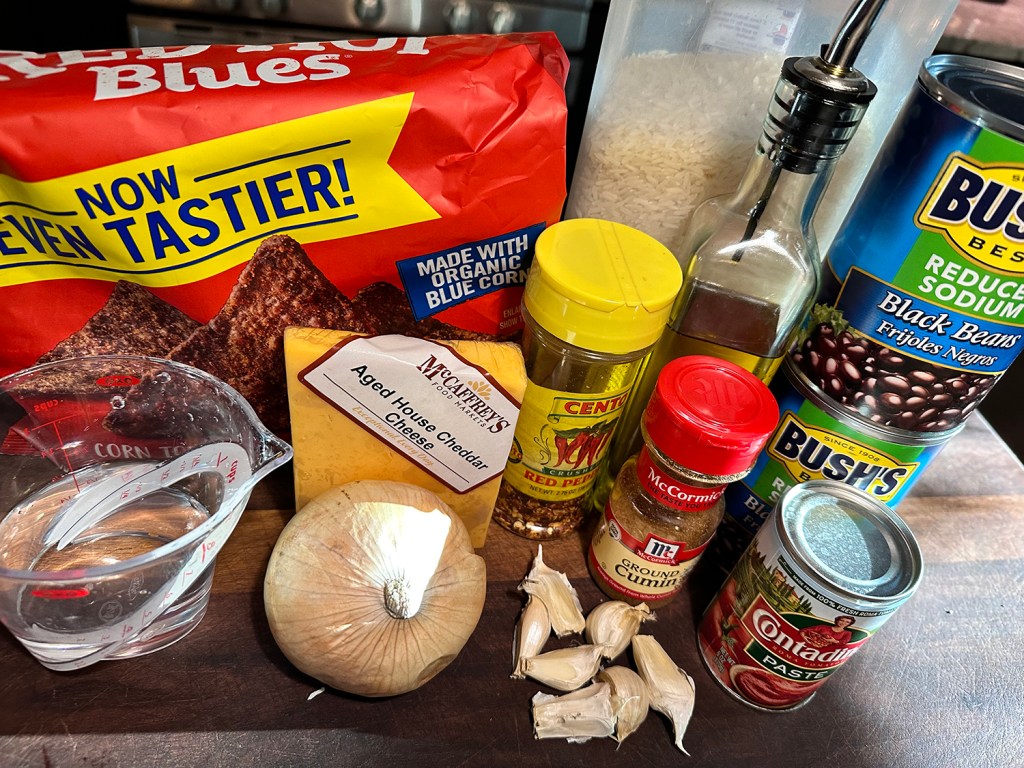
Ingredients

  • 3 Tbsp. extra-virgin olive oil
  • 5 garlic cloves, peeled and sliced
  • 1 small yellow onion, chopped small
  • ¼ cup tomato paste
  • 1 10-oz. can enchilada sauce
  • 1½ tsp. smoked paprika (or HOT smoked)
  • ¼ tsp. red-pepper flakes
  • 1 tsp. ground cumin
  • 2 (14-oz.) cans black beans, drained and rinsed
  • ½ cup boiling water
  • Kosher salt and black pepper
  • 2 cups grated Cheddar
  • Optional toppings: guacamole, chopped cilantro, sliced scallion greens, sour cream

Directions

  1. Heat the oven to 475 degrees.
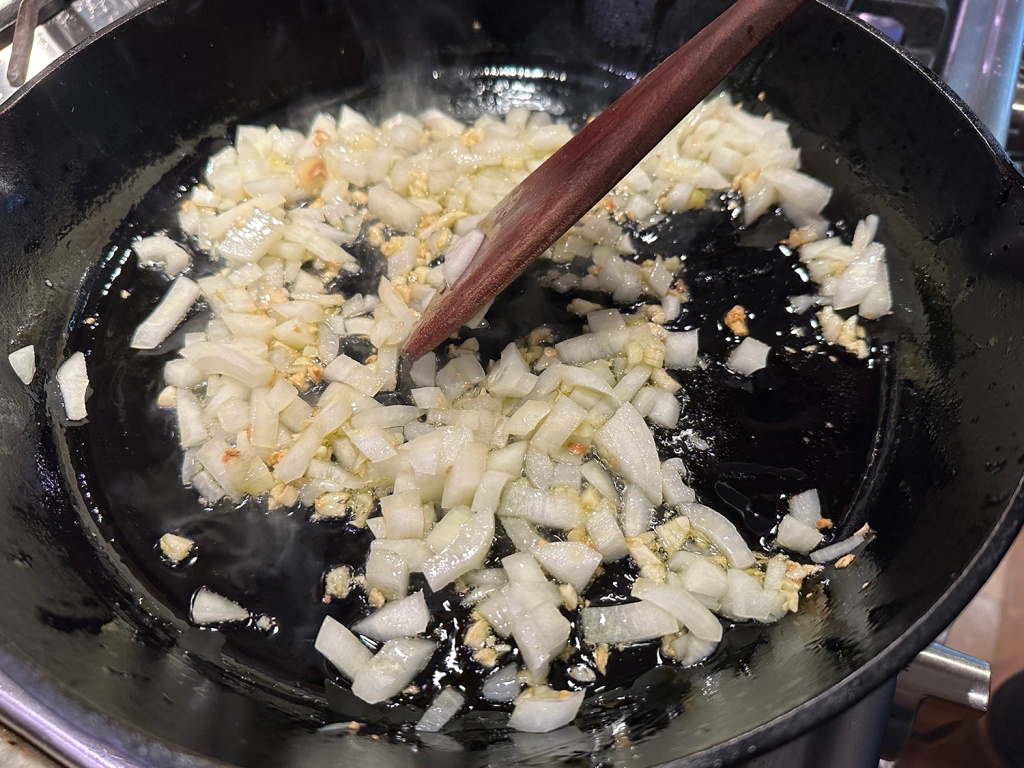
  2. In a 10-inch ovenproof skillet, heat the olive oil over medium-high. Fry the garlic until lightly golden, about 1 minute.
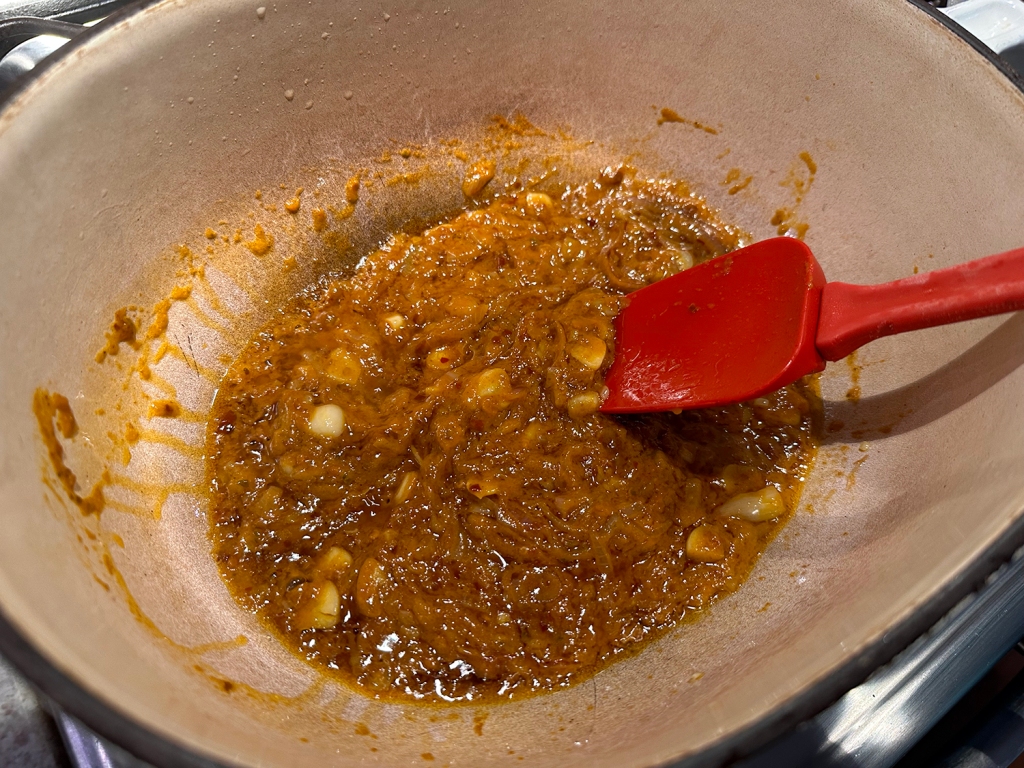
  3. Stir in the tomato paste, enchilada sauce, paprika, red-pepper flakes and cumin (be careful of splattering), and fry for 30 seconds, reducing the heat as needed to prevent the garlic from burning.
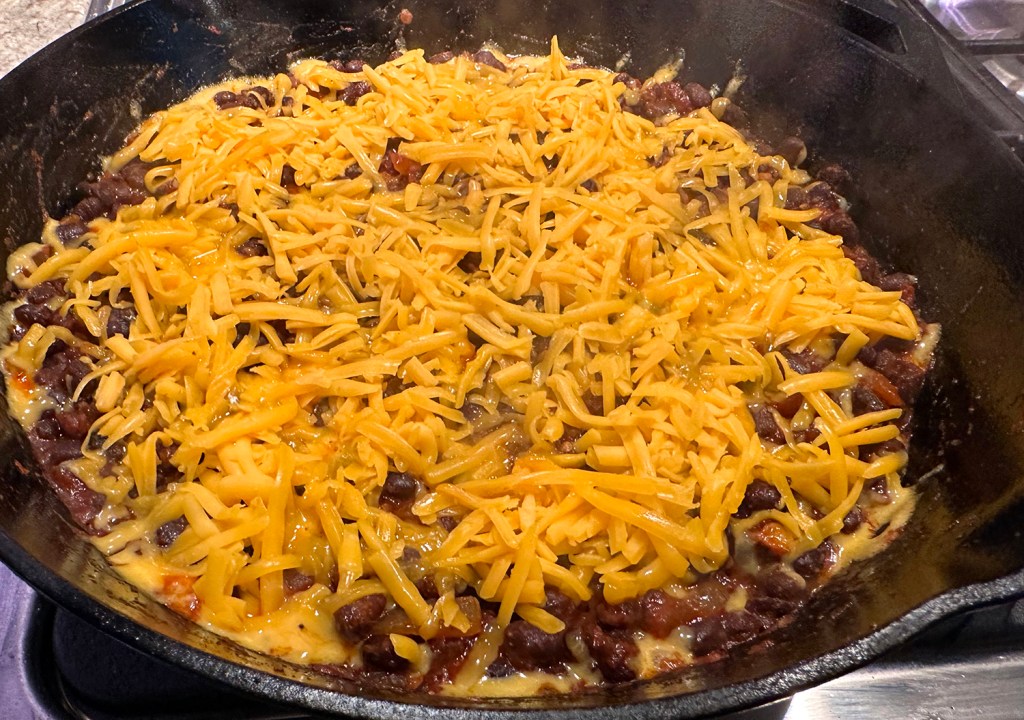
  4. Add the beans, water and generous pinches of salt and pepper, and stir to combine. Sprinkle the cheese evenly over the top then bake until the cheese has melted, 5 to 10 minutes. If the top is not as browned as you’d like, run the skillet under the broiler for 1 or 2 minutes. Add your toppings and serve immediately.

http://www.lynnandruss.com

Adapted from a recipe by Ali Slagle for NYTimes Cooking

Triple Mushroom and Campanelle

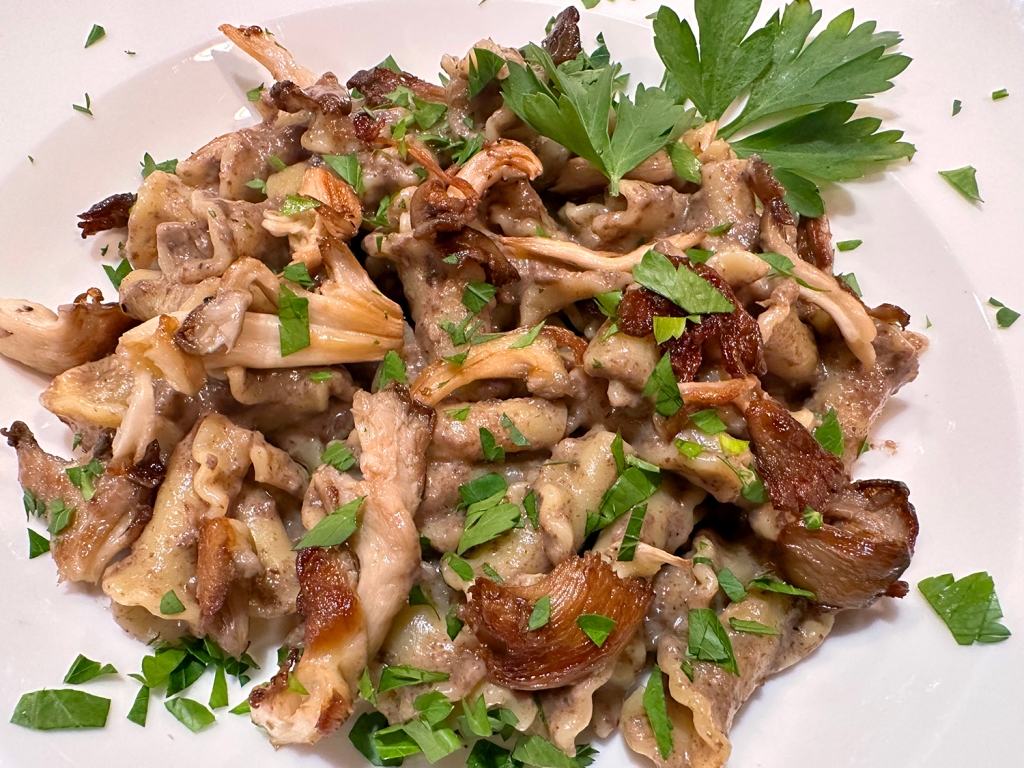
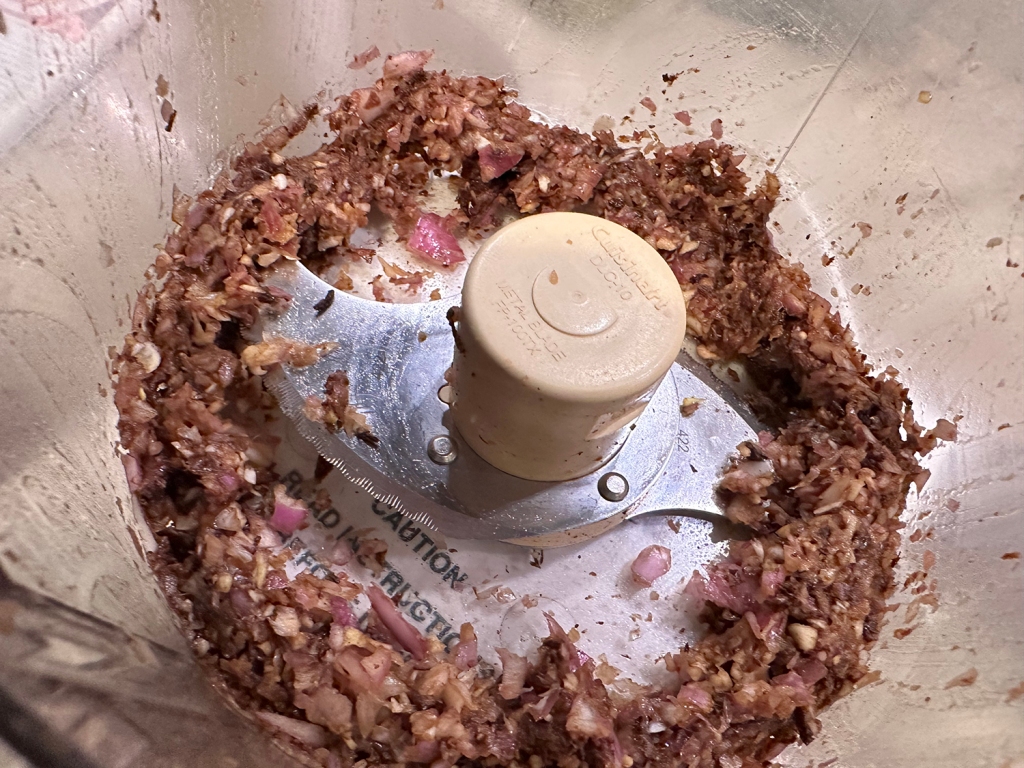
For a pasta dish that’s packed with earthy mushroom flavor, use a trio of mushrooms: white mushrooms, maitakes, and dried porcini. The process starts with a double-mushroom duxelles by grinding affordable white mushrooms and dried porcini in a food processor with aromatics and cooking it all together. A touch of cream finishes the dark, savory duxelles.

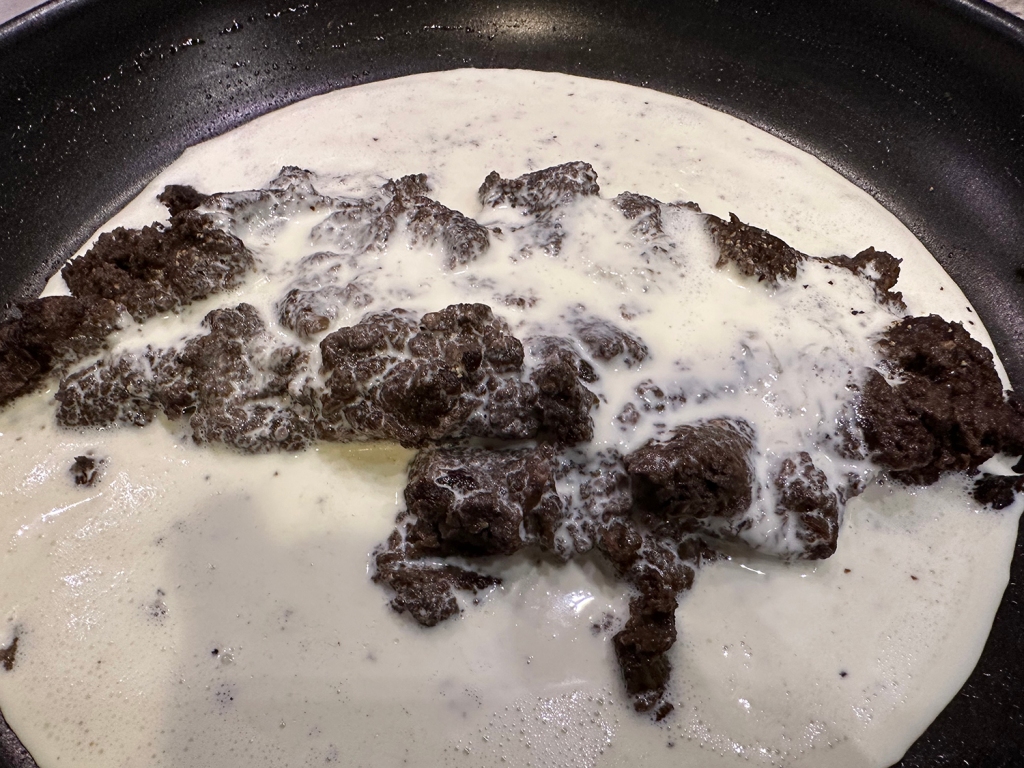
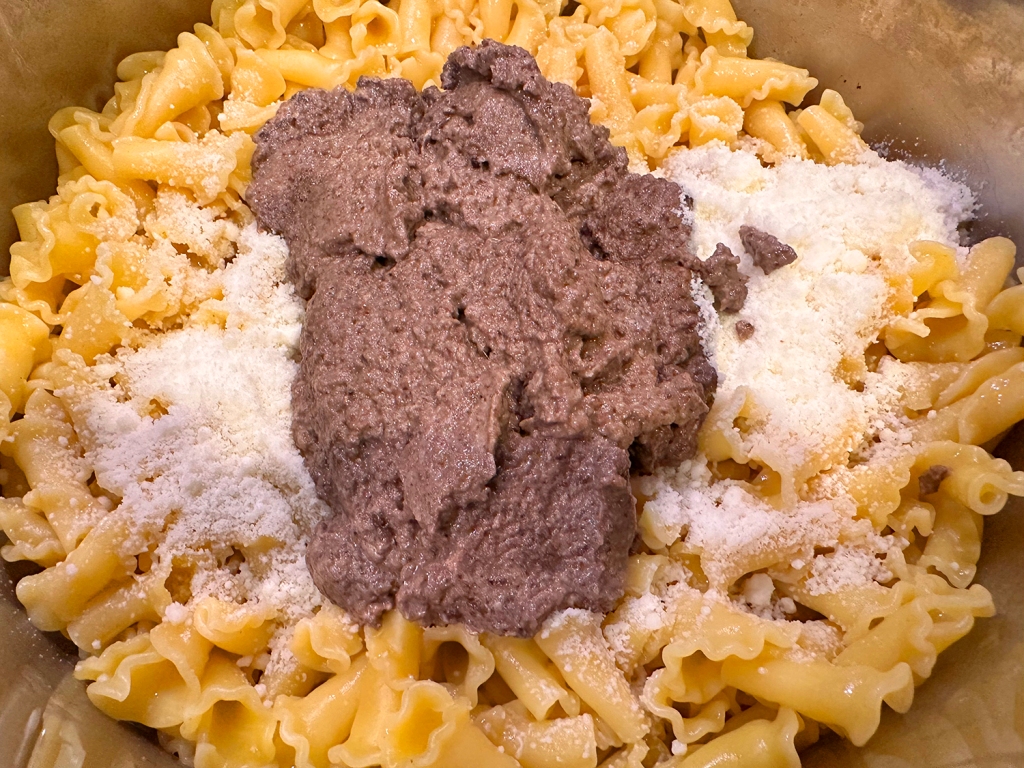
I often say “you eat with your eyes first,” and if you apply that adage when making the duxelles, you might want to abort the entire meal. The mushroom mix is less than appetizing, akin to, as The Hubs stated, the looks of dog food. But power through and complete the meal because it is super tasty, especially if you are a funghi fad, like us.

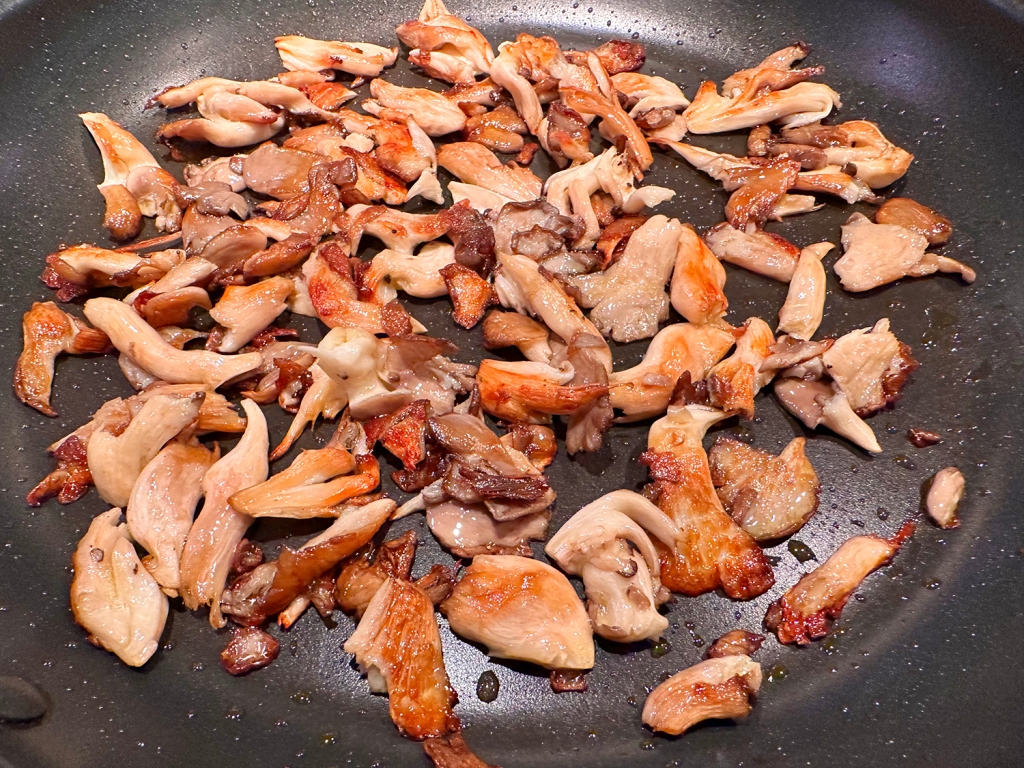
An unconventional method is used to cook the pasta: boil a full pound of campanelle in just 5 cups of water to create a superstarchy liquid. Don’t drain the pasta. Then stir in the creamy duxelles to build an ultrarich, creamy sauce that coats the frilly campanelle. Torn maitakes seared in extra-virgin olive oil creates a beautiful crisp, brown topping for the dish.

If you can’t find *maitake (hen-of-the-woods) mushrooms, substitute oyster or cremini mushrooms. Campanelle is preferred, but rigatoni or medium shells can be used; the pasta cooking time may differ. To achieve the proper consistency, boil the pasta after you’ve made the crispy mushrooms and duxelles.

Triple Mushroom and Campanelle

  • Servings: 4
  • Difficulty: easy
  • Print

Ingredients

Crispy Mushrooms

  • 2 Tbsp. extra-virgin olive oil
  • 8 oz. *maitake mushrooms, trimmed and torn into ½-inch pieces

Duxelles

  • ¼ oz. dried porcini mushrooms, rinsed
  • 1 shallot, peeled
  • 3 cloves garlic, peeled
  • 1 lb. white mushrooms, quartered
  • 2 Tbsp. unsalted butter
  • ½ tsp. table salt
  • ½ cup heavy cream
  • ⅛ tsp. pepper
  • 1 Tbsp. lemon juice

Pasta

  • 5 cups water
  • 1 lb. campanelle
  • 1 tsp. table salt
  • 1 oz. Pecorino Romano cheese, grated (½ cup)
  • 2 Tbsp. chopped fresh parsley

Directions

  1. FOR THE CRISPY MUSHROOMS: Heat oil in 12-inch skillet over medium heat until shimmering. Add maitakes and cook, without stirring, until mushrooms begin to wilt at edges, 2 to 3 minutes.
  2. Gently stir and continue to cook, stirring occasionally, until mushrooms are well browned and crisp, 7 to 9 minutes longer. Remove from heat.
  3. Season mushrooms with salt and pepper to taste, transfer to bowl, and set aside until serving (do not wash skillet).
  4. FOR THE DUXELLES: Add porcini mushrooms, shallot, and garlic to food processor and process until finely chopped, 10 to 15 seconds, scraping down sides of bowl halfway through processing.
  5. Add white mushrooms and process until very finely chopped, 40 to 55 seconds, scraping down sides of bowl halfway through processing.
  6. Add butter to now-empty skillet and heat over medium heat until butter is foaming, 1 to 2 minutes. Add mushroom mixture and salt and cook, stirring occasionally, until mushroom liquid has evaporated and mushrooms have darkened in color, 10 to 12 minutes. Remove from heat.
  7. Stir in heavy cream, pepper, and lemon juice. Set aside.
  8. FOR THE PASTA: Bring water to boil in large Dutch oven. Stir in pasta and salt. Adjust heat to medium so water is at gentle boil and cook partially covered, stirring occasionally, until pasta is just shy of al dente, 6 to 8 minutes (there will be about ½ inch cooking water in bottom of pot). Do not drain pasta.
  9. Remove pot from heat. Add duxelles and Pecorino and stir vigorously until pasta is coated in lightly thickened sauce, 1 to 2 minutes (sauce will thicken as it cools).
  10. Transfer pasta to serving bowl. Top with crispy mushrooms and parsley. Serve immediately.

http://www.lynnandruss.com

Recipe from Cook’s illustrated

Beef and White Bean Stew With Cumin

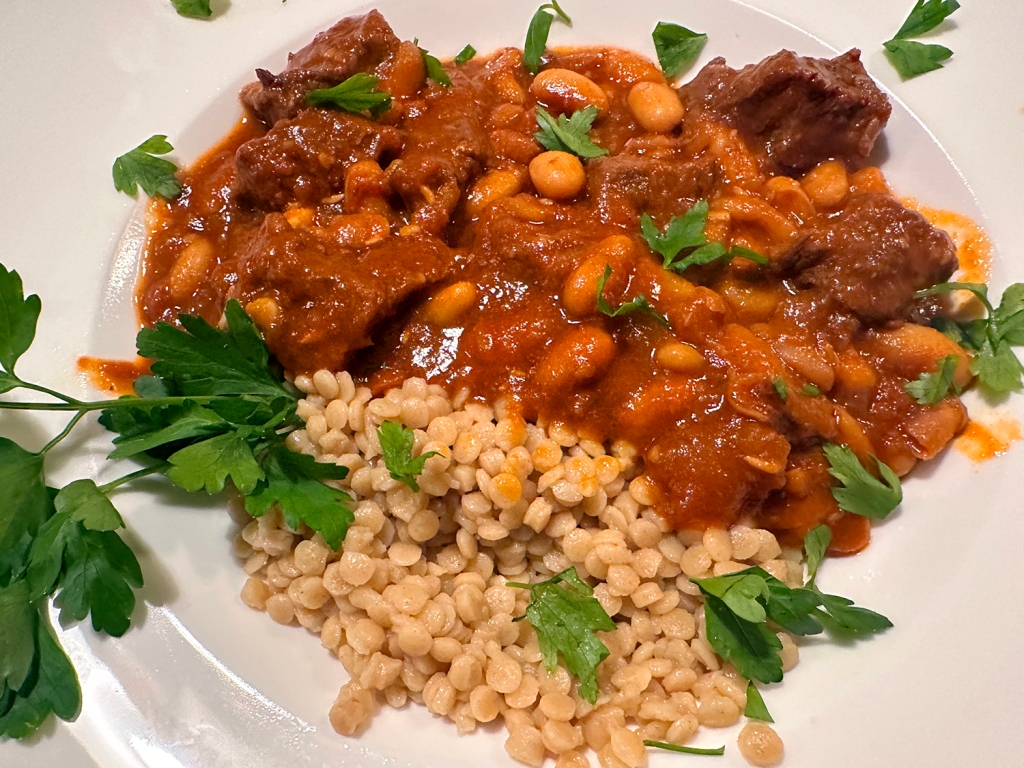
A perfect cool weather dish, this stellar, hearty meal is great for double-date night, Sunday supper, Shabbat and Rosh Hashanah, just to name a few options. It could even work for a weeknight if made ahead of time, and then reheated for dinner.

A homey one-pot stew, it’s a mix of tender beef and white beans swimming in a velvety sauce, and is much brighter than its short ingredient list might indicate. That’s all thanks to the technique of slowly building layered flavor with beef fond, aromatics, spices, and acidic tomatoes. 

Make sure to brown the beef in at least two batches, the pieces need room around them in order to brown properly, not steam. In the final hour after the beans go in, remove the lid entirely for the last 30 minutes, to thicken the stew nicely.

There are several serving suggestions, such as, couscous (we used whole wheat pearl), a loaf of crusty bread, sautéed greens, or a crisp side salad (our side dish), all of which work well to offset the stew’s richness. As far as garnishes go, try harissa or sambol oelek—although we didn’t feel any was necessary.

Beef and White Bean Stew with Cumin

  • Servings: 4-6
  • Difficulty: easy
  • Print

Ingredients

  • 3 lb. boneless beef chuck roast, excess fat trimmed, cut into 2″ pieces
  • 1½ tsp. Diamond Crystal or 1 tsp. Morton kosher salt, plus more
  • 2 Tbsp. (or more) extra-virgin olive oil
  • 1 large onion, finely chopped
  • 5 garlic cloves, finely chopped
  • 1 Tbsp. plus 1½ tsp. Hungarian hot paprika or ½ tsp. crushed red pepper flakes
  • 2 tsp. ground cumin
  • Freshly ground pepper
  • 3 Tbsp. double-concentrated tomato paste
  • 2 15-oz. cans cannellini (white kidney) beans, rinsed
  • 1 cup tomato purée
  • Steamed couscous and finely chopped parsley (for serving)

Directions

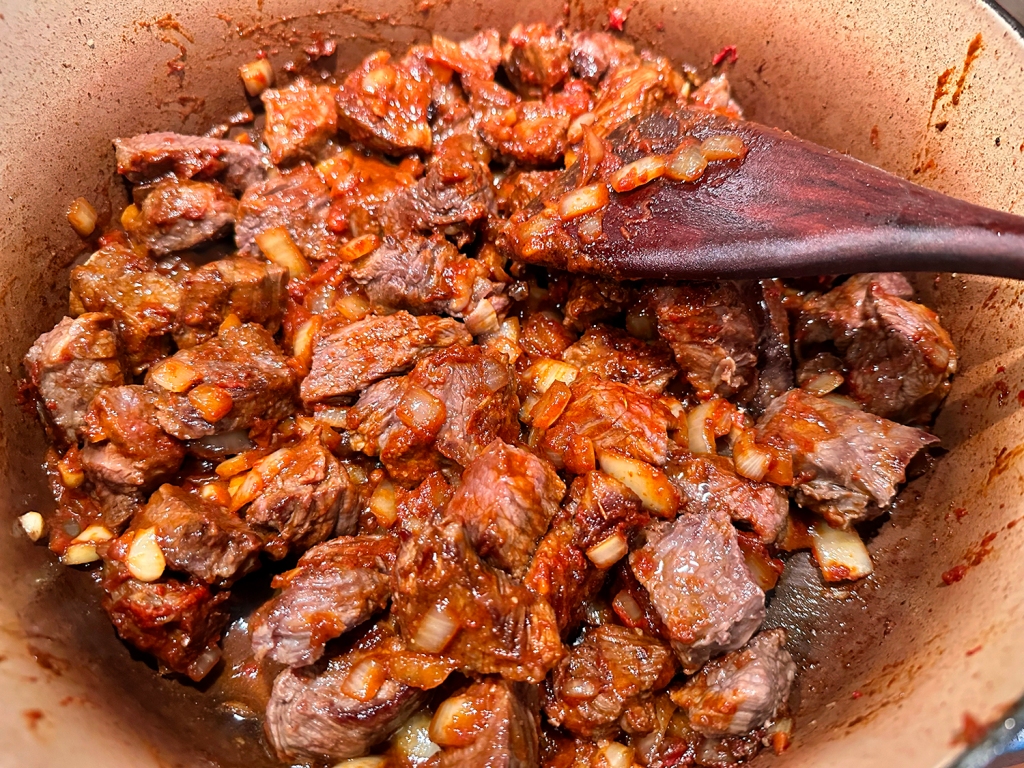
  1. Pat 3 pounds of boneless beef chuck roast dry with paper towels, excess fat trimmed, cut into 2″ pieces, and season generously with kosher salt. Heat 2 tablespoons extra-virgin olive oil in a large Dutch oven or other heavy pot over medium-high. Working in batches and adding more oil between batches if pot looks dry, cook beef, turning occasionally, until golden brown, about 5 minutes. Transfer to a plate.
  2. Reduce heat to medium and add 1 large onion, finely chopped, and 5 garlic cloves, finely chopped, to pot. Cook, stirring often, until onion is softened and golden, 6–8 minutes. Add 1 tablespoon plus 1½ teaspoon Hungarian hot paprika or ½ teaspoon crushed red pepper flakes, 2 teaspoon ground cumin, and 1½ teaspoon Diamond Crystal or 1 teaspoon Morton kosher salt; season generously with freshly ground black pepper. Cook, stirring often, until spices are fragrant, about 1 minute. Stir in 3 tablespoons double-concentrated tomato paste.
  3. Return beef along with any accumulated juices to pot. Pour in 4 cups water and bring to a boil. Immediately reduce heat to low, partially cover pot, and cook, stirring occasionally and adjusting heat as needed to maintain a simmer, until beef is tender and liquid is slightly thickened, about 2 hours.
  4. Uncover pot and stir in two 15-ounce cans cannellini (white kidney) beans, rinsed, and 1 cup tomato purée. Bring stew back to a simmer. Reduce heat to low, partially cover, and cook, stirring occasionally and adjusting heat as needed to maintain a simmer, until beef is very tender and stew is thick, 60 minutes. Remove the lid entirely for the final 30 minutes to thicken the stew. Taste and season with more salt and black pepper if needed.
  5. Divide steamed couscous among shallow bowls and ladle stew over. Top with finely chopped parsley.

Do ahead: Stew can be made 3 days ahead. Let cool; cover and chill.

http://www.lynnandruss.com

Recipe by Leah Koenig for Bon Appétit

Roasted Chicken Thighs with Schmaltzy Potatoes

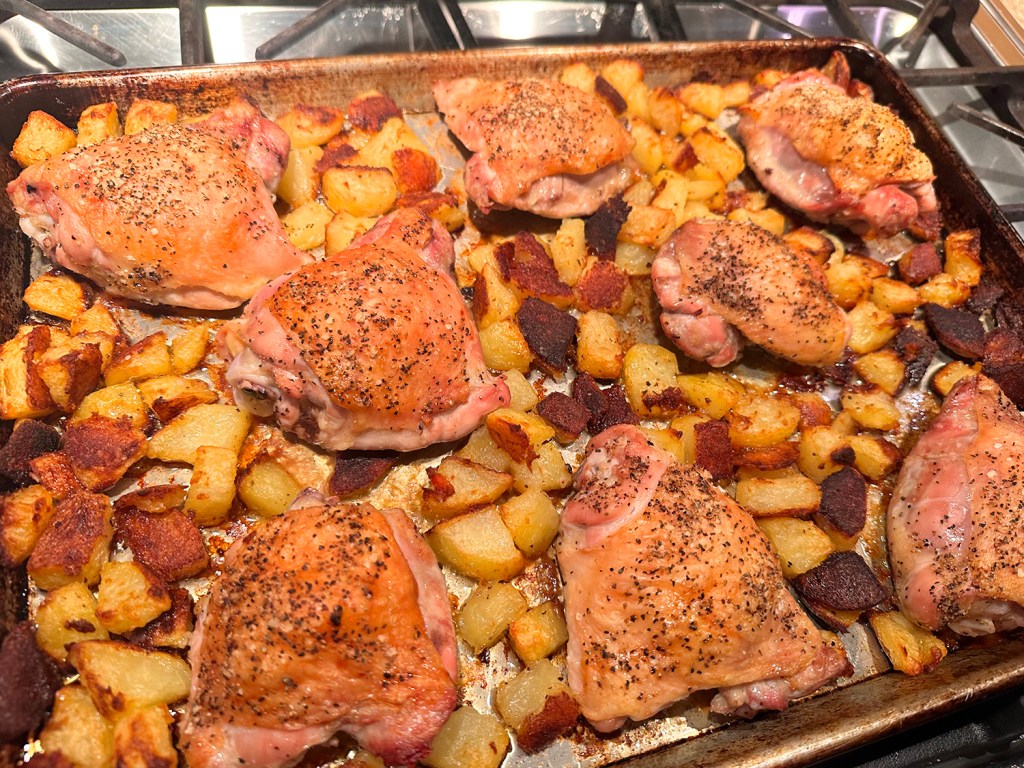
A simple dish of crisp-skinned, tender chicken and browned, lightly crisped potatoes that are infused with chicken flavor. In fact, only three ingredients, plus salt and pepper—to end up with a delicious dinner, who doesn’t like that? Throw in a side salad, voila, dinner done!

OK, in the first go-around as beta-testers for America’s Test Kitchen, the recipe was a pared-down version of the one they actually published months later in Cook’s Illustrated. This updated rendering has 5 additional spices in the list of ingredients. As fans of bold tastes, we welcomed the extra seasonings. If you’d like to keep it simple, just omit the chili powder through cayenne.

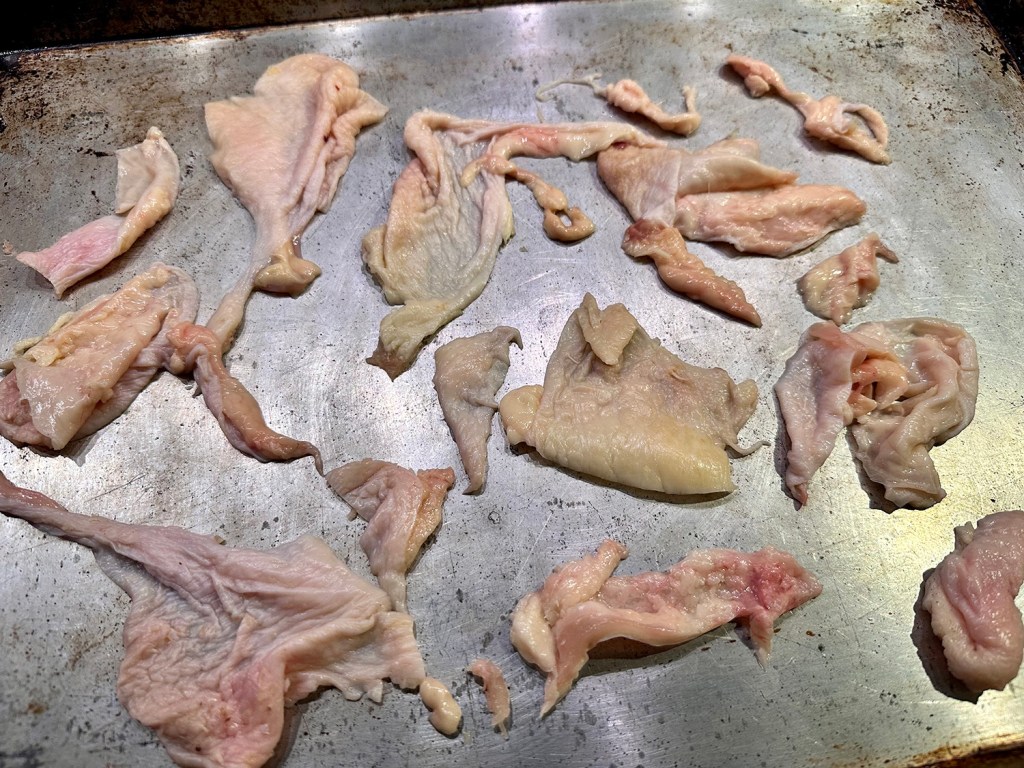
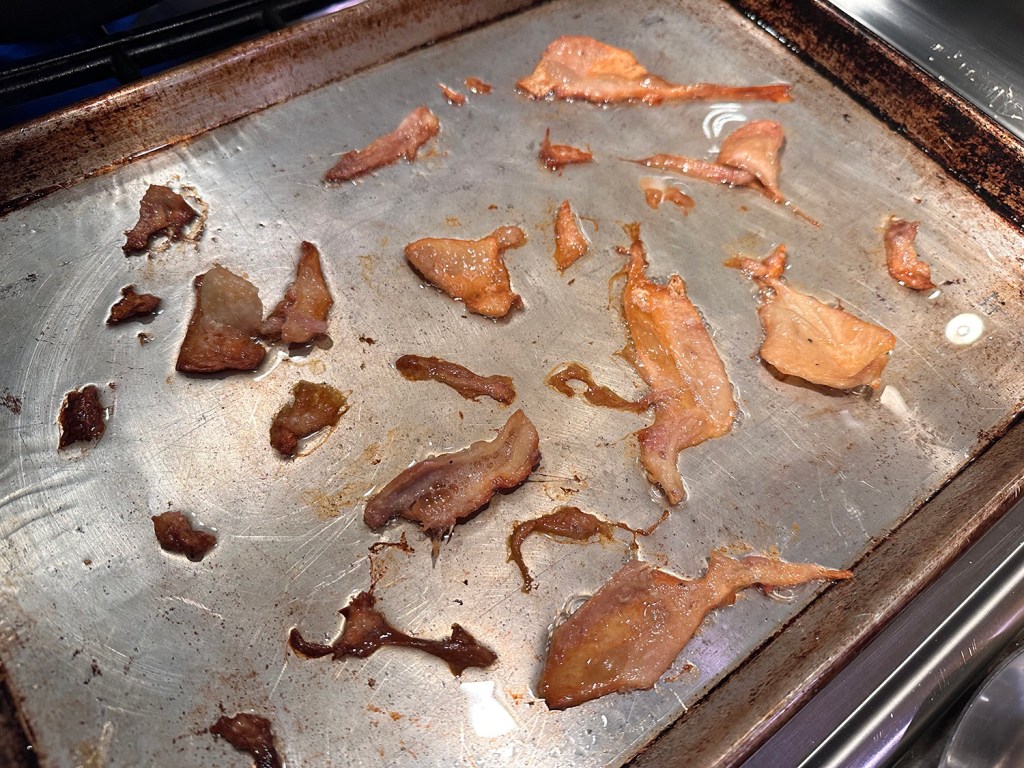
Chicken thighs have plenty of flavorful juices and fat, but they don’t release them until the meat is almost done, which is far too late to be helpful in roasting your potatoes. To better utilize the fat from the chicken, trim the thighs well and roast the trim on its own on a rimmed baking sheet to render its fat.

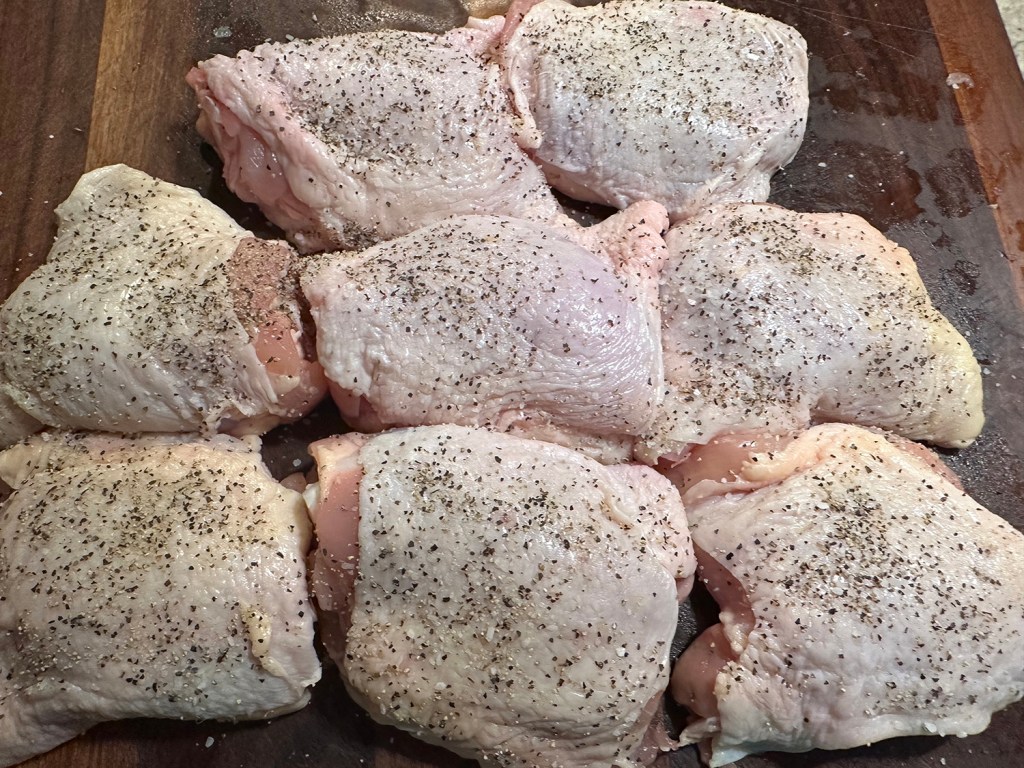
Meanwhile, slash the flesh side of the thighs and cover them with a simple spice mix, taking care to get the mixture deep into the slashes. To ensure that the potatoes could absorb all the savory juices thrown off by the roasting chicken thighs, parboil the spuds with baking soda. Its alkalinity quickly breaks down the pectin in the exteriors.

After drying the potatoes briefly, stir them vigorously with the fat rendered from the chicken trim and some kosher salt. The salt roughs up the exteriors, creating plenty of entry points for the flavorful chicken juices to suffuse the spuds as they roast.

Starting the potatoes lower in the oven provides plenty of bottom heat to jump-start browning. After adding the chicken, move the sheet up in the oven where the plentiful top heat ensures that the chicken skin becomes crisp. Sliced scallion and a spritz of citrus provide fresh flavor that complements the richness of the potatoes and chicken.

NOTE: Chicken thighs are very forgiving, so don’t worry if yours are of different sizes.

  • Difficulty: easy
  • Print

Ingredients

  • 3½ tsp. kosher salt, divided
  • 1 Tbsp. chili powder
  • 1 tsp. paprika
  • ½ tsp. pepper
  • ½ tsp. garlic powder
  • ¼ tsp. cayenne pepper
  • 3 lbs. bone-in chicken thighs
  • 3 lbs Yukon gold potatoes, peeled and cut into 1-inch pieces
  • ½ tsp. baking soda
  • 1 scallion, sliced thin on bias
  • lime wedges

Directions

  1. Adjust oven racks to upper-middle and lower-middle positions and heat oven to 450 degrees.
  2. Place 1 thigh skin side down on cutting board. Cut away any pockets of fat and any skin that extends beyond meat and reserve trim. Repeat with remaining thighs. Scatter trim over surface of rimmed baking sheet and roast on lower rack until trim is mostly crisped and rendered, about 10 minutes. Discard trim and leave fat in baking sheet.
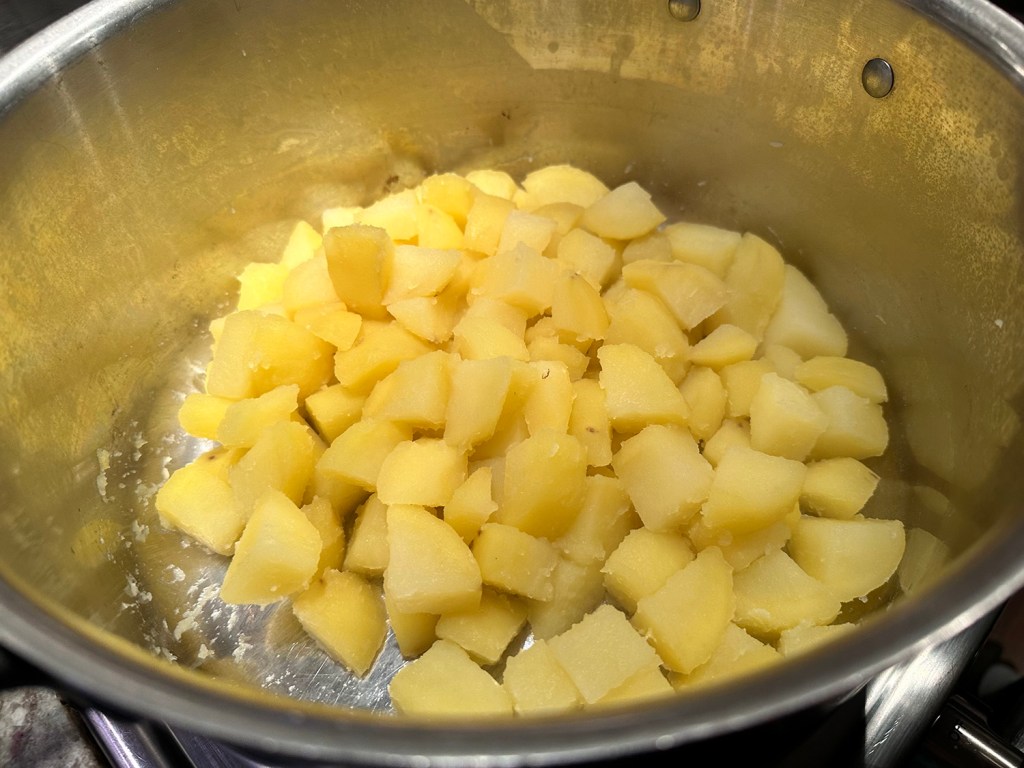
  3. While trim is rendering, bring 8 cups water to boil in Dutch oven. Add potatoes and baking soda and return to boil. Boil for 2 minutes and drain well. Return potatoes to Dutch oven and place over low heat. Cook, shaking pot occasionally, until any surface moisture has evaporated, about 2 minutes. Remove from heat.
  4. Add 2 teaspoons salt and rendered chicken fat and stir with rubber spatula until potatoes are coated with starchy paste, about 30 seconds. Transfer potatoes to now-empty sheet pan and spread into even layer. Roast on lower rack until undersides of potatoes are brown and crisp, about 20 minutes.
  5. While potatoes are roasting, season chicken on both sides with remaining 1 ½ teaspoons salt and pepper. Let sit on cutting board until needed. Using thin metal spatula, flip potatoes. Push potatoes aside to clear one space for each thigh. Place thighs skin side up in cleared spaces.
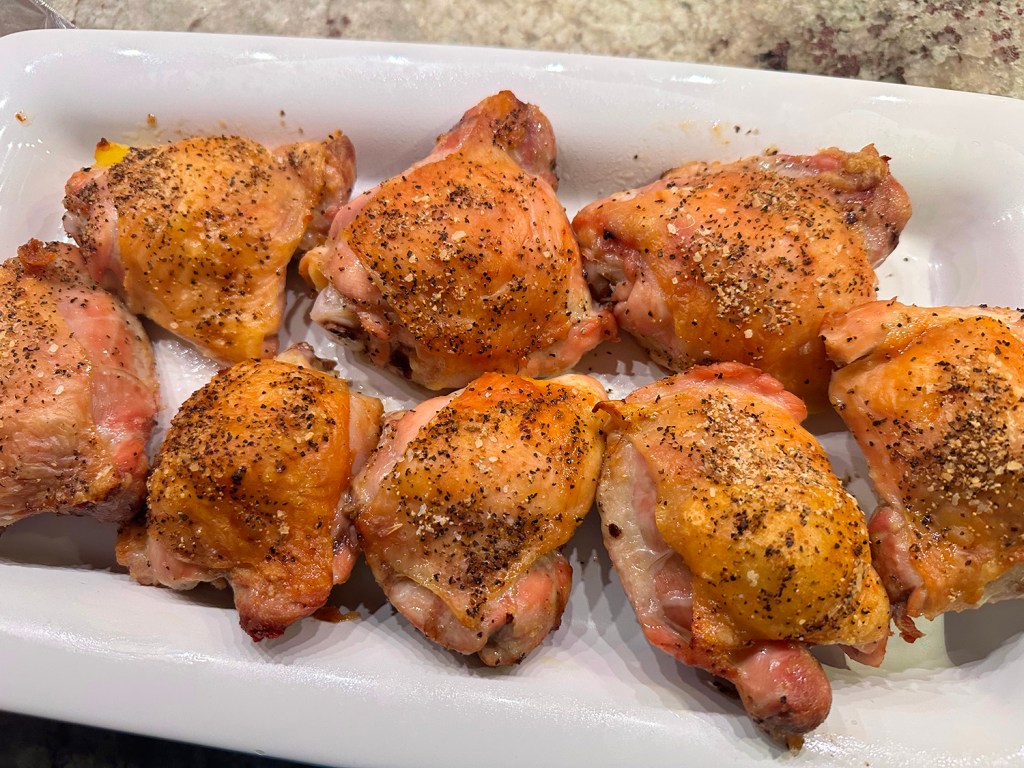
  6. Roast on upper-middle rack until chicken is browned, crisp, and the largest thigh registers at least 185 degrees, about 40 minutes.
  7. Transfer thighs to platter to rest. Stir potatoes and spread over surface of baking sheet. Return to upper rack and roast until potatoes are mostly dry, about 5 minutes. Transfer to platter with chicken and serve.

http://www.lynnandruss.com

Recipe by Andrea Geary for America’s Test Kitchen

Baked Cod with Lemon and Garlic

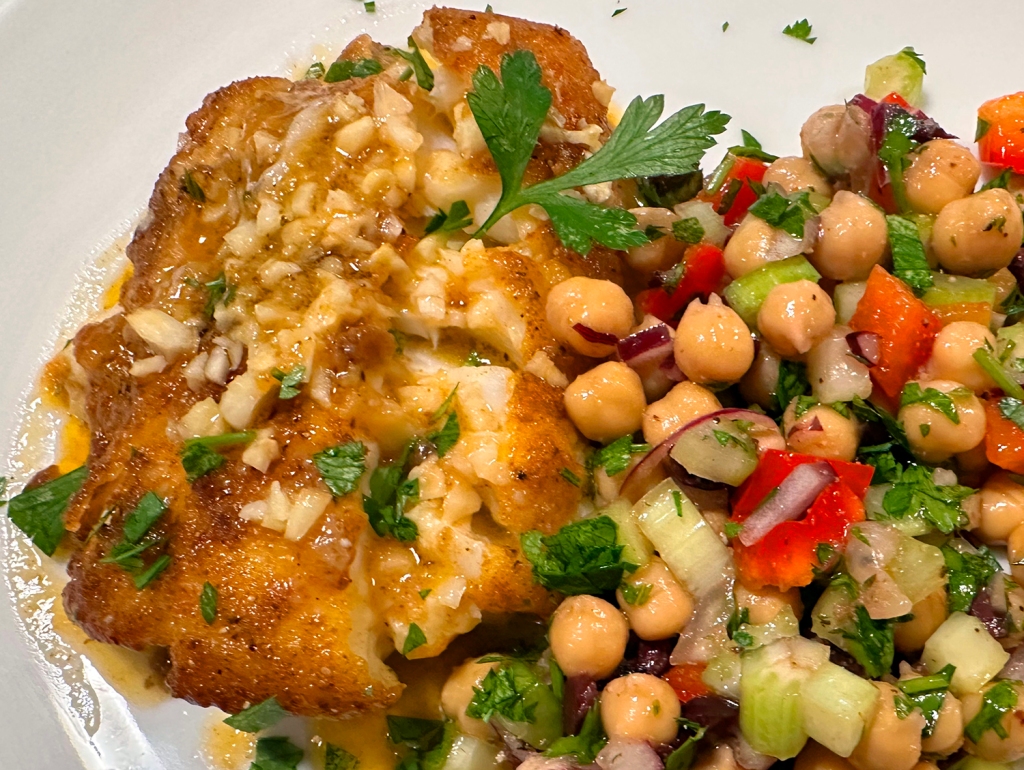
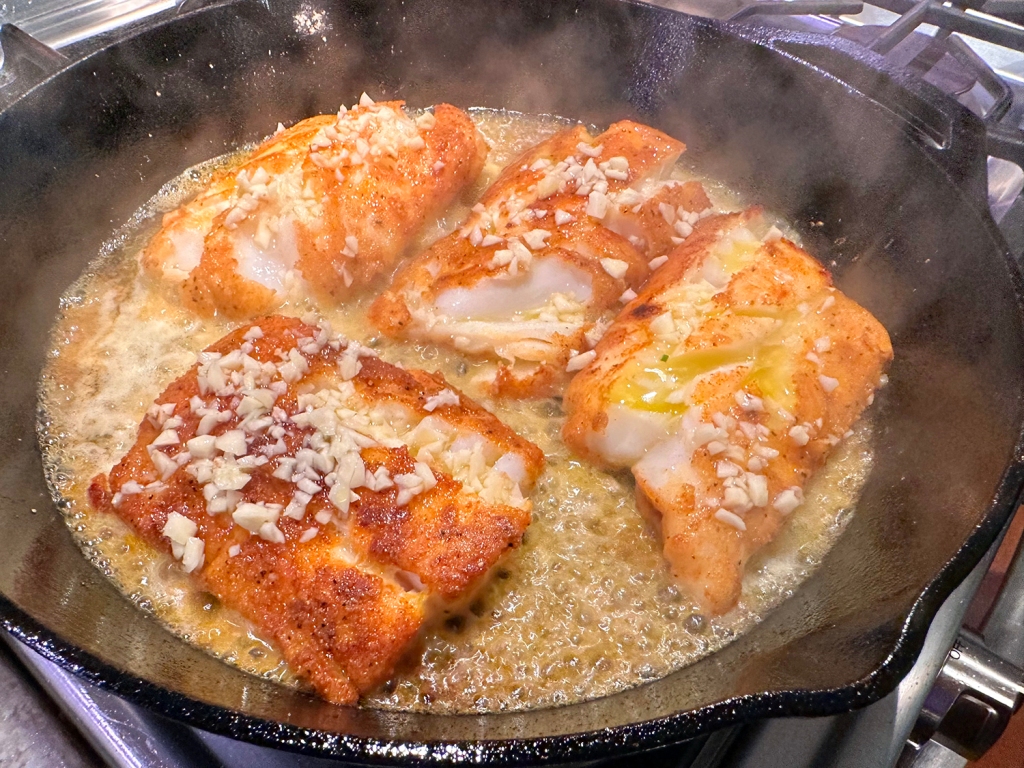
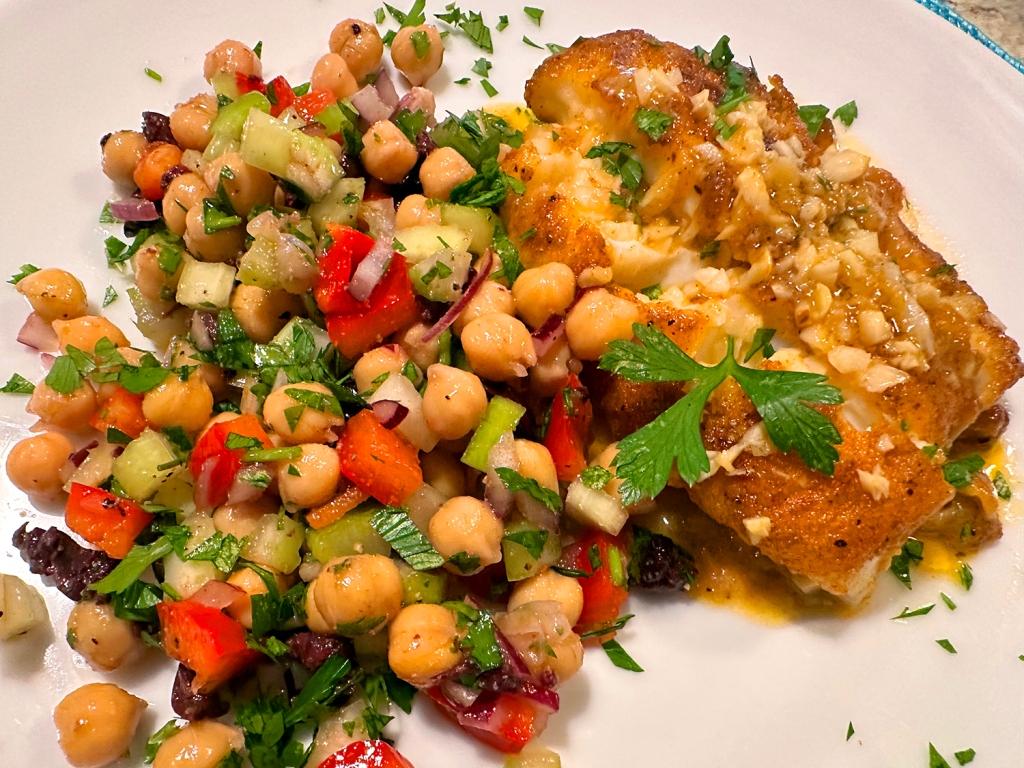
Not only is this one of the best fish recipes, you can make it in no time. Prepared Mediterranean-style with a few spices and a mixture of lemon juice, olive oil and lots of garlic, it bakes in only 15 minutes!

We paired our cod with another dish from Suzy Karadsheh, Mediterranean Chickpea Salad, a union made in heaven. You bet we’ll be making both of these real soon….

Baked Cod with Lemon and Garlic

  • Servings: 4
  • Difficulty: easy
  • Print

Ingredients
  • 1 1/2 lbs. cod fillet, cut into 4 pieces
  • 1/4 cup chopped fresh parsley leaves

Lemon Sauce:

  • 5 Tbsp. fresh lemon juice
  • 5 Tbsp. extra virgin olive oil
  • 2 Tbsp. melted butter
  • 5 cloves garlic, minced

For Coating:

  • 1/3 cup all-purpose flour
  • 1 tsp. ground coriander
  • 3/4 tsp. sweet Spanish smoked paprika
  • 3/4 tsp. ground cumin
  • 3/4 tsp. salt
  • 1/2 tsp. black pepper
Instructions
  1. Preheat oven to 400 degrees F.
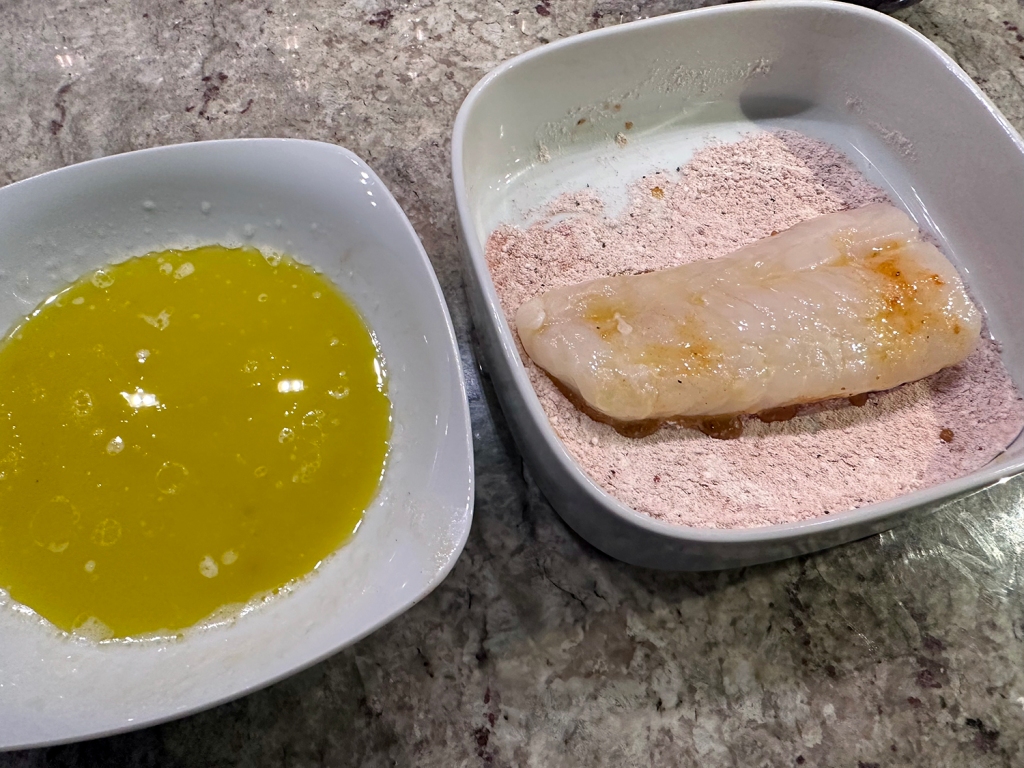
  2. Mix together the lemon juice, olive oil, and melted butter in a shallow bowl (do not add the garlic yet). Set aside.
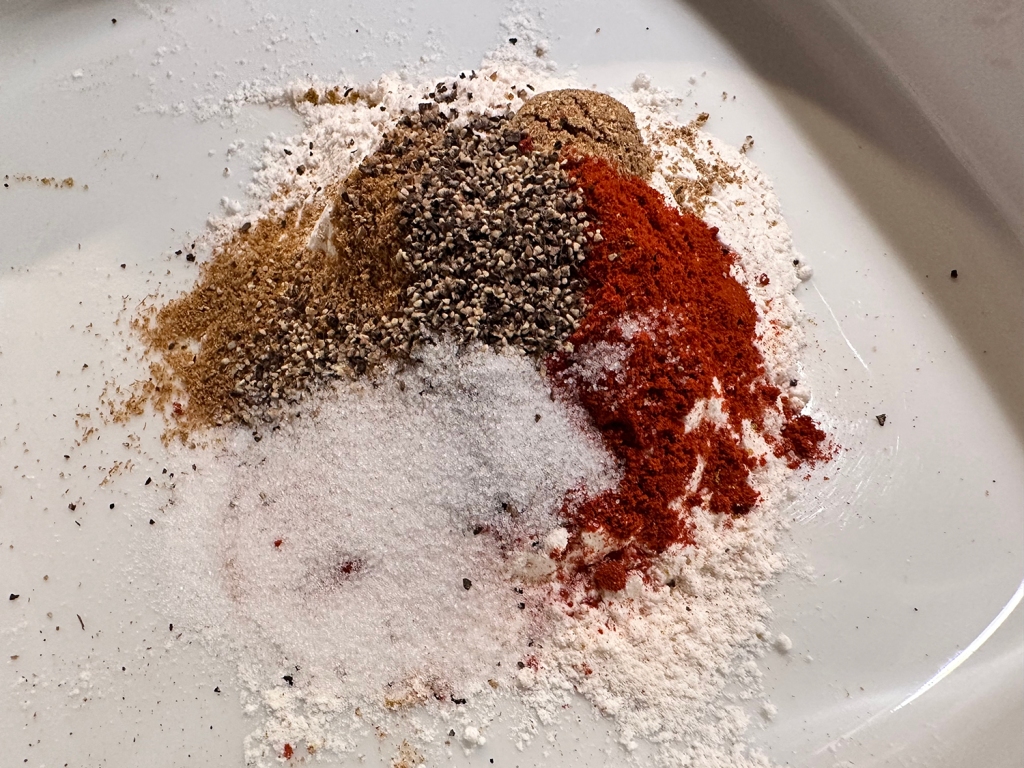
  3. In another shallow bowl, mix the all-purpose flour, spices, salt and pepper. Set next to the lemon sauce.
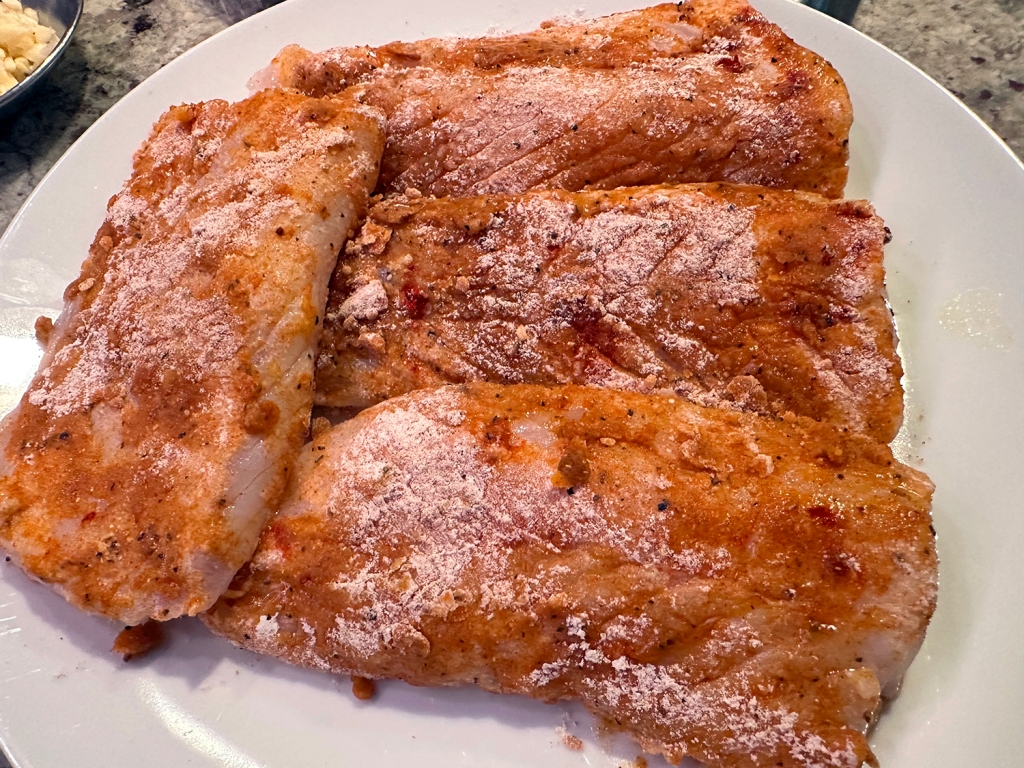
  4. Pat the fish dry. Dip the fish in the lemon sauce then dip it in the flour mixture. Shake off excess flour. Reserve the lemon sauce for later.
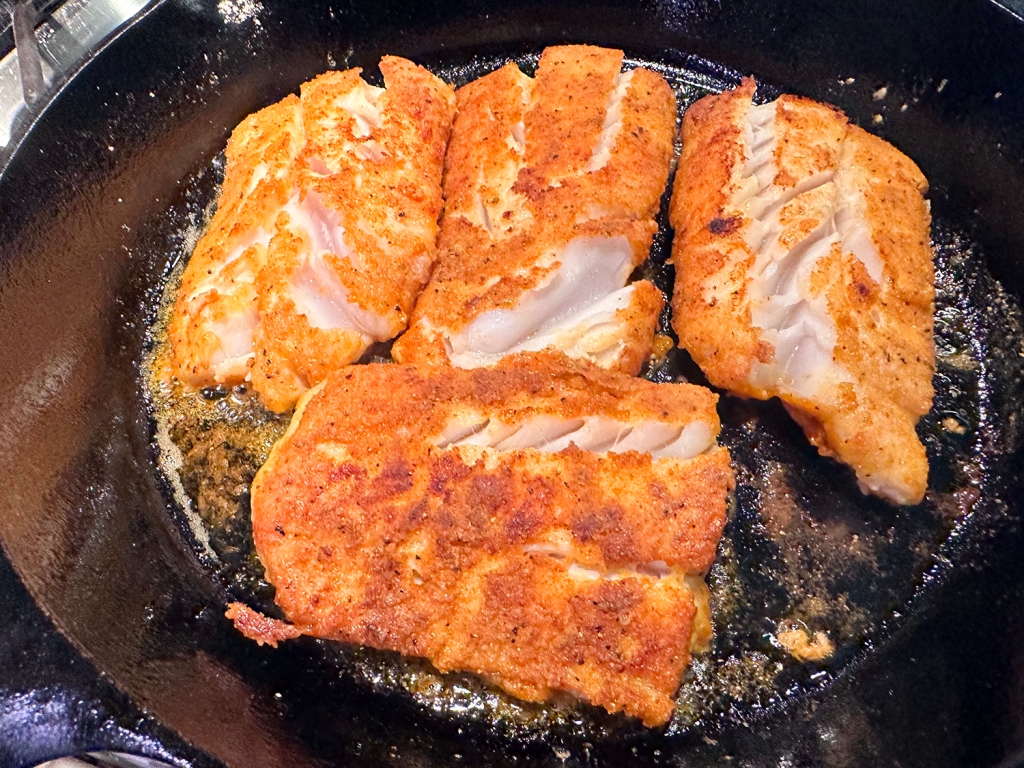
  5. Heat 2 tablespoon olive oil in a cast iron skillet (or an oven-safe pan) over medium-high heat (watch the oil to be sure it is shimmering but not smoking). Add the fish and sear on each side to give it some color, but do not fully cook (about 2 minutes on each side). Remove the skillet from heat.
  6. To the remaining lemon sauce, add the minced garlic and mix. Drizzle all over the fish fillets.
  7. Bake in the heated oven until the fish flakes easily with a fork (10 minutes should do it, but begin checking earlier). Remove from the heat and sprinkle chopped parsley. Serve immediately.

http://www.lynnandruss.com

Recipe by Suzy Karadsheh

Mediterranean Chickpea Salad

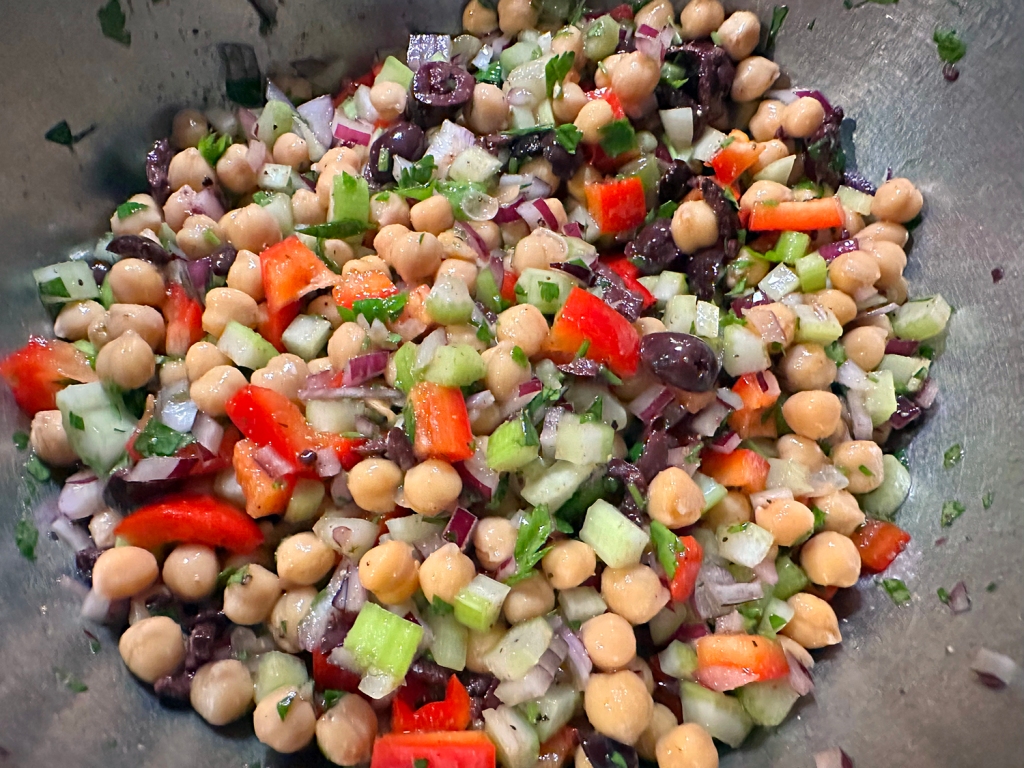
This salad was a suggested side dish for a wonderful Baked Cod with Lemon and Garlic entrée we recently made, and what a perfect pairing it was!

This chickpea salad hits all the right notes—crunchy, briny, salty, tangy, and a little bit sweet from the bell pepper (which we used a whole, as opposed to just a half of). Think of it as a “kitchen sink” type of salad, because you can really throw in a variety of produce that’s hanging out in your fridge—grated carrots, chopped zucchini, different herbs.

And go ahead and roughly chop the celery leaves and toss them into the salad, too; they add a sharper celery flavor and another layer of texture. It makes a great side dish for grilled chicken or fish, but you can indulge straight as a light yet filling meal, too.

Mediterranean Chickpea Salad

  • Servings: 4-8
  • Difficulty: easy
  • Print

Ingredients

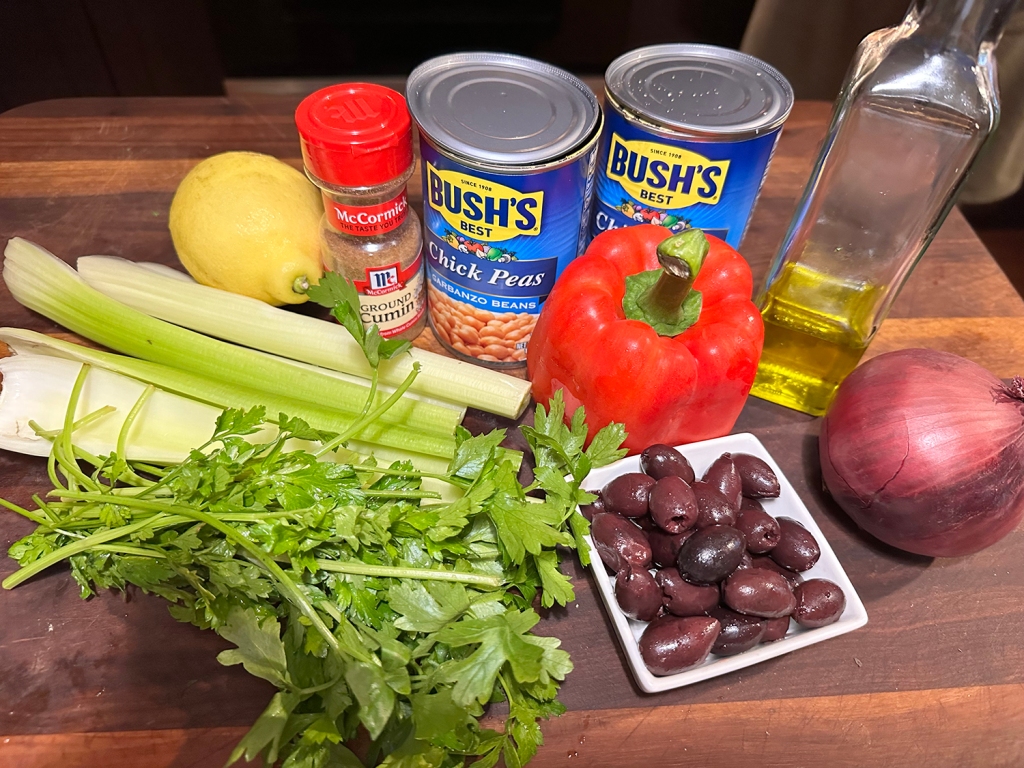
  • 2 cans chickpeas, (15.5-oz.) drained and rinsed
  • 4 stalks celery, cut into a small dice
  • 1/2 cup flat-leaf parsley, roughly chopped
  • 1/2 red onion, cut into a small dice
  • 1 red bell pepper, cut into a small dice
  • 1/2 cup kalamata olives, pitted and chopped
  • 1 1/2 tsp. cumin
  • 1/4 cup olive oil
  • 1 lemon, juiced
  • Salt and freshly ground black pepper

Directions

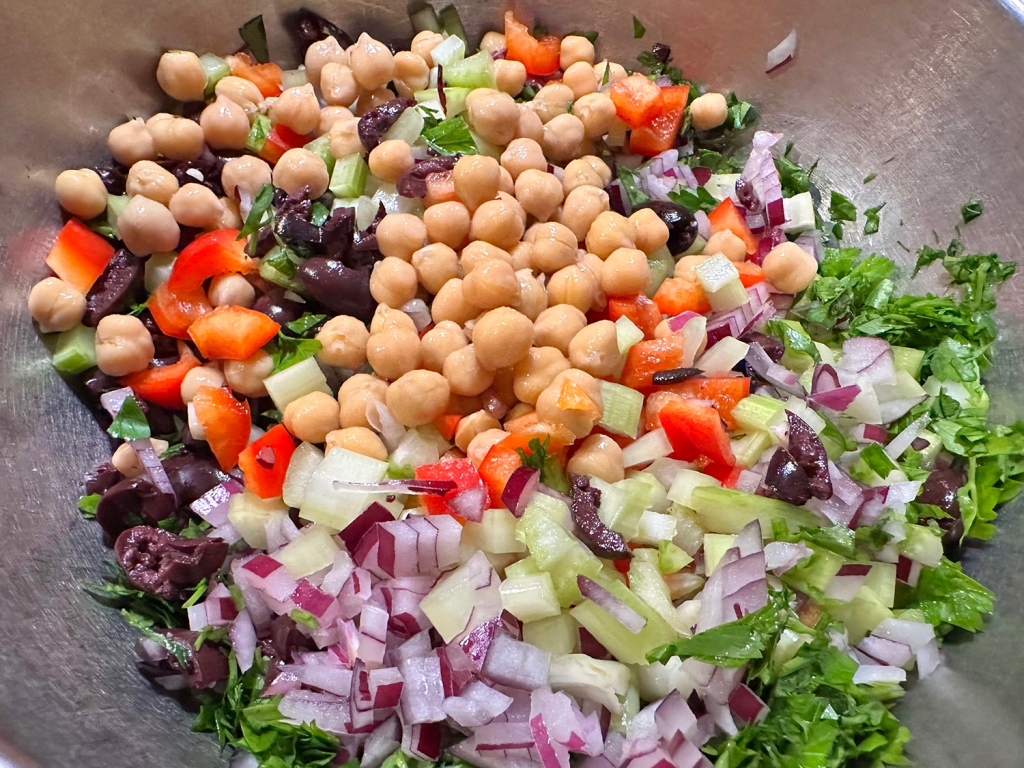
In a large bowl, combine the chickpeas, celery, parsley, onion, red pepper, and olives. Combine cumin, olive oil, and lemon juice, mix well, and season to taste with salt and pepper. Toss with salad ingredients and serve.

http://www.lynnandruss.com

Adapted from a recipe by Maggie Shi for The Mediterranean Dish

Creamy Cucumber Salad with Radish, Lemon Zest and Dill

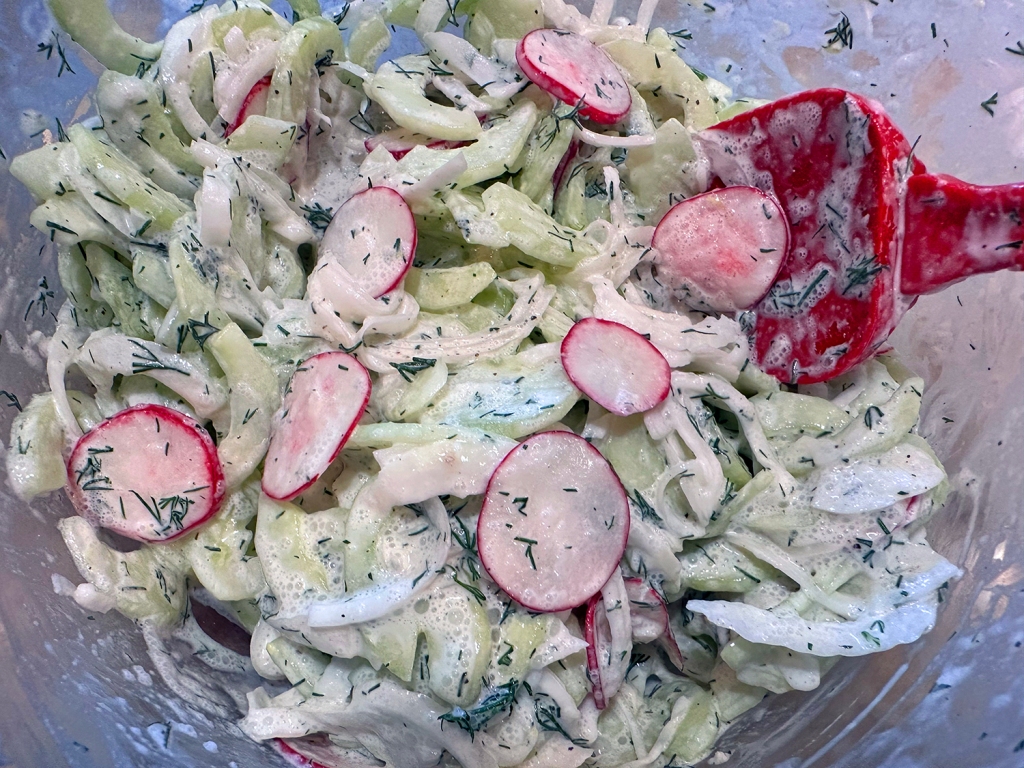
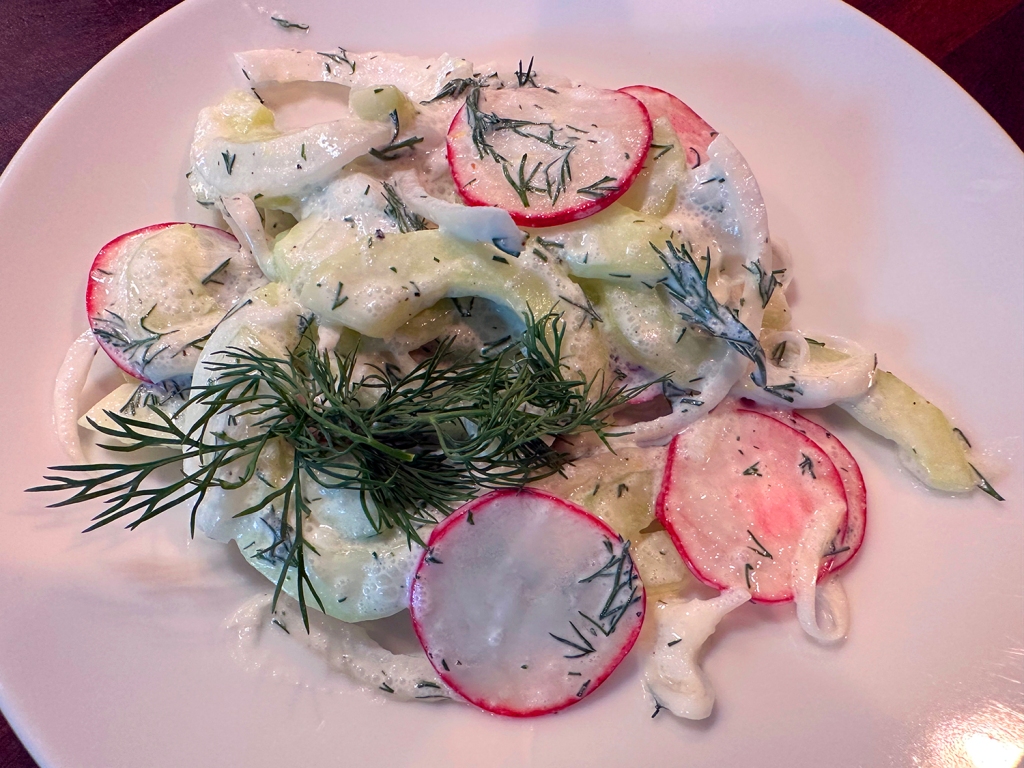
With this cool, creamy, crunchy cucumber salad, two simple techniques help prevent a watery salad in which the onion thinks it’s boss. But it’s the end result which really WOWS!

It is a great companion to any chicken, steak, pork, lamb or other meaty entrée; or even by itself as a vegetarian option. Be sure to allow the cucumbers to sit the full 20 minutes before folding them into the dressing. Another perk? These salads can be made up to 24 hours in advance.

Creamy Cucumber Salad with Radish, Lemon Zest and Dill

  • Servings: 4-6
  • Difficulty: easy
  • Print

Ingredients

  • 3 cucumbers, peeled, halved lengthwise, seeded, and sliced thin
  • ½ cup thinly sliced red or Spanish onion
  • 3 Tbsp. cider vinegar
  • ½ cup sour cream
  • 3 Tbsp. chopped fresh dill, (or mint if you prefer)
  • 1 tsp. grated lemon zest
  • ½ tsp. granulated sugar
  • Salt and pepper
  • 6 radishes, trimmed and sliced thin

Directions

  1. Spread cucumber slices in single layer on paper towel–lined baking sheet; refrigerate for 20 minutes. Combine onions and vinegar in bowl and let sit for 20 minutes.
  2. Whisk sour cream, dill, zest, sugar, and ½ teaspoon salt together in large bowl. Add cucumbers, radishes, and onion-vinegar mixture, and toss to combine.
  3. Season with salt and pepper to taste. Serve.

http://www.lynnandruss.com

Adapted from a recipe for Cook’s Country

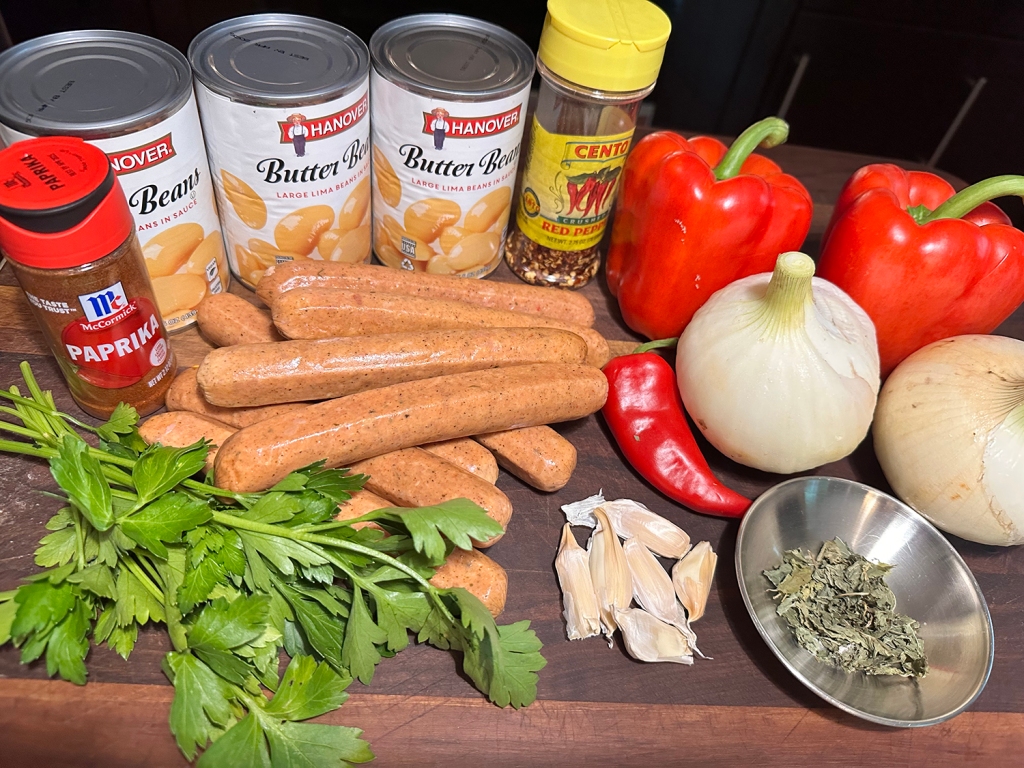
Baked White Beans and Sausages with Paprika, Onions and Sweet Peppers

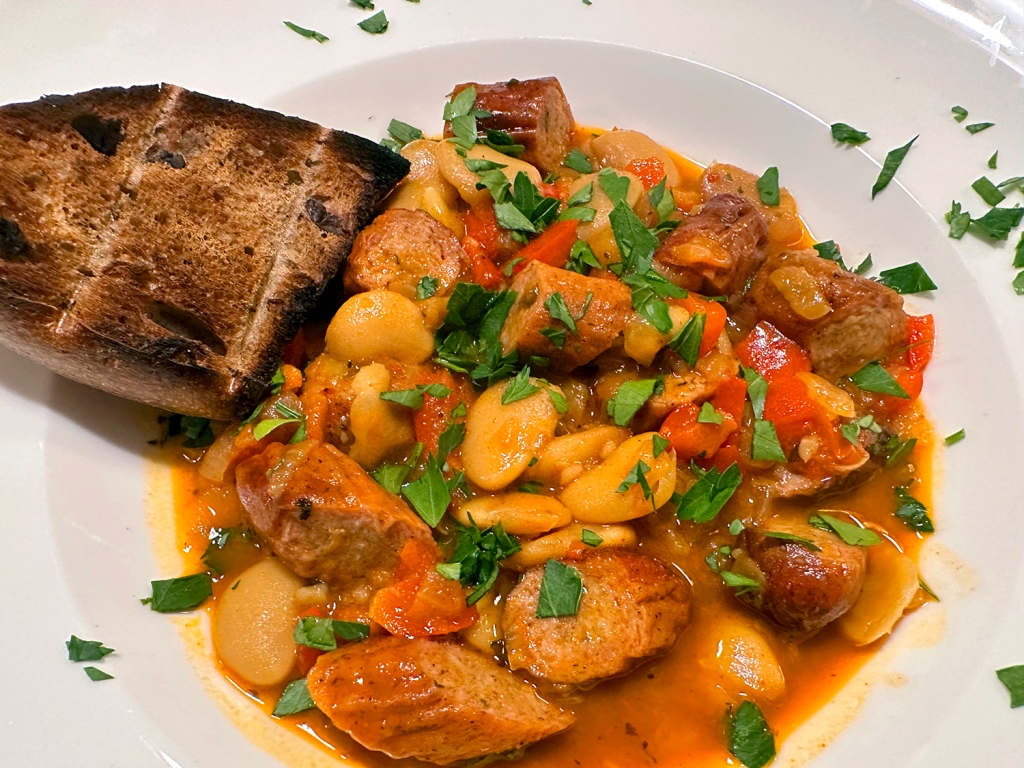
This lovely, tasty “stew” is all done in one pot, which appeals to many home cooks. The time commitment is nearly two hours, so it is not necessarily a weeknight effort. Our concern was if the butter beans would hold up and not turn to mush in that amount of time. Spoiler alert—they were perfect. And all of the wonderful flavors melded together. It’s even better as leftovers!

The story from Milk Street reads “tavče gravče, which translates as “beans in a pan,” is a Macedonian classic. Traditionally, large dried white beans called tetovac, named after a city in northwestern Macedonia, are the star of the rustic dish, while onions, garlic, peppers and paprika provide deep, rich flavor and color.”

The convenience of canned butter beans, which are plump, creamy and the best widely available alternative to tetovac beans was the obvious choice here. If butter beans are difficult to find, cannellini beans work, too. Combined with sautéed aromatics and baked for an hour with smoked sausages, the beans turn silky-soft and deeply flavorful. Serve with crusty bread on the side.

Don’t forget to reserve 1½ cups of the bean liquid before draining the cans. The liquid is added to the pot and keeps the beans plump and moist during baking. (If the amount of liquid from the cans comes up short, make up the difference with more water.) To ensure enough liquid evaporates during cooking, use a Dutch oven with a wide diameter—ideally between 11 and 12 inches.

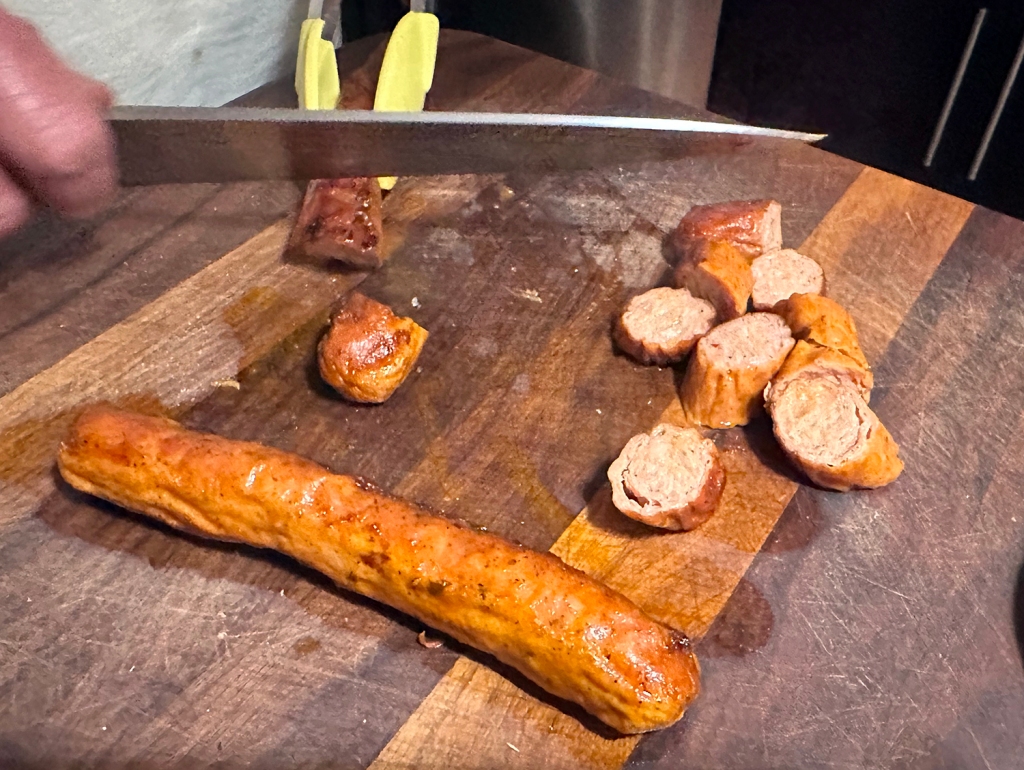
We used smoked chicken Andouille sausages, and paired with a thick, crusty slice of toasted olive loaf and a side salad.

Baked White Beans and Sausages with Paprika, Onions and Sweet Peppers

  • Servings: 6
  • Difficulty: easy
  • Print

Ingredients

  • 4 Tbsp. grapeseed or other neutral oil, divided
  • 2 medium yellow onions, chopped
  • 2 medium red bell peppers, stemmed, seeded and chopped
  • Kosher salt and ground black pepper
  • 6 medium garlic cloves, thinly sliced
  • 4 tsp. sweet paprika
  • 1 1/2 tsp. dried mint (optional)
  • 3 15½-oz. cans butter beans (1½ cups liquid reserved), rinsed and drained
  • 2 dried árbol chilies OR ¼ teaspoon red pepper flakes
  • 1-1 1/4 lbs. smoked sausage, such as kielbasa or bratwurst
  • 1/4 cup lightly packed fresh flat-leaf parsley, chopped

Directions

  1. Heat the oven to 400°F with a rack in the lower-middle position. In a large Dutch oven over medium-high, heat 3 tablespoons of the oil until shimmering. Add the onions, bell peppers and 1 teaspoon salt; cook, stirring occasionally, until lightly browned, 8 to 10 minutes.
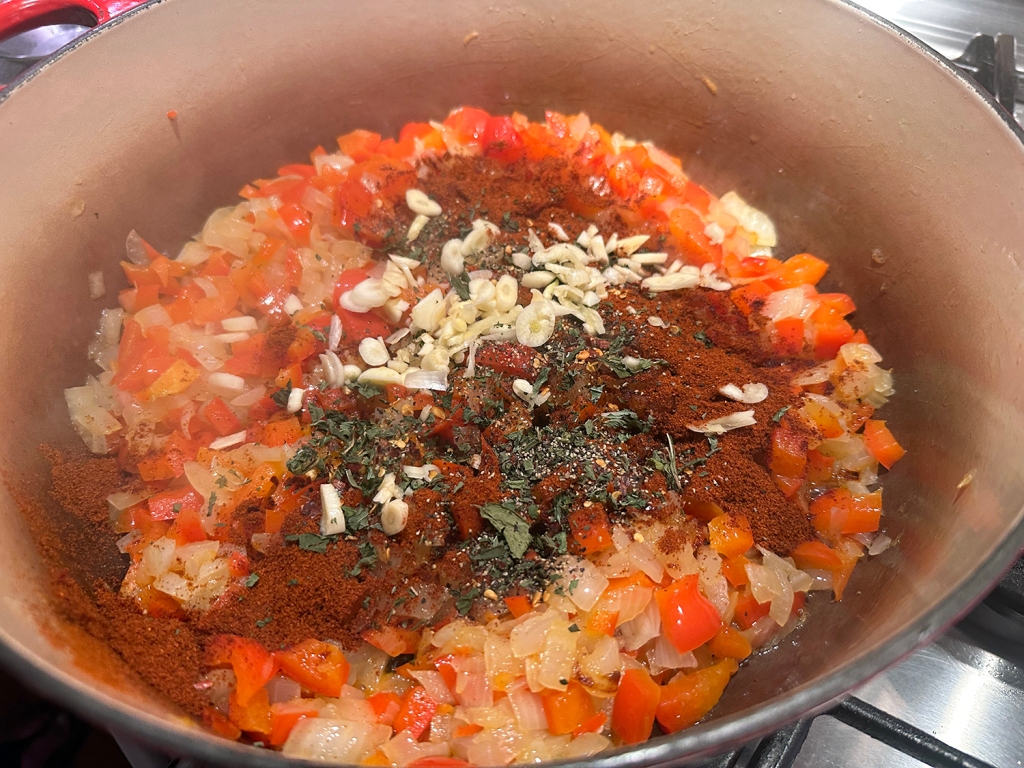
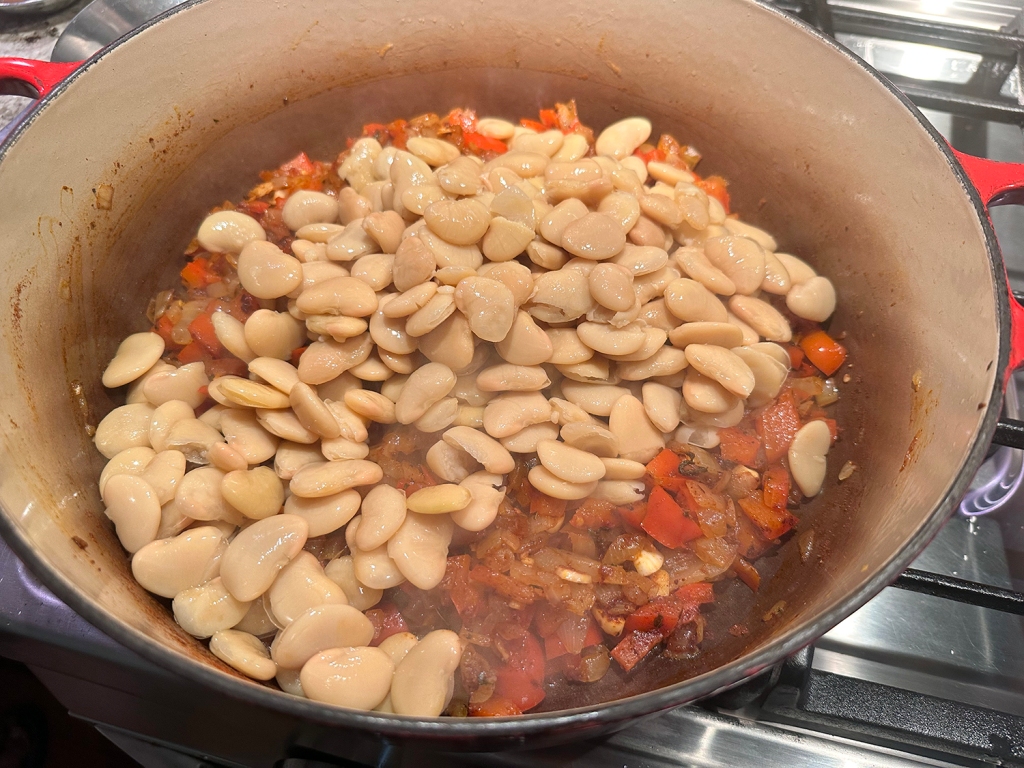
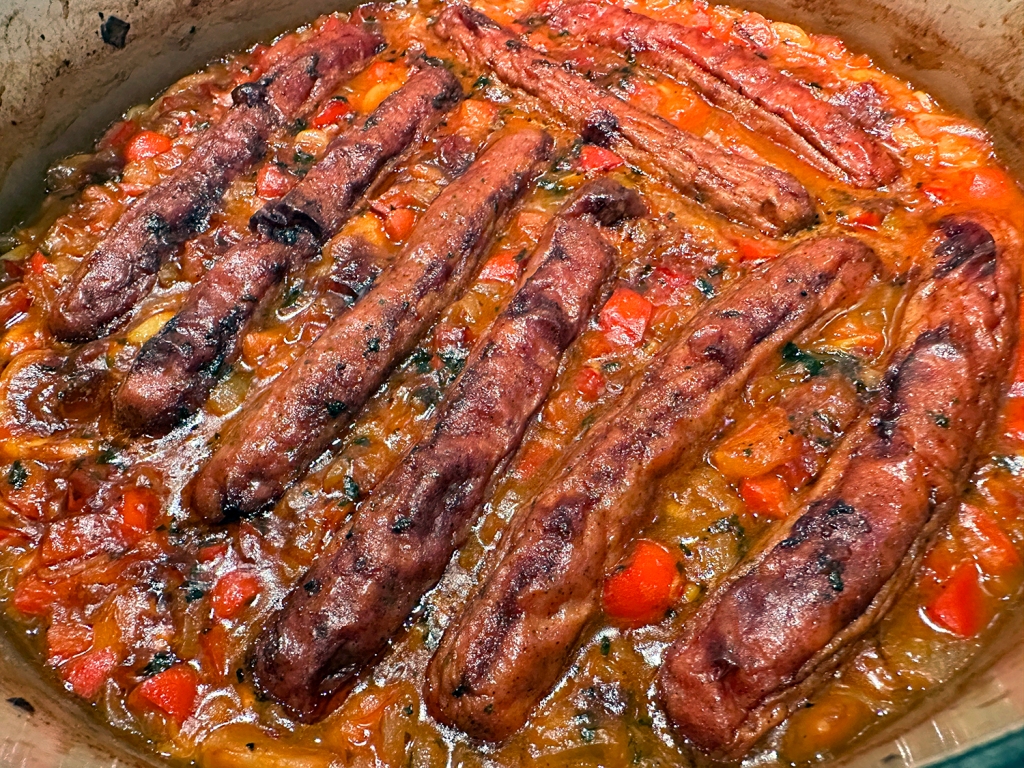
  2. Add the garlic, paprika, mint (if using) and ½ teaspoon pepper; cook, stirring, until fragrant, about 1 minute. Stir in the beans and reserved liquid, árbol chilies and 1½ cups water. Bring to a simmer, stirring occasionally, then nestle the sausages into the pot and drizzle the surface with the remaining 1 tablespoon oil. Transfer to the oven and bake, without stirring, until the sausages are browned and the beans on the surface are slightly crisped, 1 to 1¼ hours.
  3. Remove the pot from the oven and let stand, uncovered, for about 15 minutes; the bean mixture will thicken as it cools. Transfer the sausages to a cutting board. Cut them into pieces, return them to the pot and stir into the beans. Remove and discard the árbol chilies (if used). Taste and season with salt and pepper, then sprinkle with the parsley. Serve from the pot.

http://www.lynnandruss.com

Recipe by Courtney Hill for Milk Street

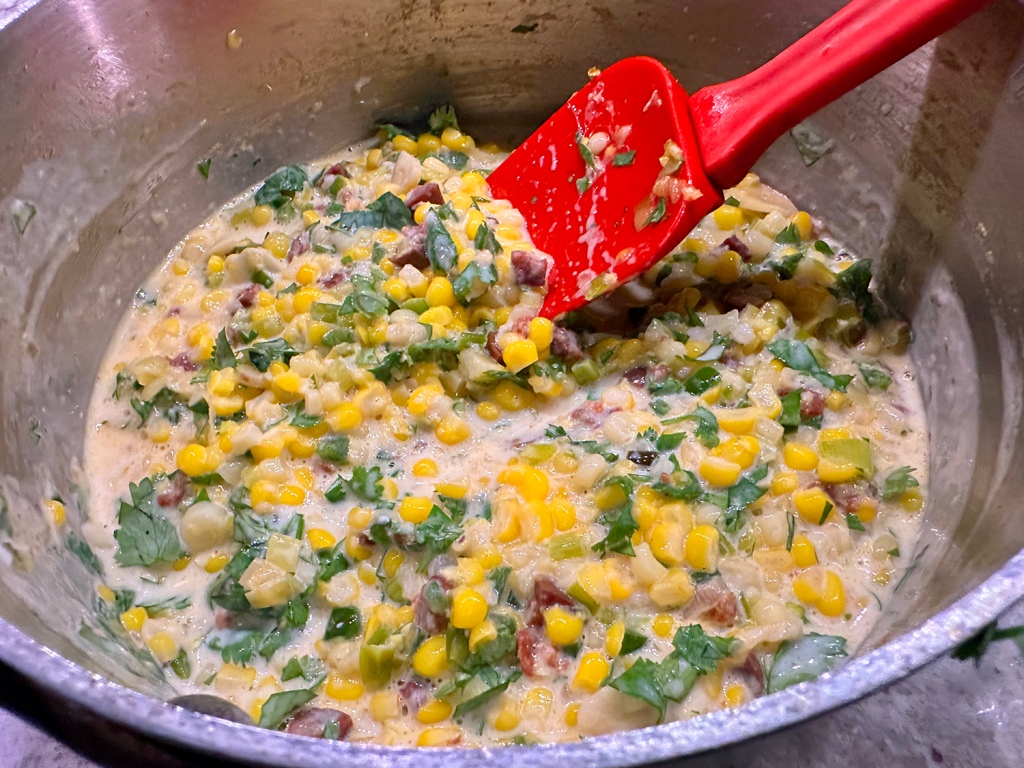
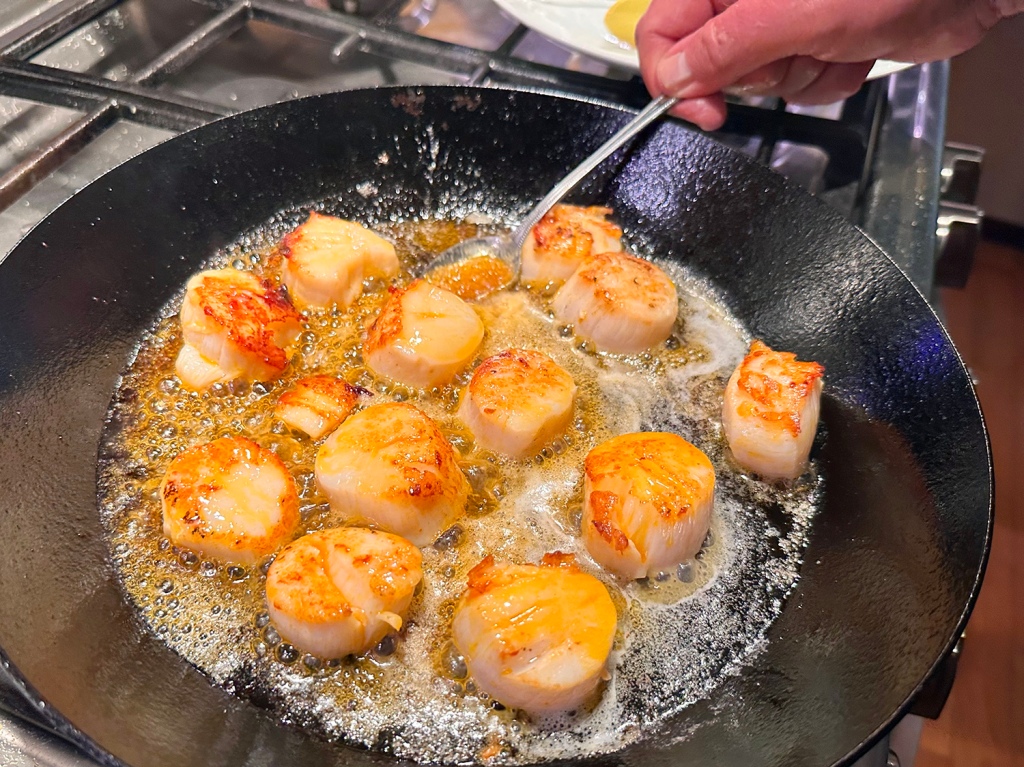
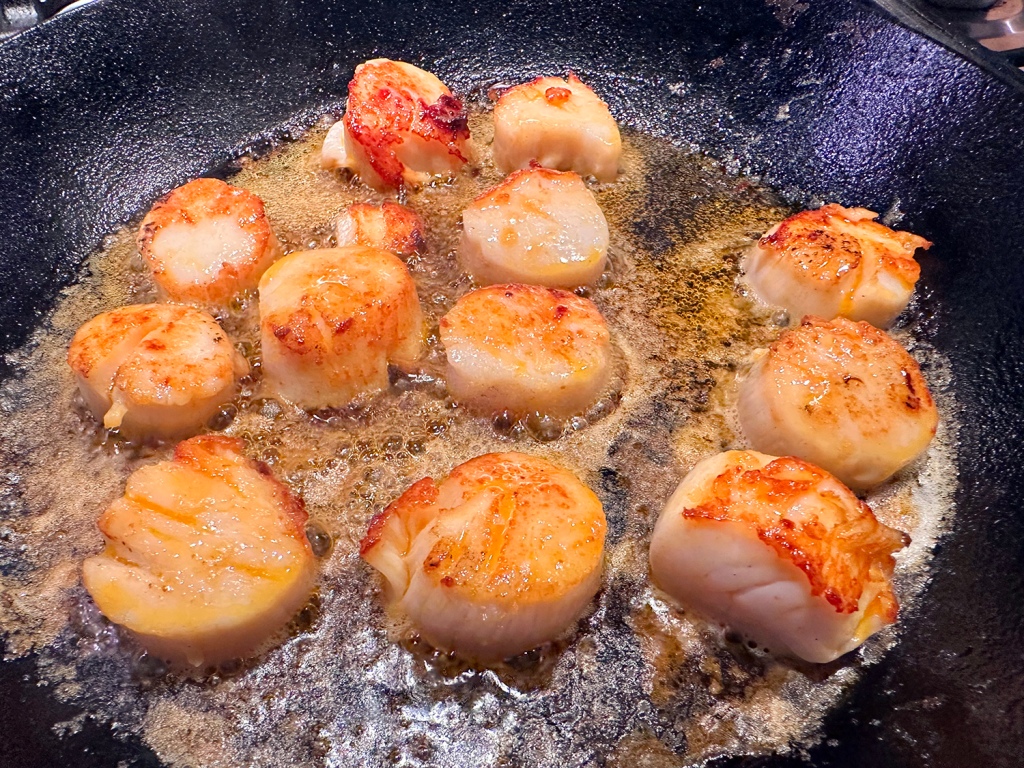
Pan-Seared Scallops With Chorizo and Corn

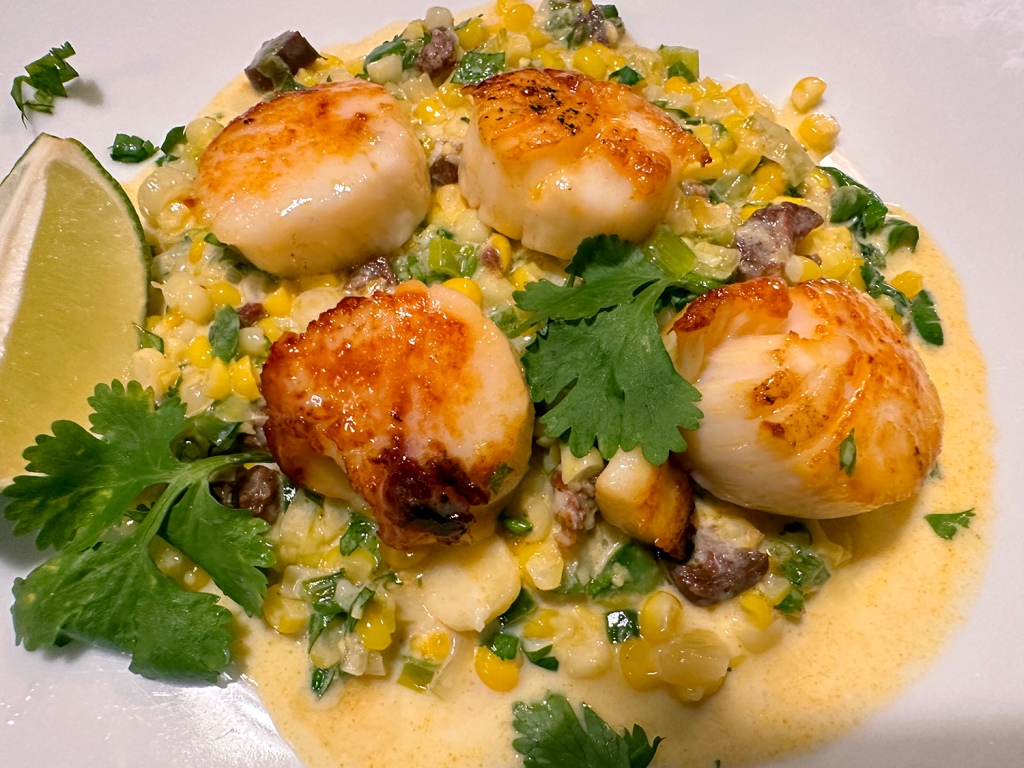
We recently made another dish that featured scallops and chorizo—an odd, but very successful combination it seems. That first Scallops and Chorizo in Tomato Sauce dish was a real hit in our house, so we thought we’d give this recipe highlighting both of those same proteins an equal chance. Oh, so glad we did. Fantabulous! Is that a word?

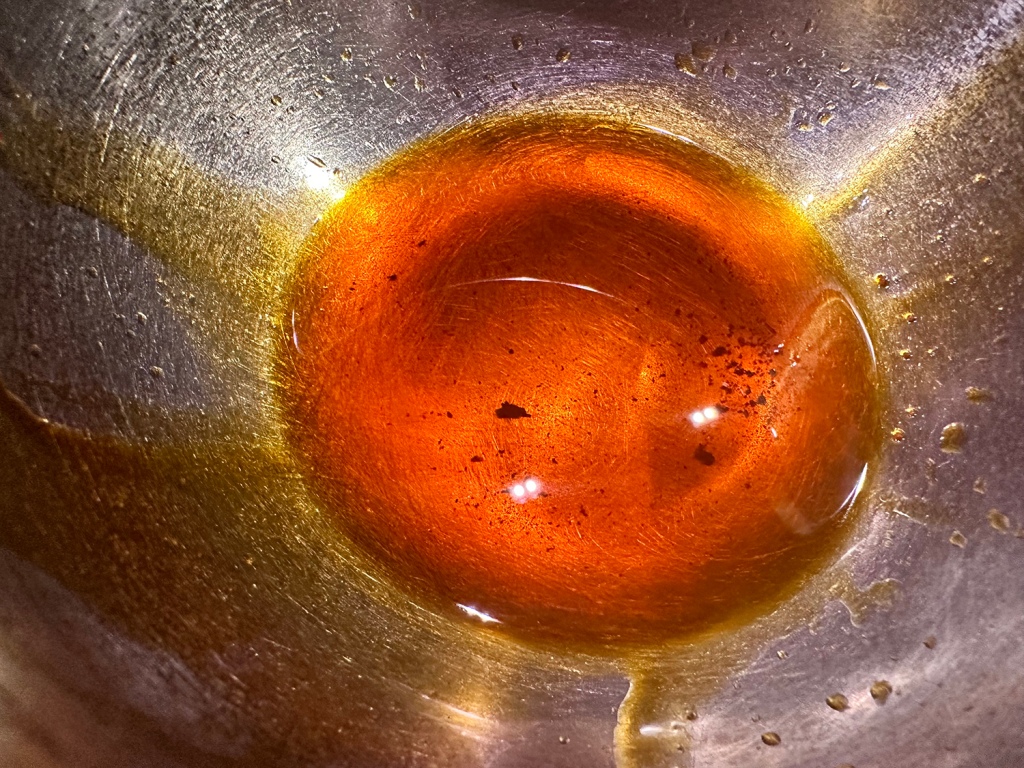
Large sea scallops are treated to the flavorful oil left behind when you cook the chorizo—and we agree with the description from Bon Appétit, “it’s basically liquid gold!”

There is no doubt, we’ll be making this again! Of course, fresh corn on the cob is a must, so you want to be making this dish during the peak of corn season, if at all possible.

Four portions seemed a little miserly to us, allowing only three scallops per diner. Split three ways, each person gets four scallops, a more reasonable quantity. You could easily use a total of 16 scallops, instead of 12, without changing the amounts of the other ingredients.

The melded flavors are fantastic with a bright note from the squeeze of fresh lime juice. We practically licked our plates clean.

Pan-Seared Scallops with Chorizo and Corn

  • Servings: 3-4
  • Difficulty: easy
  • Print

Ingredients

  • 3 ears of corn, husked
  • 3 Tbsp. extra-virgin olive oil, divided
  • 2 oz. smoked Spanish chorizo, finely chopped
  • 12 scallions, white and pale green parts only, thinly sliced
  • 4 garlic cloves, thinly sliced
  • ½–1 serrano chile (depending on heat), finely chopped
  • ¾ tsp. kosher salt, plus more
  • 1 cup buttermilk
  • ⅓ cup chopped cilantro
  • 12 large sea scallops (about 1 lb.), side muscle removed, patted dry
  • 2 Tbsp. unsalted butter
  • 1 lime, halved
  • Lime wedges (for serving)

Directions

  1. Cut kernels from corncobs and place in a medium bowl. Using the back of a chef’s knife, scrape milk from cobs into the bowl; discard cobs.
  2. Heat 1 Tbsp. oil in a medium saucepan over medium. Cook chorizo, stirring occasionally, until it starts to get crisp, about 2 minutes. Carefully pour chorizo oil into a small bowl (use a slotted spoon to hold back chorizo); set chorizo oil aside.
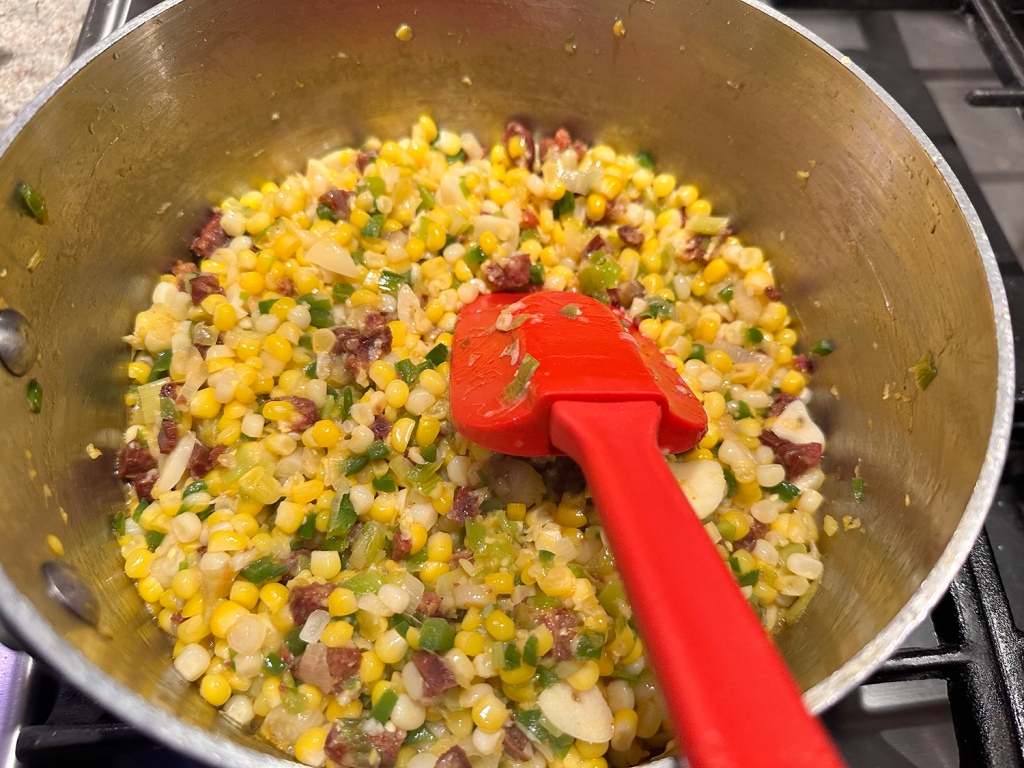
  3. Return chorizo pan to medium heat and add scallions, garlic, chile, 1 Tbsp. olive oil, and ¾ tsp. salt. Cook, stirring occasionally, until vegetables are softened but not browned, about 2 minutes.
  4. Add corn kernels and cook, stirring occasionally, until bright yellow and softened, 5–7 minutes. Remove from heat and let corn mixture cool in pan 5 minutes. Gently mix in buttermilk and cilantro. Taste and season with more salt if needed.
  5. Season scallops generously with salt. Heat reserved chorizo oil and remaining 1 Tbsp. olive oil in a large skillet over medium-high until just beginning to smoke. Cook scallops on one side, reducing heat if they are taking on too much color and moving around in pan for even browning, until a golden brown crust forms on the bottom, about 3 minutes.
  6. Reduce heat to medium-low and turn scallops over. Add butter to skillet and, using a spoon, baste scallops with butter 30 seconds. Transfer scallops to a plate. Squeeze halved lime over.
  7. Divide corn mixture among plates and arrange scallops on top. Serve with lime wedges for squeezing over.

http://www.lynnandruss.com

Recipe by Molly Baz for Bon Appétit

Frozen Negroni

A perfect libation solution to cap off the end of summer on a hot 90-some degree day at a BBQ with friends—a FROZEN NEGRONI. And since the temps are going to be soaring all week in the Mid-Atlantic area, don’t miss the opportunity to indulge.

This frozen version of the classic Italian cocktail is slushy, bittersweet, and just strong enough. Preferably slurped in the sun by a pool, it starts with the traditional 1:1:1 ratio of gin, vermouth, and Campari, then gets a dose of citrusy brightness from the addition of orange juice.

OJ does double duty here, working not only to balance the drink’s flavors but also to lower its ABV—the key to creating a mixture that will stay frozen for longer than all of three minutes. The result is a smooth, refreshing cocktail that promises to be your new warm weather fave. Consider using store-bought orange juice for an extra boost of sweetness to offset the wonderfully bitter notes of Campari. Of course, a bit of orange zest is also a welcome addition.

You’ll need a blender for this recipe, and a bit of foresight—freezing the mixture in advance is an essential step for a slushy consistency. This recipe makes eight drinks, and it is recommended you make it in full (or go ahead and double it), even if you’re serving fewer people. Keep any remaining mixture stashed in your freezer for drinks on demand all season long.

For a more aromatic garnish, add a sprig of rosemary to the orange peel twist.

Frozen Negroni

  • Servings: 8
  • Difficulty: easy
  • Print

Ingredients

  • 1½ cups Campari
  • 1½ cups gin
  • 1½ cups sweet vermouth
  • 1 cup fresh orange juice
  • Orange slices (for serving)
  • Orange zest (optional)

Directions

  1. Mix 1½ cups Campari, 1½ cups gin, 1½ cups sweet vermouth, and 1 cup fresh orange juice in a pitcher to combine. Divide evenly between 2 airtight containers. Cover negroni base and freeze until semi-frozen (it won’t fully freeze because of the alcohol), at least 8 hours.
  2. When ready to serve, transfer 1 container of negroni base to a blender and add 4 cups ice. Blend on high speed until drink is thick and smooth. Divide among 4 glasses and garnish with orange slices. Repeat with remaining negroni base and another 4 cups ice if making all 8 servings, or save for another sunny day.
  3. Do Ahead: Negroni base can be made 1 month ahead. Keep frozen.

http://www.lynnandruss.com

Recipe by Alaina Chou for Bon Appétit
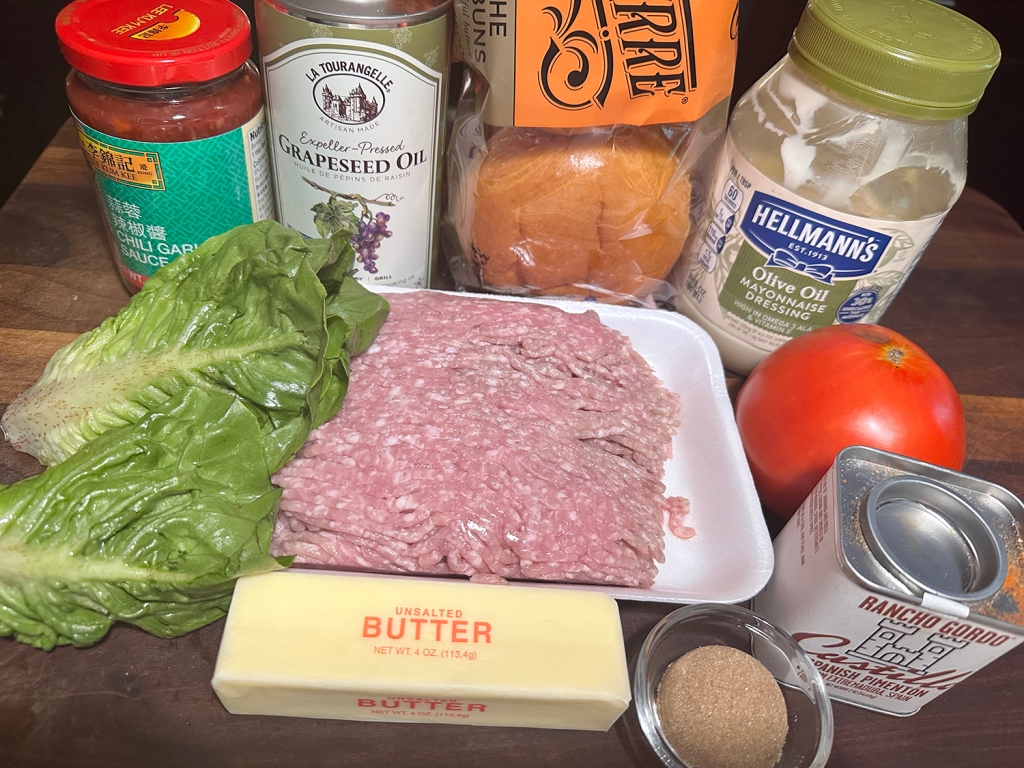
Smoky Chili-Garlic Pork Burgers

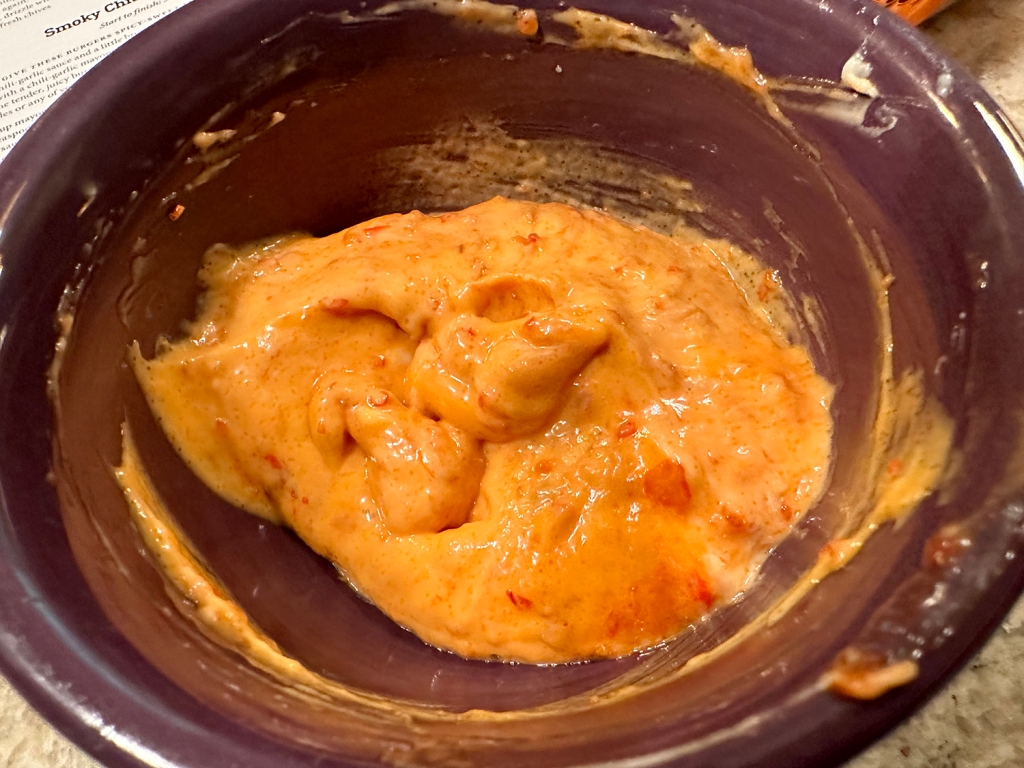
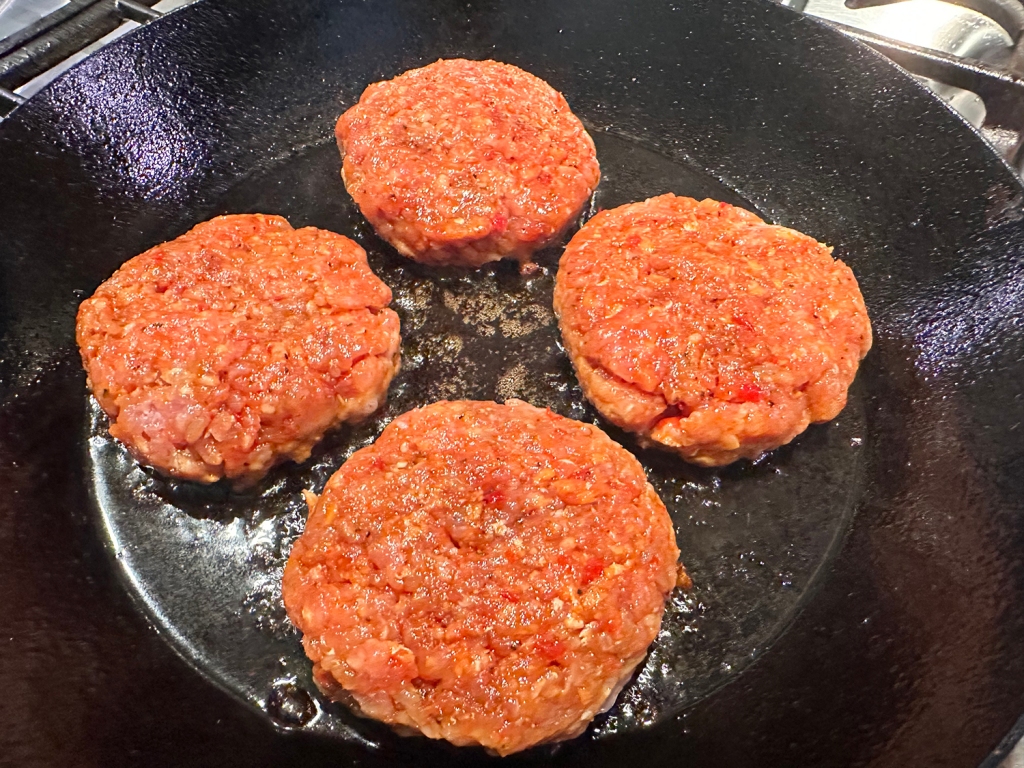
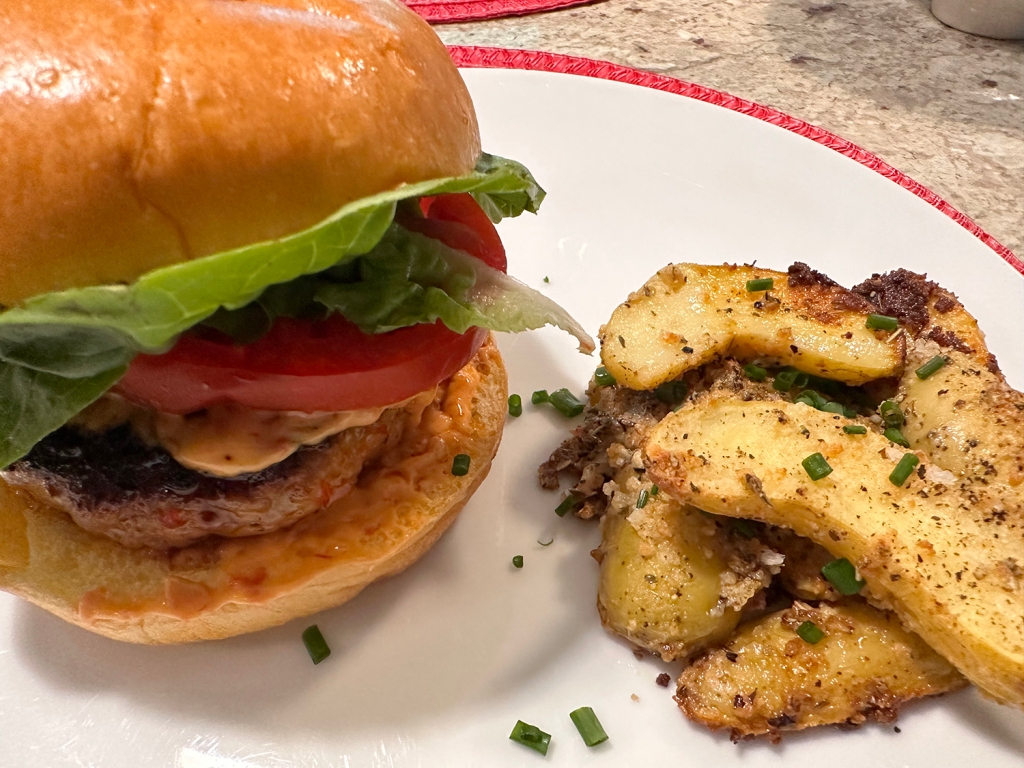
Here’s taking that ordinary burger and kickin’ it up a notch or ten. These burgers exude a spicy-sweet flavor and mild garlickiness, by mixing Asian chili-garlic sauce and a little brown sugar into the ground pork; and then add a smear on the buns with a chili-garlic mayonnaise. Woweee!!

Pillow-soft, subtly sweet buns are a particularly good match for the tender, juicy burgers—potato buns or rolls are the perfect match. Serve with lettuce, sliced tomato, pickles or any of your favorite burger toppings. They are so good, you don’t even mind the absence of cheese.

Smoky Chili-Garlic Pork Burgers

  • Servings: 4
  • Difficulty: easy
  • Print

Ingredients

  • ⅓ cup mayonnaise
  • 5 tsp. plus 2 Tbsp. chili-garlic sauce, divided
  • 3 tsp. packed brown sugar, divided
  • 1 lb. ground pork
  • 2 tsp. smoked paprika
  • Kosher salt and ground black pepper
  • 1 Tbsp. neutral oil
  • 4 hamburger buns, preferably potato buns

Directions

  1. Mix the mayonnaise, 5 teaspoons chili-garlic sauce and 1 teaspoon sugar.
  2. In a medium bowl, mix the pork, paprika, the remaining 2 tablespoons chili-garlic sauce, the remaining 2 teaspoons sugar, 1 teaspoon salt and ½ teaspoon pepper.
  3. Form into 4 patties. In a 12-inch nonstick skillet, heat the oil until shimmering. Add the patties and cook, flipping once, until well browned on both sides and the centers reach 160°F, 8 to 10 minutes total.
  4. Serve in buns spread with the mayonnaise mixture.

http://www.lynnandruss.com

Recipe by Calvin Cox for Milk Street