Monthly Archives: October 2022

Thai Stir-Fried Pork with Basil, Chilies and Garlic

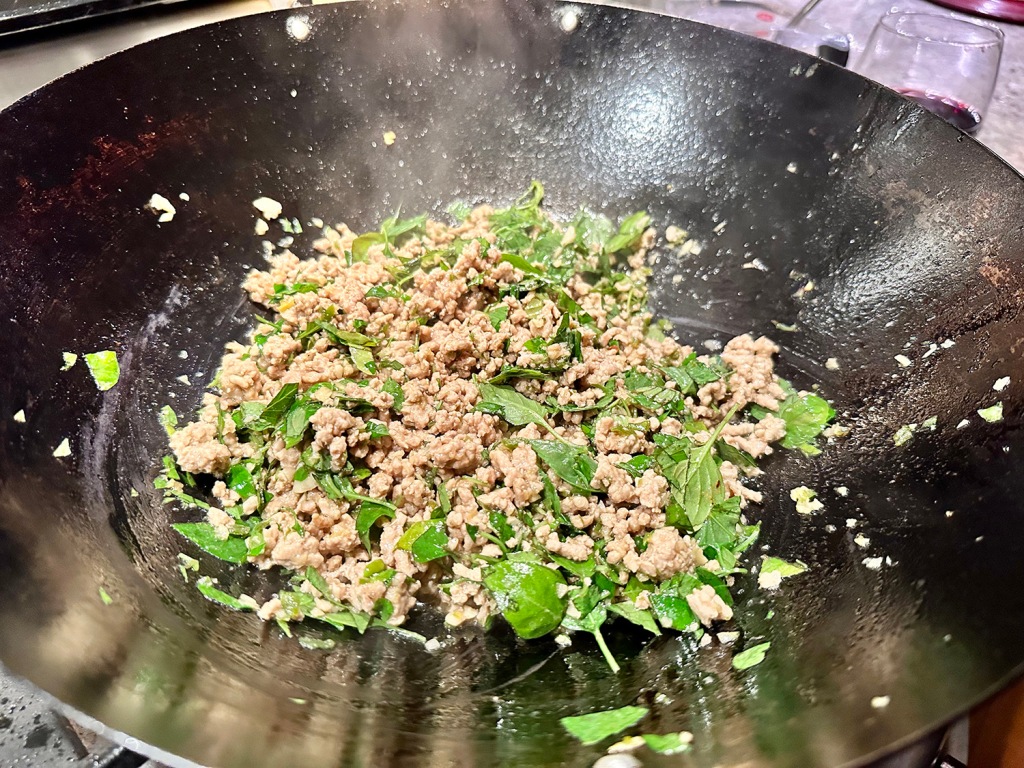
The Thai name for this dish is Pad Krapao meaning “fried holy basil”. It is a fragrant, flavor-packed Thai stir-fry. Despite the dishes name, the basil isn’t actually fried, but wilted into the mix at the very end of cooking.

Our holy basil—which has a peppery, menthol-like bite—was done for the season, so we opted to use our fresh Thai basil, still going strong in the raised herb bed. Sweet Italian basil is a third choice; but if using either of the last two, you’ll need to use 50% more.

To top it all off, a fried egg with a runny yolk is used, adding creaminess while the crisp edges provide crunch. Not typically a fan of runny yolks, I decided to go with it for this recipe. Glad I did because it did add not only to the flavor but also the contrasting textures.

As with most stir-fries, don’t start cooking until all of the ingredients are prepped and near the stove. And don’t cook those eggs in advance because they should still be warm when added to the dish. If you prefer a more fiery kick, don’t discard the chili seeds.

Thai Stir-Fried Pork with Basil, Chilies and Garlic

  • Servings: 3-4
  • Difficulty: easy
  • Print

Ingredients

  • 7 medium garlic cloves, smashed and peeled
  • 4 or 5 Fresno chilies. stemmed, seeded and roughly chopped
  • 1 Tbsp. oyster sauce
  • 1 Tbsp. soy sauce
  • 1 Tbsp. fish sauce
  • 1 Tbsp. packed light brown sugar
  • 6 Tbsp. grapeseed oil, divided
  • 4 large eggs
  • 1 lb. ground pork
  • 2 cups (1oz.) lightly packed holy basil OR 3 cups lightly packed Thai or Italian basil, torn
  • Steamed jasmine rice to serve

Directions

  1. In a food processor, combine the garlic and chilies. Pulse until finely chopped, with some slightly larger pieces remaining, 8 to 10 pulses.
  2. In a small bowl, whisk together the oyster sauce, sou sauce, fish sauce, sugar and a 1⁄2 cup water. Set both the garlic-chili mixture and the sauce mixture near the stove.
  3. In a 12- or 14-inch wok over medium-high, heat 2 tablespoons of the oil until barely smoking. Reduce to medium, the crack 2 eggs into the center of the wok, each in a different spot. Use a silicone spatula to gently push edges of the egg whites toward the yolk to keep the eggs separate.
  4. Cook, occasionally spooning some of the hot oil over the eggs until the whites are crisp and brown on the edges, 3 to 4 minutes. Using a thin metal spatula, transfer the eggs to a paper towel-lined plate. Repeat with remaining to 2 eggs. Wipe out wok.
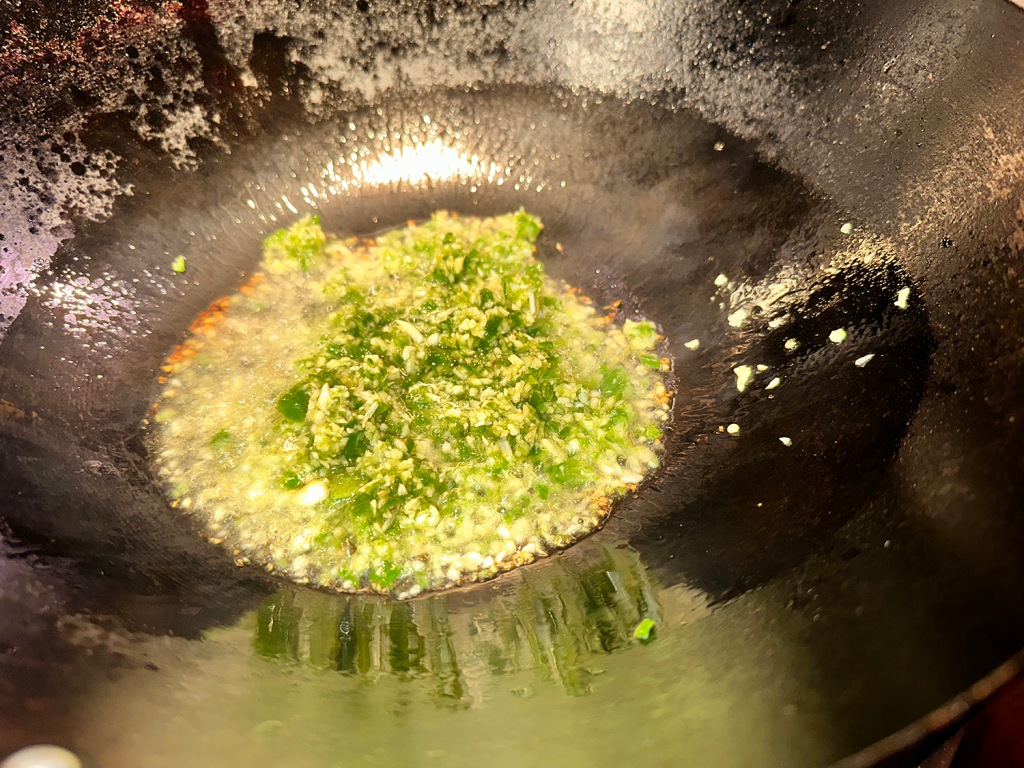
  5. Return the wok to medium-high and heat the remaining 2 tablespoons of oiluntil barely smoking. Add the garic-chili mixture and cook, stirring until fragrant and lightly browned.
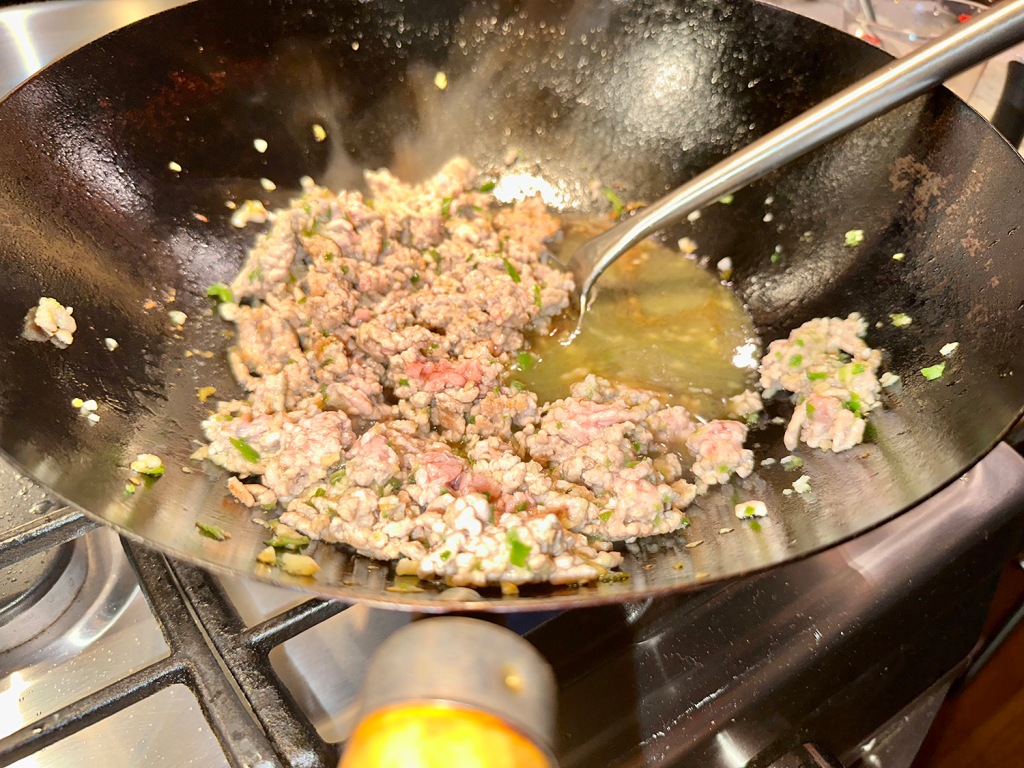
  6. Add the pork and cook, stirring, until the meat is broken up into mostly small bits, 1 to 2 minutes.
  7. Add the sauce mixture and cook, stirring, until pork is no longer pink and the liquid thickens slightly but remains saucy, about 3 minutes.
  8. Off heat add the basil and stir until just wilted. Divide the rice and the stir-fry among serving plates and top each with an egg.

http://www.lynnandruss.com

Adapted from a recipe by Courtney Hill for Milk Street

Navy Bean and Artichoke Dip

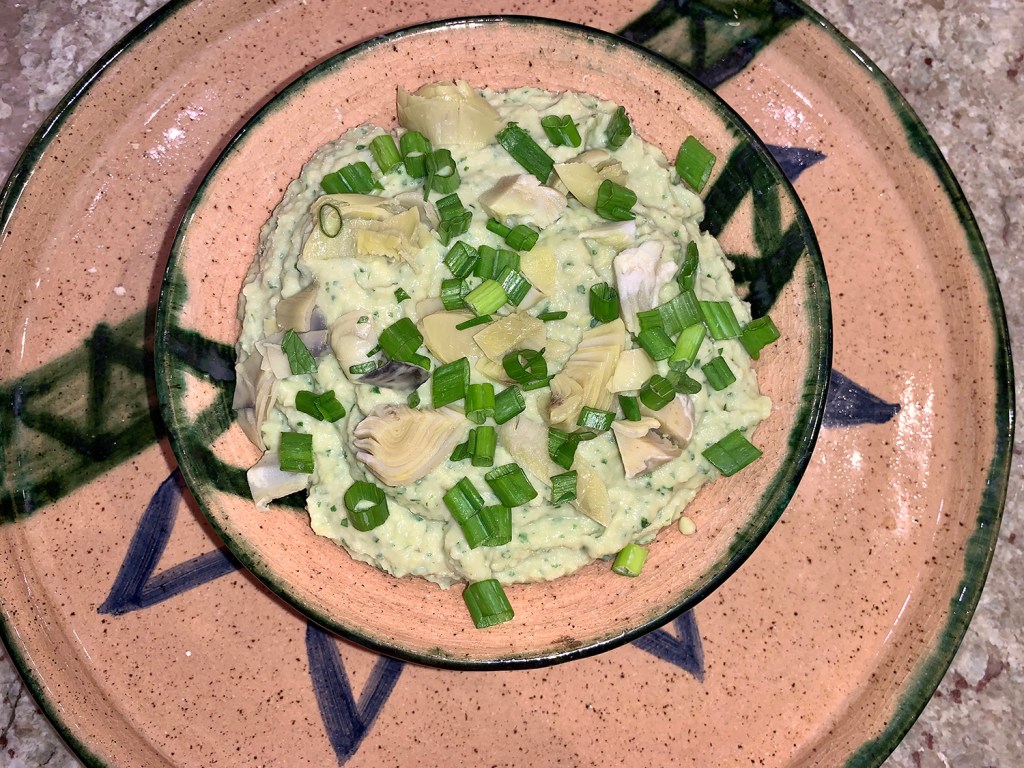
Perfect party pleaser. Looking for something healthy, yet tasty, to serve your guests or bring to a party? The secret behind this creamy and complex tasting bean dip is to pair a starchy bean with a lighter legume or vegetable. By using a combination, you avoid the pastiness of dips that use only beans. To further freshen the dips, add creamy Greek-style yogurt, a healthy dose of lemon juice, and a full ¼ cup of herbs.

Navy Bean and Artichoke Dip

  • Servings: Yields 2 cups
  • Difficulty: easy
  • Print

Ingredients

  • 1 small garlic clove, minced
  • 1 tsp. grated lemon zest plus 2 Tbsp. juice
  • 1 cup frozen artichoke hearts, thawed and patted dry
  • 1 15-oz. can navy beans, 2 Tbsp. liquid reserved, beans rinsed
  • 1 scallion, white and light-green parts cut into 1/2-inch pieces, green part sliced thin on bias
  • ¼ cup fresh parsley
  • ¼ tsp. ground fennel seeds
  • ¾ tsp.
  • Salt
  • Pinch cayenne pepper
  • ¼ cup plain Greek-style yogurt
  • Extra-virgin olive oil, for drizzling

Directions

  1. Combine garlic and lemon zest and juice in small bowl; set aside for at least 15 minutes. Measure out 2 tablespoons artichoke hearts, chop coarsely, and set aside for garnish.
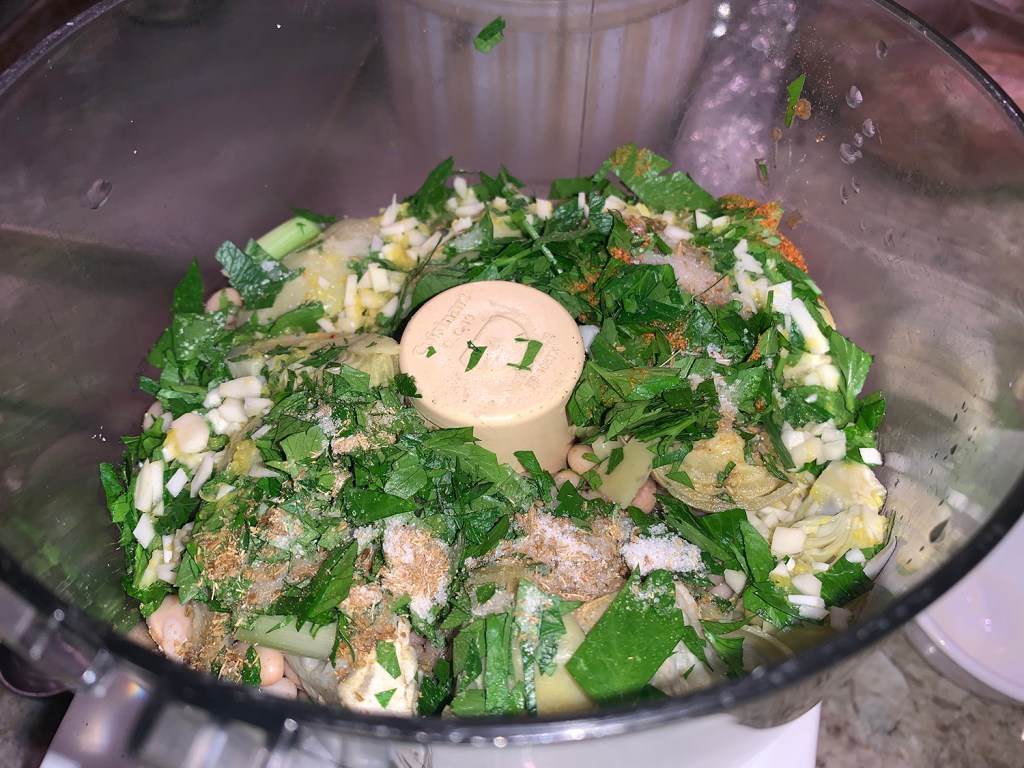
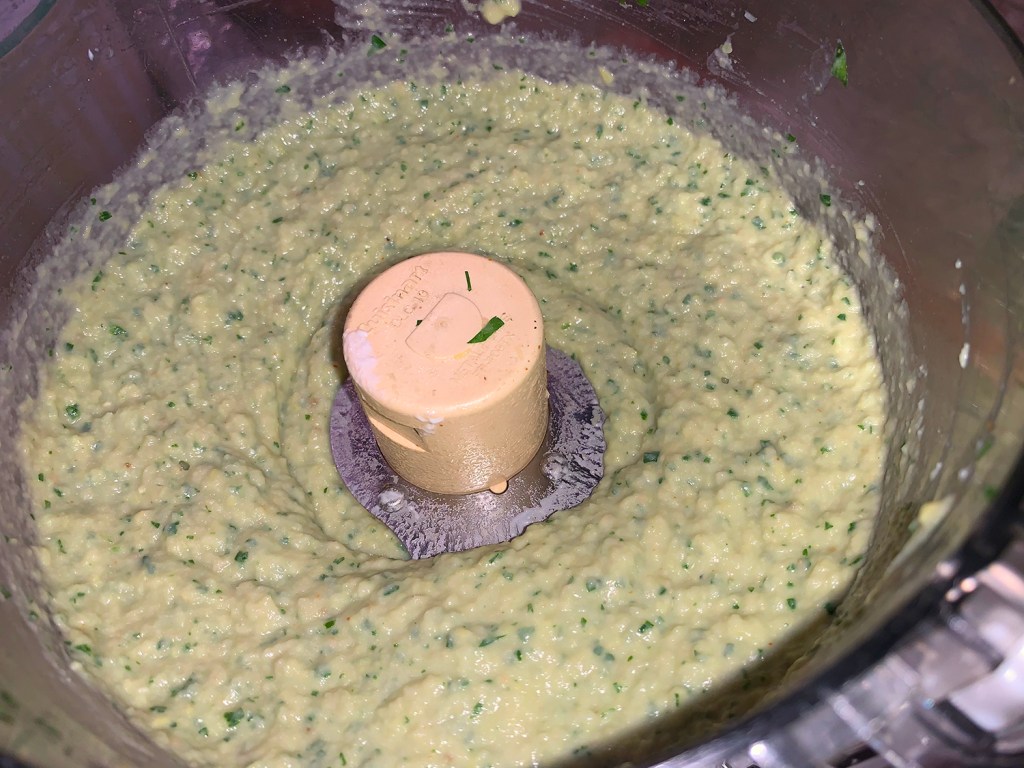
  2. Pulse beans, reserved bean liquid, remaining artichoke hearts, scallion whites and light greens, parsley, ground fennel, ¾ teaspoon salt, cayenne, and lemon juice mixture in food processor until fully ground, 5 to 10 pulses. Scrape down bowl with rubber spatula.
  3. Continue to process until uniform paste forms, about 1 minute, scraping down bowl twice. Add yogurt and continue to process until smooth and homogeneous, about 15 seconds, scraping down bowl as needed.
  4. Transfer to serving bowl, cover, and let stand at room temperature for at least 30 minutes. (Dip can be refrigerated for up to 1 day. Let refrigerated dip stand at room temperature for 30 minutes before serving.)
  5. Season with salt to taste. Sprinkle with reserved artichoke hearts and scallion greens. Drizzle with oil and serve.

http://www.lynnandruss.com

Recipe from America’s Test Kitchen

Soutzoukakia: Greek Baked Meatballs In Tomato Sauce

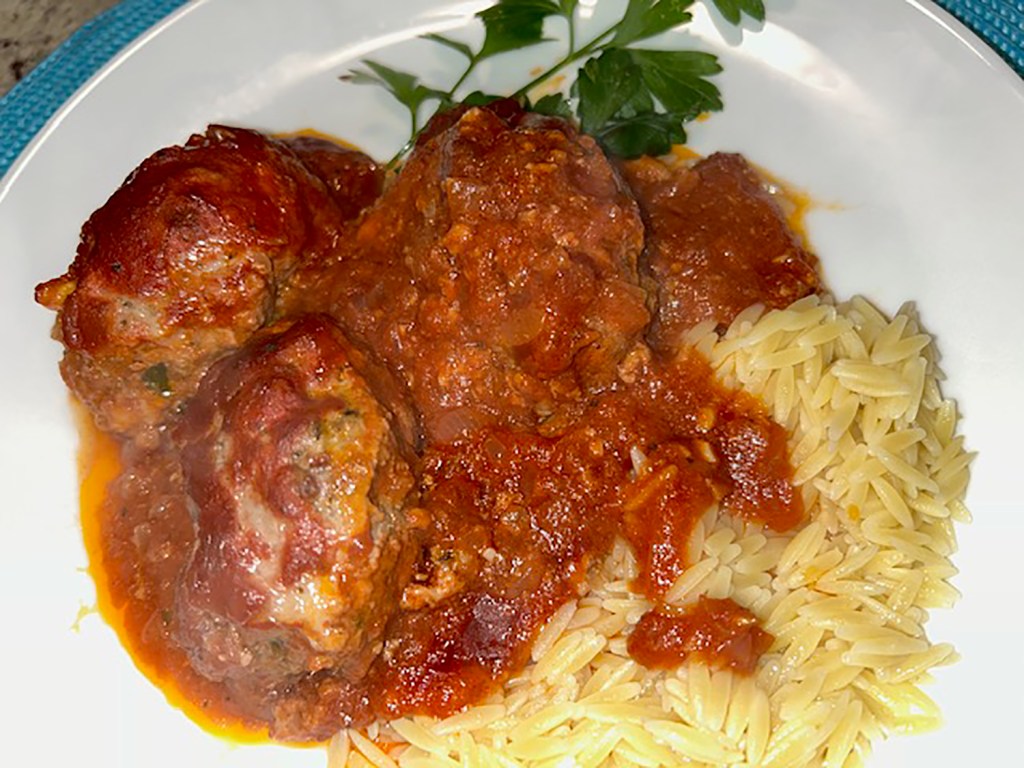
Over the course of nearly 9 years writing this blog, I have posted numerous meatball recipes from many different cultures. Until The Hubs recently came across this one from The Mediterranean Dish, we had never heard of Soutzoukakia, football-shaped Greek meatballs.

Soutzoukakia is not an easy word to enunciate, so try this “soot-zoo-KAH-kee-ah”. Flavor-packed meatballs with loads of aromatics, fresh parsley, and a special blend of spices, including ground cumin and a touch of cinnamon baked in a rich tomato sauce.

Soutzoukakia are delicious meatballs made with ground beef, onions, garlic, fresh herbs, and a unique spice combination, the star of which is cumin. The cumin’s warm and distinctive flavor with bitter, lemony undertones provides a great earthy base here. Adding to the flavor is the epic tomato sauce scented with bay, garlic and a touch of cinnamon.

The meatballs are baked in the sauce to create a dish that is comfort food at it’s finest. The secret to making great meatballs that are extra tender and juicy? Add pieces of milk-soaked bread and use a light hand when mixing and forming the meatballs. (With no whole wheat bread slices on hand, we incorporated a toasted hamburger roll.)

When you first eyeball all of the ingredients, you may say “No way!” But if you look a little closer, you’ll notice that 4 of those ingredients repeat in both the meatballs and in the sauce. Plus, there is no need to brown the meatballs, which is a time-saver in itself.

To make ahead, you can prep both the sauce and meatball mixture the day before. Mix the meatball mixture and keep it in the fridge for up to one day in advance. When you’re ready, form the meat into oblong shapes, place them in an oiled baking dish, and pour the sauce over. Bake and serve. Quickly cook up some rice or orzo and heap meatballs and sauce atop them. Dinner done.

Soutzoukakia: Greek Baked Meatballs In Tomato Sauce

  • Servings: Yields 16 meatballs
  • Difficulty: easy
  • Print

Ingredients

For Meatballs

  • 2 slices whole wheat bread, toast-size, toasted to a medium-brown (or use gluten free bread if you need)
  • ⅓ cup whole milk
  • 1½ lbs. lean ground beef
  • 1 small yellow onion, chopped
  • 3 garlic cloves, minced
  • 2 medium eggs
  • 1 tsp. ground cumin
  • ½ tsp. ground cinnamon
  • ½ tsp. dried oregano
  • ½ cup chopped fresh parsley
  • Kosher salt and black pepper
  • Extra virgin olive oil, to grease the baking dish

For Red Sauce

  • 2 Tbsp. extra virgin olive oil
  • 1 medium yellow onion, finely chopped
  • 2 garlic cloves, minced
  • ½ cup dry red wine
  • 30 oz. canned tomato sauce, that’s 2, 15-oz. cans of sauce
  • 1 bay leaf
  • ¾ tsp. ground cumin
  • ½ tsp. cinnamon
  • ½ tsp. sugar
  • Kosher salt and black pepper

Directions

  1. In a small bowl, place the toasted bread and cover with milk (or water) to soak. When bread is soft and well-soaked, squeeze the liquid out completely and discard remaining milk if any.
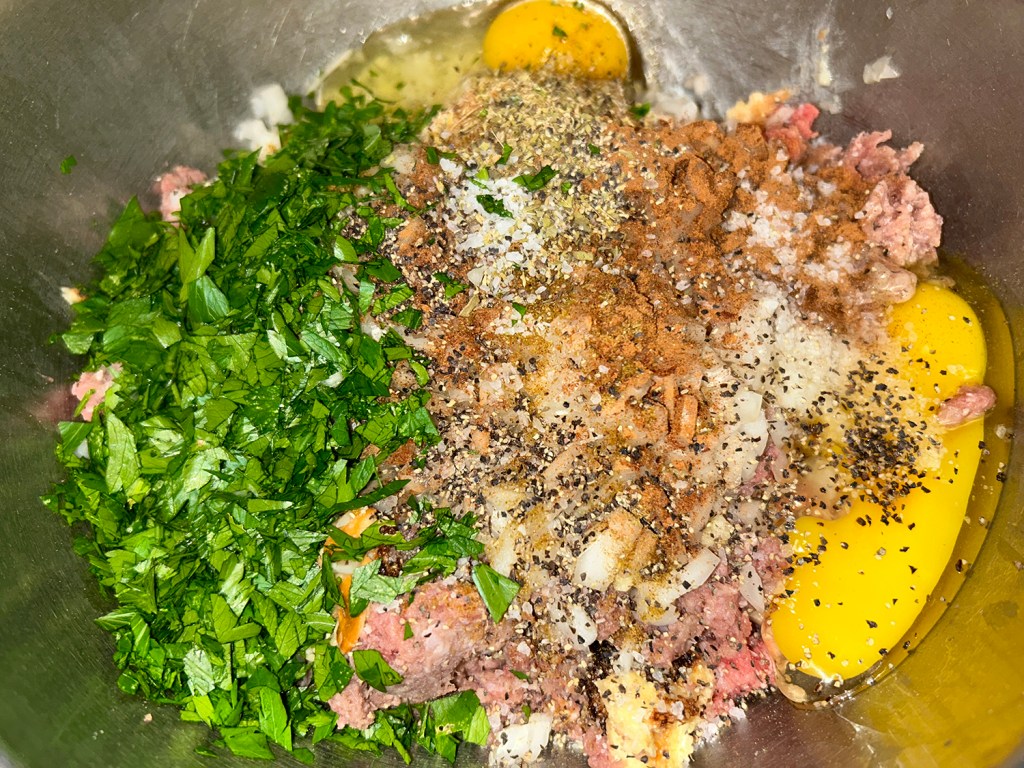
  2. Transfer the bread to a large mixing bowl. Add round beef and remaining meatball ingredients. Knead well until well-combined. Cover the meat mixture and rest in the fridge for now.
  3. Preheat oven to 400°F.
  4. While oven is heating, prepare the sauce. In a sauce pan or large skillet, heat 2 tablespoons of extra virgin olive oil over medium heat until shimmering but not smoking. Add onions and cook for 3 minutes or so. Add garlic and cook for another minute, stirring regularly.
  5. Now add red wine and cook to reduce by about ½, then add tomato sauce, bay leaf and remaining sauce ingredients. Bring to a boil, then lower heat and simmer for 15 minutes.
  6. Prepare a large baking dish and lightly oil the bottom with extra virgin olive oil.
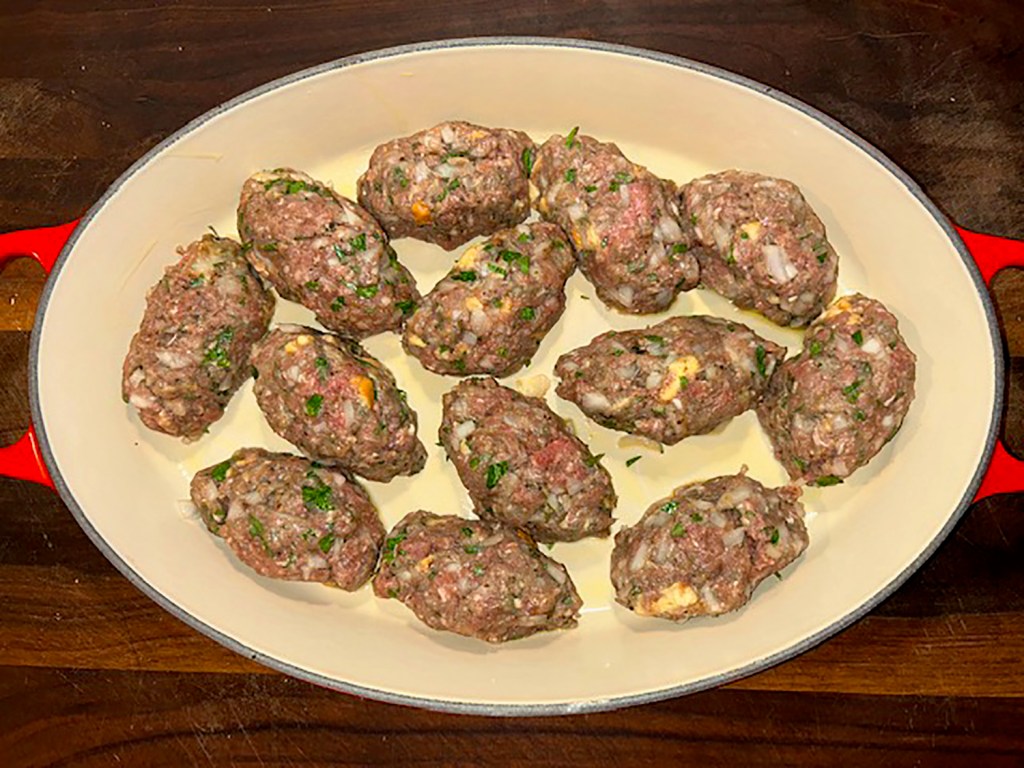
  7. Take the meat mixture out of the fridge. Wet your hands and scoop portions of about 2 ½ tablespoons of the meat mixture and form into large elongated meatballs (football-shaped). You should have 12 to 16 meatballs or so. Arrange meatballs in the papered baking dish and top with the sauce. Be sure to have removed the bay leaf from the sauce.
  8. Place the baking dish on the middle rack of your heated oven. Bake for 40 to 45 minutes or until the meatballs are well cooked through. Check part-way through to make sure sauce is not dry, and if needed, add a little bit of water to the bottom of the baking dish.
  9. Remove from oven and add another drizzle of EVOO. Garnish with parsley and serve over rice or orzo.

http://www.lynnandruss.com

Adapted recipe from Suzy Karadsheh

Veggie-Forward Moussaka

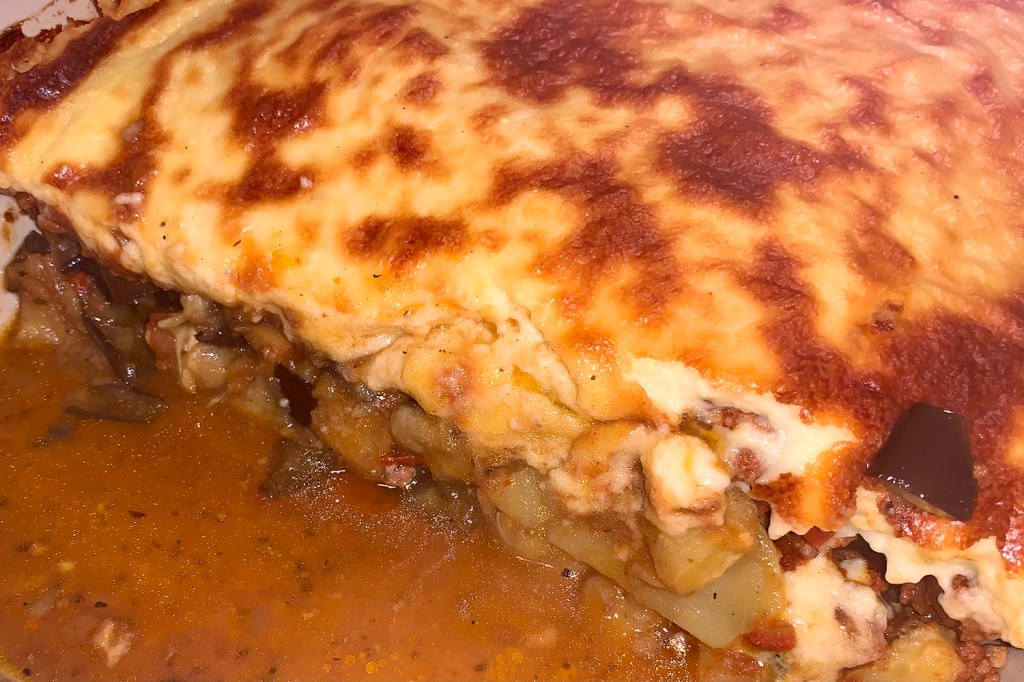
“The classic rendering of moussaka with its plush eggplant; dense, earthy potatoes; meat sauce that’s warmed by spices; and satiny béchamel lavished across the top, add up to cozy yet sumptuous festival food for indulging family and friends.” And who doesn’t like to do that every now and again?

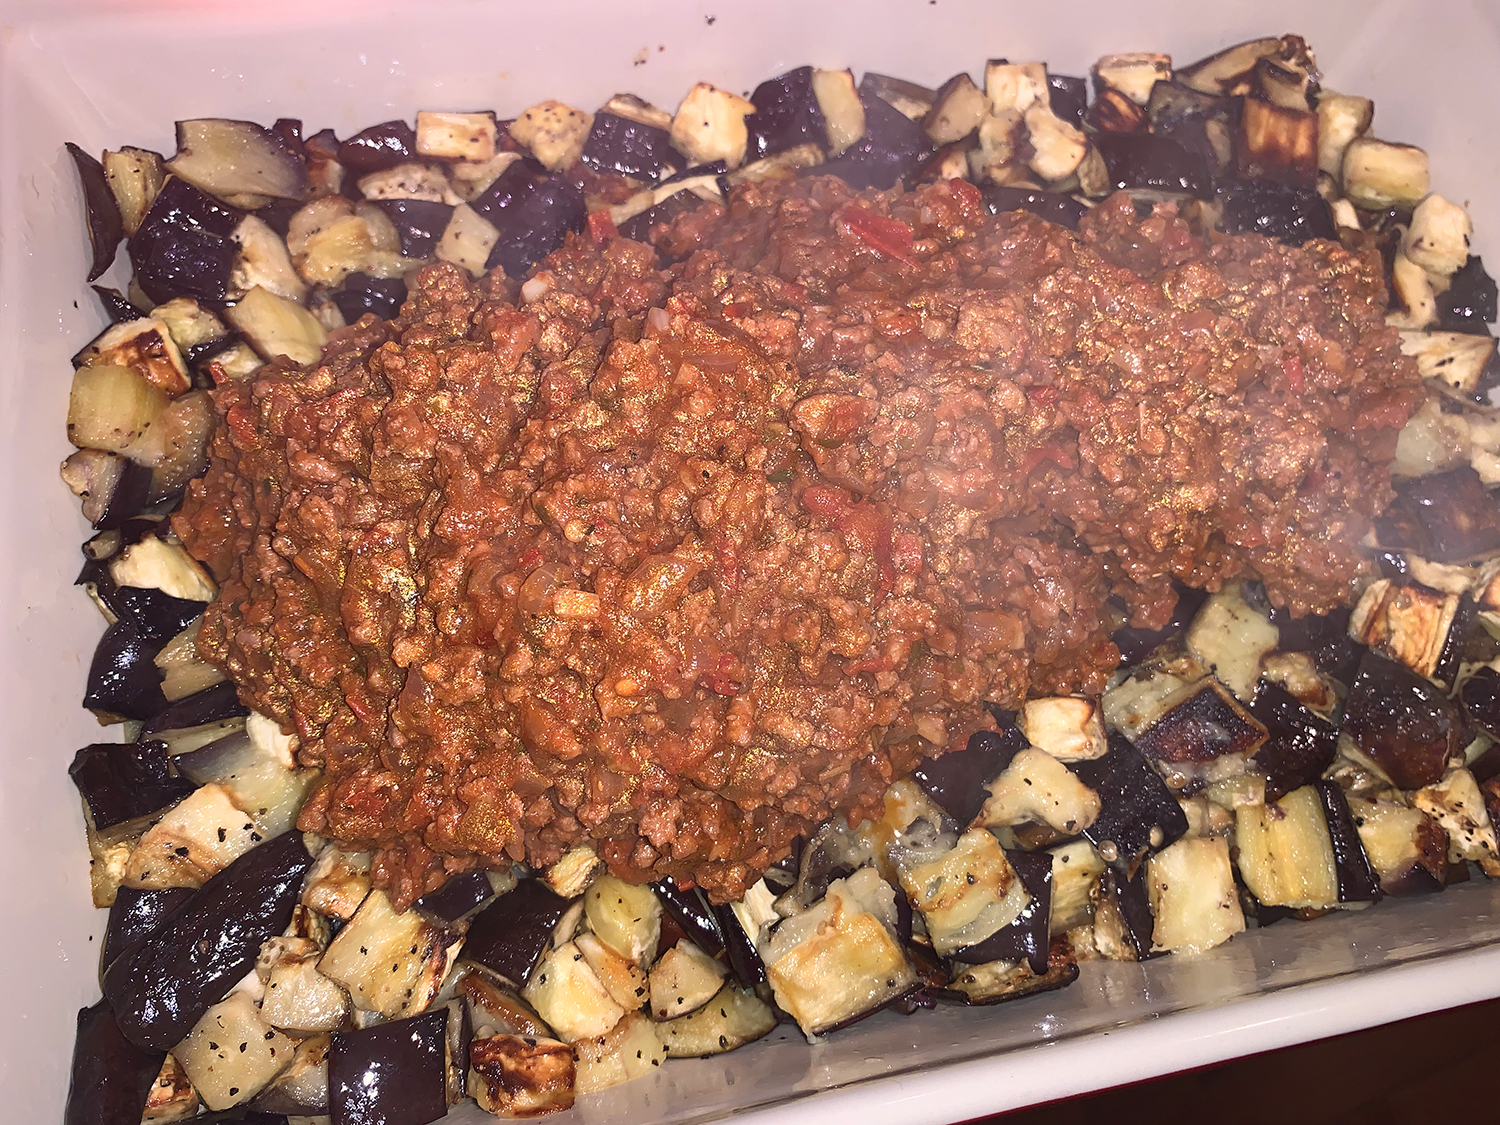
Yes, there are many versions, but no matter how it is made, it is a bit of a project. Back in late December 2021, we opted to make a test recipe sent to us from America’s Test Kitchen. It featured a vegetable-forward moussaka, and after we made it we had to fill out a survey regarding the pluses and minuses of making and tasting the dish.

When the article was finally published in the September/October issue of Cook’s Illustrated (CI), the ingredients, and amounts of each hadn’t changed at all.

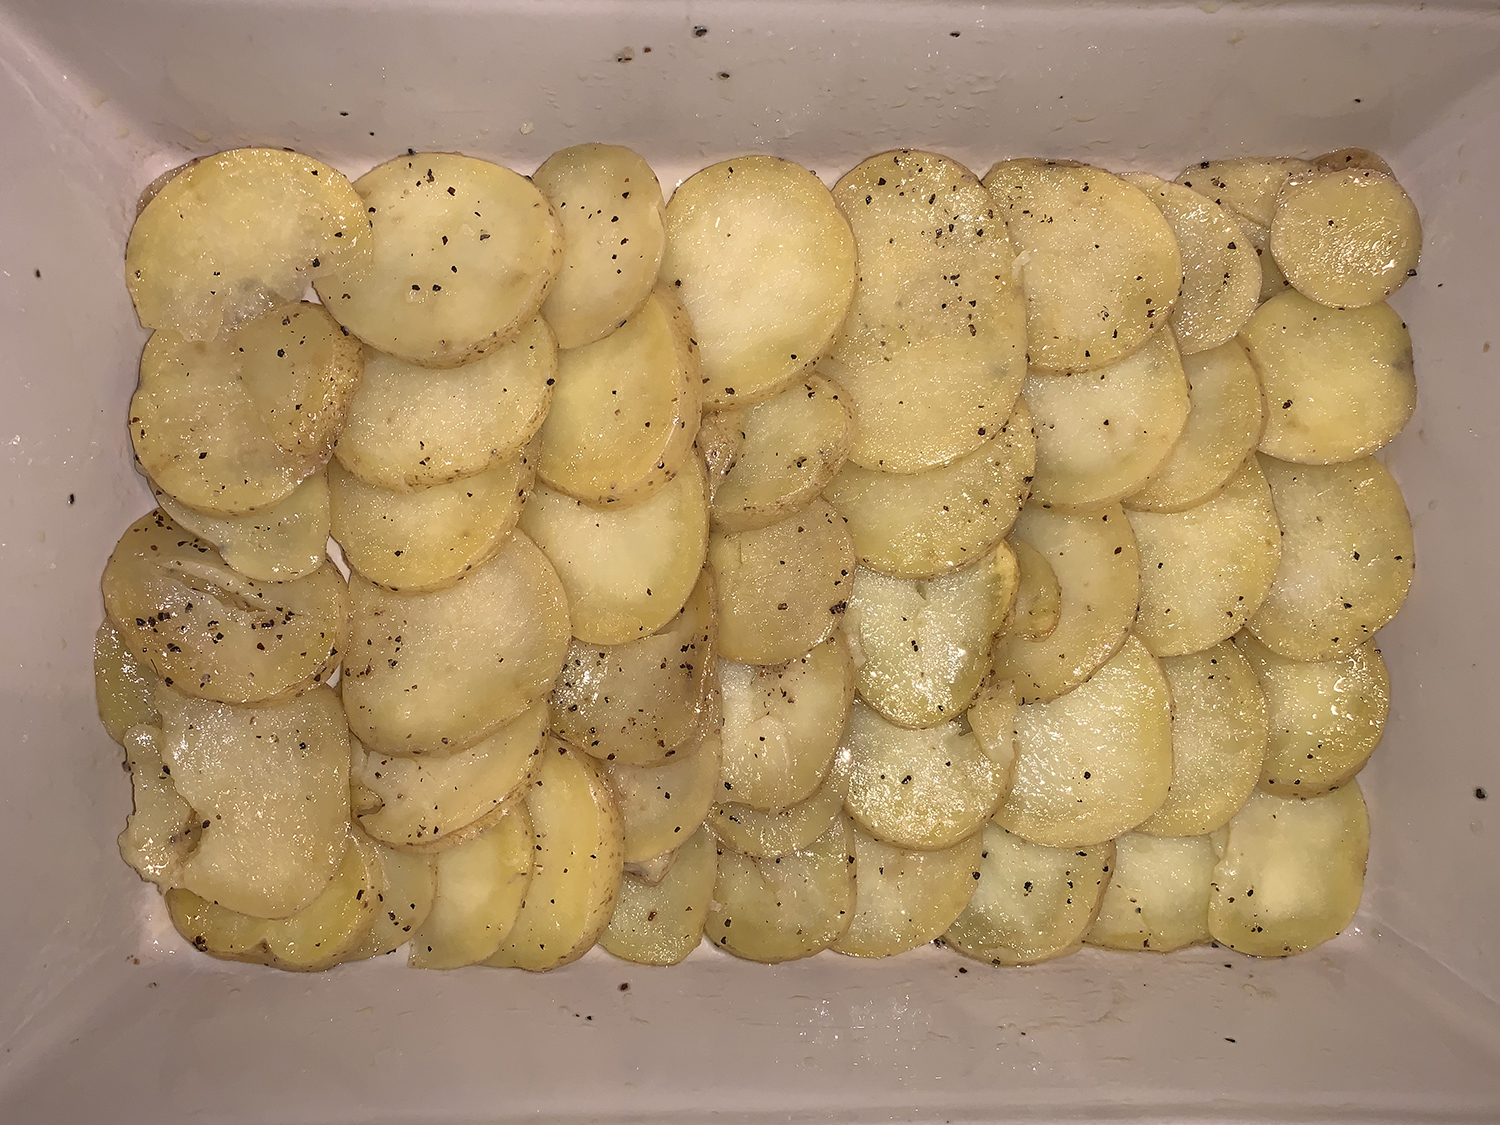
One issue we mentioned in the survey, was the placing all of the potatoes in the dish and then shingling them. It was cumbersome at best. And in the recent article, CI did not make any changes to that particular step. In our opinion, taken from experience, is to place the spud slices in another bowl, and then when cool enough to handle, start shingling them into the prepared casserole dish.

Here are some notes worth reading prior to making the dish:

→ *Kasseri is a semi firm sheep’s-milk cheese from Greece. If it’s unavailable, substitute a mix of 3 ounces (¾ cup) grated provolone cheese and 1 ½ ounces (¾ cup) grated Pecorino Romano.
→ We like the richness of whole milk for this dish, but you can substitute 2 percent low-fat milk, if desired. Do not use skim milk.
→ Using a mandoline makes quick work of slicing the potatoes.
→ To accommodate all the components, use a baking dish that is at least 2¼ inches tall.

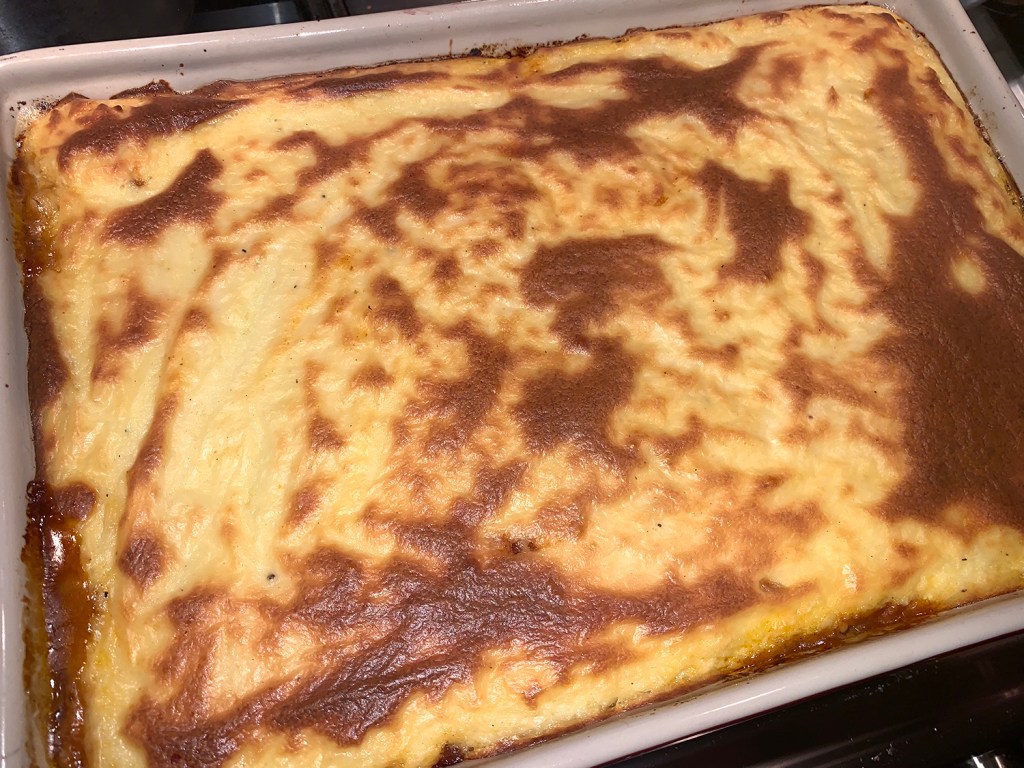
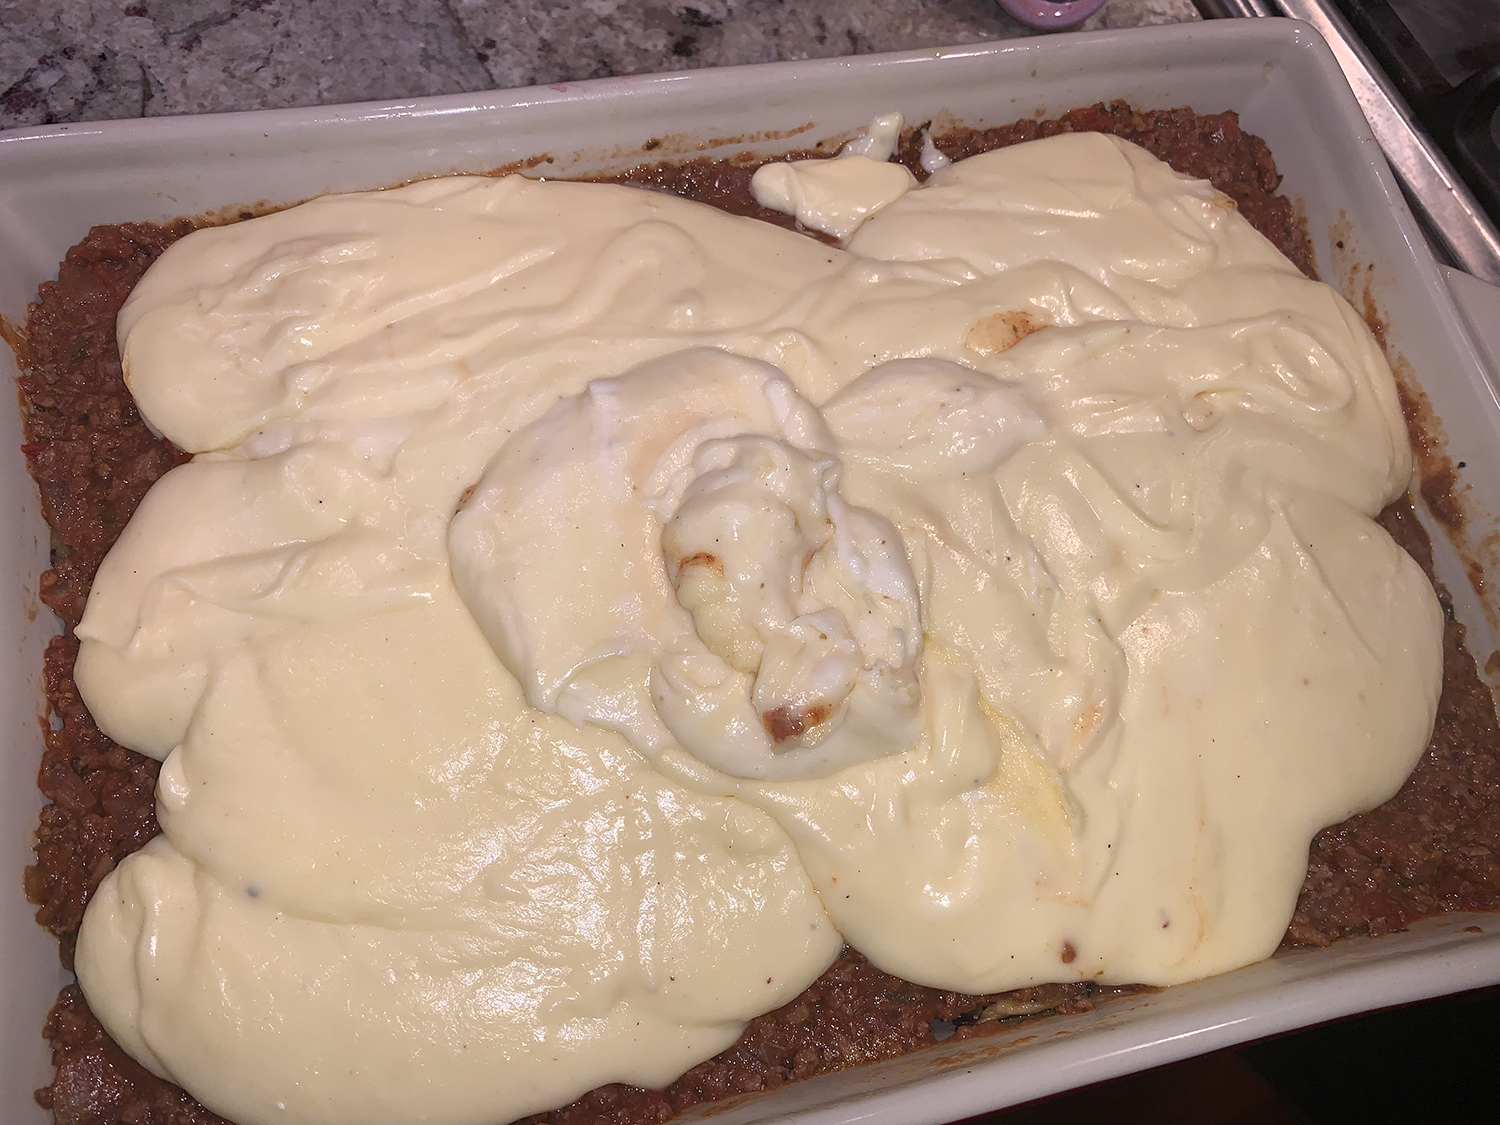
Final verdict? Distinct layers of velvety-firm potatoes; eggplant that was plush and savory; concentrated, fragrant sauce; and béchamel that baked up like a creamy, cheesy cloud! So find an afternoon and treat yourself…

Veggie-Forward Moussaka

  • Servings: 8
  • Difficulty: moderate
  • Print

Ingredients

Vegetables 

  • 3 ½ lbs. eggplant, cut into 3/4-inch cubes 
  • ½ cup, plus 2 tsp., plus 3 Tbsp. extra-virgin olive oil, divided 
  • 2 tsp. table salt, divided
  • ¾ teaspoon pepper, divided
  • 1 ½ lbs. Yukon Gold potatoes, unpeeled, sliced crosswise ¼-inch thick 

Meat Sauce

  • 1 Tsp. extra-virgin olive oil 
  • 1 onion, chopped fine
  • ½ tsp. table salt 
  • 4 garlic cloves, minced
  • 1 Tbsp. tomato paste
  • ½ cup dry red wine
  • 2 tsp. paprika
  • 2 tsp. dried oregano
  • ½ tsp. red pepper flakes
  • ¼ tsp. ground cinnamon
  • 1 lb. 80 percent lean ground beef 
  • 1 (14.5-oz.) can crushed tomatoes
  • 2 tsp. red wine vinegar

Béchamel

  • 6 Tbsp.unsalted butter
  • ½ cup all-purpose flour
  • 2½ cups whole milk
  • 4 oz. Kasseri* cheese, shredded (1 cup) 
  • ¼ tsp. table salt 
  • ⅛ tsp. ground nutmeg
  • 3 large egg yolks, lightly beaten 

Directions

  1. FOR THE VEGETABLES: Adjust oven racks to middle and lower-middle positions and heat oven to 450 degrees. Line 2 rimmed baking sheets with aluminum foil and spray with vegetable oil spray. Divide eggplant evenly among baking sheets. Toss each batch with ¼ cup oil, ½ teaspoon salt, ¼ teaspoon pepper, until evenly coated and spread eggplant into single layer. Roast until eggplant is softened and lightly browned, about 30 minutes, switching and rotating pans halfway through cooking. Transfer baking sheets to wire racks to cool. Reduce oven temperature to 400 degrees.
  2. While eggplant is cooking, grease 13 by 9-inch baking dish with 2 teaspoons oil. In medium bowl, toss potatoes with remaining 3 tablespoons oil, 1 teaspoon salt, and ¼ teaspoon pepper. Cover and microwave until potatoes can be easily pierced with tip of paring knife, 8 to 10 minutes, stirring halfway through microwaving. Transfer potatoes, along with any accumulated liquid, to prepared baking dish and let rest until cool enough to handle, 15 minutes. Shingle evenly in baking dish.
  3. FOR THE MEAT SAUCE: Heat 1 tablespoon oil in Dutch oven over medium heat until shimmering. Add onion and ½ teaspoon salt and cook, stirring occasionally until just starting to brown, 6 to 8 minutes. Add garlic and stir constantly until fragrant, about 1 minute. Add tomato paste and cook, stirring frequently, until paste darkens, about 2 minutes. Stir in wine, scraping up any browned bits from pan. Add paprika, oregano, pepper flakes, and cinnamon, and cook, stirring frequently until wine is almost completely evaporated, 2 to 3 minutes. Add beef, increase heat to medium-high, and cook, breaking up pieces with spoon, until no pink remains, 4 to 5 minutes. Add crushed tomatoes and cook, stirring occasionally, until liquid has almost completely evaporated and spoon leaves trail when dragged through sauce, 6 to 8 minutes. Stir in vinegar, cover, and remove from heat.
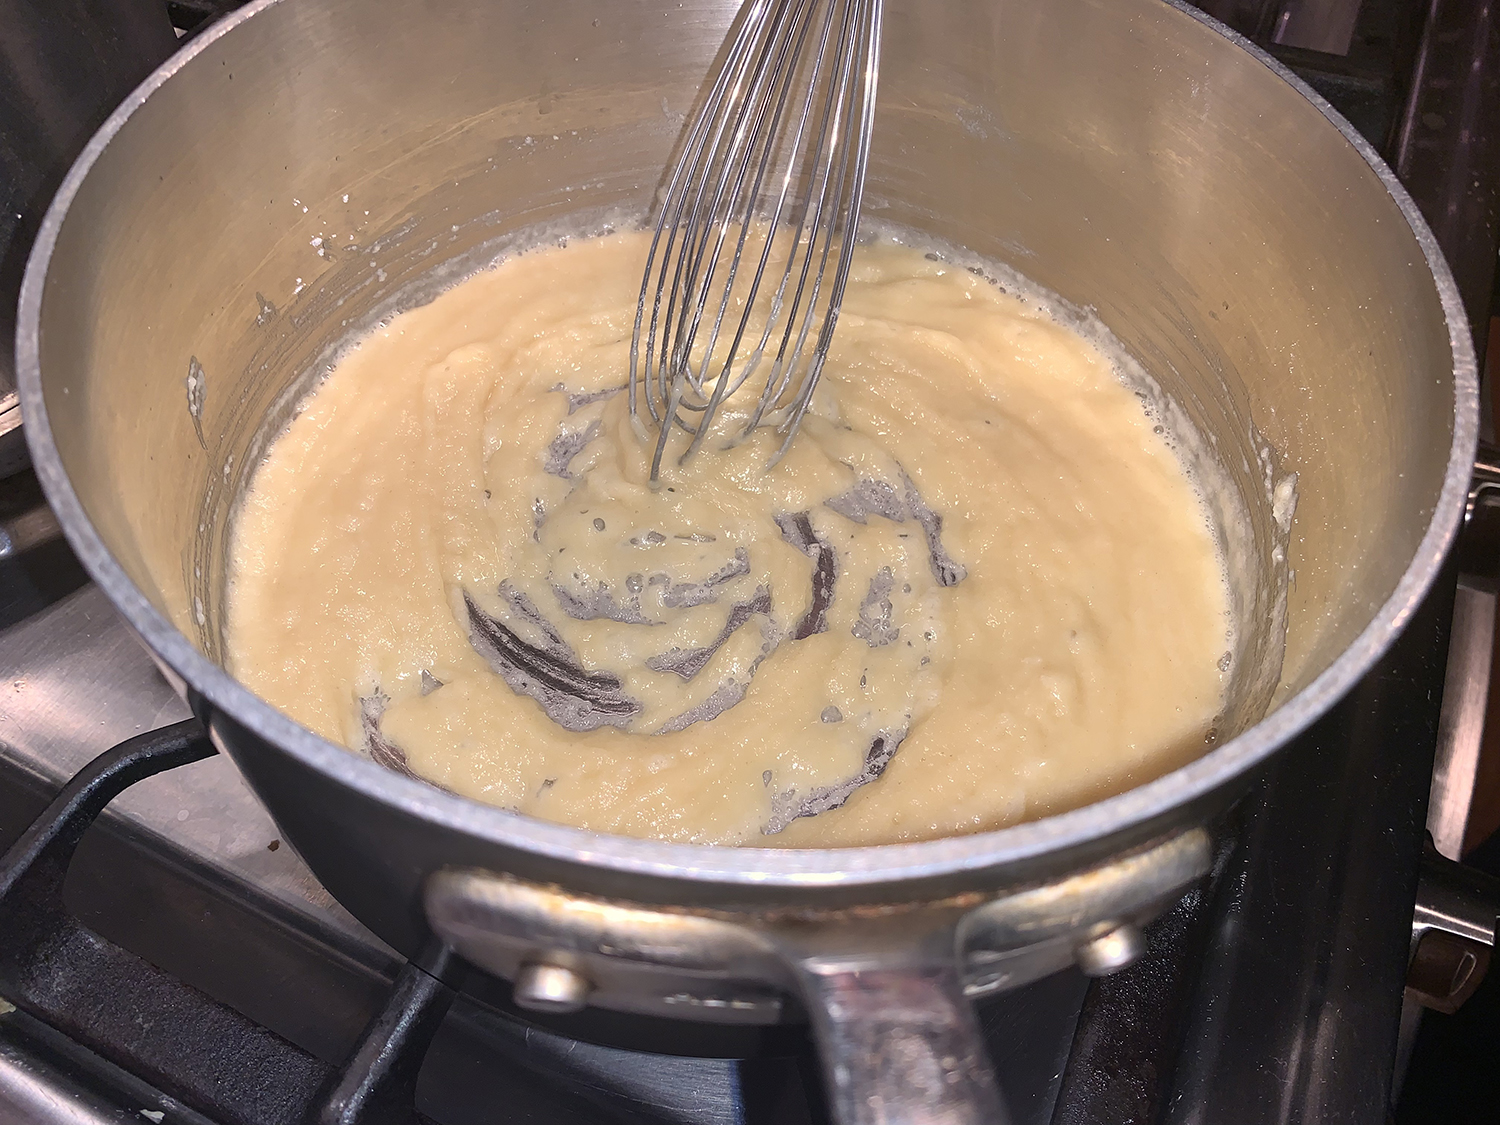
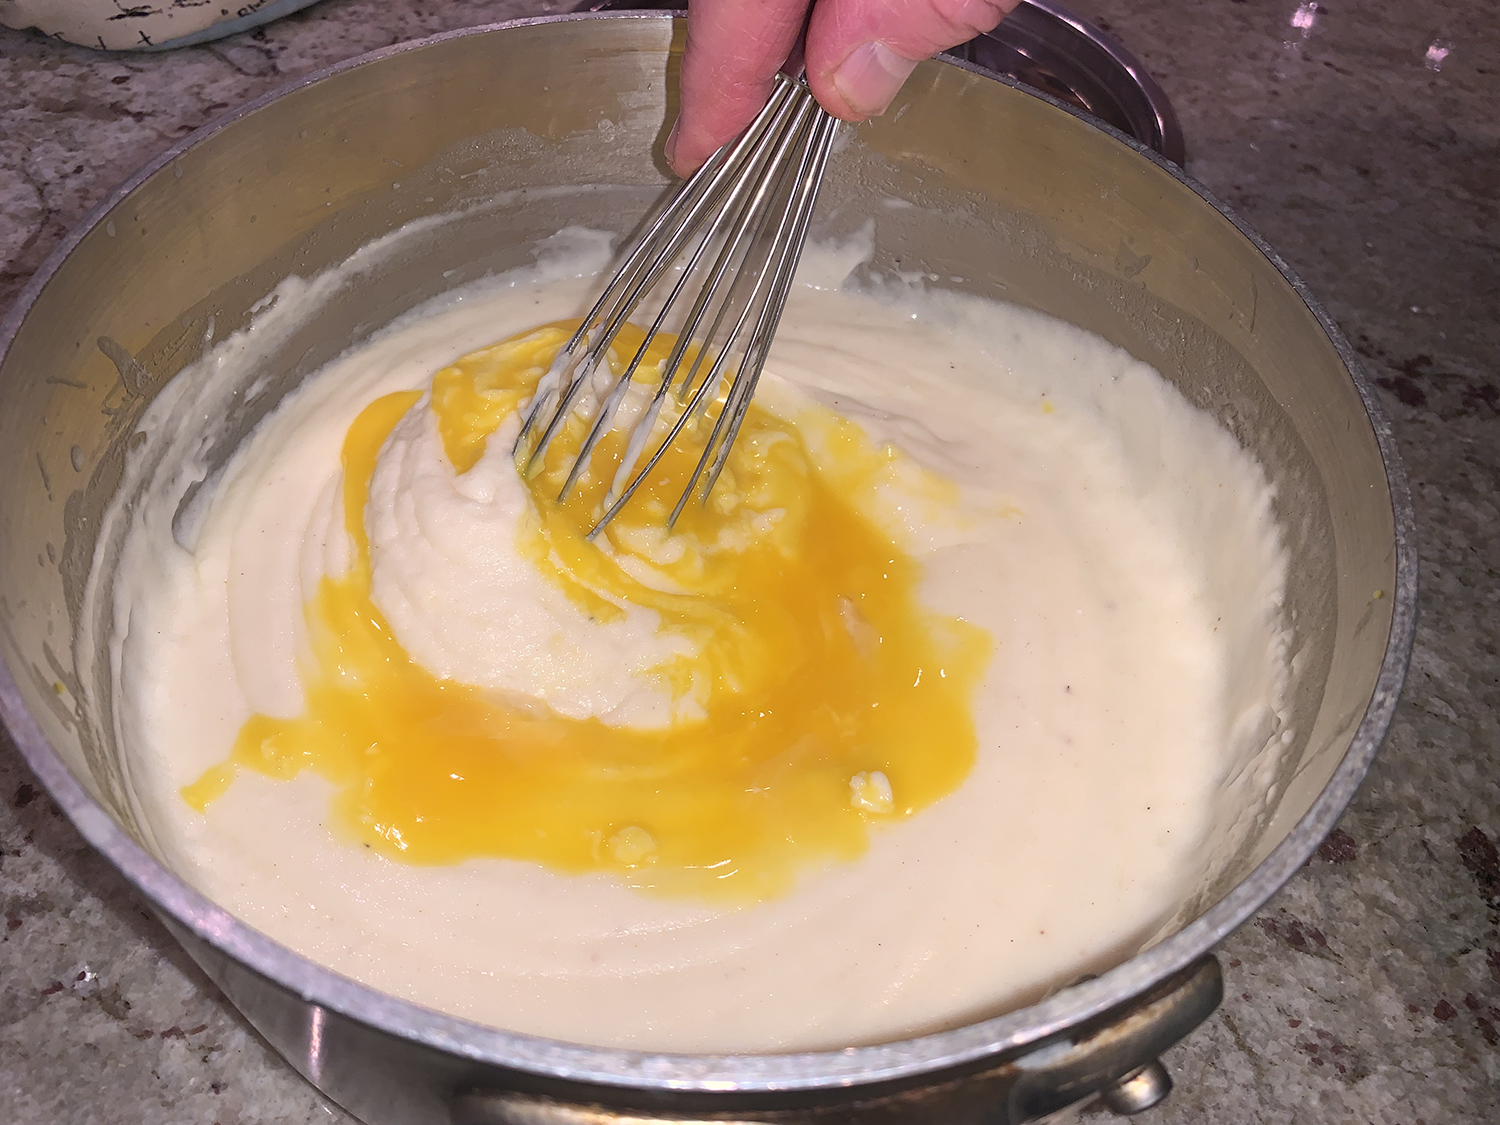
  4. FOR THE BÉCHAMEL: Melt butter in medium saucepan over medium heat. Whisk in flour and cook until golden, about 1 minute. Slowly whisk in milk and cook, whisking constantly, until mixture is thick, smooth, and comes to boil, about 5 minutes. Remove pan from heat. Whisk in cheese, ¼ teaspoon salt, and nutmeg. Cover and let stand for 5 minutes. Whisk in egg yolks and cover to keep warm.
  5. LAYERING: Cover potatoes with eggplant, lightly pressing into even layer. Spread meat sauce in even layer over eggplant. Top with Bechamel.
  6. Bake on middle rack until top of moussaka is deeply browned in spots and is bubbling at edges, about 30 minutes. Let cool 30 minutes before serving.

http://www.lynnandruss.com

Original recipe from America’s Test Kitchen

Russ’s Raid-the-Fridge Bean and Vegetable Soup

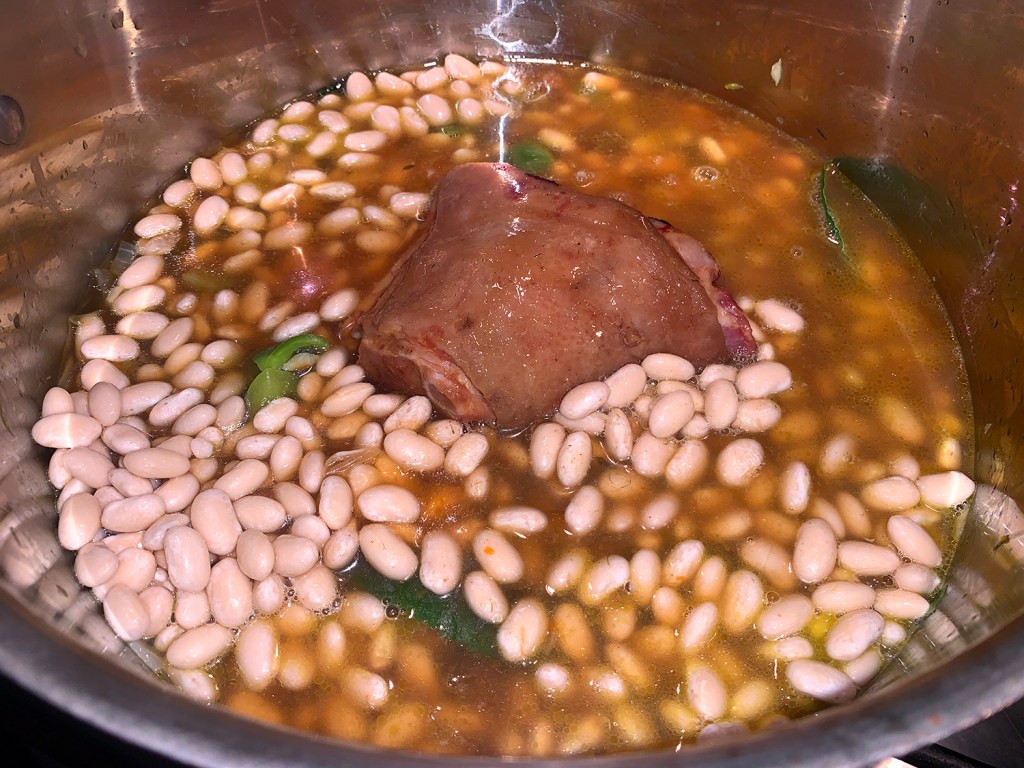
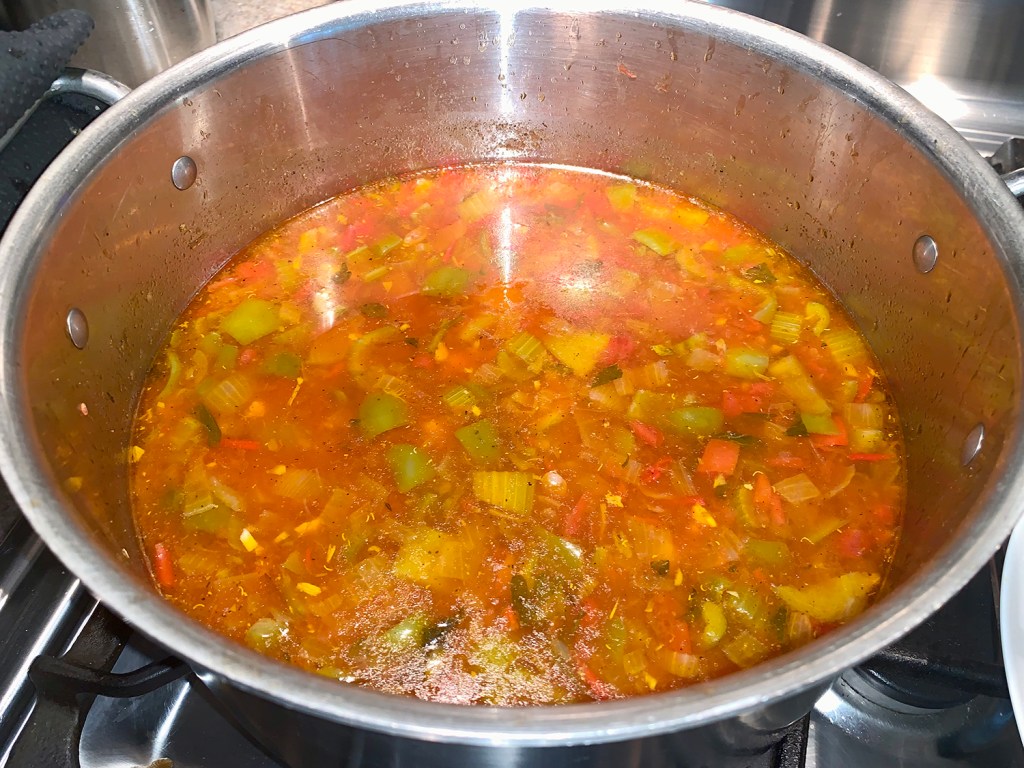
In cooler weather months, The Hubs likes to make weekly pots of soup, perfect for lunches, or evenings when we don’t feel like cooking. In this instance, he took stock of what we had lurking in the refrigerator and pantry and devised a recipe based on a previous Tuscan-inspired soup as a general template.

In addition to green bell peppers, we also needed to use up some hatch peppers, jalapeños, and some little red peppers that were gifted to us. We had all of the rest of the ingredients on hand too. A slice of homemade, whole-grain focaccia toast with a schmear of roasted garlic paste rounded out the meal.

Keep in mind that you need to soak the beans overnight in salted water, to soften the skins. Add the tomatoes toward the end of cooking, since their acid keeps the beans from becoming too soft.

Russ's Raid-the-Fridge Bean and Vegetable Soup

  • Servings: 6-8
  • Difficulty: easy
  • Print

Ingredients

  • Table salt
  • 1 lb. dried Navy beans, rinsed and picked over
  • 1 Tbsp. extra virgin olive oil, plus extra for drizzling
  • 1 1-lb. ham hock
  • 1 large onion, chopped medium
  • 2 medium celery ribs, cut into 1/2-inch pieces
  • 2 jalapeños, small chop
  • 3 green bell peppers, cut into 1/2-inch pieces
  • 8 medium garlic cloves, peeled and crushed
  • 4 cups ham or chicken broth, preferably homemade
  • 3 cups water
  • 1 Tbsp. Cajun spice
  • 1/2 tsp. smoked paprika
  • 2 bay leaves
  • 1 15-oz. can diced tomatoes, drained and rinsed
  • 1 sprig fresh marjoram

Directions

  1. Dissolve 3 tablespoons salt in 4 quarts cold water in large bowl or container. Add beans and soak at room temperature for at least 8 hours and up to 24 hours. Drain and rinse well.
  2. Adjust oven rack to lower-middle position and heat oven to 250 degrees. Heat oil in a large Dutch oven over medium heat.
  3. Add onion, celery, jalapeños, and bell pepper. Cook, stirring occasionally, until vegetables are softened and lightly browned, 10 to 16 minutes.
  4. Stir in garlic, Cajun spice and smoked paprika and cook until fragrant, about 1 minute. Stir in broth, water, bay leaves, and soaked beans. Increase heat to high and bring to simmer. Cover pot, transfer to oven, and cook until beans are almost tender (very center of beans will still be firm), 45 minutes to 1 hour.
  5. Remove pot from oven and stir in tomatoes. Cover pot, return to oven, and continue to cook until beans are fully tender, 30 to 40 minutes longer.
  6. Remove pot from oven and submerge marjoram sprig in stew. Cover and let stand 15 minutes.
  7. Remove the ham hock, stripping it of any usable meat to throw back into the soup. Discard bay leaves and marjoram sprig and season soup with salt and pepper to taste.
  8. If desired, use back of spoon to press some beans against side of pot to thicken stew. Serve over toasted bread, if desired, and drizzle with olive oil.

http://www.lynnandruss.com

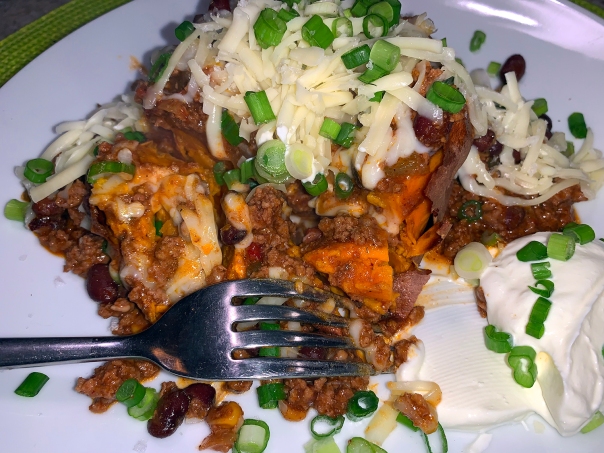
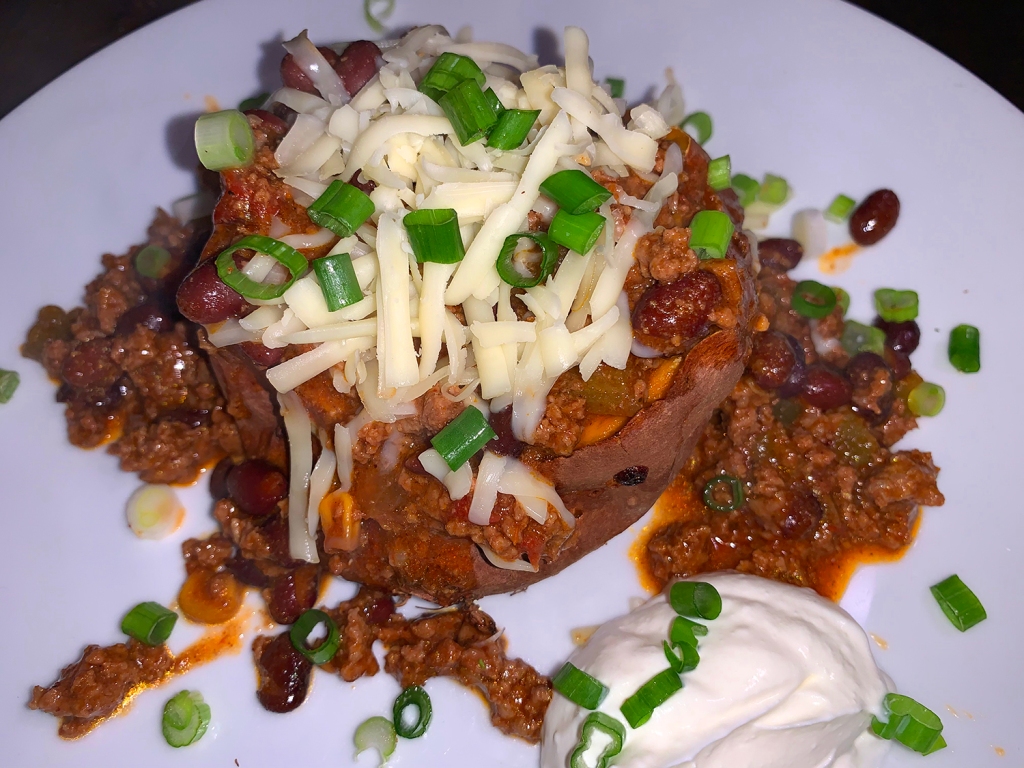
Chili-Stuffed Sweet Potatoes

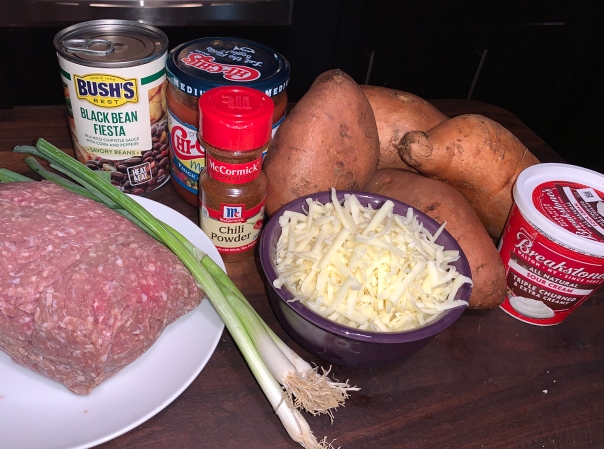
Remember the loaded potato bar craze? This hearty riff is a weeknight meal’s dream found when I ran across a food article in Better Homes & Gardens. We made several modifications such as a combo of shredded cheddar and jack cheeses, more ground beef (which BTW, you could also use ground turkey), an extra scallion, and added a teaspoon of chipotle powder.

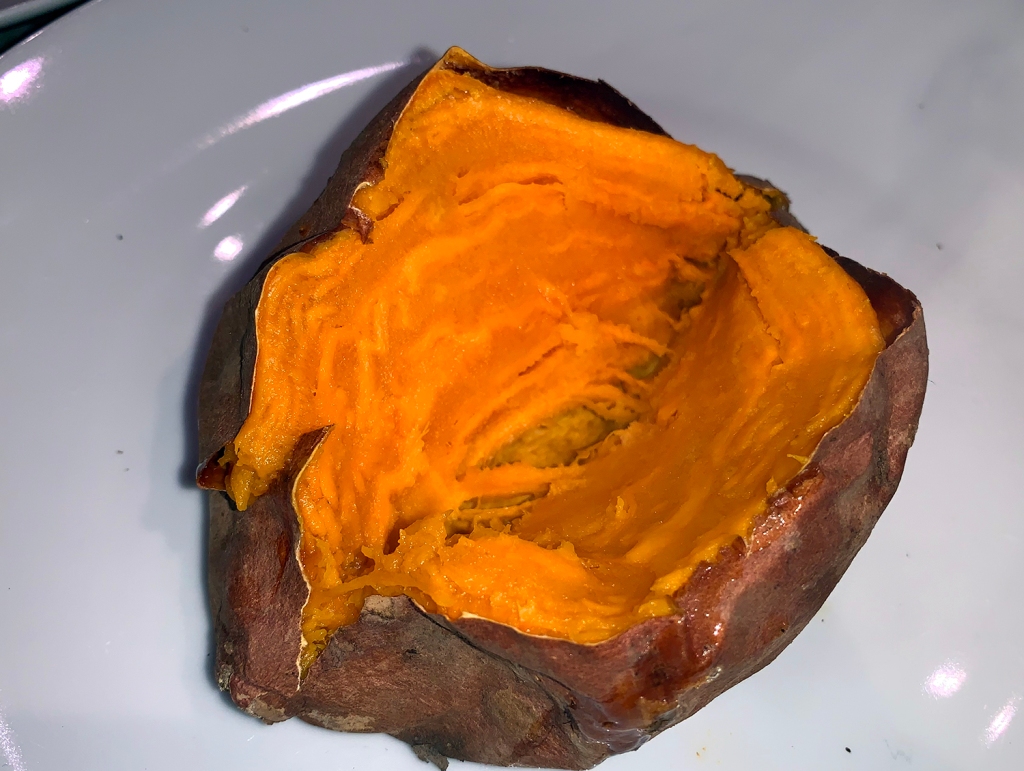
As far as microwaving the sweet potatoes, not a fan. Often they come out inconsistent as to the softness throughout. Of course, if you are pressed for time, that might be the way to go. Ours took 60 minutes in a 400° oven (time to enjoy a pre-dinner glass of wine).
It’s a personal preference whether or not you eat the potato skins. I for one, don’t mind them and get extra fiber from doing so, The Hubs, not so much. If you have leftovers, they will keep in the refrigerator for up to 3 days, although it’s best to keep all of the layers separate.

Chili-Stuffed Sweet Potatoes

  • Servings: 4
  • Difficulty: easy
  • Print

Ingredients

  • 1 cup fresh salsa, drained (liquid reserved)
  • 12 oz. to 1 lb. lean ground beef (you decide how much meat)
  • 2 tsp. chili powder
  • 1 tsp. chipotle powder
  • 15-oz. can black bean fiesta, undrained
  • 4 medium sweet potatoes
  • 1+ cup grated cheddar cheese (or a jack and cheddar mix)
  • 1⁄2 cup sour cream
  • 3 scallions, thinly sliced

Directions

  1. In a two-quart sauce pan heat 2 tablespoons olive oil over medium heat. Add drained salsa for 3 minutes.
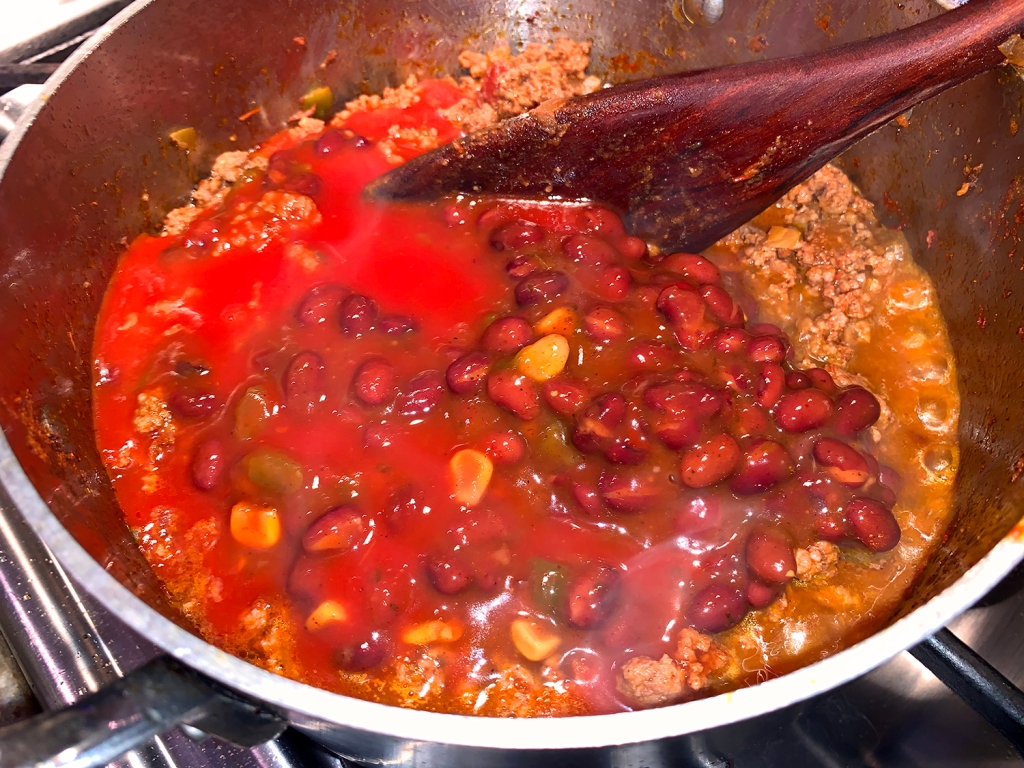
  2. Add the meat and chili powder. Cook and stir, breaking up the meat with a wooden spoon, until cooked throughand beginning to brown, about 5 minutes.
  3. Stir in reserved salsa liquid and beans with their liquid. Bring to a simmer. Reduce heat to low; cover and cook, stirring occasionally, until flavors meld, about 10 minutes.
  4. Meanwhile, to cook the sweet potatoes, wash and pat dry. Prick each spud four times with a fork; microwave on high for 15 minutes, flipping once during cooking. (Alternatively, bake the potatoes in a 400° oven for 45-60 minutes.)
  5. Use a sharp knife to test for doneness. If not tender enough, continue to microwave in one-minute increments until tender.
  6. Split open the potatoes and gently squeeze to create a central cavity. Place on plates.
  7. Spoon chili over potatoes and top with cheese, sour cream and scallions.

http://www.lynnandruss.com

Vegan Crispy Spiced Chickpeas

When cooking chickpeas, most recipes call for roasting them in the oven, but they never really crispen up enough. And when you crave a crunchy snack, roasting just won’t do the trick.

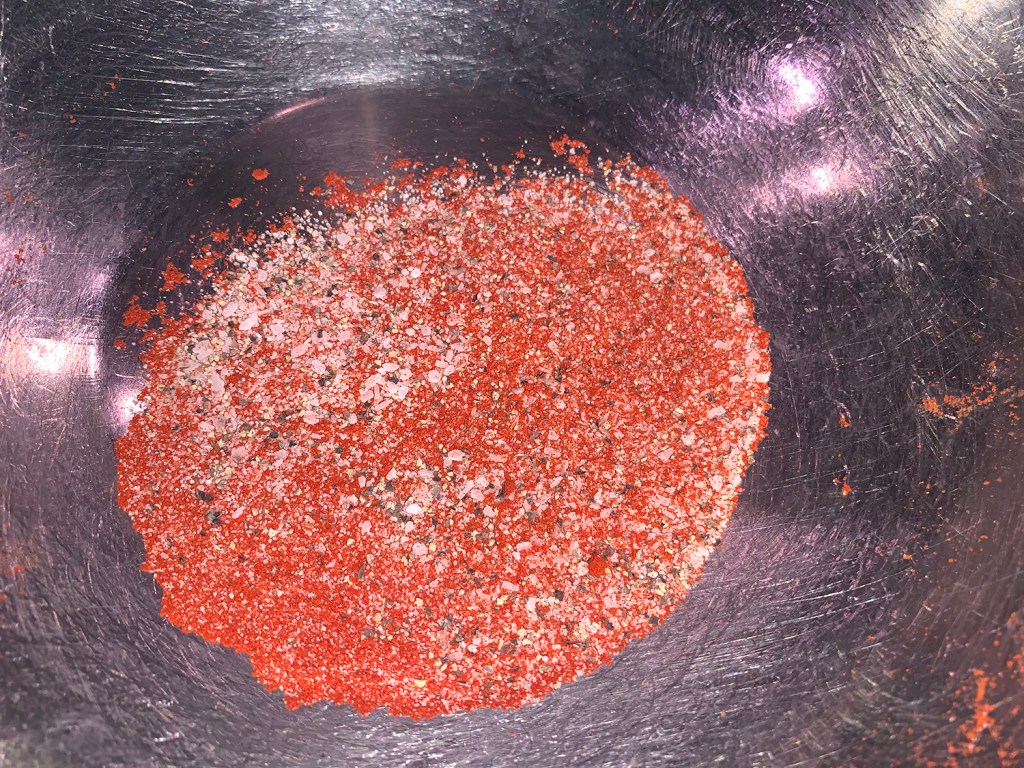
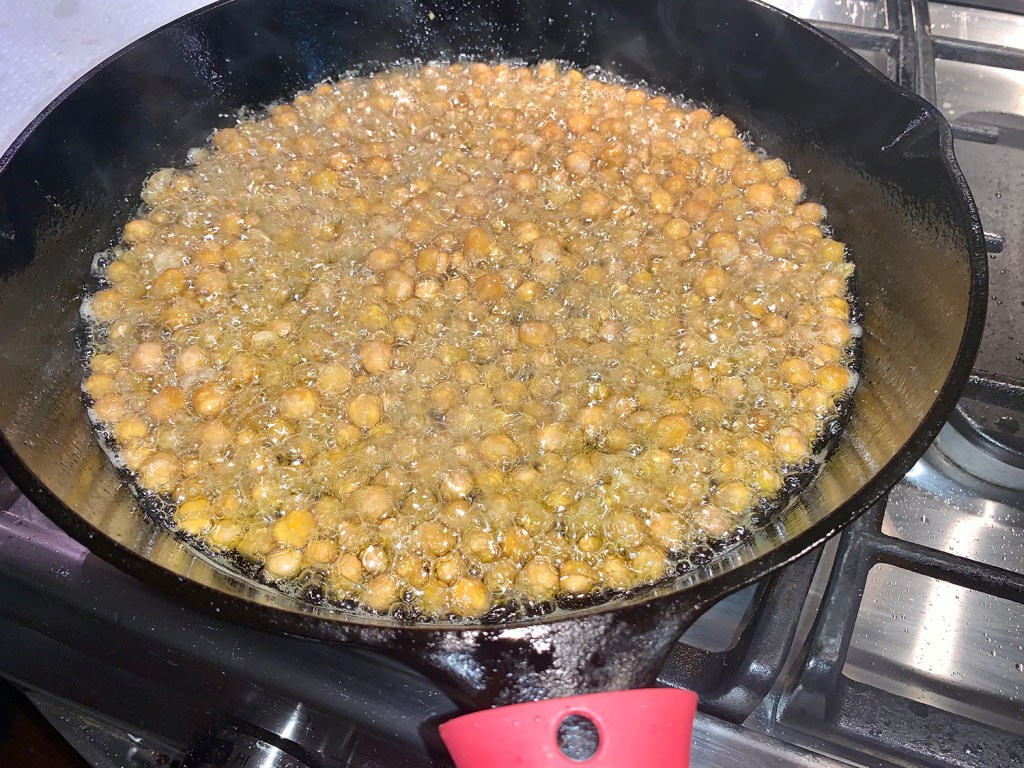
Switching to the stovetop and frying the chickpeas in olive oil provides the big crunch factor. A quick toss in a sweet-and-savory mixture of sugar and smoked paprika makes the chickpeas incredibly addictive.

To begin with, make sure to dry the chickpeas thoroughly with paper towels before placing them in the oil. In order to get crisp chickpeas, it’s important to keep the heat high enough to ensure the oil is simmering the entire time.

After about 12 minutes, test for doneness by removing a few chickpeas and placing them on a paper towel to cool slightly before tasting. If they are not quite crisp yet, continue to cook 2 to 3 minutes longer, checking occasionally for doneness.

Once I tasted them, I could hardly stop. What a great flavorful snack to munch on!

Vegan Crispy Spiced Chickpeas

  • Servings: Yields 2 cups
  • Difficulty: easy
  • Print

Ingredients

  • 1 tsp. smoked paprika
  • 1 tsp. organic sugar
  • ½ tsp. salt
  • ¼ tsp. pepper
  • 1 cup extra-virgin olive oil
  • 2 15-oz. cans chickpeas, rinsed and patted dry

Directions

  1. Combine paprika, sugar, salt, and pepper in large bowl. Heat oil in Dutch oven over high heat until just smoking. Add chickpeas and cook, stirring occasionally, until deep golden and crisp, 12 to 15 minutes.
  2. Using slotted spoon, transfer chickpeas to paper towel–lined baking sheet to drain briefly, then toss in bowl with spice mix. Serve. (Chickpeas can be kept at room temperature for up to 2 hours.)

http://www.lynnandruss.com

Recipe from America’s Test Kitchen

Chinese Stir-Fry with Black Bean Sauce

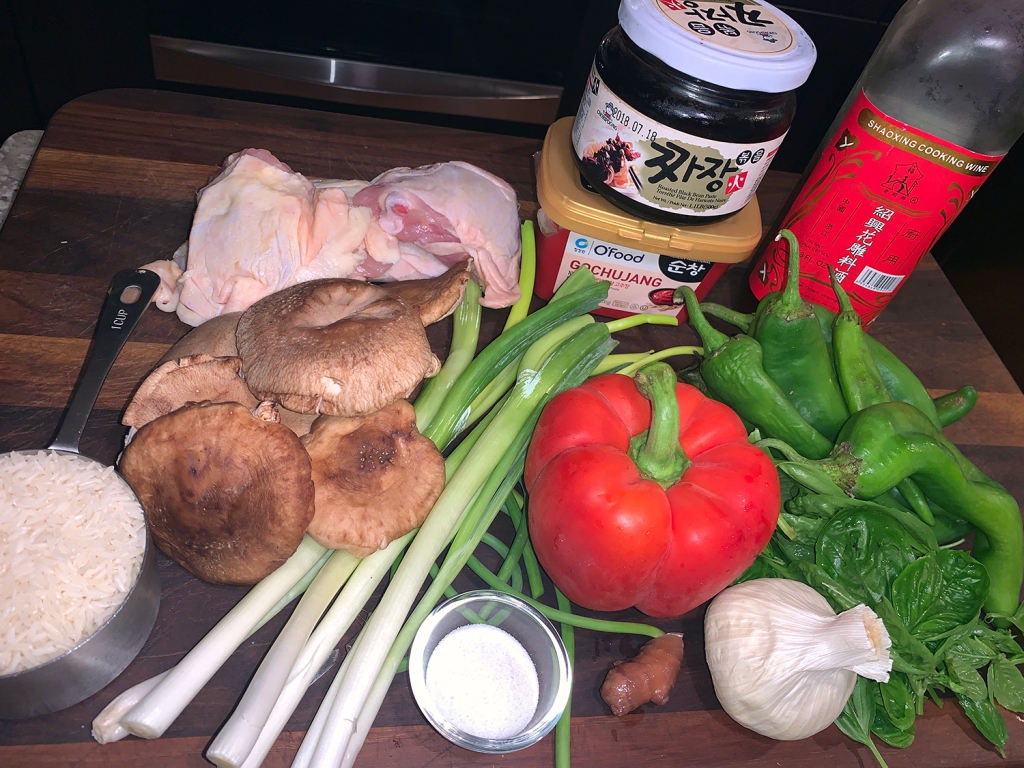
This tasty Asian sauce is quite adaptable to any stir-fry. Go ahead and double it if desired so that you have enough for an additional stir-fry in the future. The choice of vegetables is also a personal preference, but try to keep the total amounts about the same.

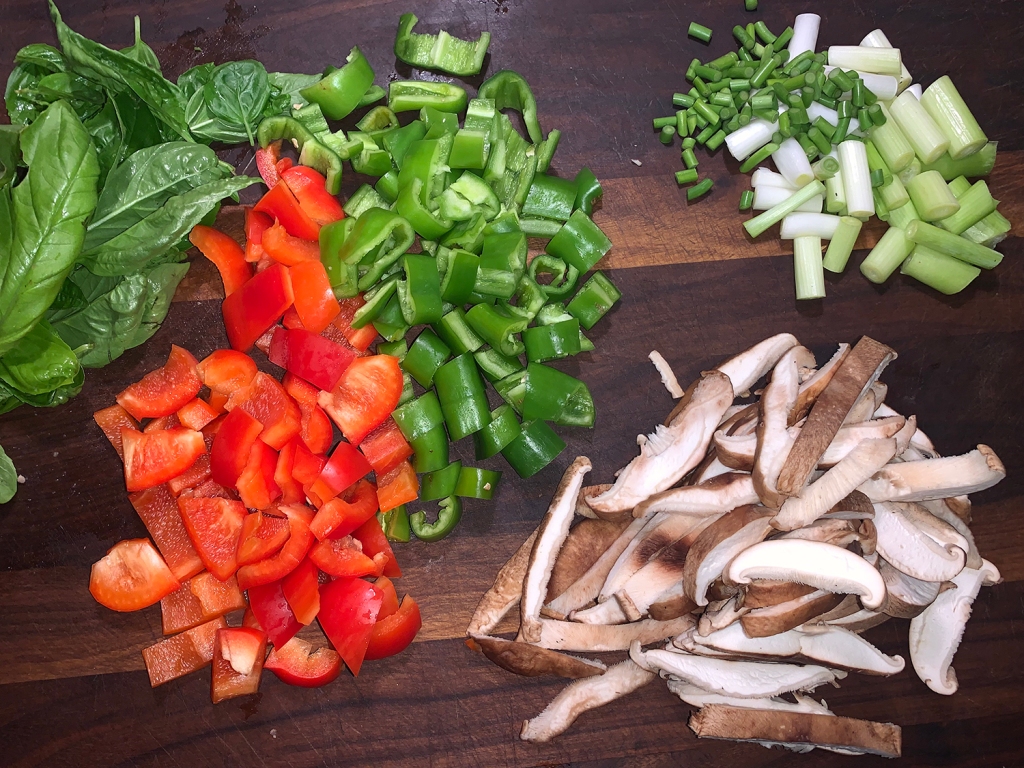
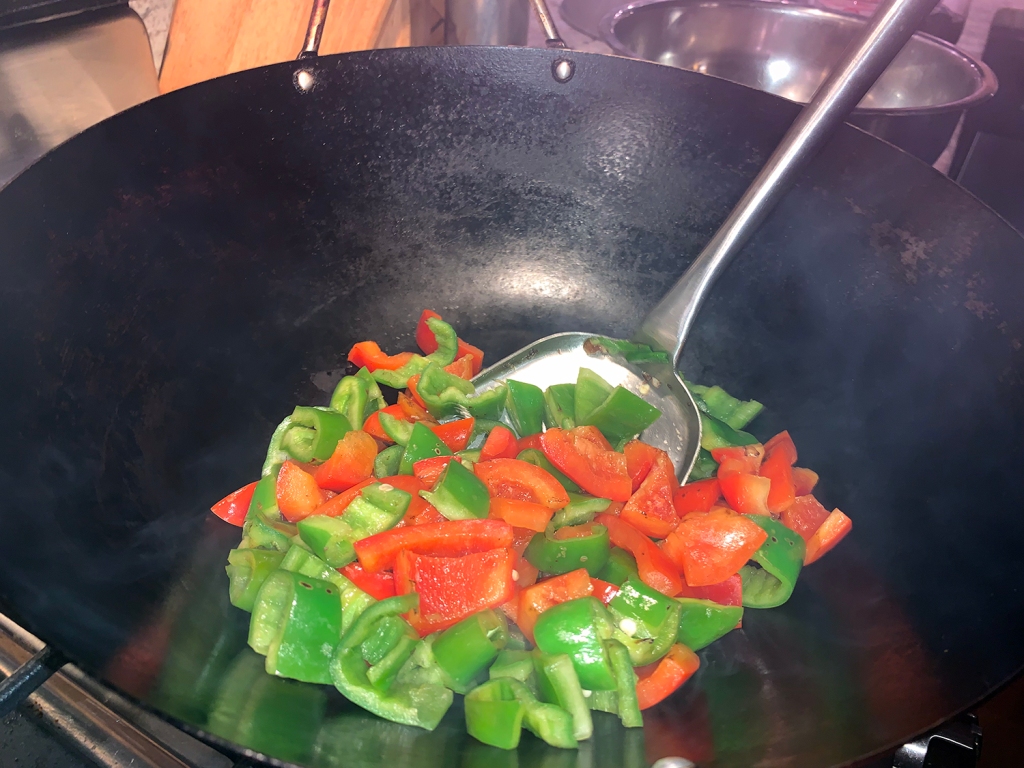
Prep all ingredients before you start the stir-fry. We substituted hatch chile peppers for the green bell because it was a new item that we had never tried before. They look very similar to long hots, which are quite spicy. The package indicated they had a medium heat level—we thought they were milder than that. They also take a bit longer than the red bell pepper to soften in the wok.

Chinese Stir-Fry with Black Bean Sauce

  • Servings: 4
  • Difficulty: easy
  • Print

Ingredients

Bean Sauce

  • 1 1/2 tsp. cornstarch
  • 1 1/2 tsp. dry sherry or Shaoxing
  • 1/2 cup chicken broth
  • 1 1/2 Tbsp. Chinese black bean and garlic sauce
  • 1 Tbsp. granulated sugar
  • 1 tsp. Asian chile paste
  • 1/2 tsp. minced fresh ginger

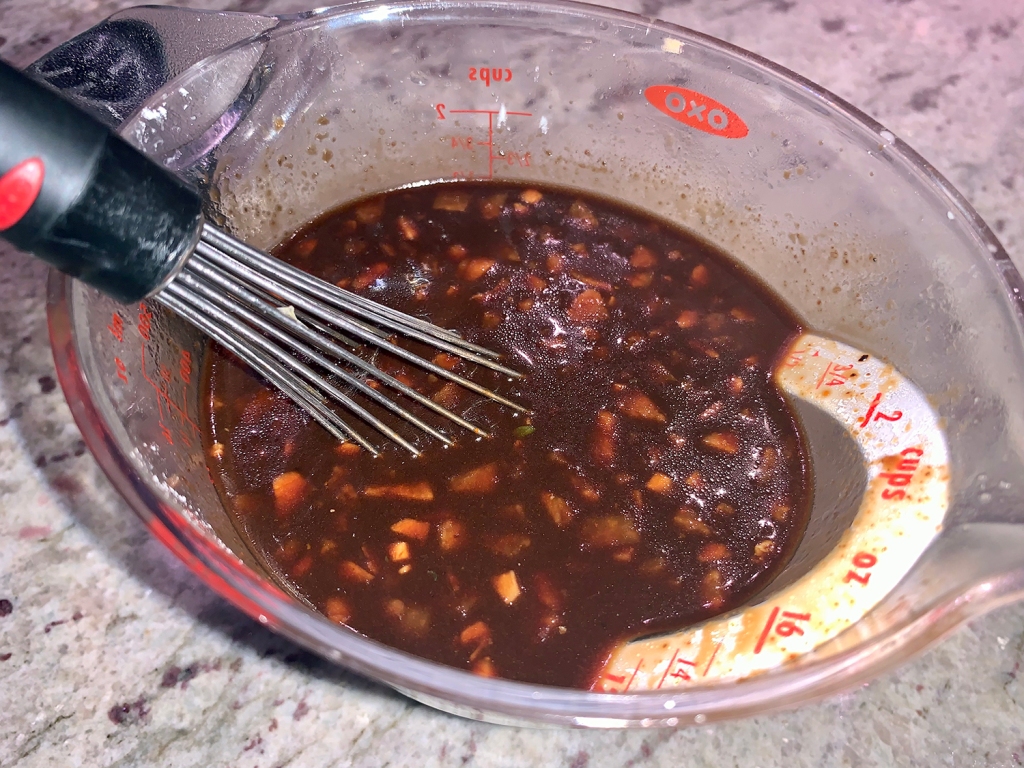
In a measuring cup, combine the cornstarch with the sherry, whisking to blend. Then whisk in the remaining ingredients. Set aside. Can be easily doubled.

Staples

  • 3 Tbsp. peanut oil
  • 1 lb. shiitake mushrooms, stems removed caps cut into 1/4″ slices
  • 6-8 scallions, trimmed with whites cut into 1″ lengths, greens sliced thin for garnish
  • 4 garlic scape stems cut into 1/2″lengths; or 3 garlic cloves sliced thin
  • 1 each red and green bell pepper, stemmed, seeded and cut into 1″ pieces
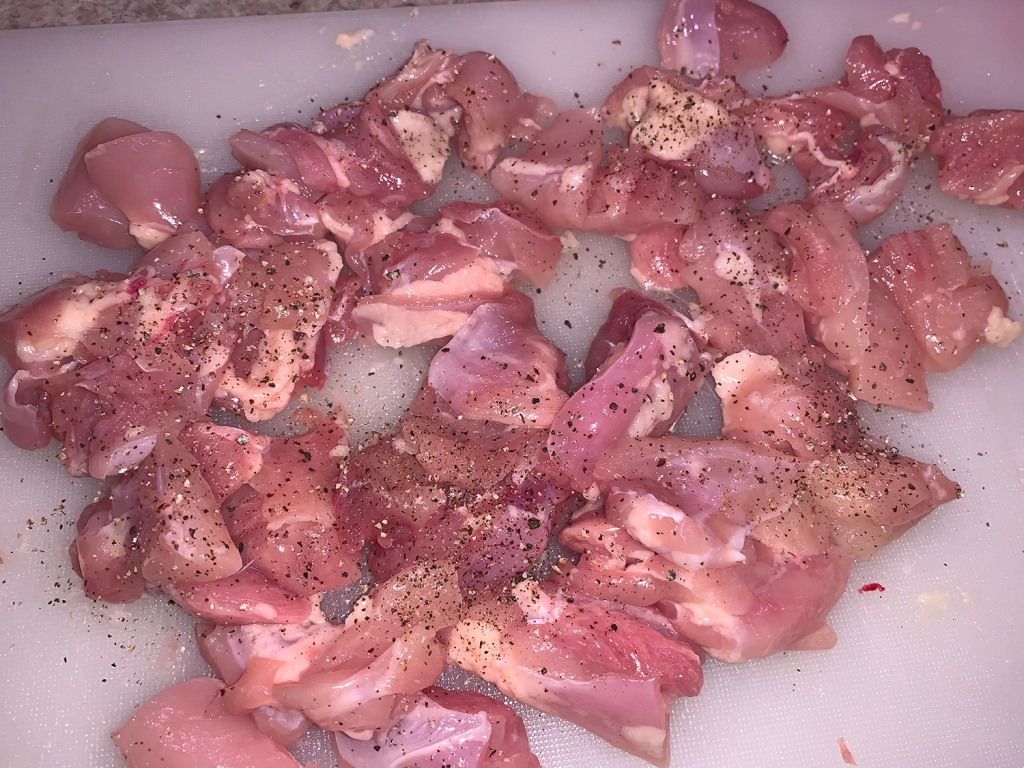
  • I lb. boneless, skinless chicken thighs, cut into 1″ chunks
  • 1/2 cup fresh basil leaves, roughly chopped
  • 1 cup white rice, cooked according to package directions

Directions

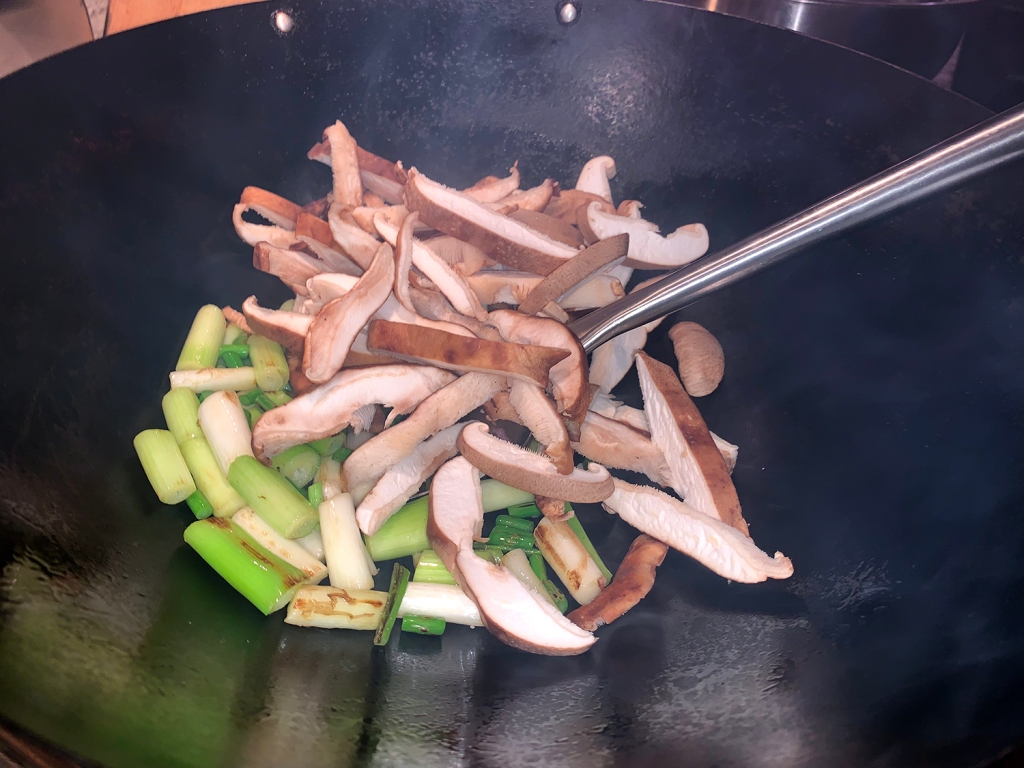
  • Heat a large wok on high. Add 1 tablespoon peanut oil. When smoking, add scallions and garlic stirring constantly for 2 minutes, then place into a large bowl.
  • Add 1 more tablespoon to wok and toss in bell pepper pieces, stir continuously for 2-3 minutes until they start to soften. Put in bowl with scallions.
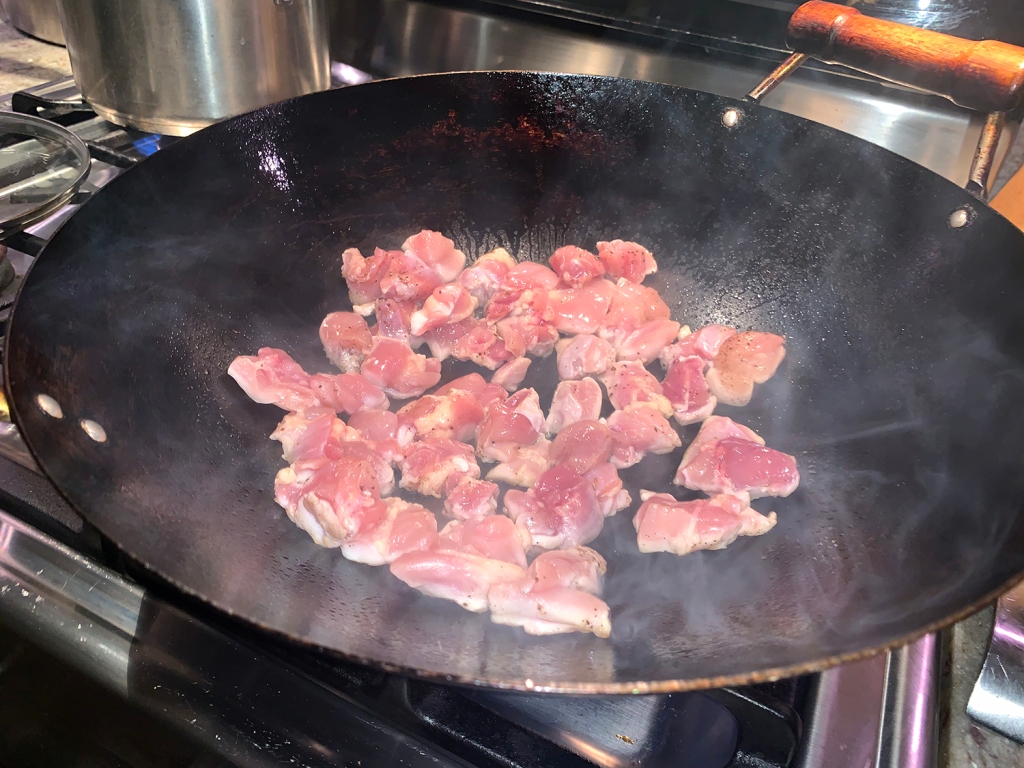
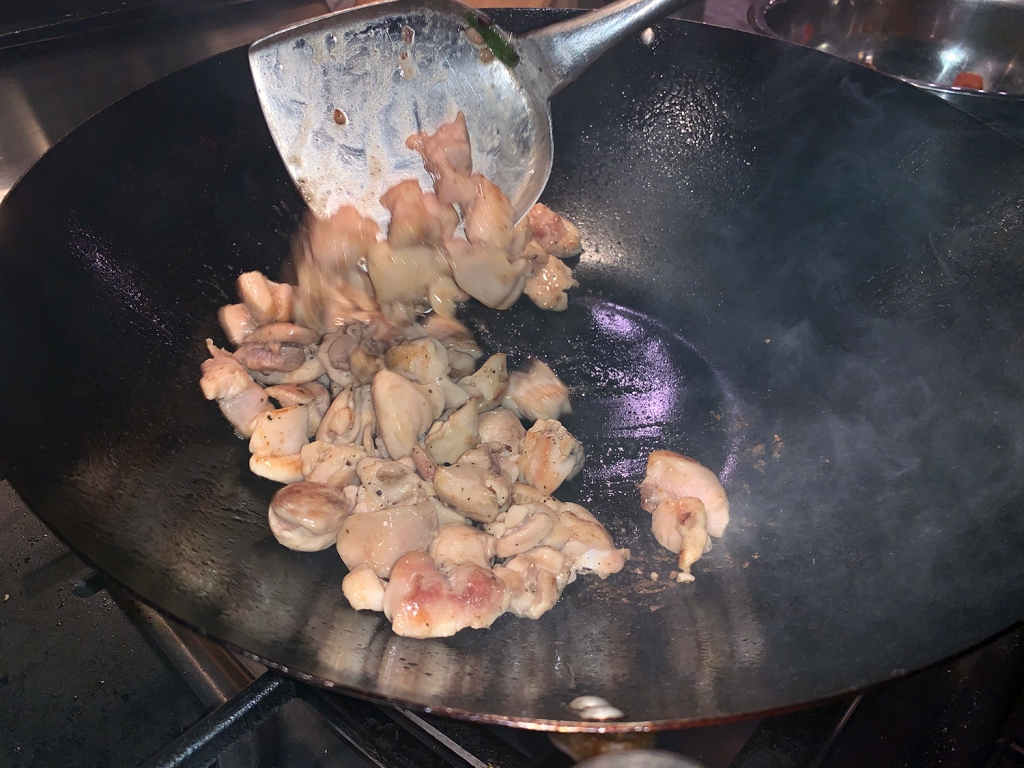
  • Put final tablespoon peanut oil into wok and then add chicken. Let chicken sit in hot wok for one full minute before you start to flip; then stir until the pink disappears. Add chicken to bowl with vegetables.
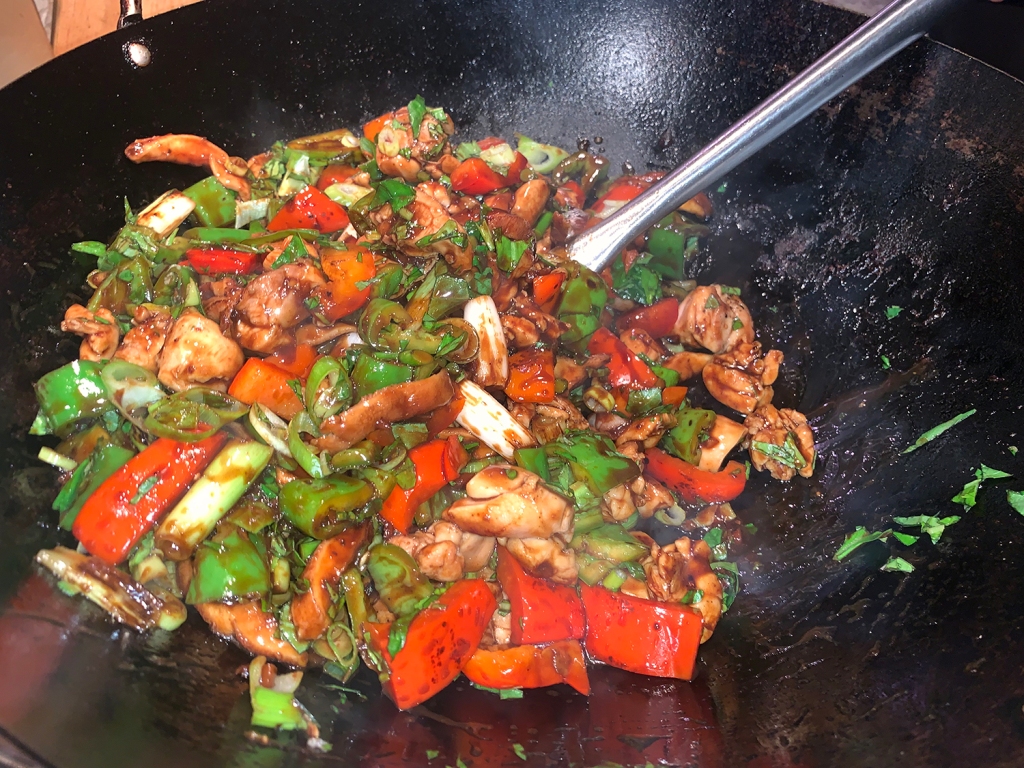
  • Pour reserved black bean sauce into wok, when hot dump all of the bowl ingredients into wok and stir-fry for 1 minute.
  • Serve steamed rice on each dinner plate topped with stir-fry. Garnish with chopped basil and scallion greens.

http://www.lynnandruss.com

Pork Loin Roast with Gravy

Pork loin roasts up beautifully and finishing it with a little gravy made with the pan drippings adds that much more flavor. Such a perfect meal for cooler weather; make sure to have some mashed potatoes or noodles to ladle the fabulous gravy over. Given the simplicity of effort and the relatively few amount of ingredients, the depth of flavor is incredible!

A few notable tips for a perfect roast: It’s helpful to dry first with paper towels to remove extra moisture from exterior so it browns better. Don’t skip searing the pork loin for that extra added layer of flavor. It also seasons the drippings.

A pork loin should be cooked to 145 degrees in the center of the loin with a slightly pink color. Test temperature with a thermometer for doneness rather than guessing or basing it off color.; and be careful not to over-cook or it starts to dry. Finally, let rest before carving to allow juices to evenly distribute so they don’t just end up on the carving board.

To shorten the cooking time, if you have a convention oven option, lower the oven temp to 300°, and cook the meat in about 25% less time. An internal thermometer will let you know exactly when it’s done.

Pork Loin Roast

  • Servings: 6-8
  • Difficulty: easy
  • Print

Ingredients

Roast

  • 3 – 4 lb. pork loin
  • Salt and freshly ground black pepper
  • 2 Tbsp. olive oil, divided
  • 2 tsp. chopped fresh thyme (or 3/4 tsp. dried)
  • 2 tsp. chopped fresh rosemary (or 3/4 tsp. dried)
  • 2 tsp. chopped fresh sage (or 3/4 tsp. dried)
  • 1 1/2 tsp. minced garlic, 4 cloves
  • 1 tsp. lemon zest or orange zest, optional

Gravy

  • 2 Tbsp. butter or olive oil
  • 2 Tbsp. flour
  • Pan drippings from roasting pan
  • 1 cup chicken broth, preferably homemade
  • 2 Tbsp. heavy cream, optional

Directions

  1. Preheat oven to 325 degrees. Heat a 12-inch skillet over medium-high heat (I like to use cast iron for nice browning).
  2. Dab pork loin dry with paper towels and season with salt and pepper.
  3. Heat 1 tablespoon oil in skillet and brown pork on all sides, about 2 minutes per side, including end caps, about 12 minutes total.
  4. Transfer pork to a plate. Let cool a few minutes so it’s not too hot to handle.
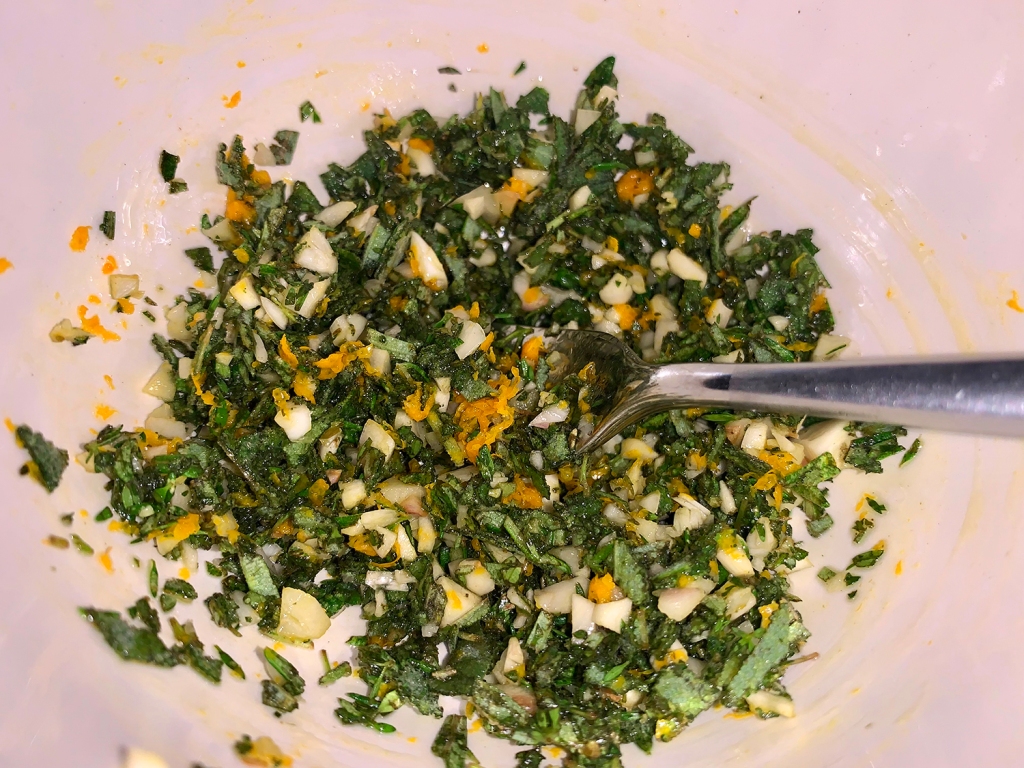
  5. Meanwhile in a small bowl stir together remaining 1 tablespoon olive oil with thyme, rosemary, sage, garlic and citrus zest.
  6. Using hands spread mixture over roast (on all sides, note it doesn’t stick perfectly well and that’s ok if some falls from the sides, just sneak it under the roast to season it). Place meat back into skillet and roast with fat side up.
  7. Insert an oven probe thermometer into center of middle area of pork loin (if you don’t have one use a standard probe thermometer to test temperature occasionally).
  8. Bake pork in preheated oven until center registers 145 degrees on thermometer, about 50 to 70 minutes.
  9. Remove from oven, transfer to carving board. Tent roast with foil and let rest 10 minutes. Meanwhile prepare gravy in the same skillet.

For the gravy

  1. In previously used skillet, melt butter over medium heat. Add flour and cook 1 1/2 minutes, whisking constantly.
  2. While whisking slowly pour in chicken broth and drippings from roasting pan (you should have a few tablespoons, scrape up browned bits). Let cook until thickened, stirring frequently.
  3. Season with salt and pepper as needed. Stir heavy cream in at the end if using.
  4. Slice roast to desired thickness (I like to slice somewhat thin). Serve with gravy atop slices.

http://www.lynnandruss.com

Adapted from a recipe for cookingclassy.com

Roasted Brussels Sprouts with Orange-Butter Sauce

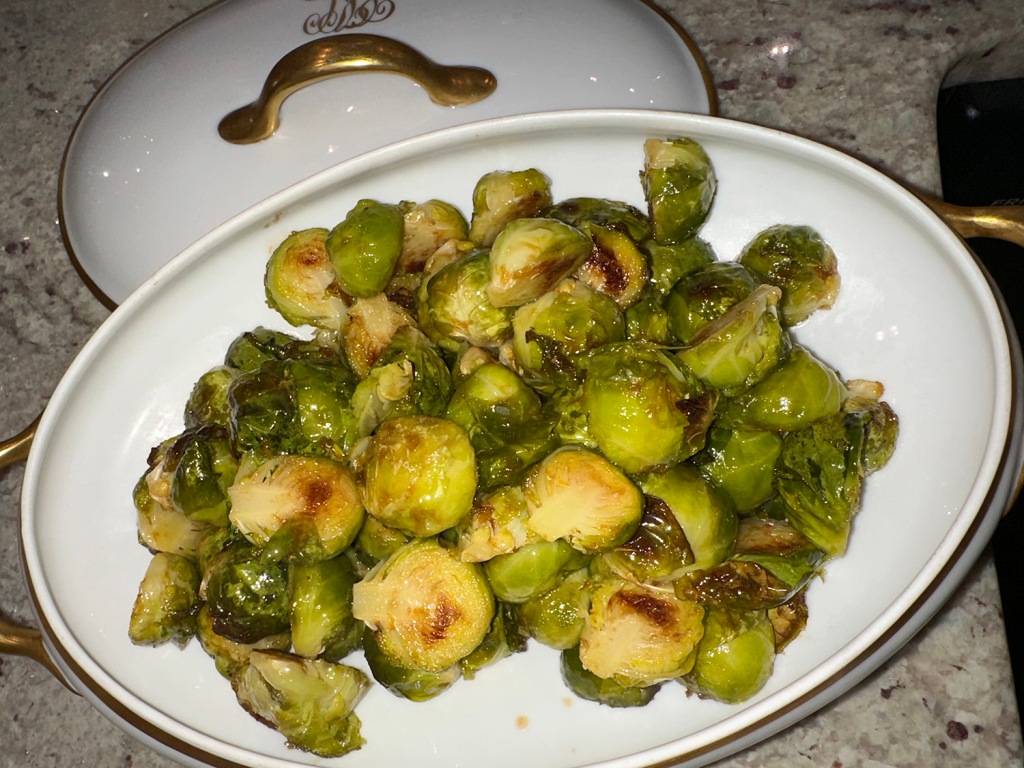
Tangy orange-butter sauce gives Brussels sprouts a wake-up call in this recipe and paired well with our Citrus Rosemary Chicken entrée. The key is using real maple syrup and a good quality balsamic vinegar for the best flavor.

It is easily cut in half if serving 4 or less people. Truly yummy! In fact, all of our guests claimed they were the best Brussels sprouts they have ever eaten!

Roasted Brussels Sprouts with Orange-Butter Sauce

  • Servings: 8
  • Difficulty: easy
  • Print

Ingredients

  • 2 lbs. small Brussels sprouts, trimmed and halved lengthwise
  • 1/4 cup extra-virgin olive oil
  • 1 tsp. coarse salt
  • 1 Tbsp. plus 1 teaspoon balsamic vinegar
  • 2 Tbsp. pure maple syrup
  • 2 Tbsp. freshly squeezed orange juice
  • 1 tsp. finely grated orange zest
  • 4 Tbsp. cold unsalted butter, cut into 16 pieces

Directions

  1. Preheat oven to 475 degrees. Line a large rimmed baking sheet with parchment paper; set aside.
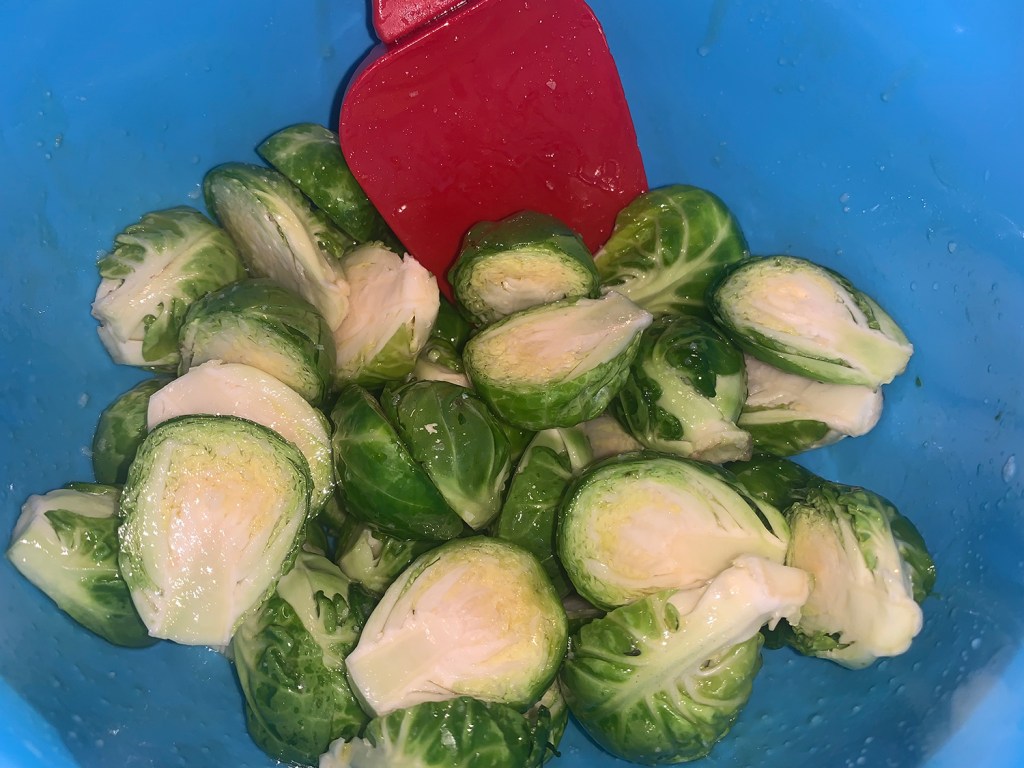
  2. In a large bowl, toss Brussels sprouts with olive oil and salt; arrange in an even layer on prepared baking sheet, cut side down.
  3. Transfer to oven and roast until brown and tender, 15 to 18 minutes, rotating baking sheet halfway through baking; transfer to a large bowl.
  4. In a small saucepan, mix together vinegar, maple syrup, orange juice, and orange zest; heat over medium heat until heated through but not simmering. Remove from heat and whisk in cold butter, a few pieces at a time, until smooth and creamy.
  5. Pour vinegar mixture over Brussels sprouts and gently stir until liquid is absorbed and mixture is well combined; serve immediately.

http://www.lynnandruss.com

Adapted from a recipe by Martha Stewart

Citrus Rosemary Chicken

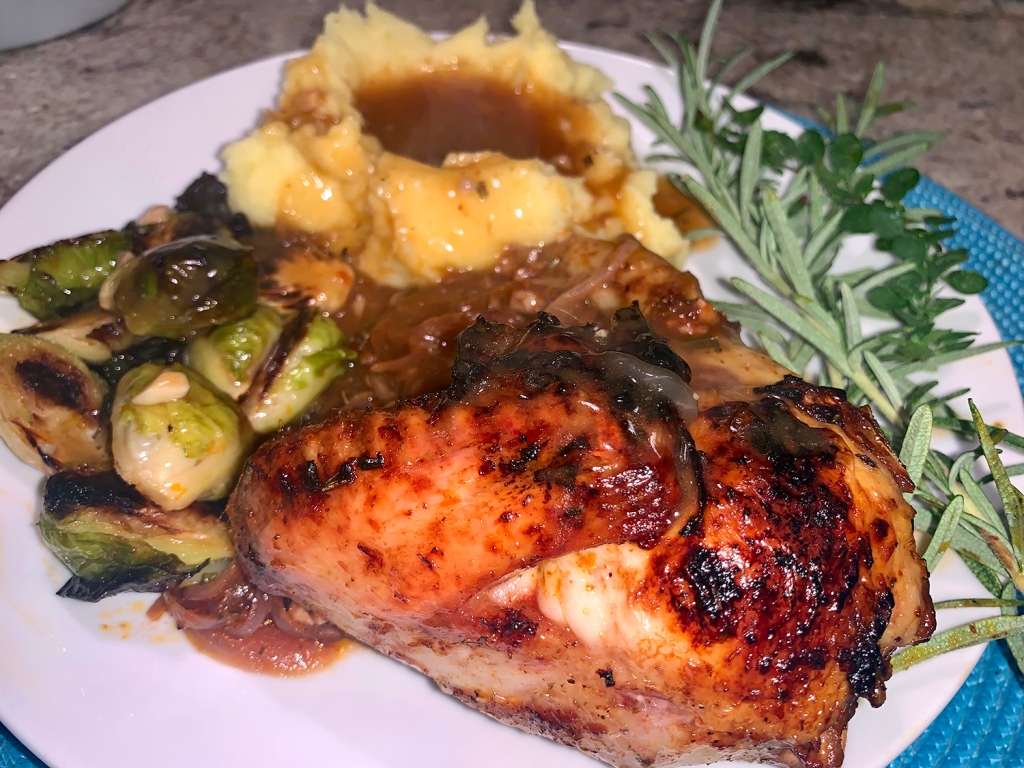
Citrusy roast chicken with mashed potatoes and gravy are my go-to comfort food, especially on a cool Sunday afternoon. The meal conjures up fond memories from my formative years growing up in Michigan. According to chef/author Suzy Karadsheh, this simple twist on roast chicken makes a dish that is at once crisp and succulent, with the perfect balance of savory, tangy, and warm flavors! Delicious and impressive with a modicum of work involved. You had me at “roast chicken.”

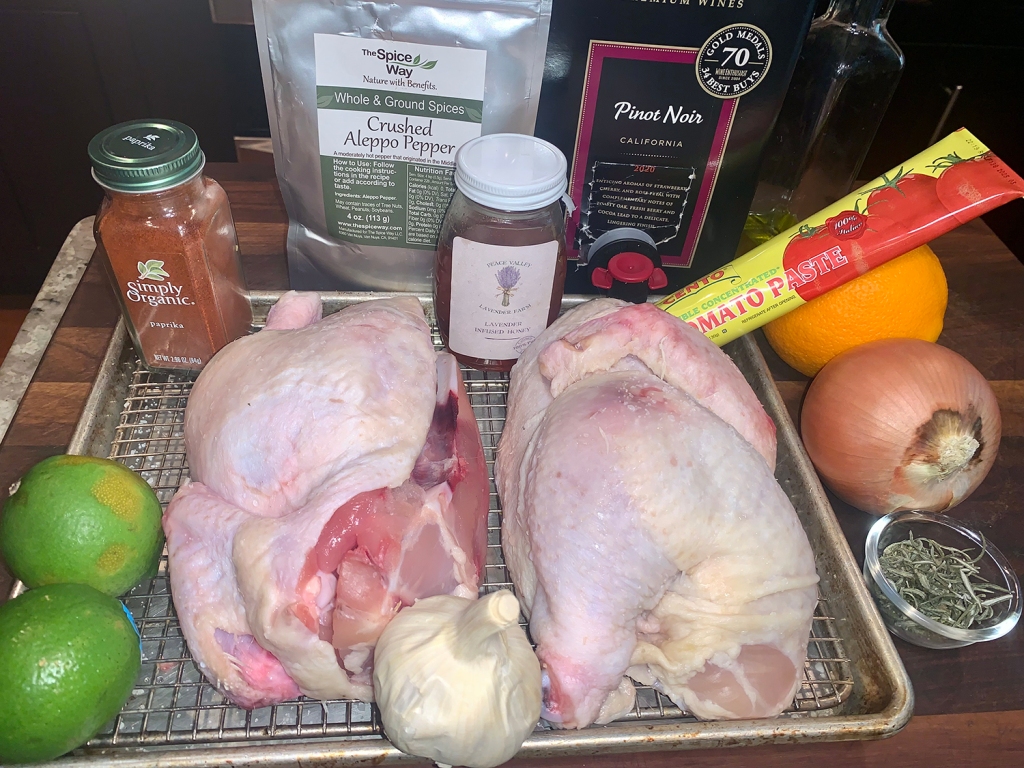
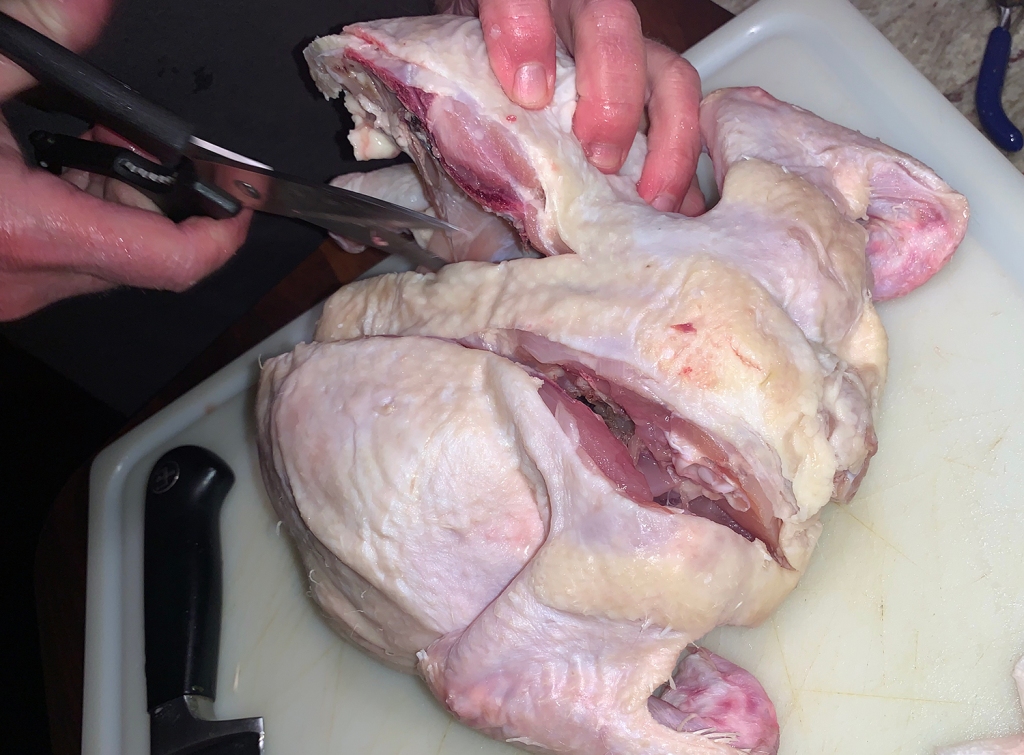
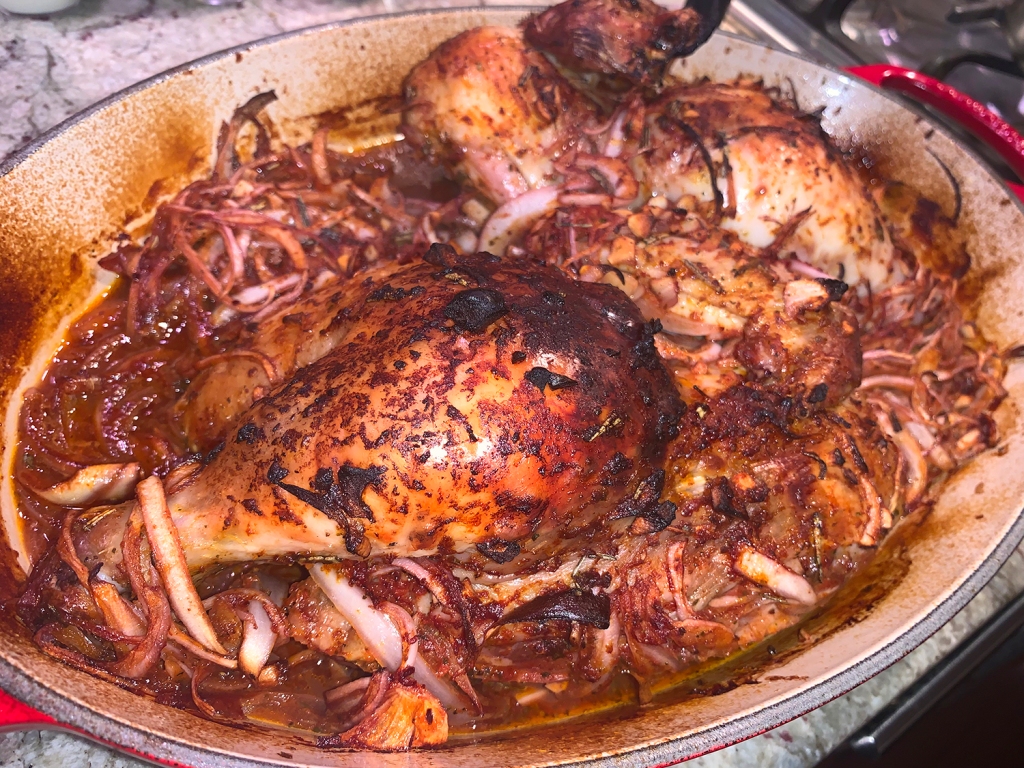
I say bring it on with crisp, tangy, and succulent citrus rosemary chicken, seasoned Mediterranean-style with garlic, rosemary, and oregano, and covered in a bold wine and orange marinade. It is preferable to use split chicken or chicken pieces of similar size for even cooking. We used a whole chicken split in half for this recipe, but you can also use chicken breast or thighs, and you may have to adjust the cooking time accordingly.

As wine pairings go, many people choose white wine to serve next to chicken dinners. But roast chicken is one of those rustic meals that pairs incredibly well with certain red wines, such as Pinot Noir. The beautiful red fruit notes in Pinot compliment the rosemary and citrus flavors in the chicken without overwhelming the palate. And the smooth, lengthy finish is just perfection! To elevate the flavor even more, Suzy also uses some of the wine in the chicken marinade. 

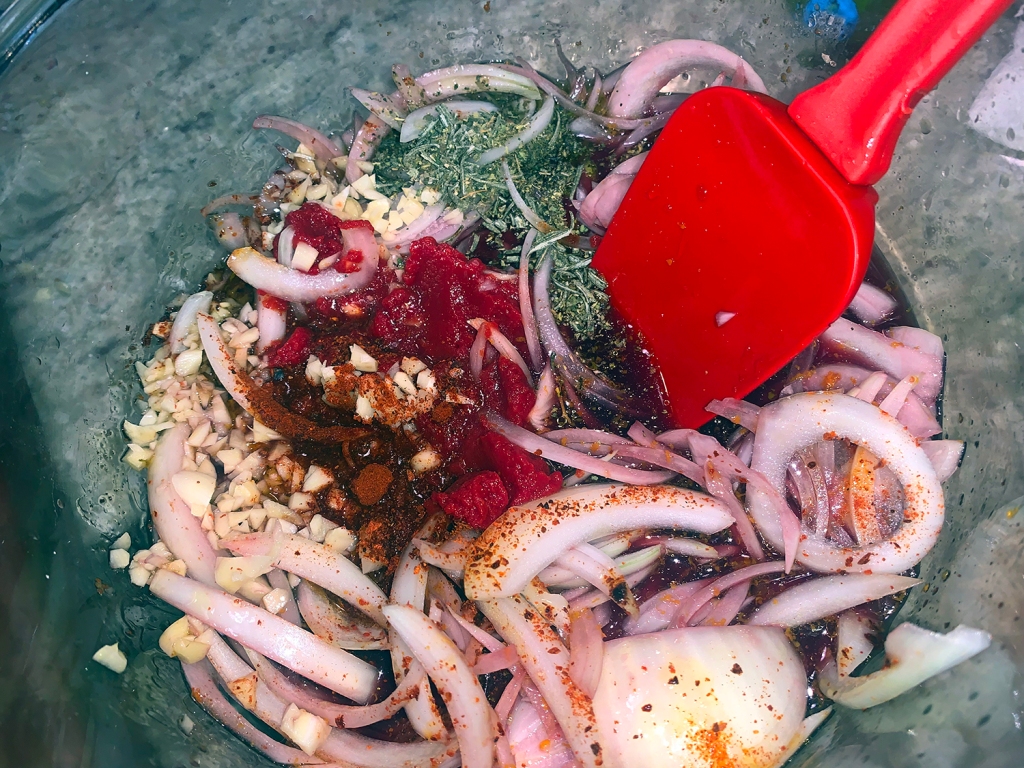
The citrus marinade in this recipe is made of a combination of wine, orange juice, lime juice, olive oil, tomato paste for color and umami, and fresh garlic, onions, rosemary, and other Mediterranean spices. The key to great flavor here is to allow the chicken a good 1 to 2 hours in the marinade (refrigerated), and make sure to lift up the chicken skin to spoon some of the garlicky, citrus marinade underneath.

When the chicken was done, we plated it and the onions on a platter covered with foil. The remaining juices were added with a quart of homemade chicken stock to a pot; then thickened with a corn starch slurry when the liquids began to boil. To complete the meal, we made Roasted Brussels Sprouts with Orange-Butter Sauce and garlicky mashed potatoes with gravy.

Please note: Since the pan will go under the broiler at the end, make sure to use a broiler-proof pan such as enameled cast iron.

Citrus Rosemary Chicken

  • Servings: 4
  • Difficulty: easy
  • Print

Ingredients

  • 1 whole chicken (about 3 ½ lbs.), split in half through the backbone
  • Kosher salt
  • 1 cup Pinot Noir
  • 1 orange zested and juiced plus 1 sliced orange
  • 1 lime juiced, plus 1 sliced lime
  • Extra virgin olive oil
  • 3 Tbsp. tomato paste
  • 1 ½ tsp. dried oregano
  • 1 tsp. dried rosemary
  • 1 tsp. sweet paprika
  • 1 tsp. Aleppo pepper
  • 7 to 8 garlic cloves minced
  • 1 yellow onion halved and sliced
  • 1 Tbsp. honey

Directions

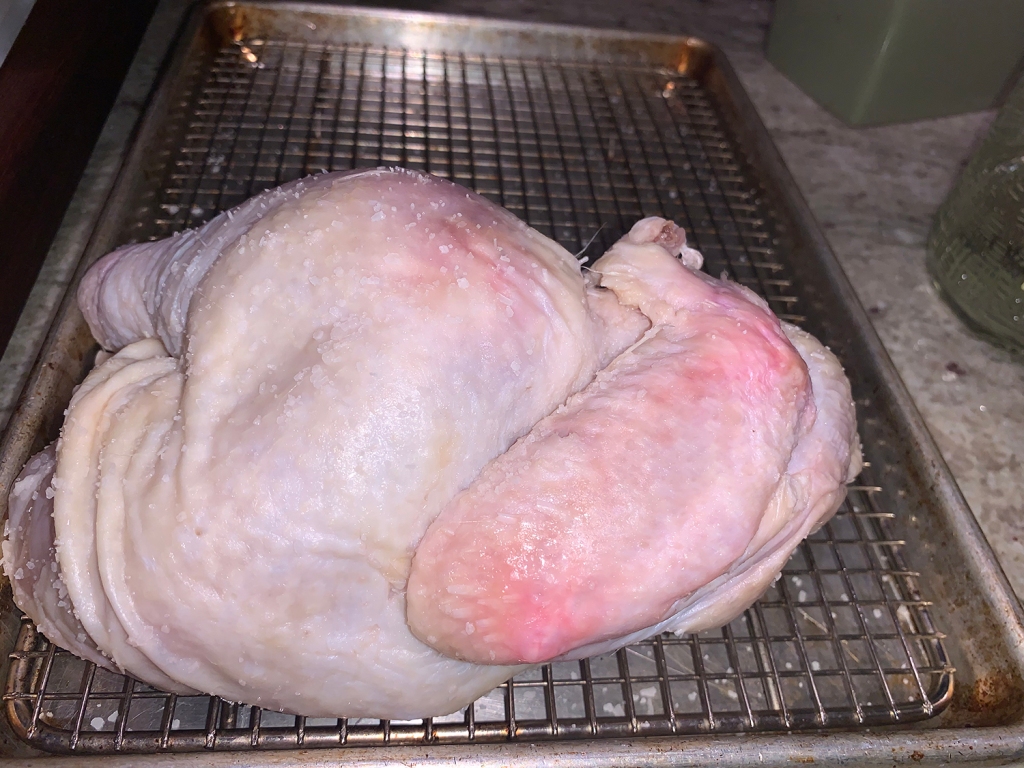
  1. Season the chicken with kosher salt on all sides, making sure to season underneath the skin as well. (You can do this one night ahead of time and keep the chicken in the fridge to air-chill uncovered).
  2. Prepare the citrus marinade. In a large bowl, add the wine, orange juice and zest, lime juice, 3 tablespoons extra virgin olive oil, tomato paste, spices, and a good dash of kosher salt. Add the garlic and onion. Whisk to combine.
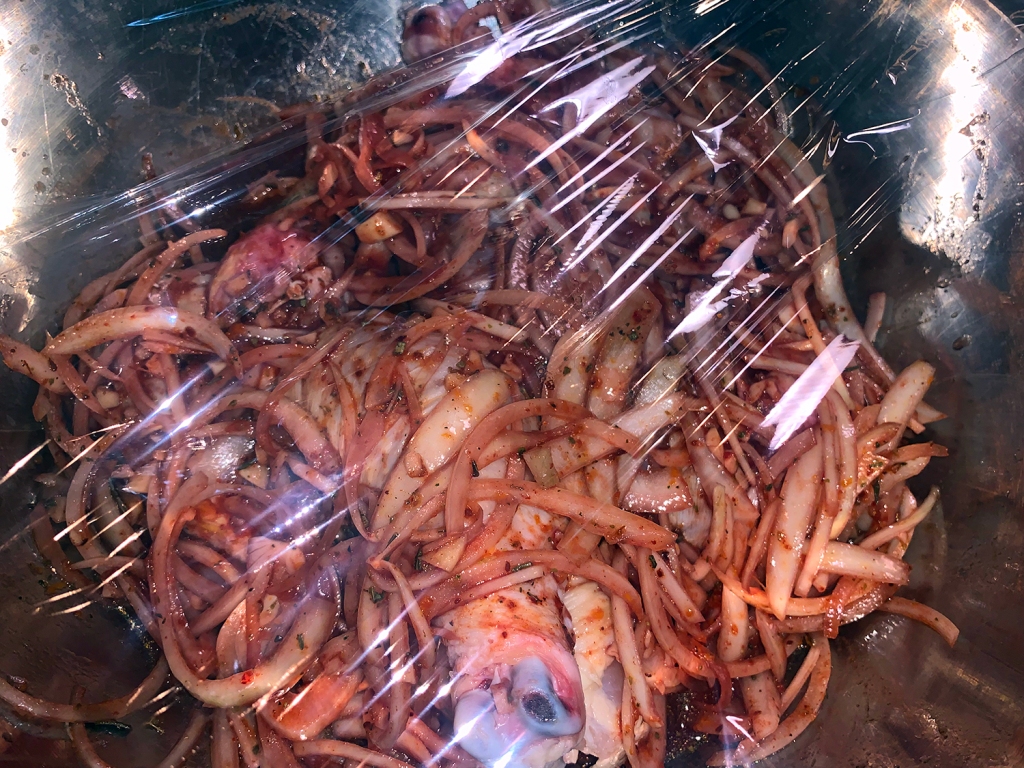
  3. Add the chicken and toss to coat, making sure to lift the skin up and spoon some of the marinade underneath (this will give you more flavor). Set aside at room temperature for 30 minutes. Alternatively, cover and refrigerate for an hour or two (for best results, take it out of the fridge and leave the chicken at room temperature for 30 to 45 minutes before cooking).
  4. Preheat the oven to 425° F and adjust a rack in the middle.
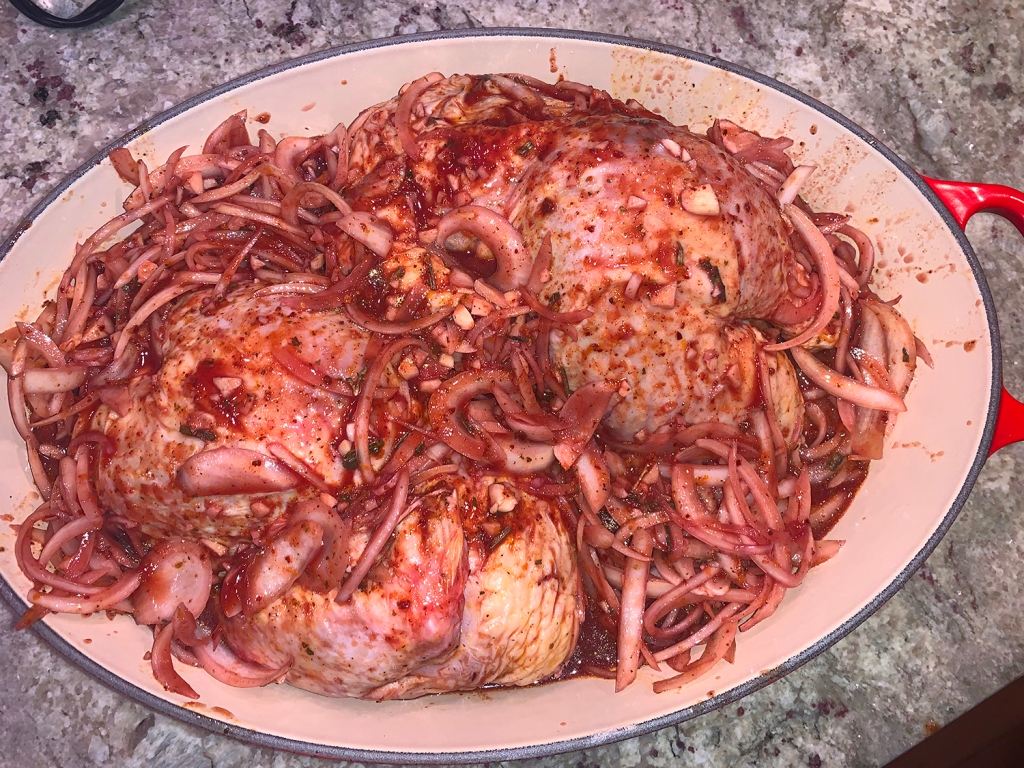
  5. Transfer the chicken and the marinade to a braising pan. Roast for 30 minutes, then carefully turn the pan 180 degrees and roast for another 15 minutes or until the chicken is fully cooked and tender, with an internal temperature of the breast meat at 165°.
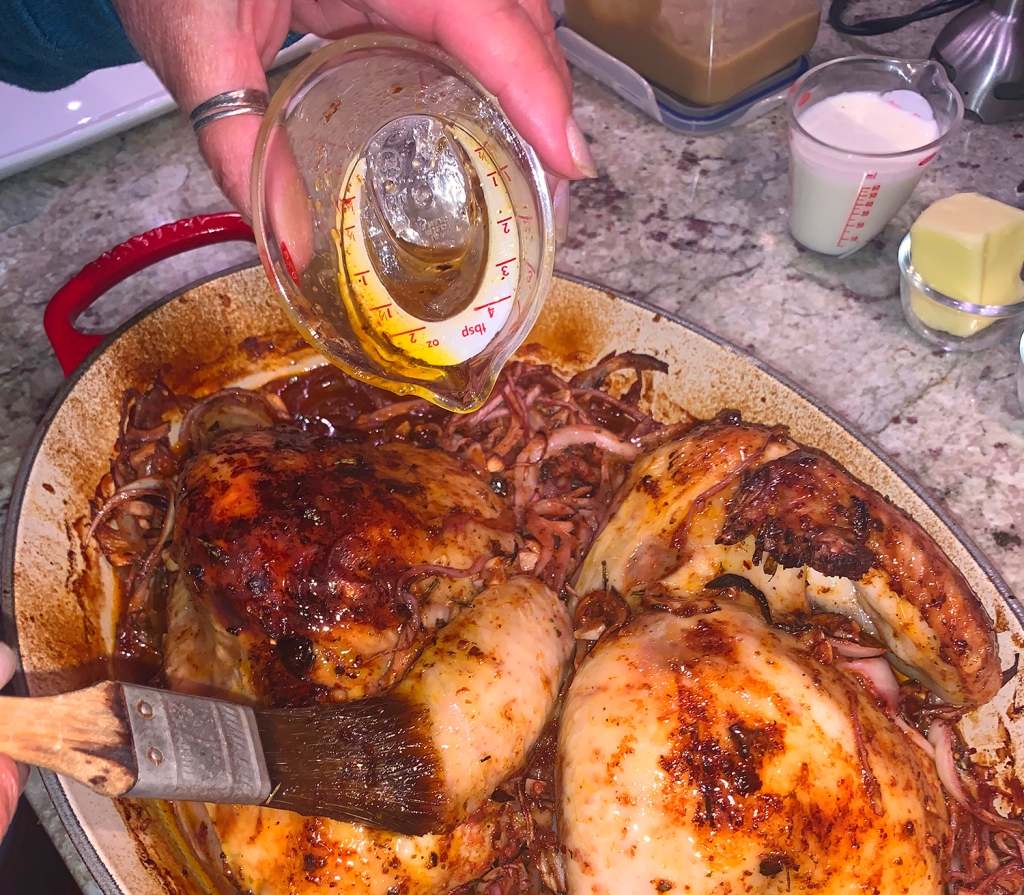
  6. In a small bowl, mix together the honey with 1 tablespoon of extra virgin olive oil. Carefully remove the chicken from the oven and brush the top with the honey and olive oil mixture.
  7. Switch the oven to the broil function. Return the chicken back to the oven about 6 inches away from the broiler and cook briefly for 3 to 4 minutes, watching for the skin to turn a nice golden brown.
  8. Remove from the heat. Move chicken and onions to platter. Garnish with slices of fresh orange, wedges of lime and fresh herbs. Allow chicken 10 minutes to rest before slicing and serving.
  9. If desired, while the chicken rests, bring 1 quart of chicken stock and the pan juices to a boil, then add a cornstarch slurry to thicken the gravy.

http://www.lynnandruss.com

Adapted from a recipe by Suzy Karadsheh for The Mediterranean Dish