Monthly Archives: August 2015

Poached Halibut in Hot and Sour Broth

Very low in calories and fat, this delicious broth hit all of the right flavor notes! For this “Meatless Monday” dinner, we exchanged fresh cod for the expensive halibut, swapped out Sriracha sauce in place of Tabasco, and used fish broth instead of chicken, making it truly vegetarian. The vibrant greens of the scallions and cilantro add an attractive visual pop.

Because we were cooking for only two of us, we reduced the amount of fish from 2 pounds to 1 pound, but kept the stock ingredients the same. Hot steaming rice went into our bowls first, with the fish fillets next, then ladled with broth and topped with the greens. You almost feel instantly healthier after eating this meal!

Ingredients

  • 2 Tbs. soy sauce
  • 4 halibut fillets, 1/2 lb. each (about 1-inch thick)
  • 1 qt. homemade or low-salt chicken broth
  • 1/4 cup honey
  • 3 Tbs. tomato paste
  • 2-1/2 Tbs. cider vinegar
  • 12 quarter-size slices fresh ginger, cut into thin strips
  • 1/4 tsp. Tabasco or other hot sauce
  • 1/4 cup sliced scallions (greens included)
  • 1/4 cup chopped fresh cilantro

simmering.fillets
Fish fillets simmering in broth.

green.beans1
Our side dish of fresh steamed green beans topped with broth.

Directions

  1. Drizzle the soy sauce over both sides of the halibut fillets. Cover and refrigerate.
  2. In a 12-inch sauté pan, combine the chicken broth, honey, tomato paste, vinegar, ginger, and Tabasco. Bring to a simmer over medium heat and cook gently for 12 minutes, stirring occasionally and skimming foam as necessary.
  3. Add the fillets, cover, and poach gently at a bare simmer over medium-low heat until the flllets are slightly firm to the touch and the centers are almost opaque (make a small slit with a knife to check), 6 to 8 minutes; the fish should be slightly undercooked at this point. Turn off the heat and let sit covered for another 2 minutes.
  4. Divide the halibut and broth evenly among four shallow bowls. Sprinkle generously with the scallions and cilantro and serve with a spoon for the broth.
  5. Set a mound of white or brown rice into the broth with the fish.

bowlful1

-by Arlene Jacobs from Fine Cooking-

Gas-Grilled Whole Chicken

IMG_2115

Our ideal grill-roasted chicken has a deeply smoky flavor, crisp mahogany skin, and tender, juicy meat. And to that end, we brined the chicken and coated it with a flavorful spice rub. We then cooked the chicken in the middle of the grill, where it wouldn’t burn but would receive ample heat.

If you choose not to brine, skip that part of step 1 and season the bird generously with salt inside and out before rubbing with spices. Or, better yet, use a kosher chicken (which is salted during processing). For added accuracy, place a grill thermometer in the lid vents as the chicken cooks. Wood chunks are not suitable for gas grills, and wood chips, which don’t add much smoky flavor, are more trouble than they’re worth. Instead, rely on the spice rub alone; it will supply ample aroma and flavor. While grill-roasting, adjust the lit burner as necessary to maintain a temperature of 325 to 350 degrees inside the grill.

The recipe called for a smaller chicken than the 5-pounder that we bought (we wanted leftovers), so we had to adjust the grilling time (it only added about 10 more minutes.) Taken from Cooks Illustrated, there were two rub recipes to choose from, one dry, one wet—our choice this time. When cooked, this baby was unbelievably juicy, tender and immensely flavorful!

IMG_2101

And a favorite grilled side dish is a marinated vegetable medley. Chop any combination of vegetables to a uniform size and place in a large ziploc bag. Sweet bell peppers, onions, zucchini, mushrooms, eggplant are all good choices. Toss in a dozen or so garlic cloves, halved; add your favorite minced fresh herbs; anywhere from 1/4 to 1/2 cup of a good olive oil (we used Herbs de Provence), and season generously with salt and pepper. If marinating for an hour or less, you can leave at room temperature, otherwise refrigerate until ready to use.

IMG_2104

IMG_2119

IMG_2125

One noticeable faux pas in our thinking this time was the fact that the grill lid would have to be open so that Russ could toss the veggies often in the grill basket to prevent burning, resulting in an uneven temperature to finish cooking the chicken. Dilemma solved by spreading the vegetables on a large baking sheet and popping in a 400 degree oven for about 30 minutes. Finally, place the cooked vegetables into the basket and grill over a flame for another 10 minutes to get a nice char.

CHICKEN INGREDIENTS

  • 1 cup kosher salt
  • 1 whole broiler/fryer chicken (about 3 1/2 pounds)
  • 3 tablespoons spice rub

Citrus-Cilantro Wet Spice Rub (makes about 3 Tbsp)

For extra spiciness, add up to 1/2 teaspoon cayenne pepper. This rub was developed by grilling experts John Willoughby and Chris Schlesinger. It is especially suitable for chicken. We substituted smoky paprika for the regular.

WET RUB INGREDIENTS

  • 1/2 teaspoon ground cumin
  • 1/2 teaspoon chili powder
  • 1/2 teaspoon paprika
  • 1/2 teaspoon ground coriander
  • 1 tablespoon orange juice from 1 orange
  • 1 1/2 teaspoons lime juice from 1 lime
  • 1 1/2 teaspoons extra-virgin olive oil
  • 1 small clove garlic, minced very fine
  • 1 tablespoon minced fresh cilantro leaves

Combine all ingredients in small bowl. Use immediately.

IMG_2106

IMG_2107

IMG_2108

IMG_2111

BRINING/GRILLING INSTRUCTIONS

  1. Dissolve salt in 2 quarts cold water in large container. Immerse chicken in salted water and refrigerate until fully seasoned, about 1 hour. Remove chicken from brine and rinse inside and out with cool running water; pat dry with paper towels. Massage spice rub all over chicken, inside and out. Lift up skin over breast and rub spice rub directly onto meat.

    Light grill and turn all burners to high; cover and heat grill 15 minutes. Turn off all but one burner. Place chicken, breast-side down, over cool part of grill; close lid and grill-roast for 35 minutes. Turn chicken breast-side up, so that the leg and wing that were facing away from lit burner are now facing toward it. Close lid and continue grill-roasting until thermometer inserted into thickest part of thigh registers 170 to 175 degrees, 30 to 40 minutes longer.

    IMG_2126IMG_2124
    Ah, isn’t this bird a picture of perfection?

E-Diddy Dazzles

four.in.frame

Even though she left her position as graphic designer at the college almost two years ago—and only worked with me for three years—Edyta Kuciapa, affectionately known as E-Diddy, has continued to be a great friend and source of inspiration. Along with her sister Aneta, they hosted a lovely dinner party for me, Wendy Humphrey and Rosanne Zarrilli, at their charming new home. Read more under the “Reconnecting with Friends” tab.

Mediterranean-Style Flank Steak

Here’s one of those meals that just screams Summer! Flank steak is a lean, somewhat tough but flavorful cut of beef that benefits from the tenderizing effects of a marinade. It is best cooked medium rare and thinly sliced at an angle, against the grain, to maximize tenderness. Prepared this way, marinated, grilled quickly at high heat, thinly sliced, flank steak practically melts in your mouth.

This recipe calls for grilling the steak, but if you don’t have a grill, you can prepare the steak on a large cast iron frying pan as well. The steak gets a wet rub before grilling; the oil helps the other flavors spread.

raw.ingredients

Ingredients:

  • 2 Tbs. extra-virgin olive oil
  • 2 medium cloves garlic, minced
  • 2 Tbs. chopped fresh aromatic herbs (thyme, sage, rosemary, marjoram, or a mix)
  • 1 Tbs. kosher salt
  • 1 Tbs. ground black pepper
  • 1-1/2- to 2-lb. flank steak, trimmed of any excess fat and membrane

Directions:

  1. Mix the oil, garlic, herbs, salt, and pepper in a small bowl. Rub all over the steak and let sit for about 20 min. at room temperature. (Ours marinated at room temp for an hour.)
  2. Meanwhile, heat a gas grill to medium-high (you should be able to hold your hand 2 inches above the grate for 3 to 4 seconds) or prepare a medium-hot charcoal fire. If your grill has a hot spot, position the thicker end of the flank steak nearer the hottest part of the fire.
  3. Grill until medium rare, 12 to 15 min., turning the steak every 3 to 4 min. to ensure even cooking. The thickest part of the steak will register 135°F to 140°F on an instant-read thermometer.
  4. Transfer the steak to a cutting board and let it rest for 3 to 5 min. Slice across the grain, portion onto dinner plates, spoon on the vinaigrette, and serve.

meat.platter

Chunky Tomato-Basil Vinaigrette

This is more of a relish topping than a salad dressing.

  • 1-1/4 to 1-1/2 lb. fresh ripe plum tomatoes, seeded and cut into 1/2-inch dice (2 cups) I used a combination of plum and homegrown heirloom tomatoes
  • 1 large or 2 medium shallots, thinly sliced
  • 1/4 cup lightly packed chopped fresh basil
  • 1/3 cup red-wine vinegar
  • 3/4 cup extra-virgin olive oil
  • 3/4 tsp. kosher salt; more to taste
  • Freshly ground black pepper to taste

Toss all the ingredients together in a medium bowl, taking care not to rough up the tomatoes too much. You’ll need to use a fair amount of salt to bring out the flavor of the tomatoes. The vinaigrette should have a slightly peppery bite. Set aside at room temperature until serving time.

finished.plate

In total, our meal consisted of just-harvested butter and sugar corn with miso butter, newly-picked steamed green beans from our garden with fresh thyme and a light drizzle of cobrancosa olive oil, the steak, and a relish with straight-from-the-garden tomatoes and basil.
Can’t get much more Summer than that!

Herbed Grilled Chicken Breasts

I had my doubts when this recipe claimed “This could be the easiest—and juiciest—chicken you grill all summer.” By explanation, pounding boneless chicken breasts into paillards minimizes cooking time so the chicken doesn’t stay on the grill very long, and thus doesn’t have time to dry out.  So I had to see for myself… and by jove, they were quite moist and tender!

IMG_2007

When making paillards, keep the seasonings simple: salt, pepper or hot chile flakes, garlic, herbs, a squeeze of fresh lemon juice, and most important, olive oil, which adds flavor and moistness and keeps the chicken from sticking to the grill.

And you know me, I have to up the spice quotient in most recipes, so even though the ingredient list doesn’t specify the amount of crushed red pepper flakes, I sprinkled on a “healthy” dose! And the leftovers were fabulous for sandwiches and salads.

Ingredients

  • 4 boneless skinless chicken breast halves (6 to 8 ounces each), trimmed and rinsed
  • Kosher salt and freshly ground black pepper
  • Crushed red chile flakes
  • 3 cloves garlic, minced
  • 2 tablespoons chopped fresh rosemary, flat-leaf parsley, or other fresh herb
  • 1/4 cup fresh lemon juice, plus 4 lemon wedges for serving
  • 1/4 cup extra-virgin olive oil; more for drizzling

Directions

  1. Lightly wet a chicken breast with cold water and set it between two sheets of plastic wrap. Pound it into a broad, flat sheet about 1/4-inch thick (called a paillard), using a meat pounder, the side of a heavy cleaver, or a skillet. Pound the other breasts into paillards the same way and arrange them on a baking sheet.
  2. Generously season each paillard on both sides with salt and pepper and a pinch or two of chile flakes. Sprinkle both sides with the garlic and rosemary. Drizzle both sides with the lemon juice and olive oil and pat into the meat with your fingertips. Refrigerate the paillards for 20 minutes while you prepare the grill.
    IMG_2002
  3. Heat a gas grill to high or prepare a hot charcoal fire. Brush and oil the grill grate.
  4. Arrange the paillards on the grill grate and grill until cooked and firm to the touch, 1 to 2 minutes per side. (Use a long, wide spatula to move and turn the paillards.) Transfer the paillards to a platter or plates. Drizzle with olive oil and serve immediately with lemon wedges for squeezing. (We did not do this last step.)

by Steven Raichlen from Fine Cooking

My twist: Instead of minced fresh garlic, I spread on some roasted garlic/olive oil paste. It’s something I make and keep handy in the frig all the time. I also included fresh tarragon with the minced rosemary and parsley mix.

Flies Be Gone!

IMG_1974
I’m surprised that I never heard of this tip before given the fact that we eat outside and host outdoor dinner parties all the time. But just recently, in one of my nonfood magazines I ran across this tip, and then verified it in a google search.

Cut a lemon (or orange) in half and stud it with cloves. Set out on your food table about 1/2 hour prior to laying out the vittles, and no pesky flies to deal with! Not only does it work, but it looks attractive and smells good too! Who knew? Sometimes it’s the simple little things in life that make a big difference…

Just a few days ago I put this tip to a test at our most recent backyard bash, and danged if it didn’t work beautifully! I situated one in a little ceramic heart dish on the dining table and another on a starfish plate on the sideboard with the food.

IMG_1973

Go ahead, try it at your next outdoor event!

Dessert First!

IMG_1989

Not that we ate dessert first at the most recent outdoor dinner party—it’s that it was my FIRST attempt at making ice cream—and not just your simple run-of-the-mill chocolate or vanilla either. Oh no, I had to up the ante and make Carmel Fudge Ripple Ice Cream! But I’m getting ahead of myself here…

One of Russ’s previous coworkers from Jefferson Health, Lorraine Winsey, mentioned to us her son and daughter-in-law, Jeff and Kelly Menapace, lived in Newtown (the next town over) so we told her next time she’s in for a visit with them to let us know and we’ll have them over for dinner. — BTW, Jeff’ is an author and his novel BAD GAMES was a #1 Kindle bestseller in March of 2014, and is now being optioned as a feature film. How exciting!

IMG_1982
Lorraine, Kelly and Jeff enjoying cocktail hour.

Backing up even further, weeks beforehand we decided the menu would be Russ’s infamous Baby Back Ribs, fresh corn on the cob with roasted garlic aioli, and an Asian slaw; and of course the aforementioned ice cream with Honey-Roasted Peanut Blondies for dessert (recipes follow.)

Because it is a two-day process, we made the ice cream on Thursday and Friday. Then Friday night Russ’s friend Earl Harris was in for a visit from Colorado so we engaged his services to make the Asian Slaw on Saturday morning while Russ and I attended to other culinary duties, including the Melon Balls with Spanish Serrano Ham topped with sprigs of fresh rosemary for an appetizer.

IMG_1961
Earl slicing veggies for the slaw, while behind him Russ makes the brownie batter.

IMG_1963
Chopped and diced veggies for the Asian Slaw.

IMG_1978
Melon ball appetizer on the “wave” plate gifted from Rosanne.

A few blogs ago I wrote about a dinner invitation to Diane and Dave’s in Radnor township. Knowing Dave would already have driven down to their new house in South Carolina, and that Diane was house sitting in the Northeast (of Philly that is) until her retirement at the end of August, we invited Diane to join us for the dinner party. And coincidentally, seems Lorraine and Diane had met previously through a work connection.

Diane arrived first (after some troubles in finding our place) with a couple bottles of wine and her cheery demeanor. Shortly thereafter Lorraine and crew made it—after they also had a few issues locating our home… it’s a common theme on a first visit… They brought a gorgeous cheese, olive and nut platter along with a “little gift with a German tradition behind it. Salt so that your food always taste good, a candle to light your way, wine so that you always have something to drink… and bread so that you always have something to eat, but (Lorraine) didn’t make it to Wegman’s in time!” … for the bread, that is…

IMG_1993
The traditional German house warming gift that included Pink Himalania Rock Salt and a baby grater.

IMG_1979
Beautiful and tasty appetizer platter.

grilled-ribs-on-platter
The infamous grilled baby backs.

IMG_1986
Resting before dessert is served, clockwise from left, Kelly, Jeff, Lorraine and Diane.

IMG_1991
IMG_1996
Close-ups of the brownies and ice cream.

After dinner ended, let’s just say no one went home on an empty stomach!

Honey-Roasted Peanut Blondies with Caramel Fudge Ripple Ice Cream

Who doesn’t love chocolate and peanut butter? This pairing of chewy, not-too-sweet oatmeal peanut blondies and rich, fudgy caramel ice cream is a sophisticated dessert for the kid in all of us.

For the blondies
  • 4 oz. (1/2 cup) unsalted butter, cut into 1/2-inch cubes, softened; more for the pan
  • 3-1/2 oz. (3/4 cup) unbleached all-purpose flour; more for the pan
  • 3 oz. (3/4 cup) honey-roasted peanuts
  • 1/4 cup granulated sugar
  • 1/2 cup old-fashioned rolled oats (not steel-cut or quick-cooking)
  • 1/2 tsp. baking powder
  • 1/4 tsp. baking soda
  • 1/4 tsp. table salt
  • 2/3 cup packed light brown sugar
  • 1/4 cup smooth salted peanut butter, preferably natural
  • 1 large egg, at room temperature
  • 1/4 cup pure maple syrup
  • 2 tsp. pure vanilla extract
IMG_1962

IMG_1965

IMG_1966

IMG_1969

Make the blondies
  1. Position a rack in the center of the oven and heat the oven to 350°F. Butter and flour an 8-inch square baking pan.
  2. Grind the peanuts and granulated sugar in a food processor to the consistency of moist sand. In a small bowl, combine the flour, oats, baking powder, baking soda, and salt.
  3. In a large bowl, beat the butter and brown sugar with an electric hand mixer on medium speed until light and fluffy, about 4 minutes. Beat in the peanut butter until smooth, and then beat in the egg. Add the maple syrup and vanilla; beat until light, smooth, and fluffy.
  4. With the mixer on low speed, mix in the flour mixture. Add the ground peanut mixture and using a wooden spatula, stir until combined. Spread into the prepared pan.
  5. Bake until puffed and browned and a toothpick inserted into the center comes out clean, about 30 minutes. Cool in the pan on a rack for 10 minutes. Run a thin knife along the edge, turn out of the pan, invert onto the rack, and continue cooling until barely warm, about 1 hour.
Serve

Soften the remaining fudge if necessary and drizzle over the whole blondie. Cut into 8 pieces. Top each with scoops of the ice cream, running the scoop along the length of the ice cream (rather than digging down in it) to create fudge ripples in the scoops.

Make Ahead Tips

The blondies may be baked up to 2 days ahead. Wrap well and store at room temperature.

Serving Suggestions

In order for the ice cream to readily melt and mingle with the blondies, either the blondies should be a bit warm from the oven or the ice cream should be slightly soft. If you’ve made both elements ahead and the ice cream is very hard, let it sit briefly at room temperature.

Carmel Fudge Ripple Ice Cream

This ice cream is a perfect pairing for the Honey-Roasted Peanut Blondies. In fact, you’ll have a bit of leftover fudge sauce after you ripple it through the ice cream; save it for drizzling over the blondies.

Ingredients

  • 1-1/2 cups whole milk
  • 1 cup granulated sugar
  • 1-1/2 cups plus 1/3 cup heavy cream
  • 4 large egg yolks, at room temperature
  • 1 Tbs. cornstarch
  • 1-1/2 tsp. vanilla extract
  • 3 oz. bittersweet chocolate, chopped (about 2/3 cup)
  • 1 Tbs. unsalted butter
  • 1/4 cup pure maple syrup
  • 2-1/2 Tbs. packed dark brown sugar
  • 2 Tbs. unsweetened natural cocoa powder
Instructions
  1. Heat the milk in a 2-quart saucepan over medium heat until beginning to steam, about 3 minutes. Reduce the heat to low and keep warm without simmering.
  2. In a heavy-duty 4-quart saucepan, melt the sugar over medium heat, stirring occasionally at first and then less and less as the sugar melts, and then cook until amber, about 4 minutes. Reduce the heat to low. Carefully whisk the hot milk into the caramel in a thin, steady stream. Cook, whisking constantly, until the caramel dissolves again. Remove from the heat and whisk in 1-1/2 cups of the cream. Keep warm.
  3. Whisk the egg yolks, cornstarch, and 1 tsp. of the vanilla in a large bowl until smooth. Whisk in about half of the hot caramel mixture. Whisk this mixture back into the saucepan. Cook over low heat, stirring constantly with a wooden spoon, until it reaches 170°F on an instant read thermometer and can thickly coat the back of the spoon, about 5 minutes.
  4. Strain the mixture through a fine-mesh sieve into a clean bowl. Refrigerate until thoroughly chilled, at least 4 hours or up to 2 days, covering with plastic wrap once cold.
  5. Meanwhile, put the chocolate, butter, and remaining 1/2 tsp. vanilla in a large bowl. Set aside.
  6. Whisk the remaining 1/3 cup cream, maple syrup, brown sugar, and cocoa powder in a 3-quart saucepan over medium heat until the sugar dissolves. Whisking constantly, simmer for 5 minutes to meld the flavors.
  7. Pour the cream mixture over the chocolate mixture. Let sit for 1 minute, then whisk until smooth. Cool at room temperature for at least 30 minutes or up to 1 day, covering with plastic once cooled.
  8. Churn the caramel ice cream mixture in an ice cream machine according to the manufacturer’s instructions until it’s the consistency of soft-serve ice cream.
  9. Stir the fudge until smooth. (If hardened, soften over a bowl of hot water, stirring until pourable but not hot.) Spread about a quarter of the caramel ice cream in a 9×5-inch loaf pan. Spread 2 Tbs. of the fudge over the frozen custard. Repeat twice and end with a layer of ice cream. Serve or cover and store in the freezer for up to 1 week.
  10. Reserve the remaining fudge for serving.

Both recipes by Bruce Weinstein, Mark Scarbrough from Fine Cooking

Good Eats on MV Continues

IMG_1831
~Finishing my birthday dinner at The Terrace at Charlotte Inn.~

In my last blog, we just finished celebrating my birthday at The Terrace at Charlotte Inn in Edgartown, Martha’s Vineyard. With five more days of vacation ahead of us, we decided to take a break from going out to restaurants, and instead, grill on the deck of our rented cottage. Earlier that Wednesday morning, we bought a couple of rib-eyes from Katama Organic Farms where they raise organic grass-fed cattle and sheep and several types of produce.

IMG_1842

Our beach plans for the day took us to Menemsha Bay (photo above) on the island’s West coast. In so doing, we passed the West Tisbury Farmer’s Market just as they were closing at noon. So we quickly hopped out of the car, found a vendor selling fresh-picked corn on the cob and purple scallions, threw them in our iced cooler and continued on our merry way.

Menemsha Bay is in Chilmark, which in 2005 was confirmed to have the highest average property value of any city or town in Massachusetts. The public beach is quite small and pebbly, but shallow so a great place for young kids. The parking is a bit of a nightmare due to several seafood restaurants and take-out facilities with people always coming and going. Before we departed, Russ stopped in at Larsen’s Seafood (which was beyond packed) and bought some just-caught clams and shrimp for our evening BBQ.

IMG_1844

Sitting on the deck under a canopy of bright stars we enjoyed a fabulous grilled dinner of organic and local ingredients.

IMG_1848

IMG_1853
The green beans were picked from our own organic garden the morning we started vacay.

Thursday rolled around and our evening plans included a return to Chilmark to visit Barb Berté, Russ’s secretary from his previous job at Main Line Health. Barb often visits her sister Ann Marie, who’s family has owned a large vacation home in Chilmark since 1991. Having arrived the previous evening, the sisters made arrangements for our visit at the house to enjoy wine and cheese before our dinner reservations at Home Port.

homeport

Since 1930, The Home Port Restaurant has been serving traditional seafood fare in the 300-year-old fishing port. Known for its world famous sunsets, lobster dinners and famed clam chowder, this waterfront restaurant is truly an iconic landmark. Singing it’s praises, Ann Marie and Barb eat here often when on the island. Our cottage owner, Rita, had recommended that we stop at their “Back Door” for some of that clam chowder when we beached it the day before—although given the parking predicament, we never got around to doing so.

Therefore, Russ had every intention of beginning his meal with that famous New England Clam Chowder, while the sisters enjoyed oysters and littleneck and cherrystone clams. I refrained from a starter this time around.

IMG_1861
Sisters Barb, on the left, and Ann Marie.

Here’s a shocker! I ordered the Pan Seared Atlantic Salmon on a bed of purple sticky rice, baby bok choy, and glazed with a coconut-ginger sauce. Tonite’s “Just Caught” Grilled Fish was Sea Bass—both the sister’s choice—and was accompanied by quinoa salad, heirloom tomatoes and a balsamic reduction. Mr. Russ zeroed in on the Pan Seared Sea Scallops with a cauliflower puree, sweet corn succotash and balsamic reduction. This was the only restaurant we patronized that was a BYOB, luckily we knew ahead of time to tote a bottle of wine with us.

IMG_1855

IMG_1857

IMG_1856

The South Beach where we spent a few hours the past couple of days was so windy on Thursday that Russ was shivering under his umbrella—and to think temps were near 100 back home! Rita informed us that the prevailing winds are usually from the Southwest which would account for the strong winds at this location. Based on that fact, we decided to try the John Sylvia State Beach, approximately two miles long, between the towns of Edgartown and Oak Bluffs along the Nantucket Sound shoreline and Sengekontacket Pond. It’s a very popular beach for families because there is a gradual slope into deeper water and the waves are usually small (which they were on Friday, but not so much on Saturday.) On a hot summer day, parking places along the paved parking lane adjacent to the road are mostly full by 10 am, but we managed to score a spot both days around the noontime hour.

In our drives around town, we often passed a local hang out called Sharkey’s Cantina, where “portion sizes are big and the Mexican eats are excellent and prepared to order by pleasant staffers.” It was also a departure from the more serene establishments we were patronizing. If you like noise, TVs and large portions, this could be right up your alley—and while not necessarily our “cup of tea,” it was our destination on Friday night.

sharkys.bldg

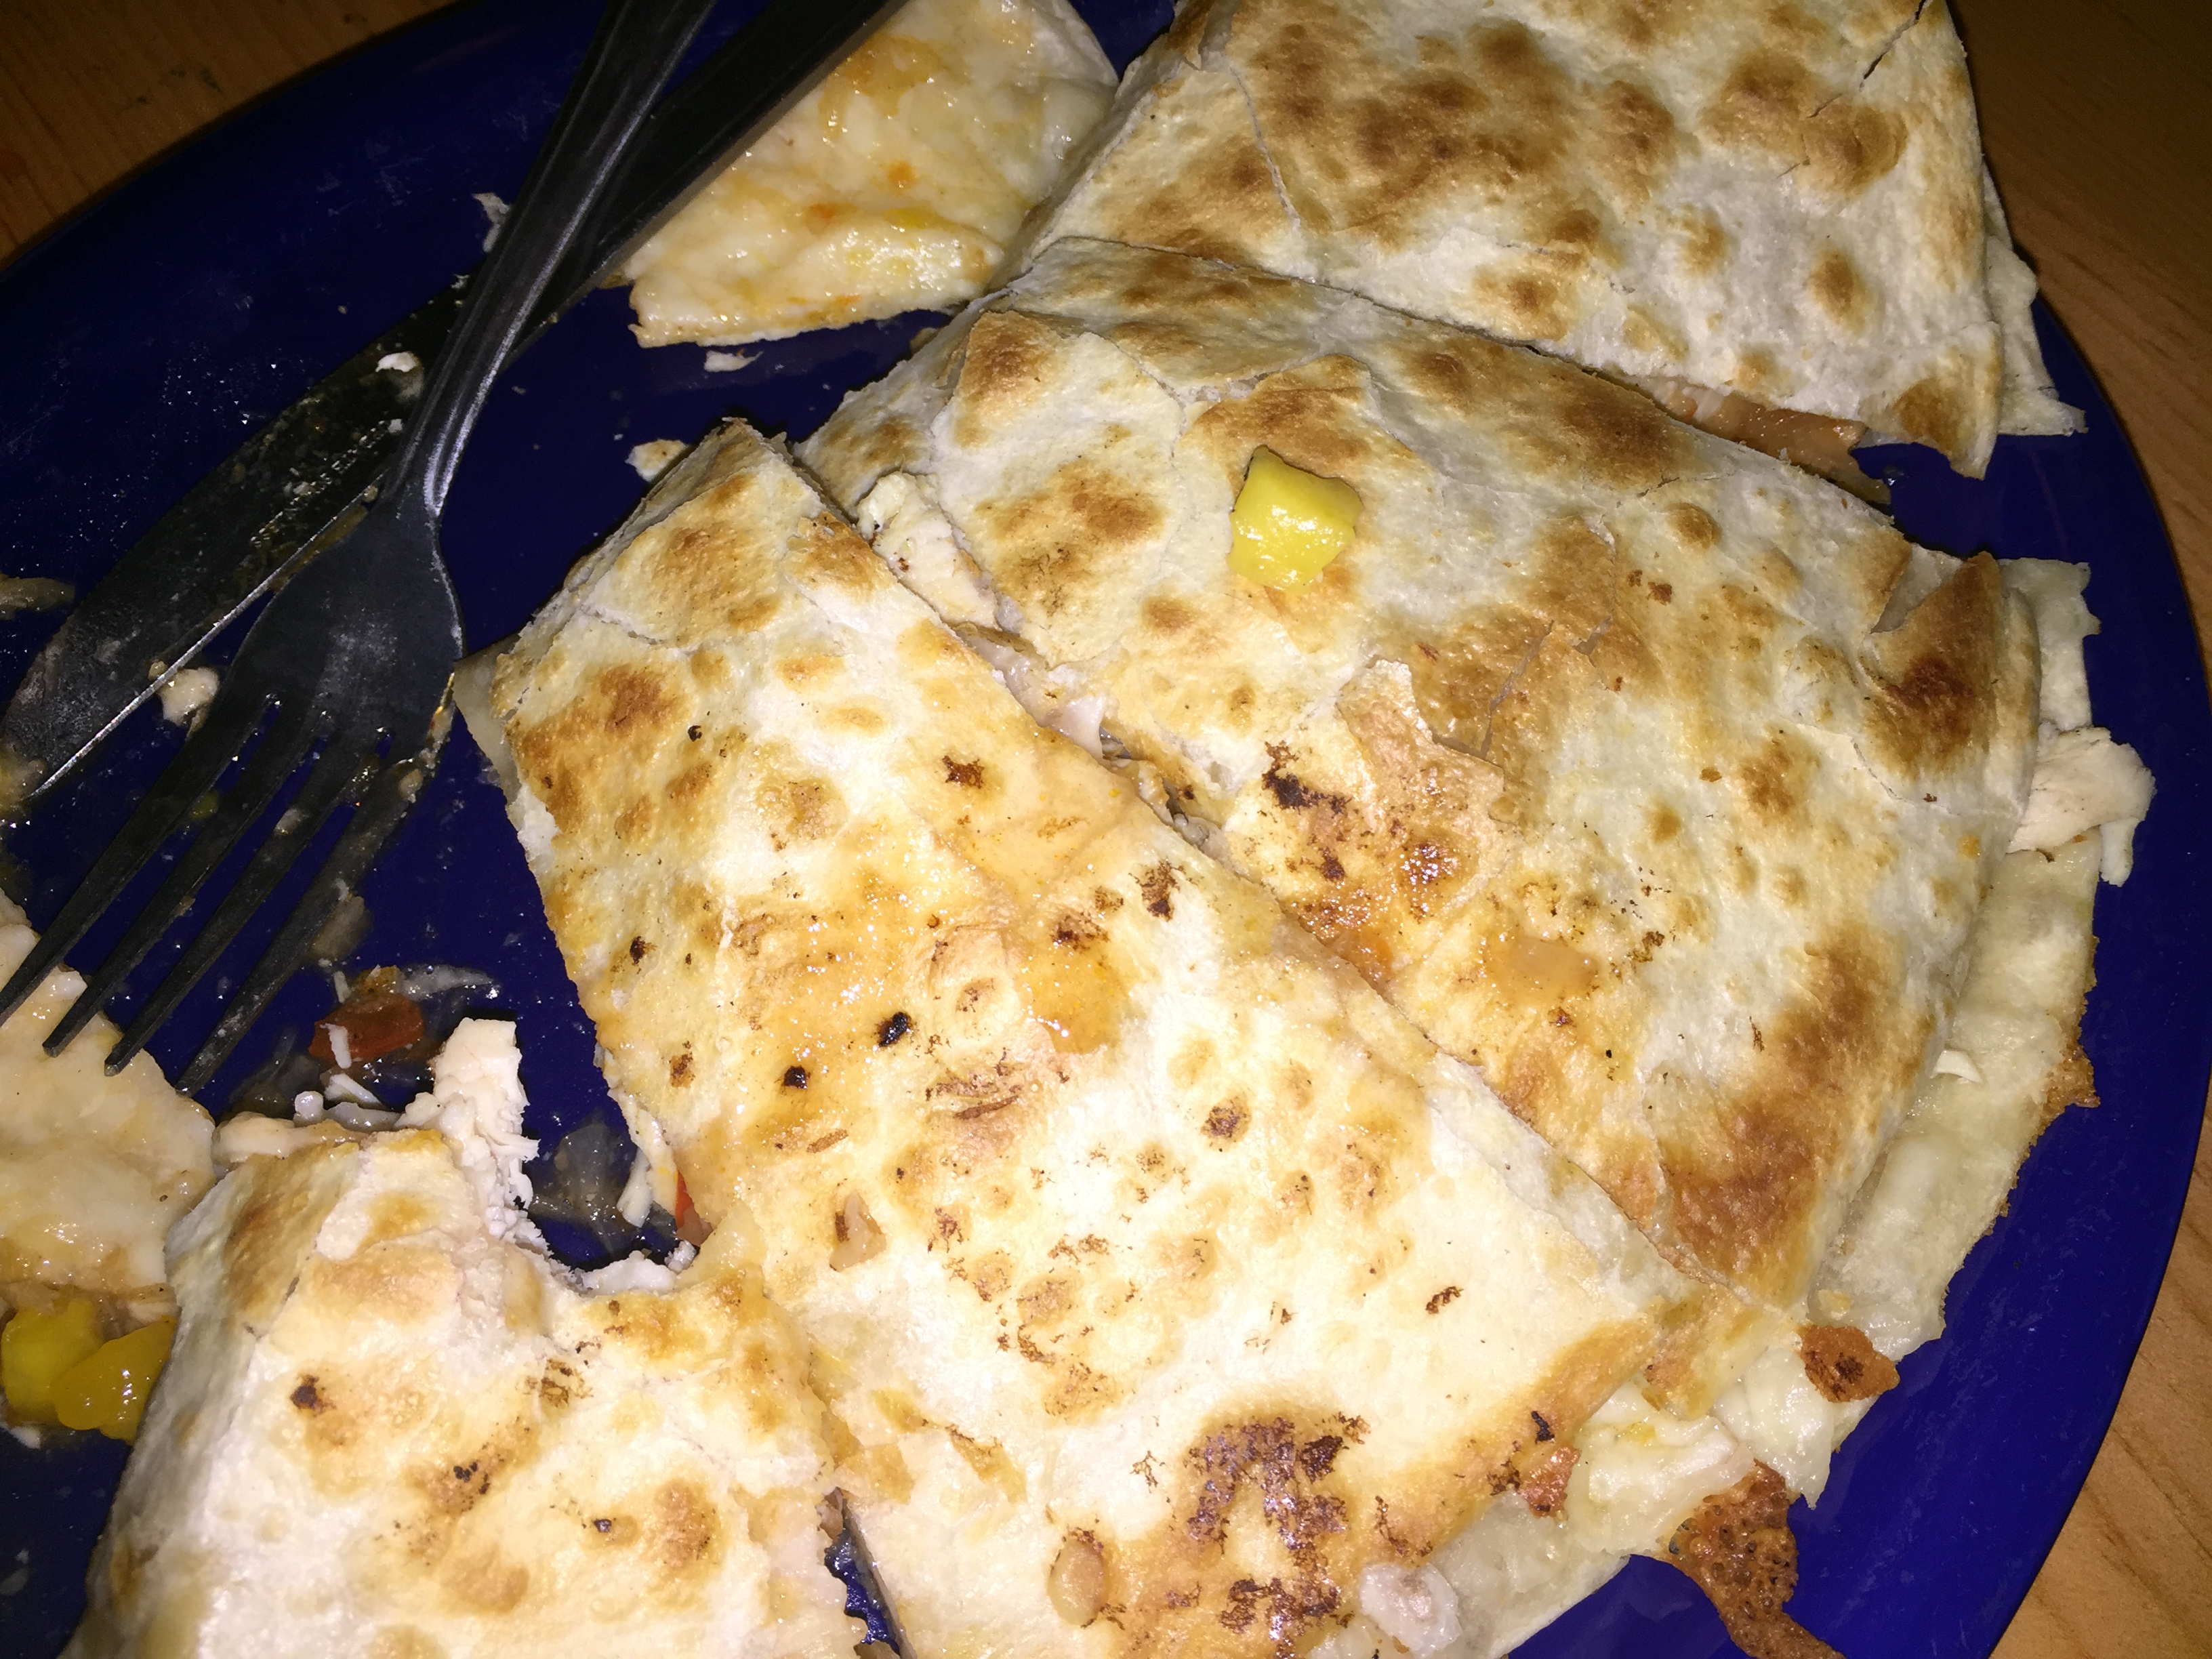
It’s no surprise I gravitated to the spicy Mango Habanero Chicken Wings (boneless in this case.) We split a dozen of them and they were lip-smacking delicious! However, it didn’t leave me much room for the Chicken Jalapeño Quesadilla that I ordered, which mostly came home with me for another time.

IMG_1882

IMG_1883
Mango Habanero boneless chicken wings.

IMG_1884
The super-sized chicken quesadilla.

IMG_1886

Russ made a good dent in his Super Tacos Plato, but alas, was also unable to finish his meal. Time to go back to the cottage and do some star gazing on the deck…

seafood.shanty.aerial

seafood.shanty.side.view
Our final meal of the vacation was on Saturday night at the Seafood Shanty overlooking the water in Edgartown, one of the best waterfront views on the entire island, where they “got it all,” from shanty-style mussels, peel-and-eat shrimp, to the island’s best and biggest Lobster Roll–which we both had! It’s a best seller—tender chunks of delicious hard shell lobster meat mixed with mayo and just a bit of celery—served with a tossed salad.

lynn.seafood.shanty

lobster.roll
We both just scooped the lobster out of the roll and eliminated the bread.

Departure Sunday morning (made easier by the cool and rainy weather) was on the 11:00 Governor Ferry out of Vineyard Haven. The oldest of the MV ferries, the Governor’s life began in 1954, running from San Diego to Coronado; carries up to 256 persons (including passengers and crew) and accommodates up to 42 vehicles—faster than our trip over on the Martha’s Vineyard with triple decks carrying 1,024 persons and accommodating 54 vehicles.

IMG_1932
Passing the “Martha’s Vineyard Ferry” on our departure back to Woods Hole.

IMG_1925

The car trip home was about 7 hours both coming and going. If we could just eliminate the traffic nightmares in the entire state of Connecticut, it wouldn’t be a bad ride at all!

PS—Oh, I forgot to mention in Blog 1 that on the car ride up listening to Sirius XM radio, it was serrendipitous that many of the tunes were by Carly Simon and James Taylor, both of whom spent many years on Martha’s Vineyard. Carly still owns the 5,000-square-foot home in Tisbury.