Classic three-bean salad often suffers from a few common pitfalls: raw onion and garlic that overpower every bite, mushy canned beans with no textural contrast, and a sweetness that never quite melds with the tang.

This version fixes all three. Crisp, fresh green and yellow beans replace the usual soft, straight-from-the-can varieties, giving the salad a welcome brightness and snap—though when fresh yellow wax beans proved impossible to track down, garbanzo beans stepped in as a hearty substitute. Canned kidney beans remain, sparing the hours-long process of soaking and simmering dried beans from scratch.
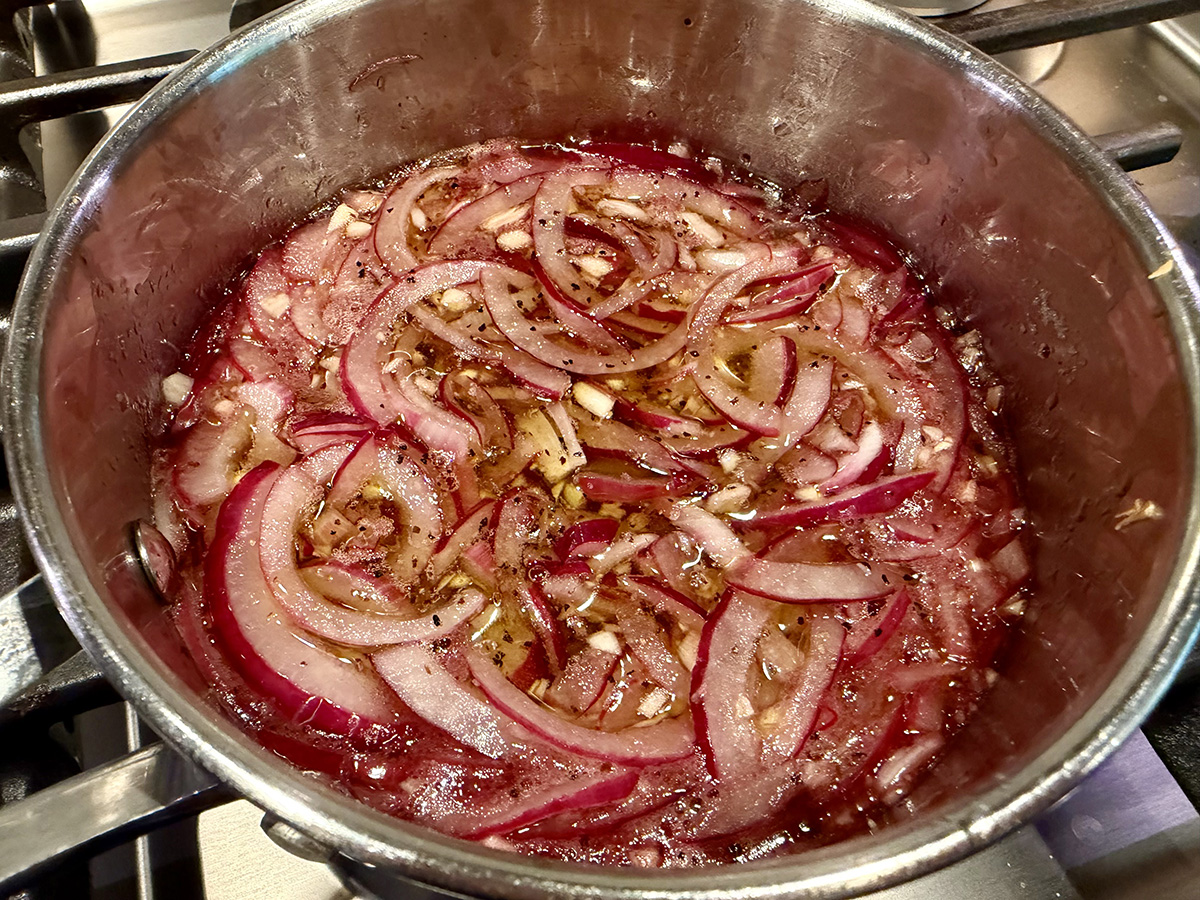
And rather than tossing raw onion and garlic straight into the bowl, both are warmed briefly in the saucepan while the dressing comes together, mellowing the garlic’s bite and giving the vinegar time to gently pickle the onions. The result is a familiar picnic staple with a fresher crunch and a more balanced flavor throughout.
NOTES: This salad improves if you have time to refrigerate it for a few hours to let the flavors meld. A garlic press makes quick work of mincing the cloves. If using yellow wax beans, use 8 ounces of both fresh yellow and green beans.
Three Bean Salad
Ingredients
- ½ cup red wine vinegar
- ¼ cup sugar
- 3 Tbsp. vegetable oil
- 1 small red onion, halved and sliced thin
- 2 garlic cloves, minced
- Salt and pepper
- 16-oz. green beans, trimmed and cut into 1-inch pieces
- 1 16-oz. can garbanzo beans, drained and rinsed
- 1 16-oz. can kidney beans, drained and rinsed
- 2 Tbsp. chopped fresh parsley


Directions
- MAKE DRESSING Bring vinegar, sugar, oil, onion, garlic, ¼ teaspoon salt, and ¼ teaspoon pepper to boil in small saucepan over medium heat. Reduce heat to low and simmer until sugar dissolves and onion softens, about 5 minutes. (Dressing can be cooled and stored in an airtight container for 3 days.)
- COOK BEANS Fill large bowl with ice water. Bring 4 quarts water to boil in large saucepan over high heat. Add 1 tablespoon salt, green beans, (and wax beans, if using), and cook until just tender, about 3 minutes. Drain beans in colander and immediately transfer to ice water to cool, about 2 minutes. Drain again and dry thoroughly with paper towels. (Beans can be refrigerated in zipper-lock bag for 24 hours.)
- MIX SALAD Combine cooled beans, kidney beans, garbanzo beans, dressing, and parsley in large bowl and toss to coat. Cover and refrigerate until chilled, about 30 minutes. Season with salt and pepper. Serve. (Salad can be refrigerated in airtight container for 2 days.)