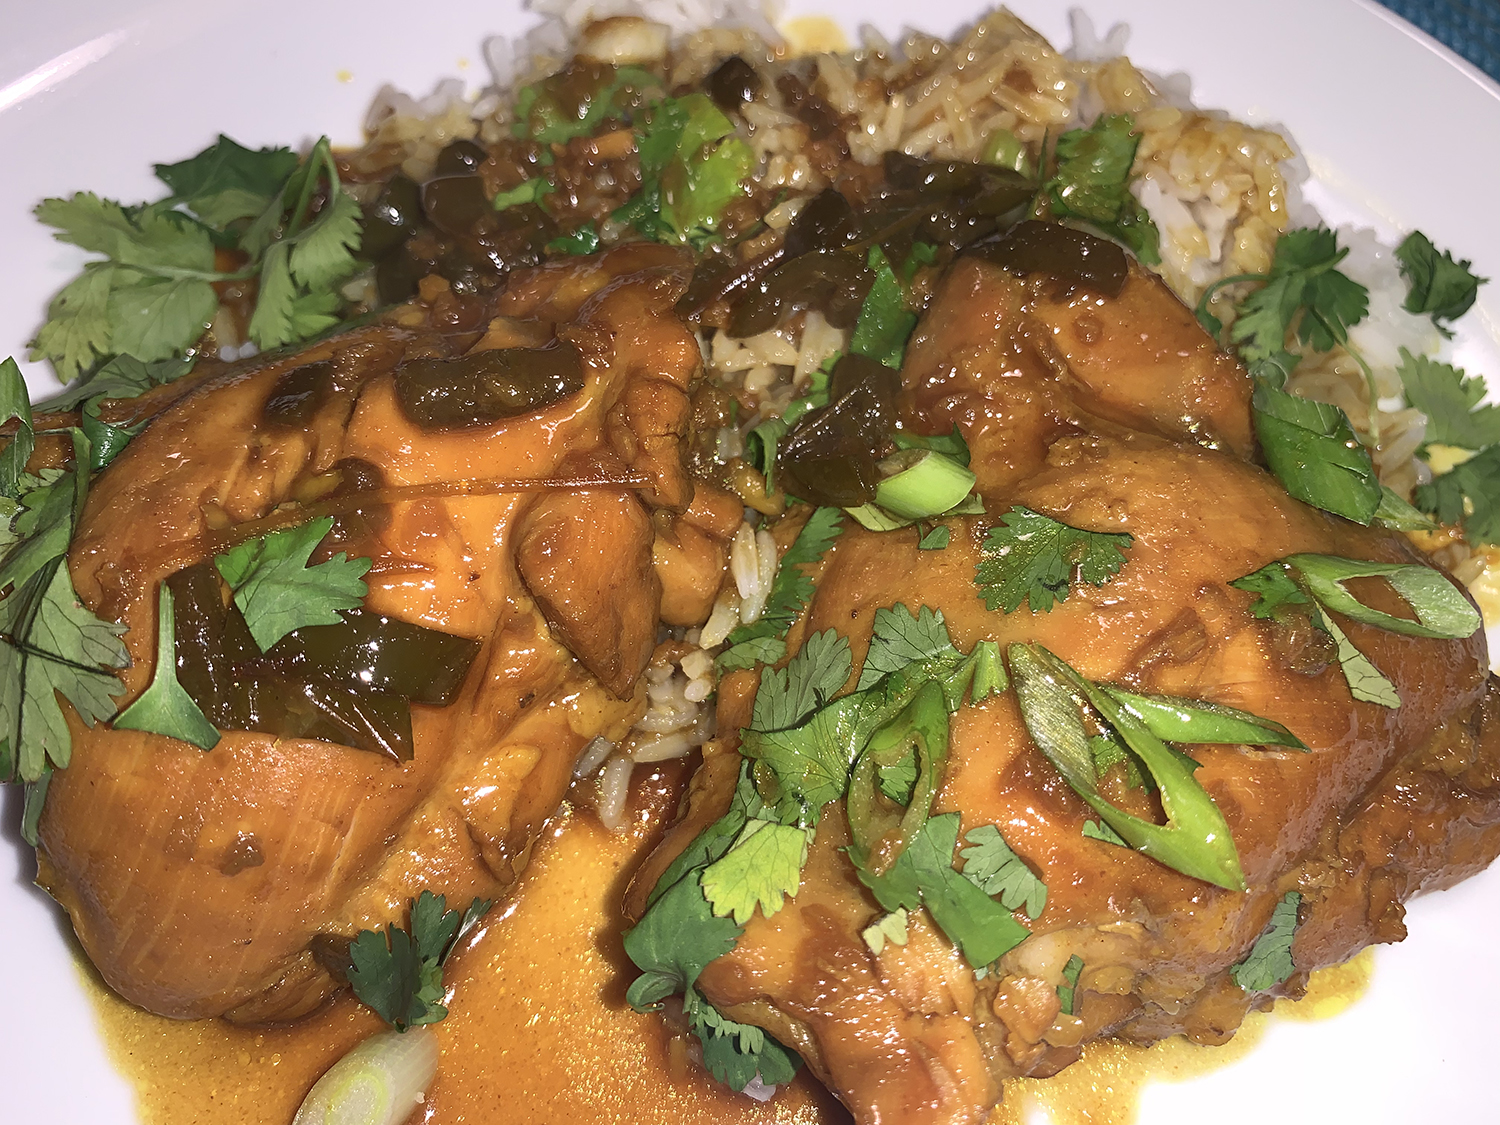
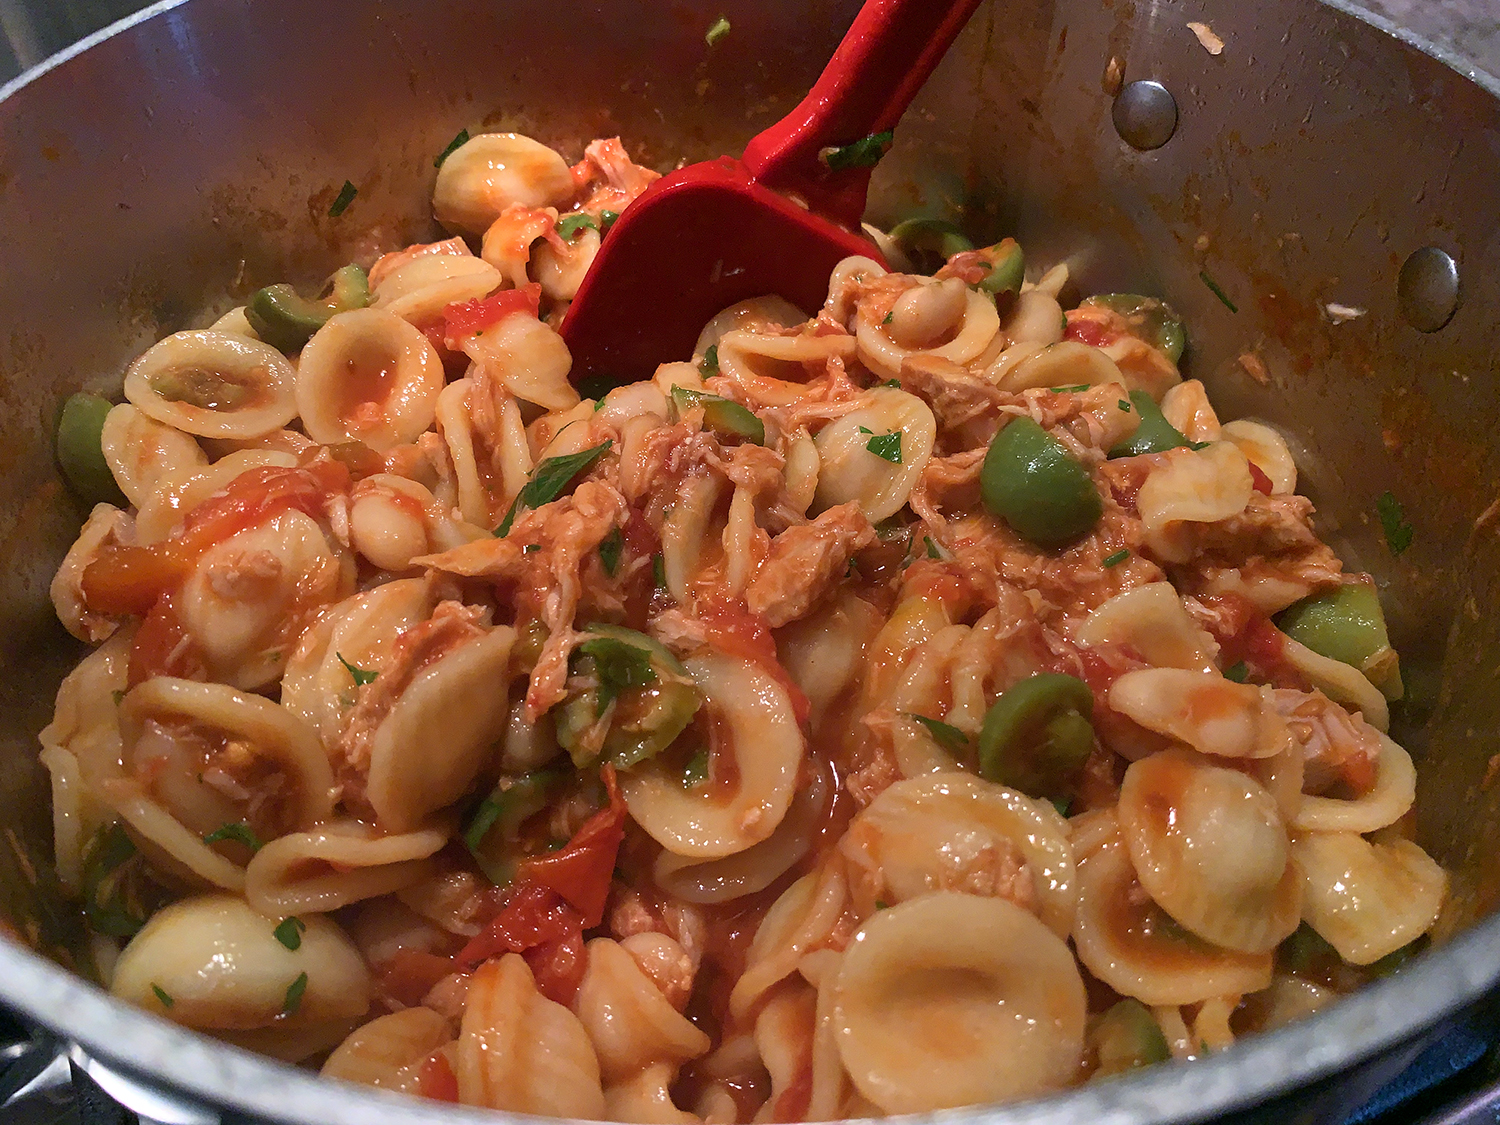
Orecchiette Puttanesca with Tuna and White Beans is a hearty pasta dinner with a bold, briny puttanesca sauce that finds delicious partners in creamy white beans and flaked tuna. And the fact that it is a one-pot wonder, well, that is a bit of a misnomer.
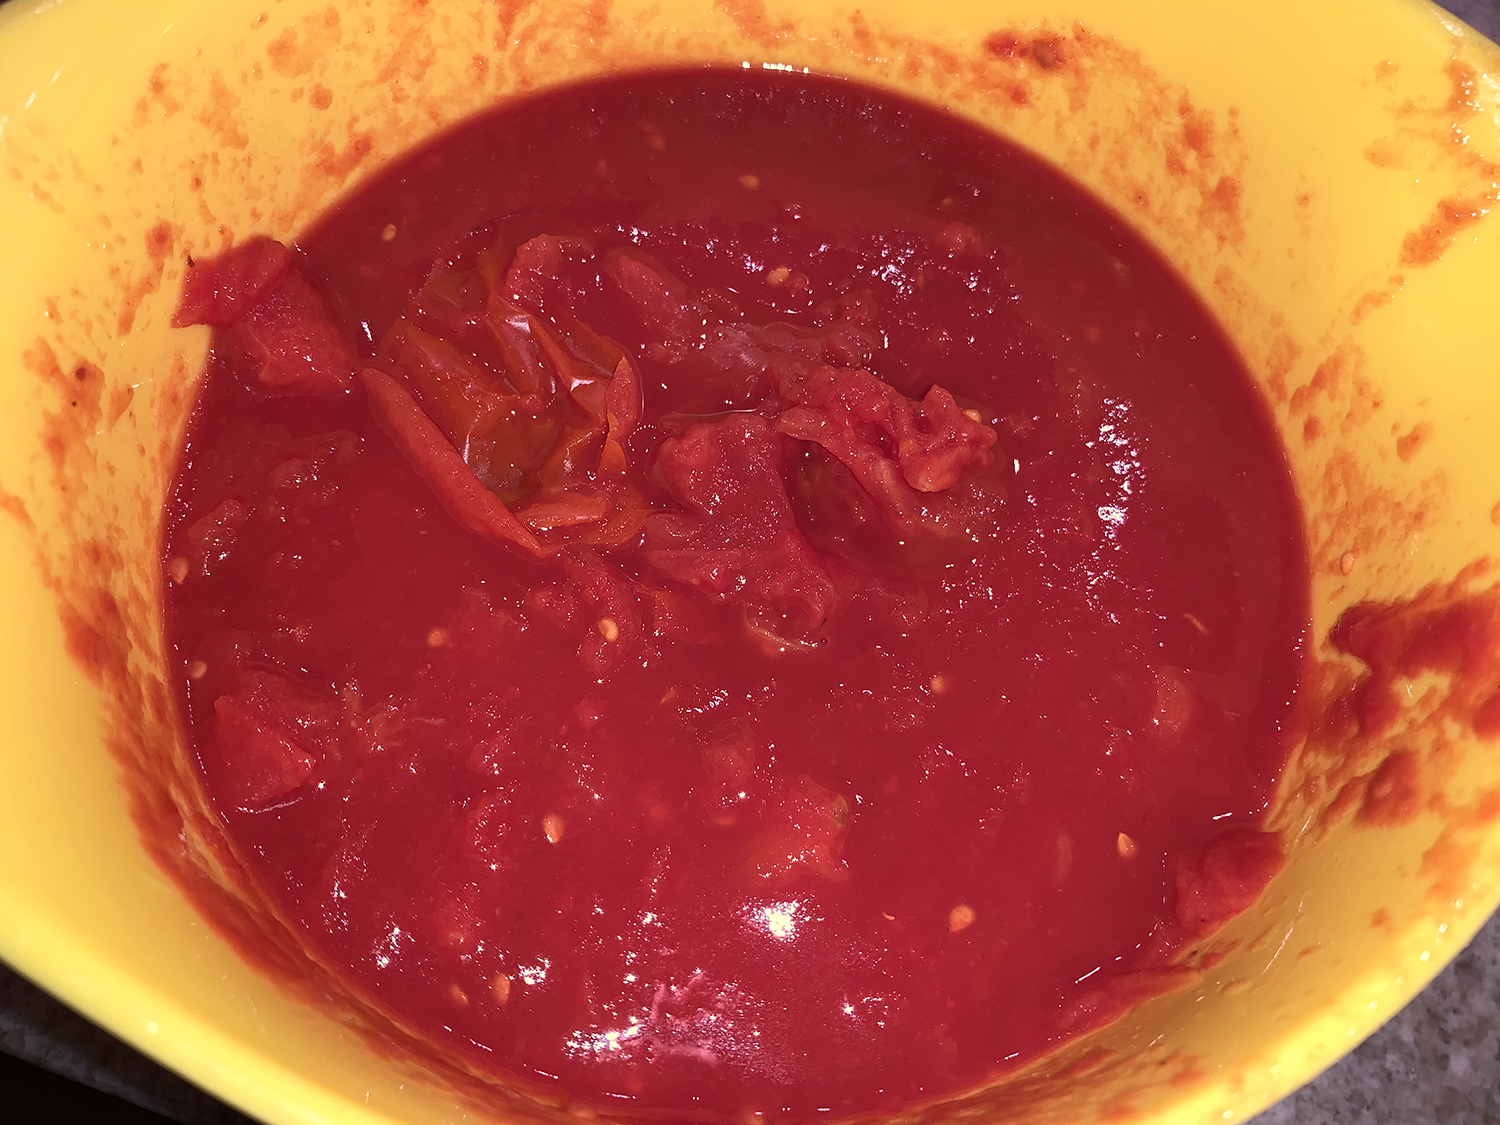
In fact, it is anything but. Yes, the meal itself is made in one pot but you’ll need a couple of strainers for the white beans and capers, and possibly the the tuna if you want to drain and save the oil (which we did) and use that instead of additional olive oil. Plus, how about a bowl to hand-crush the whole tomatoes? And measuring cups to reserve the pasta water, and… well, you get my drift.
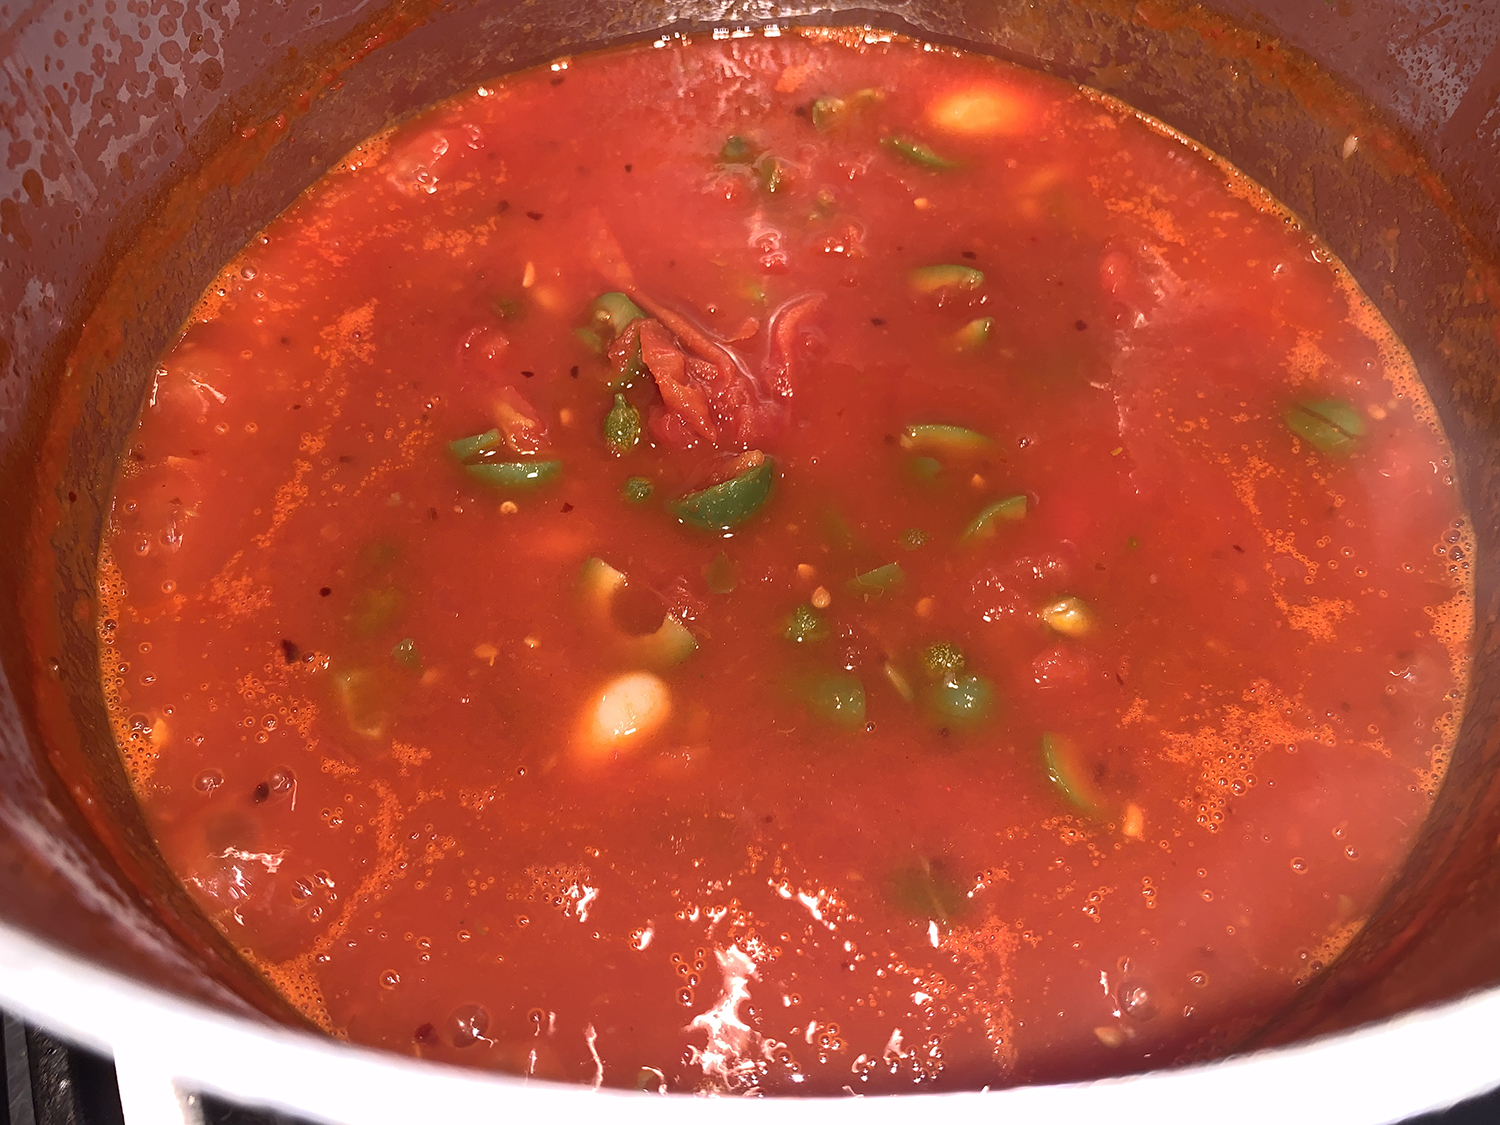
But let’s run with the concept. First boil the pasta, drain it, then use the same pot to make the sauce. Orecchiette pasta is preferred because the small saucer shapes catch bits of the olives, capers and tuna. Originally, the consistency of the sauce is kept on the “soupy” side; but stir in additional pasta water at the end to adjust the consistency to suit your taste.

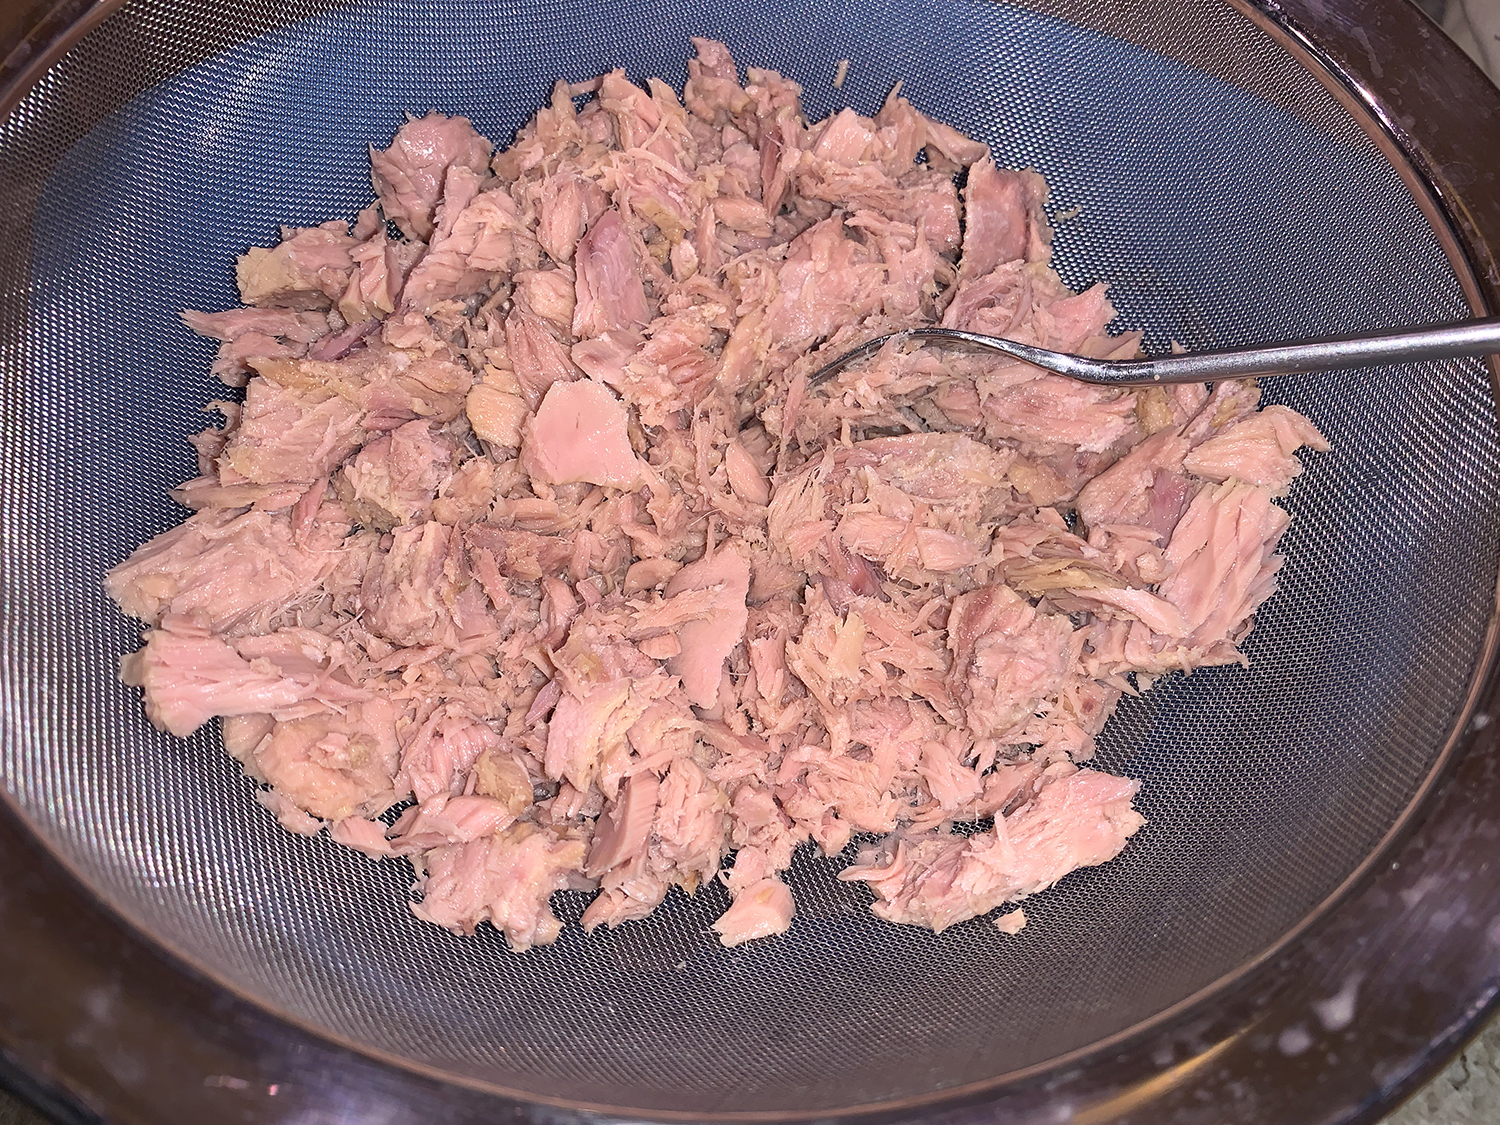
As far as the amount of canned tuna in oil, only 5 ounces for an entire pound of pasta!?! Are you nuts? I used two 7-ounce cans, nearly three times the amount called for, and it was by no means overwhelming.
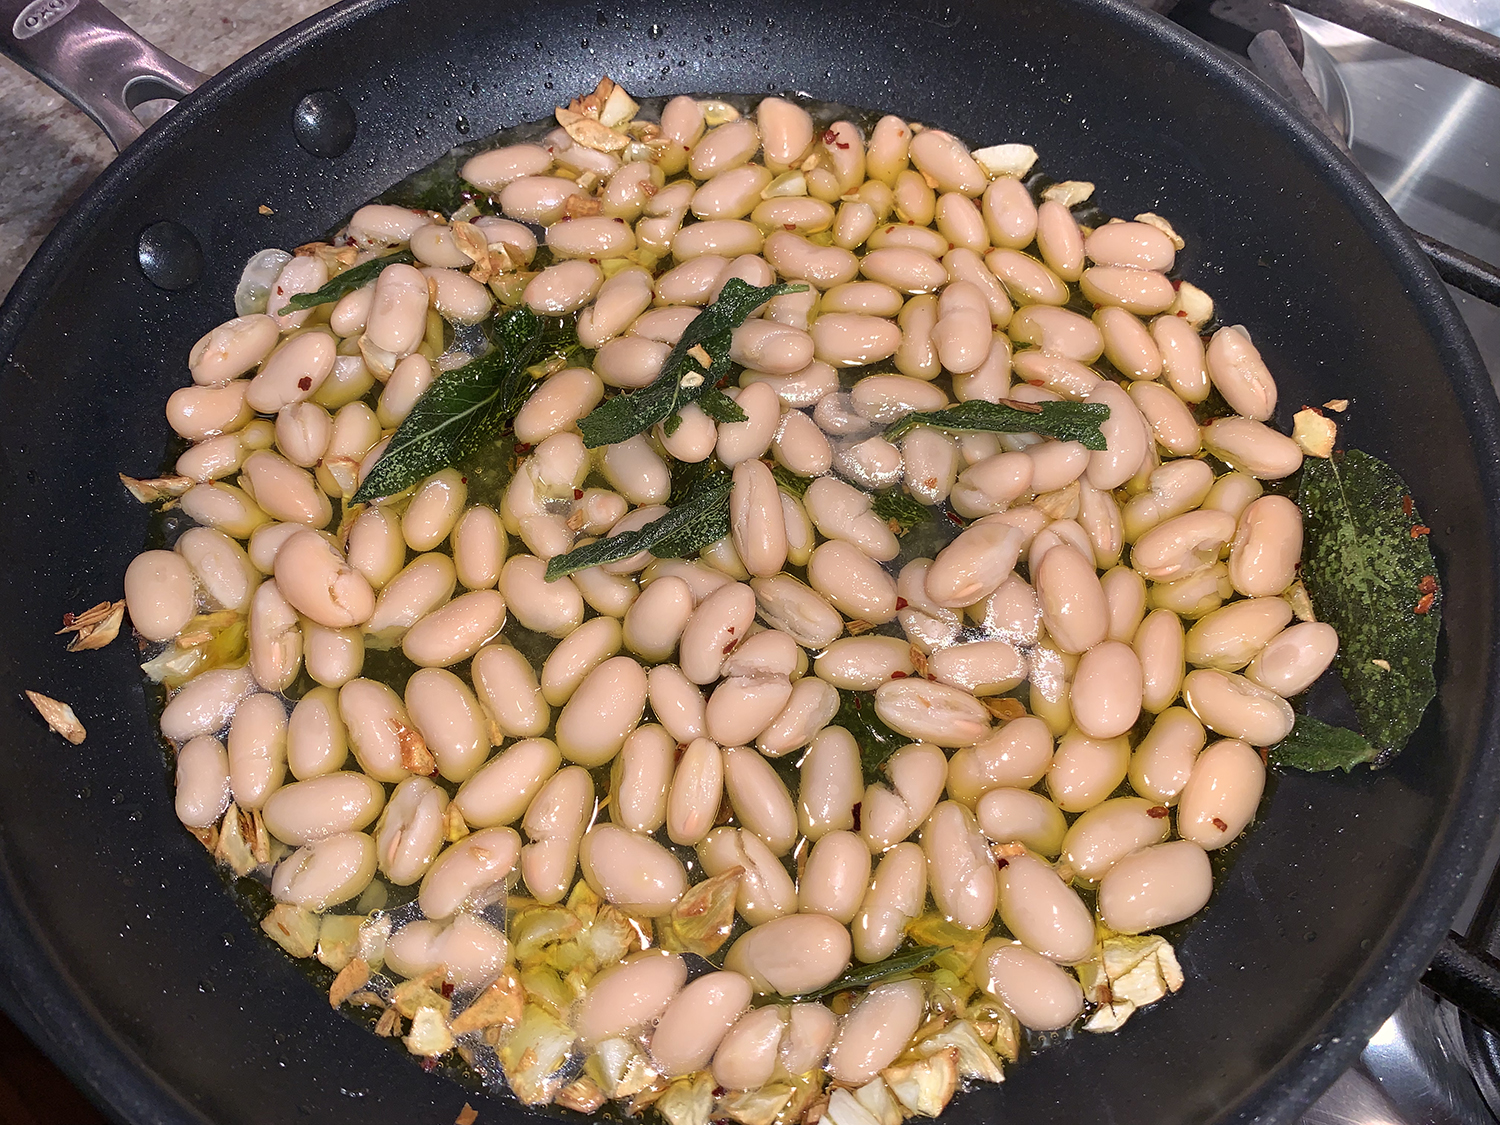
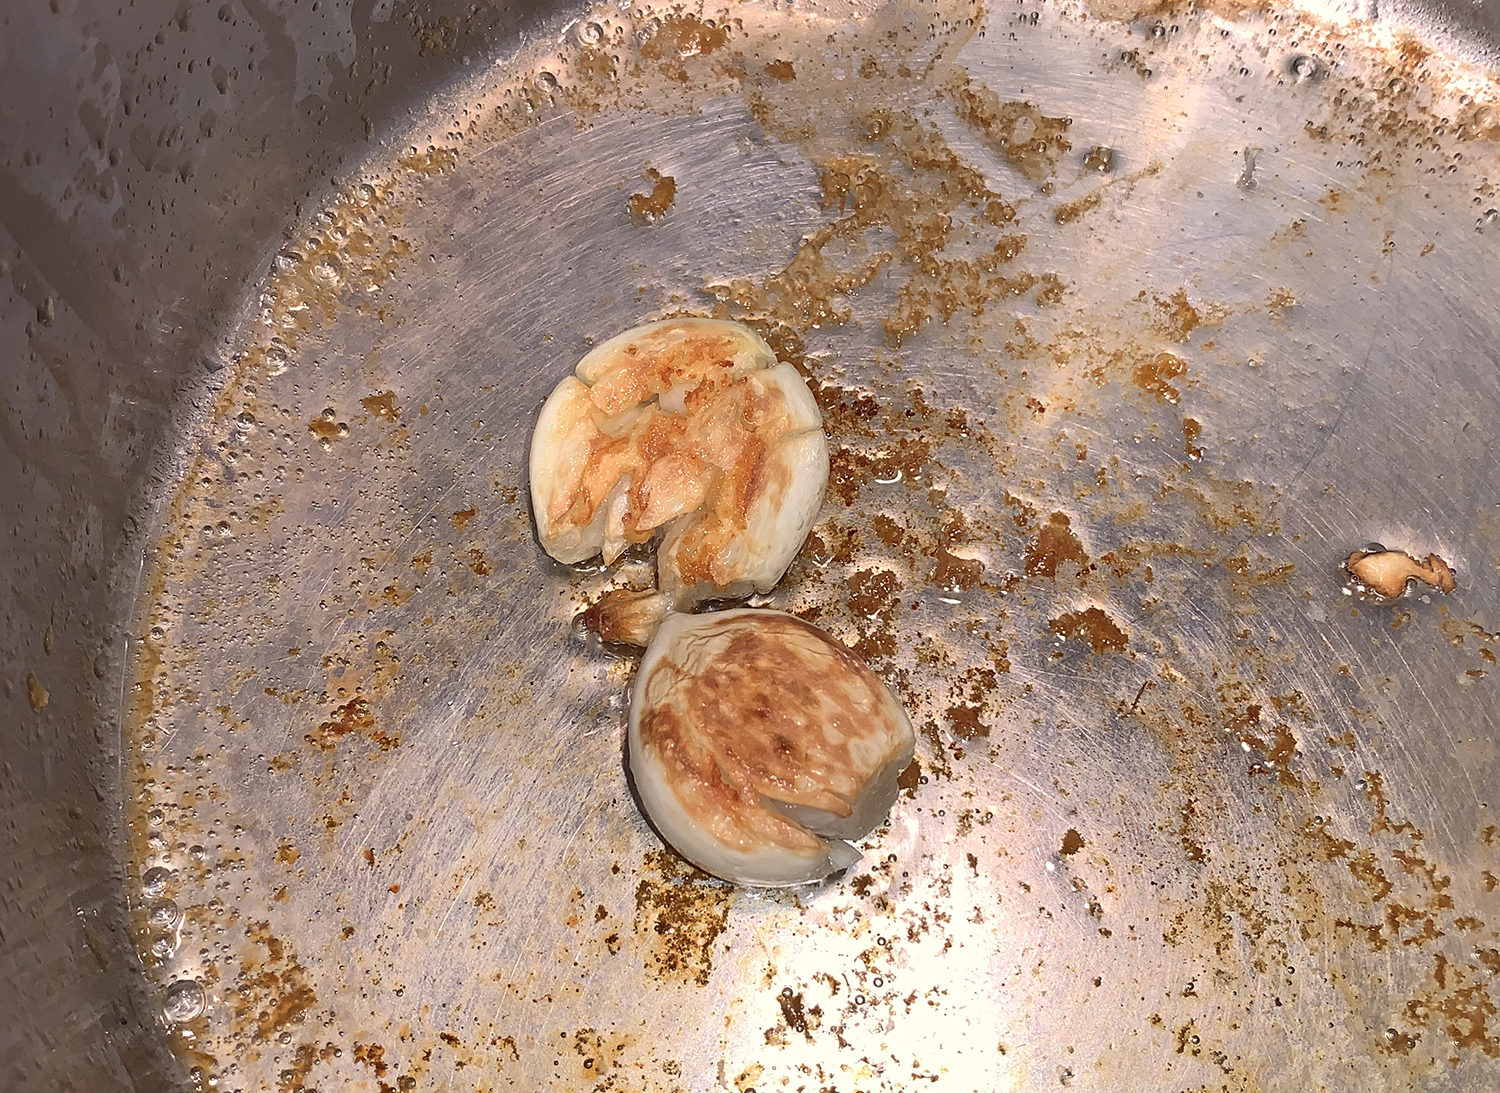
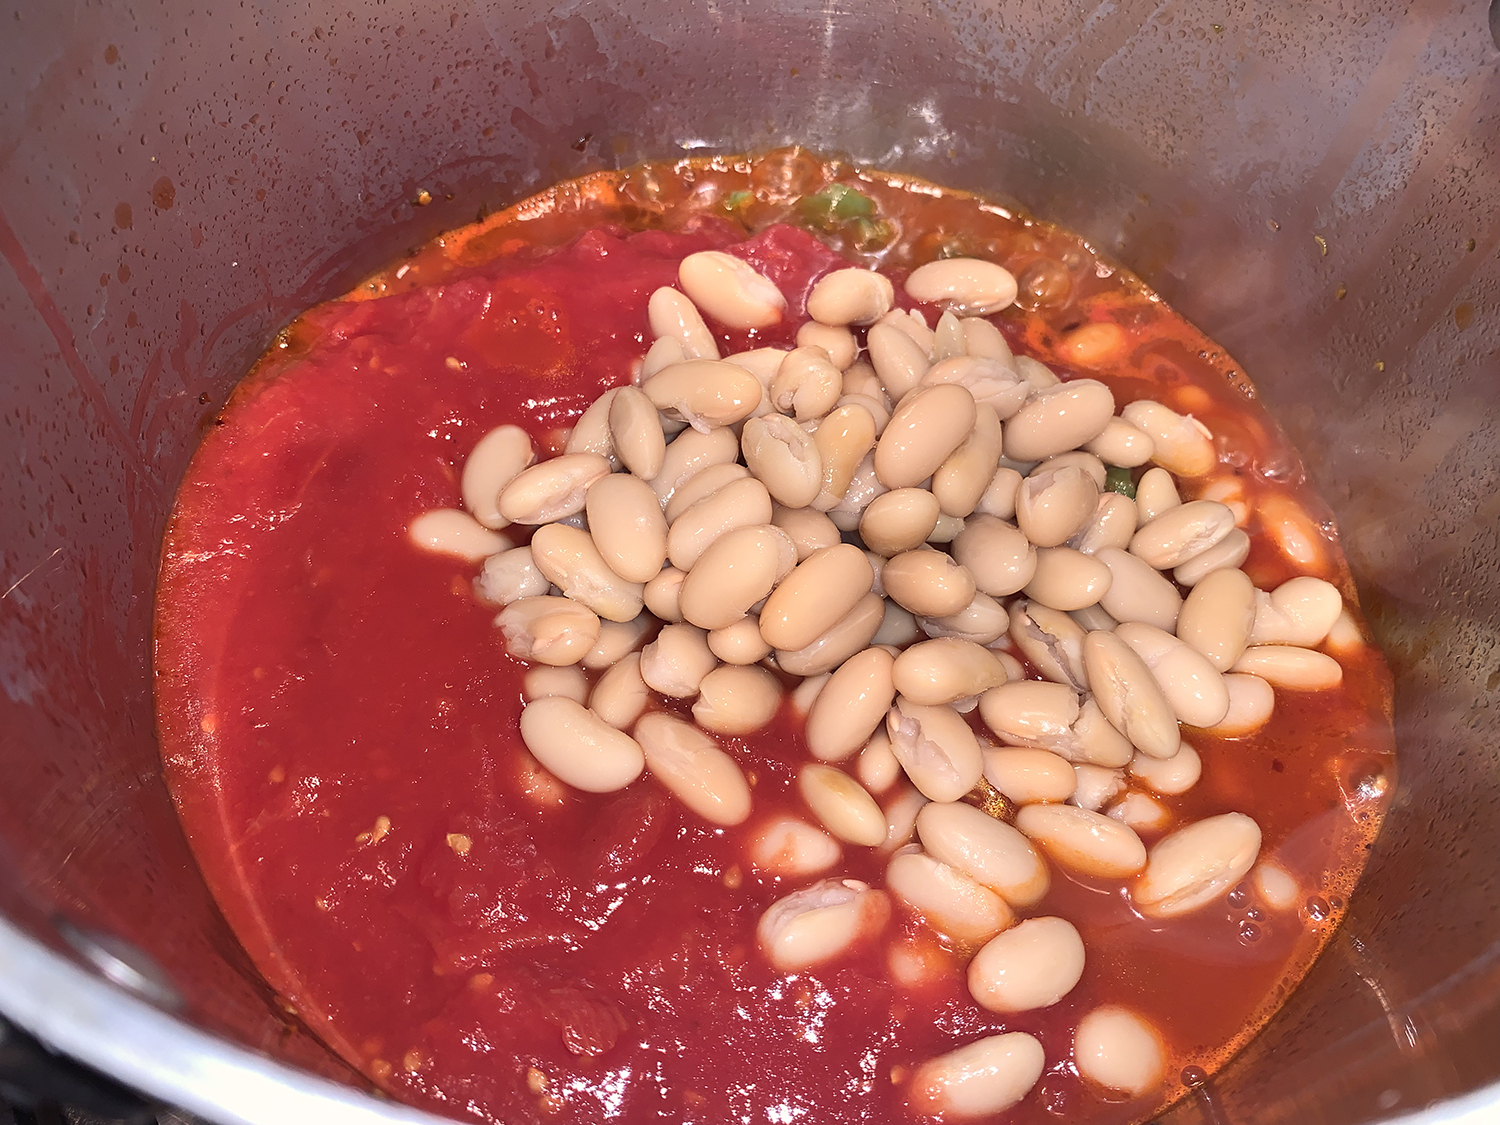
It’s important to rinse and drain the beans. If their starchy liquid makes it into the pot, it will turn the sauce thick and heavy. Don’t worry about removing the garlic cloves (do what?!) after they’re lightly browned. They’ll soften and break apart slightly as the sauce cooks.
Even if you do use more than one pot, the dish is well worth it and we loved the fact that there was leftovers for a couple of more meals.
Orecchiette Puttanesca with Tuna and White Beans
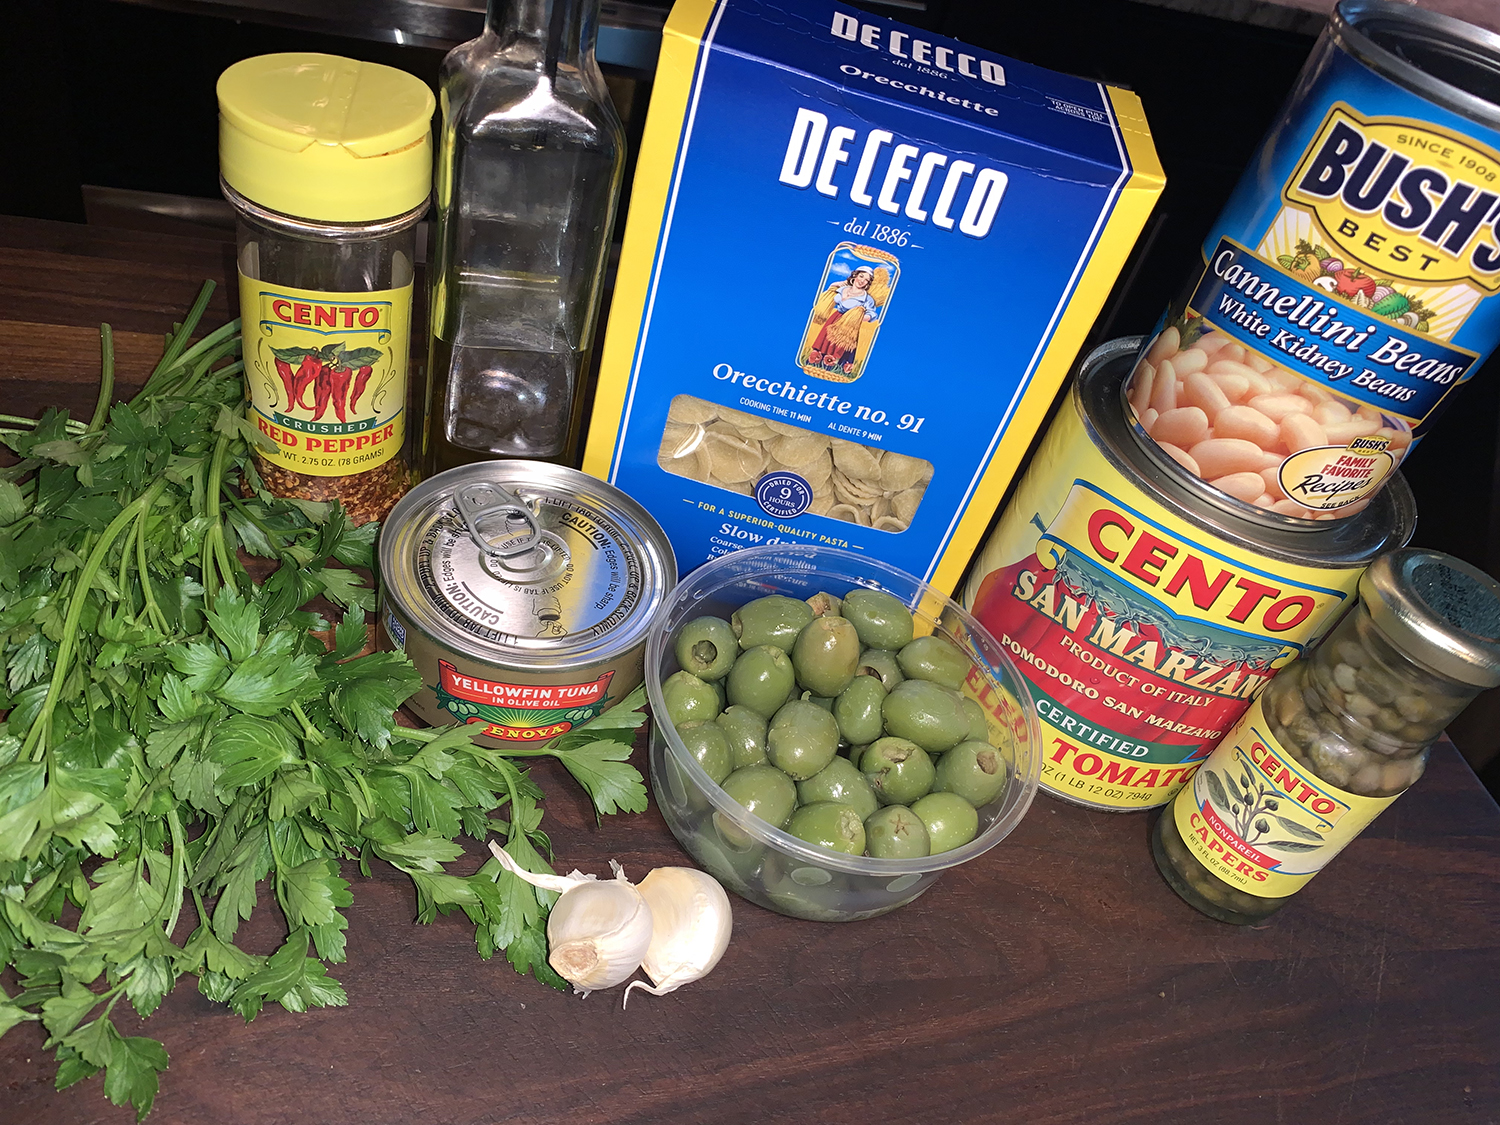
Ingredients
- 1 lb. orecchiette pasta
- Kosher salt and ground black pepper
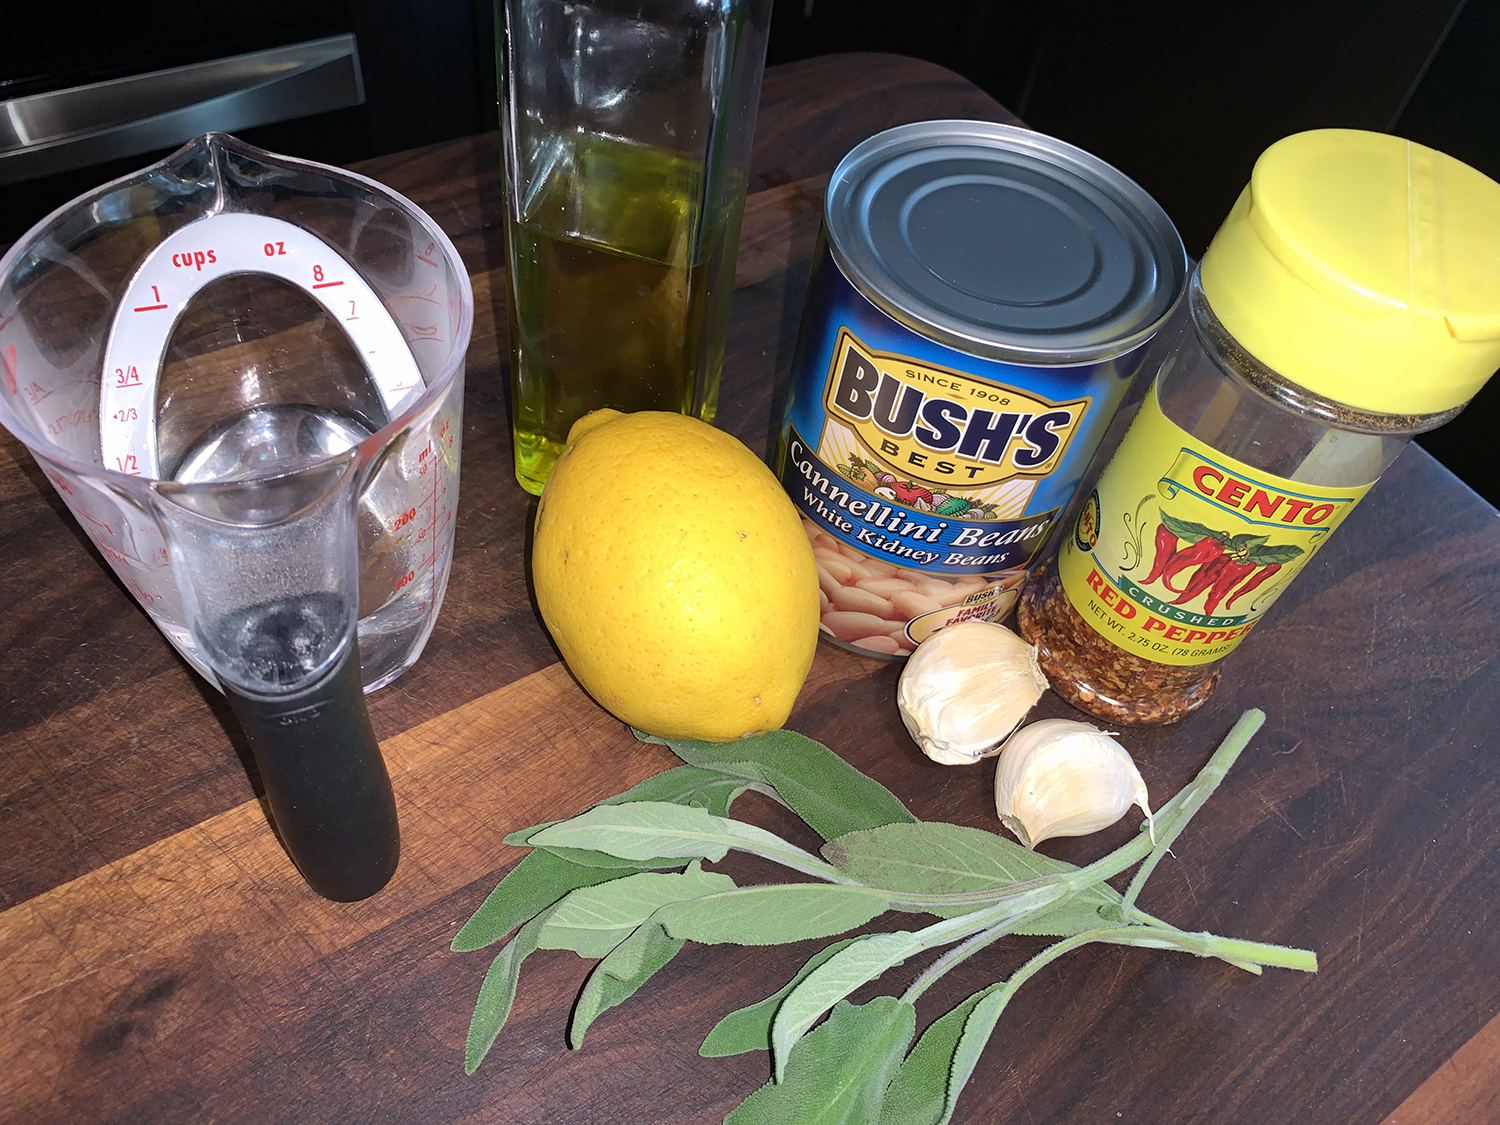
- 1 Tbsp. extra-virgin olive oil, plus more to serve
- 2 medium garlic cloves, smashed and peeled
- 1 tsp. red pepper flakes
- 1 cup pitted green or black olives (or a combination), roughly chopped
- ¼ cup drained capers, rinsed and patted dry
- 28 oz. can whole peeled tomatoes, crushed by hand
- 15½ oz. can cannellini beans, rinsed and drained
- 5 oz. can olive oil-packed tuna, drained and flaked (we used 2, 7-oz. cans)
- ⅓ cup lightly packed fresh flat-leaf parsley, roughly chopped
Directions
- In a large pot, bring 4 quarts water to a boil. Stir in the pasta and 1 tablespoon salt, then cook, stirring occasionally, until just shy of al dente. Reserve 2½ cups of the cooking water, then drain.
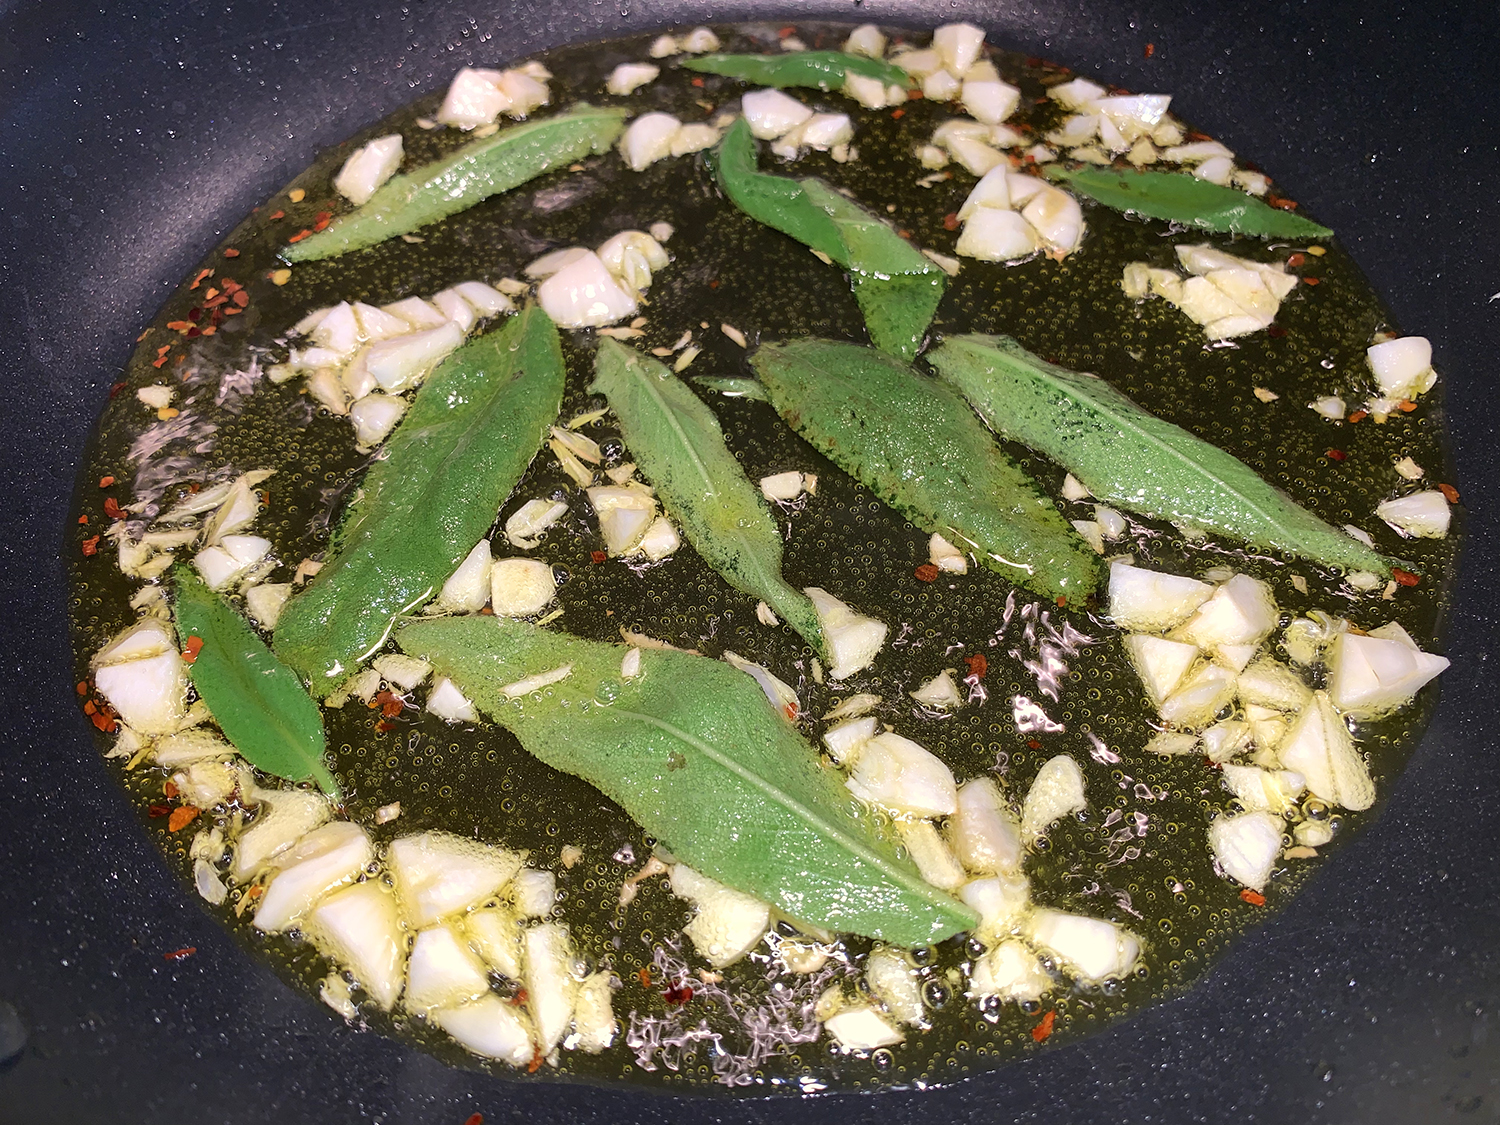
- In the same pot over medium, combine the oil and garlic. Cook, stirring occasionally, until the garlic is light golden brown, 2 to 4 minutes.
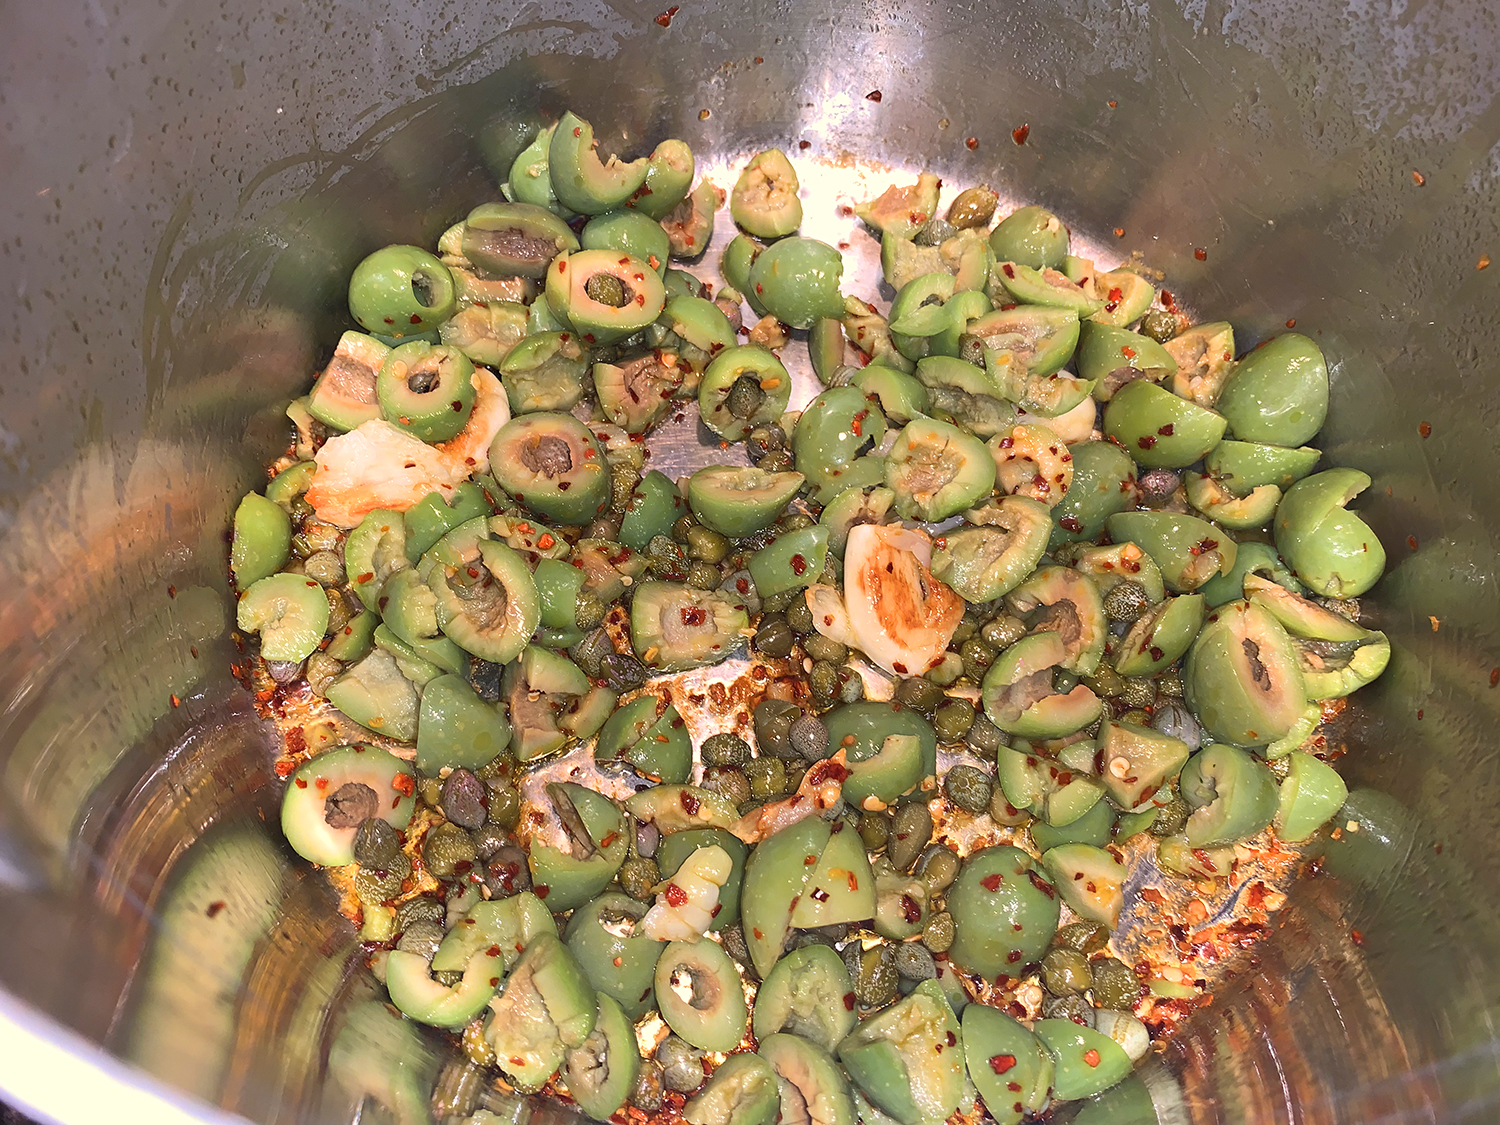
- Add the pepper flakes, olives and capers. Increase to medium-high and cook, stirring, until the capers begin to brown, about 1 minute.
- Add the tomatoes with juices along with the beans, then cook, stirring occasionally, until the mixture is slightly thickened, 3 to 4 minutes.
- Stir in 1½ cups of the reserved water and bring to a simmer over medium-high. Add the orecchiette and cook, stirring occasionally, until the pasta is al dente, 2 to 4 minutes; add more reserved water if needed to thin.
- Taste and season with salt and black pepper. Off heat, stir in the tuna and parsley. Serve drizzled with additional oil.
Adapted by Courtney Hill for Milk Street Community