Monthly Archives: January 2023

Bolognese-Style Pork Cutlets

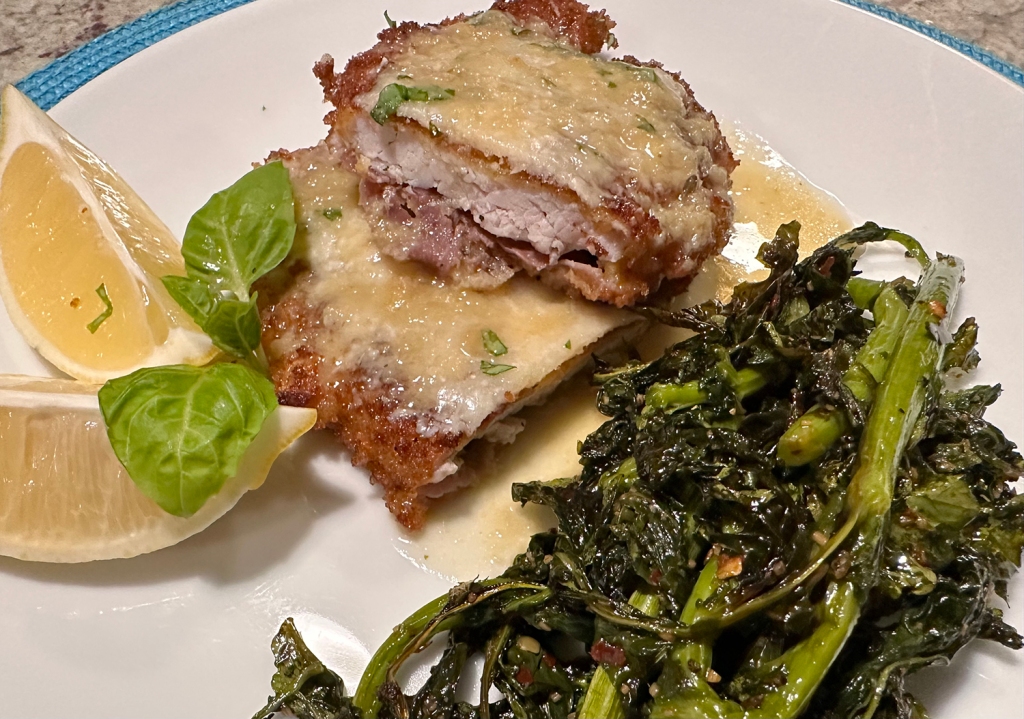
WOW, just WOW! This meal was soooo delicious, we didn’t expect to like it as much as we did. Now it won’t make your dieting list or make the top 10 of your super-healthy menus, but for a special treat it can’t be beat! We paired ours with a healthy side salad and some roasted broccoli rabe therefore eliminating some of the guilt 😉 .

Pork tenderloin is similarly mild in flavor to veal, so it works in this riff on classic cotoletta alla bolognese. The pan-fried breaded cutlets are topped with salty, savory prosciutto and Parmigiano-Reggiano cheese. The pork tenderloin is pounded thin, and layered with the prosciutto slices onto the cutlets, under the breading, to better integrate them into the dish.
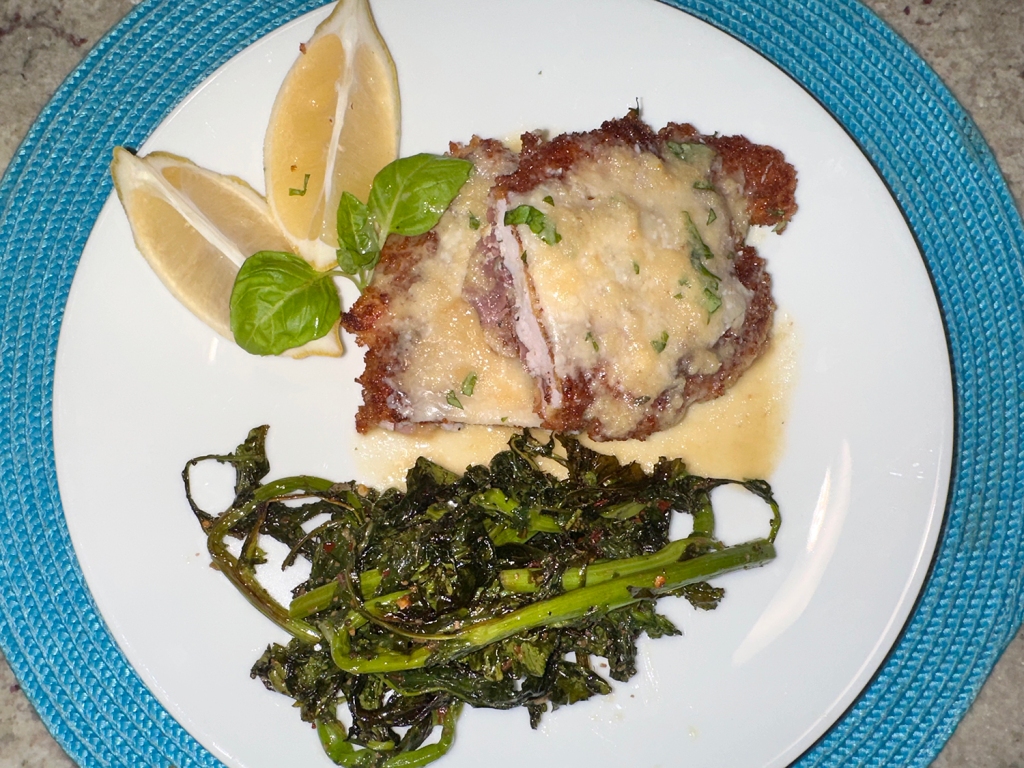
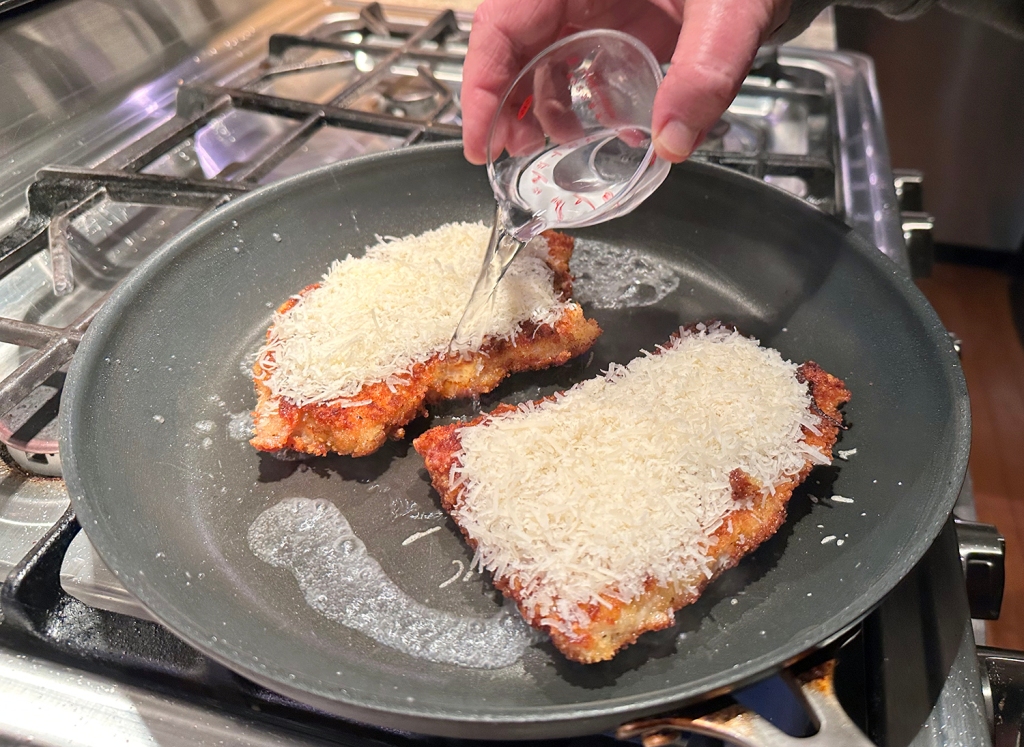
After frying, the crisp cutlets are placed in a pan with a bit of water and cooked just long enough to melt the cheese. For an extra-crisp crust, use Japanese-style, lightly-crushed panko breadcrumb. This method for melting the cheese keeps the bottoms of the cutlets crisp, and the lemon-spiked sauce, served on the side, brightens up all the rich, salty flavors.

The pieces end up being quite large, so in effect, you could possibly get two servings out of each cutlet. I for one, could not finish mine.

Make ahead: If you’d like it to be a less hectic process at dinner time, you can prepare the cutlets up to Step 3, and leave them in the refrigerator for several hours before moving on to Step 4. Also ahead of time, shred the Parmesan cheese, and make the sauce, which can be reheated as your are melting the cheese on the cutlets.

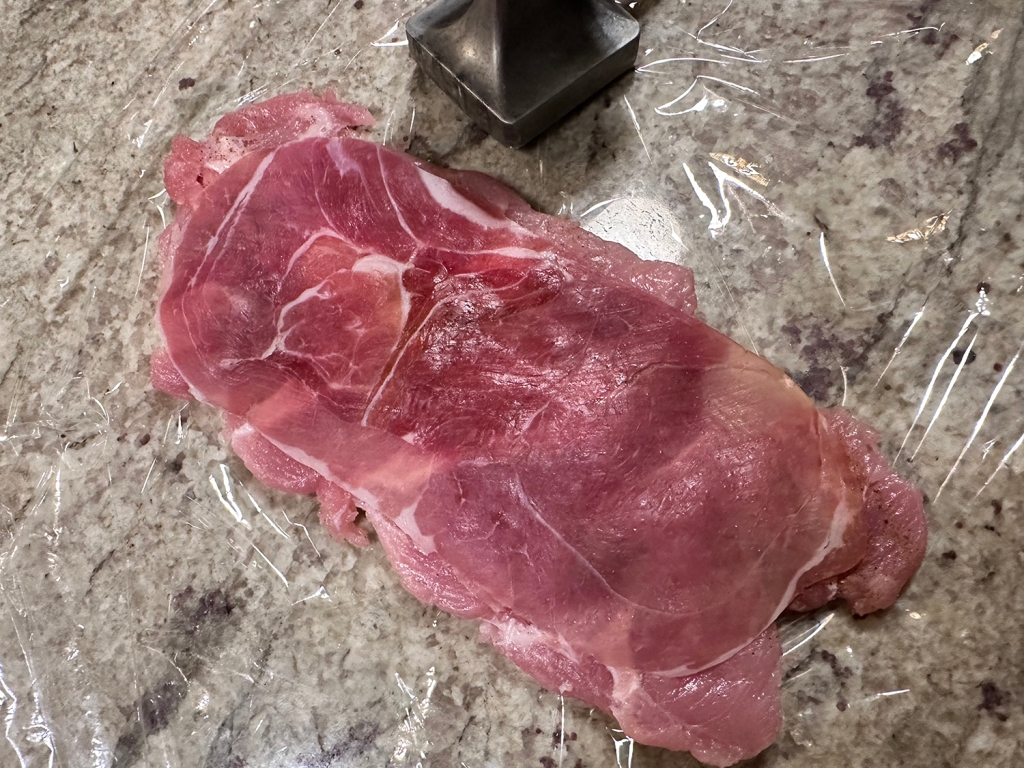
TIP: Don’t pound the pork without using plastic wrap. The plastic wrap prevents the meat pounder from sticking to the meat, thereby helping to avoid tears. This is especially important when the meat is pounded very thin, as it is here. After pounding the cutlets, season them only with pepper, not with salt, as the prosciutto and Parmesan provide lots of salinity. Finally, when adding the water to the pan of fried cutlets, make sure to pour it around them, not on them.
Bolognese-Style Pork Cutlets

  • Servings: 4
  • Difficulty: easy
  • Print

Ingredients

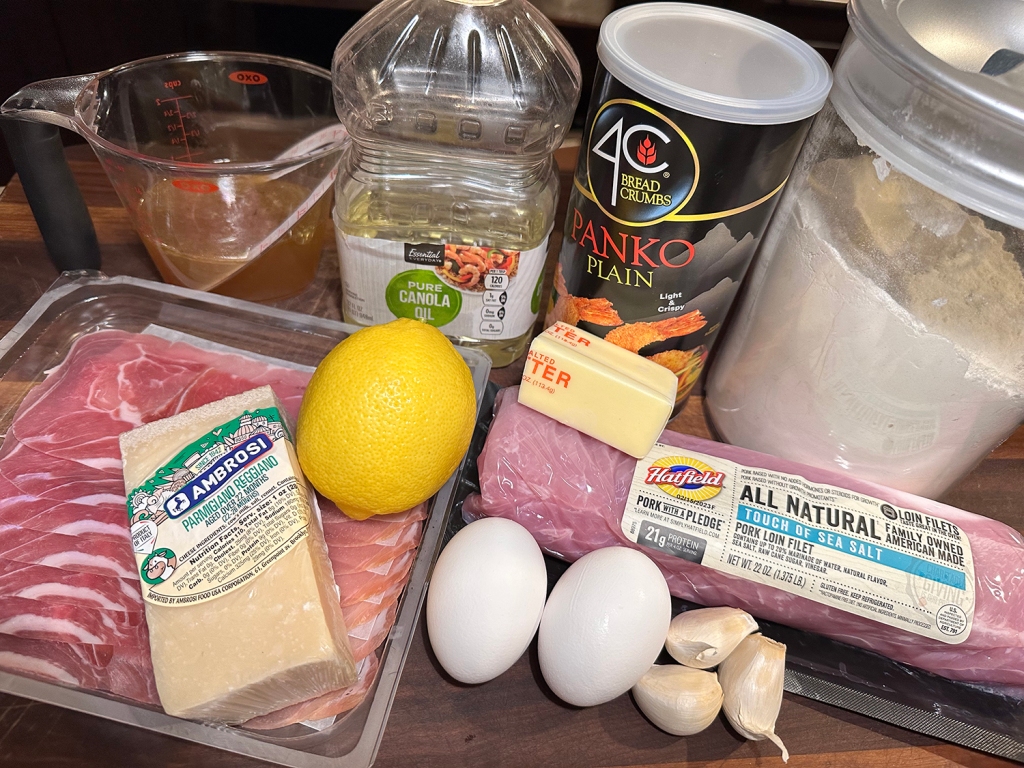
  • 2½ cups panko breadcrumbs
  • Ground black pepper
  • 1 cup all-purpose flour
  • 2 large eggs
  • 1¼ lb. pork tenderloin, trimmed of silver skin and patted dry
  • 4 slices prosciutto (about 2 oz. total)
  • 12 Tbsp. neutral oil, divided
  • 4 oz. Parmesan cheese (without rind), shredded on the small holes of a box grater (2 cups)
  • 4 Tbsp. (½ stick) salted butter, cut into 4 pieces
  • 3 medium garlic cloves, finely grated
  • ¾ cup chicken broth
  • 2 Tbsp. lemon juice, plus lemon wedges to serve
Directions

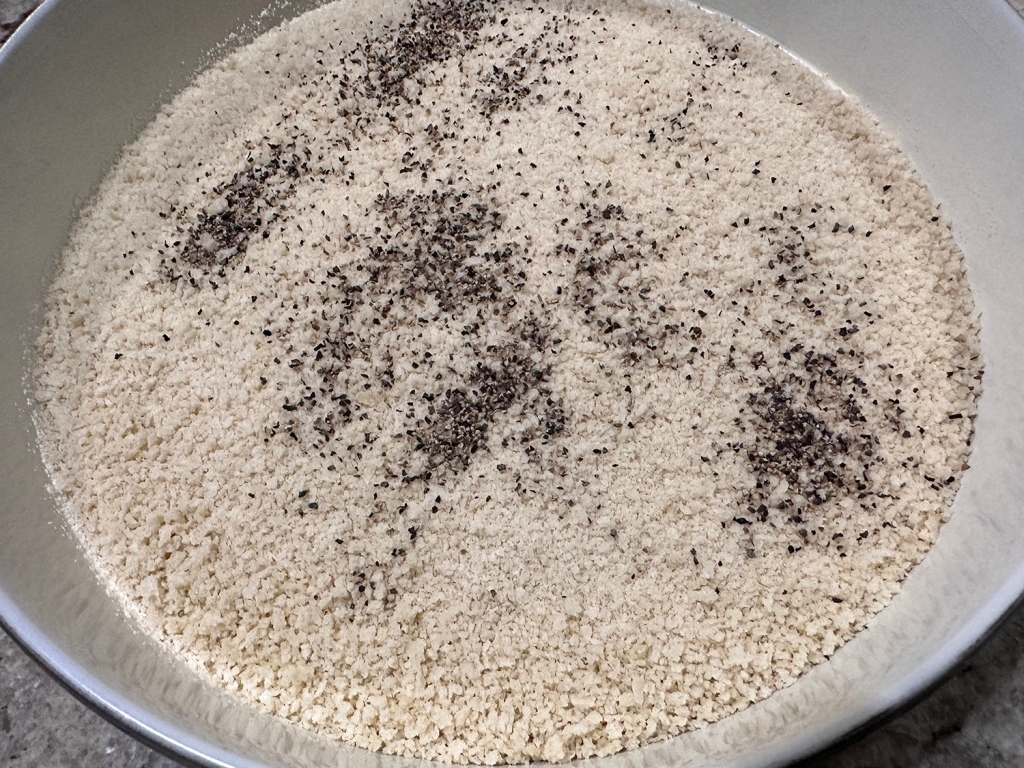
  1. Place the panko in a large a zip-close bag and seal. Run a rolling pin over the panko until finely crushed. Empty into a pie plate or wide shallow bowl, then stir in ½ teaspoon pepper. In a second similar dish, stir the flour and 1 teaspoon pepper. In a third dish, beat the eggs with a fork.
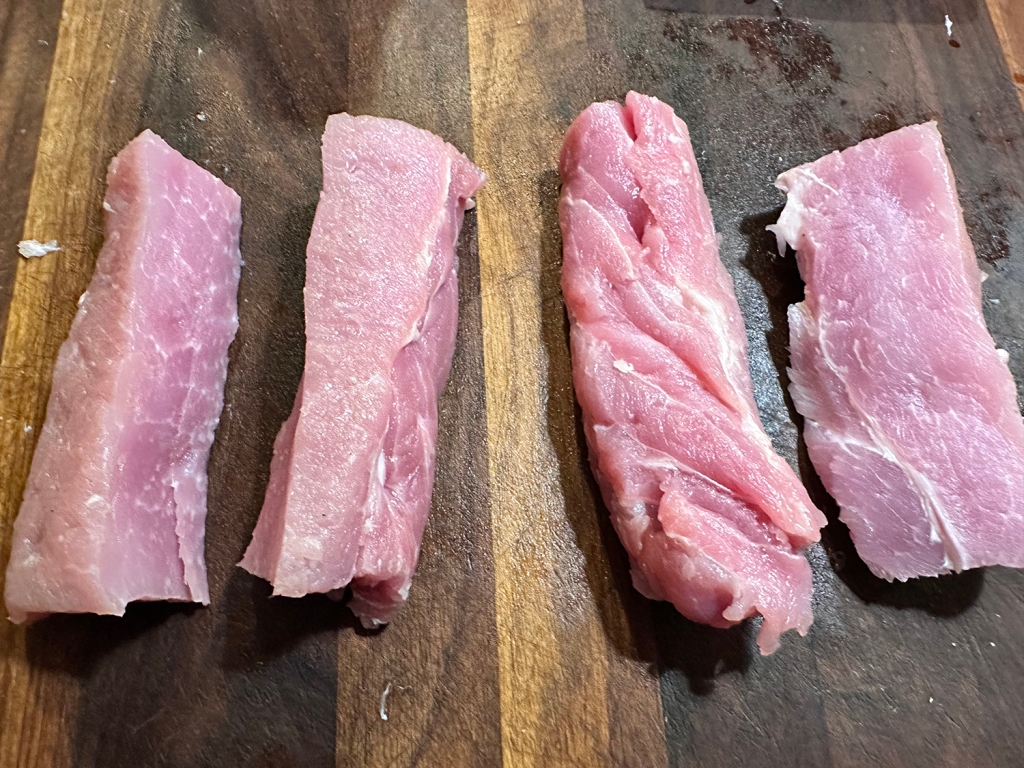
  2. Cut the pork tenderloin in half crosswise, making the tail-end slightly larger, then cut each piece in half lengthwise. Place 2 pieces between 2 large sheets of plastic wrap. Using a meat pounder, gently pound each piece to an even ⅛-inch thickness. Repeat with the remaining pieces. Season both sides of each cutlet with pepper, then lay a prosciutto slice on each cutlet. Re-cover with plastic wrap and gently pound so the prosciutto adheres.
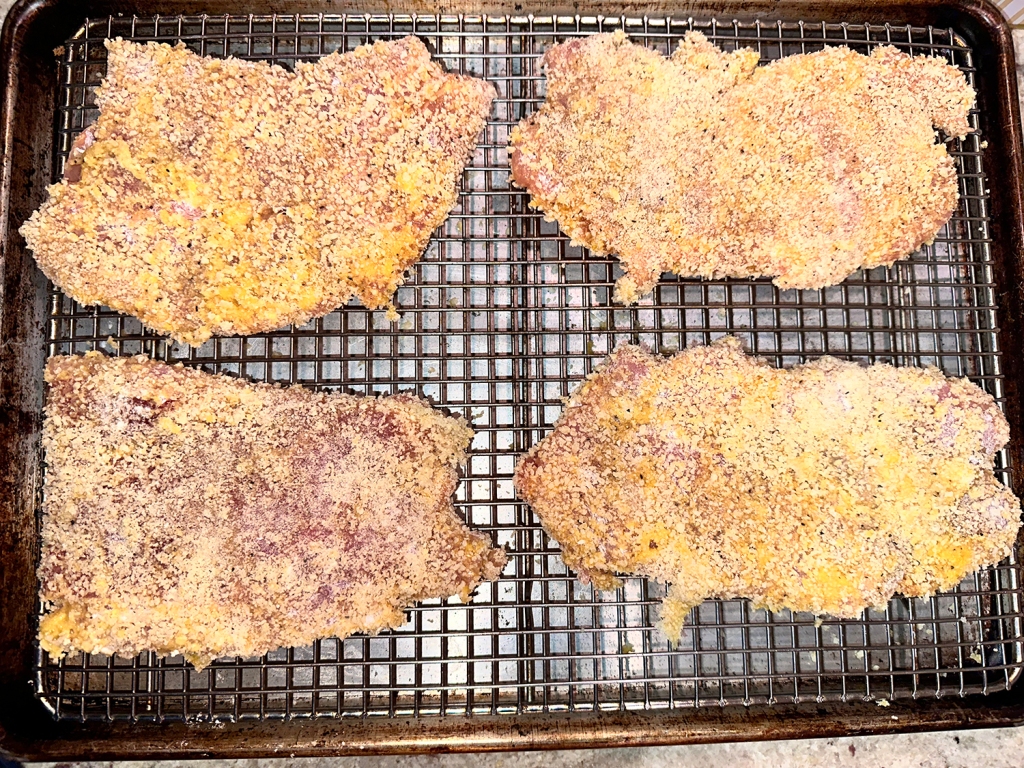
  3. One at a time, dredge the cutlets in the flour, turning to coat and shaking off any excess, then dip in the egg and, finally, coat with the panko, pressing so it adheres. Set the cutlets on a large plate. Refrigerate uncovered for 15 minutes. Set a wire rack in a rimmed baking sheet and place near the stovetop.
  4. In a 12-inch nonstick skillet over medium-high, heat 6 tablespoons of oil until barely smoking. Add 2 cutlets and cook until golden, 1 to 2 minutes. Using tongs, flip and cook until the second sides are golden, about 1 minute. Transfer to the prepared rack. Repeat with the remaining 6 tablespoons oil and remaining cutlets. Wipe out the skillet and set aside.
  5. Evenly sprinkle the cutlets with the Parmesan. Place 2 cutlets, cheese side up, in the same skillet, then set the pan over medium-high. Pour ¼ cup water around the cutlets, immediately cover and cook until the cheese has melted, the water has evaporated and the cutlets begin to sizzle, 1 to 2 minutes. Using a large spatula, return the cutlets to the rack and repeat with the remaining cutlets; tent with foil. Using paper towels, wipe out the skillet.
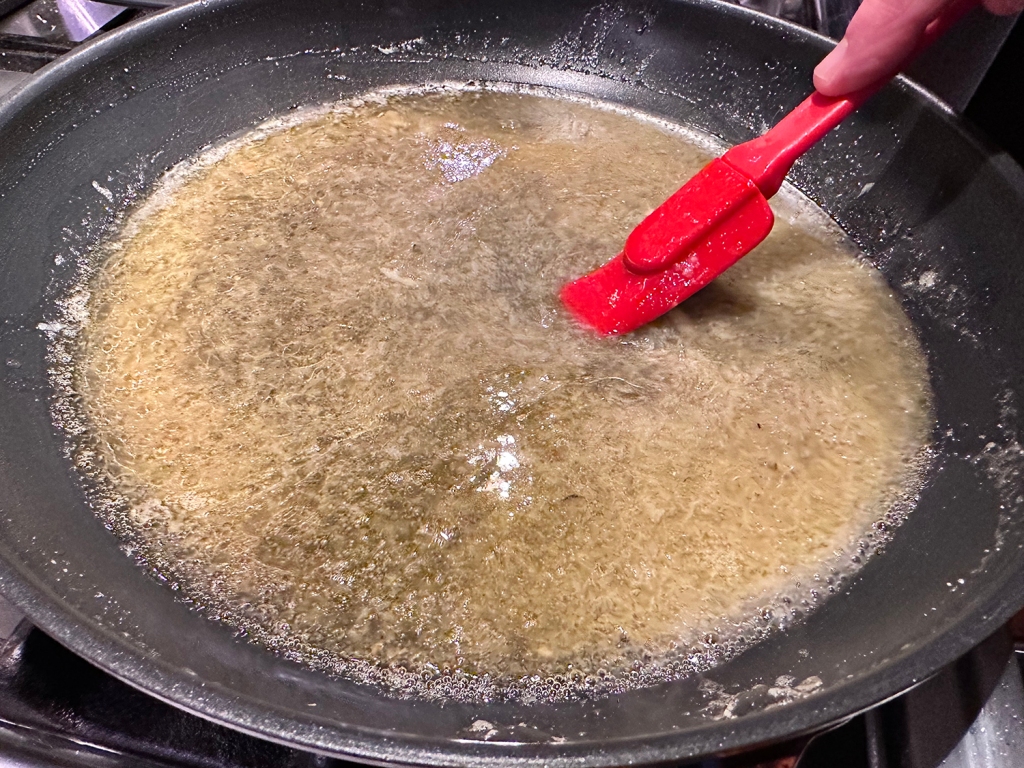
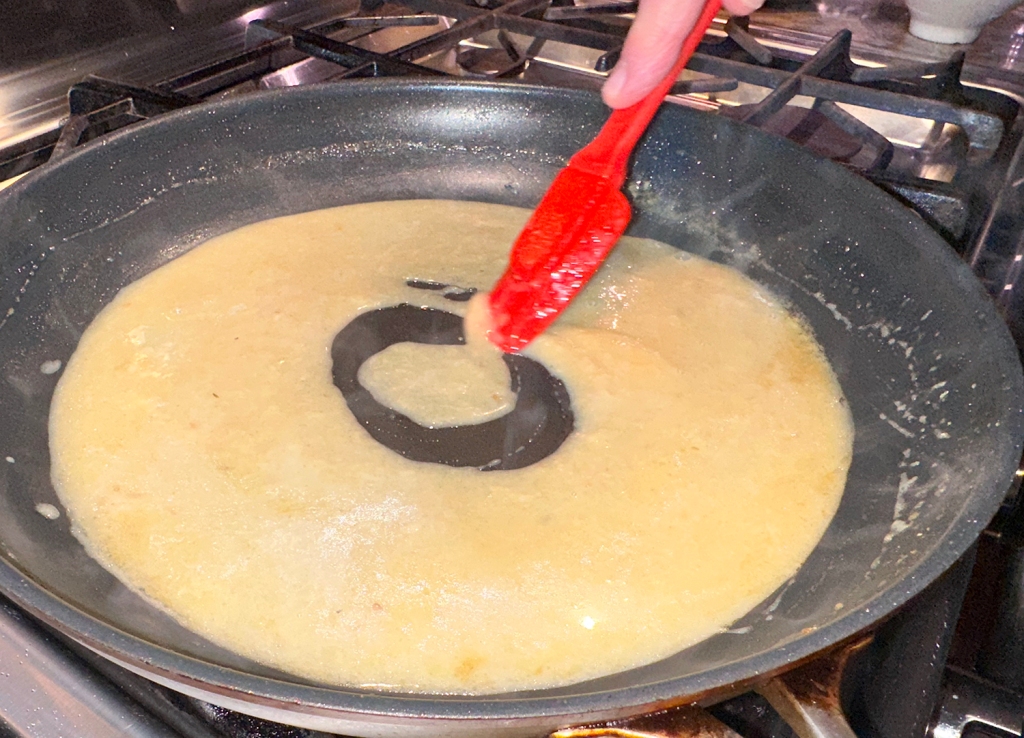
  6. In the same skillet over medium, melt the butter. Add the garlic and cook, stirring, until fragrant, about 30 seconds. Add the broth, then cook over medium-high, stirring occasionally, until reduced to about ⅓ cup, about 3 minutes. Off heat, stir in the lemon juice, then taste and season with pepper. Pour into a serving bowl. Transfer the cutlets to a platter and serve with the sauce and lemon wedges on the side.

http://www.lynnandruss.com

Original recipe by Diane Unger for Milk Street

Spicy Beef with Peanuts and Chiles

Not a huge fan of take-out—although it does serve its purpose on occasion—here’s a stir-fry that will taste far better than any from the local Asian restaurant down the street. Yes, it is a bit prep-intensive, and uses several bowls, but well worth your time and effort. You could even do a lot of the prep earlier in the day, and throw it all together when ready to eat.

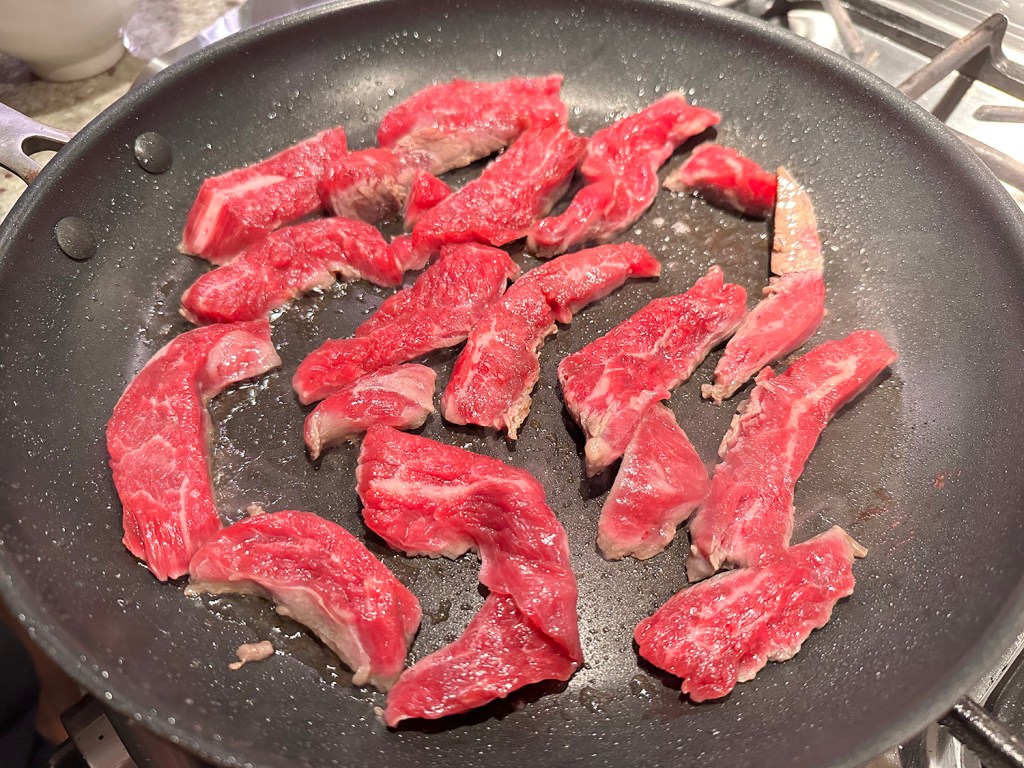
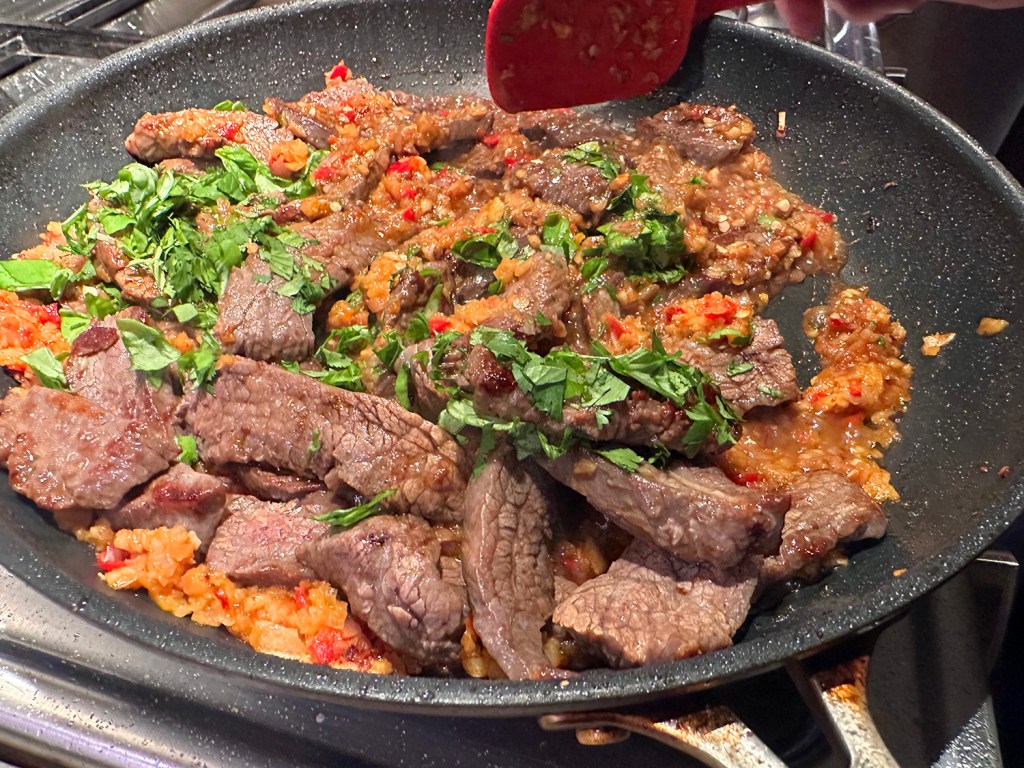
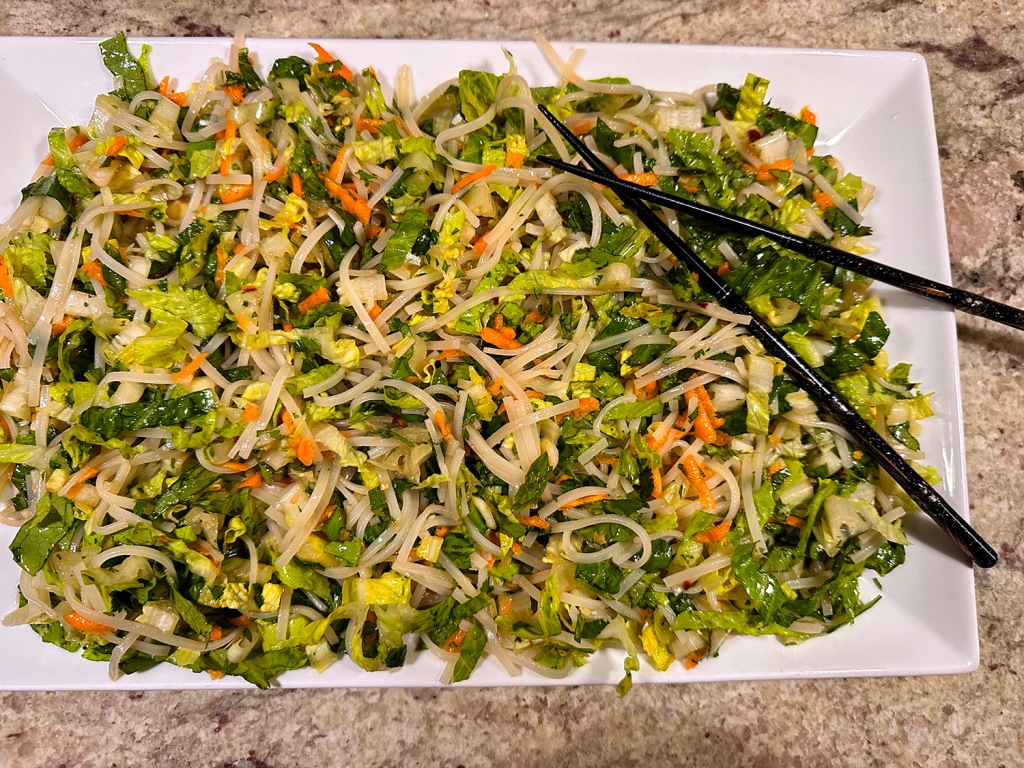
We paired the Spicy Beef with Peanuts and Chiles with a Rice Noodle Salad, that not only complimented the main dish, but shared many of the wonderful flavors. Even though the original recipe indicated to use a 12-inch skillet, next time we’ll use our wok. Keep in mind, you will probably need to sear the beef in two batches, so as not to steam the meat, but brown the slices.

The supermarket was not carrying either serrano or Thai chili peppers so we opted for Fresnos. As the recipe instructs, we did not discard the seeds, but if you can’t tolerate heat, you may want to scale back some, or omit altogether.

Our slices of flank steak measured about 1/4″-thick. If you prefer thinner slices, freeze the steak whole for about 15-20 minutes, then slice to your preferred width.

Spicy Beef with Peanuts and Chiles

  • Servings: 4-6
  • Difficulty: easy
  • Print

Ingredients

  • 1 lb. flank steak, thinly sliced on the diagonal against the grain
  • 2 Tbsp. soy sauce
  • 2 tsp. fish sauce
  • 1/4 tsp. kosher salt
  • 2 Tbsp. fresh lime juice
  • 1 Tbsp. light brown sugar
  • 1/4 cup salted peanuts
  • 2 large shallots, coarsely chopped
  • 2 Thai or serrano chiles, stemmed and coarsely chopped (don’t seed)
  • 3 Tbsp. canola or peanut oil
  • 1/3 cup coarsely chopped fresh cilantro
  • 3 Tbsp. chopped fresh basil

Directions

  1. Toss the steak with 1 tablespoon of the soy sauce, 1 tsp of the fish sauce, and the salt.
  2. Combine the remaining 1 tablespoon soy sauce and 1 tsp fish sauce with 1 tablespoon of the lime juice and the brown sugar and set aside.
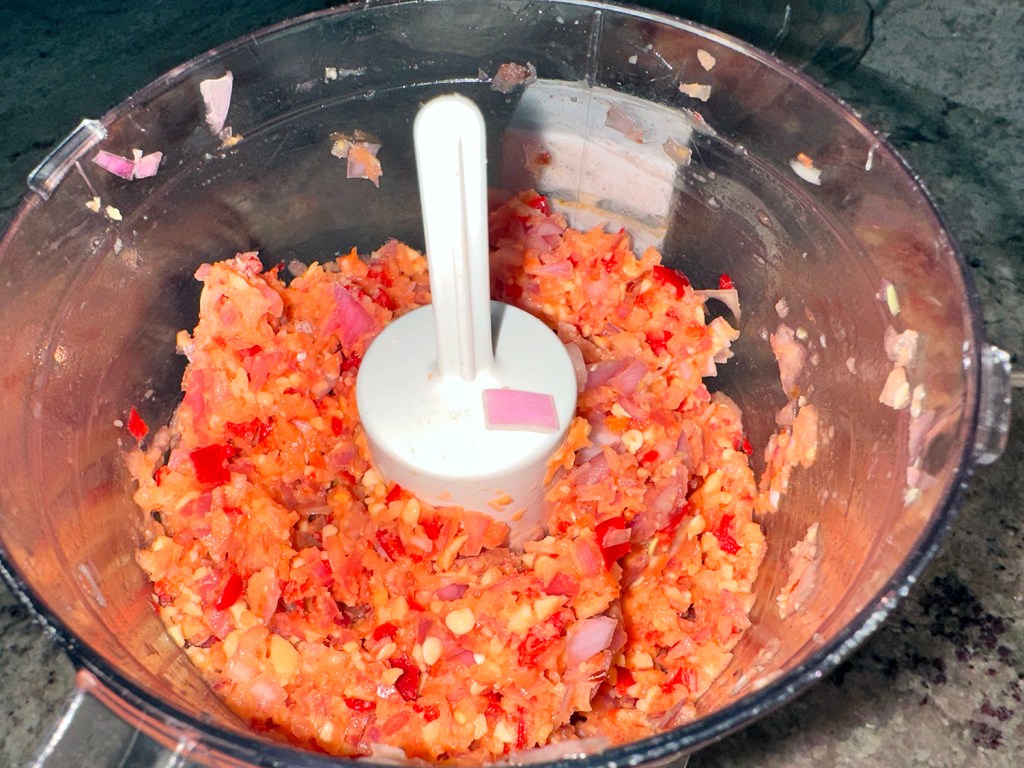
  3. Pulse the peanuts, shallots, and chiles in a food processor until finely chopped. Transfer to a small bowl.
  4. Set a wok or 12-inch skillet over medium-high heat until hot, about 1 minute.
  5. Add 1-1/2 tablespoon of the oil and once it’s shimmering, add the beef.
  6. Cook, stirring, until the beef just loses its raw appearance, about 2 minutes. Transfer to a plate.
  7. Reduce the heat to medium, add the remaining 1-1/2 tablespoon oil and the shallot mixture, sprinkle with salt, and cook, stirring, until the shallots are soft, about 2 minutes.
  8. Return the beef to the pan. Stir the soy mixture and add it, along with half of the cilantro and basil, and cook, stirring to let the flavors meld, 2 minutes.
  9. Serve sprinkled with the remaining lime juice, cilantro, and basil.

http://www.lynnandruss.com

Original recipe from the now defunct Fine Cooking

Rice Noodle Salad

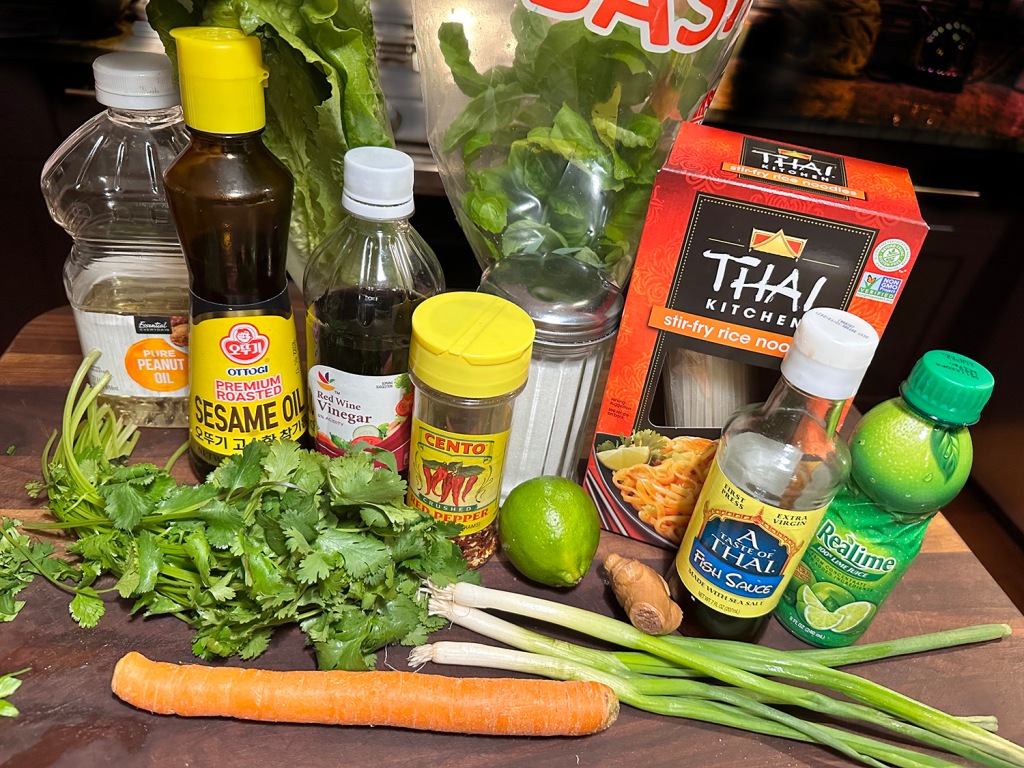
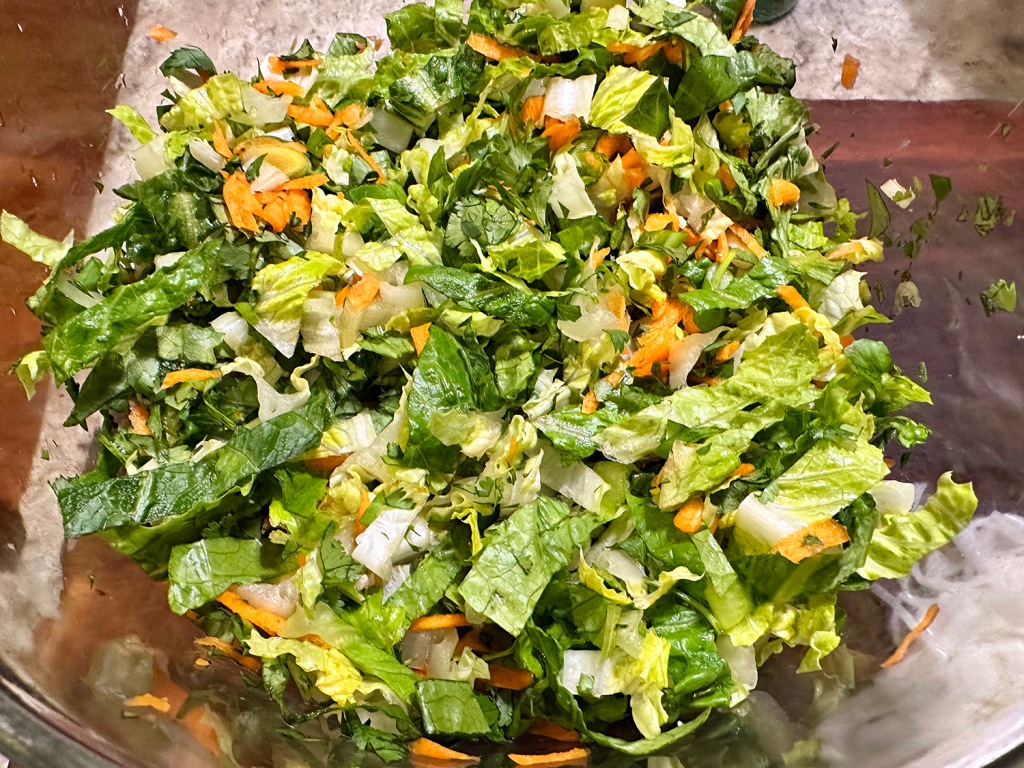
This Asian salad can stand on it’s own, perhaps with a smattering of chopped peanuts, or as a compliment to a heftier stir-fry such as the Spicy Beef with Peanuts and Chiles that we paired it with. To amp up the flavor, we increased the amount of grated ginger to 1 tablespoon, added 1 tablespoon of rice wine vinegar, and lots of chopped fresh basil.

You can use Southeast Asian rice sticks or Chinese cellophane noodles (made from bean starch) for this Thai salad. It makes a satisfying lunch, or serve it as a starter or side dish (it will serve up to 6 as a side).

Rice Noodle Salad

  • Servings: 4-6
  • Difficulty: easy
  • Print

Ingredients

For the dressing

  • ¼ cup fresh lime juice
  • 2 Tbsp. Thai fish sauce or 1 Tbsp. soy sauce
  • 1 tsp. sugar
  • 1 Tbsp. finely minced ginger (more or less to taste)
  • ½ tsp. red pepper flakes, or a pinch of cayenne
  • 2 Tbsp. Asian sesame oil
  • 1 Tbsp. rice wine vinegar
  • 2 Tbsp. canola oil

For the Salad

  • 3 oz. dried rice noodles (rice sticks) or cellophane noodles
  • ½ small Napa cabbage or 1 romaine heart
  • 3 scallions, cleaned and thinly sliced on the diagonal
  • 1 cup coarsely chopped cilantro
  • 1 cup coarsely chopped basil
  • 1 medium carrot, grated or cut in fine julienne
  • Lettuce leaves for the bowl or platter (if not plating with the Rice Noodle Salad)

Directions

  1. Mix together the dressing ingredients. Taste and adjust seasonings. Place the rice or cellophane noodles in a bowl and cover with warm water. Soak for 20 minutes, and drain.
  2. Bring a large pot of water to a boil and add the noodles. Cook about 1 minute, or until tender (ours took about 3 minutes). Drain well and coarsely chop using scissors or knife. Toss with all but 2 tablespoons of the dressing.
  3. Cut the halved Napa cabbage in half again, cut out the core, then slice crosswise into thin strips. If using romaine, cut in half, then slice crosswise into thin strips. Toss with the noodles, along with the scallions, cilantro, and carrot.
  4. Pile the salad on a serving platter. Spoon on the remaining dressing, if any. Sprinkle with more basil and/or cilantro and serve.

http://www.lynnandruss.com

Adapted from a recipe by Martha Rose Shulman for NYTimes Cooking

Skillet-Roasted Peruvian-Style Chicken

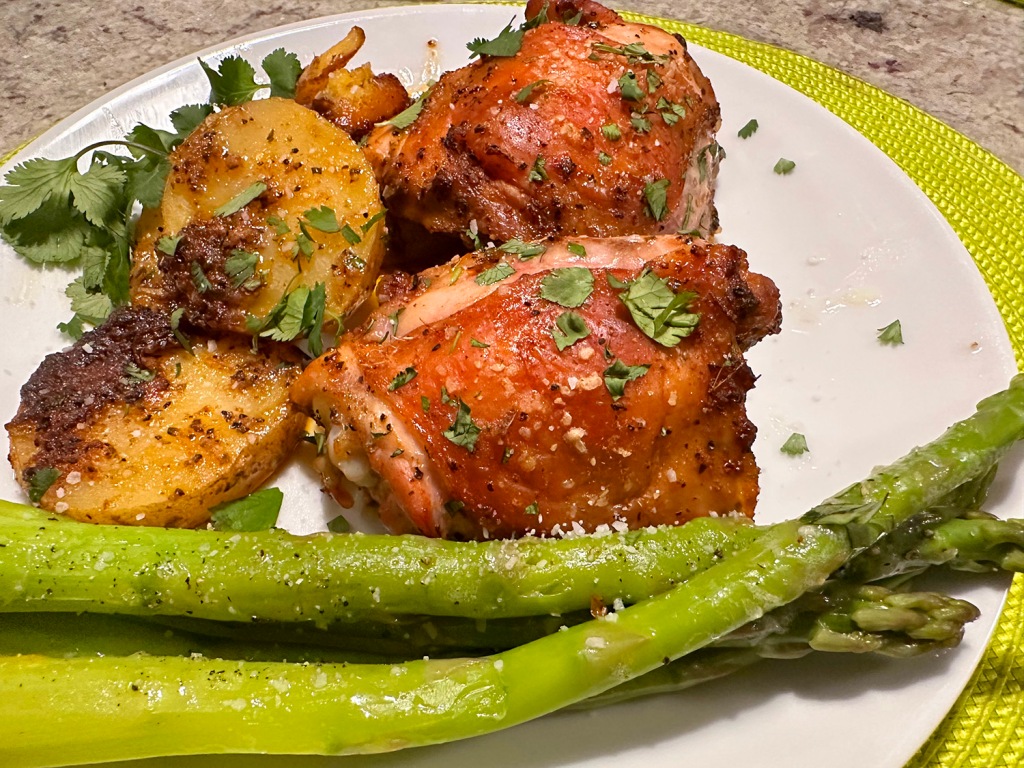
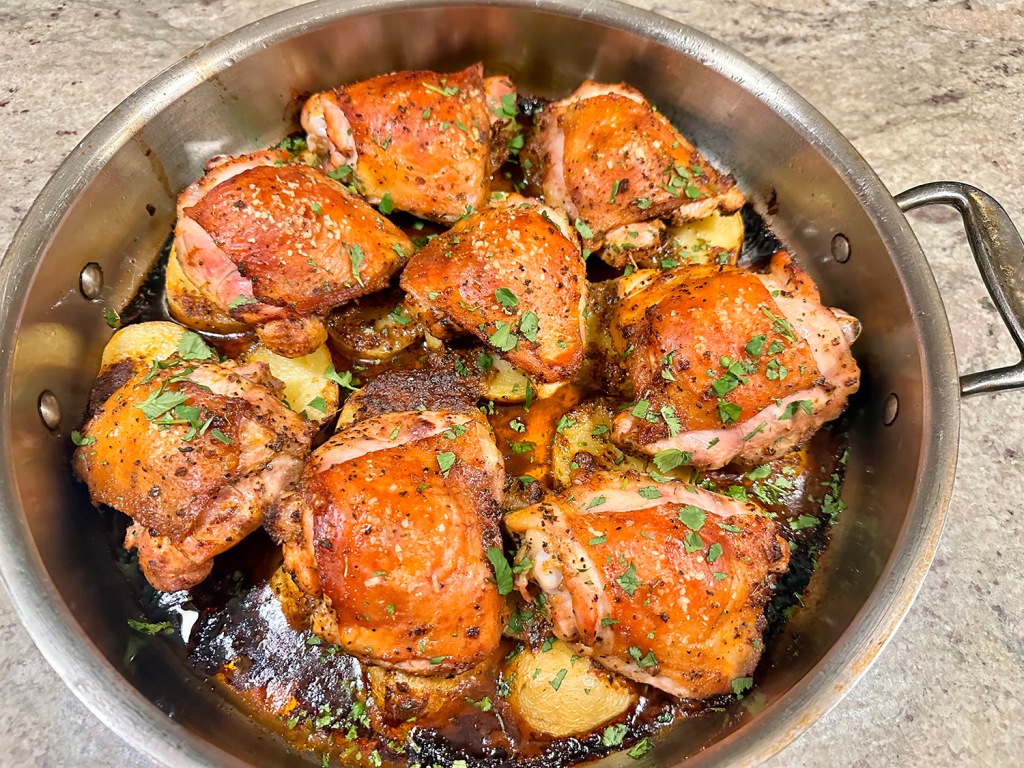
Peruvian pollo a la brasa is a whole chicken that is marinated, then cooked slowly on a rotisserie until the meat is ultra-tender; fried potatoes are a common accompaniment. Here, chicken leg quarters are used and roasted directly on top of sliced Yukon Golds that have first been lightly browned in the skillet on the stovetop.

We have both fallen hard in love with this recipe, and even though I don’t show a photo with the aji verde sauce on my plate, (I dove right into the meal before adding the sauce), it’s a wonderful condiment that enhances the meal enormously!

Marinate the chicken for 24 hours, if you can; if that’s not an option, give it at least an hour to soak in the seasonings. Ají panca paste is made from a Peruvian variety of chili of the same name; the paste is red with fruity, lightly smoky undertones and little heat. Look for it, sold in jars, in well-stocked supermarkets or Latin American grocery stores. If you cannot find it, don’t hesitate to use the sweet paprika plus smoked paprika substitute.

Beer is a common marinade ingredient for pollo a la brasa; Cusqueña, a Peruvian lager, is a good choice, but any quaffable variety will do. We highly recommend serving the chicken and potatoes with ají verde (recipe below), a Peruvian goes-with-everything condiment that’s deliciously creamy, tangy, herbal and spicy.

TIP: Don’t forget to pat the chicken dry after removing it from the marinade, and before sprinkling it with salt and placing the pieces in the skillet. The drier the skin, the better the browning and crisping.

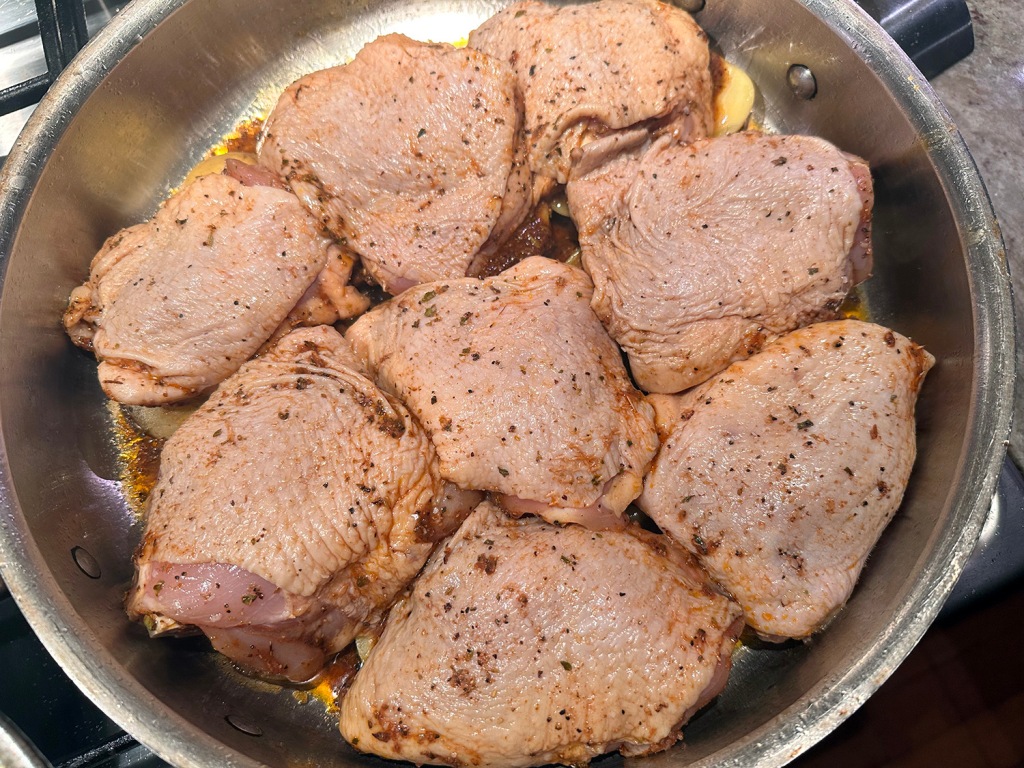
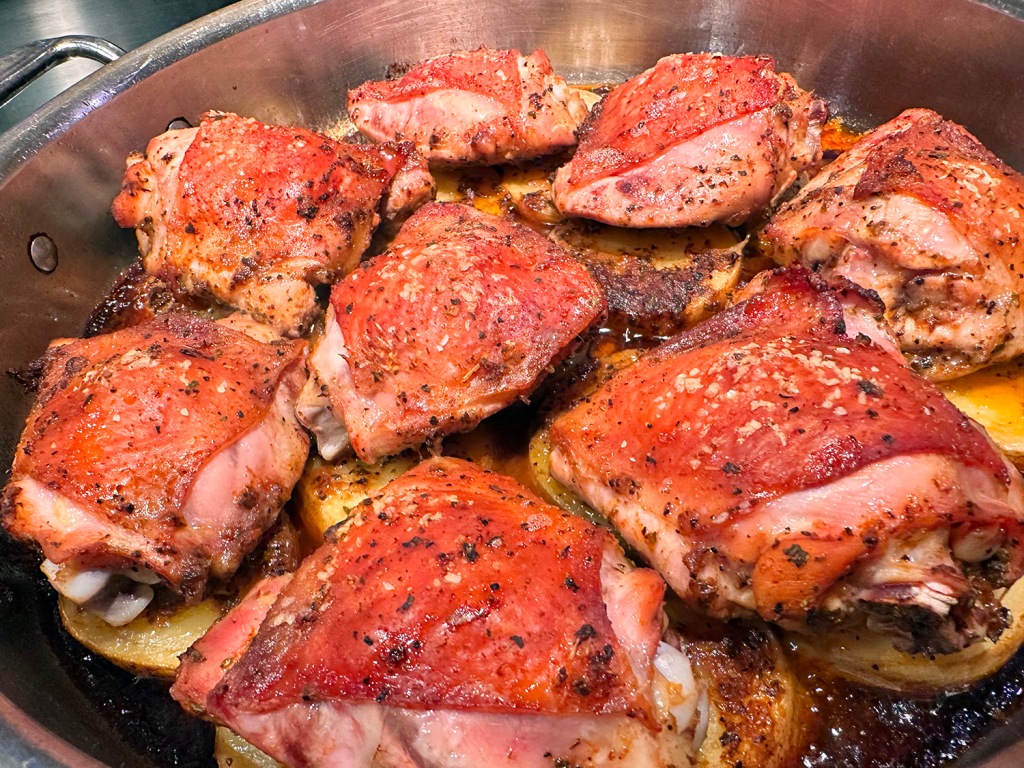
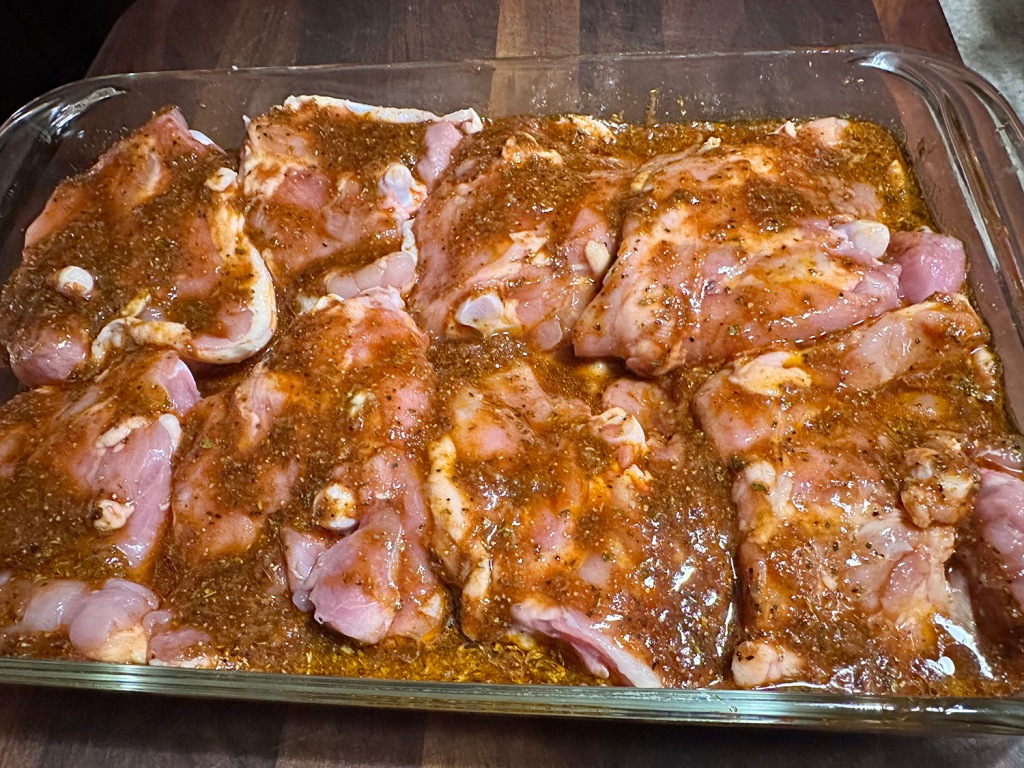
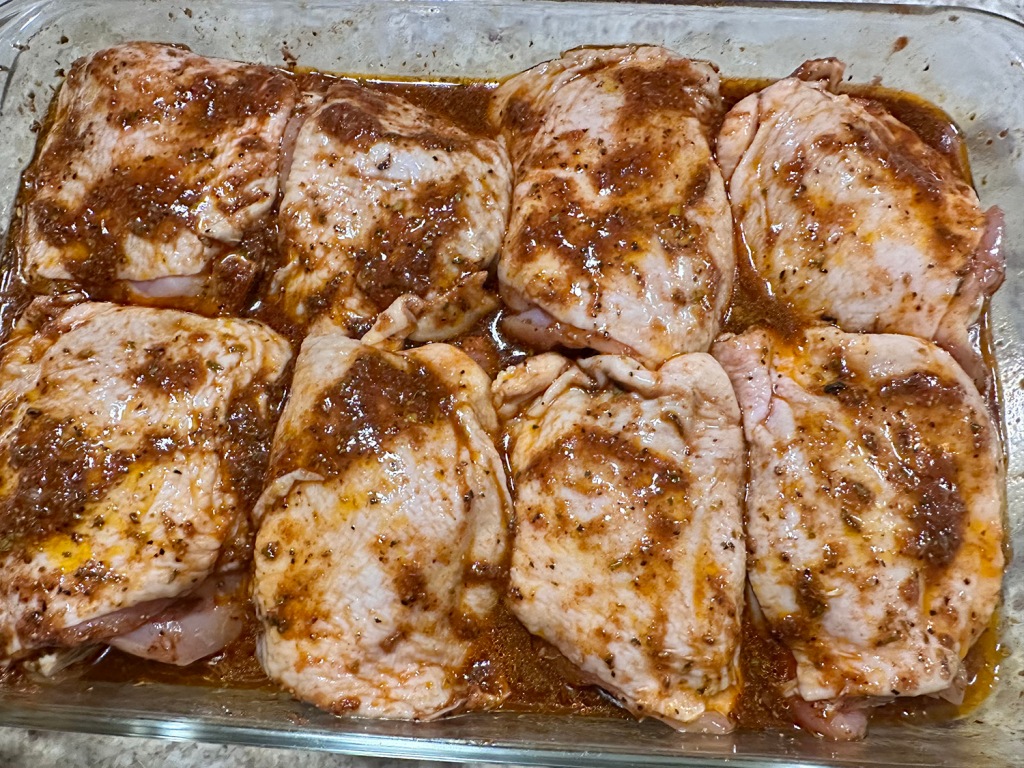
We could not bear to eliminate the flavorful marinade altogether, yet we wanted the skin to be very crispy. So we wiped off the marinade from the chicken into the baking dish and patted them dry. The leftover marinade was then spread over the hot potato slices, and then the chicken pieces placed on top before going into the hot oven.

Not a fan of poultry legs, we used 8 bone-in chicken thighs, which required a larger oven-safe skillet. They went into the baking dish skin-side down, but we ladled the marinate onto the undersides to make sure all parts of the chicken got some flavoring going on. After 30 minutes, we turned the thighs to skin side up and brushed with more marinade.

Skillet-Roasted Peruvian-Style Chicken

  • Servings: 4
  • Difficulty: easy
  • Print

Ingredients

  • 3 Tbsp. extra-virgin olive oil, divided
  • 1/2 cup beer
  • 4 medium garlic cloves, finely grated
  • 2 Tbsp. soy sauce
  • 2 Tbsp. red wine vinegar
  • 2 Tbsp. ají panca paste OR 1 Tbsp. sweet paprika, plus 1 Tbsp. smoked paprika
  • 2 tsp. dried oregano
  • 2 tsp. ground cumin
  • Kosher salt and ground black pepper
  • 4 bone-in, skin-on chicken leg quarters, OR 6-8 chicken thighs (about 3 lbs.), trimmed
  • 1 1/2 lbs. Yukon Gold potatoes, unpeeled, sliced into ½-inch rounds
  • 1/2 cup lightly packed fresh cilantro, chopped
  • Ají verde, to serve (optional, see recipe below)

Directions

  1. In a 9-by-13-inch glass or ceramic baking dish, stir together 2 tablespoons oil, the beer, garlic, soy sauce, vinegar, ají panca, oregano, cumin, 1 teaspoon salt and 2 teaspoons pepper. Add the chicken and turn to coat. Cover and refrigerate for at least 1 hour or up to 24 hours, turning the chicken once about halfway through marinating.
  2. Heat the oven to 450°F with a rack in the lowest position. Remove the chicken from the marinade; discard the marinade. Pat the chicken dry and season lightly with salt.
  3. In a 12-inch oven-safe skillet over medium-high, heat the remaining 1 tablespoon oil until shimmering. Add the potatoes in an even layer and cook, uncovered and without stirring, until lightly browned at the edges, 2 to 3 minutes. Place the chicken skin side up on top of the potatoes. Transfer the skillet to the oven and roast until the chicken is deeply browned and the thickest part of the leg quarters reach 175°F, about 45 minutes.
  4. Remove the pan from the oven (the handle will be hot). Let rest for about 10 minutes, then transfer the chicken and potatoes to a serving platter. Sprinkle with the cilantro and serve with ají verde (if using).

Aji Verde Sauce

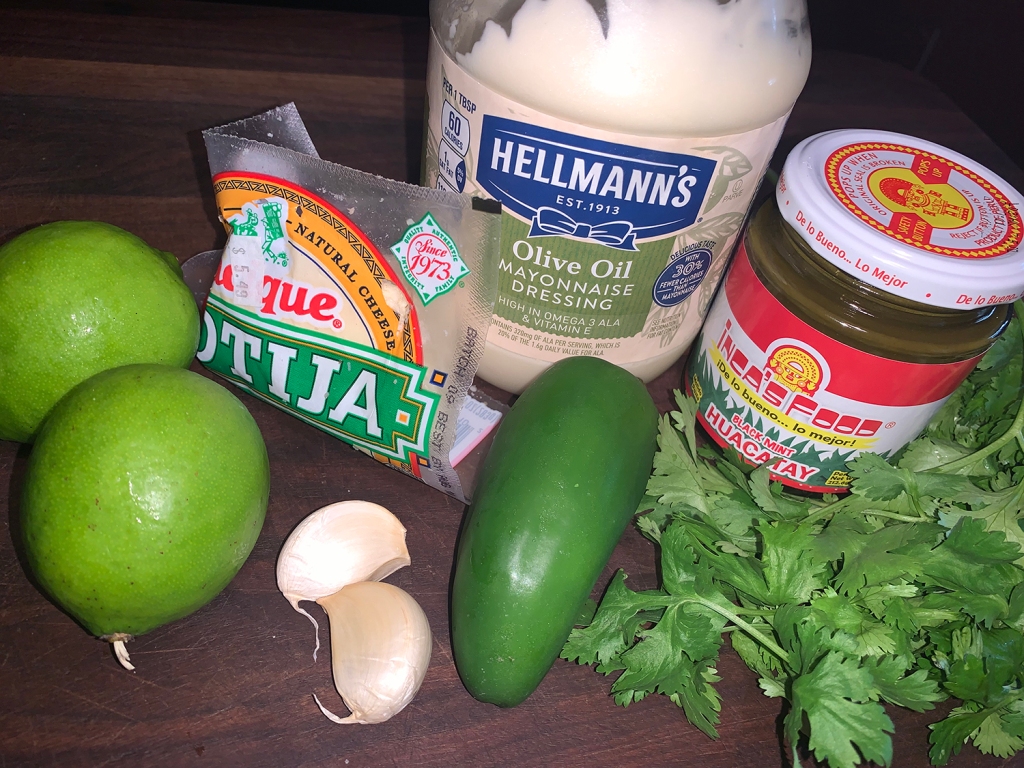
Ají verde is a popular Peruvian condiment. Creamy and spicy, with fruity acidity from lime juice, it’s the perfect accompaniment to pollo a la brasa. Ají amarillo is a spicy yellow Peruvian chili. Look for ají amarillo paste in Latin American markets, but if not available, simply omit it. The sauce still will taste great.

Ingredients

  • ½ cup  mayonnaise
  • 1 jalapeño, stemmed and seeded, coarsely chopped
  • 1 garlic clove. minced
  • 2 Tbsp. grated cotija cheese
  • 3 Tbsp. fresh minced cilantro
  • 1 Tbsp. jarred huacatay paste
  • 2 Tbsp. fresh lime juice

Directions

Combine all ingredients in a blender or small food processor until smooth, about 1 minute.

http://www.lynnandruss.com

Recipes by Courtney Hill & Elizabeth Mindreau for Milk Street

Homemade Veggie Soup

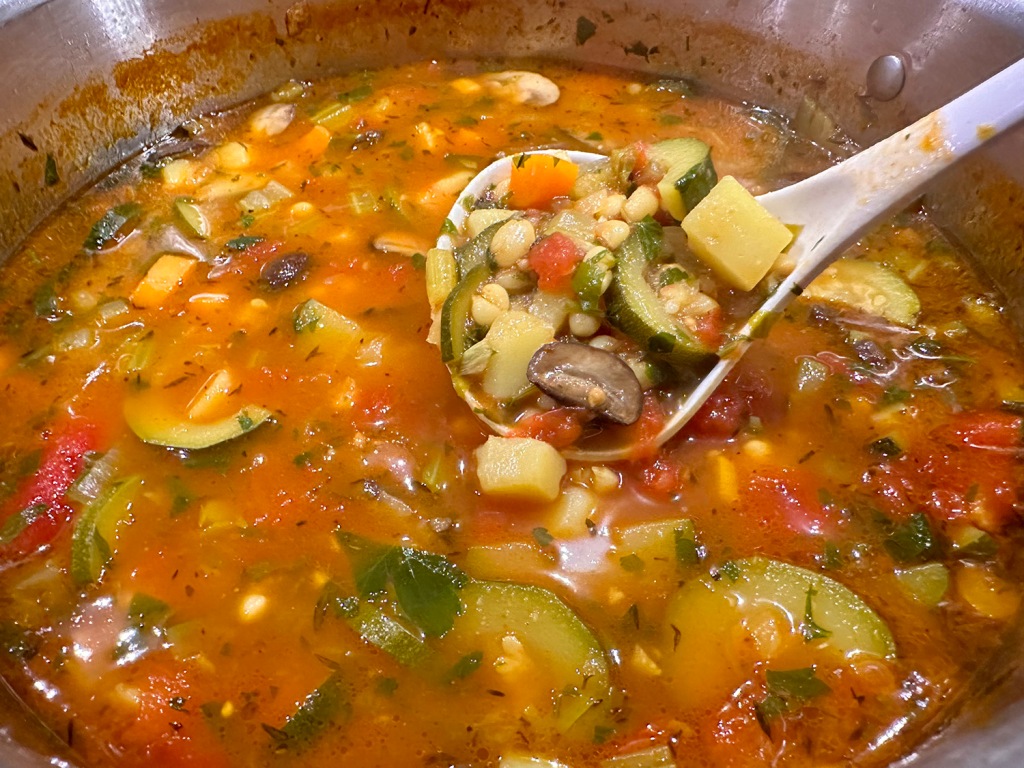
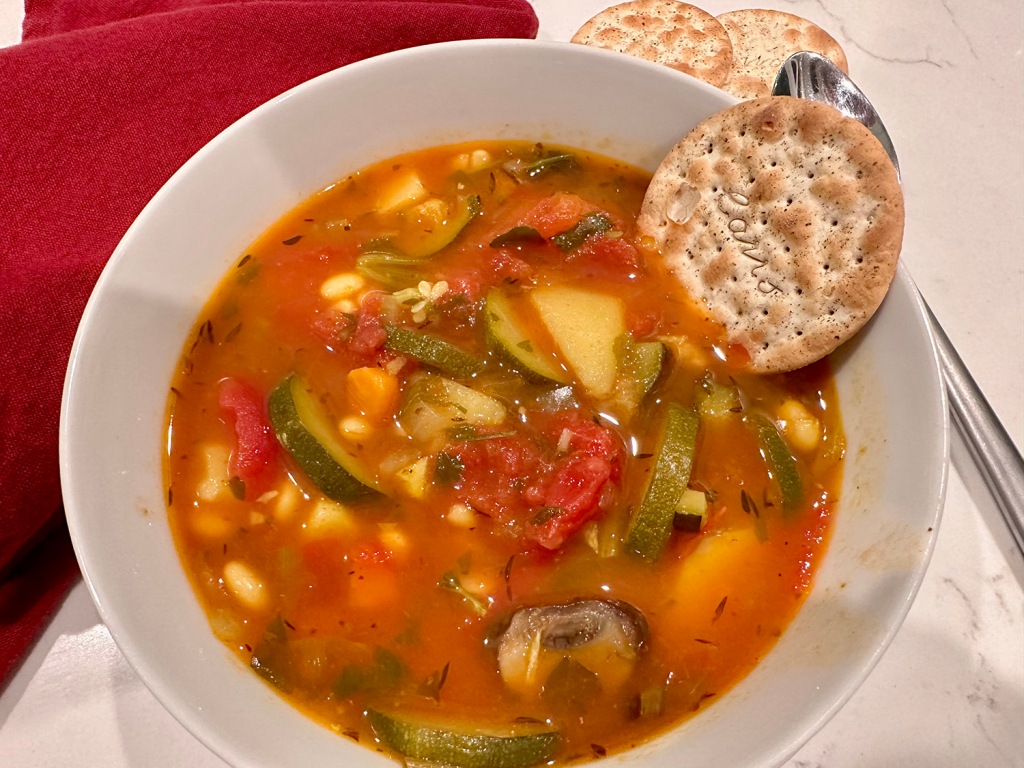
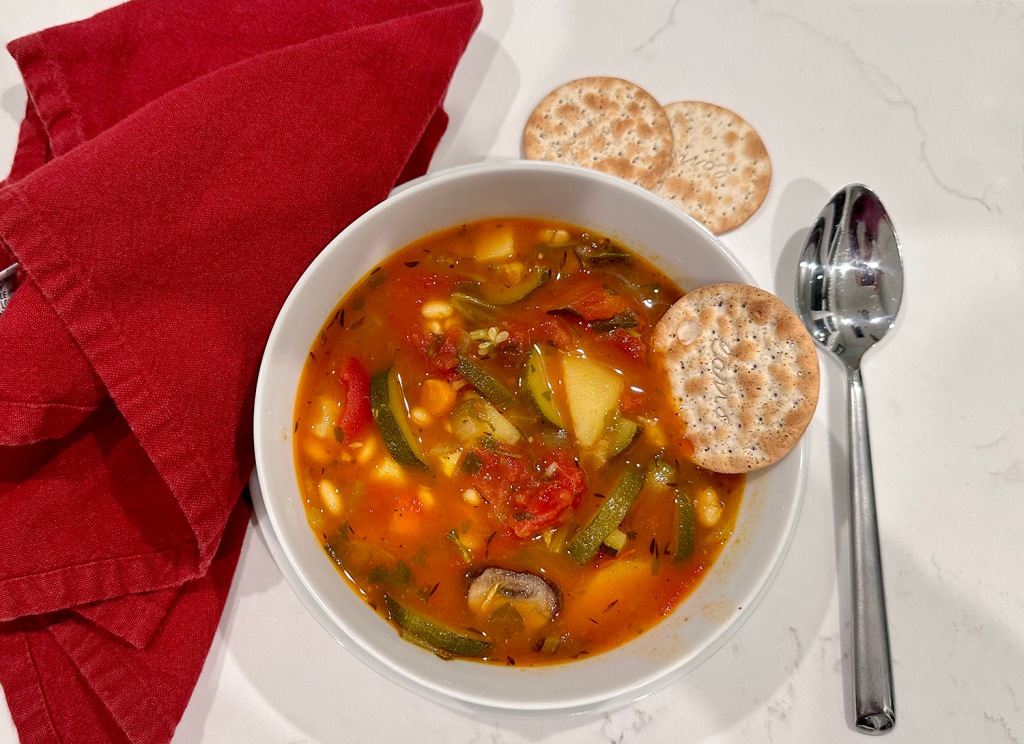
This easy homemade vegetable soup is a textbook Mediterranean diet recipe and a delicious way to amp up your veggie intake. It’s loaded with zucchini, carrots, mushrooms, chickpeas and fresh herbs. It’s cozy, comforting, vegan and gluten-free, but trust me, meat eaters will love this vegetable soup as much as veggie lovers do. Take it from us!

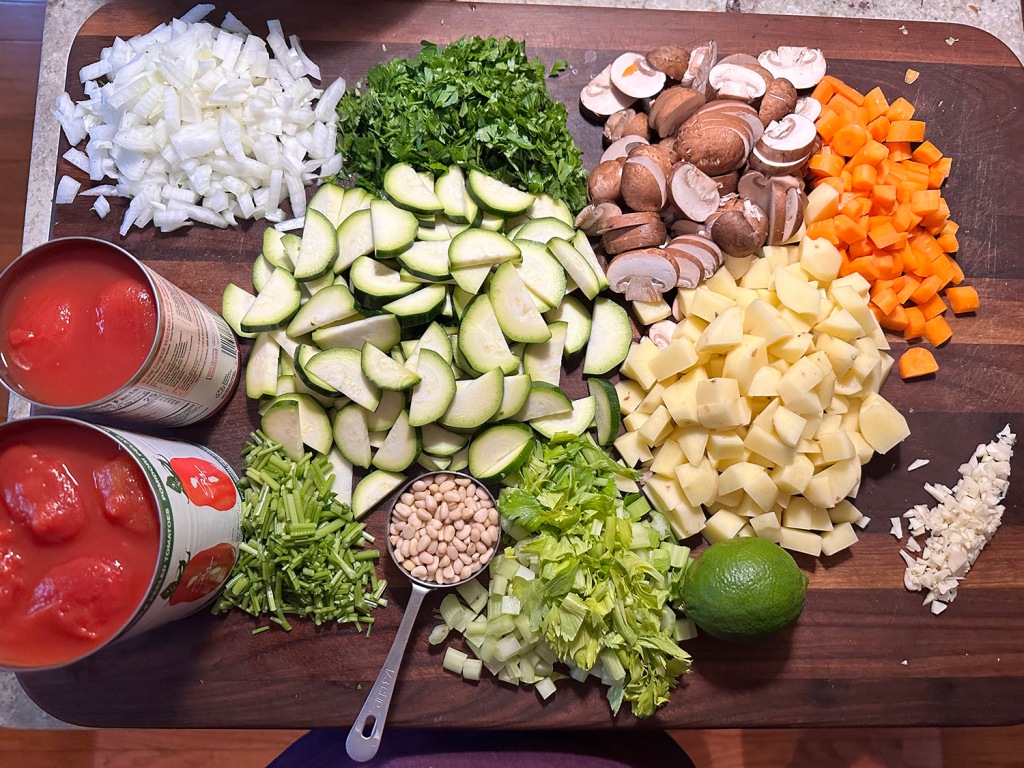
This soup recipe is an amped up version of healthy vegetable soup with a host of nourishing ingredients like garlic, onions, whole tomatoes, zucchini, mushrooms, carrots, potatoes and chickpeas. Fresh herbs, lime juice, and a good dash of warm spices (turmeric, coriander, and paprika) give this soup a Mediterranean twist.

This soup recipe is similar to Italian minestrone soup, minus the pasta. Remember that virtually all vegetables will work in an everyday vegetable soup recipe like this one. Homemade vegetable soup is a great way to use up what veggies you have on hand, so feel free to substitute.

Homemade Veggie Soup

  • Servings: 6
  • Difficulty: easy
  • Print

Ingredients

  • Extra Virgin Olive oil
  • 8 oz. sliced baby bella mushrooms
  • 1 bunch flat leaf parsley, washed, dried, stems and leaves separated, then each chopped
  • 1 medium-size yellow or red onion, chopped
  • 2 garlic cloves, chopped
  • 2 celery ribs, chopped
  • 2 carrots, peeled, chopped
  • 2 medium zucchini, tops removed, sliced into rounds or half-moons or diced
  • 2 golden potatoes, peeled, small diced
  • 1 tsp. ground coriander
  • ½ tsp. turmeric powder
  • ½ tsp. sweet paprika
  • Salt and pepper
  • 1 15-oz can chickpeas, rinsed and drained
  • 1 28-oz. + 1 14-oz. can whole peeled tomatoes, crushed by hand in large bowl
  • 2 bay leaves
  • ½ tsp. dry thyme
  • 6 cups vegetable broth (or chicken broth)
  • Zest of 1 lime
  • Juice of 1 lime
  • ⅓ cup toasted pine nuts, optional

Directions

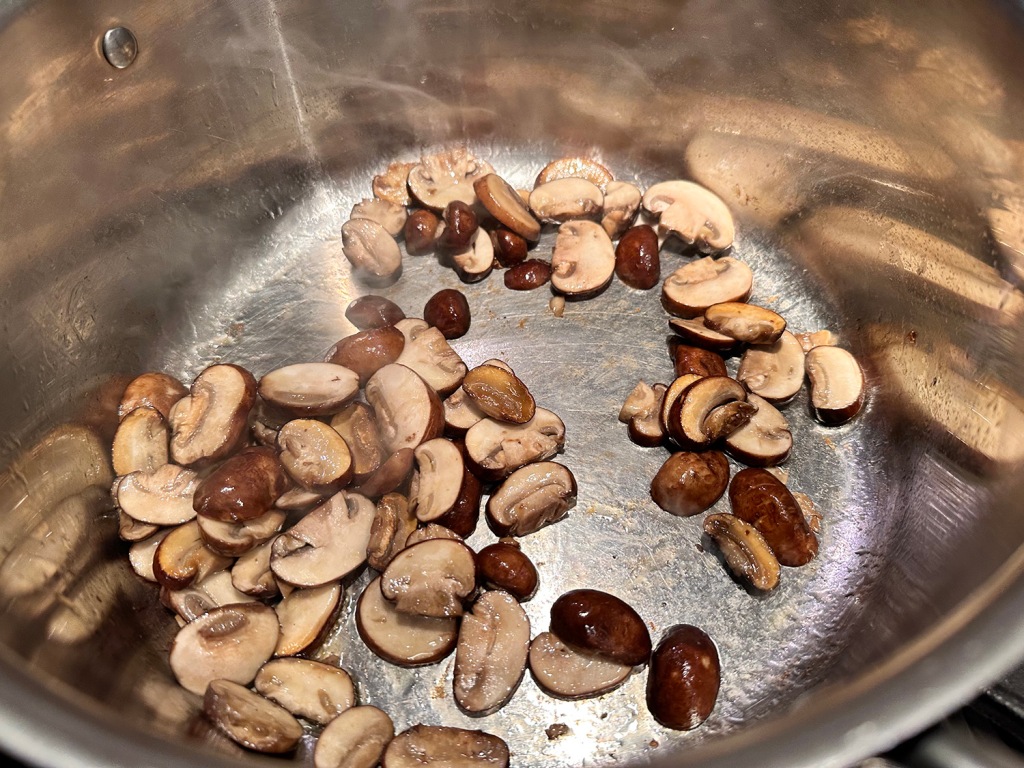
  1. Sauté Mushrooms: In a large pot heat 1 tablespoon olive oil over medium-high until shimmering but not smoking. Add the mushrooms and cook for 3-5 minutes, stirring regularly. Remove from the pot and set aside for now.
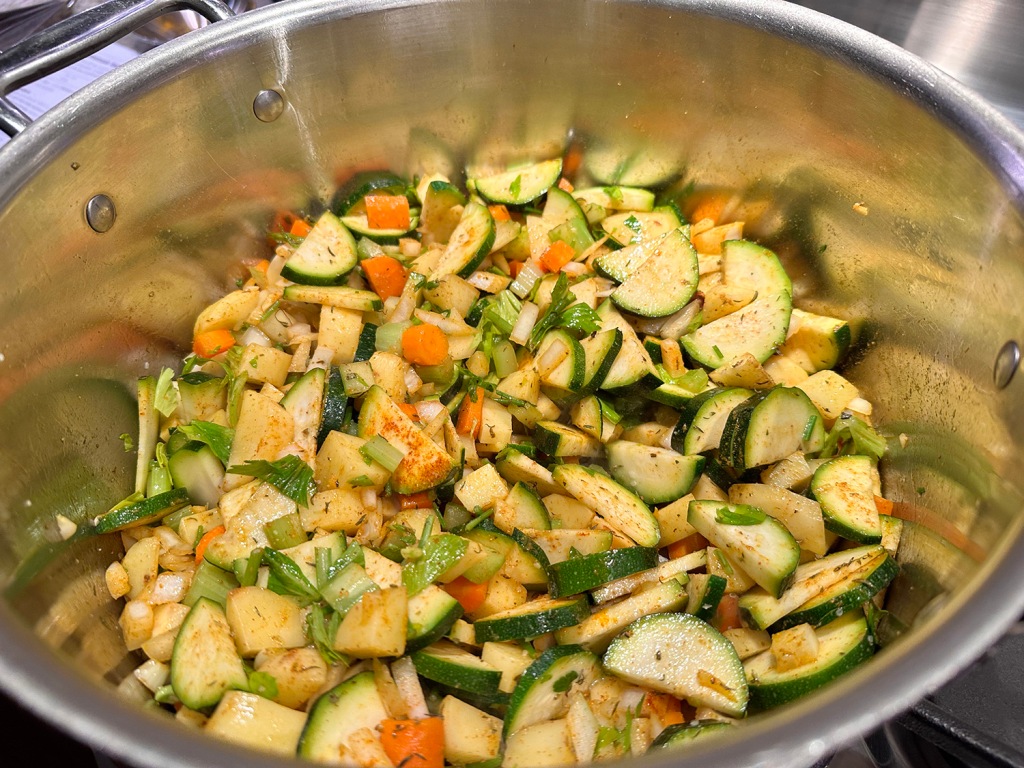
  2. Add fresh veggies and spices: Add more olive oil, if needed and heat. Add the chopped parsley stems, (save the leaves for later), onions, garlic, celery, carrots, zucchini and small diced potatoes. Stir in the spices, and season with salt and pepper. Cook for about 7 minutes, stirring regularly, until the vegetables have softened a bit.
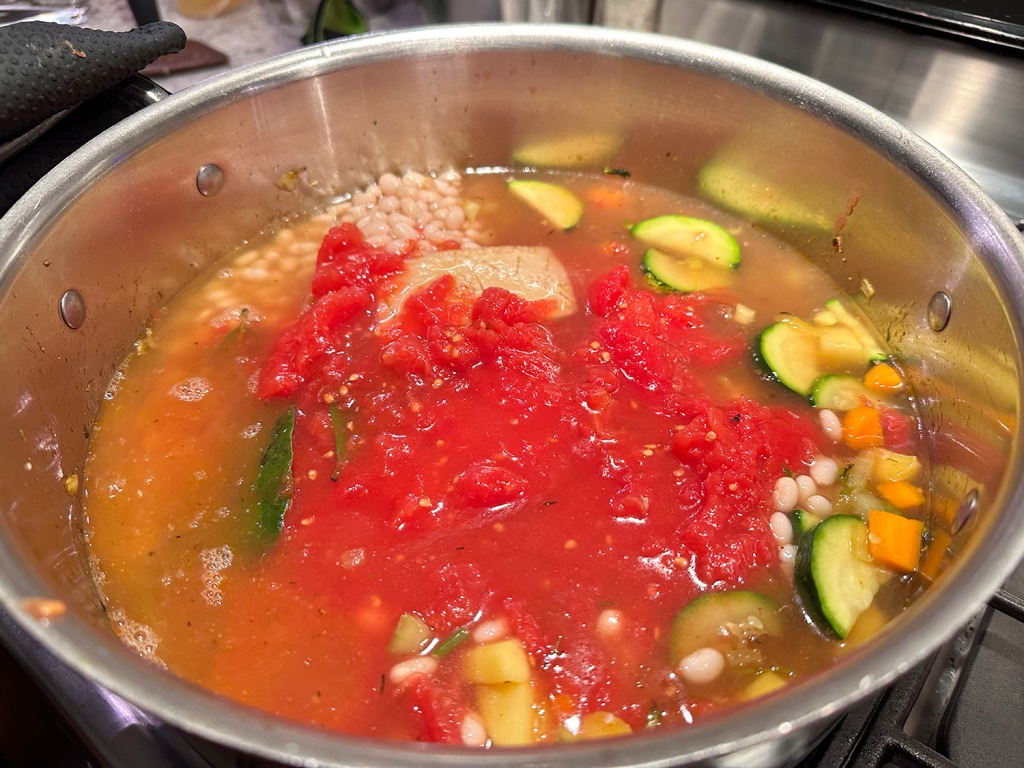
  3. Add the chickpeas and tomatoes: Now add the chickpeas, tomatoes, bay leaves, thyme, and broth. Bring to a boil for 5 minutes, then turn the heat down to medium-low. Cover partially and cook for 15 more minutes.
  4. Return mushrooms to the pot: Uncover and add the sauteed mushrooms. Cook for just a few more minutes until mushrooms are warmed through.
  5. Add finishing touches: Finally, stir in the parsley leaves, lime zest, and lime juice.
  6. The finish: Remove from the heat. Remove bay leaves. Transfer the vegetable soup to serving bowls and top with toasted pine nuts, if you like. Add a side of your favorite crusty bread or pita along with extra lime wedges and crushed red pepper.

http://www.lynnandruss.com

Adapted from a recipe by Suzy Karadsheh

Pinot Noir Sauce

A special festive meal should bring out all of the smoking guns. For our family Christmas Eve dinner, we served shrimp cocktail appetizers for starters followed by the main star of the show, a sous-vide, twice seared filet mignon accompanied by lump crab cakes; a potato, celery root and leek gratin; and Brussels sprouts in an orange-maple syrup-balsamic vinegar sauce. The finale was a decadent Bête Noire—a flourless, dense, chocolatey cake.

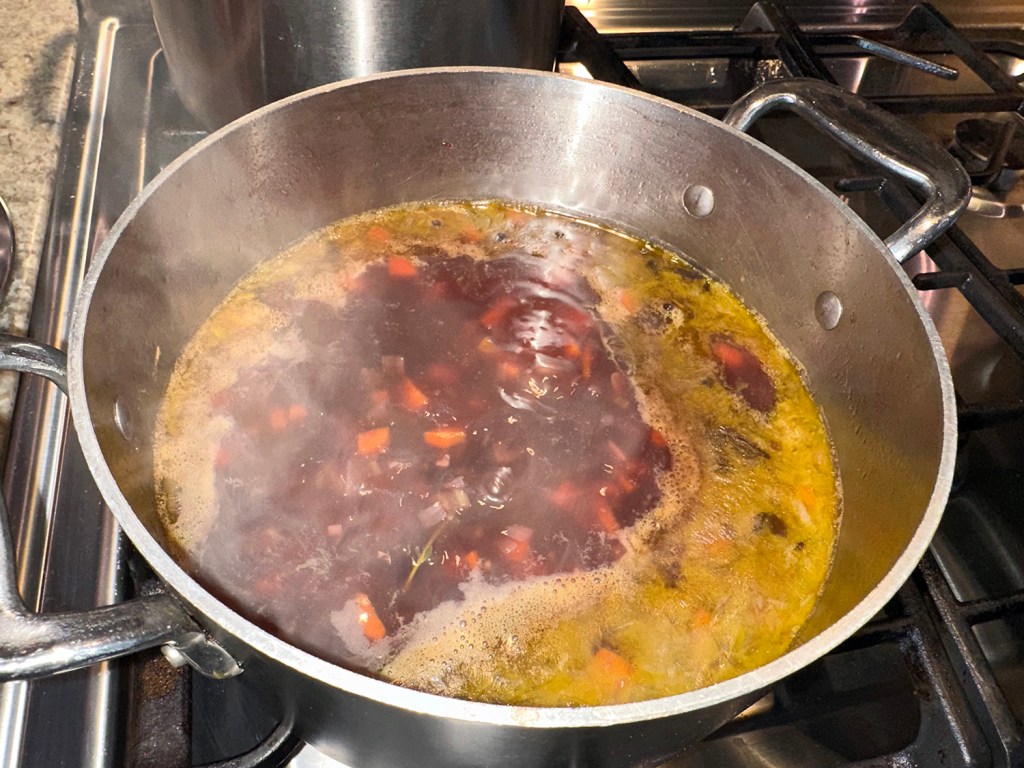
But back to the main protein of the meal, the beef tenderloin, The Hubs decided to top it with a Pinot Noir Sauce. Since we didn’t have any homemade beef stock on hand, we used a bottled bone broth. As for the wine, use Pinot Noir (Burgundy), Cabernet, or another good dry red wine in the sauce.

Pinot Noir Sauce

  • Servings: 1 1⁄2 cups
  • Difficulty: easy
  • Print

Ingredients

  • 4 cups veal or beef stock
  • 1 tsp. olive oil
  • 1 small carrot, peeled and grated
  • 1 stick celery, diced fine
  • 1 Tbsp. fresh thyme
  • 1 1/4 cups pinot noir
  • Salt and freshly ground pepper
  • 2 Tbsp. cold butter, cut into pieces

Directions

  1. Heat olive oil in medium saucepan over medium heat and sute carrot and celery, stirring constantly until lightly carmelized, about 3 minutes.
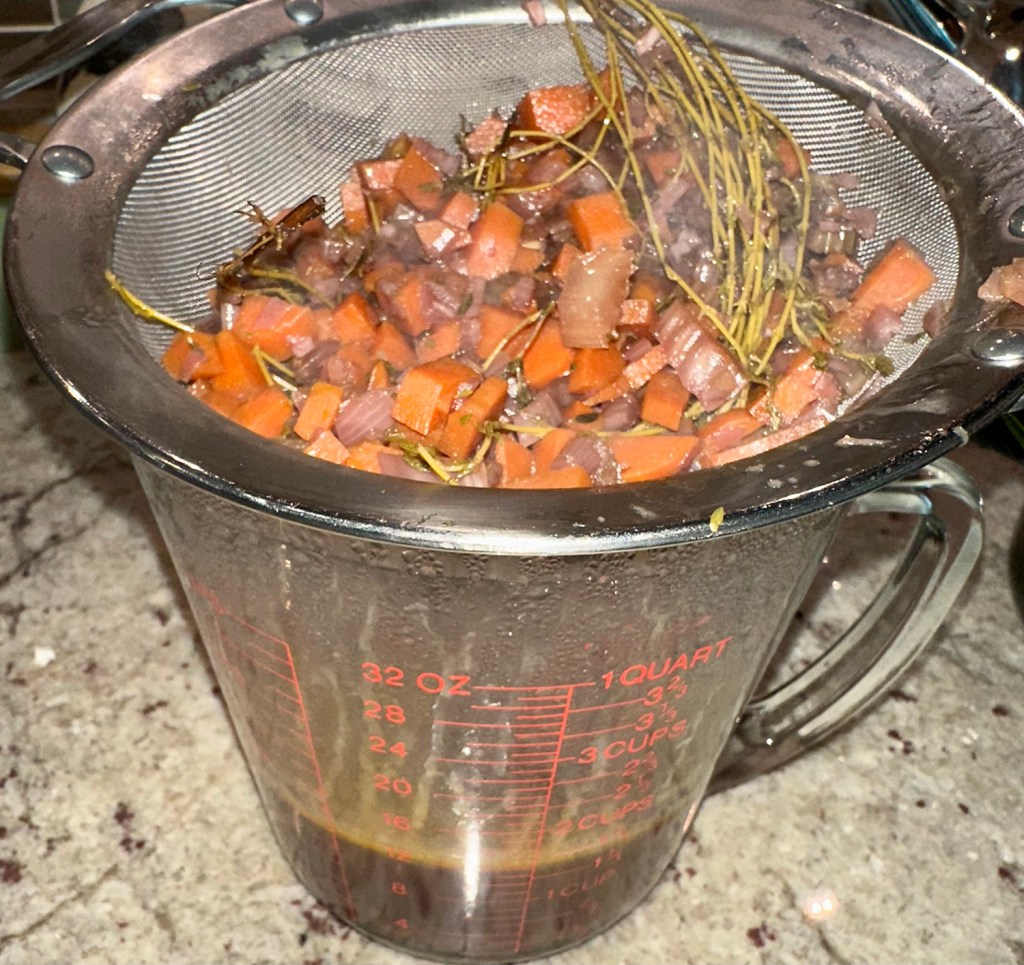
  2. Add thyme and pinot noir, bring to a a simmer and simmer until reduced by half, 7 to 10 minutes. Strain into a clean saucepan
  3. Add 4 cups veal or beef stock, bring to a simmer over medium heat and simmer until sauce is reduced to about 1 1/2 cups. Season to taste with salt and pepper.
  4. Increase heat to high, and add butter piece by piece, whisking to emulsify. Sauce will become glossy and coat the back of a wooden spoon. As soon as butter is incorporated, remove sauce from heat and spoon onto meat.

http://www.lynnandruss.com

Hungarian Pepper Stew

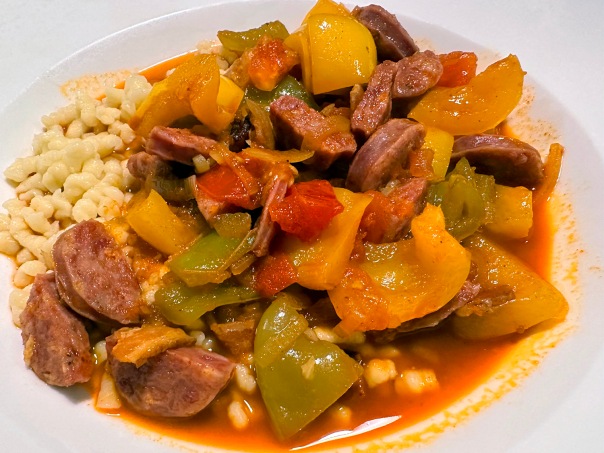
In lecsó—the Hungarian version of ratatouille or shakshuka—paprika is the star and not merely a seasoning. The end result is a tangle of tender peppers, hunks of sausage, juicy tomatoes, and lightly caramelized onions all bathed in a sauce that builds itself—rich, piquant and vibrantly red.

To emulate robustly smoky and savory Hungarian sausage, use two grocery store staples: bacon for rich smokiness and kielbasa for texture and spice. Sweet and subtly hot, Hungarian wax peppers are the traditional go-to, though hard to find in the U.S. In their place, an easier-to-source blend of yellow bell peppers and mildly spicy banana, cubanelle or Anaheim peppers are used.

Paprika’s earthy-sweet notes complement both the peppers and sausage, while giving the stew an especially luscious consistency. To round out the meal, serve with crusty bread, but it also is delicious spooned over rice, mashed potatoes or nokedli, Spätzle-like Hungarian dumplings.

TIP: Don’t add the tomatoes until the end of cooking. Their freshness and bright acidity balance the richness of the stew.

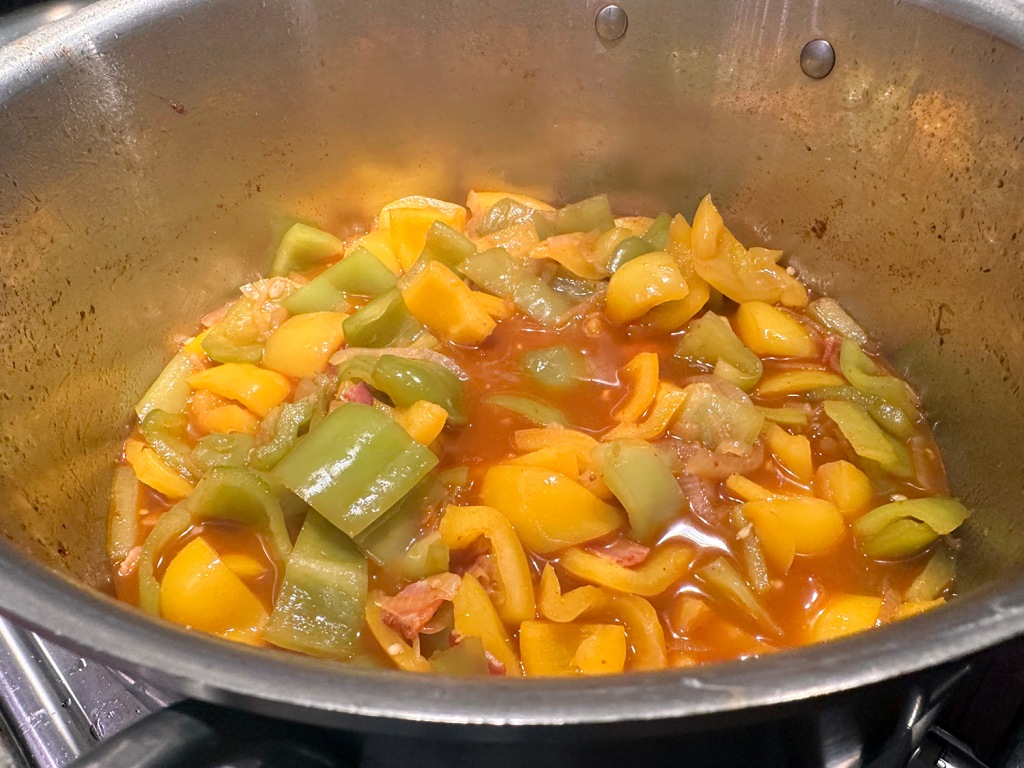
In the end, it seemed a bit “watery” to us, and given that a lot of the vegetables release moisture, the amount of water at 1 1/2 cups is too much and could be scaled back to 3/4 cup. But the overall flavors were delicious! We served ours with cooked spaetzle, but you could also serve over rice or mashed potatoes.

Hungarian Pepper Stew

  • Servings: 4-6
  • Difficulty: easy
  • Print

Ingredients

  • 8 oz. kielbasa or other smoked sausage, halved lengthwise and sliced into ¼-inch half-moons
  • 1 Tbsp. grapeseed or other neutral oil
  • 2 oz. bacon, chopped
  • 1 medium yellow onion, halved and thinly sliced
  •   Kosher salt
  • 2 medium yellow bell peppers (about 1 lb. total), stemmed, seeded and cut into ¾-inch pieces
  • 4 banana peppers or 3 cubanelle or Anaheim peppers (about 1 lb. total), stemmed, seeded and cut into ¾-inch pieces
  • 2 medium garlic cloves, minced
  • 4 tsp. sweet paprika, divided
  • ¾ tsp. hot paprika or ¾ tsp. sweet paprika plus ¼ tsp. cayenne pepper
  • 1 lb. ripe tomatoes, cored and chopped

Directions

  1. In a large Dutch oven over medium-­high, combine the sausage and oil. Cook, stirring occasionally, until lightly browned, about 5 minutes. Using a slotted spoon, transfer the sausage to a plate; set aside.
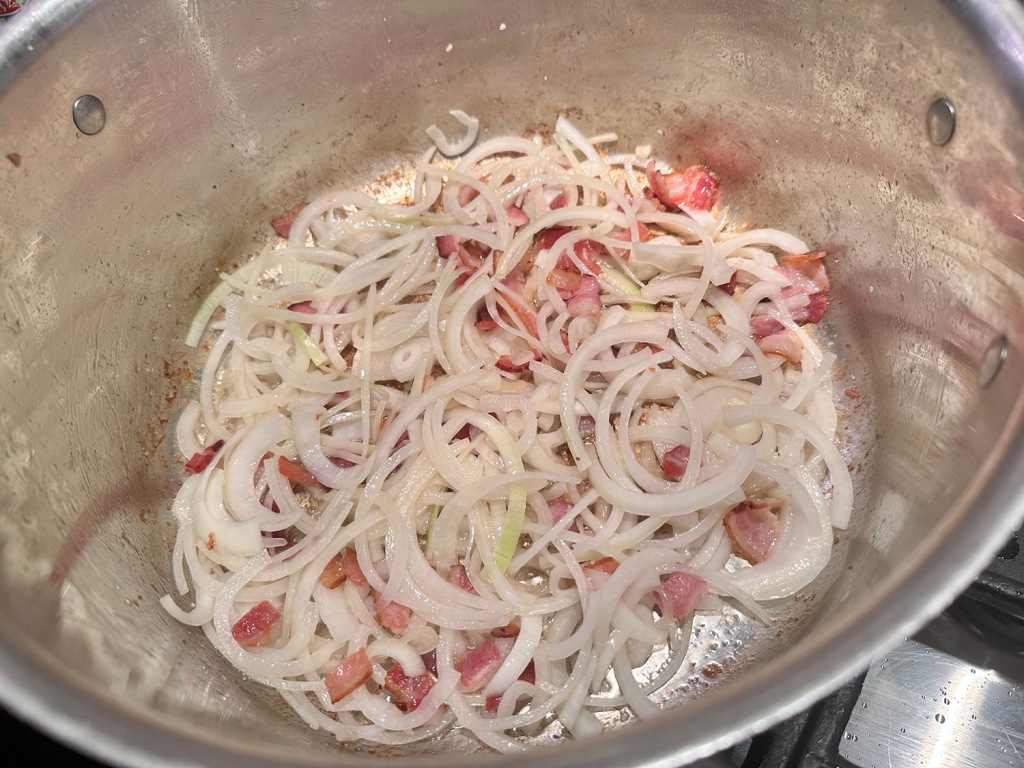
  2. Reduce to medium, add the bacon and cook, stirring occasionally, until lightly browned, 3 to 4 minutes.
  3. Add the onion and ¼ teaspoon salt; cook, stirring often, until lightly browned, about 5 minutes.
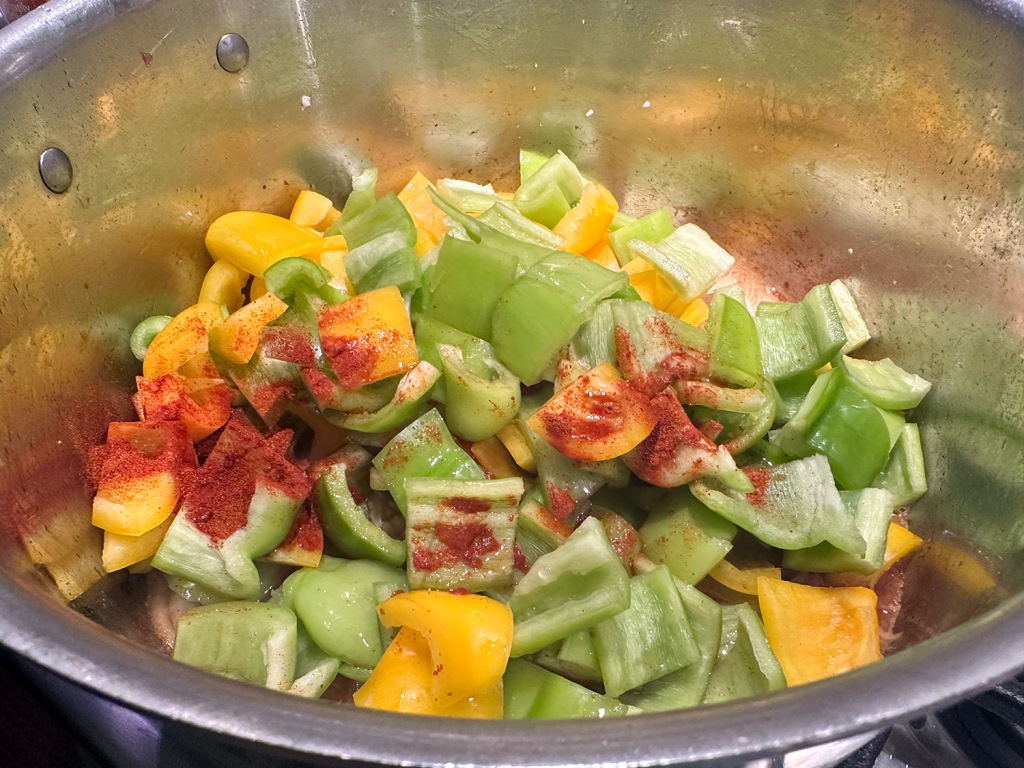
  4. Add both types of peppers, the garlic, 1 teaspoon of the sweet paprika, the hot paprika and ½ cup water. Scrape up any browned bits, then cook, uncovered and stirring occasionally, until the peppers begin to soften, about 3 minutes.
  5. Stir in 1½ cups water, cover partially, and bring to a simmer. Cook, stirring occasionally, until the peppers are fully softened, 12 to 15 minutes.
  6. Stir in the tomatoes, sausage and remaining 1 tablespoon sweet paprika. Cook, partially covered, until the tomatoes release their juices but have not broken down, 3 to 5 minutes. Taste and season with salt.

http://www.lynnandruss.com

Recipe adapted by Courtney Hill for Milk Street

Braised Chicken and Lentils

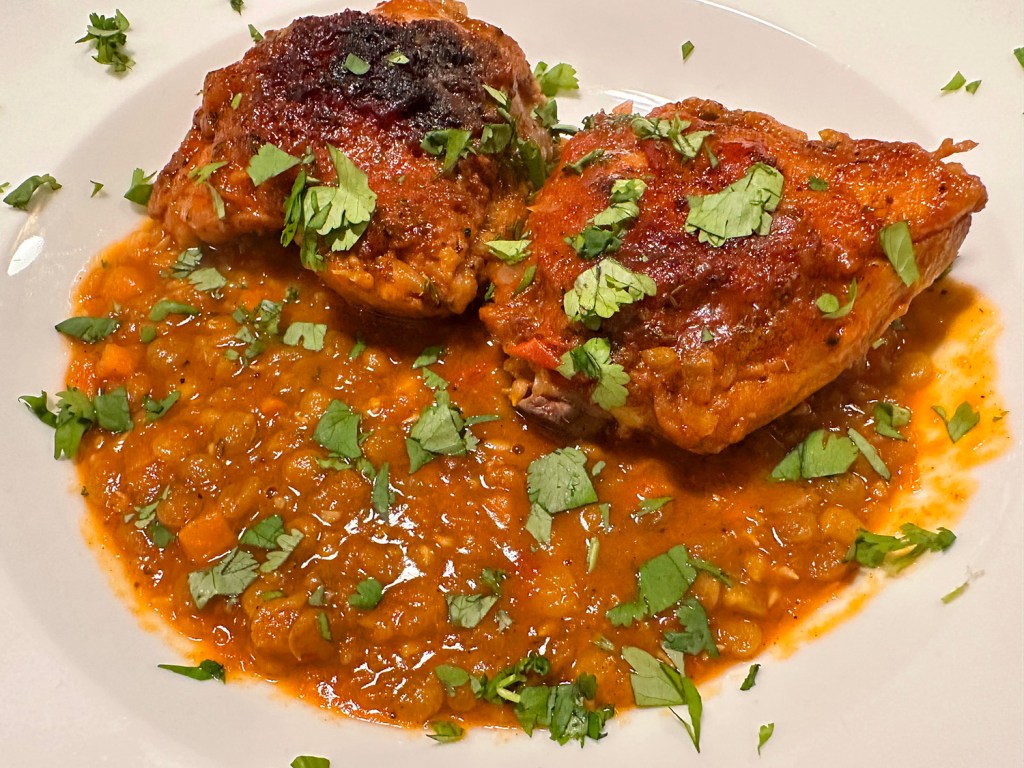
For this “stew” if you will, meaty bone-in chicken thighs are seasoned with smoked paprika, salt, and pepper and then browned to build a base of flavor with a subtle, smoky depth of braised chicken with hearty stewed lentils. Next, the onions, tomatoes, and carrot are sautéed and layered in garlic, tomato paste, and earthy fresh thyme to keep the flavor rich and complex.

Tomato paste plays double-duty, adding savoriness while helping to thicken the lentils. The browned chicken thighs are nestled into the lentils, fortifying them with chicken stock and some extra smoked paprika, and braises the mixture uncovered in the oven.

Keeping the Dutch oven uncovered thickens the stewed lentils as the chicken braises. Whisking a splash of sherry vinegar in at the end brightens the dish and helps break down some of the lentils, adding body and creaminess.

Preferably use a large, 6-quart Dutch oven; if your Dutch oven is smaller, you will need to sear the chicken in batches and allow the chicken to overlap slightly in the lentil mixture in step 4. Whisking the lentils vigorously in step 5 helps create a rich, creamy sauce.

Braised Chicken and Lentils

  • Servings: 4
  • Difficulty: easy
  • Print

Ingredients

  • 2½ tsp. table salt, divided
  • 2 tsp. smoked paprika, divided
  • ¾ tsp. pepper, divided
  • 8 (5- to 7-oz.) bone-in chicken thighs, trimmed
  • 2 tsp. extra-virgin olive oil
  • 2 large plum tomatoes, cored and chopped1 onion, chopped fine
  • 1 carrot, peeled and chopped fine
  • 6 garlic cloves, minced
  • 2 Tbsp. tomato paste
  • 1 tsp. chopped fresh thyme
  • ½ tsp. red pepper flakes
  • 4 cups chicken broth
  • 1 cup green lentils, picked over and rinsed
  • 1 Tbsp. sherry vinegar
  • ½ cup chopped fresh cilantro

Directions

  1. Adjust oven rack to middle position and heat oven to 375 degrees. Combine 2 teaspoons salt, 1 teaspoon paprika, and ½ teaspoon pepper in small bowl. Pat chicken dry with paper towels and sprinkle all over with salt mixture.
  2. Heat oil in Dutch oven over medium-high heat until just smoking. Add chicken, skin side down, and cook until skin is well browned, 12 to 16 minutes; transfer chicken to plate.
  3. Add tomatoes, onion, carrot, remaining ½ teaspoon salt, and remaining ¼ teaspoon pepper to fat remaining in pot and reduce heat to medium. Cook, stirring often, until tomatoes begin to break down, 3 to 5 minutes.
  4. Stir in garlic, tomato paste, thyme, and pepper flakes and cook, stirring constantly, until fond begins to form on bottom of pot, 3 to 4 minutes.
  5. Stir in broth, scraping up browned bits. Stir in lentils and remaining 1 teaspoon paprika. Nestle chicken into lentil mixture, skin side up, and bring to simmer over high heat.
  6. Transfer pot to oven and cook, uncovered, until chicken registers at least 185 degrees, 35 to 40 minutes.
  7. Transfer chicken to clean plate. Return pot (handles will be very hot) to stovetop and continue to cook lentil mixture over medium heat, stirring often, until liquid is thickened and lentils are fully tender, 5 to 7 minutes longer.
  8. Add vinegar and whisk vigorously until liquid is creamy, about 30 seconds (lentil mixture will thicken as it cools). Season with salt and pepper to taste.
  9. Transfer lentils to shallow serving bowls and top each portion with 2 chicken thighs. Sprinkle with cilantro and serve.

http://www.lynnandruss.com

Recipe by Amanda Luchtel for Cook’s Country

Reginetti with Mushrooms, Tomato and Pancetta

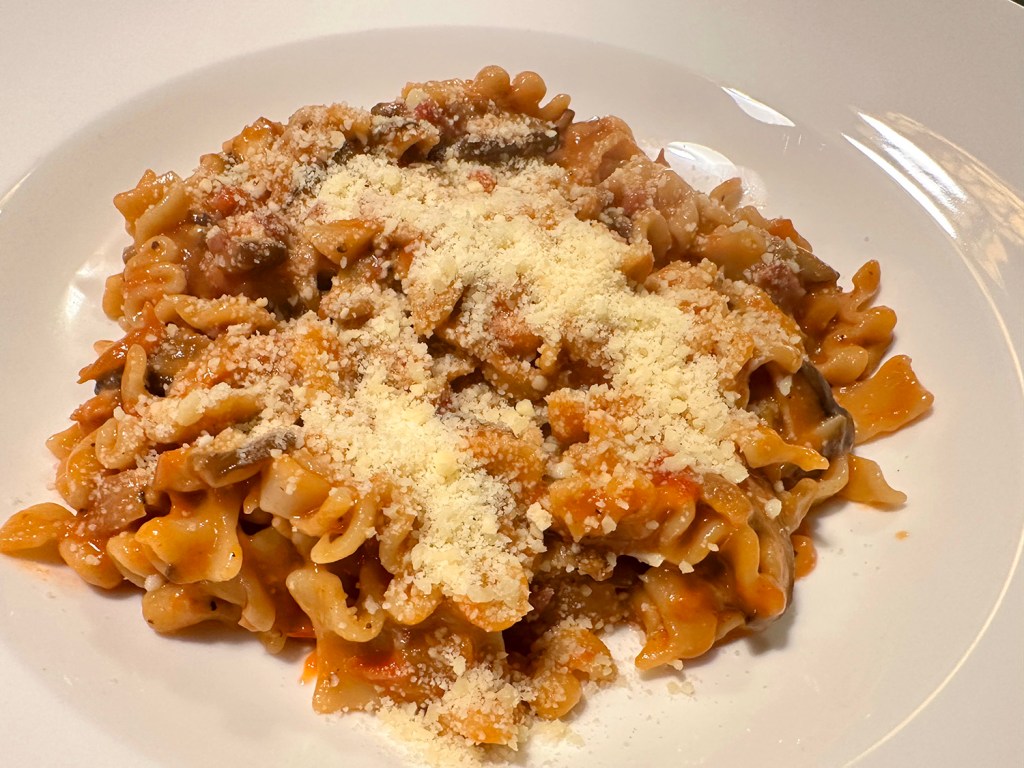
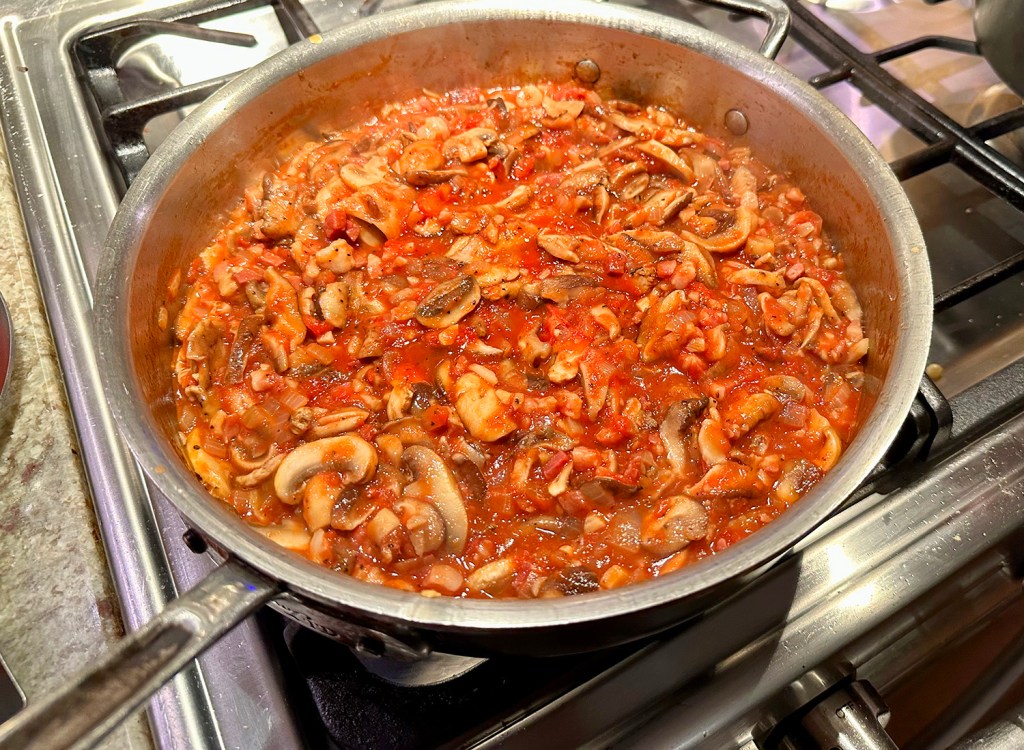
This rich, warming, autumnal dish is Milk Street’s version of pasta alla boscaiola, or woodsman’s pasta, which features earthy, meaty mushrooms. For varied flavor and texture, use a mix of different types of fungi, but thanks to the alliums, pancetta, cream and Parmesan that play supporting roles, the pasta is delicious even if made only with basic creminis. A little white wine is added for flavor-lifting acidity, and tomato puree to tie together all the elements .

Even though you might love them, don’t use portobello mushrooms for this recipe. Unless the gills are scraped off, their inky color will make the sauce dark and murky. Additionally, portobello caps are too large and thick for sauces like this one.

Instead of the suggested ziti or gemelli, we used a whole grain reginetti from Sfoglini—Bottom line: Sfoglini pastas are made with organic grains grown on North American farms which are always milled in the US. We also lowered the amount from one pound to 12 ounces. Finally, we increasing the pancetta from 4 ounces to almost 7 (because that is what we had on hand).

Here’s the thing about Sfoglini pasta: It combines the very best of Italian technique and American ingredients. Day in, day out, that’s the balance they strive to achieve. What does that mean? For starters, it means traditional bronze dies and plates on everything they make, which results in the beautiful, rough texture on your pasta (which makes the sauce stick!). In addition, they slow-dry every one of our pastas at a low temperature to preserve both flavor and nutrients. 

You will need to reserve one cup of the pasta water when it is done. An easy trick to help you remember is putting a measuring cup into the colander that is in the sink. As you go to pour out the pasta water, the measuring cup will remind you to reserve some before you pour it all down the drain. If that does happen however, you can immediately pour one cup of hot water back into the drained pasta, let it set for a few minutes, then pour the liquid back into a measuring cup.

Reginetti with Mushrooms, Tomato and Pancetta

  • Servings: 4
  • Difficulty: easy
  • Print

Ingredients

  • 1 lb. Reginetti (or penne, ziti or gemelli)
  •   Kosher salt and ground black pepper
  • 1 Tbsp. extra-virgin olive oil
  • 4 oz. pancetta, finely chopped
  • 1 small yellow onion, finely chopped
  • 4 medium garlic cloves, minced
  • ½ cup dry white wine
  • 1 lb. mixed mushrooms, such as cremini, oyster or stemmed shiitake mushrooms, trimmed and sliced
  • 1 14½-oz. can tomato puree (1½ cups)
  • ¼ cup heavy cream
  • 1 oz. Parmesan cheese, finely grated (½ cup), plus more to serve

Directions

  1. In a large pot, bring 4 quarts water to a boil. Add the pasta and 1 tablespoon salt, then cook, stirring occasionally, until al dente. Reserve 1 cup of the cooking water, then drain and return the pasta to the pot.
  2. Meanwhile, in a 12-inch skillet, combine the oil, pancetta, onion and garlic. Cook over medium, stirring occasionally, until the pancetta is lightly browned and the onion is translucent, 8 to 10 minutes.
  3. Add the wine and cook, stirring, until almost evaporated, 1 to 2 minutes.
  4. Add the mushrooms and cook over medium-high, stirring occasionally, until the moisture they release evaporates, 4 to 5 minutes.
  5. Stir in the tomato puree and ½ teaspoon each salt and pepper. Bring to a simmer, then reduce to medium-low and cook, stirring occasionally, until lightly thickened, 3 to 4 minutes.
  6. Add the mushroom mixture to the pasta in the pot, along with the cream, ½ cup of the reserved pasta water and the cheese. Cook over medium, stirring, until the sauce clings to the pasta, 3 to 4 minutes; add more pasta water as needed so the sauce lightly coats the noodles.
  7. Taste and season with salt and pepper. Serve sprinkled with additional cheese.

http://www.lynnandruss.com

Original recipe by Rose Hattabaugh for Milk Street
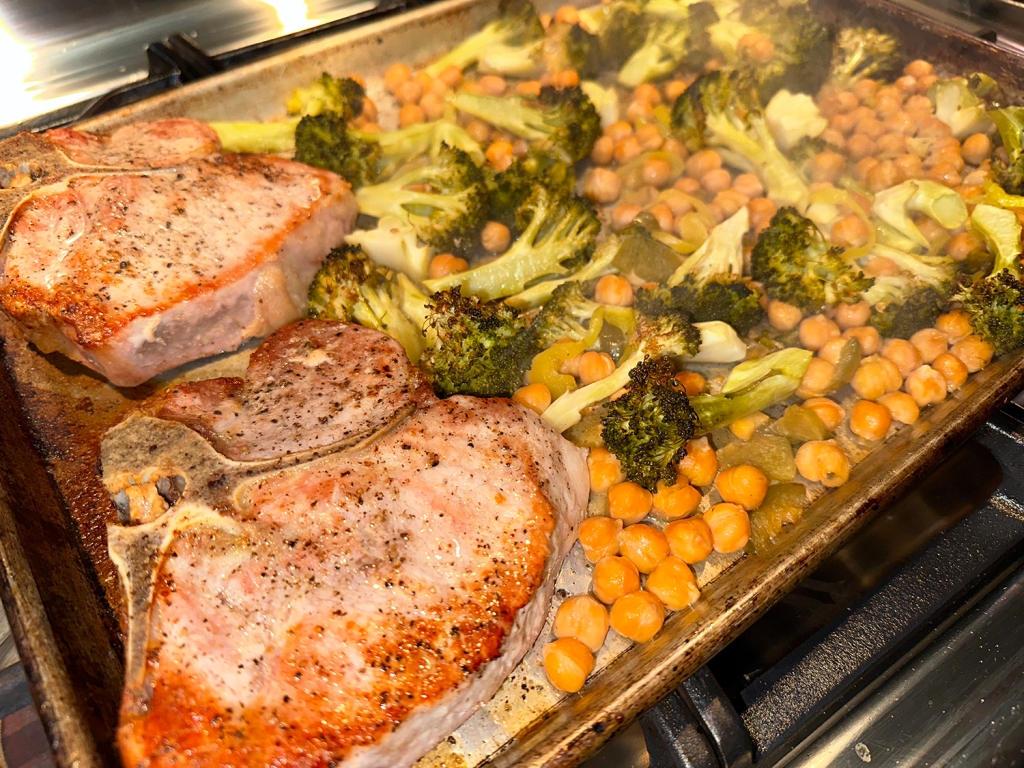
Spicy Sheet Pan Pork Chops and Broccoli

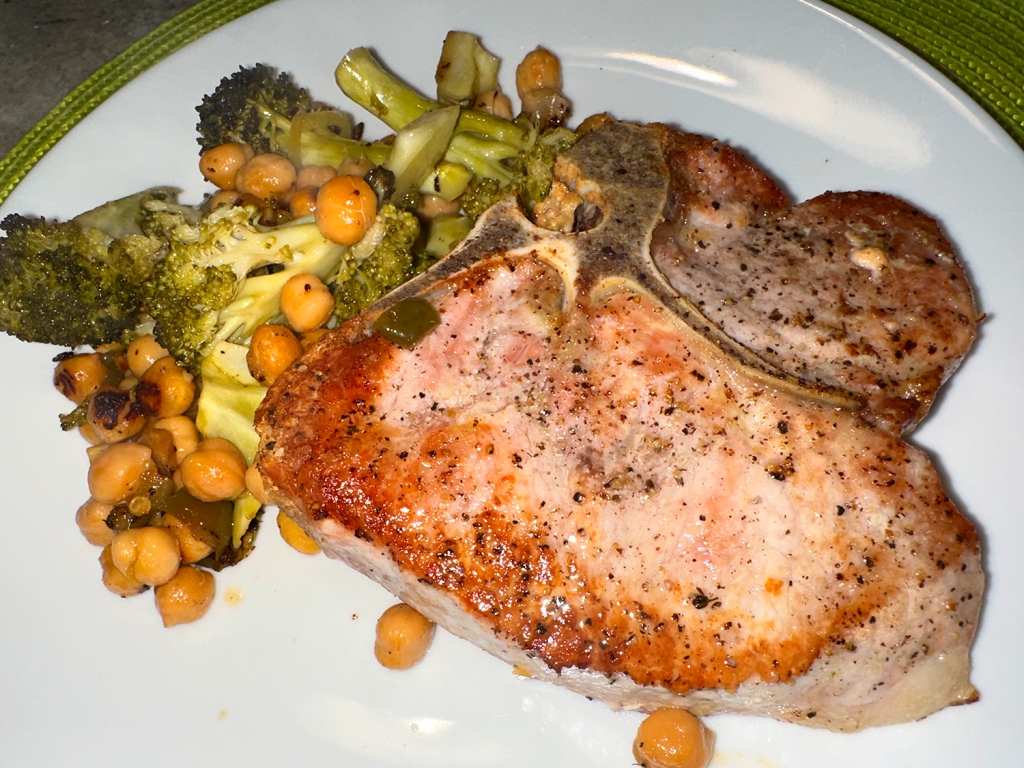
Try this super-simple meal full of flavor due to the pickled peperoncini which adds spice and tanginess in the form of brine. They are also known as Tuscan peppers, which are a sweet, mild variety of chili pepper. That being said, we decided to use our cherry pepper and banana pepper rings which were already sliced down.

Our other substitutions included thick pork chops as opposed to the rib-chops, and incorporating a 19-ounce can of chickpeas instead of the suggested 15-ounce amount.

Preheating the empty sheet pan in the oven is a great way to brown ingredients without having to take the time to sear them on the stove. We were a little disappointed at the outcome because the broccoli was still too firm and the pork was a bit overdone. To counter that issue, we suggest you *microwave the broccoli with water for a few minutes before adding the florets to the preheated sheet pan; and check the chops temperature after 10 minutes on the second side. If they are done, remove them to a plate and cover with foil until the broccoli is tender.

On another note, The Hubs decided to increase the seasoning on the chops with more than just salt, so he also sprinkled them with a half teaspoon each of garlic powder and black pepper. We also think tossing in 6 to 8 peeled garlic cloves would enhance the dish.

Spicy Sheet Pan Pork Chops and Broccoli

  • Servings: 4
  • Difficulty: easy
  • Print

Ingredients

  • Four 10-to-12-oz. pork chops (about 1 1/2 inches thick)
  • 1/4 cup extra-virgin olive oil
  • Kosher salt
  • 1 head broccoli, cut into florets*
  • 1 15-oz. can chickpeas, rinsed, drained, and patted dry
  • 8 whole pickled peperoncini, halved lengthwise, plus 1/4 cup brine
  • Our additions: 8 peeled garlic cloves, 1/2 tsp. garlic powder, and 1/2 tsp. ground black pepper

Directions

  1. Preheat the oven to 425 degrees with a rimmed sheet pan on the bottom rack. Rub the pork chops with 2 tablespoons of the olive oil, and season with 1/2 teaspoon salt. Set the pork chops on the preheated baking sheet, and roast until they’re browned on the underside, about 10 minutes.
  2. Meanwhile, toss the broccoli, chickpeas and peperoncini with the remaining 2 tablespoons olive oil in a large bowl. Season with salt. Flip the pork chops, and set them to one side of the pan.
  3. Add the broccoli mixture, peperoncini brine, and 1/2 cup water. Continue to roast, stirring once halfway through, until the broccoli is charred and tender and the pork chops are cooked through, 25 to 30 minutes, and serve.

http://www.lynnandruss.com

Recipe from Lidia Bastianich

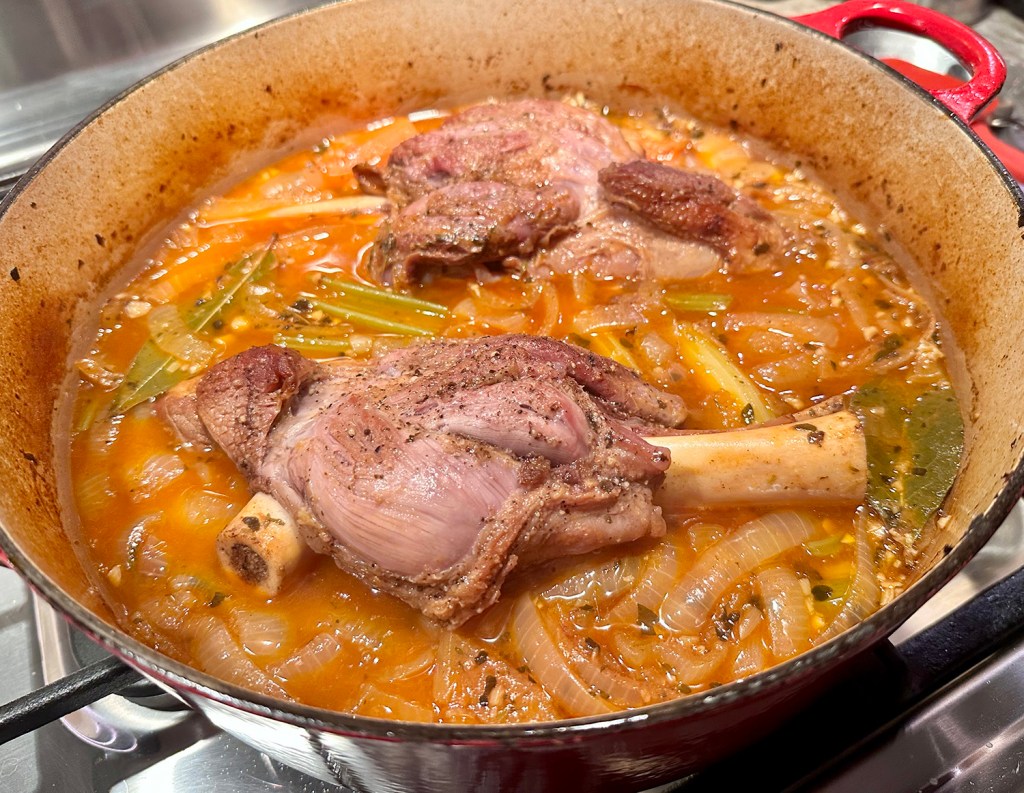
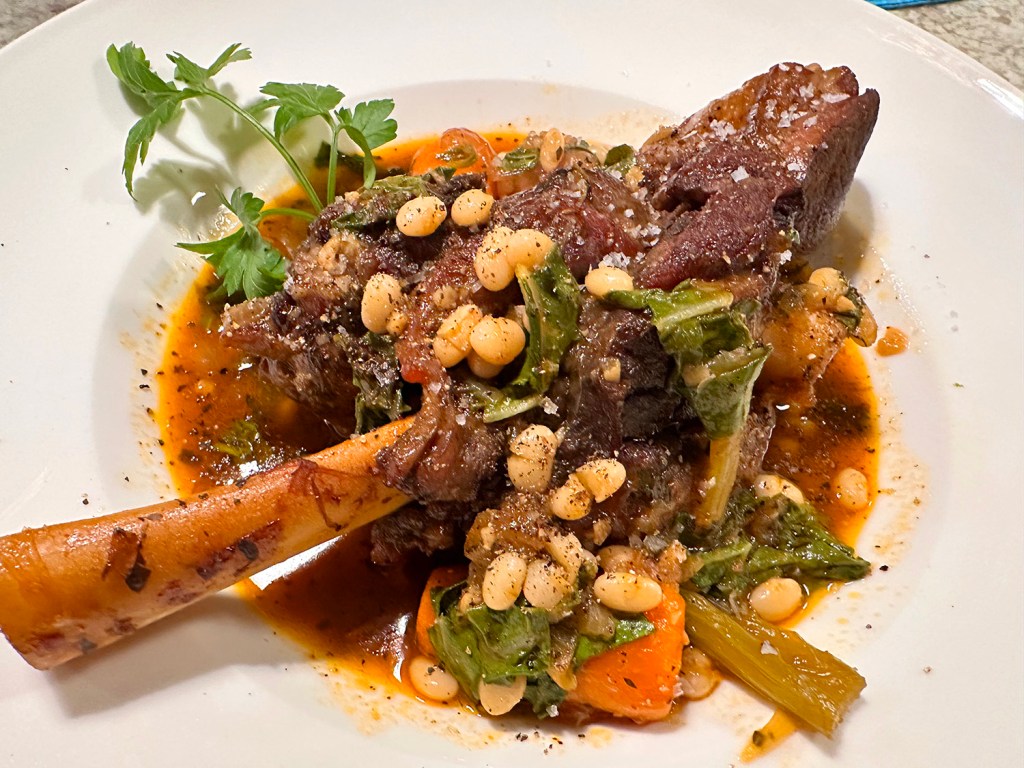
Braised Lamb Shanks with White Beans, Swiss Chard and Marjoram

For this lamb shanks recipe, Cook’s Illustrated preferred to braise them in the oven rather than on the stovetop, as the oven provided more even heat. Browning the shanks over high heat in a skillet first added a great deal of flavor to the dish. The shanks are braised in chicken stock (which complements, rather than overpowers, the lamb, as beef or veal stock might have), white wine, and herbs.

We made numerous changes to this recipe, starting with the lamb shanks. Instead of six small (which equates to more bone and less meat), we braised two meaty shanks that weighed close to two pounds each. When it is time to brown the shanks, you may have to do it in two batches if cooking more than two of them.

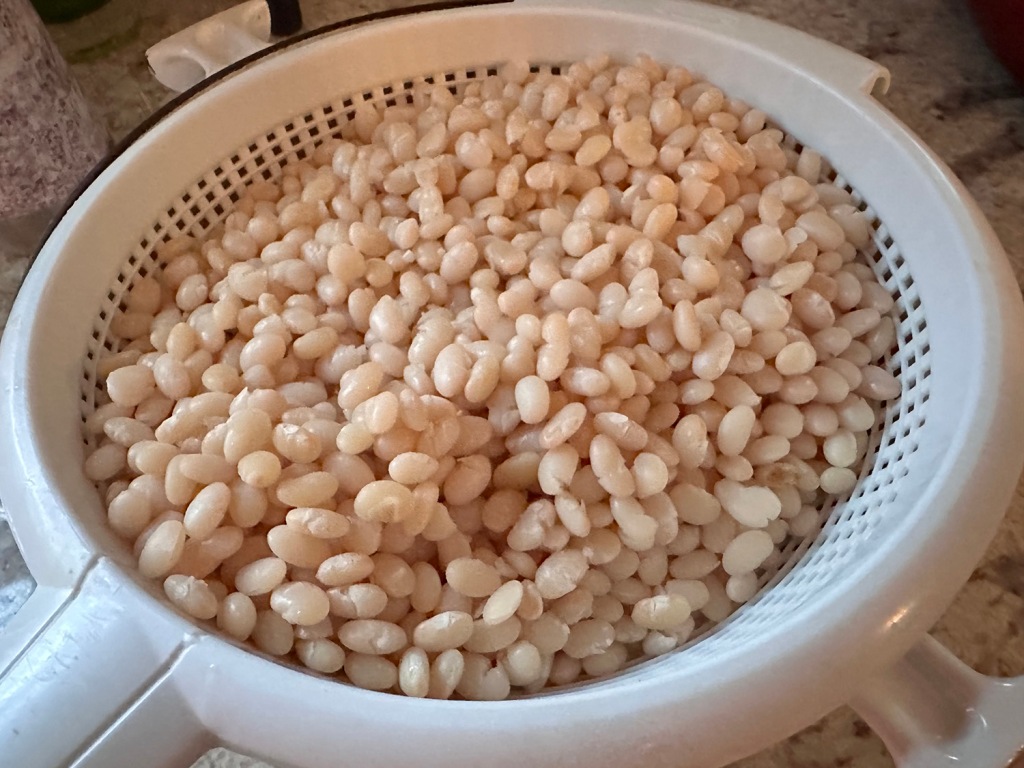
*As for the white beans, we did soak ours overnight as per the instructions below, but you could use 2 cans of cannellinis, drained and rinsed to save time. Instead of using several different skillets and pans, we did everything in one large braising pot. Finally, although we didn’t do it this time, we highly suggest that you reduce the liquids from 3 cups of broth to 2, and 2 cups of white wine down to 1 cup. These changes are note in the recipe below.

Braised Lamb Shanks with White Beans, Swiss Chard and Marjoram

  • Servings: 4
  • Difficulty: easy
  • Print

Ingredients

Cannellini Beans*

  • 1 bay leaf
  • 1 lb. small white beans (such as Cannellini), soaked until rehydrated, overnight or at least 4 hours
  • 4 cloves garlic (peeled, left whole)
  • 7 cups water
  • 1 ½ tsp. table salt

Lamb Shanks and Braising Liquid

  • 4 lamb shanks, 1 1⁄4 to 1 1⁄2 lb. each, trimmed of excess fat and fell (thin, white papery covering)
  • Table salt
  • 2 Tbsp. olive oil
  • 2 medium onions, sliced thick
  • 3 medium carrots, peeled and cut crosswise into 2-inch pieces
  • 2 medium ribs celery, cut crosswise into 2-inch pieces
  • 4 medium cloves garlic, minced
  • 2 Tbsp. tomato paste
  • 3 tsp. fresh marjoram leaves, minced, or 1 1/2 tsp. dried marjoram
  • 2 cups chicken broth, preferably homemade
  • 1 cup dry white wine
  • 1 bunch Swiss chard, cleaned, stemmed, and chopped coarsely
  • Ground black pepper

Directions

  1. FOR BEANS: Bring dried beans, bay leaf, garlic, and water to simmer in large saucepan. Simmer, partially covered, until beans are just tender, 30 to 40 minutes.
  2. Remove from heat, stir in salt, cover, and let beans stand until completely tender, about 15 minutes. Drain, reserve cooking liquid, and discard bay leaf and garlic. (Beans in liquid can be cooled, covered, and refrigerated up to 5 days.)
  3. FOR SHANKS: Heat oven to 350 degrees. Sprinkle shanks with salt. Heat oil in a large, nonreactive sauté pan over medium-high heat. Add shanks to pan in batches if necessary to avoid overcrowding. Sauté until browned on all sides, 5-7 minutes. Using tongs, transfer shanks to a plate as they brown.
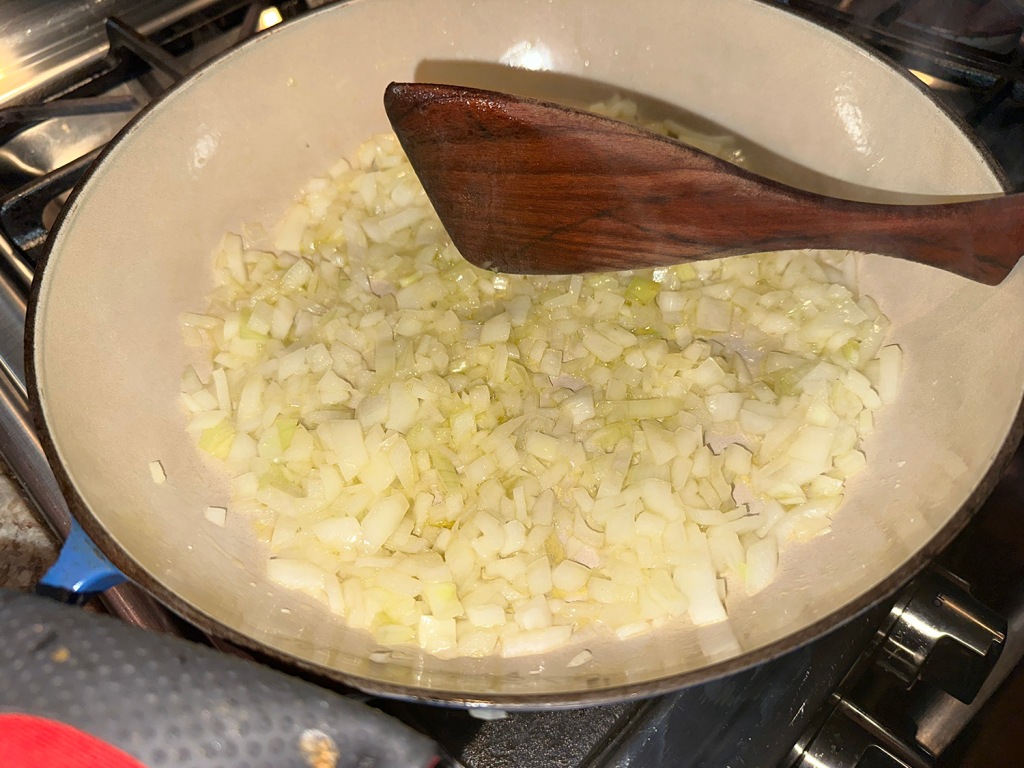
  4. Drain all but 2 tablespoons fat from the sauté pan; add onions, carrots, celery, garlic, tomato paste, a light sprinkling of salt and 2 teaspoons of the fresh marjoram (less if using dried); sauté to soften vegetables slightly, 3 to 4 minutes.
  5. Add wine, then chicken stock to the skillet, stirring with a wooden spoons to loosen browned bits from skillet bottom. Bring liquid to simmer; transfer vegetables and liquid into a deep braising pan, large enough to hold the shanks in a single layer. Add shanks and season with salt and pepper.
  6. Cover pan (with foil if pan has no lid) and transfer it to the oven; braise shanks for 1 1/2 hours. Uncover and continue braising until shank tops are browned, about 30 minutes. Turn shanks and continue braising until remaining side has browned and shanks are fall-off-the-bone tender, about another 20 minutes.
  7. Remove pan from oven; let shanks rest for at least 15 minutes. Carefully transfer shanks with tongs to each plate.
  8. Arrange a portion of vegetables around each shank. Skim excess fat from braising liquid. Add beans and chard and remaining 1 teaspoon marjoram; cook over medium heat until greens wilt, about 5 minutes. Adjust seasoning. Spoon a portion of braising liquid over each shank and serve.

http://www.lynnandruss.com

Adapted from a recipe by Cook’s Illustrated

Lemon-Garlic Rice with Sausage and Kale

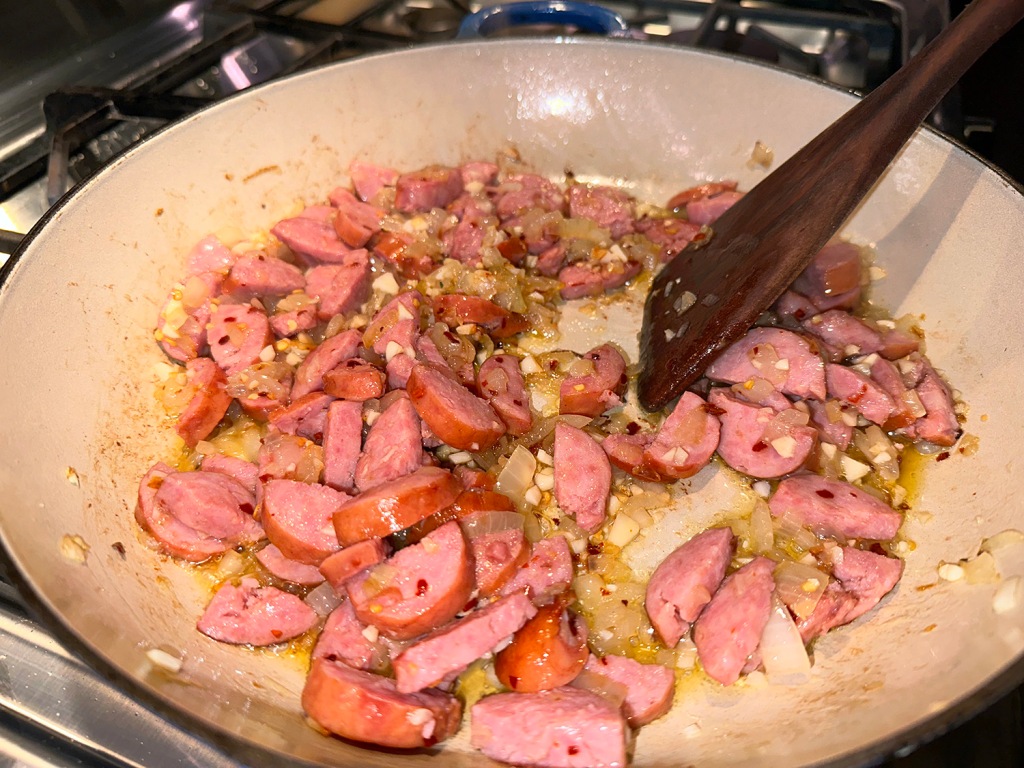
Hailing from Milk Street, this flavorful meal-in-a-pot was inspired by Portuguese arroz de grelos com farinheira, a comforting combination of garlicky rice cooked with turnip greens and sausage. This version uses supple lacinato kale (also called dinosaur or Tuscan kale) instead of turnip greens.

Linguiça calabresa is Calabrian chili-seasoned smoke-cured pork sausage seasoned with garlic and paprika, popular in the countries of Portugal and Brazil, that typically is sold already cooked or smoked. If it’s not available (which it was not in our case), or if you prefer to use a sausage without any spice, kielbasa is a fine substitute.

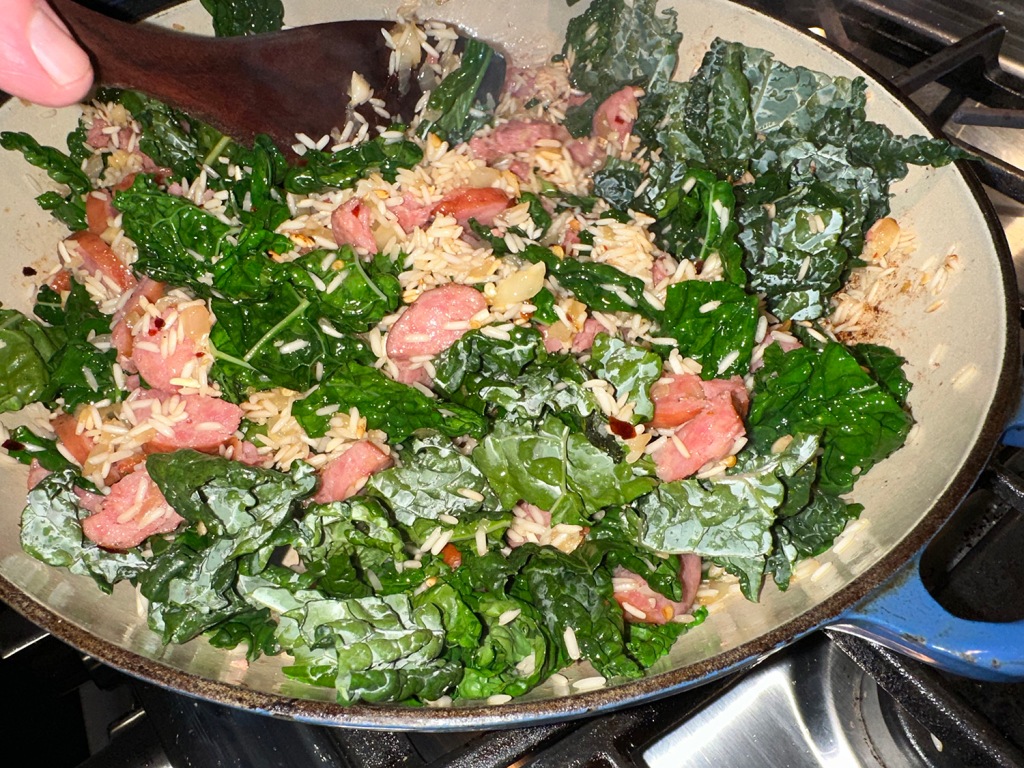
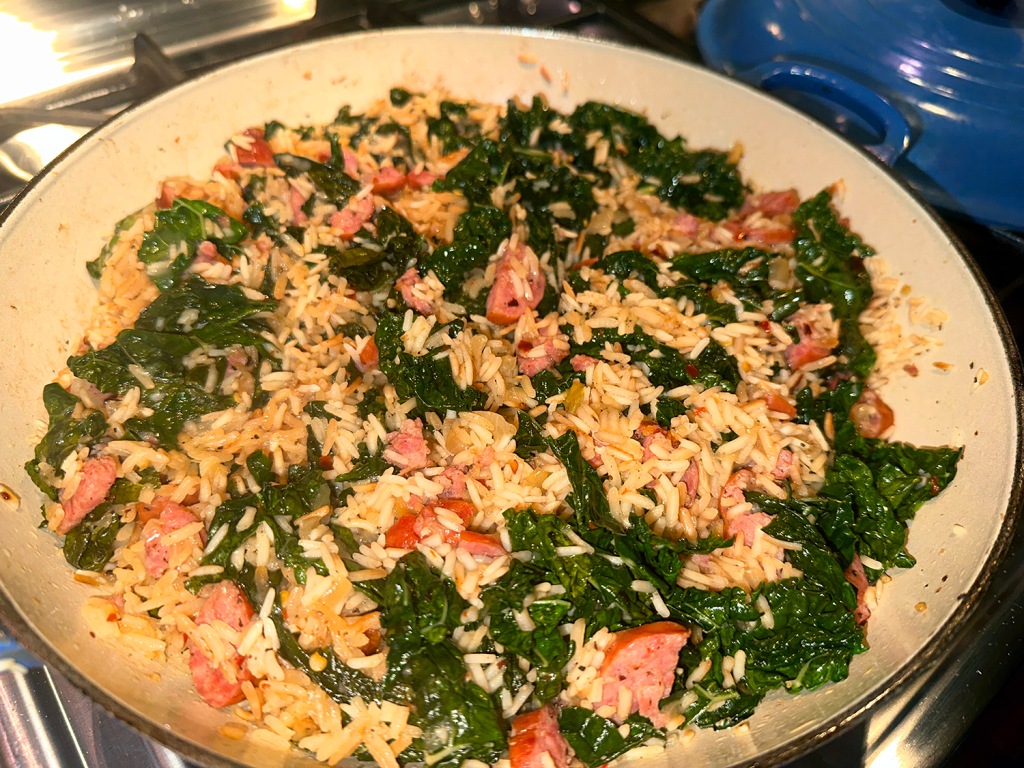
Don’t forget to let the rice cook until dry after it’s added to the pot. This evaporates any water left from rinsing the grains. Also, when simmering is complete, be sure to allow the mixture to rest for 10 minutes to allow the rice to finish cooking and the ingredients to absorb moisture.

Lemon-Garlic Rice with Sausage and Kale

  • Servings: 4
  • Difficulty: easy
  • Print

Ingredients

  • 2 Tbsp. extra-virgin olive oil, plus more to serve
  • 1 medium yellow onion, finely chopped
  •   Kosher salt and ground black pepper
  • 8 oz. linguiça or kielbasa sausage, halved lengthwise and thinly sliced
  • 6 medium garlic cloves, minced
  • ¾-1 tsp. red pepper flakes
  • 1½ cups long-grain white rice, rinsed and drained
  • 1 medium bunch lacinato kale (about 12 oz.), stemmed and chopped into rough 1-inch pieces
  • 1 cup lightly packed fresh cilantro, chopped
  • 2 Tbsp. lemon juice

Directions

  1. In a large saucepan over medium-high, heat the oil until shimmering. Add the onion and ½ teaspoon salt; cook, stirring often, until lightly browned, 6 to 8 minutes.
  2. Add the sausage, garlic and pepper flakes; cook, stirring occasionally, until the sausage begins to brown, about 3 minutes.
  3. Add the rice and cook, stirring, until sizzling and dry, 45 to 60 seconds. Add the kale a handful at a time, stirring until wilted after each addition.
  4. Stir in 2¼ cups water and ½ teaspoon black pepper, then bring to a simmer. Cover, reduce to low and cook until the water is absorbed and the rice is tender, about 15 minutes.
  5. Remove the pan from the heat and let stand, covered, for 10 minutes. Uncover and fluff the rice mixture with a fork.
  6. Stir in the cilantro and lemon juice, then taste and season with salt and black pepper.

http://www.lynnandruss.com

Adapted from a recipe by Courtney Hill for Milk Street
Crab Stuffed Portobello Mushrooms

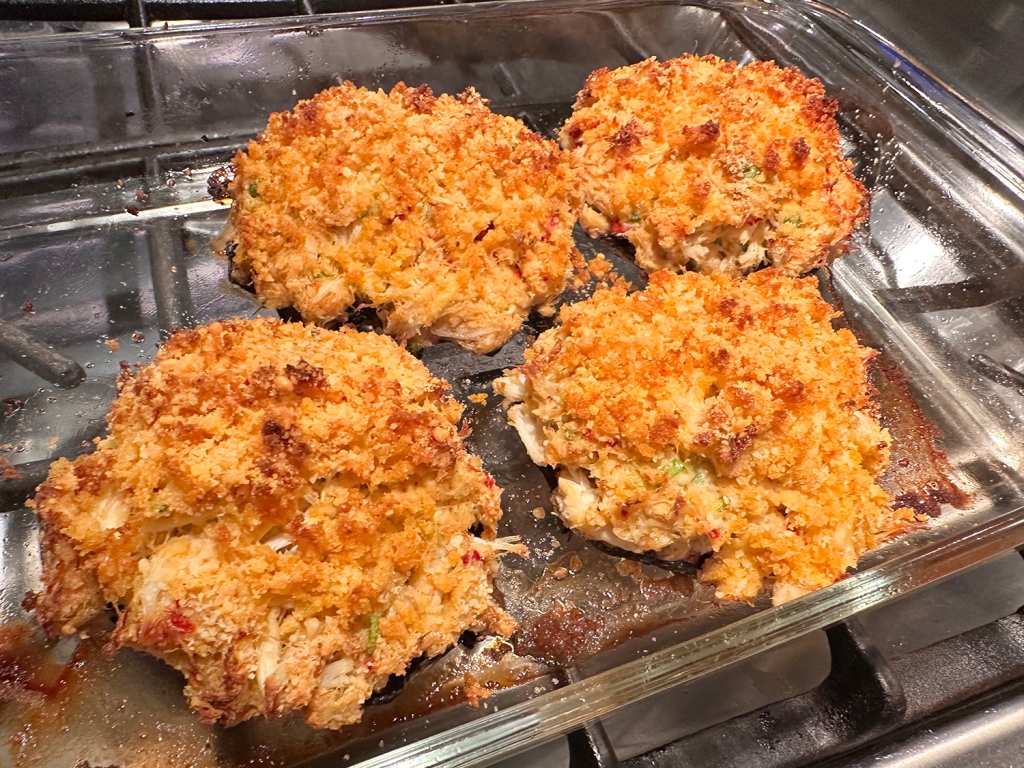
We recently had these gems as part of our New Year’s Eve dinner. Any festive occasion such as anniversary, graduation, Valentine’s Day, Christmas, or you just feel a little decadent one day, they are an easy, healthy and festive main or first course for any special celebration.

Try to pick four equally-sized large portobello mushrooms. Check the gills to see if they’re fresh by looking for a paper-thin layer of white cap. The perfect mushrooms will be damp and springy but not overly moist, mushy, or dried out.

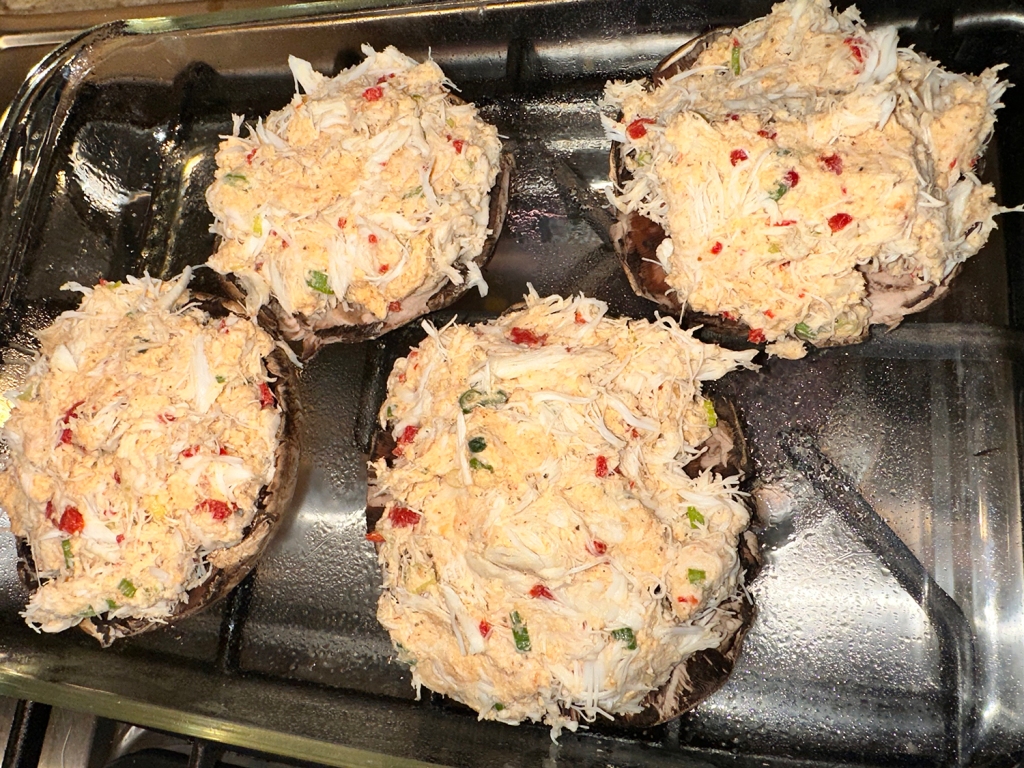
Break the stems off of the portobello mushrooms and scrape the gills out of them with a spoon. Wipe the caps with a damp paper towel, and then lay them gilled side up in the dish before setting them aside.

Once prepped and filled, bake the mushrooms until they are soft, the filling is heated through, and the topping is browned, which should take around 30 to 32 minutes. Let the mushrooms cool for 5 to 10 minutes, and then top them with additional scallions before serving (if desired).

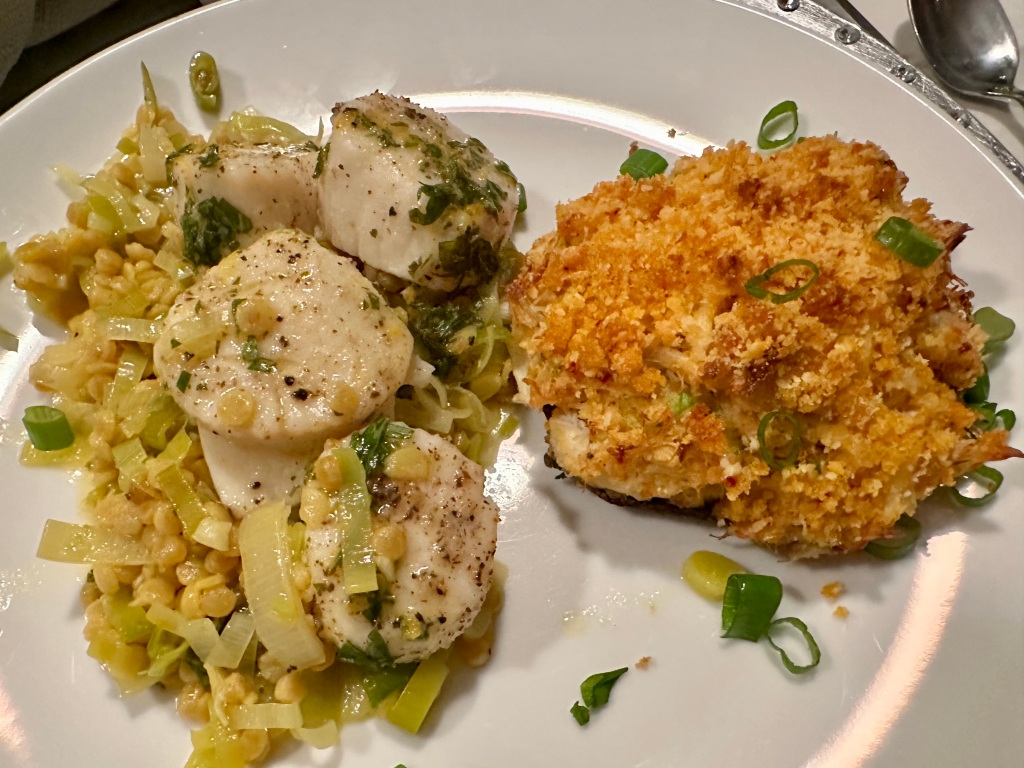
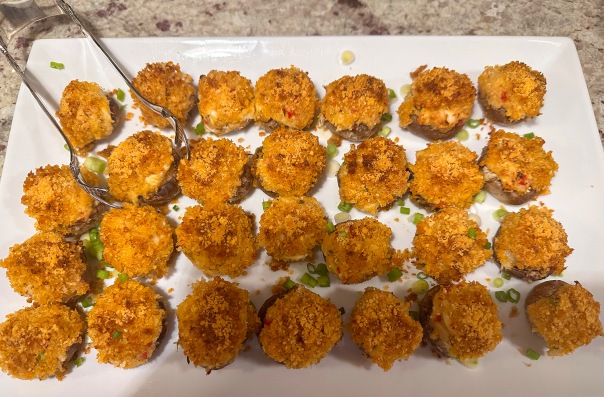
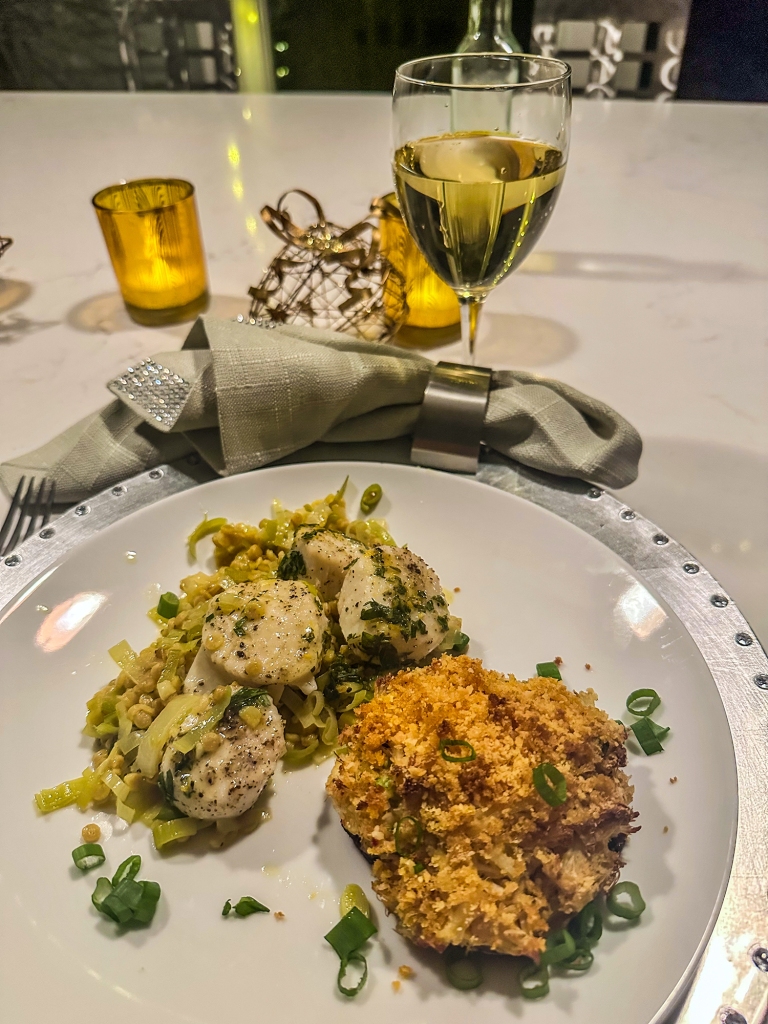
Unbelievably delicious, we paired ours with Baked Scallops with Couscous and Leeks for a romantic New Year’s Eve dinner at home. We will be making them again as an hors d’oeuvre for an upcoming dinner party, but will use smaller cremini mushrooms. However, be prepared for sticker-shock over the price of lump crab meat… but special occasions call for treating yourself, right?
A few weeks later we made the appetizer size for the house party. Using the same amount of ingredients for the stuffing, it filled about 30 button mushrooms and took approximately 25 minutes to cook.

Crab Stuffed Portobello Mushrooms

  • Servings: 4
  • Difficulty: easy
  • Print

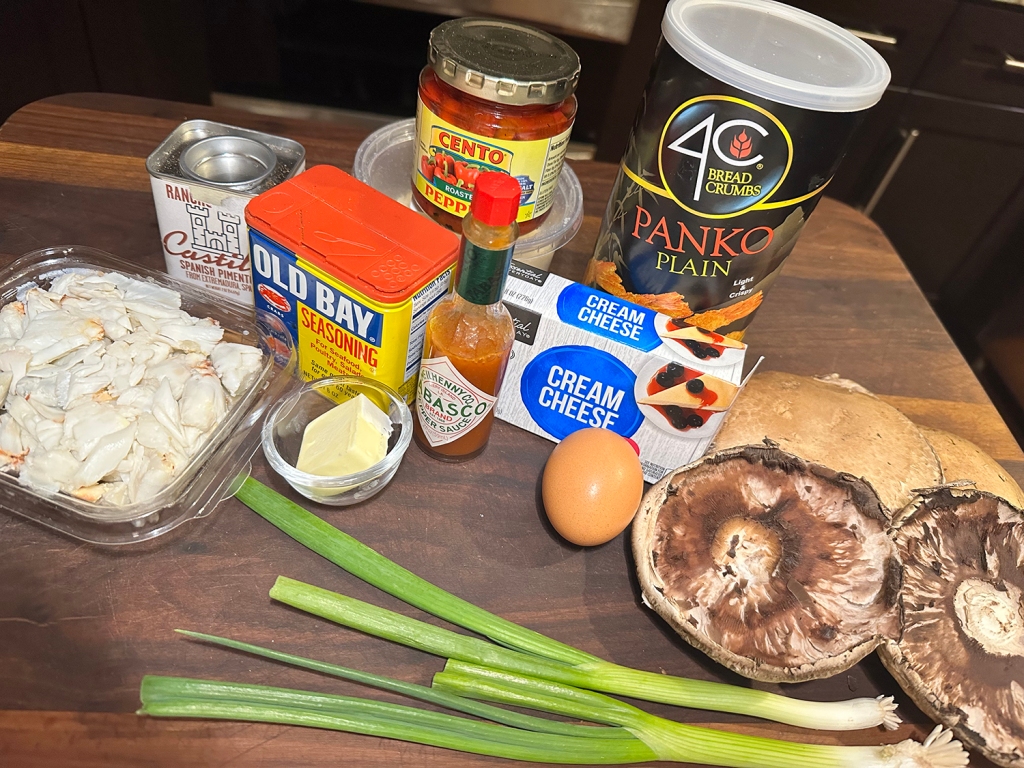
Ingredients

  • 4 large Portobello mushrooms
  • 4 oz. reduced-fat cream cheese (Neufchatel), softened
  • 1 1/2 tsp. seafood seasoning blend such as Old Bay
  • ¼ tsp. salt, optional
  • Freshly ground pepper to taste
  • 5 to 10 dashes of Tabasco hot sauce
  • 1 egg white
  • 2 scallions, finely sliced, plus more for garnish
  • ½ cup Panko breadcrumbs, plus 3 Tbsp., divided (gluten-free if desired)
  • ½ cup grated Parmesan cheese, plus 1 Tbsp., divided
  • 2 Tbsp. finely chopped jarred and drained roasted red pepper or pimento
  • 8 oz. lump or jumbo crab meat
  • 1 Tbsp. melted salted butter
  • 1/8 tsp. paprika

Directions

  1. Preheat oven to 425 degrees F. Coat a 9 by 13 baking dish with cooking spray. Break stems off portobello mushrooms. Scrape gills out of them with a spoon. Wipe caps with a damp paper towel. Lay gilled side up in the dish. Set aside.
  2. Beat cream cheese, Old Bay, salt and Tabasco with an electric mixer on medium-low until creamy and the seasonings are fully incorporated into the cream cheese. Add egg white and beat again to combine.
  3. Add scallions, ½ cup breadcrumbs, ½ Parmesan and red pepper and mix on low until combined. 
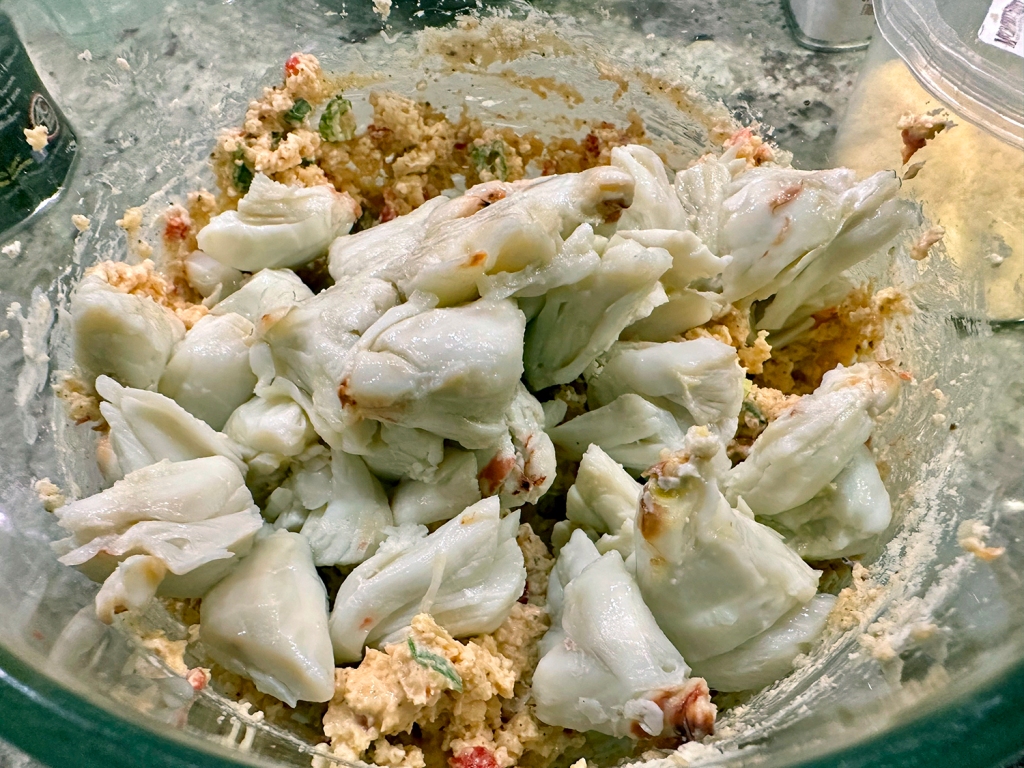
  4. Stir crab, gently by hand into the cream cheese mixture until just incorporated.
  5. Scoop the filling into the mushrooms, dividing evenly.
  6. Stir the remaining 3 tablespoons panko with butter and paprika until the breadcrumbs are evenly moistened and reddish orange. Sprinkle over the mushrooms. Sprinkle with the remaining 1 tablespoon Parmesan.
  7. Bake the mushrooms until they are soft, the filling is heated through and the topping is browned, 30 to 32 minutes. Let cool 5 to 10 minutes. Top with additional scallions before serving, if desired.

http://www.lynnandruss.com

Original recipe by Katie Webster

Orange and Rosemary Olive Oil Cake

You will adore the richness of this olive oil cake—the delicate savory undertones pair so elegantly with the herbaceous rosemary and zesty citrus. Olive oil cakes are so moist which renders them appropriate for rainbow layer cakes, sturdy for decorating, and excellent for freezing. Or simply, just a dusting of powdered sugar and you’re good to go!

Top it with a sprinkling of confectioners’ sugar using a pattern or paper doily to make it more festive—I used two star-shaped cookie cutters. It’s best to shake on your design just before serving as the cake is very moist and the confectioners’ sugar will melt into it. If desired, serve with a dollop of good French vanilla ice cream to take it over the top.

Orange and Rosemary Olive Oil Cake

  • Servings: 8
  • Difficulty: easy
  • Print

Ingredients

  • 1 cup granulated sugar
  • 2 small oranges, zested and juiced
  • 2 Tbsp. chopped rosemary leaves
  • 2 large eggs, beaten
  • 1 cup Greek yogurt
  • 1 cup extra-virgin olive oil
  • 2 cups all-purpose flour
  • 1 Tbsp. baking powder
  • 1/2 tsp. table salt
  • Confectioners’ sugar, to dust

Directions

  1. Preheat the oven to 325 ˚F. Line a 9-inch springform pan with parchment paper.
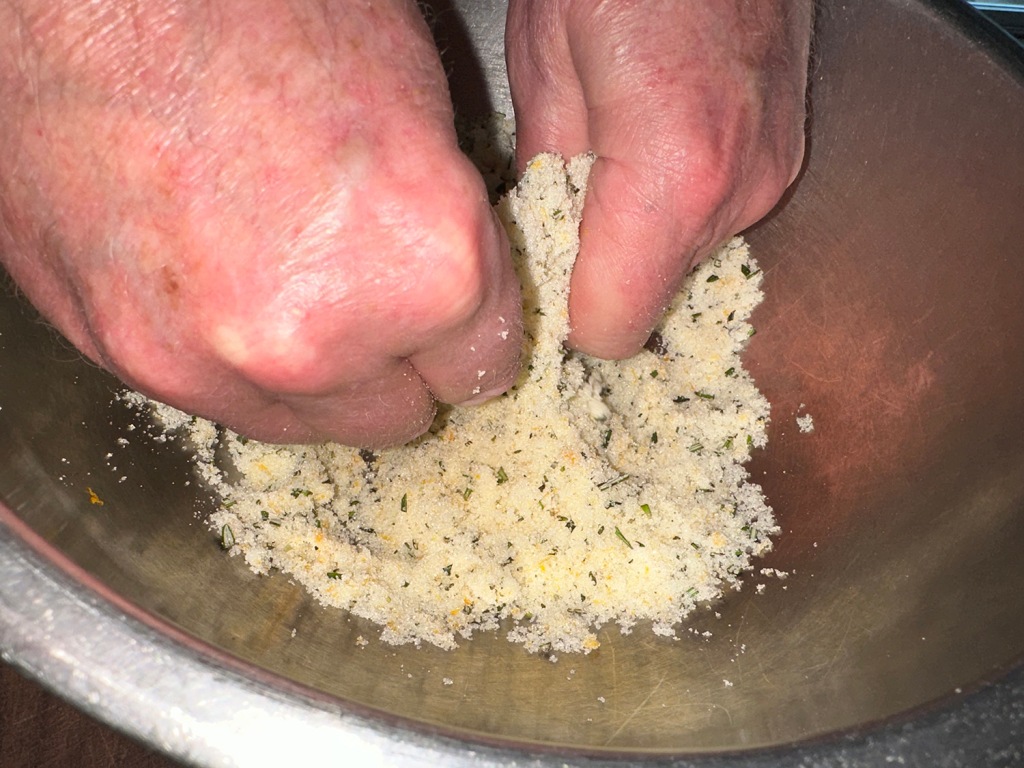
  2. Add the sugar, orange zest, and rosemary to a bowl and, using your fingertips, rub everything together until the sugar is fragrant and damp. Add the eggs and whisk until pale and thick. Beat in the yogurt and orange juice, then gradually whisk in the olive oil.
  3. Sift the flour, baking soda and salt into a large bowl until aerated. Slowly pour in the wet ingredients and, using a large spoon or spatula, gently fold everything together until just combined. Pour the batter into the prepared cake tin.
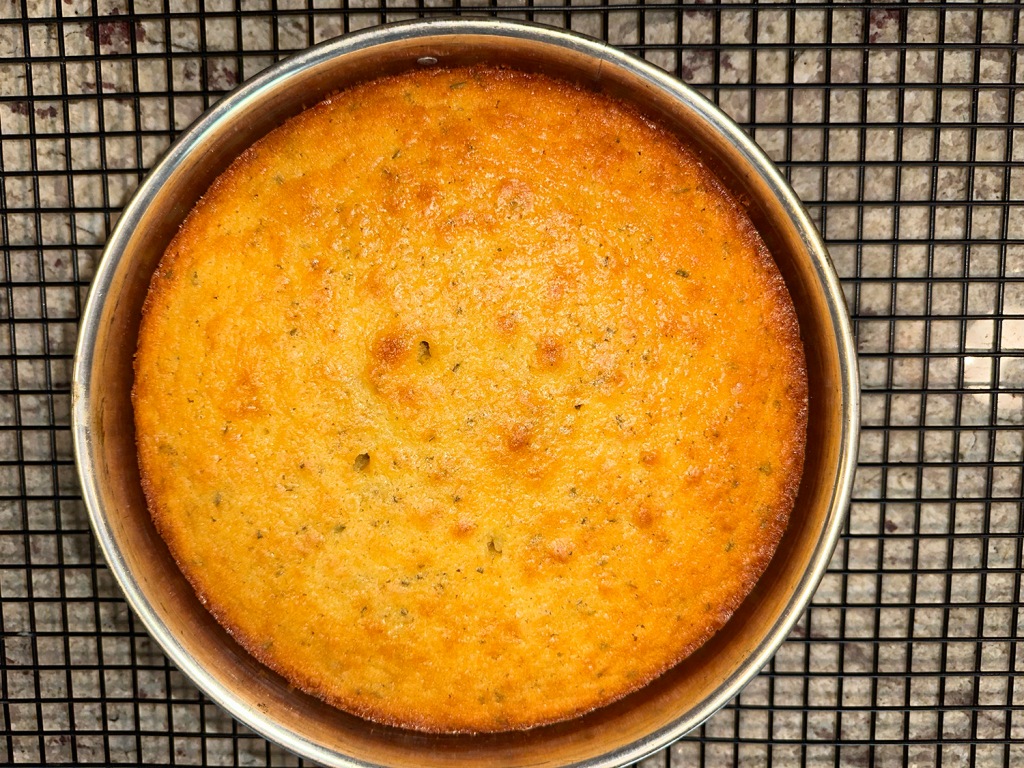
  4. Bake for 45-50 minutes (ours took a total of 60), until a toothpick inserted in the center of the cake comes out clean. Cool in the pan on a wire rack for 20 minutes, then invert the cake onto the rack to cool completely.
  5. When cool and ready to eat, dust with confectioners’ sugar.

http://www.lynnandruss.com

Recipe by Hetty McKinon

One-Pan Baked Scallops with Couscous, Braised Leeks and Tarragon-Orange Vinaigrette

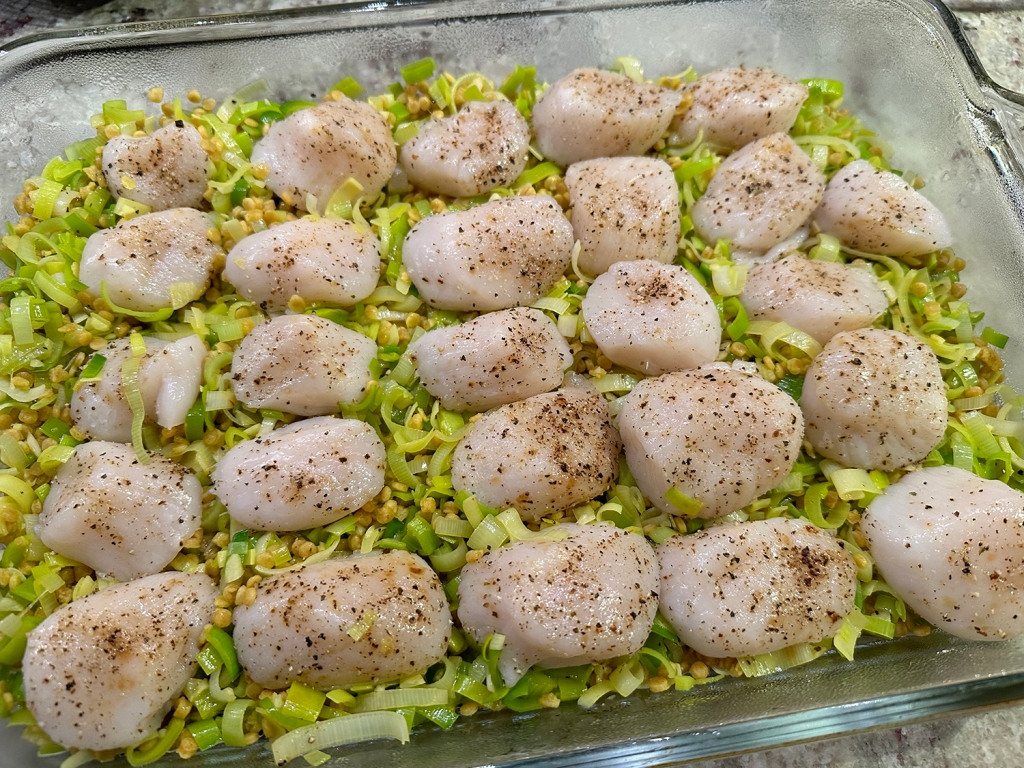
The fabulous entrée tastes surprisingly complex for the short amount of time it takes to prepare. The scallops and leeks really do release flavor into the couscous, and the vinaigrette definitely completes the dish. It is a great “special occasion” meal that anyone who loves scallops is sure to remember.

Cooking the scallops on a bed of Israeli couscous, leeks, and white wine is easy and allows the pearls of pasta to absorb the scallops’ briny liquid. To ensure the scallops finish cooking at the same time as the rest of the dish, jump-start the leeks and couscous in the microwave, adding garlic and a pinch of saffron* to subtly perfume the dish.

Stir in wine and boiling water (with the blooming saffron, if using), which starts the dish off hot and shortens the cooking time. Using a very hot oven and sealing the pan with foil promises perfectly, and efficiently, cooked scallops that steam atop the couscous. A quick tarragon-orange vinaigrette to drizzle over the finished dish provides an appealing accent that complements the scallops and leeks without overpowering them.

It is recommend that you buy “dry” scallops, which don’t have chemical additives and taste better than “wet.” Dry scallops will look ivory or pinkish; wet scallops are bright white.

TIPS: For an accurate measurement of boiling water, bring a full kettle of water to a boil and then measure out the desired amount. *If using saffron threads, pulverize them in a mortar with pestle and then put them in the hot water to bloom.

One-Pan Baked Scallops with Couscous, Braised Leeks and Tarragon-Orange Vinaigrette

  • Servings: 4
  • Difficulty: easy
  • Print

Ingredients

  • 1 lb. leeks, white and light green parts only, halved lengthwise, sliced thin, and washed thoroughly
  • 1 cup Israeli couscous
  • 5 Tbsp. extra-virgin olive oil, plus extra for serving
  • 4 garlic cloves, minced
  • Salt and pepper
  • Pinch saffron threads (optional, *see above tip)
  • ¾ cup boiling water
  • ¼ cup dry white wine
  • 1½ lbs. large sea scallops, tendons removed
  • 2 Tbsp. minced fresh tarragon
  • 1 Tbsp. white wine vinegar
  • ½ Tbsp. Dijon mustard
  • ½ tsp. grated orange zest plus 1 Tbsp. juice

Directions

  1. Adjust oven rack to middle position and heat oven to 450 degrees. Combine leeks, couscous, 2 tablespoons oil, garlic, ½ teaspoon salt, ¼ teaspoon pepper, and saffron (if using), in a bowl. Cover, and microwave, stirring occasionally, until leeks are softened, about 6 minutes. Stir in boiling water and wine, then transfer mixture to 13 by 9-inch baking dish.
  2. Pat scallops dry with paper towels and season with salt and pepper. Nestle scallops into couscous mixture and cover dish tightly with aluminum foil. Bake until couscous is tender, sides of scallops are firm, and centers are opaque, 20 to 25 minutes.
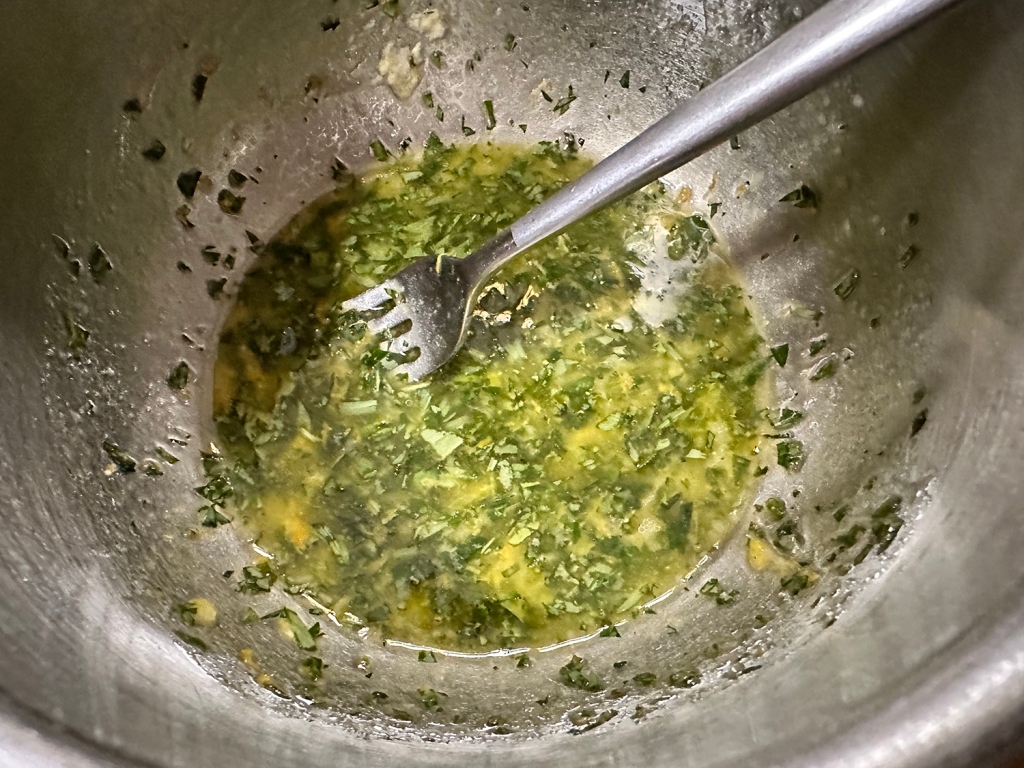
  3. Meanwhile, whisk remaining 3 tablespoons oil, tarragon, vinegar, mustard, orange zest and juice, and ⅛ teaspoon salt together in bowl.
  4. Remove dish from oven. Drizzle vinaigrette over scallops and serve, passing extra oil separately.

http://www.lynnandruss.com

Adapted from a recipe by America’s Test Kitchen