Monthly Archives: May 2020

Focaccia Art

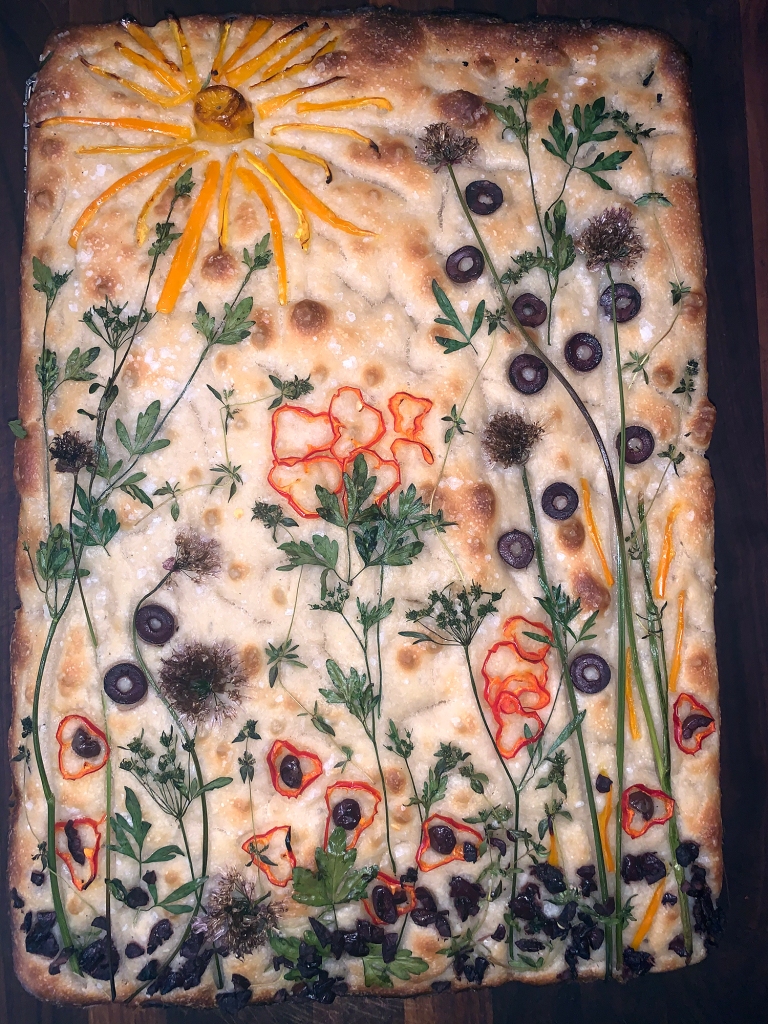
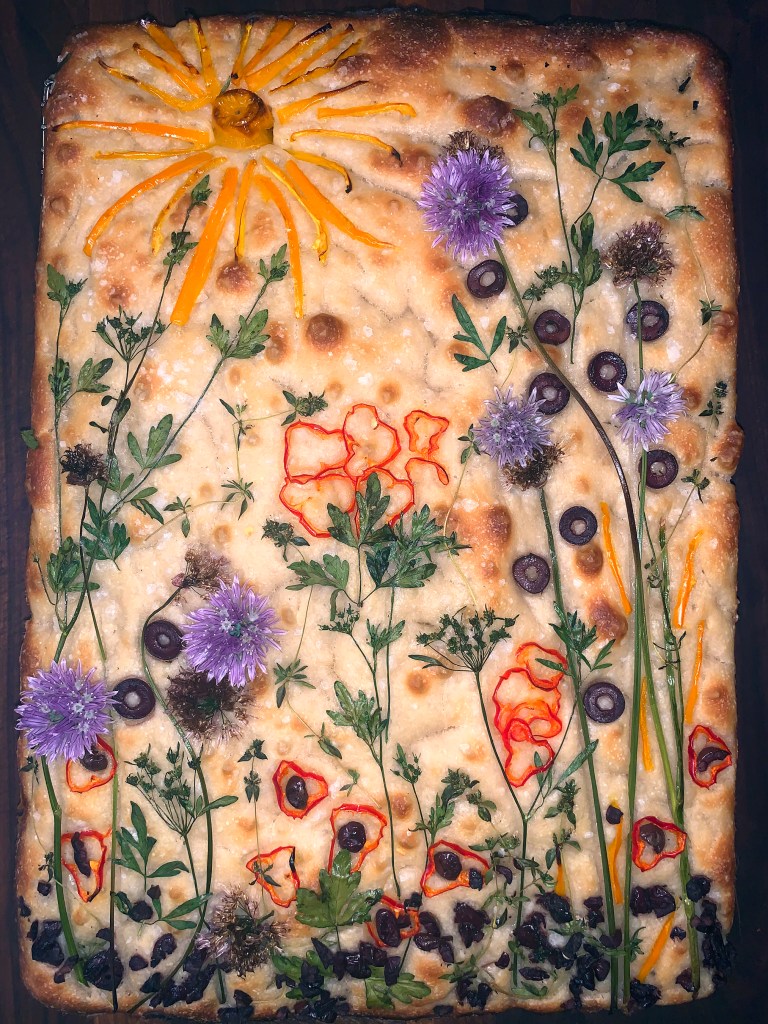
As an artist, master gardener and avid cook, I was intensely curious the first time I saw some focaccia art because it bundles those three passions into one—a trifecta if you will. Then pictures started popping up all over social media, especially Pinterest. I knew I had to jump on that bandwagon. And I did, finally…

This classic focaccia bread recipe* is compliments of Bon Appétit. Their focaccia has a moist but airy crumb sandwiched between thin but ultra-crunchy top and bottom crusts, thanks to a generous amount of olive oil in the pan and on top of the dough. It’s a bit of a messy process, and a long one, but worth it if you’re looking for a WOW factor.

My garden was brimming with fresh herbs, with the chives in full bloom of stunning light purple globular flowers. What I did learn however, even though they were brushed with oil, they still did burn in 450° hot oven. Not to be dissuaded, I just snipped a few more fresh blooms, made a hole in the dough with a thick toothpick, and stuck them in afterward. The burnt ones look like they are in the background, with the fresh blooms coming forward, adding depth to the visuals.
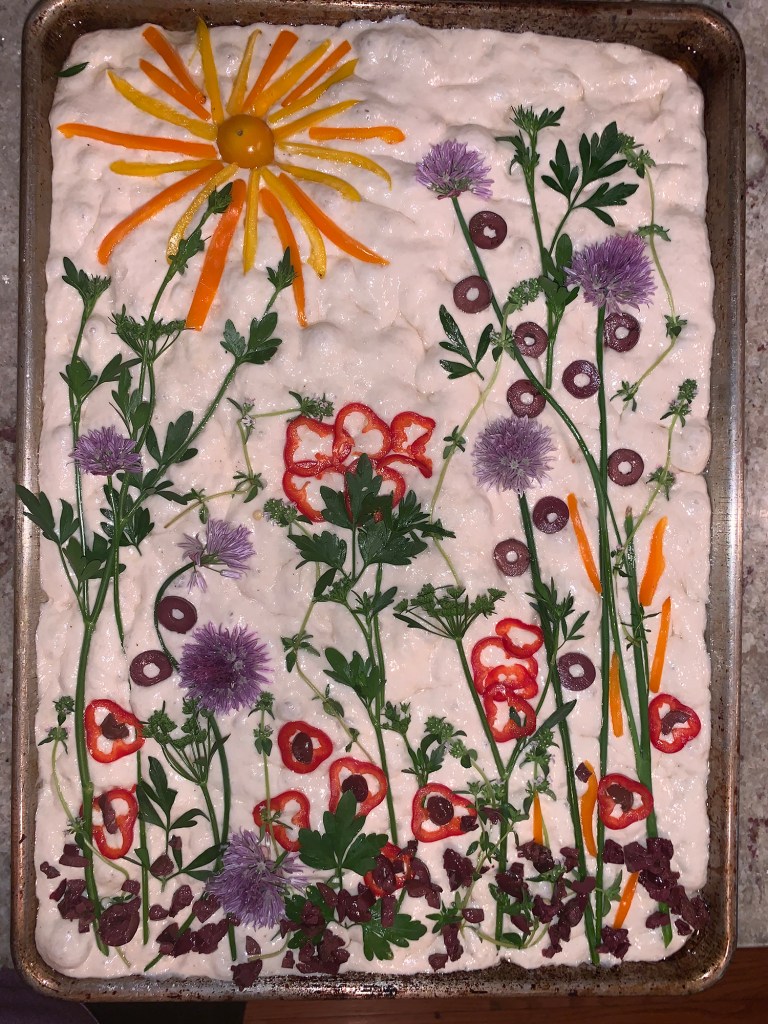
You might consider using any of the following: parsley leaves and flowers, thyme, rosemary, chives and their flowers, capers, bell pepper rings, sliced or chopped olives, grape tomatoes. The list is endless so get your creative juices flowing…

A word to the wise, it’s best to measure your flour by weight instead of by cup because you’ll get a more exact measurement.

Since the world has been locked down these past several months due to COVID-19, there seems to be a shortage of specific grocery items—other than toilet paper. Apparently a lot of folks are baking because it’s almost impossible to get bread flour and yeast at your local supermarket. So we just used all-purpose flour which we had on hand, and scored online with the yeast—even though it was Italian!

A little more dense than expected, next time I hope to use bread flour which has a higher percentage of protein. Apparently the higher protein is what helps you get those deliciously chewy air pockets.

*Equipment-wise, you’ll need a stand mixer with a dough hook and an 18″ x 13″ rimmed sheet pan for this recipe.

Do Ahead: Focaccia can be baked 1 day ahead. Tightly wrap in plastic and store at room temperature.

Focaccia Art Bread

  • Servings: 18-24
  • Difficulty: moderate
  • Print

Ingredients

  • 6¼ cups bread flour (30 oz. or 850g)
  • 2¼ tsp. active dry yeast (from one ¼-oz. packet)
  • Pinch of sugar
  • 2 Tbsp. Diamond Crystal or 1 Tbsp. Morton kosher salt
  • 5 Tbsp. extra-virgin olive oil, divided, plus more for greasing and drizzling
  • Fresh herbs and vegetables for decoration
  • Flaky sea salt

Directions

  1. Combine flour and 2½ cups room-temperature water in the bowl of a stand mixer fitted with the dough hook. Mix on low speed, scraping down sides and hook as needed to incorporate any dry flour, until a shaggy dough forms. Remove dough hook and cover bowl with plastic. Let sit while you prepare the yeast (you can leave the dough in this state up to 2 hours).
  2. Stir yeast, sugar, and ½ cup warm water with a fork in a small bowl to dissolve. Let sit until yeast is foamy, about 5 minutes.
  3. Pour yeast mixture into stand mixer bowl and mix on low speed until dough absorbs all additional water, about 1 minute (pulse mixer on and off a couple of times at very beginning to prevent liquid from splashing over the sides). Add kosher salt and continue to mix, increasing speed to medium, until dough is extremely elastic and very sticky (it will look more like a thick batter and will stick to sides of bowl), about 5 minutes.
  4. Pour 3 Tbsp. oil into a large (preferably glass) bowl and swirl to coat sides. Scrape in dough with a large spatula or flexible bench scraper. Cover and place in a warm spot until dough is doubled in volume, 2–3 hours. If using a glass bowl, it’s helpful to mark the position of the dough at the beginning so you can accurately assess the rise (a dry-erase marker or piece of tape works).
  5. Drizzle 2 Tbsp. oil over a 18 x 13″ sheet pan and use fingertips to rub all over bottom and sides. Using large spatula or flexible bench scraper, fold dough inside bowl a couple of times to deflate, then scrape onto prepared baking sheet. Using oiled hands, lift up dough and fold over onto itself in half, then rotate baking sheet 90° and fold in half again. Cover dough with a piece of well-oiled plastic and let rest 10 minutes to let gluten relax.
  6. Uncover and go back in with oiled hands, gently stretching dough (to avoid tearing) across length and width of baking sheet in an even layer, working all the way to edges and into corners. If dough starts to spring back, let sit 5–10 minutes and start again. Cover again with same piece of oiled plastic and chill at least 8 hours and up to 24.
  7. Let sheet pan sit in a warm spot until dough is puffed and bubbly and nearly doubled in height, 45–65 minutes (if you’re using a standard half sheet pan, it will have risen to the very top of the sides). Meanwhile, place a rack in center of oven; preheat to 450°.
  8. Remove plastic and drizzle dough generously with more oil. Oil hands again and press fingertips firmly into dough, pushing down all the way to bottom of pan to dimple all over. Sprinkle generously with sea salt.
  9. Decorate the top with whatever you desire. It helps to Google focaccia art and/or look it up on Pinterest to get some ideas. After you’ve arranged everything, brush them with olive oil to help prevent burning (although delicate flowers you may want to add after baking).
  10. Bake focaccia until surface is deep golden brown all over, 20-25 minutes. Let cool in pan 10 minutes. Slide a thin metal spatula underneath focaccia to loosen from sheet pan (it may stick in a couple of places, so use some elbow grease to get underneath) and transfer to a wire rack. Let cool completely before cutting as desired.
http://www.lynnandruss.com

Purple Tex-Mex Slaw

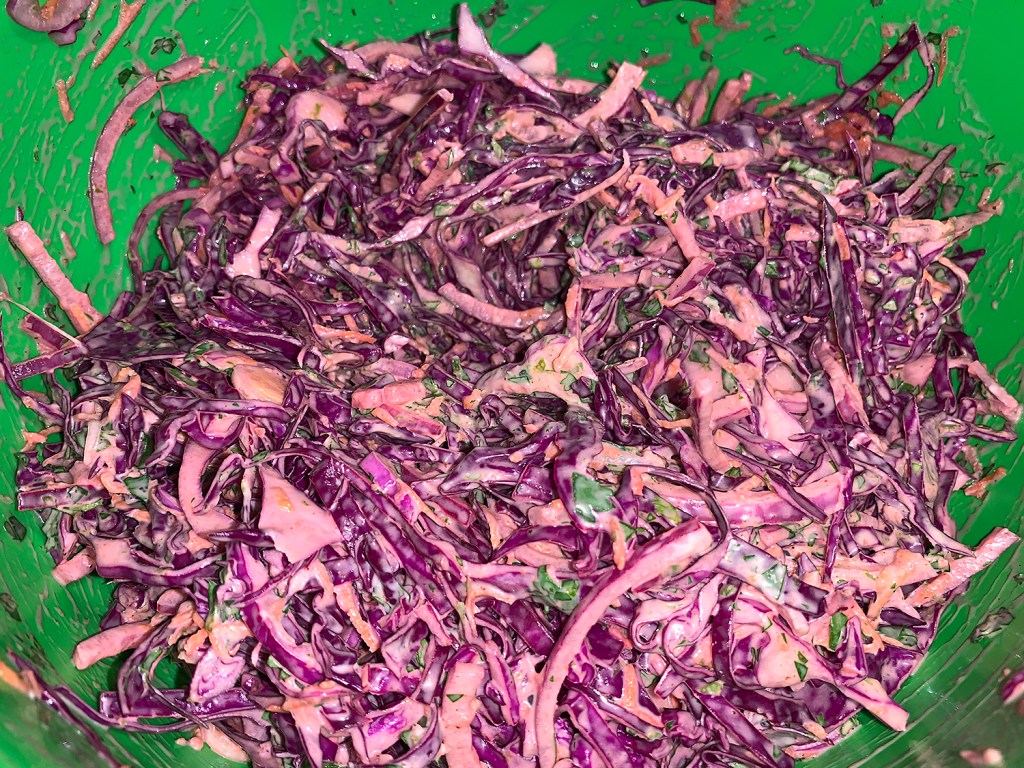
This isn’t your grandma’s coleslaw by any stretch. We’ve taken the idea of slaw and turned it on its “head” to perk up your tastebuds and shout “look at me!” It contains both chipotle powder and a jalapeño, but if you think that might be going too far out on a limb for some of your guests, just scale them back a touch, or use one or the other.

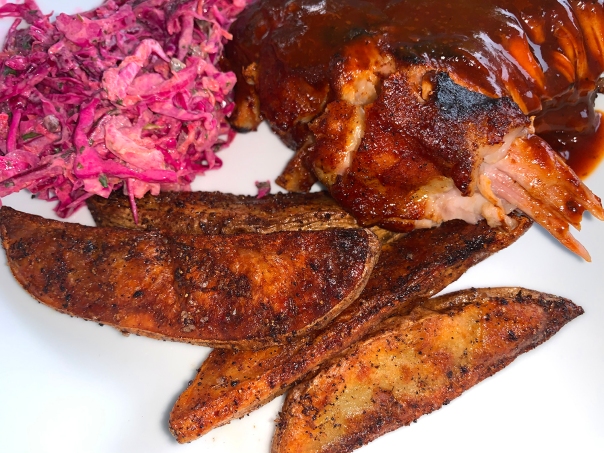
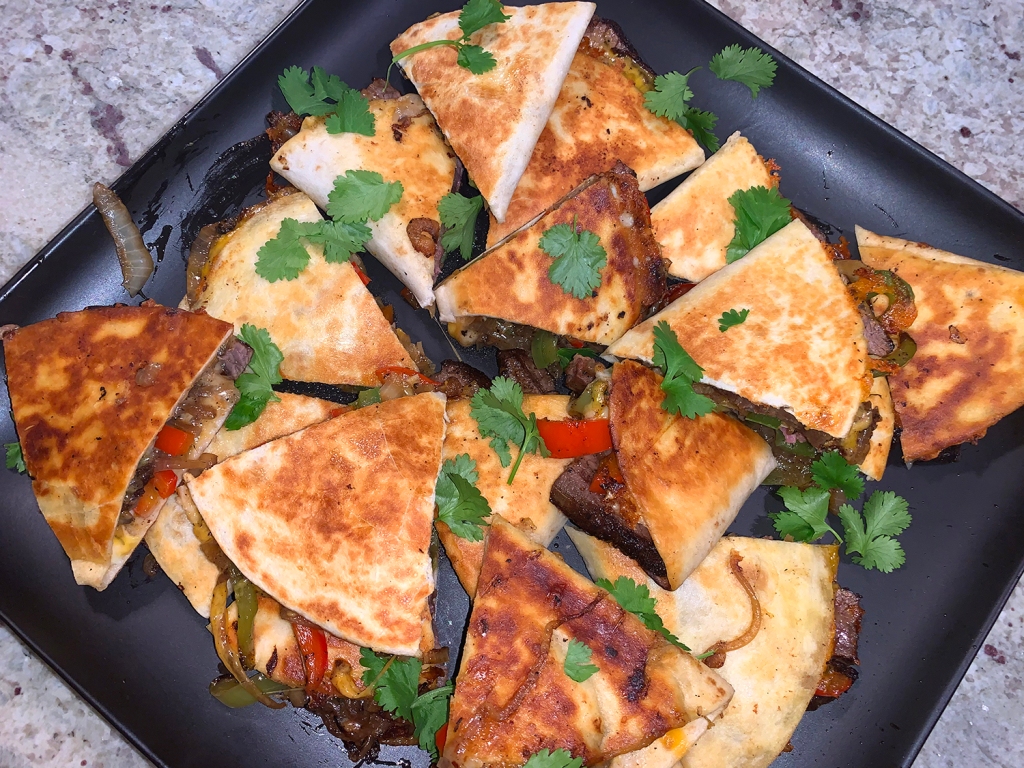
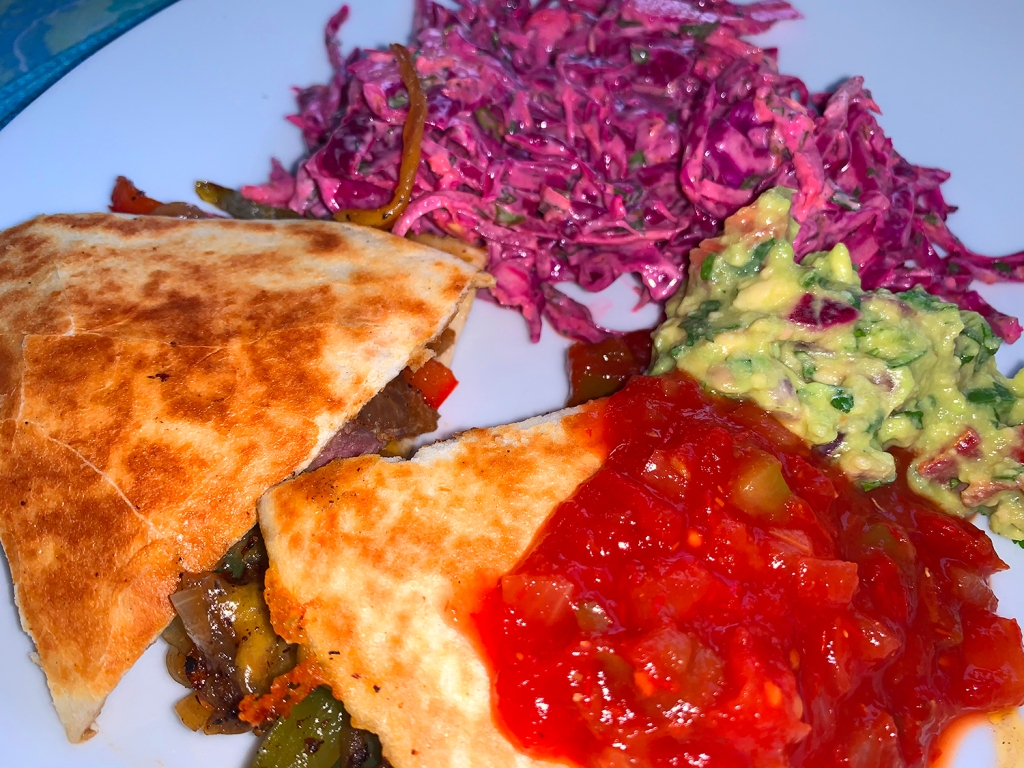
We enjoyed it here with steak fajita quesadillas, and the next day with BBQ’d baby back ribs.

Please don’t use bottled lime juice. Just don’t. The fresh ingredients in this recipe are really what makes it so special. Bottled lime juice will not give it the same fresh, tangy taste. On that note however, we decided next time to scale back on the amount of lime zest, and zest only one of them, but use the juice from both.

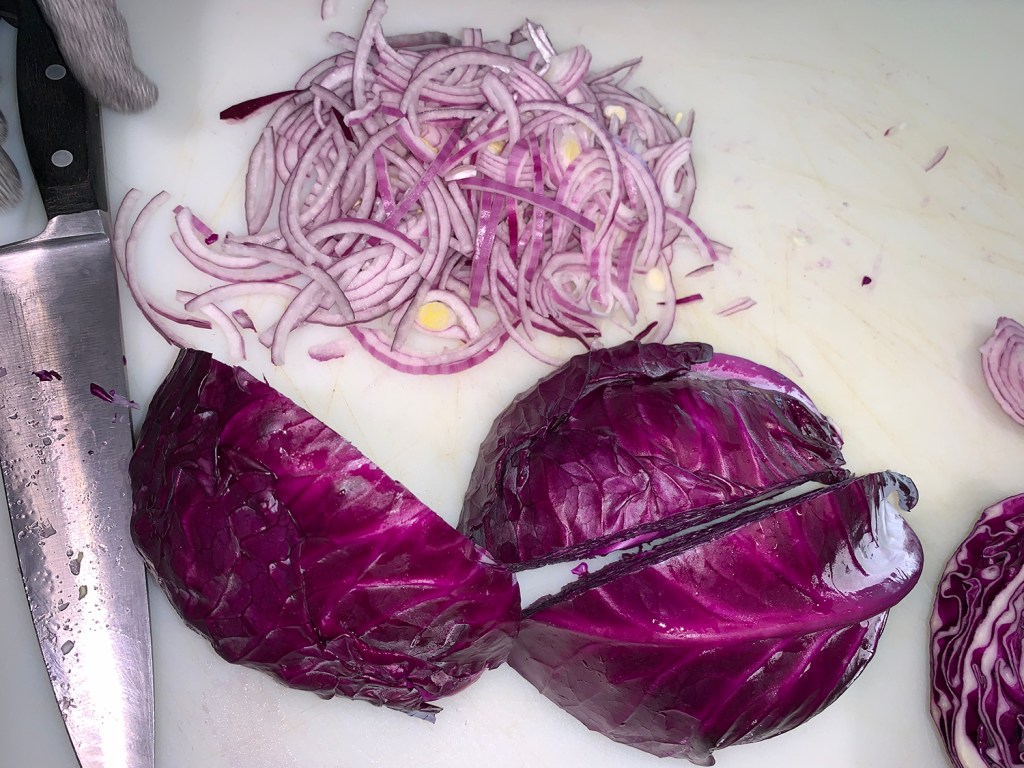
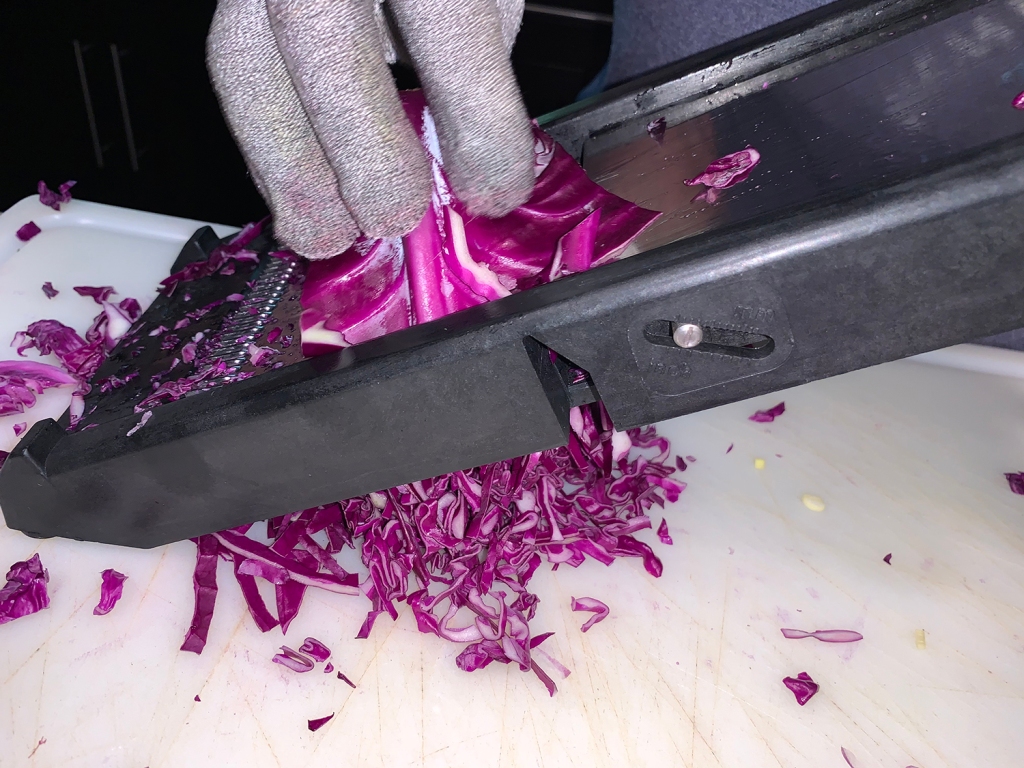
A large mandoline is worth its weight in gold when cutting the cabbage and onion into sliver-thin slices. When it comes to the amount of mayo, I suggest starting with a half-cup’s worth and increasing the amount to suit your personal preference.

So next time you’re asked to bring a side dish to a BBQ or potluck, this just might be your ticket in…

Purple Tex-Mex Slaw

  • Servings: 8
  • Difficulty: easy
  • Print

Ingredients

  • 2 limes, zested then juiced
  • 1/2 large red onion, thinly sliced
  • 1 1/2 tsp sea salt
  • 1 small head purple cabbage, thinly sliced
  • 1 large carrot, peeled and shredded on a box grater
  • 1 bunch cilantro, rinsed and finely chopped (about 3/4 cup)
  • 1 small jalapeño, deveined and finely minced
  • 1/2 to 3/4 cup mayo, more or less for taste
  • 1/2 tsp cumin powder
  • 1/4 tsp chipotle powder

Directions

  1. Combine sliced onion, salt and lime juice in a glass bowl and marinate 20 minutes.
  2. In another large mixing bowl, combine cabbage through seasonings.
  3. Either using your hands or a rubber spatula, and the mixture until well combined.
  4. Cover and refrigerate for at least 30 minutes before serving.
  5. This coleslaw is best after a few hours so that the flavors meld. And, if you have the time, it’s even better the next day, so by all means, make it a day ahead!

http://www.lynnandruss.com

Green Stuffed Peppers with Meat and Bread Crumbs

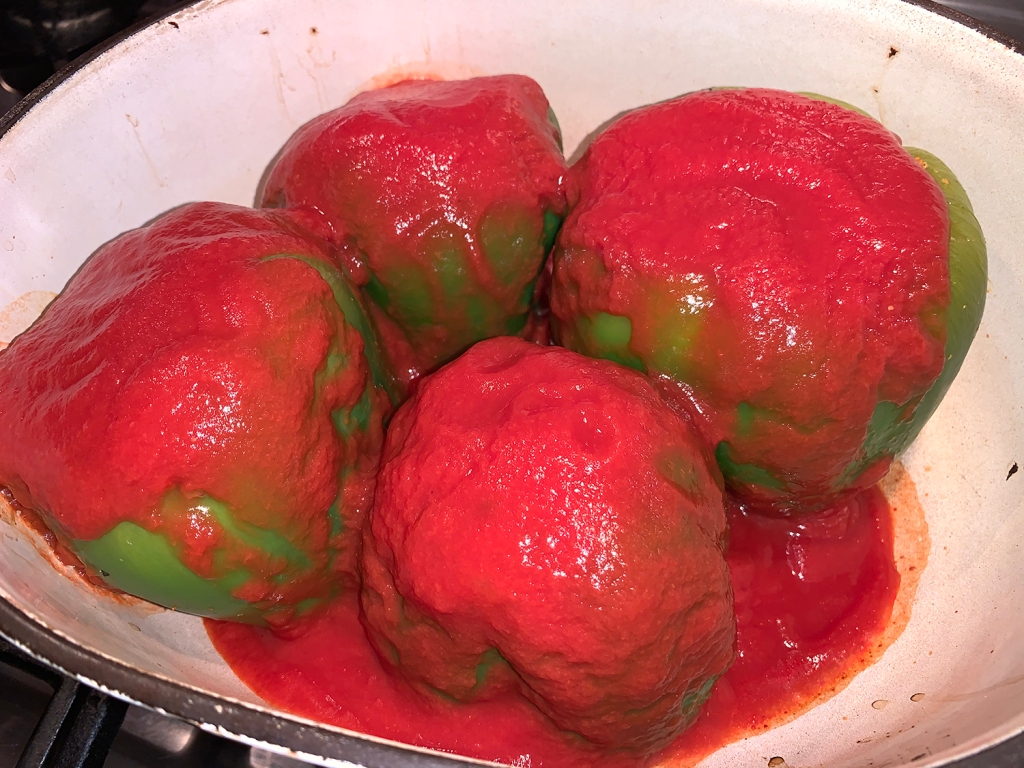
Stuffed Peppers with garlicky mashed potatoes is another one of those comfort meals; especially when the weather is on the cool side. And for the better part of Spring 2020, it’s unfortunately been cooler than normal here in the Northeast U.S. (until the last couple of days that is…)

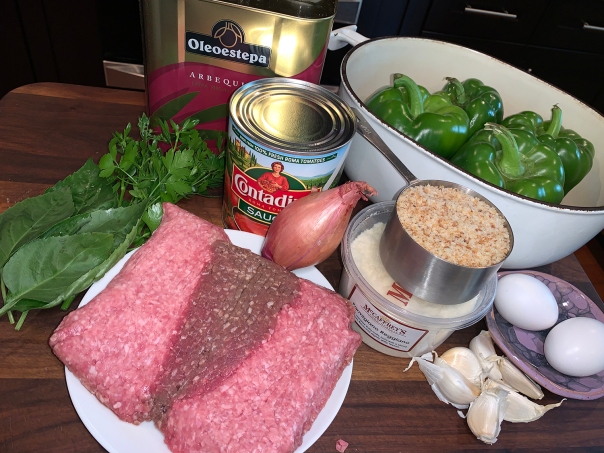
Yes, there are as many ways to make these gems as there are meatball recipes. Here, I concentrated on using green bell peppers and bread crumbs instead of rice. (We’d been having a lot of rice lately.) Plus, no need to precook the rice, thus saving time and having to clean another pot.

Blanching the peppers helps the vegetables retain a nice bright color but it doesn’t really cook the vegetable. If you prefer, you can absolutely blanch your bell peppers before stuffing them. In this case, I skipped that step and saved a little time and dirtying yet another kitchen item. Two points!

Stuffed Peppers

A full 28-ounce can of tomato sauce may seem like a lot. But we love to top our mashed potatoes with it as well as the peppers. In fact, we had two stuffed peppers remaining, but no more sauce, so for the leftovers, we’ll open up another can.

Our herb garden was at picking stage already, so I was able to harvest four, very large basil leaves and enough fresh parsley for the stuffing. If you cannot access your fresh herbs, go ahead and used dried, although the end result won’t be quite as profound.

Make sure to select a heavy pot that is large and deep enough to contain all of the peppers with a little extra room for the tomato sauce.

Stuffed peppers with Meat and Bread Crumbs

  • Servings: 4-6
  • Difficulty: easy
  • Print

Ingredients

  • 4 large green peppers, stemmed, cored, and seeded
  • 1 1/2 lbs. meatloaf mix
  • 4 cloves garlic, peeled and minced
  • 1 large shallot, peeled and minced
  • 1 cup fine bread crumbs
  • 1/4 cup grated Parmigiano-Reggiano
  • 4 Tbsp. chopped flat-leaf parsley
  • 4 large fresh basil leaves, finely chopped
  • 1 tsp. kosher salt
  • 1/2 tsp. black pepper
  • 1 28-oz. can tomato sauce, divided
  • 2 eggs
  • 1 Tbsp. olive oil

Directions

  1. Preheat the oven to 400°F.
  2. Heat 1 Tbsp. oil in a nonstick skillet over medium heat. Add minced shallot and garlic. Cook for 4 minutes, stirring occasionally until the shallot is translucent. Move off of the heat to cool.
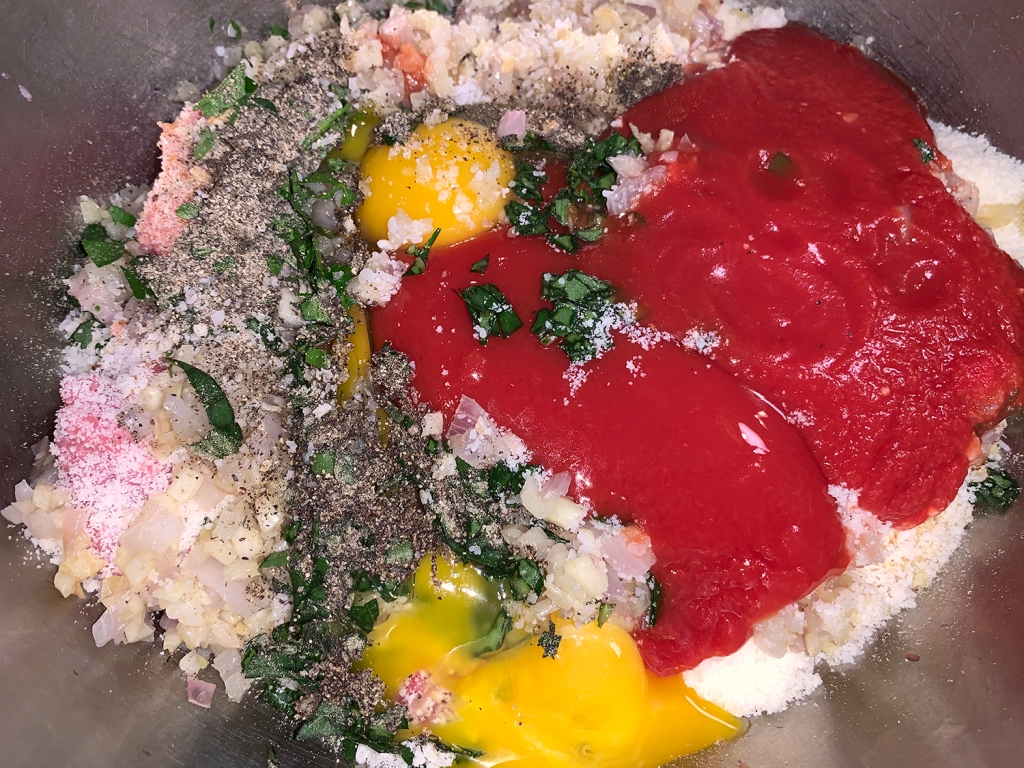
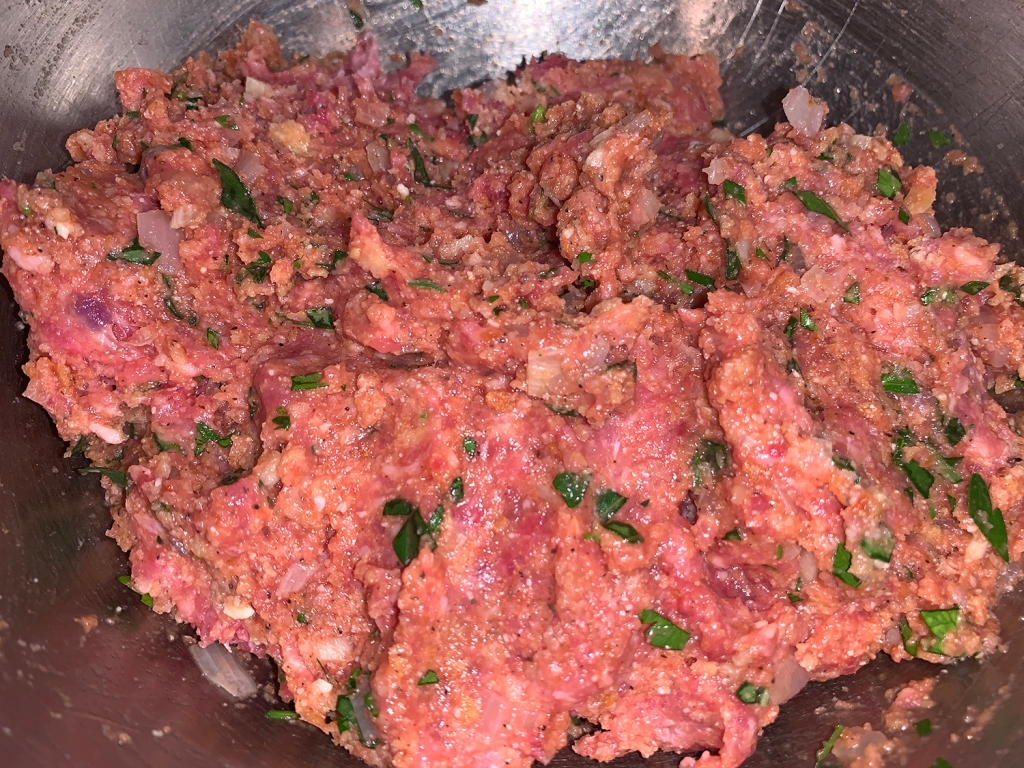
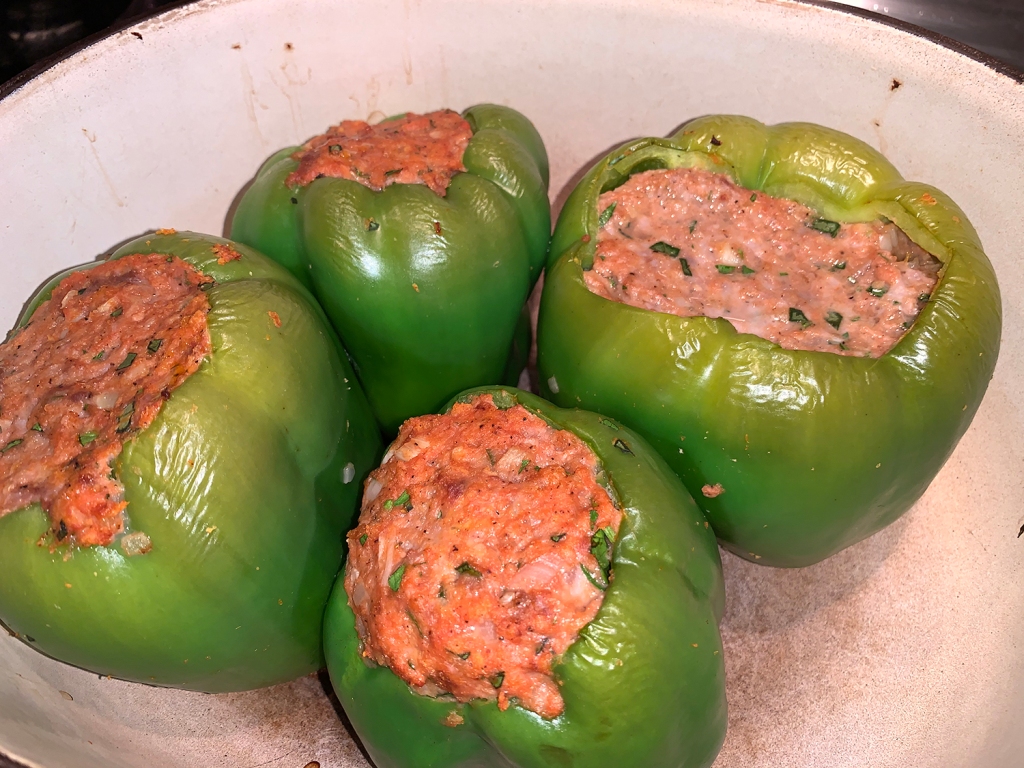
  3. Combine the meatloaf combo with all the other filling ingredients including the cooled shallot mixture and 1 cup of the tomato sauce. Stuff the peppers all the way to the top.
  4. Stand the peppers on end in a casserole dish. Bake at 400°F for 20 minutes.
  5. Reduce the temperature to 375°F and pour the remaining 2 cups of tomato sauce over and around them.
  6. Continue baking until the inside temperature of the meat reaches 160°, about 40-45 minutes.
  7. Bring to the table in the casserole dish and serve.

http://www.lynnandruss.com

Something to Stew About

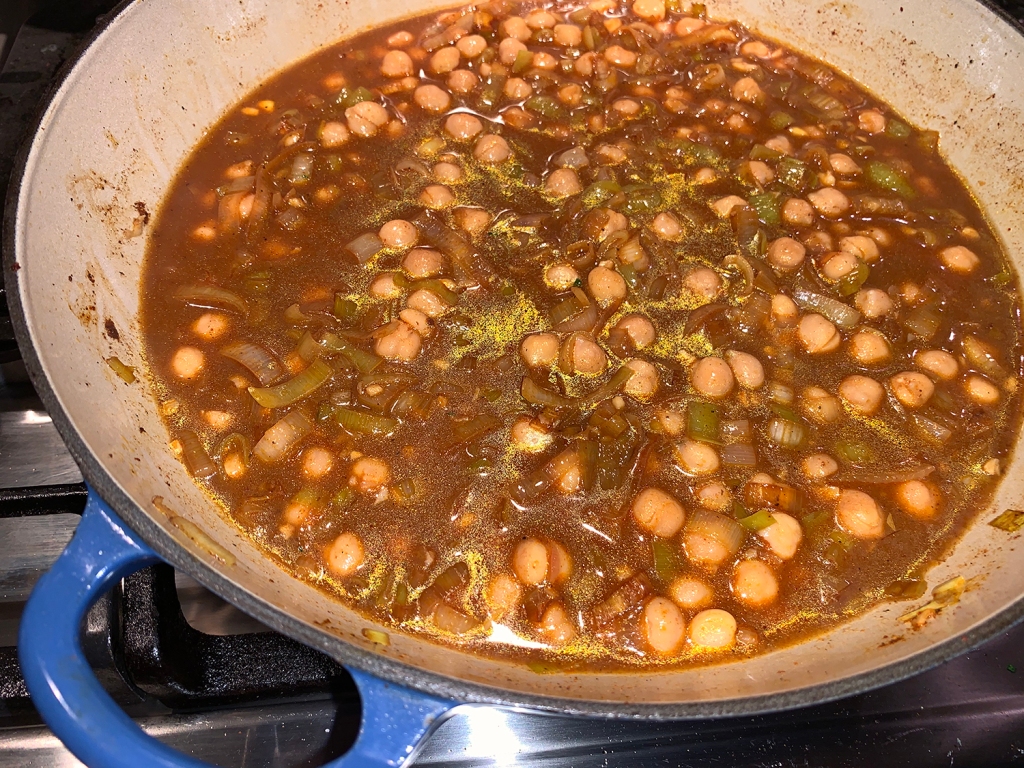
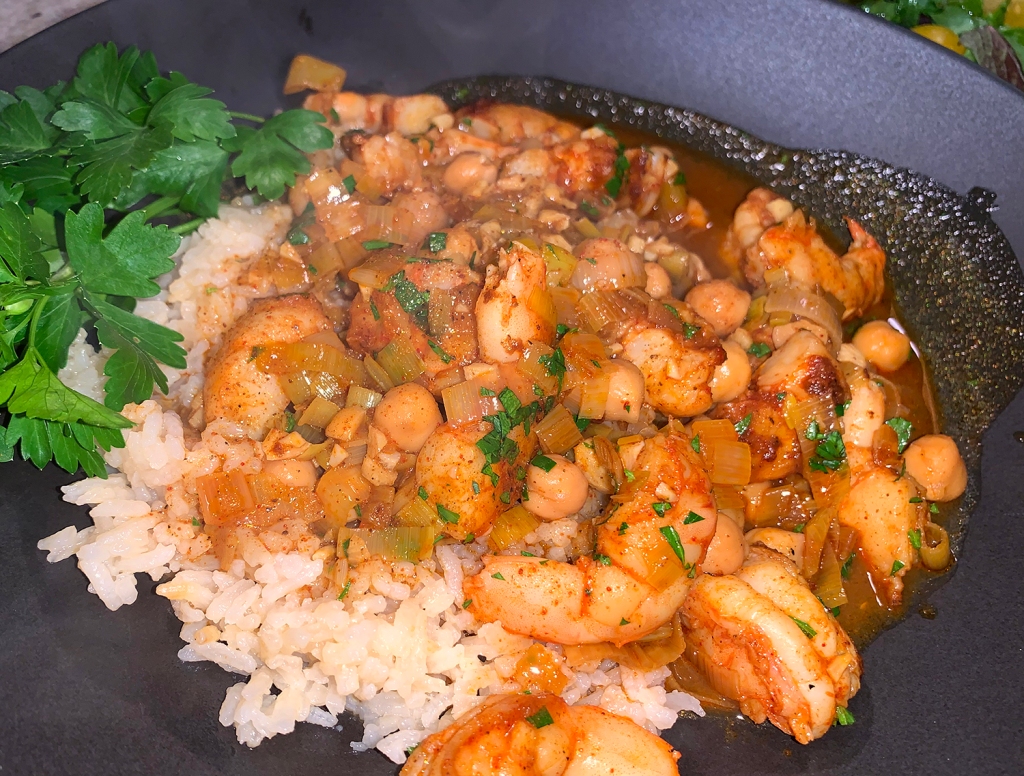
You know we love all-things-Spanish, so it went without saying that when we saw this Spanish Shrimp and Chickpea Stew recipe from Milk Street, we were immediately intrigued. It seems at Palacio Carvajal Girón, in the Extremadura region of Spain, Milk Street staff tasted a delicious shellfish and chickpea stew that was rich and redolent with locally produced smoked paprika. Requiring both a ham- and langoustine-infused broth and made with dried chickpeas, the dish was a time- and labor-intensive preparation.

Their much-simplified version captures the essence of the stew in just a fraction of the time. It uses canned chickpeas for convenience, and the broth gets flavor from bottled clam juice and the viscous liquid from the chickpeas. A combination of Spanish smoked paprika and standard sweet paprika gives the stew deep color and earthy complexity without overwhelming the shrimp.

A side salad and glass of wine completed the feast.

Don’t forget to reserve ½ cup of the liquid before draining the can of chickpeas. The liquid adds both body and flavor to the broth. When peeling the shrimp, don’t remove the tails because they also lend flavor to the broth. But do remove the tails when halving the seared shrimp so that the pieces are easier to eat in the finished stew. In all honesty, you can skip this step if you don’t mind serving the shrimp whole with tails intact.

We served ours over steamed jasmine rice made with homemade shellfish stock.

Spanish Shrimp and Chickpea Stew

  • Servings: 4
  • Difficulty: easy
  • Print

Ingredients

  • 2 Tbsp. smoked paprika
  • 1 Tbsp. sweet paprika Kosher salt and ground black pepper
  • 1 Lb. extra-large (21/25 per pound) shrimp, peeled and deveined, tails left on
  • 2 Tbsp. extra-virgin olive oil, plus more to serve
  • 2 Tbsp. salted butter
  • 1 Medium leek, white and light green parts halved lengthwise, thinly sliced, rinsed and dried
  • 4 Medium garlic cloves, minced
  • 15½ Oz. can chickpeas, ½ cup liquid reserved, drained
  • 8 Oz. bottle clam juice
  • Chopped fresh flat-leaf parsley, to serve

Directions

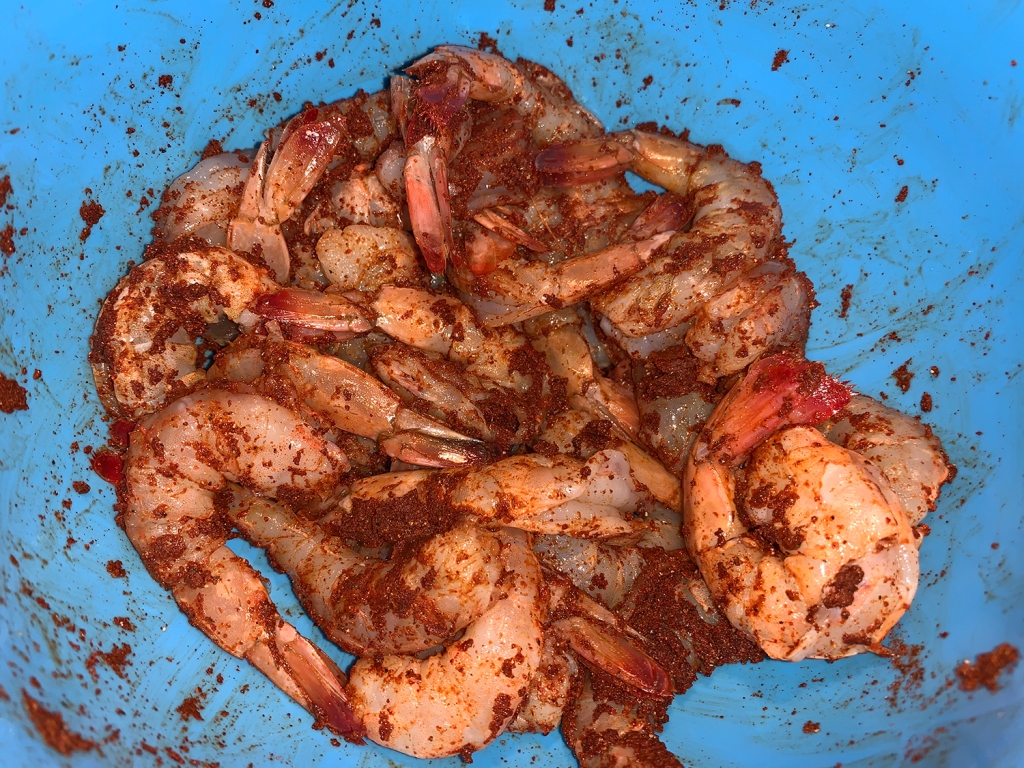
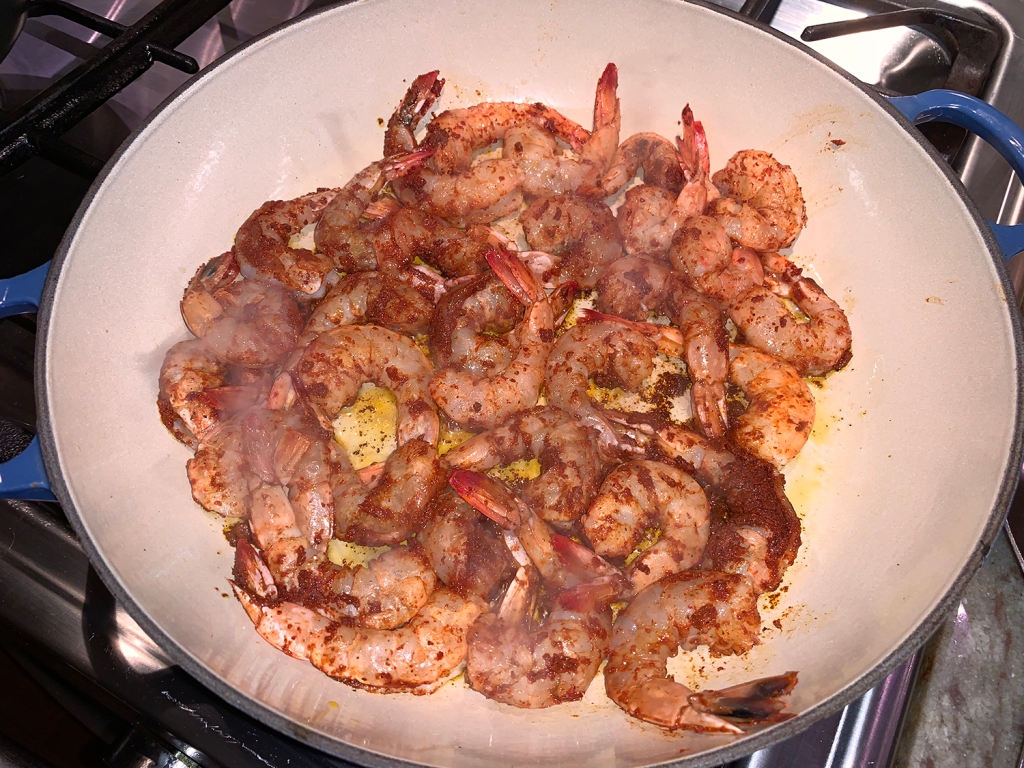
  1. In a medium bowl, stir together both paprikas and ¾ teaspoon pepper; measure 2 tablespoons into a small bowl and set aside. Add the shrimp to the paprika mixture in the medium bowl and toss to coat; set aside.
  2. In a large Dutch oven over medium-high, heat the oil until shimmering. Add the shrimp in an even layer; reserve the bowl. Cook without stirring until browned on the bottom, about 2 minutes.
  3. Using a slotted spoon, return the shrimp to the bowl. In the same pot over medium, melt the butter.
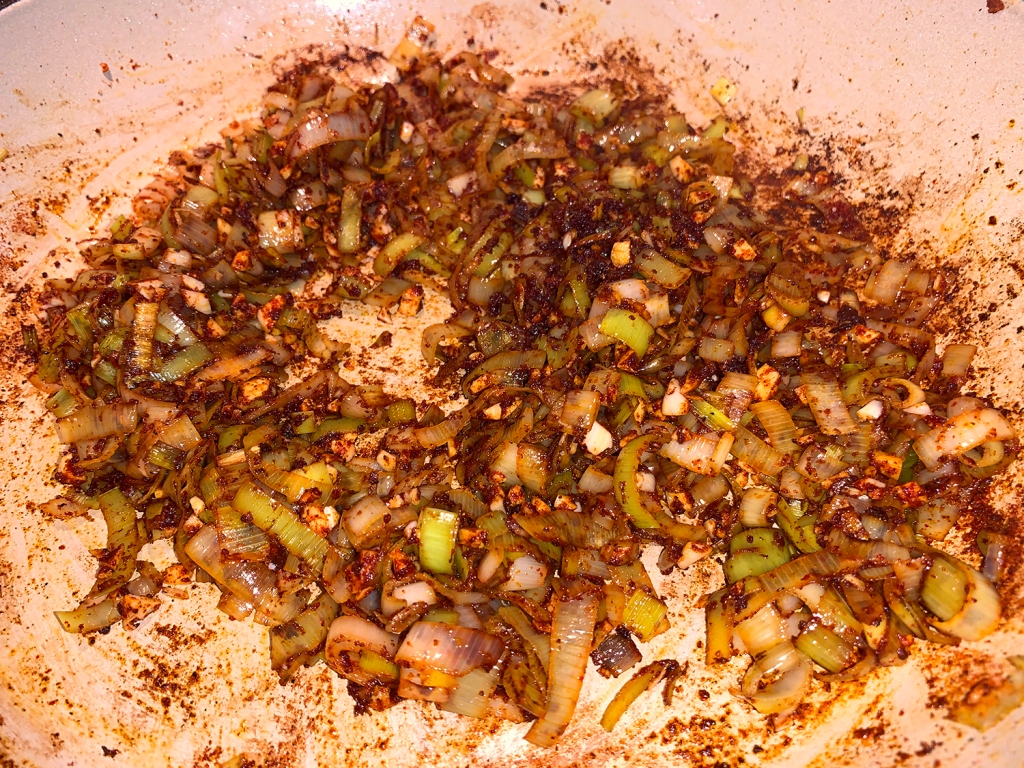
  4. Add the leek and cook, stirring occasionally, until softened, 4 to 5 minutes.
  5. Add the garlic and the reserved paprika mixture, then cook, stirring, until fragrant, about 1 minute.
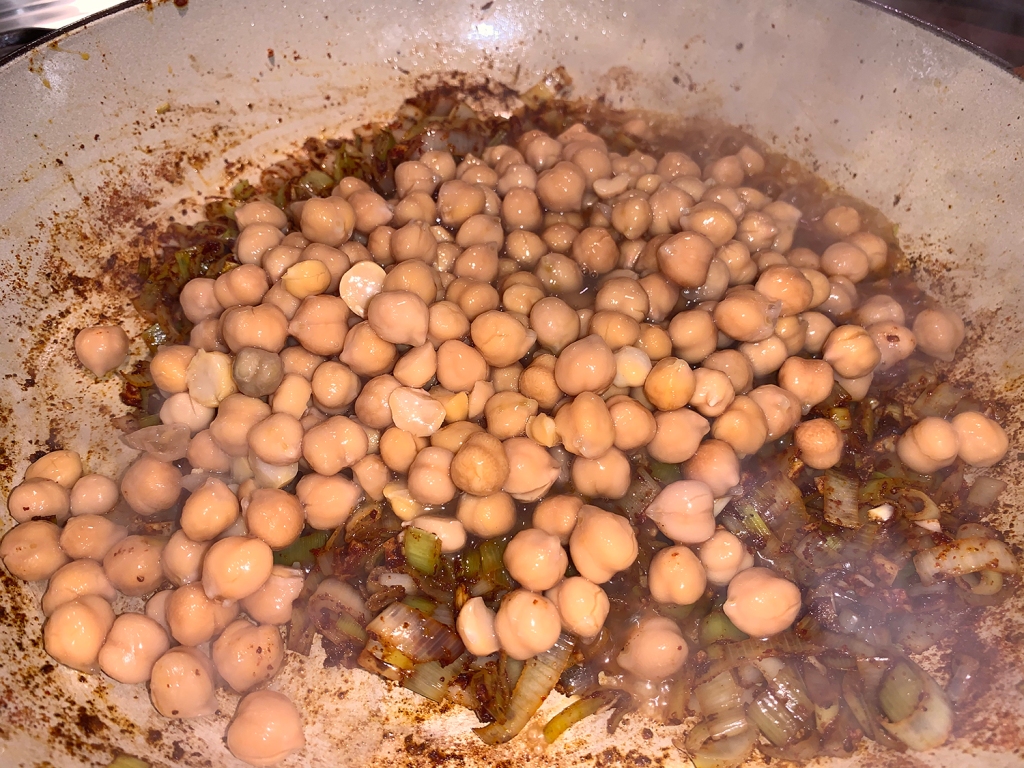
  6. Stir in the chickpeas, the reserved chickpea liquid and the clam juice. Bring to a simmer, then reduce to low, cover and cook for 10 minutes, stirring once or twice.
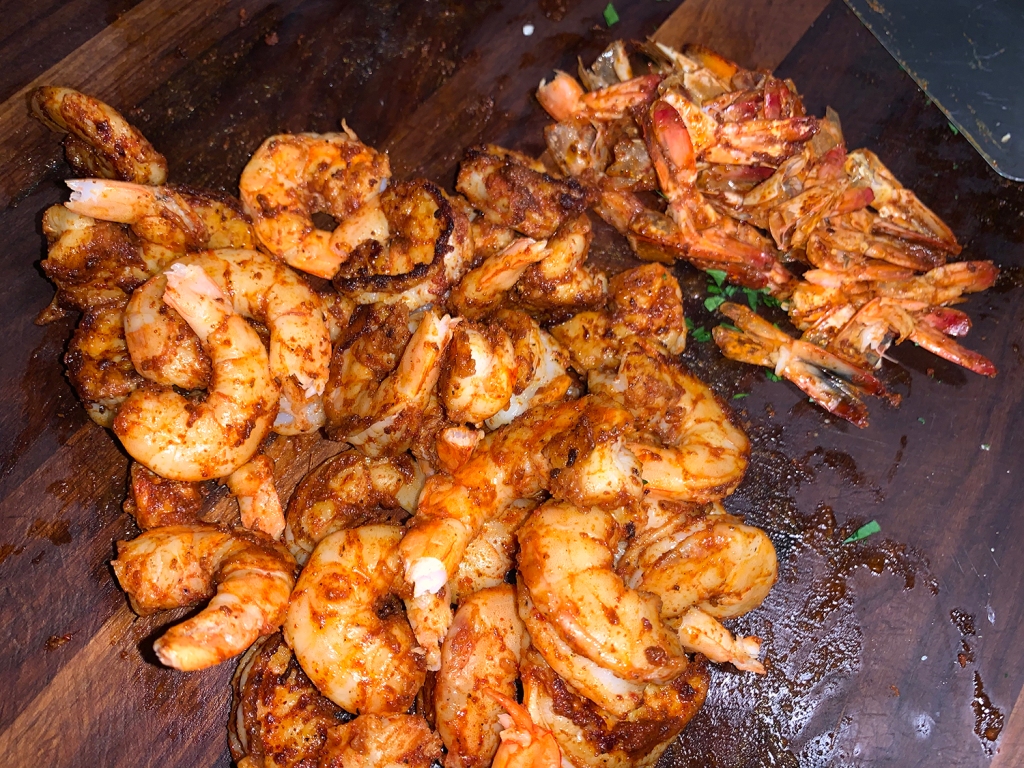
  7. Meanwhile, remove the tails from the shrimp and cut each in half crosswise. Remove the pot from the heat and stir in the shrimp along with accumulated juices.
  8. Cover and let stand until the shrimp are opaque throughout, 2 to 3 minutes.
  9. Taste and season with salt and pepper. Serve sprinkled with parsley and drizzled with additional oil.

http://www.lynnandruss.com

Adapted from a recipe by Milk Street

Russell’s Russets

Steak fries on steroids. That’s how I first thought of these spuds when The Mr. made them about a month ago. Savory and crispy on the outside, super tender and creamy on the inside. A perfect accompaniment to his birthday dinner of grilled baby back ribs and a Tex-Mex slaw.

And speaking of his birthday, pretty much every gift he received had something to do with cooking/food. One of which is his new pride and joy, the Dao Vua hand-carved carbon steel cleaver made in Vietnam and sold through Bernal Cutlery on the West Coast (Oakland, CA). It truly is a work of art. They’re so popular, they are completely out of stock, so I’m glad I ordered it months ahead of time.

Bernal Cutlery opened for business in 2005 and specializes in all things knife related. Using time-honored Japanese Whetstone grinding techniques—and finishing by hand with a modified version of an old fashioned Barber’s strop—it offers peerless sharpening services, as well as very high caliber new knives, collectable and vintage models, classes in care and sharpening as well as hosting sessions on knife skills. This sharpening approach results in edges that are sharper, longer lasting and produce far less metal removal making for less wear on the knife.

But I digress. The very first thing he cut with that knife was the russet potatoes. And it was smooth sailing for sure. Not that potatoes are hard to cut, it’s just the experience of holding reverence in your hand while doing a mundane task, kind of elevates the process to another level.

The recipe came about one day when Russ had a hankering for sumac. A few weeks back, these very spuds were a side dish for our Seared Pork Tenderloin with Smoked Paprika and Oregano dinner. For some reason sumac is one of those spices that isn’t necessarily first and foremost in my mind, but I’m glad he took it out of hibernation.

Ground sumac is a versatile spice with a tangy lemony flavor, although more balanced and less tart than lemon juice. While having a diverse flavor profile, sumac blends exceptionally well with other spices such as allspice, chili, thyme, and cumin—the latter of which he also included.

Be generous with the olive oil, and make sure to fully coat the baking sheet and preheat it in the oven. When you first lay the wedges on it, you should hear a sizzle that lets you know the cooking process has already started even before you pop the pan back in the oven. After you flipped the spuds for the second 20 minutes, test with a knife tip to see if it easily pierces the potato. If, not cook 5 more minutes and test again.

These would also go well with a nice grilled steak—just in time for the holiday weekend. Enjoy!

Russell's Russets

  • Servings: 4
  • Difficulty: easy
  • Print

Ingredients

  • 3 medium russet potatoes, cut into 8 wedges each
  • 1 tsp. ground cumin
  • 1 tsp. ground sumac
  • 1/2 tsp. kosher salt
  • 1/2 tsp. freshly ground black pepper
  • 1/2 cup extra-virgin olive oil

Directions

  1. Preheat the oven to 400°.
  2. Grease a large rimmed baking liberally with 1/3 cup of the EVOO, spread evenly. Place the baking sheet in the oven while it preheats.
  3. Put the potato wedges in a large mixing bowl. Drizzle the remaining EVOO over the potatoes, add all of the seasonings, and mix well.
  4. When the oven reaches temperature, pull out the baking sheet (use a mitt so as not to burn your hand) and arrange the potatoes without them touching each other. Bake for 20 minutes.
  5. Increase the temperature to 425° while you turn the potatoes over and then return the pan to the oven for another 20 minutes.

http://www.lynnandruss.com

Identity Crisis?

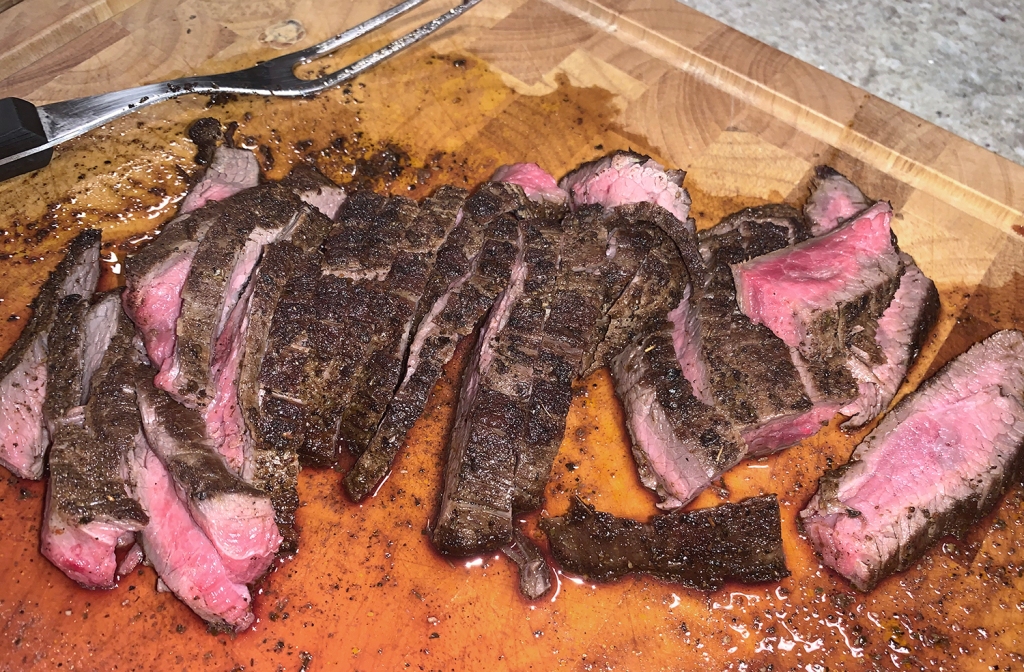
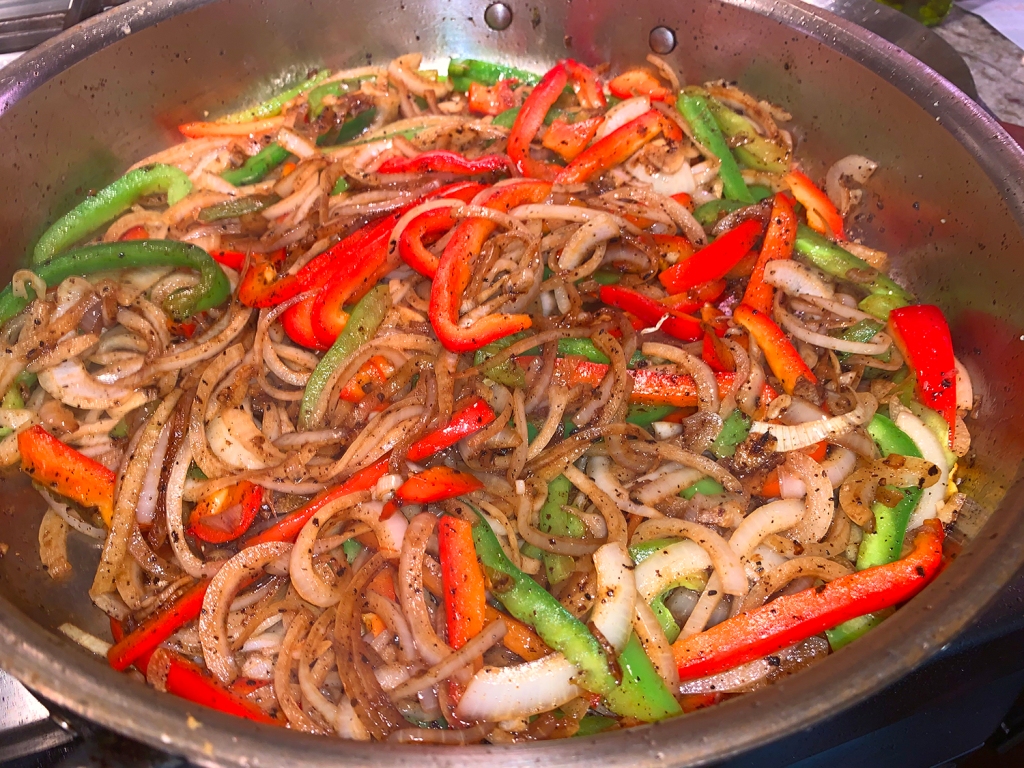
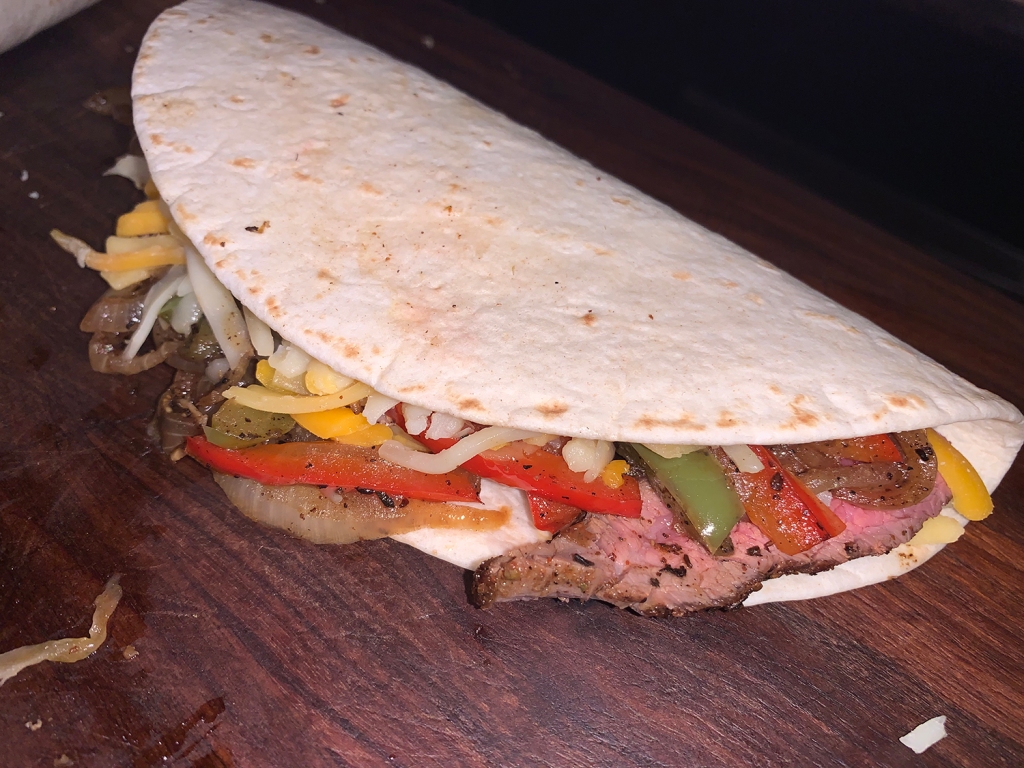
Why did I never think of this before? Fajita Quesadilla—a win-win! In this case with red meat, but you could also substitute chicken, fish and/or other veggies. This particular combo, sizzling spiced steak, onions and peppers paired with gooey cheese certainly got my attention. We dubbed them QUESAJITAS.

It was our first dinner party since we began the COVID lockdown the beginning of March (if you can call four people a party—but then, I can be a party of one!) And to be honest, it was the first warm, dry weekend we’ve had since the spring season began; so we were beyond ready for some socialization—that included of course, great food and adult beverages.

We were well on our way in prepping everything in the morning, when unexpectedly our kitchen touch-faucet went on the blink. 3 1/2 hours later, without success in getting the automatic touch feature to work, The Hubs disconnected it—but at least got it to work manually.

Now back to that party. What’s nice about this recipe, and our side of Purple Tex-Mex Slaw, is that all of the prep can be done ahead of time. So you’ll only be standing in front of the stove, or over a grill for an abbreviated period of time. Lucky for us, we had enough leftover for the two of us for lunch a couple of days later. This recipe can easily be cut in half.

And because I’m feeling generous today, I’ll throw in my famous Holy-Moley Lynn’s Great Guacamole recipe. It’s chunky style and packed with fabulous flavor while providing a perfect accompaniment for those Quesajitas!

Margarita anyone?

Steak Fajita Quesadilla

  • Servings: 6-8
  • Difficulty: easy
  • Print

Ingredients

  • 1 Tbsp. + 1 tsp. chili powder
  • 2 tsp. ground cumin
  • 2 tsp. dried oregano
  • Kosher salt
  • 2 lbs. flank steak
  • 1/4 cup. vegetable oil; more as needed
  • 2 medium yellow onions, thinly sliced (about 2 cups)
  • 2 bell peppers: 1 red and 1 green, thinly sliced (about 1 cup)
  • 4 cloves garlic, finely chopped
  • 8 large flour tortillas (9- to 10-inch diameter, burrito-size)
  • 1 1/2 lbs. Mexican-style shredded cheese blend (about 6 cups)
  • Salsa, guacamole, sour cream, and Mexican hot sauce, for serving

Directions

  1. In a small bowl, combine the chili powder, cumin, oregano, and 2 tsp. salt. Rub the steak all over with the spice mixture. It’s best to do this a few hours ahead of time if possible.
  2. Heat 1 Tbs. of the oil in a large nonstick skillet over medium-high heat, or alternatively, heat an oiled grill to medium high (400°F to 475°F). Cook the steak, flipping once, until rare, 4 to 5 minutes.
  3. Transfer to a cutting board. Let rest 5 minutes, then thinly slice across the grain. Repeat if necessary with another steak.
  4. Return the pan to the heat, and add more oil if dry. Add the onion, bell pepper, and garlic to the pan, season generously with salt, and cook, stirring occasionally, until the onion is softened and the peppers are crisp-tender, about 5 minutes. Transfer to a bowl; set aside. Wipe out the skillet with paper towels; set aside.
  5. Put the tortillas on a work surface. Sprinkle 1/3 cup of the cheese over half of each tortilla. Evenly divide the steak and vegetables over the cheese.
  6. Sprinkle the remaining cheese over the steak and vegetables. Fold each tortilla in half so that the empty side covers the filling.
  7. Heat 1 tsp. of the oil in the skillet over medium heat until shimmering. Add 2-3 of the quesadillas, and cook until golden-brown and the cheese is melted, about 3 minutes per side.
  8. Transfer to a clean cutting board, and then repeat with the remaining oil and quesadillas in as many batches as necessary. Cut the quesadillas into wedges, and serve with the salsa, guacamole, sour cream, and/or hot sauce.

http://www.lynnandruss.com

Adapted from a recipe by Christine Gallary from Fine Cooking

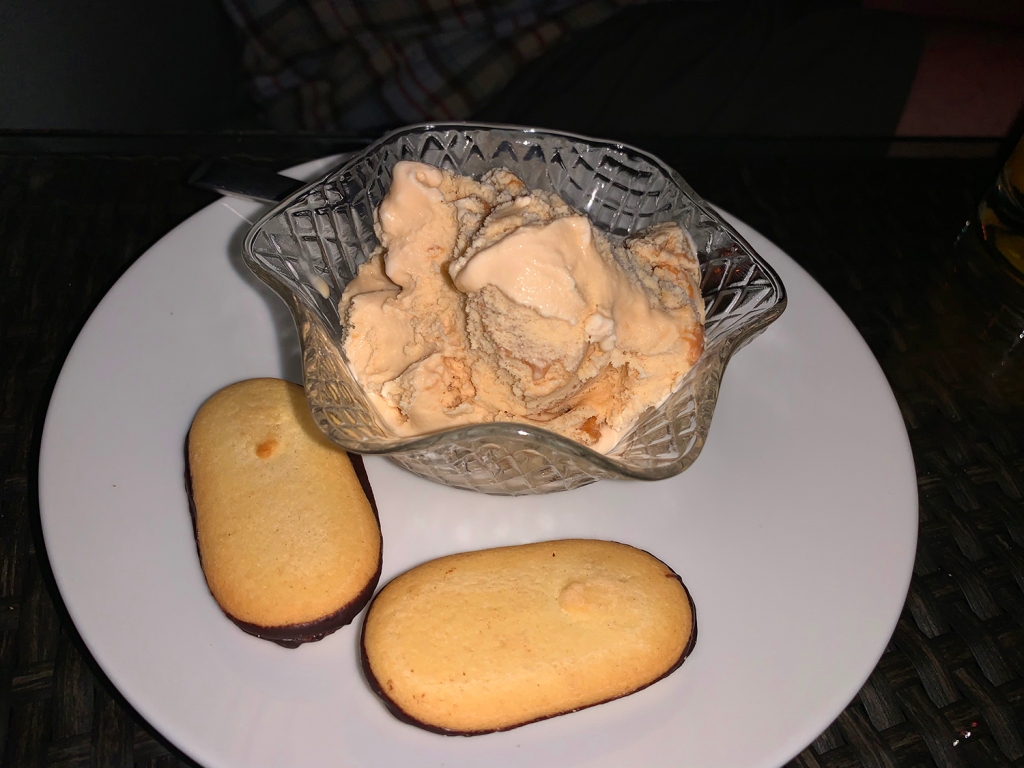
A Mexican twist for dessert with Dulce de Leche ice cream and double chocolate Milano cookies. (OK, The Pepperidge Farm cookies were of a different nationality…)

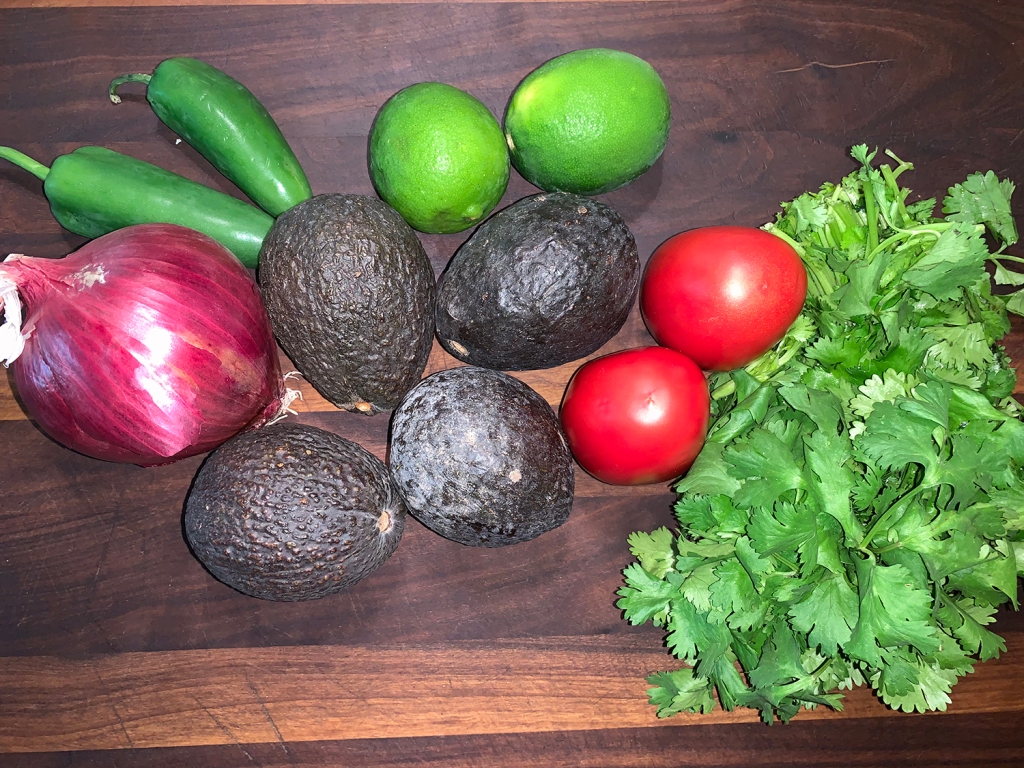
Holy-Moley Lynn’s Great Guacamole

Holy-Moley Lynn's Great Guacamole

  • Servings: yields about 4 cups
  • Difficulty: easy
  • Print

Ingredients

  • 1/4 cup, finely chopped red onion
  • 1/4 cup freshly squeezed lime juice
  • 1 tsp. slt
  • 4 large ripe Haas avocados, halved, pitted
  • 2 plum tomatoes, seeded, diced
  • 2 jalapeños, seeded, minced
  • 1/3 cup chopped cilantro, more to taste

Directions

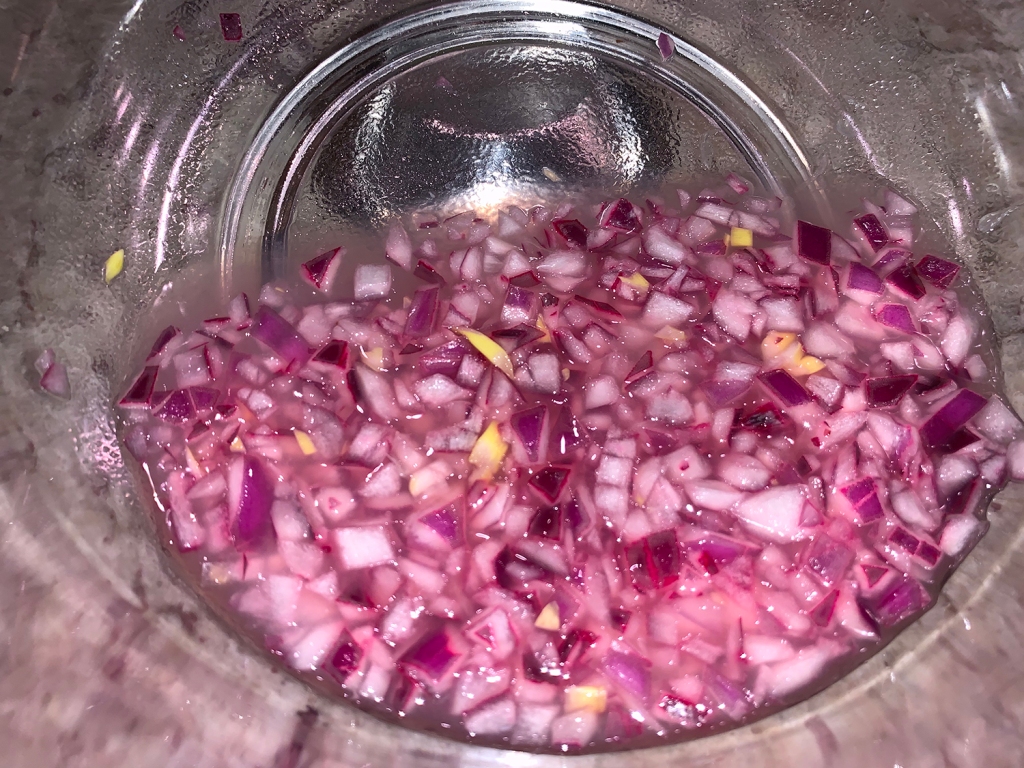
  1. In a large glass bowl, combine onion, lime juice and salt; let stand at room temperature for 20 minutes.
  2. With a large tablespoon, scoop avocado flesh into the bowl with the onion mixture. Coarsely mash with a potato masher.
  3. Stir in the remaining ingredients.
  4. Cover with plastic wrap pushing down on plastic to make sure no air is between the covering and the guacamole to prevent browning.
  5. Refrigerate up to 24 hours.

http://www.lynnandruss.com

Funghi Ragoût with Mushroom Agnolotti

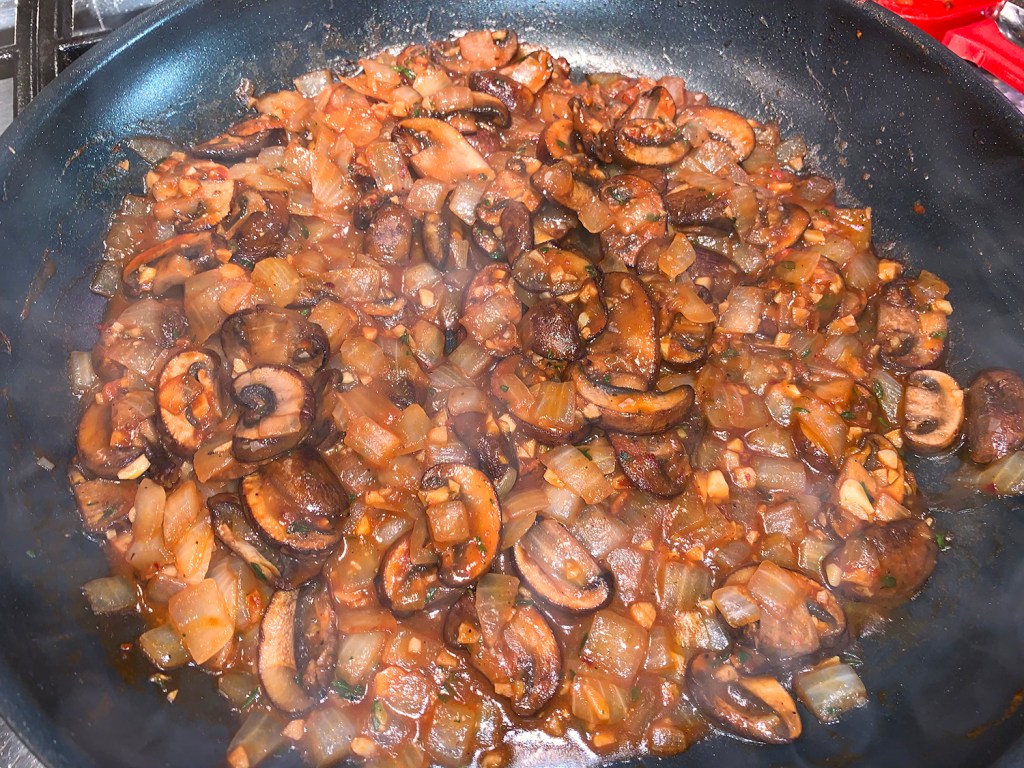
Mushroom lovers unite! Not only is the pasta filled with the fleshy and edible fruit bodies of macrofungi (OK, maybe a little too scientific sounding), but the mushroom is the star of the show in the topping. Though delicious made with cremini mushrooms alone, this one-pan sauce is even more spectacular if you use a mix of mushrooms.

Luscious Mushrooms

My inspiration recipe from Fine Cooking used cheese ravioli, but mushrooms were the name of the game for me, so I chose agnolotti. It is a type of pasta typical of the Piedmont region of Italy, made with small pieces of flattened pasta dough, folded over a filling of roasted meat or vegetables—in this case, mushrooms.

Funghi Ragoût with Mushroom Agnolotti

  • Servings: 4
  • Difficulty: easy
  • Print

Ingredients

  • Kosher salt
  • 2-1/2 to 3 Tbs. extra-virgin olive oil; more as needed
  • 12 oz. cremini mushrooms (or mixed wild), sliced about 1/4 inch thick
  • Freshly ground black pepper
  • 1 small yellow onion, chopped
  • 3 cloves garlic, minced
  • 2 tsp. tomato paste
  • 1-1/2 tsp. all-purpose flour
  • 1-1/2 tsp. chopped fresh thyme leaves
  • Pinch crushed red pepper flakes
  • 1/4 cup dry red wine
  • 1/4 cup lower-salt vegetable or chicken broth
  • 10 oz. fresh or frozen mushroom stuffed agnolotti
  • 1 Tbs. chopped fresh flat-leaf parsley
  • Grated Parmigiano-Reggiano or Grana Padano

Directions

  1. Bring a large pot of well-salted water to a boil.
  2. Heat 1-1/2 Tbs. of the oil in a large skillet over medium-high heat. Add the mushrooms, 1/4 tsp. salt, and a few grinds of black pepper. Stir to combine, then spread the mushrooms out in the pan and cook, undisturbed, until well browned on one side, about 3 minutes.
  3. Stir and continue to cook until well browned all over and any liquid has evaporated, about 3 minutes. (if the mushrooms are dry and the pan begins to scorch, add a drizzle of oil.) Transfer the mushrooms to a plate.
  4. Add 1 Tbs. of the remaining oil in the same pan over medium heat. Add the onion and cook until translucent, about 2 minutes.
  5. Add the garlic and cook until fragrant, about 30 seconds. Add the tomato paste and cook, stirring, for 1 minute.
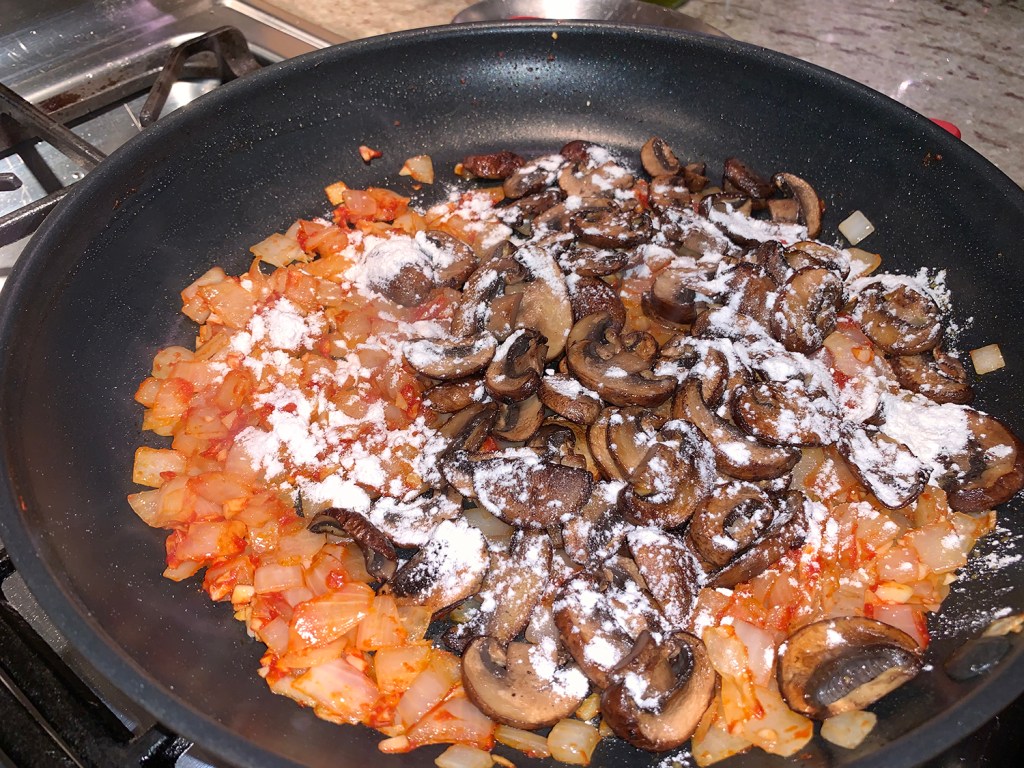
  6. Return the mushrooms and any liquid to the pan. Add the flour, thyme, and pepper flakes, and cook, stirring frequently, for 1 to 2 minutes.
  7. Add the wine, and stir until thickened. Add the broth, and simmer until the liquid reduces to a light sauce. Season to taste with salt and pepper.
  8. Meanwhile, cook the pasta in the boiling water according to package directions until al dente, drain, and add to the skillet with the mushrooms. Stir to coat over low heat. Serve topped with the parsley and cheese.

http://www.lynnandruss.com

Original recipe by Lynne Curry from Fine Cooking

Wilted Arugula Salad with Sautéed Pork, Pear and Blue Cheese

Now that the weather is finally getting warm around here in the Northeastern U.S., we start thinking entrée salads for dinner. This dish is perfect for when you want a satisfying dinner but don’t want to dirty a whole lot of pots and pans to get there. It’s easy to prepare and has intense, warming flavors that satisfy the tastebuds, if not the soul.

Fabulous Salad

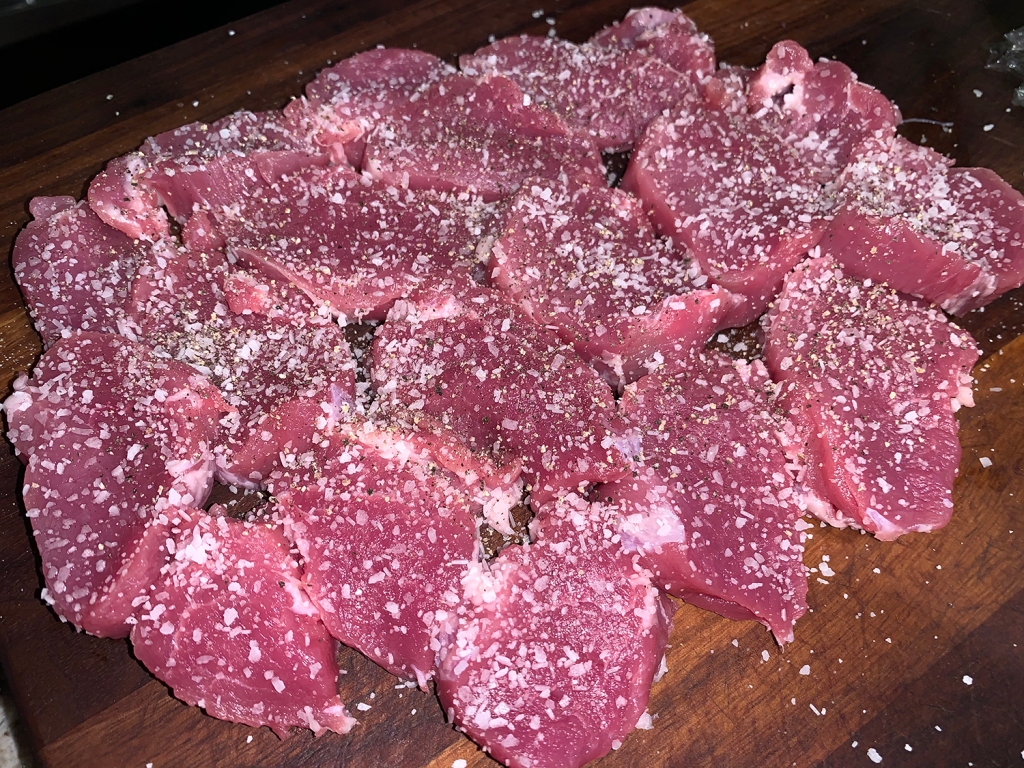
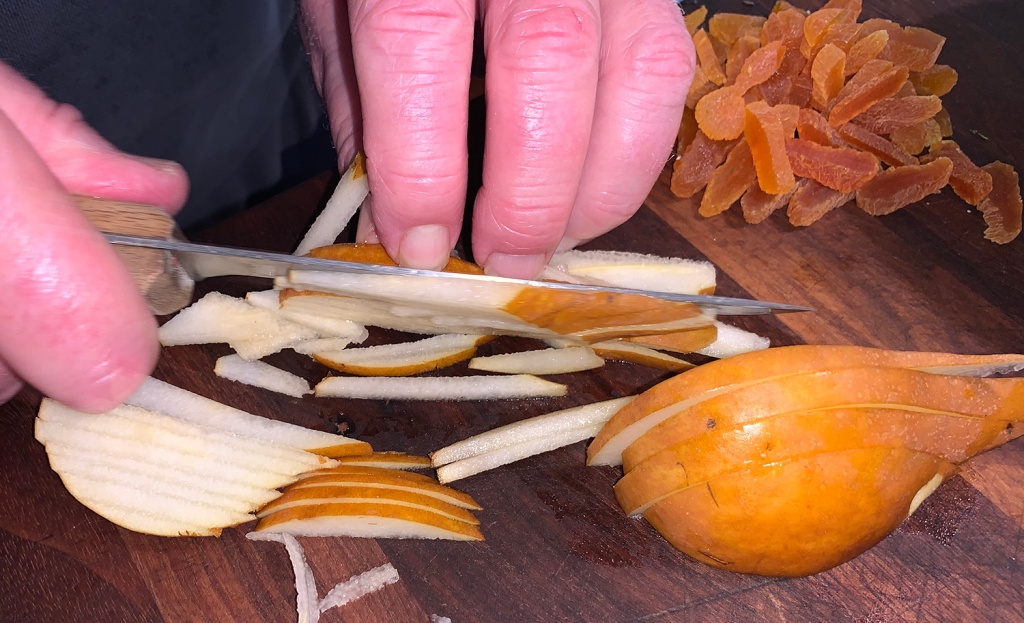
The main change I made was substituting dried apricots for the dried cherries. One, because we had them on hand, and two, because we both felt their flavor profile better melded with the other ingredients. But if you are a cherry fan, by all means, go ahead and use them.

Wilted Arugula Salad with sautéed Pork, Pear and Blue Cheese

  • Servings: 3-4
  • Difficulty: easy
  • Print

Ingredients

  • 3 Tbs. balsamic vinegar
  • 2 tsp. Dijon mustard
  • 1/2 cup plus 3 Tbs. extra-virgin olive oil
  • 1 medium shallot, finely diced
  • 1 tsp. chopped fresh thyme
  • Kosher salt and freshly ground black pepper
  • 6 oz. baby arugula, washed and spun dry (about 8 loosely packed cups)
  • 1 firm-ripe Bosc pear
  • 1/2 cup all-purpose flour
  • 1 lb. pork tenderloin, trimmed and sliced 3/8 to 1/2 inch thick
  • 1 Tbs. unsalted butter
  • 1/4 lb. blue cheese, crumbled (about 1 cup)
  • 1/4 cup dried apricots, thinly sliced

Directions

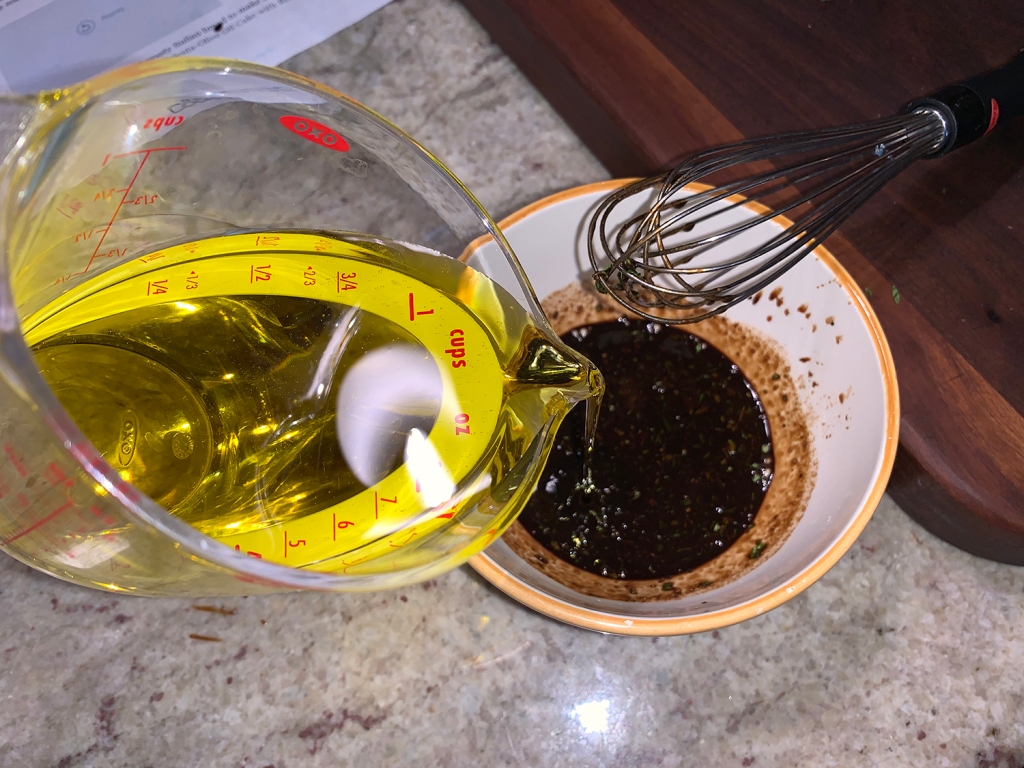
  1. In a medium bowl, whisk together the vinegar and mustard. Slowly whisk in 1/2 cup of the oil. Stir in the shallot and thyme and season with salt and pepper to taste. Put the arugula in a large bowl.
  2. Core the pear and cut it into matchsticks.
  3. Put the flour in a pie pan or large plate. Season the pork liberally with salt and pepper and dredge in the flour.
  4. Set a heavy 12-inch skillet over medium-high heat. Add the remaining 3 Tbs. oil and the butter. When the butter melts and begins to lightly brown, cook the pork (in batches if necessary), flipping after 2 min., until it’s just cooked through, about 3 min. total. Transfer to a large plate. Repeat with the remaining pork.
  5. Discard any fat in the skillet and set over low heat. Add the balsamic-Dijon vinaigrette and cook, stirring to pick up any browned bits on the bottom of the pan, until the sauce is warm, about 1 min.
  6. Pour the vinaigrette back into its bowl and whisk to recombine.
  7. Toss the arugula with half of the warm vinaigrette.
  8. Arrange the arugula on 3-4 plates. Top with the pork, pear, blue cheese, and dried apricot slices, and drizzle with the remaining vinaigrette.

http://www.lynnandruss.com

Adapted from a recipe by Tony Rosenfeld from Fine Cooking

Pan-Seared Salmon with Chili-Lime Mayonnaise

The original recipe by Daniel Gritzer from Serious Eats is finished under a broiler. However, we’ve recently been watching an online class from Milk Street highlighting a simple 3-step method which guarantees your fish will be moist, and decided this approach was the way to go.

Heating a skillet over medium-high, then lowering the temperature once the salmon is in the pan ensures a nice sear without the risk of scorching. And finishing the cooking off heat, using just the pan’s residual heat, ensures the fish stays moist and won’t overcook. Just remember not to place the salmon in the skillet with the skin facing down. Make sure the fish goes in flesh side down, and don’t fuss with it once they’re in. Cooking it undisturbed allows the fish to develop flavorful browning.

Pan-Seared Salmon

The topping coats the fish in a thin layer of flavorful mayonnaise seasoned with harissa chili paste and fresh lime, and works with either individual portions of fish or a large party-size fillet. For just the two of us, we cut the recipe in half. If you do not have harrissa, you could substitute either red curry paste or gochujang. Sriracha would give you heat, but your sauce mixture will be thinner because it’s not as dense as the other options.

It’s very likely you will have leftover chili-lime sauce. Don’t fret, it’s great on a crudité platter for dipping veggies, spreading on sandwiches, or as a salad dressing. We used ours a few days later as a topping for grilled hamburgers.

Pan-Seared Salmon with Chili-Lime Mayonnaise

  • Servings: 4
  • Difficulty: easy
  • Print

Ingredients

  • 1 cup mayonnaise
  • 2 tablespoons harissa chili paste, plus more if desired
  • Finely grated zest of 2 limes plus 2 teaspoons fresh lime juice
  • 1/2 teaspoon ground coriander seed
  • 2 pounds boneless center-cut salmon fillet, with or without skin and either whole or divided into individual portions
  • Kosher salt and freshly ground black pepper

Directions

  1. In a small bowl, stir together mayonnaise, harissa, lime zest and juice, and coriander seed. Season with salt and pepper; feel free to adjust flavor and heat level by adding more harissa, if desired.
  2. In a nonstick 12-inch skillet over medium-high, heat the oil until shimmering. Place the salmon flesh side down in the pan, then immediately reduce to medium. Cook, undisturbed, until golden brown, 4 to 6 minutes.
  3. Using a wide metal spatula, carefully flip the fillets, and remove from the heat.
  4. Spread the mayonnaise mixture over the fish fillets and immediately cover. Let stand until the thickest part of the fillets reach 120°F or are nearly opaque when cut into, about another 5 minutes for 1-inch-thick fillets or about 8 minutes if 1¼ inches thick.
  5. Transfer salmon to plates or a platter and serve.

http://www.lynnandruss.com

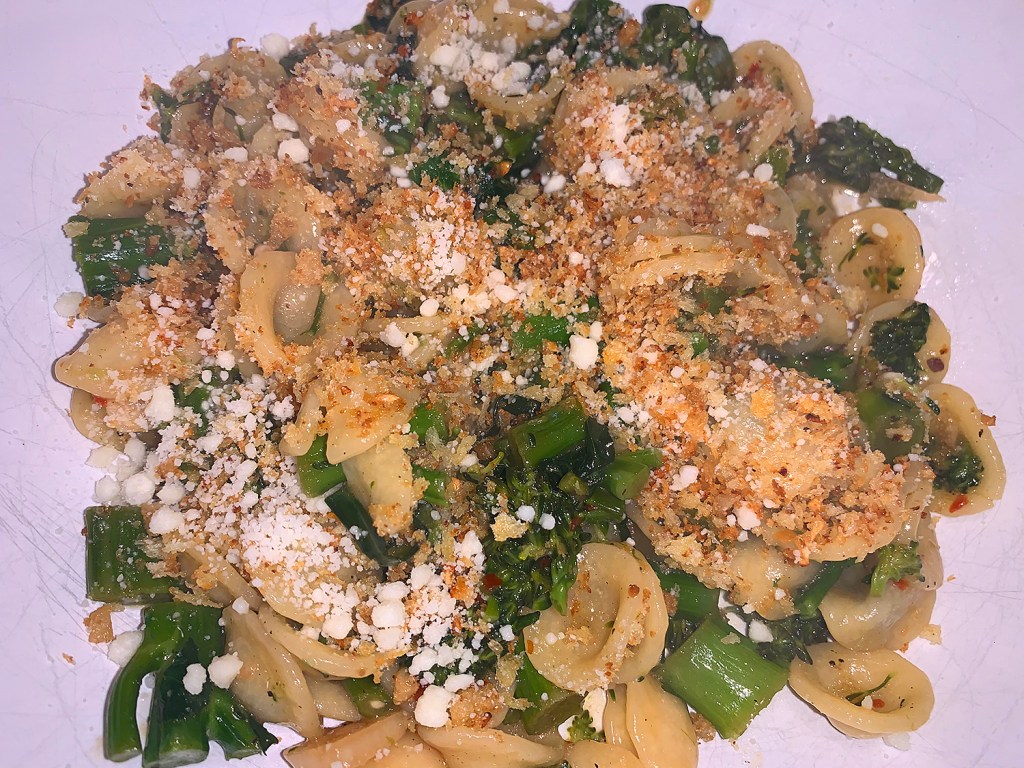
Orecchiette with Broccolini

There’s been numerous indications, due to the COVID-19 spread and the shutdown of meat processing plants, we’ll likely see meat and poultry shortages in the near future. With foresight, we are starting to compile a reservoir of meatless dishes that could come in handy. For those of you who follow a plant-based diet, you are already ahead of the curve.

Taken from the MilkStreet.com website, it is noted orecchiette with broccoli rabe (orecchiette con cime di rapa) is a signature pasta dish from the Puglia region of southern Italy. The bitterness of rabe is challenging for some palates, so using sweeter, milder broccolini addresses that. However, if you like the assertiveness of rabe, it can easily be used in place of the broccolini, though rabe will cook a little more quickly.

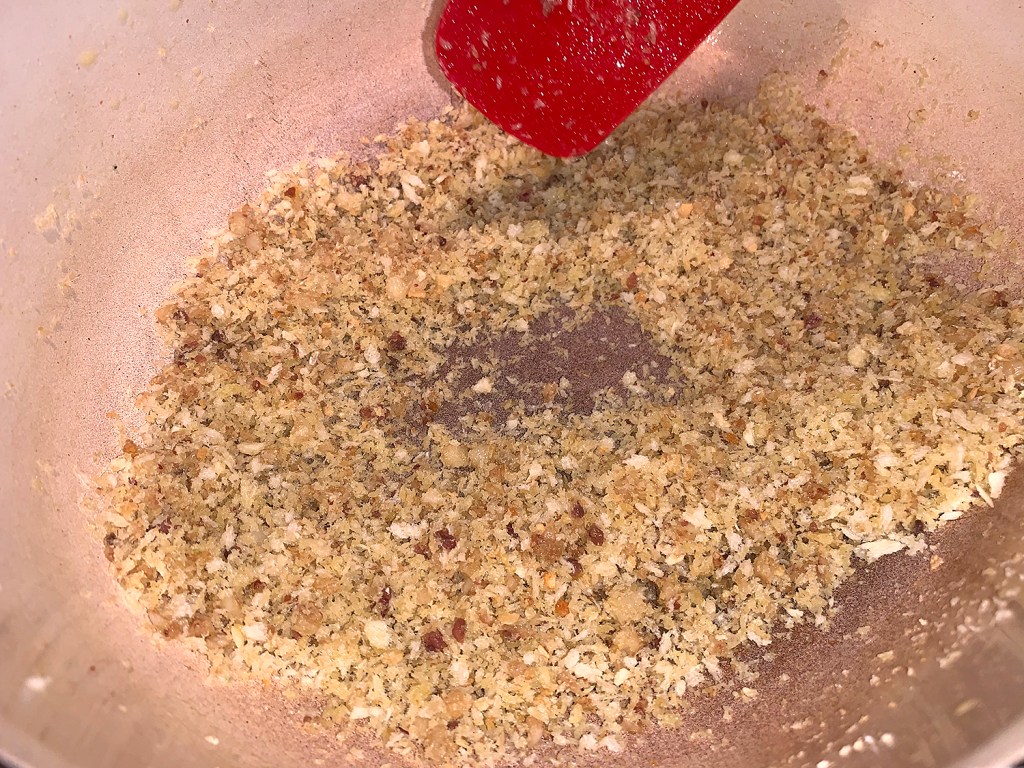
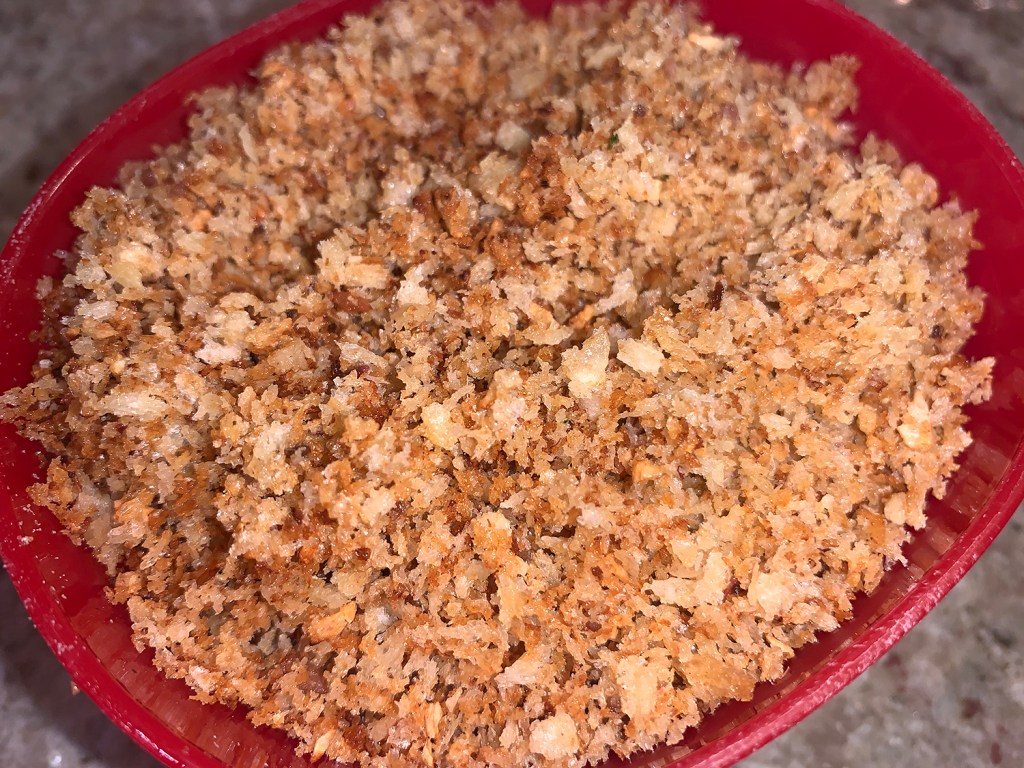
The pasta gets boiled in a minimal amount of water, then the starchy liquid that remains becomes the base for the sauce that marries the orecchiette and broccolini. A finishing sprinkle of toasted seasoned breadcrumbs adds a crisp texture. But don’t use fine dried breadcrumbs in place of panko. Their sandy, powdery texture doesn’t offer the light, delicate crispness of panko.

I decided to adjust the ratio of pasta versus the other ingredients by only using 2/3 the amount of orecchiette, 8 ounces instead of 12. Of course this decision necessitated that the amount of water be reduced also, from 5 cups to 3 cups + 2 ounces. (The original recipe amounts are listed below.) As an additional topper, we sprinkled on some grated Pecorino Romano cheese along with those fabulous bread crumbs. In the end, we loved this dish. There was so much flavor with so few ingredients!

Orecchiette with Broccolini

  • Servings: 4
  • Difficulty: easy
  • Print

Ingredients

  • 6 Tbsp. extra-virgin olive oil, divided
  • 8 Medium garlic cloves, 4 minced, 4 thinly sliced
  • 8 Oil-packed anchovy fillets, minced
  • ¾ Cup panko breadcrumbs
  • 1½ Lbs. broccolini, trimmed and cut crosswise into ¼-inch pieces
  • ½-1 tsp. red pepper flakes
  • Kosher salt and ground black pepper
  • 12 Oz. orecchiette pasta
  • 5 1/2 cups water
  • Grated cheese for garnish (optional)

Directions

  1. In a large Dutch oven over medium-high, heat 2 tablespoons of oil until shimmering. Add the minced garlic and half the anchovies, then cook, stirring, until fragrant, about 45 seconds.
  2. Add the panko and cook, stirring, until golden brown, about 3 minutes. Transfer to a bowl and set aside; wipe out the pot.
  3. In the same pot over medium-high, heat 2 tablespoons of the remaining oil until shimmering. Add the broccolini, pepper flakes, sliced garlic, 1½ teaspoons salt and ½ teaspoon black pepper. Cook, stirring occasionally, until the broccolini is crisp-tender and the garlic is golden brown, 6 to 7 minutes.
  4. Add ½ cup water and continue to cook, stirring, until most of the moisture has evaporated and the broccolini is fully tender, about 2 minutes. Transfer to a medium bowl and set aside.
  5. In the same pot over medium-high, boil 5 cups water. Add 2 teaspoons salt and the pasta, then cook, stirring occasionally, until the pasta is al dente.
  6. Stir in the broccolini mixture, the remaining 2 tablespoons oil and the remaining anchovies. Continue to cook over medium-high, stirring constantly, until the liquid has thickened enough to cling lightly to the pasta and broccolini, about 1 minute.
  7. Remove from the heat, then taste and season with salt and pepper. Transfer to a serving bowl and sprinkle with the breadcrumbs and grated parmesan if desired.
http://www.lynnandruss.com

Adapted from a recipe by Milk Street

Nutritional Way to Start the Day—Apple Oatmeal Bread

Here’s a change of pace to start your day, Apple Oatmeal Bread. One slice of this easy breakfast bread packs just as much fiber as a bowl of oatmeal. The two starring ingredients, old fashioned oats and apple, pack about 8 grams and 3 grams of fiber, respectively.

Apple Oatmeal Bread

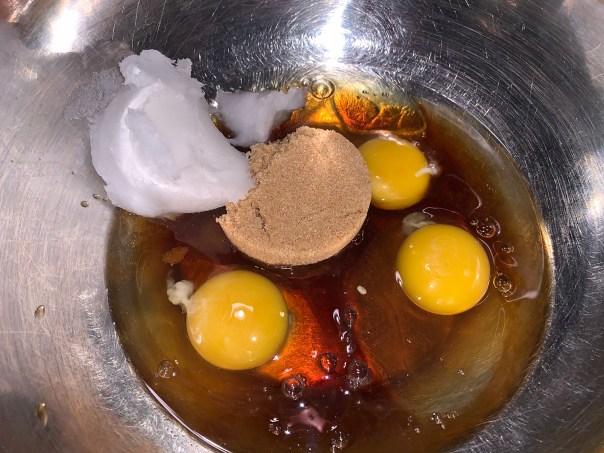
The Hubs couldn’t wait until I made this. In fact, for two weeks I kept saying I would make it the next day, before I finally buckled down and actually did so. As I was preparing the ingredients, he just happened to walk into the kitchen and noticed the egg and coconut oil mixture had lumps and questioned whether I had melted the coconut oil first (it comes in solid form). I replied “the directions didn’t say to”, which of course he immediately scanned the recipe and pointed out the directions did indeed say “coconut oil, melted”—busted!

In lieu of throwing out the wet mixture, he brilliantly thought of putting that bowl into another container of hot water (not boiling, which would cook the eggs) for several minutes, stirring occasionally until the liquid was smooth. It worked. Just giving you a heads up not to forget this important step…

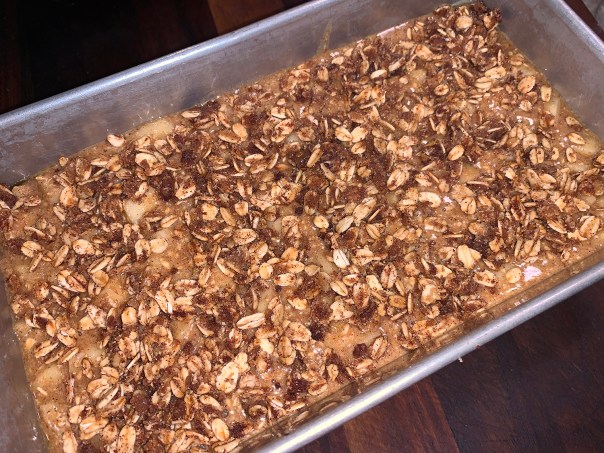
Another word to the wise. Madison’s original recipe indicates to use two large apples, about two cups. Well, our two large apples, once peeled and diced equaled nearly four cups, so that affects the baking time. Make sure to use a large loaf pan, 5 1/2″ x 9 1/2″, and start checking doneness after 45 minutes. Ours took the full hour.

Basically, this loaf features all of the nutritional wins of oatmeal in the form of a thick slice of bread. To make it even more hearty and mouth-watering, why not slather a slice with your choice of nut butter, fruit, or a combination of both?

Apple Oatmeal Bread

  • Servings: 1 loaf
  • Difficulty: easy
  • Print

Ingredients

For the crumble topping:

  • 1 Tbsp. butter, melted
  • 2 tsp. brown sugar
  • 3 Tbsp. dry oats
  • 1/2 tsp. cinnamon

For the bread:

Cut each slice about 3/4″ to 1″ thick.
  • 1 cup dry oats, ground into oat flour
  • 1 cup whole-wheat flour (can sub white-wheat or all-purpose flour)
  • 1/2 tsp. salt
  • 2 tsp. ground cinnamon
  • 1/2 tsp. baking soda
  • 1/2 tsp. baking powder
  • 3 large eggs
  • 1/4 cup maple syrup
  • 1/3 cup coconut oil, melted
  • 1 tsp vanilla extract
  • 1/3 cup brown sugar
  • 2 cups apples, cored, peeled and diced (about 2 large apples)

Directions

  1. Preheat oven to 350 degrees.
  2. Spray a loaf pan with cooking spray.
  3. Make the crumble. Melt the butter. Mix in the oats, cinnamon and brown sugar. Set aside.
  4. Peel two apples and chop into small pieces. Set aside.
  5. In a food processor, pulse the cup of oats until the mixture is fine and resembles flour. Place the oat flour in a large bowl.
  6. Add in the flour, salt, baking powder, baking soda, and cinnamon and stir to combine.
  7. In a separate bowl, whisk together the eggs, maple syrup, melted coconut oil, vanilla extract, and brown sugar. Fold in the chopped apples.
  8. Add the apple mixture into the flour mixture and stir until just combined.
  9. Pour batter until prepared loaf pan and top with crumble mixture.
  10. Bake in preheated oven. Check doneness at 45 minutes. The loaf is ready when a toothpick inserted into the center comes out clean, which will take close to an hour.
  11. Cool bread in loaf pan for 15 minutes, then move to a wire rack to cool enough to slice, about 15 minutes more.

http://www.lynnandruss.com

Recipe created by Madison Powers, blogger behind Sugar+Salt

Simple Iron Skillet Roast Chicken and Gravy

There’s something about roast chicken, mashed potatoes and gravy that screams comfort food to me. And I’ve made many a dinner highlighting these ingredients over the decades. The basis of this recipe hails from Mark Bittman of the NY Times Cooking site. With an ingredient list just four items long (chicken, olive oil, salt, pepper), the genius of this bare-bones roast chicken is in its technique.

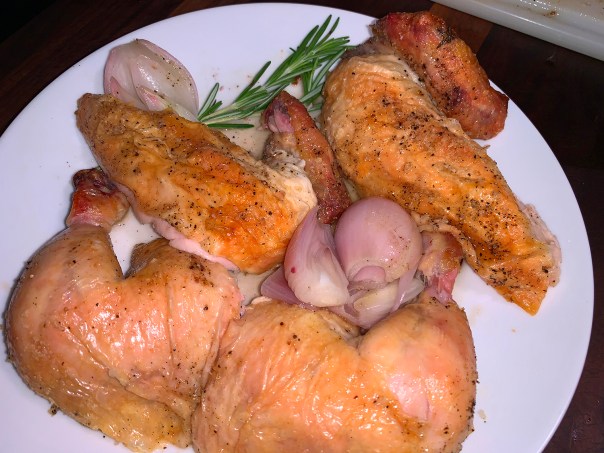
To make it, thoroughly preheat a cast-iron skillet before placing a seasoned bird, breast side up, in it. In under an hour you’ll get a stunner of a chicken, with moist, tender white meat, crisp, salty chicken skin, and juicy dark meat all done to perfection. Your mouth watering yet?

If you don’t already have a cast-iron skillet large enough to hold a whole chicken, this recipe is a good enough reason to invest in one.

Mark Bittman

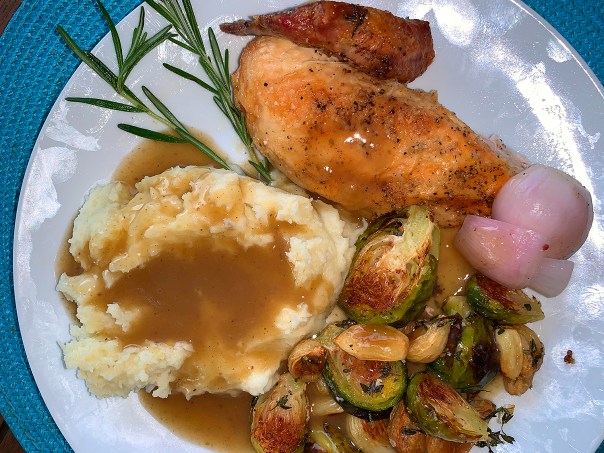
We, of course, had to kick it up a notch. Knowing we wanted to have garlicky mashed potatoes on the side, gravy is a must for the spuds. In order to get more depth of flavor, we stuffed the cavity of the chicken with a Meyer lemon, shallot, and fresh herbs (rosemary, thyme and sage). Not only did the additional ingredients subtly permeate the meat, but they added an amazing amount of flavor to the pan sauce.

So we’ve taken Mark’s simple recipe and expanded the directions to include our flavor enhancers and gravy. Our chicken—at less than 3 pounds—was probably the tiniest one I’ve ever cooked, so it came to temperature on the quicker side.

Honestly, after just one bite, we oooohed and aaahed all the way through dinner. You can always skip the additional cavity-stuffing ingredients and gravy to simplify things, but with very little additional effort, why would you? Plus we got the bonus of saving the carcass, stuffing and all, for future homemade stock…

The meal also included a side of roasted Brussels sprouts with garlic cloves.

Simple Iron Skillet Roast Chicken and Gravy

  • Servings: 4
  • Difficulty: easy
  • Print

Ingredients

  • 1 whole chicken, 3 to 4 pounds, trimmed of excess fat
  • Fresh herbs: a few sprigs each of fresh herbs such as rosemary, thyme and sage
  • 1 or 2 shallots, peeled and slice in half lengthwise
  • 1 Meyer lemon or orange, sliced in half or quartered
  • 3 Tbsp. extra-virgin olive oil
  • Kosher salt and freshly ground black pepper
  • 2 cups chicken stock, preferably homemade
  • 2 Tbsp. cornstarch, make a slurry with 1/4 cup cool water

Directions

  1. Put a cast-iron skillet on a low rack in the oven and heat the oven to 500 degrees.
  2. Insert your stuffing ingredients such as fresh herbs, shallots and citrus. Truss the legs with kitchen twine.
  3. Rub the chicken all over with the oil and sprinkle it generously with salt and pepper.
  4. When the oven and skillet are hot, carefully put the chicken in the skillet, breast side up. Roast for 15 minutes.
  5. Turn the oven temperature down to 350 degrees. Continue to roast until the bird is golden brown and an instant-read thermometer inserted into the meaty part of the thigh reads 155 to 165 degrees.
  6. Tip the pan to let the juices flow from the chicken’s cavity into the pan. Transfer the chicken to a platter and let it rest for at least 5 minutes.
  7. While the chicken is resting, add the stock to the skillet and bring to a rolling simmer. Whisk in the cornstarch slurry, and continue a rolling simmer for a few minutes to let the gravy thicken.
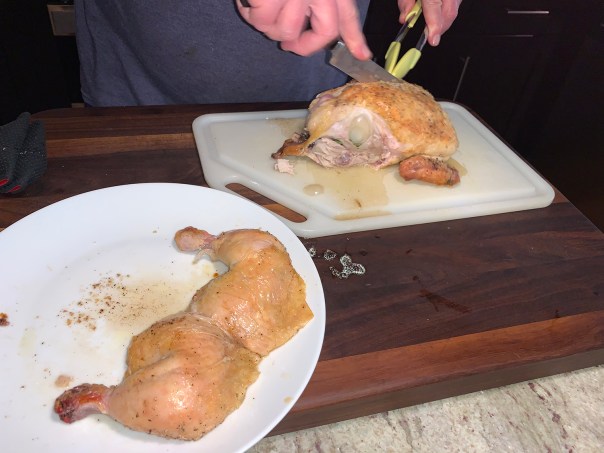
  8. Return any accumulated juices from the chicken into the gravy. Carve the bird and serve.

http://www.lynnandruss.com

Lasagna Bolognese

A cool, rainy Sunday during the COVID-19 lockdown—perfect for us to spend time together cooking in the kitchen. While The Mr. made his homemade chicken stock, I started assembling this wonderful Lasagna Bolognese recipe by Diane Unger, found in an issue of Milk Street Magazine.

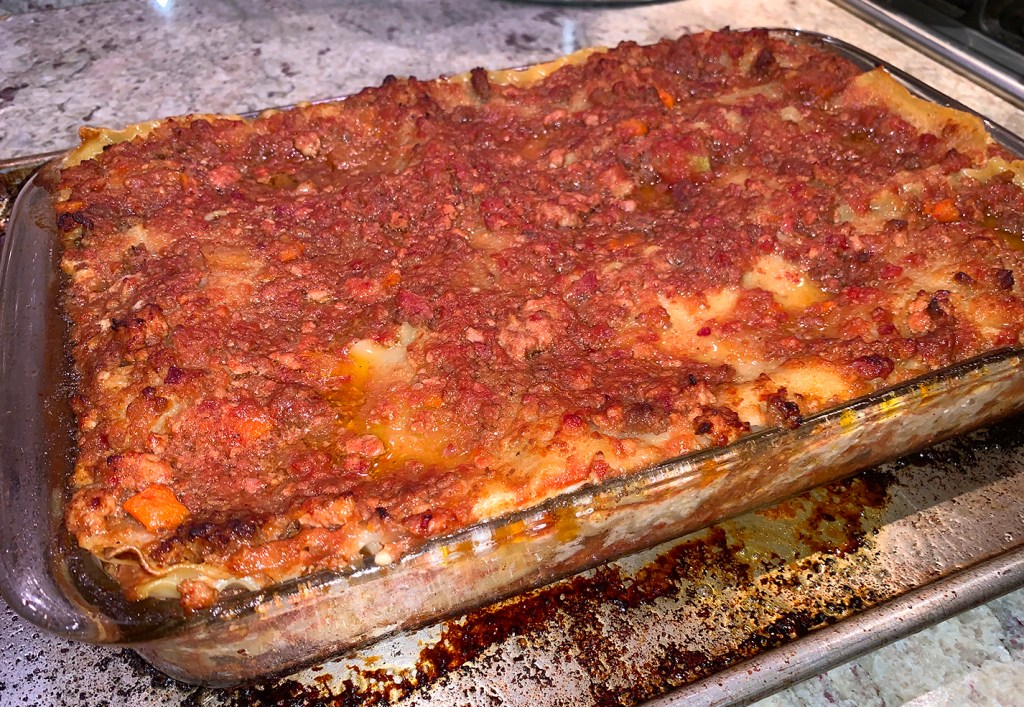
A slice of the mouth-watering Lasagna Bolognese after sitting
for 30 minutes and topped with a mixture of grated
Pecorino Romano and Parmesan cheeses.

Yes, it is time-intensive, but it makes enough ragù for the lasagna with plenty of leftovers for another night’s pasta dinner. And given all of the statistical data showing most of this country still in lockdown, time is one thing you do have plenty of (unless of course you’re one of the heroes out there keeping this country safe and operational).

The velvety besciamella was simply awesome! You can make it ahead of time and rewarm it when assembling the casserole. It’s amazing how light this lasgana was considering all of the meat. But in retrospect, there’s really not a lot of cheese—just the 3 ounces in the white sauce, along with any you sprinkle on as a garnish.

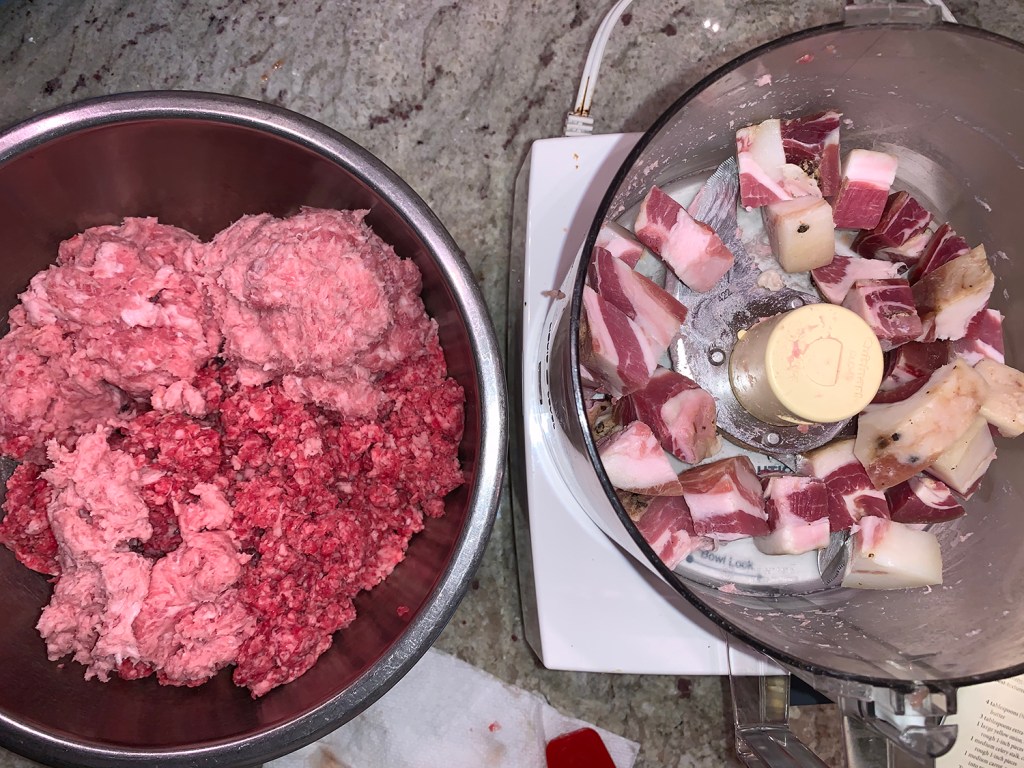
Try to purchase pancetta in a large chunk from the deli counter, and if it comes in casing-like plastic, make sure to remove and discard the wrap before use. The next best option is packaged already diced pancetta; if pre-sliced is the only option, it will work, but will cost a lot more and requires less time in the food processor.

Don’t trim the fat from the beef and pork. The fat makes the ragù rich and supple, and carries the flavors of the other ingredients. Don’t process the beef and pork too finely; a coarse grind yields the best-textured sauce. It may seem a bit thin after the long braise, but don’t fret because a bit of powdered gelatin gives the ragù a rich, velvety body that otherwise would require an even lengthier simmer to achieve.

We went a step further and bought bone-in short-ribs, cutting the meat off the bones, then tossing those bones in with the ground meats to simmer for 3 hours.

You may wonder why not just used already crushed canned tomatoes instead of going through the step of blending canned whole tomatoes in a food processor. The simple answer? Whole tomatoes are generally sold peeled, in either juice or puree. This is usually the highest quality tomato product. Crushed tomatoes are a mixture of diced tomatoes and tomato puree or paste. Furthermore, crushed tomatoes are unpredictable. With some brands they’re crushed almost to a purée, while other brands might still have big chunks.

You’ve probably run into bare shelves at the grocery store during these crazy times. Well, when I was shopping for this recipe, almost the entire selection of pasta was gone! There were two boxes of lasgana, (not the no-bake variety as indicated below), so I grabbed one and made the best of it. If you are fortunate enough to get them, don’t use the noodles without first soaking them. Unsoaked noodles absorb moisture from both the ragù and besciamella, leaving the lasagna too dry. But don’t soak them for longer than 10 minutes.

Enjoy, then enjoy again!

Lasagna Bolognese

  • Servings: 8-10
  • Difficulty: moderate
  • Print

Ingredients

To make the lasagna:

  • 12 No-boil 6½-by-3½-inch lasagna noodles
  • 1 Tbsp. extra-virgin olive oil
  • Kosher salt
  • 6 Cups ragù bolognese, warmed (see recipe below)
  • 3 Cups parmesan besciamella, warmed (see recipe below)
  • Finely grated parmesan and/or Pecorino-Romano cheese, to serve

Directions

  1. Heat the oven to 350°F with a rack in the middle position.
  2. Place the noodles in a 9-by-13-inch baking dish, then add hot water to cover, along with the oil and 1 Tbsp. salt; swish the noodles around to dissolve the salt. Let stand for 10 minutes, moving the noodles around halfway through to ensure they do not stick together.
  3. Remove the noodles from the water and arrange in a single layer on a kitchen towel; pat dry with paper towels. Wipe out the baking dish.
  4. Distribute 2 cups ragù evenly in the baking dish, then place 3 noodles in a single layer on top.
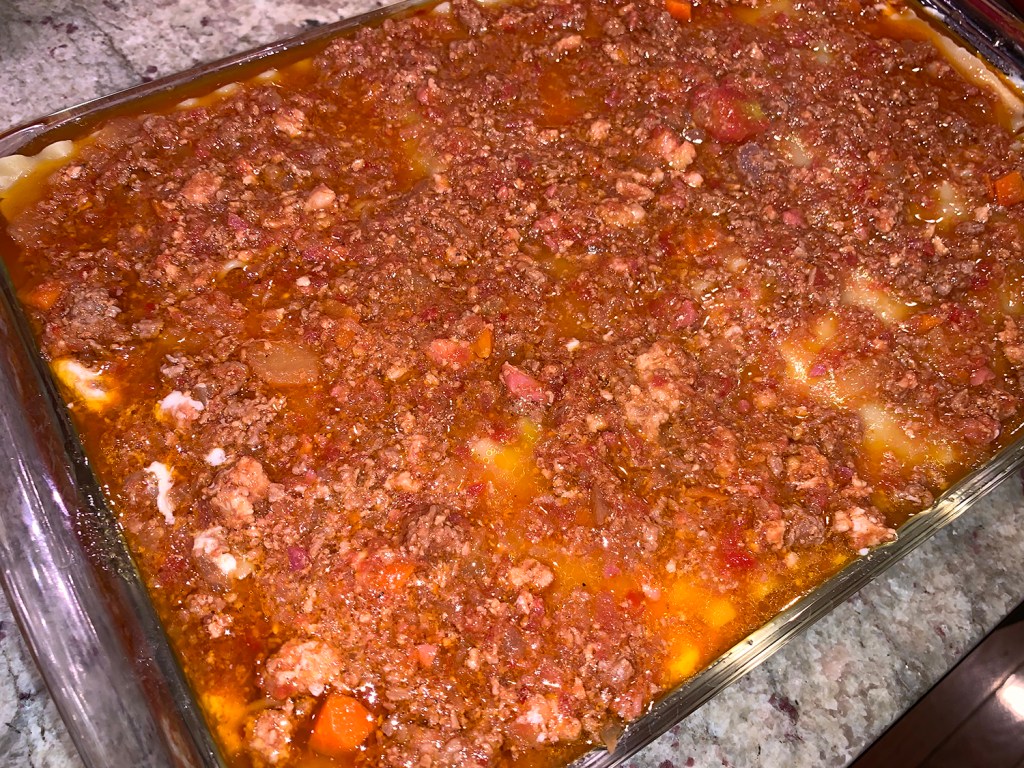
  5. Spread ¼ cup besciamella onto each noodle, all the way to the edges. Pour 1 cup ragù on top and spread evenly.
  6. Repeat the layering 3 more times, using the remaining noodles, besciamella and ragù, then cover the baking dish tightly with foil.
  7. Bake until the edges of the lasagna are bubbling, 45 minutes to 1 hour.
  8. Transfer to a wire rack, uncover and cool for about 30 minutes.
  9. Cut into pieces and serve sprinkled with Parmesan.

Our lasagna pan was filled to the brim and we knew it would probably overflow so we set the casserole dish on a rimmed baking sheet. We also neglected to cover the dish with tinfoil before cooking it in the oven. It was done perfectly after 35 minutes, even without the foil!

http://www.lynnandruss.com

Parmesan Besciamella

This white sauce is packed with flavor from bay, basil and Parmesan and gets a hint of heat from red pepper flakes. The finished besciamella can be refrigerated in an airtight container for up to two days.

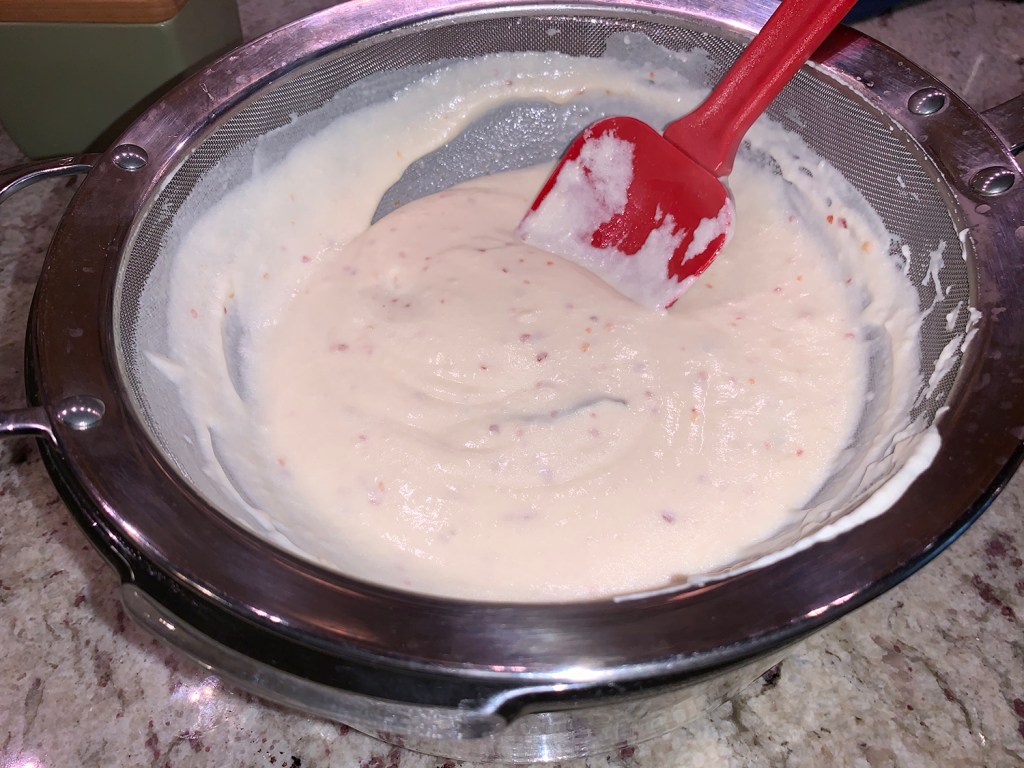
Don’t allow the sauce to cool completely before straining. It flows more easily through the mesh of the strainer when warm and fluid.

Parmesan Besciamella

  • Servings: about 4 cups
  • Difficulty: easy
  • Print

Ingredients

  • 6 Tbsp.s (¾ stick) salted butter, cut into 6 pieces
  • ¼ Cup all-purpose flour
  • 1 Quart half-and-half
  • 3 Bay leaves
  • ½ Tsp. red pepper flakes
  • Kosher salt and ground black pepper
  • 3 Oz. parmesan cheese, finely grated (1½ cups)
  • 6 Large fresh basil leaves

Directions

  1. In a large saucepan over medium, melt the butter.
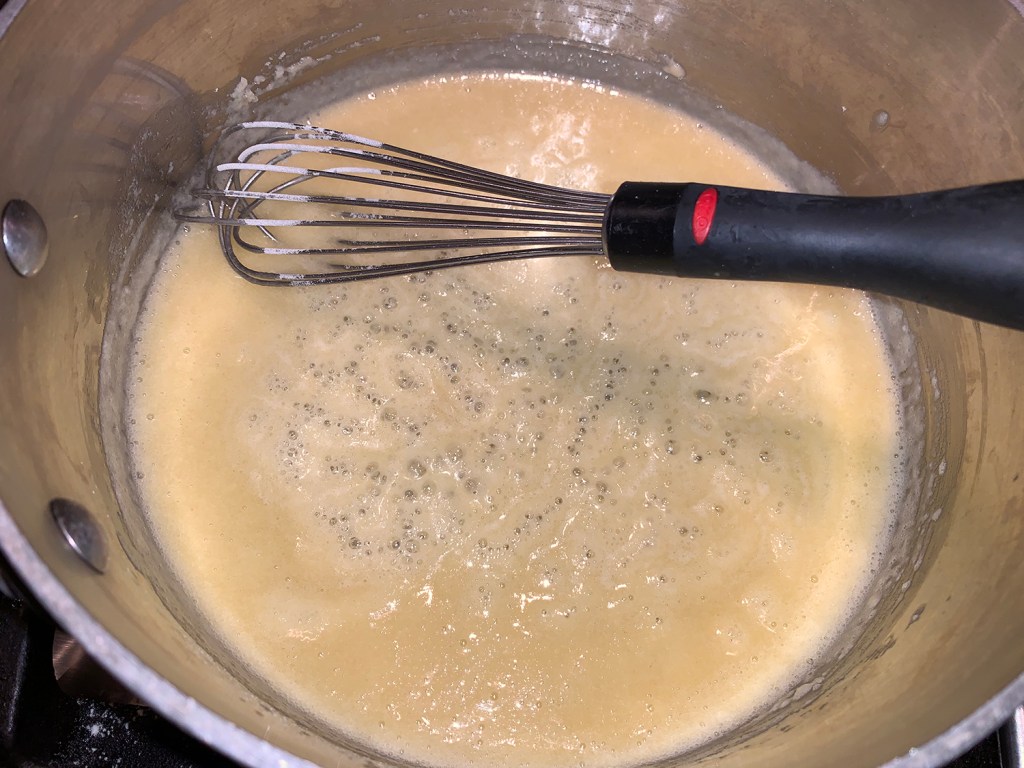
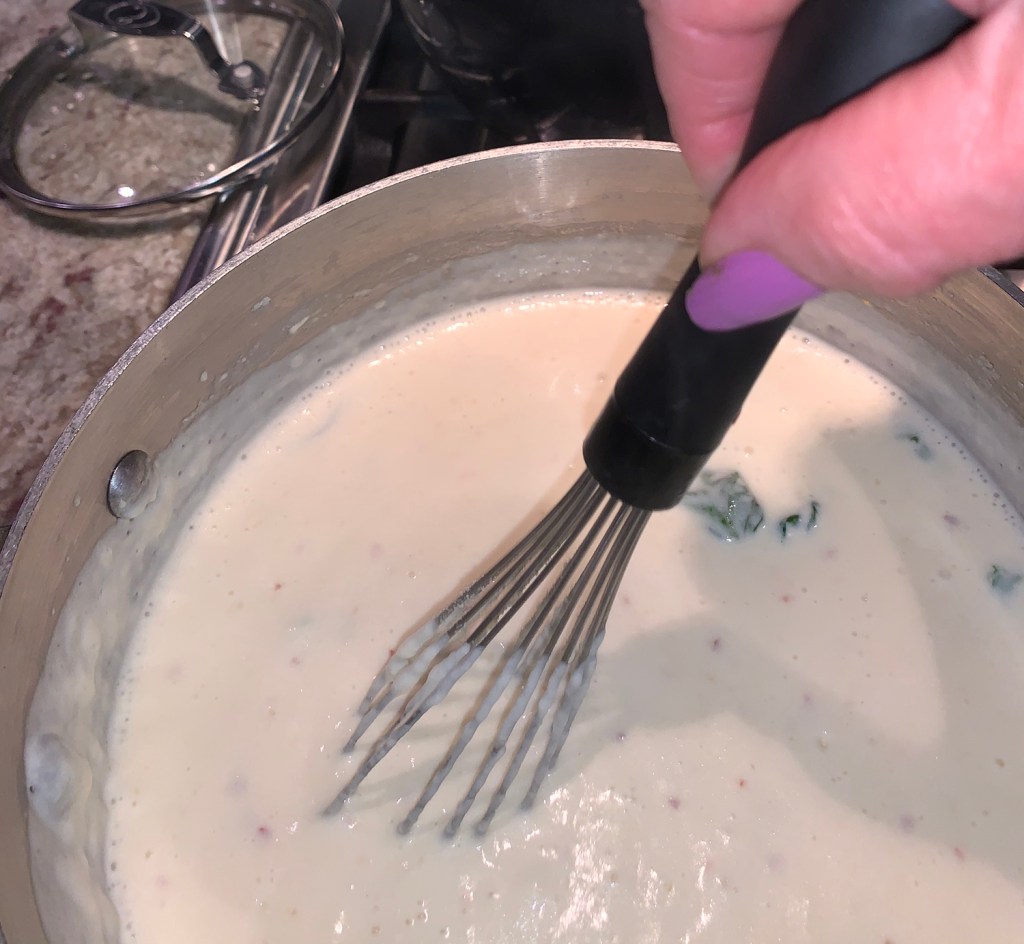
  2. Whisk in the flour, then cook, whisking constantly, for 2 minutes. While whisking, gradually add the half-and-half and bring to a simmer.
  3. Add the bay and pepper flakes, then reduce to low. Cook, whisking often, until thickened and reduced slightly and no longer tastes of raw starch, 10 to 15 minutes.
  4. Off heat, whisk in the Parmesan and basil. Cool for 5 minutes, then set a fine mesh strainer over a medium bowl, pour the sauce into the strainer and press on the solids with a silicone spatula; discard the solids.
  5. Taste and season with salt and pepper.

http://www.lynnandruss.com

Ragú Bolognese

This recipe makes enough ragù for lasagna Bolognese with enough leftovers for another night’s pasta dinner. Try to purchase pancetta in a large chunk from the deli counter, and if it comes in casing-like plastic, make sure to remove and discard the wrap before use. The next best option is packaged already diced pancetta; if pre-sliced is the only option, it will work, but will cost a lot more and requires less time in the food processor. We add a bit of powdered gelatin to give the ragù a rich, velvety body that otherwise would require a lengthy simmer to achieve. The finished ragù can be cooled to room temperature and refrigerated for up to three days.

Don’t trim the fat from the beef and pork. The fat makes the ragù rich and supple, and carries the flavors of the other ingredients. Don’t process the beef and pork too finely; a coarse grind yields the best-textured sauce.

Ragù Bolognese

  • Servings: 8 cups
  • Difficulty: moderate
  • Print

Ingredients

  • 4 Tbsp. (½ stick) salted butter
  • 3 Tbsp. extra-virgin olive oil
  • 1 Large yellow onion, cut into rough 1-inch pieces
  • 1 Medium celery stalk, cut into rough 1-inch pieces
  • 1 Medium carrot, peeled and cut into rough 1-inch pieces
  • 2 28-Ounce cans whole tomatoes
  • 1½ Lbs. boneless beef short ribs, cut into rough 1-inch chunks
  • 1 Lb. boneless pork shoulder, cut into rough 1-inch chunks
  • 8 Oz. piece pancetta, cut into rough 1-inch chunks
  • ¼ Cup tomato paste
  • ½ Cup dry white wine
  • 2 Cups low-sodium beef broth
  • 4 Bay leaves
  • ½ tsp. red pepper flakes
  • 2 Tbsp. unflavored powdered gelatin
  • Kosher salt and ground black pepper

Directions

  1. In a large Dutch oven, combine the butter and oil. In a food processor, pulse the onion, celery and carrot until roughly chopped, about 5 pulses. Transfer to the Dutch oven.
  2. One can at a time, add the tomatoes with juices to the food processor and puree until smooth; transfer to a medium bowl.
  3. Add half the beef to the food processor and pulse until coarsely ground, 5 to 10 pulses, then transfer to another medium bowl; repeat with the remaining beef.
  4. Repeat with the pork, in batches, adding it to the beef.
  5. Finally, process the pancetta to a coarse paste, about 30 seconds; add to the other meats.
  6. Set the pot over medium-high and cook, stirring occasionally, until the vegetables are lightly browned, about 5 minutes.
  7. Stir in the tomato paste and cook, stirring, until the paste begins to brown, about 5 minutes.
  8. Add the wine and cook, scraping up any browned bits, until the pot is almost dry, about 1 minute.
  9. Stir in the ground meats, then stir in the broth, tomatoes, bay and pepper flakes. Bring to a simmer, then partially cover, reduce to medium-low and cook, stirring occasionally, until the meat is tender, the sauce is thick and the volume has reduced to about 8 cups, 2½ to 3 hours.
  10. Pour ¼ cup water into a small bowl and sprinkle the gelatin evenly over the top; let stand for 5 minutes to soften.
  11. Meanwhile, taste and season the ragù with salt and pepper, then remove and discard the bay. Stir in the softened gelatin until fully dissolved.

http://www.lynnandruss.com

‘Little Black Dress’ of Stir-Fry Sauces

Every now and again, when we take stock of what’s hanging around in our refrigerator(s), we realize there is an overabundance of fresh produce that needs to be cooked up before it becomes compost fodder. With leftover cooked veggies we’ll make a “clean-out-the-fridge frittata… but I’m talking fresh produce here…

I think I was in the hoarding mentality the last time I grocery shopped due to the overwhelming amount of veggies I scarfed up without any real meals planned. When that rare occurrence happens, it’s time for a stir-fry—which of course calls for a sauce to bring it all together and add loads of flavor. I love my veggies, but they can be a bit bland by themselves.

We have this reliable sauce recipe from Sam the Cooking Guy, and it’s simple without any hard-to-source ingredients. When it comes to garlic, we have a predilection to over-indulge, and this time was no different. But the difference was, while I was mixing the ingredients for the sauce, the The Hubs had grabbed the minced garlic and ginger and was flipping them around in the wok before I was able to incorporate them into the sauce. No biggie, it all went into the stir-fry in the end.

The recipe below shows approximate amounts for the veggies and meat because I didn’t weigh anything and just used up what we had on hand. Feel free to alter your choices to address your own preferences. It’s equally good for any protein such as chicken, beef, pork, tofu and seafood. You can also switch out vegetable broth for the chicken broth.

Maybe you have no reason to don your “little black dress” during the COVID-19 lockdown, but why not dress up your stir-fries and make things a bit special at home?

Best Chinese Stir-Fry Sauce

  • Servings: 4
  • Difficulty: easy
  • Print

INGREDIENTS

  • 6-8 cups raw veggies, cut into 1-inch pieces
  • 1 1/2 lbs. protein (such as chicken breasts), cut into 1-inch chunks
  • 3+ Tbsp. Peanut oil for stir-frying
  • 6 cloves garlic, minced
  • 1 tablespoon fresh ginger, chopped fine
  • 1 teaspoon sesame oil
  • 2 tablespoons rice vinegar
  • 1/4 cup soy sauce
  • 1/4 cup chicken broth, vegetable broth or even water
  • 1 tablespoon sriracha
  • 2 tablespoons sugar
  • 1 tablespoon cornstarch
  • Scallion green slices and peanuts for garnish (optional)
  • 2 cups cooked white or brown rice

DIRECTIONS

  1. Combine all ingredients from garlic through cornstarch in a small bowl and mix well.
  2. Add 1 tablespoon of peanut oil to the wok until very hot. Swirl it around the wok and add your less dense veggies first, such as scallions, bell pepper, and mushrooms. Stir-fry for 2 minutes until the veggies get crisp-tender, about 2 minutes. Remove to a large bowl.
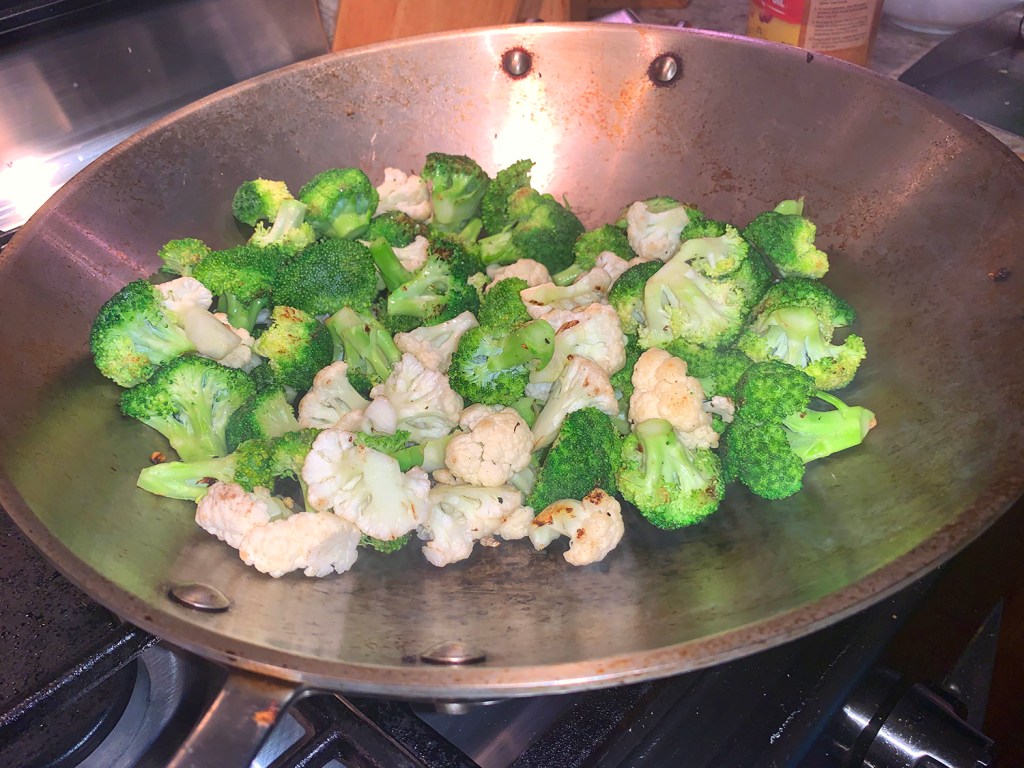
  3. Add another 1 tablespoon of peanut oil and once hot, add the more cruciferous vegetables, such as cauliflower and broccoli florets. Stir fry for 2 minutes until starting to brown on the exterior. Add 1/2 cup water and cover the wok for 2 minutes. Then remove the cover and stir-fry until all of the water dissipates. Remove them to the bowl with the other veggies.
  4. Add the final 1 tablespoon of oil, and when very hot, add your chicken (or other protein), but do not disturb for the first minute. Once the chicken has a nice sear on the one side, stir-fry continuously until the protein is cooked through.
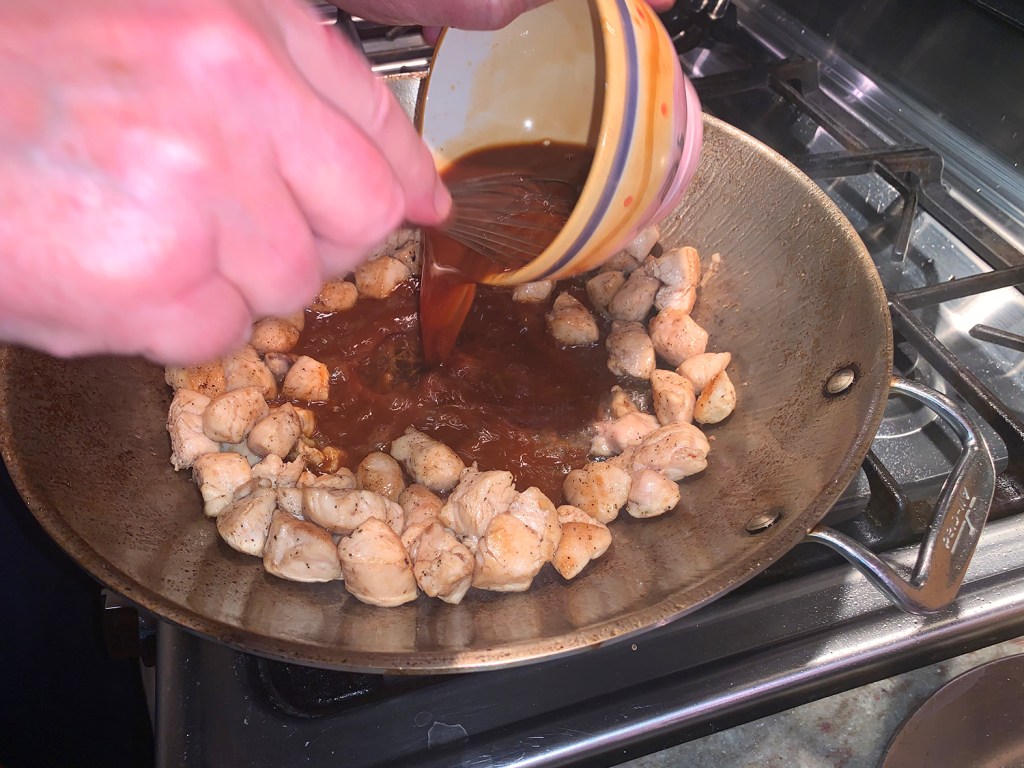
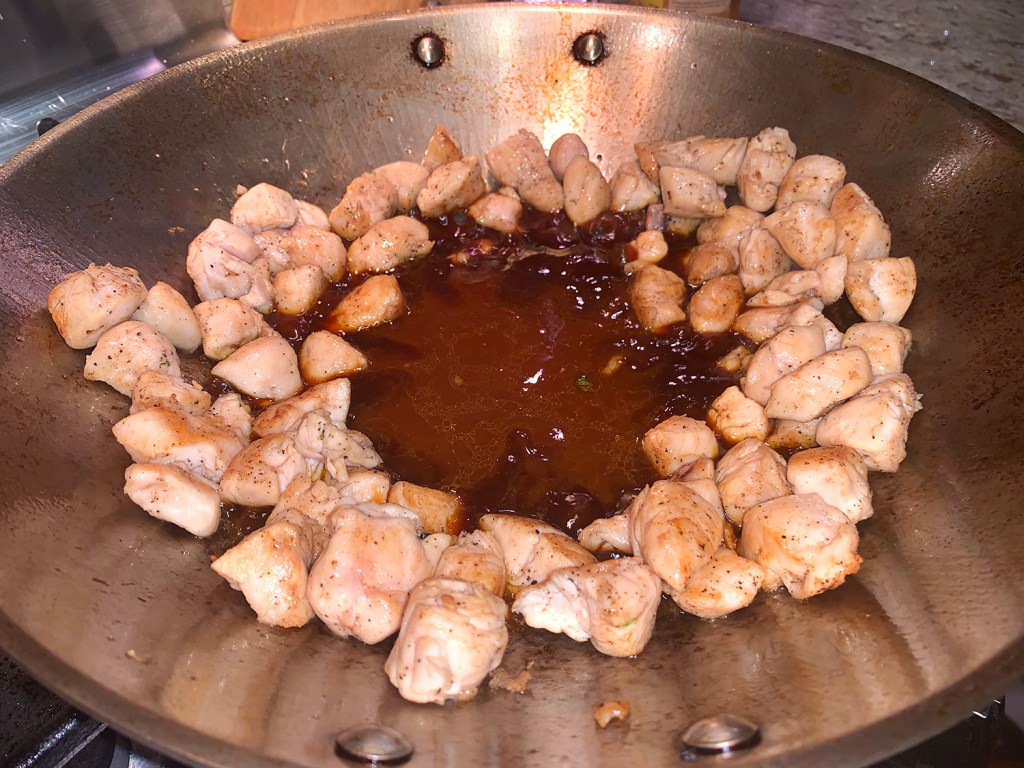
  5. Push the chicken up the sides of the wok to create a “well” for the sauce mixture. Pour in the sauce and swish it around in the well for about 30 seconds to thicken.
  6. Return all of the cooked veggies to the wok and stir-fry another 1 or 2 minutes until everything s mixed well and hot.
  7. Serve over hot cooked rice and garnish with sliced scallion greens and peanuts if desired.

http://www.lynnandruss.com

Seared Pork Tenderloin with Smoked Paprika and Oregano

In the Extremadura region of Spain that is home to pimentón de la vera, or Spanish smoked paprika, one is taught that exposure to high heat blunts the spice’s unique earthiness, smokiness and notes of fruit and tobacco. Tobacco?? Not really a term I would use to wax poetic about food, but read on…

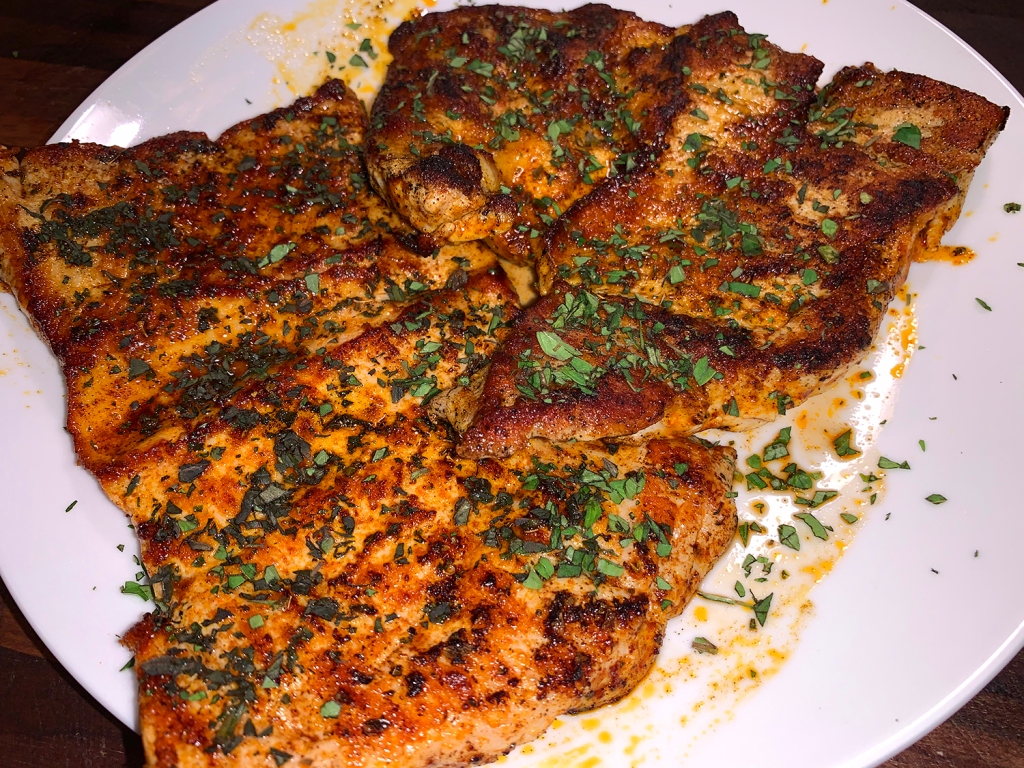
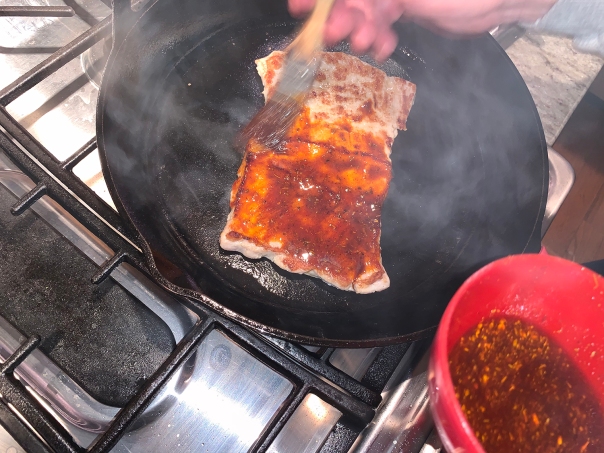
In Extremadura, cooks know that with smoked paprika, timing is everything. This recipe illustrates how to best preserve pimentón’s unique flavors when searing is involved: the paprika is mixed with olive oil and then brushed onto butterflied and pounded pork tenderloin only after the meat has been browned in a hot skillet.

BTW, Spanish smoked paprika is available in different degrees of spiciness. For this dish, if you have the choice, opt for sweet (dulce) or bittersweet (agridulce). With only a handful of ingredients this dish comes together in no time.

One large tenderloin sufficed for just the two of us, plus we still had leftovers. However, we did not scale back on the paprika oil mixture, and used every scrap of it to douse the meat.

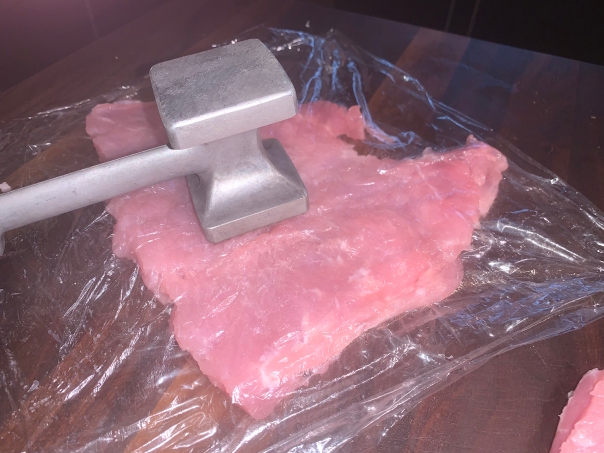
NOTE: Don’t use a heavy hand when pounding the pork, which can result in tears and uneven thickness. And when pounding, work from the center of the piece outward to the edges. We also find it helpful to lodge the meat between plastic wrap, which helps prevent tearing and promotes an even thickness.

Seared Pork Tenderloin with Smoked Paprika and Oregano

  • Servings: 4
  • Difficulty: easy
  • Print

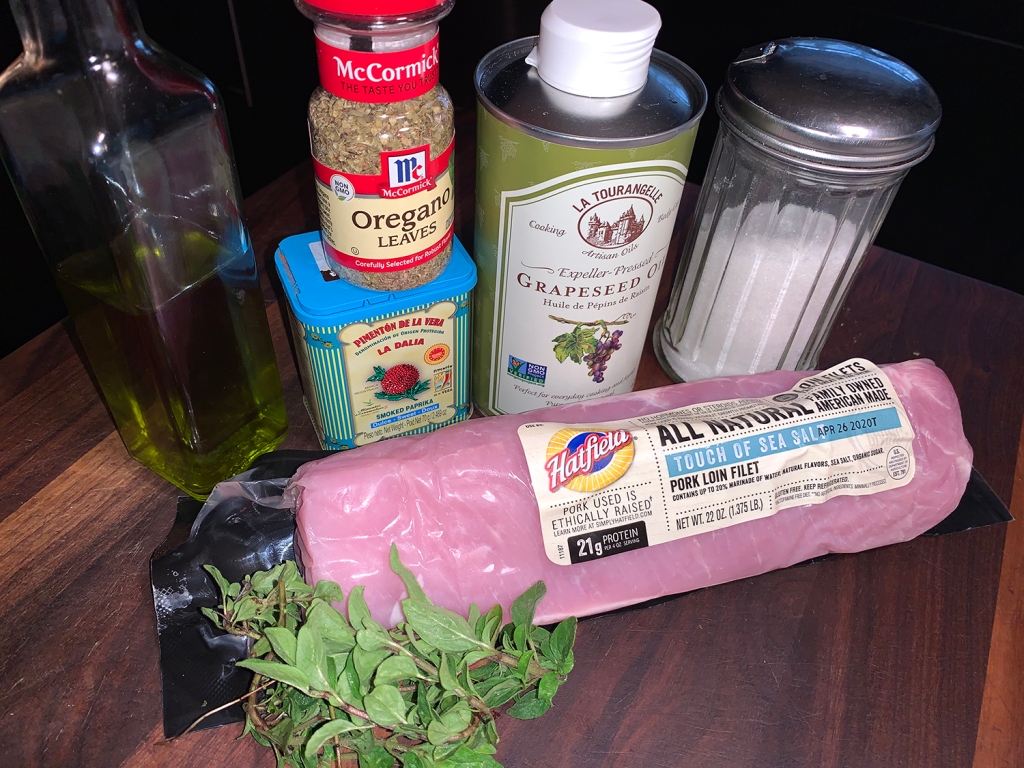
Ingredients

  • 3 Tbsp. extra-virgin olive oil
  • 1 Tbsp. smoked paprika
  • 1 tsp. dried oregano
  • ½ tsp. white sugar
  • 2 1¼-lb. pork tenderloins, trimmed of silver skin
  • Kosher salt
  • 2 Tbsp. grapeseed or other neutral oil
  • 1 Tbsp. fresh oregano, chopped

Smoked Paprika Pork Tenderloins

Directions

  1. In a small bowl, stir together the olive oil, smoked paprika, dried oregano and sugar; set aside.
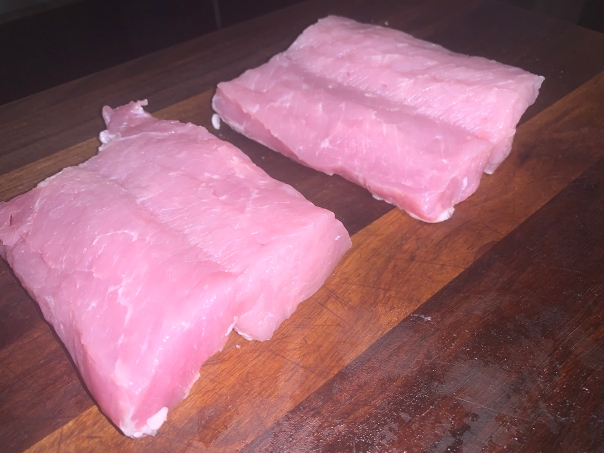
  2. Halve each tenderloin crosswise, then halve each piece lengthwise, stopping about ¼ inch short of cutting all the way through; open the meat like a book. Place meat on top of a long piece of plastic wrap and fold over to cover meat.
  3. Using a meat pounder or mallet, pound the pork to an even ¼-inch thickness, then season each piece all over with ½ teaspoon salt.
  4. In a 12-inch skillet over medium-high, heat 1 tablespoon of neutral oil until shimmering. Place 2 pieces of pork in the pan and cook undisturbed until golden brown, 2 to 3 minutes. Flip and cook until the seconds sides are browned, 1 to 2 minutes.
  5. Lightly brush paprika oil onto each piece, then flip the pork and brush the second sides. Sear each side again for about 30 seconds, then transfer to a platter.
  6. Repeat with the remaining 1 tablespoon grapeseed oil and pork. Brush the remaining paprika oil onto the pork, then let rest for 5 minutes. Sprinkle with the fresh oregano.

http://www.lynnandruss.com

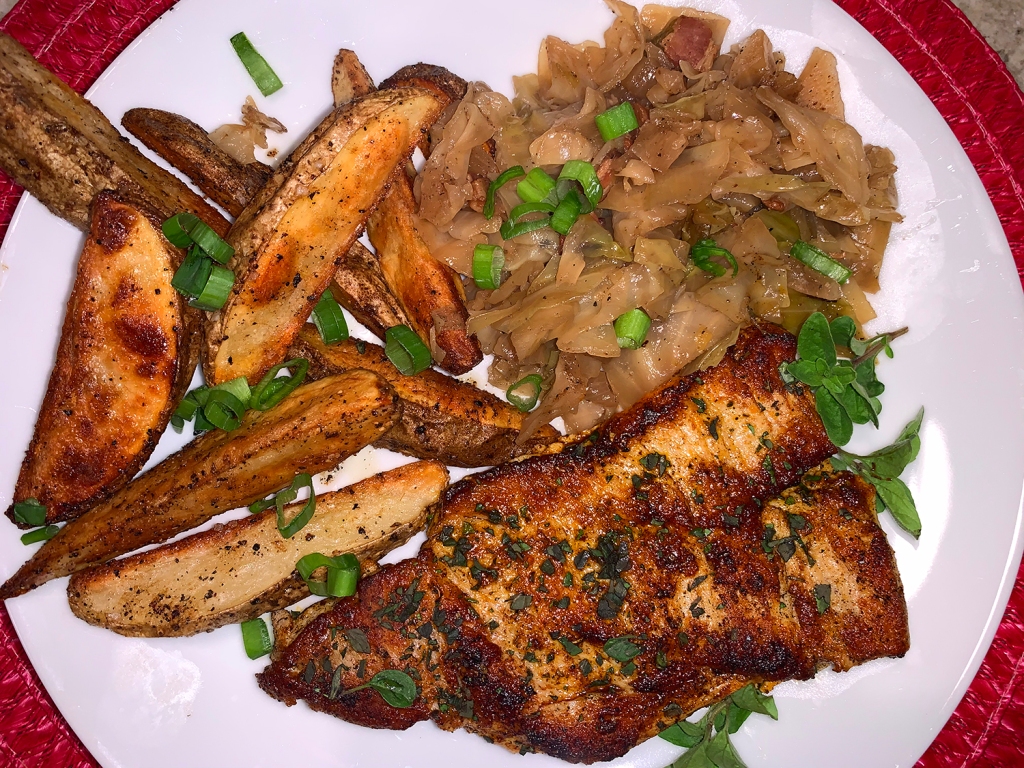
We served ours with leftover Southern Fried Cabbage and some very special “Russell’s Russets” which will be featured in an upcoming blog.