
Lemon and Shrimp Risotto with Fresh Basil is a lovely dish that becomes even more flavorful if you use your own homemade shellfish stock. Don’t fret however if you don’t have any, you can always create a flavorful broth for simmering the risotto by steeping the shrimp shells and strips of lemon zest in water, as suggested in the directions below.
Another option, bring two 8-ounce bottles clam juice, 3 cups water, ½ teaspoon salt and the zest strips to a simmer in the saucepan and cook, covered, for 10 minutes to infuse, then strain as directed.
Milk Street’s version of the Italian risotto di limone is finished with an egg yolk and cream that enrich a lush, velvety risotto brightened with lemon zest and juice. For citrus notes that register at every level, stir in bright, puckery lemon juice and floral, fragrant grated zest just before serving.
Our notes: We increased the amount of shrimp from 12 ounces to 1 pound, and used a large yellow onion instead of a small one. It’s up to you how much shrimp and the size of the onion to incorporate. You might even consider using only 4 cups of liquid as opposed to 5, because it was still a bit too soupy for our liking — although the next day, the leftovers had thickened.

Don’t uncover the pot for at least 5 minutes after adding the shrimp. Lifting the lid releases some of the residual heat that’s needed to cook the shrimp.
Lemon and Shrimp Risotto with Fresh Basil
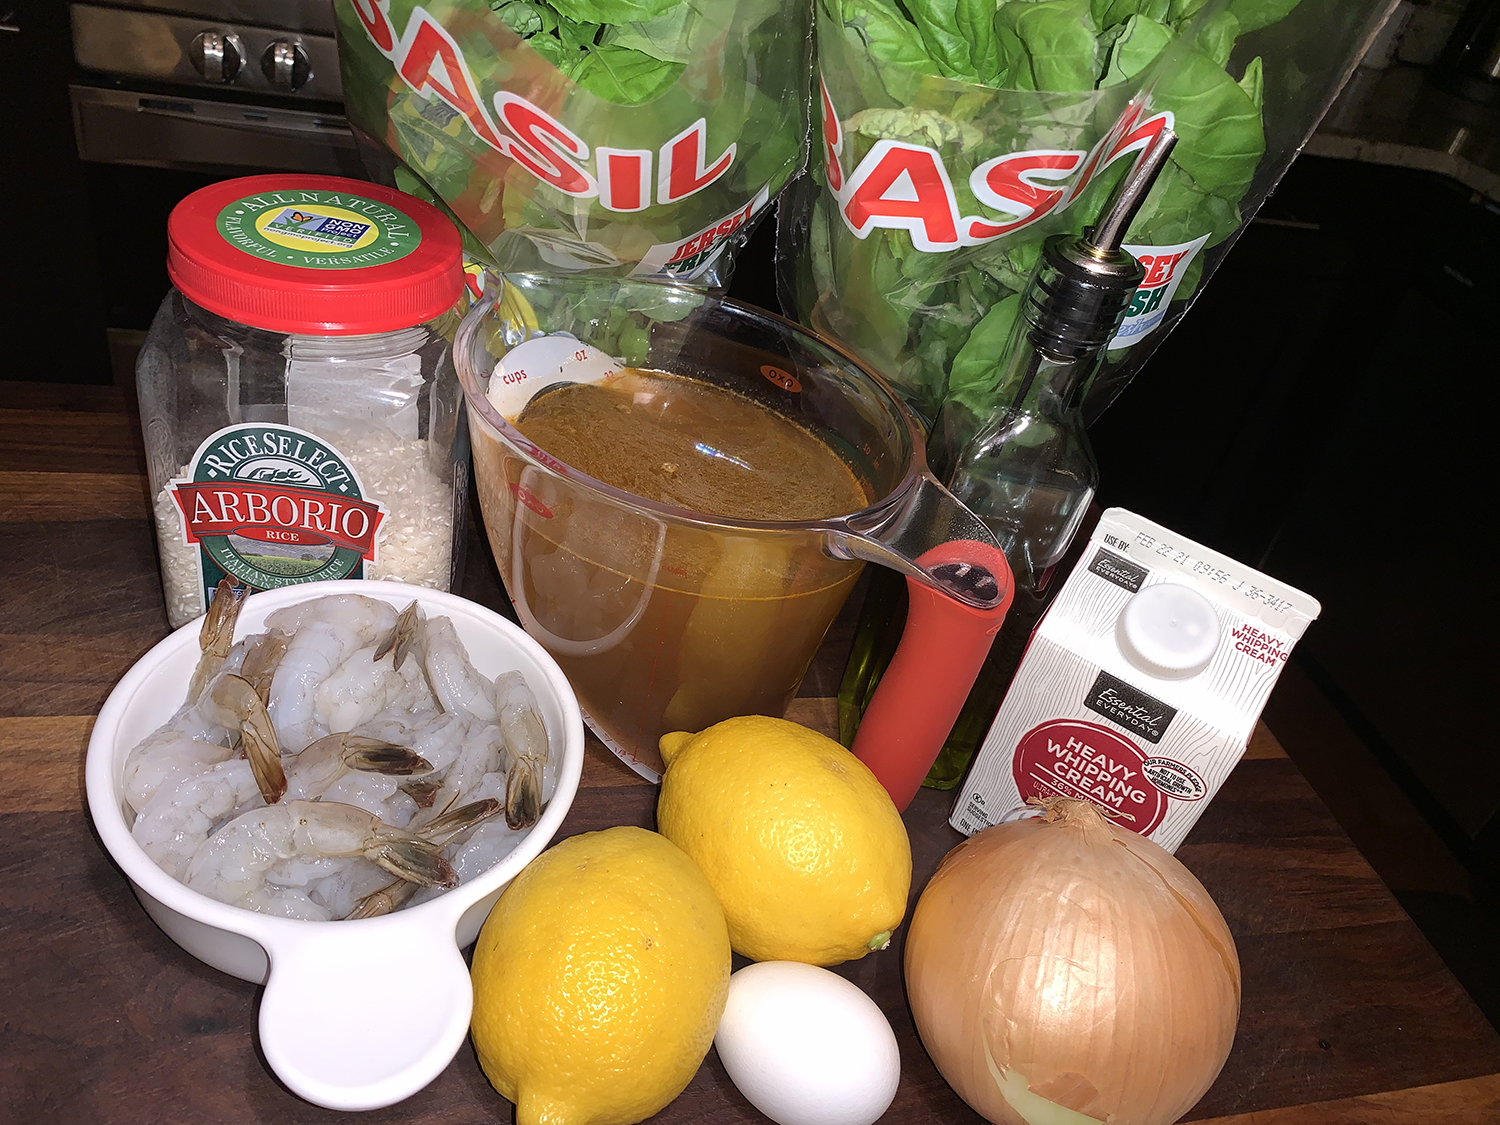
Ingredients
- 2 lemons
- 2 tsp. plus 2 Tbsp. extra-virgin olive oil, divided, plus more to serve
- 1 lb. extra-large shrimp, peeled (shells reserved), deveined and patted dry
- Kosher salt
- 1 yellow onion, finely chopped
- 1 cup Arborio rice
- ½ cup dry white wine
- 1 large egg yolk
- 2 Tbsp. heavy cream
- ½ cup loosely packed fresh basil, roughly chopped


Directions
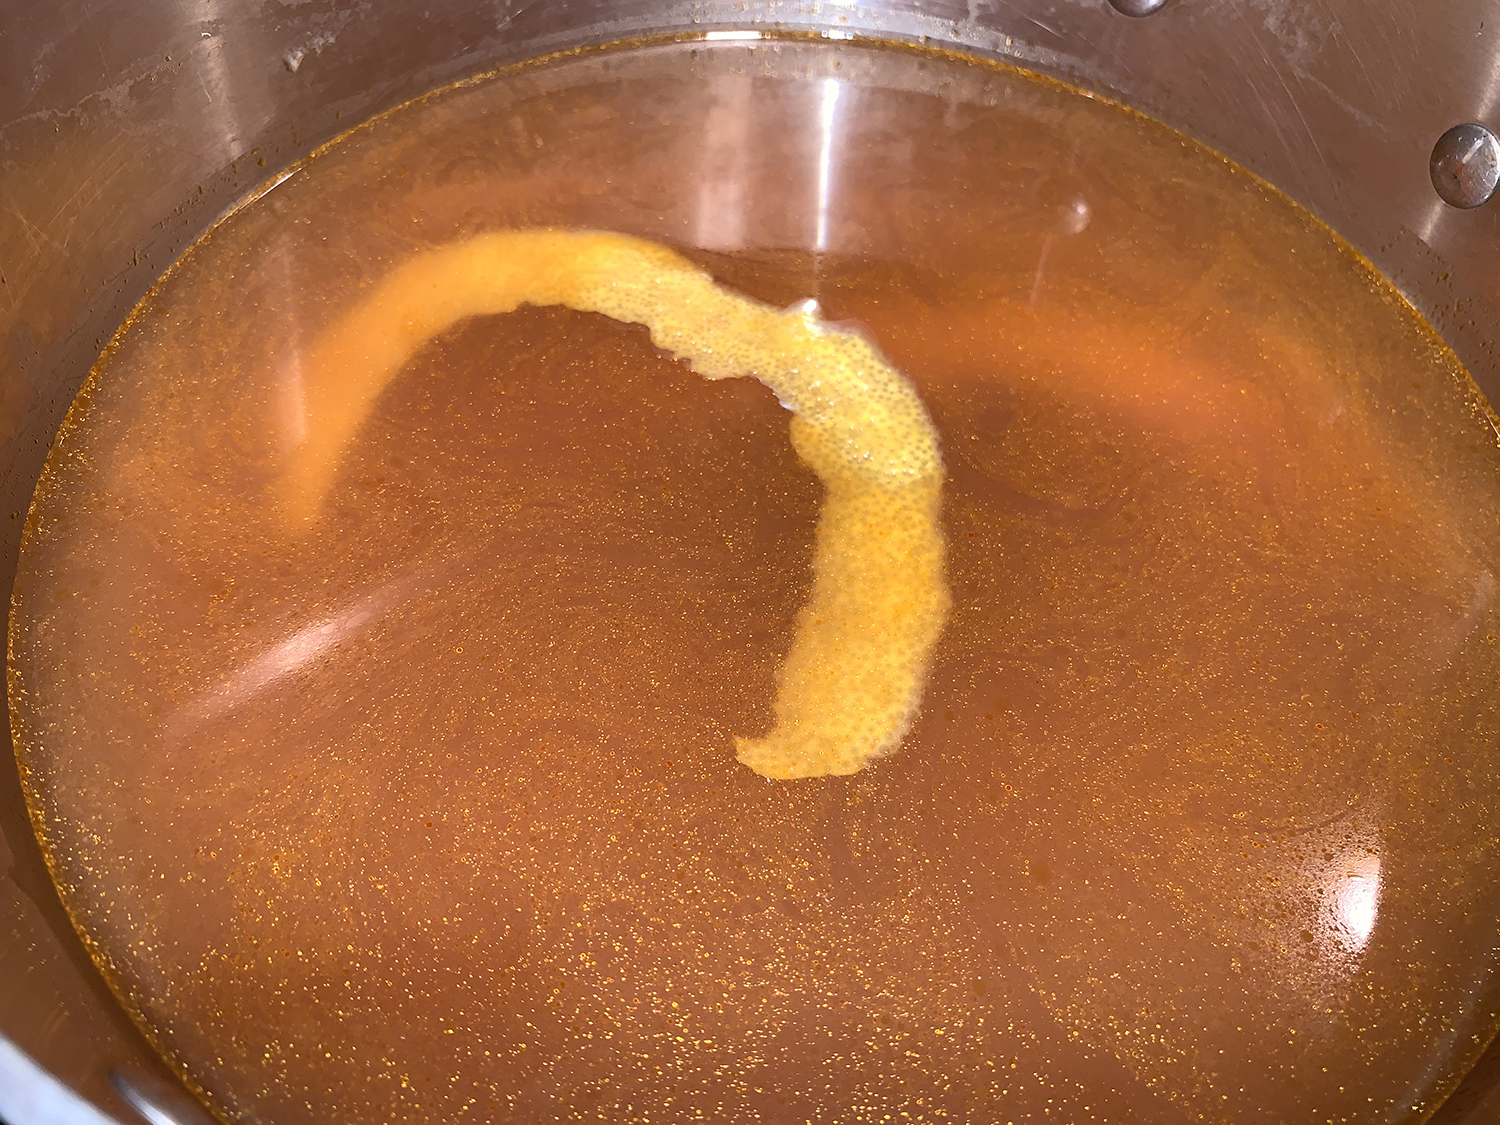
- Using a vegetable peeler, remove the zest from 1 of the lemons in long, wide strips; try to remove only the colored portion of the peel, not the bitter white pith just underneath. Using a rasp-style grater, grate the zest from the remaining lemon; set aside separately. Halve the lemons and squeeze ¼ cup juice; set the juice aside.
- In a medium saucepan over medium, heat 2 teaspoons oil until shimmering. Add the shrimp shells and cook, stirring constantly, until pink, 1 to 2 minutes. (If you are using your own homemade shellfish stock, you can omit this step.)
- Add 5 cups water (or your own shellfish stock), the zest strips and 1 teaspoon salt, then bring to a simmer. Cover, reduce to low and cook for 10 minutes.
- Pour the broth through a strainer set over a medium bowl; rinse out the pan. Press on the solids to extract as much liquid as possible, then discard. Return the broth to the pan, cover and set over low to keep warm.
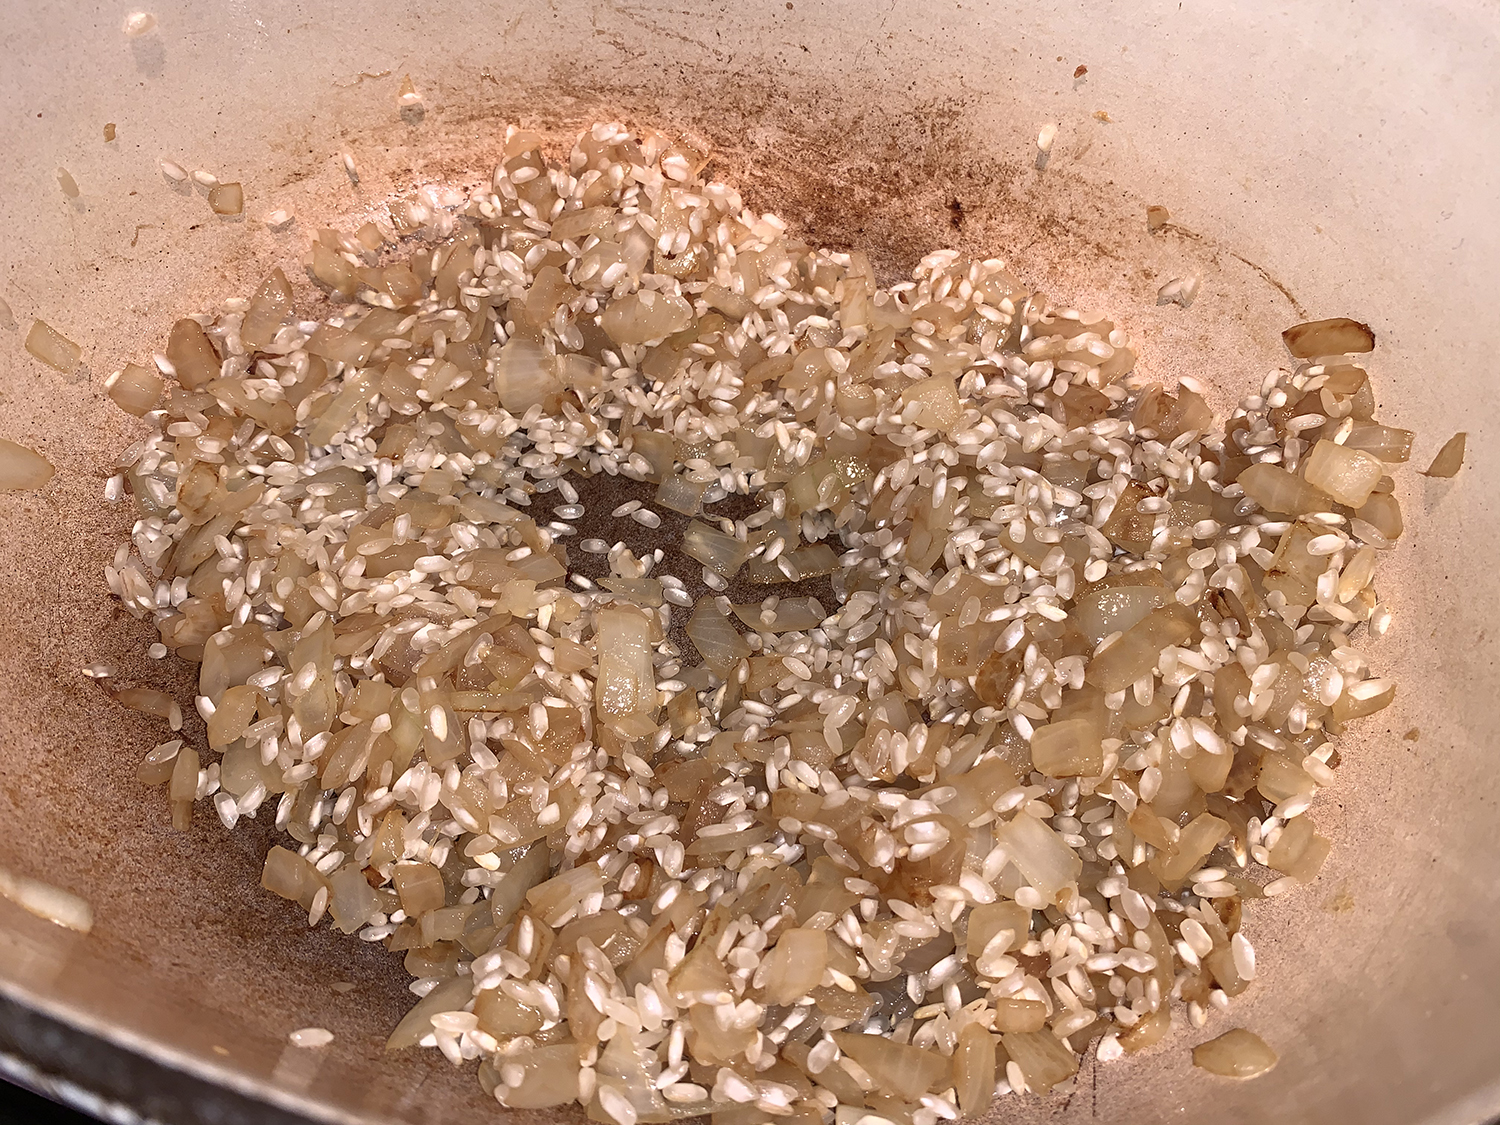
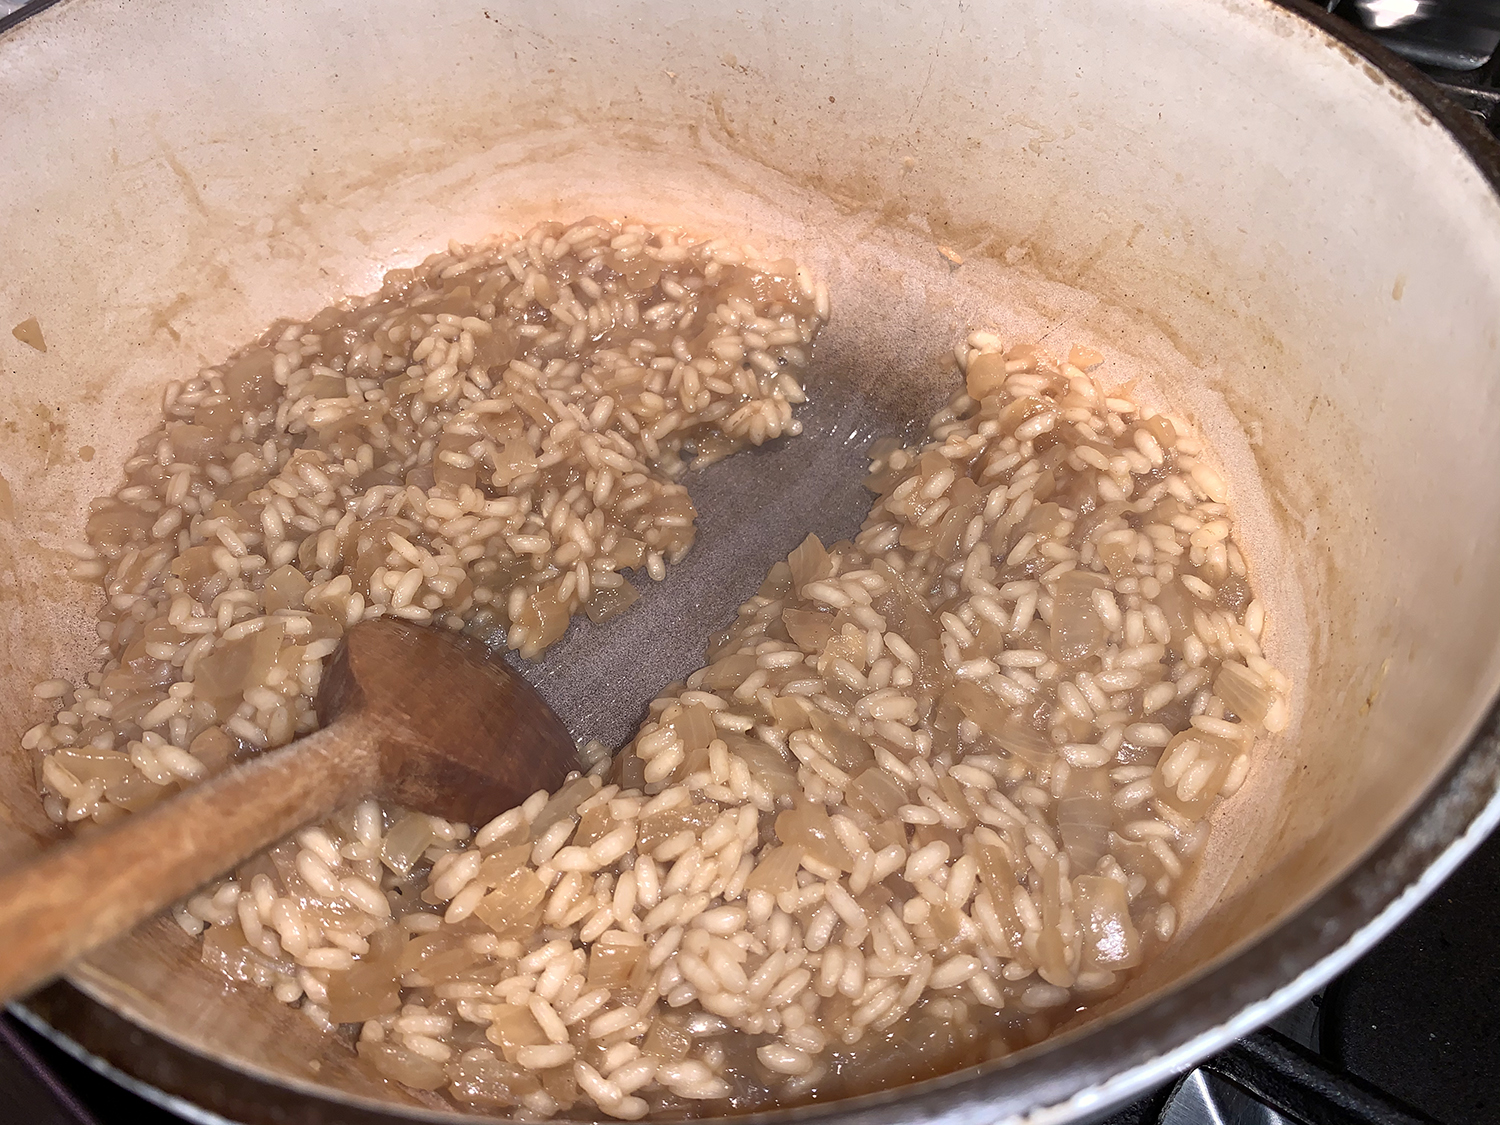
- In a large Dutch oven over medium-high, heat 1 tablespoon of oil until shimmering. Add the onion and ½ teaspoon salt, then cook, stirring occasionally, until softened, 6 to 7 minutes.
- Add the rice and cook, stirring, until the grains are translucent at the edges, 1 to 2 minutes.
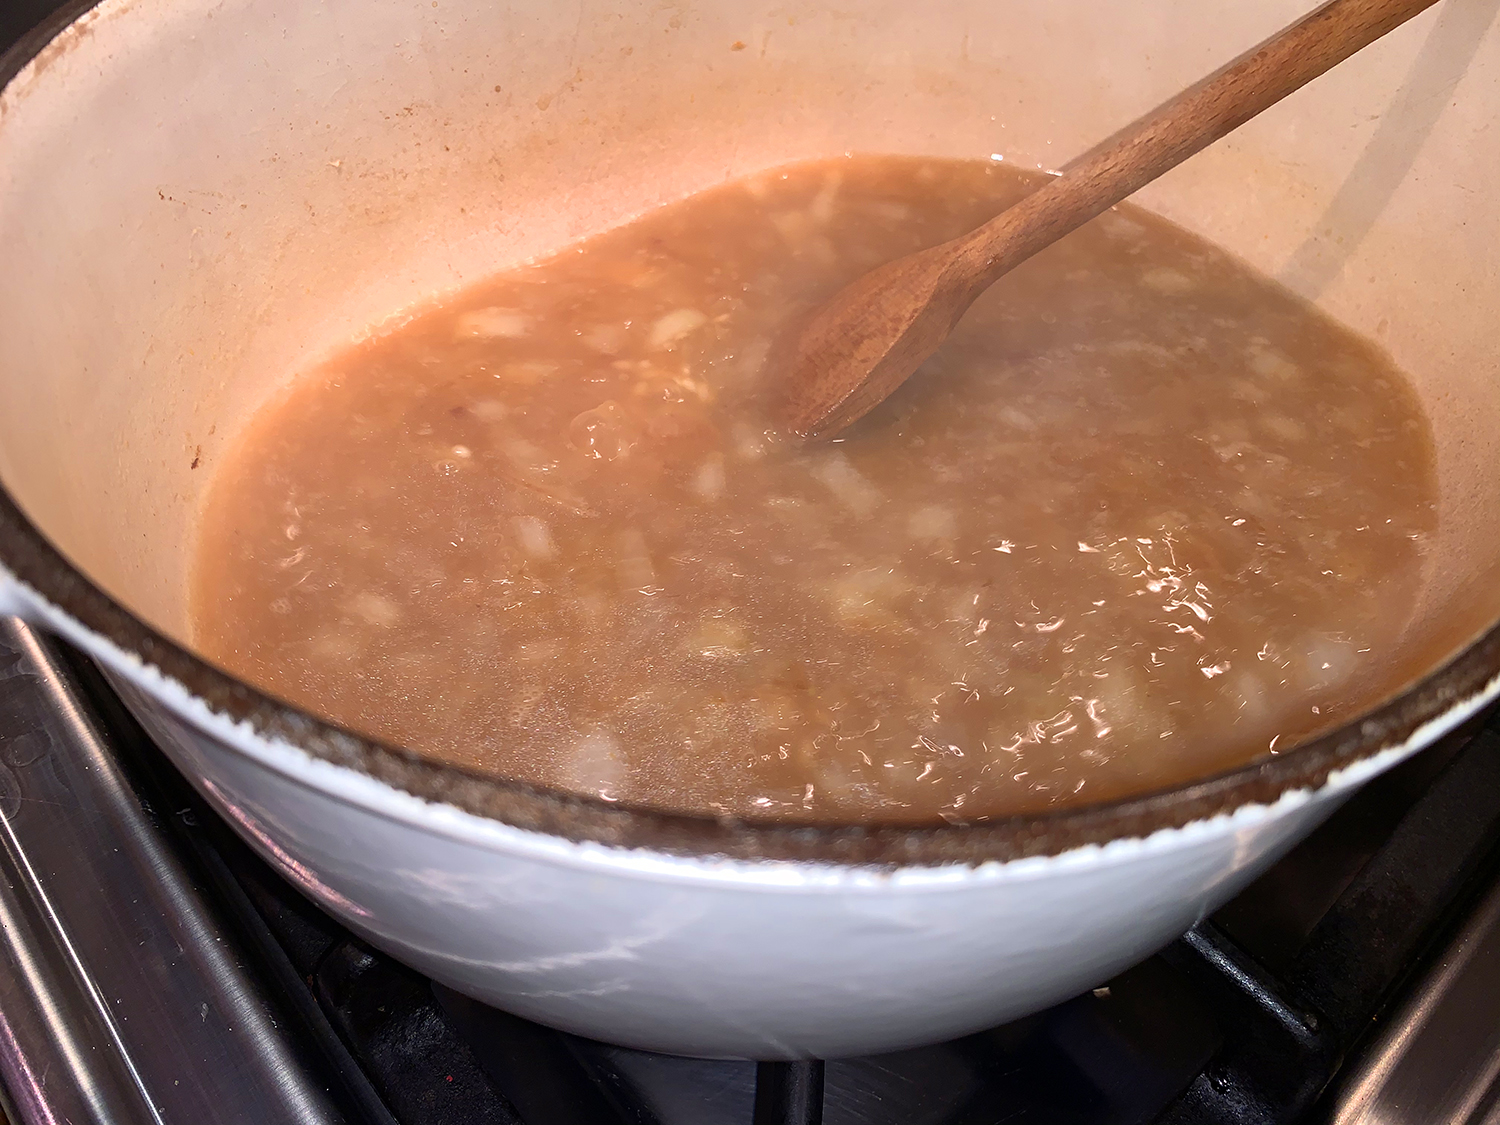
- Add the wine and cook, stirring occasionally, until the pan is almost dry, about 3 minutes.
- Add 3 cups of the hot broth and cook, stirring often and briskly, until a spoon drawn through the mixture leaves a trail, 10 to 12 minutes.
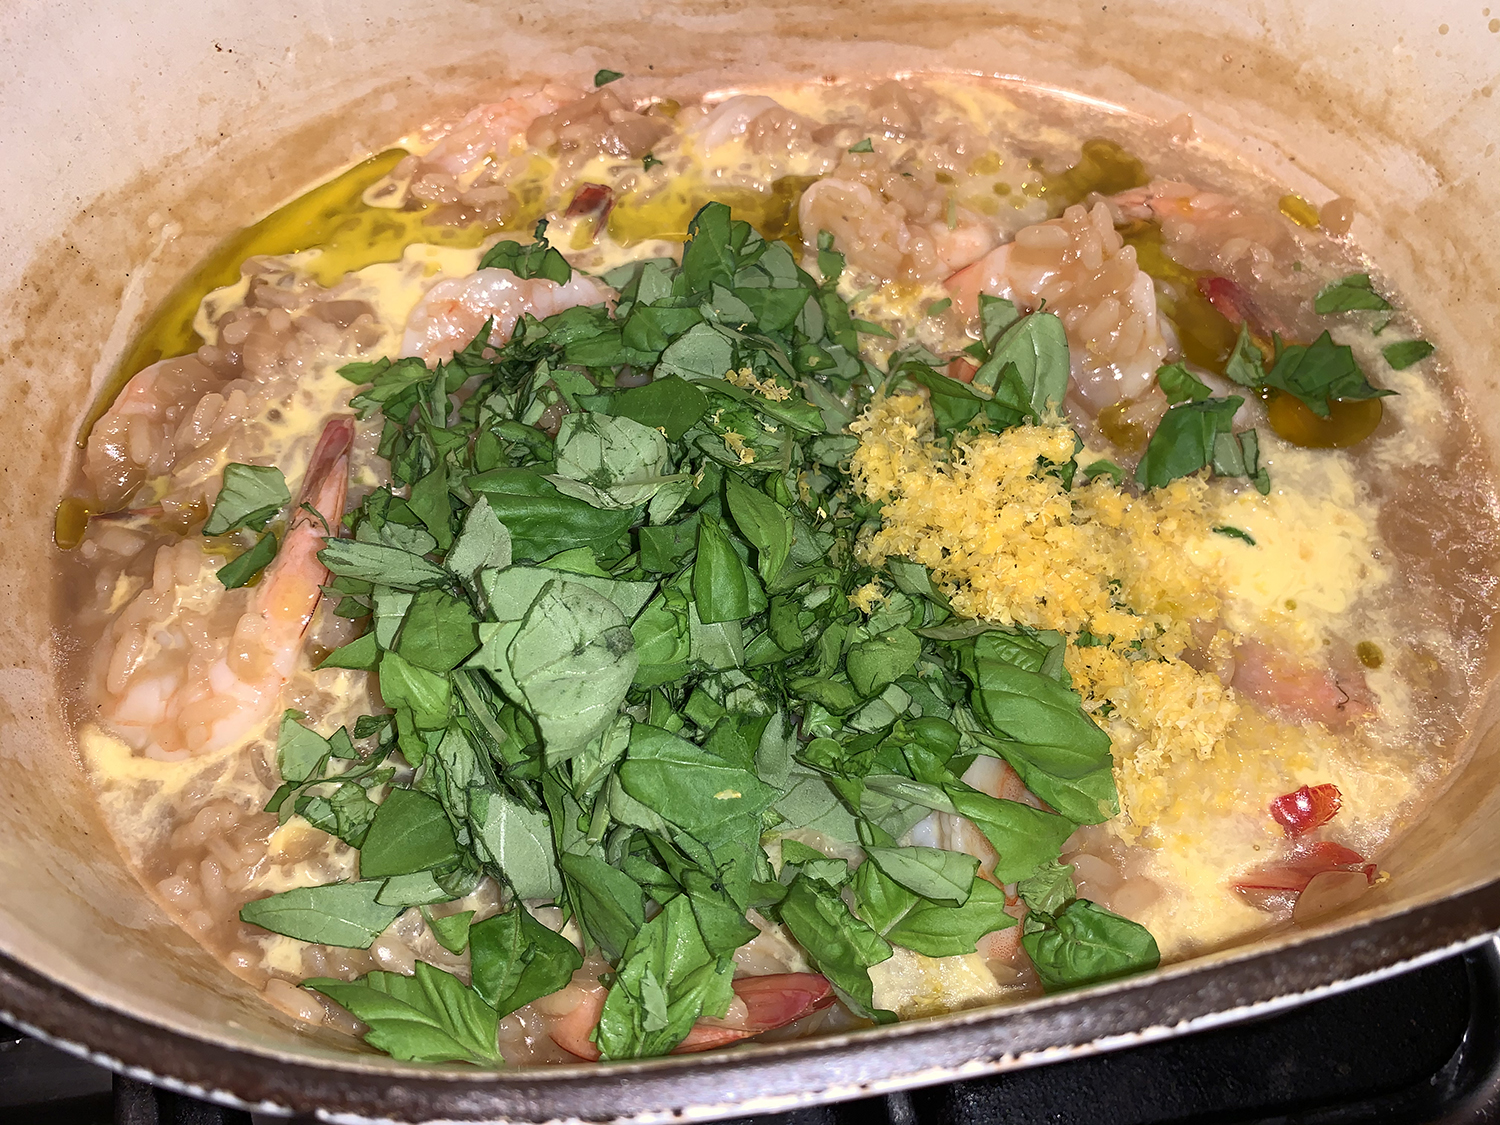
- Add the remaining broth and cook, stirring, until the rice is tender, 8 to 10 minutes. Remove the pot from the heat and stir in the shrimp. Cover and let stand until the shrimp are opaque throughout, 5 to 7 minutes.
- Stir in the remaining 1 tablespoon oil, the lemon juice, egg yolk, cream, basil, and the grated zest. The risotto should be loose but not soupy. Taste and season with salt. Serve drizzled with additional oil.
Adapted from a recipe for Milk Street


