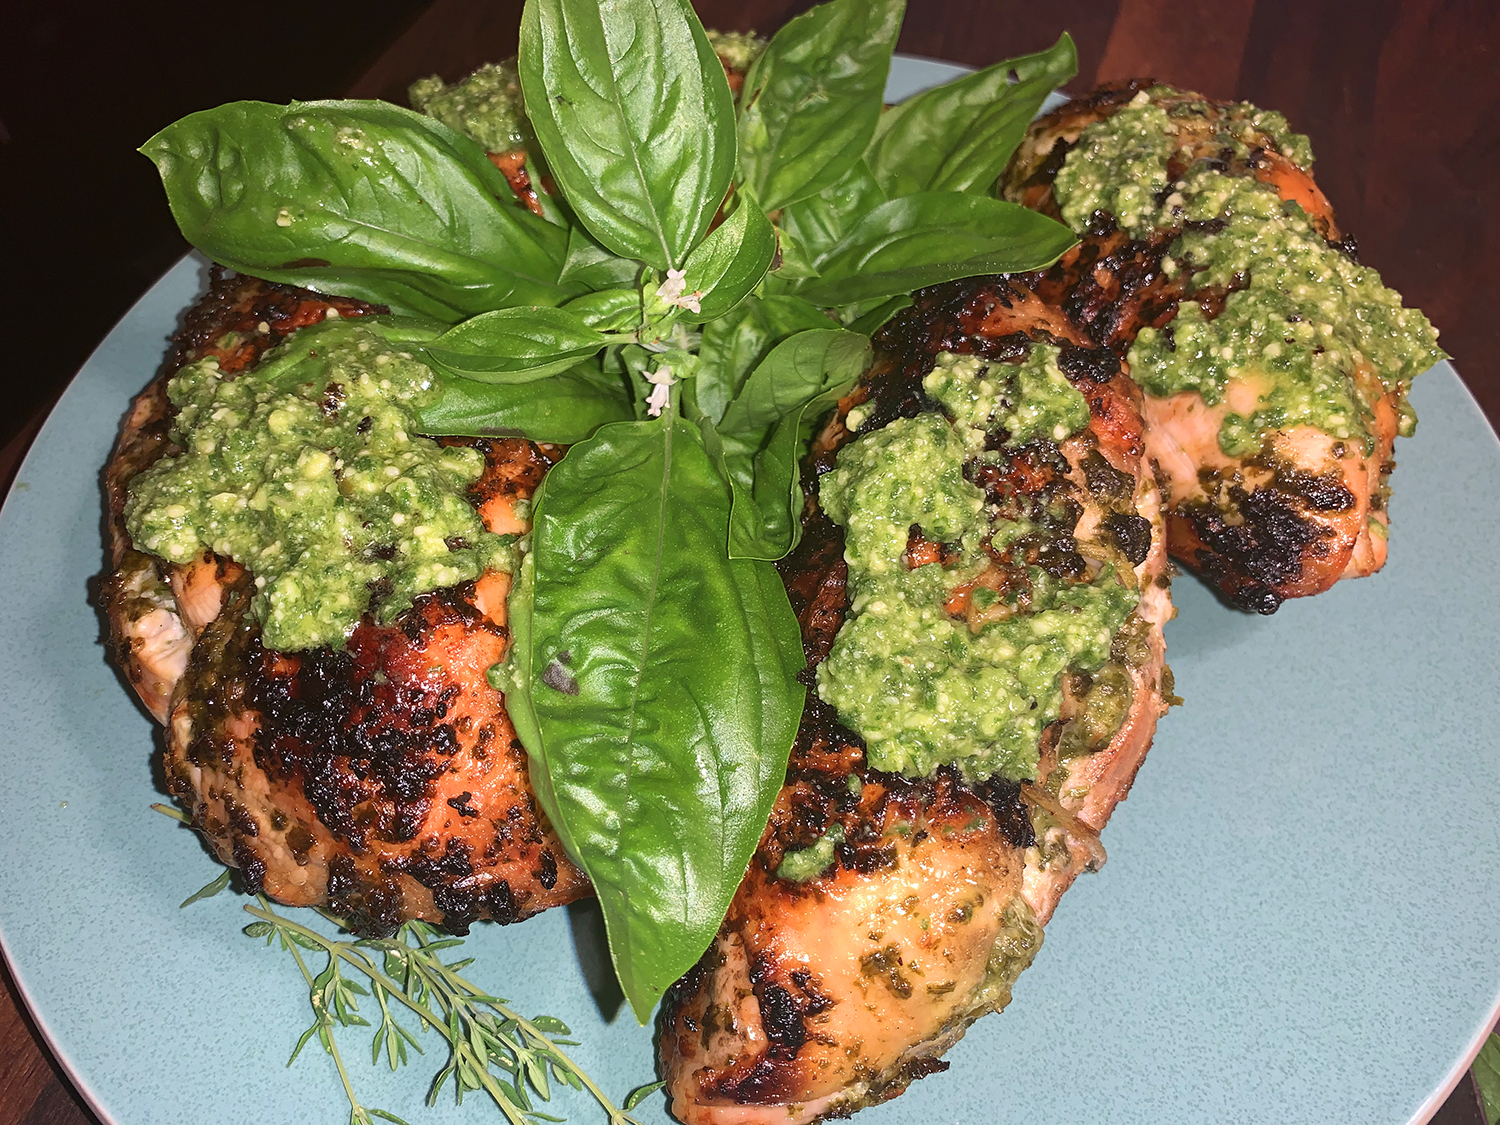
As we were eating this fantastic meal, The Hubs declared “If this is how they eat in Peru, I’m moving there.” Needless to say, we didn’t up and sell the house, but we swore we were going to make this riff on beer can chicken again—real soon. If you are feeding a crowd, it’s easy enough to fit two birds on the grill.
Cooks Illustrated tells us “In Peru, maestros polleros, or poultry masters, make the wildly popular chickens known as Pollo a la Brasa by grill-roasting chickens on rotisseries that spin lazily over crackling wood fires to produce meat that’s encased in tawny, paper-thin skin and dripping with juices.”
This version of Pollo a la Brasa calls for marinating the bird in a beer-based marinade that also includes ingredients commonly used in pollerías today: soy sauce for salinity; lime juice and mustard for brightness; and garlic, dried thyme, black pepper, and cumin for earthy, savory depth. Make sure to plan ahead, because the chicken needs to marinate for 24 hours.

Aji Amarillo (yellow chile) and huacatay (an herb that’s often called black mint) add spark and depth to many of the sauces that accompany Pollo a la Brasa. Vibrant Aji Amarillo gives off fruity, habanero-like vibes with moderate heat. Huacatay, on the other hand, is evocative of vegetables and freshly cut grass with menthol undertones. Both multi-use sauces are easily sourced online.
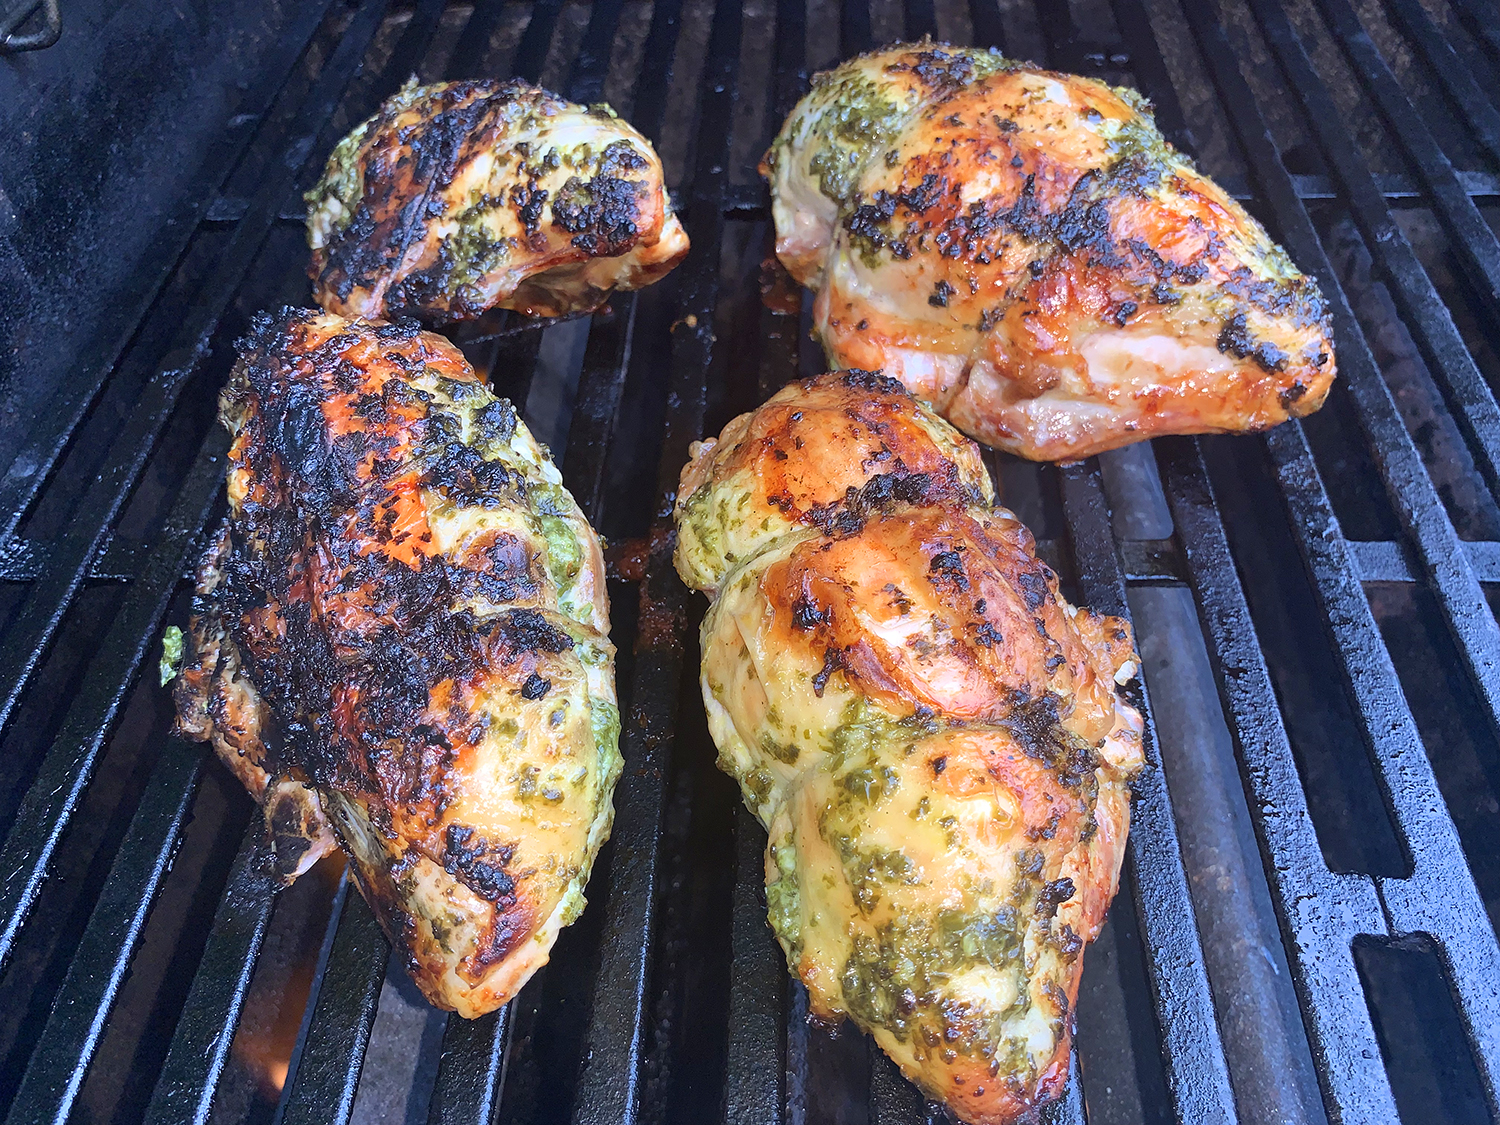
Instead of a rotisserie to rotate the bird horizontally, a half-empty beer can is used to prop it up vertically. Then position the propped-up bird in the center of a kettle grill outfitted with a split fire. The key is to rotate the chicken a quarter turn every 15 minutes. While not the constant movement of a rotisserie, about five turns produces remarkably succulent, smoky meat packaged in well-rendered, uniformly mahogany skin. (We purchased a 4-pack of pastes from Amazon which included both huacatay and aji amarillo.)

Peruvian Grill-Roasted Chicken
Ingredients
- 1 12-oz. can beer, divide
- 2 Tbsp. finely grated garlic
- 2 Tbsp. lime juice
- 2 Tbsp. soy sauce
- 2 tsp. table salt
- 2 tsp. yellow mustard
- 1 tsp. pepper
- 1 tsp. dried thyme
- 1 tsp. ground cumin
- 1 4- to 4½-lb. whole chicken, giblets discarded
- 1 cup wood chips
- 1 13 by 9-inch disposable aluminum roasting pan


Directions
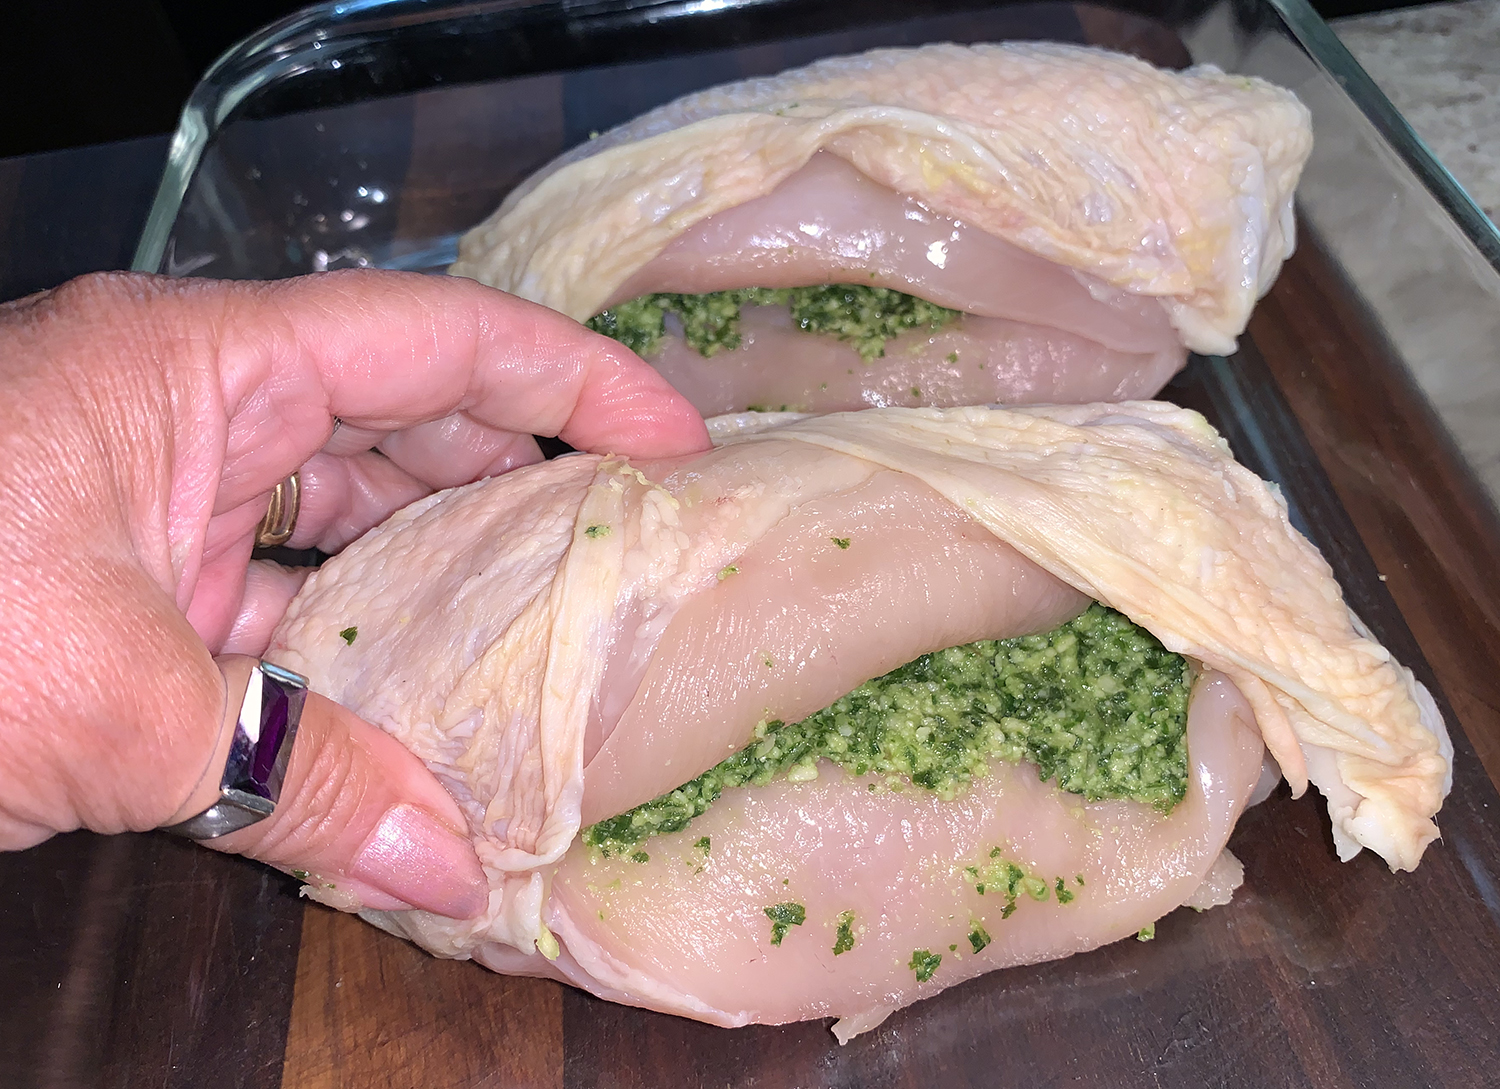
- Whisk ½ cup beer, garlic, lime juice, soy sauce, salt, mustard, pepper, thyme, and cumin together in liquid measuring cup. Refrigerate remaining beer, still in can, until ready to grill. Using your fingers or handle of wooden spoon, gently loosen skin covering chicken breast and leg quarters. Using paring knife, poke 10 to 15 holes in fat deposits on skin of back. Tuck wingtips underneath chicken.
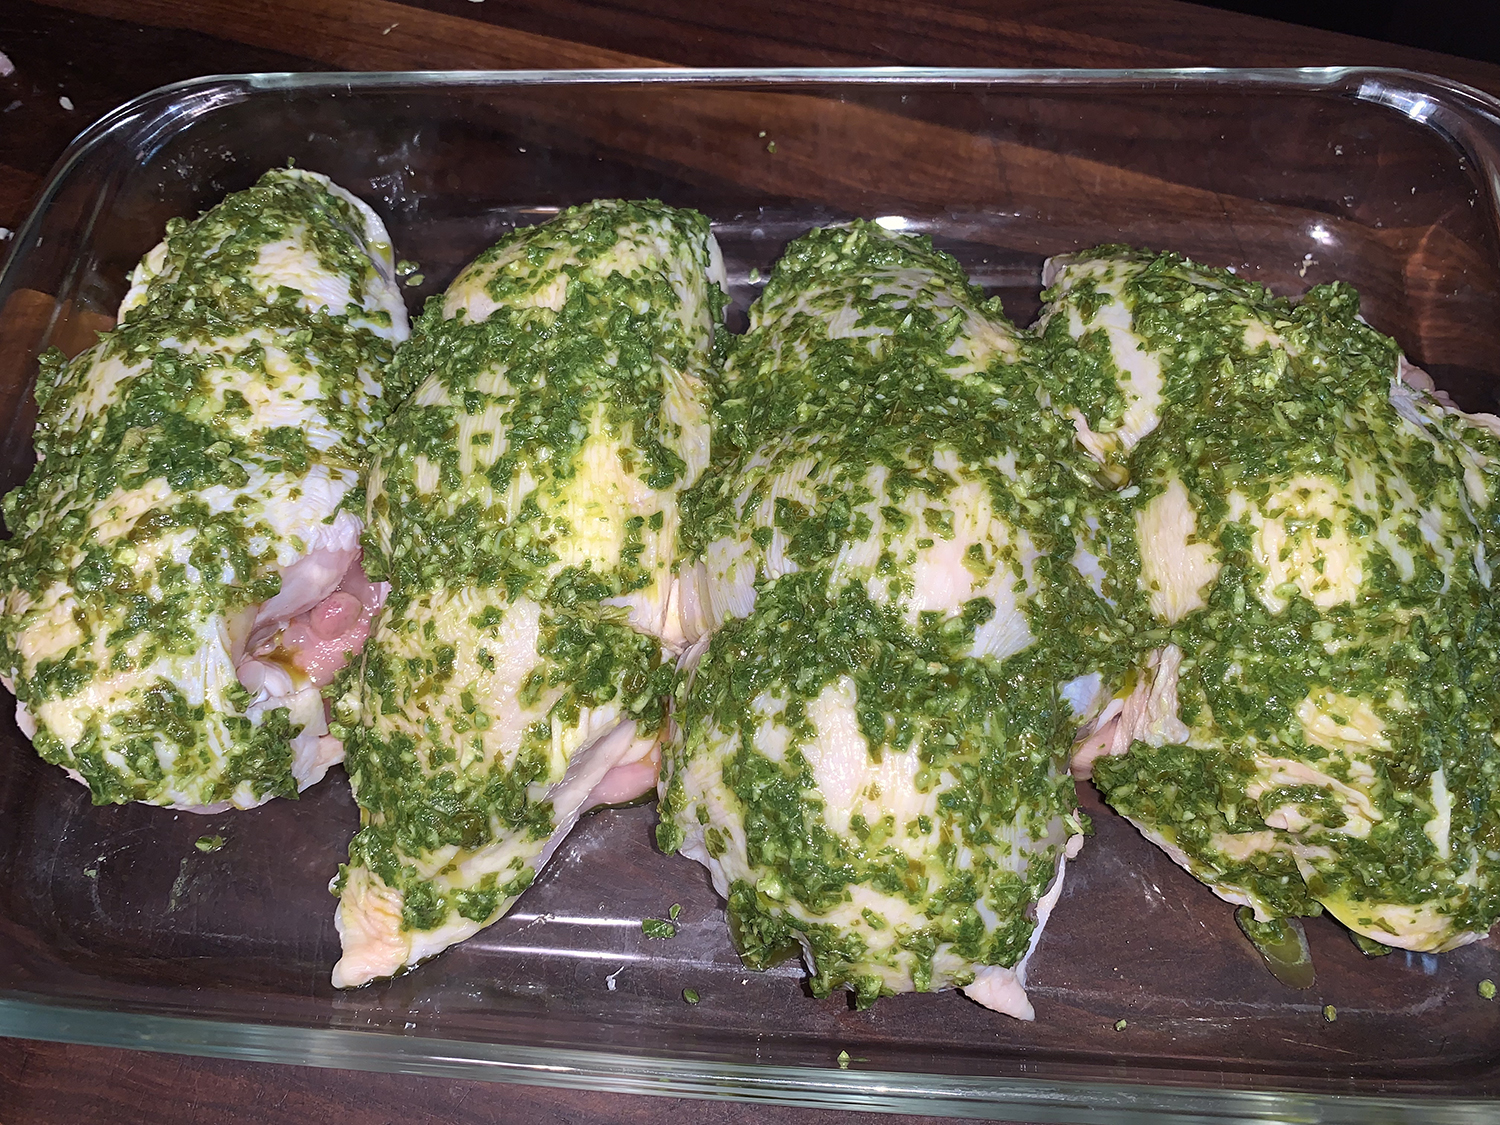
- Place chicken in bowl with cavity end facing up. Slowly pour marinade between skin and meat and rub marinade inside cavity, outside skin, and under skin to distribute. Cover and refrigerate for 24 hours, turning chicken halfway through marinating.
- Using large piece of heavy-duty aluminum foil, wrap wood chips in 8 by 4½-inch foil packet. (Make sure chips do not poke holes in packet.) Cut 2 evenly spaced 2-inch slits in top of packet.
- Place beer can in large, shallow bowl. Spray can all over with vegetable oil spray. Slide chicken over can so drumsticks reach down to bottom of can and chicken stands upright; set aside at room temperature while preparing grill.
- FOR A GAS GRILL: Remove cooking grate and place wood chip packet directly on one of outside burners. Set grate in place; turn all burners to high; cover; and heat grill until hot and wood chips are smoking, about 15 minutes. Turn 2 outside burners to medium and turn off center burner. (Adjust outside burners as needed to maintain grill temperature between 350 and 375 degrees.)
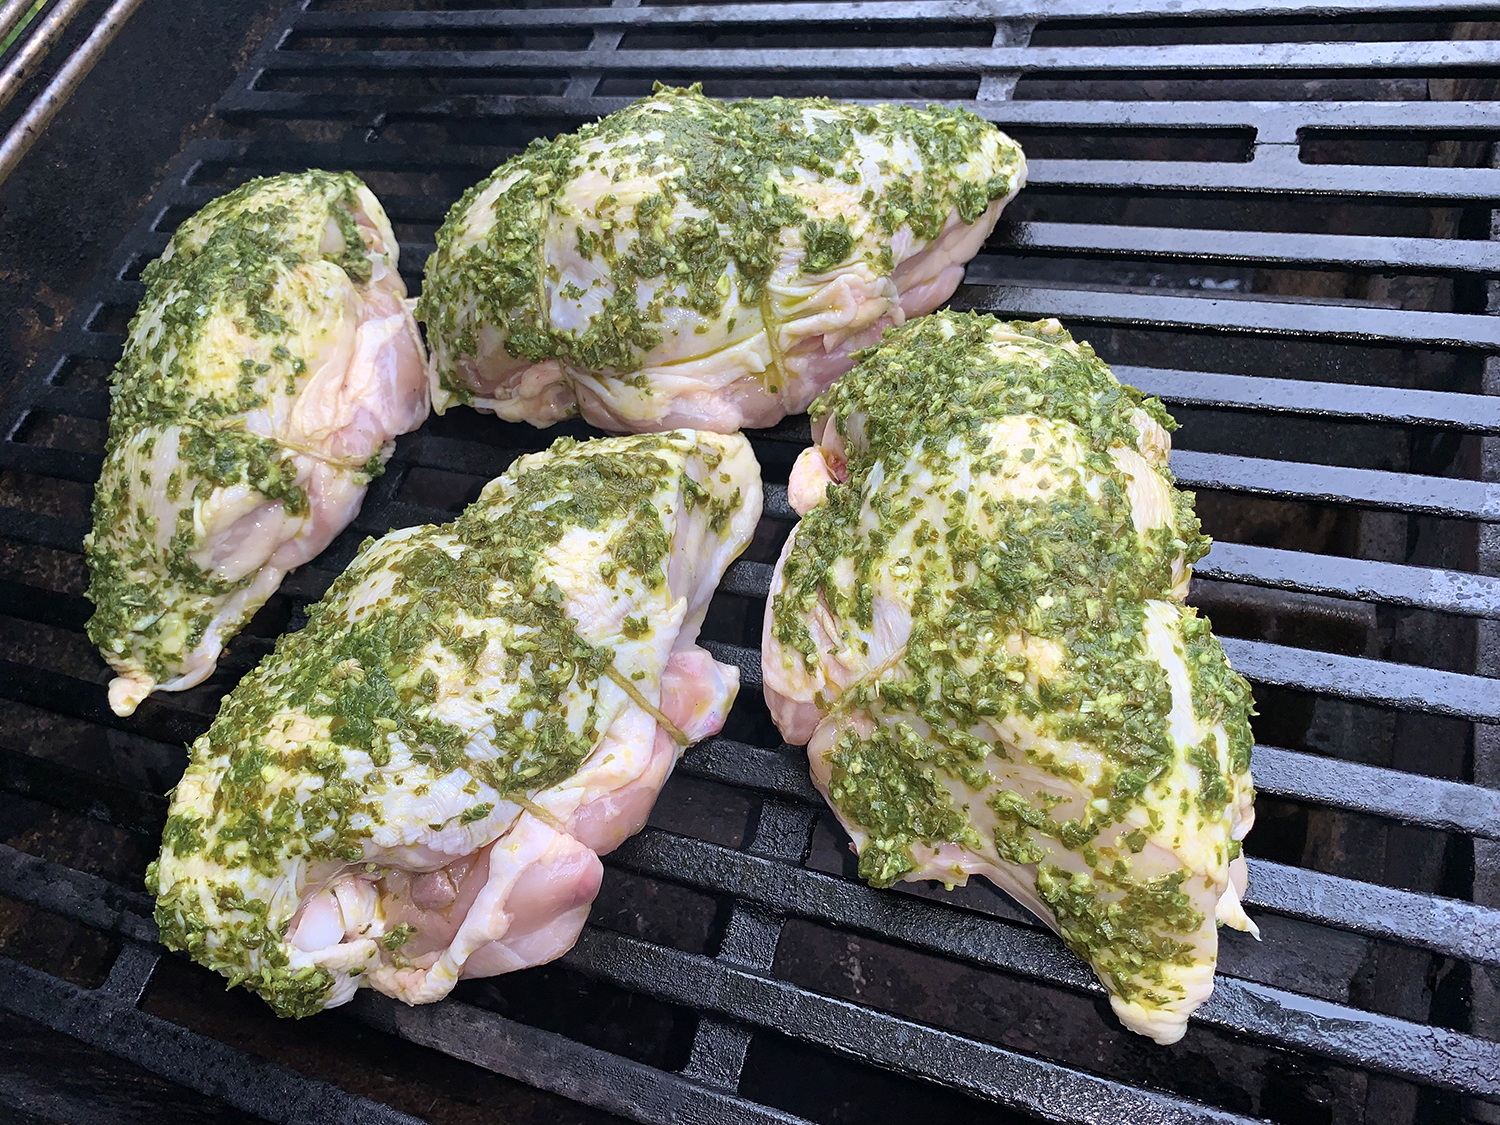
- Scrape cooking grate clean with grill brush. Transfer chicken with can to center of cooking grate with wings facing piles of coals (or outer burners on gas grill) at 3 and 9 o’clock (ends of drumsticks should rest on grate to help steady bird). Cover grill and cook for 15 minutes.
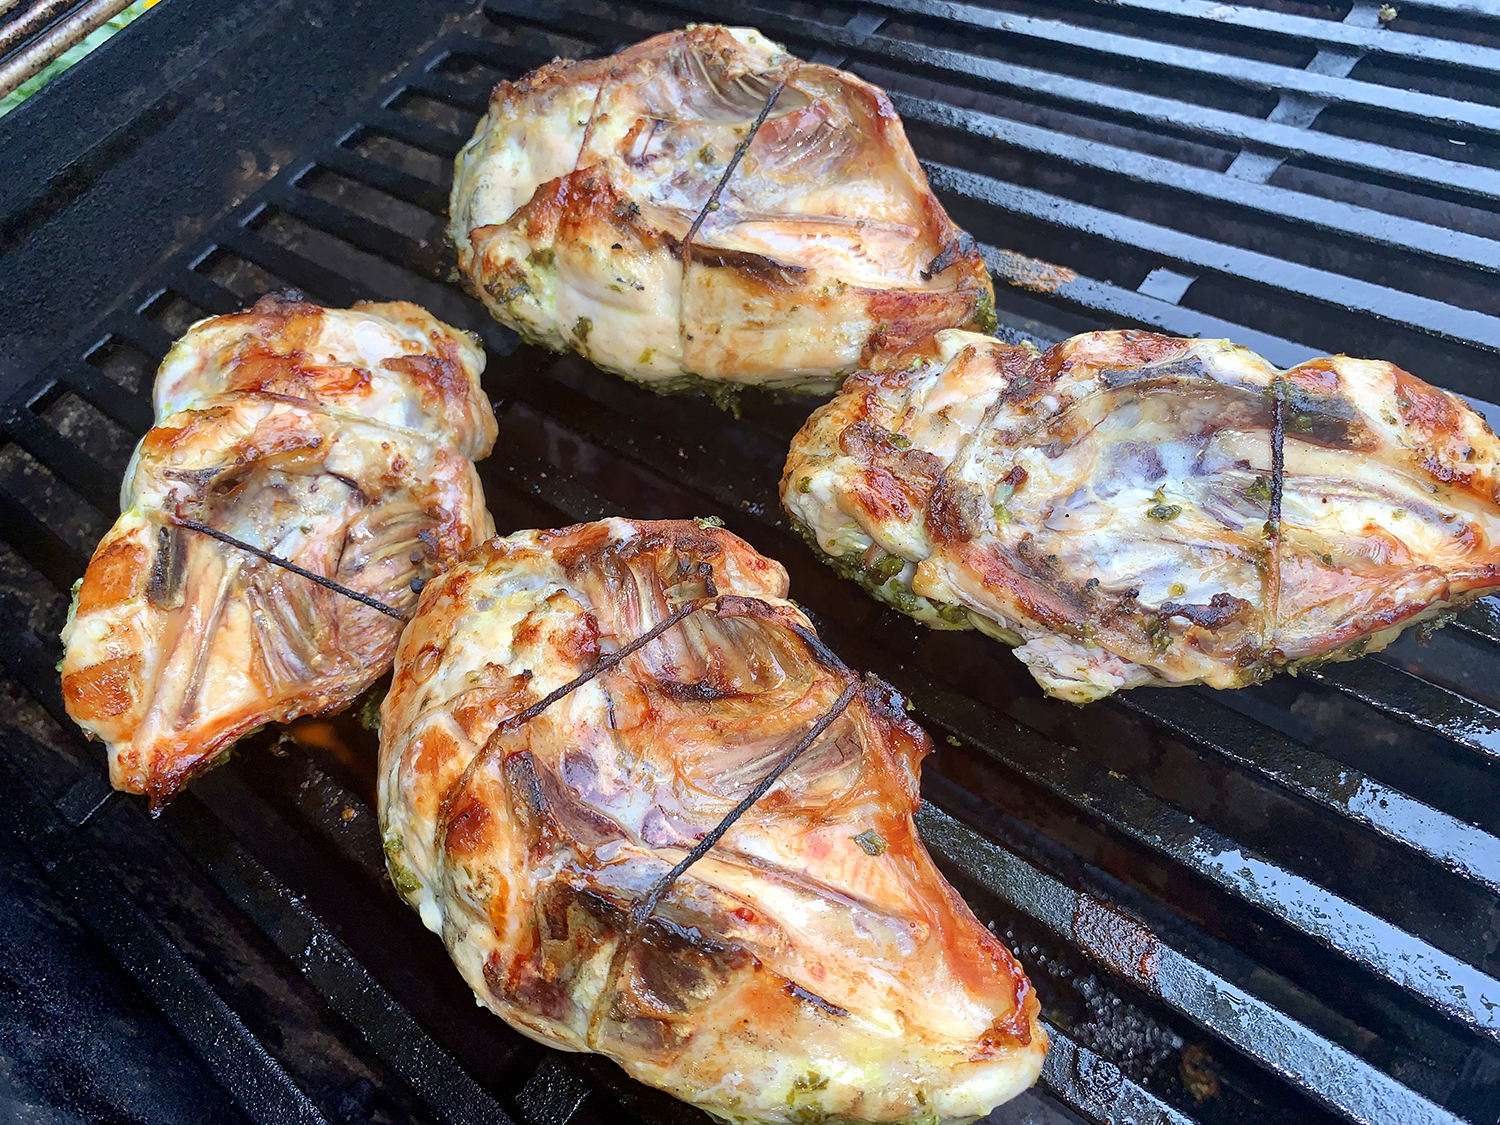
- Using tongs and wad of paper towels, rotate chicken 90 degrees so wings are at 6 and 12 o’clock. Continue cooking and turning chicken at 15-minute intervals until thickest part of thigh registers 170 to 175 degrees, 1 hour to 1¼ hours longer.
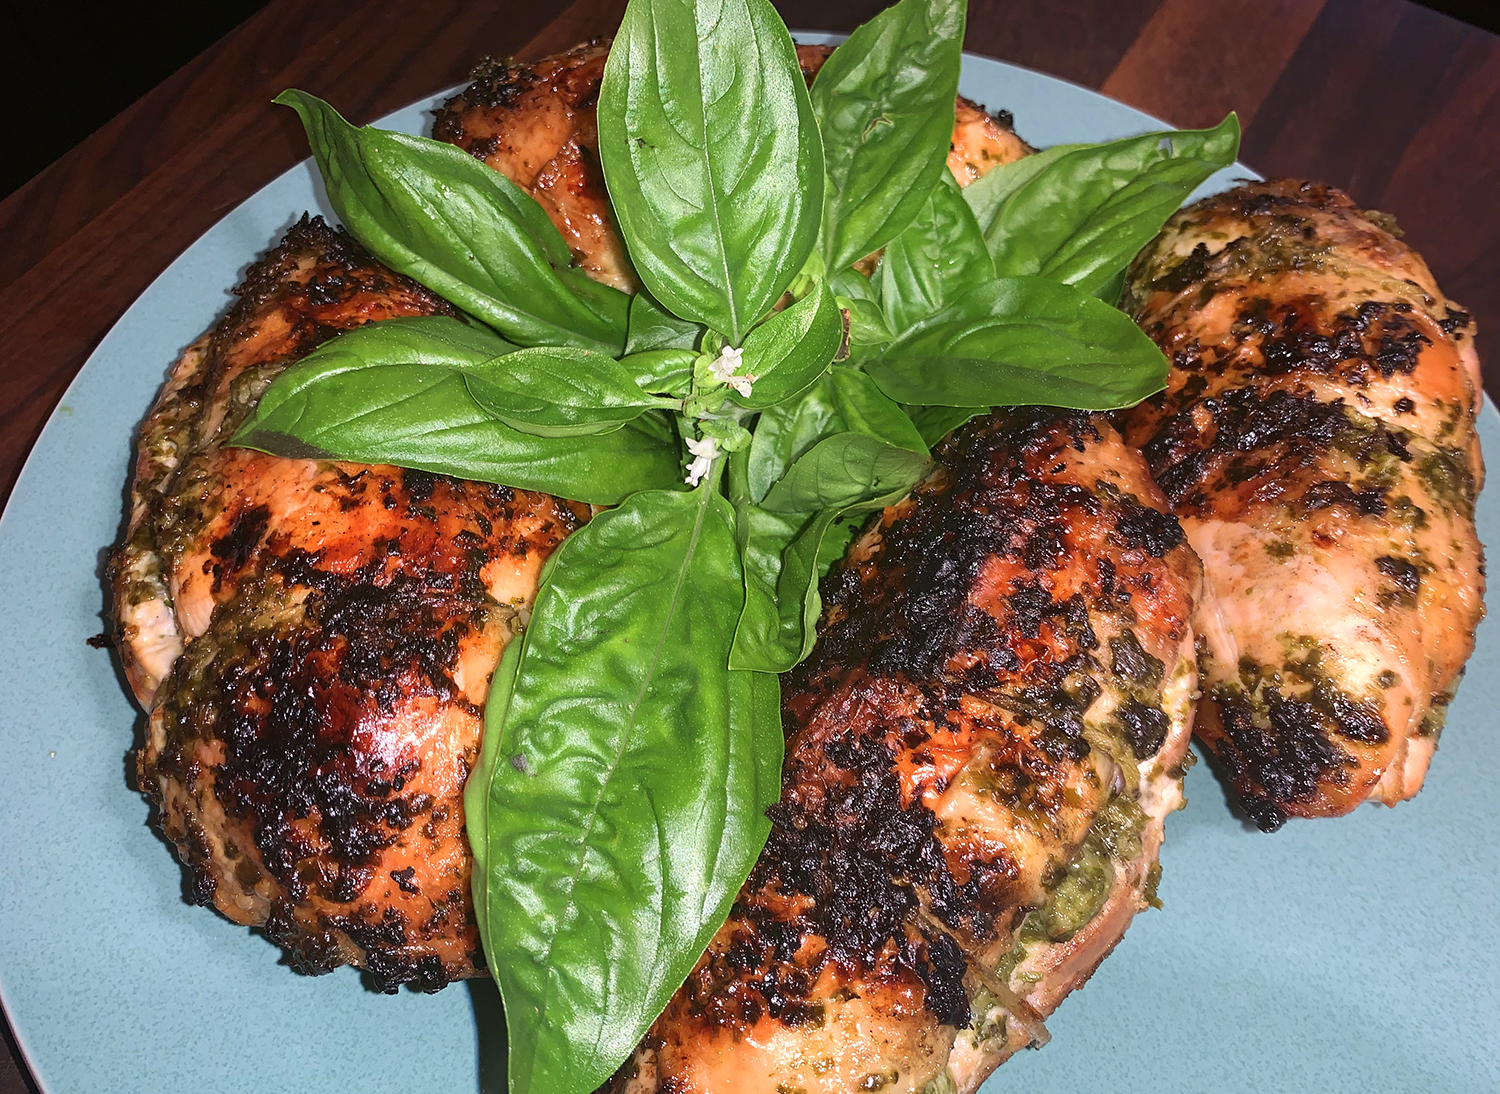
- With large wad of paper towels in each hand, transfer chicken and can to clean bowl, keeping can upright; let rest for 15 minutes. Using wads of paper towels (or gloves), carefully lift chicken off can and onto cutting board. Discard can. Carve chicken, transfer to platter, and serve.
- Not part of the original recipe, we decided to defat all of the flavorful drippings in the aluminum tray and serve alongside the platter of chicken.
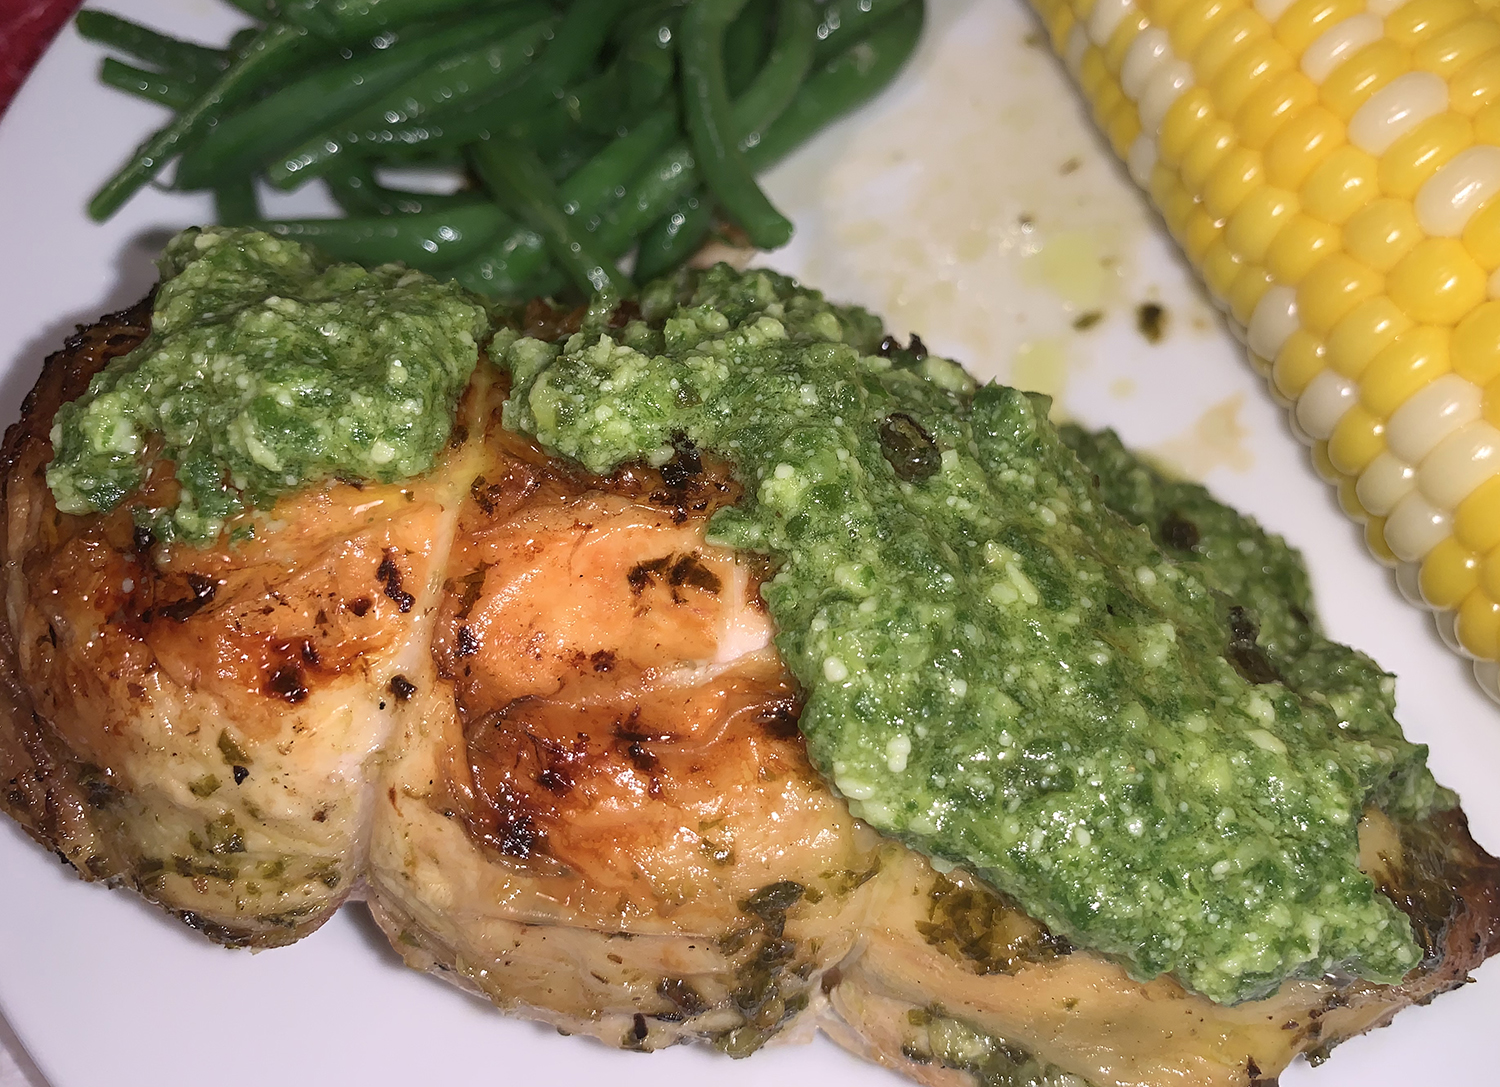
Aji Verde Sauce
This Peruvian Green Chile Sauce, also called Aji Verde, truly makes the meal, so don’t skip this part. Simply blend the ingredients together in the blender. So easy! And it can be made ahead and stored in the refrigerator for up to a week.

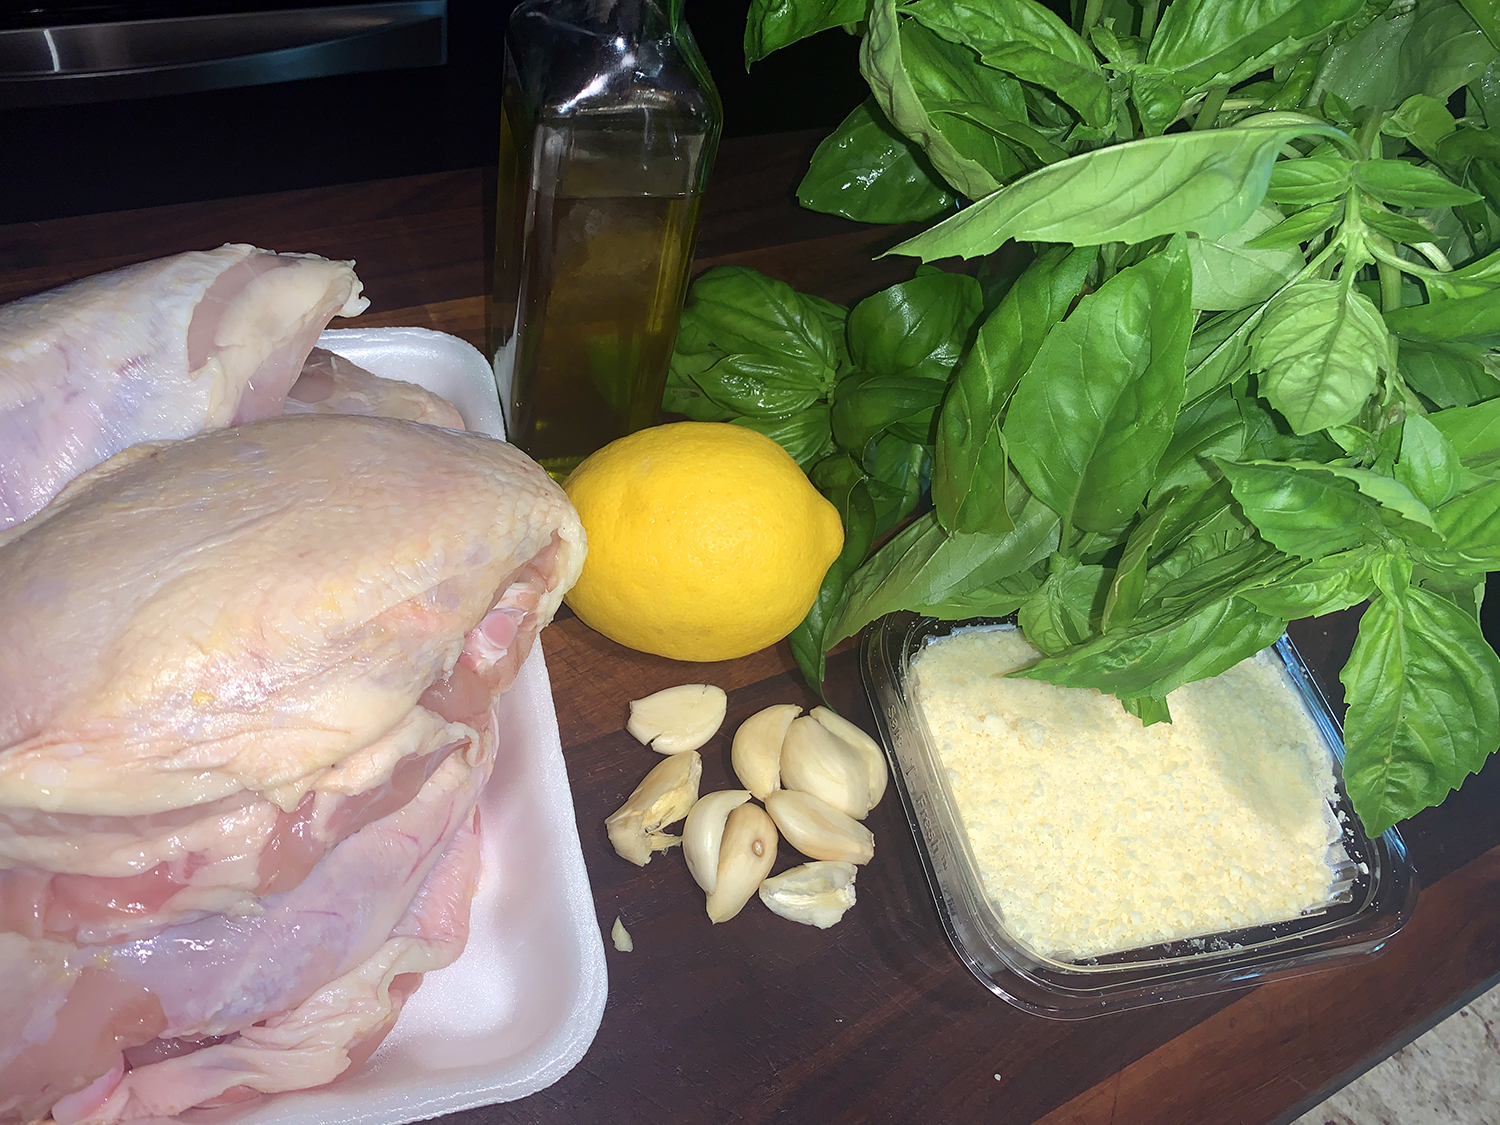
Ingredients
- ½ cup mayonnaise
- 1 jalapeño, stemmed and seeded, coarsely chopped
- 1 garlic clove. minced
- 2 Tbsp. grated cotija cheese
- 3 Tbsp. fresh minced cilantro
- 1 Tbsp. jarred huacatay paste
- 2 Tbsp. fresh lime juice


Directions
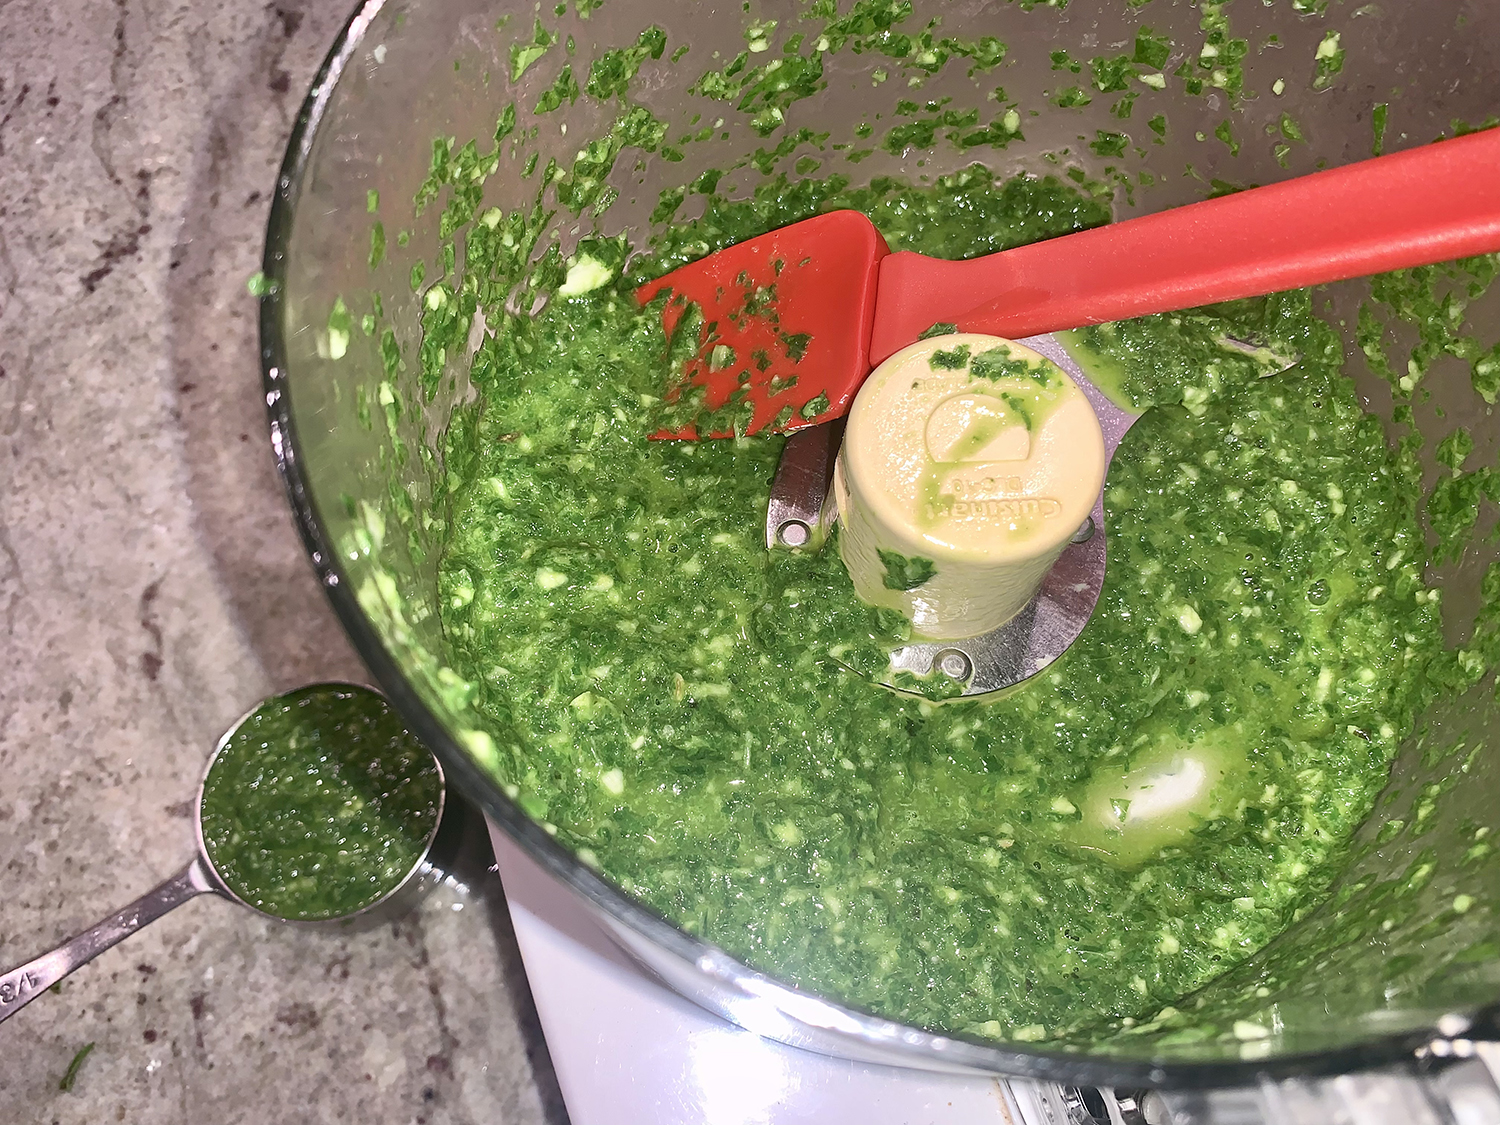
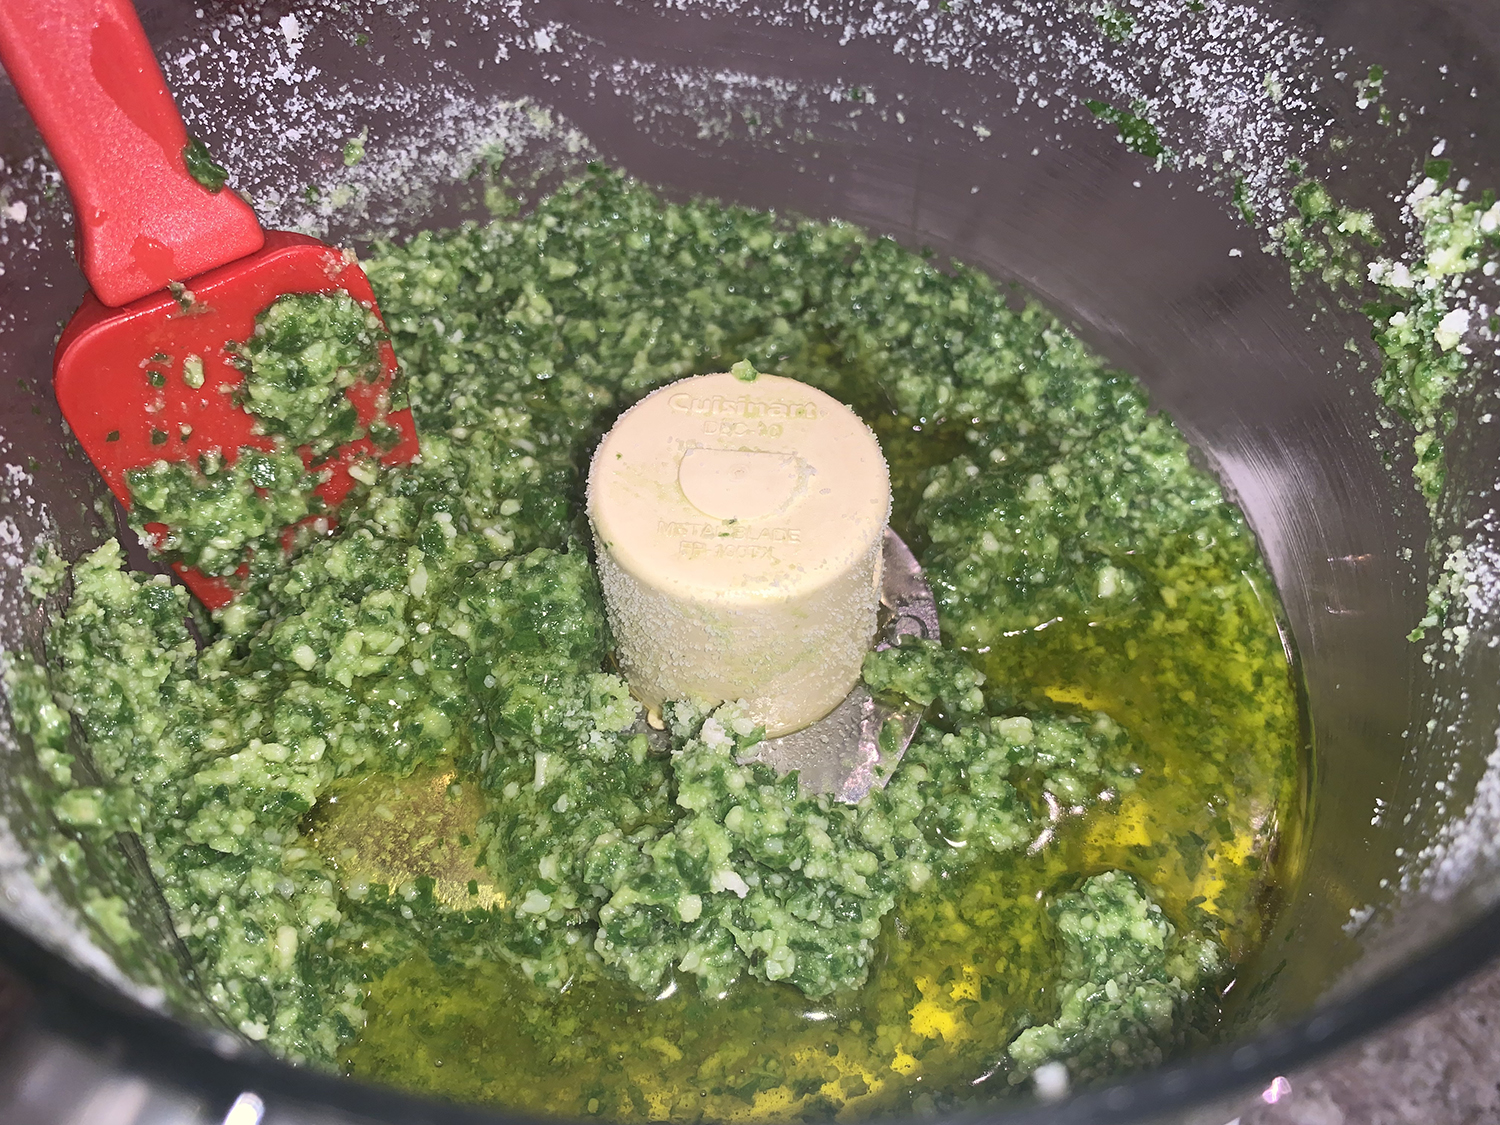
Combine all ingredients in a blender or small food processor until smooth, about 1 minute.


Aji Amarrillo Sauce
Another sauce option which we made the second time we served it with two chickens.
Ingredients
- ½ cup mayonnaise
- 2 Tbsp. aji amarillo paste
- 1 Tbsp. fresh lime juice
- 1 garlic clove, minced
- 1 tsp. jarred huacatay paste
Directions
Combine all ingredients in a blender or small food processor until smooth, about 1 minute.
Recipe by David Pazmiño for Cook’s Illustrated