Tag Archives: reverse-sear

Perfect Reverse-Seared Leg of Lamb

What many don’t realize is that prepping and cooking a big cut of meat can actually be easier and more forgiving than working with smaller cuts. According to chef Alan Bergo, you just need to know a few basic principles, and have a simple trick or two up your sleeve. Here he shares his favorite method for serving up a flawless roast leg of lamb on your first try. It employs a surprisingly simple kitchen hack known as the reverse-sear.

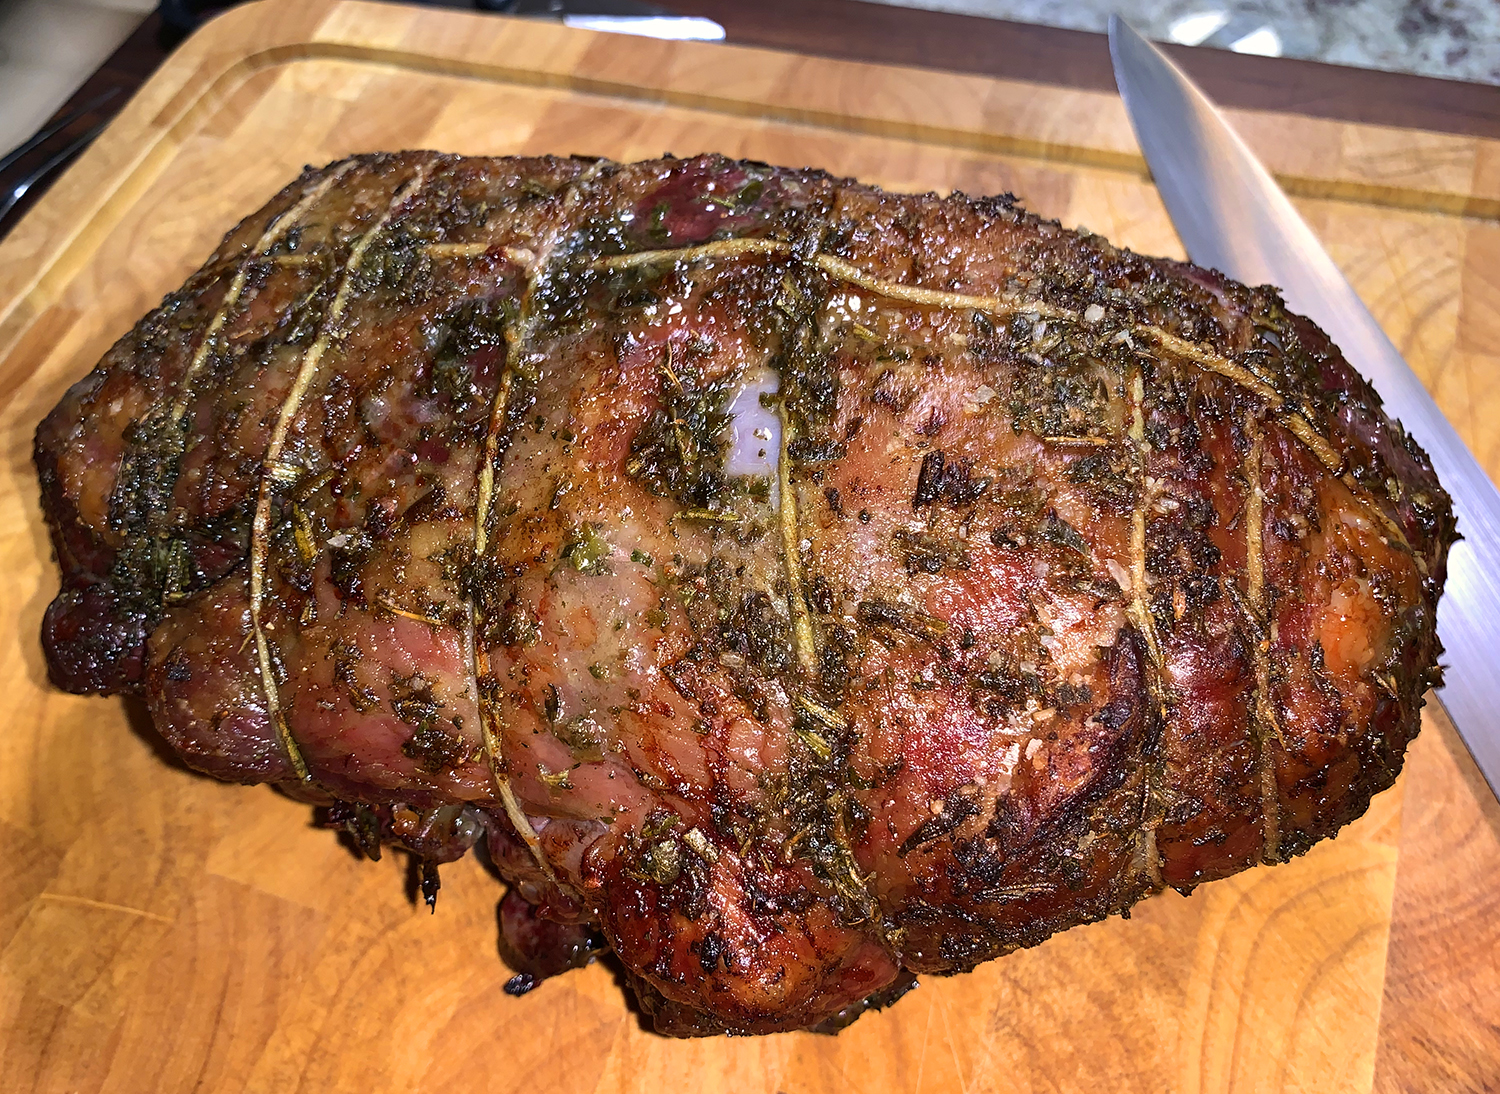
Truth be told, while we’ve done the reverse-sear method on a number of cuts of beef, this was our maiden voyage with lamb. In this case, the recipe called for a 3-4 pound leg of lamb, but ours was nearly 5 pounds so the cooking time was actually 2 hours and 20 minutes. We used an internal thermometer to measure the temperature the entire time it was roasting.

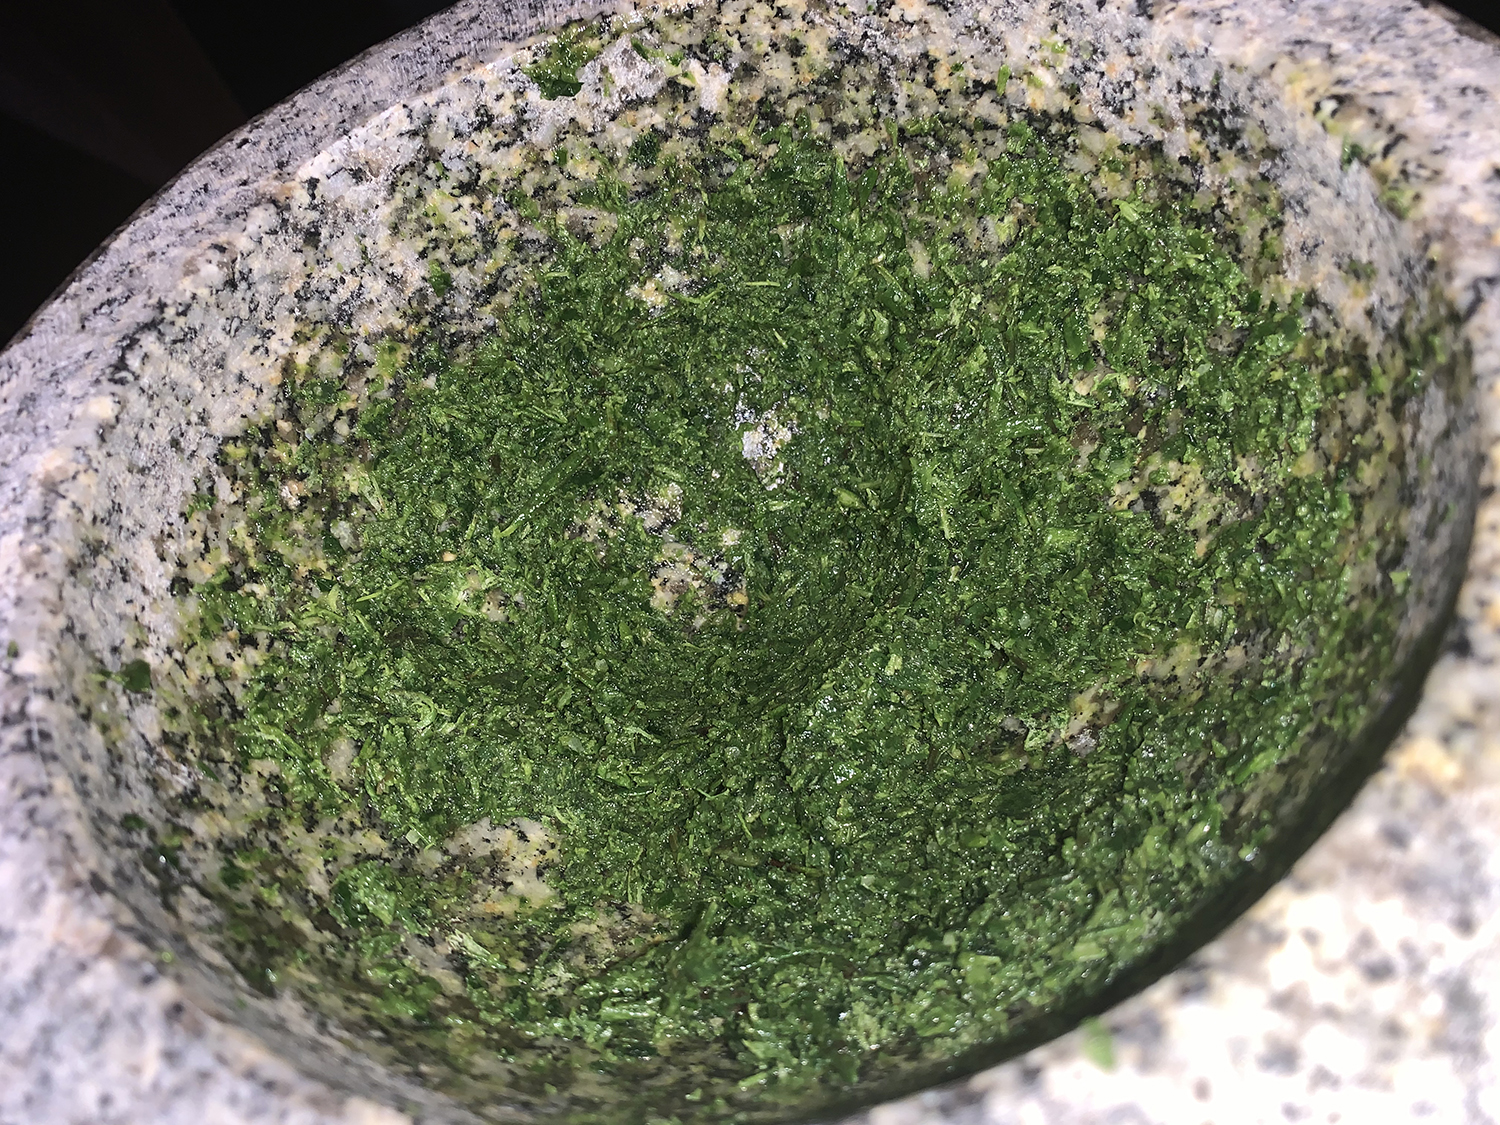
One ingredient not included in the original recipe was garlic, so we included 4 cloves and mashed them in a large mortar with salt. Next we added the herbs (which we increased from 1/4 cup to a 1/2 cup since our roast was larger), and mashed it altogether to make a paste.

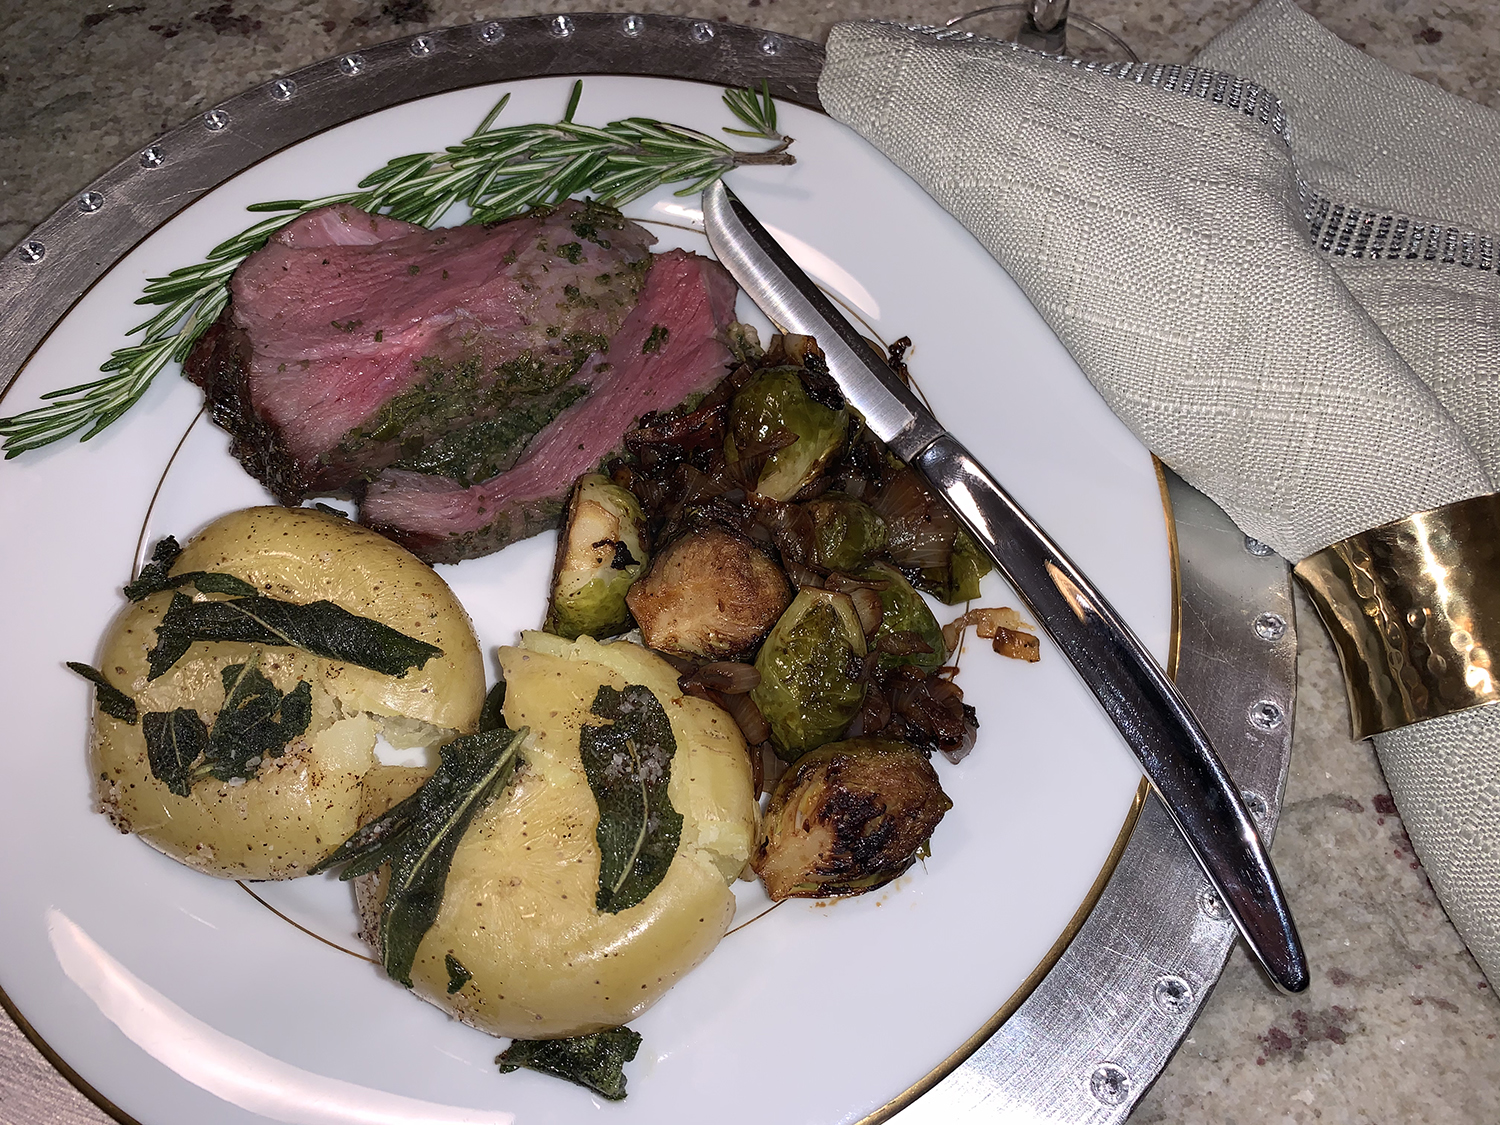
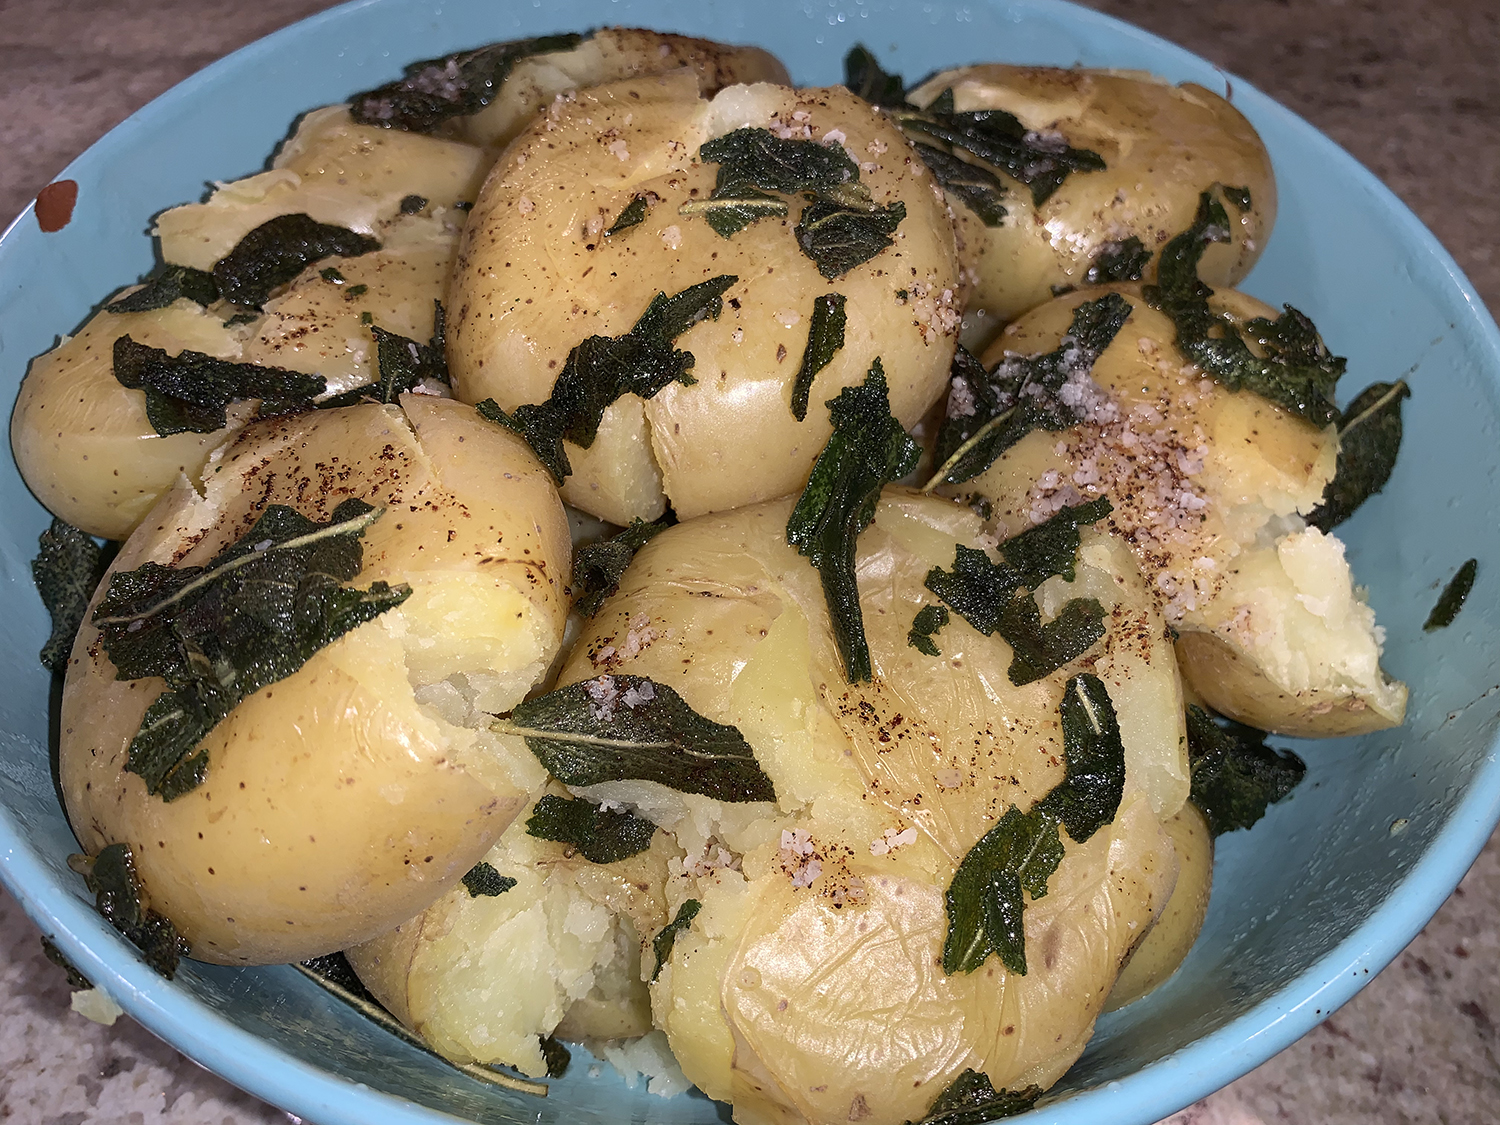
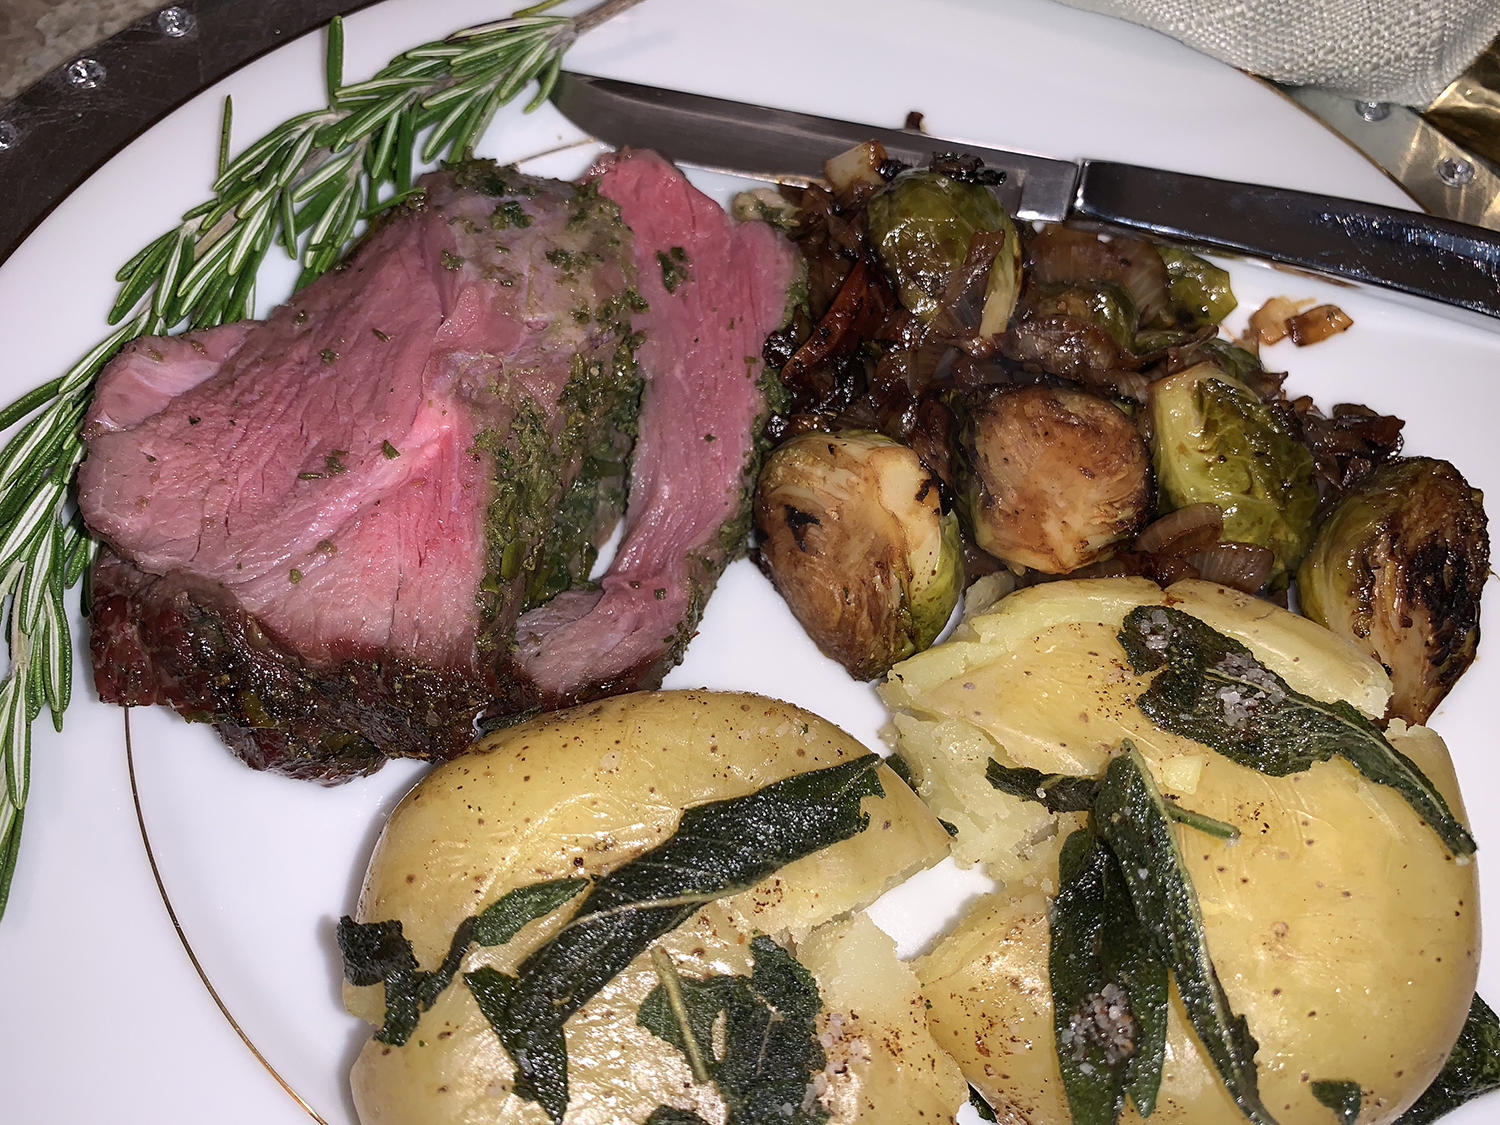
The lamb entrée was paired with Smashed Sage-Butter Potatoes that were so tender and creamy and Balsamic Roasted Brussels Sprouts and Shallots. A word to the wise on the potatoes: make sure to get the small baby Yukons. This time around the store wasn’t carrying them, and we picked up 3+” potatoes, shown below. They came out wonderfully creamy, but the sagey butter didn’t really penetrate into the interiors as much.

Perfect Reverse-Seared Leg of Lamb

  • Servings: 6
  • Difficulty: easy
  • Print

Ingredients

  • 1 Boneless leg of lamb (3-4 pounds)
  • Flavorless high heat cooking oil, like grape seed
  • 1/2 cup aromatic herbs like rosemary sage and thyme, finely chopped
  • 4 cloves of garlic, peeled and mashed in a mortar with salt
  • 2 tsp. kosher salt or more to taste
  • 1 tsp. fresh ground black pepper or more to taste
  • Extra-virgin olive oil

Directions

  1. In a large mortar, mash the garlic cloves with kosher salt until pulverized. If using rosemary, mash that with the garlic and then finish with the remaining herbs.
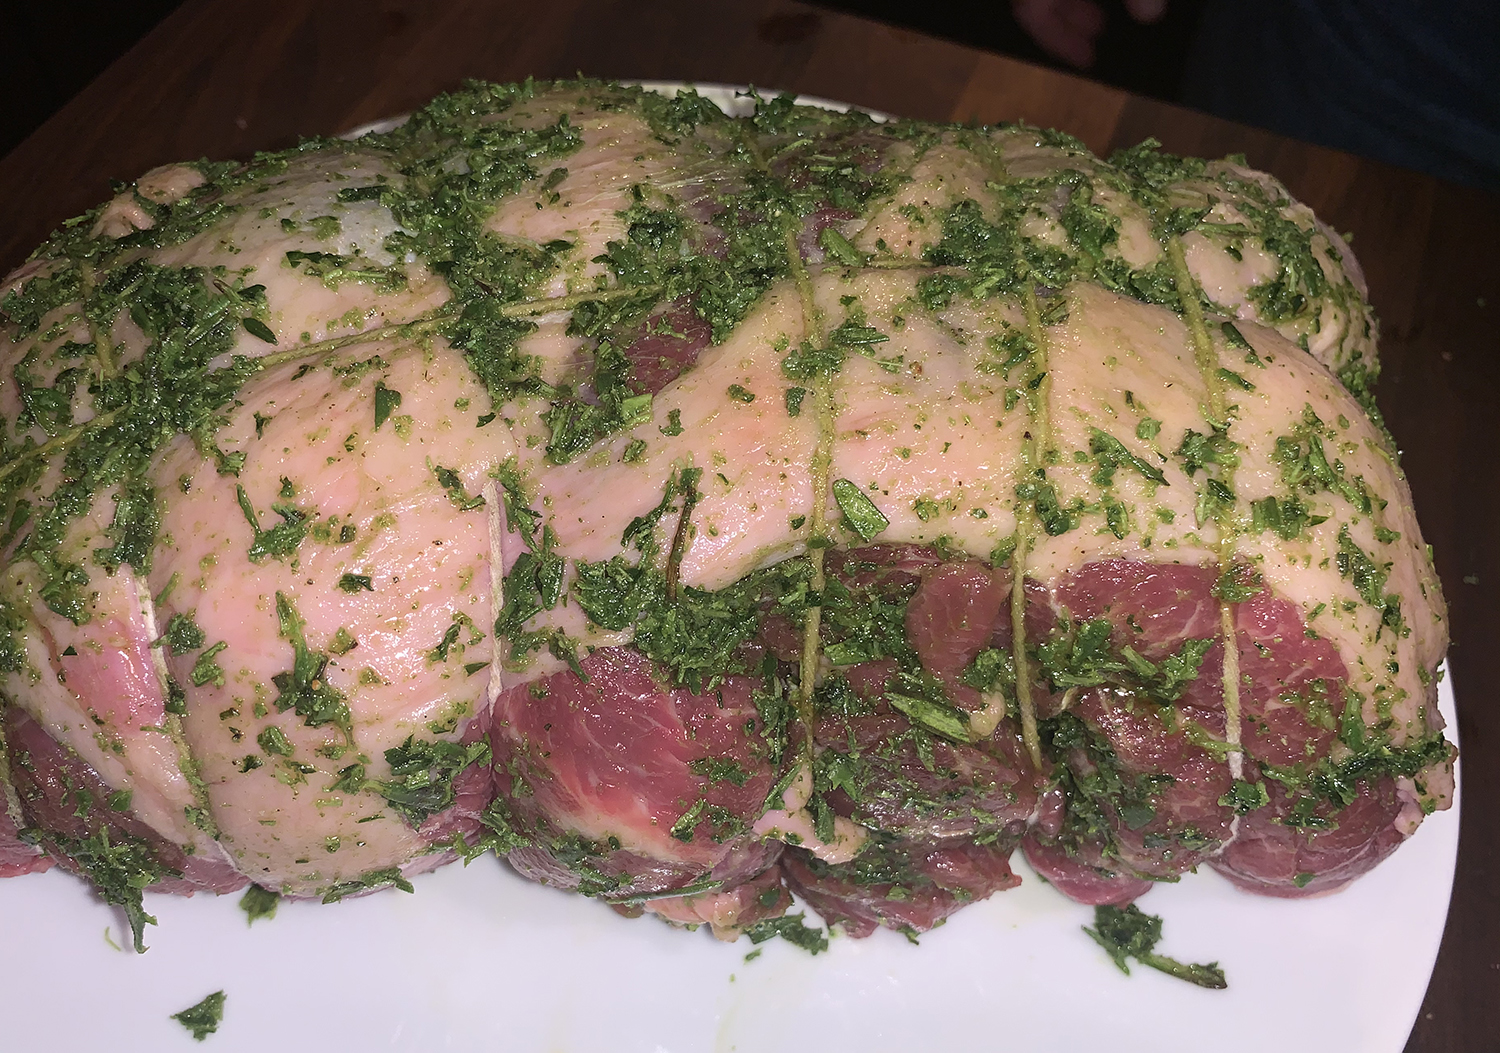
  2. Season the meat with salt, pepper and the garlic-herbs paste inside and out. Roll the leg up tightly and tie with kitchen twine to ensure even cooking. Let it sit uncovered in the fridge overnight.
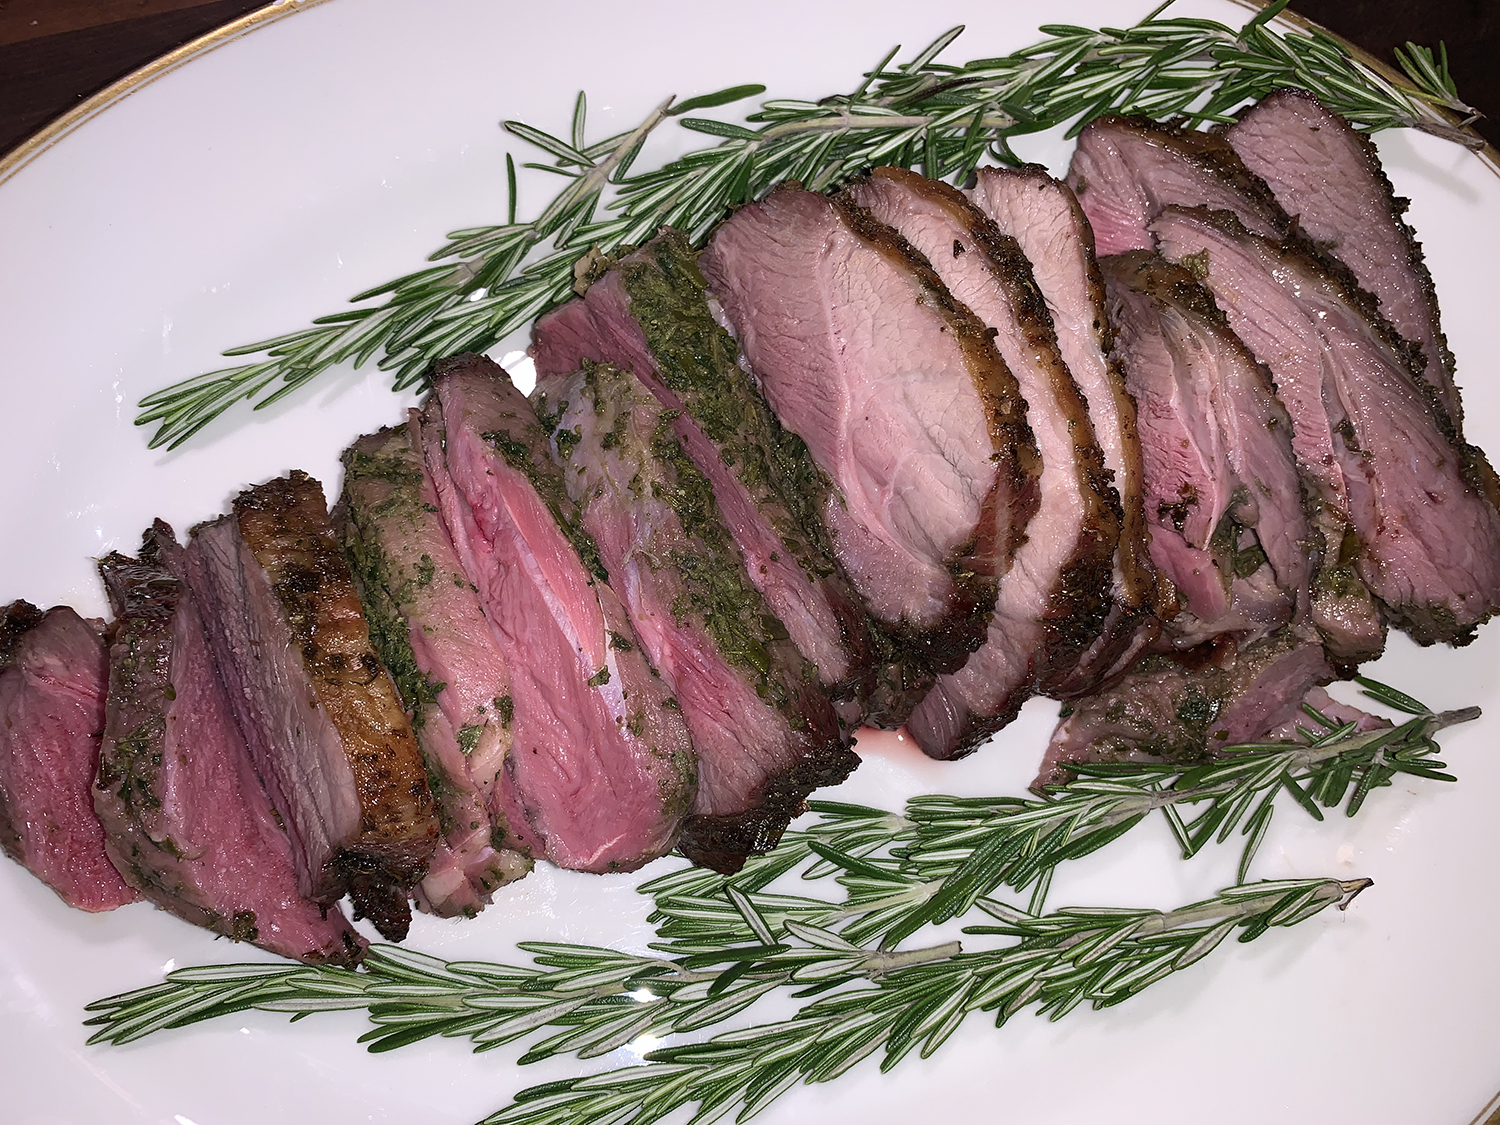
  3. The next day, 1 1/2 hours before you want to serve (assuming a 3-4 lb leg) preheat the oven to 250 °F and place the leg in the oven. Insert an internal thermometer if you have one and set it for 130° for medium-rare. If all you have is an instant-read thermometer, start checking after one hour to monitor the meat doneness.
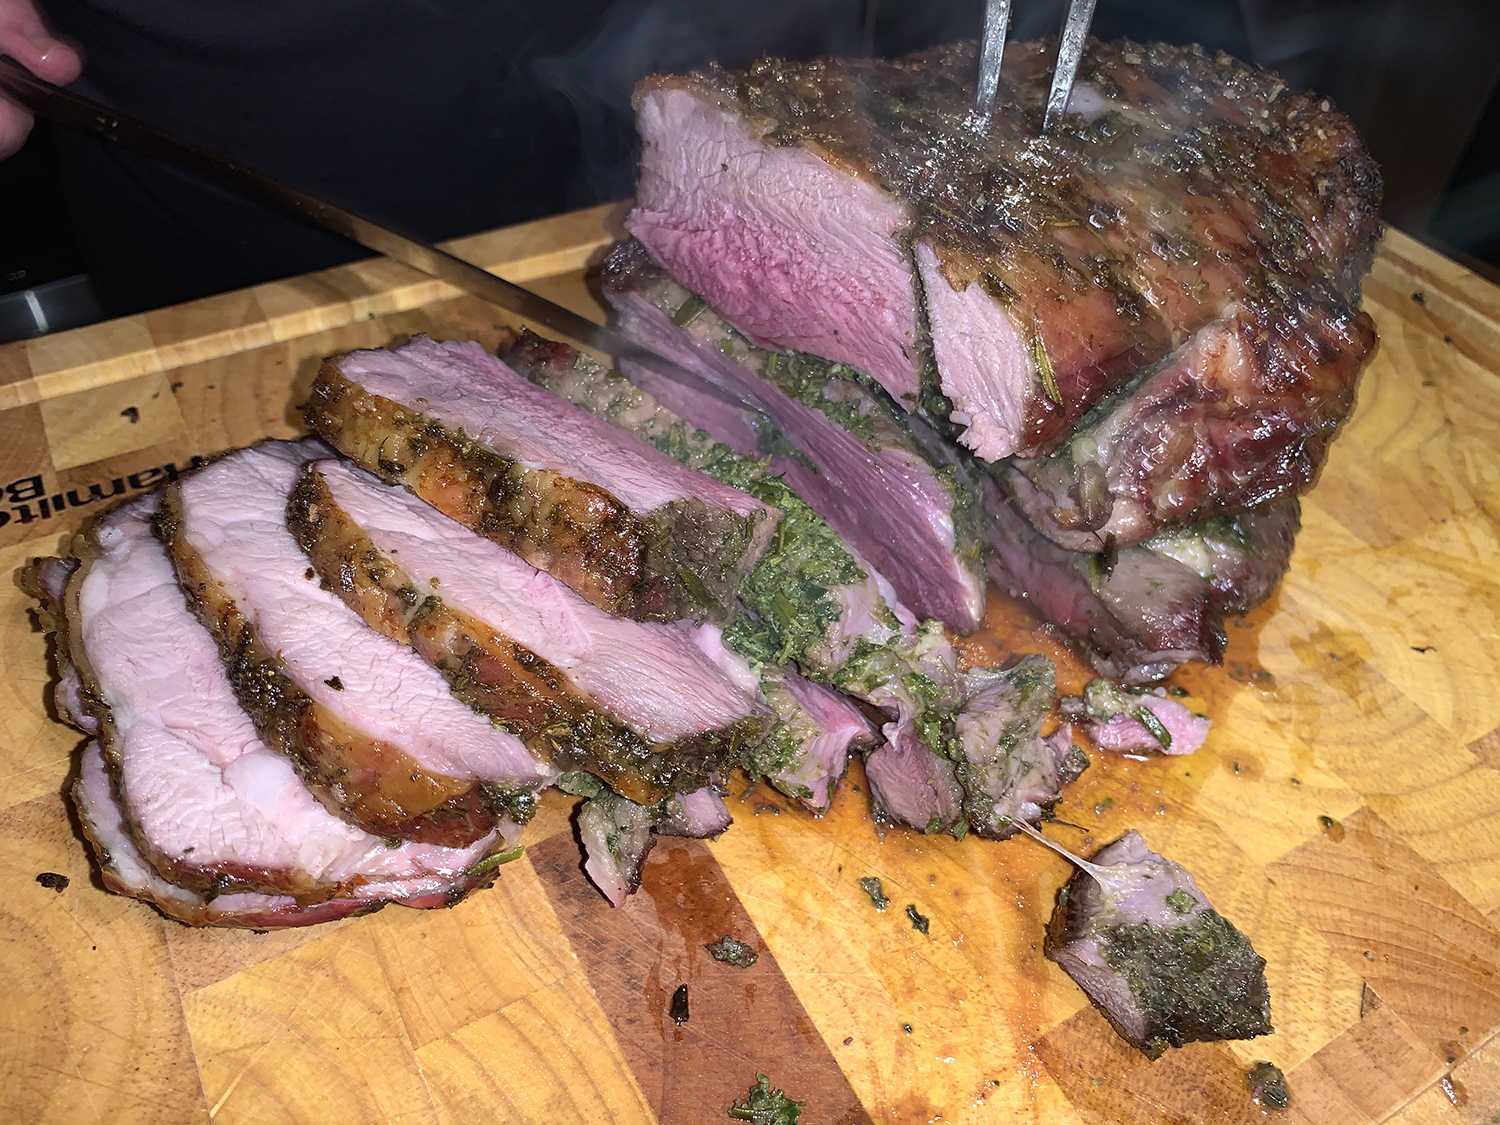
  4. When the internal temperature comes up to your target temperature (which could be 2 hours or more), remove the leg from the oven and allow to cool on its rack loosely tented with foil in a warmish location for 15-20 minutes.
  5. Finally, rub some extra-virgin olive oil all around the roast and heat a few tablespoons of grape seed oil in the sauté or cast iron pan on high. Turn on the hood, and or open a window, since you’ll be using some high heat for a few minutes. When the oil is just starting to smoke gently, reduce the heat to medium-high and brown the roast deeply on all sides.
  6. After the roast is browned, transfer to a cutting board, remove the twine, cut into slices with a sharp knife and serve immediately.

http://www.lynnandruss.com

Original recipe by Alan Bergo

Dry-Brine, Reverse-Sear Sirloins with Argentinian Chimichurri Sauce

That title is certainly a mouthful, but want a perfect steak? This method for dry-brining steak, paired with reverse-sear cooking, will result in the tastiest steak you’ve ever made—as long as you don’t commit the cardinal sin. Don’t be a cheap-skate and try to get away with a sub-par piece of meat. No matter what you hear or read, this method will not transform a cheap steak into an expensive one, it will merely improve it.

You will definitely need a meat thermometer to do this correctly, so if you do not have an instant-read Thermapen, go get yourself one now. Plus, each piece of meat needs to be at least 1.5 inches thick for the reverse sear method to work. I started with a 3.6 pound strip roast and sliced it down into four equal steaks. The roast was on sale for 50% off, and I had it tucked away in the freezer for just such an occasion.

Did you know that with this method, the salt gets deeper into the meat than with conventional seasoning. The salt crystals draw out moisture, creating a slick watery surface on the steak that eventually dissolves the salt, then the process of diffusion draws this salty brine back into the meat. Voila!

Yes, the steaks do look somewhat smaller after the brining process, but the meat has a more intense beefy flavor. A word to the wise, you’re going to want to make sure there’s nothing with a strong odor left uncovered in the fridge which could work it’s way into the meat.

Now you might be saying to yourself that it takes longer to cook with reverse sear than other methods. Admittedly, some of the better things in life do take longer, but ultimately, the steaks are ready to eat immediately because you’ve rested them prior to the sear!

Along with an eye-opening chimichurri sauce (recipe follows), we paired the steaks with two recent 5-star side dishes, Russel’s Russets and Green Beans and Blistered Tomatoes.

Argentinian Chimichurri Sauce—This recipe from Milk Street can easily be halved, but you’ll find uses other than steak for this delicious condiment such as on grilled pork, fish and other seafood. Chimichurri can be stored in an airtight container in the refrigerator for up to a week; bring to room temperature before serving. Don’t substitute fresh oregano. The stronger flavor and texture of dried oregano is a hallmark of chimichurri.

The evening got started when our guests, Paula and Mike toted in the appetizer, and WOW, they did not disappoint! Along with a slate of four scrumptious cheeses, they also supplied a platter of low-carb crackers (that Paula made from scratch), meats, stuffed olives, and mustard/honey and fig spreads. Which, BTW, went nicely with the chilled rosé that we were sipping.

When it was time to start grilling, Russ transferred the rimmed baking sheet with rack and steaks from counter directly onto the indirect heated side of the grill. He kept it covered and maintained a temperature of 250°. After 45 minutes, he turned up the burners on the other side of the grill to high, oiled the grates and slapped the meat onto them for the final char.

Dry-Brine, Reverse-Sear Sirloins

  • Servings: 4-6
  • Difficulty: easy
  • Print

Ingredients

  • 3.5-4 lb. strip roast, cut into 4 steaks, fat trimmed
  • Kosher salt and fresh cracked pepper
  • Argentinian Chimichurri sauce (see recipe below)

Directions

  1. Cut the sirloin roast into 4 equal sized steaks. (Ours were 1 1/2″ each from a 3 1/2 pound roast.) Lay them on small rimmed baking sheet with rack. Generously salt and pepper each side.
  2. Place baking sheet uncovered into refrigerator for at least 24 hours, up to 3 days.
  3. Start up the grill using the indirect method. Turn on the burners on one side and cover until it reaches 250°. Place the steaks on the off side and close the lid. When the meat reaches 115°, they will be ready to sear over high heat. Our 1 1/2″ steaks took 45 minutes.
  4. Turn the burners to high and place the steaks over the direct heat to char the outsides, about 2 minutes per side, and the internal temp is 125° for medium-rare.
  5. Transfer steaks to a cutting board with a moat to catch any juices.
  6. Using tongs and a sharp knife, cut each steak into 1/2″ thick slices and pile all of the meat and any accumulated juices onto a platter along with a bowl of the chimichurri sauce.

Ingredients

  • ¾ cup grapeseed or other neutral oil
  • ¼ cup sweet paprika
  • ¼ cup red pepper flakes (you can reduce the amount if desired)
  • ¼ cup dried oregano
  • 2 medium garlic cloves, finely grated
  • ½ cup balsamic vinegar
  • Kosher salt

Directions

  1. In a small saucepan over low, combine the oil, paprika, pepper flakes and oregano. Cook, stirring occasionally, until the mixture begins to bubble, 5 to 7 minutes.
  2. Remove from the heat and stir in the garlic. Let cool to room temperature.
  3. In a medium bowl, combine the vinegar and 1 teaspoon salt, then stir until the salt dissolves. Slowly whisk in the cooled oil mixture.

http://www.lynnandruss.com