Caramelized onions done right start with a simple but effective technique: a covered nonstick skillet over high heat with ¾ cup of water. The water and steam work together to soften the onions quickly and evenly. Once the lid comes off and the heat drops to medium-high, the softened onions are pressed into the bottom and sides of the skillet for maximum contact with the hot pan.

Rather than finishing with sugar or honey as many recipes suggest, a pinch of baking soda does the heavy lifting — speeding up the reaction that converts flavorless inulin (a polysaccharide naturally present in onions) to fructose, unlocking deep, complex sweetness.
Yellow or Spanish onions are the best choice here for their rich, layered flavor. Slicing them through the root end keeps them intact and prevents them from breaking down too much during cooking. The result is a versatile, deeply savory condiment that belongs just about everywhere. Here are some great uses:
On top of things
- Burgers and sandwiches (classic pairing with gruyère)
- Pizza or flatbreads
- Crostini with goat cheese or brie
- Steaks and grilled meats
Stirred into things
- French onion soup (they’re the whole point)
- Pasta sauces, risotto, or mac and cheese
- Quiches, frittatas, and savory tarts
- Dips — blended into sour cream for an incredible onion dip
As a base or filling
- Caramelized onion jam (great on charcuterie boards)
- Tart or galette filling with cheese and herbs
- Stuffed into quesadillas or grilled cheese
- Mixed into mashed potatoes or polenta
They keep well in the fridge for about a week, so making a big batch and using them throughout the week is totally worth the time investment.
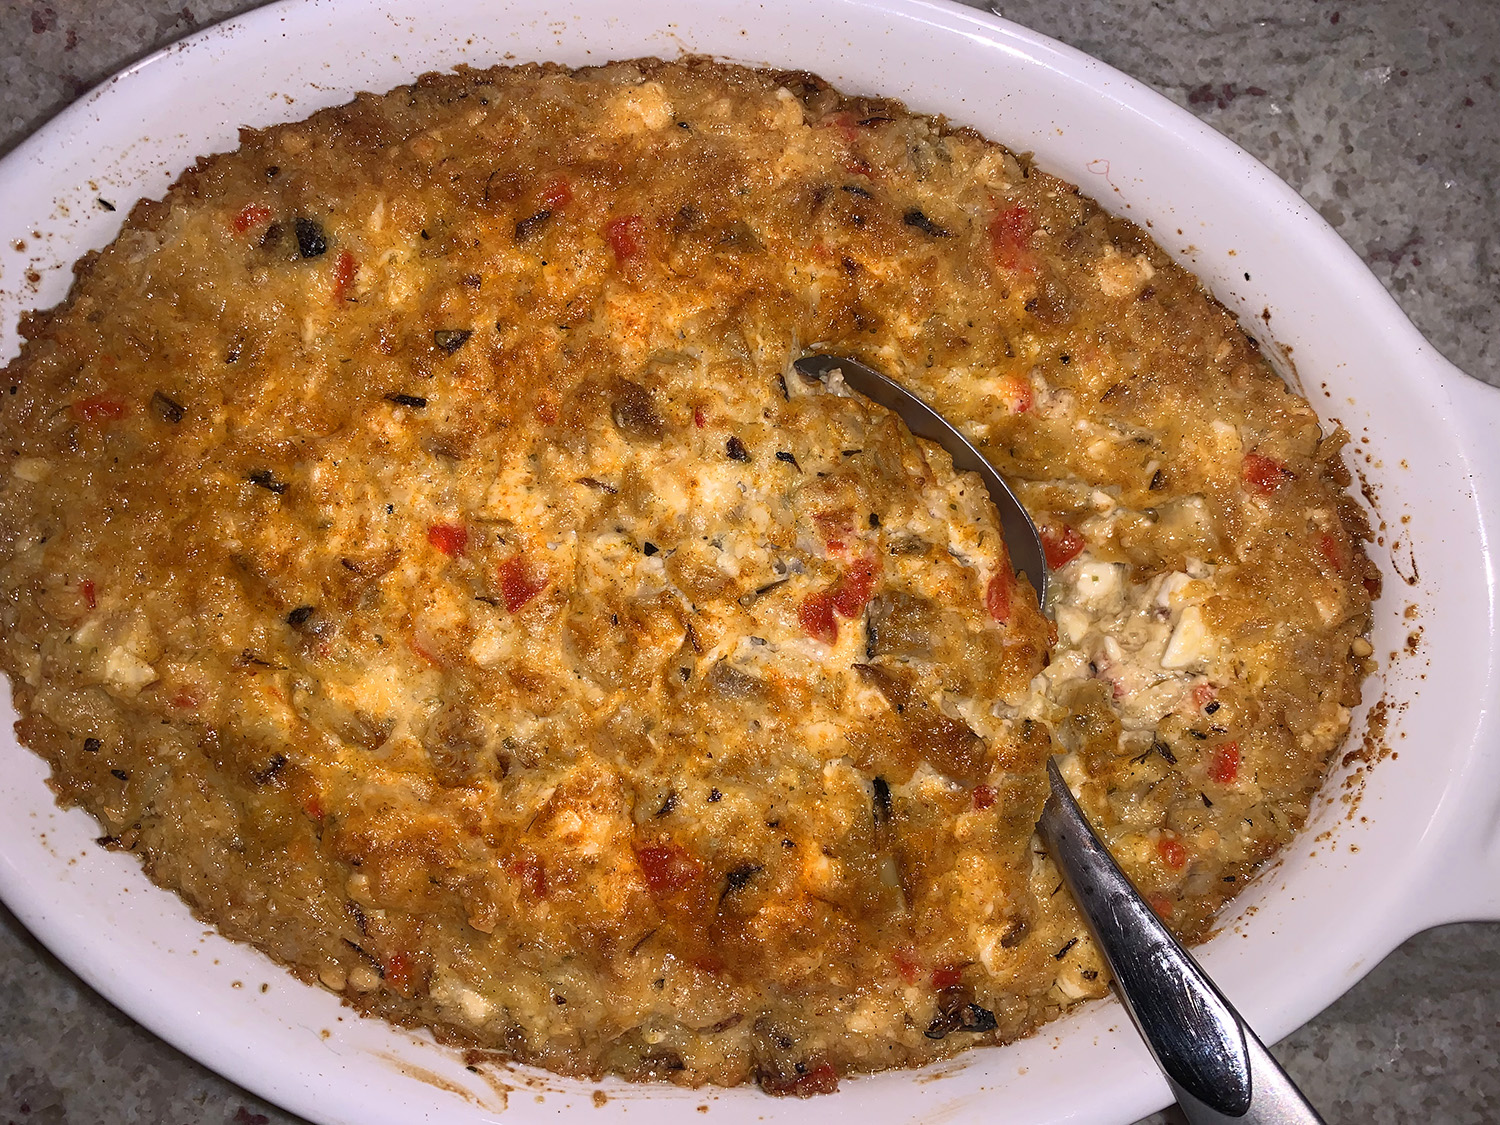
In honor of National Hamburger Day, we topped off cheeseburgers with the caramelized onions for the win!

Caramelized Onions
Ingredients
- 3 lb.s onions, halved and sliced through root end ¼ inch thick
- ¾ cup plus 1 Tbsp., divided
- 2 Tbsp. vegetable, OR olive oil
- ¾ tsp. salt
- ⅛ tsp. baking soda


Directions
- Bring onions, 3/4 cup water, oil, and salt to boil in 12-inch nonstick skillet over high heat. (The pan will be very full.) Cover and cook until water has evaporated and onions start to sizzle, about 10 minutes.
- Uncover, reduce heat to medium-high, and use rubber spatula to gently press onions into sides and bottom of skillet. Cook, without stirring onions, for 30 seconds. Stir onions, scraping fond from skillet, then gently press onions into sides and bottom of skillet again. Repeat pressing, cooking, and stirring until onions are softened, well browned, and slightly sticky, 15 to 20 minutes.
- Combine baking soda and remaining 1 tablespoon water in bowl. Stir baking soda solution into onions and cook, stirring constantly, until solution has evaporated, about 1 minute. Transfer onions to bowl. (Onions can be refrigerated for up to 3 days or frozen for up to 1 month.)
Recipe by Lan Lam for America’s test Kitchen