What a wonderful breakfast/brunch item that will please up to 8 people. I got the recipe from a friend, who got it from her friend, who got it from who knows who? Doesn’t really matter the source, the thing is, you can customize it to suit your own preferences. For instance, if you are following a keto-friendly diet, skip the hash browns, but you might want to increase some of the other ingredients that go into the eggs. Instead of 1/4 cup of chopped onion, The Hubs added 3/4 cup of minced shallot.
You can even assemble it the day before, just cover the uncooked dish with foil and refrigerate overnight, then bake it in the oven until cooked, about 45 minutes. Which was EGGSactly what we did, so the morning of the feast, we were basically prep-free!
Store any remaining casserole in tightly wrapped foil, and store in refrigerator for up yo 3 days.
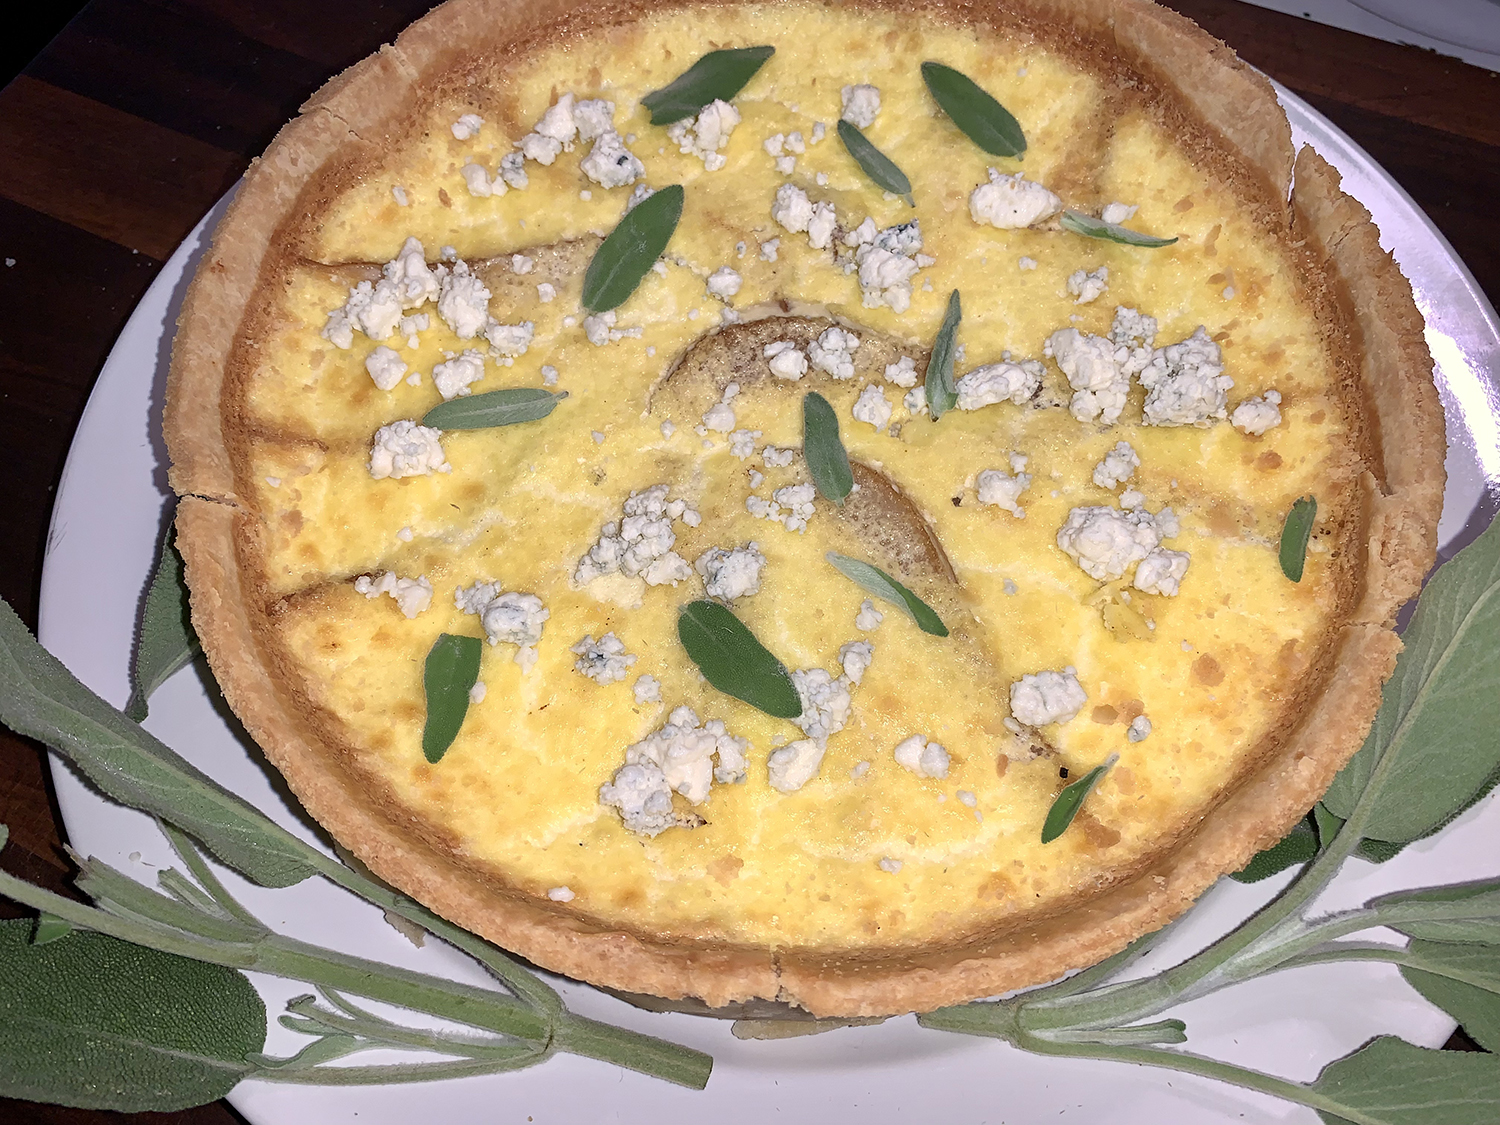
The classic combination of pear and blue cheese comes together in an unusual twist in this decadent deep dish quiche. Like any successful couple, it’s their ability to balance and complement each other’s distinctive qualities—in this case, their flavors and textures.
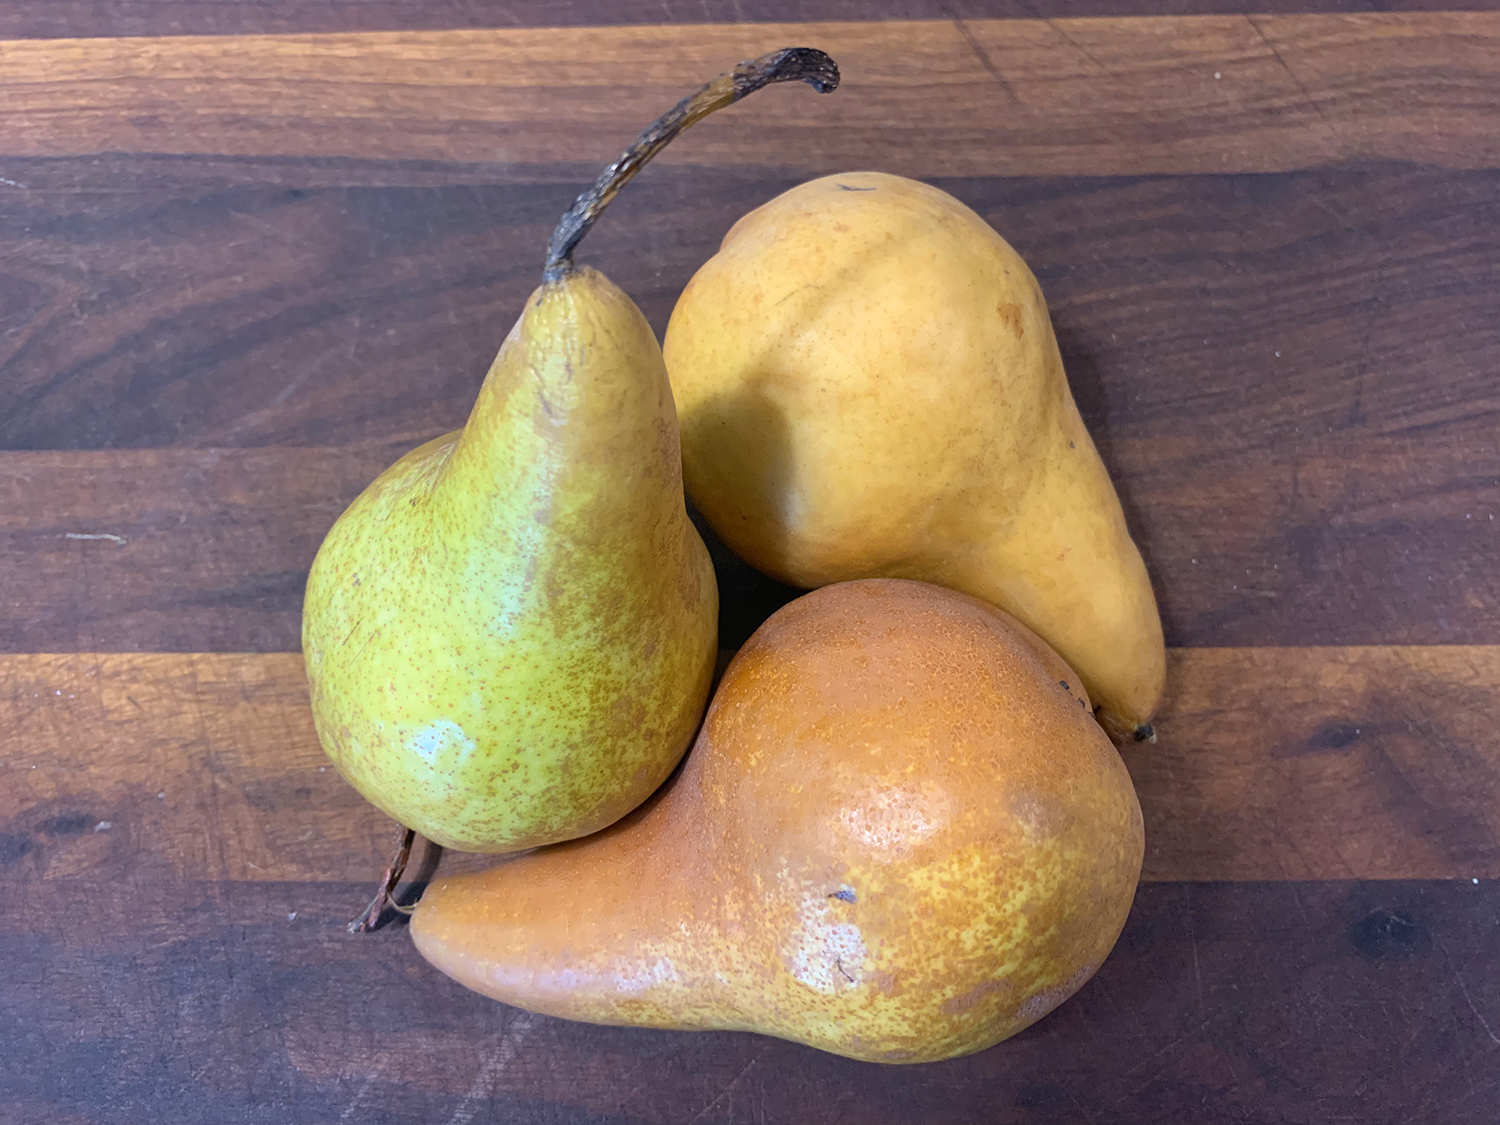
Choose pears, any variety, that have medium firmness. They should give a little when pressed, but not soft enough to bruise—our Bosc pears were on the firmer side. Unfortunately, the top slices sink into the egg mixture when assembling. Perhaps they could be added after 30-45 minutes of baking when the mixture has firmed up some.
If the thought of spending three or more straight hours preparing the quiche before company arrives, you may want to considering making it the day before. If so doing, once baked, wait until the quiche is completely cooled, leaving it in the springform pan. Cover first with a layer of saran wrap, followed by tin foil and refrigerate.
If you made it the day before, remove quiche from fridge and sit on the counter one hour prior to baking. Preheat the oven to 350°. If the edges are already golden-brown, cover the crust (but not the filling) with foil to prevent a burnt-toast exterior. Start checking for an internal temperature of 165°F after 20 minutes, it may take longer because it is deep dish. Slice up and serve that savory pie as soon as possible.
A couple of hints from one reviewer suggests rolling out the dough after 20-30 minutes of chilling if you plan to bake it another time, otherwise too long in the fridge and it won’t roll out well. Add a lot of pastry over the rim of the springform pan as it may shrink a lot—ours did not. Be sure to prick the sides and bottom as well, or it bubbles. Save a scrap of raw dough to fill any cracks after baking the shell so you don’t have an egg mixture leak.
8 Tbsp. cold unsalted butter, cut into small pieces
1 large egg, lightly beaten
¼ cup cold water
Filling
1 recipe Deep-Dish Pastry Shell (see above)
3 medium firm pears, such as Bosc, D’Anjou, or Bartlett
2 Tbsp. unsalted butter
1 Tbsp. sugar
½ cup crumbled blue cheese
6 large eggs
2 cups plain fat-free greek yogurt
1 cup milk
½ tsp. salt
¼ tsp. ground white pepper
⅛ tsp. ground nutmeg
Crumbled blue cheese
Fresh sage leaves (optional)
Directions
In the bowl of a food processor combine the flour and salt. Add the butter and pulse until the mixture resembles coarse crumbs. Combine the egg and water in a small bowl; add to the food processor and pulse until the mixture just begins to clump together. Transfer the mixture out onto a sheet of plastic wrap; fold the wrap over and press the crumbs until they hold together; shape into a circle. Wrap and chill at least 30 minutes.
Turn the dough out onto a lightly floured surface and roll it out to a 15-inch circle. Carefully roll the pastry around the rolling pin and transfer to a 9×2 1/2-inch springform pan, pressing it into the sides. Trim the overhanging pastry to 1 inch and press it firmly against the outside of the ring to help prevent it from shrinking. Use the trimmings to fill any cracks. Freeze the shell for 20 minutes. Prick sides and bottom every couple of inches with a fork.
Preheat the oven to 400°F. Place the springform pan on a baking sheet. Line the pastry shell with a double thickness of aluminum foil long enough to overhang the sides. Bake about 20 minutes or until the edge of the dough is lightly browned. Remove the foil and continue baking the pastry shell for 10 to 15 minutes longer, or until lightly browned on the bottom. Transfer the baking sheet to a rack and let the pastry cool.
In the meantime, core and cut 2 of the pears into 1/2- to 3/4-inch cubes. Thinly slice the remaining pear and reserve.
Melt 1 tablespoon of the butter in a large skillet over medium-high heat. Add the cubed pears and sugar; cook, stirring occasionally, for 7 to 8 minutes or until lightly browned. Transfer to the pre-baked pastry shell and top with blue cheese; set aside. Melt the remaining 1 tablespoon butter in the skillet and add the pear slices. Cook, stirring occasionally, for 3 to 4 minutes or until just softened; set aside.
For the custard, in a blender combine the eggs, yogurt, milk, salt, pepper, and nutmeg. Blend until frothy.
Place the springform pan with the pastry shell on a baking sheet. Gently pour in the custard. Arrange the reserved pear slices in a spoke pattern on top of the quiche. Bake 1 hour 20 minutes to 1 hour 30 minutes until the top is lightly browned and the custard is just set (165°F) but still jiggles slightly in the center. Let stand 30 to 40 minutes.
With a serrated knife, cut the pastry shell flush with the top of the pan. Carefully remove the springform pan ring. Top with additional blue cheese and, if desired, sage leaves. Cut into wedges.
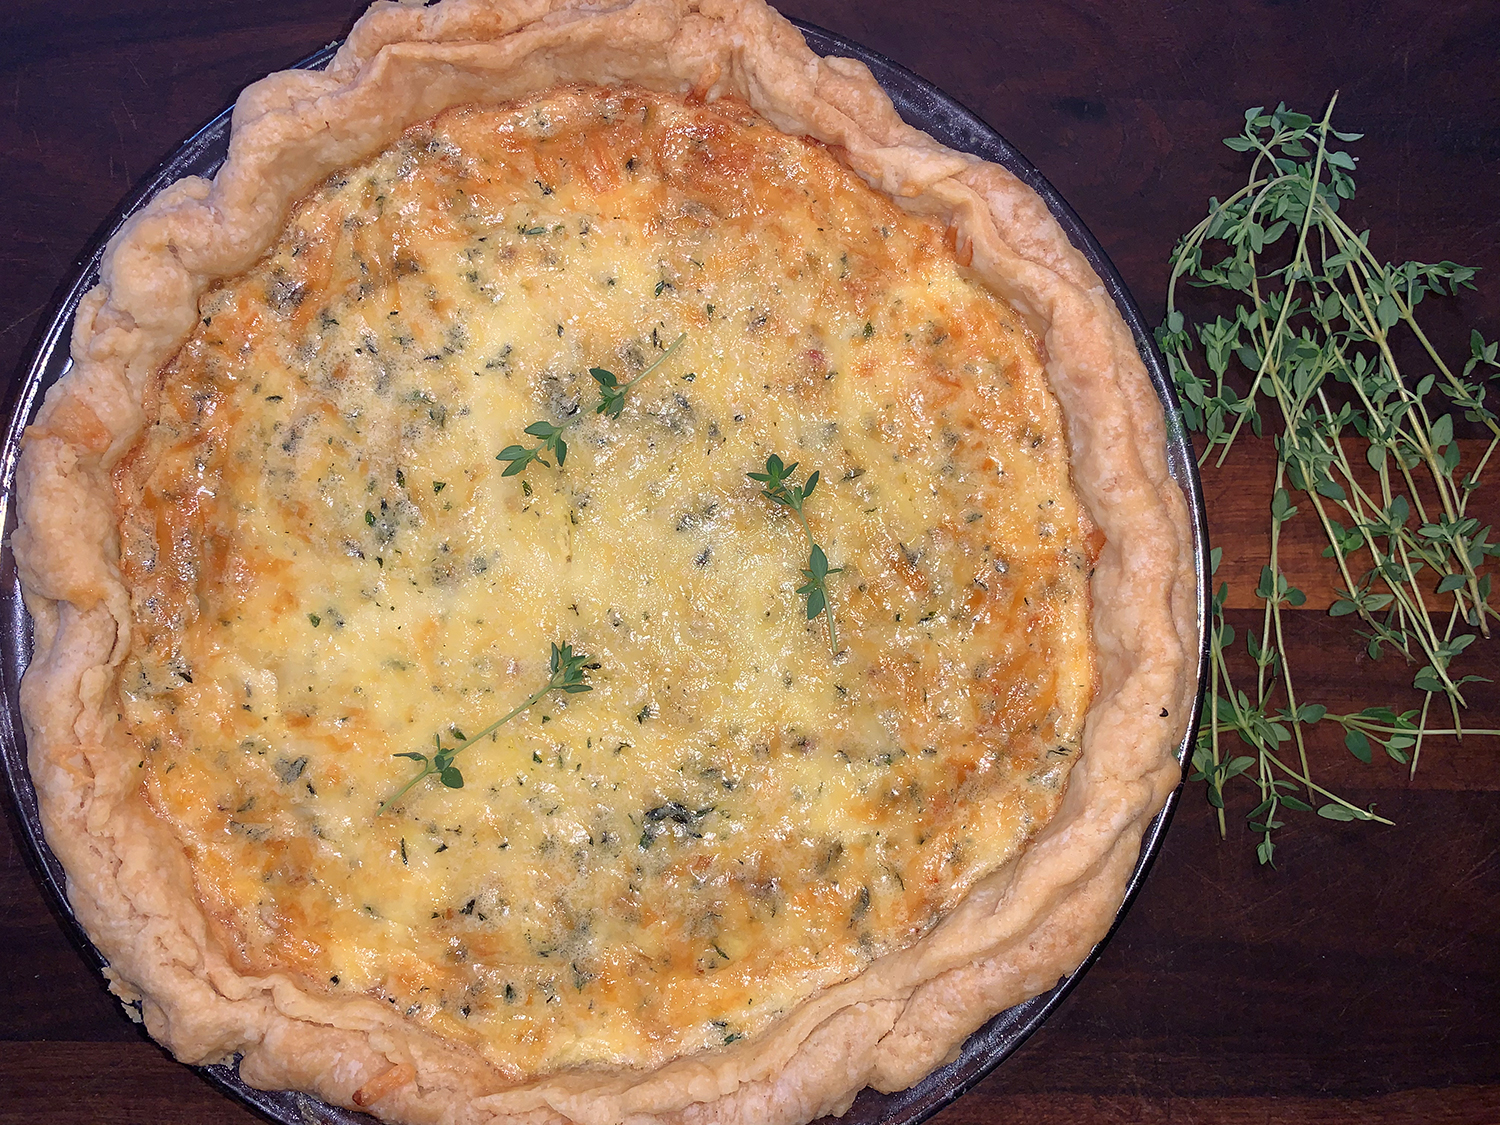
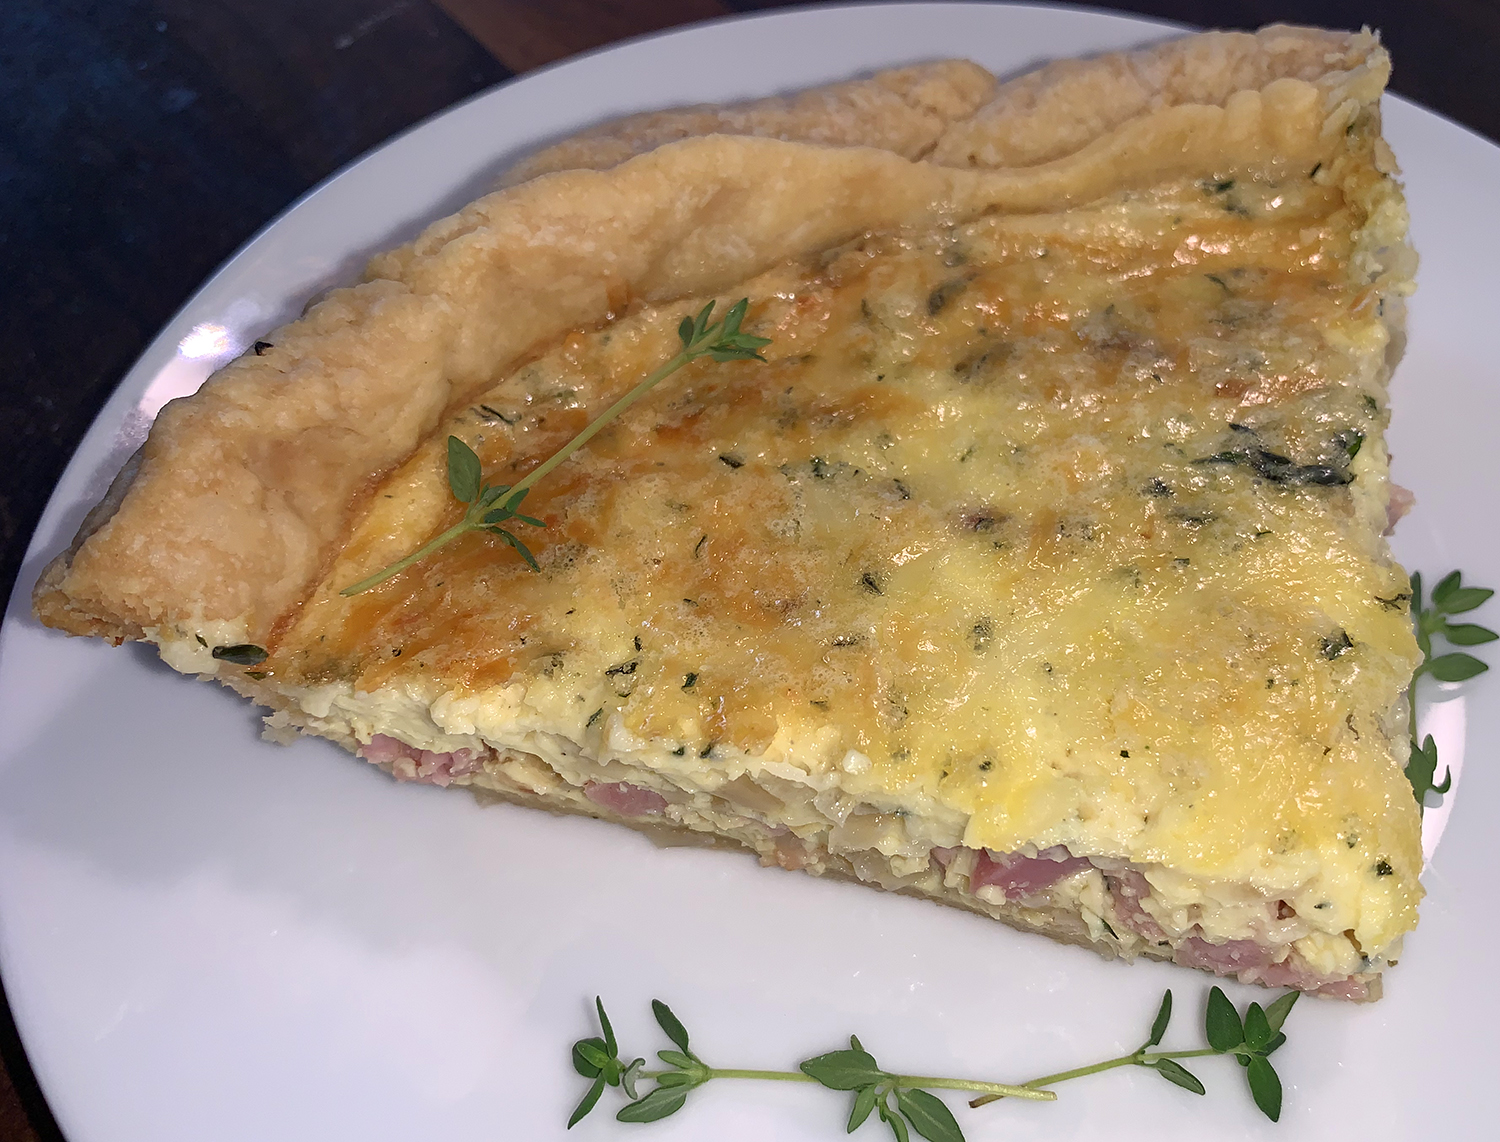
Quiche is one of those versatile dishes that can be served at any meal, be it breakfast, brunch, lunch or dinner. Once baked and cooled slightly, it can be eaten right away, or refrigerated for another time. Using a combination of milk and heavy cream, it yields the richest, creamiest filling ever.
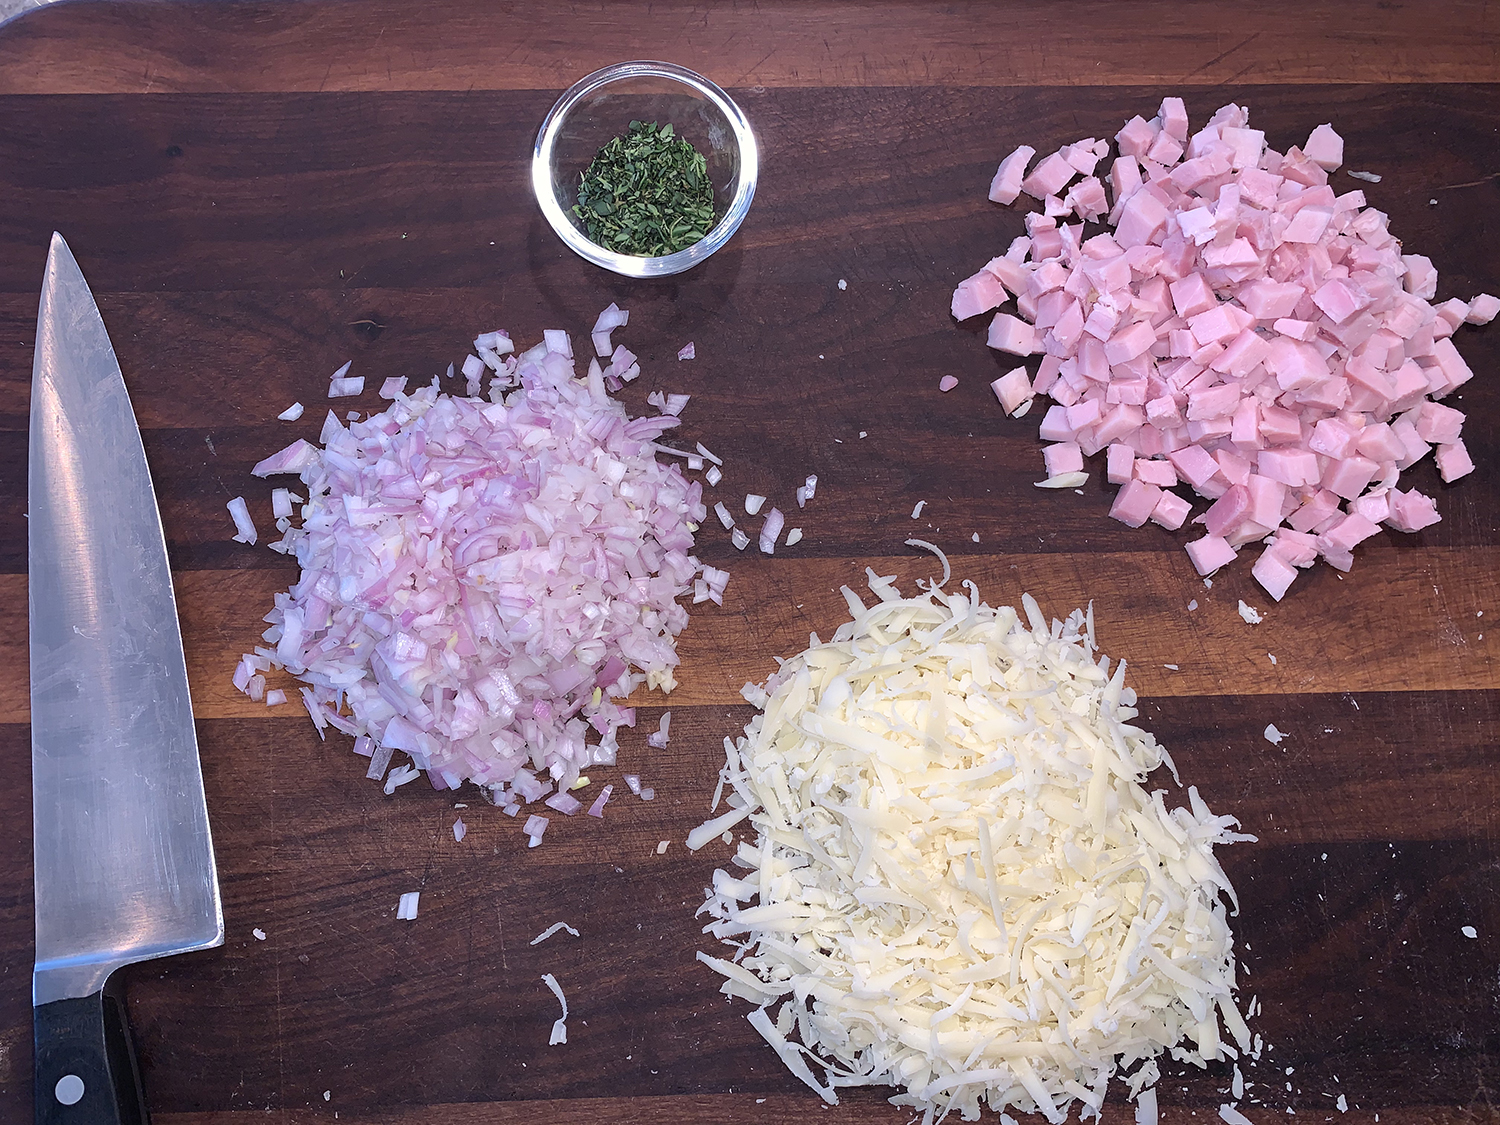
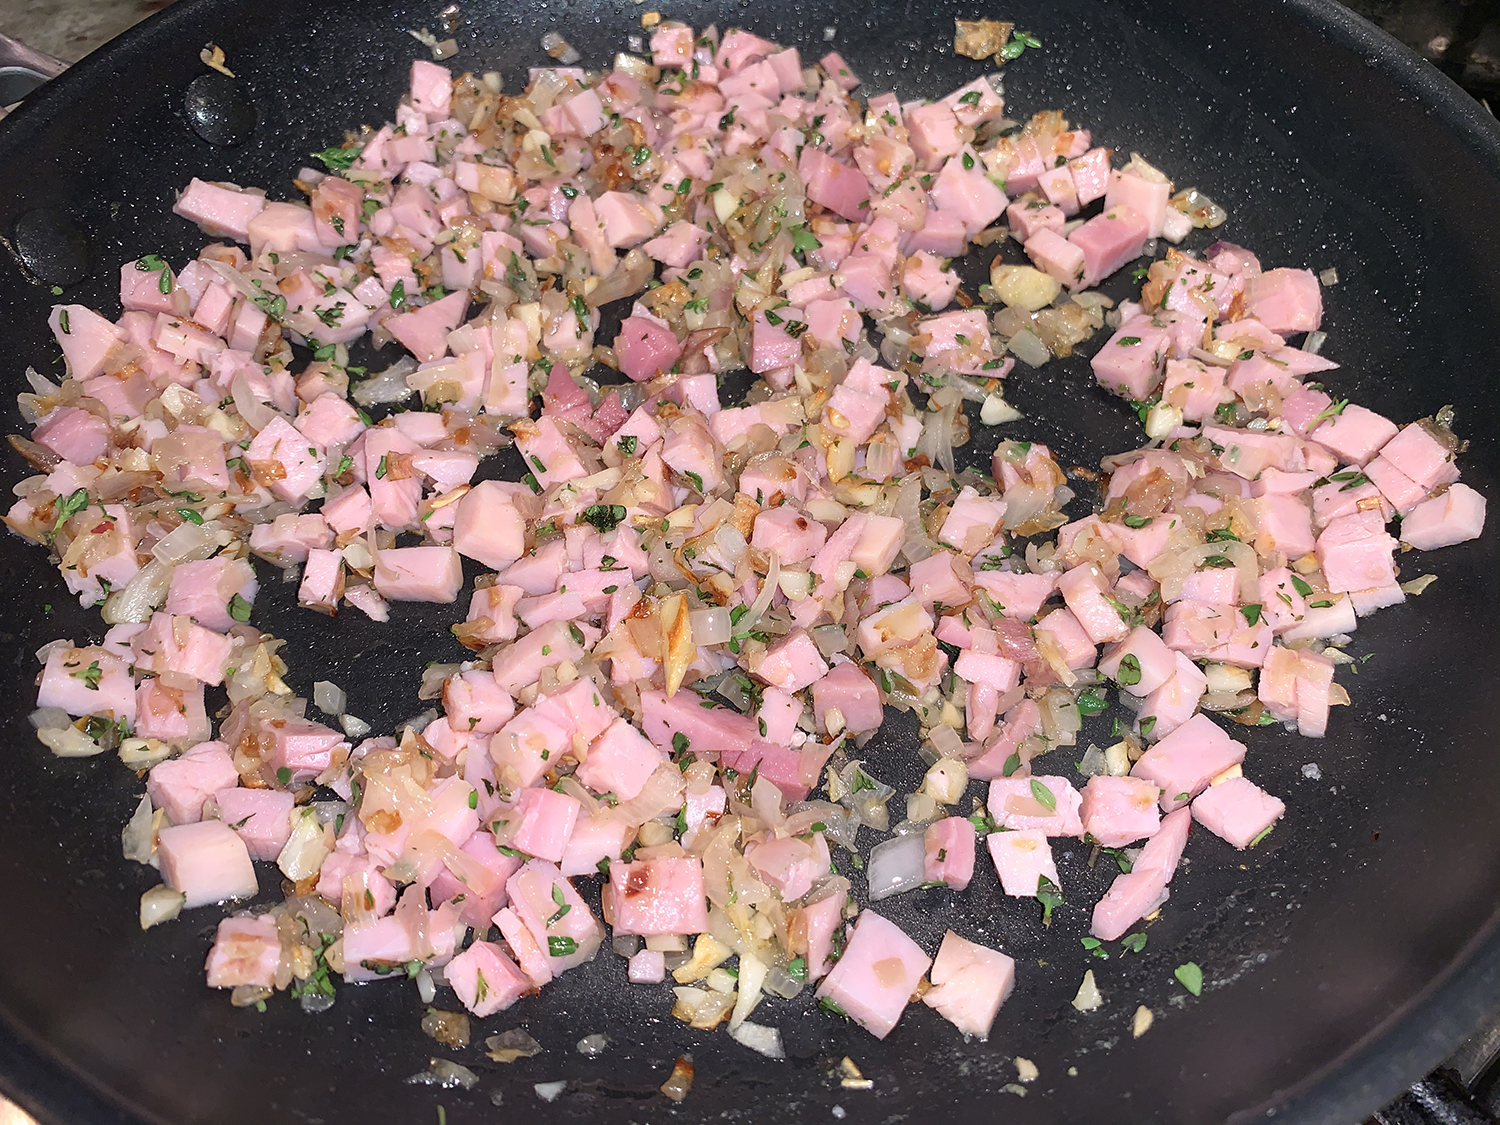
With a large amount leftover from a recent dinner party featuring Ham Braised in Madeira with Rosemary & Peppercorns, and a block of gruyere that never got used, we had the starter ingredients for our filling. To that we included some diced shallot and chopped fresh thyme.
We are “those” people that thrive on culinary challenges, but if you don’t have the time, or the stamina to create your own crust, by all means purchase a pre-made store bought variety. But be forewarned, this crust recipe is fabulous, and according to The Hubs, the best he’s ever made! He really liked the trick of adding the leftover dough to the edges for crimping and fluting. This also helped prevent the crust from sinking down.
NOTE: This recipe is enough for a double crust pie. If you only need 1 crust for your pie, cut this recipe in half OR freeze the other half.
Directions
Transfer the dough to a floured work surface.
Using floured hands, fold the dough into itself until the flour is fully incorporated into the fats.
Form it into a ball. The dough should come together easily and should not feel overly sticky.
Cut the dough in half. Flatten each half into 1-inch thick discs using your hands. Wrap each tightly in plastic wrap.
Refrigerate for at least 2 hours or up to 5 days. Or freeze.
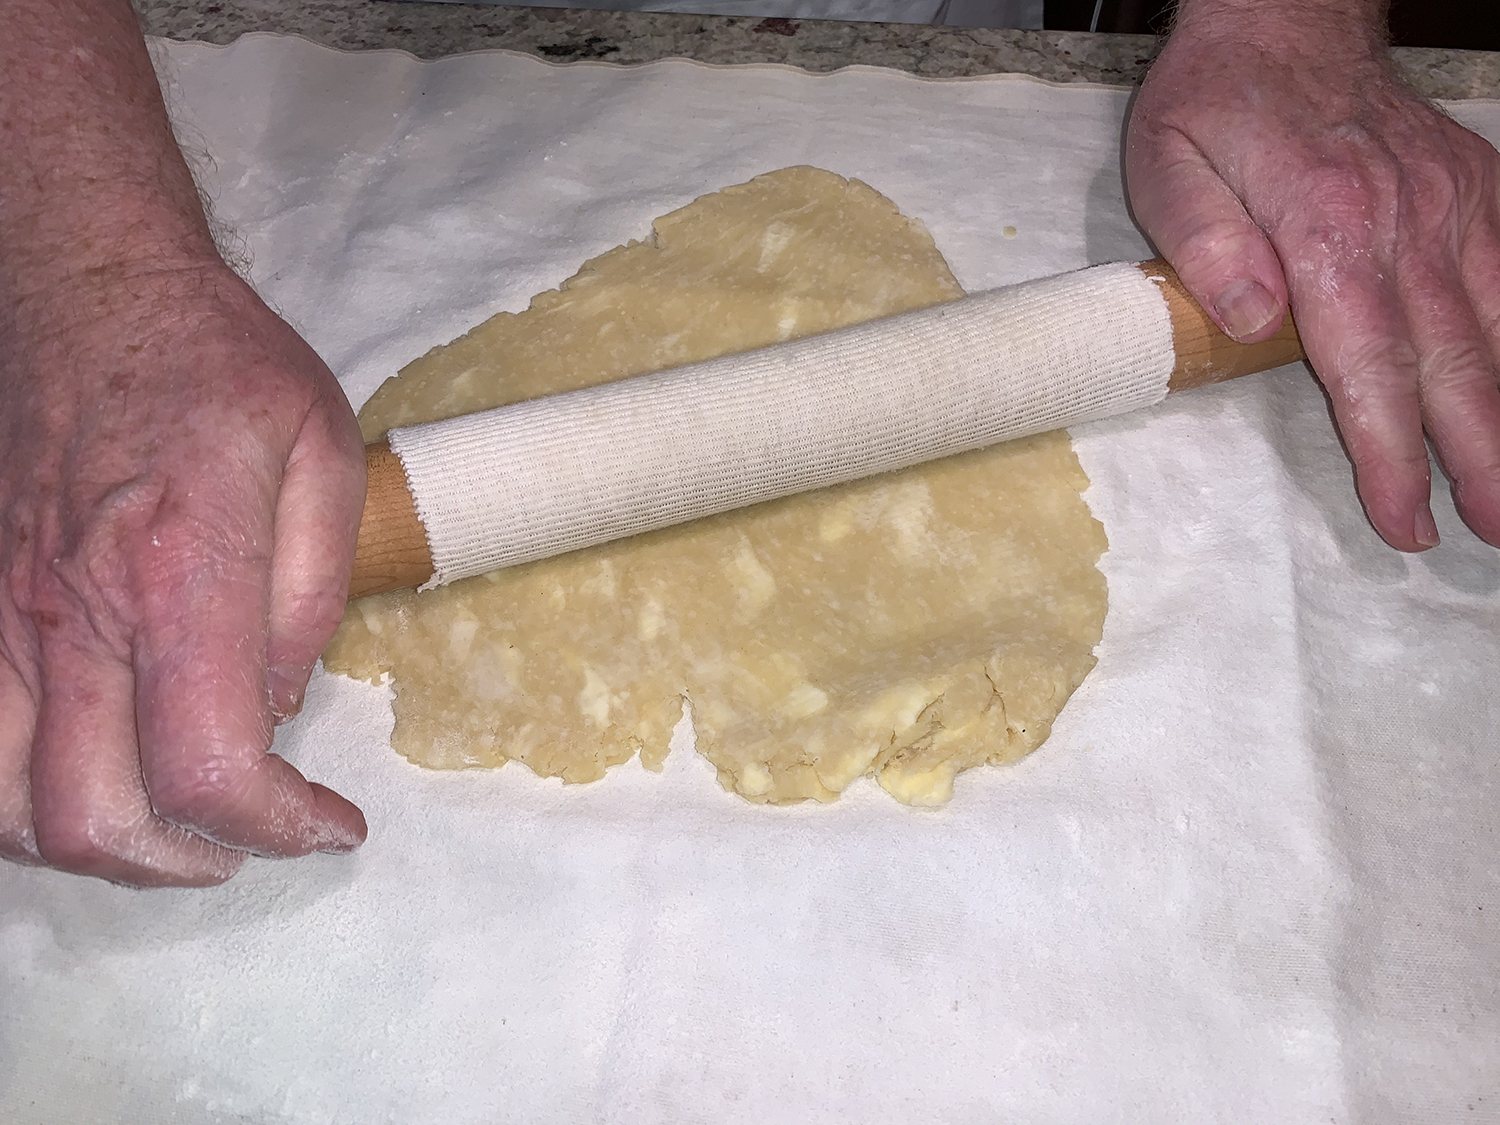
When rolling out the chilled pie dough discs to use in your pie, always use gentle force with your rolling pin. Start from the center of the disc and work your way out in all directions, turning the dough with your hands as you go. Visible specks of butter and fat in the dough are perfectly normal and expected.
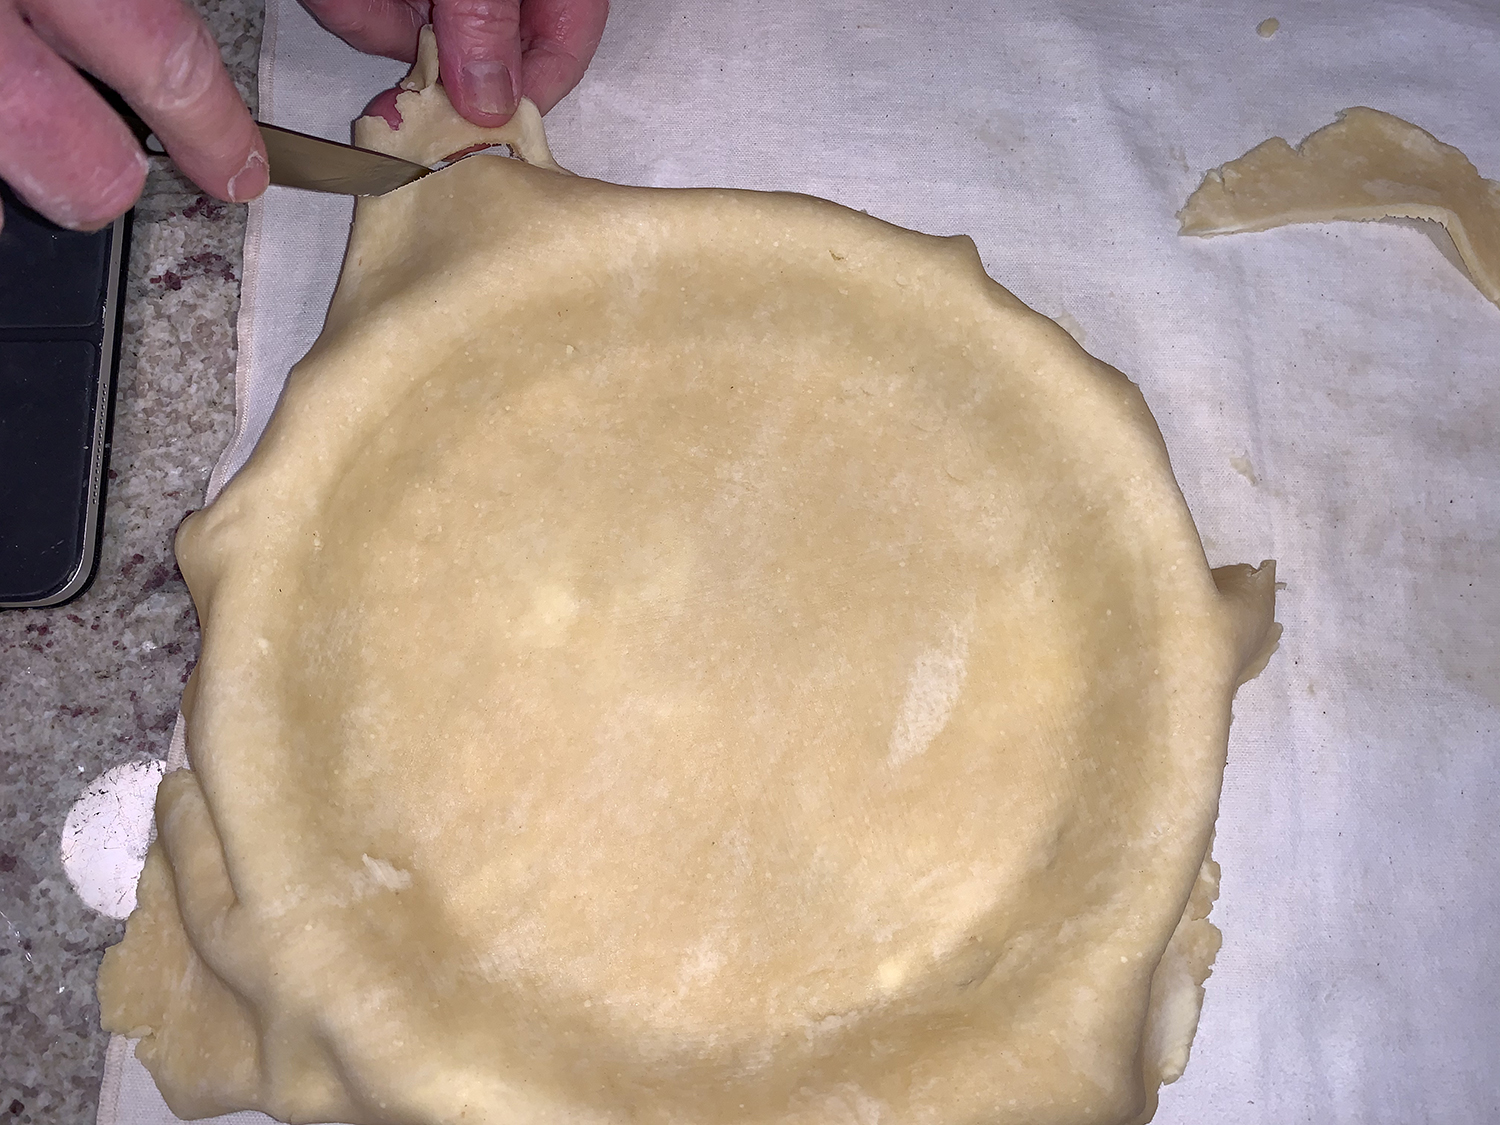
Roll the dough into a 12-inch circle so that there is enough crust to go up the edges of the glass pie dish. Cut away extra dough but leave about an inch overhang.
Gather all of the extra dough pieces, mush together and roll out into a thin rectangle. Cut 1-inch strips and add them to the top edge of the pie crust. Crimp or flute the edges.
Chill the shaped pie crust for at least 30 minutes. This prevents shrinking. Remember that pie dough must be cold.
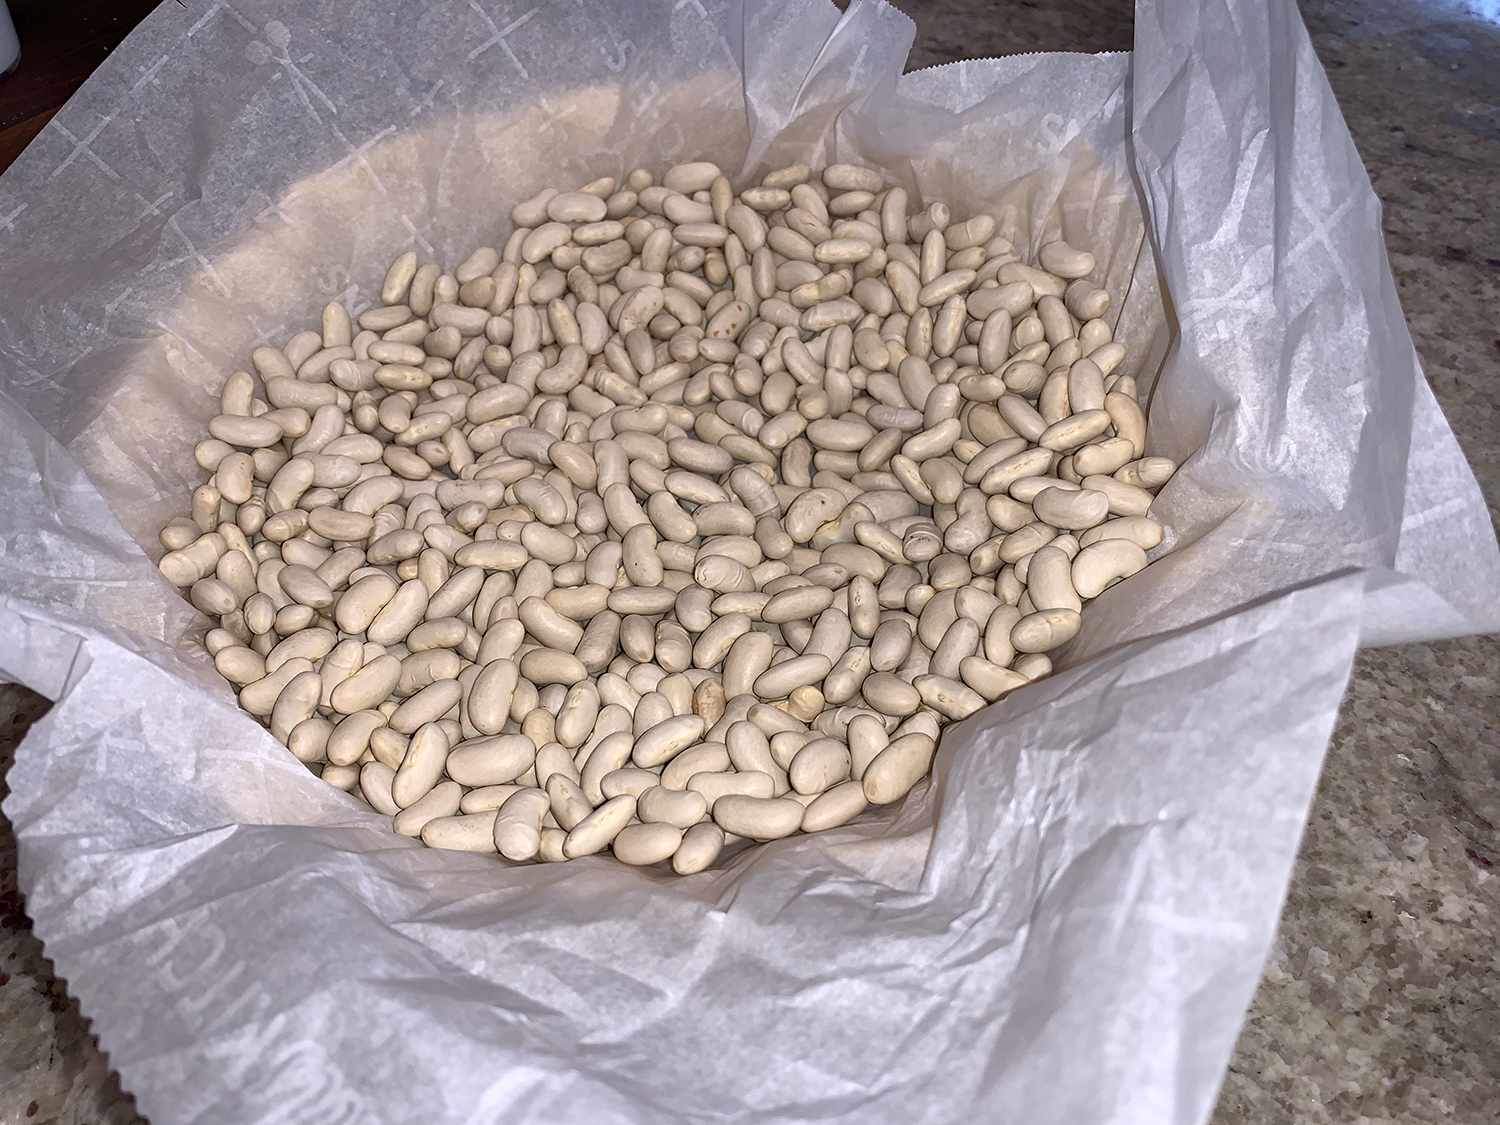
Fill with pie weights (or dried beans). As the pie dough bakes, its fat will melt. The melting fat causes the pie crust to shrink down the sides of the pie dish. To prevent the pie dough from completely losing its shape, weigh it down with pie weights. Carefully line the pie dough with parchment paper first, then pour in pie weights/dry beans.
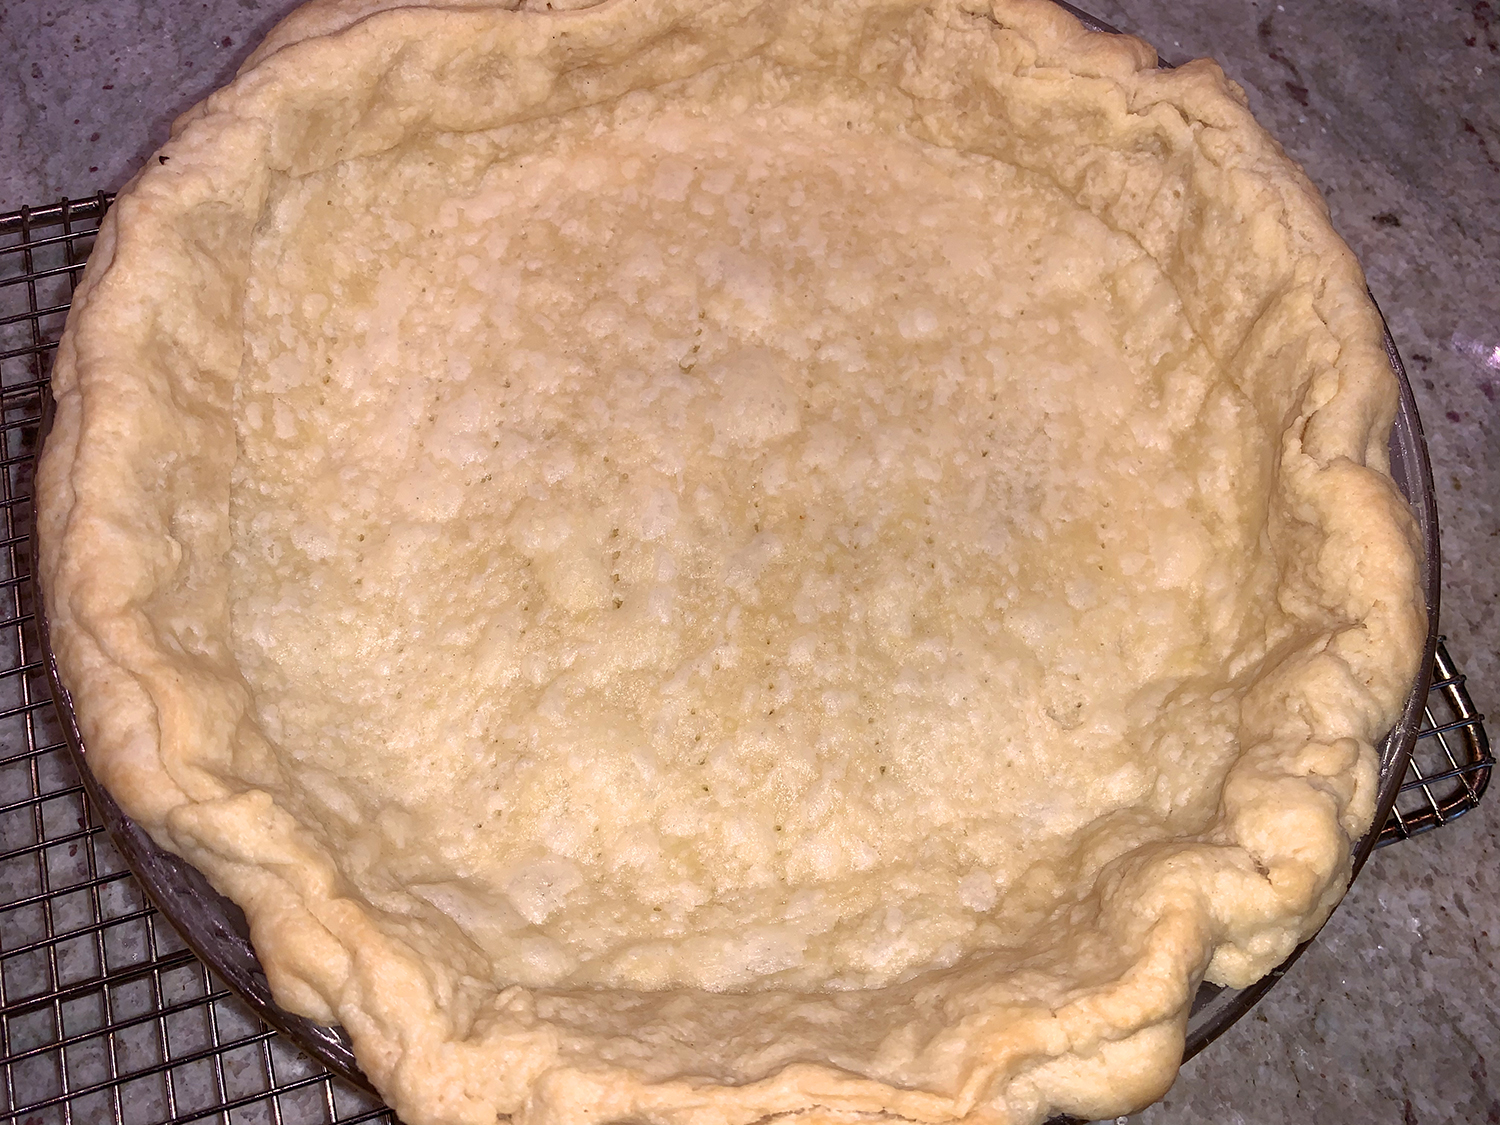
Bake until the edges are lightly brown, about 15 minutes.
Remove pie weights, then prick the crust with a fork.
Bake crust for about 8 more minutes.
The Perfect Quiche
Ingredients
1 unbaked flaky pie crust (recipe above)
4 large eggs
1/2 cup whole milk
1/2 cup heavy cream or heavy whipping cream
1/4 tsp. each salt and pepper
1 cup shredded Gruyere cheese
1 cup cubed ham
1 Tbsp. butter
1 cup minced shallot
1 1/2 tsp. chopped fresh thyme
Directions
Preheat oven to 375°F.
Partially blind bake your pie crust as indicated above. Crust can still be warm when you pour in the filling. (You can partially pre-bake the crust up to 3 days ahead of time. Cover cooled crust tightly and refrigerate until ready to fill.)
Reduce oven temperature to 350°F.
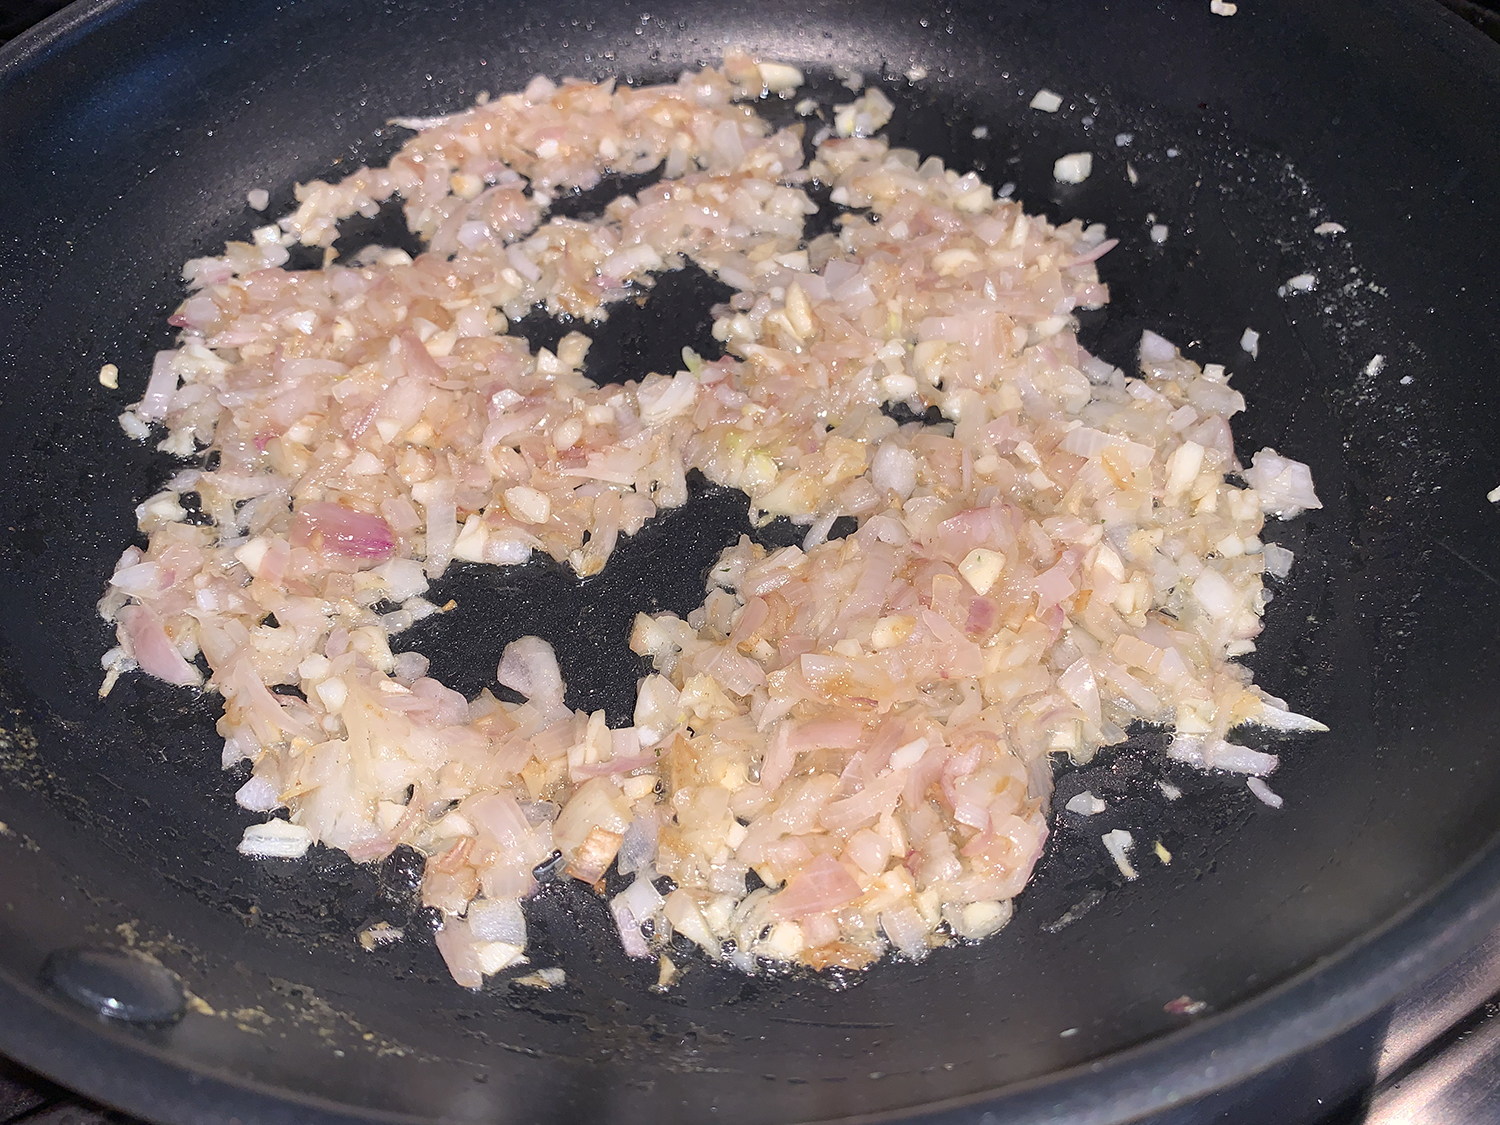
Heat 1 tablespoon of butter in a nonstick skillet over medium heat. When melted, add shallot pieces and cook, stirring occasionally until translucent, about 4-5 minutes.
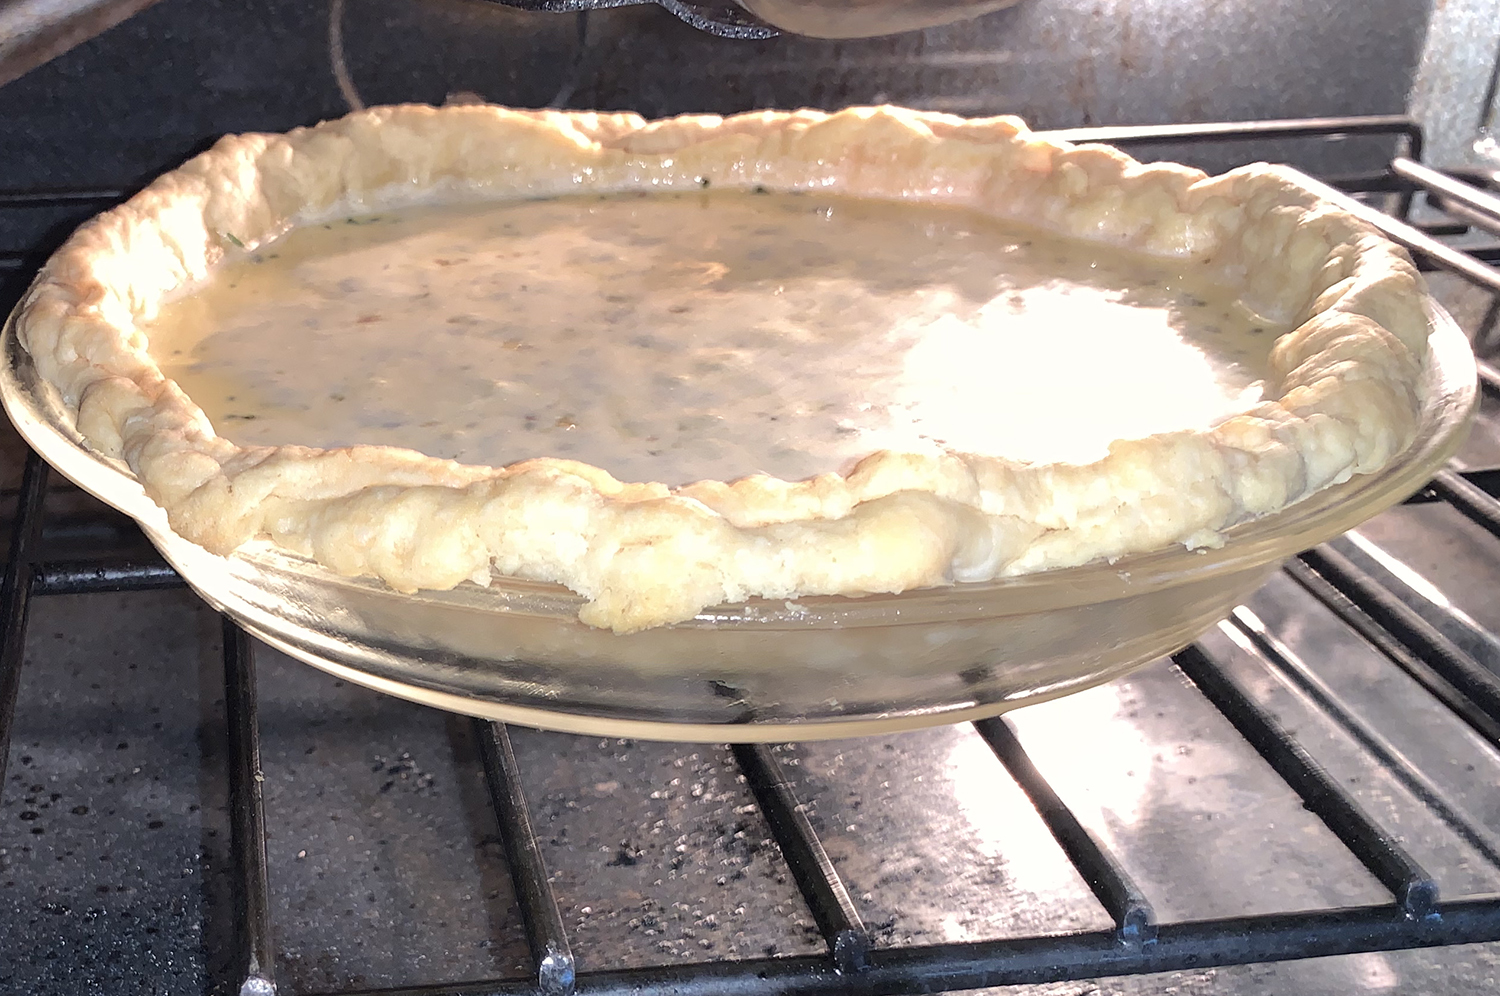
In a large bowl with a handheld or stand mixer fitted with a whisk attachment, beat the eggs, whole milk, heavy cream, salt, and pepper together on high speed until completely combined, about 1 minute. Whisk in ham, cheese, shallot and thyme.
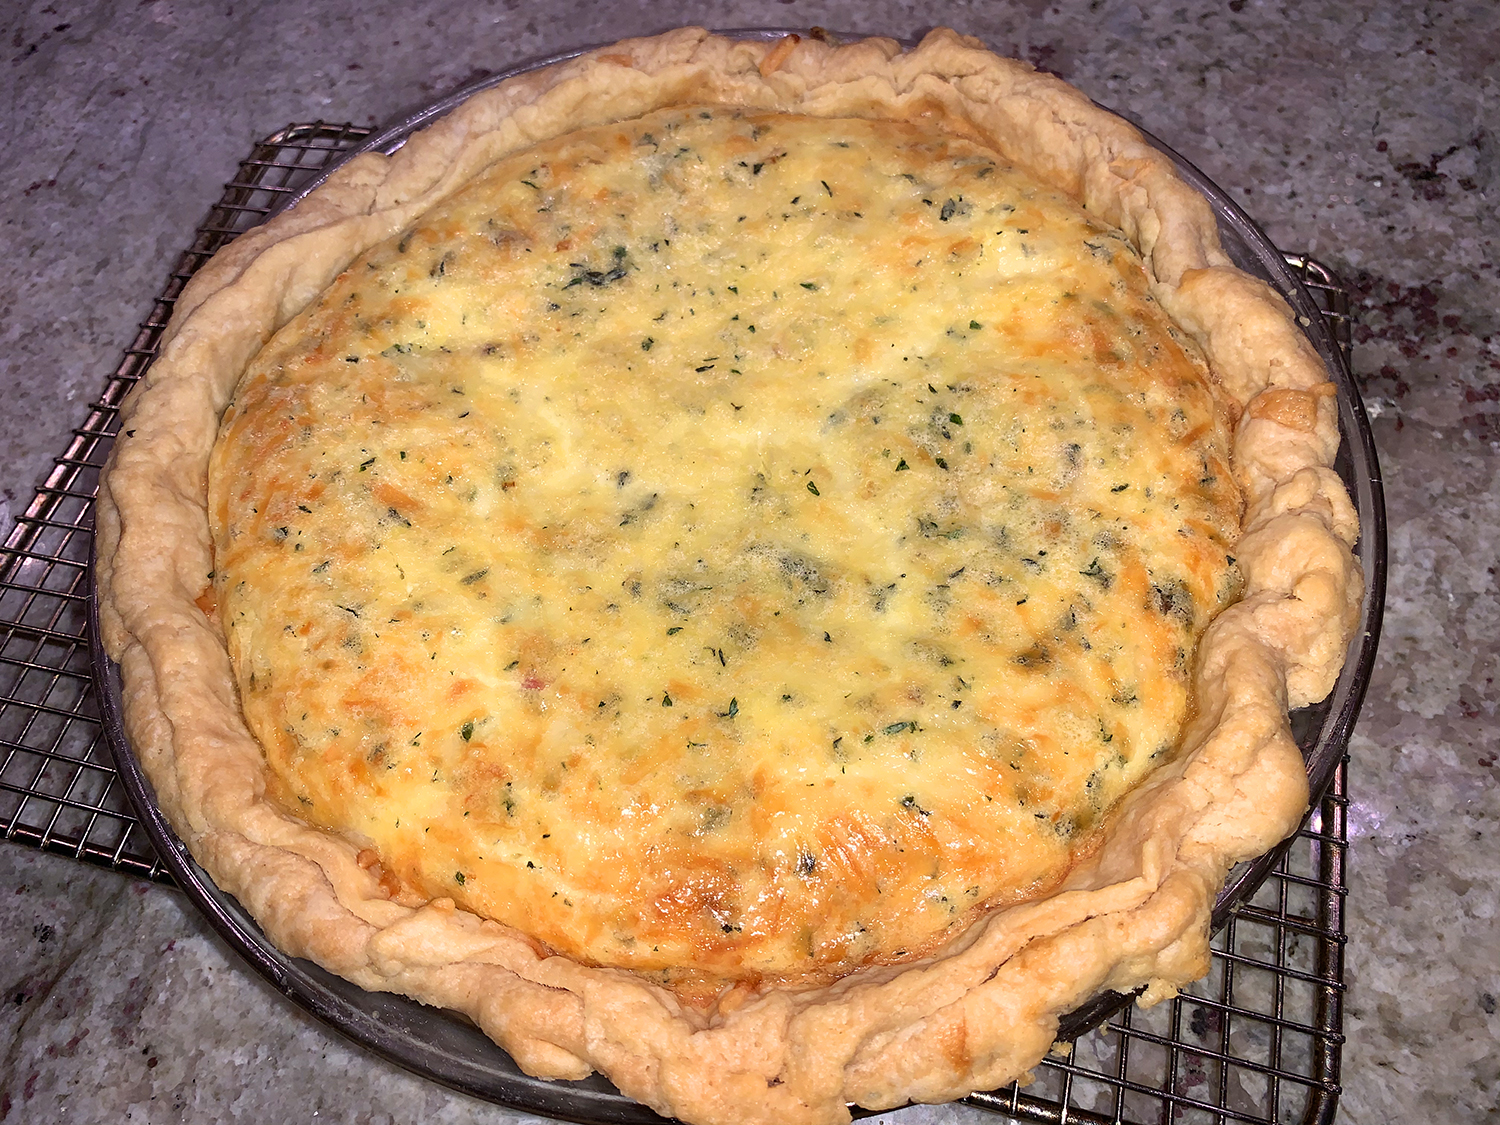
Bake the quiche until the center is just about set, about 45-55 minutes. Don’t over-bake. Use a pie crust shield to prevent the pie crust edges from over-browning. Allow to cool for 15 minutes.
Top with optional toppings before slicing and serving, if desired. Or you can cool the quiche completely before serving– it’s fantastic at room temperature!
This quiche makes great leftovers! Cover tightly and store in the refrigerator for up to 4 days.
Make Ahead & Freezing Instructions: The pie dough can be prepared ahead of time and stored in the refrigerator for up to 5 days or in the freezer for up to 3 months. You can pre-bake the crust ahead of time too. To freeze, cool baked quiche completely, then cover tightly with a couple sheets of aluminum foil and freeze for up to 3 months. Thaw in the refrigerator or on the counter, then bake at 350°F for 20-25 minutes.