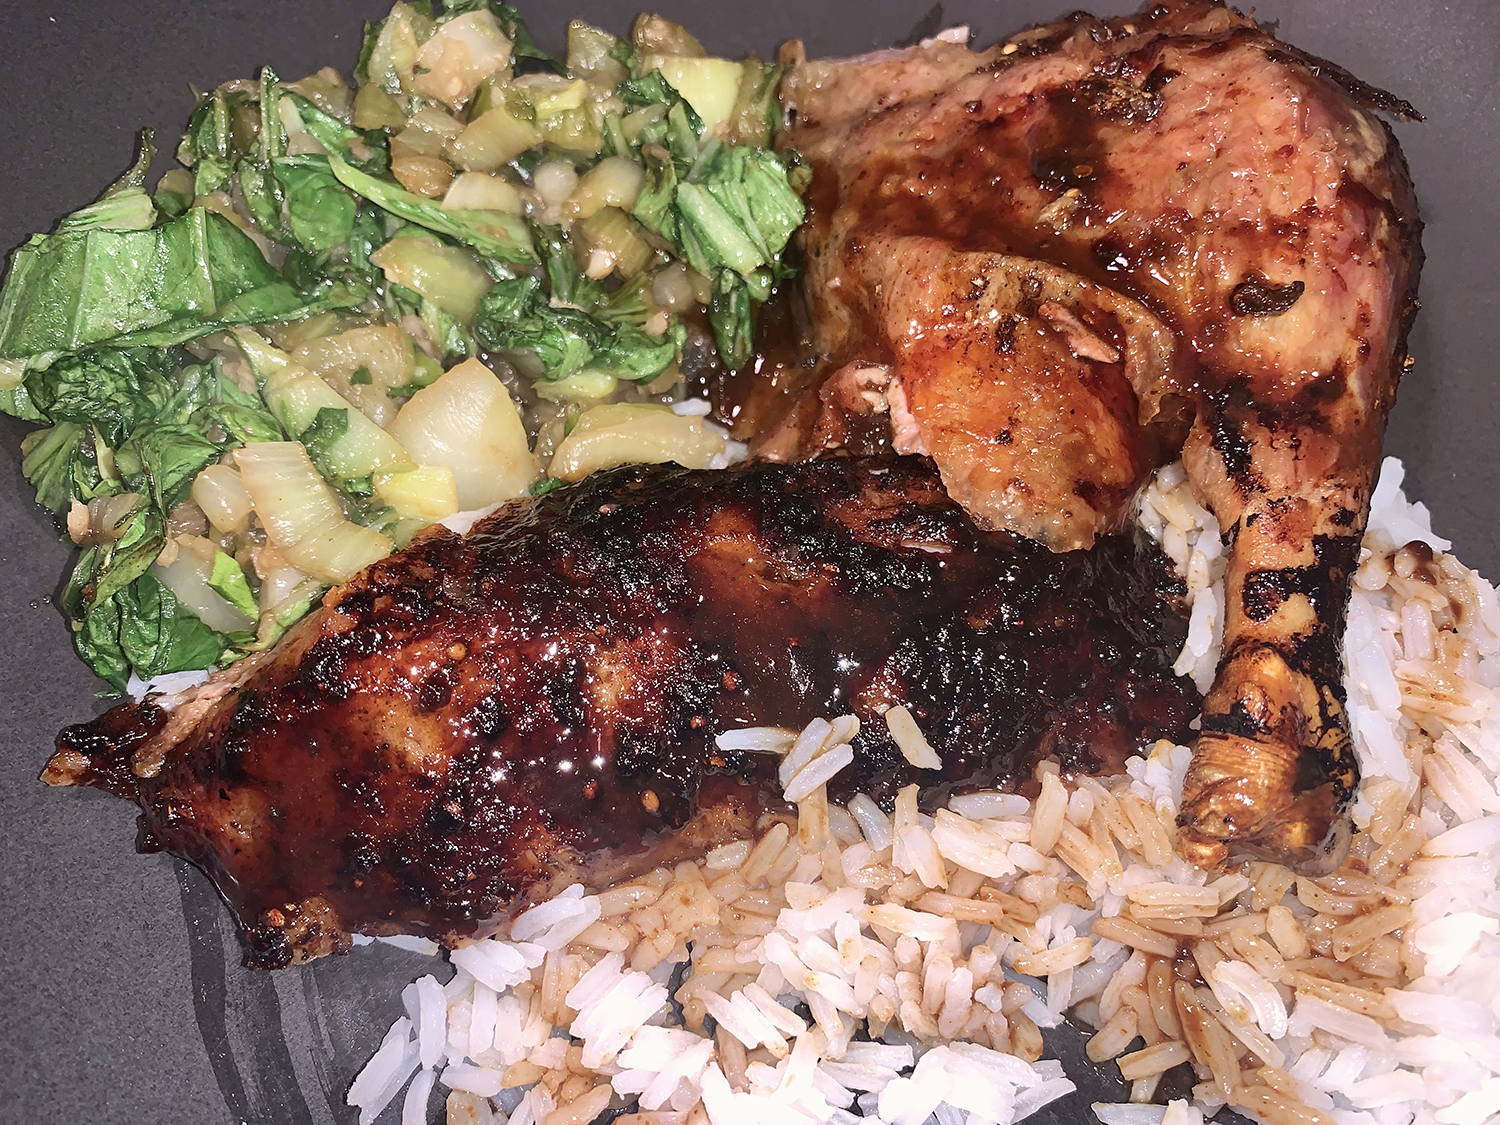
There’s a particular kind of kitchen magic that happens when you lock a lid, crank the heat, and surrender control — the kind of cooking that turns humble boneless beef short ribs into something that falls apart at the mere suggestion of a fork. This recipe harnesses that magic with a sauce that pulls from the pantry of Chinese cooking: smoky-sweet hoisin, salty soy, dry sherry, and a whisper of cayenne heat.
The pressure cooker does something a braise never quite can. Sealed tight with no room for steam to escape, it drives flavor into the meat rather than letting it drift away into your kitchen air. What emerges after 35 minutes is deeply savory beef swimming in a concentrated, glossy sauce — more than you’d ever coax from a Dutch oven, and richer for it. A handful of fresh scallion greens and torn cilantro added at the end lifts the whole thing, cutting through the richness with a bright, herby finish.
Serve it over a bowl of steamed white rice that can drink up every last drop of that sauce. This is weeknight cooking that eats like a weekend project — without the wait.
Pressure-Cooker Boneless Beef Short Ribs with Hoisin Sauce
1 2-inch piece ginger, peeled, sliced into ¼-inch-thick rounds, and smashed
½ cup hoisin sauce
2 Tbsp. soy sauce
2 Tbsp. dry sherry
4 scallions, white parts chopped coarse, green parts sliced thin
¼ tsp. cayenne pepper
48 oz. boneless beef short ribs (about 6 short ribs), trimmed
2 Tbsp. minced fresh cilantro
Directions
Cook oil, garlic, and ginger in pressure-cooker pot over medium-high heat until fragrant, about 1 minute. Stir in hoisin sauce, soy sauce, sherry, scallion whites, and cayenne, then add beef.
Lock pressure-cooker lid in place and bring to high pressure over medium-high heat. As soon as pot reaches high pressure, reduce heat to medium-low and cook for 35 minutes, adjusting heat as needed to maintain high pressure.
Remove pot from heat and allow pressure to release naturally for 15 minutes. Quick release any remaining pressure, then carefully remove lid, allowing steam to escape away from you.
Transfer short ribs to platter, tent loosely with aluminum foil, and let rest while finishing sauce. Strain sauce into fat separator, let sit 5 minutes, then pour defatted sauce into small bowl. Stir scallion greens and cilantro leaves into sauce and serve with ribs.
The skinless chicken browns nicely over a medium flame, and the sugary soy basting sauce lacquers it beautifully in the final few minutes of cooking. It’s terrific with rice, or as a topping for a salad of sturdy greens. You may wish to double the recipe for Sriracha-roasted cashews (we are glad that we did!). They are addictive, and for them you will find many delicious uses.
This dish was so packed with flavor, we couldn’t stop moaning with each bite we took. And we were thrilled to have leftovers for lunch the next day.
Grilled Soy-Basted Chicken Thighs with Spicy Cashews
5 or 6 springs cilantro, tough stems removed and roughly chopped (approximately 2 Tbsp.)
Directions
Heat oven to 300 degrees. Combine cashews and Sriracha sauce in a small bowl and stir until nuts are coated. Line a small baking pan with foil and spread the coated cashews out on it, then place in the oven and bake until nuts are dry, approximately 20 minutes. Carefully remove the nuts from the foil and let cool, then chop roughly and set aside in a small bowl.
Meanwhile, in a large bowl, whisk together sesame oil, ½ cup soy sauce, the hoisin sauce and the black pepper, and hot sauce if using. Add chicken thighs and stir to coat. Refrigerate until ready to cook.
For the basting sauce, combine the remaining 3 tablespoons soy sauce, the brown sugar and the ginger in a small bowl, and whisk until the sugar has dissolved.
When you are ready to cook the chicken, build a fire in a charcoal grill, leaving about ⅓ of the cooking space free of coals. When coals are covered with gray ash and the temperature is medium (you can hold your hand 5 inches above the coals for 5 to 7 seconds), you are ready to cook. (For a gas grill, turn one burner to high, leaving the others off, then lower cover and heat for 15 minutes.)
Using tongs, remove chicken thighs from marinade and cook, directly over the coals, turning every few minutes, until they are well-browned but not crusty, approximately 8 to 10 minutes. Then, using a pastry brush, begin to baste them with the soy, ginger and sugar mixture, until they develop a lacquer, an additional 8 to 10 minutes, again turning every few minutes. (If chicken threatens to burn, place it over the part of the grill without coals.)
Transfer chicken to a warmed platter, sprinkle with the chopped cashews, the scallions and the cilantro, and serve.
Hands down, our favorite new roast squash recipe! Here, hoisin mixed with rice vinegar and sesame oil makes a salty-sweet-tangy-nutty dressing for tender chunks of roasted butternut squash that provides a creamy and tasty mouthful.
You can purchase already peeled and cut squash from the grocery store, but keep in mind that if the pieces are smaller or larger than specified here, you may need to adjust the cooking time. Use a broiler-safe rimmed baking sheet, as the squash chars for about 10 minutes under the broiler.
Peeling squash was never a favorite prep step. But our new Milk Street Precision Peeler makes it so easy! Few peelers actually do what they are designed to do: shave away the skins and peels from fruits and vegetables. At a cost of $29.95, it is pricey, but so well worth it.
The ovoid shape fills the palm for comfort when gripping tight and the graceful pinch grip provides a precision hold for controlled peeling even the toughest peels, skins and zest. The blade has a wide pivot to accommodate ingredients of all shapes and size, from butternut squash and eggplant to Parmesan and chocolate. Comes with extra blades.
The weight of our two butternut squash exceeded the required 3 pounds. We decided to roast all of it (in two baking sheets) and use the remainder to accompany another meal, and make butternut squash soup. Don’t crowd the baking sheets with squash flesh otherwise it will steam and not obtain the light char that is preferable.
As far as cooking time, our sheet of squash chunks roasted in the hot oven for 15 minutes instead of 10. Then a total of 15 minutes under the broiler while turning and moving the baking sheet a few times—even so, some squash obtained more a of a char than others.
With cooler temps rolling in for the autumn and winter months, this side dish is a welcome accompaniment to grilled meats, braised dishes, vegetarian meals, and roasted poultry.
3 lbs. peeled and seeded butternut squash, cut into 1½- to 2-inch cubes (about 6 cups)
2 Tbsp. neutral oil
2 tsp. packed brown sugar
Kosher salt and ground black pepper
¼ cup hoisin sauce
2 Tbsp. unseasoned rice vinegar
1 tsp. toasted sesame oil
3 Tbsp. chopped fresh chives OR 3 scallions, thinly sliced on the diagonal
Directions
Heat the oven to 475°F with a rack 6 inches from the element.
In a large bowl, toss the squash with the neutral oil, sugar, 1 tablespoon salt and ¼ teaspoon pepper. Spread in an even layer on a rimmed baking sheet and roast until just shy of tender, 10 to 12 minutes.
Turn the oven to broil and broil until charred and fully tender, about 10 minutes.
In a large bowl, whisk together the hoisin, vinegar and sesame oil. When the squash is done, immediately add it and the chives to the bowl, then toss.
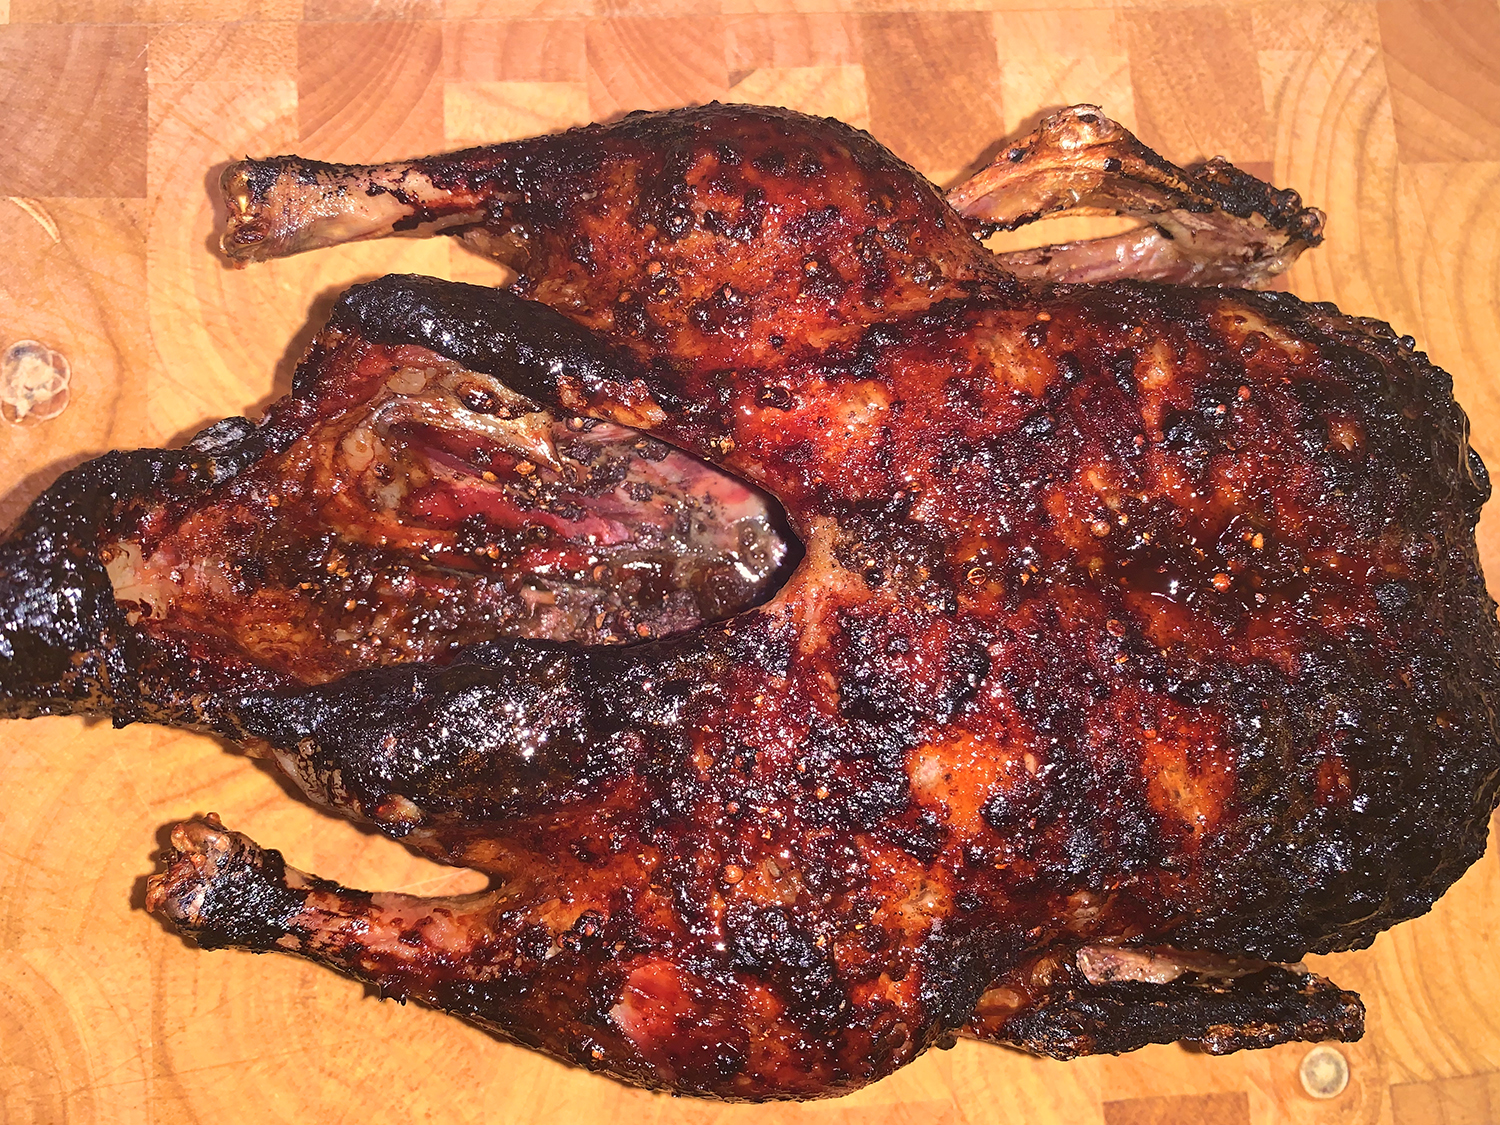
We are not particularly lazy cooks in the kitchen, in fact, quite the opposite. But the Molly StevensWhole Roast Duck with Hoisin Sauce recipe—also dubbed Lazy Person’s Peking Duck—from her All About Roasting cookbook, caught our eye because of that description. We’ve had a duck in the auxiliary freezer for a few months and our mouths were watering for a super-crispy skinned duck feast.
Typically, authentic Peking duck requires a lengthy preparation process. In order to replicate that without putting yourself through the wringer, Molly recreated this version with crackly, crisp skin and the sweet Asian accent of hoisin sauce. However, keep in mind, the seasoned duck will need 24 to 48 hours in the refrigerator (so you’ll have plenty of time to be lazy whilst it refrigerates). Well, our duck marinated nearly 54 hours because we had to push the meal off by a day.
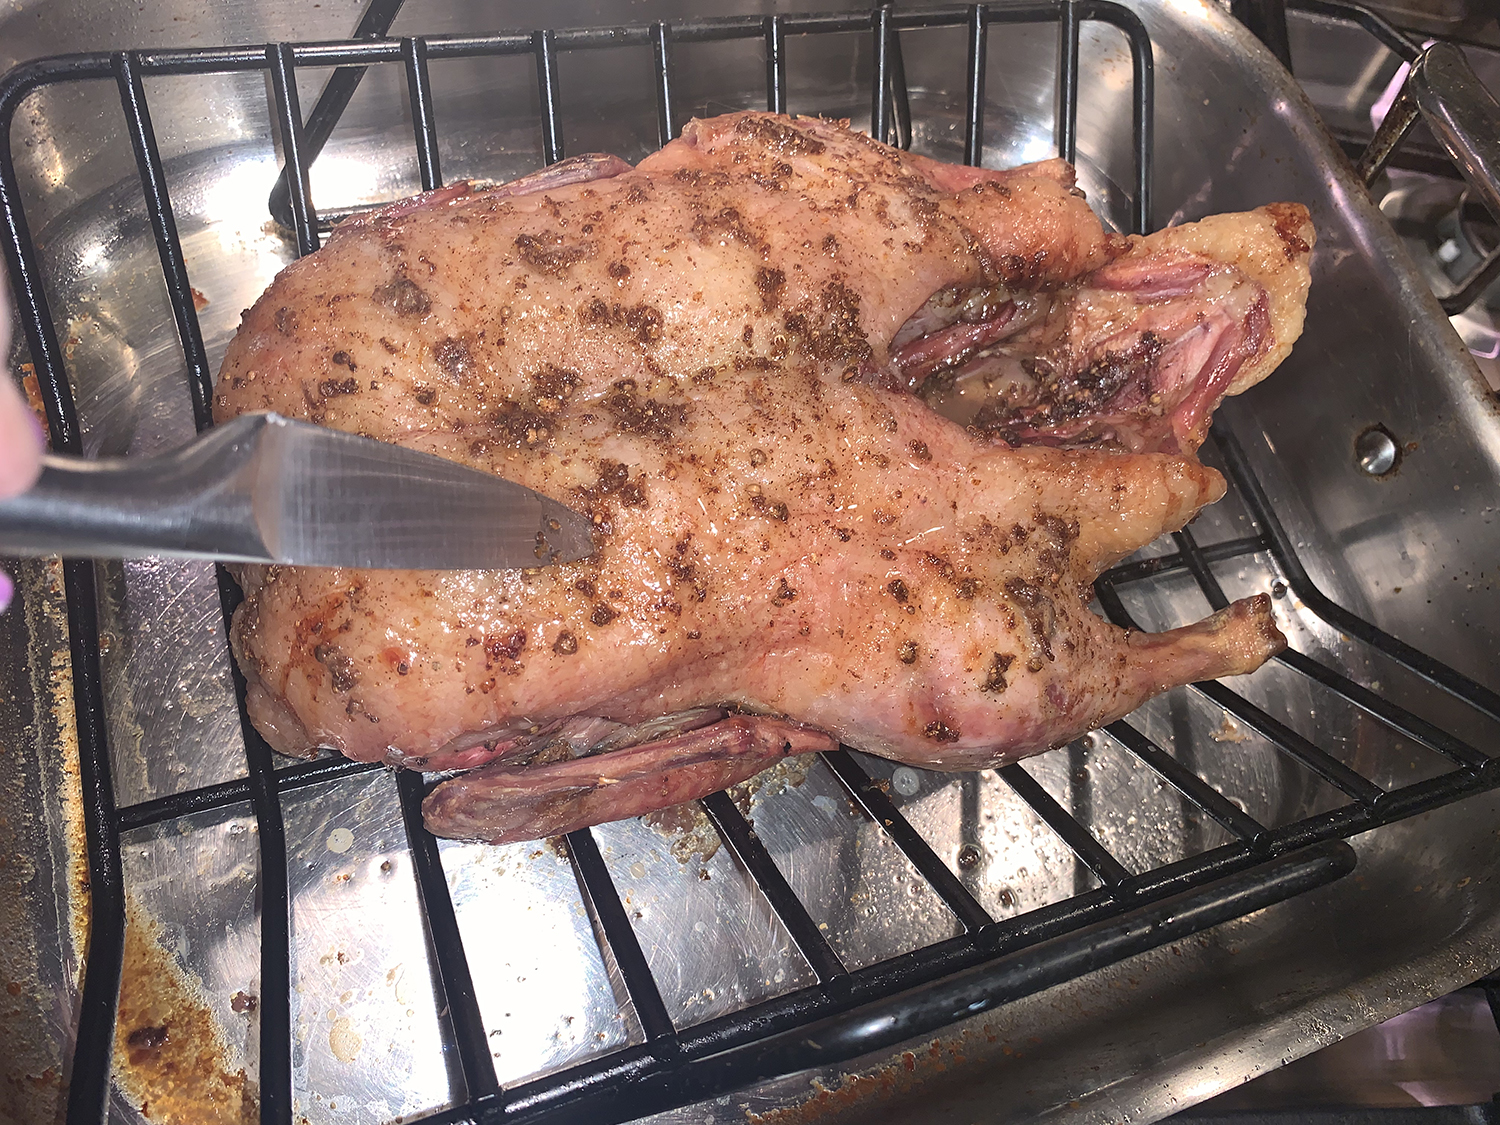
The duck slow roasts to render its fat, but prodigious pricking of the skin with a sharp knife also helps release the fat as it melts. Growing up, Mom cooked duck for Sunday supper a few times per year, and I distinctly remember her pricking the duck skin often—I couldn’t wait to enjoy the succulent meat and crispy skin! And that anticipation hasn’t waned a bit all these decades later.
Once done, the meat will almost be falling off the bone, and it will be moist and tender thanks to the natural basting from the bird’s own fat. It’s wise to keep an empty can nearby as you remove the excess fat over the course of the roasting process.
The recipe calls for a 5-6 pound duck to feed four. Ours was much smaller than that at only 3 1⁄2 pounds, yielding about 2 1⁄2 servings. Keep size in mind when planning dinner.
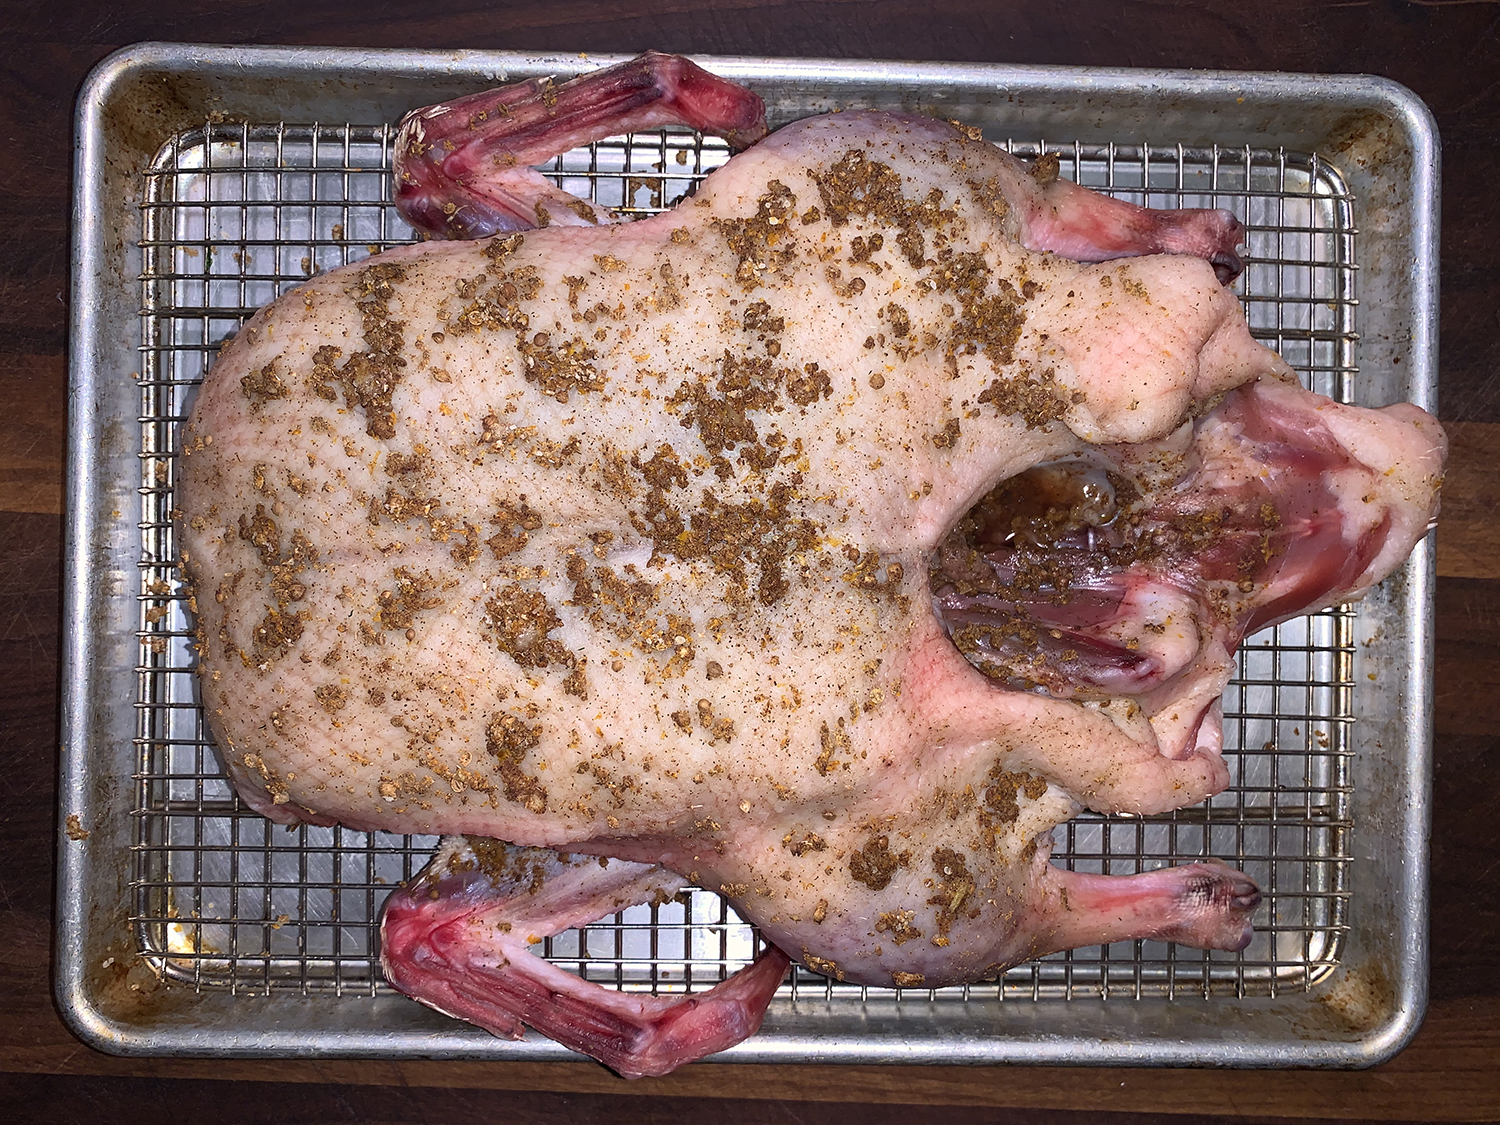
After seasoning bird, place uncovered in the refrigerator for 24-48 hours.
2 Tbsp. orange liqueur, such as Triple Sec or Grand Marnier
1 Tbsp. honey
1 tsp. sesame oil
Directions
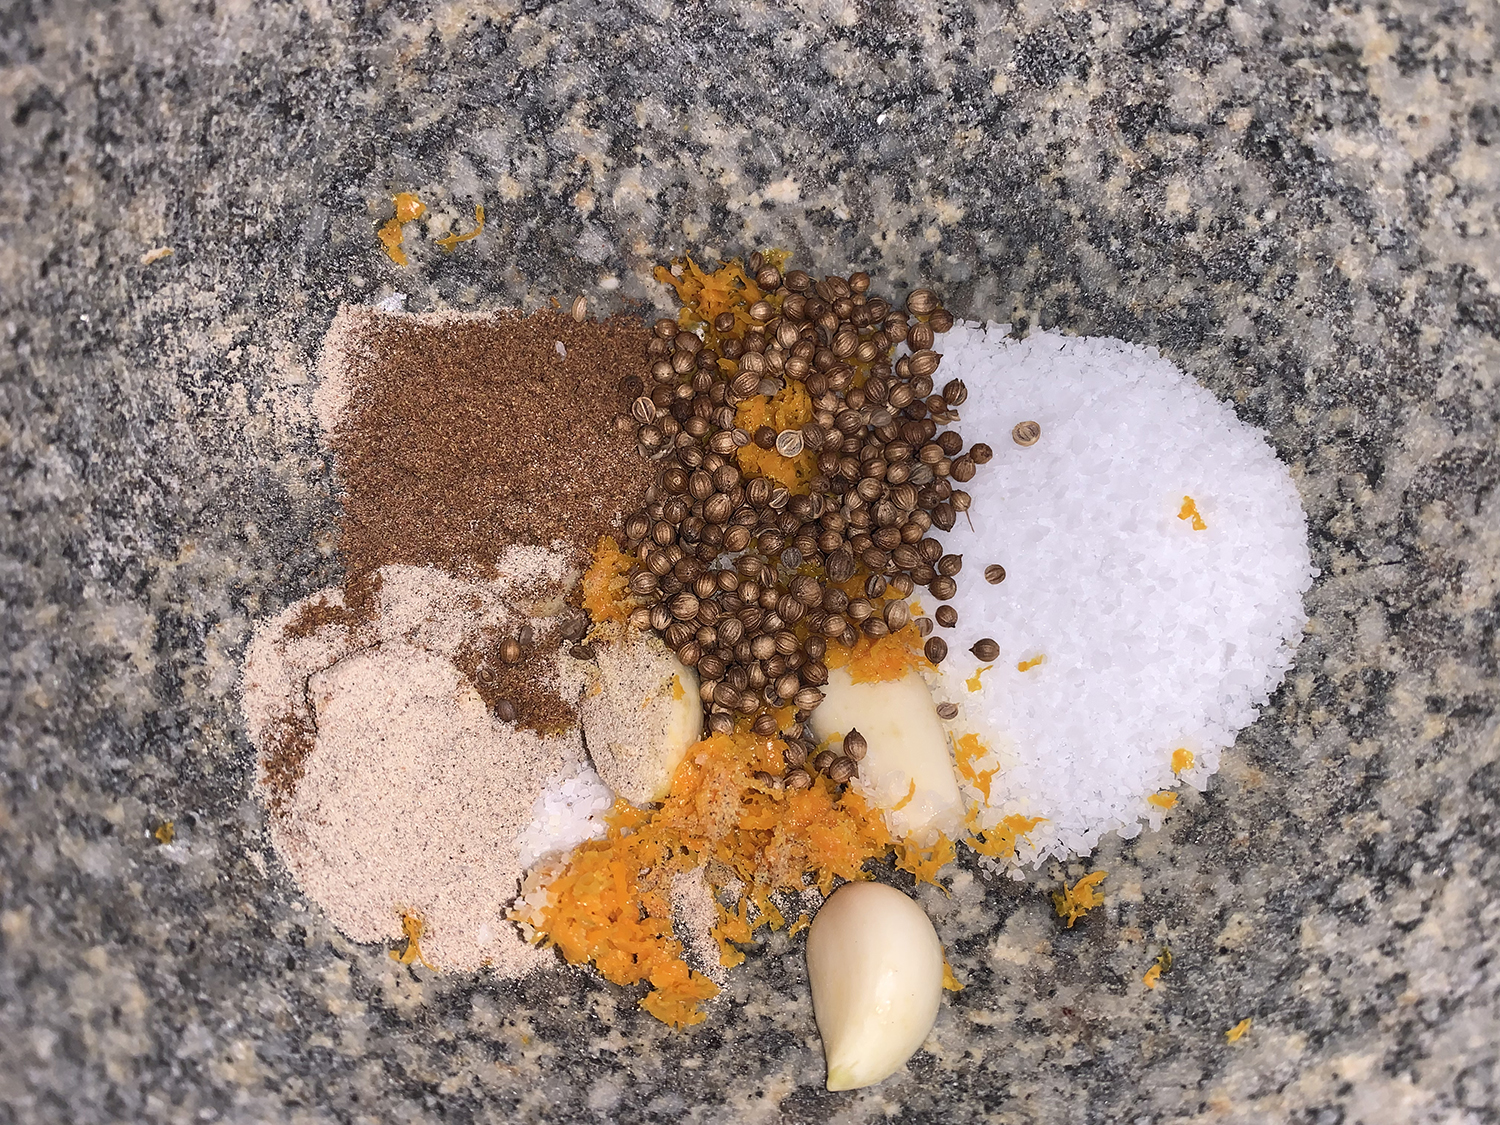
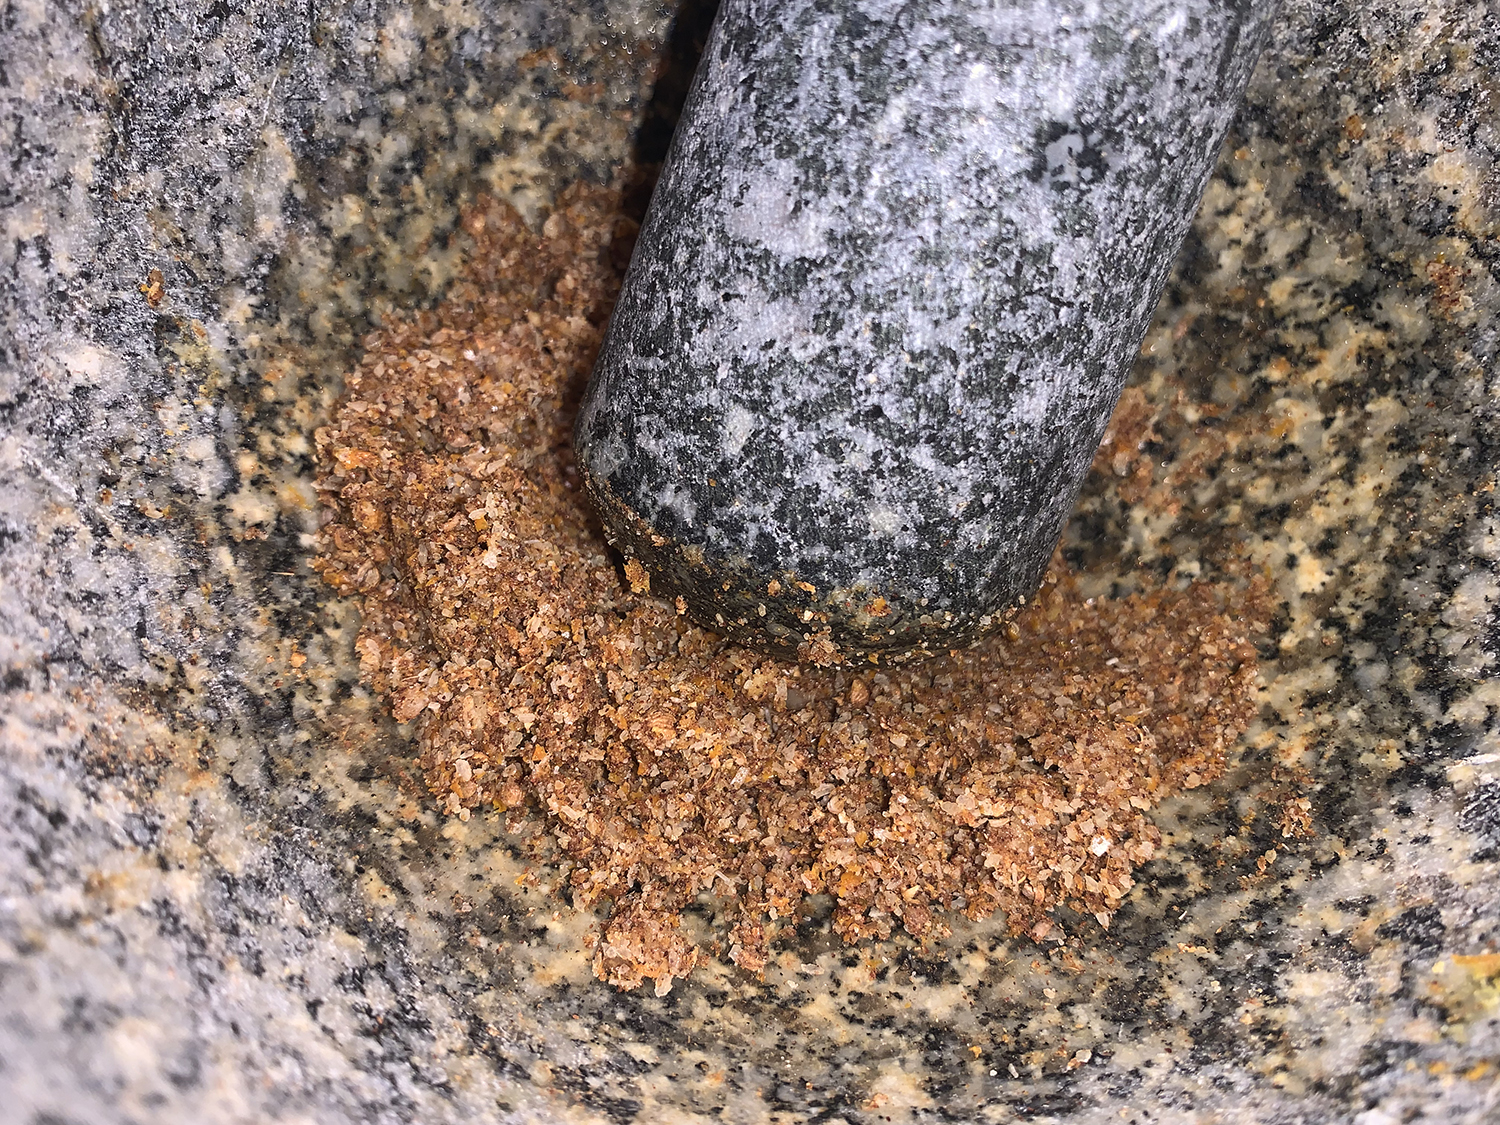
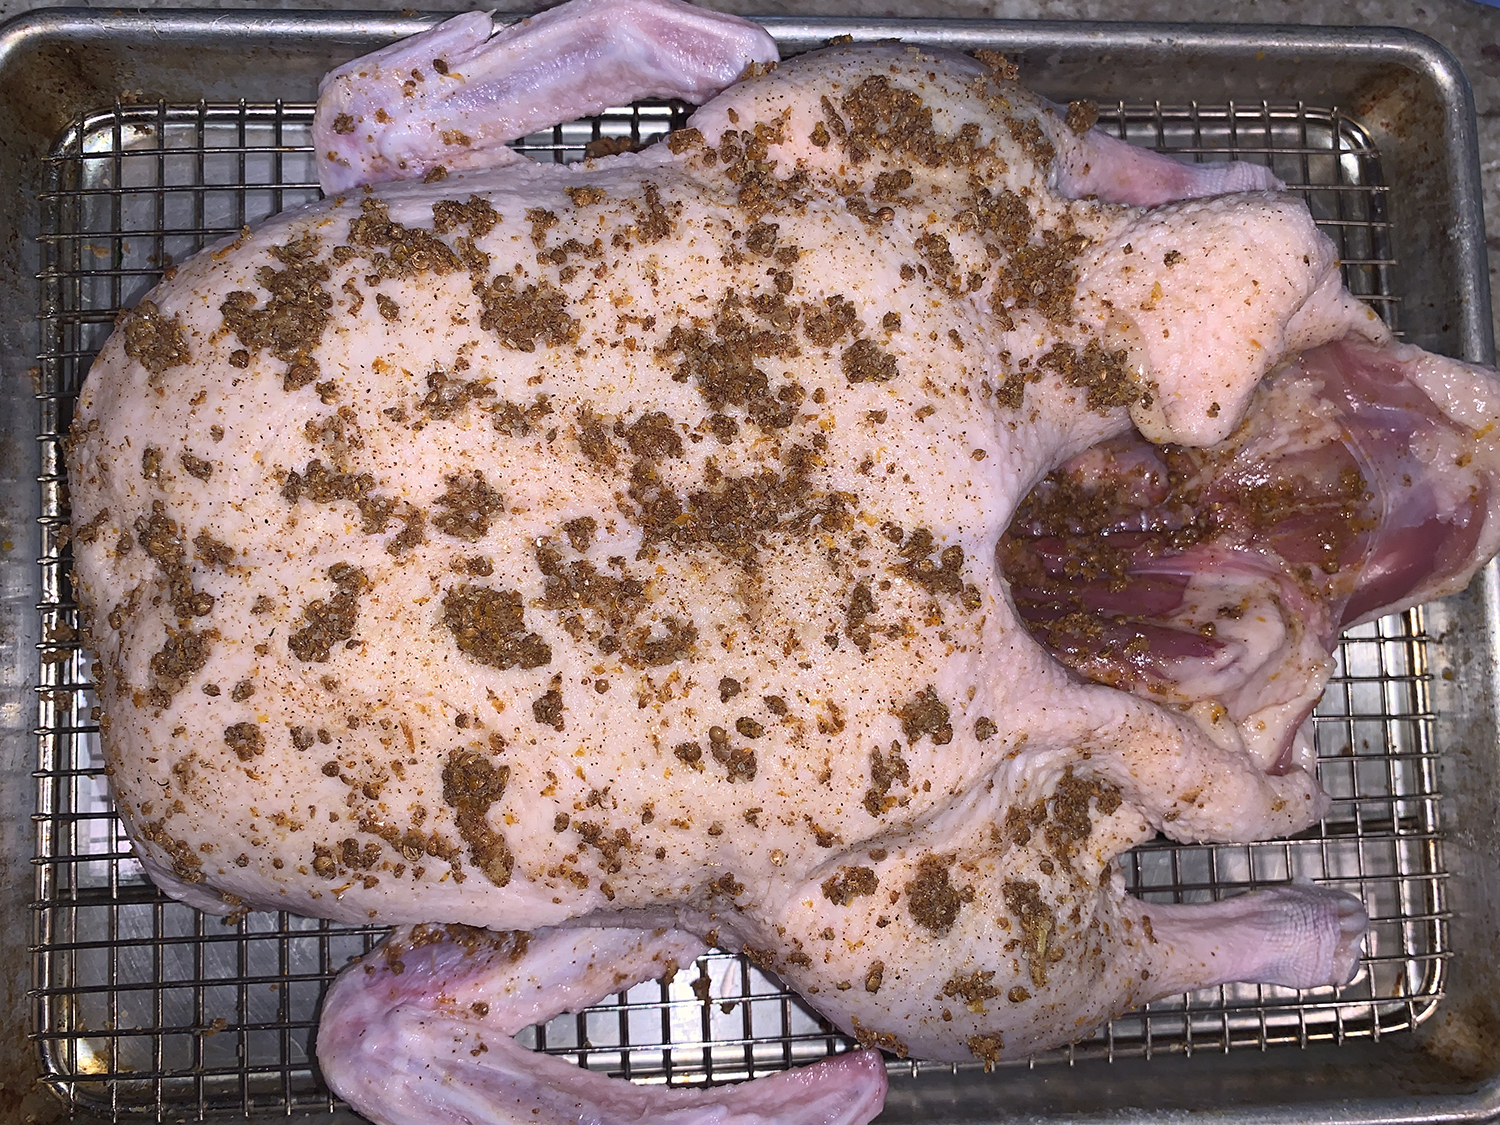
Trim and season the duck: In a mortar or spice grinder, grind the salt, garlic, zest, coriander seeds, five-spice powder, and pepper into a coarse paste.
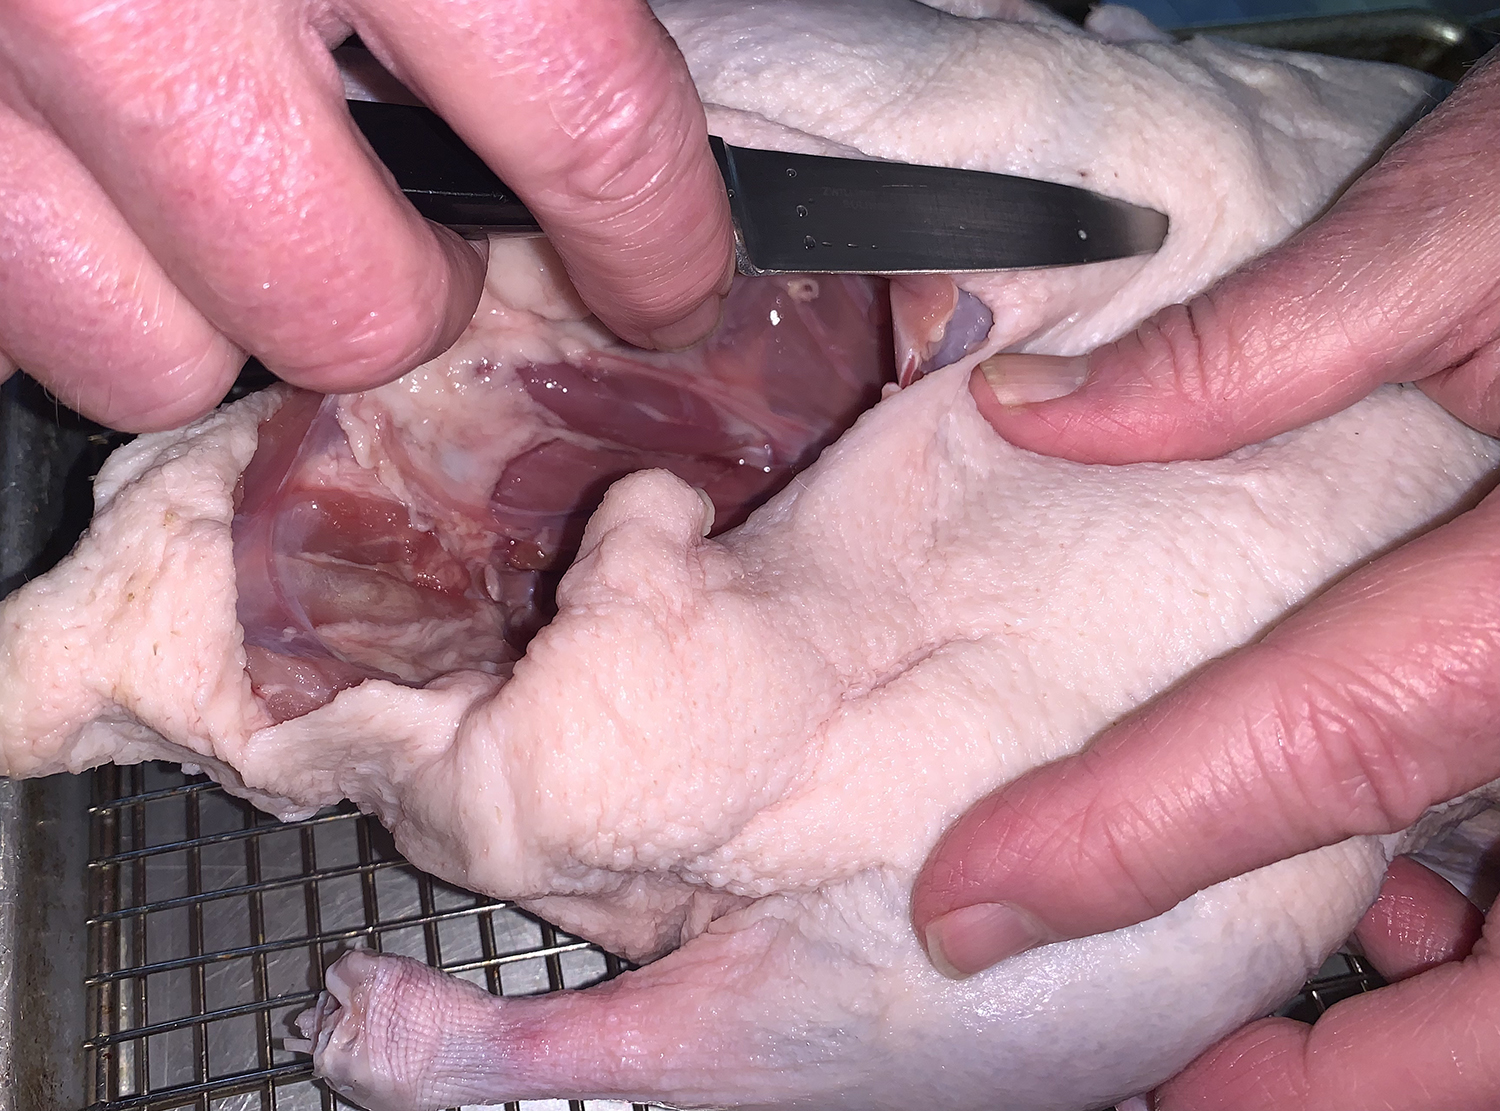
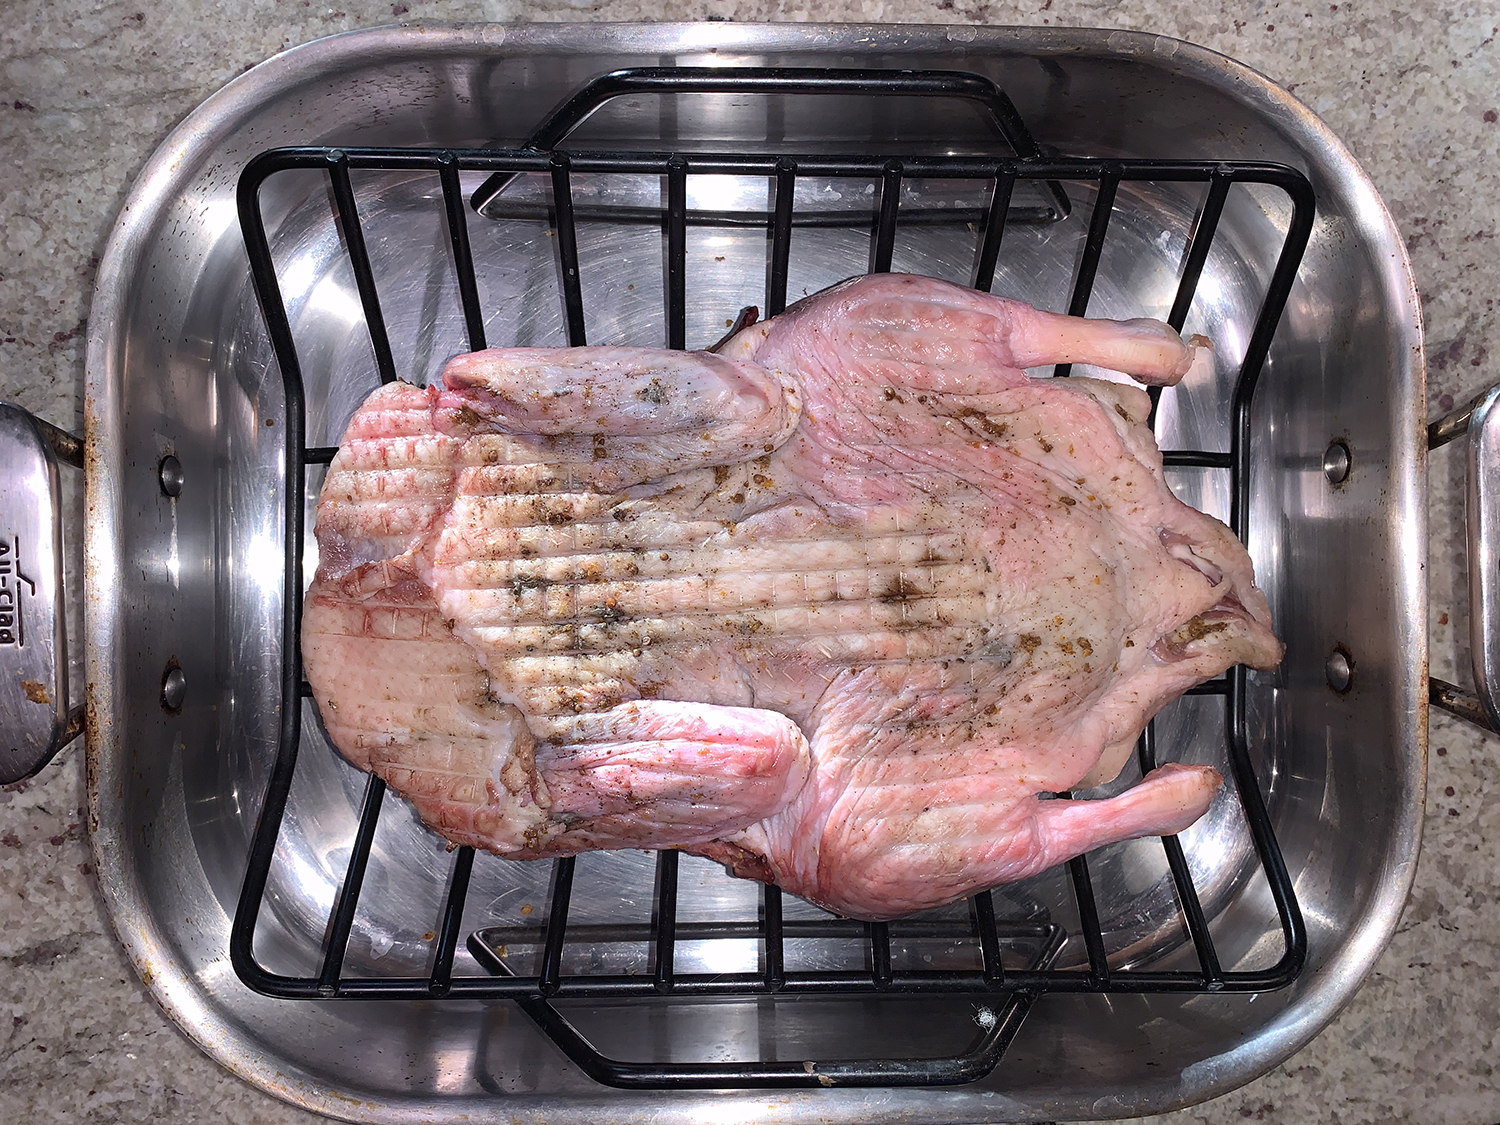
Make 20 to 30 small slits in the duck skin, using a sharp paring knife held parallel to the surface so that you pierce the skin and fat without cutting into the meat. Be sure to make slits on the back and thighs as well as the breast. Rub about two thirds of the spice mixture into the duck cavity and then rub what remains all over the skin. Set the duck on a rack set over a baking sheet and allow to air-dry in the refrigerator for at least 24 hours and up to 48 hours.
Heat the oven: Position a rack in the center of the oven and heat to 325 degrees F (300 degrees F convection). Let the duck sit at room temperature as the oven heats.
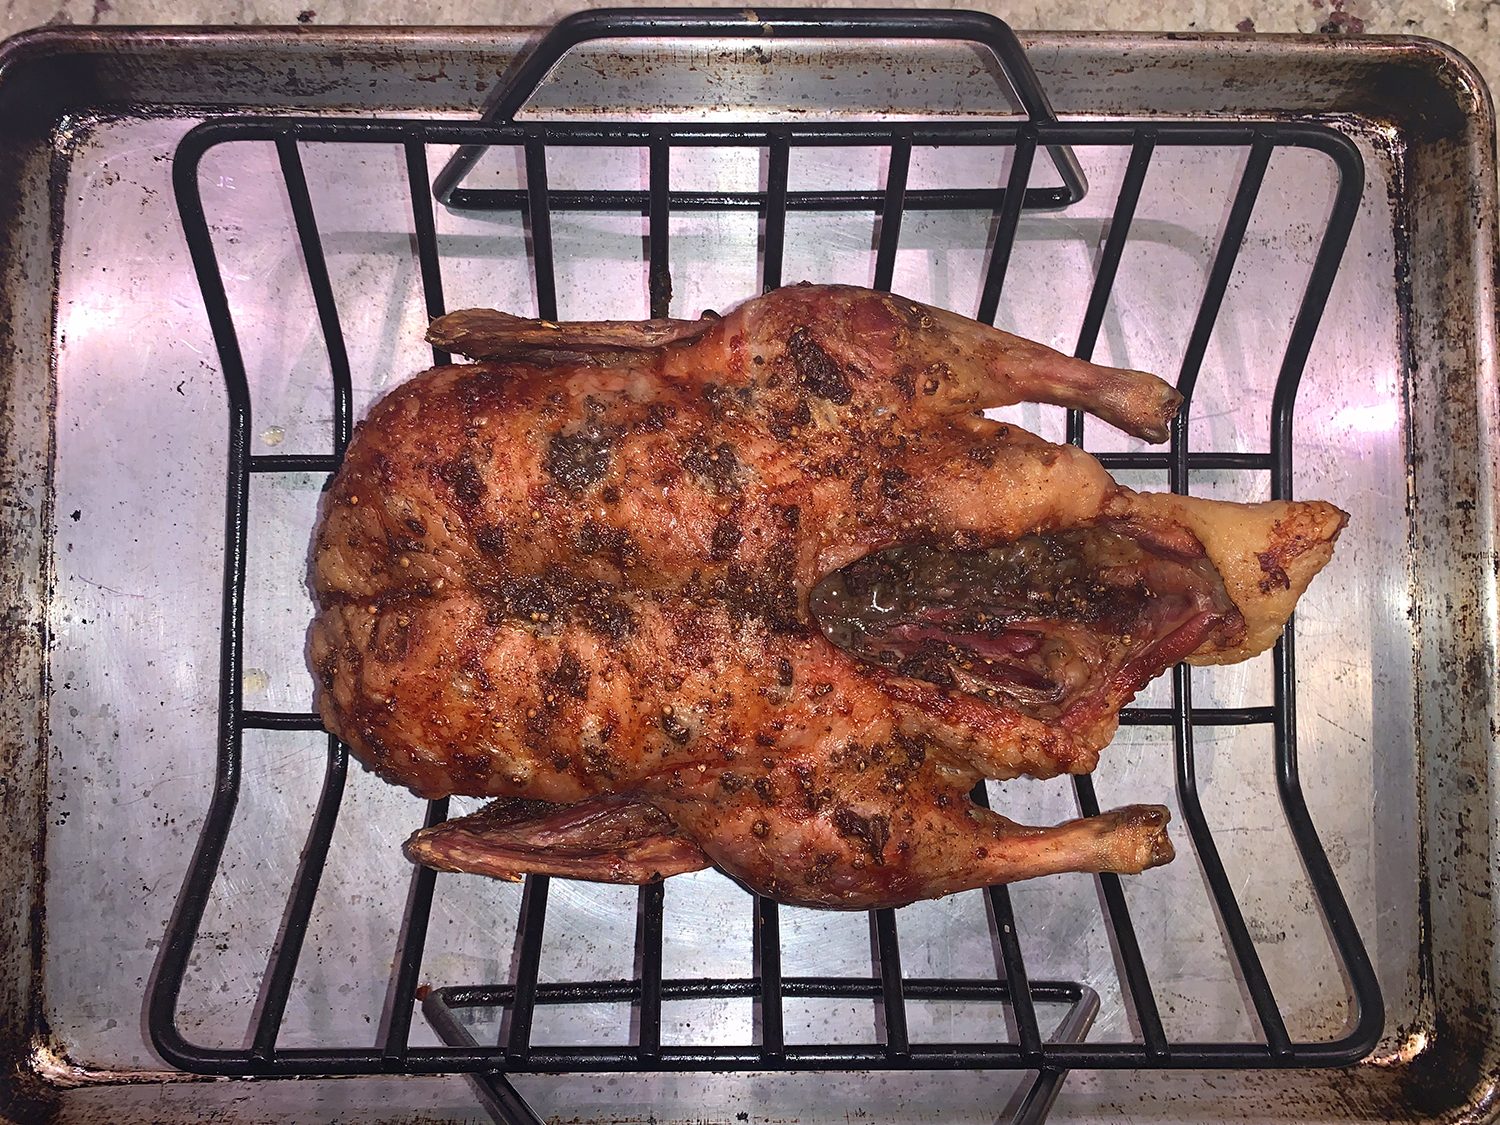
Roast the duck: Arrange the duck breast down on a roasting rack in a roasting pan (about 12 by 14 inches) and roast for 1¼ hours. Remove the pan from the oven and spoon or pour off most of the fat. (A turkey baster can make this job easier.) Using sturdy tongs inserted in the duck’s cavity, flip the duck over. Pierce the skin again all over the breast and legs with a knife. Return the duck to the oven to continue roasting until the meat around the thighs feels tender when prodded (a skewer should penetrate the thigh with no resistance), the legs feel loose in their joints, and an instant-read thermometer inserted into the thickest part of the thigh (without touching bone) registers 175 degrees F, another 1 to 1¼ hours. (You can roast the duck a day ahead to this point.)
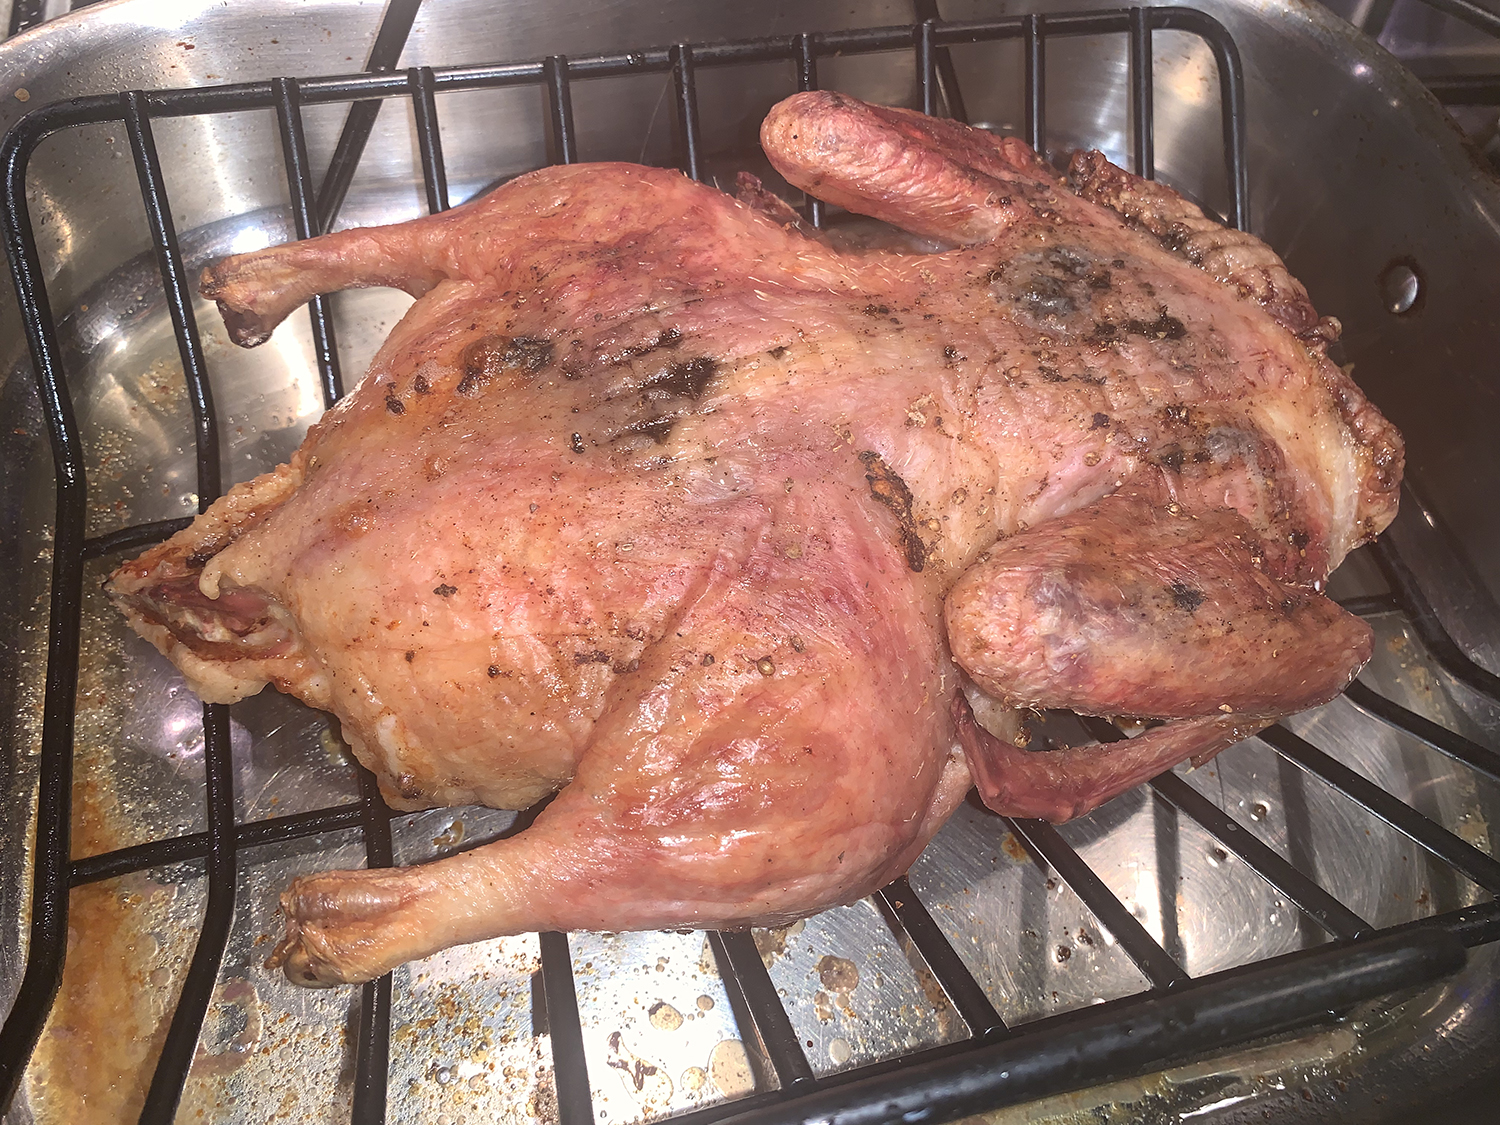
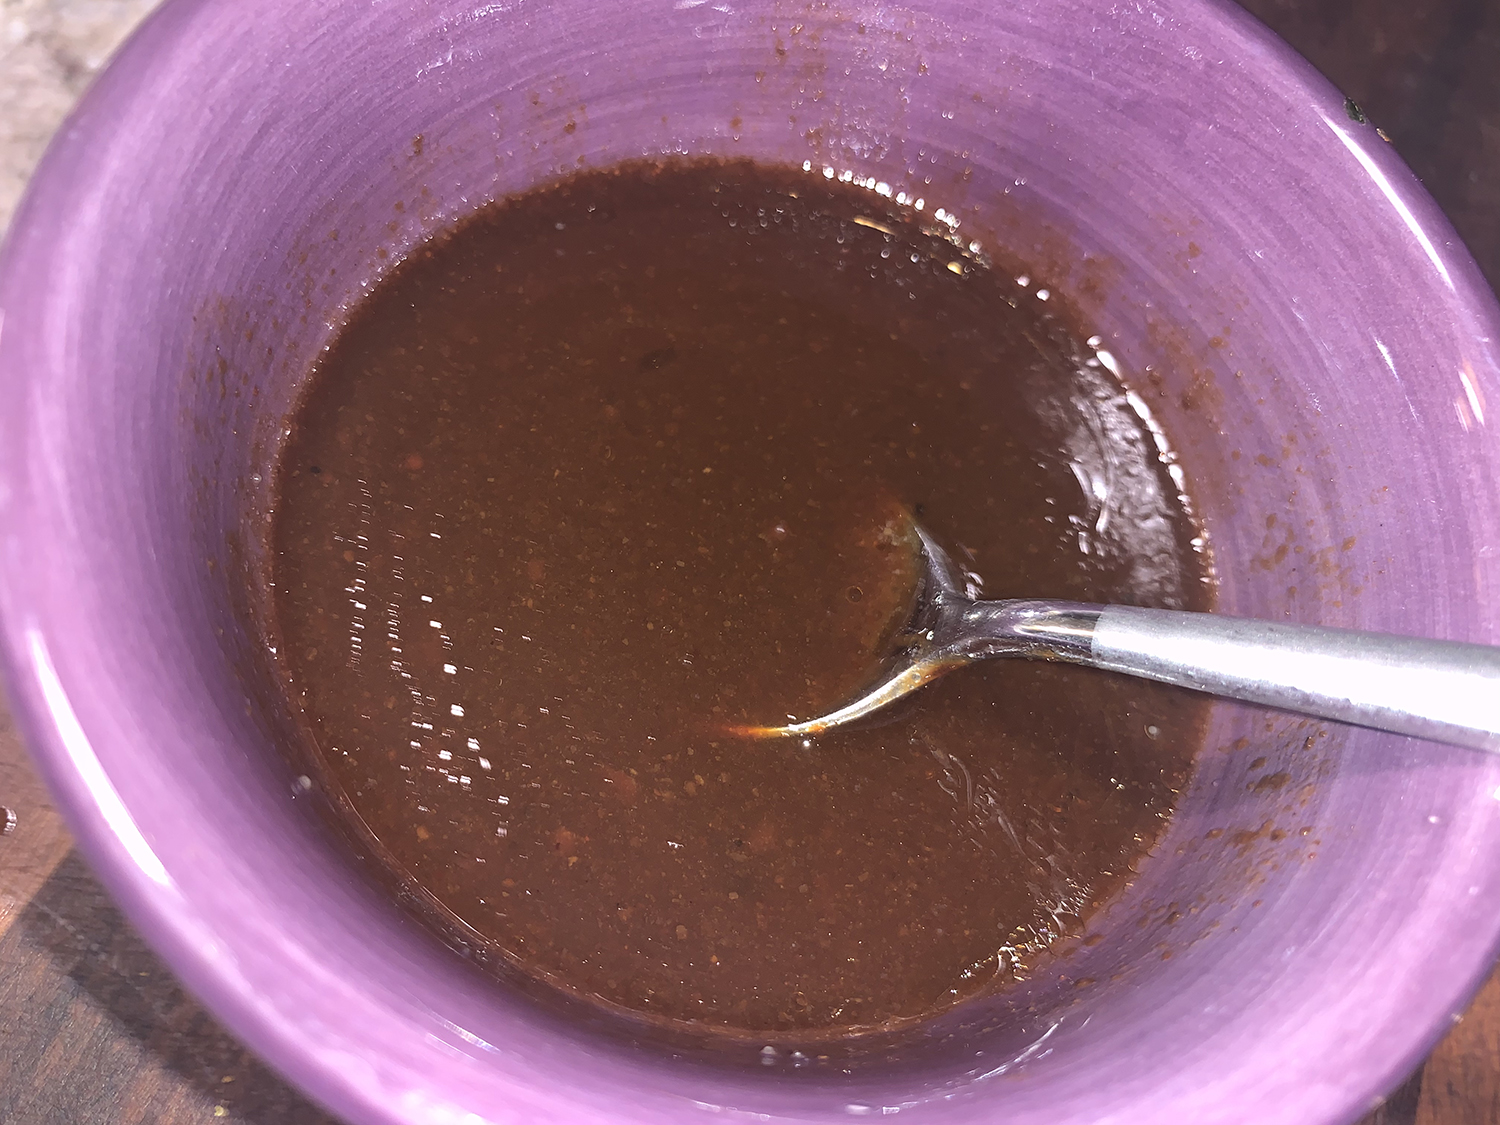
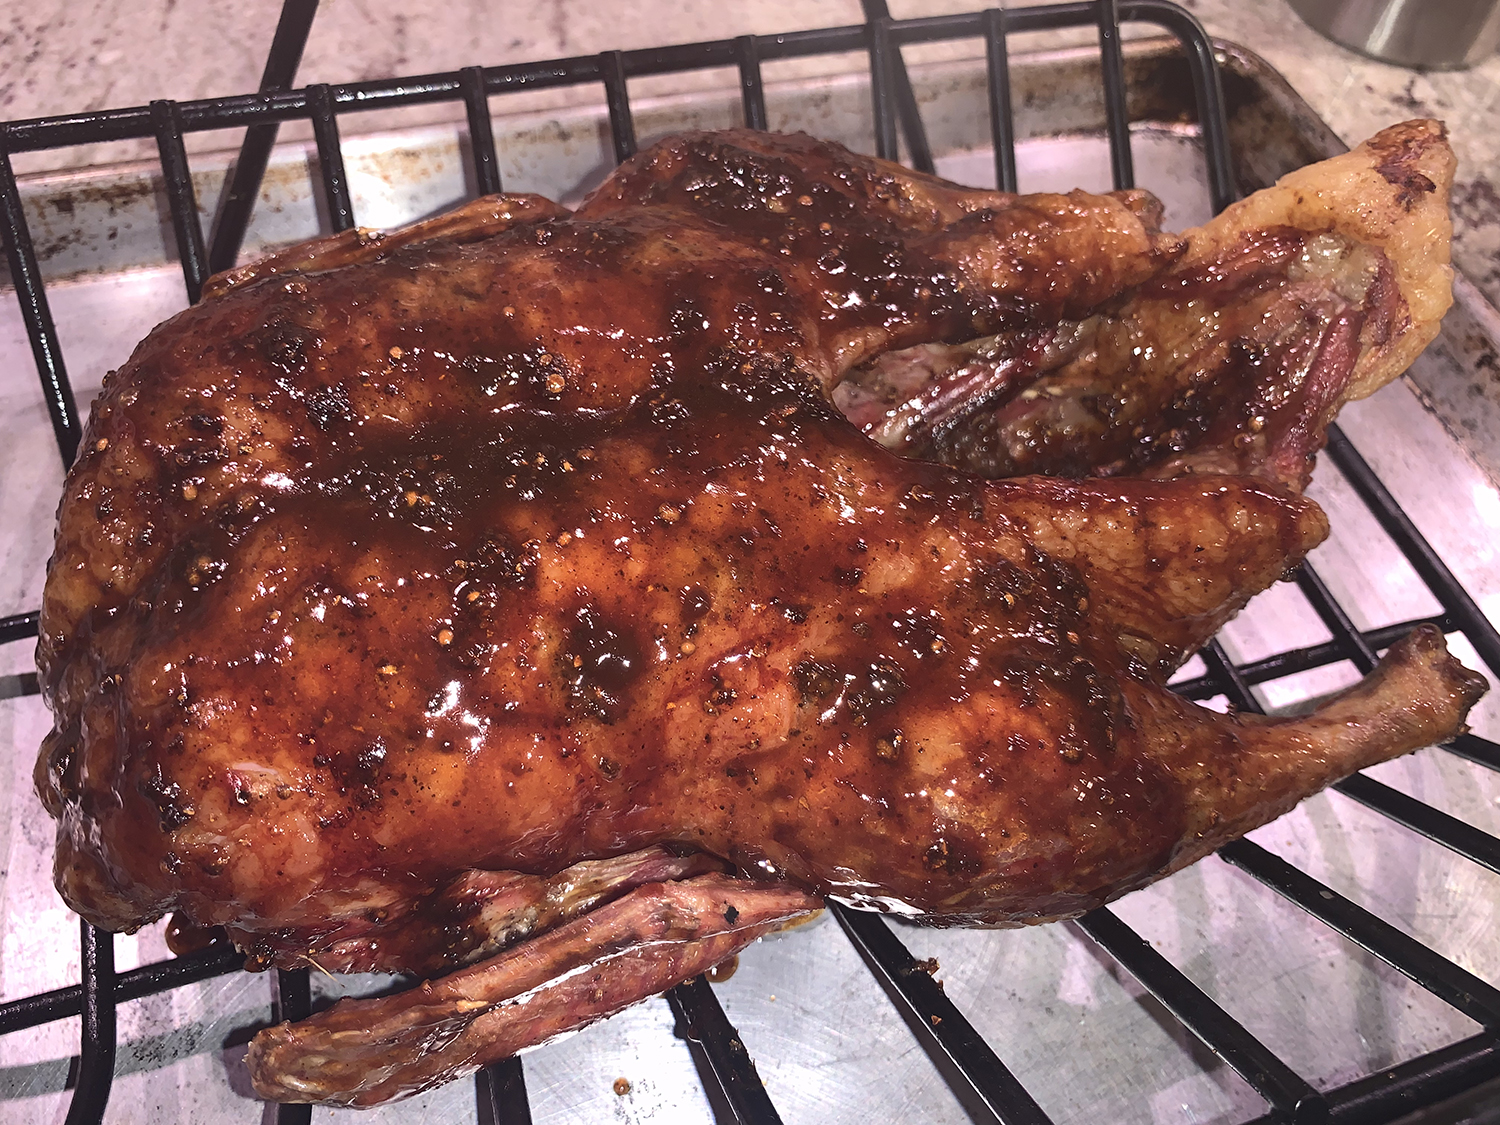
Glaze and blast the duck: Remove the duck from the oven and increase the oven temperature, preferably to 500 degrees F convection, if you have it, or to 525 degrees F standard. In a small bowl, whisk together the hoisin sauce, orange liqueur, honey, and sesame oil. Carefully transfer the duck (on the roasting rack) to a rimmed baking sheet. Paint the breast and legs with about half the glaze and return the duck to the hot oven. Paint again after 5 minutes, and continue roasting until crispy and mahogany-colored, about 3 minutes in a convection oven, 5 minutes in a standard oven.
Let rest and carve: Transfer the duck to a carving board, ideally one with a trough, and let it rest for 5 to 10 minutes before carving. Carving a duck is much like carving a small version of a goose. Be sure each person gets both breast meat and a thigh or leg.
You can use the pre-seasoning and slow roasting method from the Whole Roast Duck with Hoisin Sauce recipe with just about any flavors you like, including just simple salt and pepper. Just be sure to use at least 1 tablespoon of salt per bird in the pre-salting step. Follow the trimming and roasting instructions (steps 1-3). Omit the glaze, but do give the duck that final blast of heat to brown it beautifully.