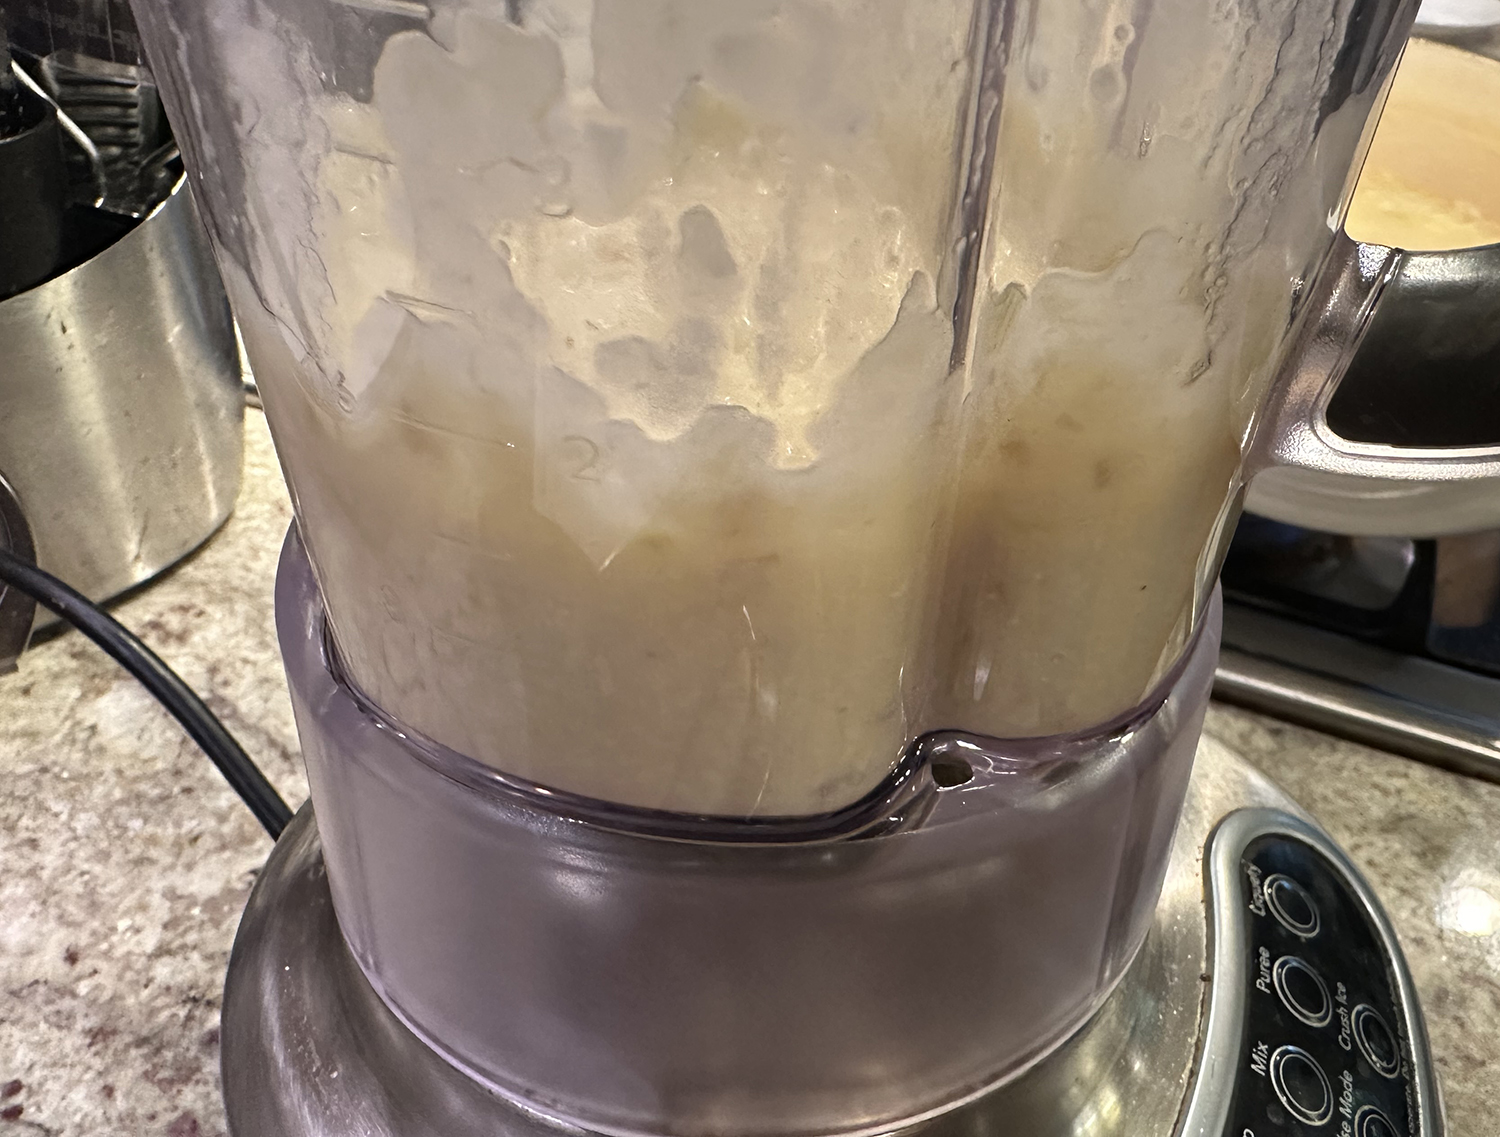
With the end of fresh corn season looming, we are hyper-vigilant to try any delicious sounding corn recipe. This corn chowder, inspired by a corn side dish in “The Gaijin Cookbook” by Ivan Orkin and Chris Ying, is unconventional in a couple of ways. Instead of relying on an abundance of dairy for creaminess, a portion of the cooked vegetables is puréed. This gives the soup body without blunting the delicate sweet, grassy notes of the corn, nor the earthiness of the potatoes.

Secondly, white miso lends deep, umami-rich flavor, so there’s no need for the salt pork or bacon typically used in corn chowder, nor even for chicken broth, so this soup is vegetarian-friendly.
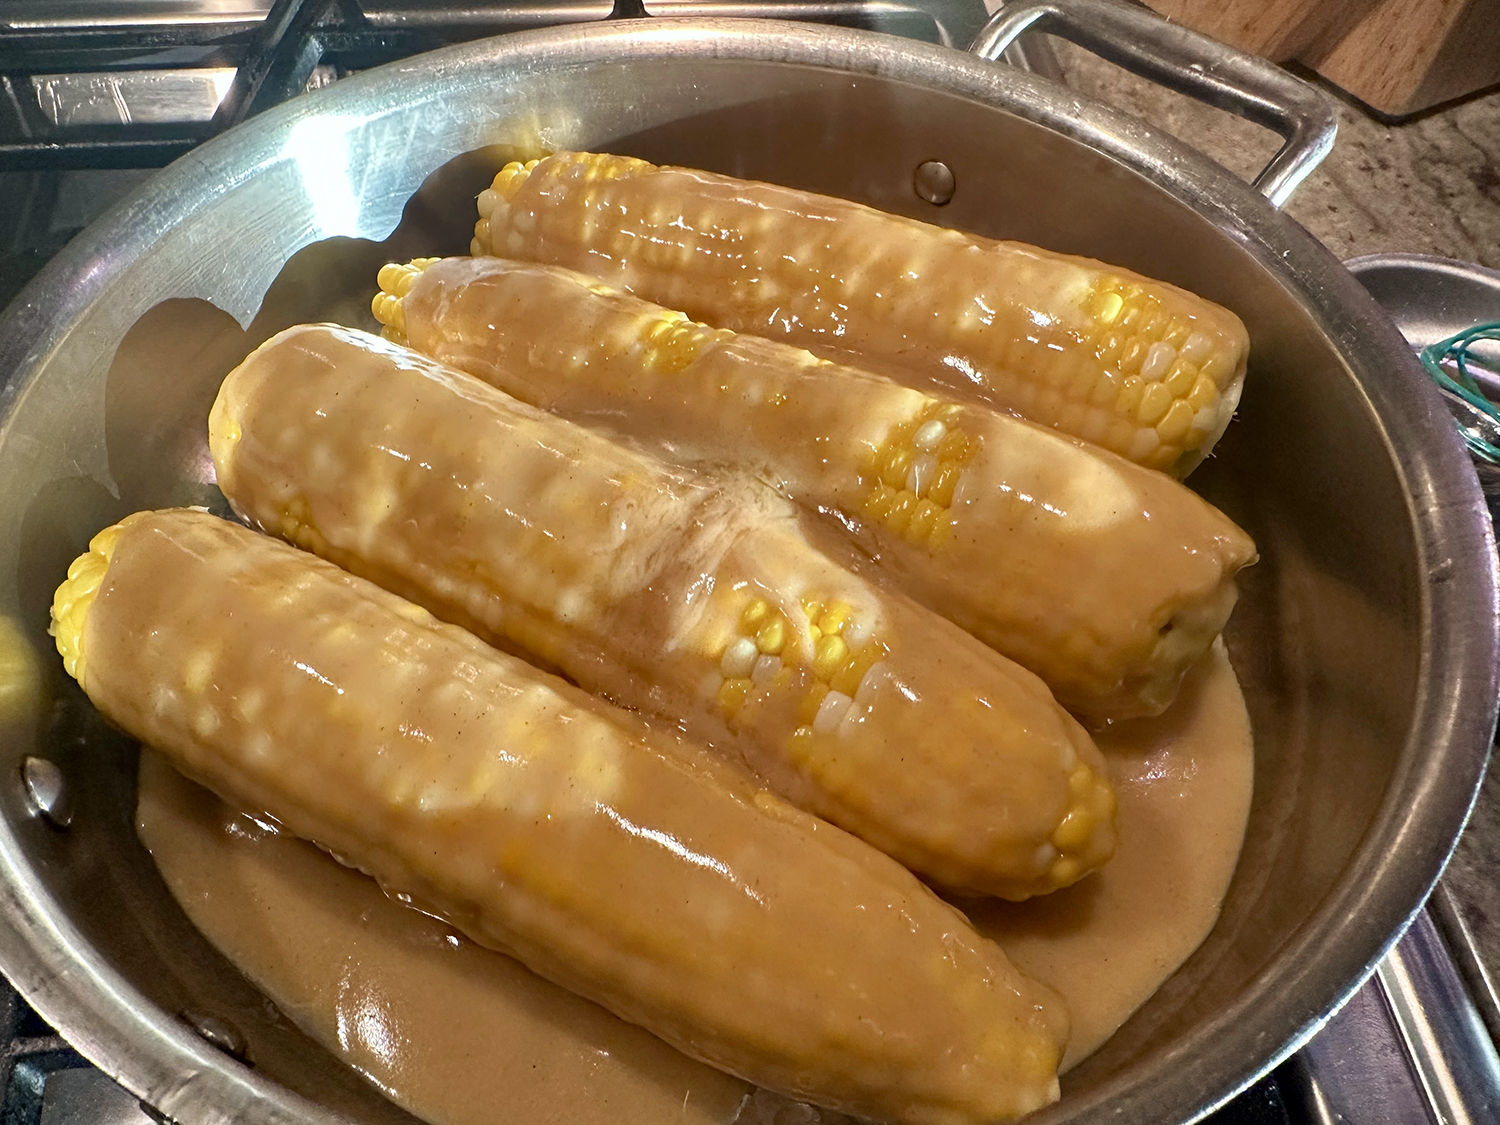
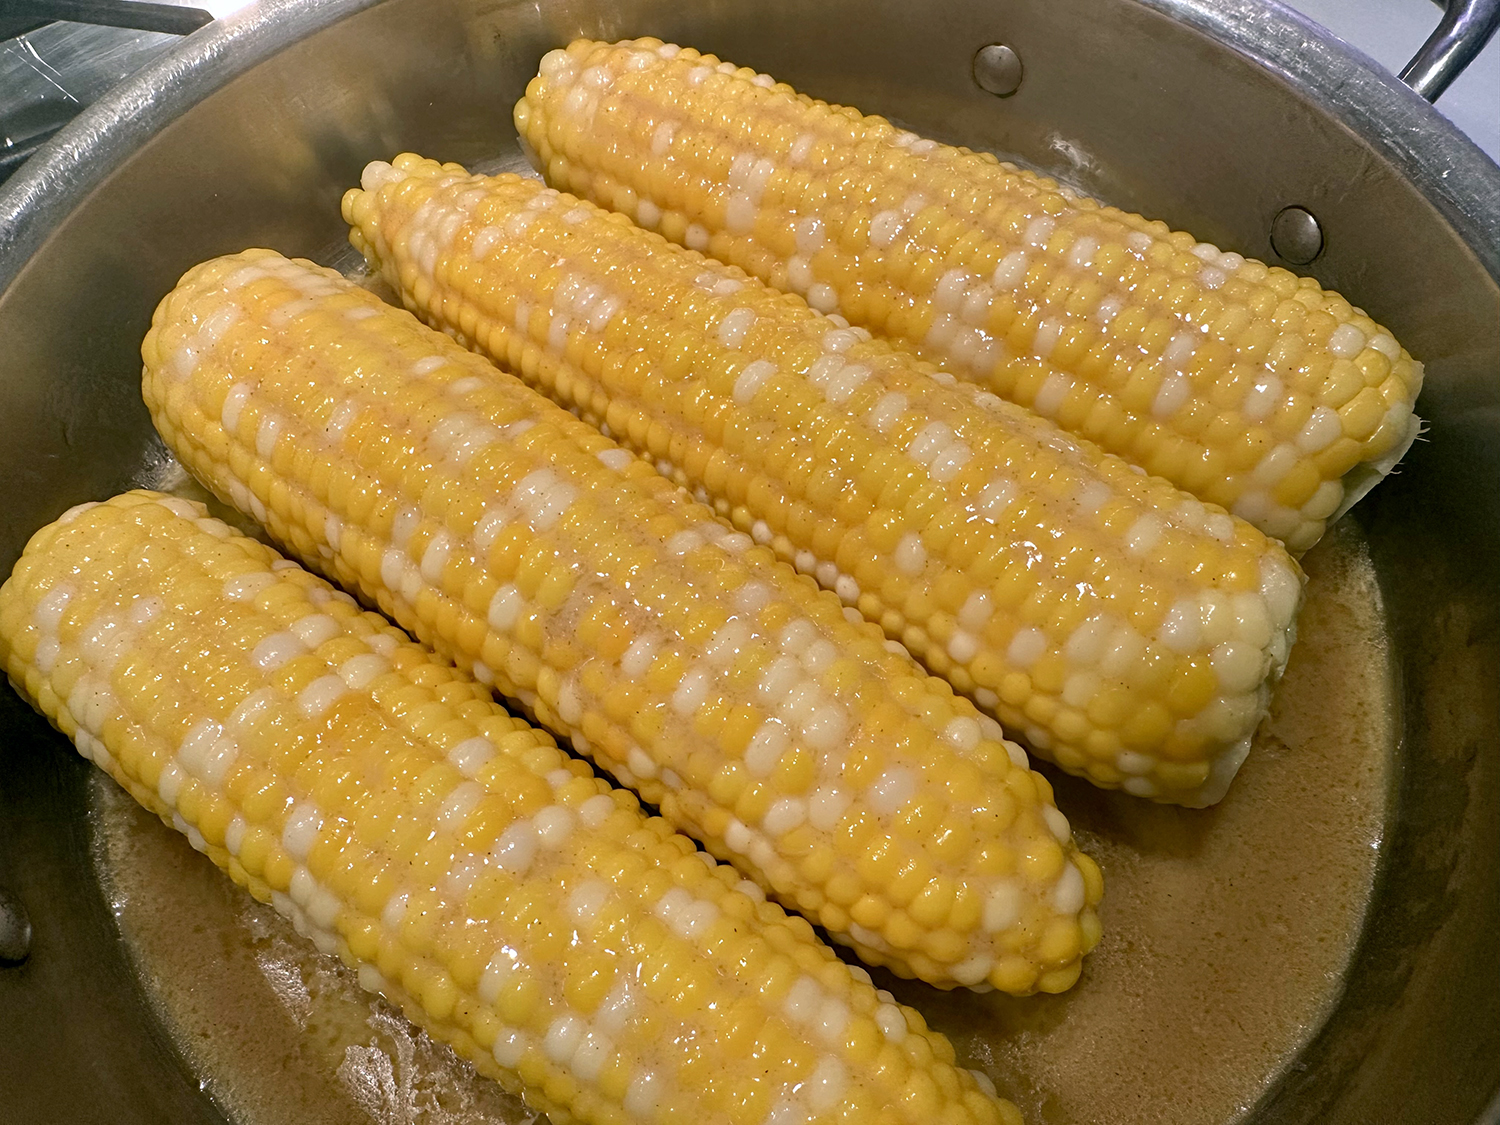
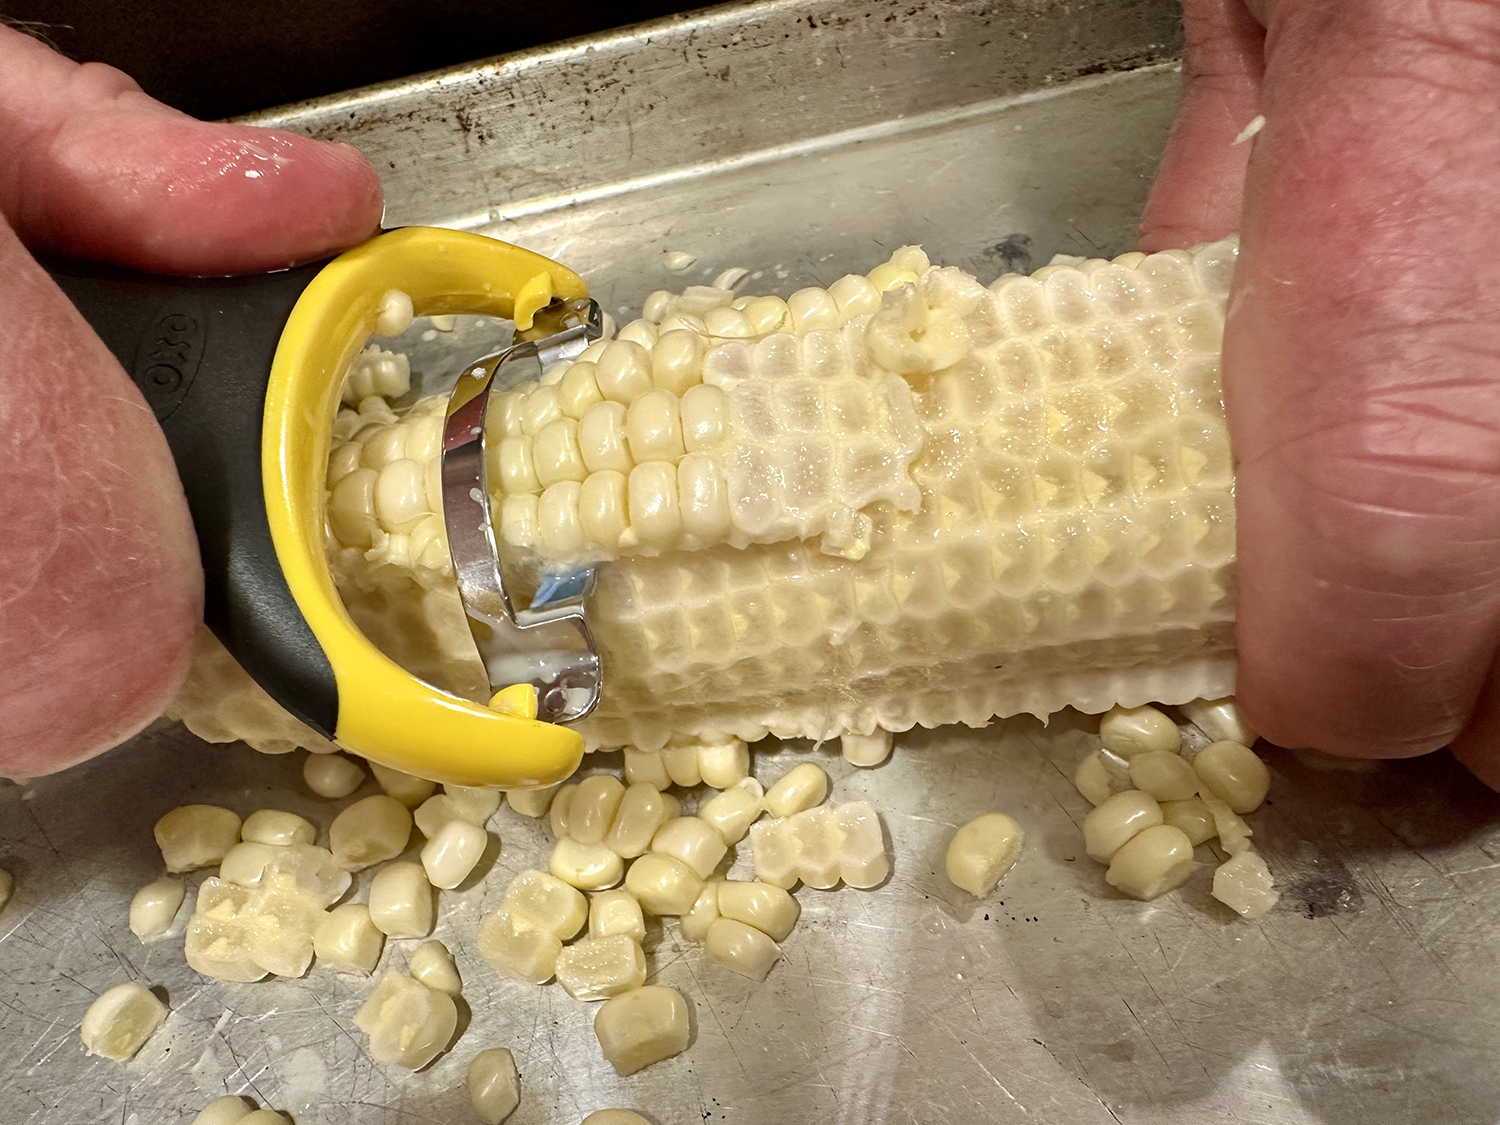
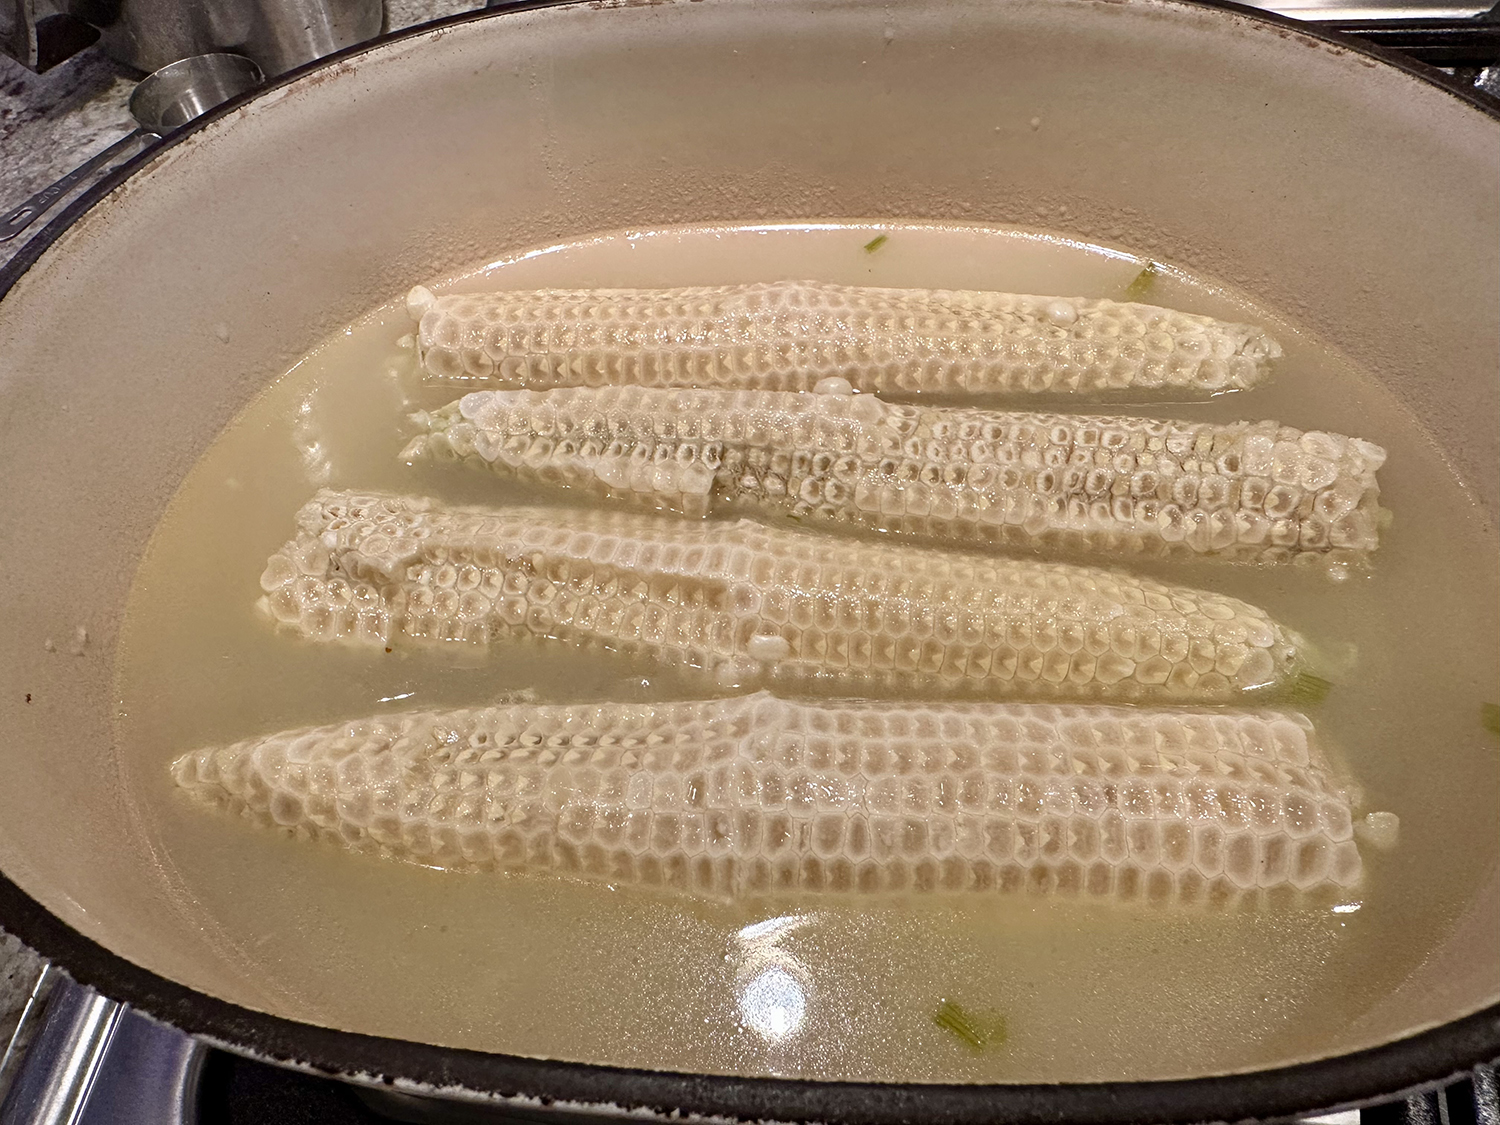
Fresh in-season corn is, of course, best—cut the kernels from the ears and simmer the cobs right in the mix, which infuses the broth with maximum flavor. Out of season, frozen corn kernels are a decent stand-in. You won’t have cobs for simmering, but the chowder still will be good. And if you wish the chowder to have golden hue, stir in a pinch or two of ground turmeric. And we loved the garnish of chili oil!
NOTE: When the corn cobs are removed, cool them off a bit. Then scrape off any residual bits of corn kernels and corn milk and add it to the soup in the pot so that none of that goodness goes to waste.
Corn Chowder with Miso and Scallions
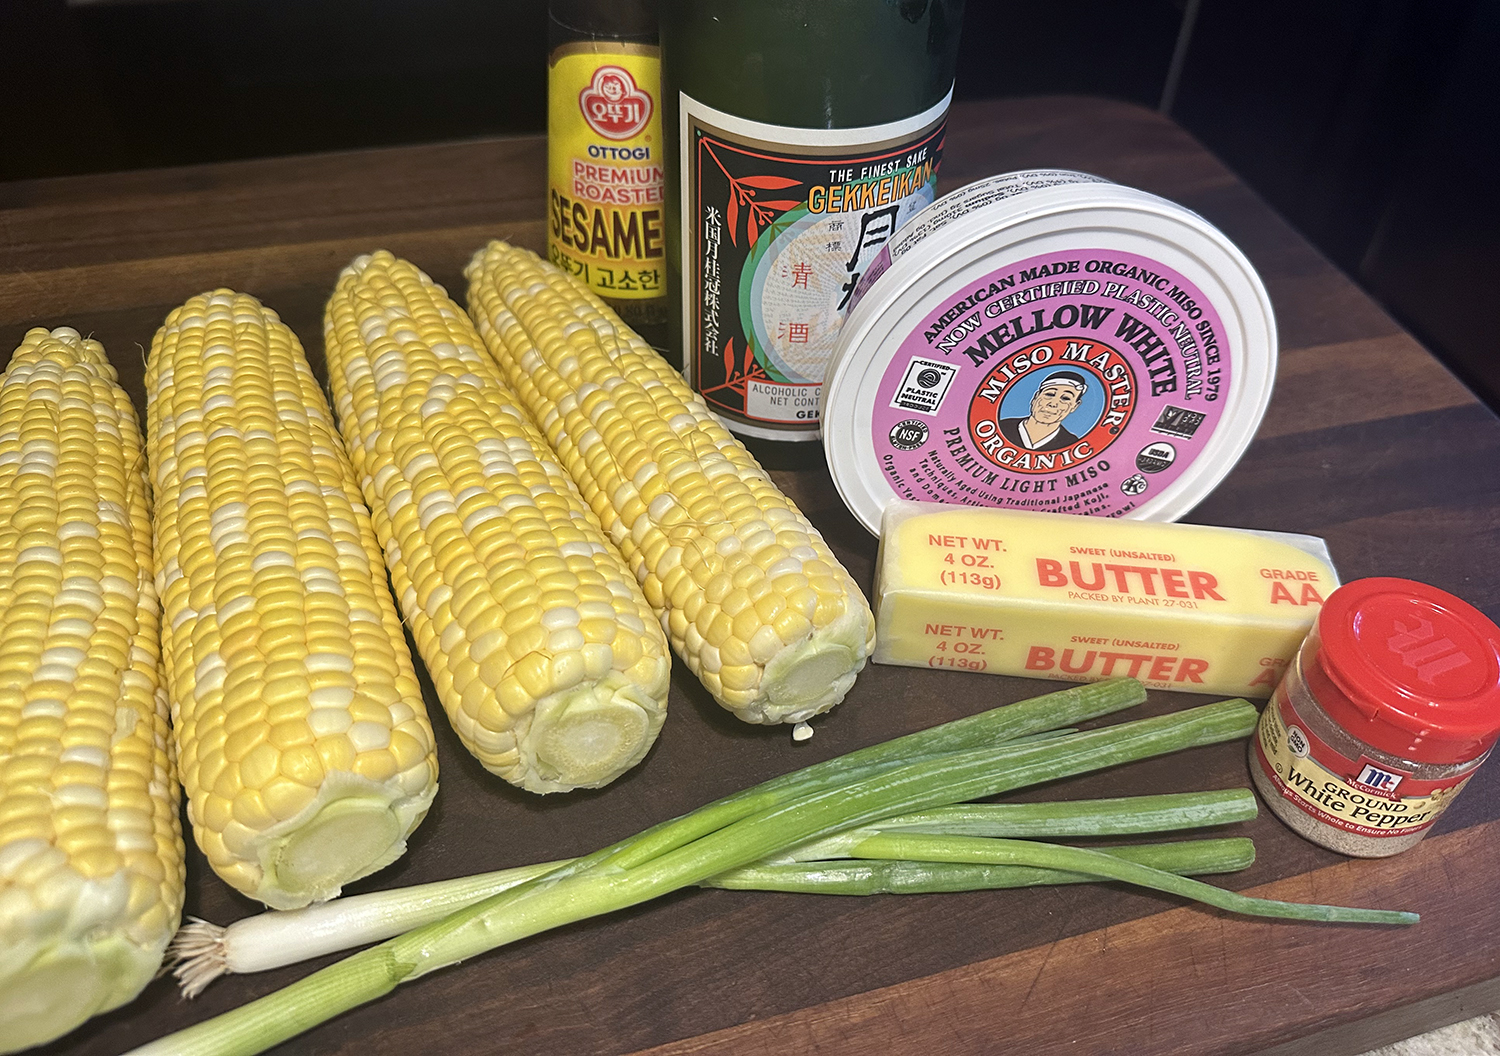
Ingredients
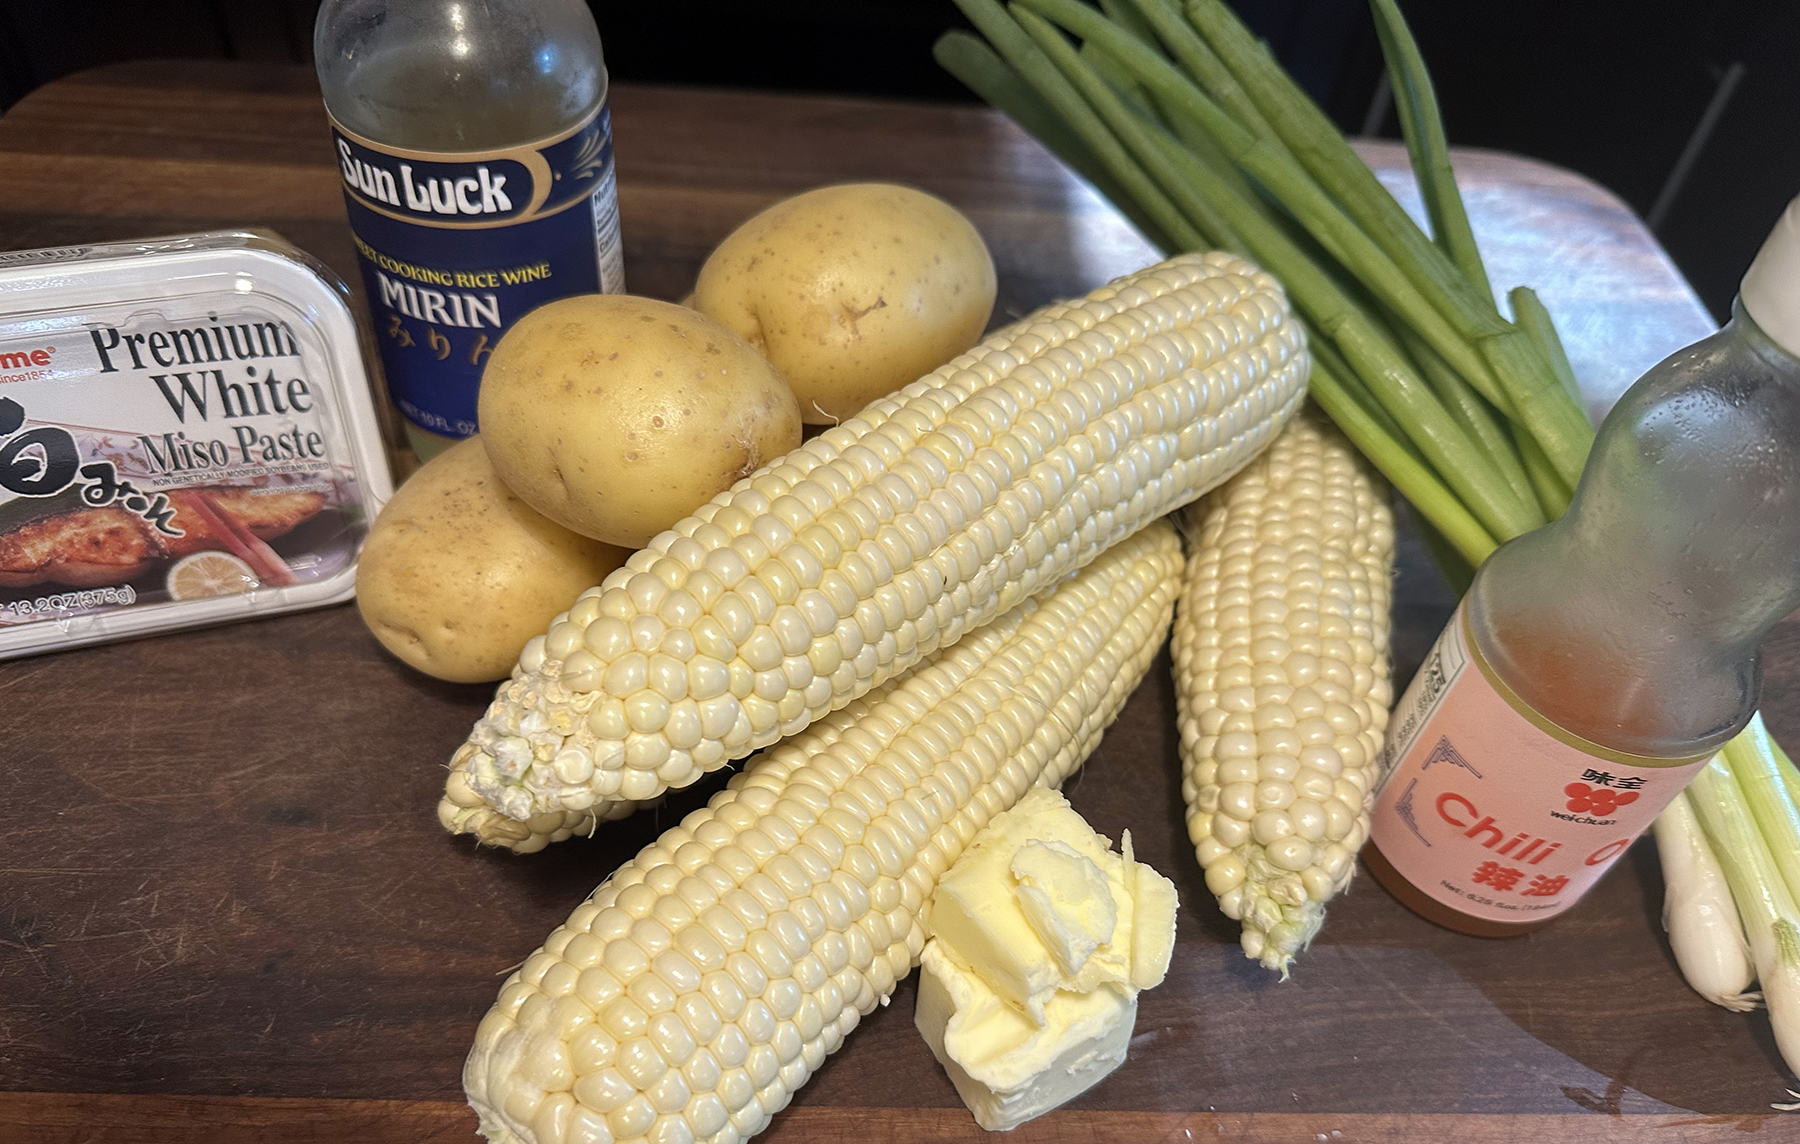
- 3 Tbsp. salted butter, cut into 2 or 3 pieces
- 1 bunch scallions, thinly sliced, white and green parts reserved separately
- Kosher salt and ground black pepper
- 1/4 cup white miso
- 1/4 cup mirin
- 4 ears corn, husked, kernels cut from cobs (about 3 cups), cobs reserved
- 1 lb. Yukon Gold potatoes, unpeeled, cut into ½-inch cubes
- 6 cups water
- Optional garnish: Chili oil


Directions
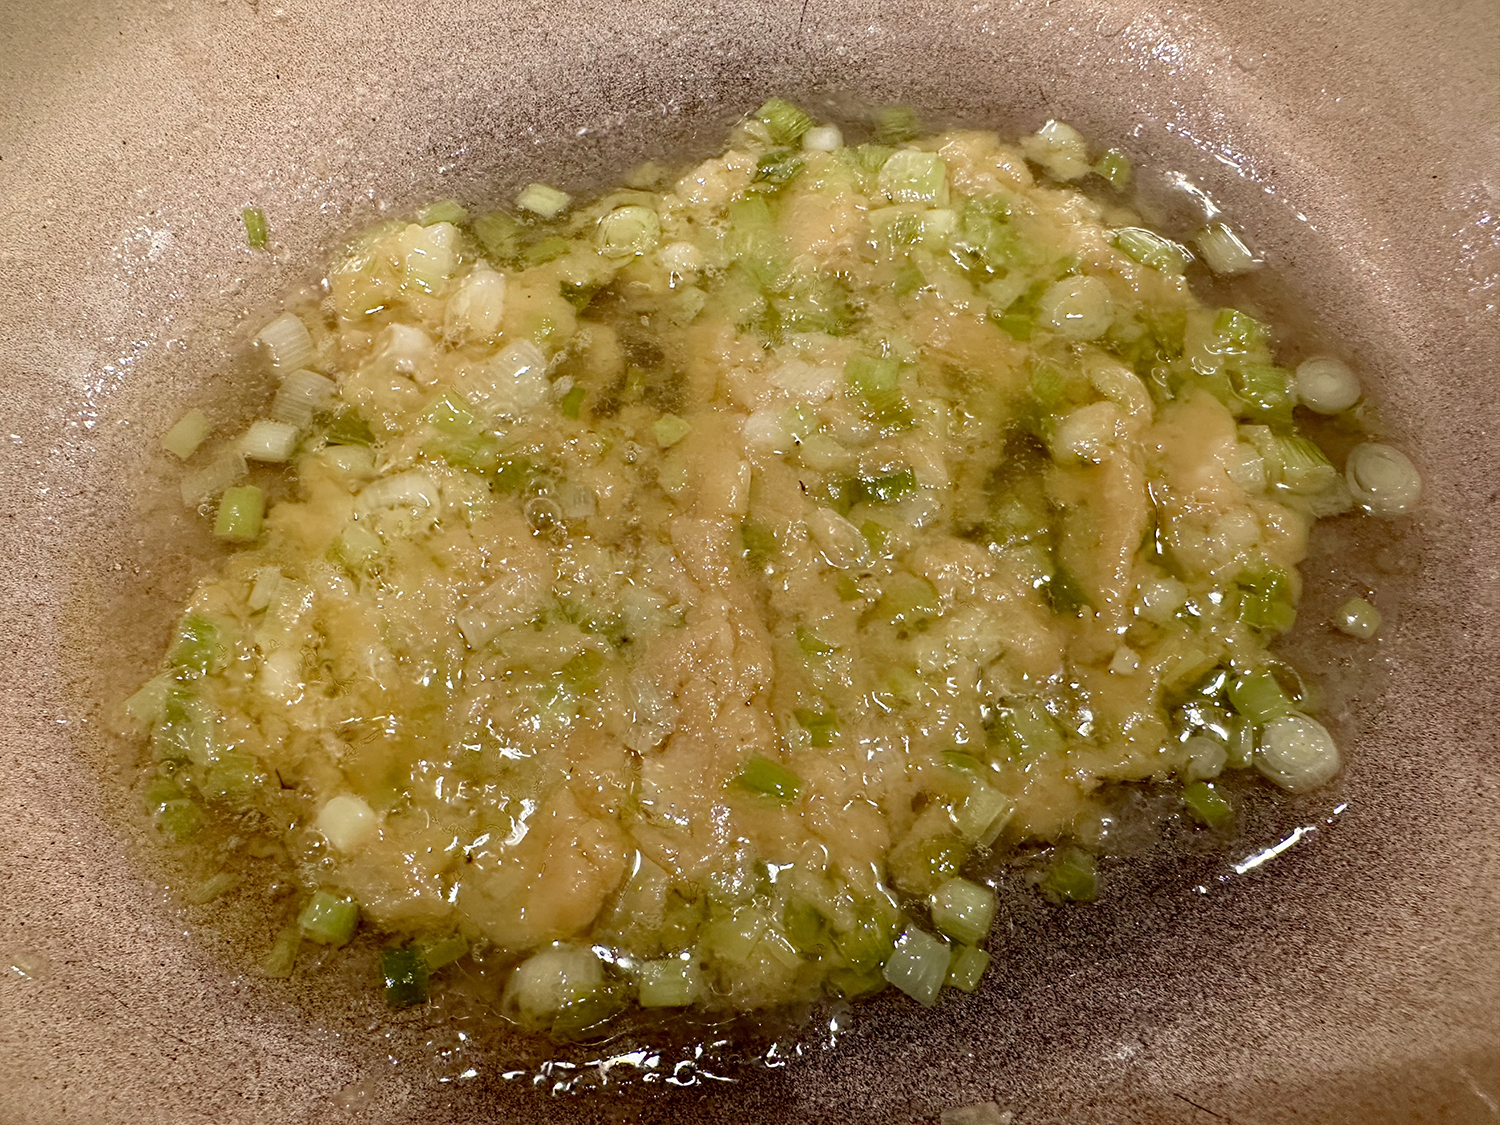
- In a large Dutch oven over medium, melt the butter. Add the scallion whites and ½ teaspoon salt; cook, stirring occasionally, until softened but not browned, 3 to 5 minutes. Add the miso and cook, stirring to incorporate it into the scallion, until the miso is lightly browned, about 1 minute.
- Add the mirin and cook, stirring, until the liquid has mostly evaporated, about 1 minute. Stir in 6 cups water, then add the reserved corn cobs. Bring to a boil over medium-high, then stir in the corn kernels and potatoes. Return to a boil, then reduce to medium and simmer, uncovered and stirring occasionally, until the potatoes are tender, about 15 minutes.
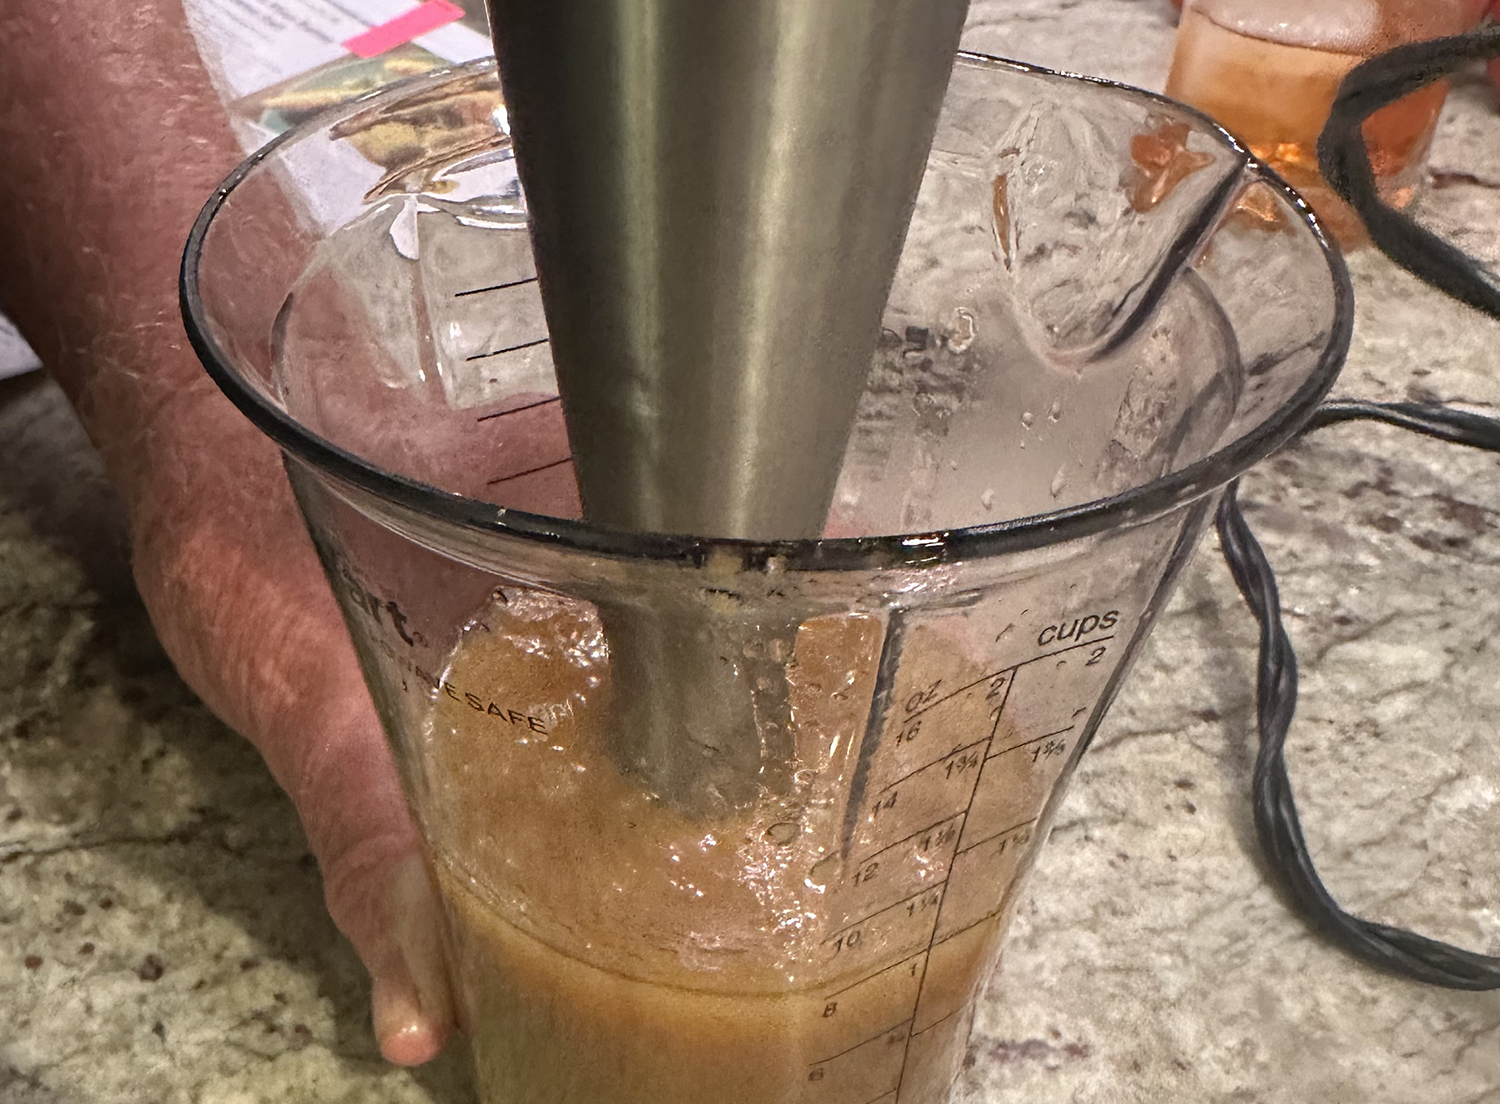
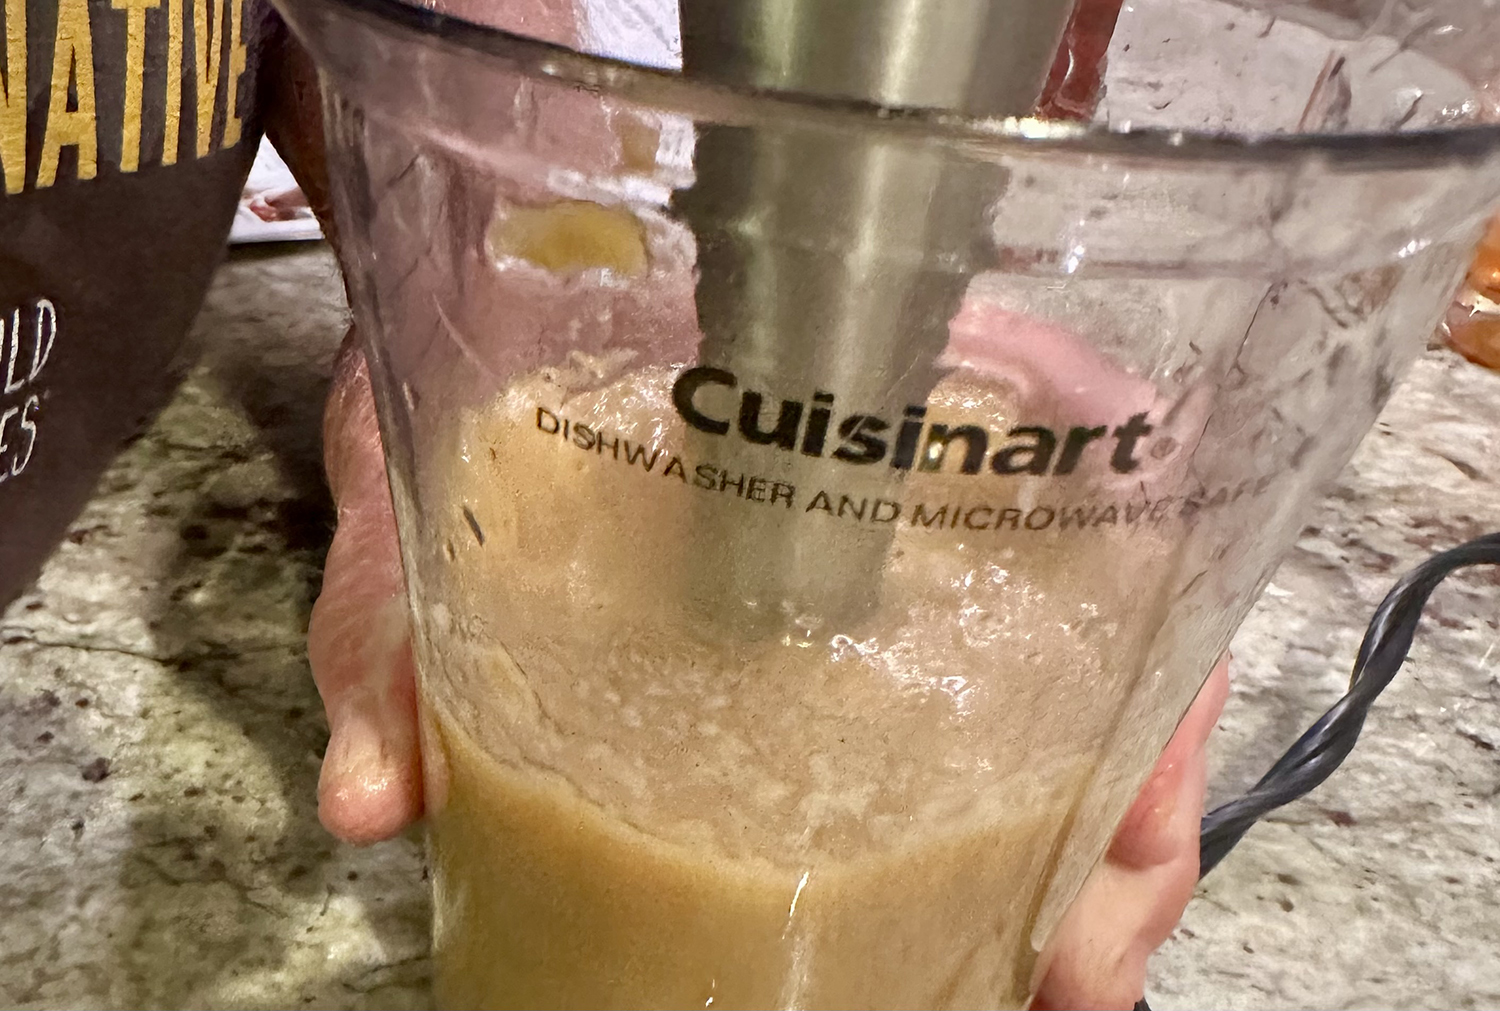
- Remove from the heat and cool for 5 to 10 minutes. Remove and discard the corn cobs. Transfer 1½ cups of the solids to a blender along with about ½ cup of the liquid. Puree until the mixture is smooth, about 1 minute.
- Return the blended portion to the pot and stir. Bring to a simmer over medium, stirring occasionally. Remove from the heat, then taste and season with salt and pepper. Ladle into bowls and sprinkle with the scallion greens. Top with chili oil, if desired.
Recipe by Diane Unger for Milk Street