A great keto-friendly, low-carb meal option from Food & Wine, these aromatic with garlic, scallions, and fish sauce, these zucchini boats are stuffed with juicy pork and mushrooms for a dish that’s light, satisfying, and packed with Vietnamese flavor. You can even make most of it a day ahead (which came in real handy when we went to make them).
It’s a fun and easy vegetable-and-meat dish that makes the most out of the bounty of farmers market squash. Reminiscent of a dumpling filling, the pork-and-mushroom stuffing has notes of ginger, garlic, and scallions.

Bouillon powder (although we used bullion paste) and fish sauce bring umami to the forefront. Salting and baking the scooped-out cavities of the zucchini help release excess moisture, creating a perfectly textured final dish.
If looking to amp up the meal, serve these stuffed zucchini boats with rice, and/or a side salad for a quick and delicious dinner.
NOTE: If you don’t eat pork, you can easily swap it for an equal amount of ground beef or ground turkey in this recipe.
Pork-and-Mushroom Stuffed Zucchini Boats
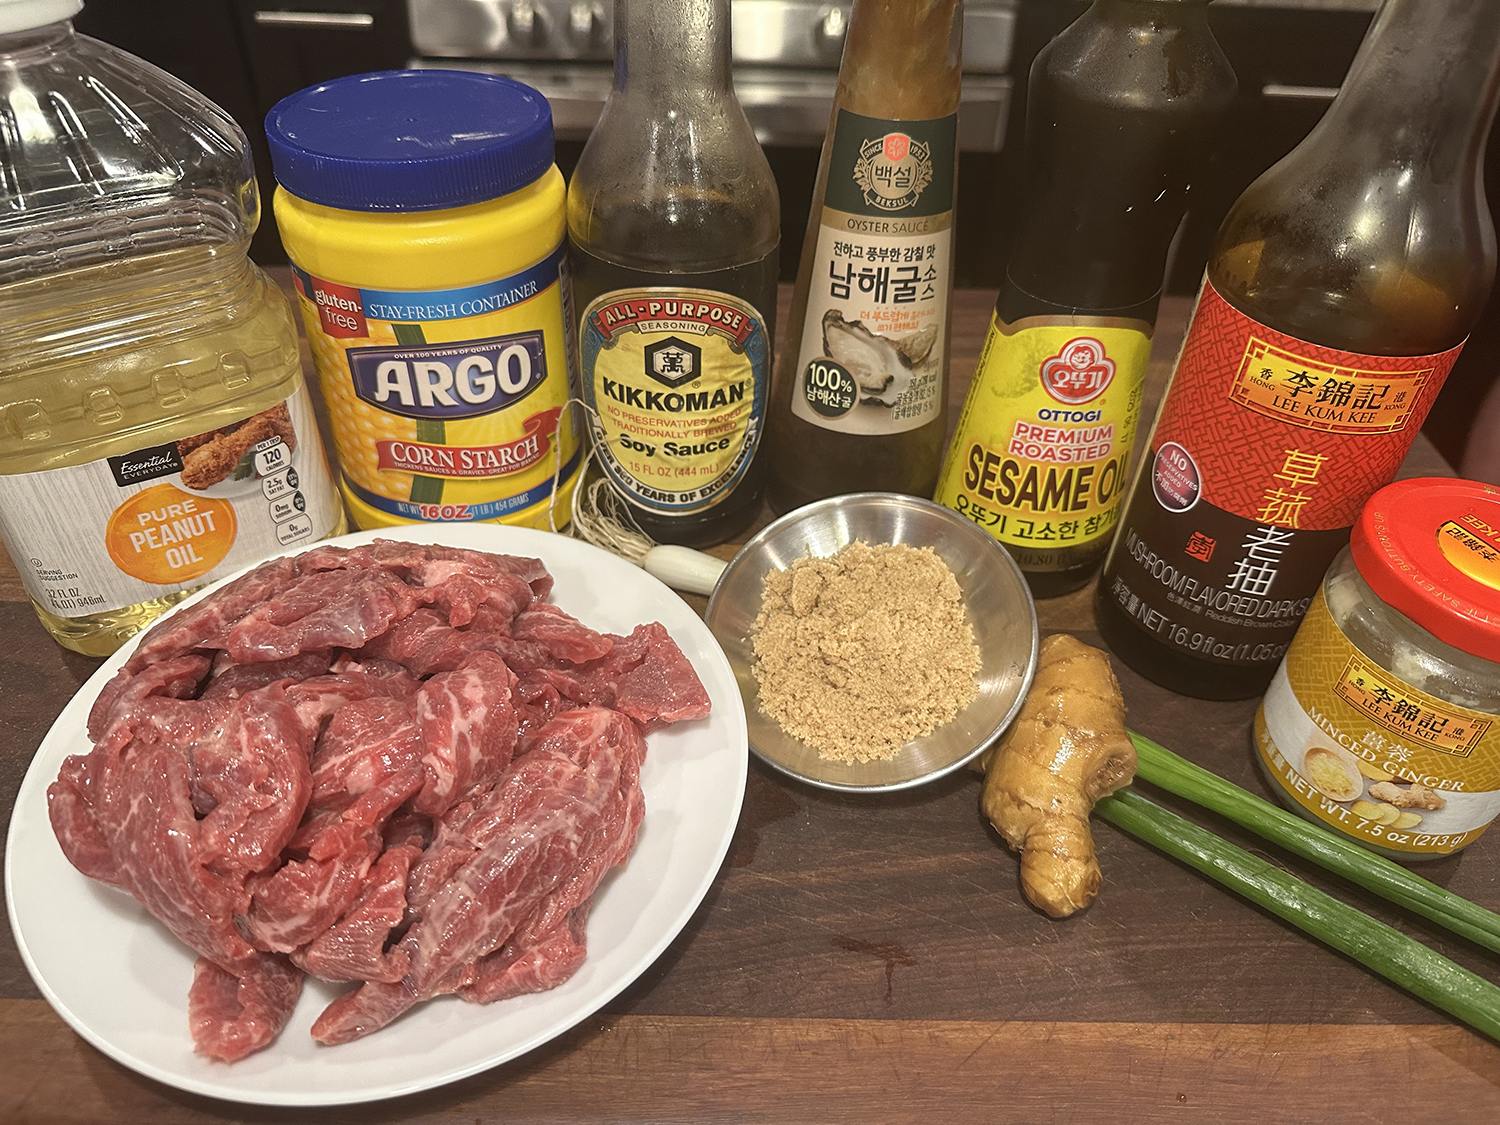
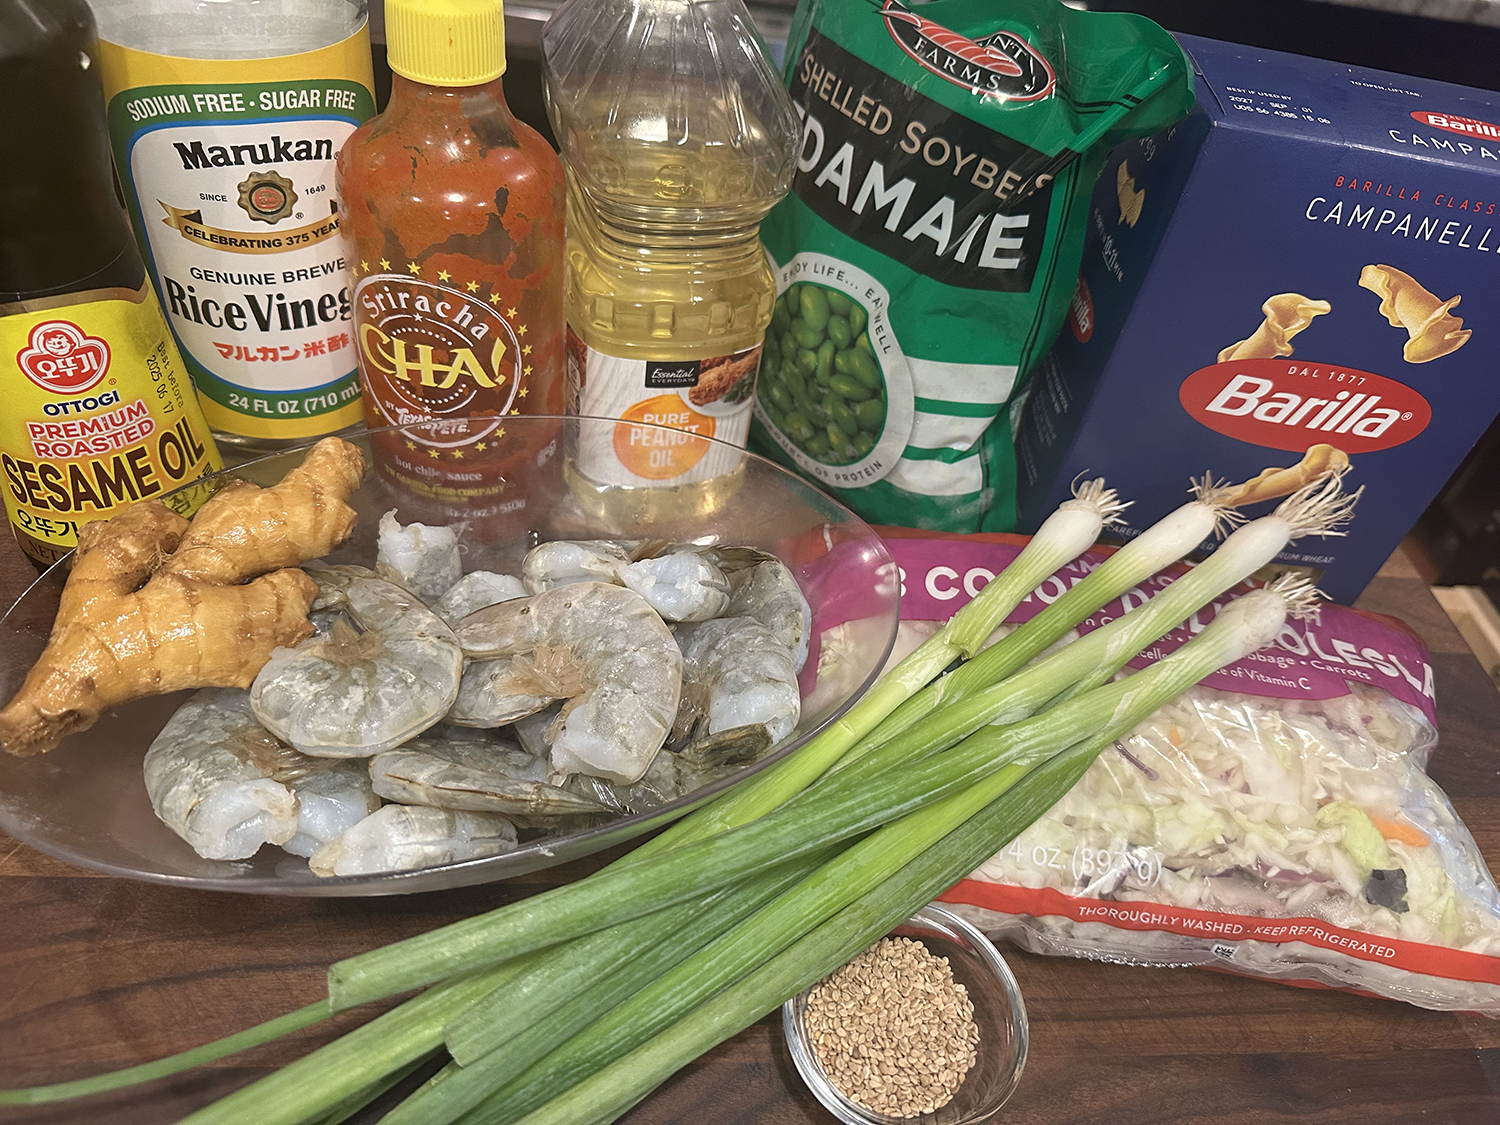
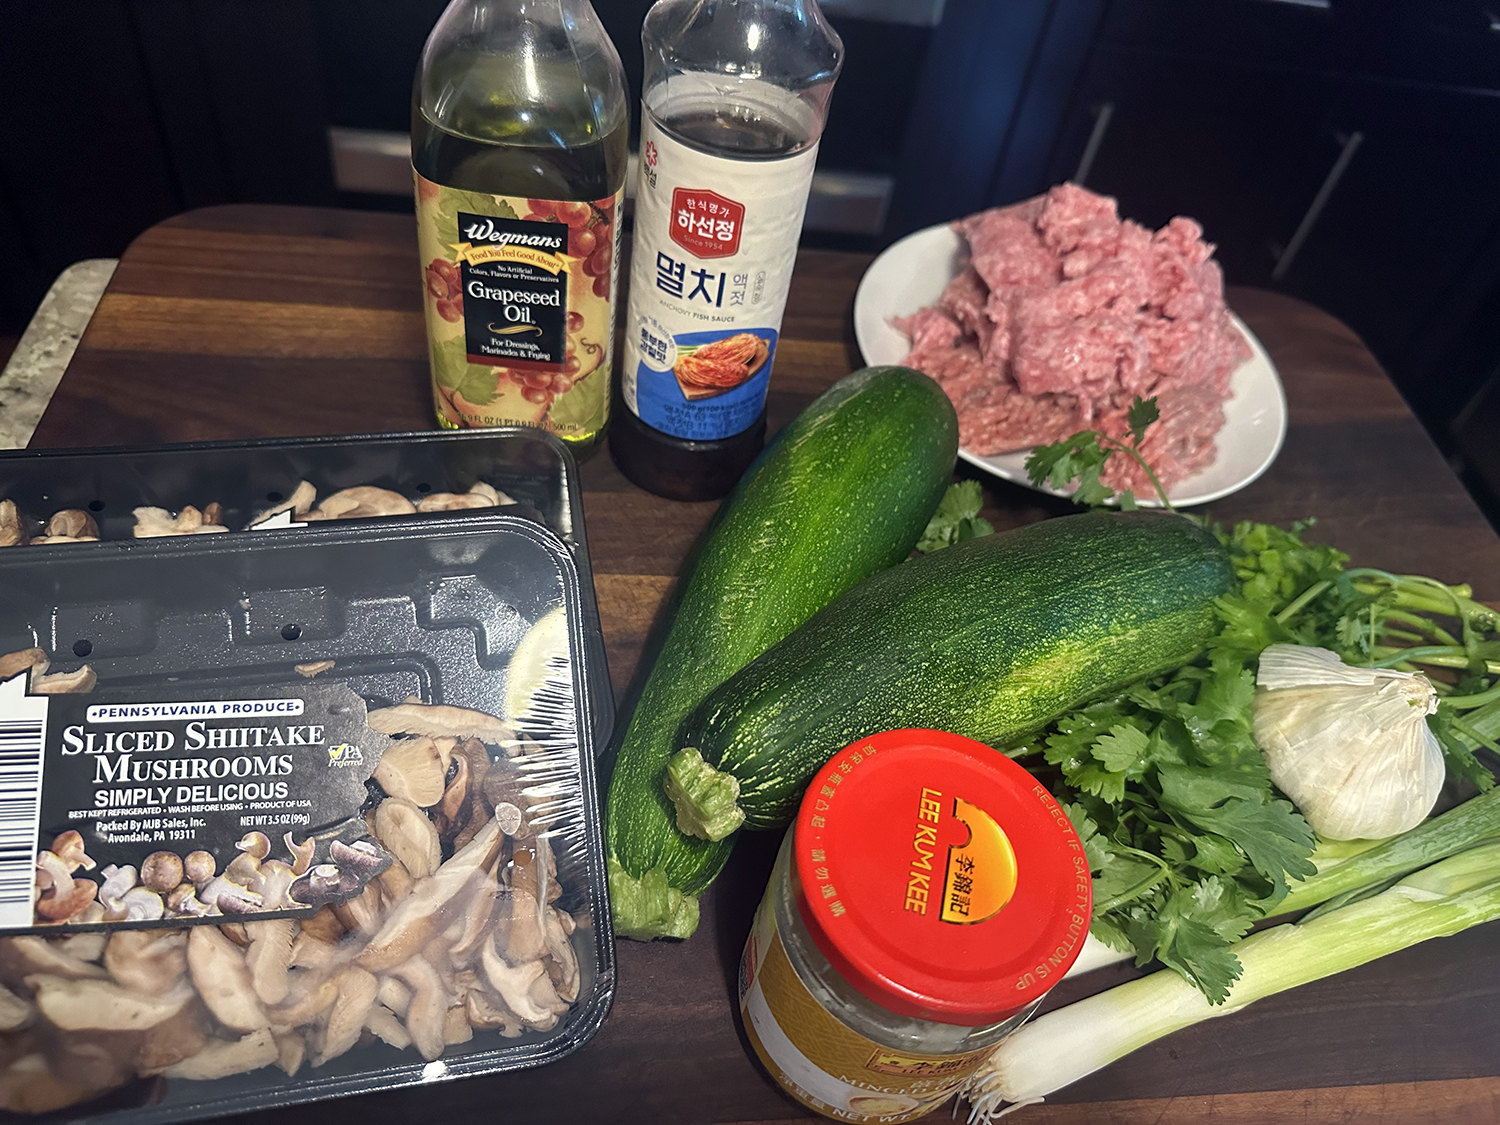
Ingredients
- 2 12-oz. zucchini
- 1/2 tsp. kosher salt
- 2 Tbsp. neutral cooking oil, plus more for brushing
- 1 (5-oz.) package sliced shiitake mushrooms, finely chopped
- 1/4 cup thinly sliced scallion
- 1 Tbsp. finely chopped garlic (about 3 cloves)
- 2 tsp. finely chopped fresh ginger, from 1-inch piece
- 1 lb. ground pork
- 1/4 cup chopped fresh cilantro, plus more for garnish
- 2 Tbsp. fish sauce
- 1 tsp. chicken bouillon granules
- 1/2 tsp. black pepper


Directions
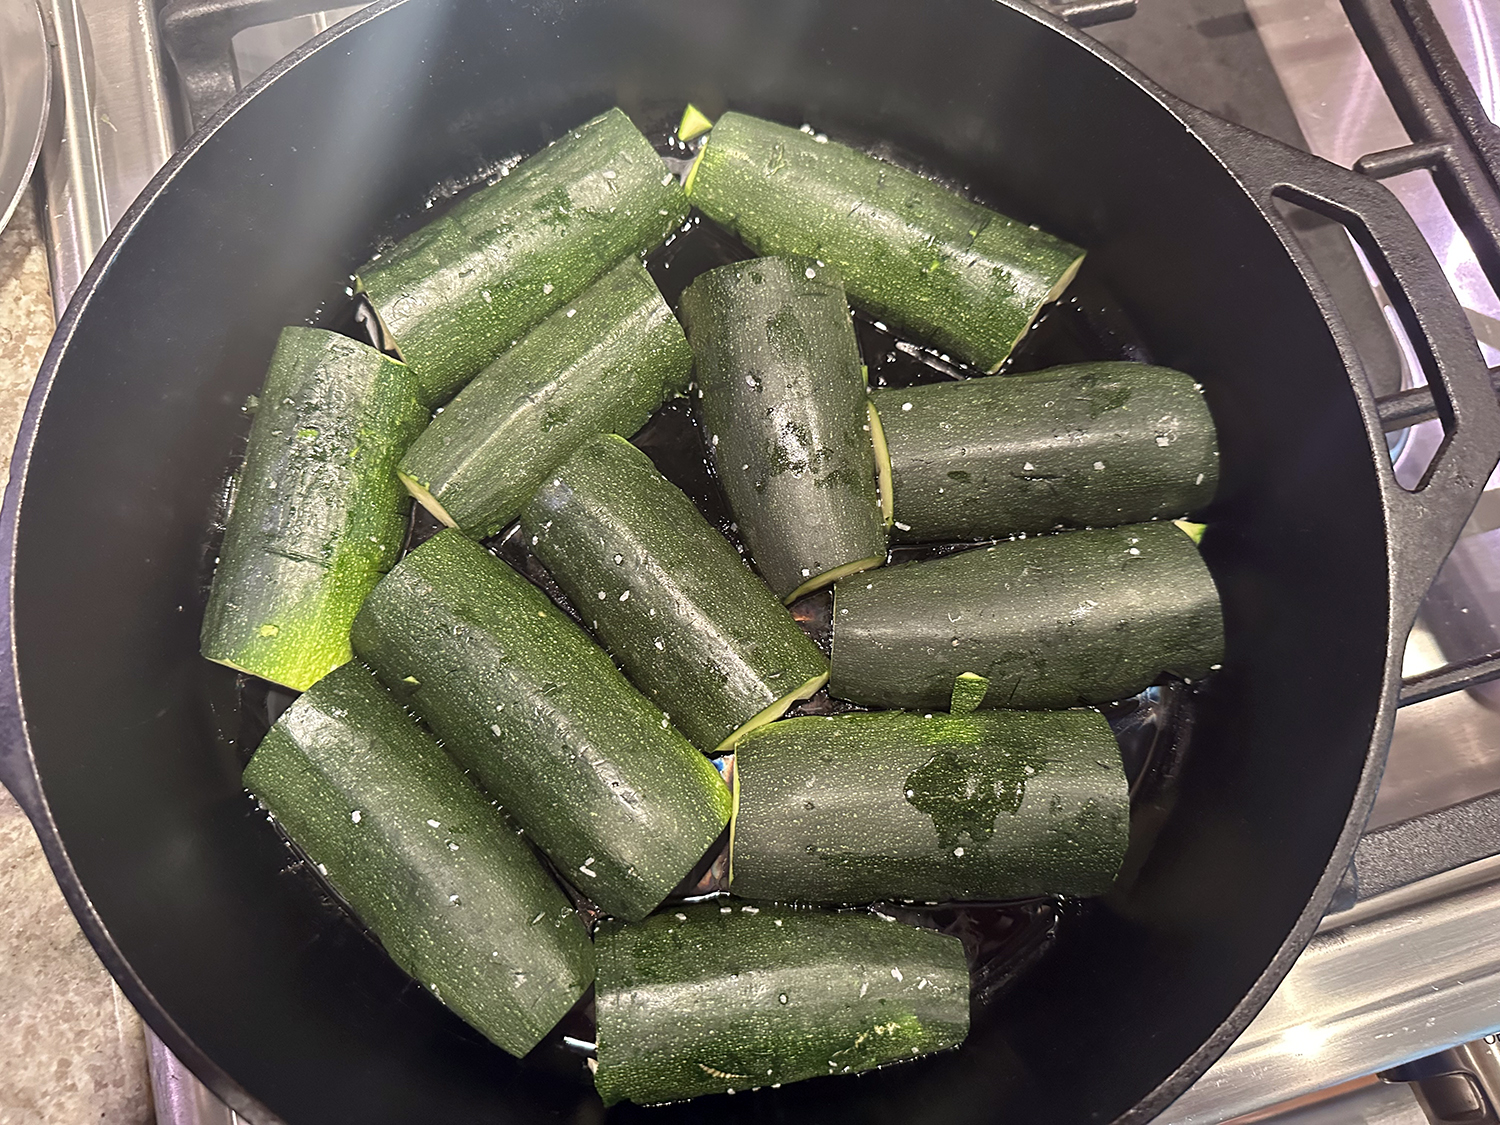
- Preheat oven to 425°F. Halve zucchini lengthwise; scoop the flesh from each half using a spoon or melon baller, leaving a 1/4- to 1/2-inch wall on the sides and base. Set scooped flesh aside. Sprinkle cut sides with salt, and place zucchini, cut side down, on a paper towel–lined plate. Let stand for 20 minutes.
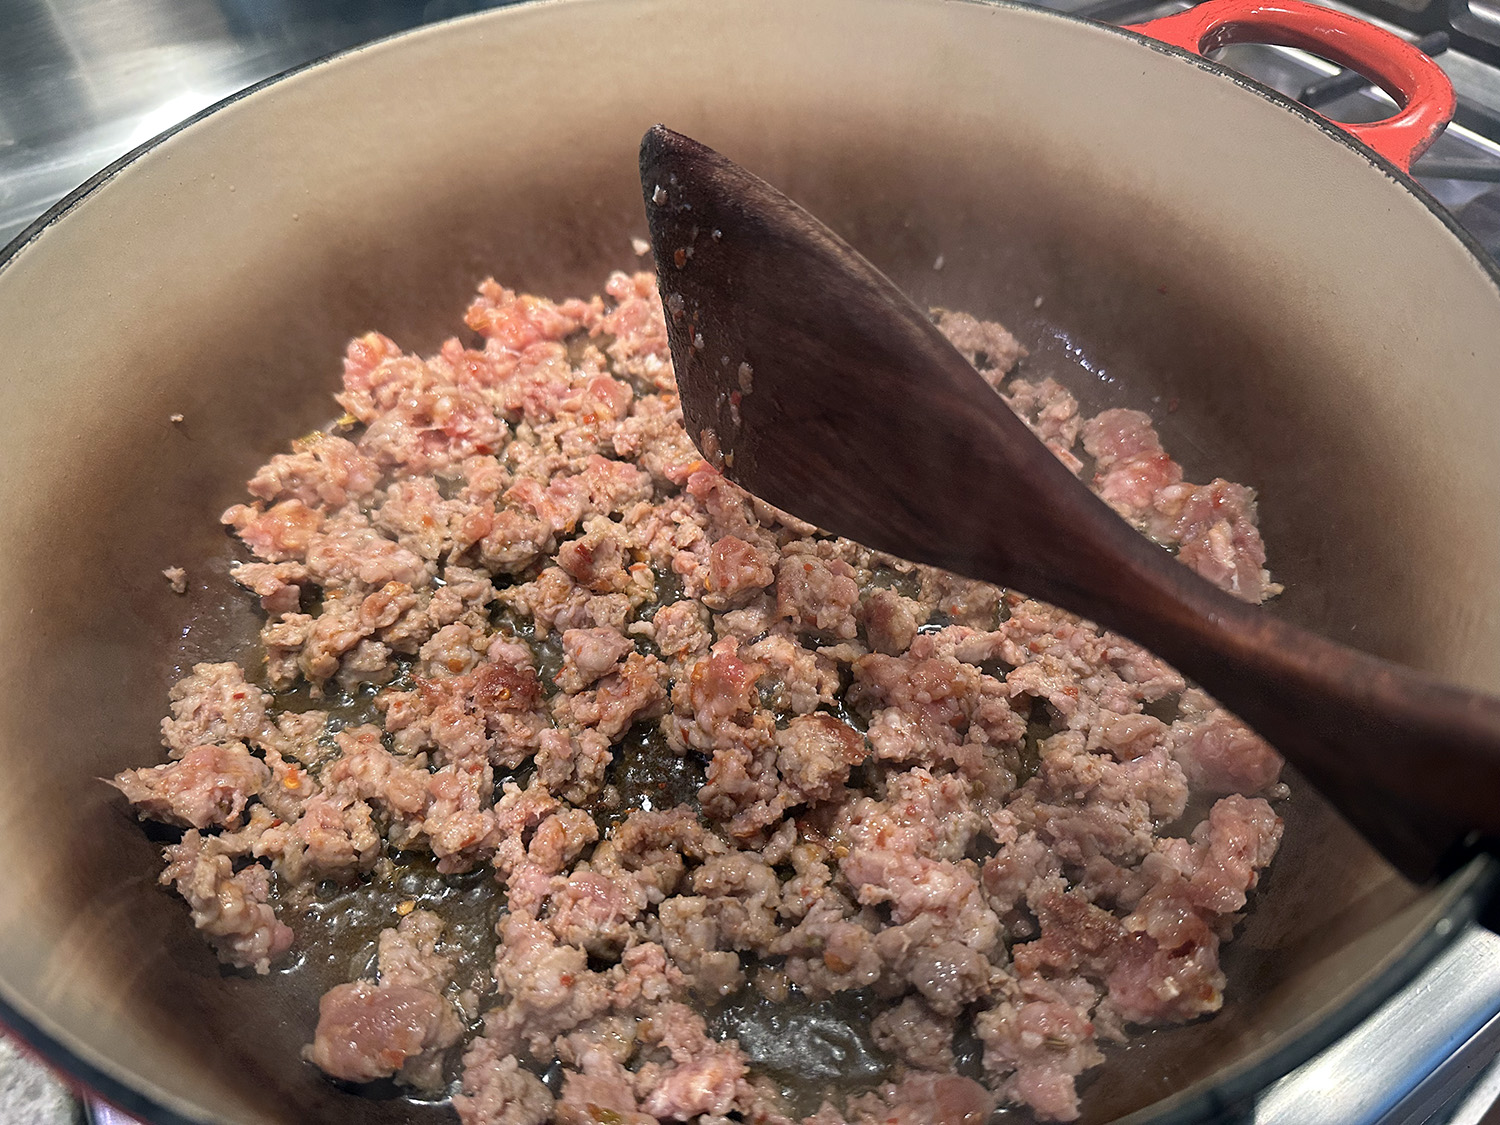
- Meanwhile, heat oil in a large skillet over medium-high. Add mushrooms, and cook, stirring occasionally, until tender and browned, 4 to 5 minutes. Add scallion, garlic, ginger, and reserved zucchini flesh; cook, stirring often, until softened and the released liquids evaporate, 3 to 5 minutes. Add pork; cook, stirring occasionally to break meat into fine crumbles, until browned, 6 to 8 minutes. Remove from heat, and let cool for 5 minutes.
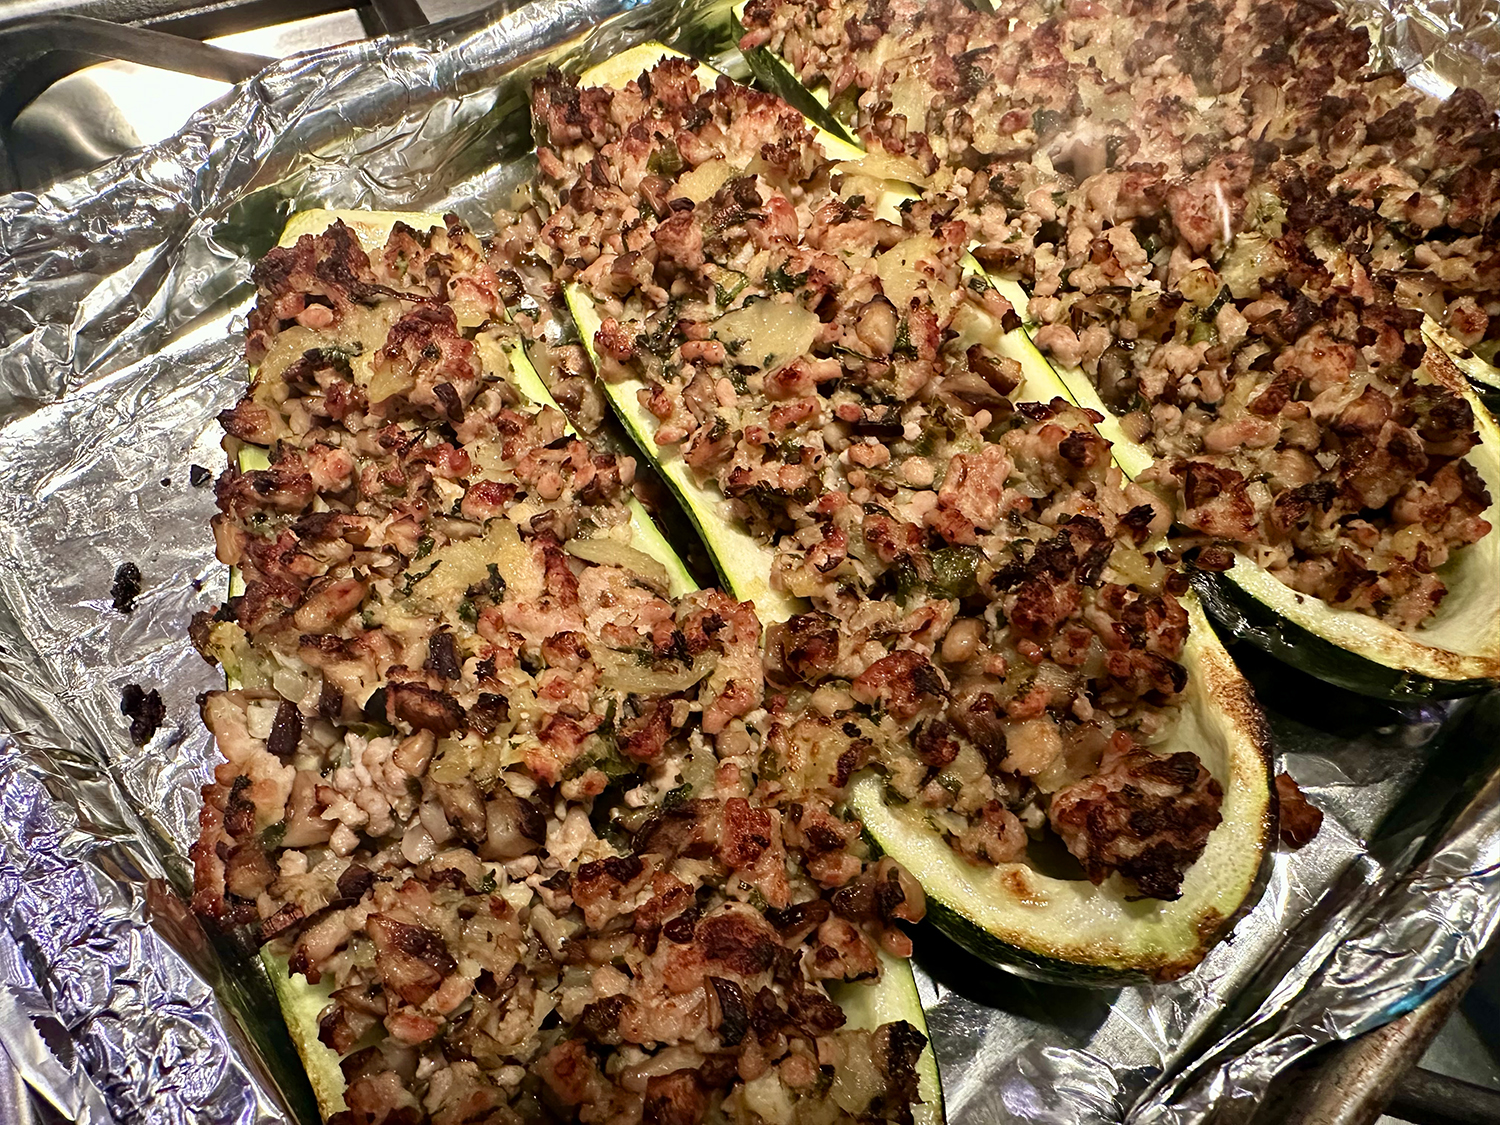
- Pat zucchini halves dry, and lightly brush with oil. Arrange zucchini, cut sides down, on an aluminum foil–lined baking sheet. Bake until the zucchini begins to soften, 8 to 10 minutes; remove from oven. Increase oven temperature to broil.
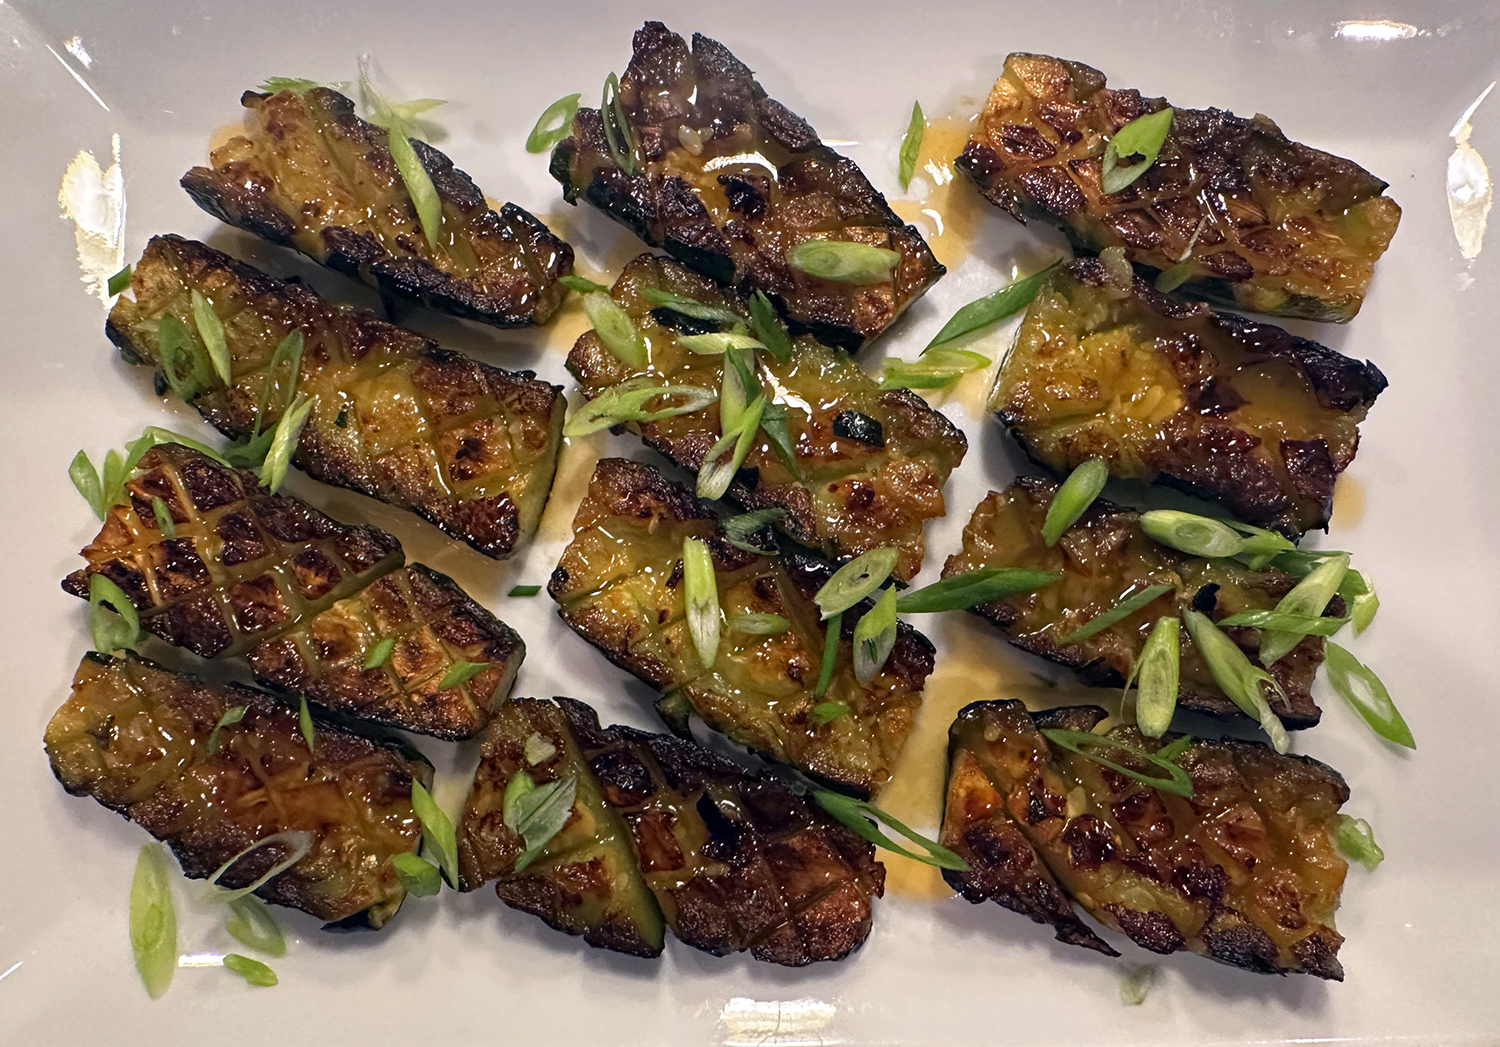
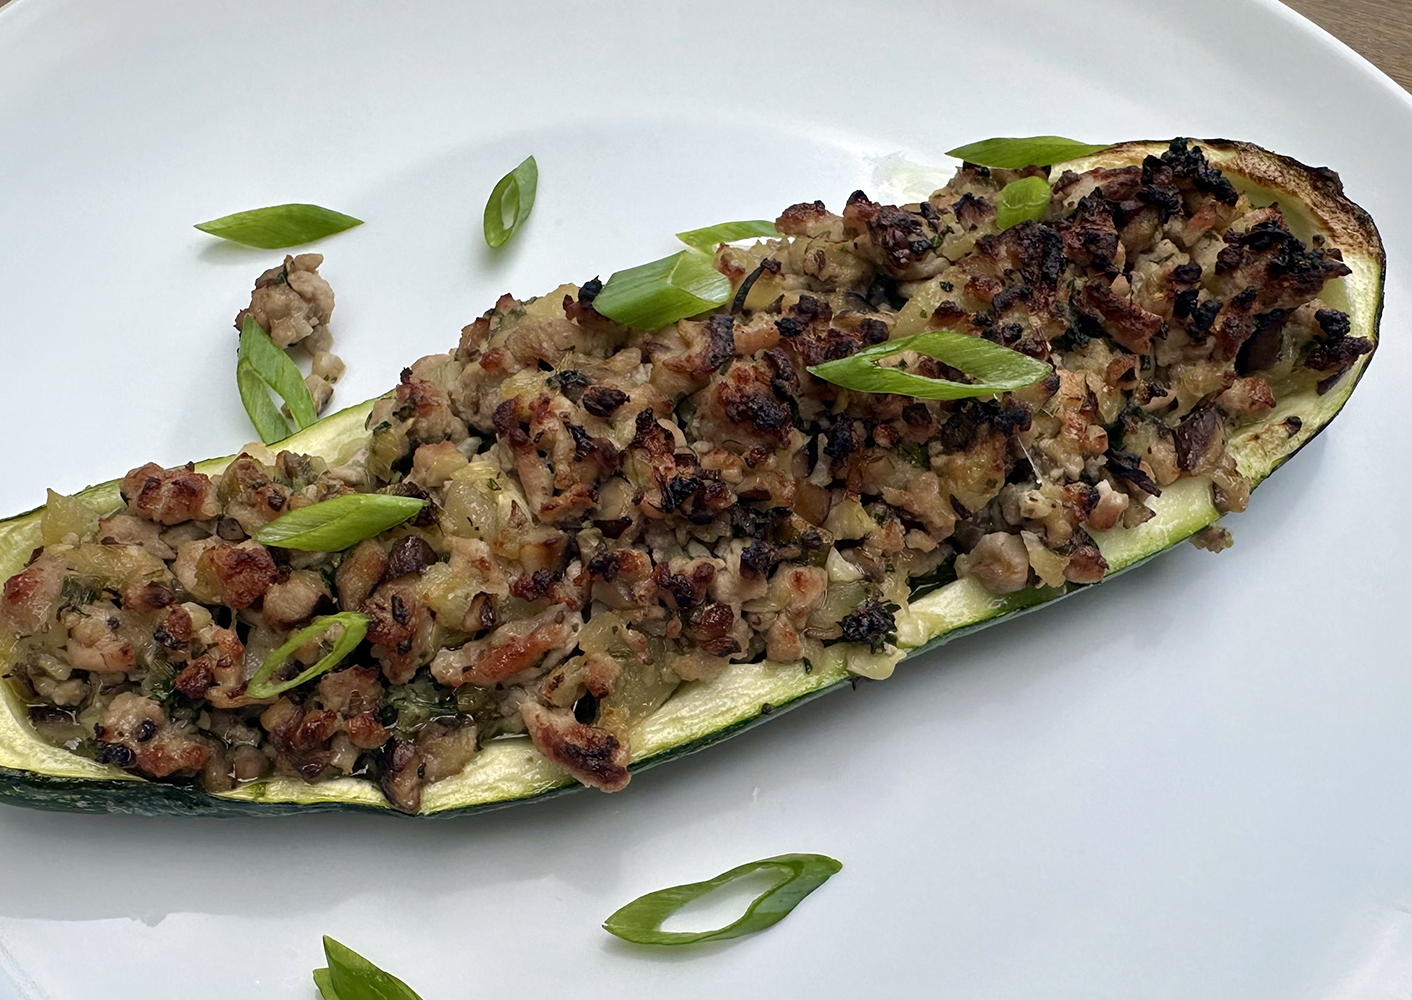
- Stir cilantro, fish sauce, bouillon, and pepper into pork mixture. Fill each zucchini cavity with pork mixture (about 2/3 cup per half); firmly press mixture into zucchini. Place on an aluminum foil–lined baking sheet, and broil until browned on top, 2 to 3 minutes. Let cool slightly, about 3 minutes. (With an electric oven, in order to get a little brown crisp on top, it took several minutes longer under the broiler.) Serve zucchini hot, garnished with additional cilantro and/oror scallion slices.
Adapted from a recipe by Cường Phạm for Food & Wine