Monthly Archives: August 2026

Braised Chicken with Marinated Artichoke Hearts

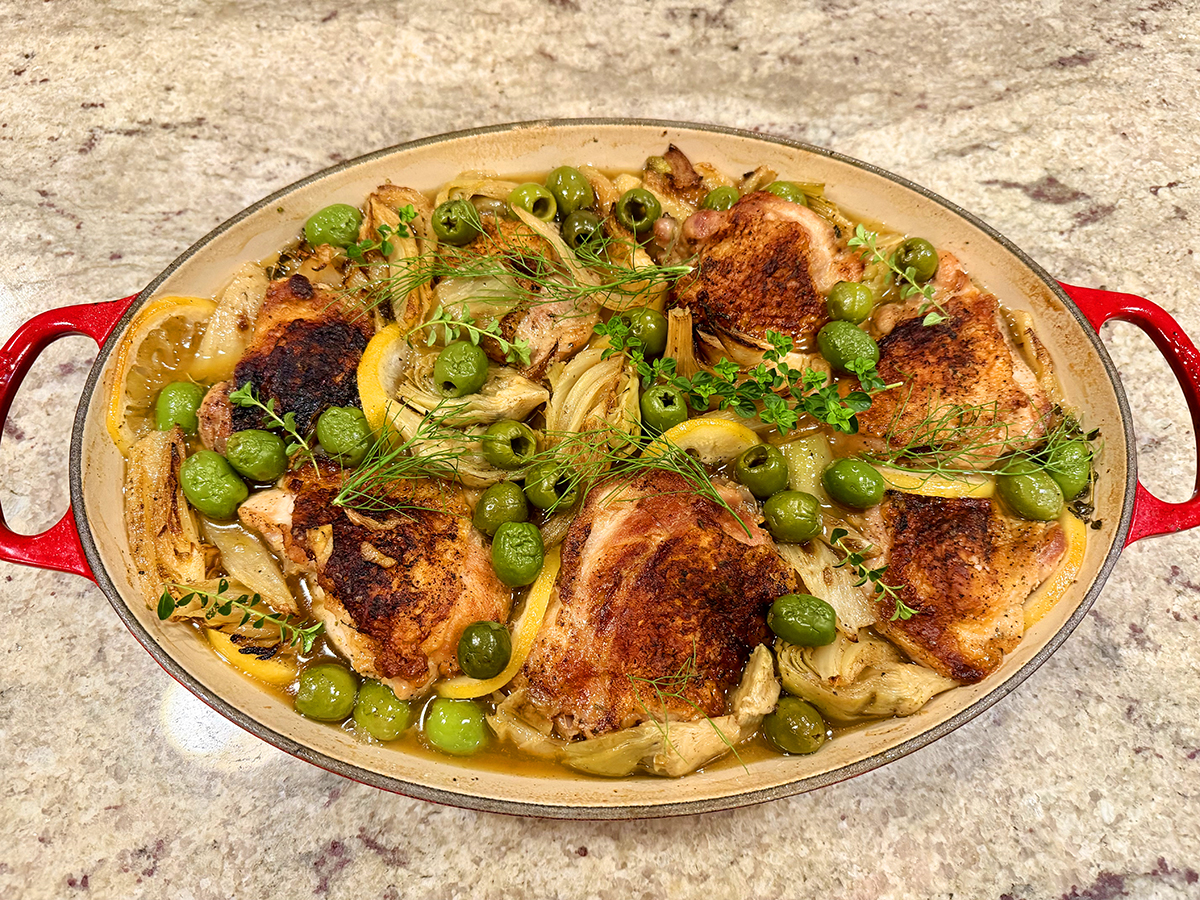
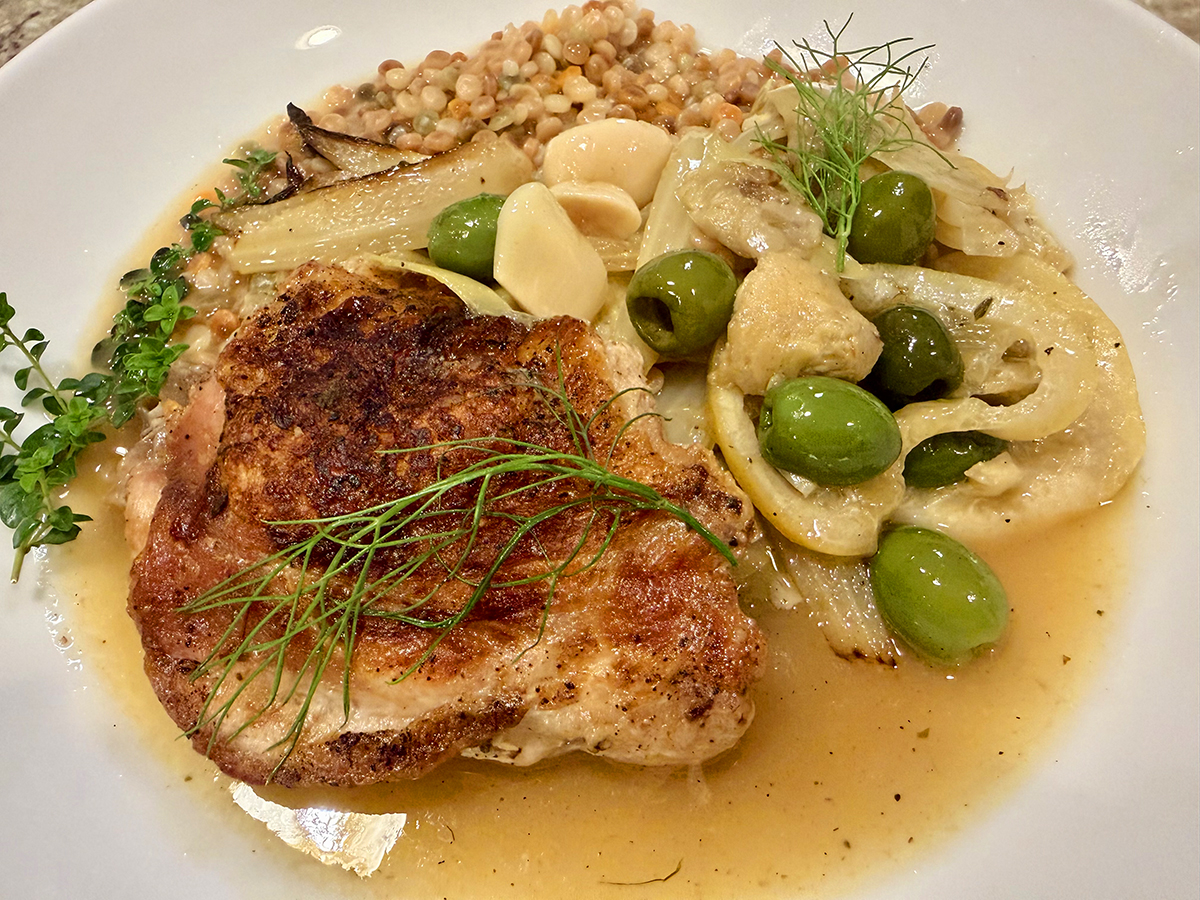
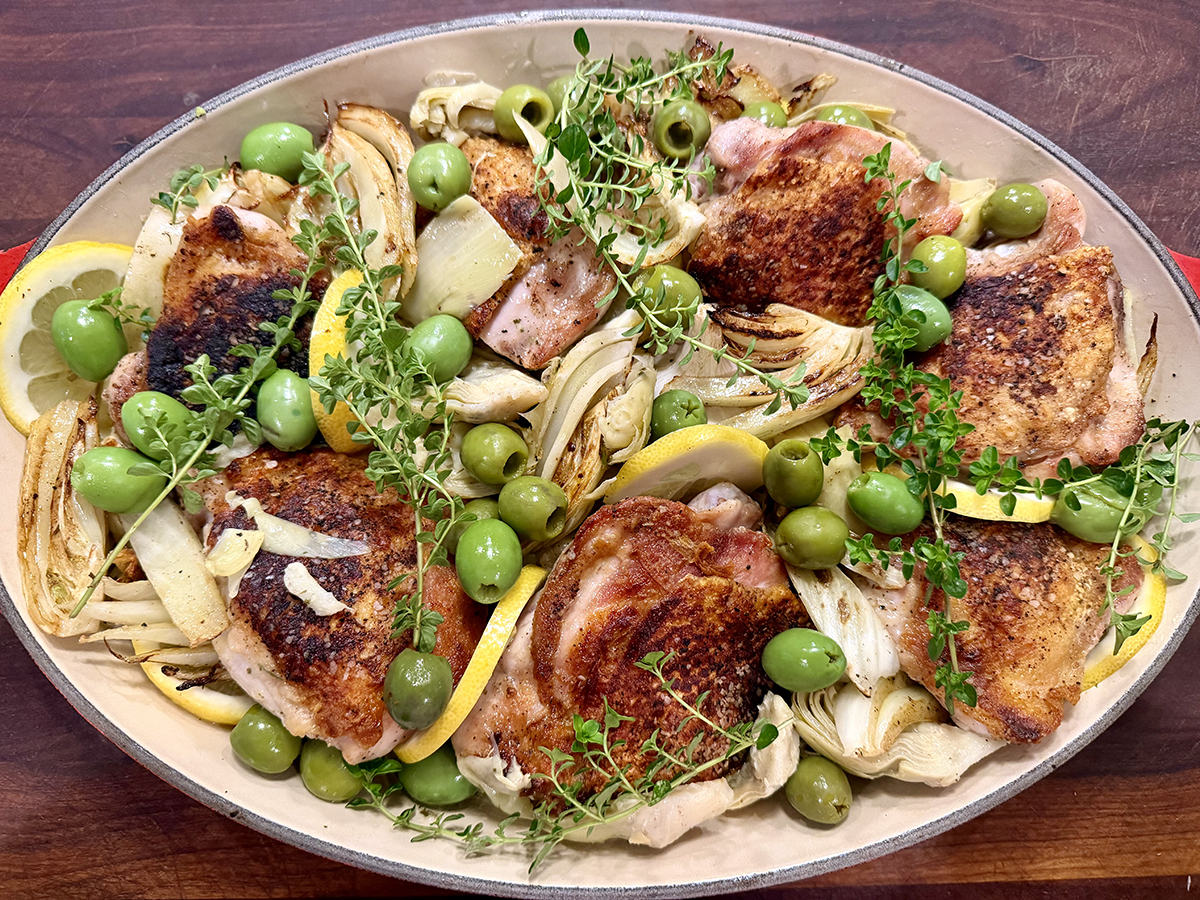
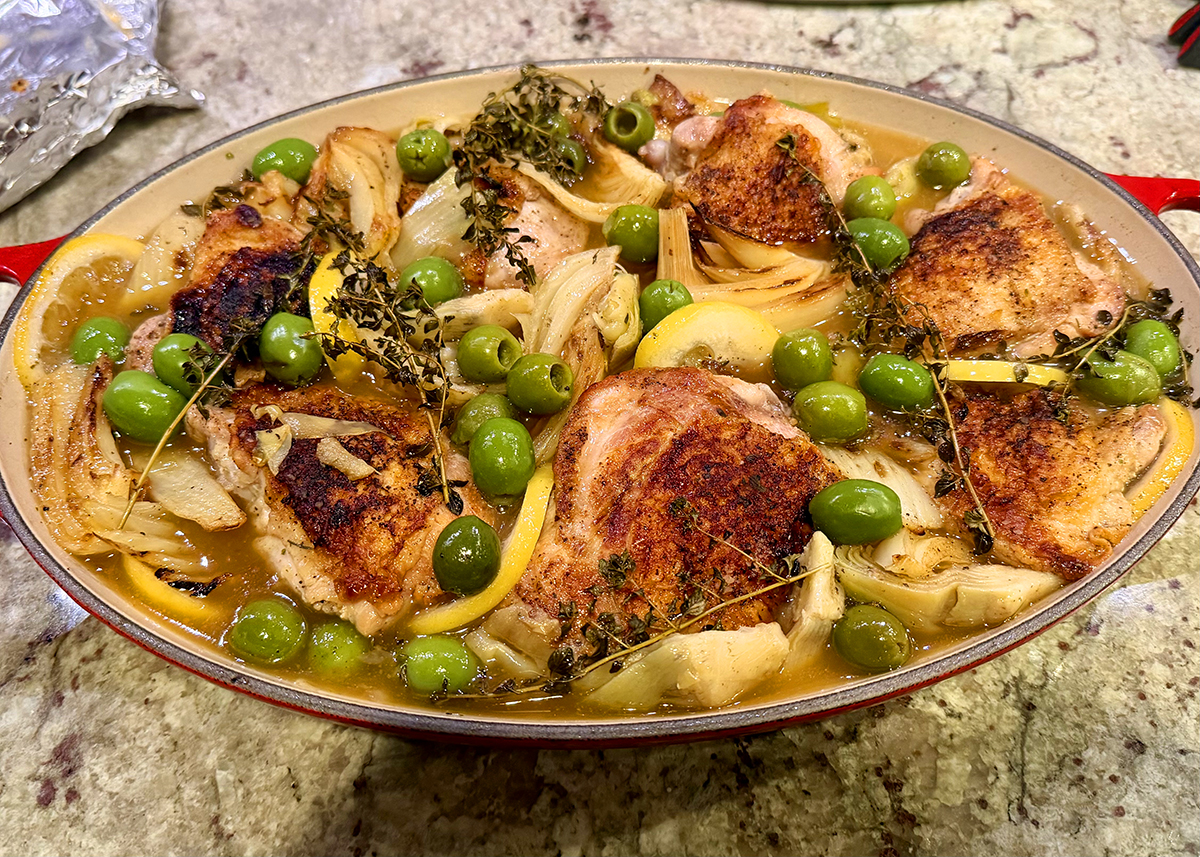
This Food & Wine recipe pairs crispy-skinned chicken thighs and drumsticks with a briny, sun-bright mix of buttery olives, marinated artichokes, and lemon. The pan sauce does the heavy lifting: sherry, fish sauce, thyme, and garlic simmer together into a savory, herb-flecked broth that’s begging to be mopped up. Pure magic in the mouth!

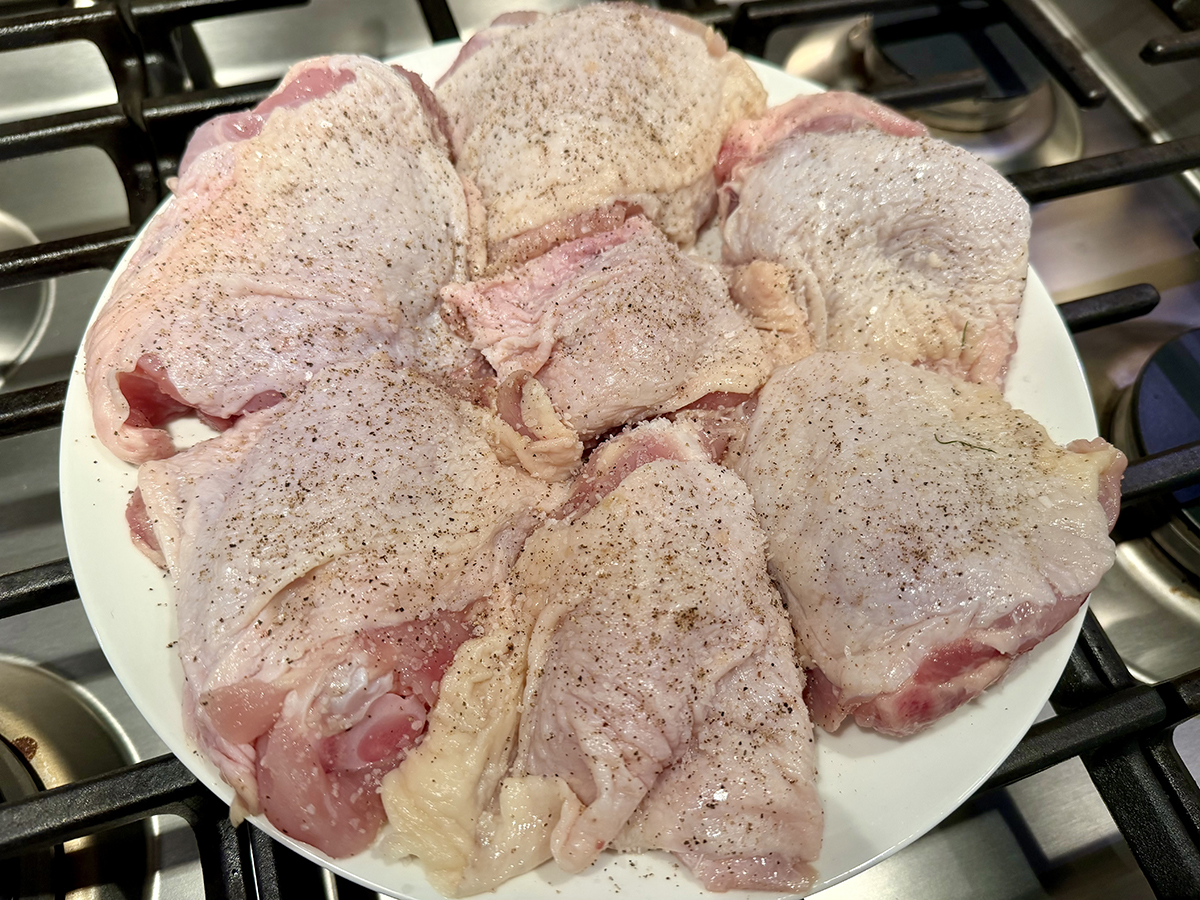
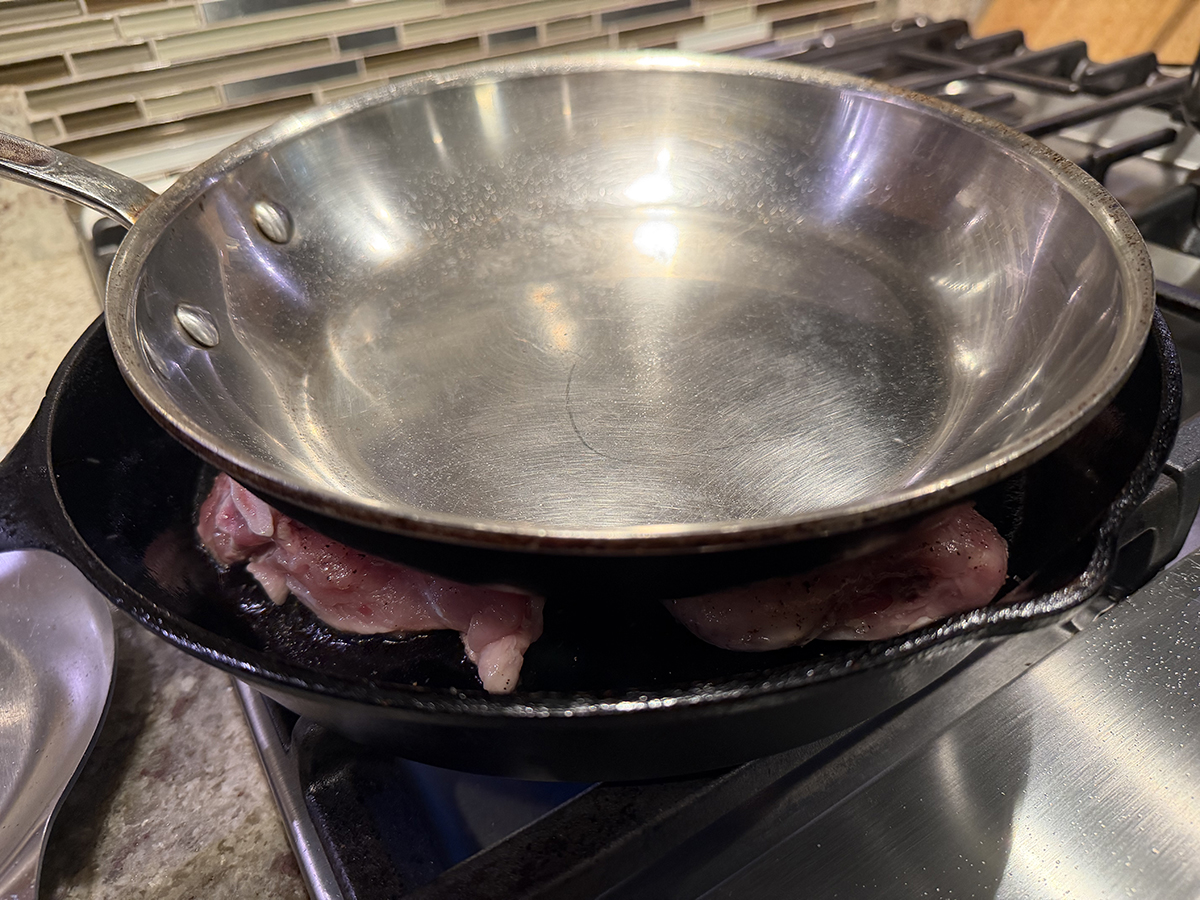
A few keys to get there: pat the chicken bone-dry before it hits the pan, so the skin actually browns instead of steaming. Weighing it down with a heavy lid or grill press (or a smaller cast-iron skillet, if that’s what you’ve got) keeps the skin flush against the heat for a deeper, more even crust. Then braise covered for most of the cooking time to keep the meat fall-apart tender, and uncover it for the last 15 minutes to let the skin crisp back up.

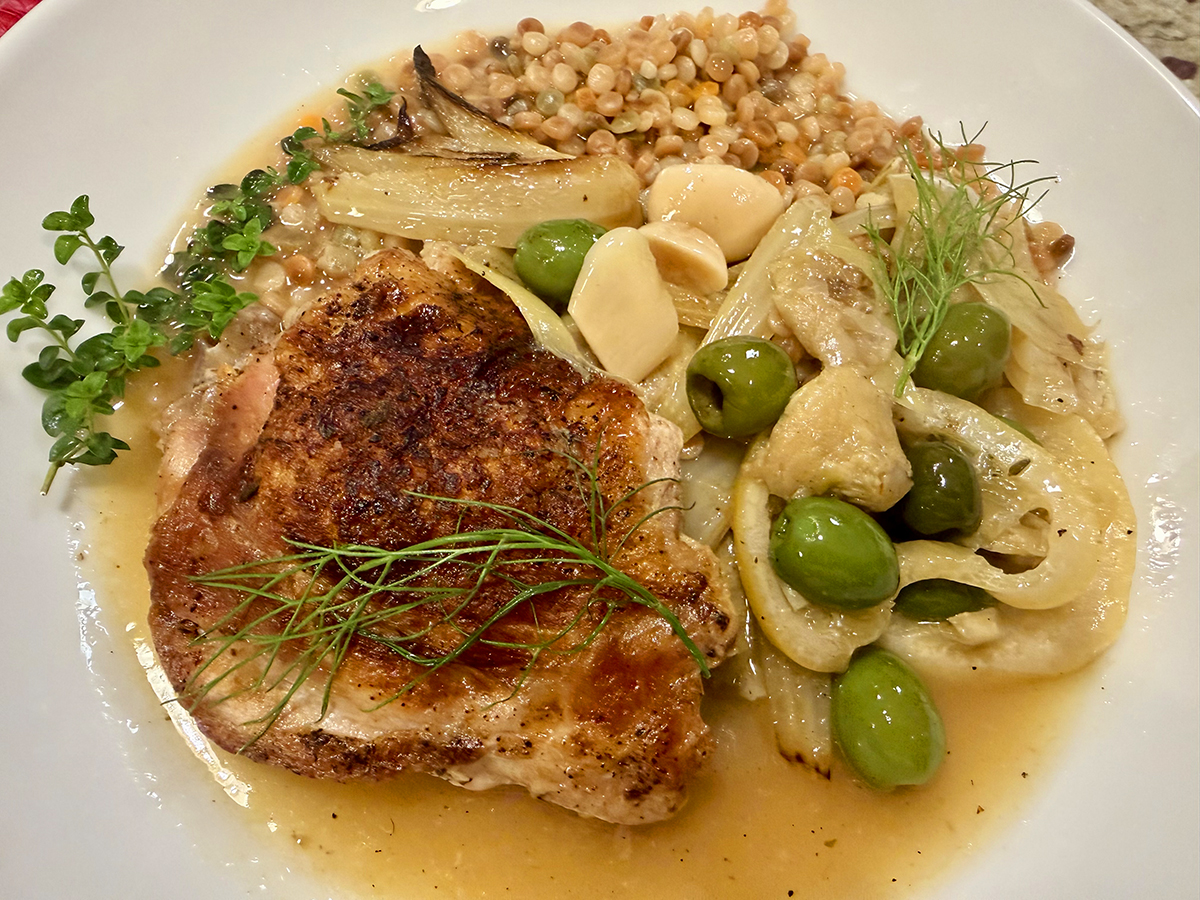
Serve it with crusty bread, couscous, or orzo for sauce-sopping duty. Turn it into a full one-pan dinner by tucking halved baby potatoes and/or sliced fennel (our choice) into the dish before it goes in the oven.

SUBSTITUTES: If you don’t have dry sherry, substitute dry white wine and add 1 to 2 teaspoons of honey to mimic sherry’s subtle sweetness. If you don’t have fish sauce, replace it with 1 to 2 teaspoons of soy sauce for a similarly savory, umami-rich finish. Cerignola olives are buttery and mild, manzanilla olives add a brinier bite, and kalamata olives contribute a deeper, more robust flavor. Any of these will work well, so use your favorite.

Braised Chicken with Marinated Artichoke Hearts

  • Servings: 4-6
  • Difficulty: easy
  • Print

Ingredients

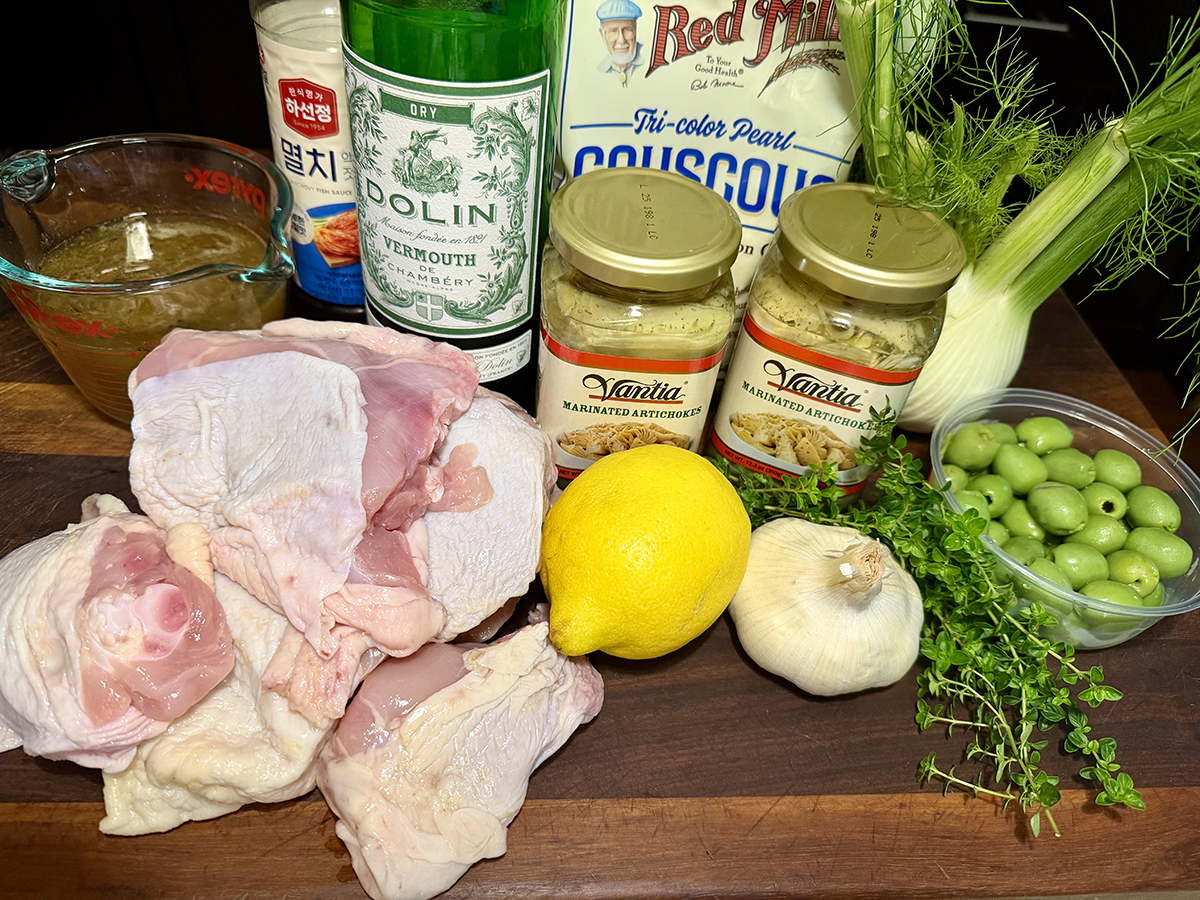
  • 8 bone-in, skin-on chicken drumsticks and thighs (about 2 1/2 lbs.)
  • 1/2 tsp. black pepper
  • 2 1/2 tsp. kosher salt, divided
  • 1 Tbsp. extra-virgin olive oil
  • 1 cup Castelvetrano olives
  • 6 Thyme sprigs
  • 1 large garlic head, halved crosswise
  • 1 Lemon, thinly sliced
  • 1 small fennel bulb, halved lengthwise, cored, sliced into thin wedges
  • 3 cups drained marinated artichoke hearts, plus 1/4 cup brine from jar, divided
  • 1 cup chicken stock
  • 1/2 cup (4 oz.) dry sherry
  • 1 Tbsp. fish sauce

Directions

  1. Preheat oven to 375°F. Sprinkle both sides of chicken evenly with pepper and 1 1/2 teaspoons salt. Heat oil in a large cast-iron skillet or black carbon steel skillet over medium-high. Add half of the chicken, skin sides down; place a heavy pot lid on top of chicken pieces to weigh them down. (Do not cover skillet.) Cook, undisturbed, until browned and crisp, 10 to 12 minutes. Remove lid; transfer chicken, skin sides up, to a 12- x 9-inch oval baking dish or a 13- x 9-inch baking dish. Repeat cooking process with remaining chicken. Scatter olives, thyme, garlic (cut sides down), lemon, fennel slices and artichoke hearts around chicken in baking dish.
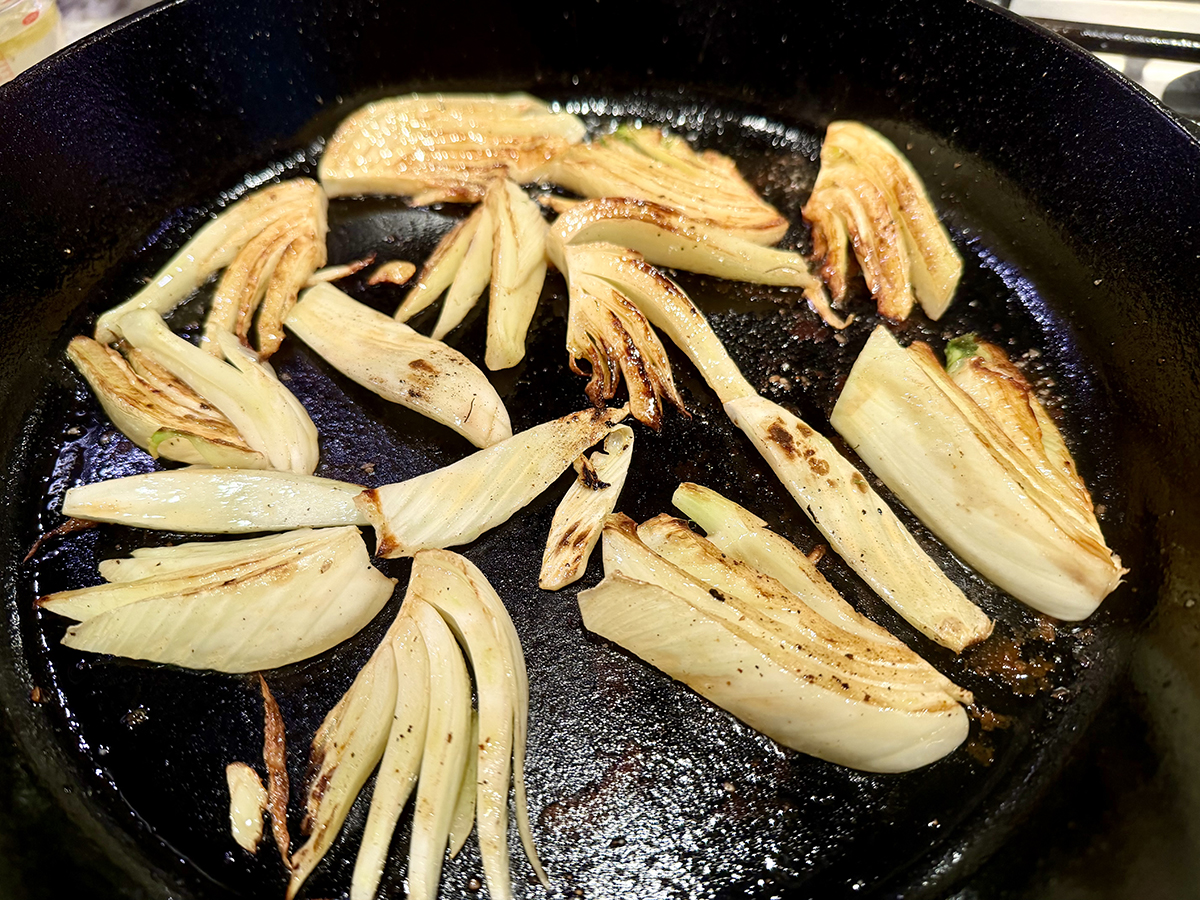
  2. Brown the fennel wedges in hot empty skillet for about 2 minutes per side. Move to casserole dish with chicken.
  3. Add stock, sherry, fish sauce, and artichoke brine to skillet; bring to a boil over medium-high, scraping up browned bits from bottom of pan. Stir in remaining 1 teaspoon salt; pour mixture around chicken in baking dish. Cover tightly with aluminum foil; braise until chicken is very tender, about 1 hour.
  4. Remove foil from baking dish; increase oven temperature to 400°F. Turn garlic halves cut sides up. Roast chicken until skin is crisp, about 15 minutes.
  5. Discard thyme sprigs. Either discard garlic (not us!), or remove cloves from skins and mash into sauce. Transfer to individual plates, and serve in shallow bowls.

http://www.lynnandruss.com

Adapted from a recipe by Naomi Pomeroy for Food & Wine

Tuna-Macaroni Salad

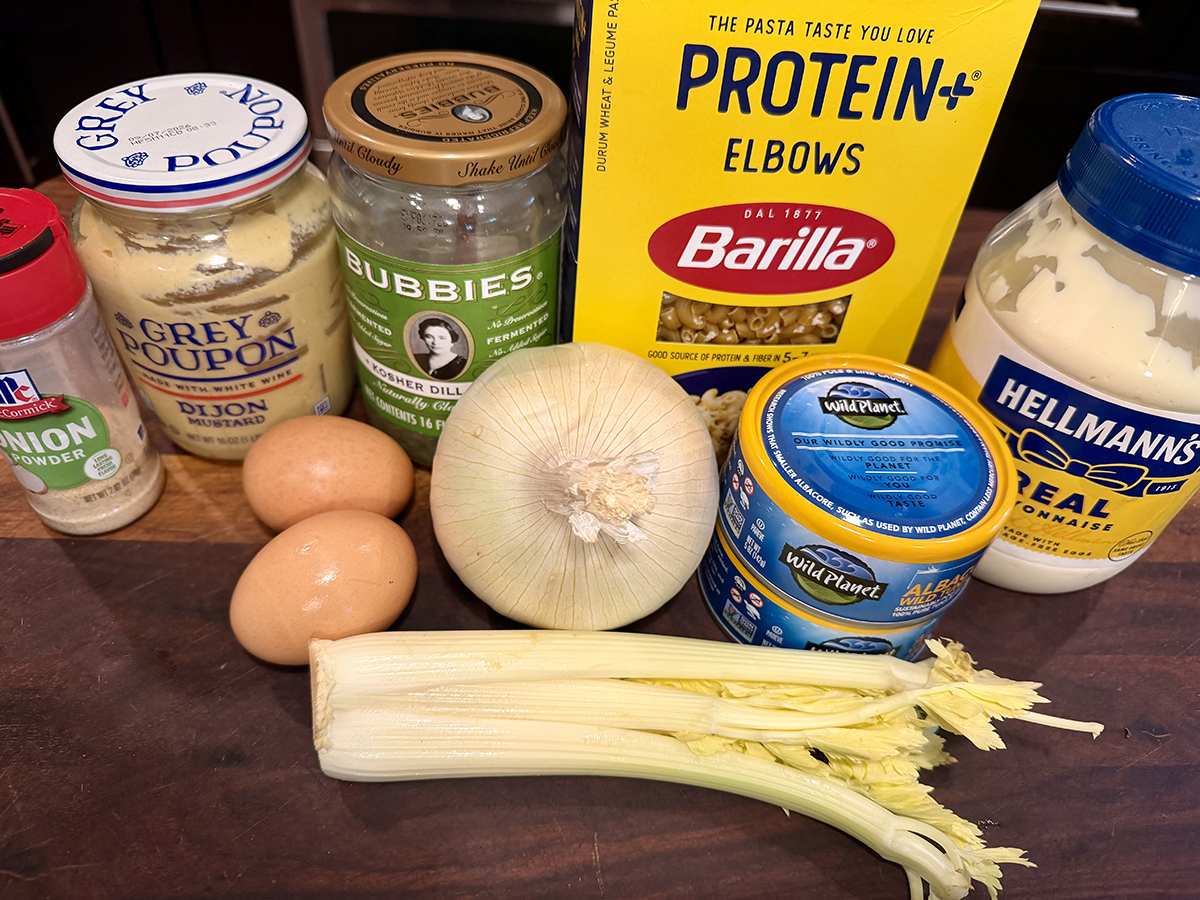
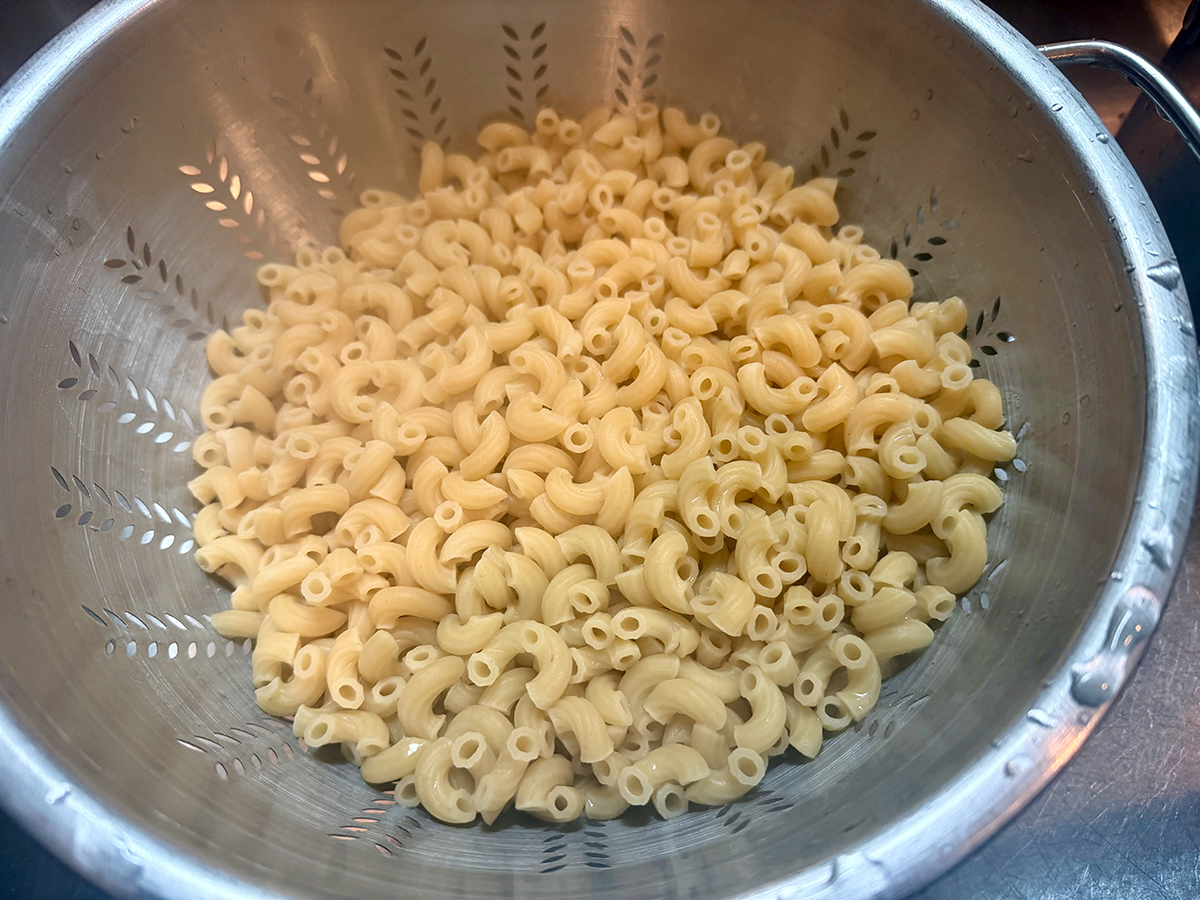
This tuna-macaroni salad starts with a pound of elbow macaroni, boiled in well-salted water until tender. While it cooks, two cans of tuna are drained and three hard-boiled eggs are peeled, two are chopped, one is sliced for garnish, ready to fold in for protein and richness.

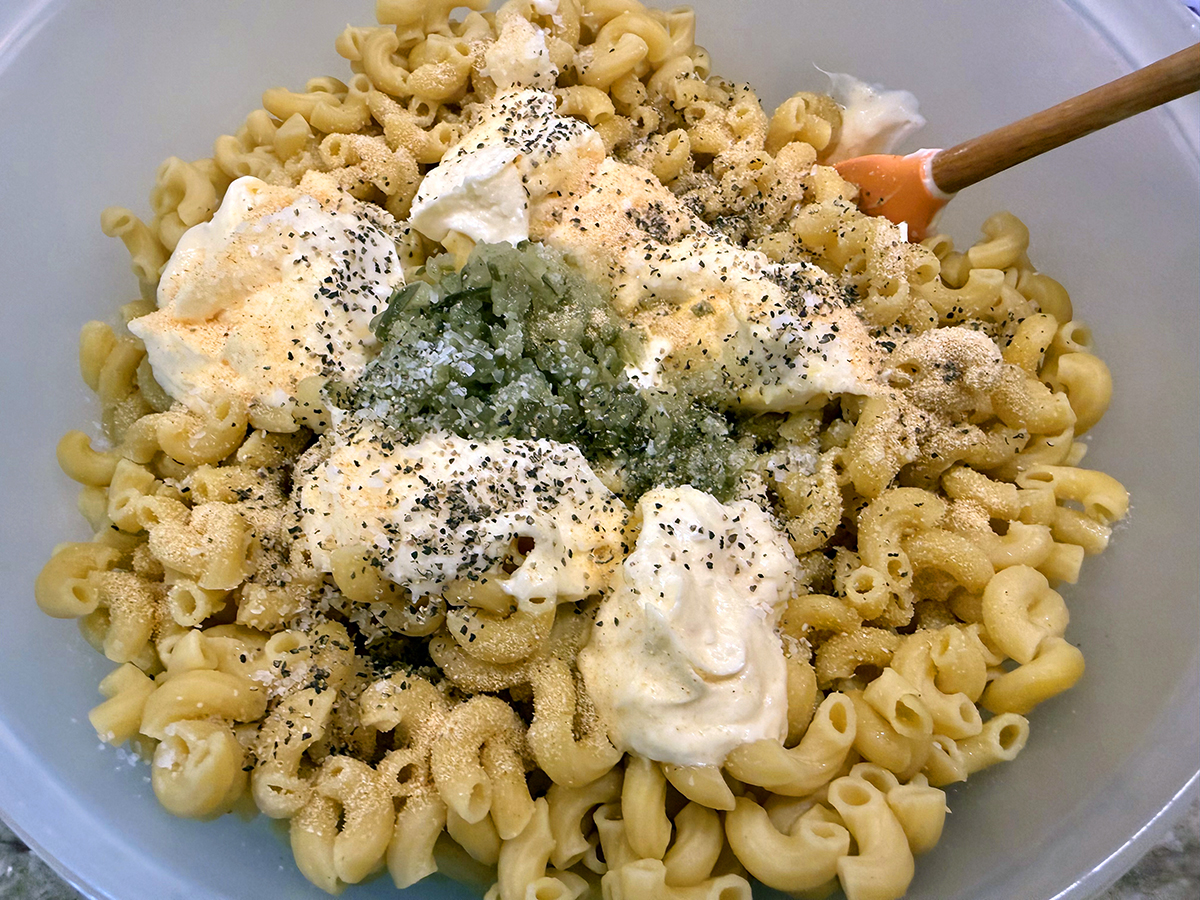
The dressing comes together easily: a cup and a half of mayonnaise (adjustable to taste) mixed with half a cup of dill relish or chopped cornichons for tang, a tablespoon of yellow or Dijon mustard, a teaspoon of onion powder, and half a teaspoon of black pepper. This creamy, well-seasoned base ties everything together.

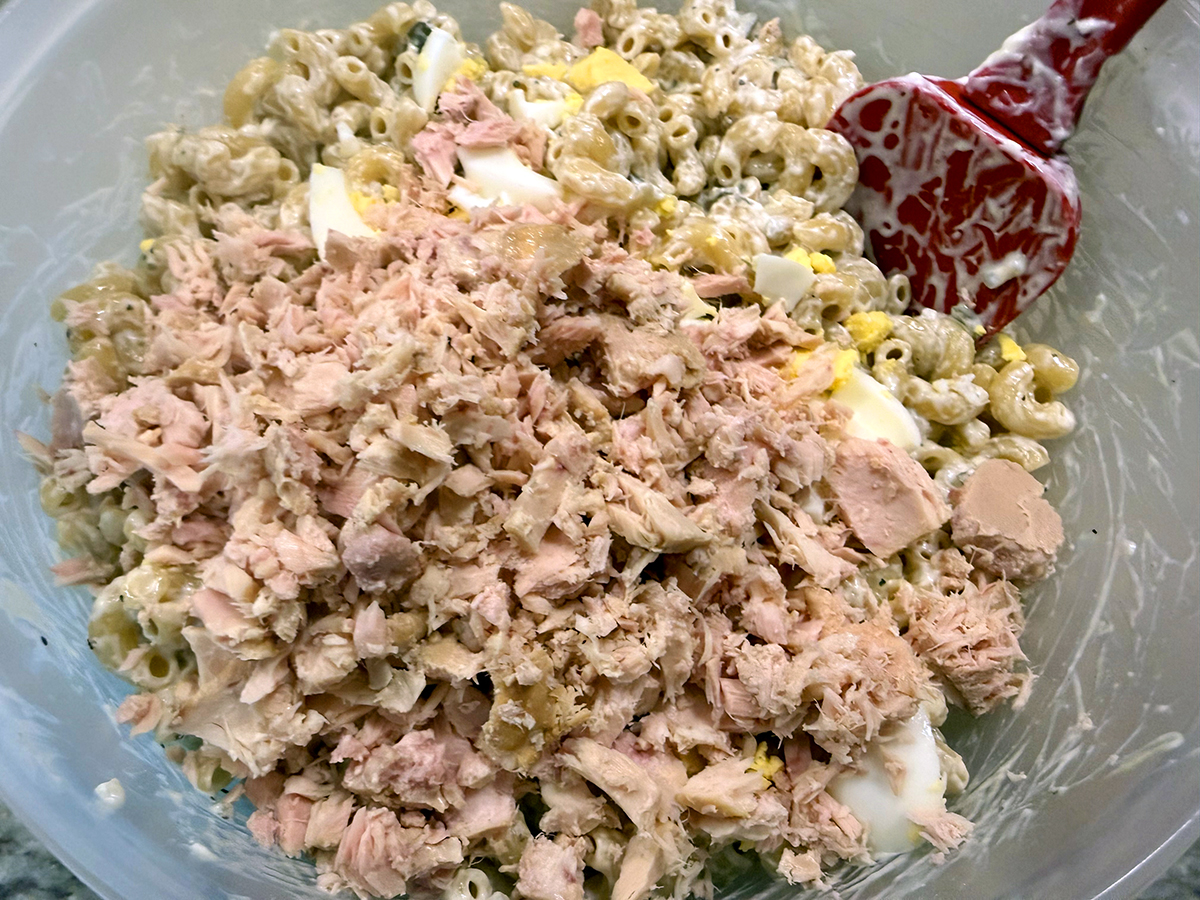
For crunch and color, a cup of chopped celery and a chopped sweet onion for extra sweetness and texture are stirred in, along with optional additions like one chopped red bell pepper and frozen peas. Once the macaroni is drained and cooled slightly, everything gets combined — pasta, tuna, egg, dressing, and vegetables — until evenly coated.

To finish, the salad is dusted with paprika for a pop of color and, just before serving, brightened with an optional squeeze of fresh lemon juice. The optional ingredients make it easy to customize, whether you prefer it simple or loaded with extra crunch.

When we made it again, we added in 2 cups of cherry tomatoes, quartered.

Tuna-Macaroni Salad

  • Servings: 10-12
  • Difficulty: easy
  • Print

Ingredients

  • Kosher salt
  • 1 lb. elbow macaroni
  • 2 (5-oz.) cans tuna in water, drained
  • 3 hard-boiled eggs, peeled, two chopped, one sliced for garnish
  • 1 ½ cup mayonnaise, plus more or less to taste
  • ½ cup dill relish, or chopped cornichons
  • 1 Tbsp. yellow or Dijon mustard, more to taste
  • 1 tsp. onion powder
  • ½ tsp. black pepper
  • 1 cup chopped celery, from about 3 stalks; leaves saved for garnish
  • 1 medium sweet onion, chopped
  • 1 small red bell pepper, chopped, (optional)
  • ½ cup frozen peas, (optional)
  • Paprika, for garnish
  • Squeeze of lemon juice before serving, (optional)

Directions

  1. Bring a large pot of well-salted water to a boil, and cook the macaroni according to package instructions, until slightly pasta al dente. Drain, rinse with cold water until the pasta is cool and set aside.
  2. In a large mixing bowl, combine the cooked macaroni, tuna, eggs, mayonnaise, relish, mustard, onion powder, pepper and 1 teaspoon salt. Add chopped celery, onion, (red bell pepper and peas, if using), and toss gently with a spoon to combine.
  3. Taste and adjust salt and mayonnaise as needed. Cover and refrigerate for at least 3 hours, and up to overnight. Top with sliced egg and celery leaves. Squeeze lemon juice (if using) and sprinkle with paprika for garnish before serving cold.

http://www.lynnandruss.com

Adapted from a recipe by Millie Peartree for NYTimes Cooking
Baked Orzo with Eggplant and Tomatoes

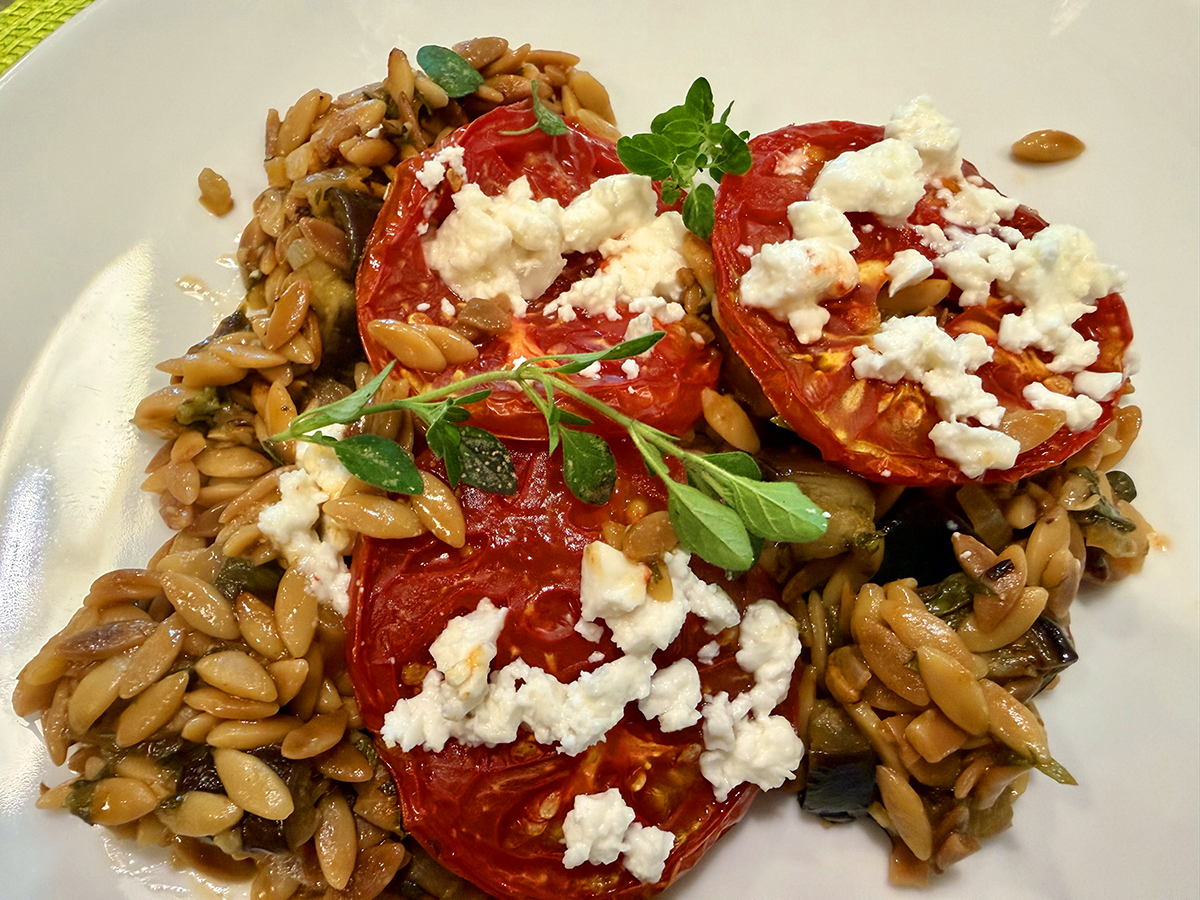
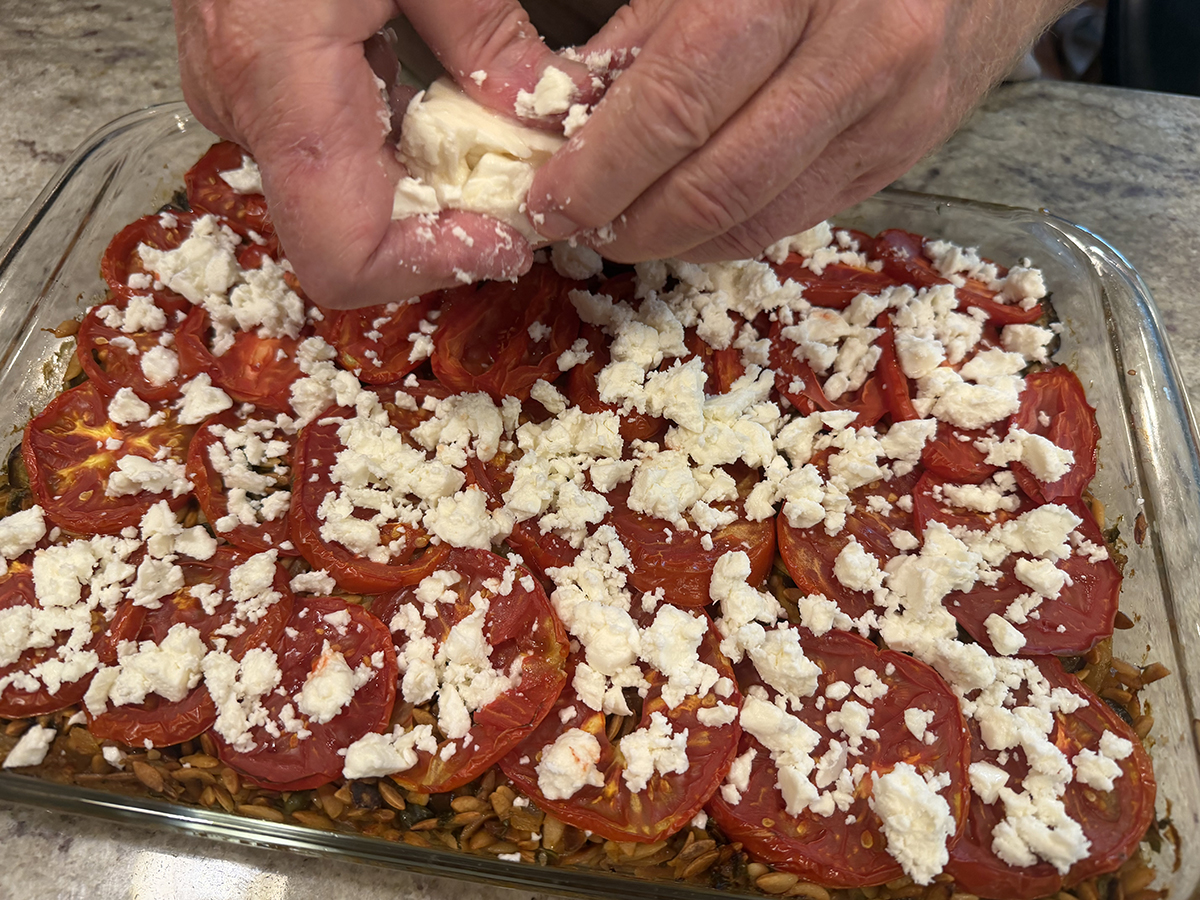
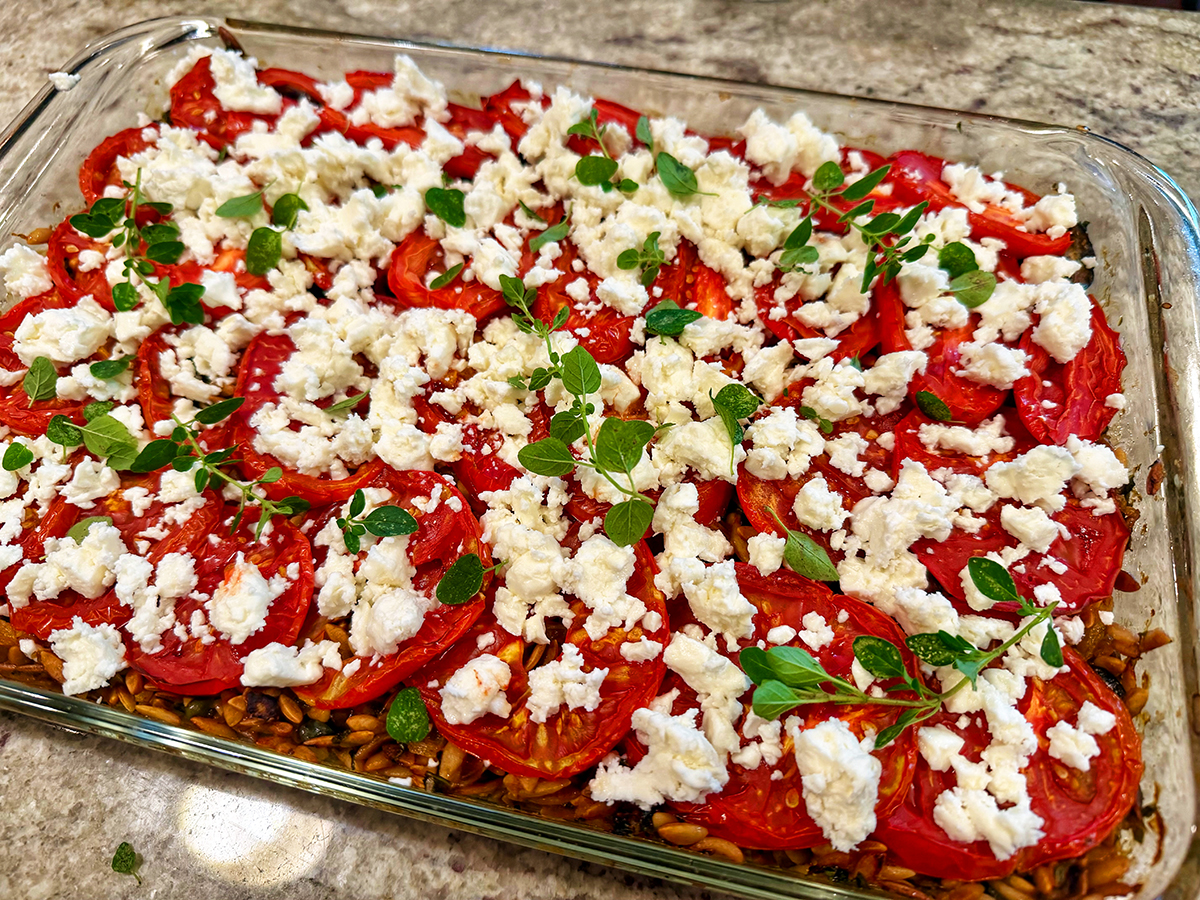
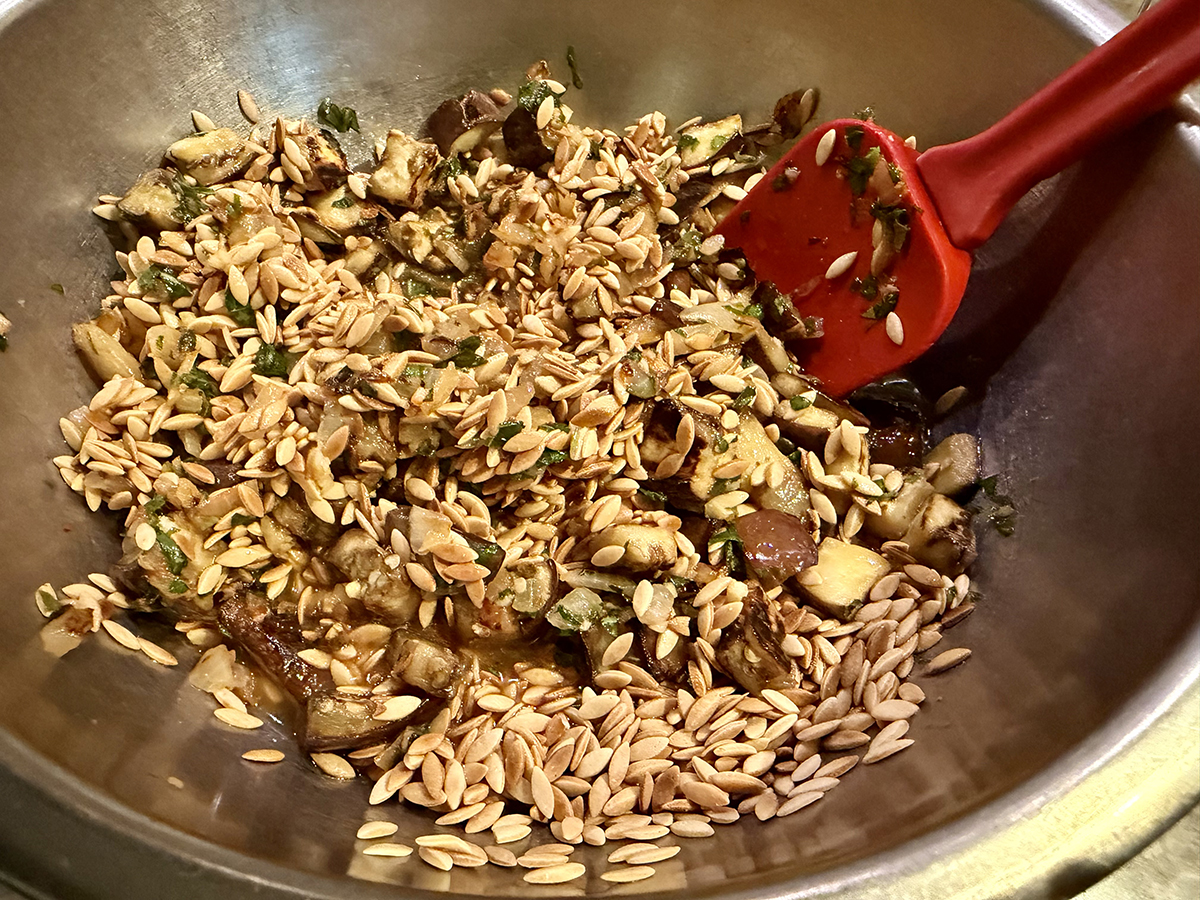
This is a classic America’s Test Kitchen–style baked orzo — a Mediterranean, almost casserole-like dish built around three flavor bases (browned orzo, caramelized eggplant, and a garlicky tomato-anchovy sofrito) that all get baked together under a layer of fresh tomatoes and finished with feta.

The finished dish is savory, deeply umami, and slightly tangy, with a soft, almost risotto-like texture from the orzo (even though it’s baked, not stirred like risotto). Anchovies and Parmesan add a salty, savory backbone that you won’t distinctly taste as “fish” — they just make everything taste richer. (The Hubs snuck in an extra anchovy.)

The tomato paste and garlic bring sweetness and depth, capers add little pops of brine, and the fresh shingled tomatoes on top roast down into juicy, slightly caramelized coins. Eggplant, browned hard before baking, turns creamy and silky rather than mushy. Feta scattered on at the end adds sharp, salty, creamy contrast, and the final drizzle of olive oil ties it together. Overall: rich, cozy, savory-forward with bright acidic and briny accents — think a cross between baked ziti and a Greek vegetable bake.

Dry out the eggplant first (this is the key trick).
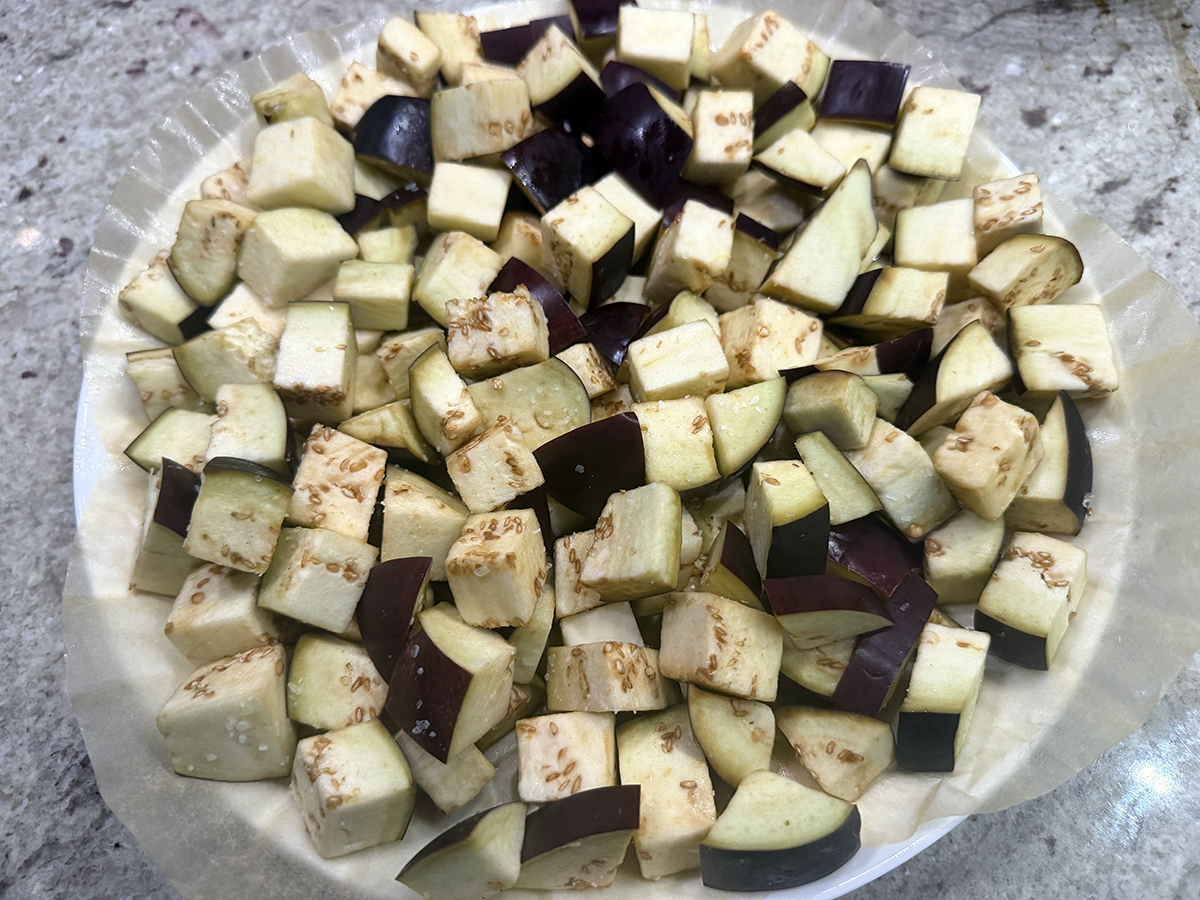
Salting and microwaving the eggplant on coffee filters pulls moisture out fast — much quicker than salting and waiting. This matters because wet eggplant steams instead of browning in the skillet; a head start drying it means it browns properly and doesn’t turn the final dish watery.

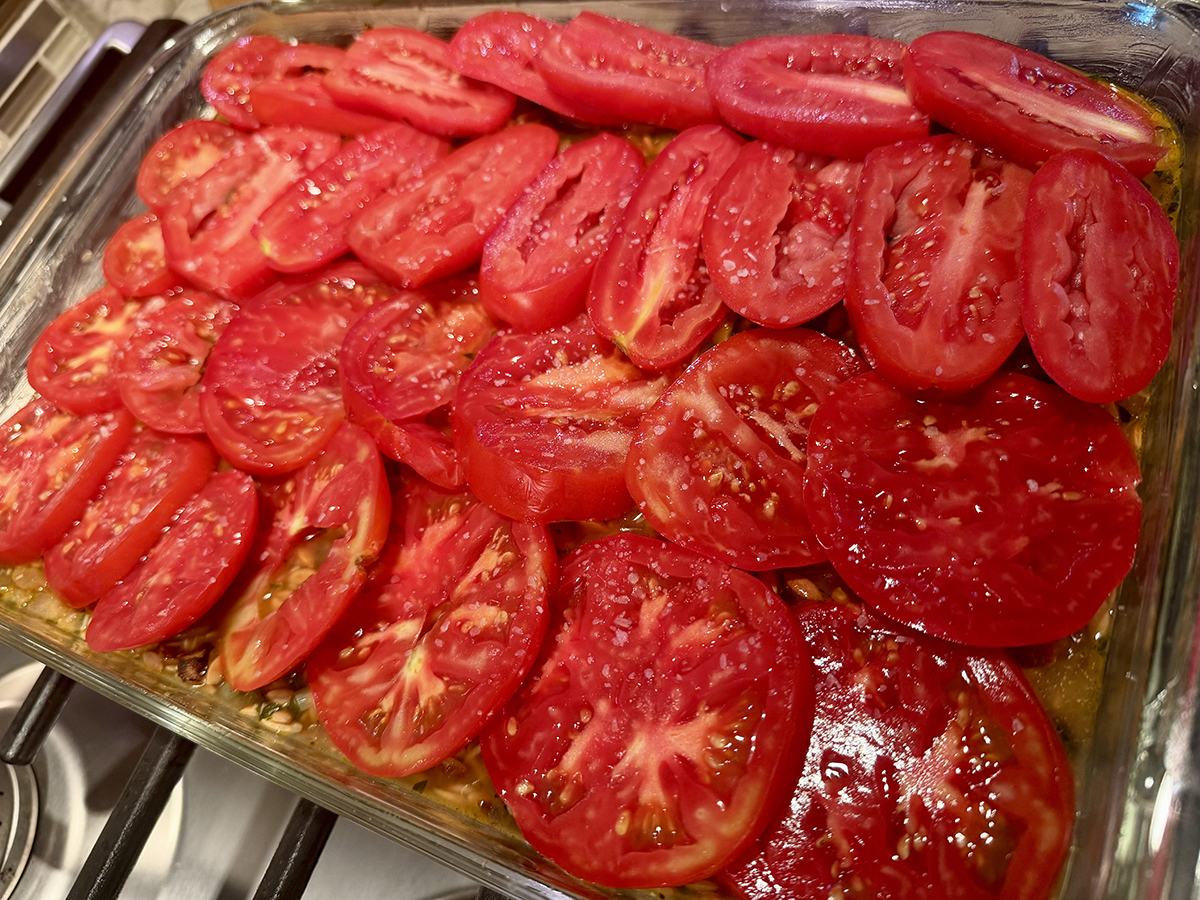
Shingling raw tomato slices over the top lets them roast gently while the orzo underneath finishes cooking and soaks up all the liquid. Feta (OK, so we doubled the amount) and the last bit of oregano go on after baking (not before), so the feta stays creamy and distinct rather than melting into the dish, and the oregano keeps its fresh aroma instead of turning bitter or muted from a full bake.

Instead of using 1 1/4 cups each of chicken (or vegetable) broth and water, you could include 2 1/2 cups of broth. Many of our ingredients had been picked very recently from local gardens, including our own, which amplified the taste factor; as did including chopped fresh basil along with the oregano.

Baked Orzo with Eggplant and Tomatoes

  • Servings: 6
  • Difficulty: easy
  • Print

Ingredients

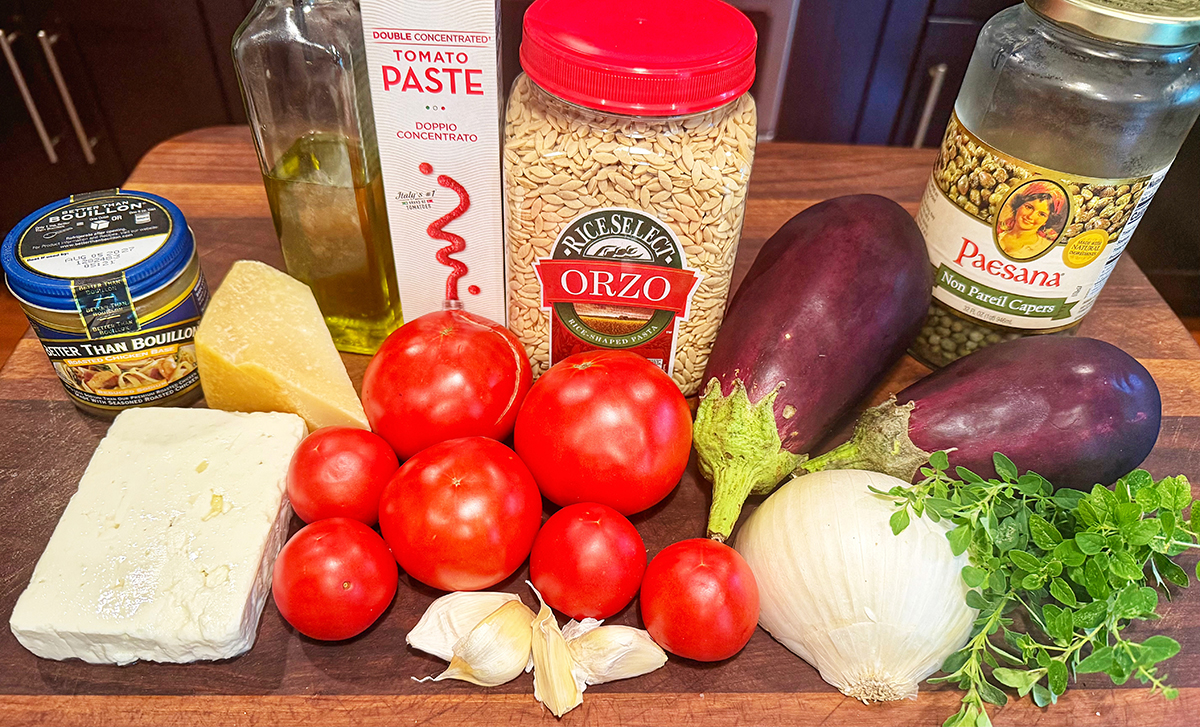
  • 1 lb. eggplant, cut into ¼” pieces
  • Salt and pepper
  • 2 cups orzo
  • 3 Tbsp. extra-virgin olive oil, plus extra for serving
  • 1 onion, chopped fine
  • 3 garlic cloves, minced
  • 4 tsp. minced fresh oregano OR 1 Tbsp. dried
  • 2 tsp. tomato paste
  • 2 anchovy fillets, rinsed, patted dry and minced
  • 1 ¼ cups chicken OR vegetable broth
  • 1 ¼ cups water
  • 1 oz. Parmesan cheese, grated (1/2 cup)
  • 2 Tbsp. capers, rinsed and minced
  • 4-6 tomatoes, cored and sliced 1/4” thick
  • 3 oz. feta cheese, crumbled (3/4 cup)

Directions

  1. Adjust oven rack to upper-middle position and hear oven to 400 degrees. Line large plate with double layer of coffee filters and spray with vegetable oil spray. Toss eggplant with ½ teaspoon salt and spread evenly on coffee filters. Microwave eggplant, uncovered, until dry to touch and slightly shriveled, 7-10 minutes, tossing halfway through microwaving.
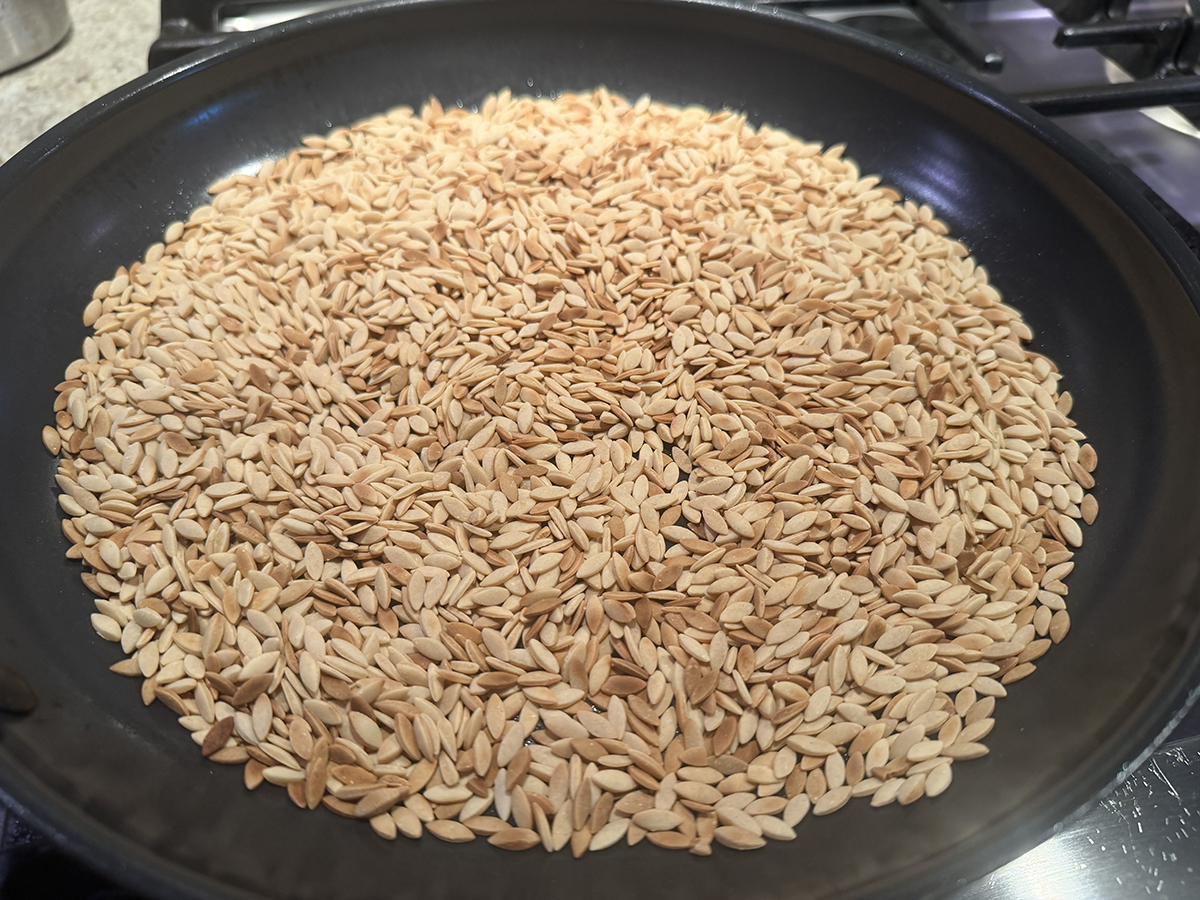
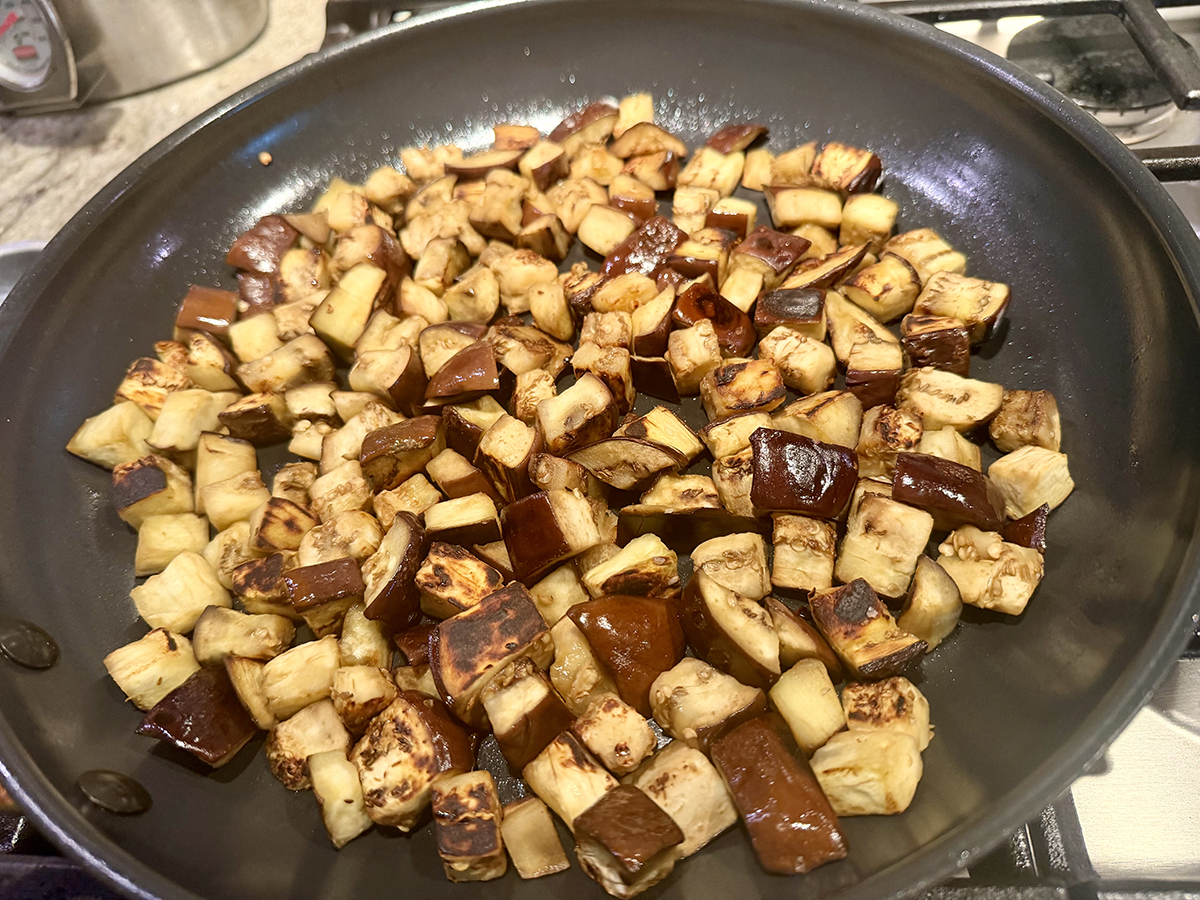
  2. Toast orzo in 12” nonstick skillet over medium-high heat until lightly browned, 3- 5 minutes: transfer to bowl. Heat 1 tablespoon oil in now-empty skillet over medium-high heat until shimmering. Add eggplant and cook, stirring occasionally, until well browned, 5-7 minutes; transfer to separate bowl.
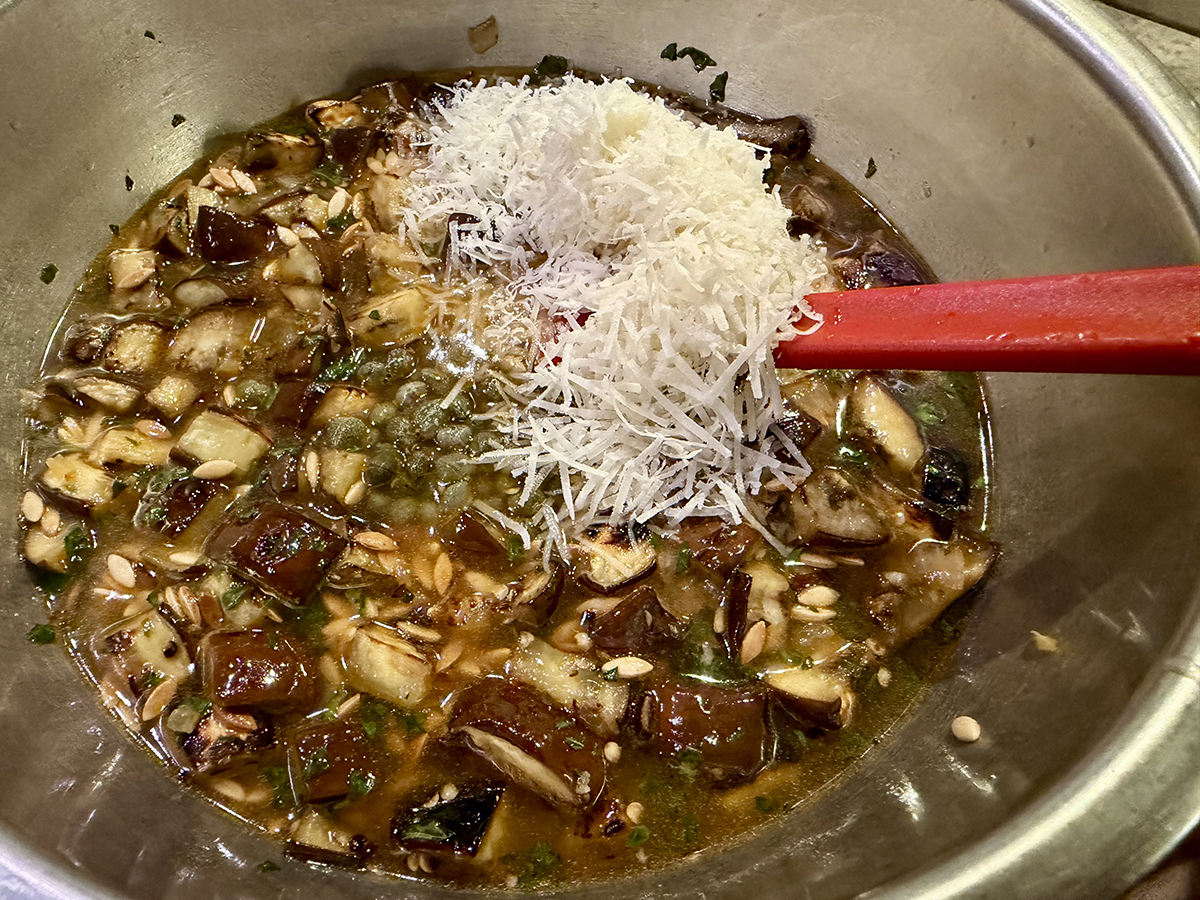
  3. Heat remaining 2 tablespoons oil in again-empty skillet and cook over medium heat until shimmering. Add onion and cook until softened and lightly browned, 5 to 7 minutes. Stir in garlic, 1 tablespoon oregano, tomato paste, and anchovies and cook until fragrant, about 30 seconds. Off heat, stir in orzo, eggplant, broth, water, Parmesan, capers and ¼ teaspoon pepper. (We stirred everything together in a mixing bowl, fearing the skillet would not be large enough.) Transfer to greased 13×9” baking dish and spread into even layer.
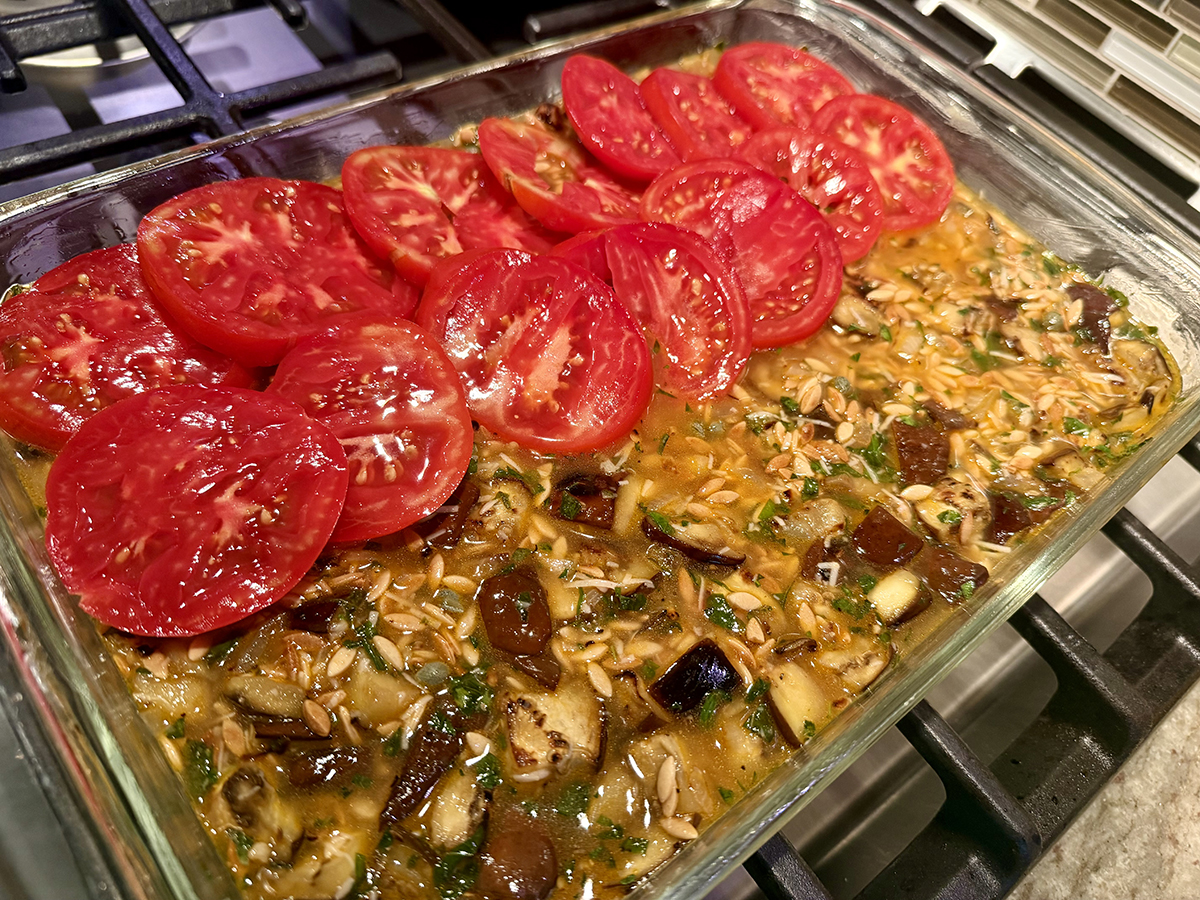
  4. Shingle tomatoes attractively over top, then sprinkles with 1/4 teaspoon salt. Bake until all liquid has been absorbed and orzo is tender, 30-35 minutes. Let cool for 5 minutes.  Sprinkle feta and remaining 1 teaspoon oregano over tomatoes and drizzle with extra oil. Serve.

http://www.lynnandruss.com

Adapted from a recipe by America’s Test kitchen

Rice Bowls with Harissa, Beef, Chickpeas and Olives

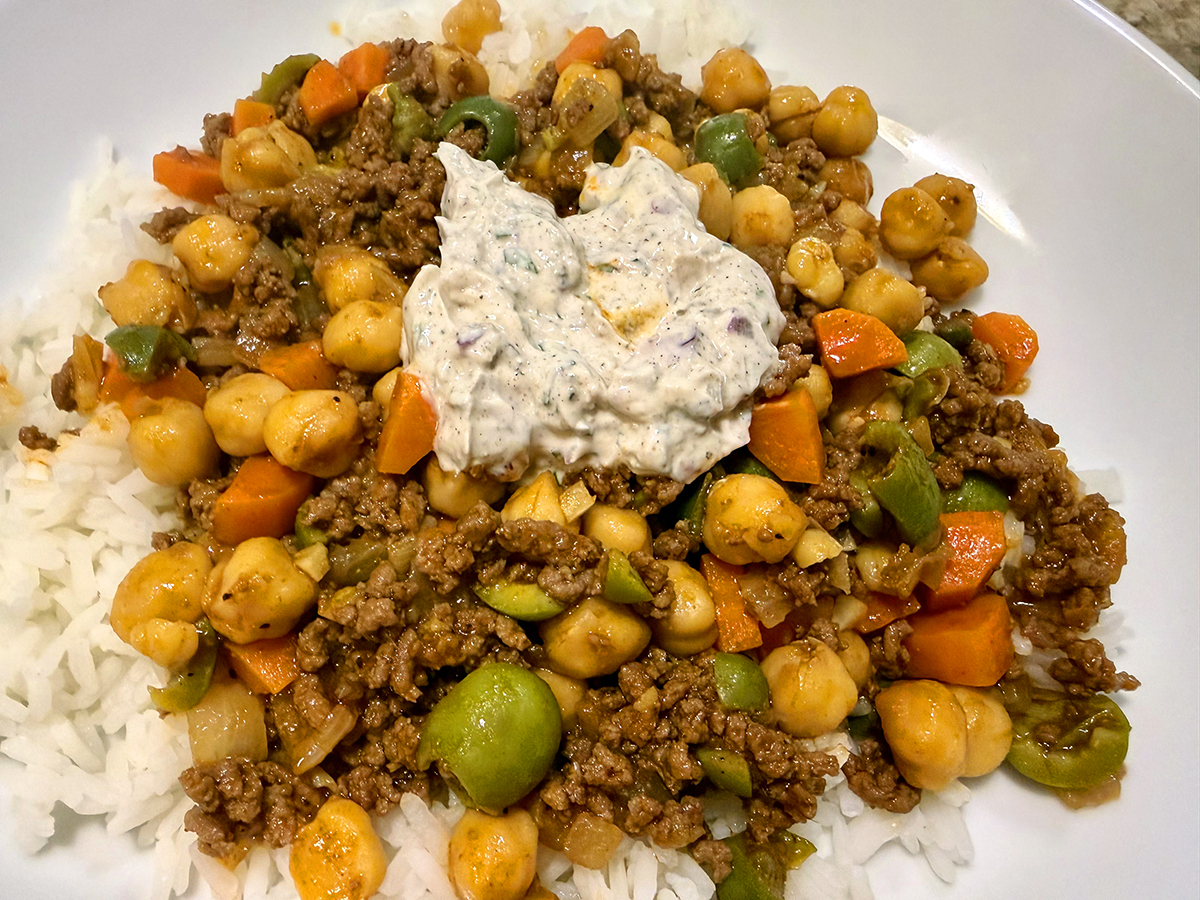
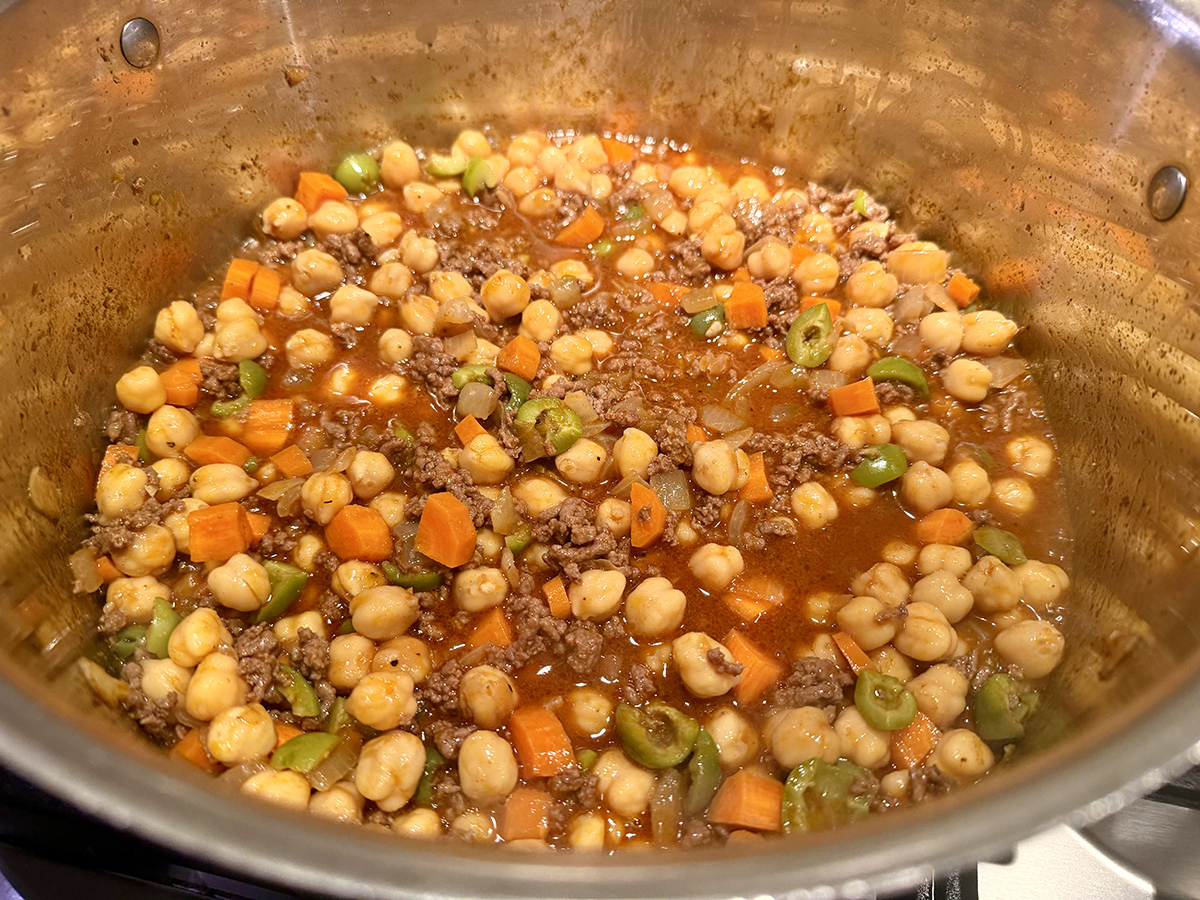
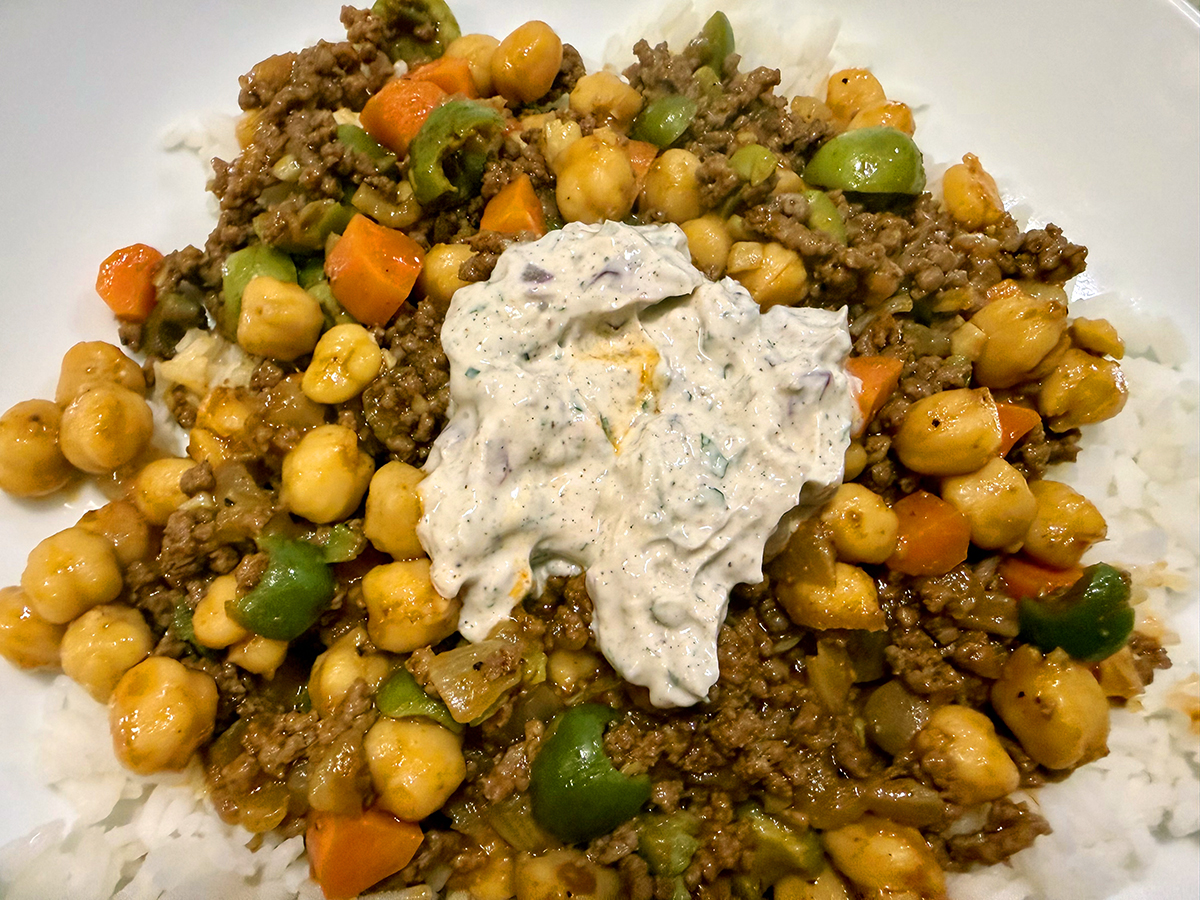
This North African-inspired chili keeps the usual beef, but trades the beans for chickpeas, tender carrots, and briny olives, all simmered in a rich, glossy sauce spiked with harissa—the smoky, fiery chile paste that gives the dish its deep warmth and complexity.

Unlike traditional chili, this version leans into the aromatic spice blends of North African and Middle Eastern cooking, balancing heat with savory depth. A final drizzle of extra harissa at the table lets everyone dial up the spice to their liking, making it as customizable as it is comforting.

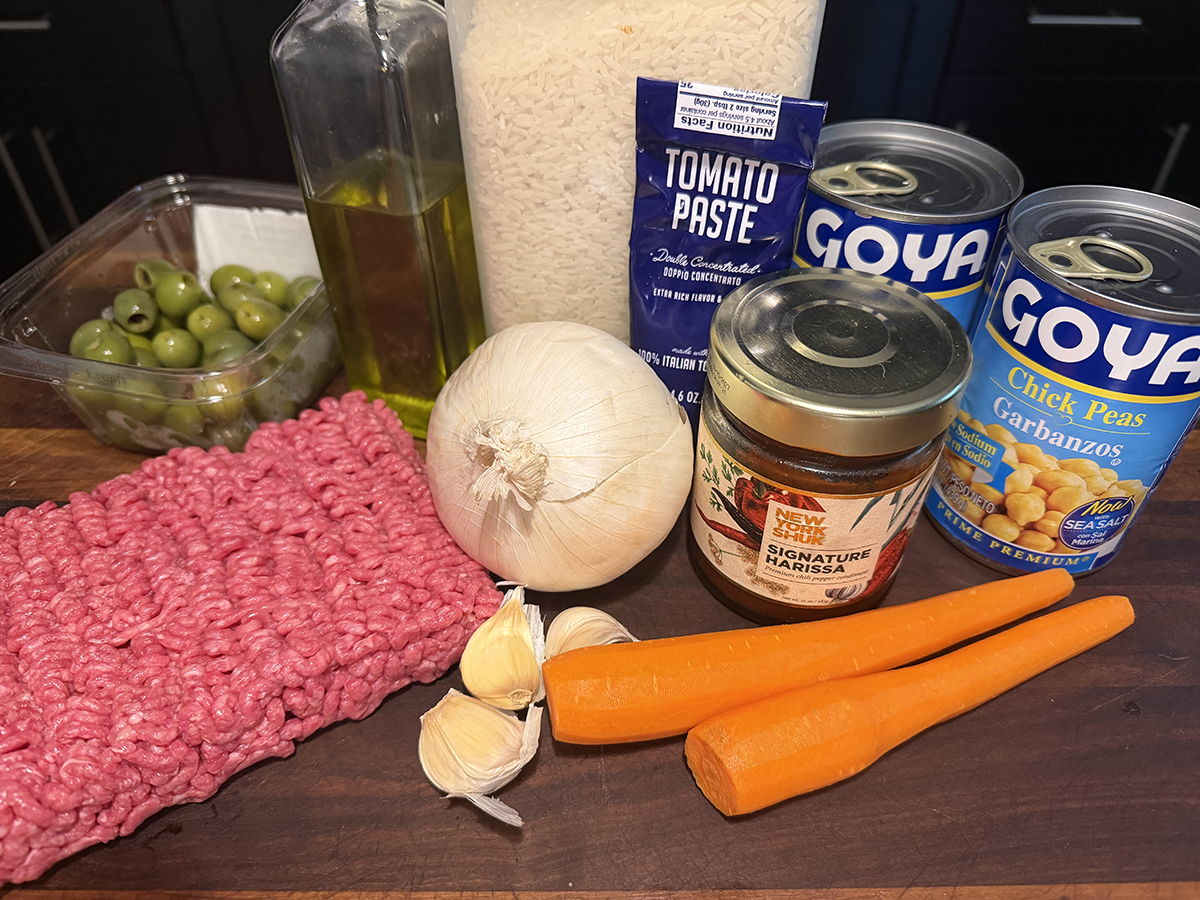
Harissa paste runs the gamut from mild to spicy, so be sure to adjust your recipe to your preferred level of heat. *We used a spicy New York Shuk brand harissa paste, increasing the quantity to 1/4 cup, which satisfied our craving for bold.

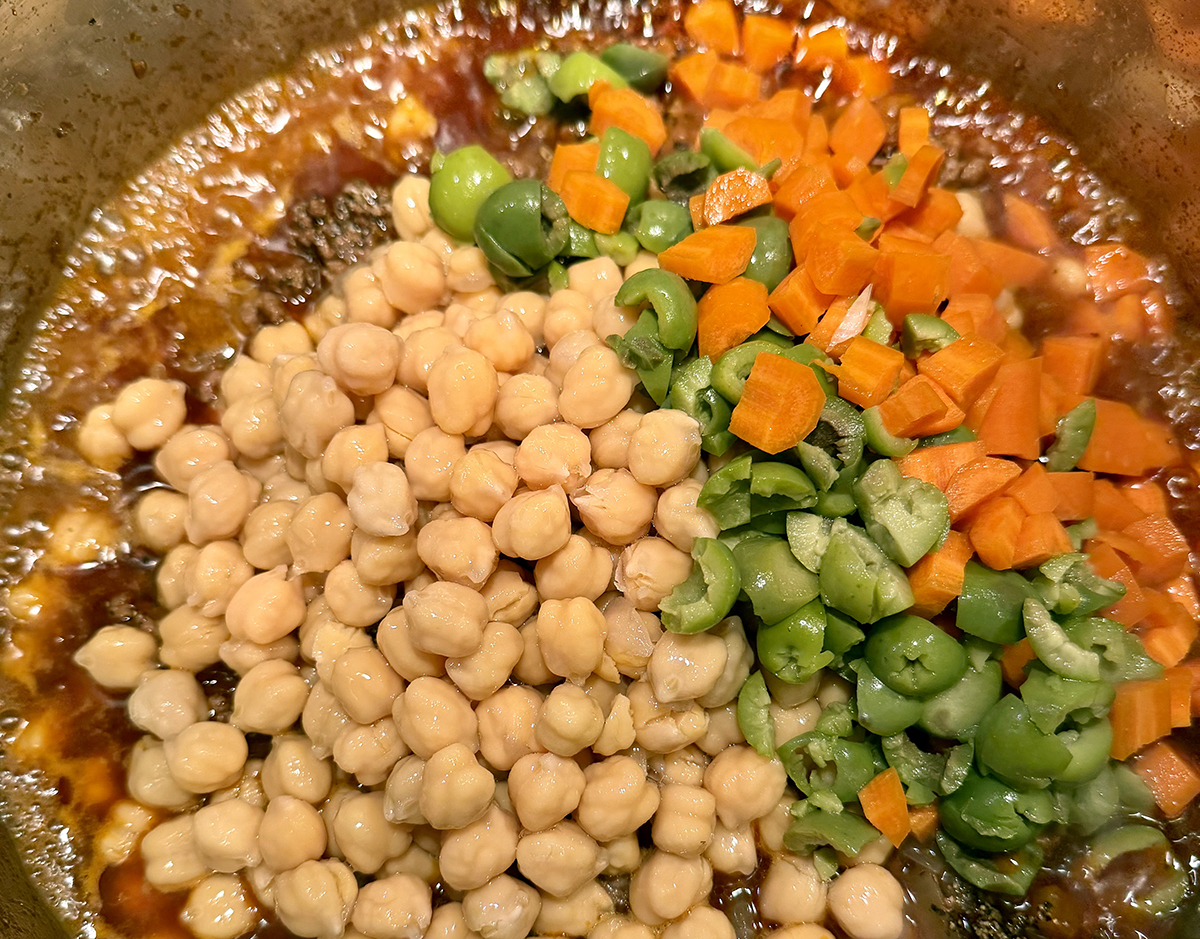
One notable change, next time we would add the carrots in Step 1 along with the onion because adding them in Step 2 with the olives, did not give them enough time to soften properly.

To finish, serve over rice and top with sour cream and chopped fresh cilantro. We used a homemade yogurt raita instead of sour cream.

Rice Bowls with Harissa, Beef, Chickpeas and Olives

  • Servings: 4
  • Difficulty: easy
  • Print

Ingredients

  • 2 Tbsp. extra-virgin olive oil
  • 1 onion, chopped
  • 2 carrots, peeled and chopped
  • 1 tsp. table salt, divided
  • 3 garlic cloves, chopped
  • 1 lb. 85 percent lean ground beef
  • 3 Tbsp. harissa*, plus extra for serving
  • 1 Tbsp. tomato paste
  • 2 15-oz. cans chickpeas, undrained
  • ½ cup pitted green olives, chopped coarse
  • ½ tsp. pepper
  • Steamed rice
  • Sour cream, dollops (optional)
  • Cilantro, chopped (optional)

Directions

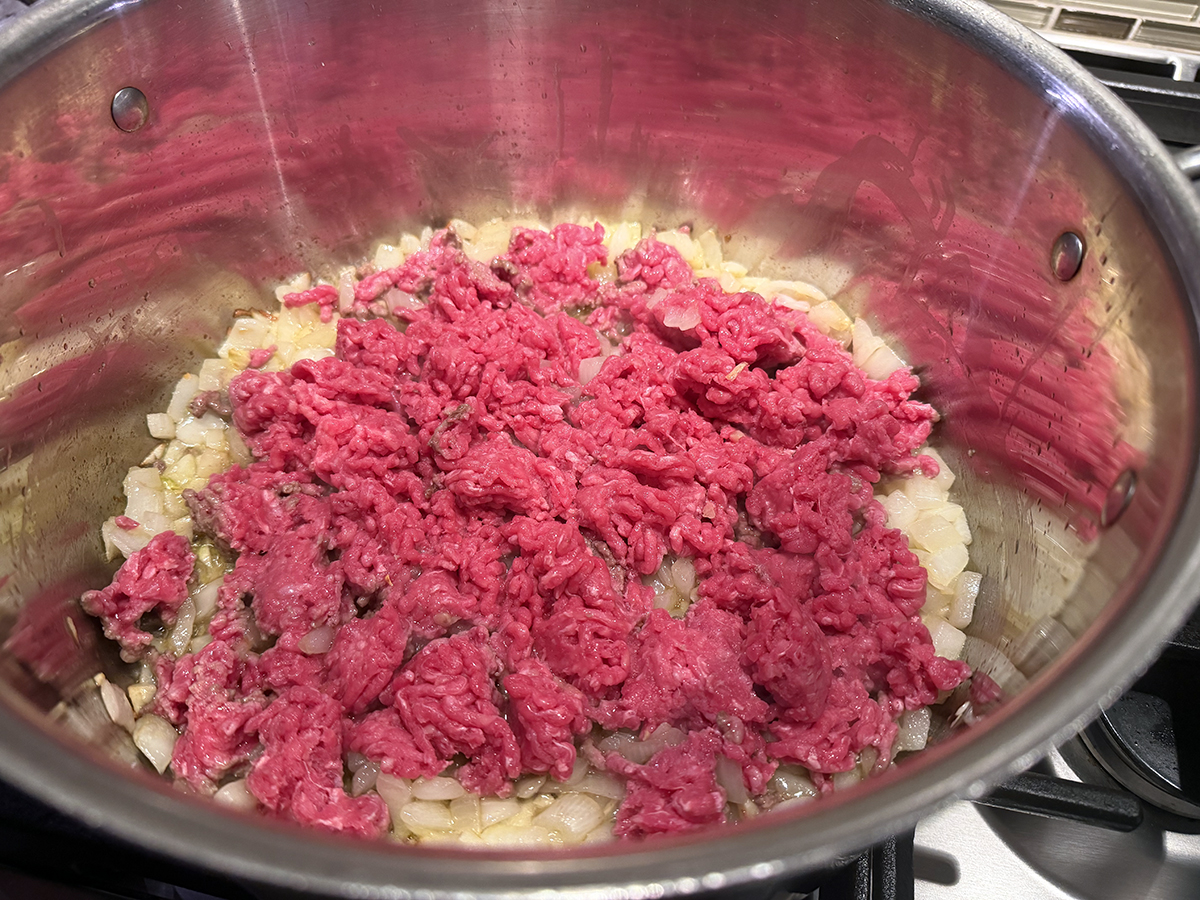
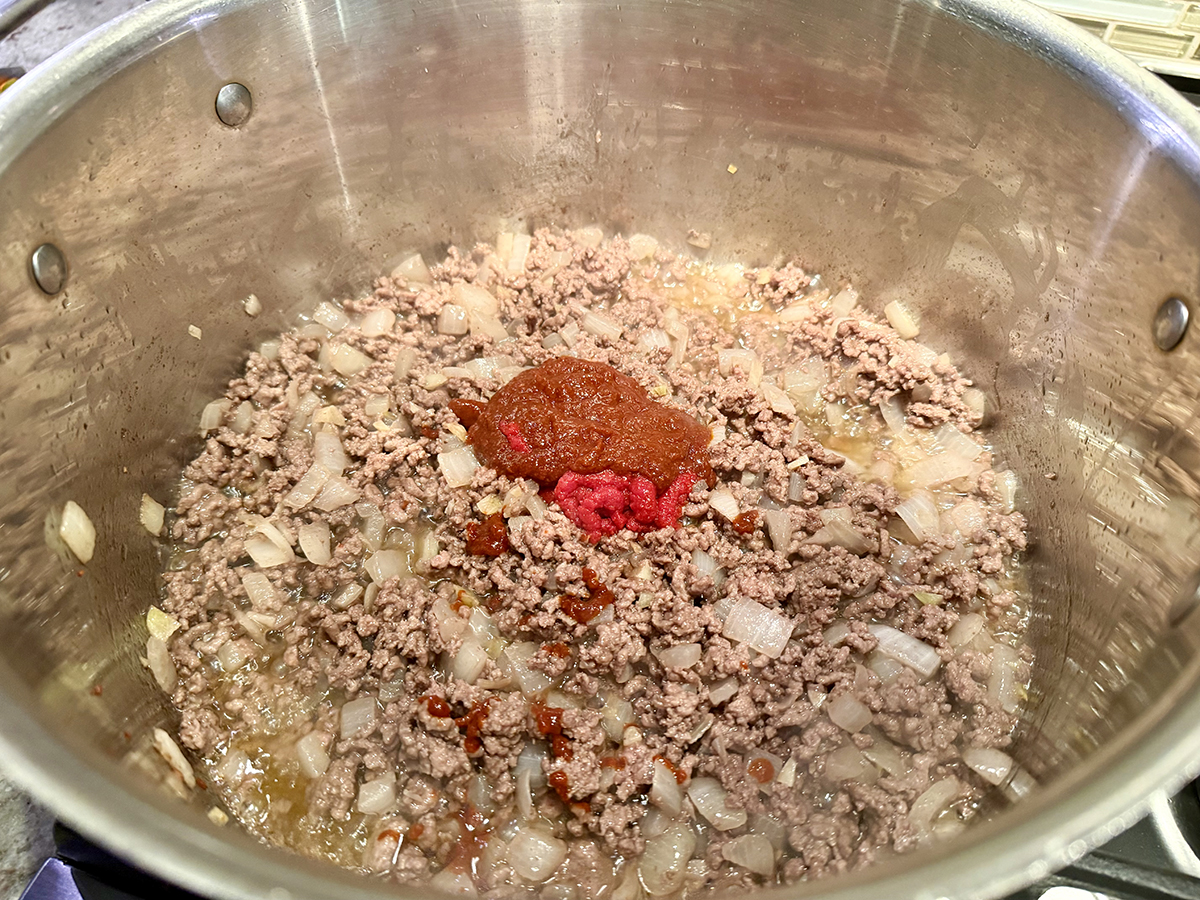
  1. Heat oil in Dutch oven over medium-high heat until shimmering. Add onion, carrots and ½ teaspoon salt and cook until softened, 3 to 5 minutes. Stir in garlic and cook until fragrant, about 30 seconds. Add beef, breaking up large chunks with wooden spoon, and cook until lightly browned, 5 to 7 minutes. Stir in harissa and tomato paste and cook until pastes darken slightly, 1 to 2 minutes.
  2. Stir in chickpeas and their liquid, olives, pepper, and remaining ½ teaspoon salt and bring to simmer. Reduce heat to medium-low and simmer, stirring occasionally, until carrots are tender and liquid is thickened and glossy, 10 to 12 minutes. Season with salt and pepper to taste. Serve, passing extra harissa separately.

http://www.lynnandruss.com

Recipe by Kelly Song and Jessica Rudolph for America’s Test Kitchen

Charred Zucchini with Gochujang and Scallions

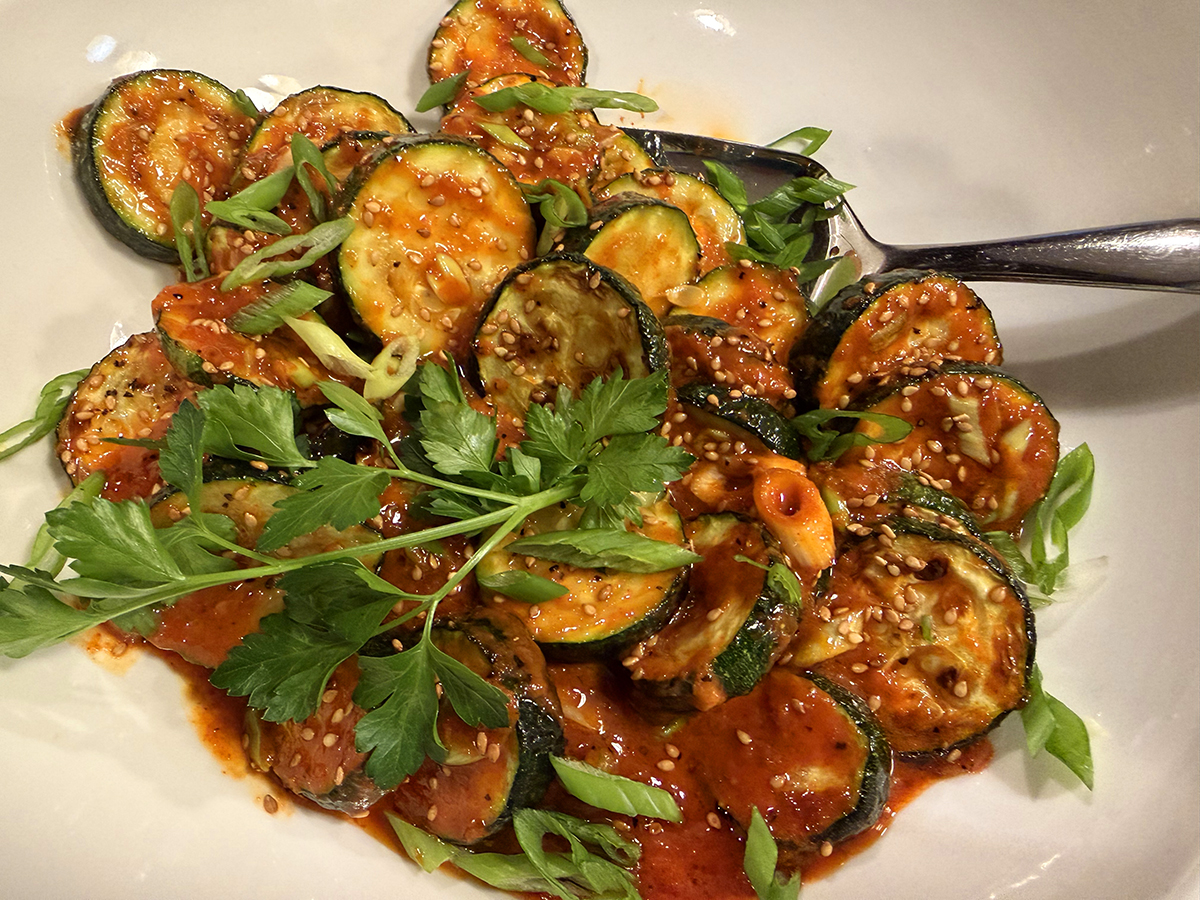
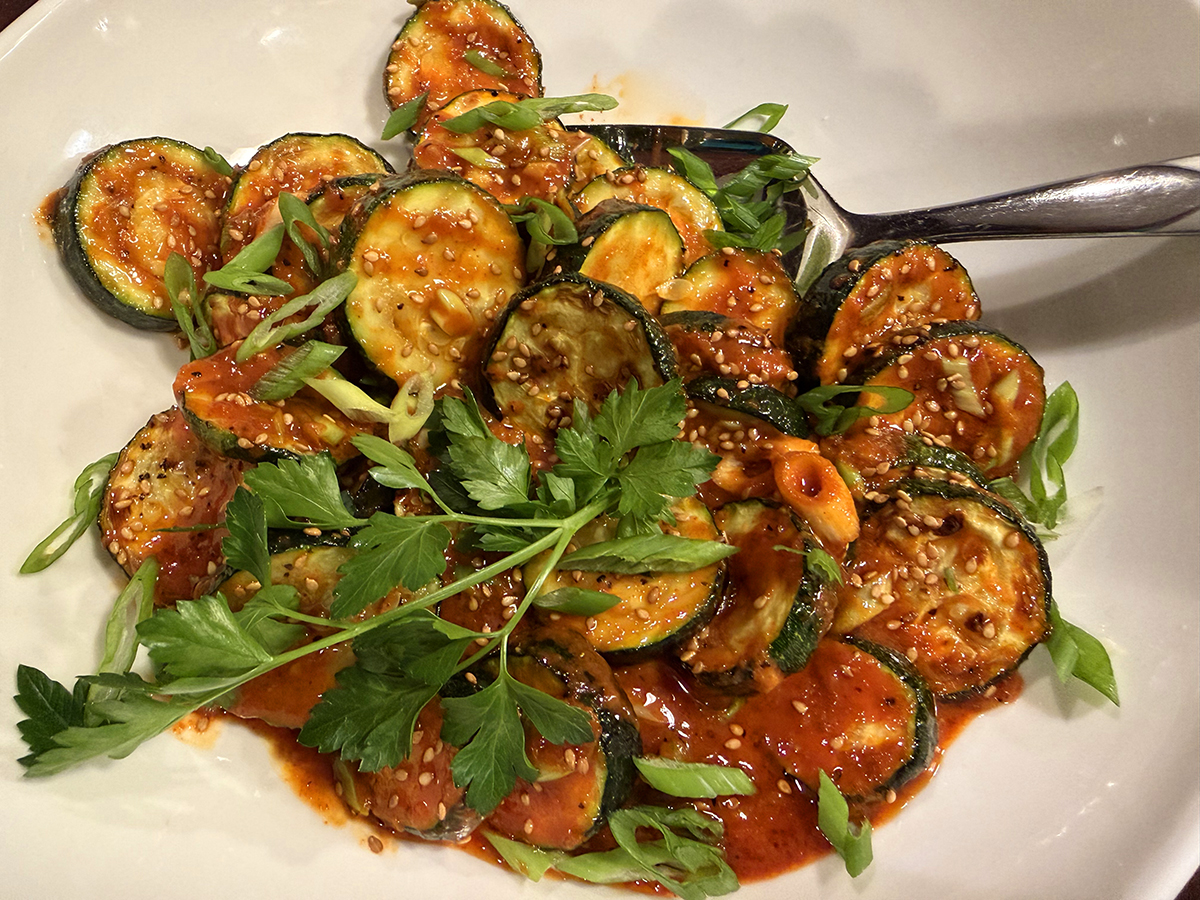
This side dish from Milk Street is inspired by Korean hobak muchim. The zucchini is broiled until deeply charred, then tossed with a funky, fermented gochujang-based dressing. If bold flavors are your MO, then this recipe has your name on it!

Here is a boldly flavorful—yet ultra-simple—version where the charred bitter notes and subtle sweetness of the zucchini (or yellow summer squash) is a perfect match for the spicy, pungent, sesame-fragrant, salty-sweet dressing that coats the zucchini after broiling.

When shopping, look for medium-size zucchini (ones that weigh about 8 ounces each) so the slices aren’t too small and numerous, nor too large and few. Gochujang is an umami-packed Korean hot pepper paste; look for it in the international aisle of most supermarkets or in Asian grocery stores. Note that seasoned rice vinegar is used here, as it’s an easy one-ingredient way to incorporate acidity, sweetness and salt.

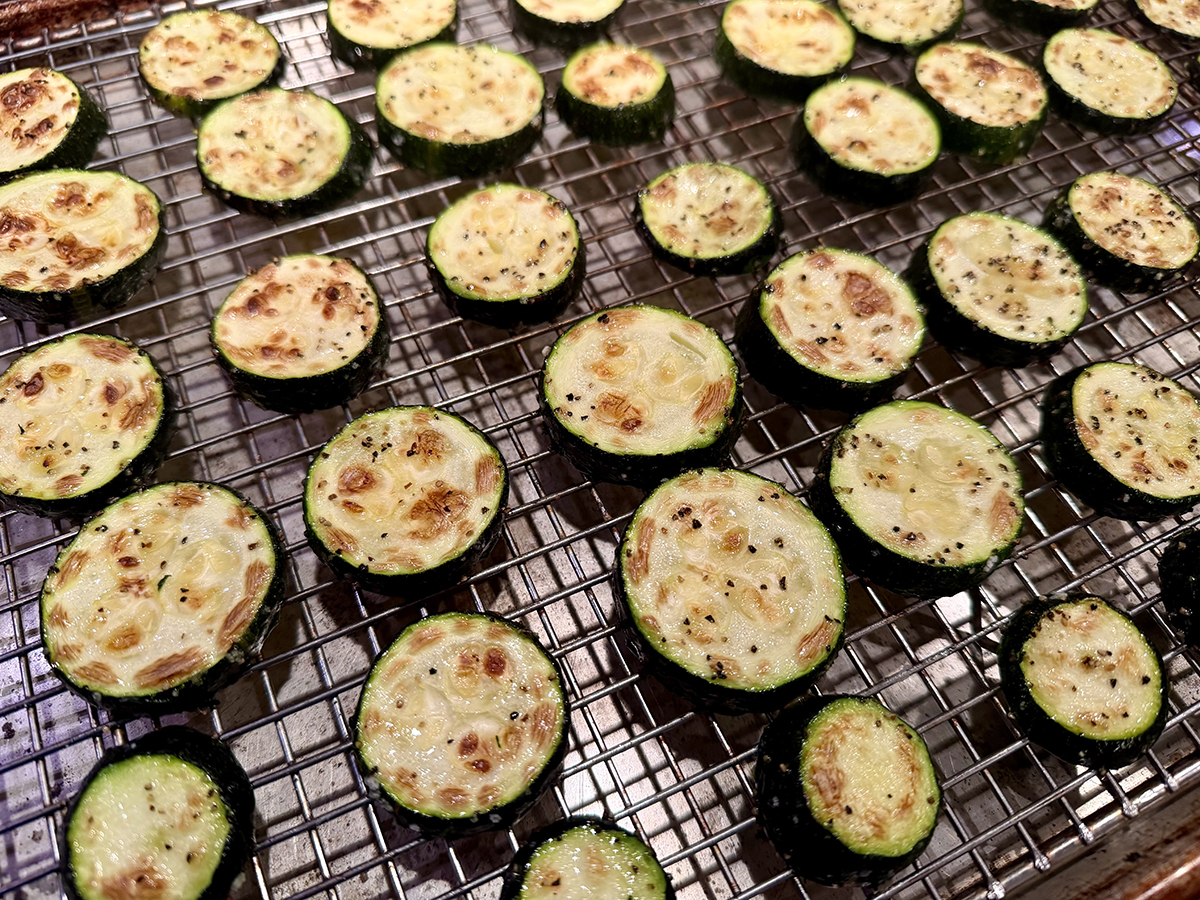
TIP: Don’t forget to rotate the baking sheet about halfway through broiling. This helps ensure that the zucchini browns evenly, especially if your oven has hot spots, as many do. Be sure to allow the zucchini to cool for 5 to 10 minutes after broiling. During this time, the slices release some liquid that would otherwise dilute the dressing.

Charred Zucchini with Gochujang and Scallions

  • Servings: 4
  • Difficulty: easy
  • Print

Ingredients

  • 3 medium (1½ pounds total) zucchini OR yellow summer squash OR a combination, sliced into ¼- to ½-inch-thick rounds
  • 1 Tbsp. grapeseed or other neutral oil
  • Kosher salt and ground black pepper
  • 2-3 Tbsp. gochujang
  • 3 Tbsp. seasoned rice vinegar
  • 2 Tbsp. toasted sesame oil
  • 2 tsp. finely grated fresh ginger
  • 1 medium garlic clove, finely grated
  • 4 scallions, thinly sliced on the diagonal

Directions

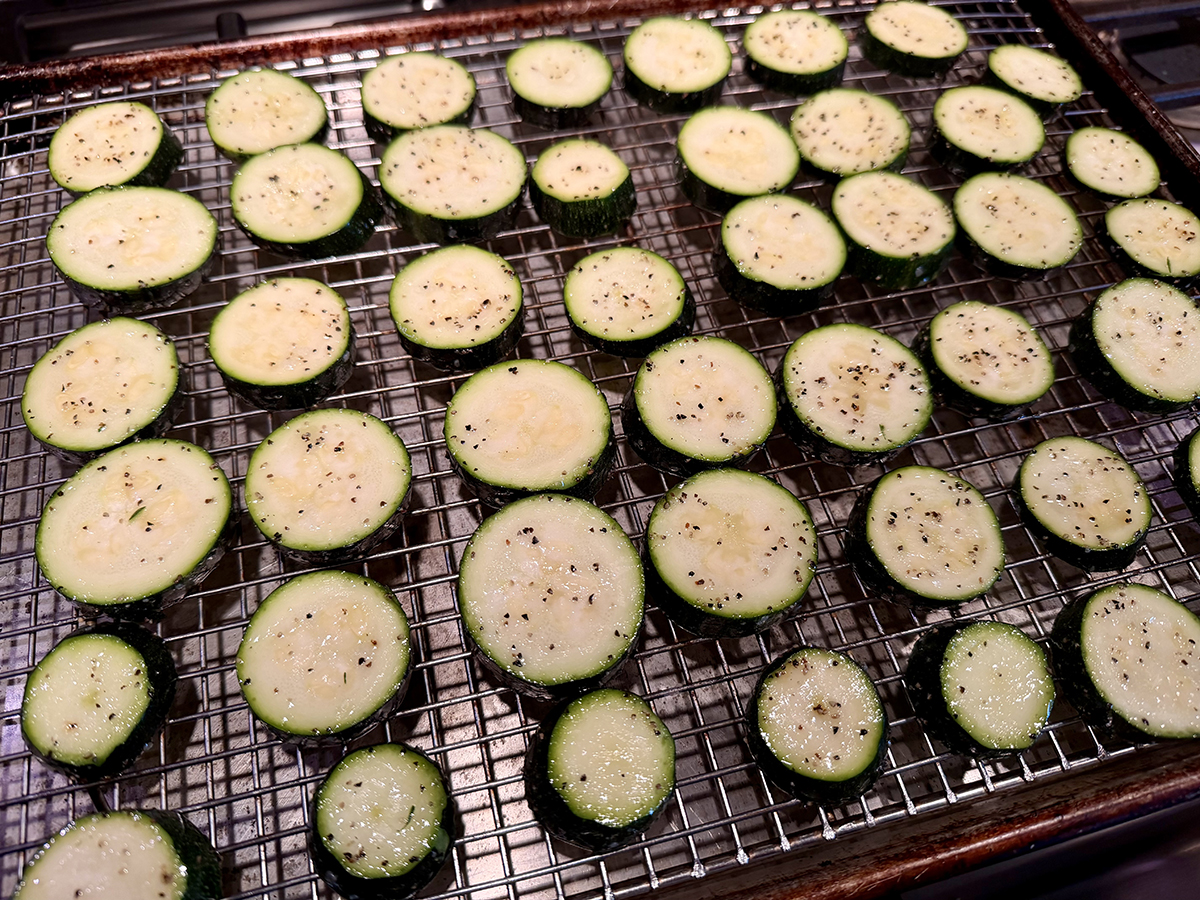
  1. Heat the broiler with a rack about 4 inches from the element. Set a wire rack in a rimmed baking sheet.
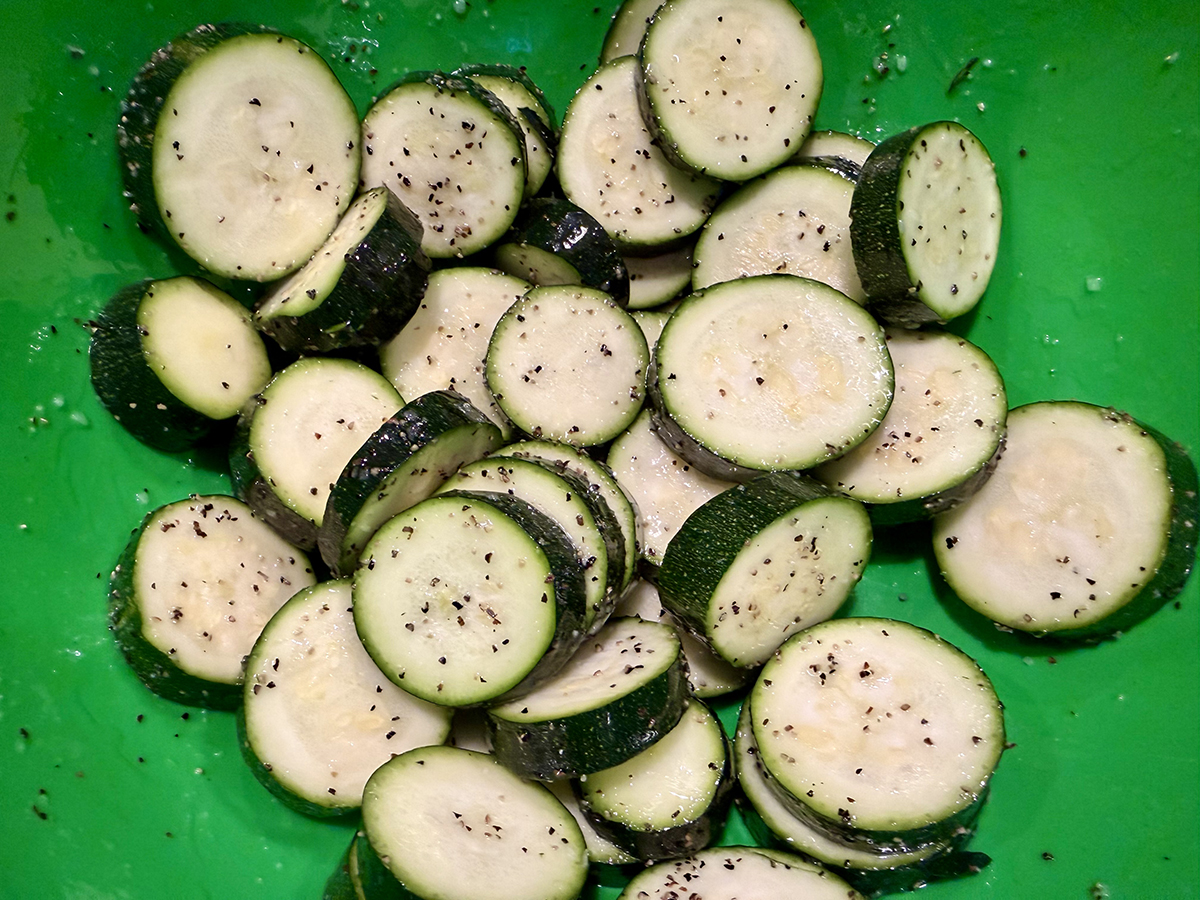
  2. In a large bowl, toss the zucchini with the neutral oil, ¼ teaspoon salt and ½ teaspoon pepper. Arrange the slices on the prepared rack in a single layer; reserve the bowl.
  3. Broil until the tops are well charred, 7 to 9 minutes, rotating the baking sheet about halfway through.
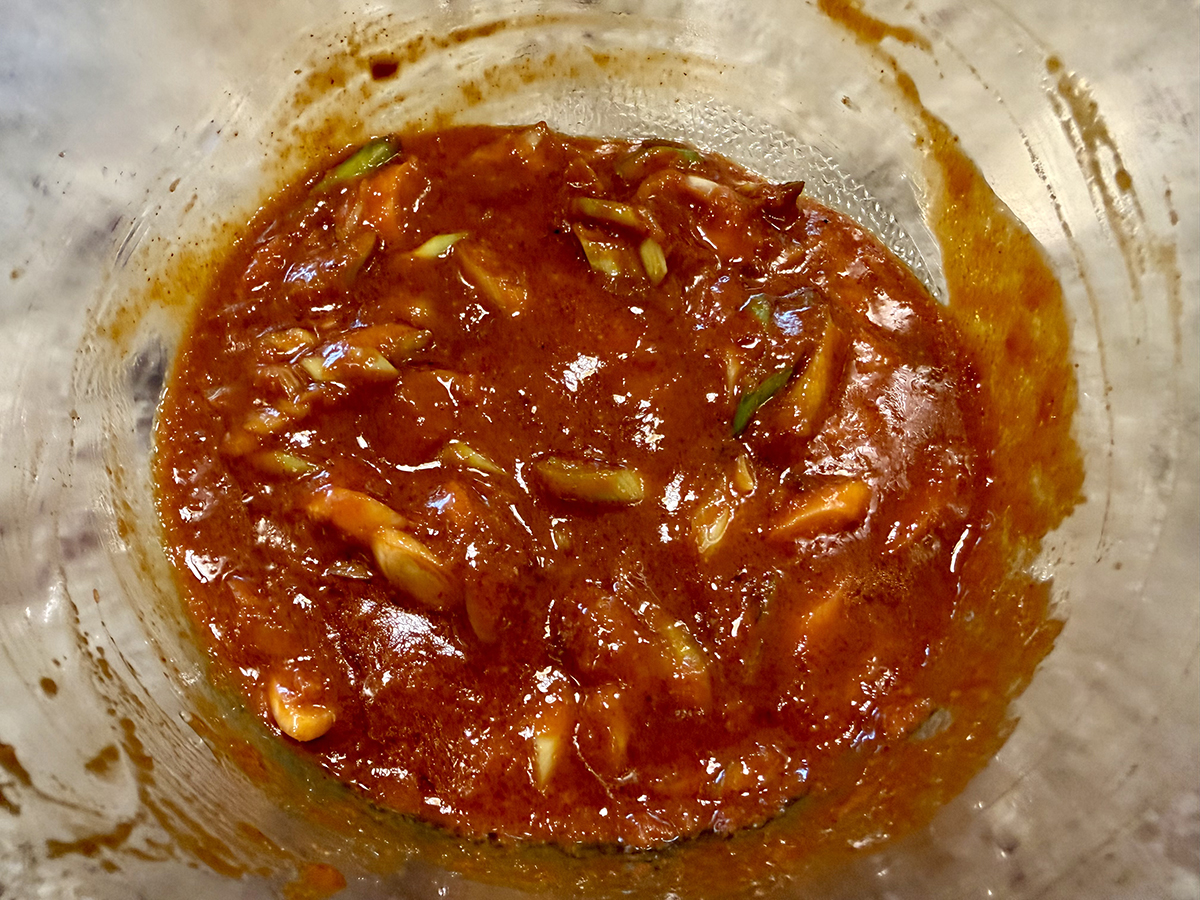
  4. Meanwhile, in the reserved bowl, whisk together the gochujang, vinegar, sesame oil, ginger, garlic and scallions.
  5. When the zucchini is done, let it cool on the rack for 5 to 10 minutes. Transfer the slices to the bowl and toss gently until evenly coated.
  6. Taste and season with salt and pepper, then transfer to a serving dish. Serve warm or at room temperature. Garnish with toasted sesame seeds.

http://www.lynnandruss.com

Recipe by Calvin Cox for Milk Street

Thai-Style Grilled Chicken (Gai Yang)

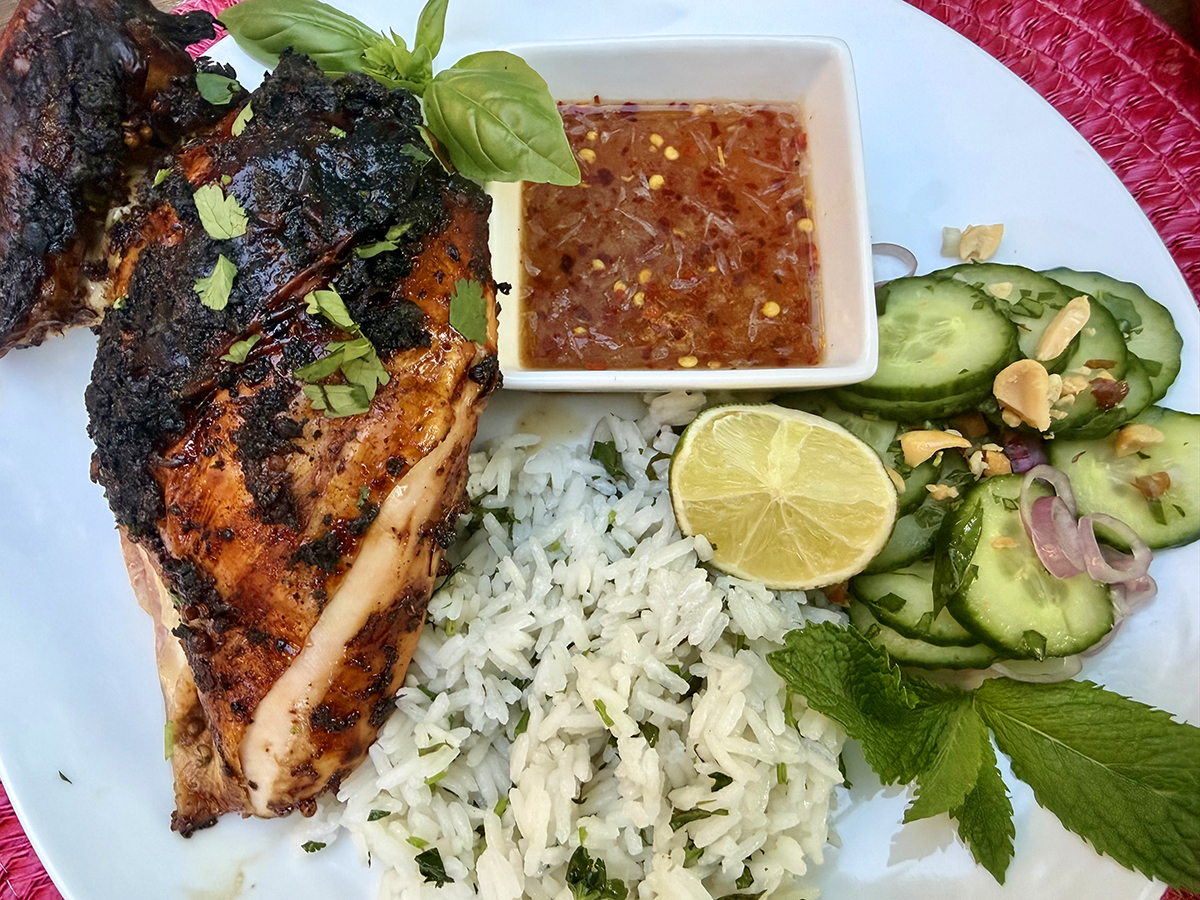
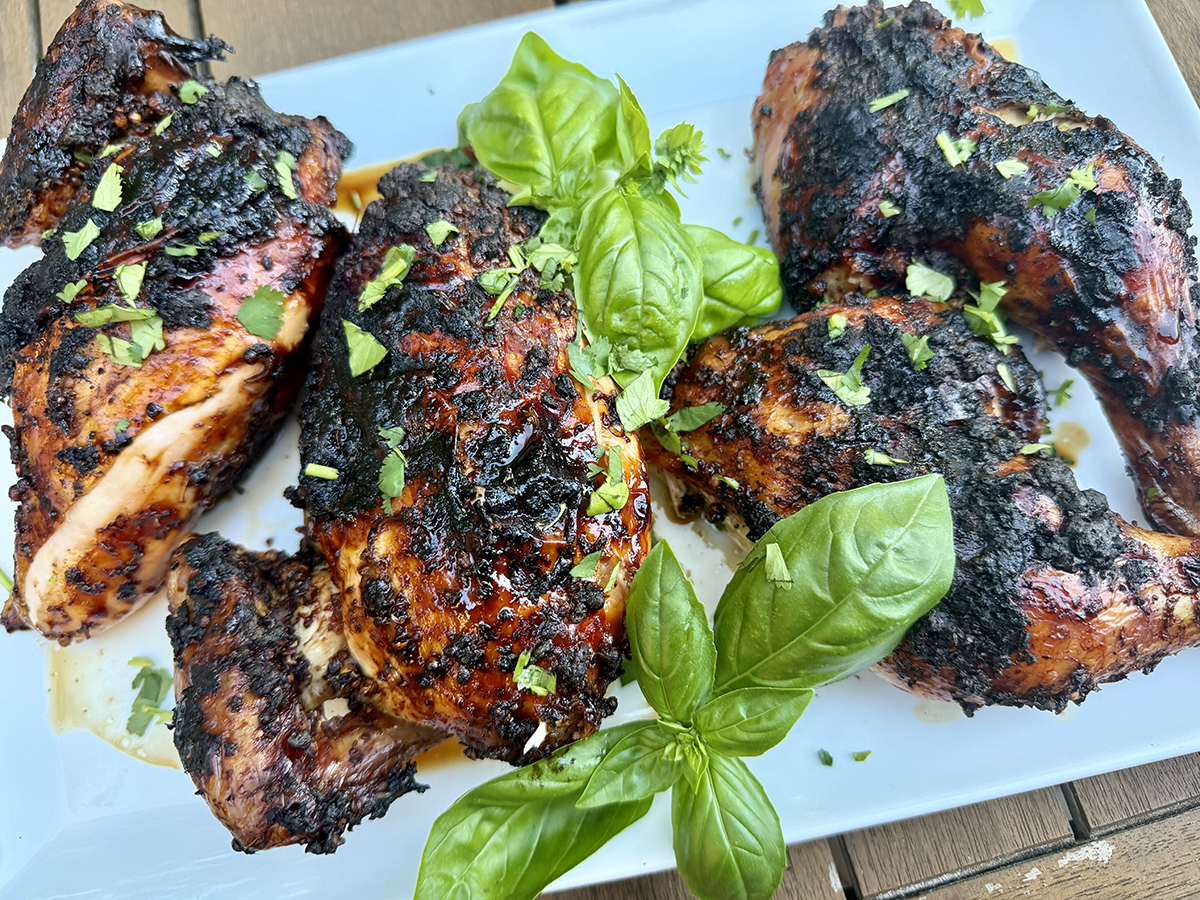
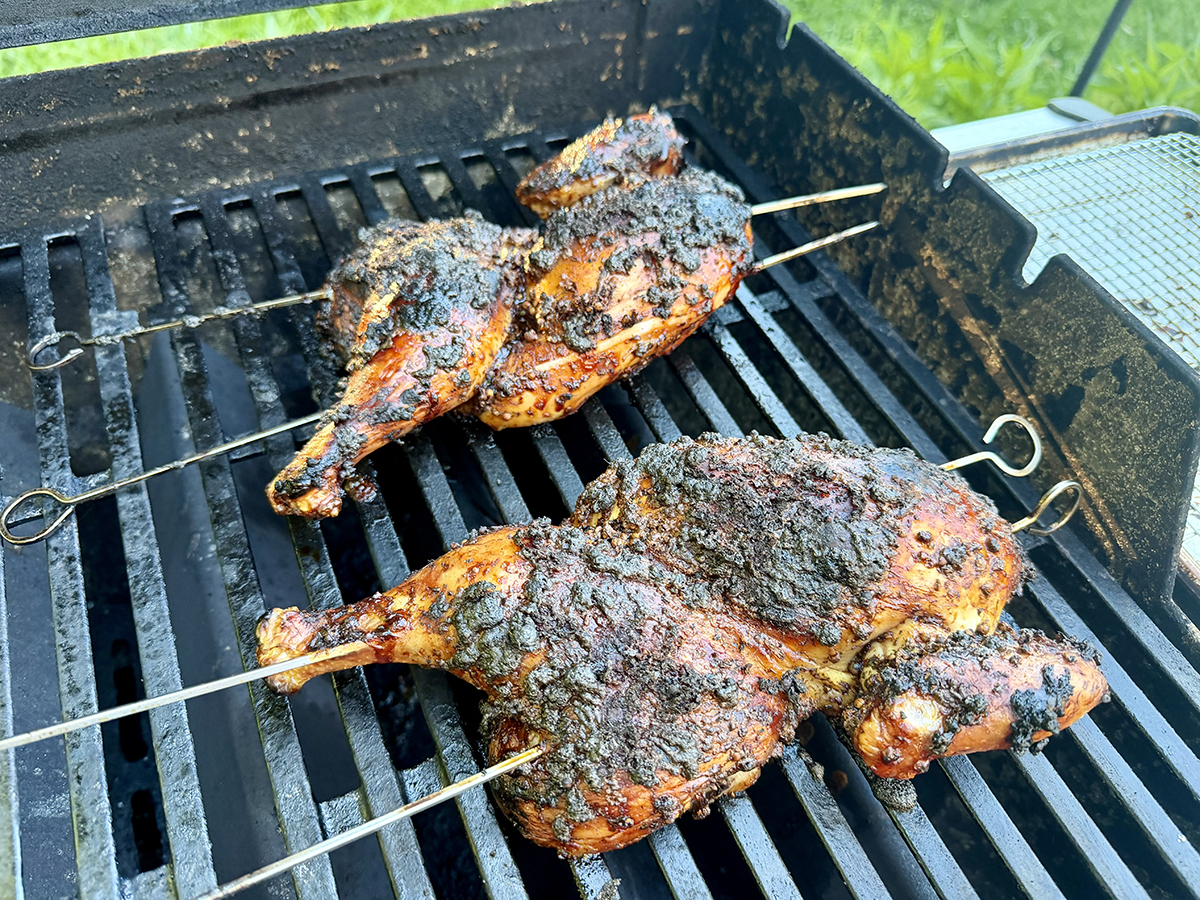
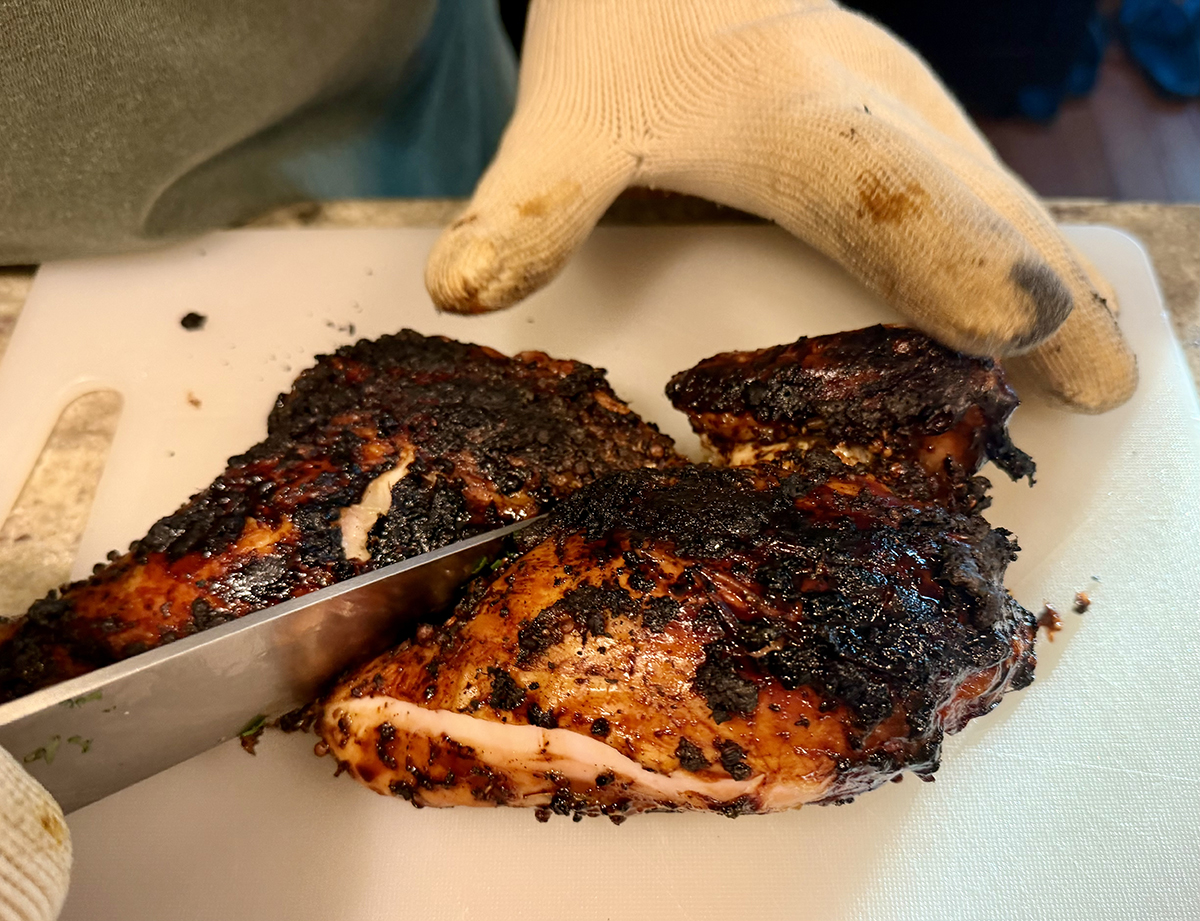
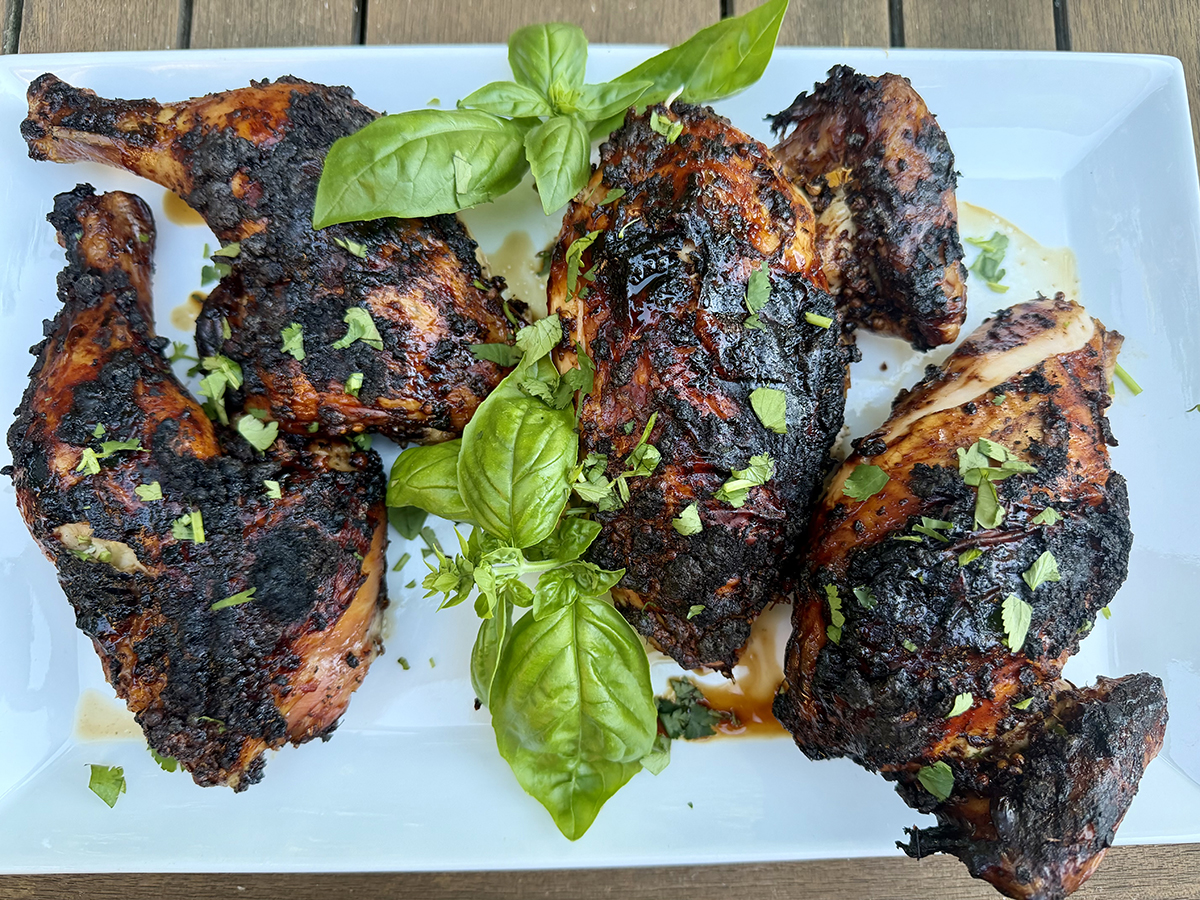
Gai yang — Thailand’s iconic grilled chicken from the northeastern Isan region — is one of those dishes so irresistible it has swept across the entire country and well beyond. Butterflied, skewered, and slow-grilled over charcoal (or a gas grill), the chicken emerges with gloriously crisp, golden skin wrapped in a richly charred crust of toasted spices, cilantro, white pepper, and fish sauce — one of the tastiest things you’ll ever pull off your grill.

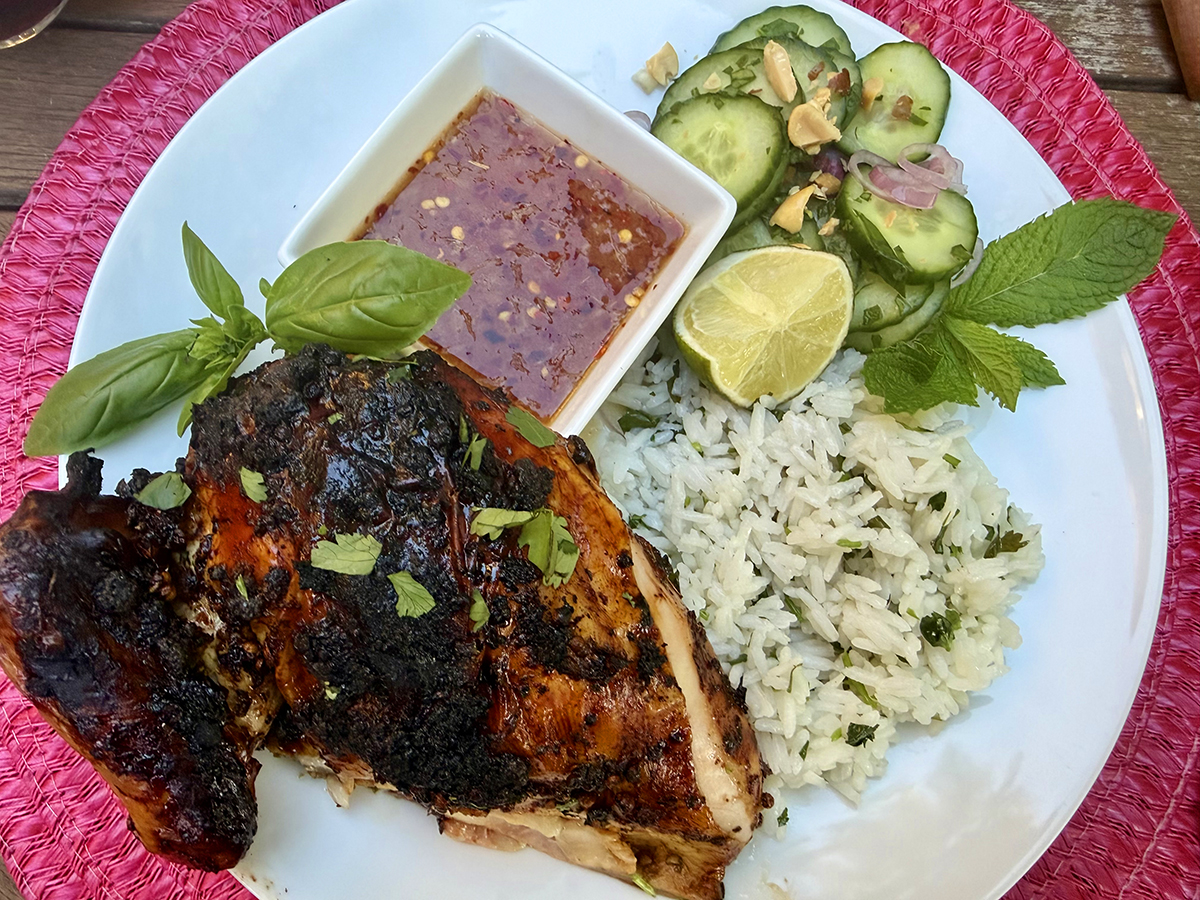
We paired ours with a Thai cucumber salad and coconut rice.

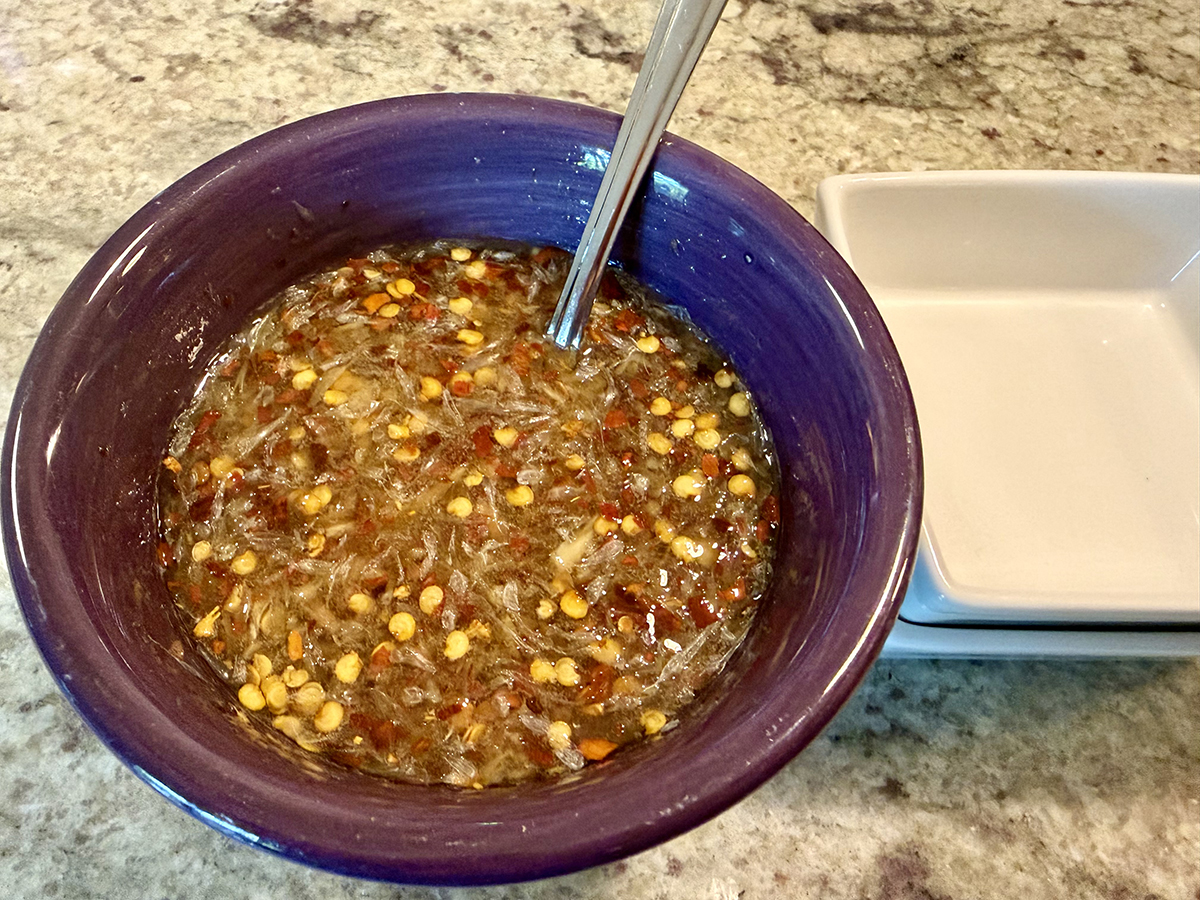
It’s extraordinary on its own. But dipped into a sweet and spicy chile sauce? Absolutely mind-blowing. That sauce is what we’re here for — the bright, punchy, perfectly balanced counterpart that takes every bite of that smoky, savory chicken to another level entirely.

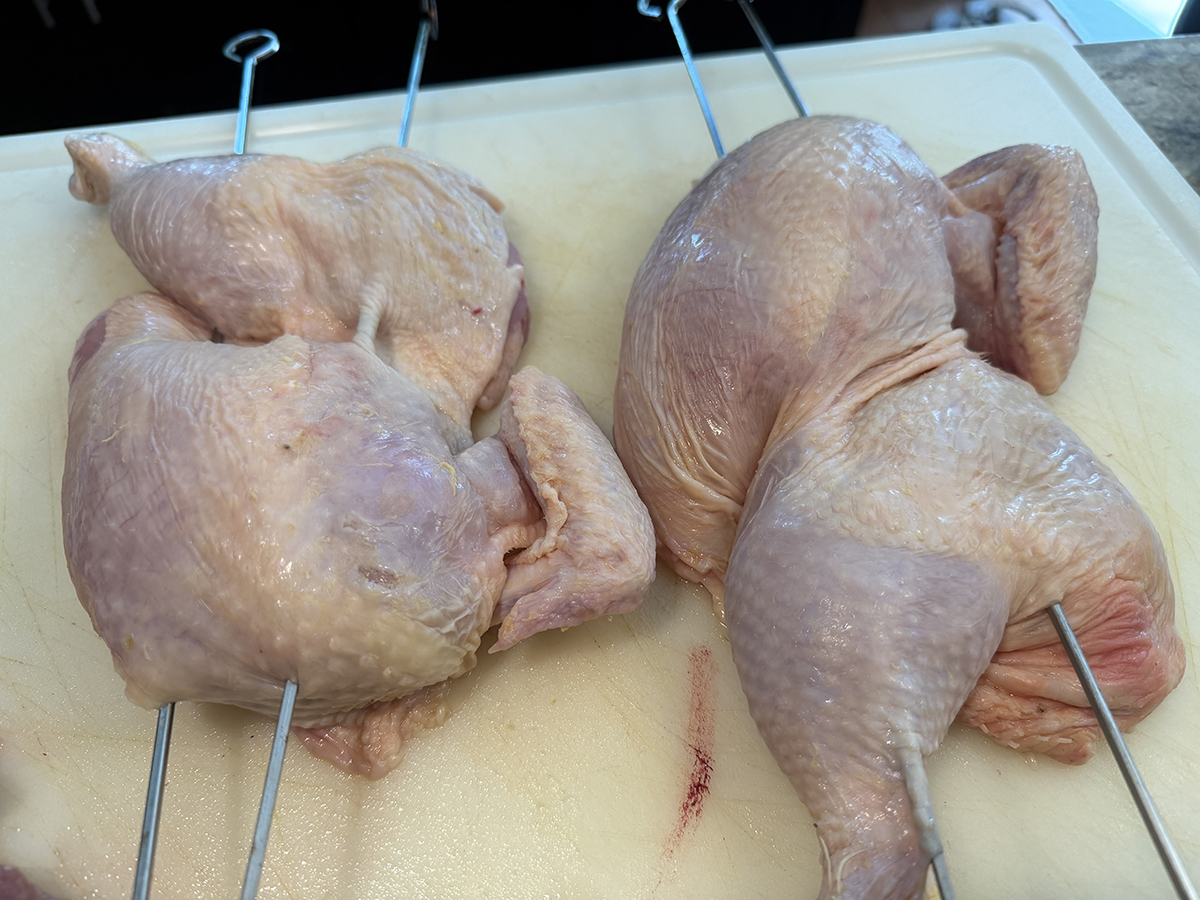
A butterflied bird has all of its skin on one side, in more or less a single plane. This makes crisping it evenly much easier, and, with plenty of space for rendering fat to escape, it gets crisper than it ever could were the bird left whole. This flat shape also makes it easier to maneuver and flip as it cooks on the grill.

NOTES: Because we were unable to source a few of the ingredients, we made a few substitutions, specifically, red pepper flakes in lieu of Thai Chiles and lemon grass paste instead of the stalks.

Thai-Style Grilled Chicken (Gai Yang)

  • Servings: 4-6
  • Difficulty: easy
  • Print

Ingredients

  • 6 cloves garlic
  • 12 sprigs cilantro, including thick stalks
  • 3 Tbsp. palm or light brown sugar
  • 2 tsp. ground white pepper
  • 1 tsp. ground coriander
  • 2 Tbsp. fish sauce
  • 2 tsp. dark soy sauce
  • 2 3-inch segments lemongrass (see above note)
  • 1 whole chicken, spine removed, split in half along the breastbone
  • 1 recipe Thai-style sweet chile dipping sauce (see below)

Directions

  1. Combine garlic, cilantro, sugar, white pepper, coriander, fish sauce, dark soy sauce, and lemongrass (if using) in the bowl of a food processor. Process until a rough paste is formed. Set aside.
  2. Place chicken halves flat on a cutting board. Insert 2 metal skewers into each chicken half, running parallel through legs and breasts. Transfer chicken to a baking dish that just fits them. Rub on all surfaces with marinade. Cover, transfer to refrigerator, and allow to marinate for at least 2 hours and up to overnight.
  3. When ready to cook, light 1 chimney full of charcoal. When all charcoal is lit and covered with gray ash, pour out and spread coals evenly over half of coal grate. Alternatively, set half the burners of a gas grill to high heat. Set cooking grate in place, cover grill, and allow to preheat for 5 minutes. Clean and oil grilling grate.
  4. Place chicken, skin side up, on cooler side of grill, with legs facing toward hotter side. Cover grill, with vents on lid open and aligned over chicken. Open bottom vents of grill. Cook until an instant-read thermometer inserted into thickest part of breast registers 140°F, about 45 minutes. Carefully flip chicken and place, skin side down, on hotter side of grill, with breasts pointed toward cooler side. Cover and cook until skin is crisp and an instant-read thermometer inserted into thickest part of breast registers 145 to 150°F, about 3 minutes longer. (Be careful, as the skin is very prone to burning.) If chicken threatens to burn before temperature is achieved, carefully slide to cooler side of grill, cover, and continue to cook until done. Do not leave lid off for longer than it takes to check temperature, or chicken will burn.
  5. Transfer chicken to a cutting board and allow to rest for 5 minutes. Carve and serve with chile dipping sauce.

Ingredients

  • 10 to 12 red Thai bird chiles, finely minced, OR 1 tsp. Red Pepper Flakes
  • 4 cloves garlic, finely minced (about 4 tsp.)
  • 1/4 cup Asian fish sauce
  • 1/2 cup palm or light brown sugar
  • 3 Tbsp. distilled white vinegar
  • 2 Tbsp. fresh lime juice

Directions

  1. Combine all ingredients in a small sealable container. Shake well, set aside, and allow sugar to dissolve, shaking every 10 minutes or so. When sugar is fully dissolved, store in refrigerator until ready to use. Sauce will keep in the refrigerator for up to 3 weeks.

http://www.lynnandruss.com

Adapted from a recipe by J. Kenji Lopez-Alt for Serious Eats

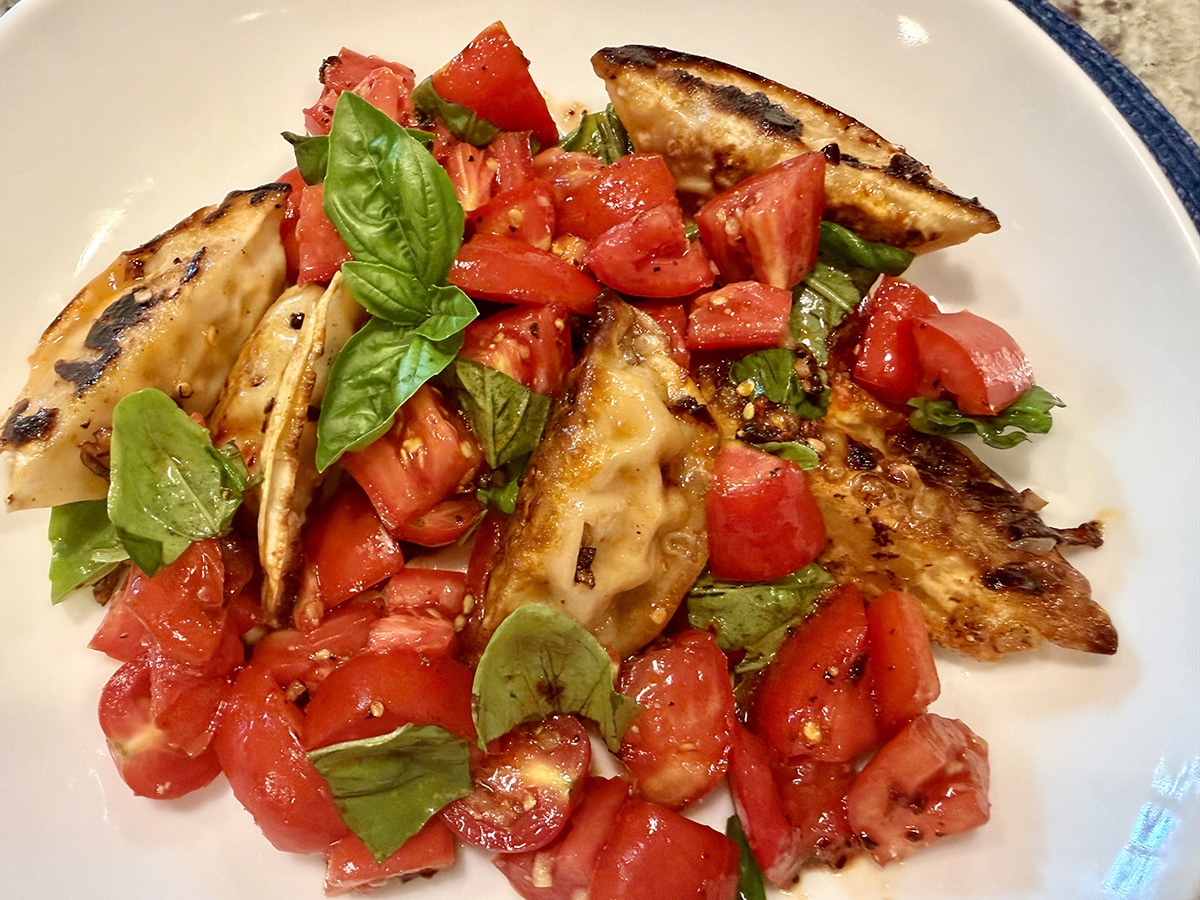
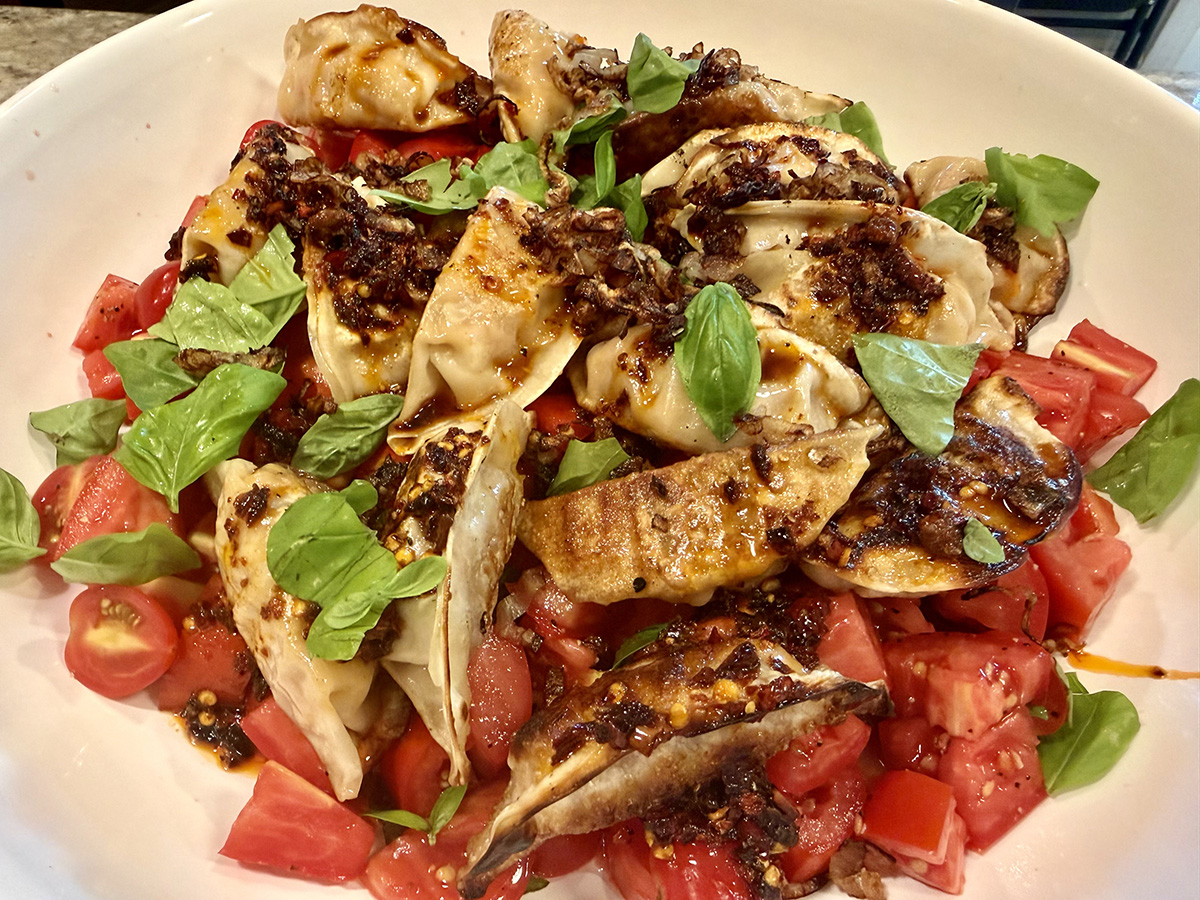
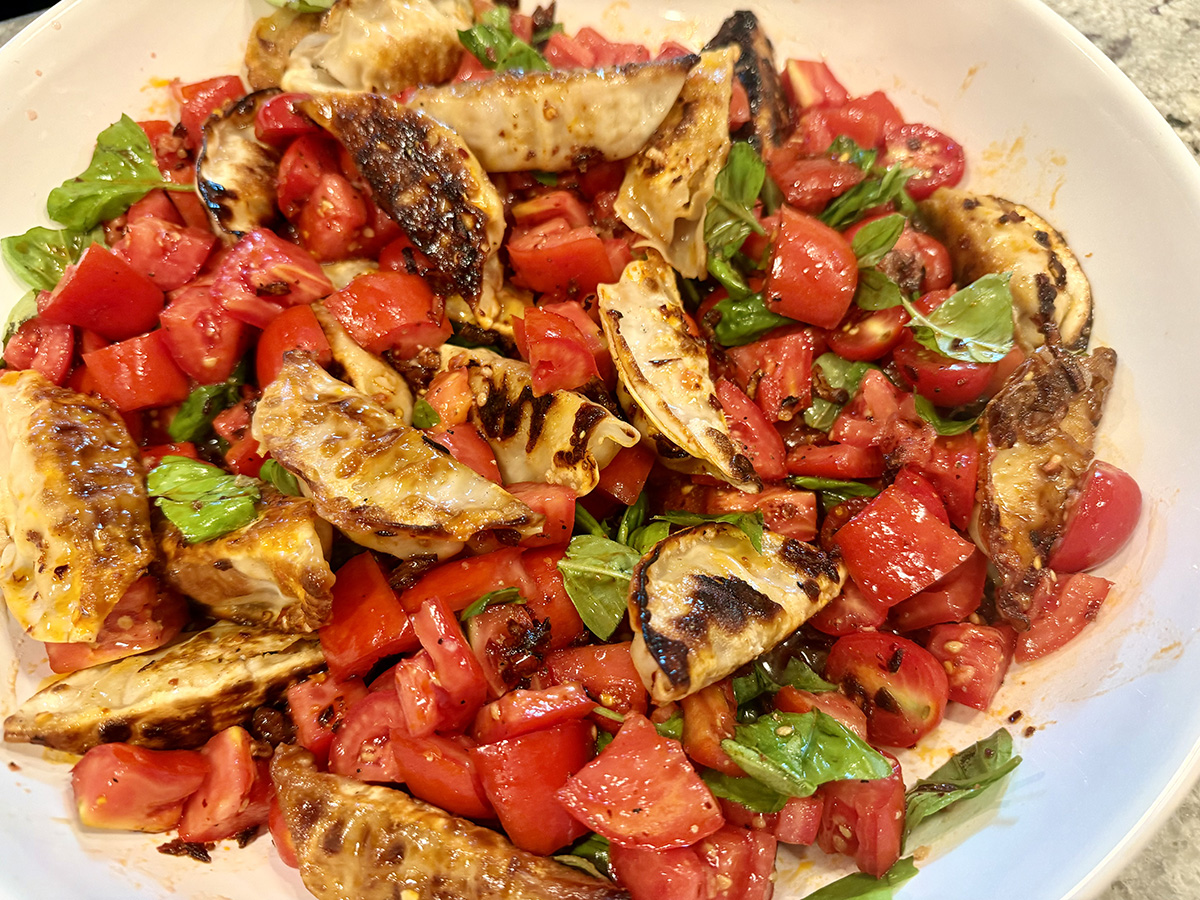
Dumpling Tomato Salad with Chile Crisp Vinaigrette

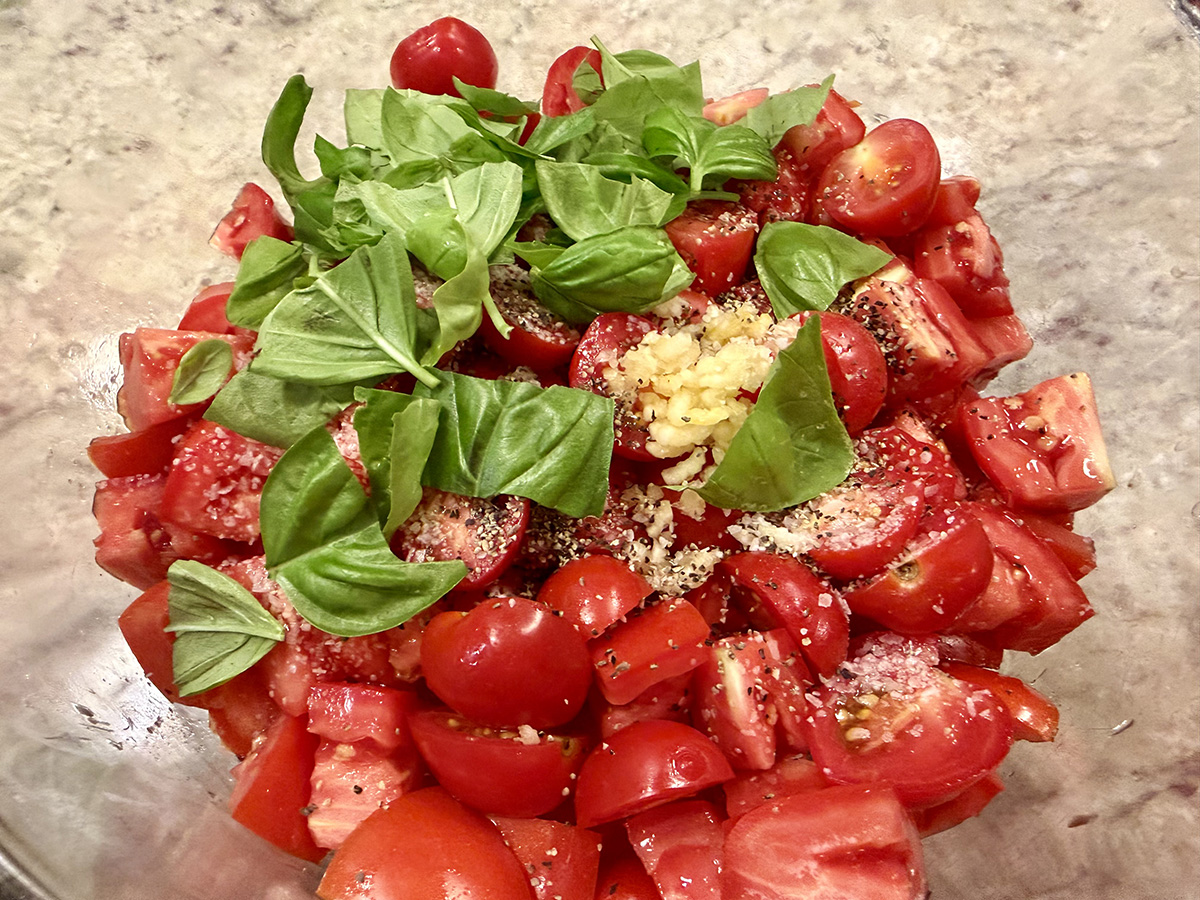
Dumplings meet summer produce in this hearty-but-light main course salad. Juicy tomatoes get a simple toss with salt, garlic and basil, turning them into a fragrant, saucy bed for crisp, pan-fried potstickers. That pinch of salt does double duty: it draws out the tomatoes’ tangy-sweet juices to form a light natural dressing, and it means even underwhelming, out-of-season tomatoes can be coaxed into tasting good — so this one’s a keeper year-round.

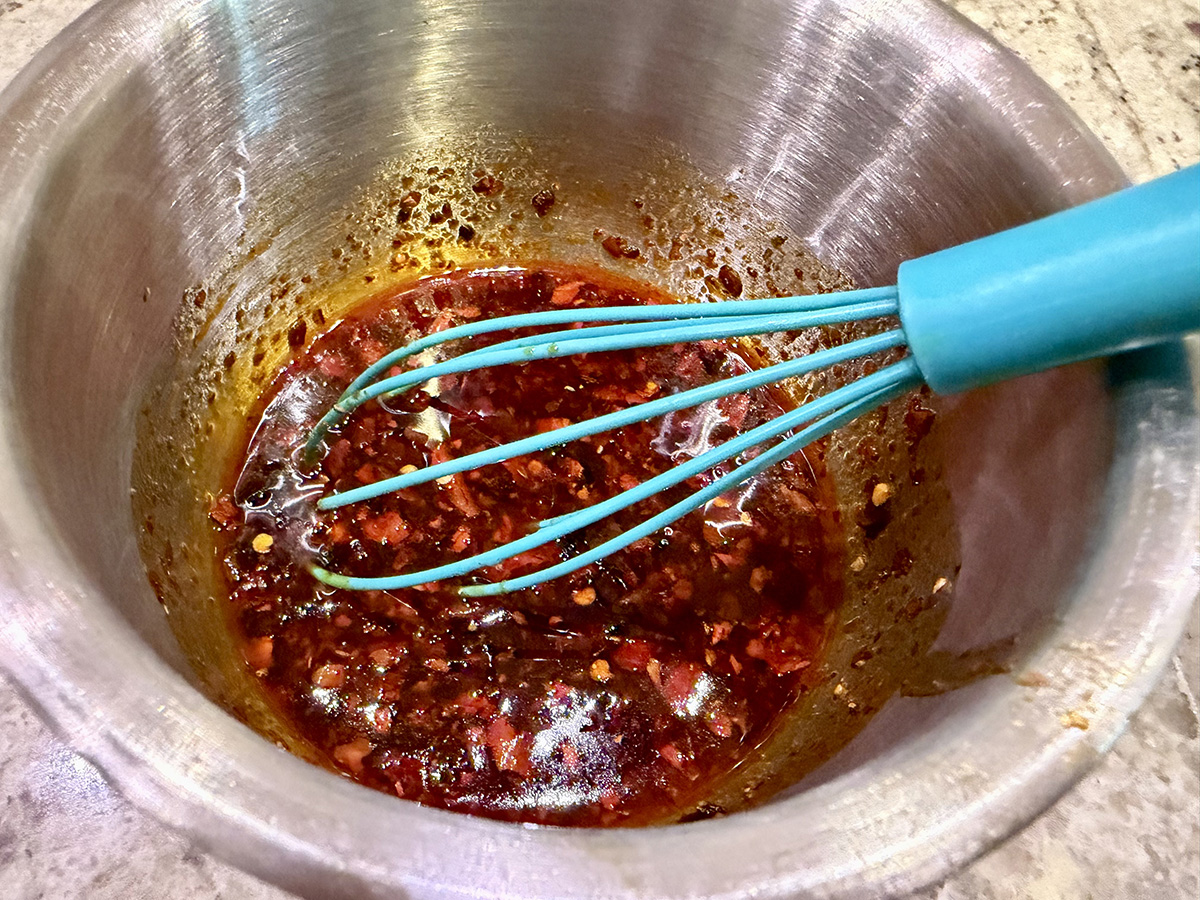
The real flavor driver here is the chile crisp, which stars in the vinaigrette, so reach for a brand you love. Since heat and saltiness vary widely between brands, taste as you go and adjust the seasoning to match.

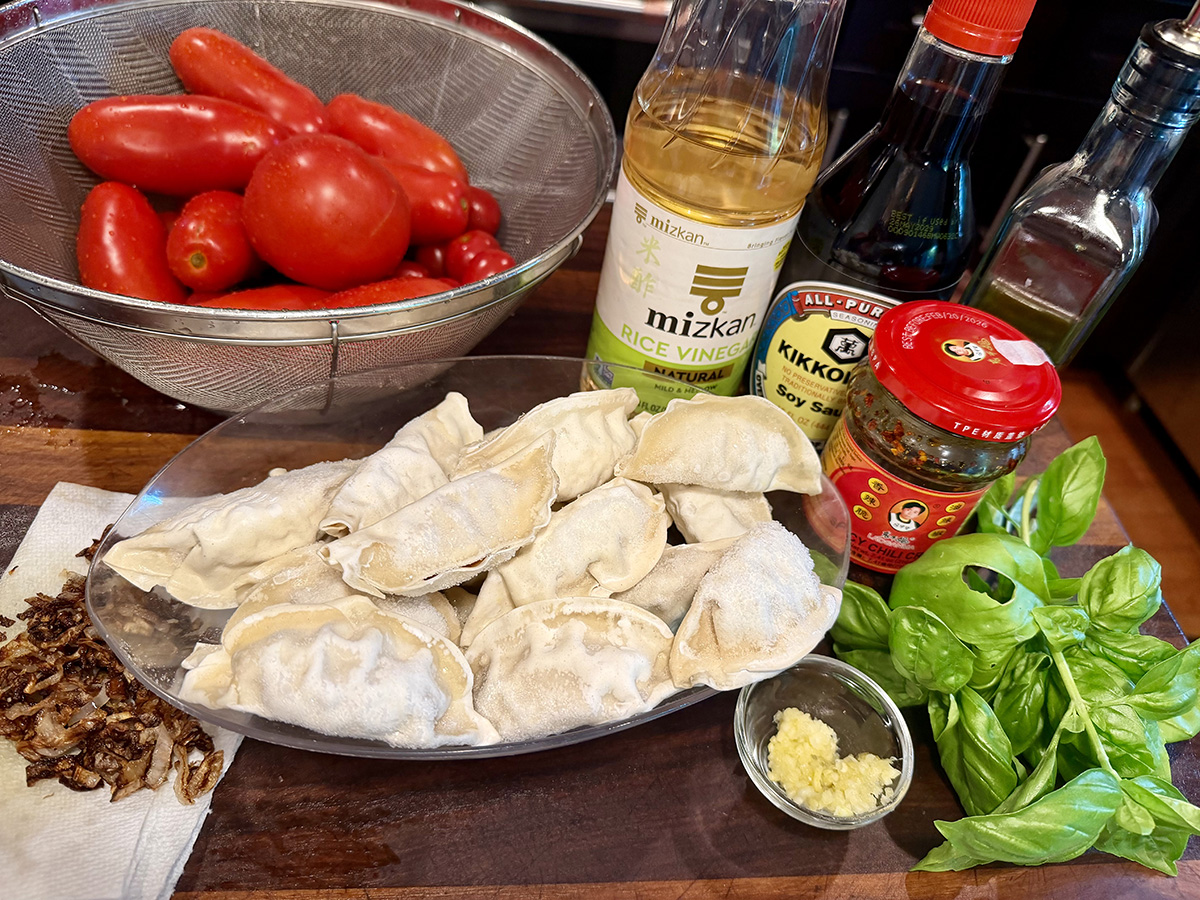
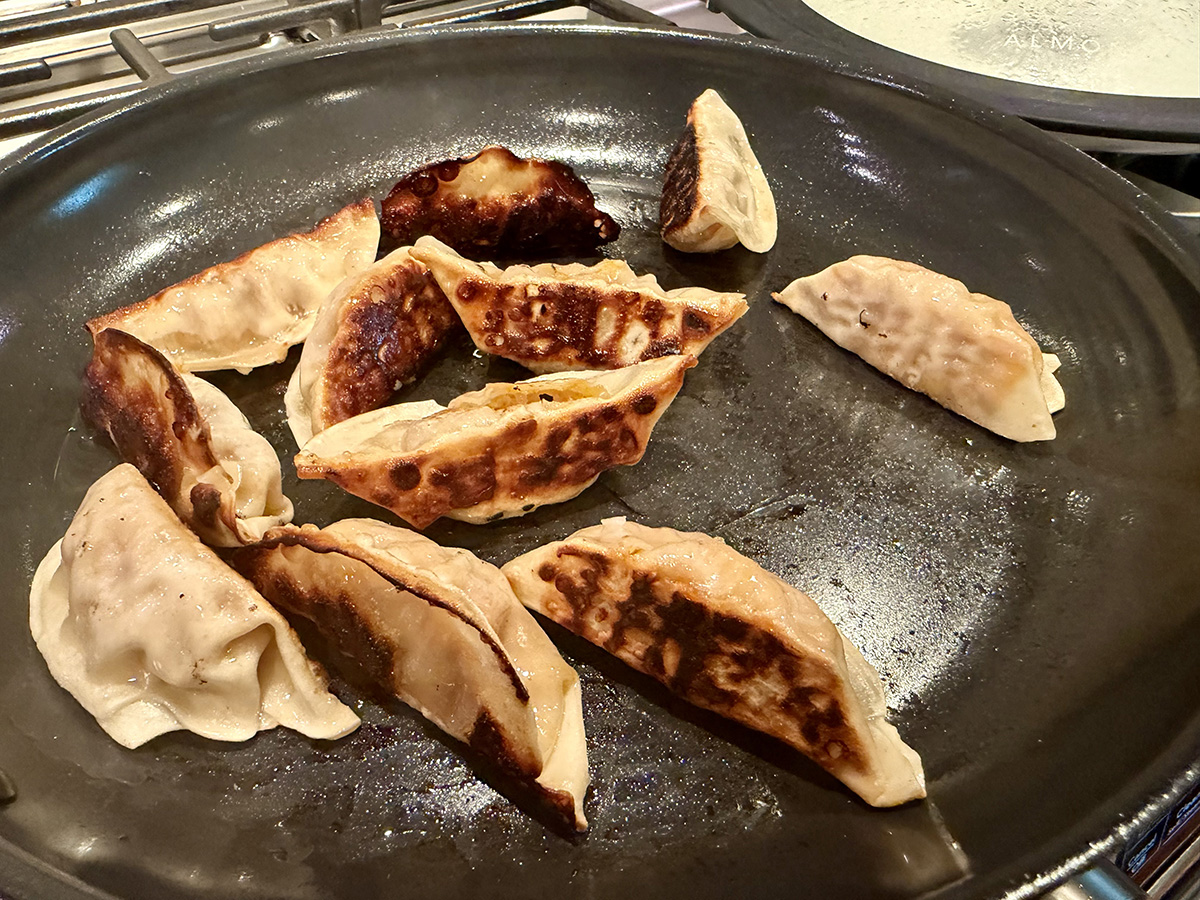
We happened to have Pork Kimchi dumplings in our freezer, and they worked out perfectly!

Dumpling Tomato Salad With Chile Crisp Vinaigrette

  • Servings: 4
  • Difficulty: easy
  • Print

Ingredients

FOR THE SALAD

  • 2 ½ lbs. ripe tomatoes (any variety), cut into roughly 1- to 2-inch pieces (at room temperature)
  • 1 garlic clove, grated
  • ½ cup basil leaves, torn
  • Kosher salt (such as Diamond Crystal brand) and black pepper
  • 1 lb. frozen potsticker dumplings (not thawed)
  • Neutral oil, such as canola or vegetable
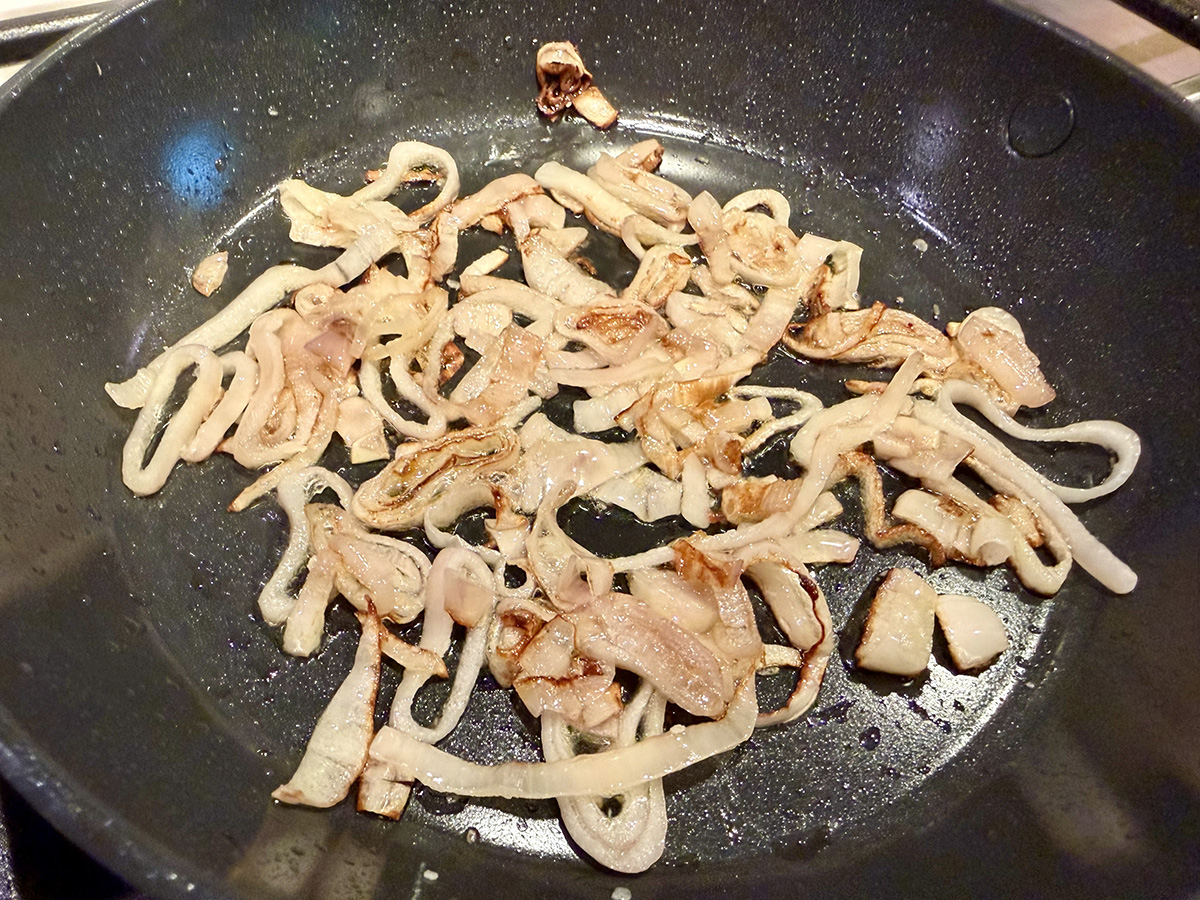
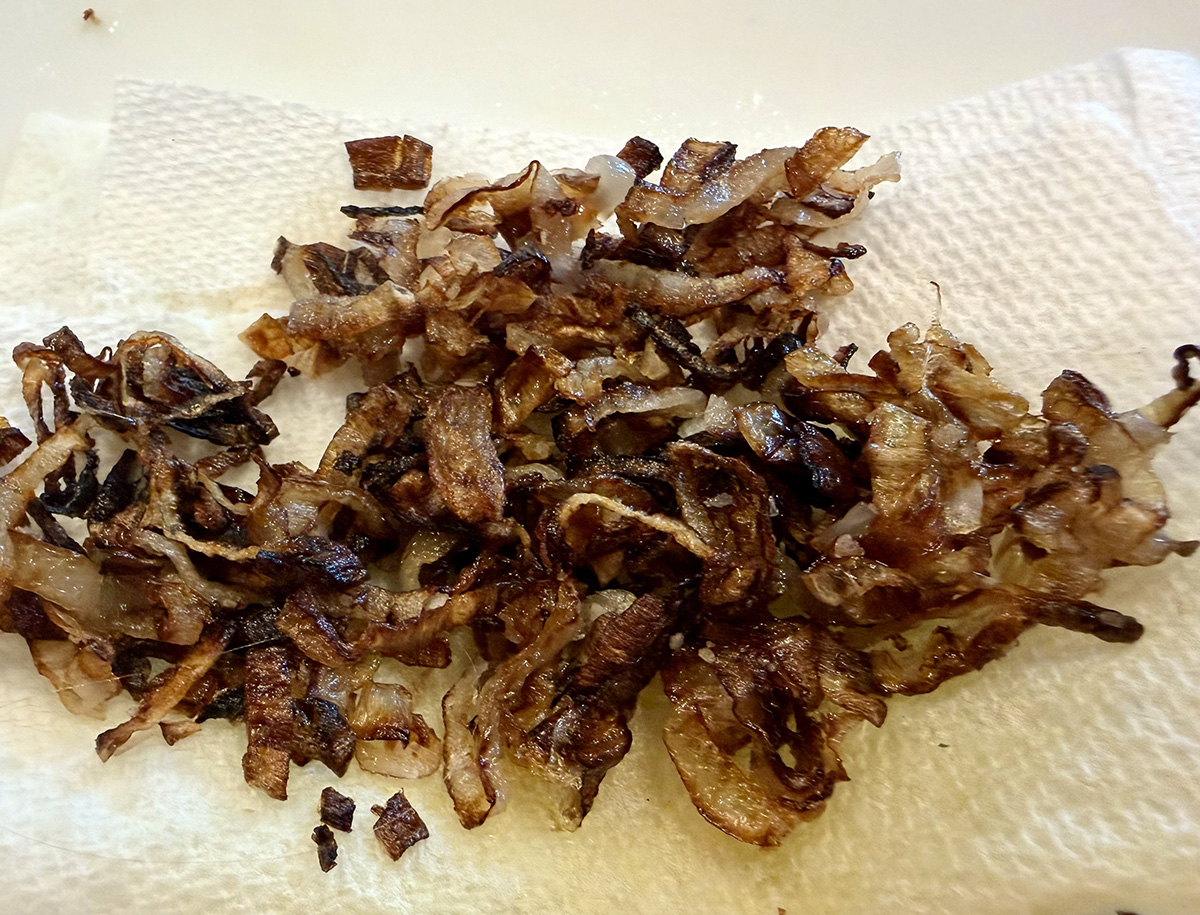
  • 1 to 2 Tbsp. store-bought crispy fried shallots (optional)

FOR THE CHILE CRISP VINAIGRETTE

  • 3 Tbsp. chile crisp (or chile oil)
  • 2 Tbsp. rice vinegar
  • 1 Tbsp. soy sauce, or more to taste

Directions

  1. Place the tomatoes on a large serving plate or in a bowl. Add the garlic, half the basil leaves, 1 teaspoon of salt and a big pinch of black pepper. Toss to combine and set aside.
  2. To make the vinaigrette, combine the chile crisp, rice vinegar and soy sauce and whisk to combine. Taste and if it needs more saltiness, add ½ teaspoon more soy sauce.
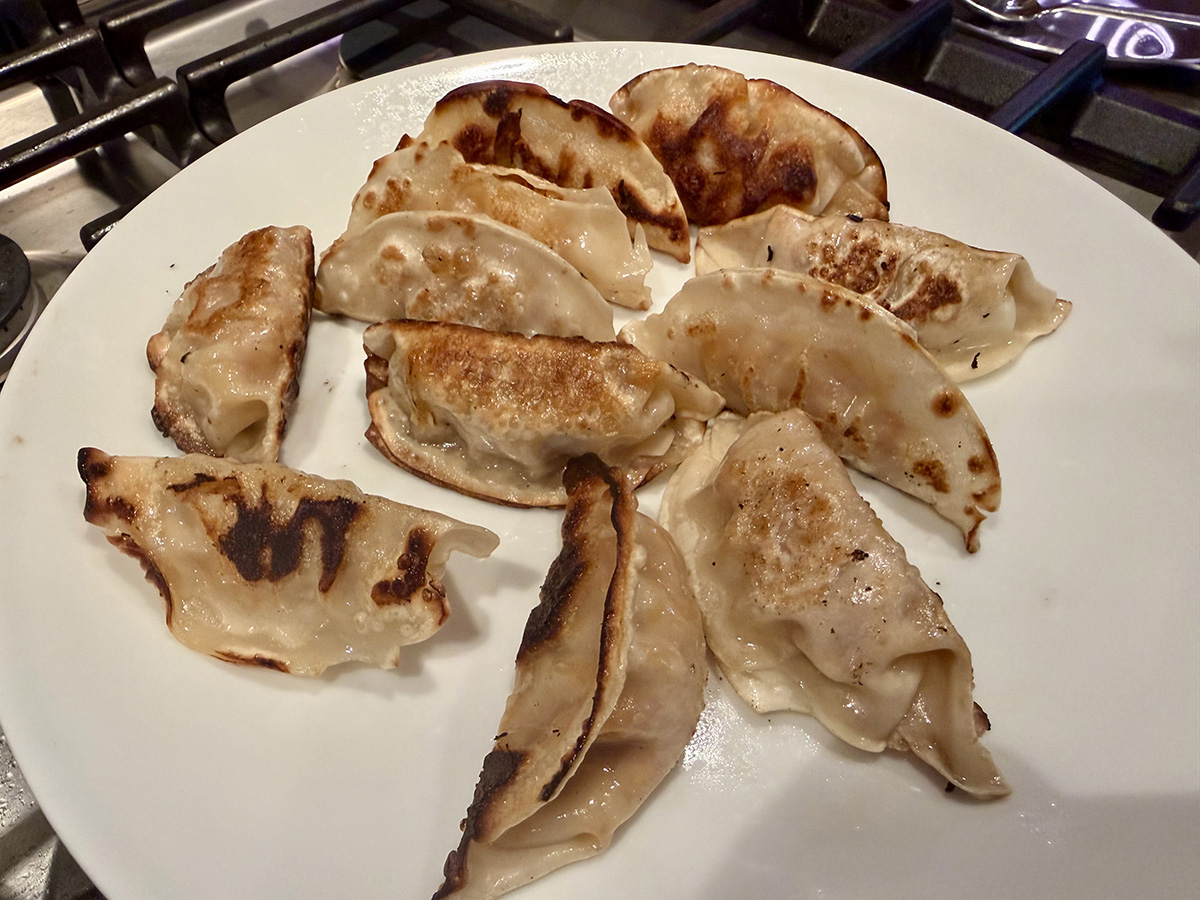
  3. Heat a large (12-inch) nonstick or well-seasoned cast-iron skillet over medium high for 1 to 2 minutes until very hot. Add 1 to 2 tablespoons of oil and, working in batches, add the dumplings, flat-side down, and cook until the bottoms of the dumplings are lightly browned, 1 to 2 minutes. Immediately add about ¼ cup of water to the pan, just enough to cover the base of the dumplings, then cover and cook until the water has evaporated, 3 to 4 minutes. (If your dumplings contain meat, cook for an extra 1 to 2 minutes, or according to packet instructions). Transfer the cooked dumplings to a plate and continue cooking the remaining dumplings. (If you prefer to steam the dumplings, see Tip.)
  4. To serve, place the warm dumplings over the tomato salad and drizzle with the chile crisp vinaigrette. Toss very gently. Top with the crispy fried shallots (if using) and the remaining basil leaves. Serve either while the dumplings are still warm or at room temperature.

http://www.lynnandruss.com

Adapted from a recipe by Hetty Lui McKinnon for NYTimes Cooking
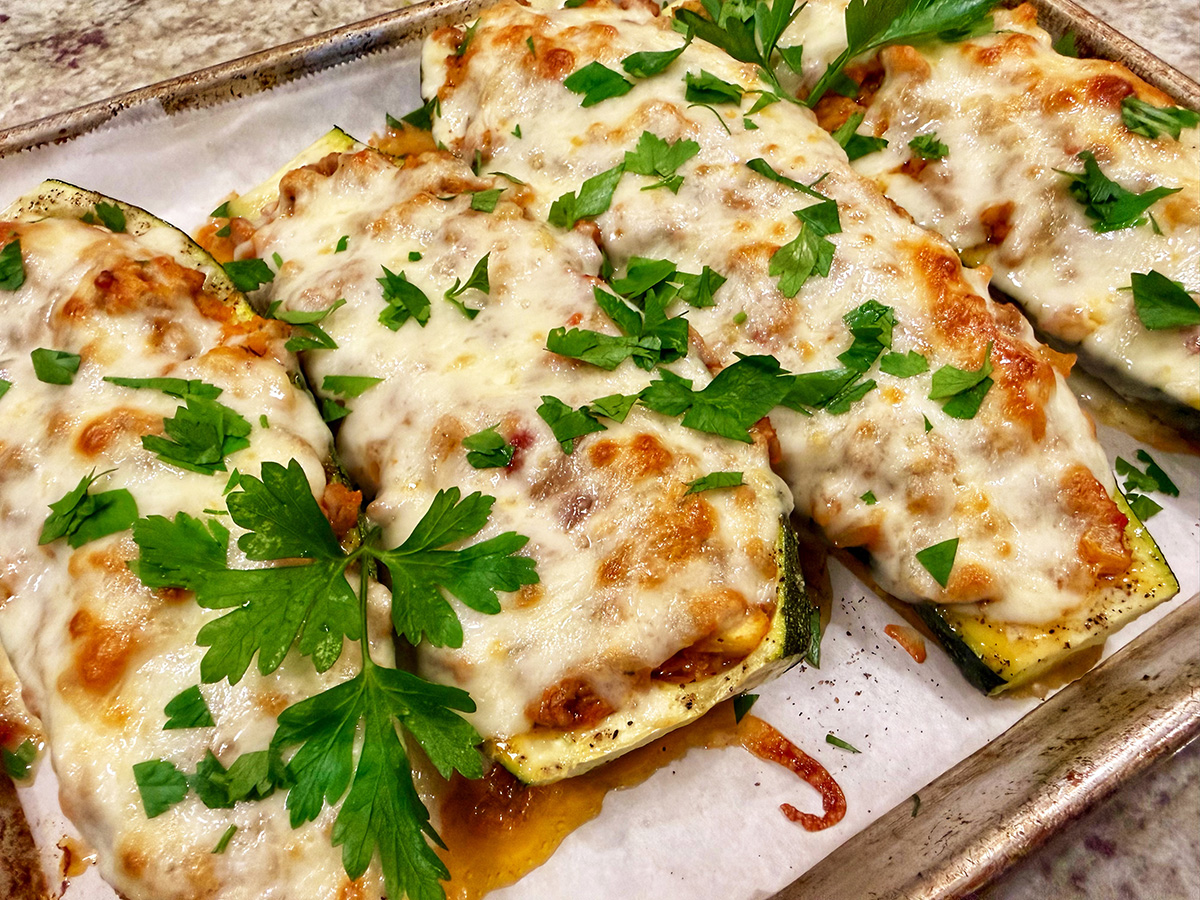
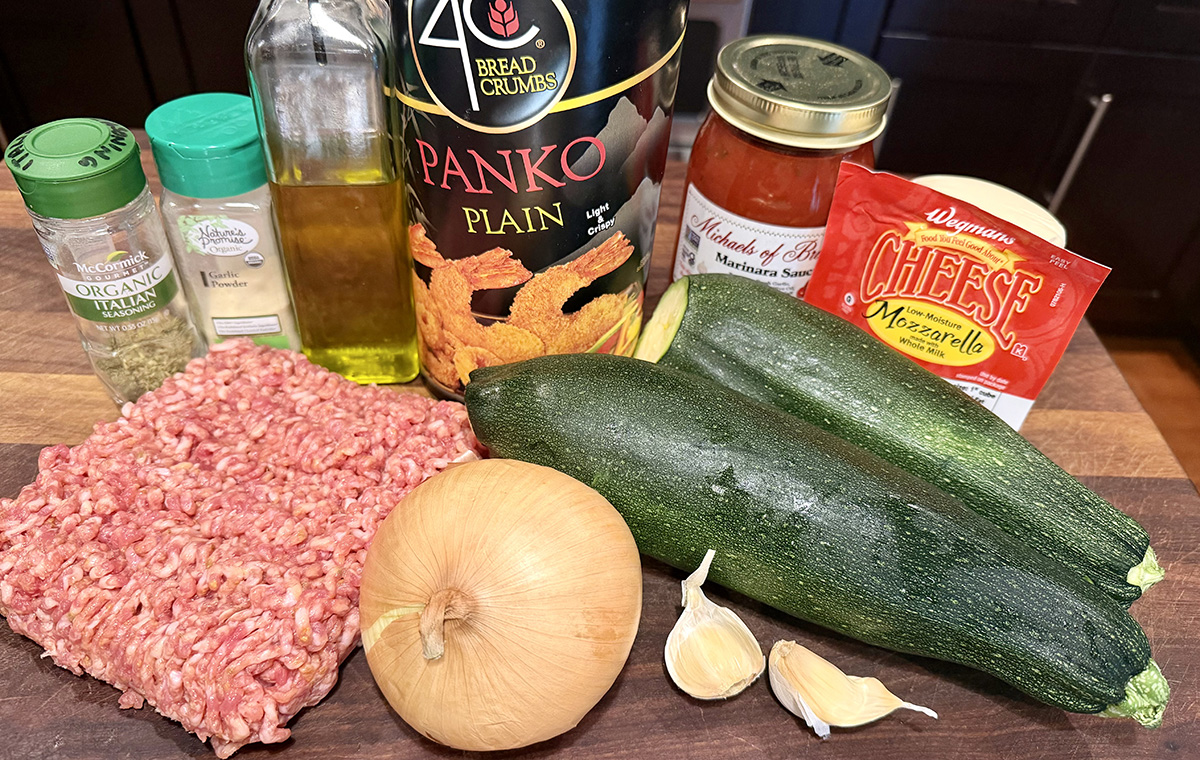
Stuffed Italian Zucchini Boats

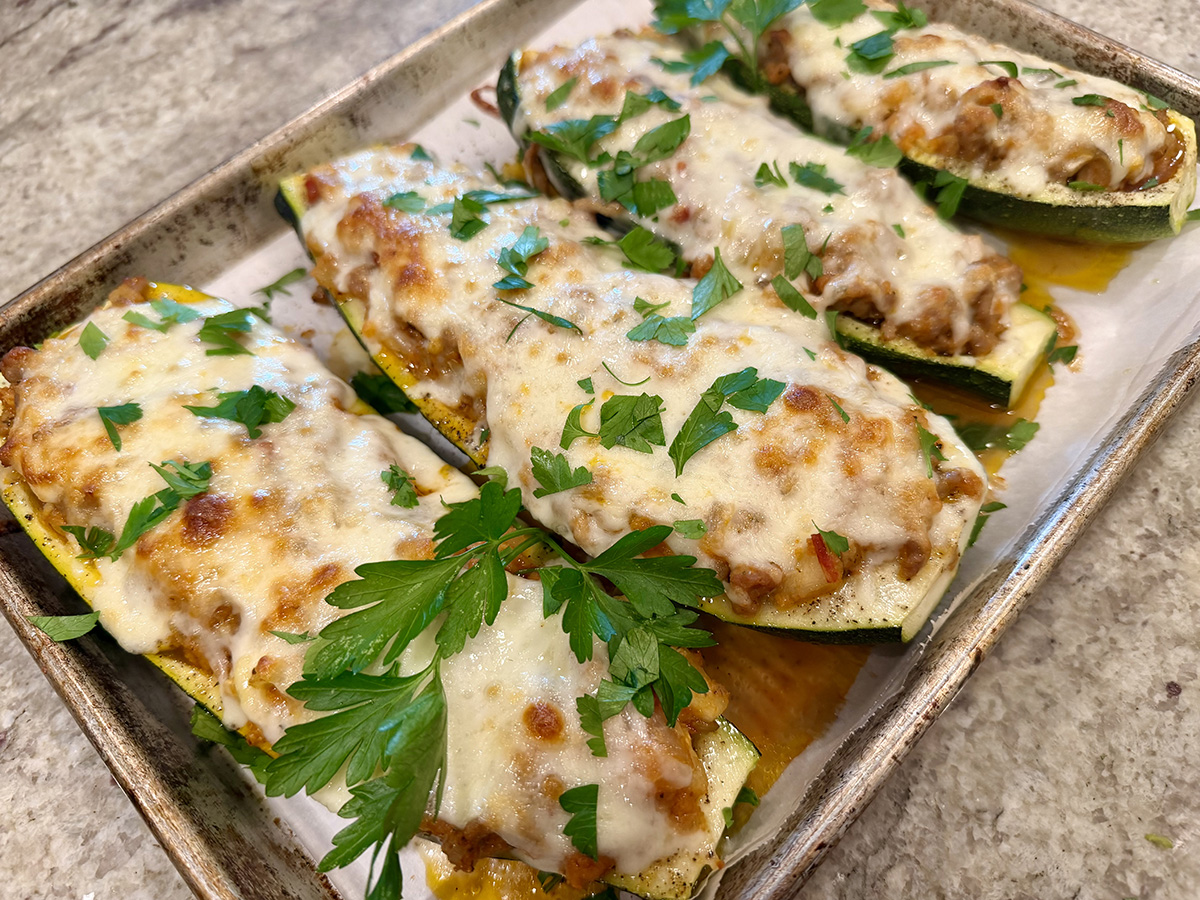
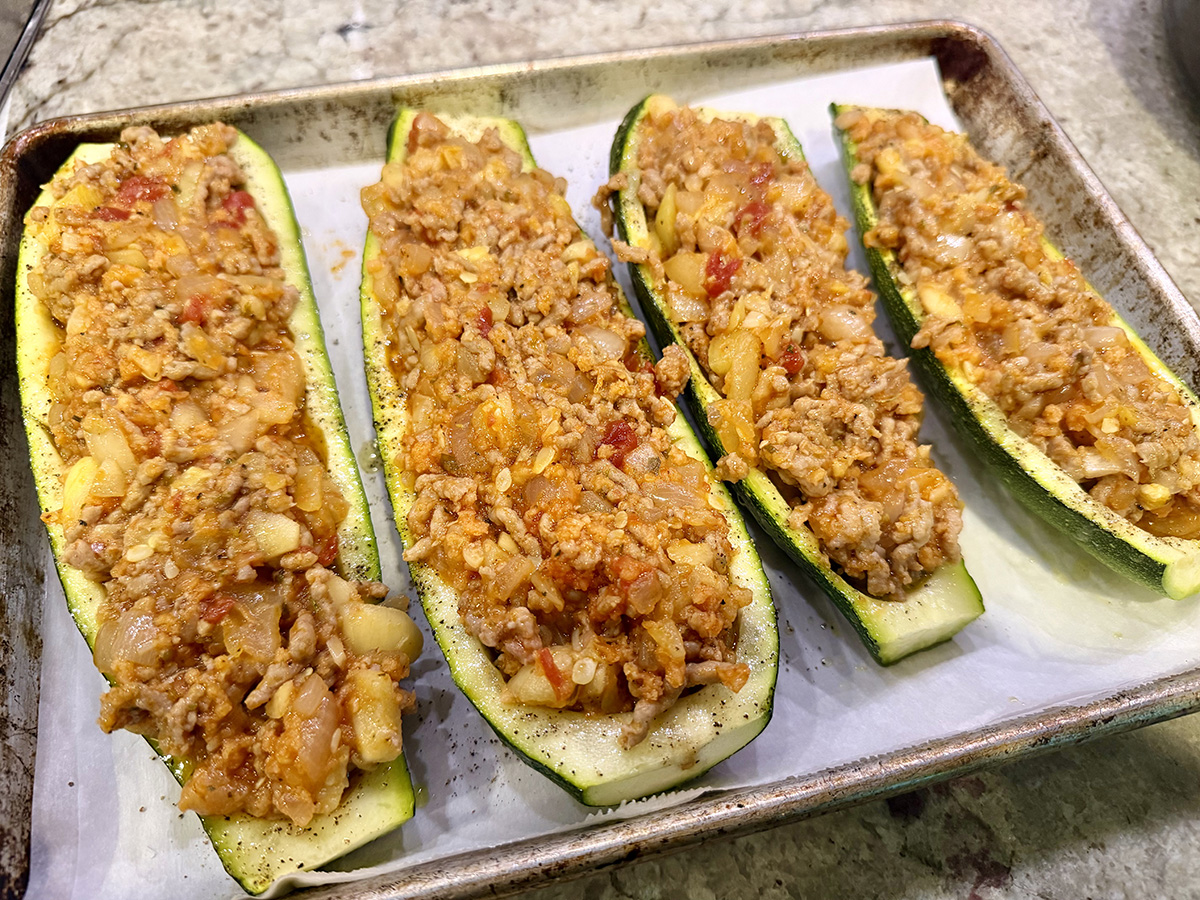
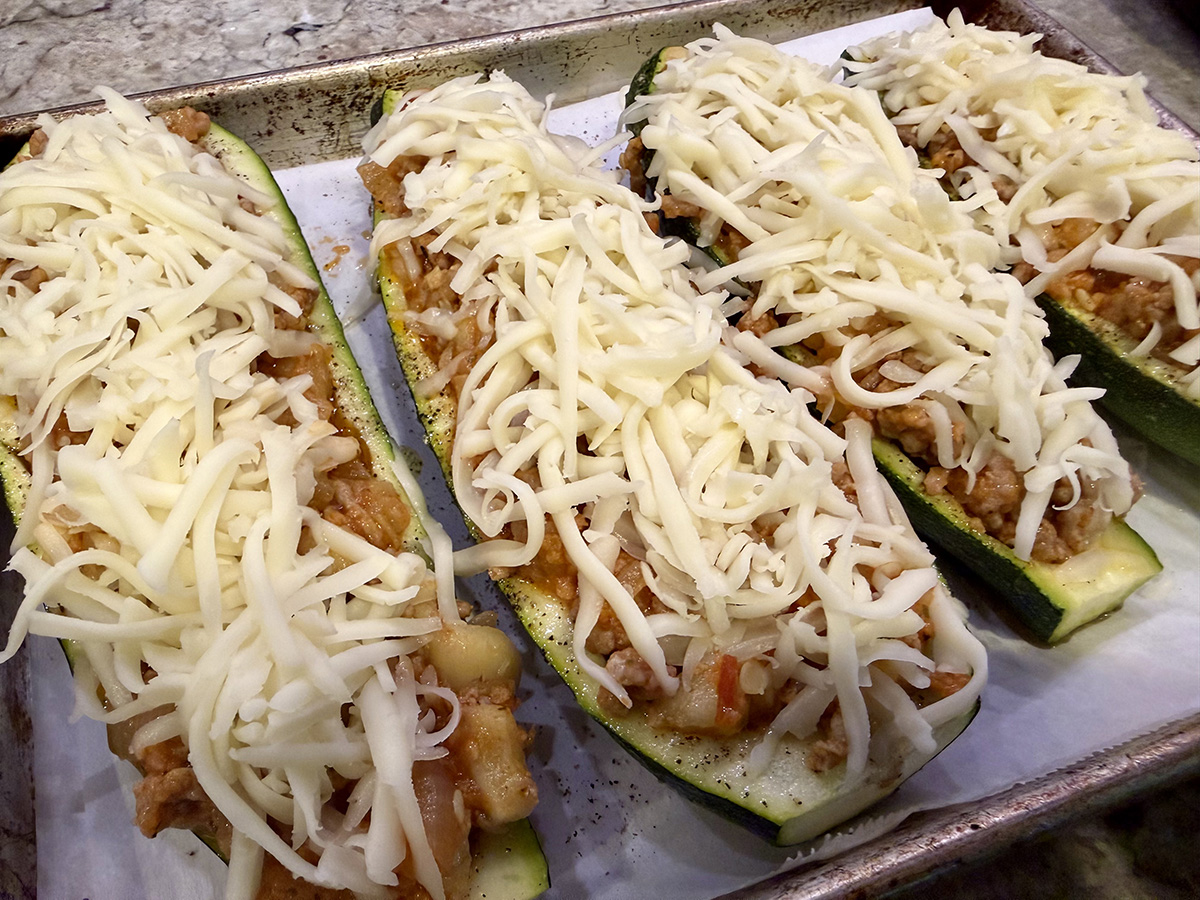
When zucchini season hits, these Stuffed Italian Zucchini Boats are a fan favorite. They’re hearty, versatile, and the perfect way to turn fresh zucchini into a full meal. Stuffed to the brim with seasoned Italian sausage, marinara sauce, Italian-inspired seasonings, they are topped with a layer of mozzarella cheese and then baked to bubbling perfection.

If the boats are too thin, they’ll collapse, so make sure to leave enough flesh in to support the filling, keeping a ¼-½ inch rim around each zucchini. Make sure to bake the zucchini halves first. This helps eliminate some of the moisture, so they firm up and don’t fall apart when you fill them.

TIP: If your scooped out zucchini flesh has lots of moisture, you can squeeze it in a paper towel before you chop it. Removing some of the moisture will ensure you get the best flavor, as excess moisture will dilute it. Or sauté the flesh in a bit of olive oil as mentioned below.

Italian sausage is pre-seasoned with herbs and spices, which adds lots of flavor to the filling. You can also use ground beef, ground turkey, or even Italian turkey sausage instead.

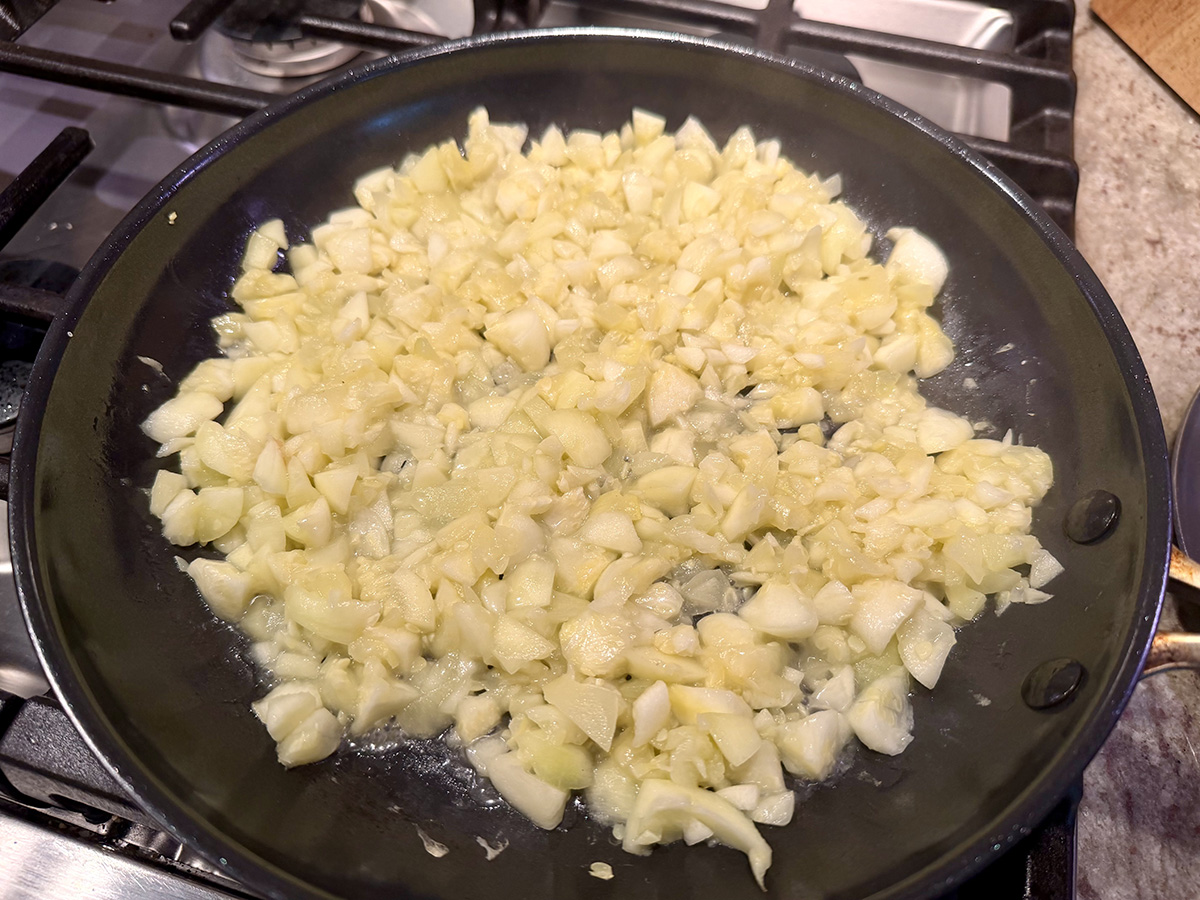
We made a few alterations, starting with using only two large zucchini, which is plenty for four servings, while the mozzarella was increased to two cups. To insure that all excess moisture was removed from the scooped out zucchini flesh, we sautéed it in a bit of olive oil for about 5 minutes and added the full amount to the meat mixture.

That being said, we did end up with about 1 1/2 cups worth of filling, but plan on eating that by itself with perhaps a bit of extra marinara.

Stuffed Italian Zucchini Boats

  • Servings: 4
  • Difficulty: easy
  • Print

Ingredients

  • 2 large zucchini
  • 1½ Tbsp. cooking oil, divided
  • 1 lb. Italian ground sausage
  • 1 small yellow onion
  • 2 garlic cloves
  • ½ tsp. Italian seasoning
  • ¾ tsp. salt, divided
  • ½ tsp. freshly cracked black pepper
  • ¼ tsp. garlic powder
  • ¾ cup marinara sauce
  • ¼ cup breadcrumbs
  • 2 cups shredded mozzarella
  • Fresh parsley, chopped, for garnish

Directions

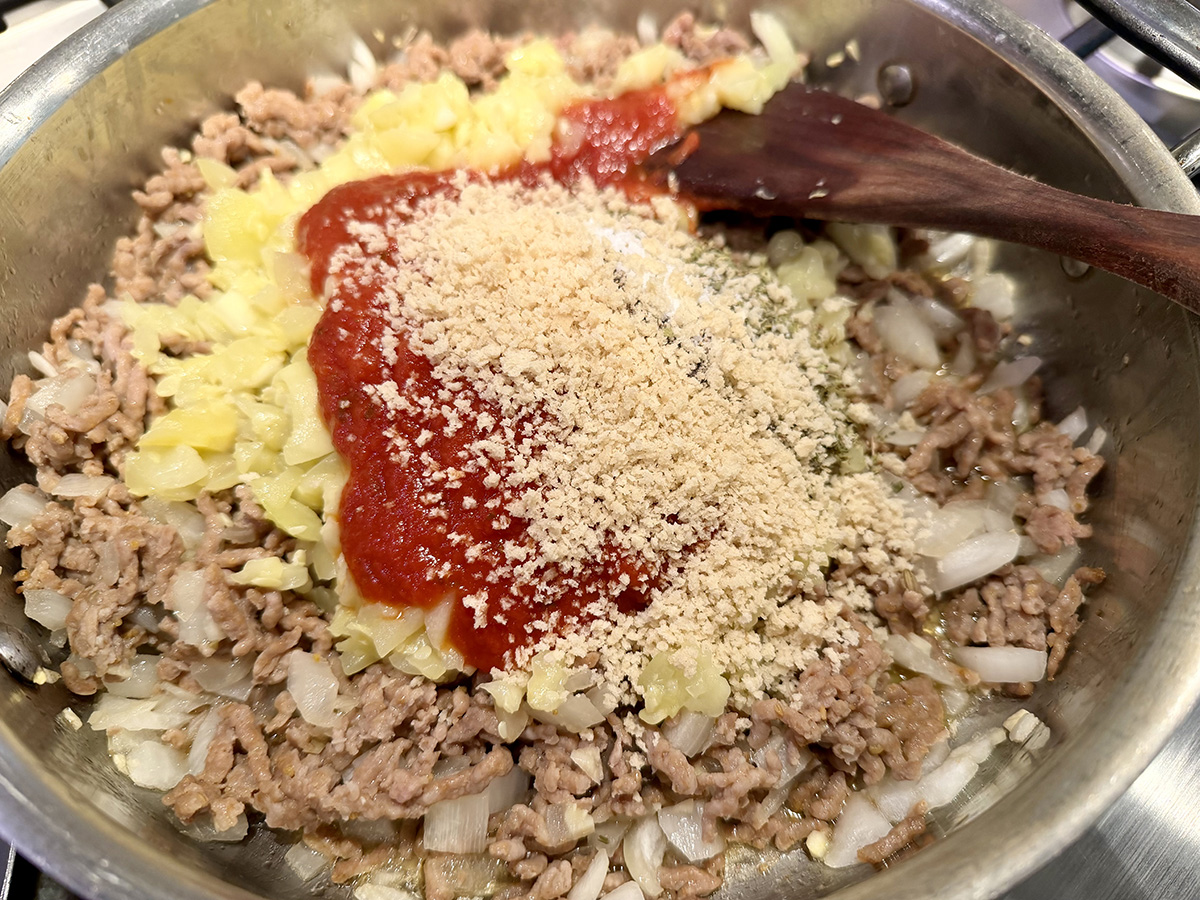
  1. Preheat the oven to 375°F. Wash the zucchini well, trim off the top stem, then slice each one in half lengthwise. Use a spoon or a melon baller to remove the flesh from the center of the zucchini halves, leaving a ¼-½ inch rim around each. Roughly chop the scooped-out zucchini flesh into small pieces and set aside.
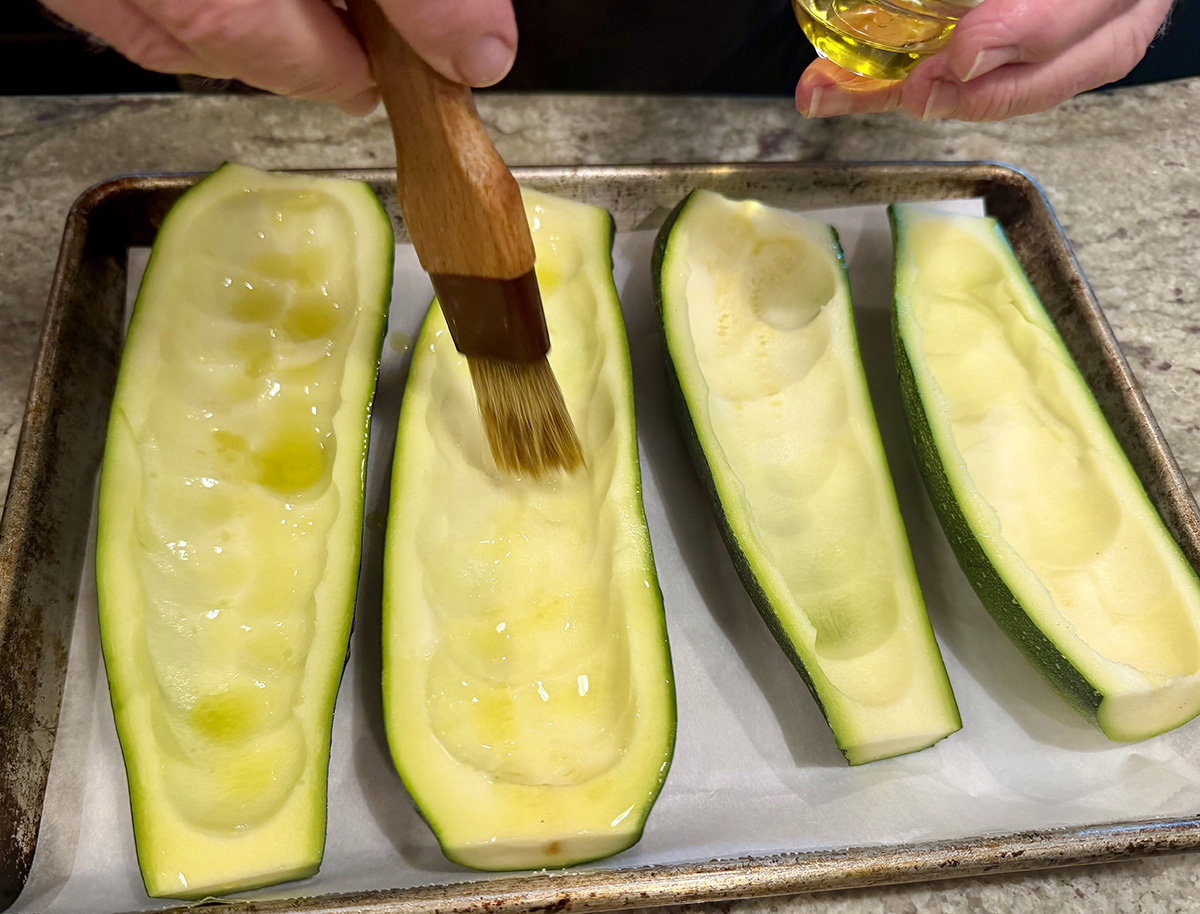
  2. Place the scooped out zucchini halves on a parchment-lined baking sheet. Brush the insides of the zucchini with ½ tablespoon of oil and season with ¼ teaspoon salt and ¼ teaspoon black pepper. Pre-bake the zucchini in the oven for 17-20 minutes, then remove from the oven and set aside.
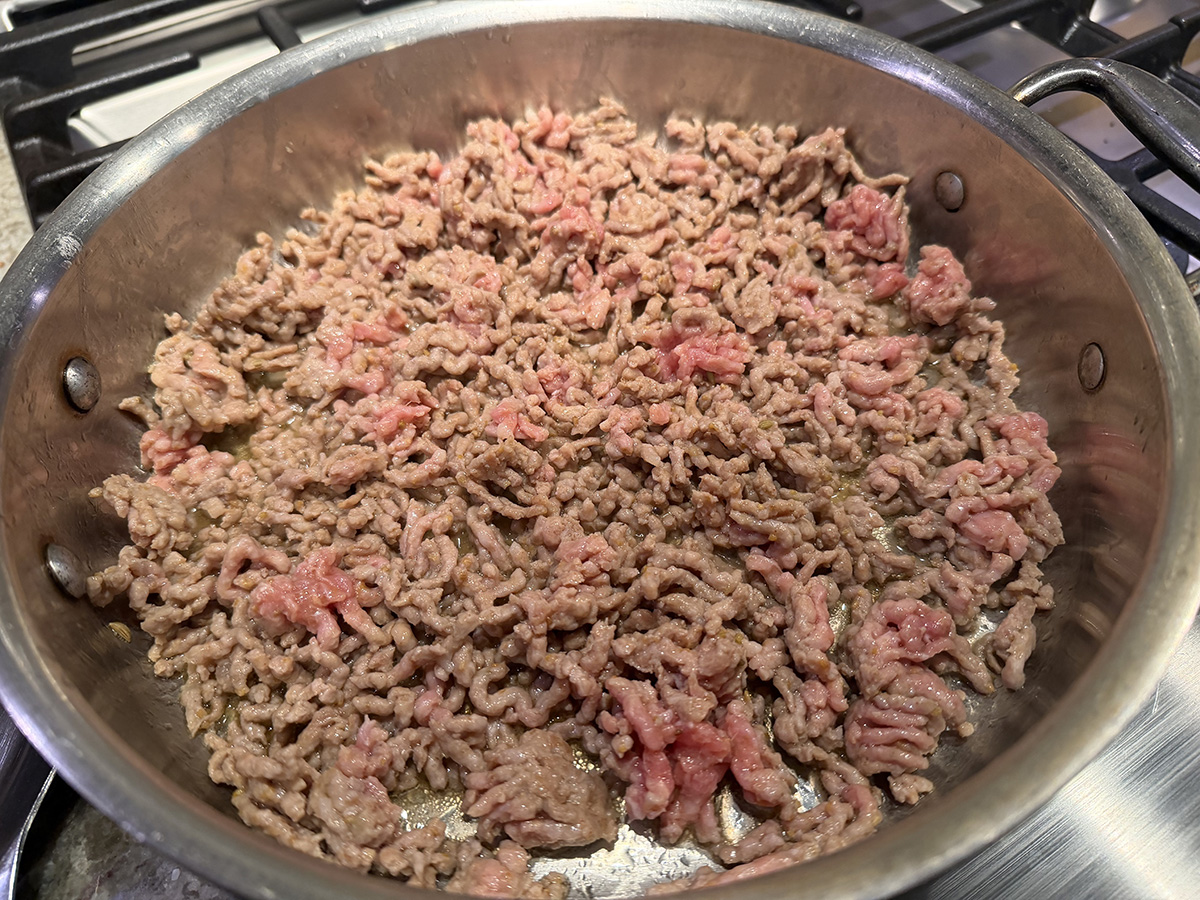
  3. While the zucchini is baking, make the filling. Heat a large skillet over medium heat and add 1 tablespoon of oil. Brown the Italian sausage.
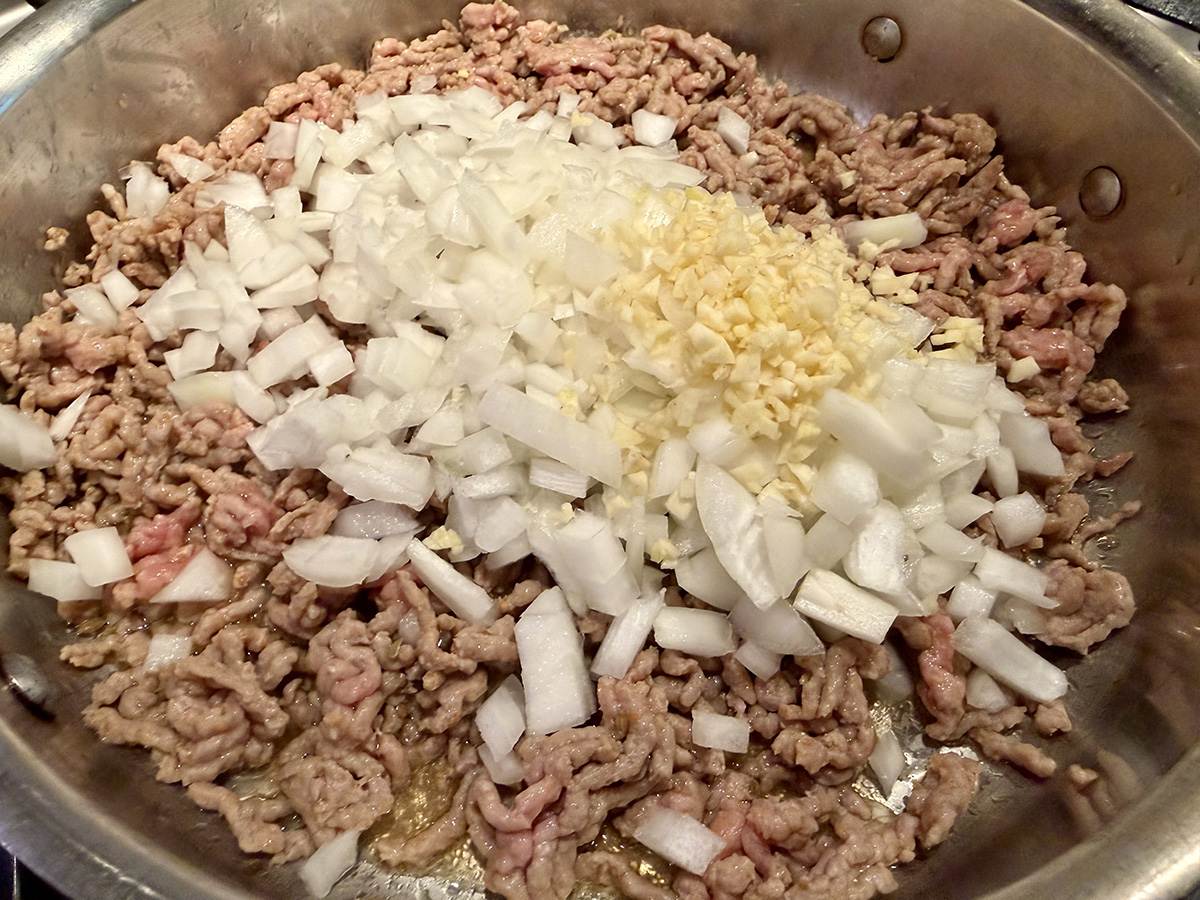
  4. Once the sausage has browned, add the diced onion and minced garlic to the skillet. Continue to sauté over medium heat until the onion is translucent and the garlic is fragrant, about 5 minutes.
  5. While the onion cooks with the sausage, sauté the chopped zucchini in a nonstick pan over medium heat for about 5 minutes to remove excess moisture.
  6. Next, add the Italian seasoning, ½ teaspoon salt, ¼ teaspoon black pepper, garlic powder, marinara sauce, breadcrumbs, and the sautéed zucchini flesh. Stir to combine. Simmer the mixture over medium-low heat for 5 minutes.
  7. Next, stuff the scooped-out zucchini boats with the sausage mixture. Top with the shredded mozzarella cheese. Place the zucchini boats back in the oven and bake for 15-17 minutes until the cheese is melted and the sausage mixture is bubbly around the sides. Garnish with fresh chopped parsley.

http://www.lynnandruss.com

Adapted from a recipe by Marsha McDougal

Chicken Pesto Pasta

This chicken pesto pasta comes together with a handful of simple, flavorful ingredients in less than half an hour. If you are making your own pesto the amount of time will increase. Make it a day or two ahead and save time on dinner night. (A Classic Pesto recipe follows.)

Ridged pasta like penne works especially well, as the grooves help hold onto the creamy sauce, though any shape—even spaghetti or homemade pasta—can be used. (We used gemelli here.) Boneless, skinless chicken breast provides a lean counterpoint to the richness of the sauce, while kosher salt, black pepper, red pepper flakes, and Italian seasoning bring layers of savory, aromatic flavor with a bit of a kick. A good extra virgin olive oil is used to pan-sear the chicken, giving it a golden, flavorful crust.

The sauce gets its velvety texture from just a small amount of heavy cream, along with freshly grated Parmesan for deep umami flavor—block Parmesan is preferred over pre-grated for maximum taste. Sun-dried tomatoes add tangy, slightly sweet bursts of flavor and pleasant texture that balance the richness of the pesto and chicken, with halved cherry tomatoes serving as a suitable substitute if needed.

TIP: If you think you might have leftovers, save some of the pasta cooking water to add to the remains before you refrigerate. Leftovers were just as good, if not better!
Basil pesto, whether homemade or a high-quality store-bought version, ties the dish together, while a final garnish of fresh basil leaves adds brightness and helps balance the creaminess of the sauce.

Chicken Pesto Pasta

  • Servings: 4
  • Difficulty: easy
  • Print

Ingredients

  • 1 lb. boneless skinless chicken breasts, cut into 1-inch pieces
  • 1 tsp. Italian seasoning
  • Kosher salt
  • Black pepper
  • 8 oz. penne pasta, preferably with ridges
  • 2 Tbsp. extra virgin olive oil
  • 1/2 cup heavy cream
  • 1/4 cup parmesan cheese, plus more for serving if you like
  • 1/4 cup sun dried tomatoes, drained if packed in oil
  • 1/2 cup basil pesto, homemade or quality store-bought, plus more if you like
  • 1/2 to 1 tsp. red pepper flakes
  • Handful of torn basil leaves, for garnish

Directions

  1. Add the chicken to a bowl and season with the Italian seasoning and a big pinch each of kosher salt and black pepper. Toss to coat.
  2. Bring a medium pot of water to a boil and salt it well with about 1 tablespoon of salt. Drop the pasta in the boiling water and cook until al dente according to package instructions (about 8 to 9 minutes).
  3. While the pasta is cooking, add the olive oil to a large non-stick skillet and heat over medium-high. Add the chicken and cook, tossing occasionally, until golden brown on the outside and cooked through, about 7 to 8 minutes.
  4. When the pasta is ready, reserve about 1 cup of the cooking water and drain.
  5. To the pan with the chicken, lower the heat and stir in the cooked pasta, heavy cream, parmesan, and sundried tomatoes. Stir until everything is well combined. If it looks a bit dry, add a splash of the pasta cooking water (a couple tablespoons at a time) until the pasta is glossy and coated in the creamy sauce.
  6. Turn off the heat and take the pan off the burner. Stir in the basil pesto and finish with a sprinkle of grated parmesan, red pepper flakes, and basil leaves. Serve.

http://www.lynnandruss.com

Adapted from a recipe from themediterraneandish.com

Pesto alla Genovese

  • Difficulty: easy
  • Print

Pesto alla Genovese (Classic Basil Pesto Sauce)

Ingredients

  • 2 medium cloves garlic
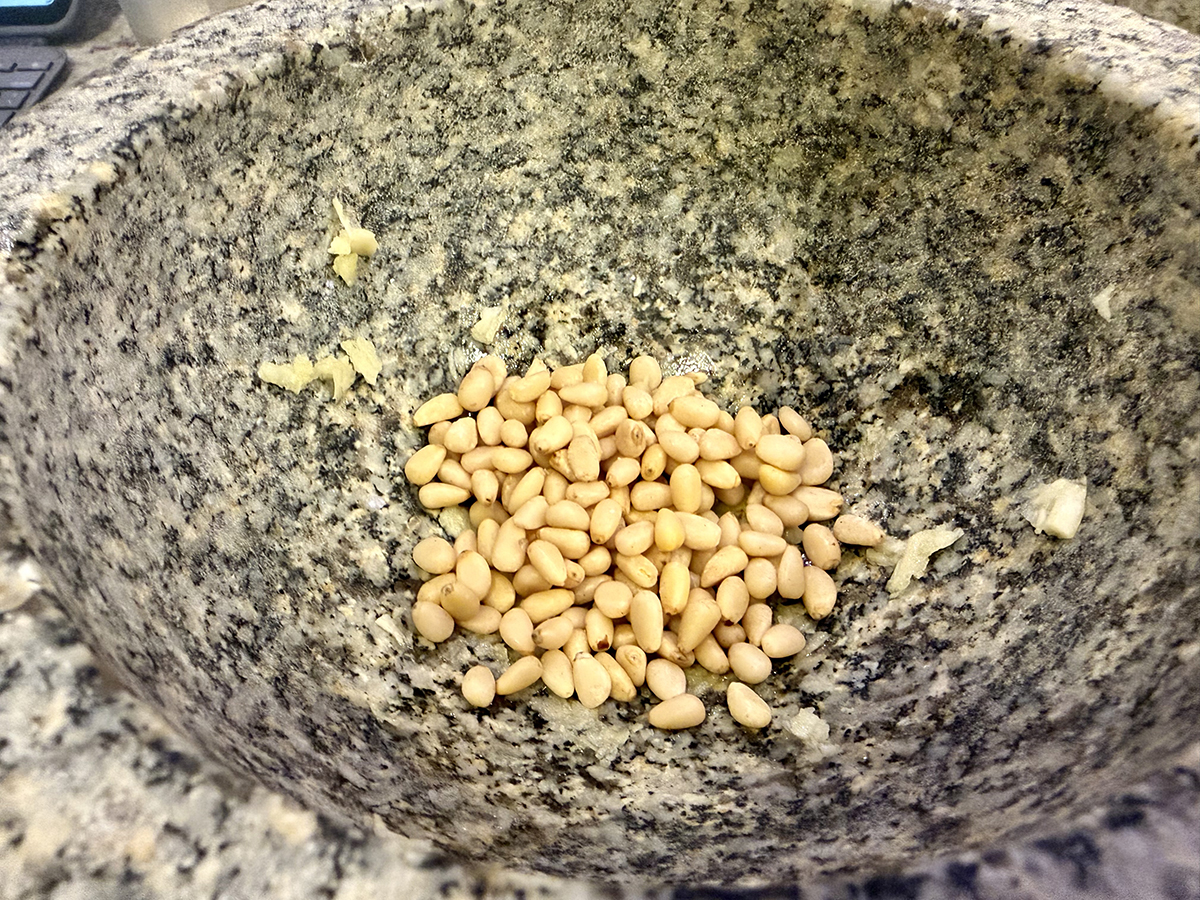
  • 2 Tbsp. pine nuts
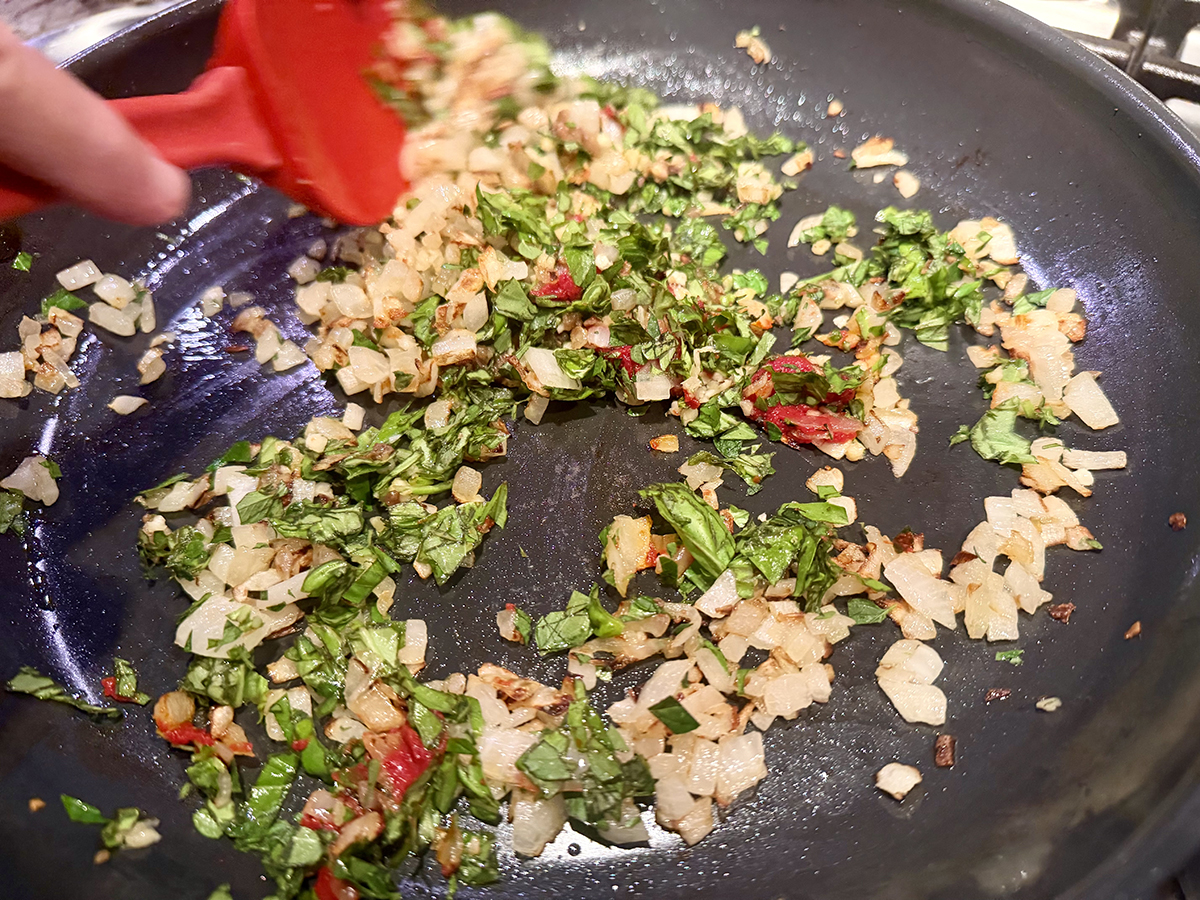
  • 3 oz. fresh basil leaves, washed with water still clinging to the leaves (about 4 cups basil leaves)*
  • Coarse sea salt, as needed
  • 3/4 oz (about 2 Tbsp.) grated Parmigiano-Reggiano cheese
  • 3/4 ounce (about 2 Tbsp.) Pecorino Romano
  • 1/2 to 3/4 cup mildly flavored extra-virgin olive oil

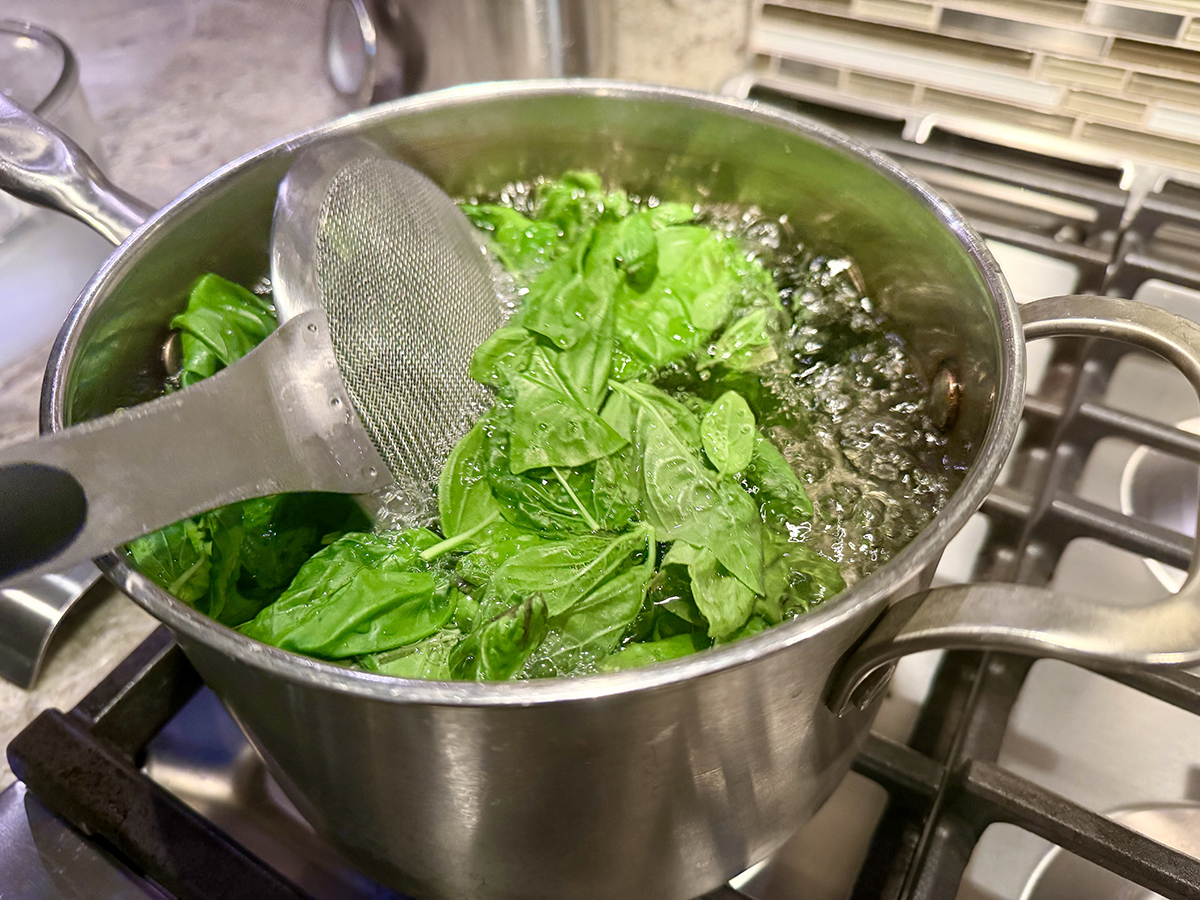
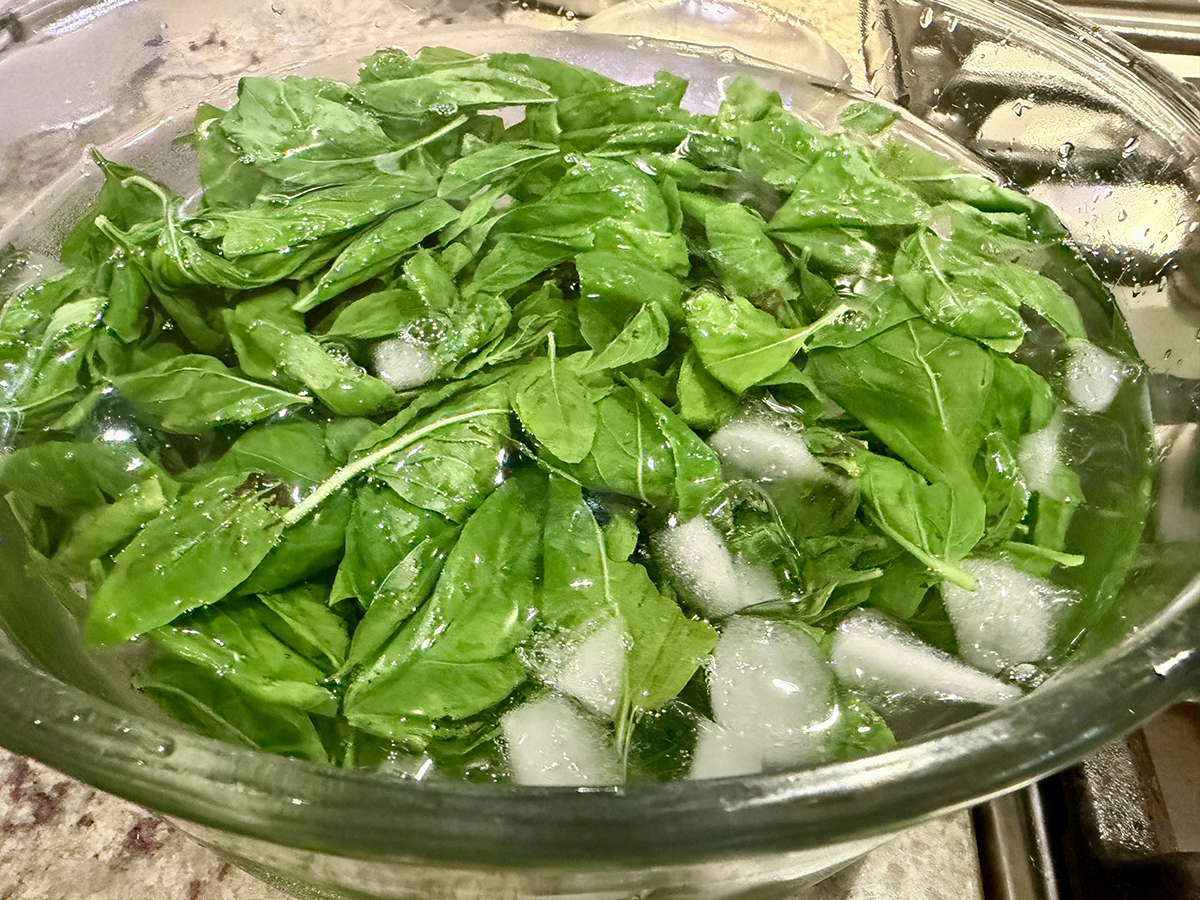
*To preserve the bright green color, drop the basil leaves in boiling water and blanch just until they’re wilted, only 5 seconds. Immediately use tongs to transfer the basil leaves to a bowl of prepared ice water. This stops them from continuing to cook. Wrap the basil in paper towels. Squeeze to wring out all the water (or use a salad spinner) and transfer to the mortar along with the mashed garlic and pine nuts.

Directions

  1. Using a marble mortar and wooden pestle, pound the garlic to a paste.
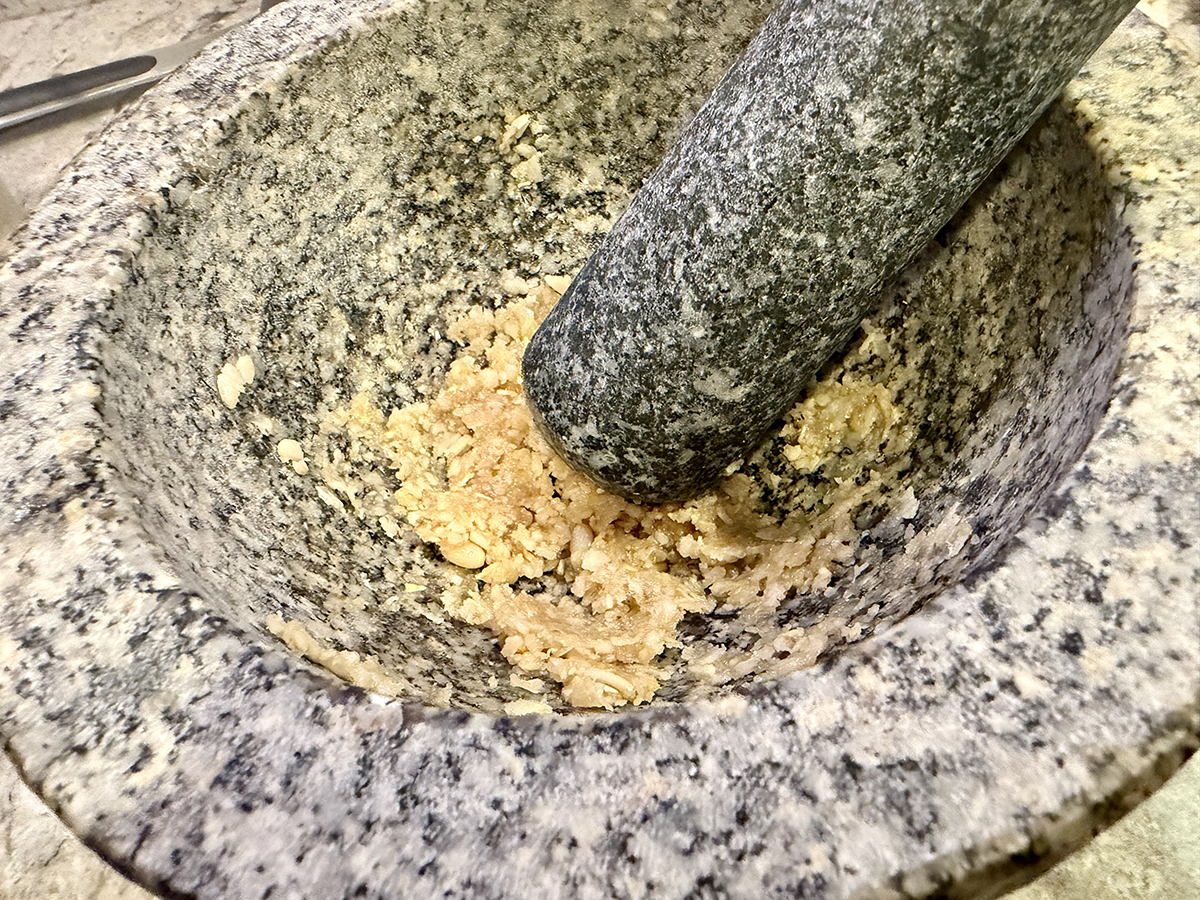
  2. Add pine nuts and continue to crush with pestle, smashing and grinding them, until a sticky, only slightly chunky, beige paste forms.
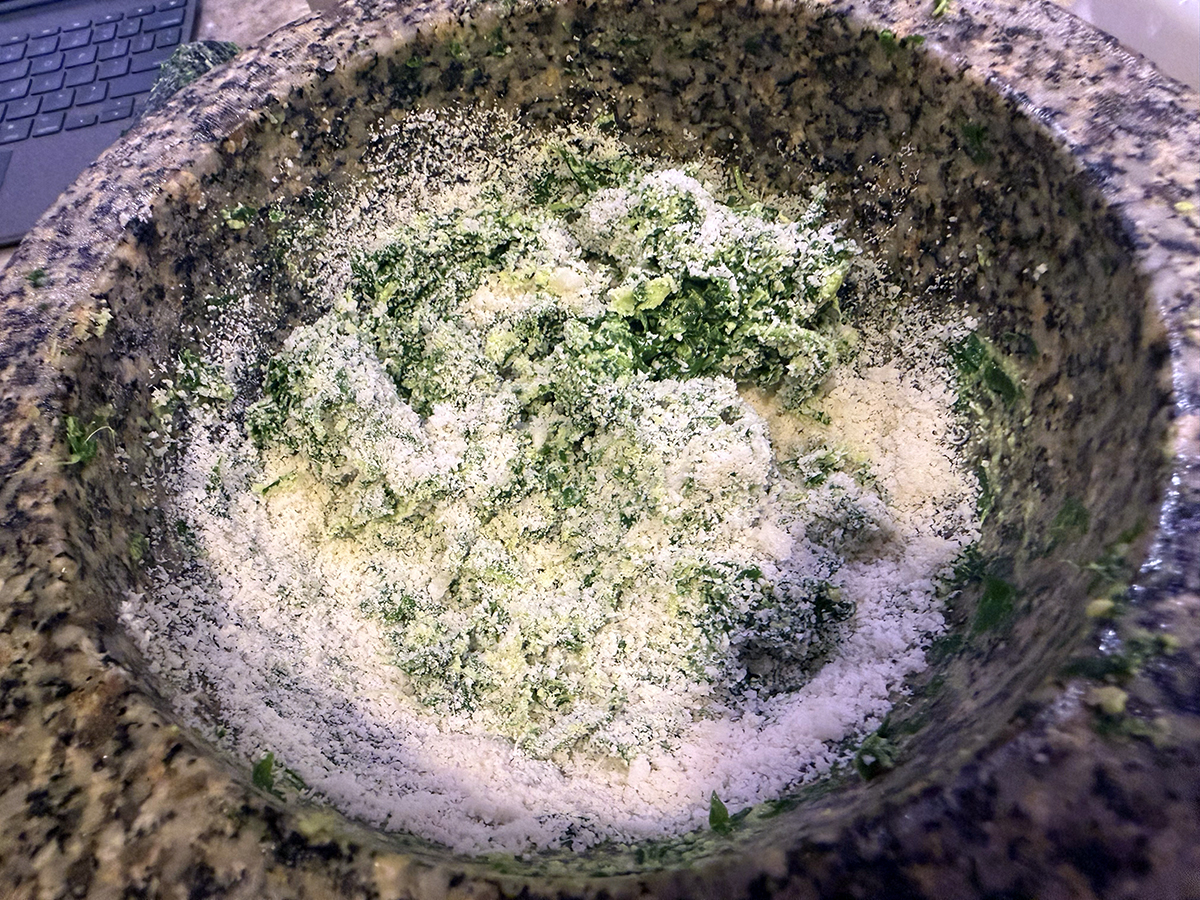
  3. Add basil leaves a handful at a time and pound and grind against the walls of the mortar. Add pinch of salt with each handful to act as an abrasive. Continue until all basil leaves have been crushed to fine bits.
  4. Add both cheeses, then slowly drizzle in olive oil, working it into the pesto with the pestle until a fairly smooth, creamy, emulsified sauce forms. Add more oil, if desired.
  5. Pesto can be served with pasta right away or transferred to a jar or container, covered with a small layer of olive oil, and sealed and refrigerated overnight.

http://www.lynnandruss.com

One week later we made the same dish using the remaining pesto and half box of gemelli, but switching out the chicken breasts for sausage. Links were first browned in a little olive oil, then removed from the skillet, sliced diagonally, then returned to the pan and browned further.

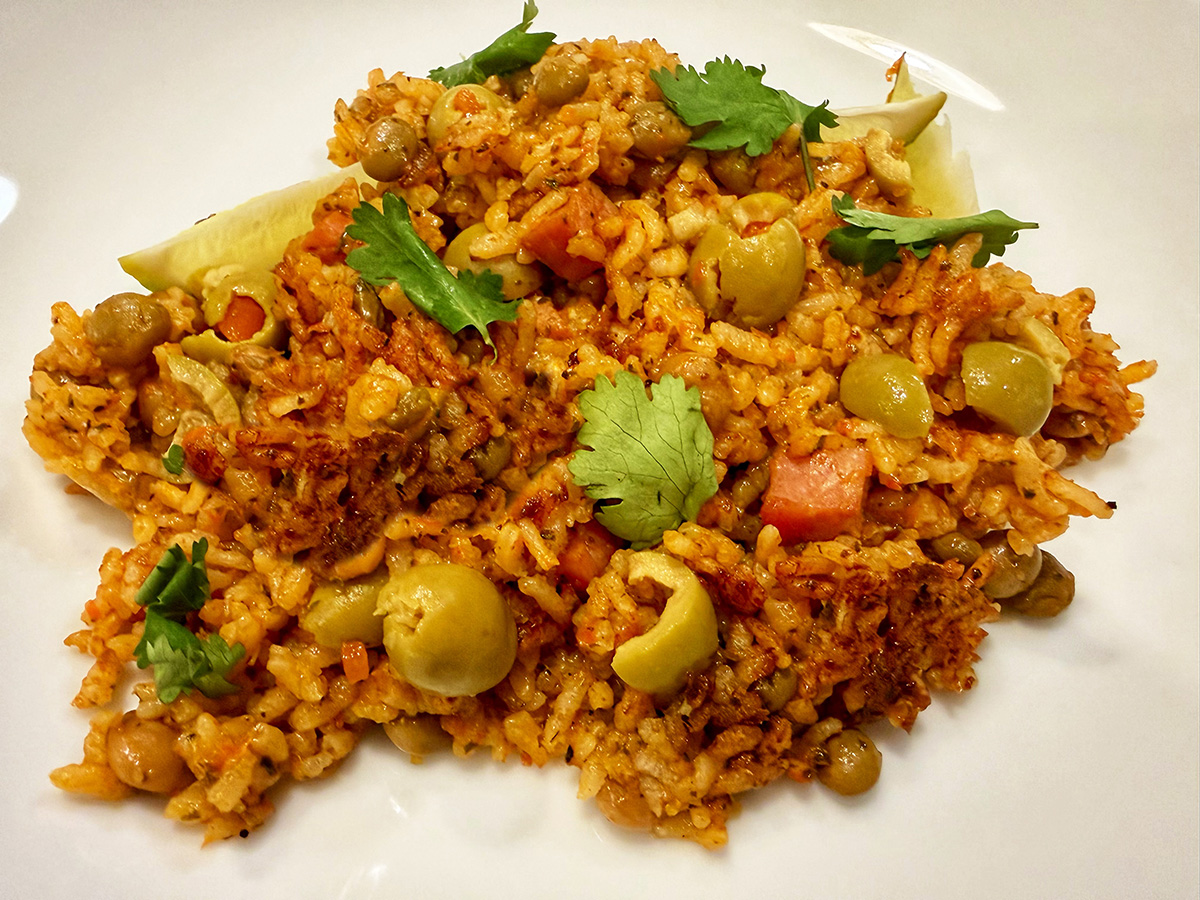
Puerto Rican-Style Rice with Pigeon Peas and Ham

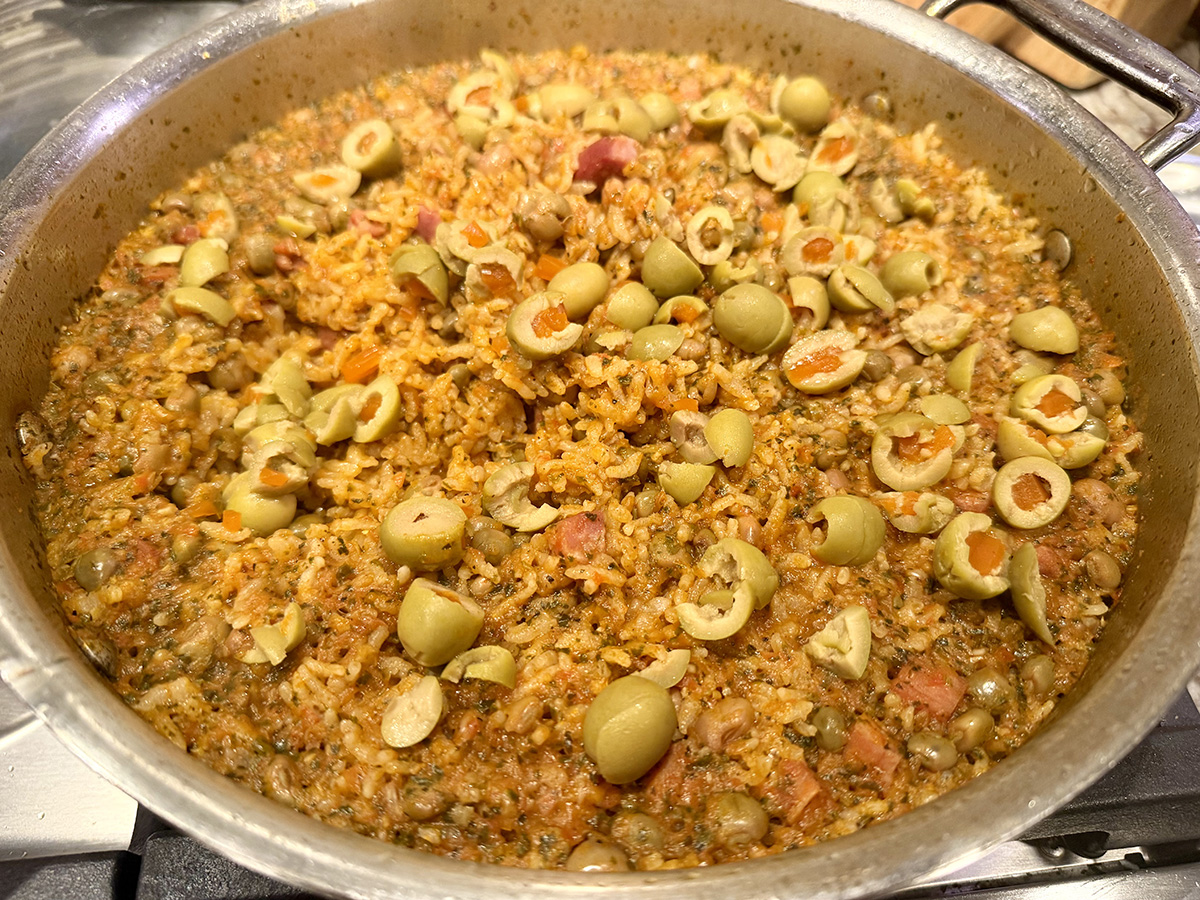
Normally, “burnt rice” is a kitchen crime you cover up and never speak of again. Here, it’s the whole point. If your arroz con gandules comes out with pegao—that toasty, golden, slightly crackly crust stuck to the bottom of the pan—congratulations, you nailed it. Scorched rice has never been such an achievement.

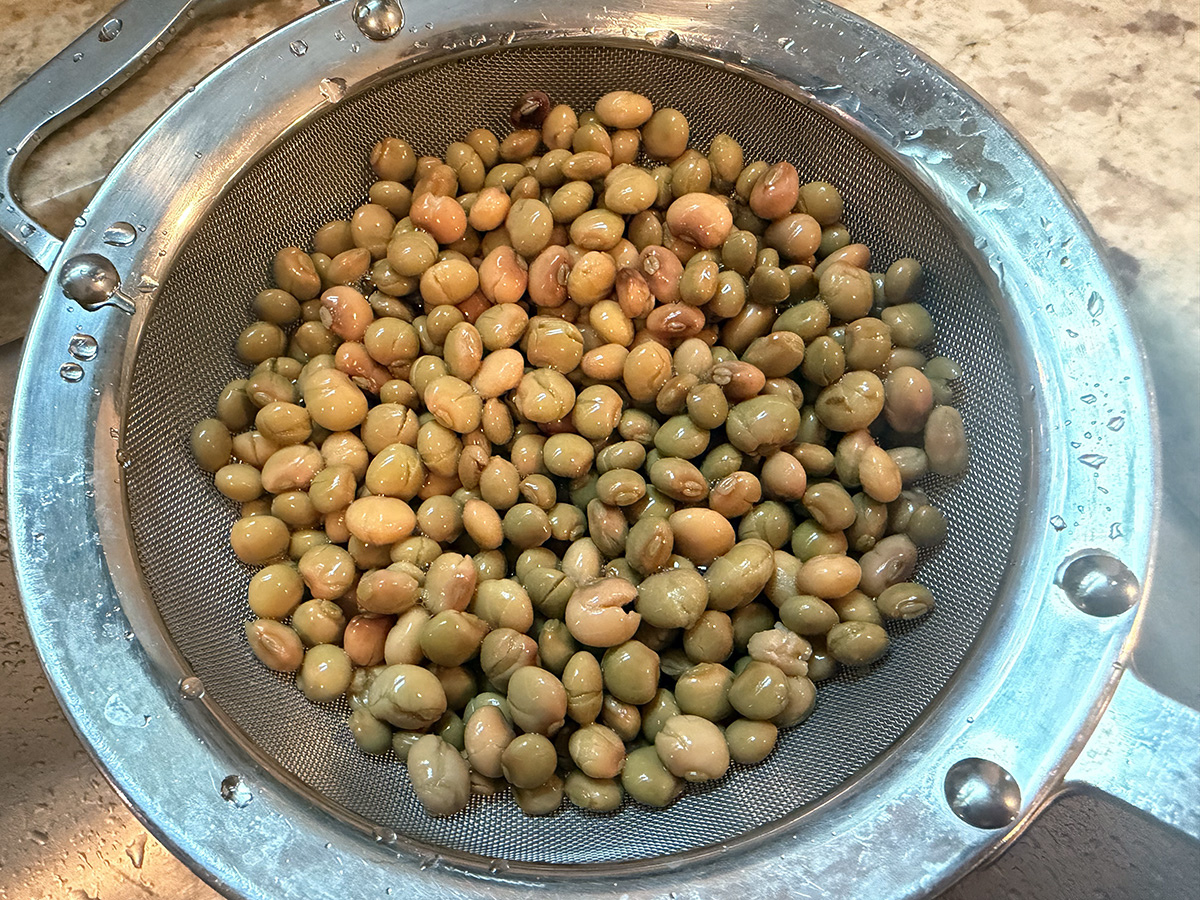
This one-pot classic shows up at every Puerto Rican celebration worth attending, and no Christmas table is complete without it. Quick disclaimer on the name: pigeon peas aren’t peas, aren’t pigeons, and honestly seem to be hiding their true identity as shelling beans. We’re using the canned kind here because life is short and dried beans are a commitment.

Grab green pigeon peas if you can; brown works in a pinch, and black-eyed peas will cover for them in an emergency. The one rule you can’t bend: medium-grain rice only. Long-grain will give up and turn to mush before it ever earns its crust, and a mushy pot of rice with no pegao is just… sad rice. Serve it straight from the skillet, scraped-up crust and all—no fancy plating required.

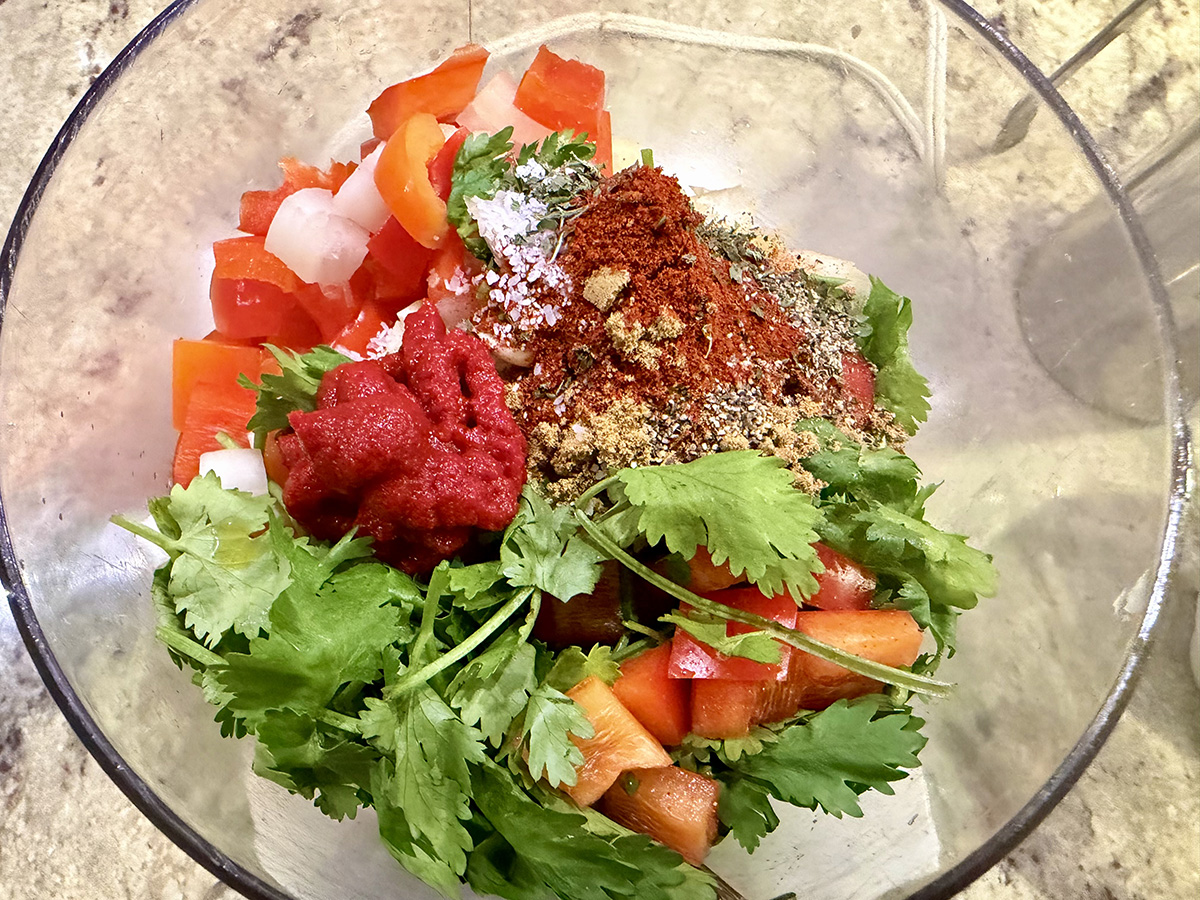
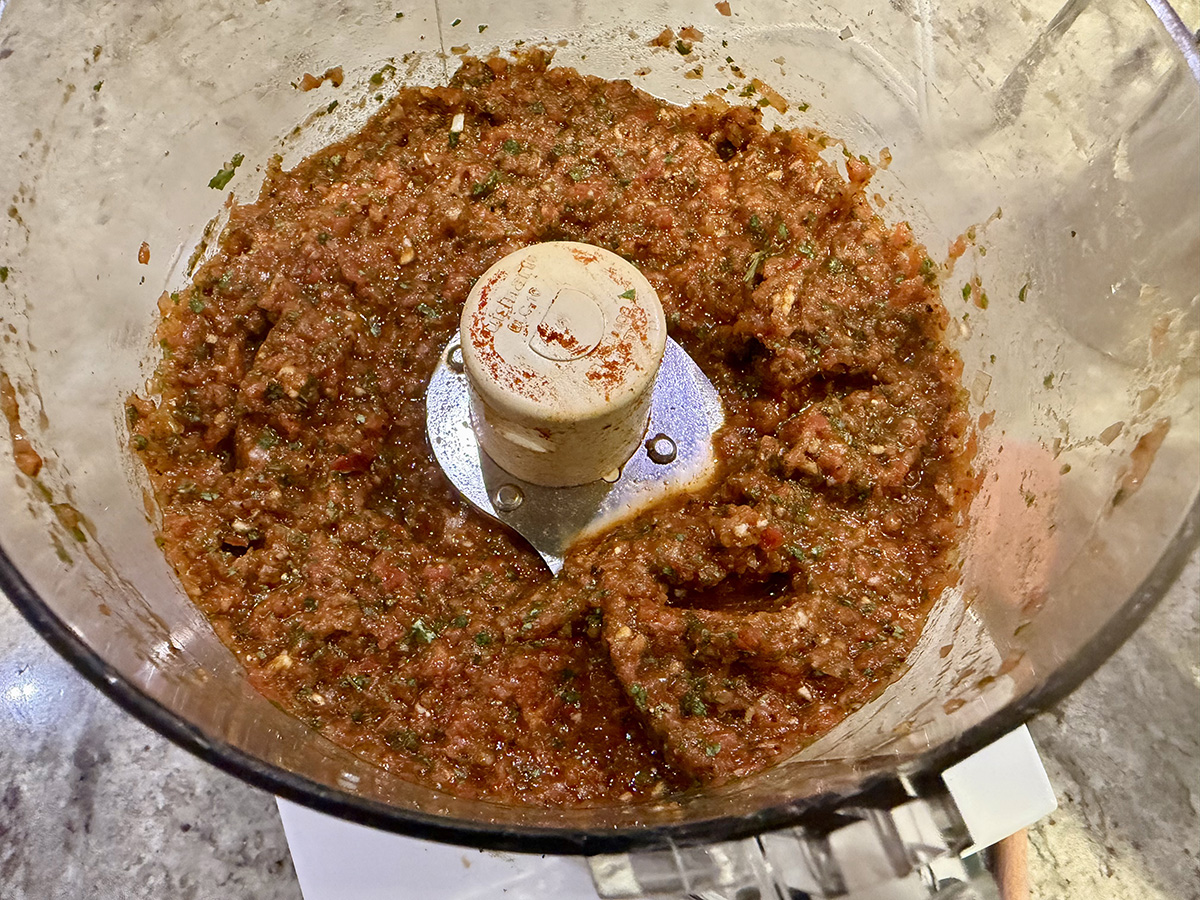
TIP: Don’t forget to rinse and drain the rice. Removing excess starch prevents the rice from cooking up heavy and gloppy. Also, don’t hand-chop the aromatics. The point of using a food processor is to really break them down so they integrate like a sauce into the rice and peas.
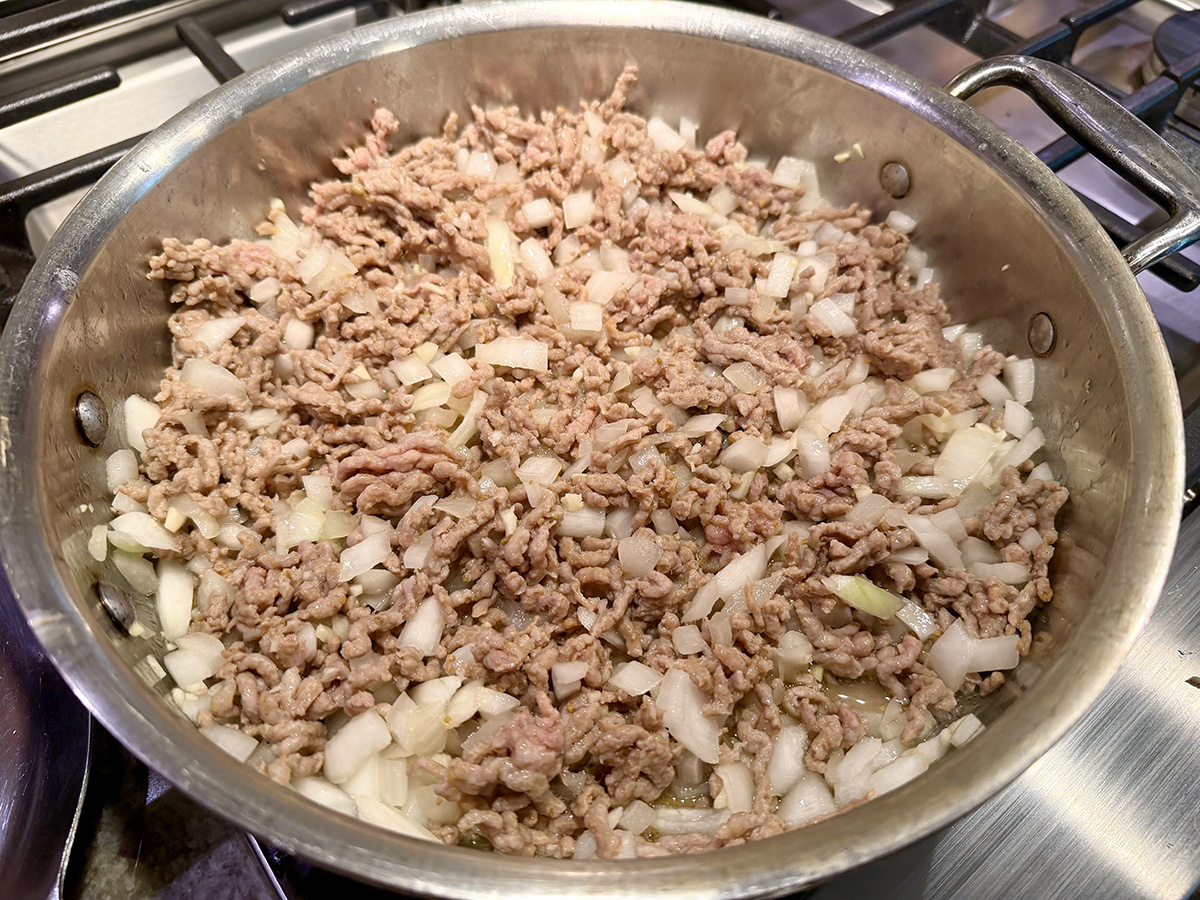
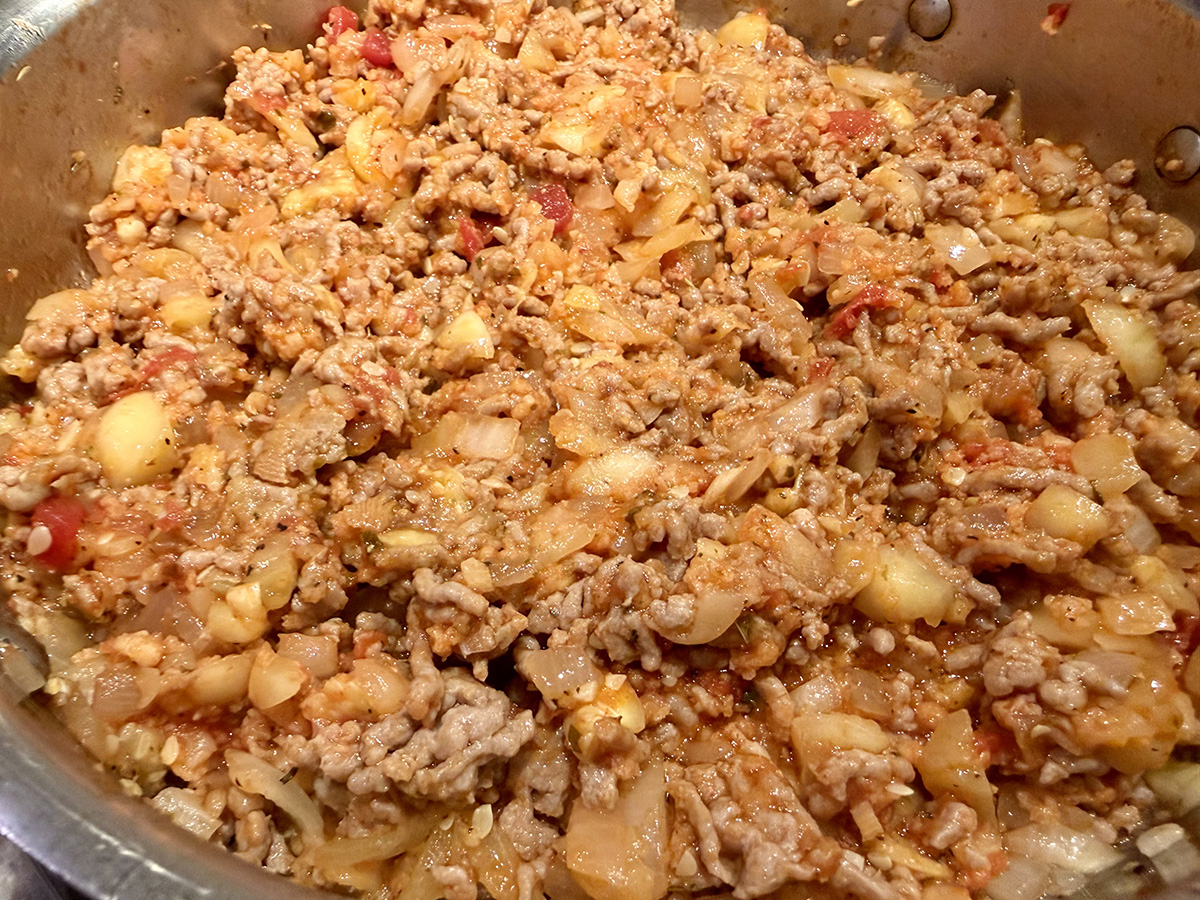
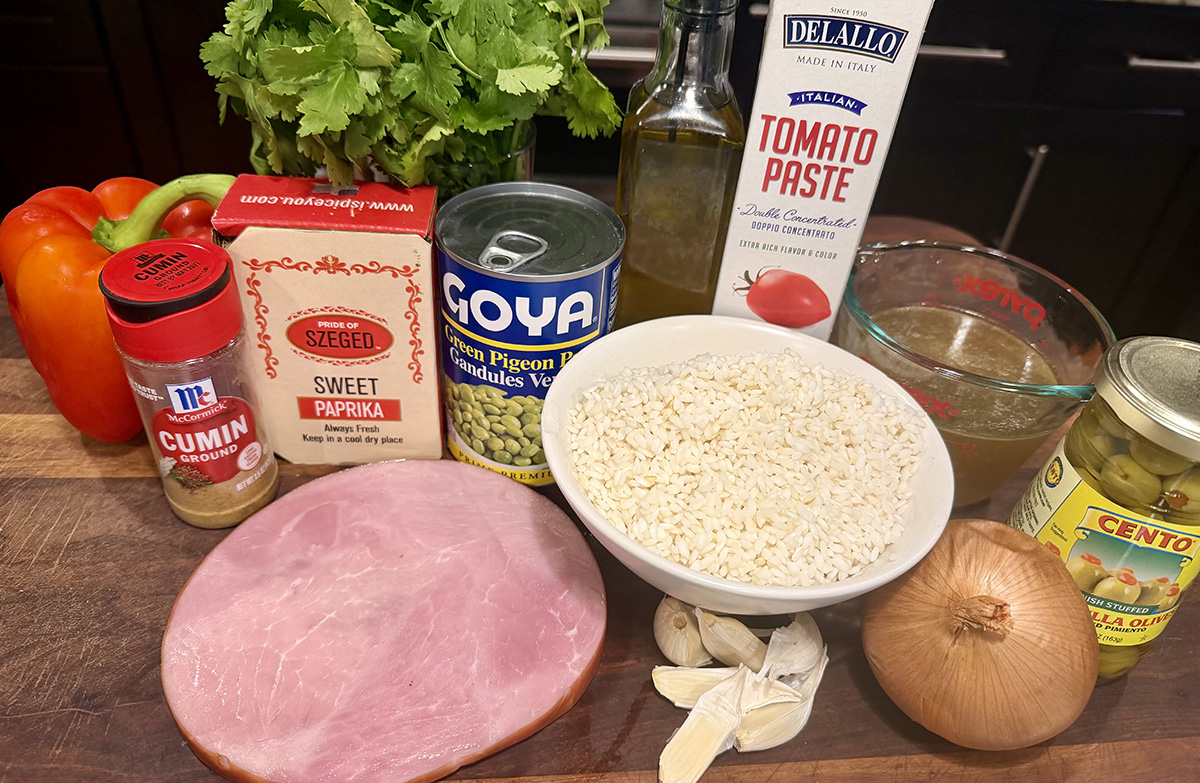
We increased a few of the ingredients starting with the ham steak, which typically comes in 8 ounce packages, so we decided to use the entire steak instead of just 4 ounces. Next, who uses just half of a bell pepper? Not us, so we included the entire thing; same with the onion. Finally, we may have snuck in more pimento stuffed olives than called for… just sayin’…
Puerto Rican-Style Rice with Pigeon Peas and Ham

  • Servings: 4
  • Difficulty: easy
  • Print

Ingredients

  • 1/2 small yellow onion, very roughly chopped
  • 1/2 medium green or red bell pepper, stemmed, seeded and very roughly chopped
  • 4 medium garlic cloves, smashed and peeled
  • 1 cup lightly packed fresh cilantro, plus roughly chopped cilantro to serve
  • 2 Tbsp. tomato paste
  • 2 tsp. sweet paprika
  • 1 tsp. ground cumin
  • 1 tsp. dried oregano
  • Kosher salt and ground black pepper
  • 2 Tbsp. extra-virgin olive oil
  • 4 oz. boneless ham steak, cut into ½-inch cubes
  • 15½ oz. can green or brown pigeon peas (see headnote), rinsed and drained
  • 1½ cups medium-grain white rice, rinsed and drained
  • 1 cup low-sodium chicken broth
  • 1/2 cup pimento-stuffed green olives, chopped

Directions

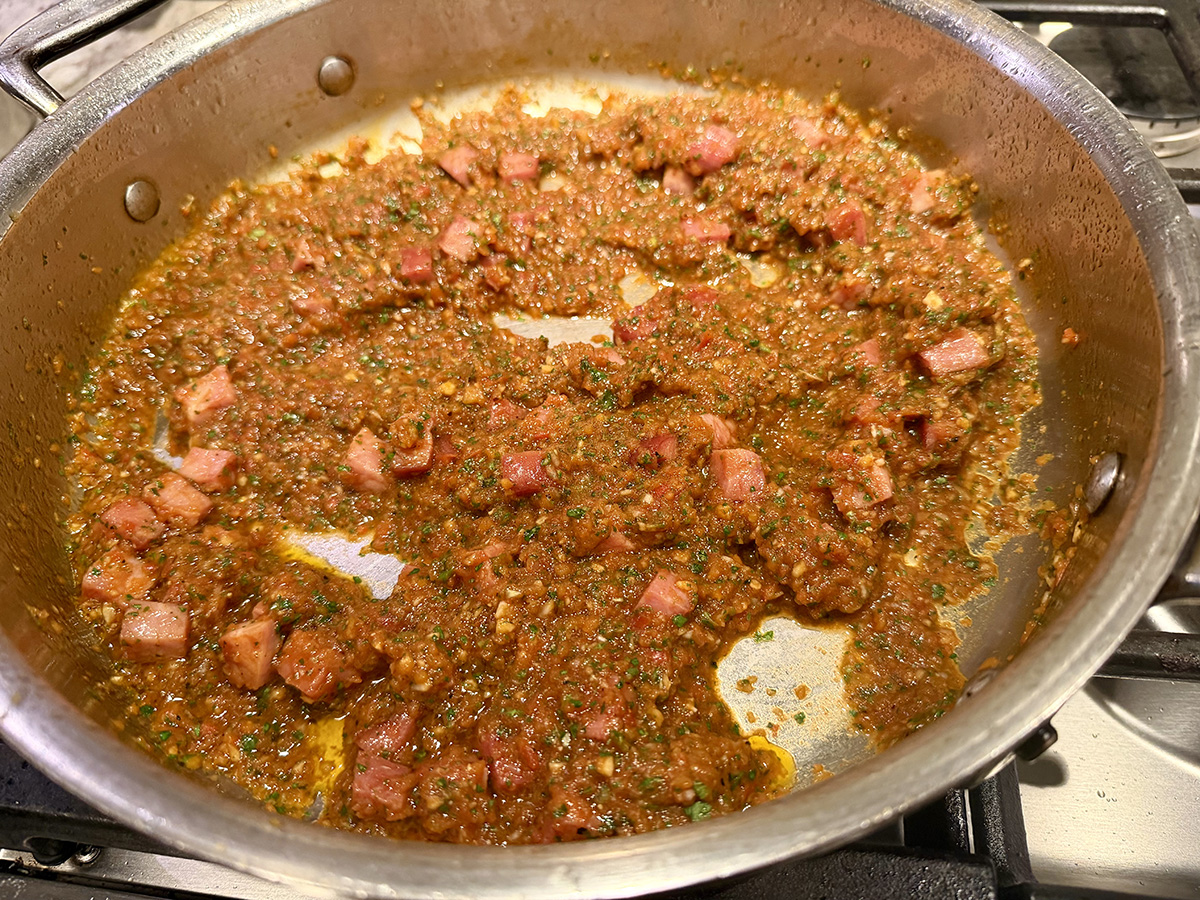
  1. In a food processor, combine the onion, bell pepper, garlic, cilantro, tomato paste, paprika, cumin, oregano and ½ teaspoon each salt and pepper. Process to a pulpy, slushy puree, about 1 minute, scraping the bowl as needed.
  2. In a 12-inch skillet over medium, heat the oil until shimmering. Add the ham and cook, stirring occasionally, until browned on all sides, about 5 minutes. Add the puree and cook, stirring often, until fragrant and most of the moisture has evaporated, 2 to 3 minutes.
  3. Add the pigeon peas and rice; cook, stirring often, until the mixture begins to stick to the pan bottom, about 2 minutes. Stir in the broth and 1¼ cups water, then bring to a simmer over medium-high. Cover, reduce to low and cook, undisturbed, until the liquid is absorbed, 23 to 25 minutes.
  4. Remove the skillet from the heat. Scatter on the olives, then re-cover and let rest for 10 minutes. Using a fork, fluff the rice, stirring in the olives without disturbing the bottom crust. Taste and season with salt and pepper. Sprinkle with chopped cilantro and serve from the skillet, using a spatula to scrape up the crust.

http://www.lynnandruss.com

Adapted from a recipe by Hisham Ali Hassan for Milk Street