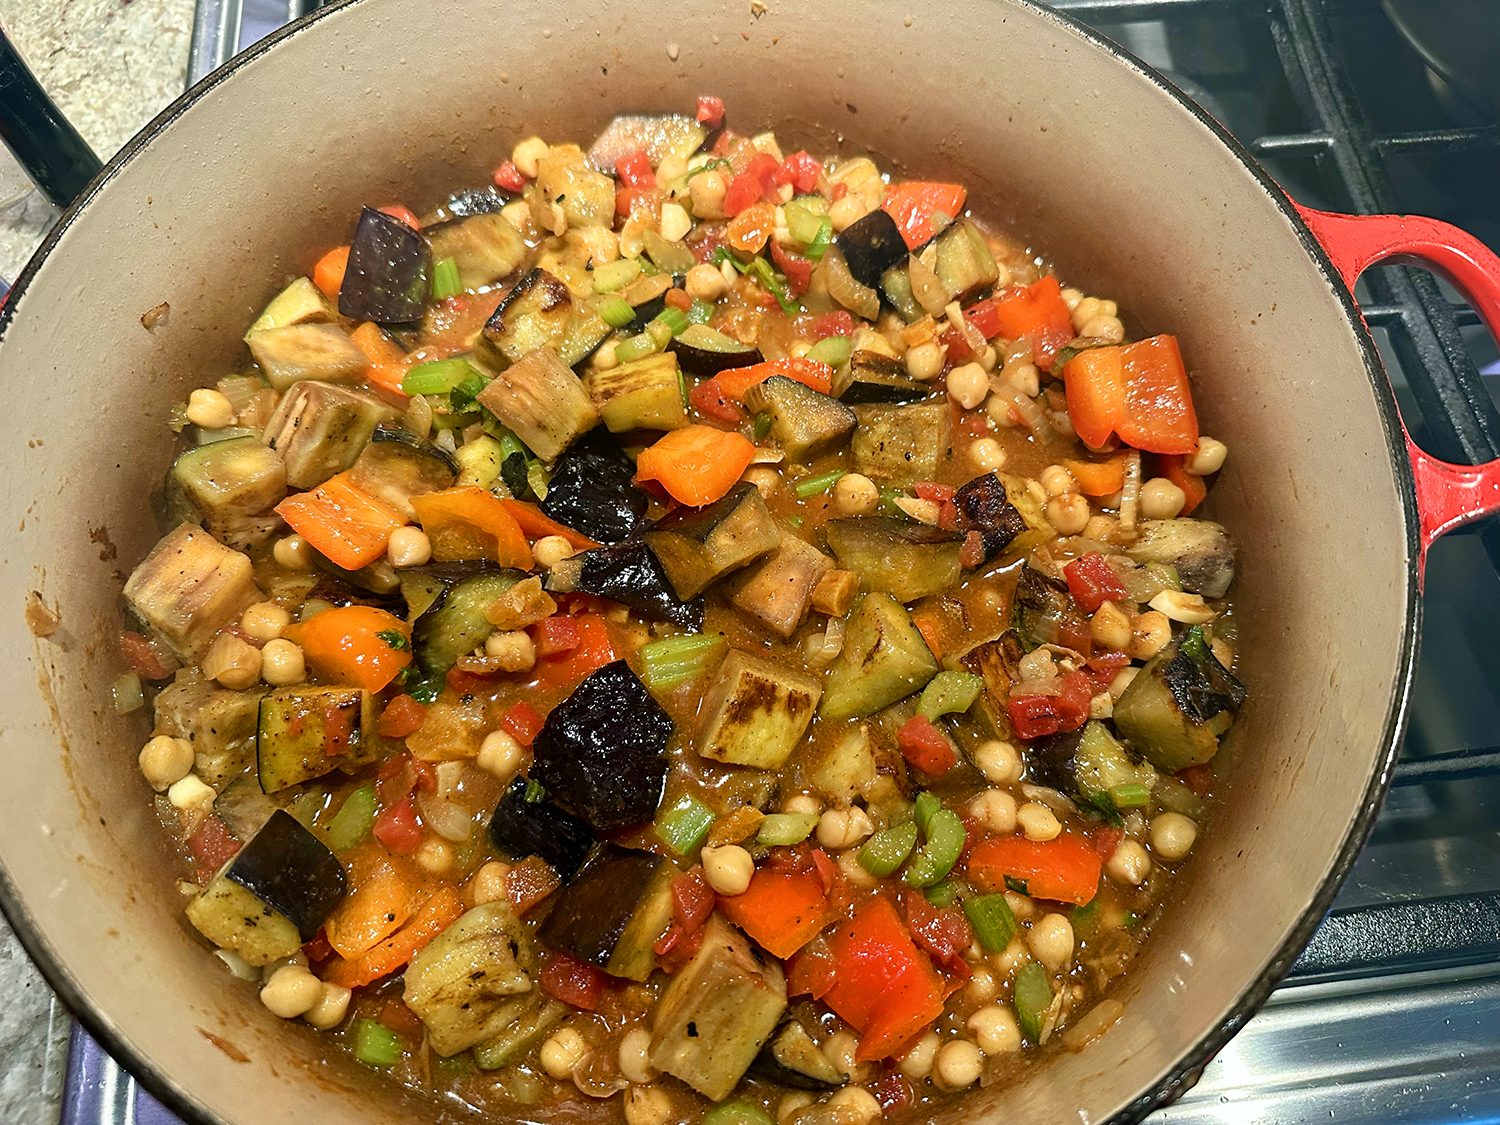
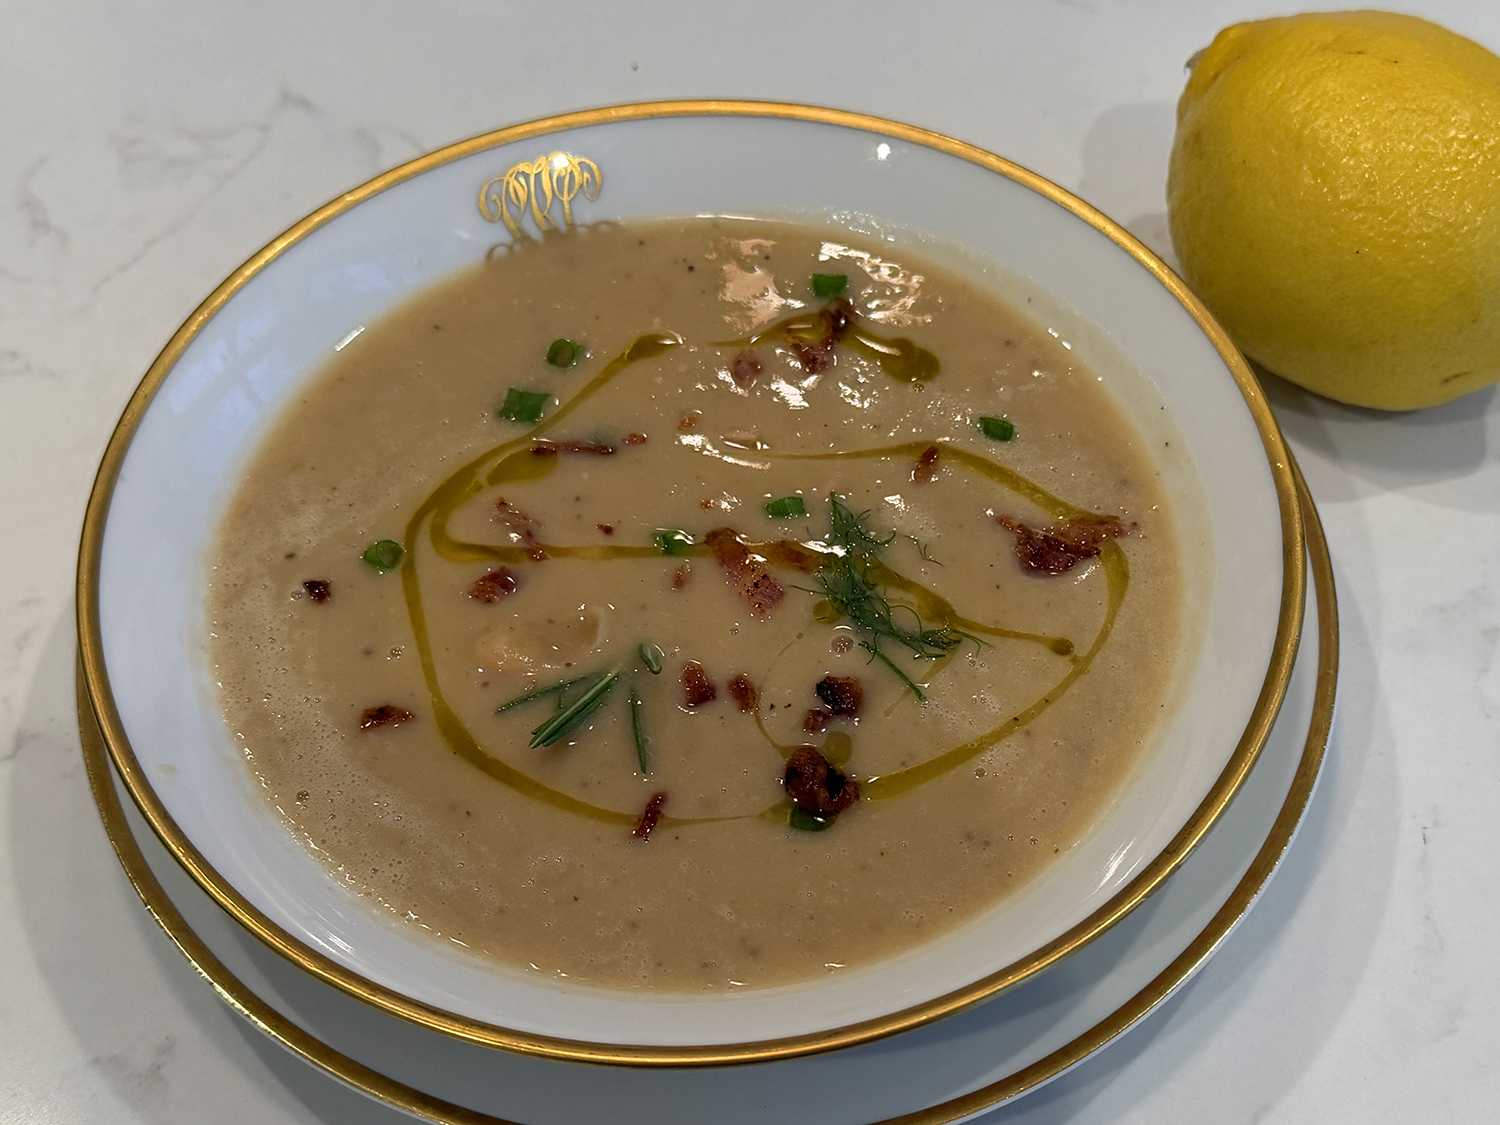
Creamy Fennel and White Bean Soup is a comforting and flavorful dish characterized by its smooth, velvety texture and aromatic taste. The soup typically features tender white beans (such as cannellini or great northern beans) cooked until soft and then blended or partially puréed to create a creamy base without needing heavy cream.
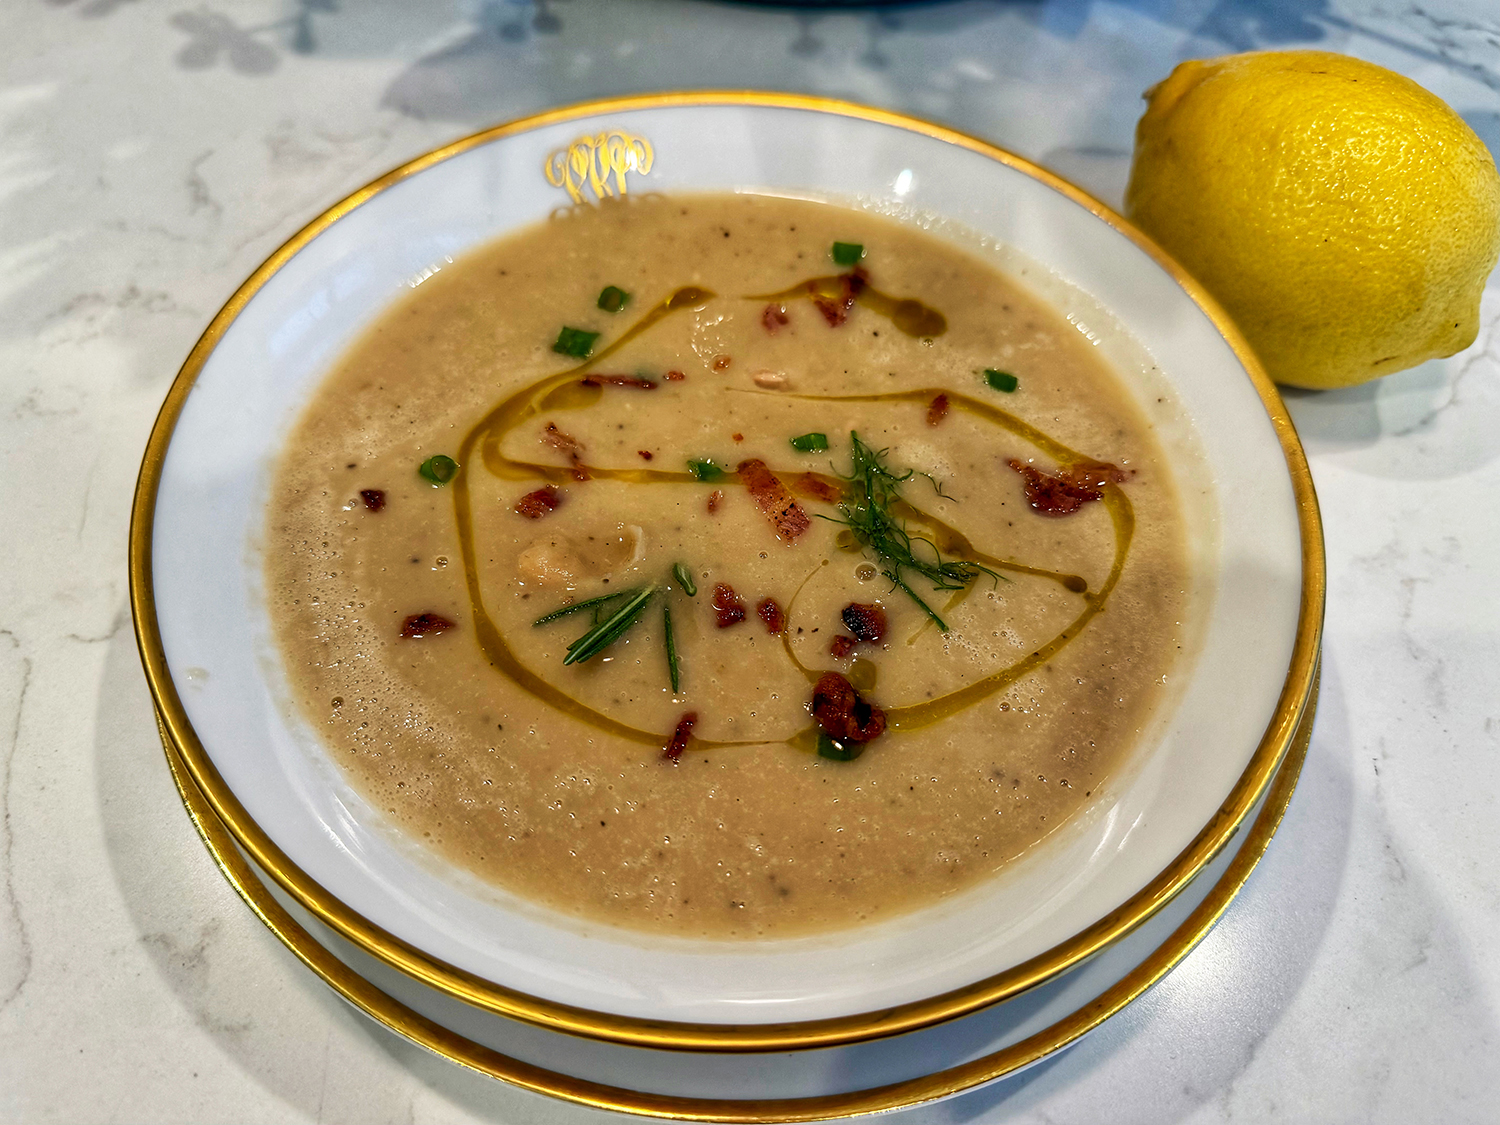
Fennel, with its mild anise-like flavor, is a standout ingredient that adds a subtle sweetness and a hint of licorice aroma to the soup. Other common ingredients included here are onions, garlic, vegetable or chicken broth, and olive oil. The seasonings are rosemary, chives, salt, and pepper which round out the savory profile.
For contrast, as well as a smoky-savory counterpoint, top the soup with crisped bacon. Chopped fresh chives and a squeeze of lemon juice finish it with freshness. Overall, Creamy Fennel and White Bean Soup is a nourishing, mildly sweet, and savory soup that’s perfect for a light lunch or dinner, especially during cooler months.
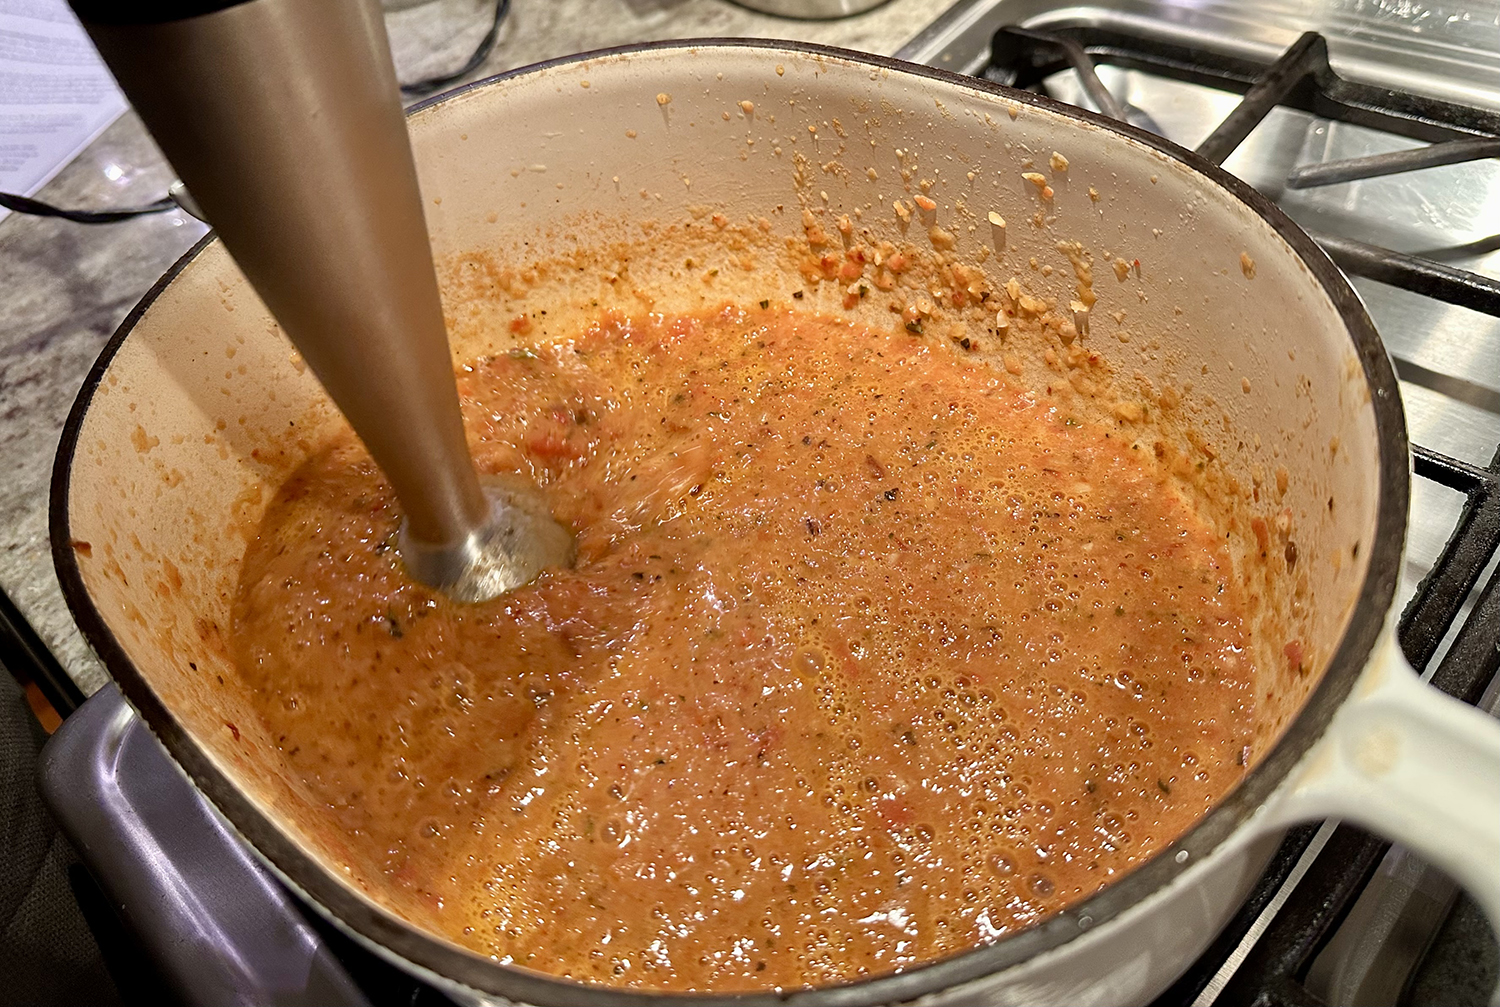
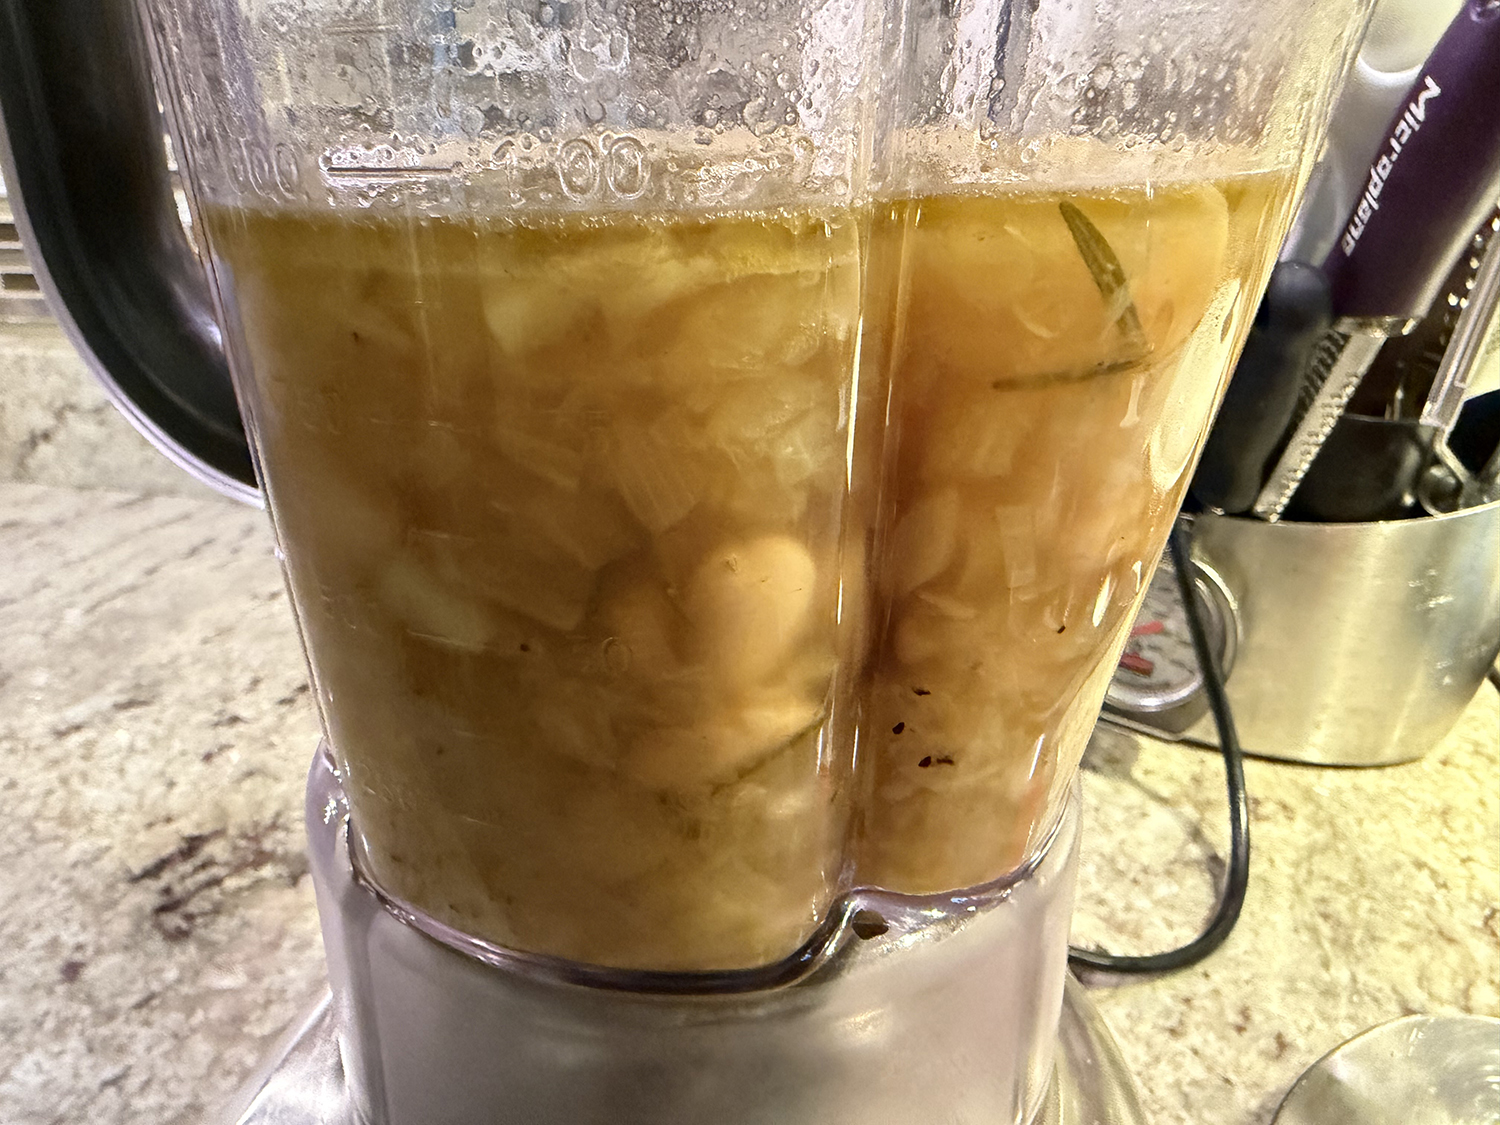
NOTE: Don’t fill the blender jar more than a third full of the hot soup mixture; hot liquids tend to splash out when the blender is turned on. To help prevent this, remove the cap from the blender lid and cover tightly with a kitchen towel. Start the blender on low and gradually increase the speed.
Of course, using homemade stock is always preferable. Homemade chicken stock is one of the most versatile and flavorful ingredients you can have in your kitchen. Unlike store-bought stocks, homemade stock has a richer, deeper flavor and aroma, and it is free from preservatives, artificial flavors, and excess sodium. As an added bonus, homemade chicken stock is also incredibly inexpensive, and it is an excellent way to use up kitchen scraps and leftover chicken bones.
Creamy Fennel and White Bean Soup
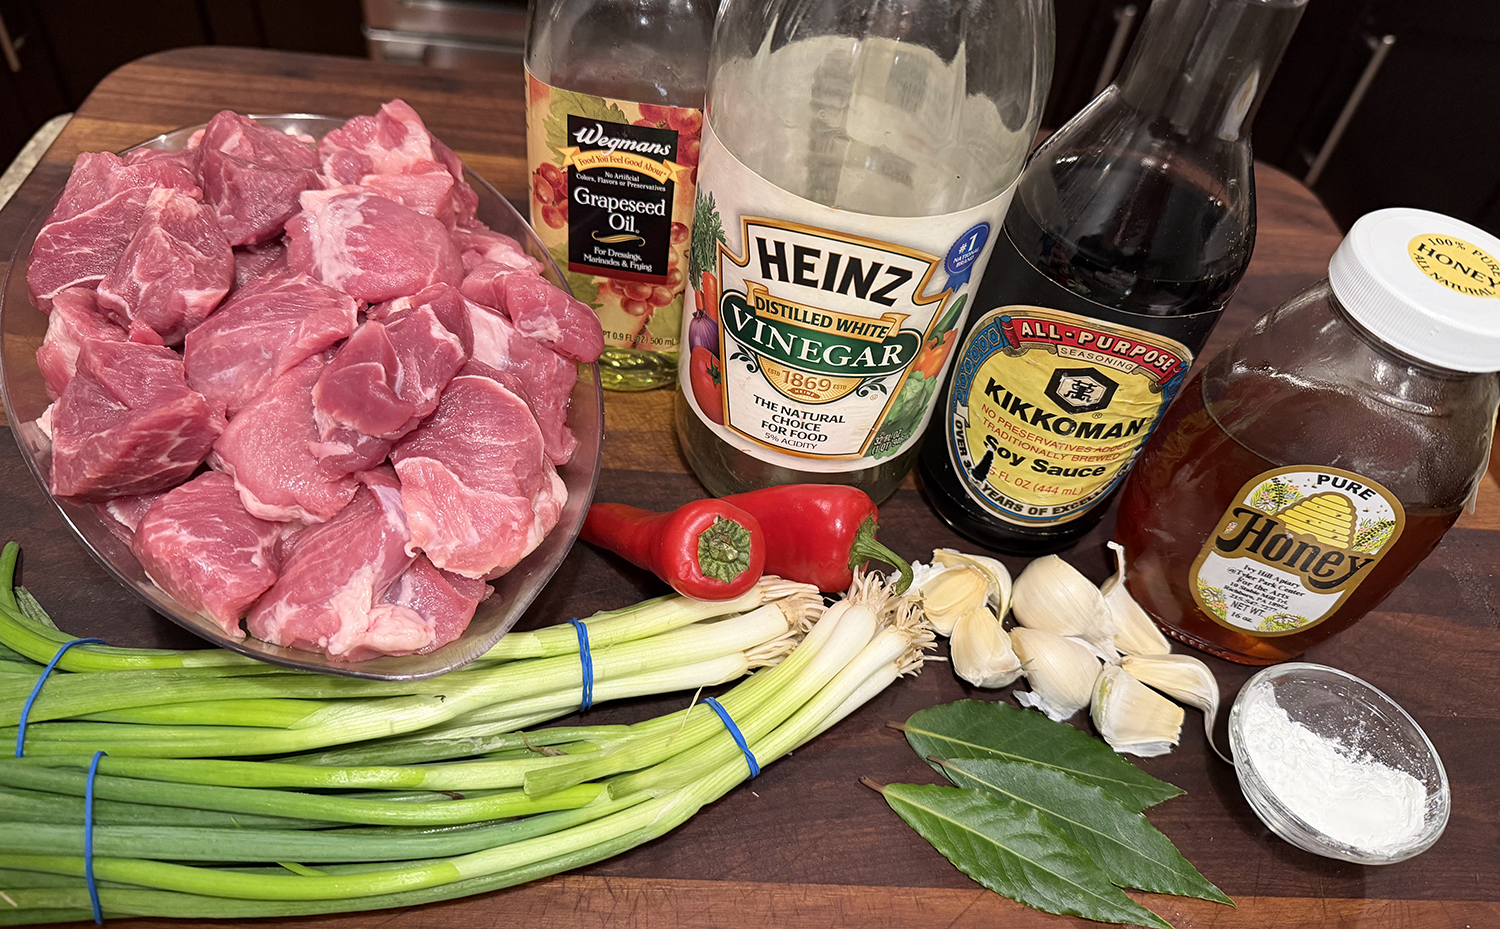
Ingredients
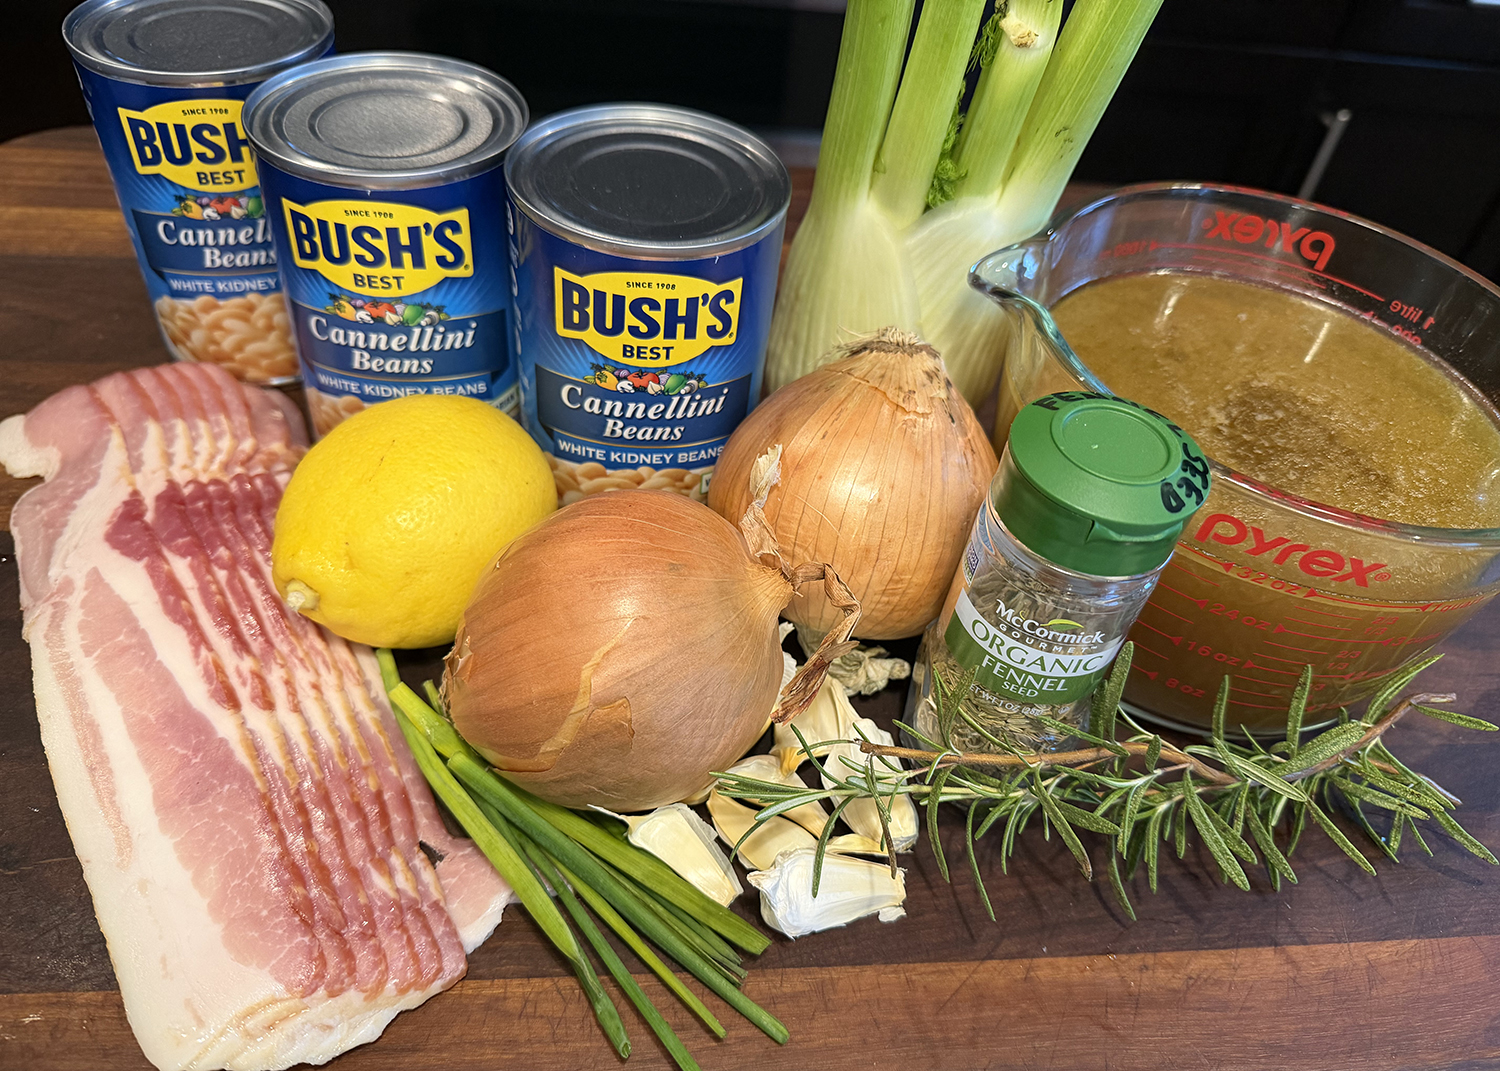
- 8 oz. bacon, finely chopped
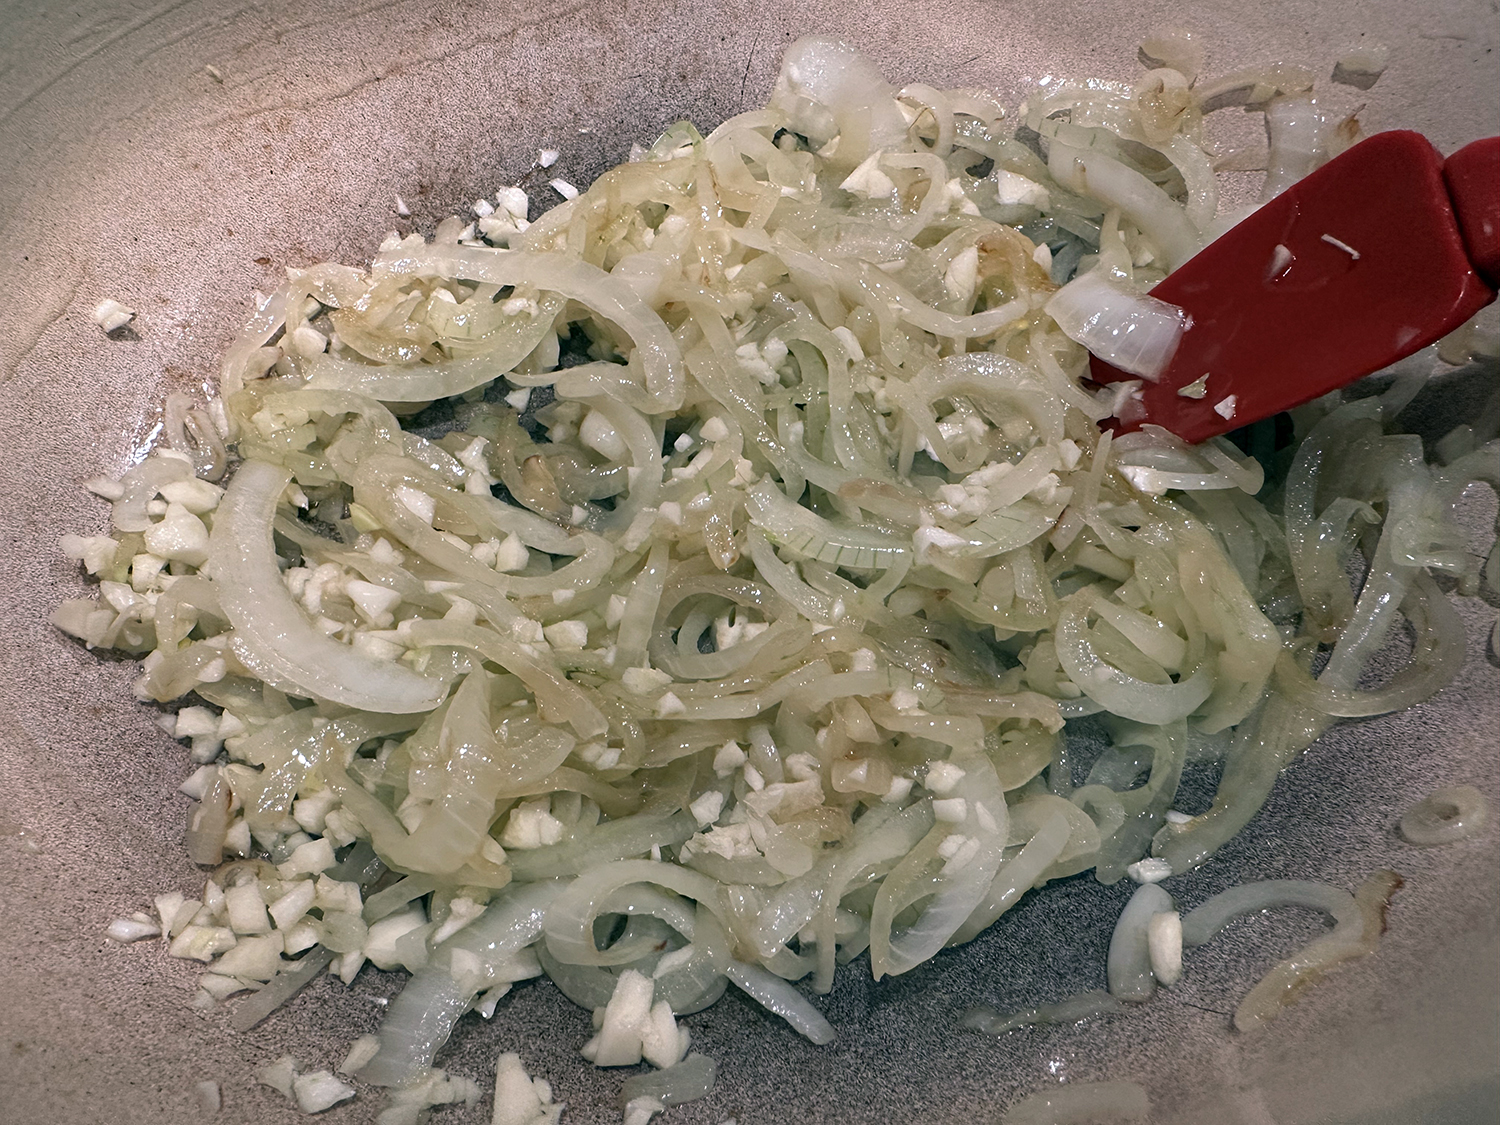
- 2 medium yellow onions, finely chopped
- 1 medium fennel bulb, trimmed and finely chopped
- 5 medium garlic cloves, smashed and peeled
- 2 tsp. fennel seeds, finely ground
- 3 15½-oz. cans cannellini beans, rinsed and drained, divided
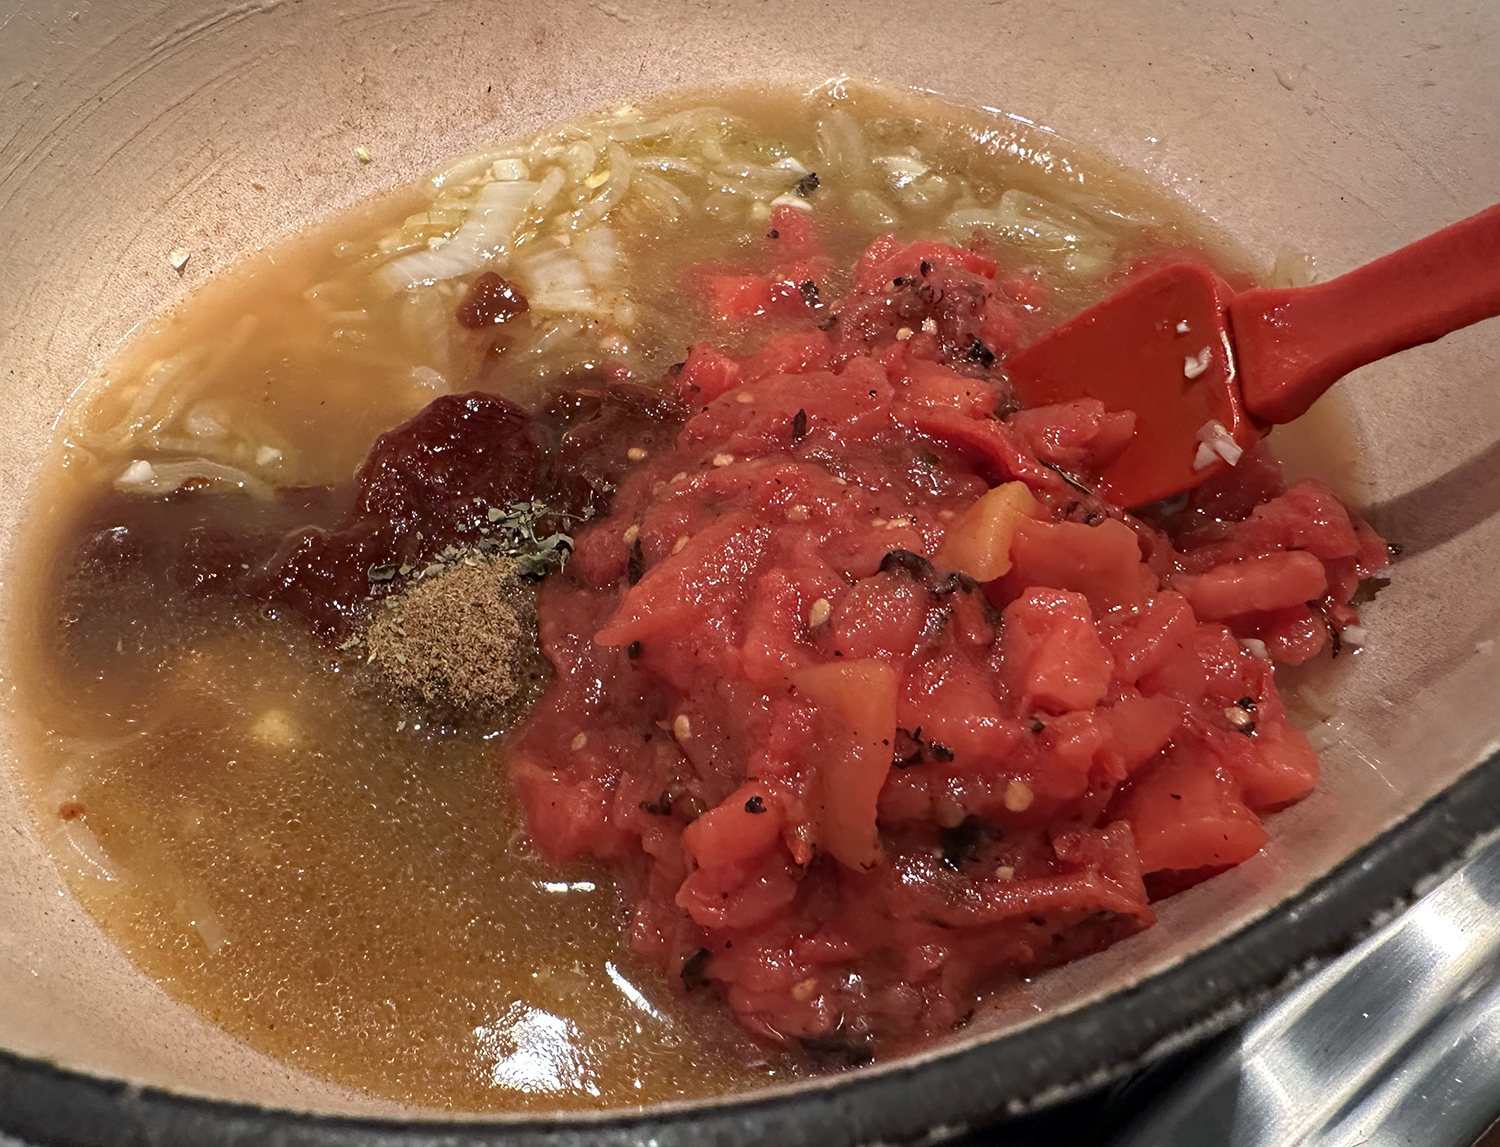
- 5 cups chicken, or vegetable broth, preferably homemade
- 1 4-inch sprig fresh rosemary
- Kosher salt and ground black pepper
- 3 Tbsp. extra-virgin olive oil, plus extra to serve
- 3 Tbsp. finely chopped fresh chives
- Lemon wedges, to serve

Directions
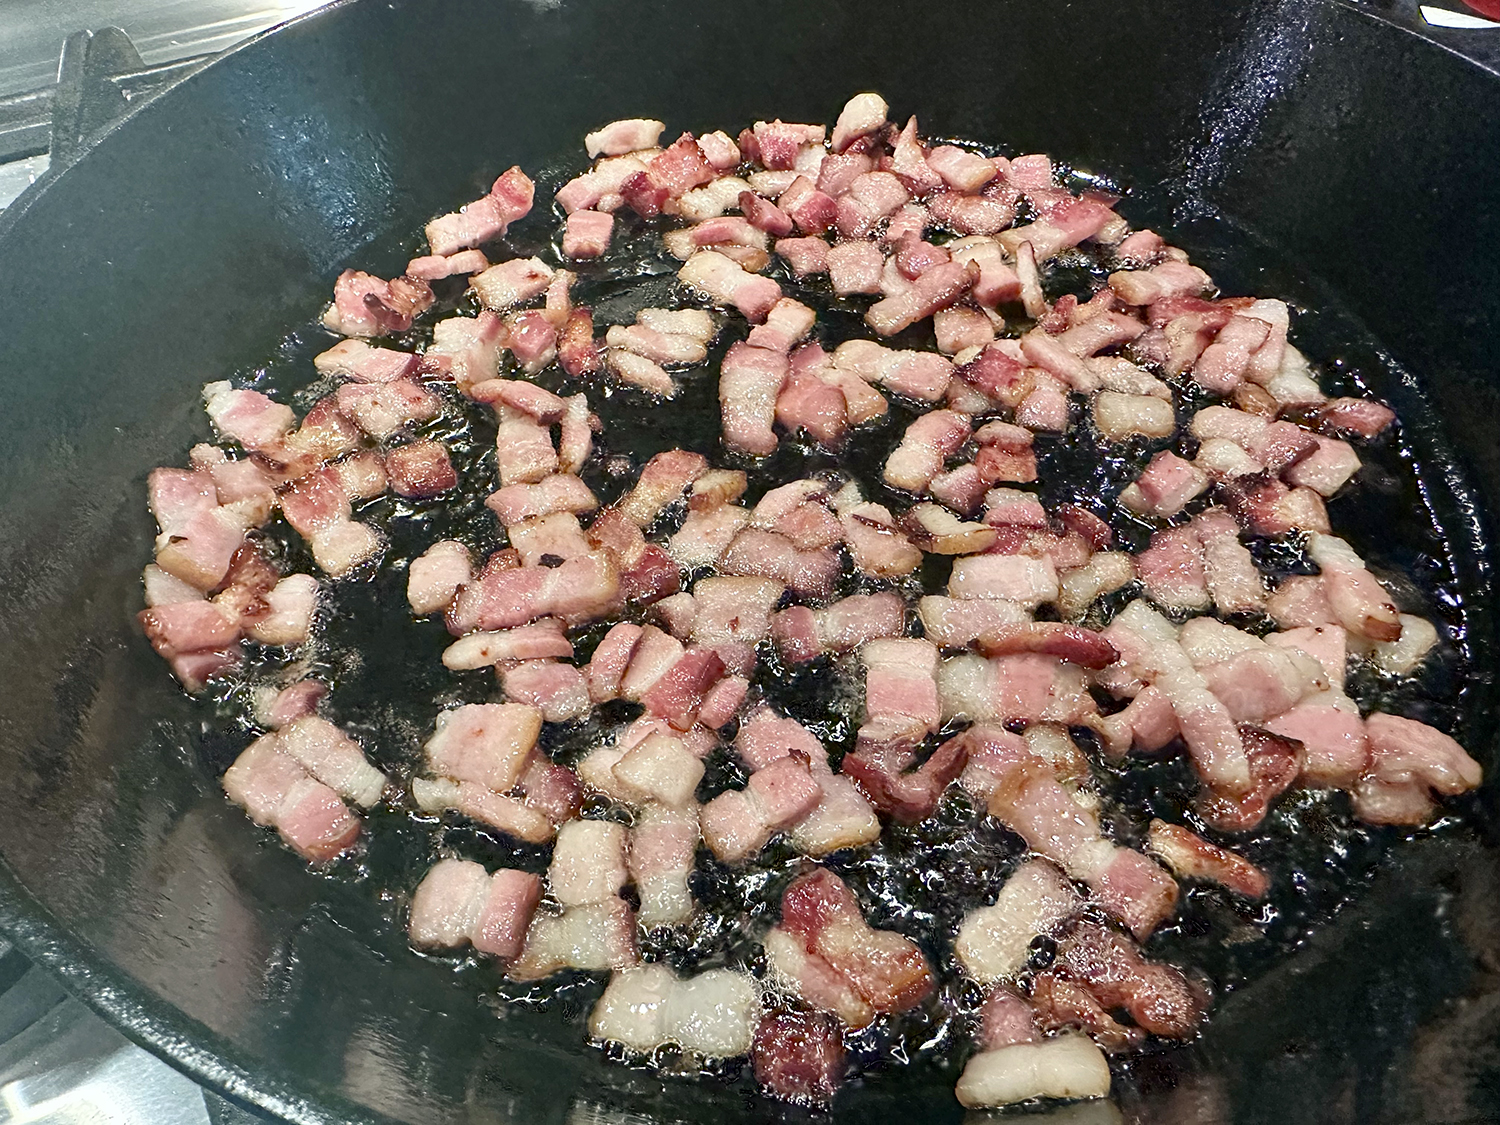
- In a large Dutch oven over medium, cook the bacon, stirring occasionally, until crisp, about 10 minutes.
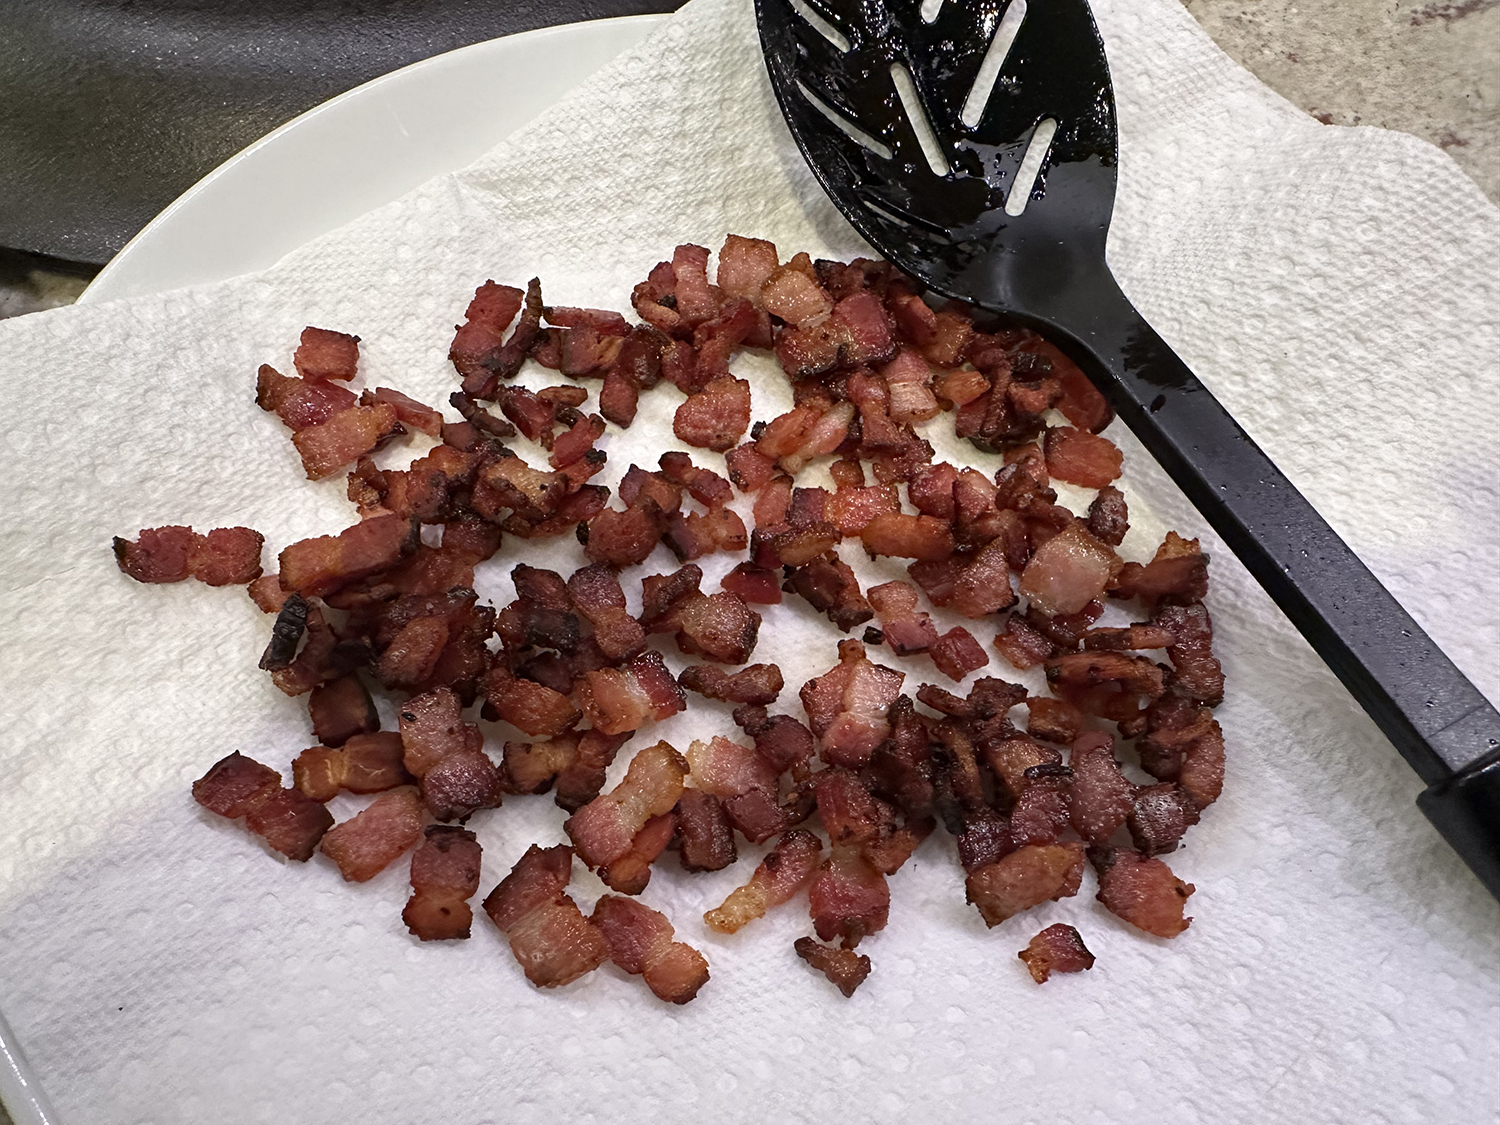
- Using a slotted spoon, transfer the bacon to a paper towel-lined plate. Pour off all but 2 tablespoons fat from the pot.
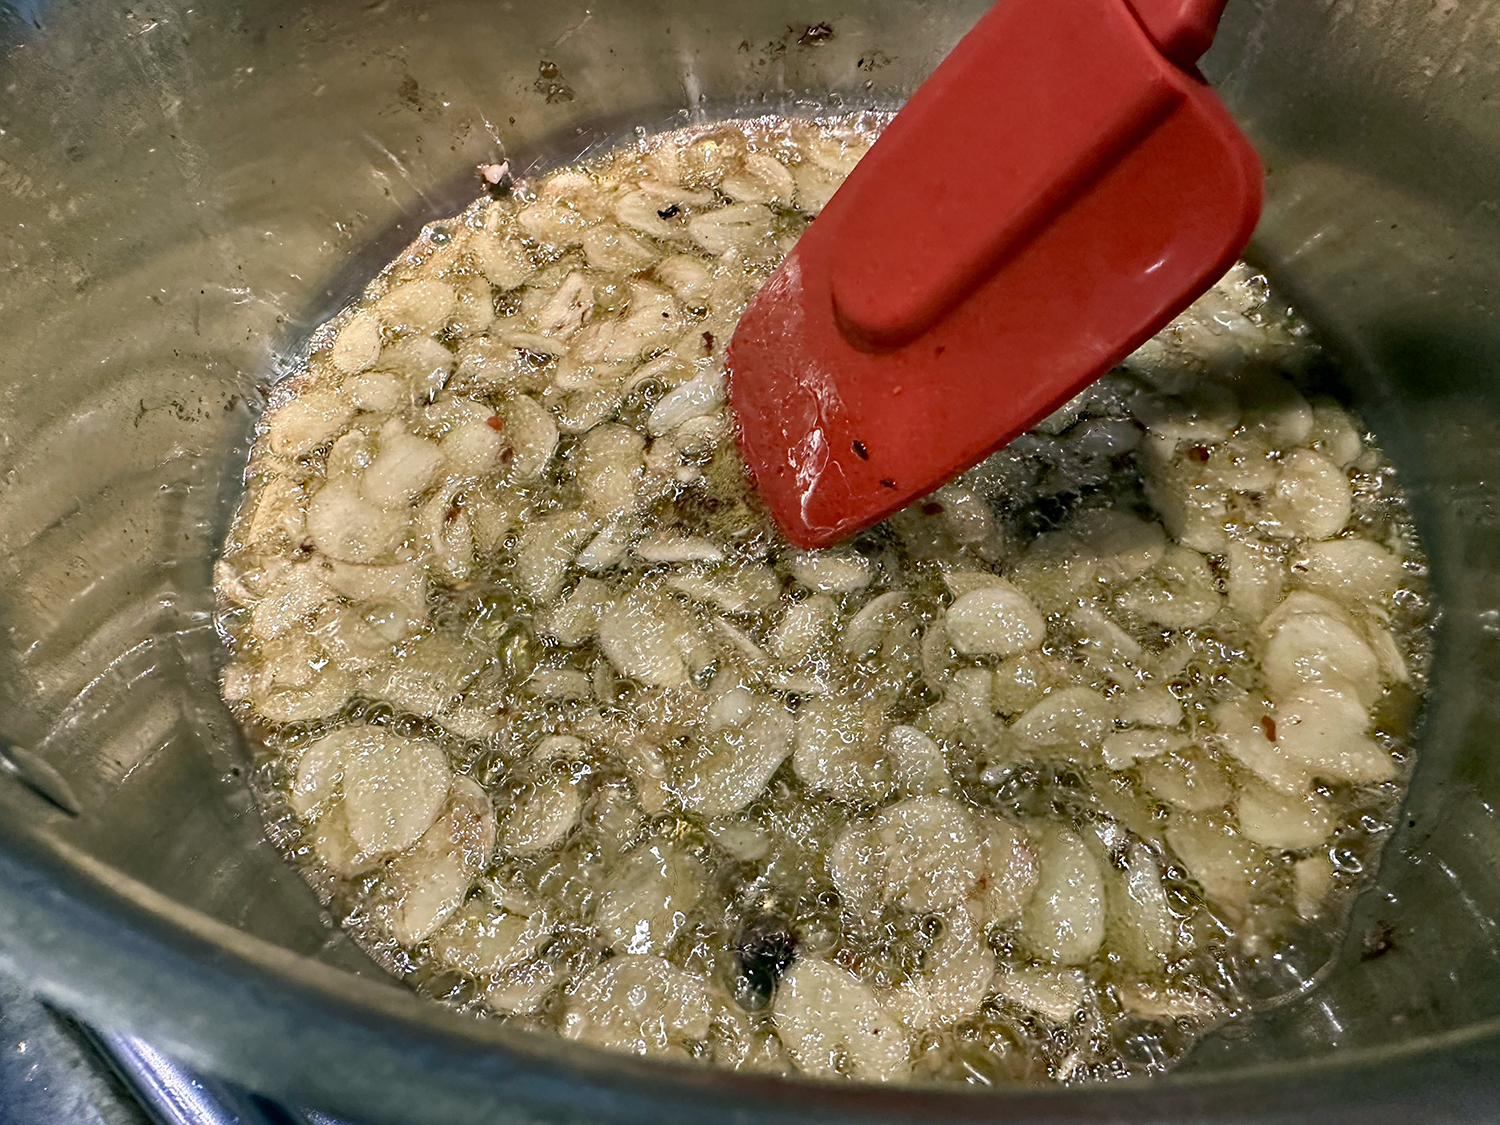
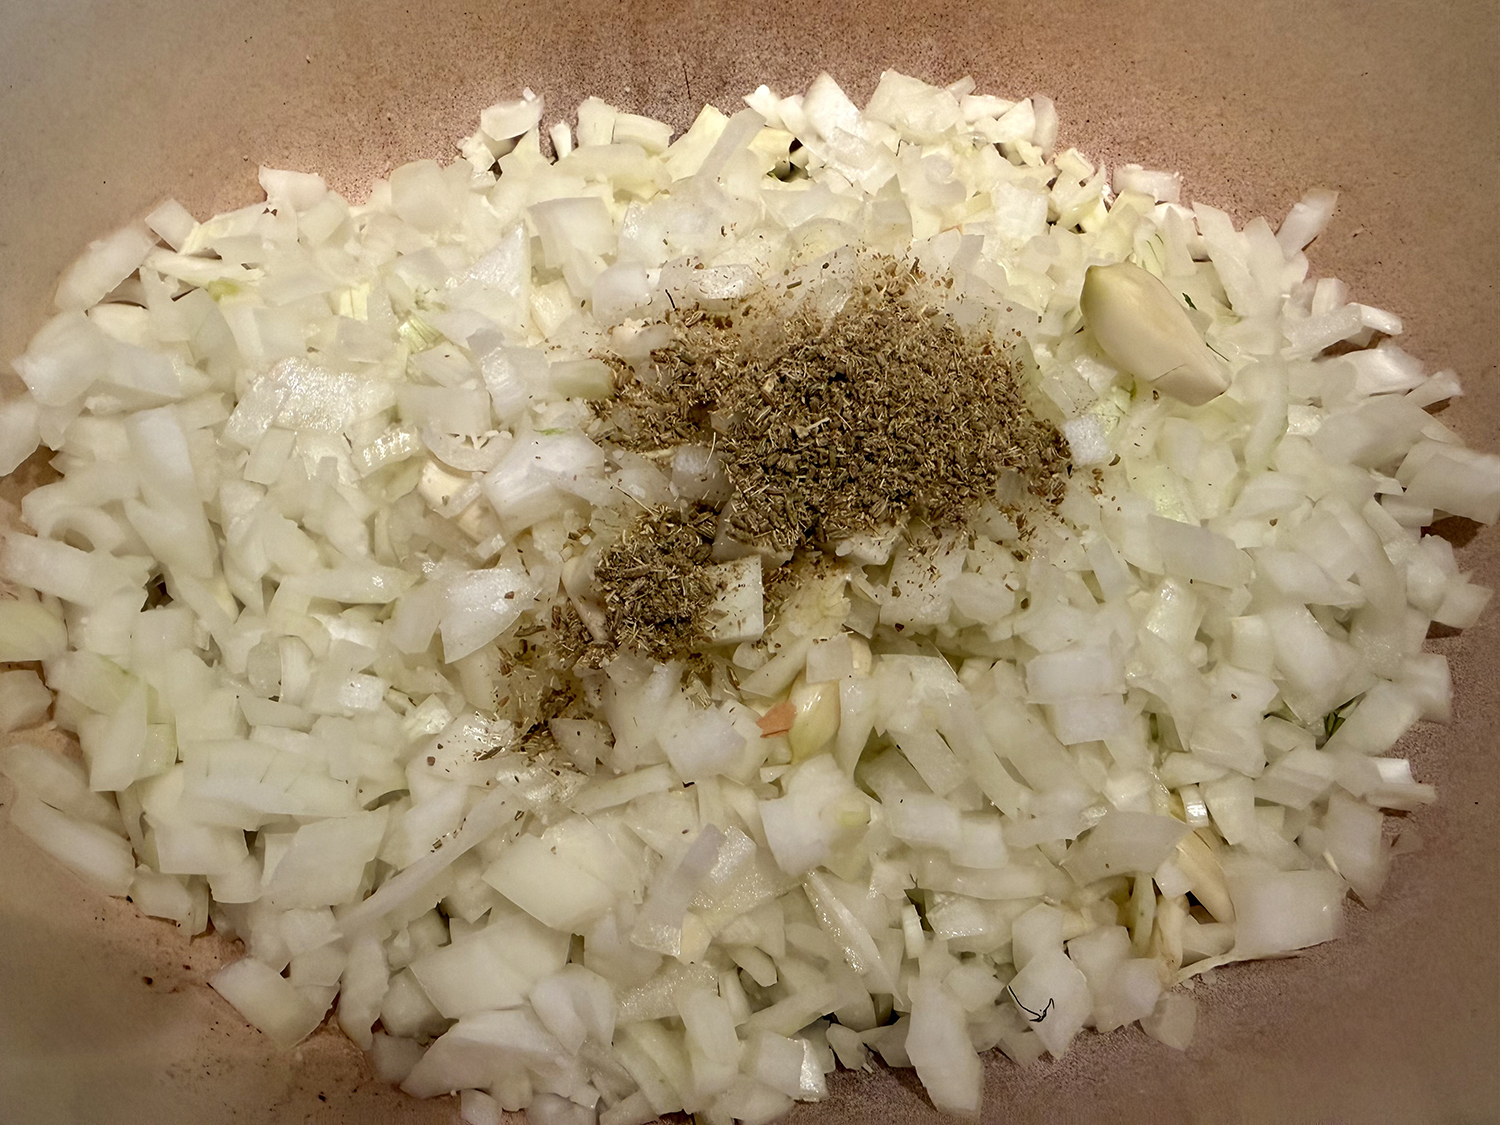
- Add the onions, fennel, garlic and ground fennel to the pot, cover and cook over medium-low, stirring occasionally, until the vegetables are tender, about 15 minutes.
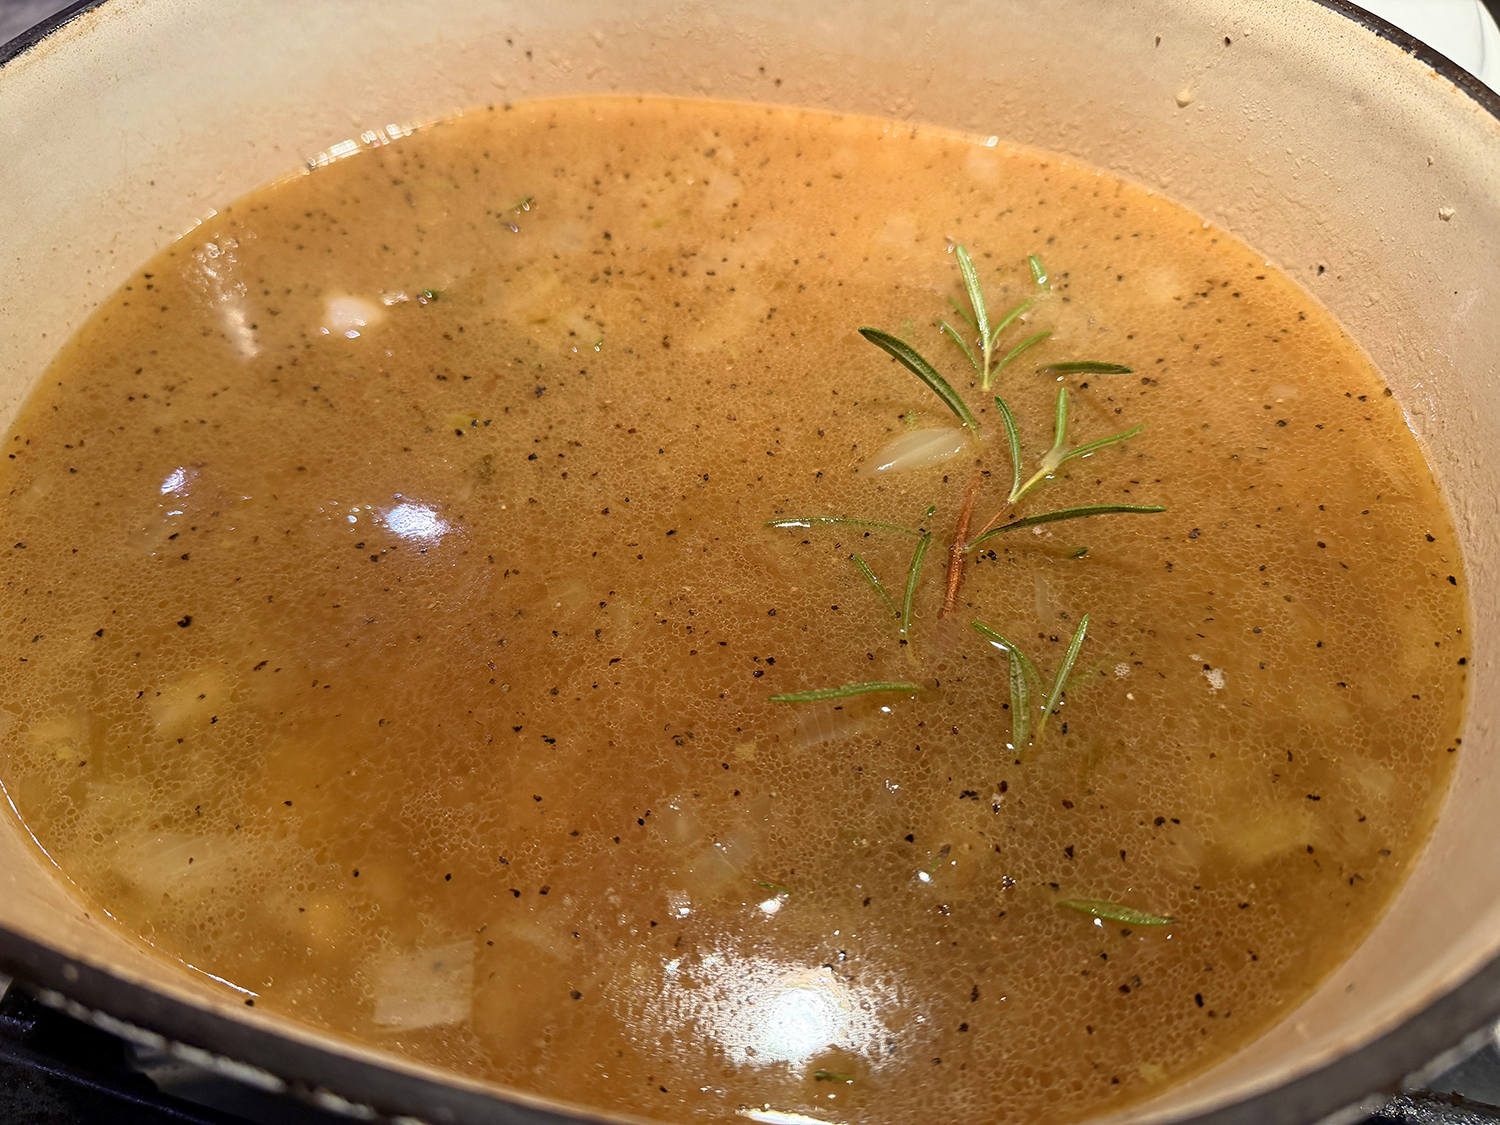
- Measure out 1½ cups of the beans and set aside. Add the remaining beans to the pot along with the broth, rosemary, ½ teaspoon salt and 1 teaspoon pepper. Bring to a simmer over medium-high. Cover, reduce to medium-low and simmer for 15 minutes.
- Remove and discard the rosemary sprig. Let the soup cool slightly, about 15 minutes. Transfer about ⅓ of the soup to a blender. Add 1 tablespoon of the oil and puree until smooth.
- Transfer to a large saucepan, then repeat with the remaining soup and oil, working in batches. Add the reserved beans and heat over medium-low, stirring, until the soup is heated through, about 10 minutes.
- Taste and season with salt and pepper. Serve drizzled with oil, sprinkled with the bacon and chives, with lemon wedges on the side.
Adapted from a recipe for Milk Street