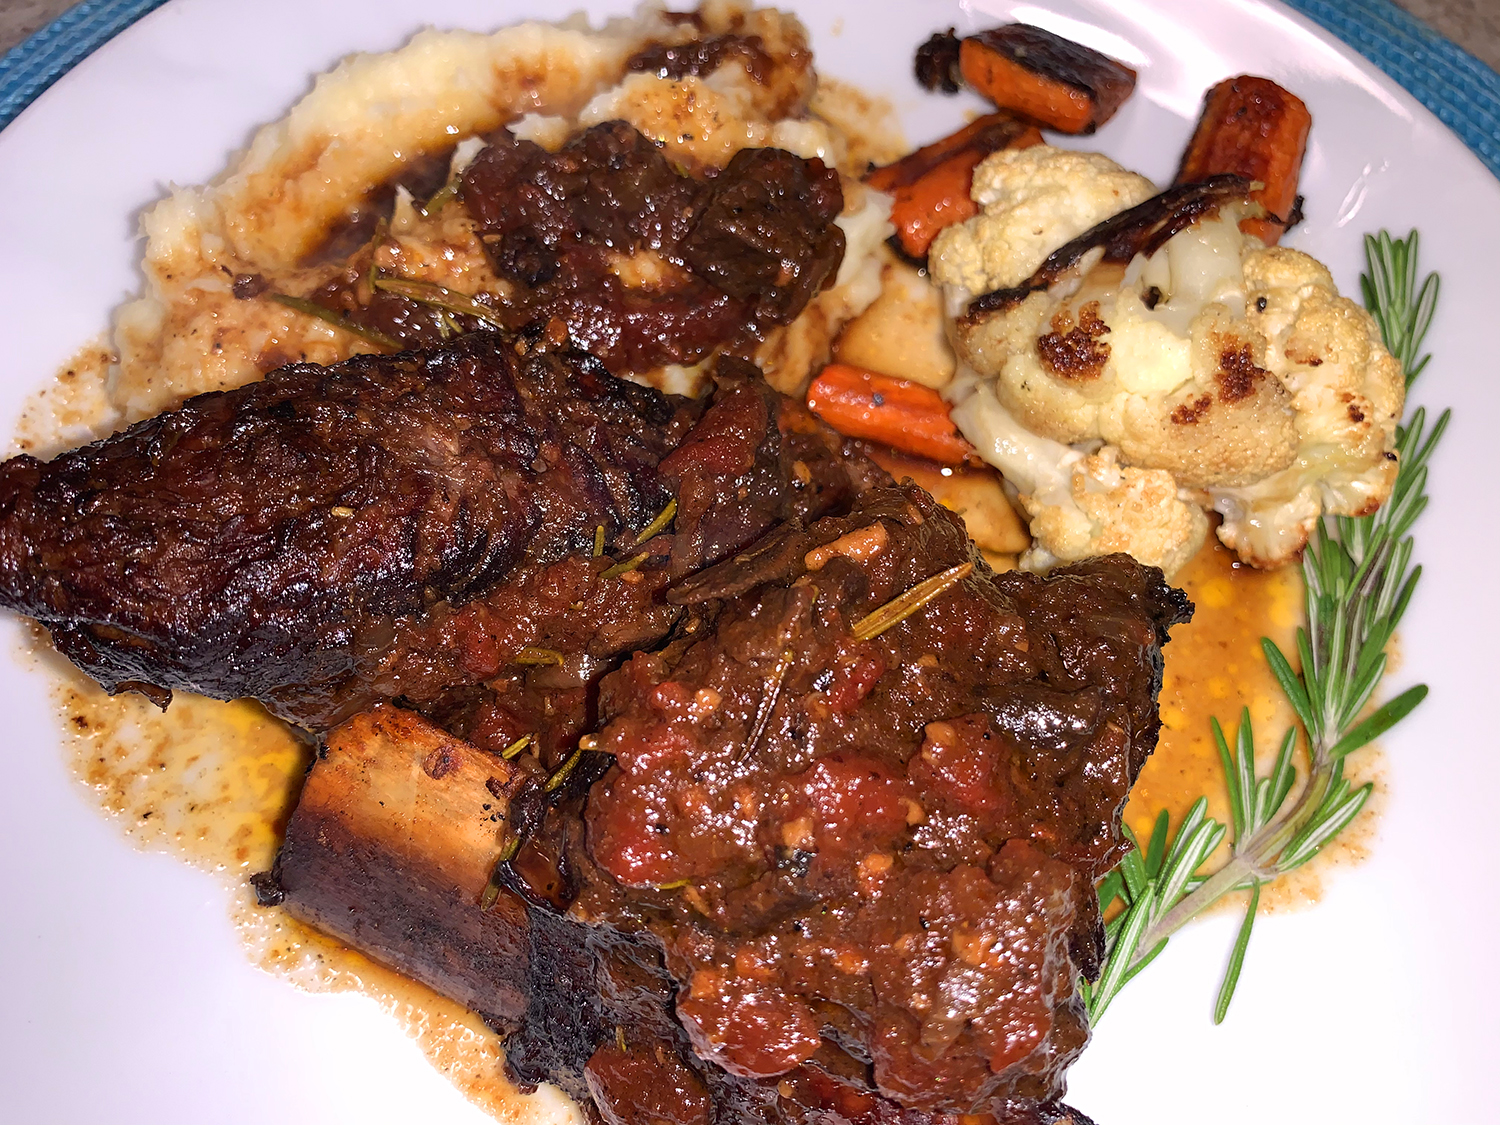
Treat yourself like company with this Mediterranean-inspired Spice-Rubbed Pork Tenderloin with Fennel, Tomatoes, Artichokes and Olives recipe. In less than an hour, this one pan wonder works well for a weeknight dinner. It’s a mash-up from America’s Test Kitchen and Molly Stevens cookbooks. The revised recipe noted below serves six, but we halved it for just the two of us.
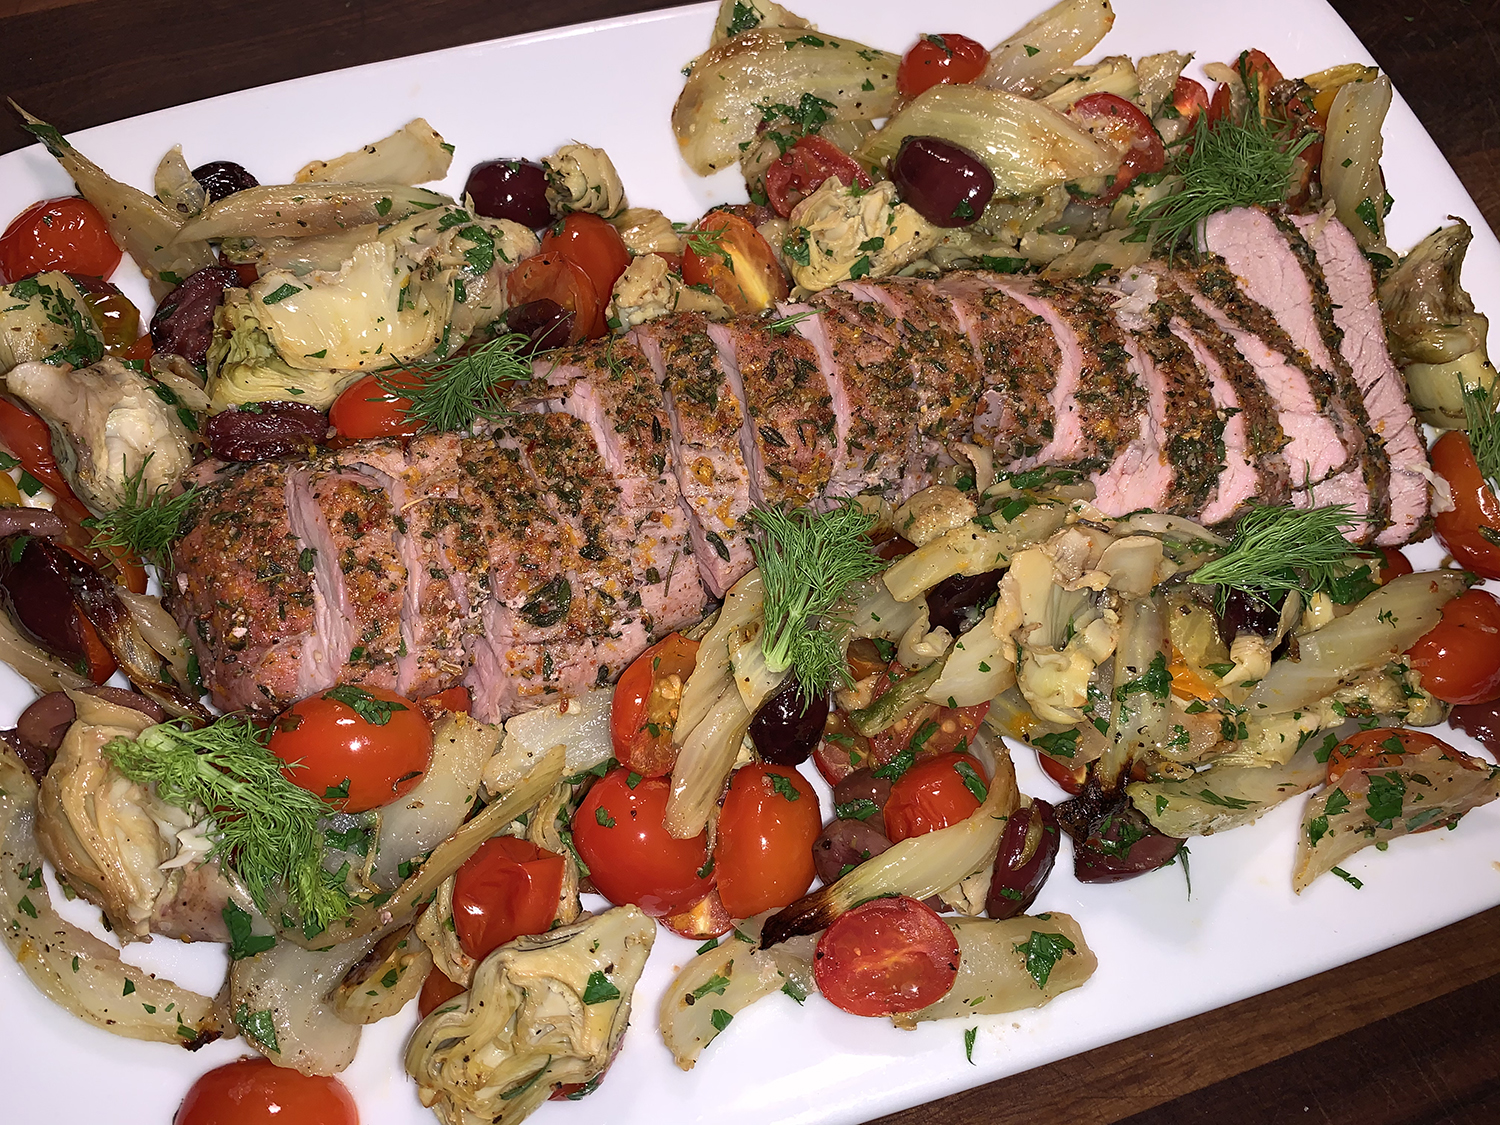
Cooking the tenderloins until buttery-smooth is key, and roasting them atop a bed of vegetables buffers the heat to ensure juicy meat all the way through. Rather than searing the meat, it is rubbed with a spice mixture. The Mediterranean seasoning inspires the selection of vegetables: sweet, delicately flavored fennel, earthy artichoke hearts, and briny olives.
After softening the fennel in the microwave, toss it with the other vegetables and olive oil, and spread the mixture into the roasting pan, placing the tenderloins on top. The vegetables are nearly cooked when the pork was done, so remove the meat, add in juicy halved cherry tomatoes and orange zest, and let the vegetables finish in the oven while the meat rests.
Spice-Rubbed Pork Tenderloin with Fennel, Tomatoes, Artichokes and Olives
Ingredients
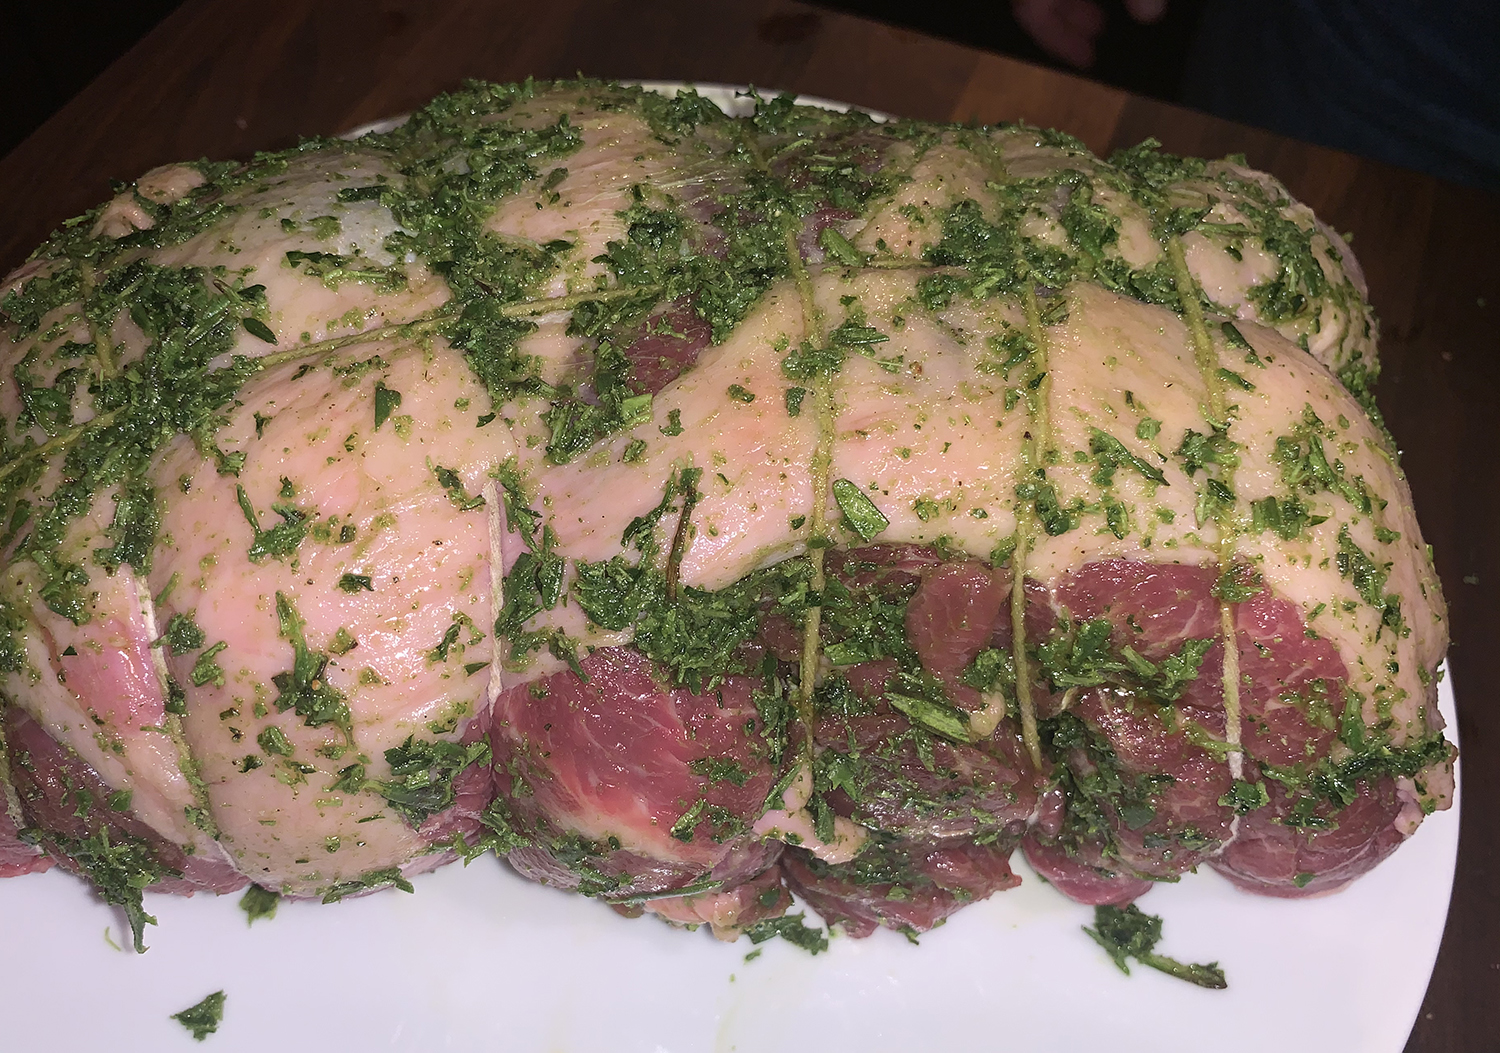
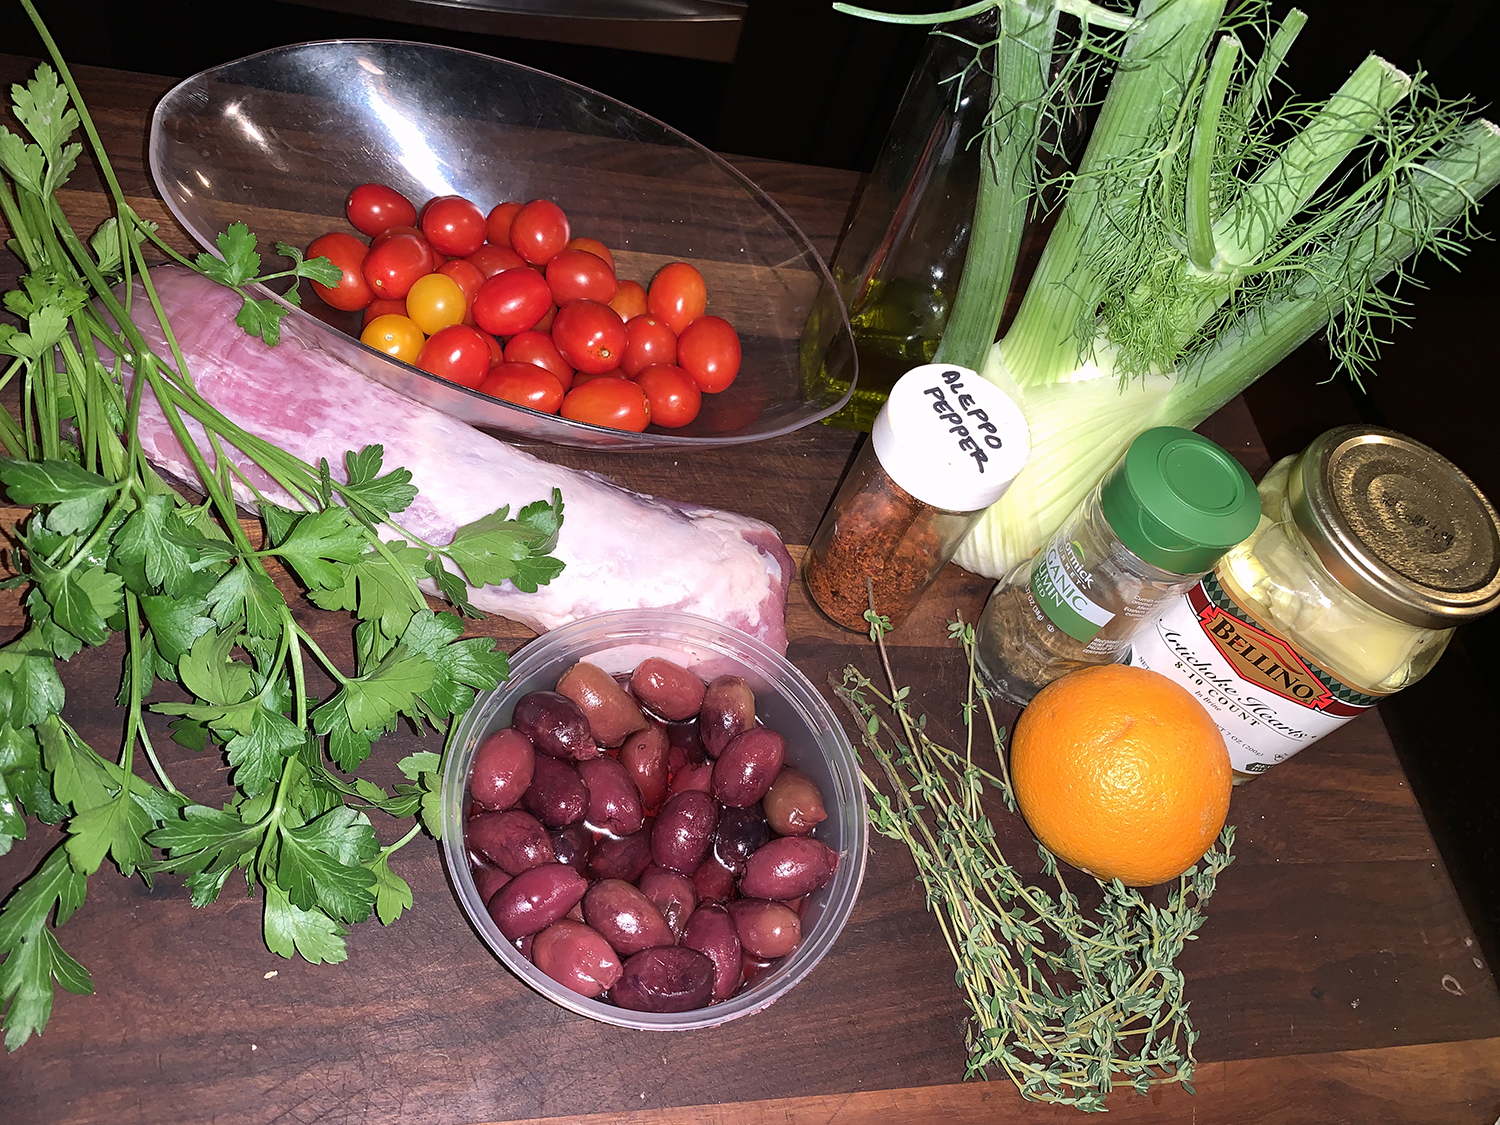
- 2 (12- to 16-oz.) pork tenderloins, trimmed
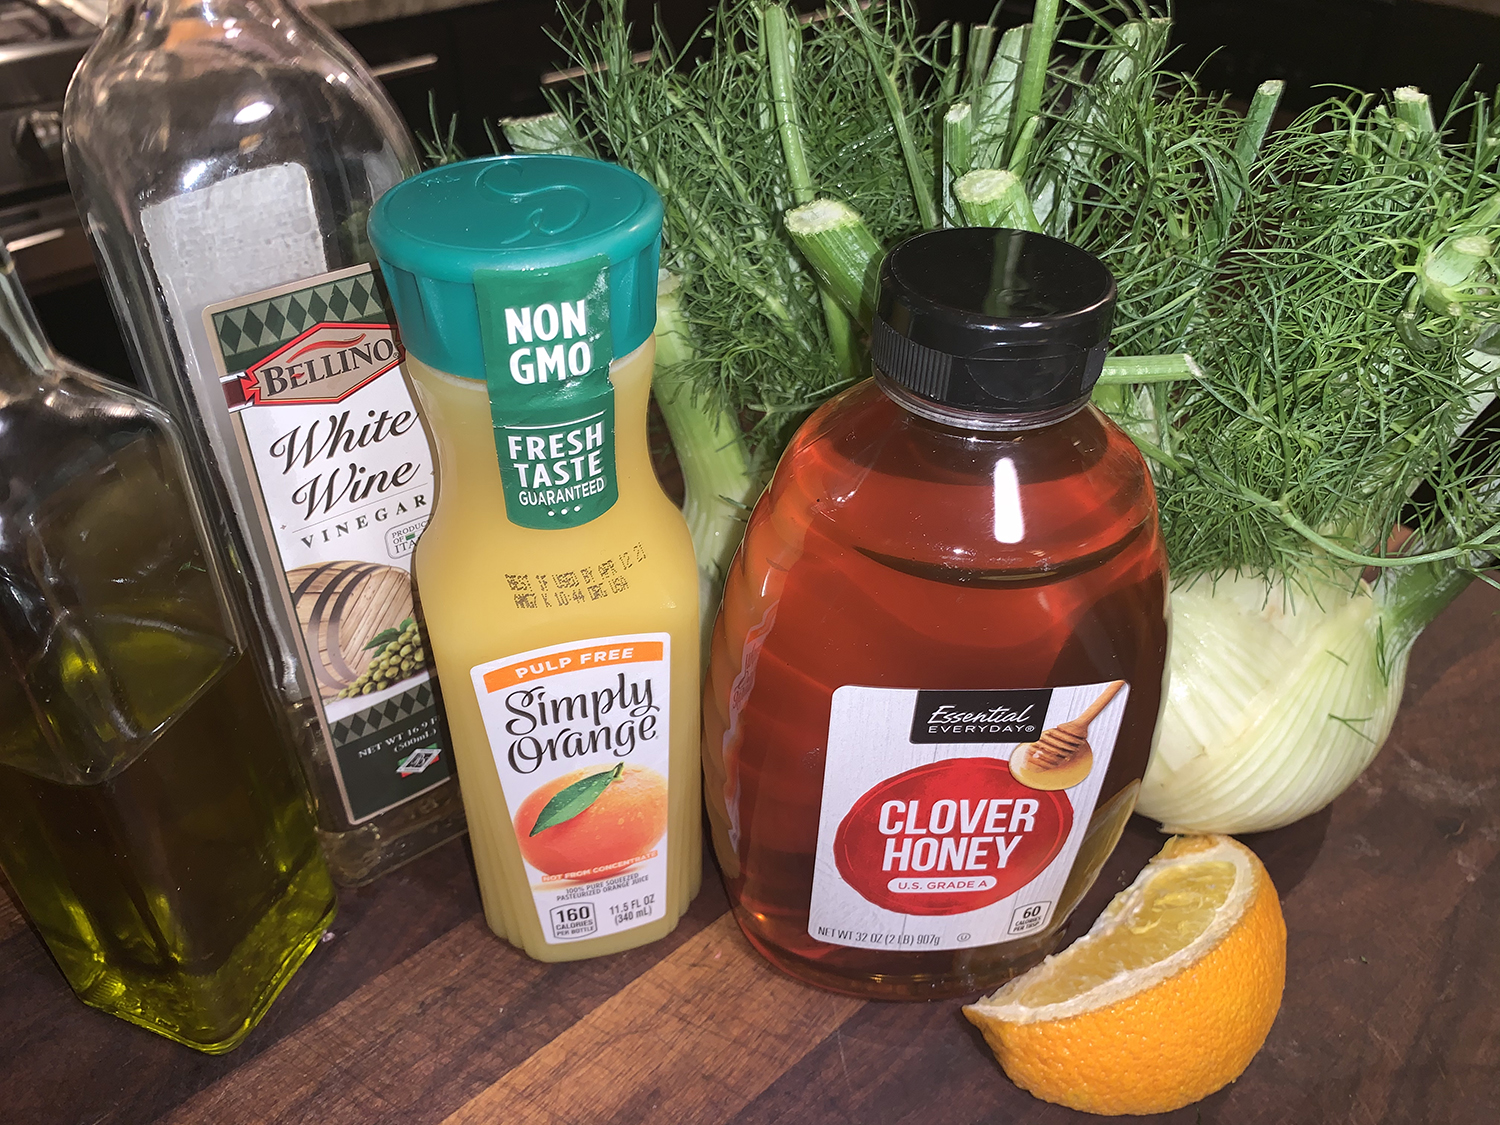
- 1 Tbsp. grated orange zest, divided in 3
- 1 Tbsp. fresh thyme, chopped
- 1/2 tsp. cumin seed
- 1/2 tsp. Aleppo pepper flakes
- Salt and pepper
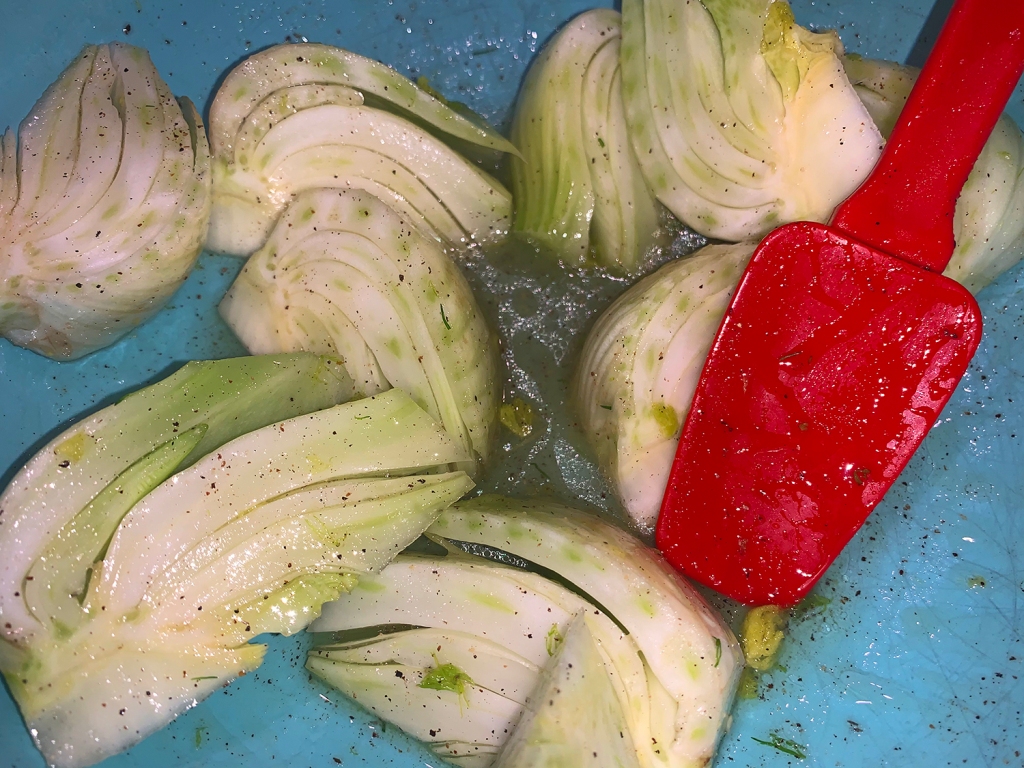
- 2 large fennel bulbs, stalks discarded, bulbs halved, cored, and cut into ½-inch-thick strips
- 12 oz. frozen artichoke hearts, thawed and patted dry; or 6 oz. jarred packed in brine
- ½ cup pitted kalamata olives, halved
- 3 Tbsp. extra-virgin olive oil
- 18 oz. cherry tomatoes, halved
- 2 Tbsp. minced fresh parsley


Directions
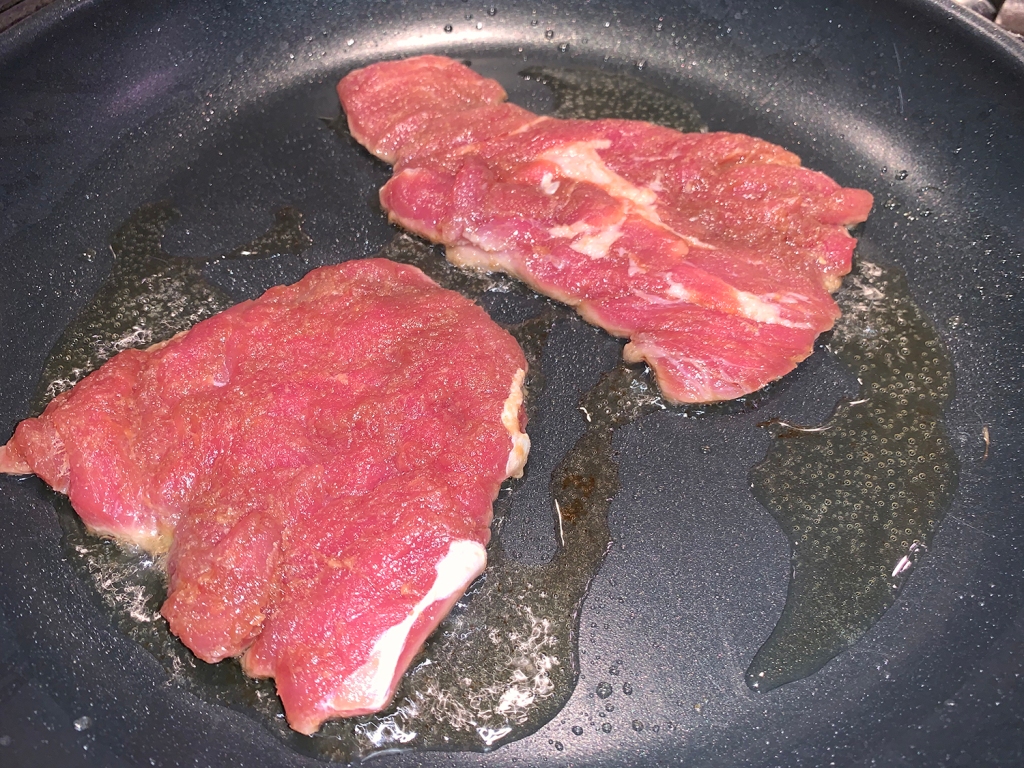
- Adjust oven rack to lower-middle position and heat oven to 450°. Pat pork dry with paper towels.
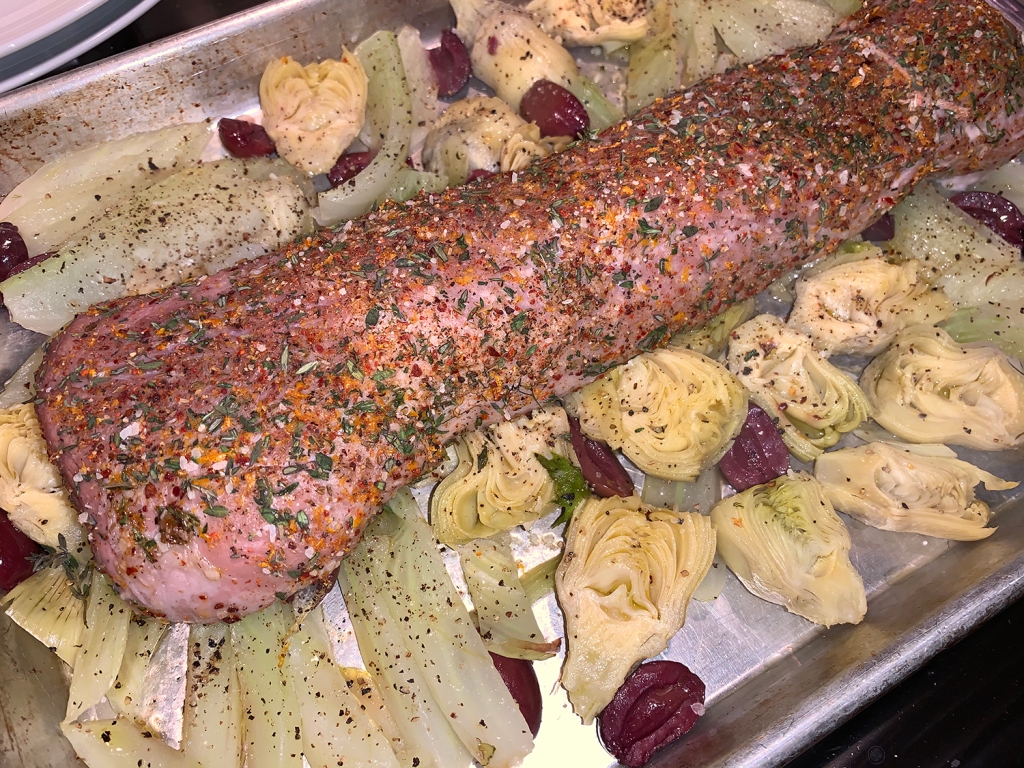
- In a small bowl, combine thyme, 2 teaspoons of the orange zest, cumin, pepper flakes, 3/4 teaspoon salt, and several grinds of black pepper. Combine thoroughly and rub all over both tenderloins.
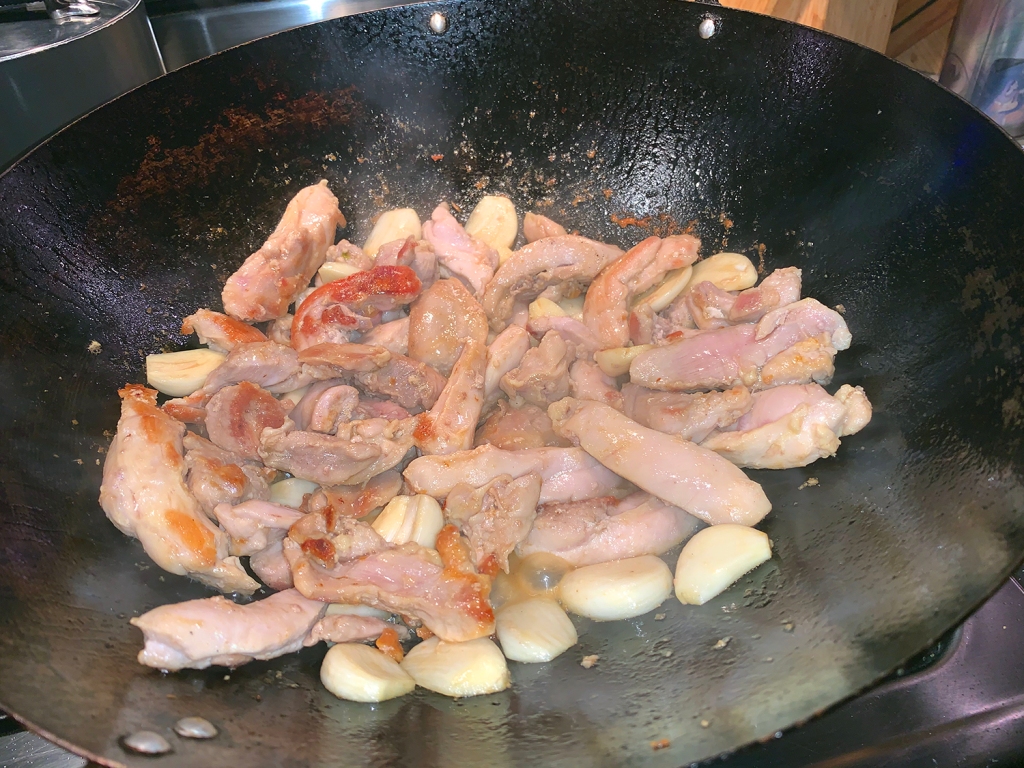
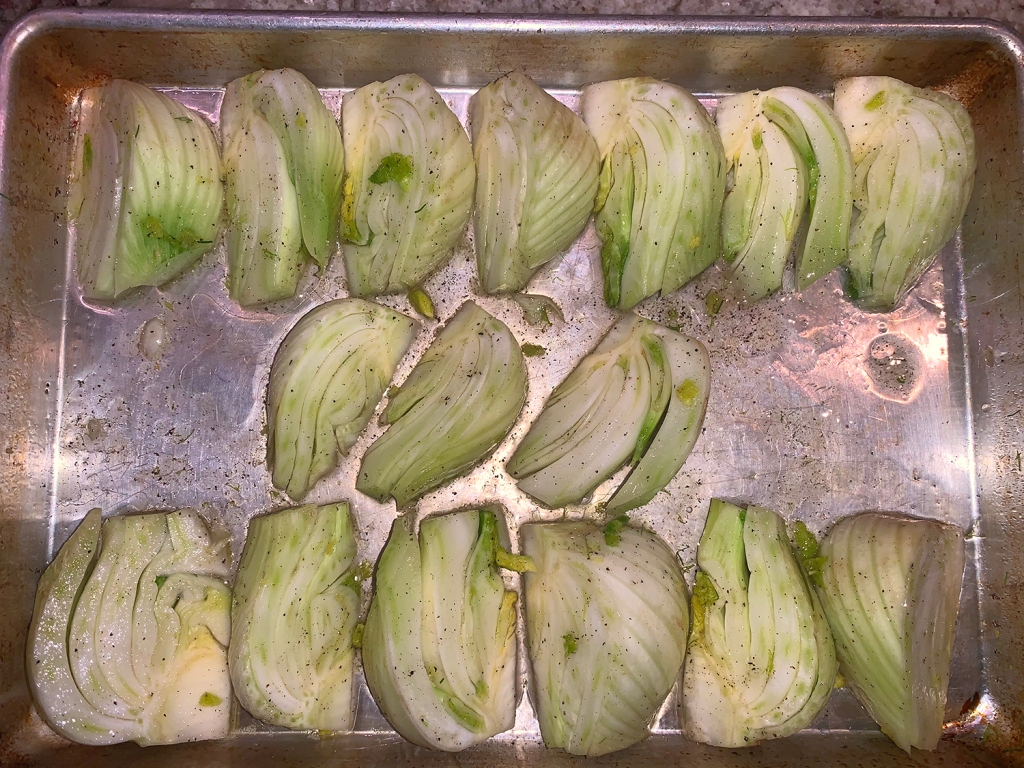
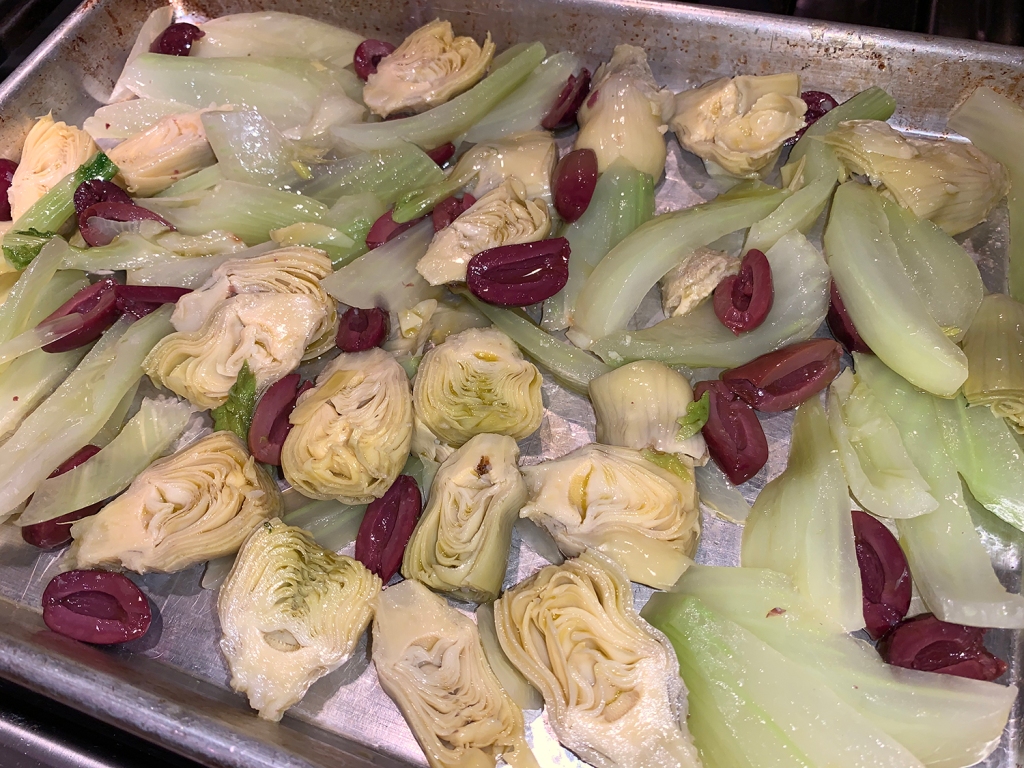
- Combine fennel and 2 tablespoons water in bowl, cover, and microwave until softened, about 5 minutes; drain well. Toss drained fennel, artichokes, olives, and oil together in bowl and season with salt and pepper.
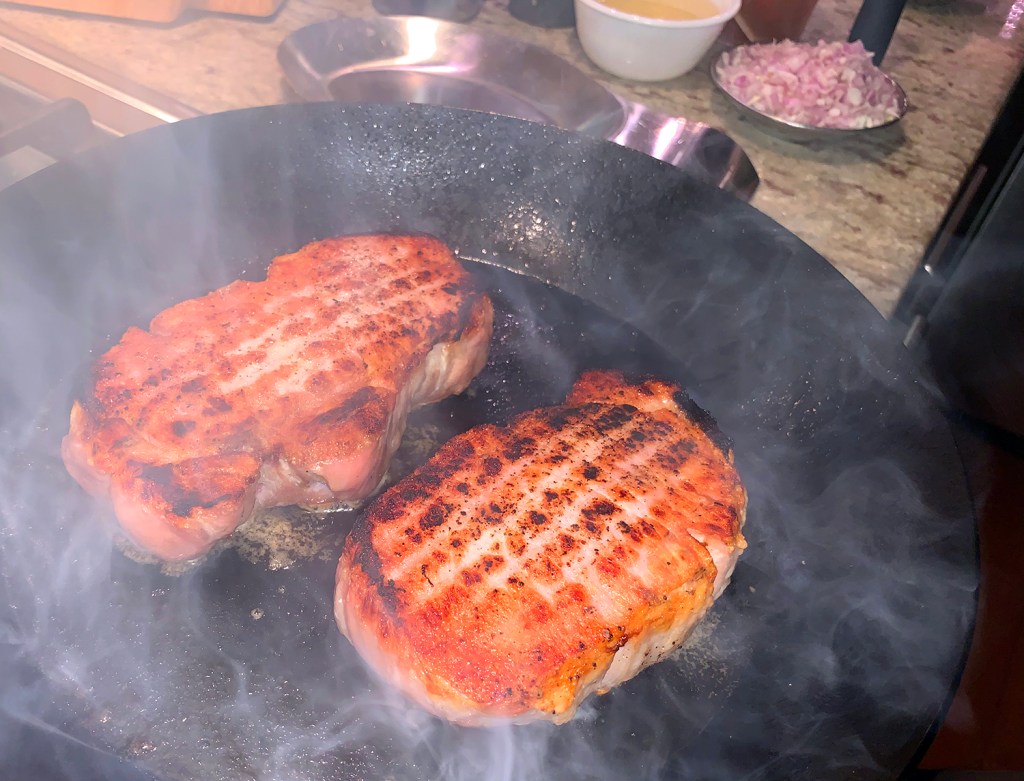
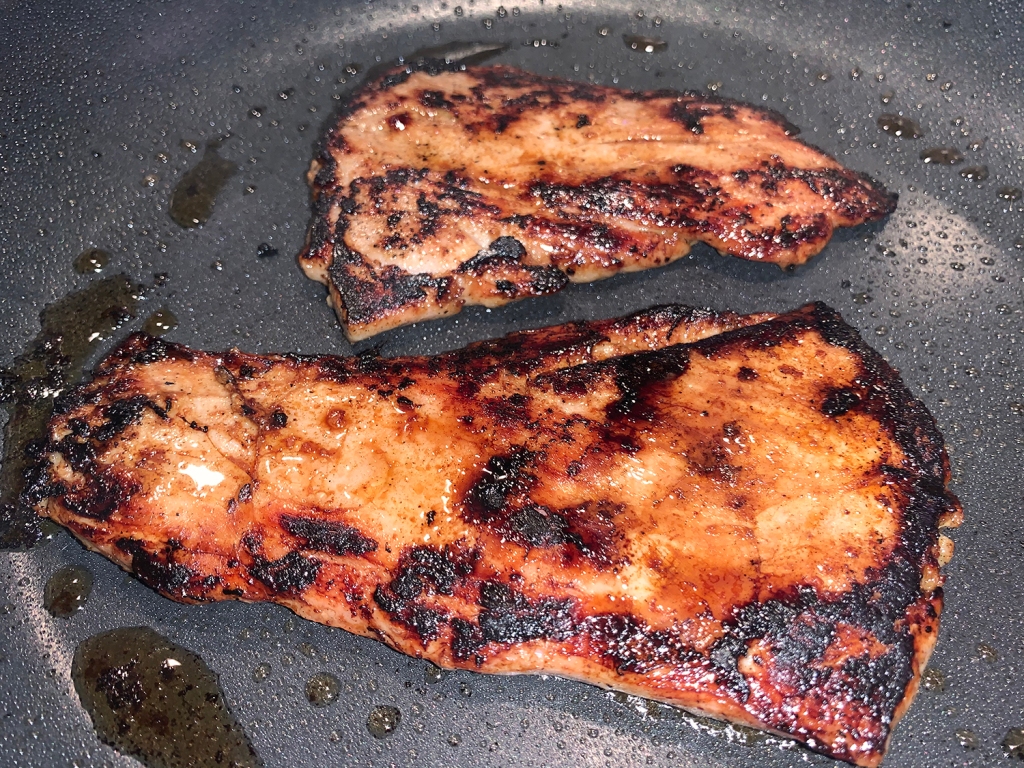
- Spread vegetables into 16 by 12-inch roasting pan and lay pork on top. Roast until pork registers 140 to 145 degrees, 25 to 30 minutes, turning tenderloins over halfway through roasting.
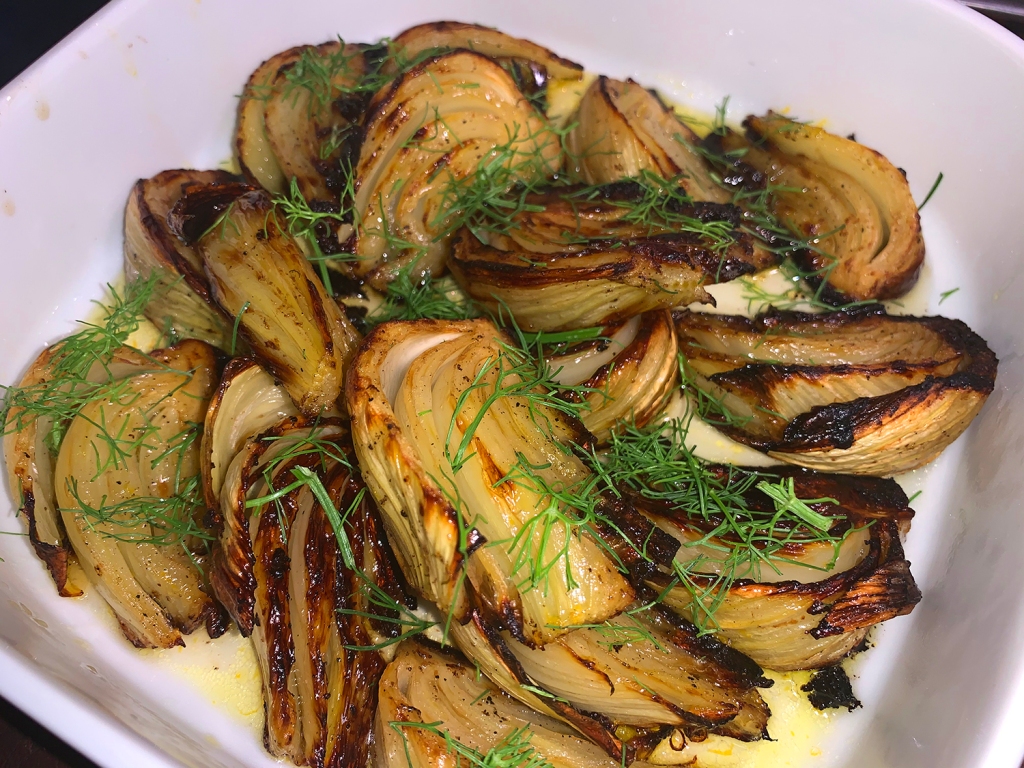
- Remove pan from oven. Transfer pork to cutting board, tent loosely with aluminum foil, and let rest for 10 minutes.
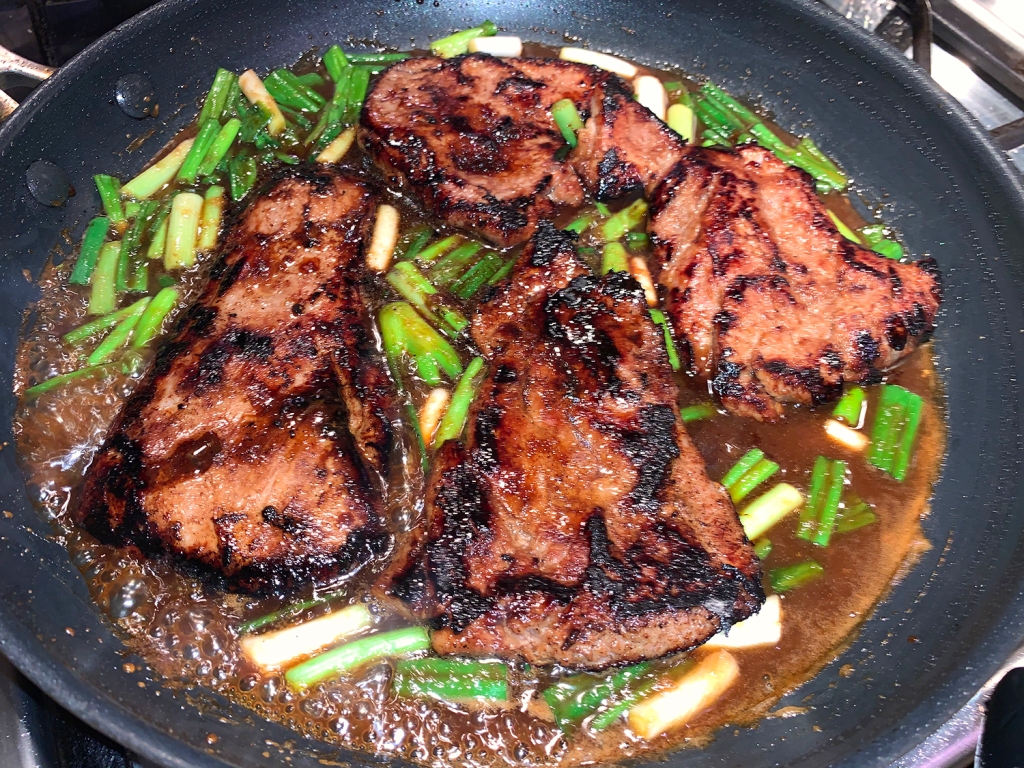
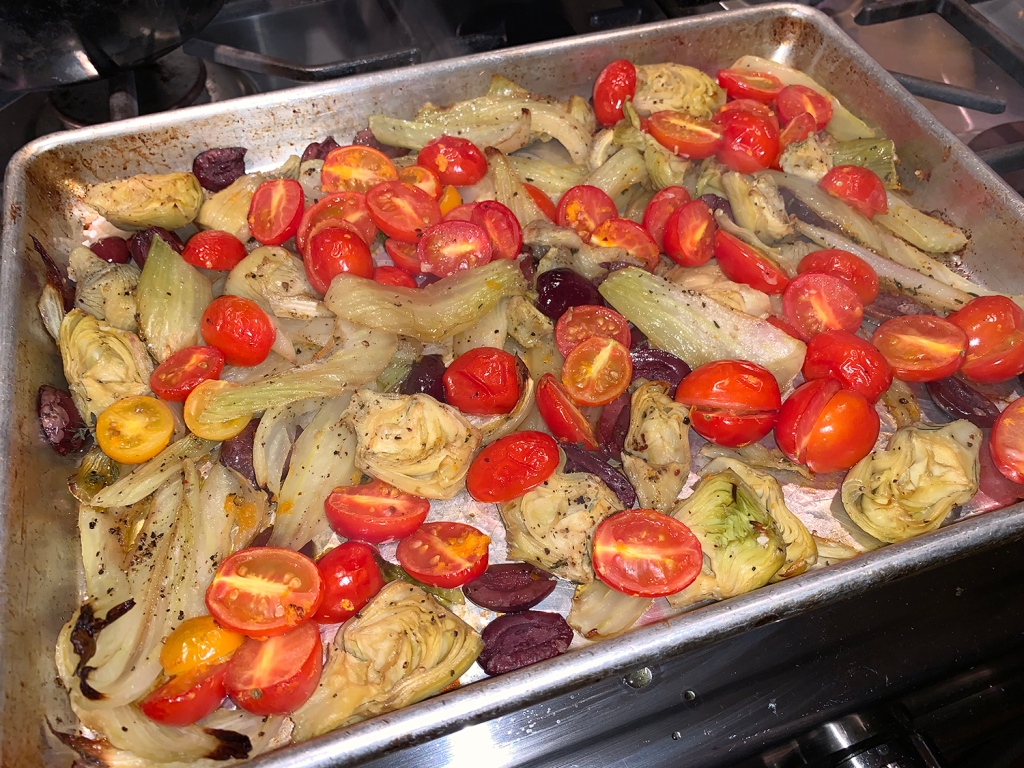
- Meanwhile, stir cherry tomatoes and remaining teaspoon orange zest into vegetables and continue to roast until fennel is tender and tomatoes have softened, about 10 minutes more.
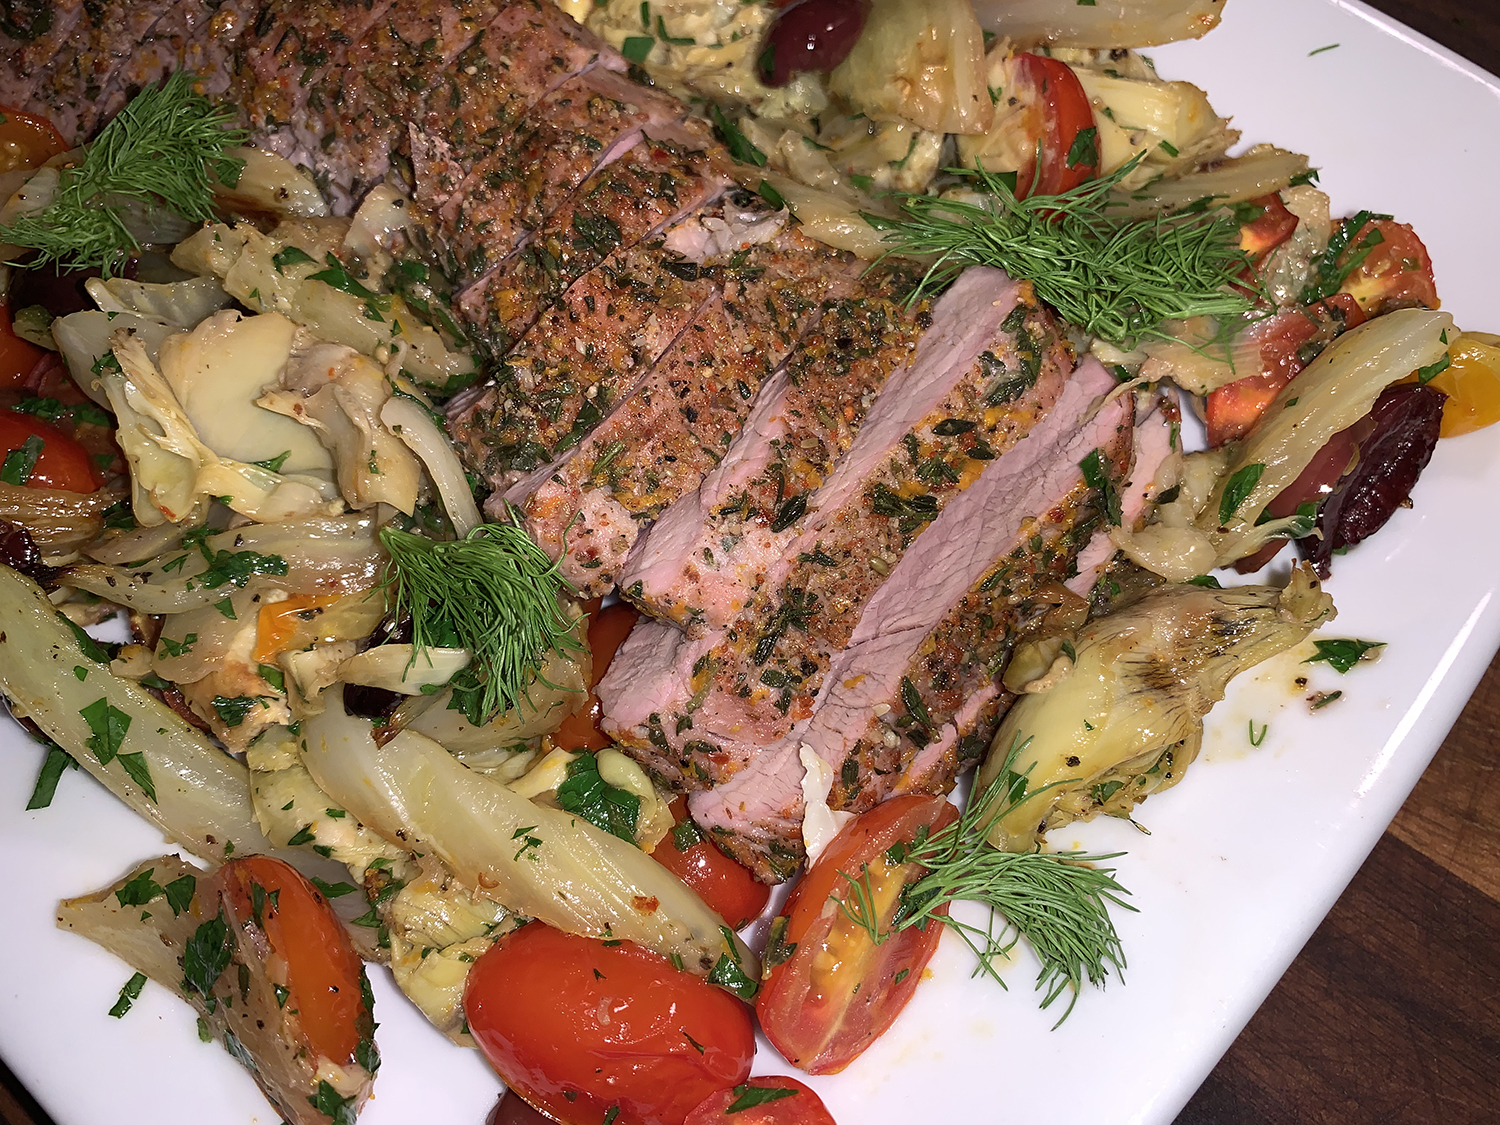
- Remove pan from oven. Stir parsley into roasted vegetables. Slice pork into ½-inch-thick slices and serve with vegetables.