Citrusy roast chicken with mashed potatoes and gravy are my go-to comfort food, especially on a cool Sunday afternoon. The meal conjures up fond memories from my formative years growing up in Michigan. According to chef/author Suzy Karadsheh, this simple twist on roast chicken makes a dish that is at once crisp and succulent, with the perfect balance of savory, tangy, and warm flavors! Delicious and impressive with a modicum of work involved. You had me at “roast chicken.”
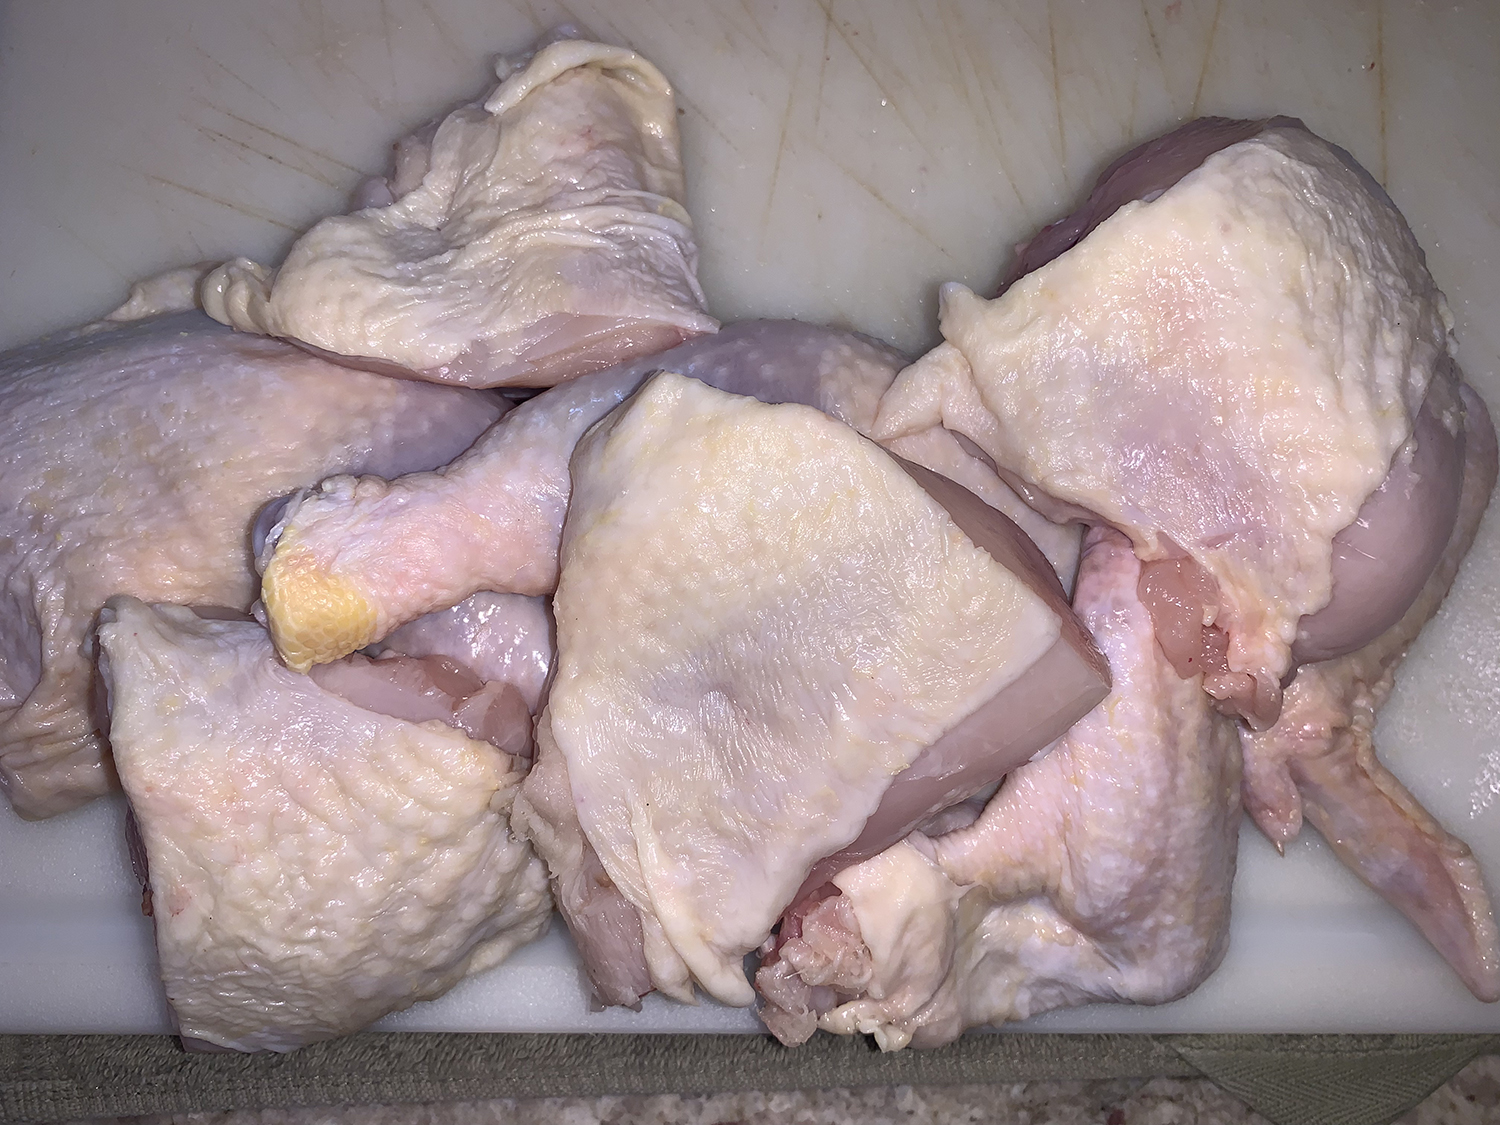
I say bring it on with crisp, tangy, and succulent citrus rosemary chicken, seasoned Mediterranean-style with garlic, rosemary, and oregano, and covered in a bold wine and orange marinade. It is preferable to use split chicken or chicken pieces of similar size for even cooking. We used a whole chicken split in half for this recipe, but you can also use chicken breast or thighs, and you may have to adjust the cooking time accordingly.

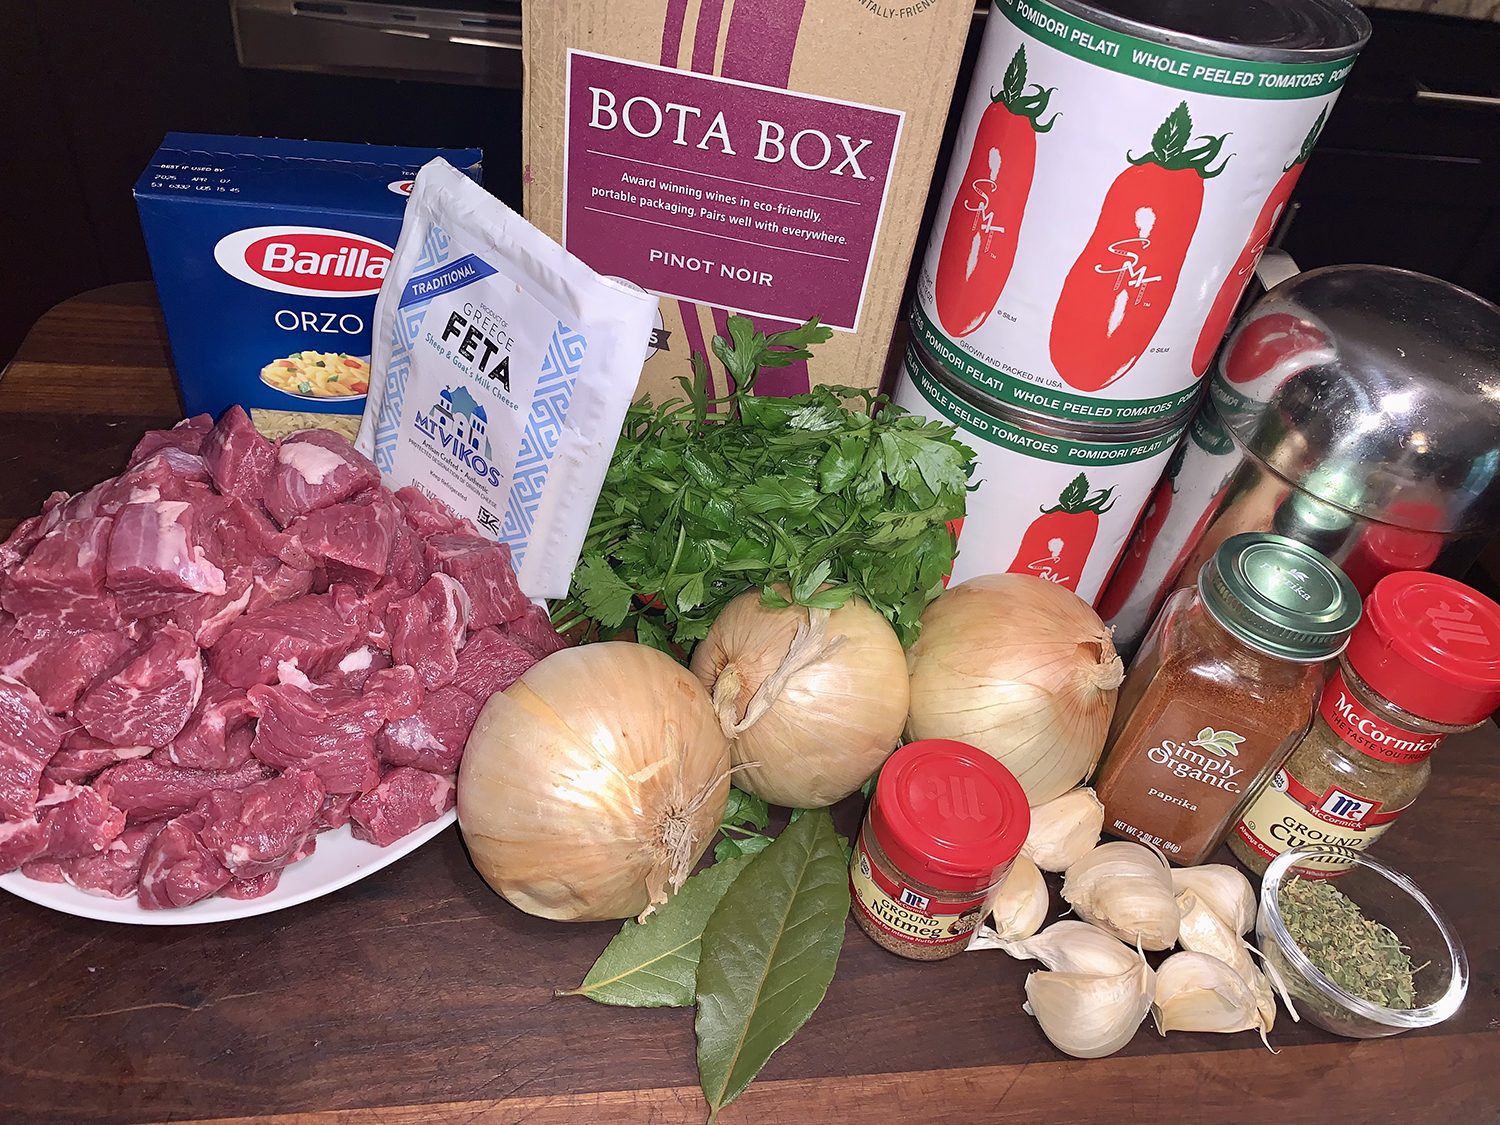
As wine pairings go, many people choose white wine to serve next to chicken dinners. But roast chicken is one of those rustic meals that pairs incredibly well with certain red wines, such as Pinot Noir. The beautiful red fruit notes in Pinot compliment the rosemary and citrus flavors in the chicken without overwhelming the palate. And the smooth, lengthy finish is just perfection! To elevate the flavor even more, Suzy also uses some of the wine in the chicken marinade.
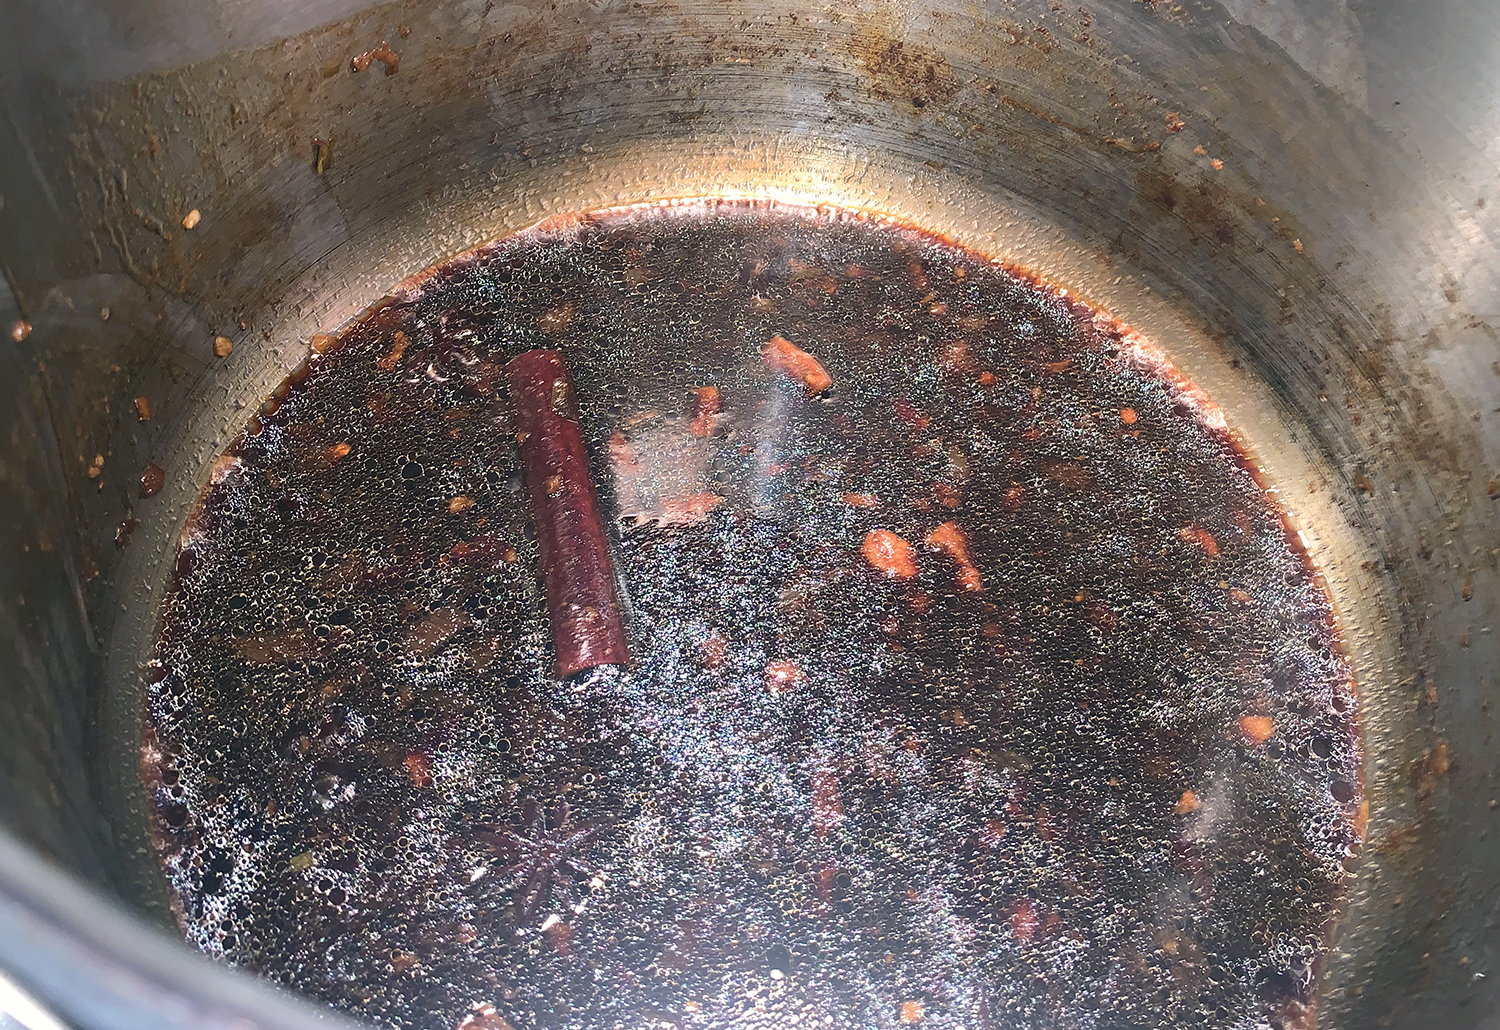
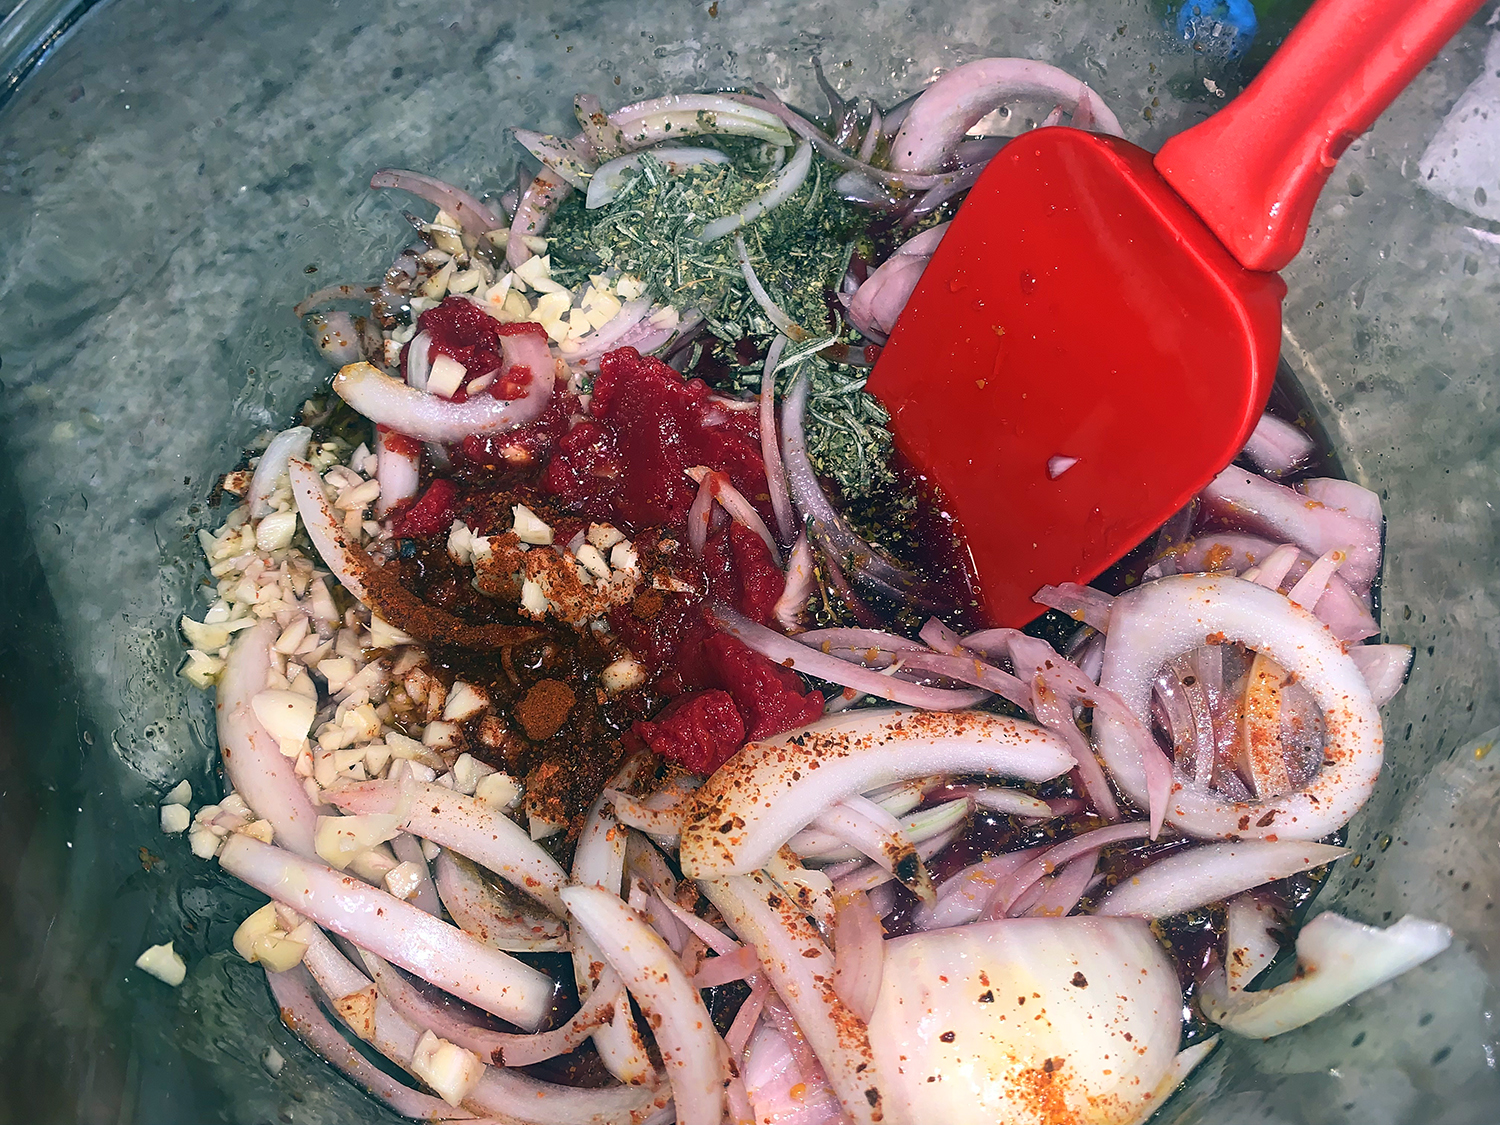
The citrus marinade in this recipe is made of a combination of wine, orange juice, lime juice, olive oil, tomato paste for color and umami, and fresh garlic, onions, rosemary, and other Mediterranean spices. The key to great flavor here is to allow the chicken a good 1 to 2 hours in the marinade (refrigerated), and make sure to lift up the chicken skin to spoon some of the garlicky, citrus marinade underneath.
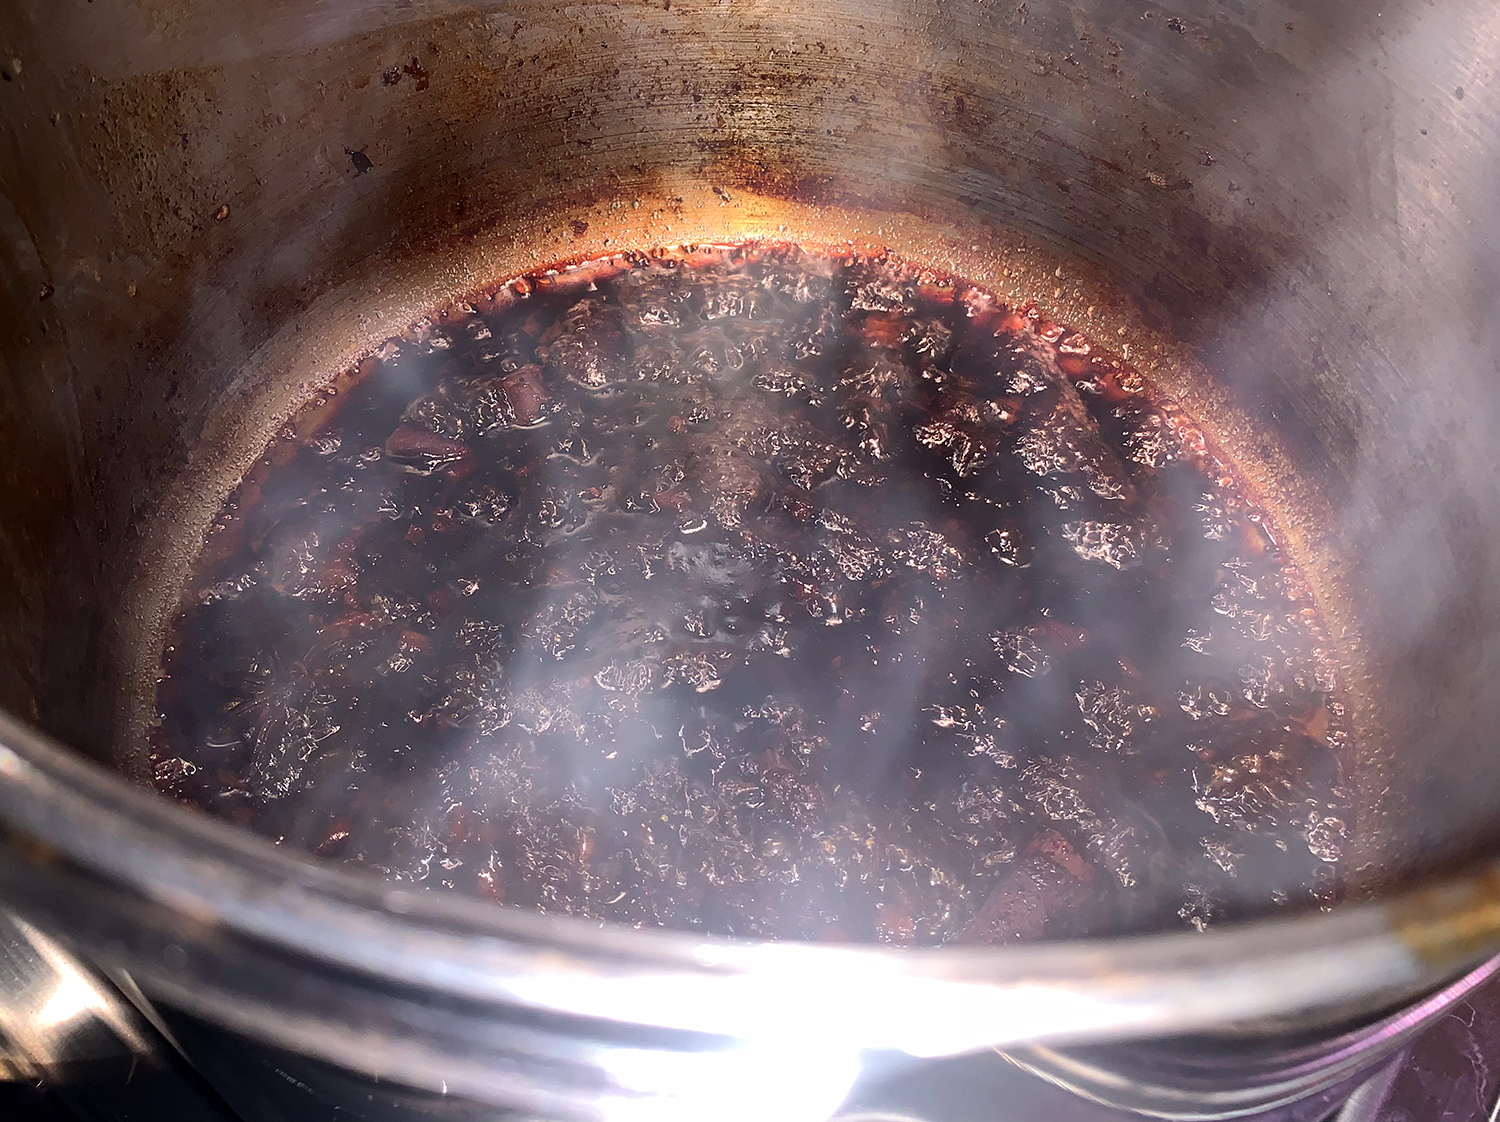
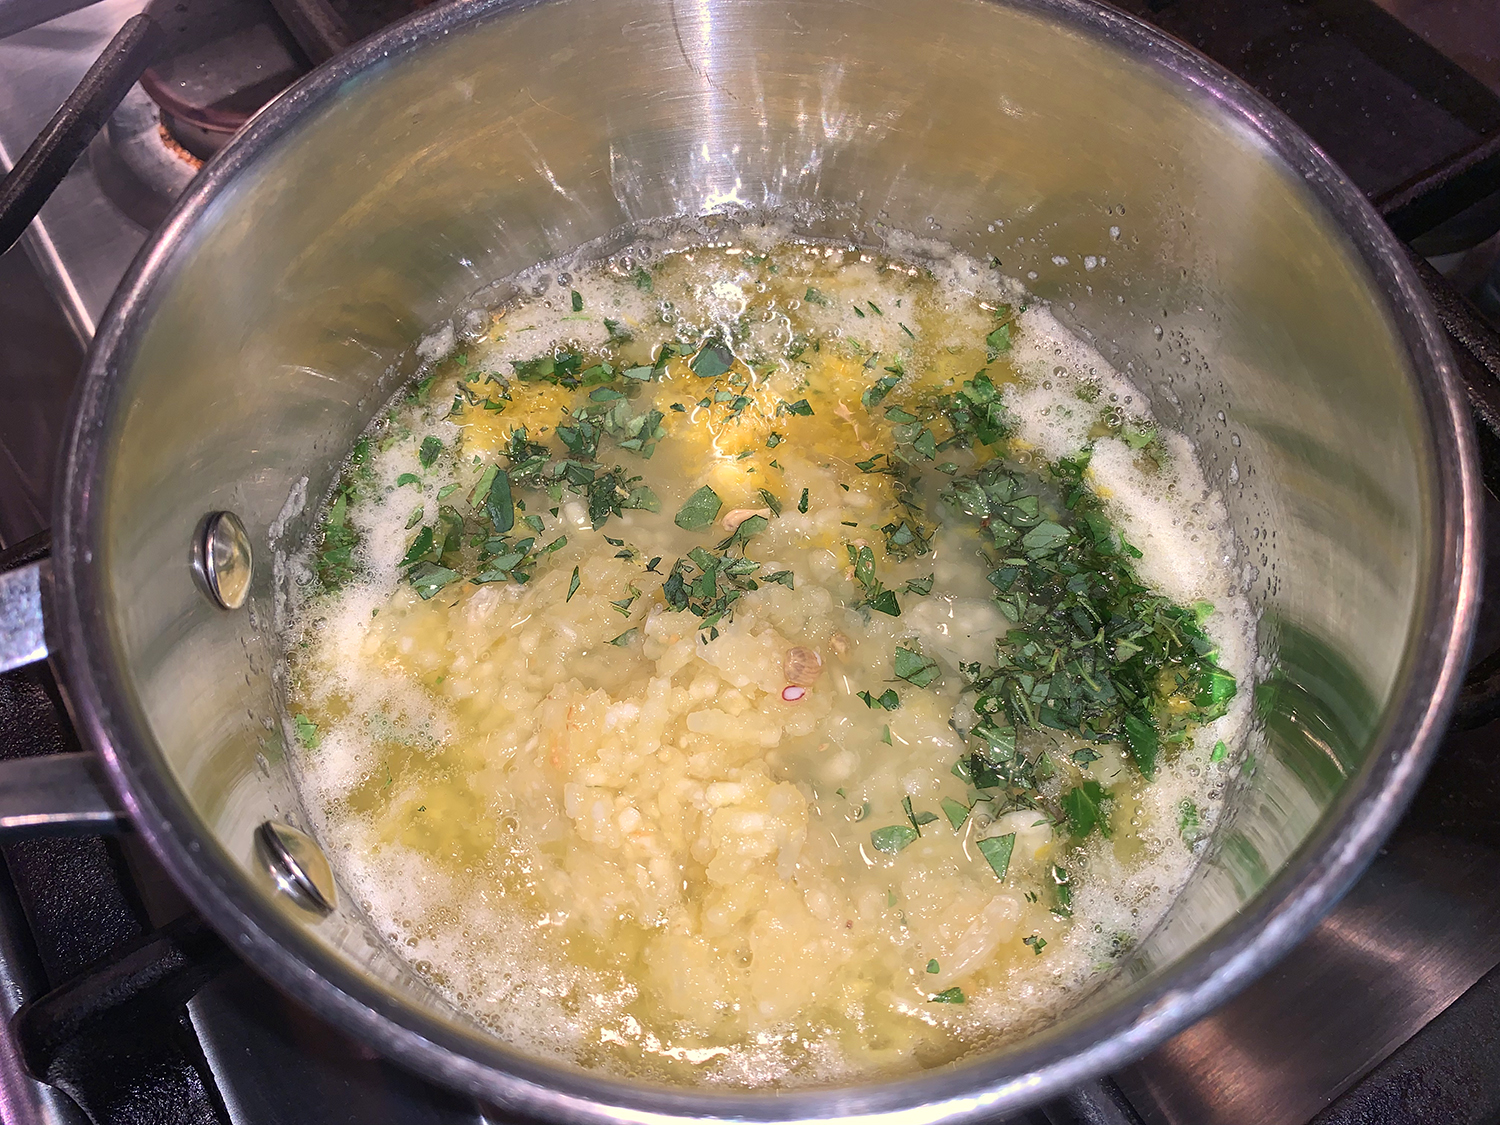
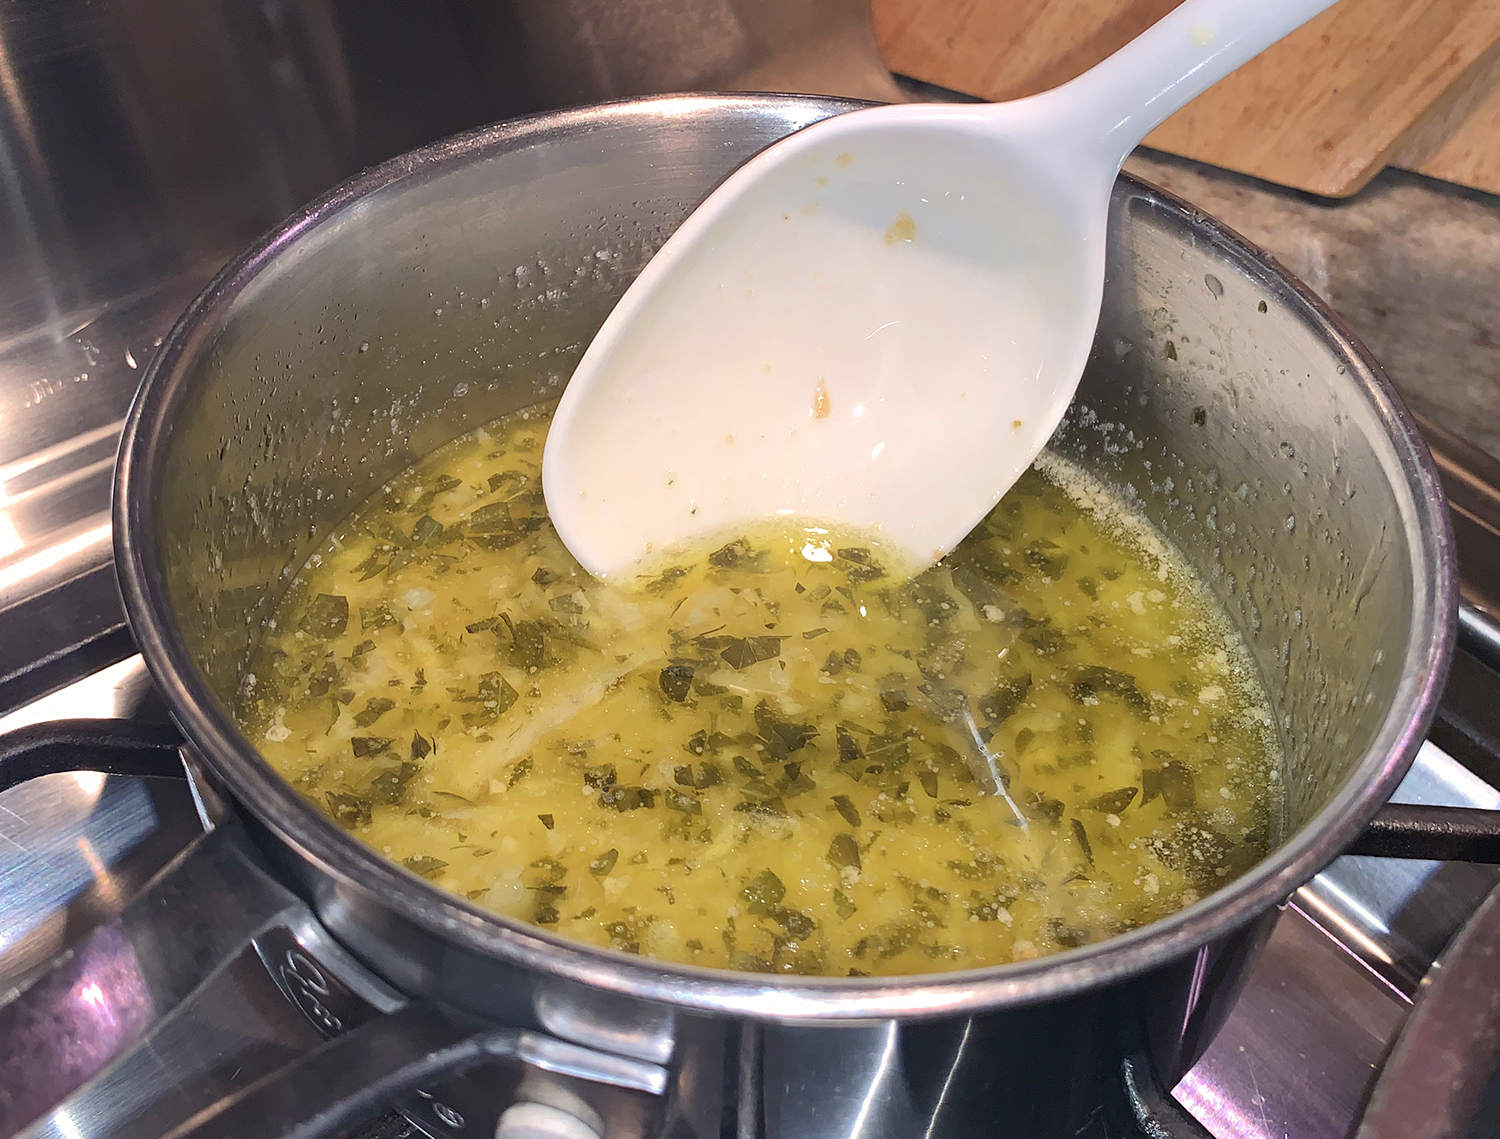
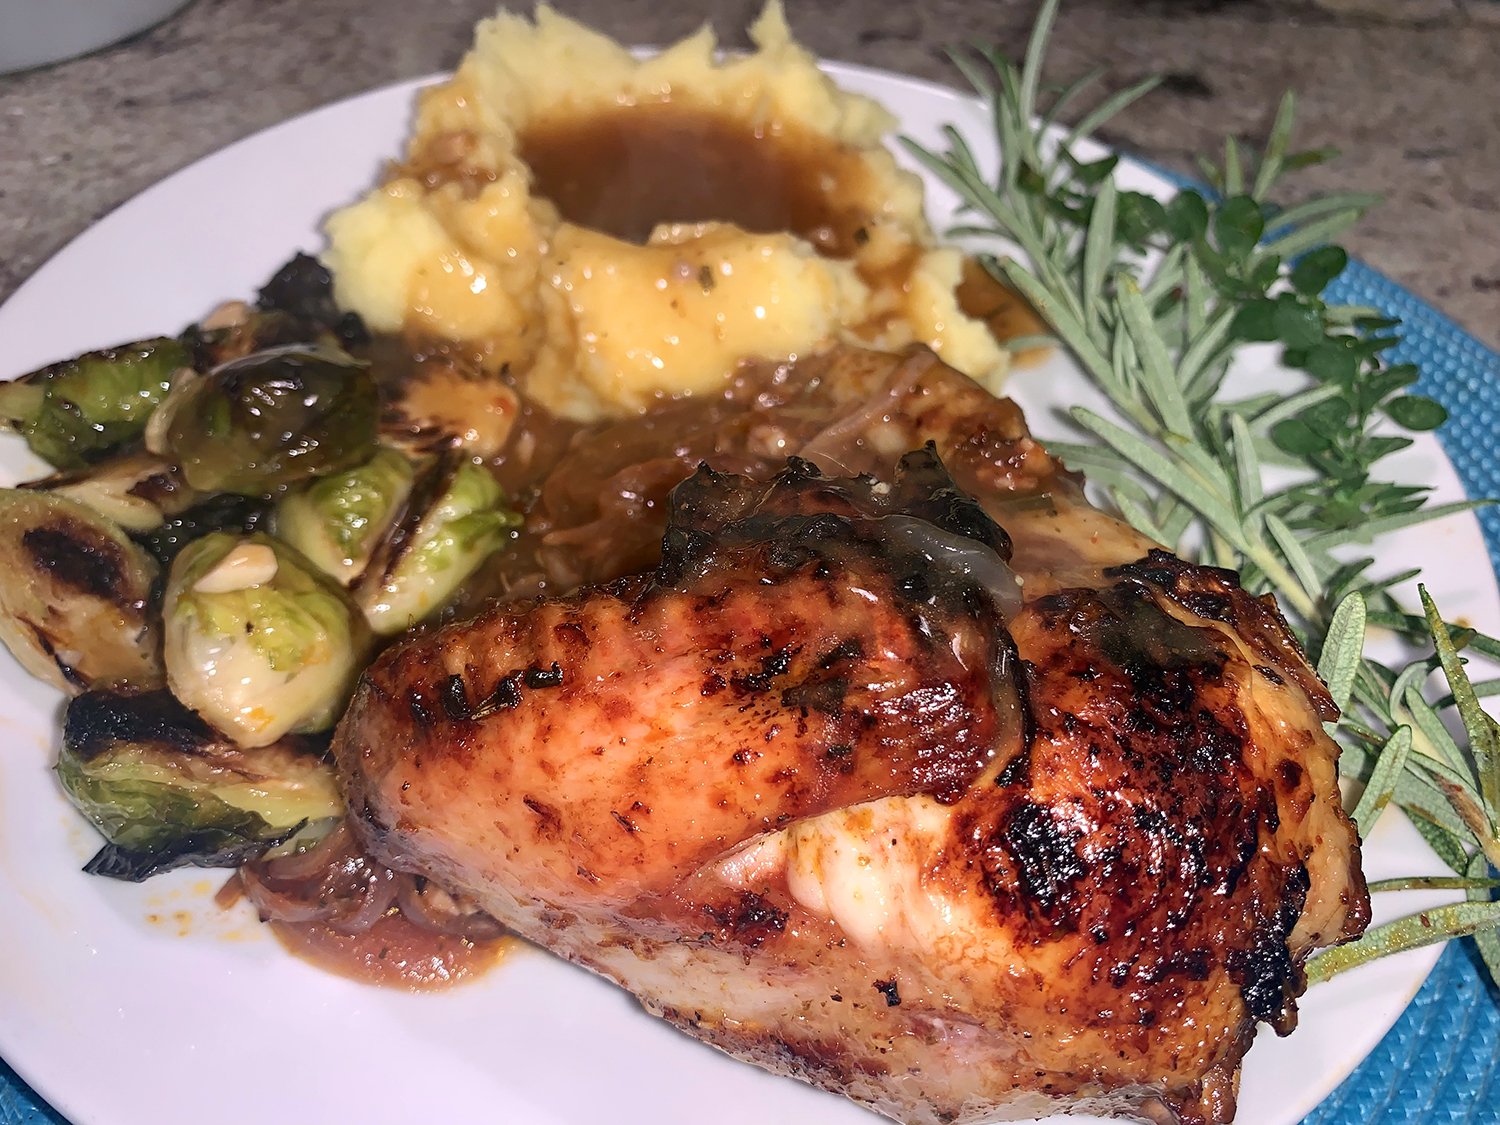
When the chicken was done, we plated it and the onions on a platter covered with foil. The remaining juices were added with a quart of homemade chicken stock to a pot; then thickened with a corn starch slurry when the liquids began to boil. To complete the meal, we made Roasted Brussels Sprouts with Orange-Butter Sauce and garlicky mashed potatoes with gravy.
Please note: Since the pan will go under the broiler at the end, make sure to use a broiler-proof pan such as enameled cast iron.

Citrus Rosemary Chicken
Ingredients
- 1 whole chicken (about 3 ½ lbs.), split in half through the backbone
- Kosher salt
- 1 cup Pinot Noir
- 1 orange zested and juiced plus 1 sliced orange
- 1 lime juiced, plus 1 sliced lime
- Extra virgin olive oil
- 3 Tbsp. tomato paste
- 1 ½ tsp. dried oregano
- 1 tsp. dried rosemary
- 1 tsp. sweet paprika
- 1 tsp. Aleppo pepper
- 7 to 8 garlic cloves minced
- 1 yellow onion halved and sliced
- 1 Tbsp. honey


Directions
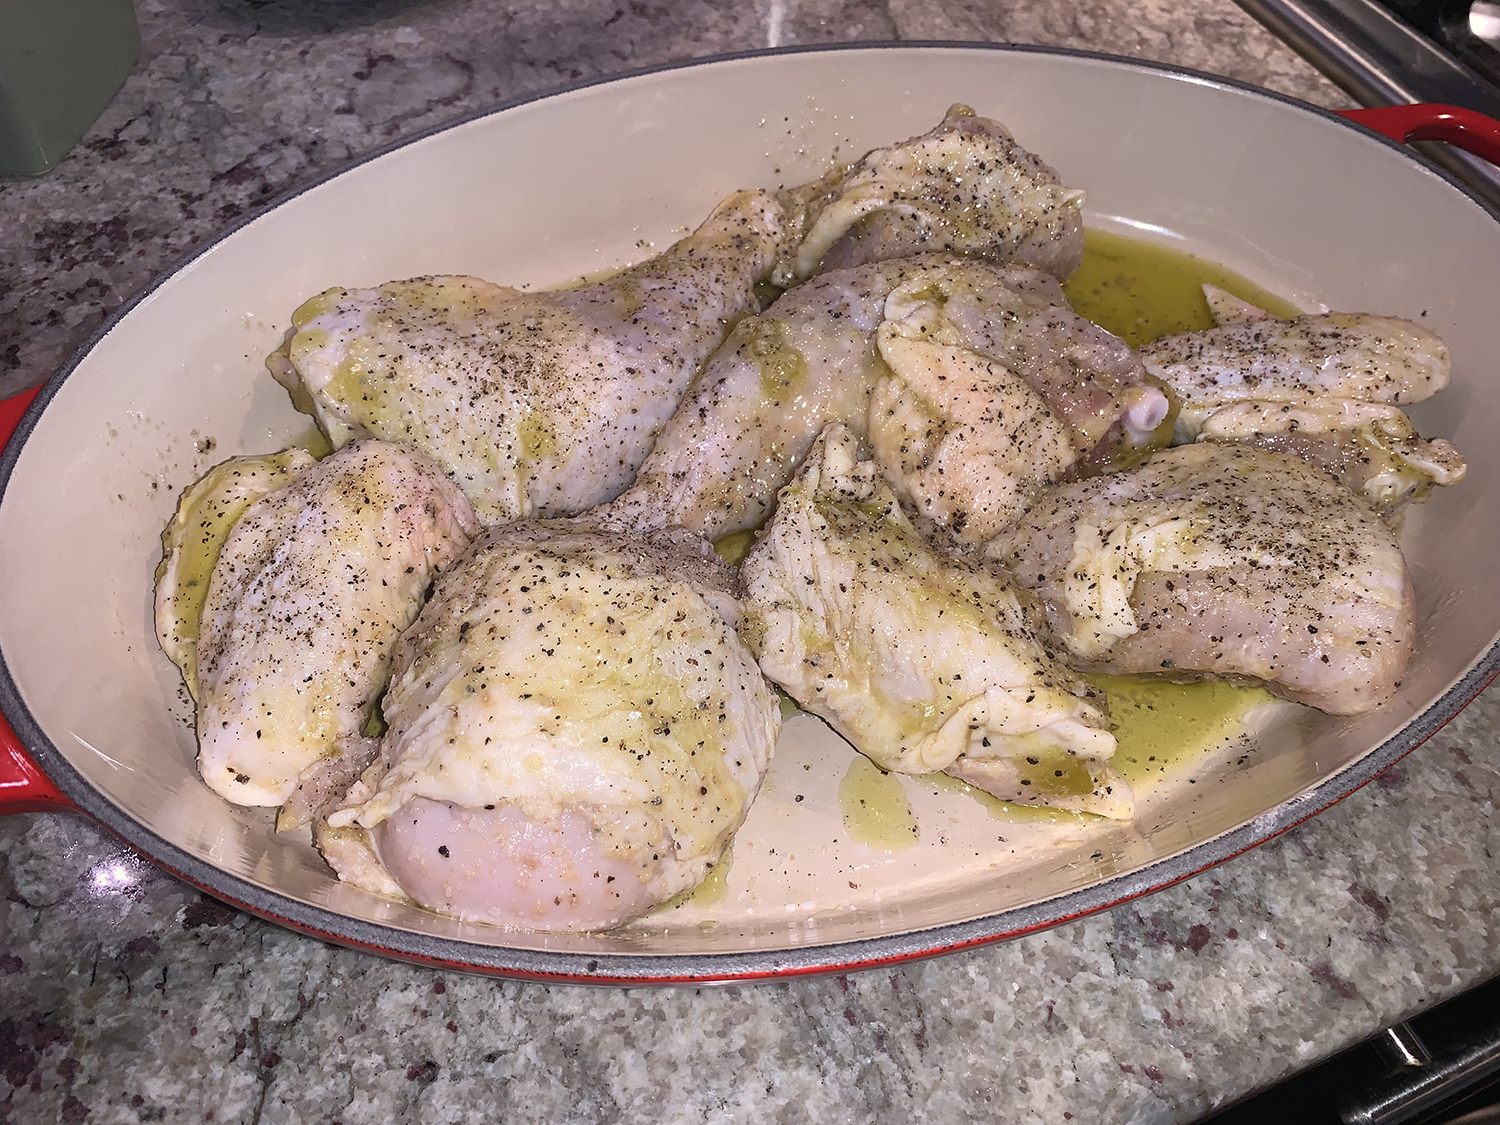
- Season the chicken with kosher salt on all sides, making sure to season underneath the skin as well. (You can do this one night ahead of time and keep the chicken in the fridge to air-chill uncovered).
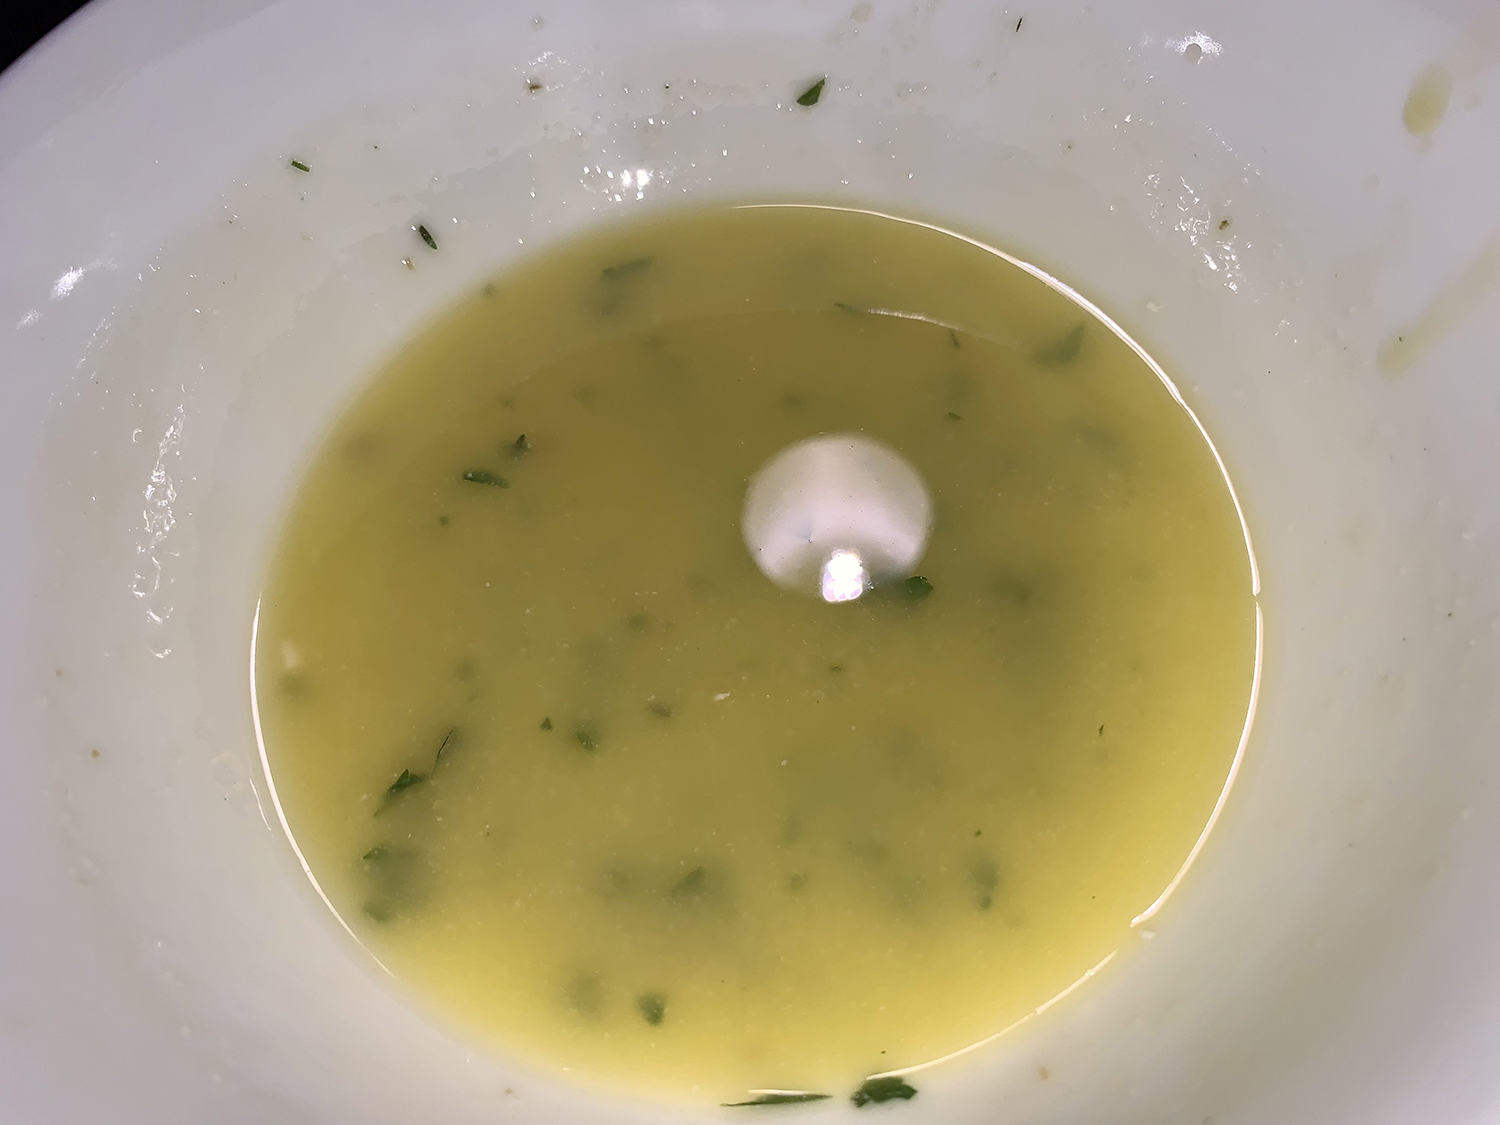
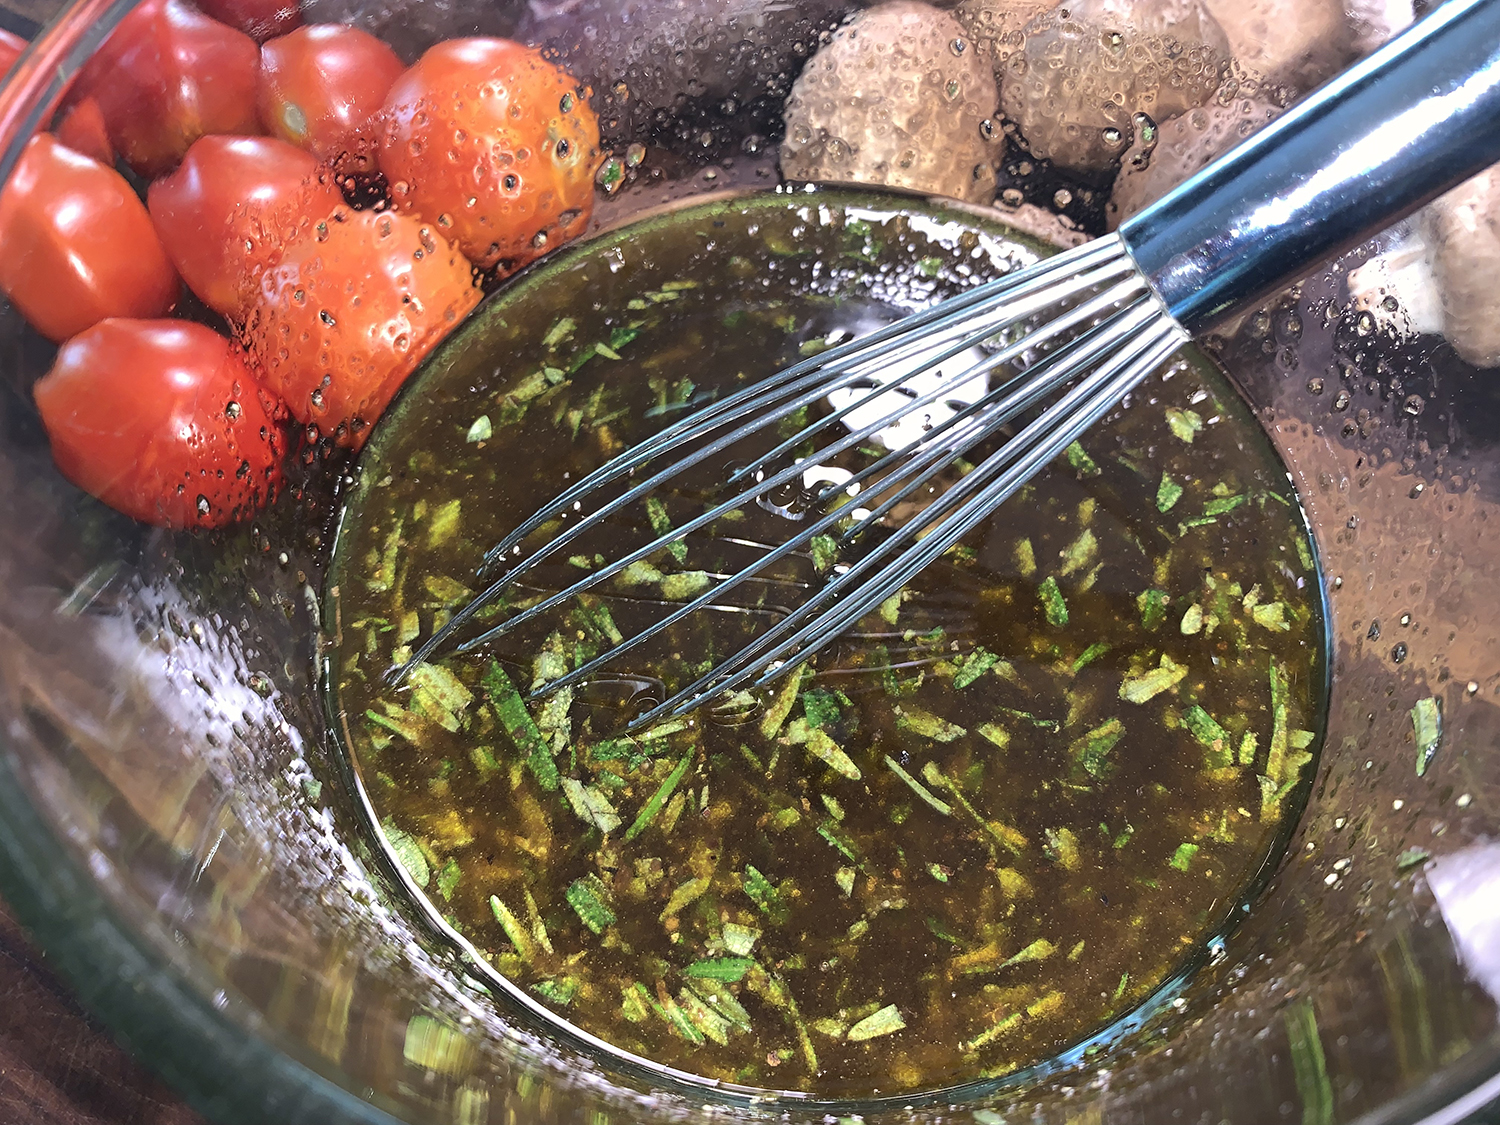
- Prepare the citrus marinade. In a large bowl, add the wine, orange juice and zest, lime juice, 3 tablespoons extra virgin olive oil, tomato paste, spices, and a good dash of kosher salt. Add the garlic and onion. Whisk to combine.
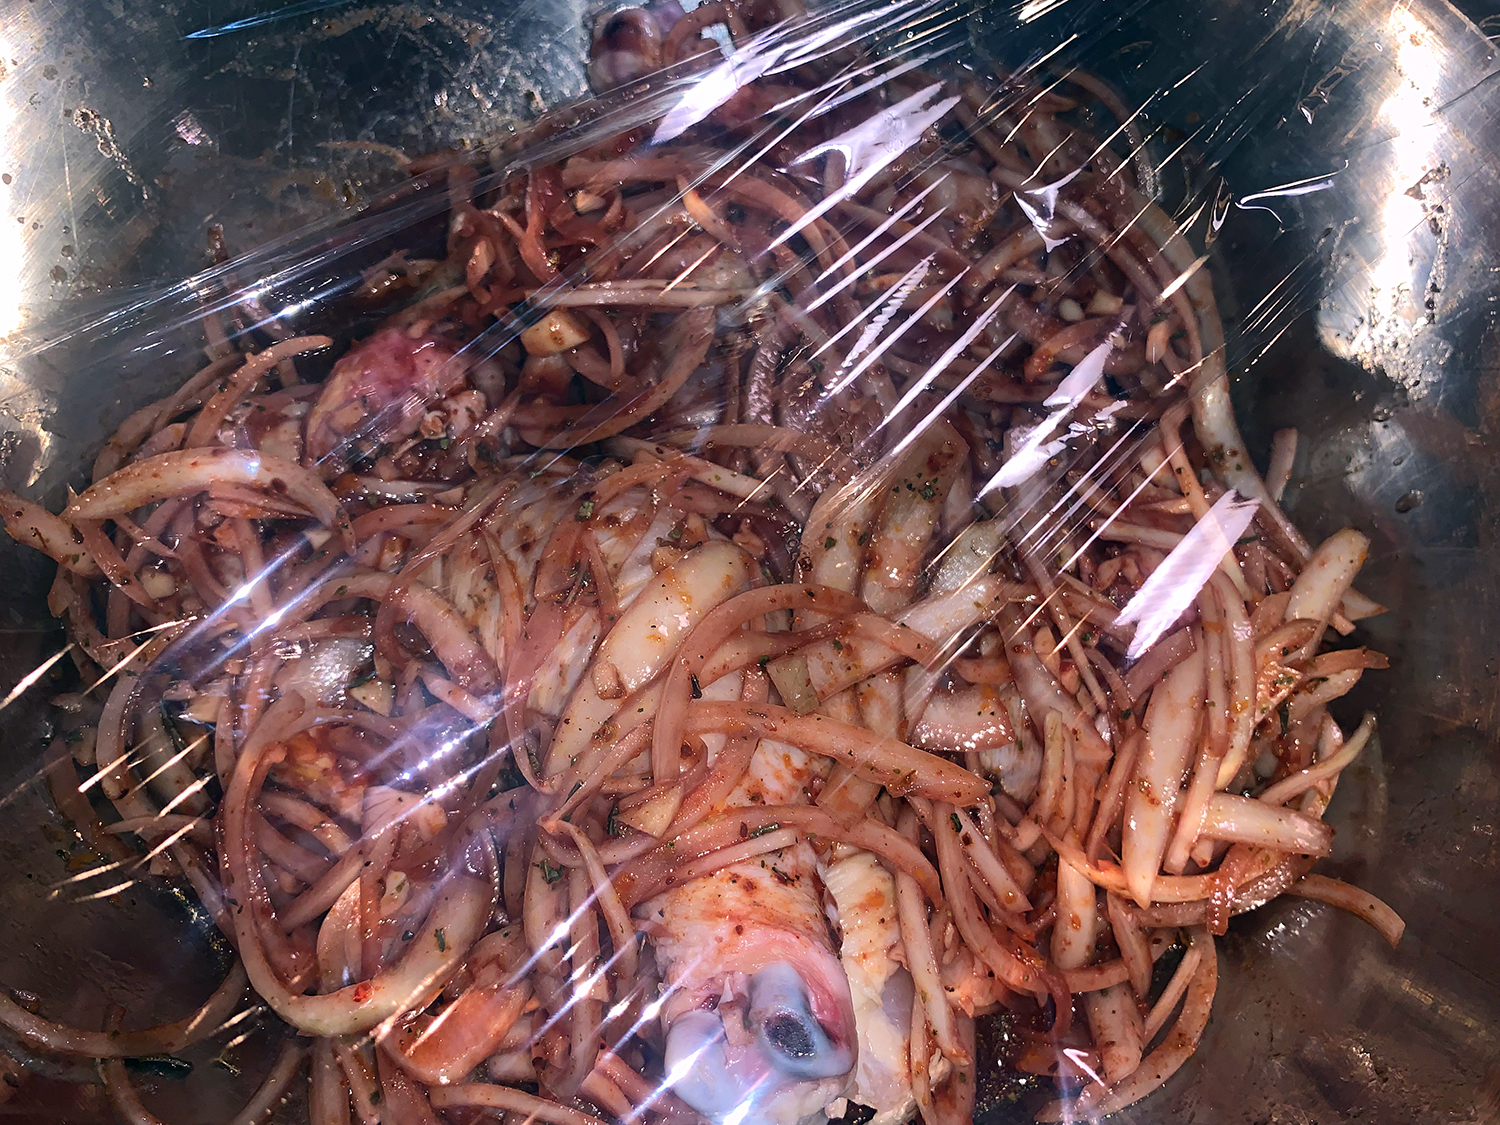
- Add the chicken and toss to coat, making sure to lift the skin up and spoon some of the marinade underneath (this will give you more flavor). Set aside at room temperature for 30 minutes. Alternatively, cover and refrigerate for an hour or two (for best results, take it out of the fridge and leave the chicken at room temperature for 30 to 45 minutes before cooking).
- Preheat the oven to 425° F and adjust a rack in the middle.
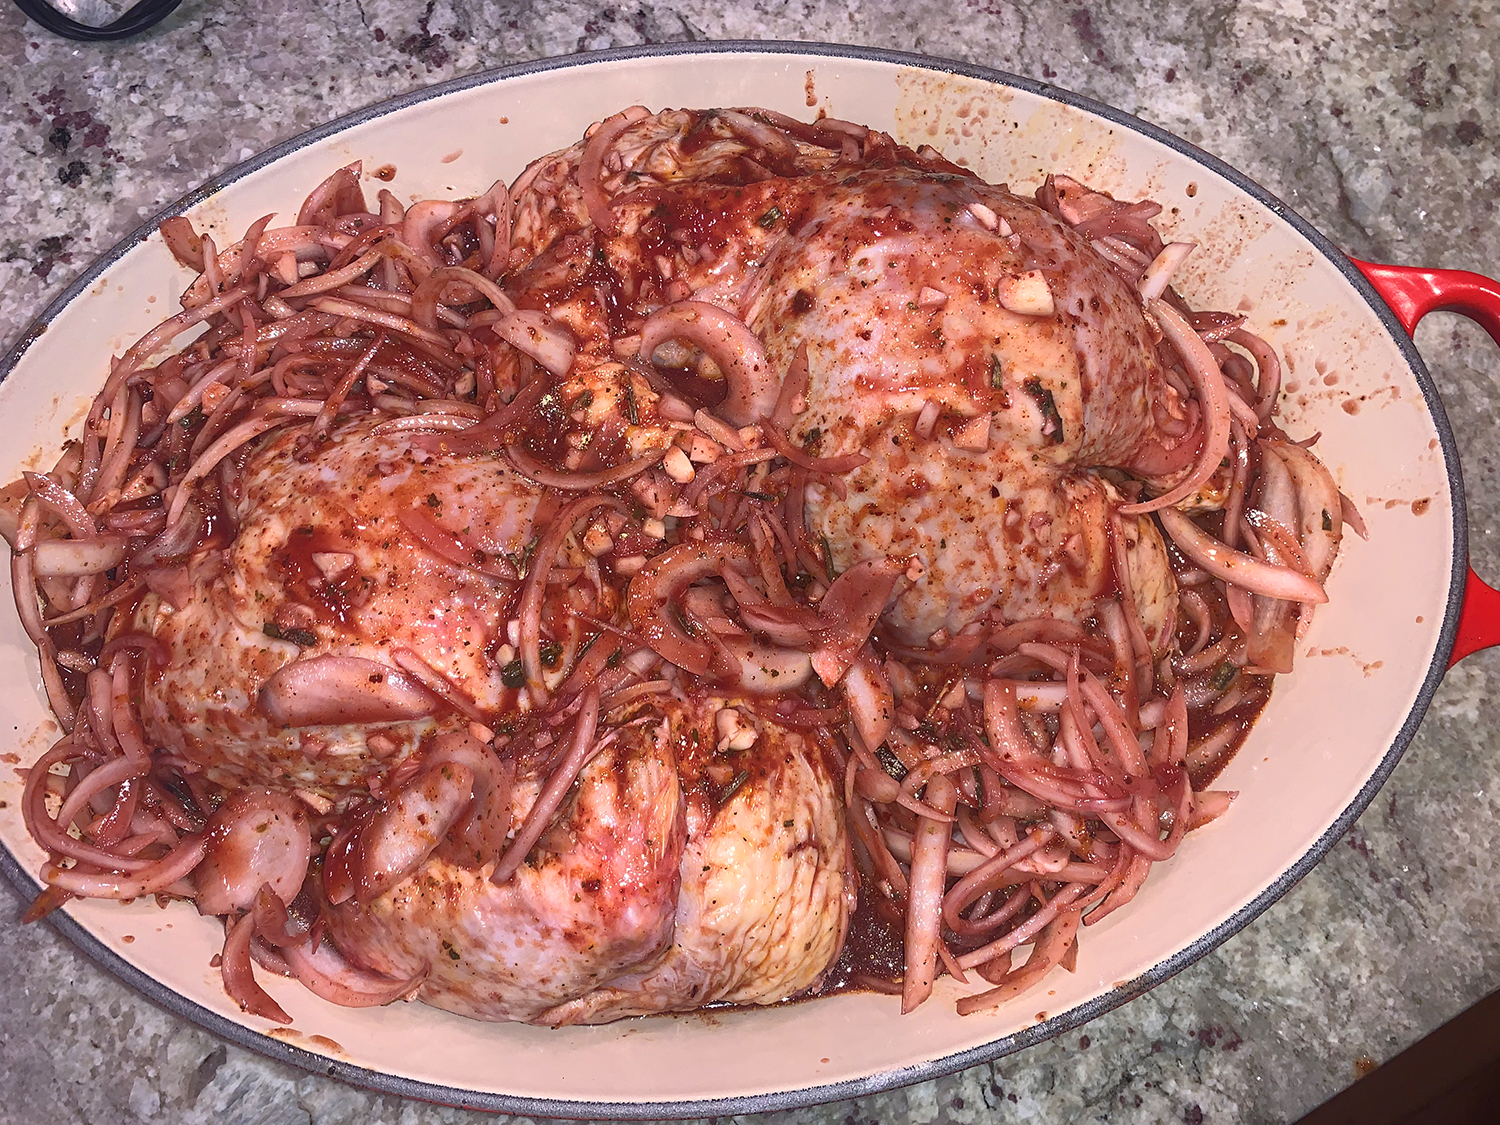
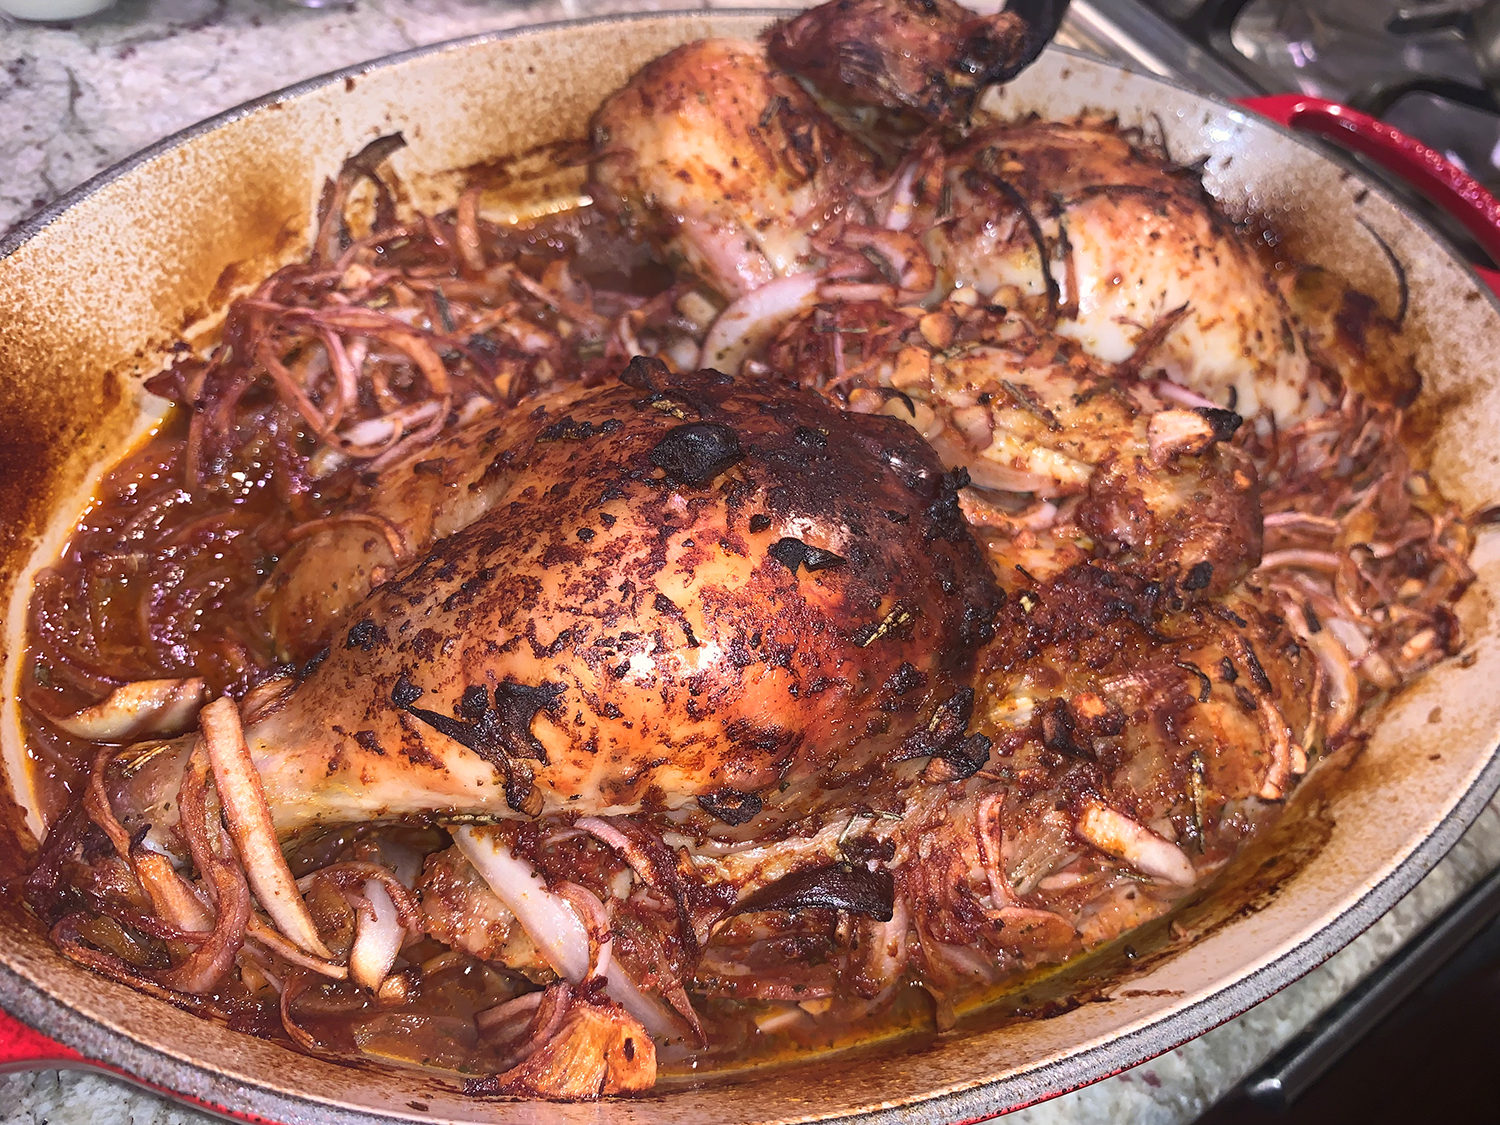
- Transfer the chicken and the marinade to a braising pan. Roast for 30 minutes, then carefully turn the pan 180 degrees and roast for another 15 minutes or until the chicken is fully cooked and tender, with an internal temperature of the breast meat at 165°.
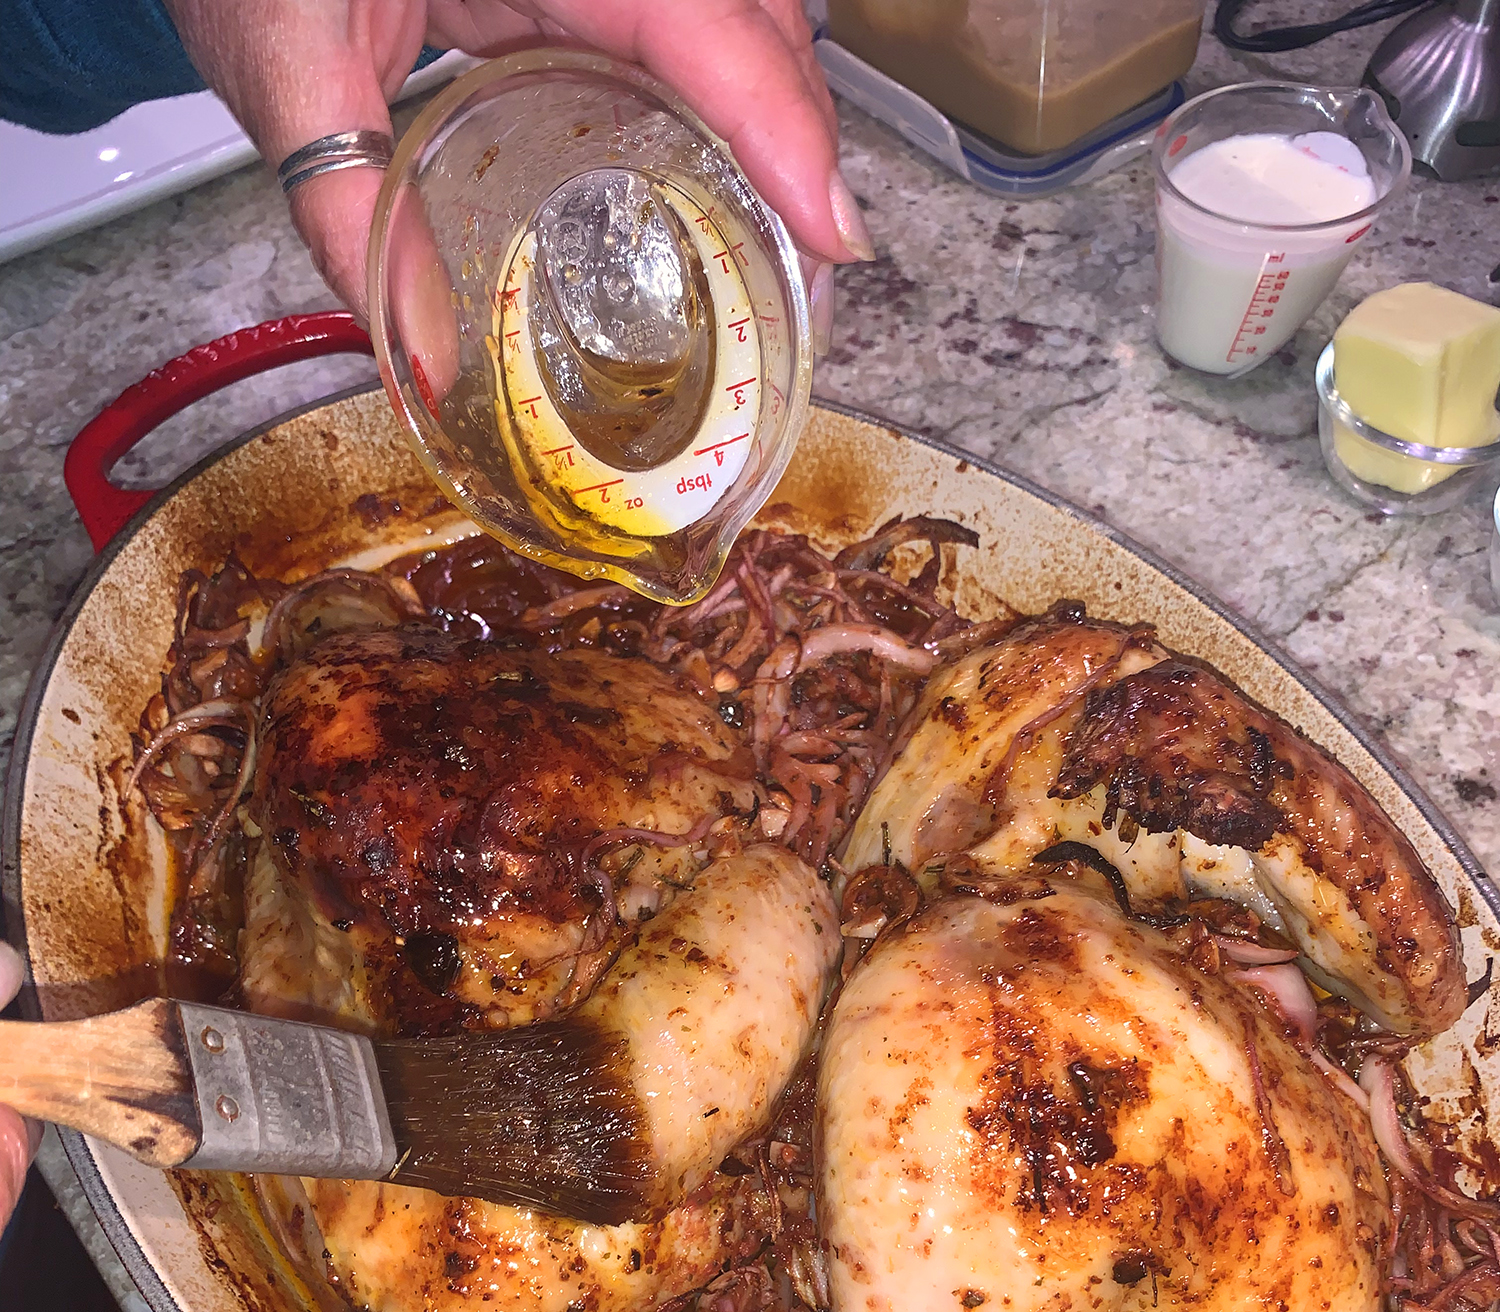
- In a small bowl, mix together the honey with 1 tablespoon of extra virgin olive oil. Carefully remove the chicken from the oven and brush the top with the honey and olive oil mixture.
- Switch the oven to the broil function. Return the chicken back to the oven about 6 inches away from the broiler and cook briefly for 3 to 4 minutes, watching for the skin to turn a nice golden brown.
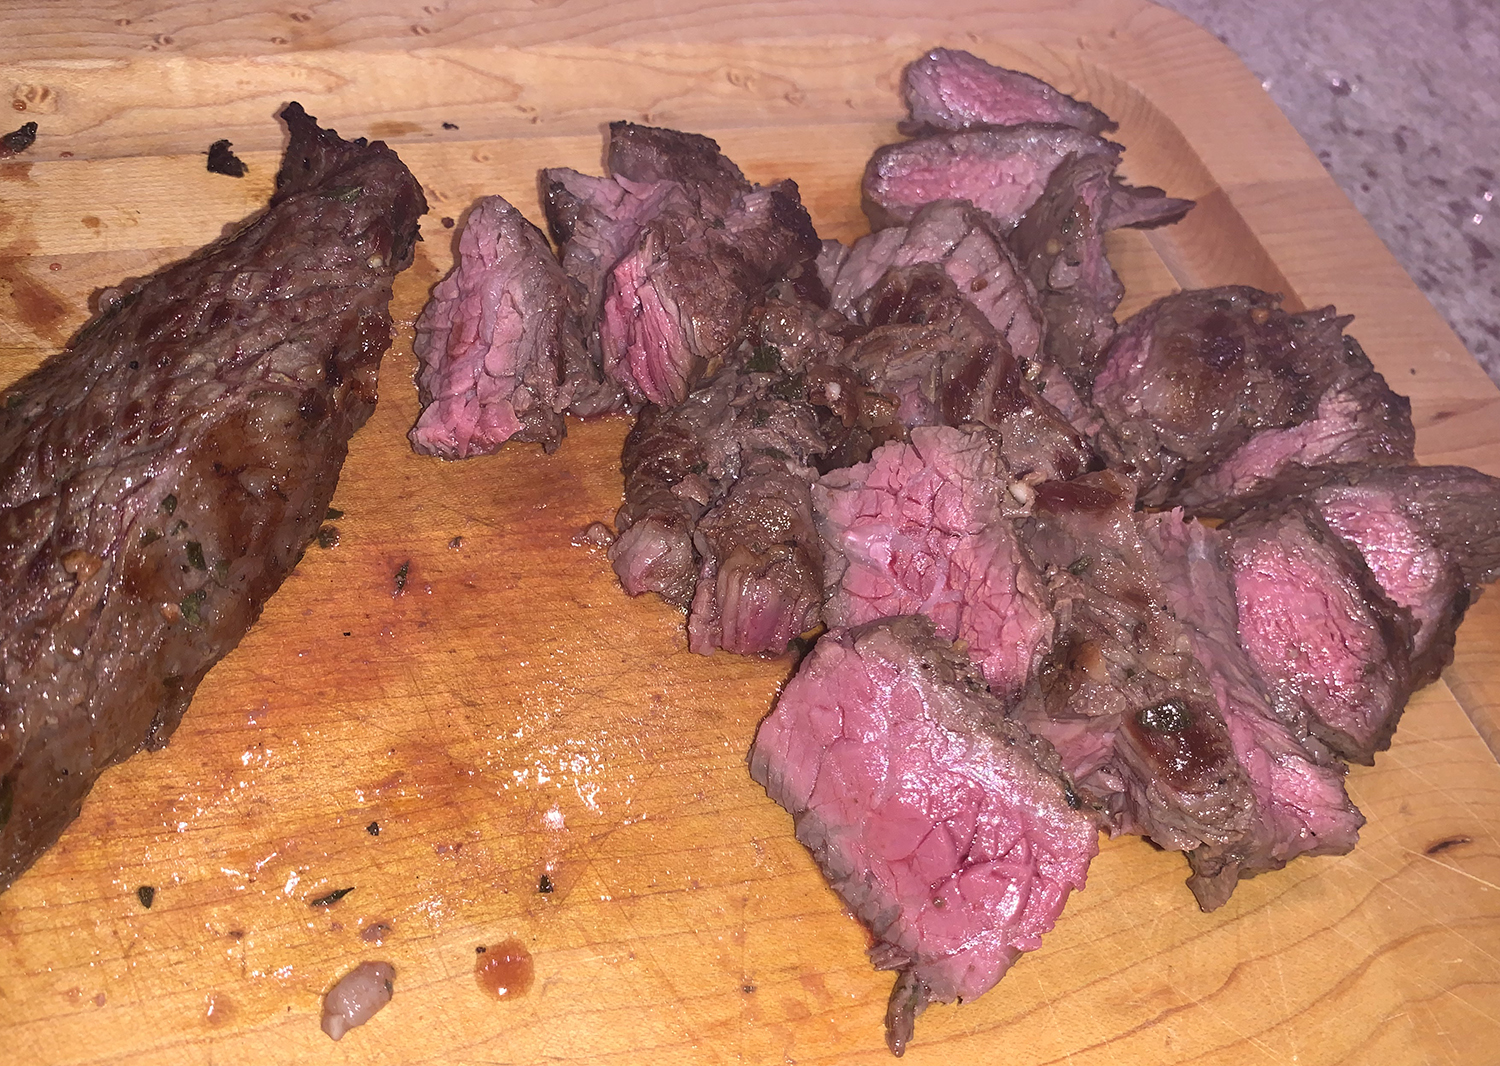
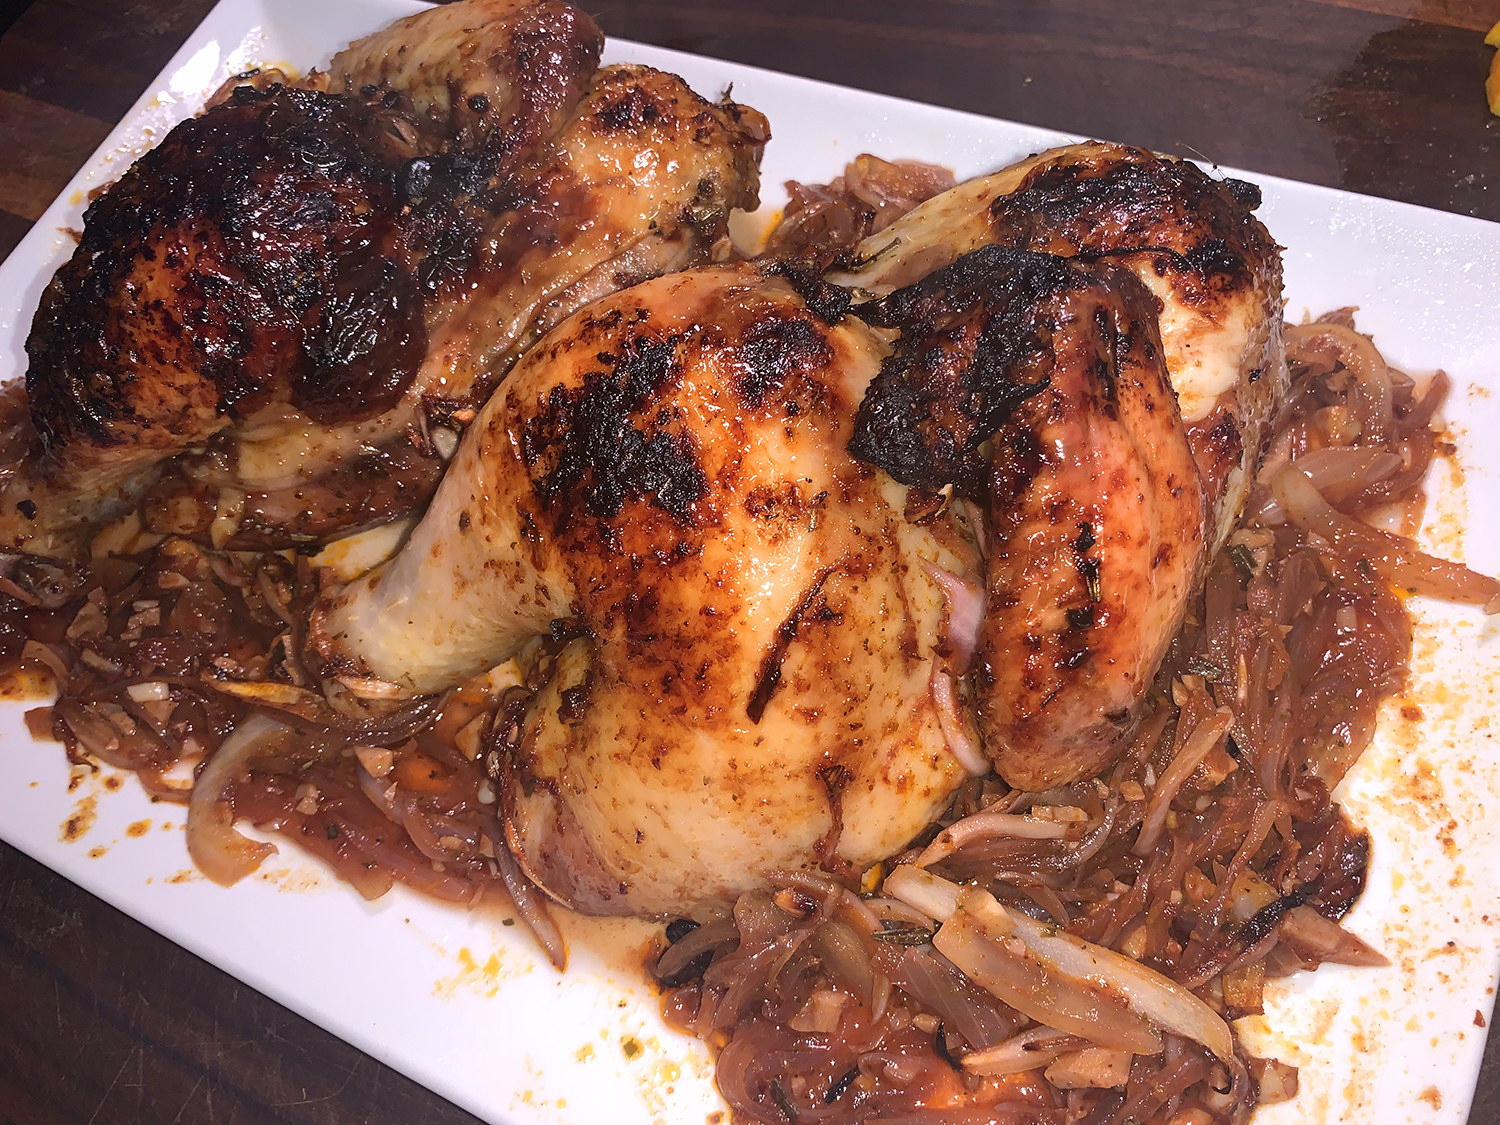
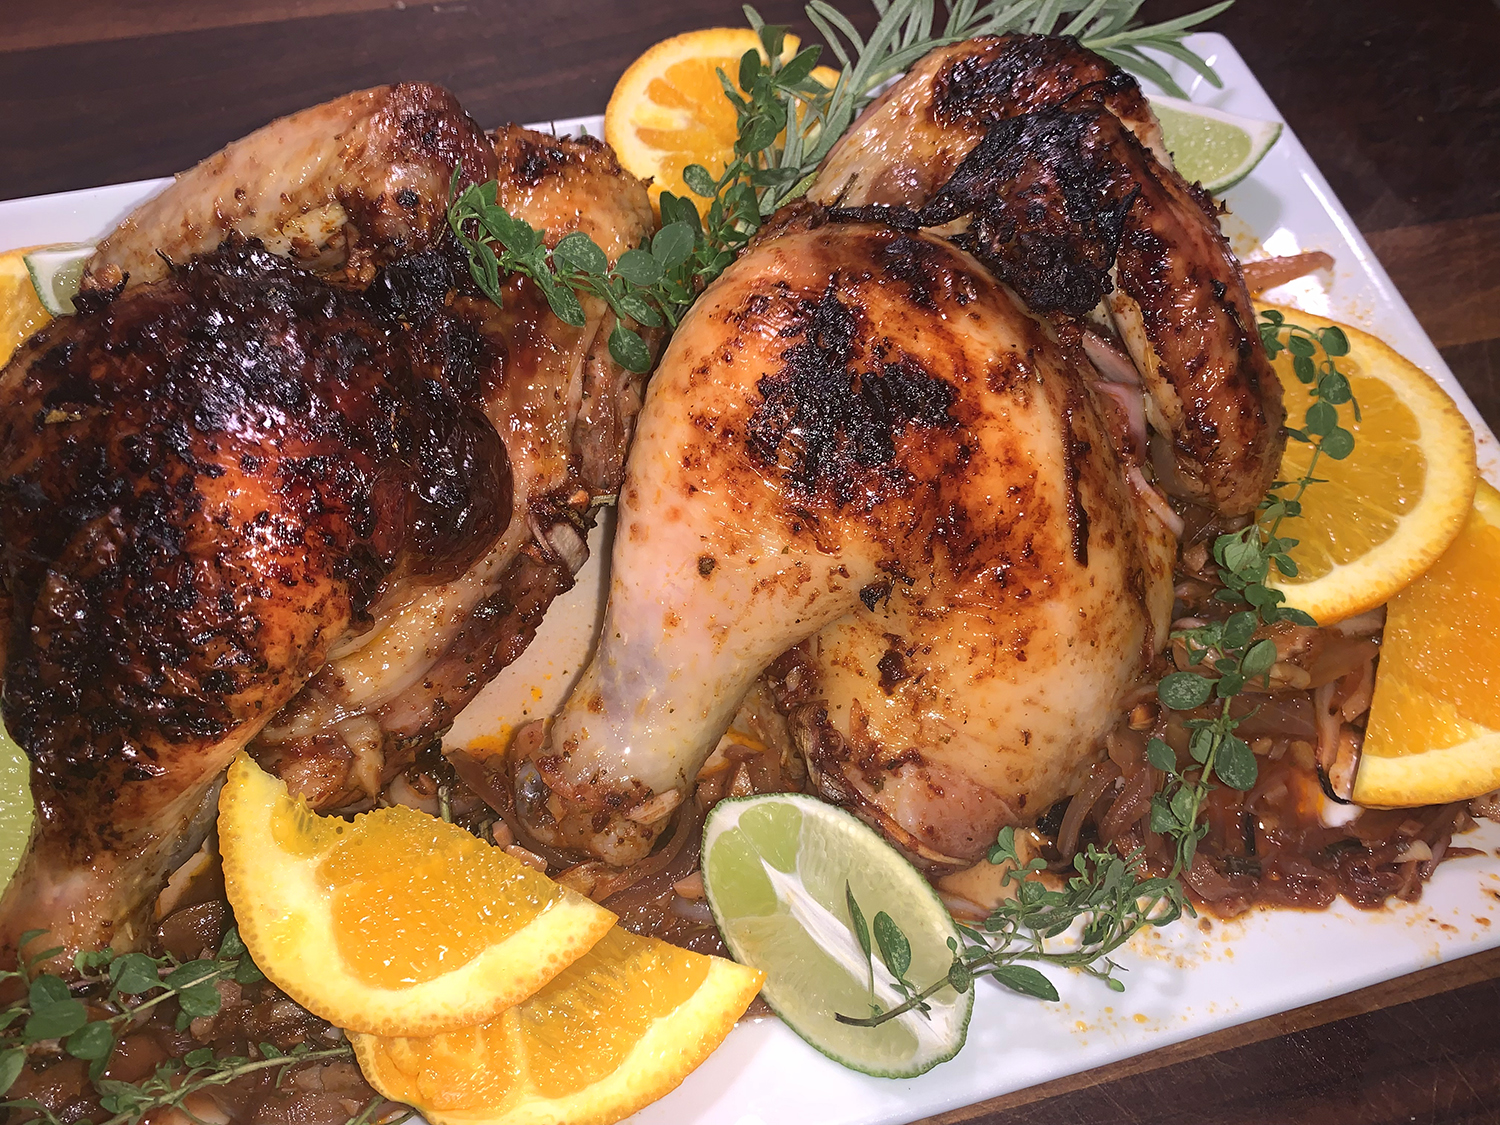
- Remove from the heat. Move chicken and onions to platter. Garnish with slices of fresh orange, wedges of lime and fresh herbs. Allow chicken 10 minutes to rest before slicing and serving.
- If desired, while the chicken rests, bring 1 quart of chicken stock and the pan juices to a boil, then add a cornstarch slurry to thicken the gravy.
Adapted from a recipe by Suzy Karadsheh for The Mediterranean Dish