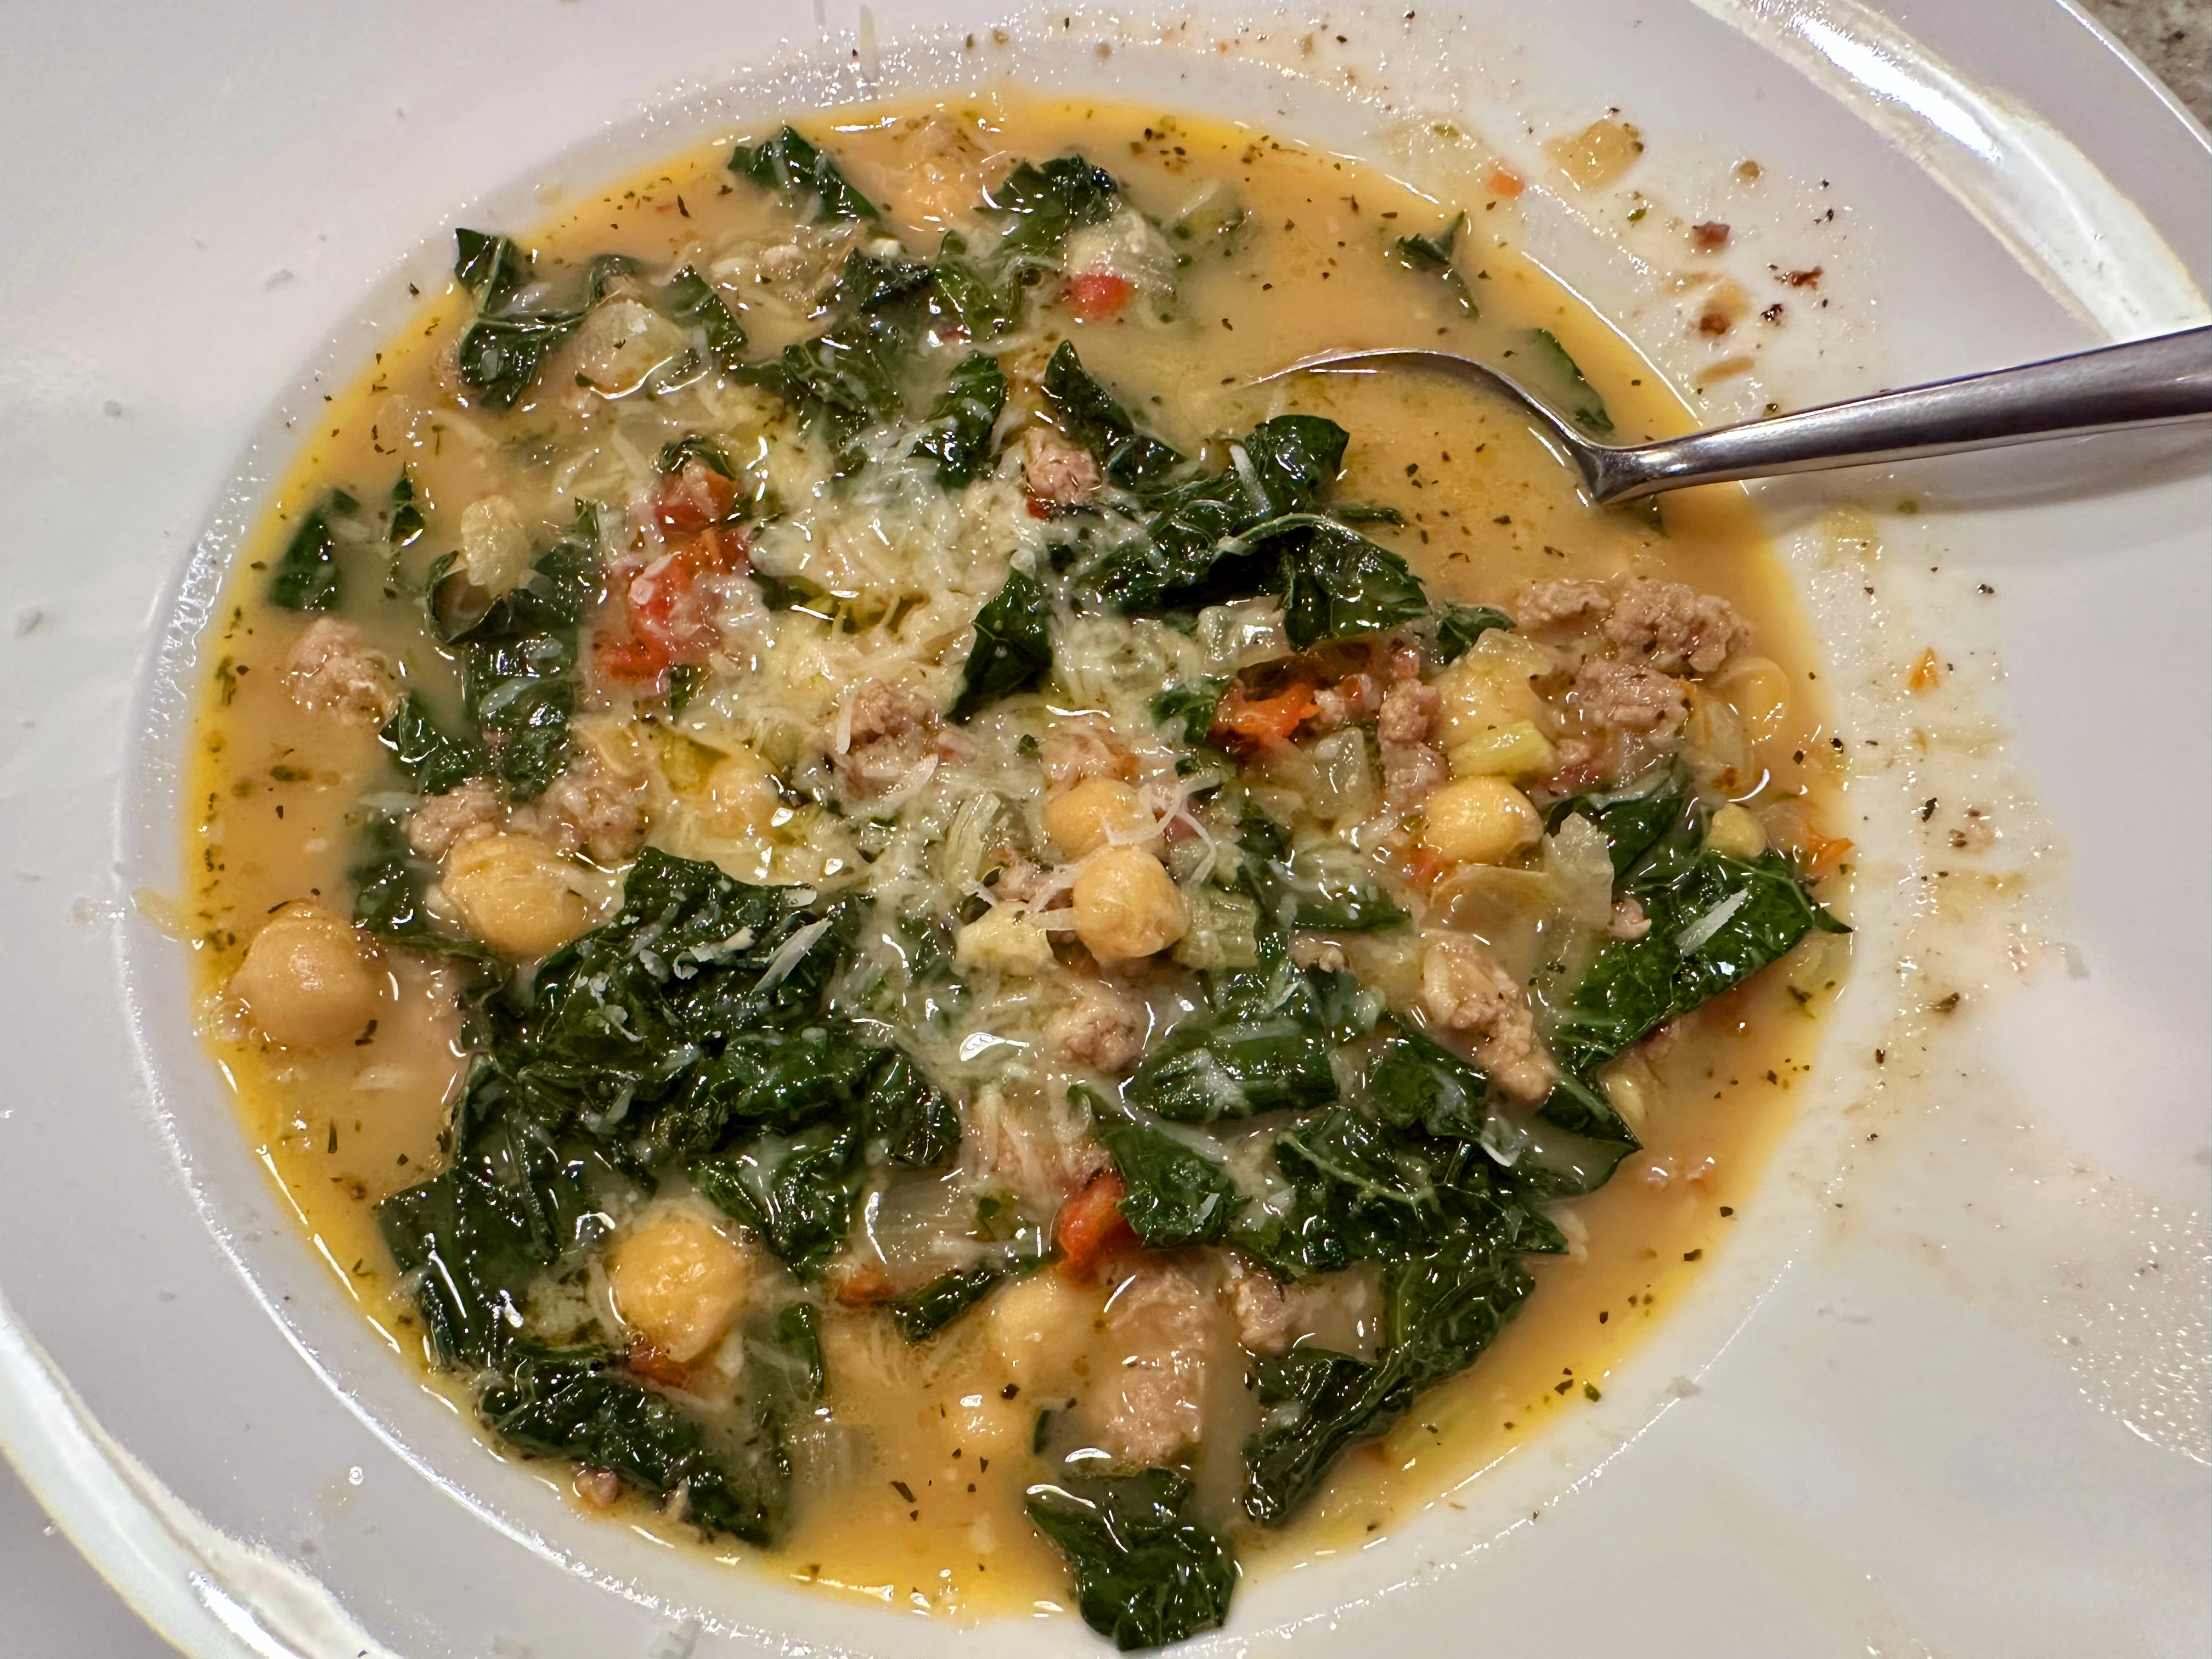
A healthy homemade soup in one hour! A fiber-rich spin on minestrone, this hearty soup is packed with vegetables and beans in a tomatoey broth. Sautéed mushrooms, piney rosemary and nutty farro give the dish richness and umami.
You can substitute other white beans, such as Great Northern, navy, or chickpeas; and other mushrooms in place of the creminis. As I always mention, when broth or stock is listed as an ingredient, homemade is your best choice, but if that is not an option for you, we suggest the Better-Than-Buillon brand for the most flavor.
NOTES: Refrigerate for up to 4 days, or freeze for up to 3 months. The farro will continue to absorb liquid as it sits, so you may need to add more broth or water to thin it out as needed. Do not use quick-cooking farro.

Mushroom Minestrone with Beans and Farro
Ingredients
- 3 Tbsp. olive oil
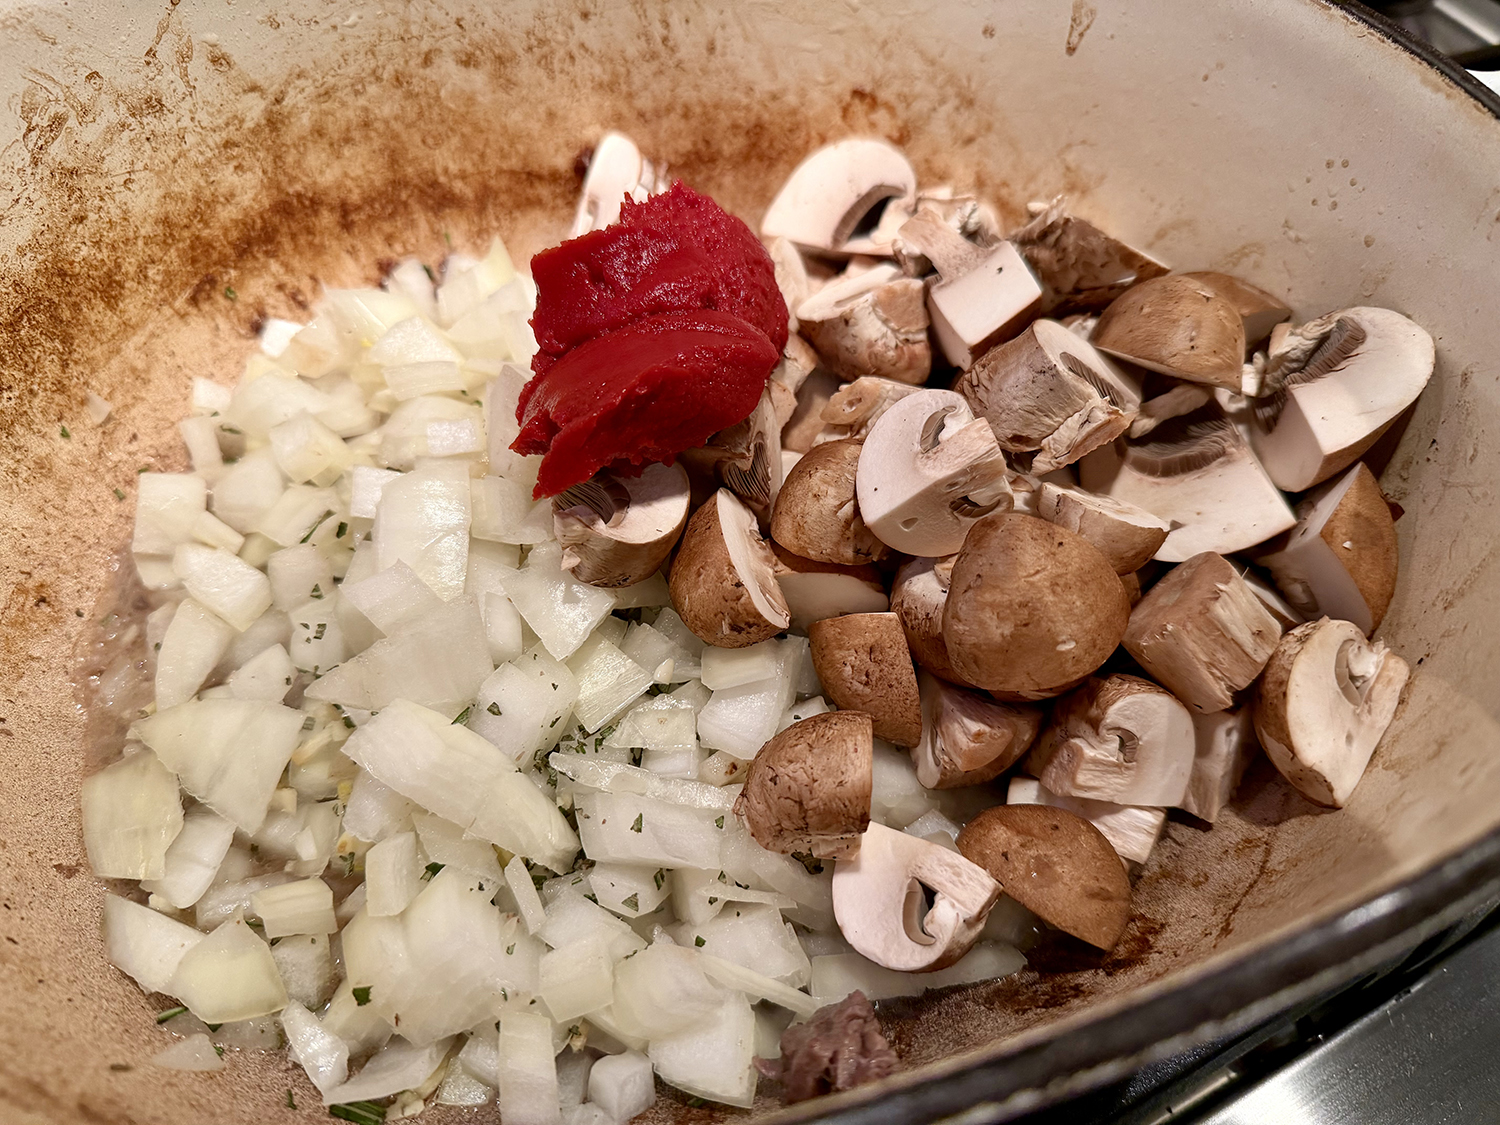
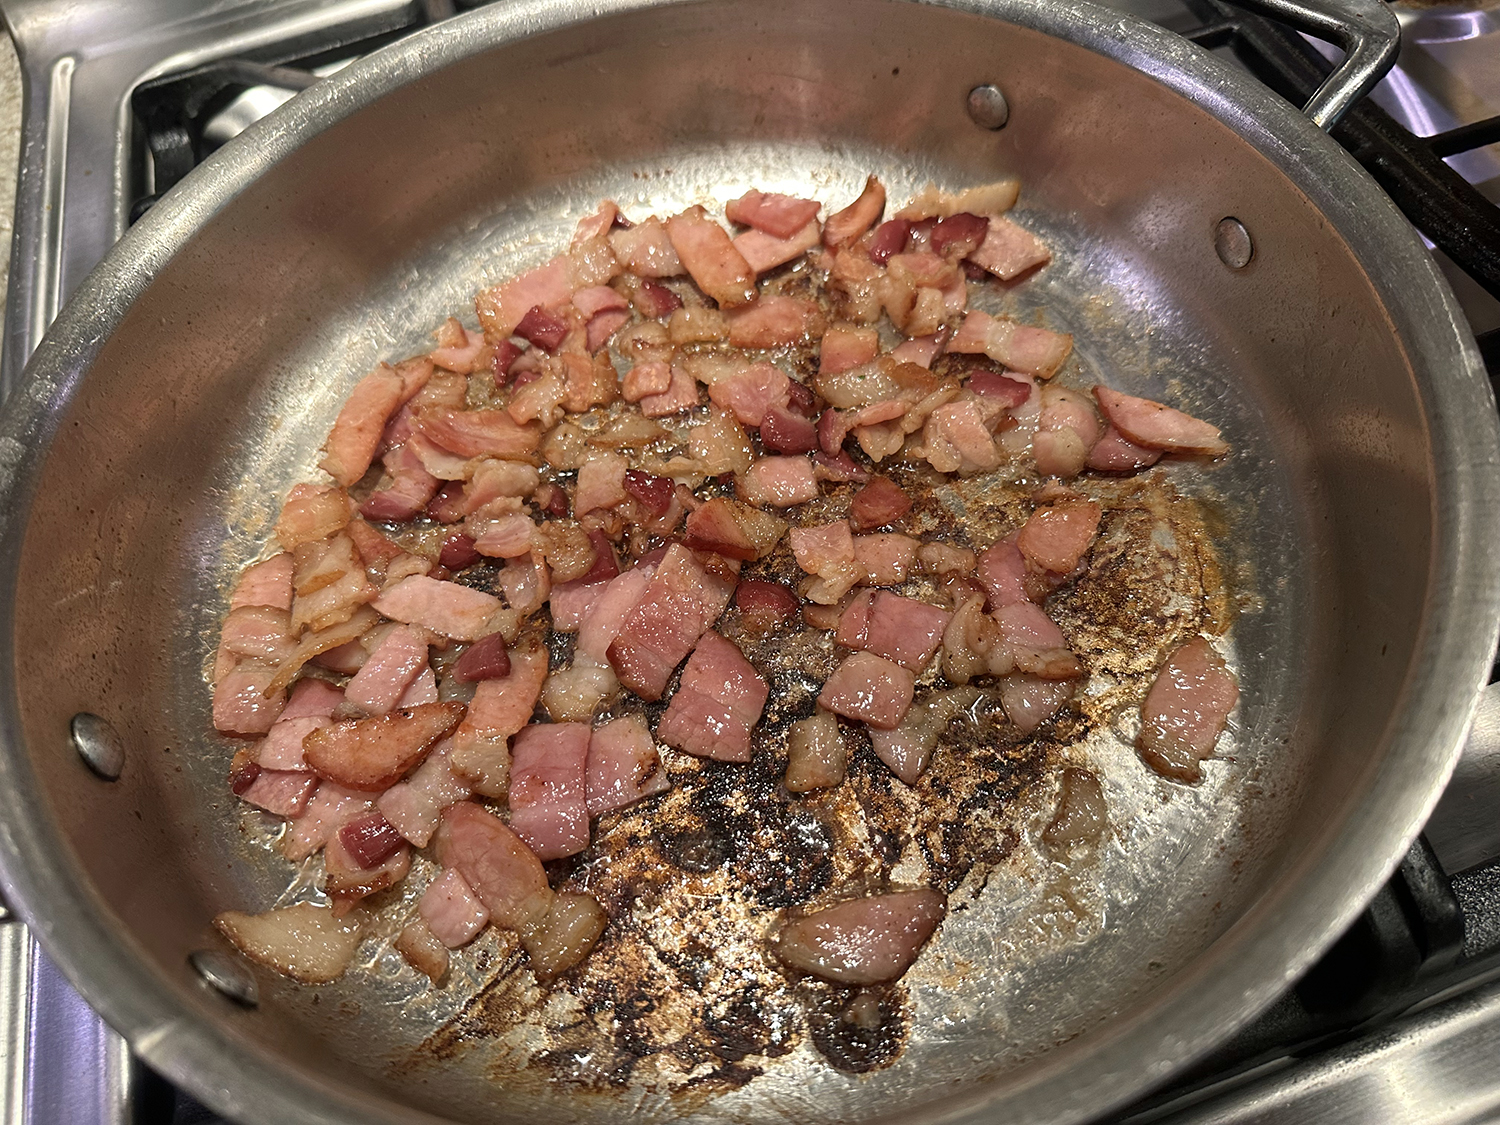
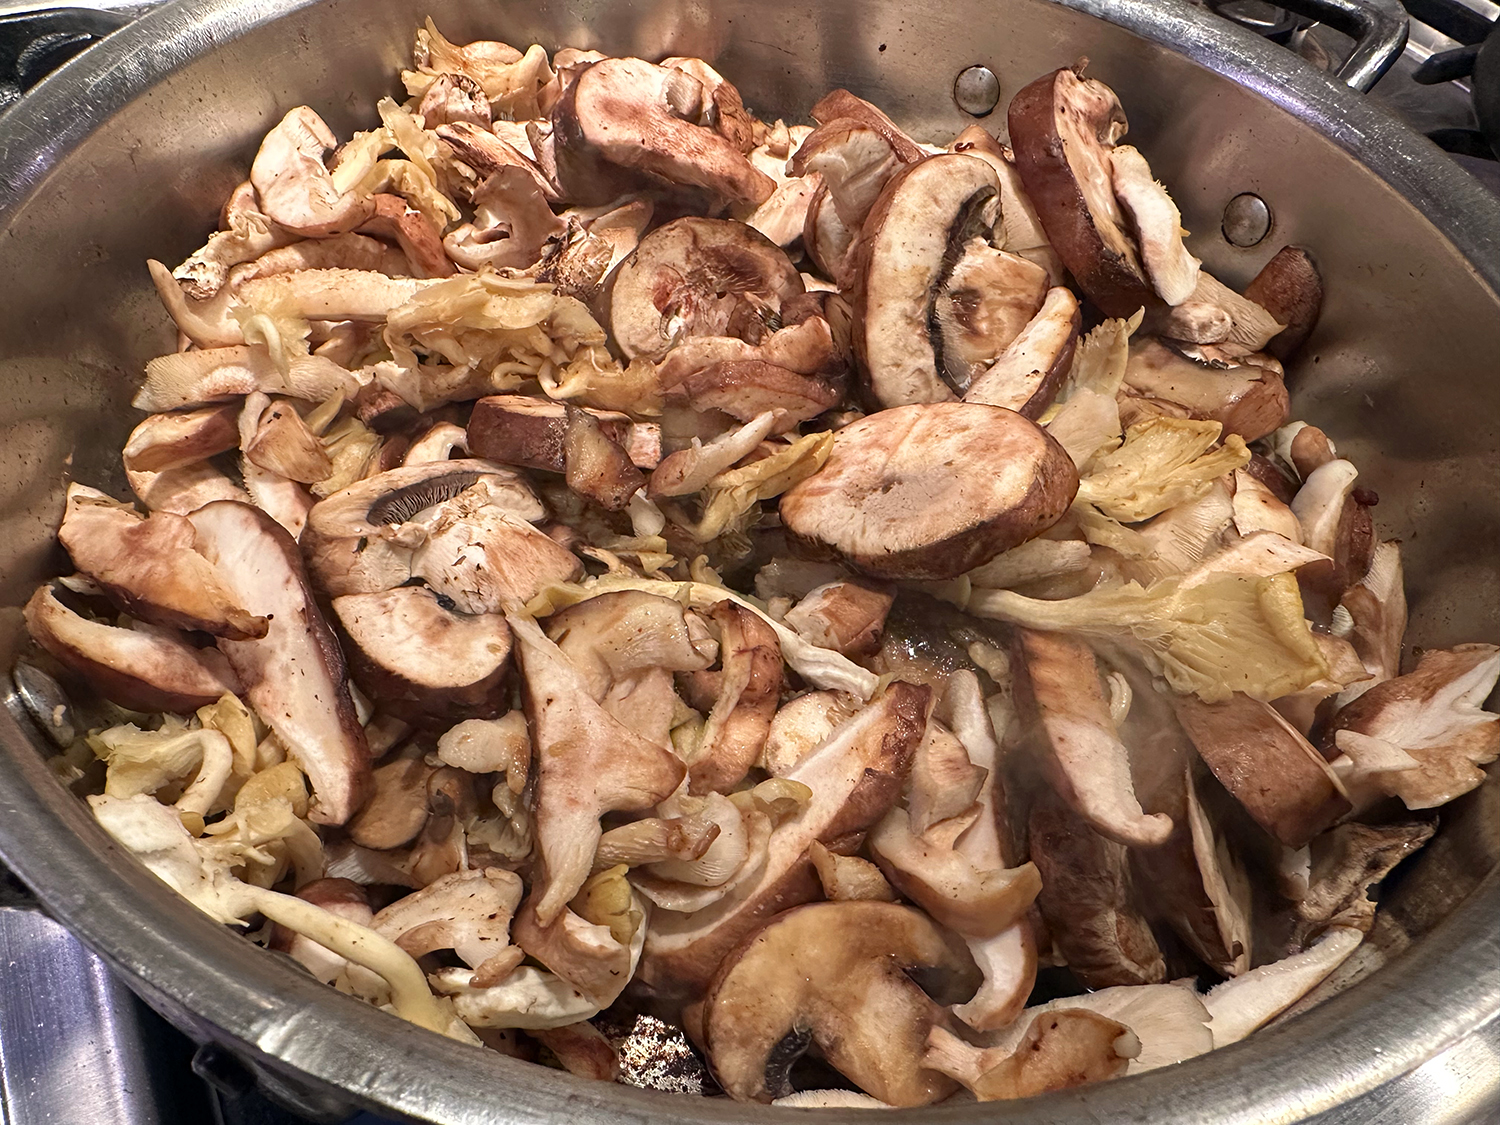
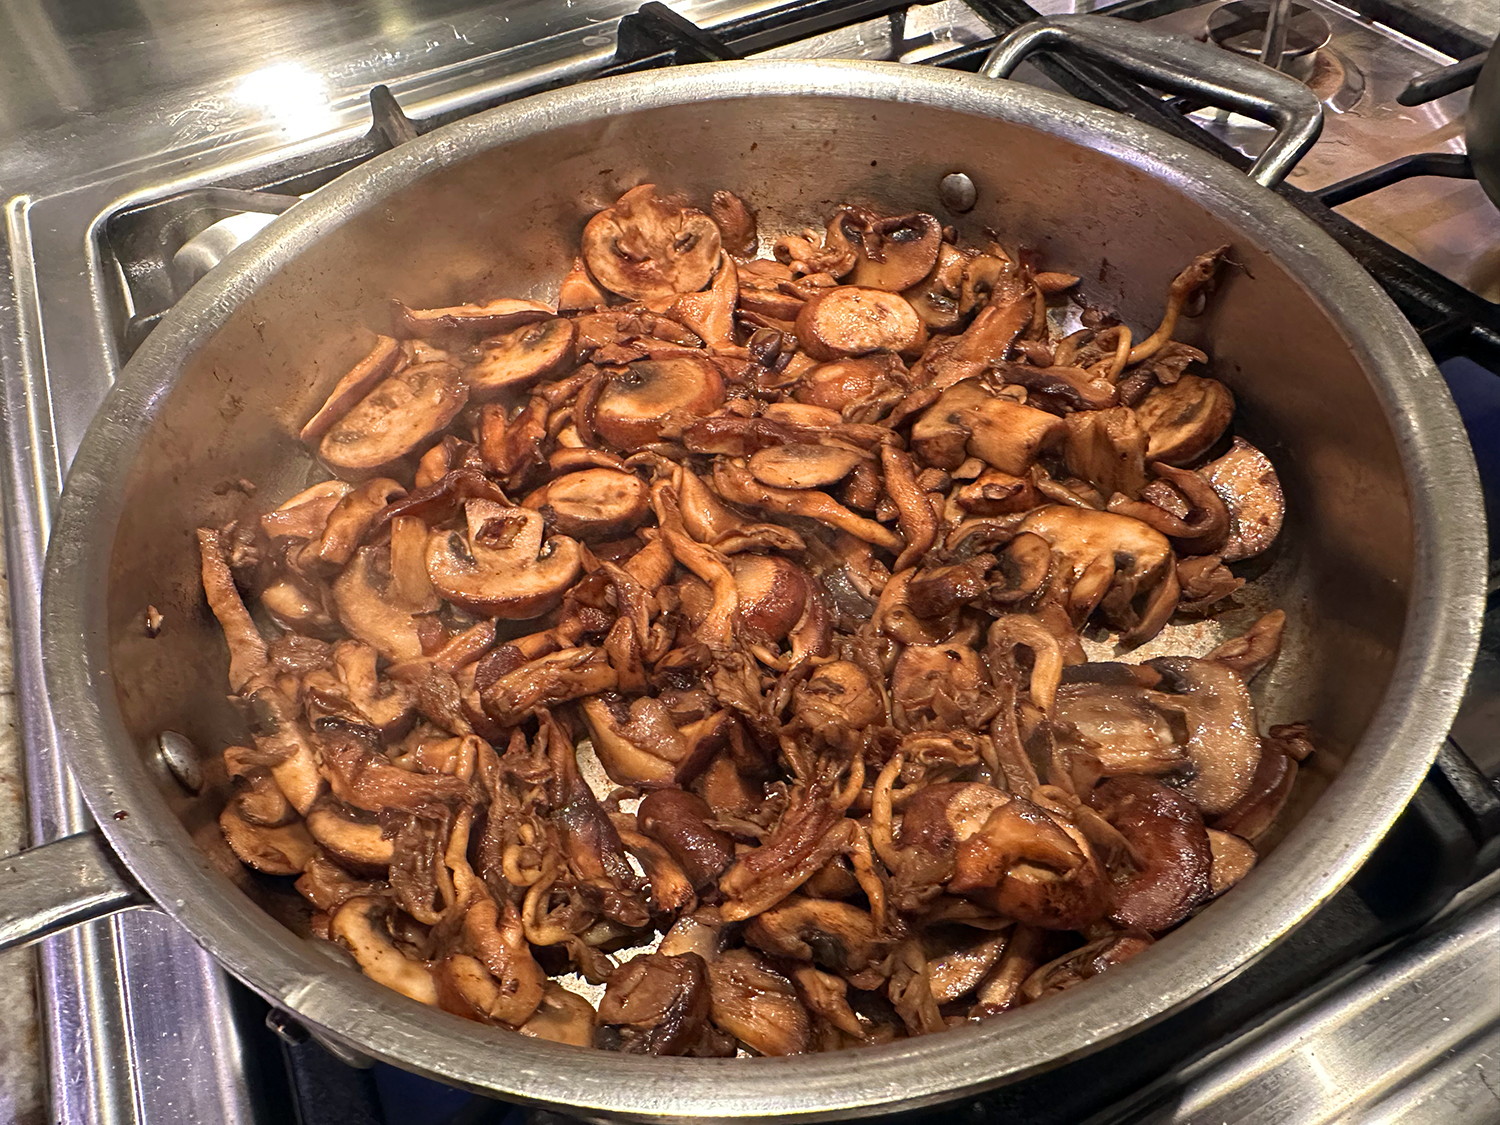
- 8 oz. cremini mushrooms, chopped
- 2 ribs celery, diced
- 1 medium yellow onion (8 oz.), diced
- 1 large carrot, diced
- 3/4 tsp. fine salt, divided
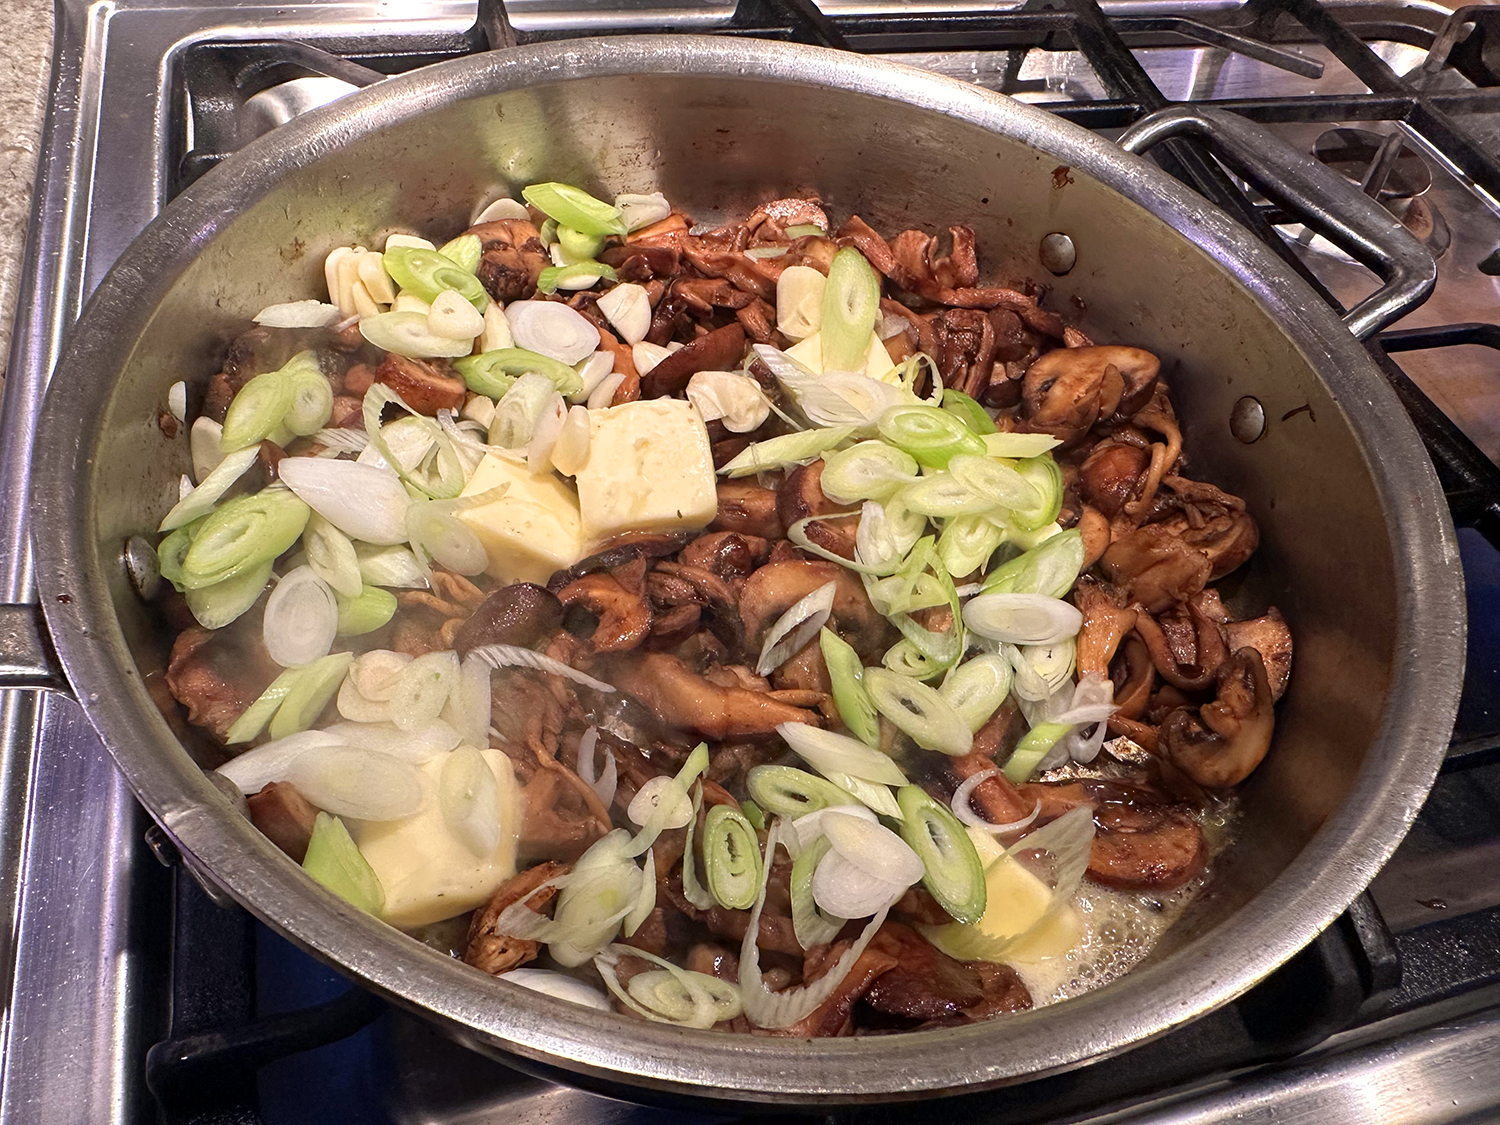
- 4 garlic cloves, minced or finely grated
- 2 tsp. chopped fresh rosemary
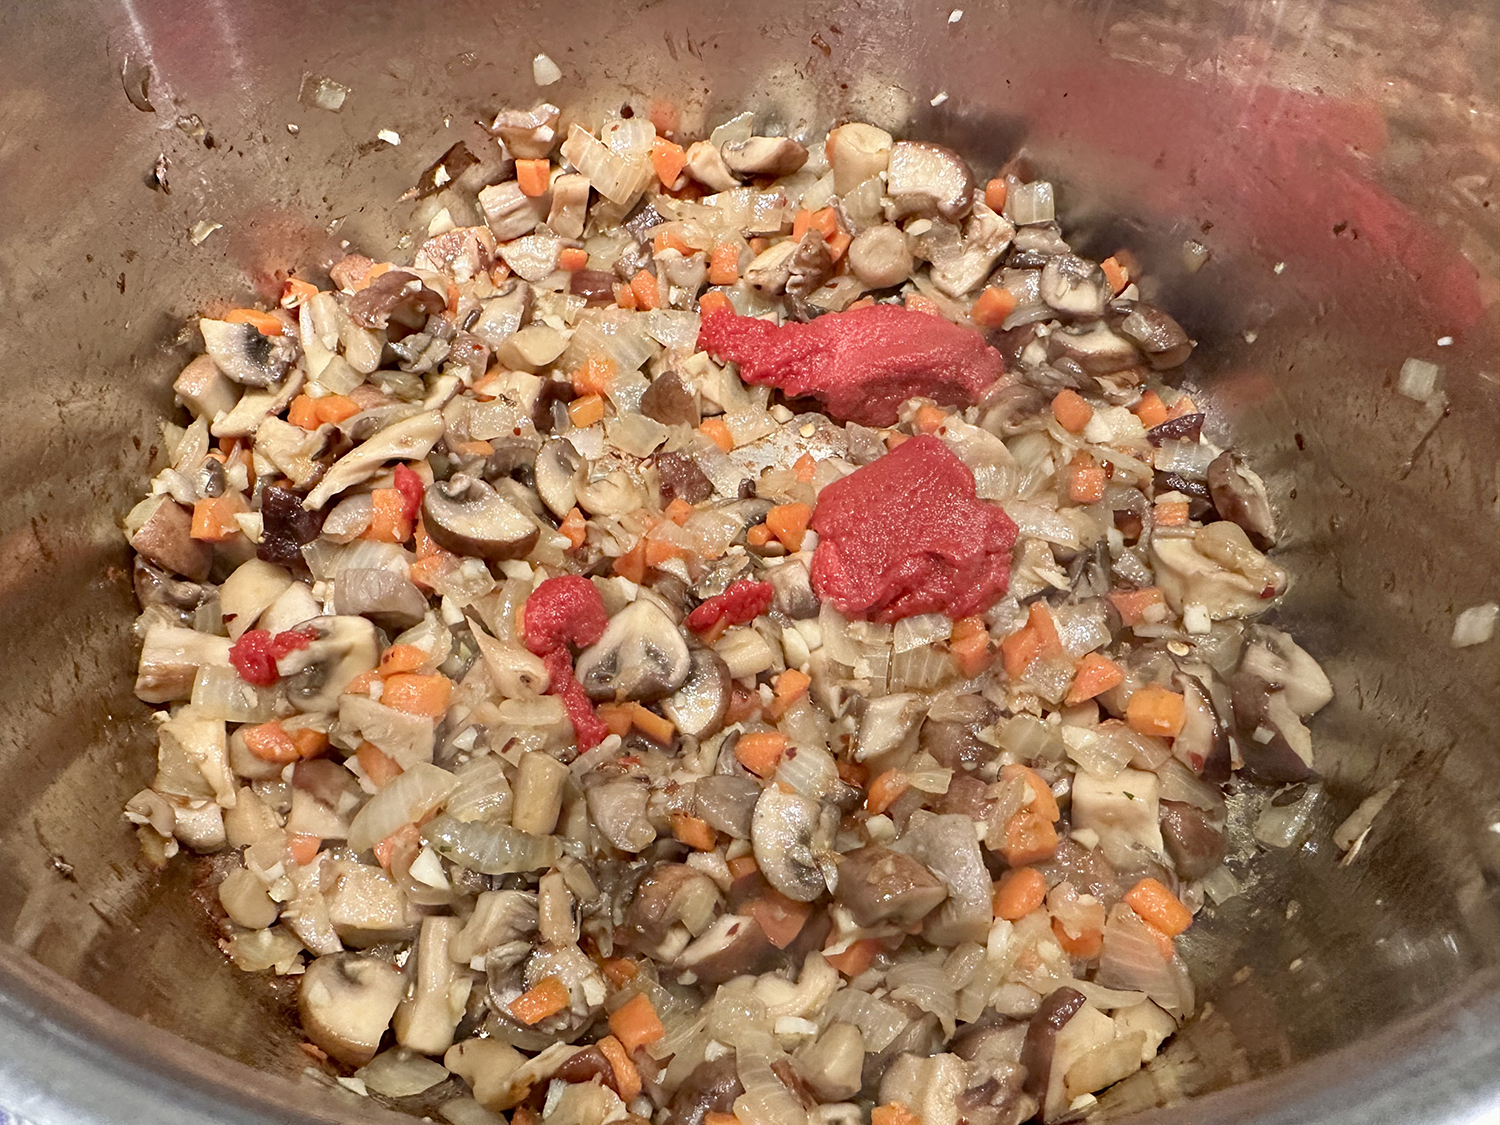
- 2 Tbsp. tomato paste
- 1 (15-oz.) can cannellini beans, drained and rinsed
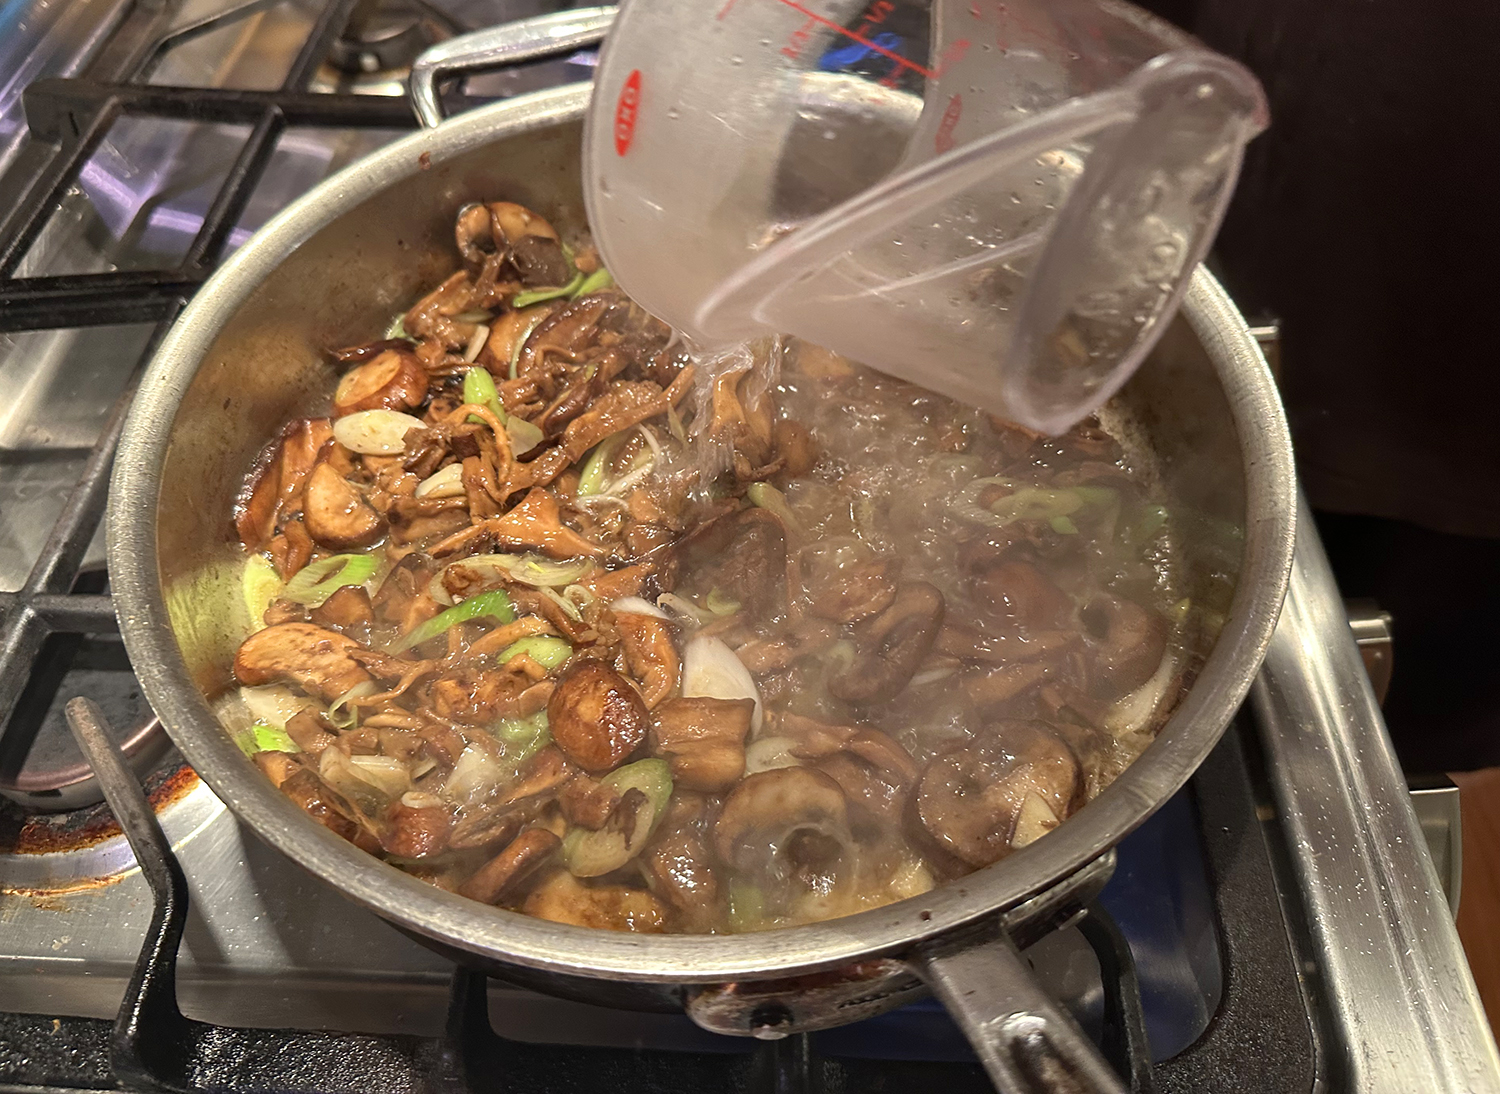
- 6 cups low-sodium chicken or vegetable broth
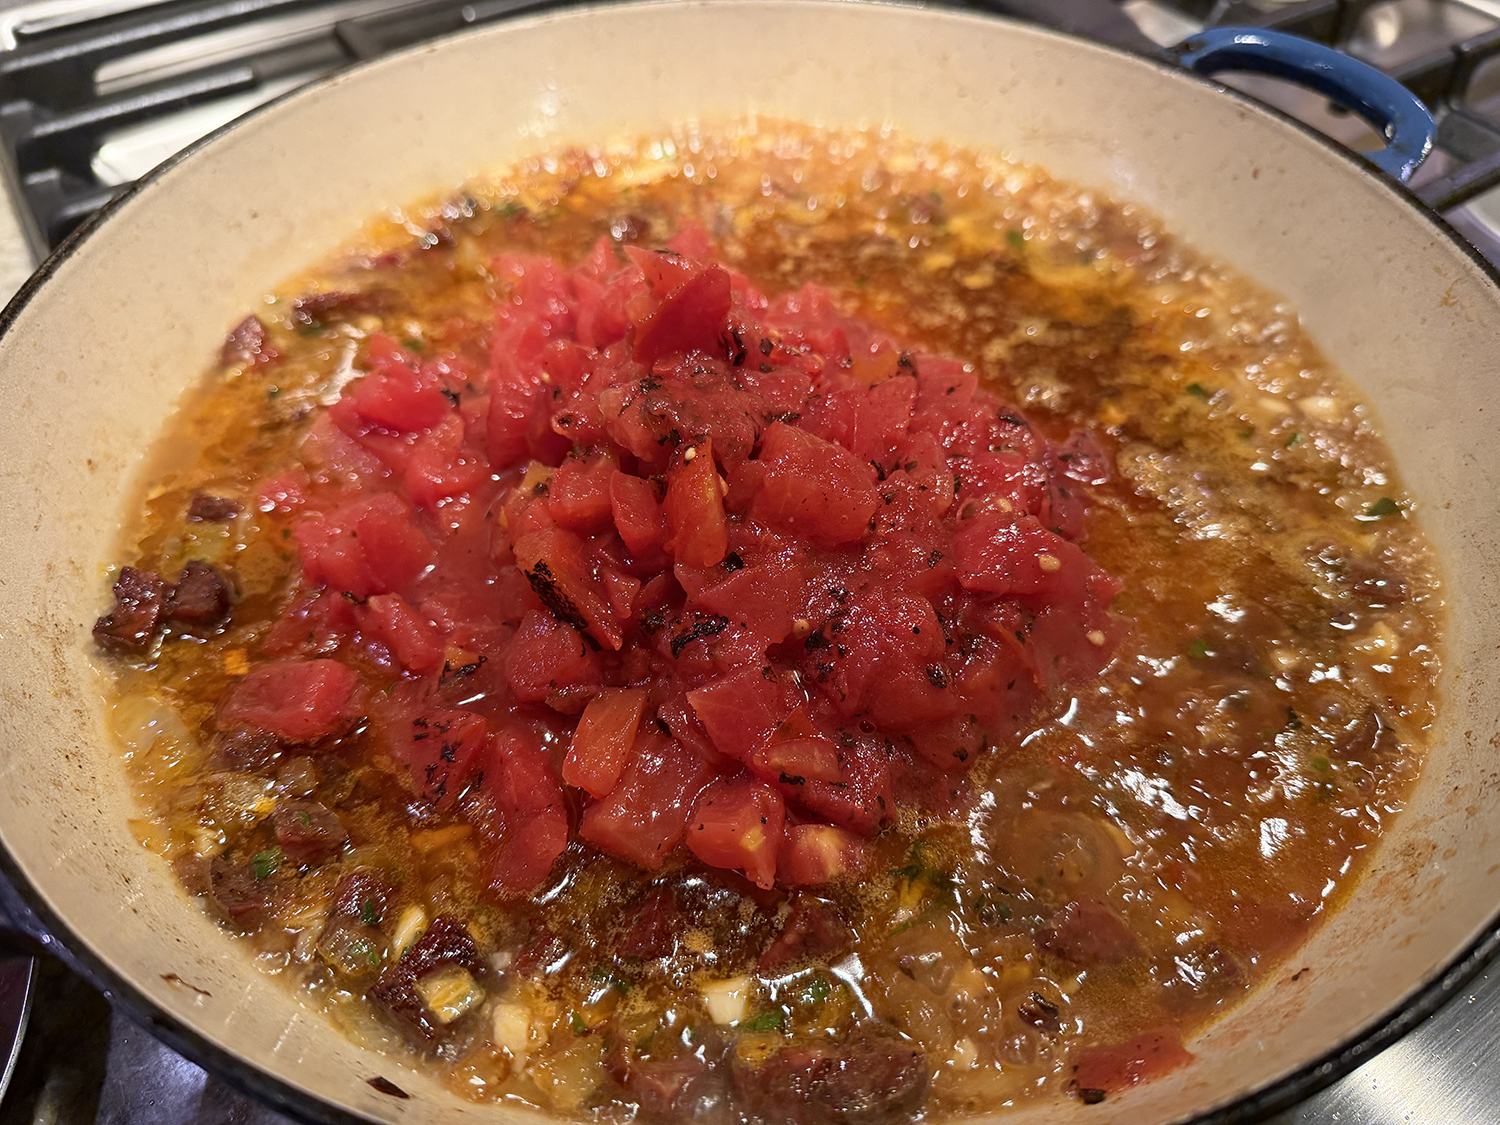
- 1 (14-oz.) can diced tomatoes
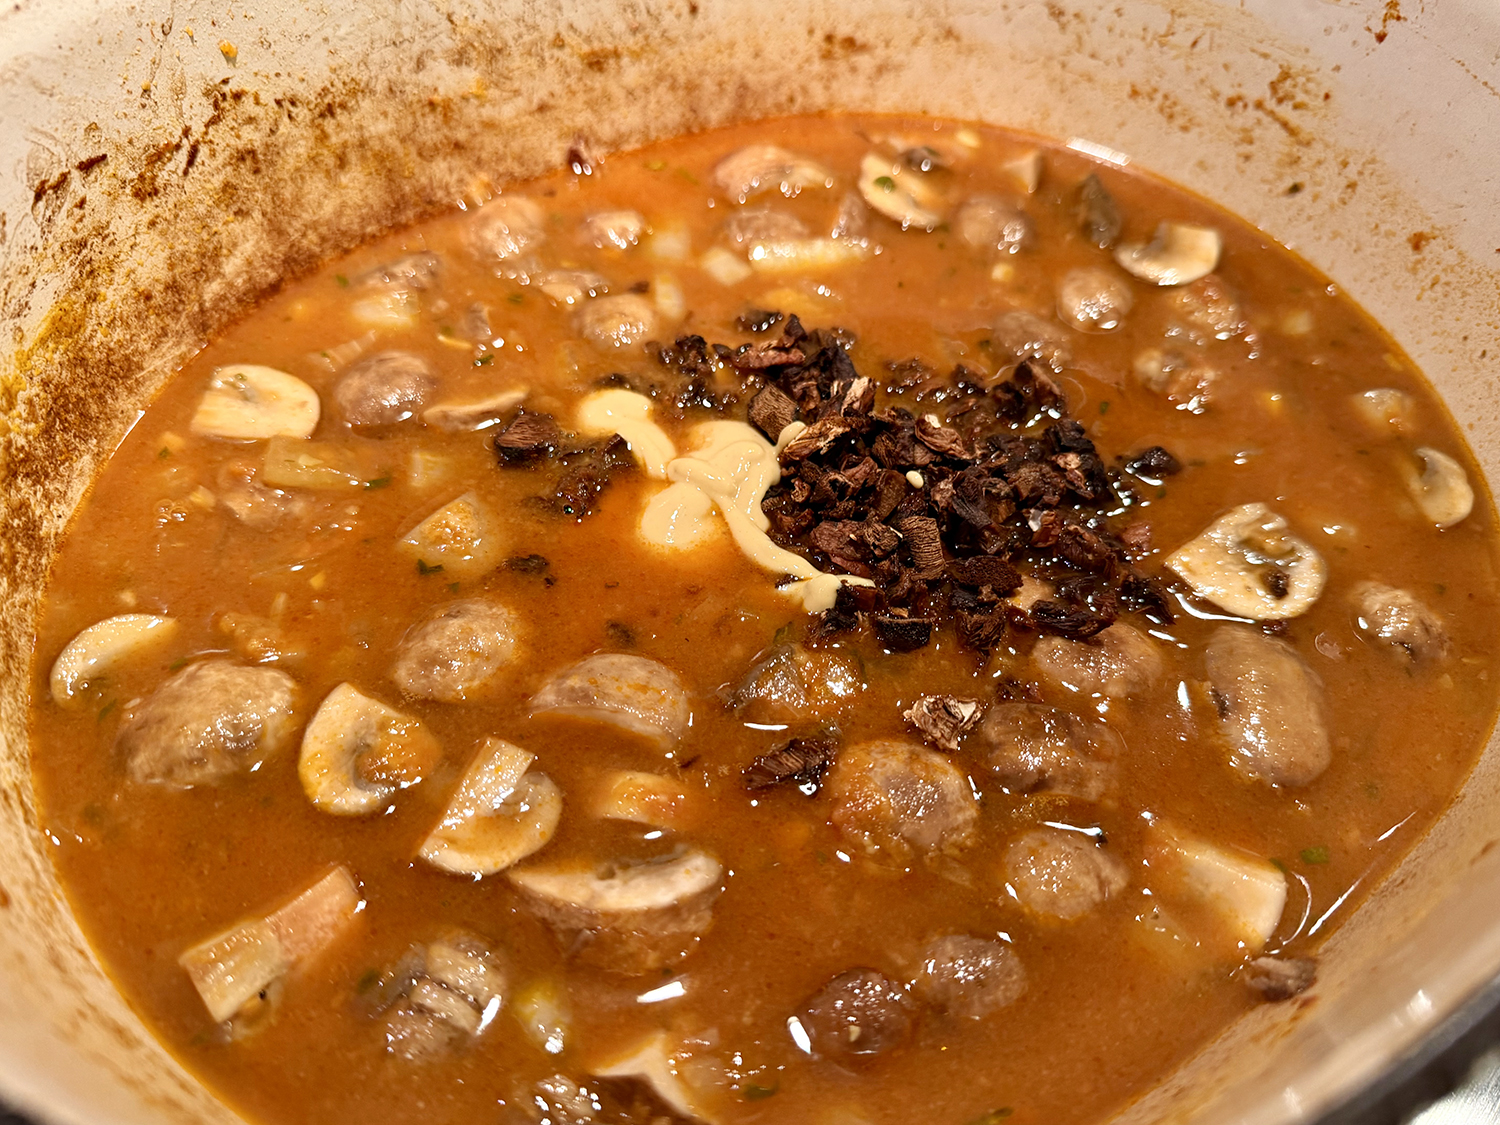
- 1 Parmesan cheese rind (optional)
- 1/2 tsp. freshly ground black pepper, divided
- 1/2 cup pearled or semi-pearled farro
- 5 oz. baby kale or spinach, lightly chopped
- Grated parmesan cheese, for serving


Directions
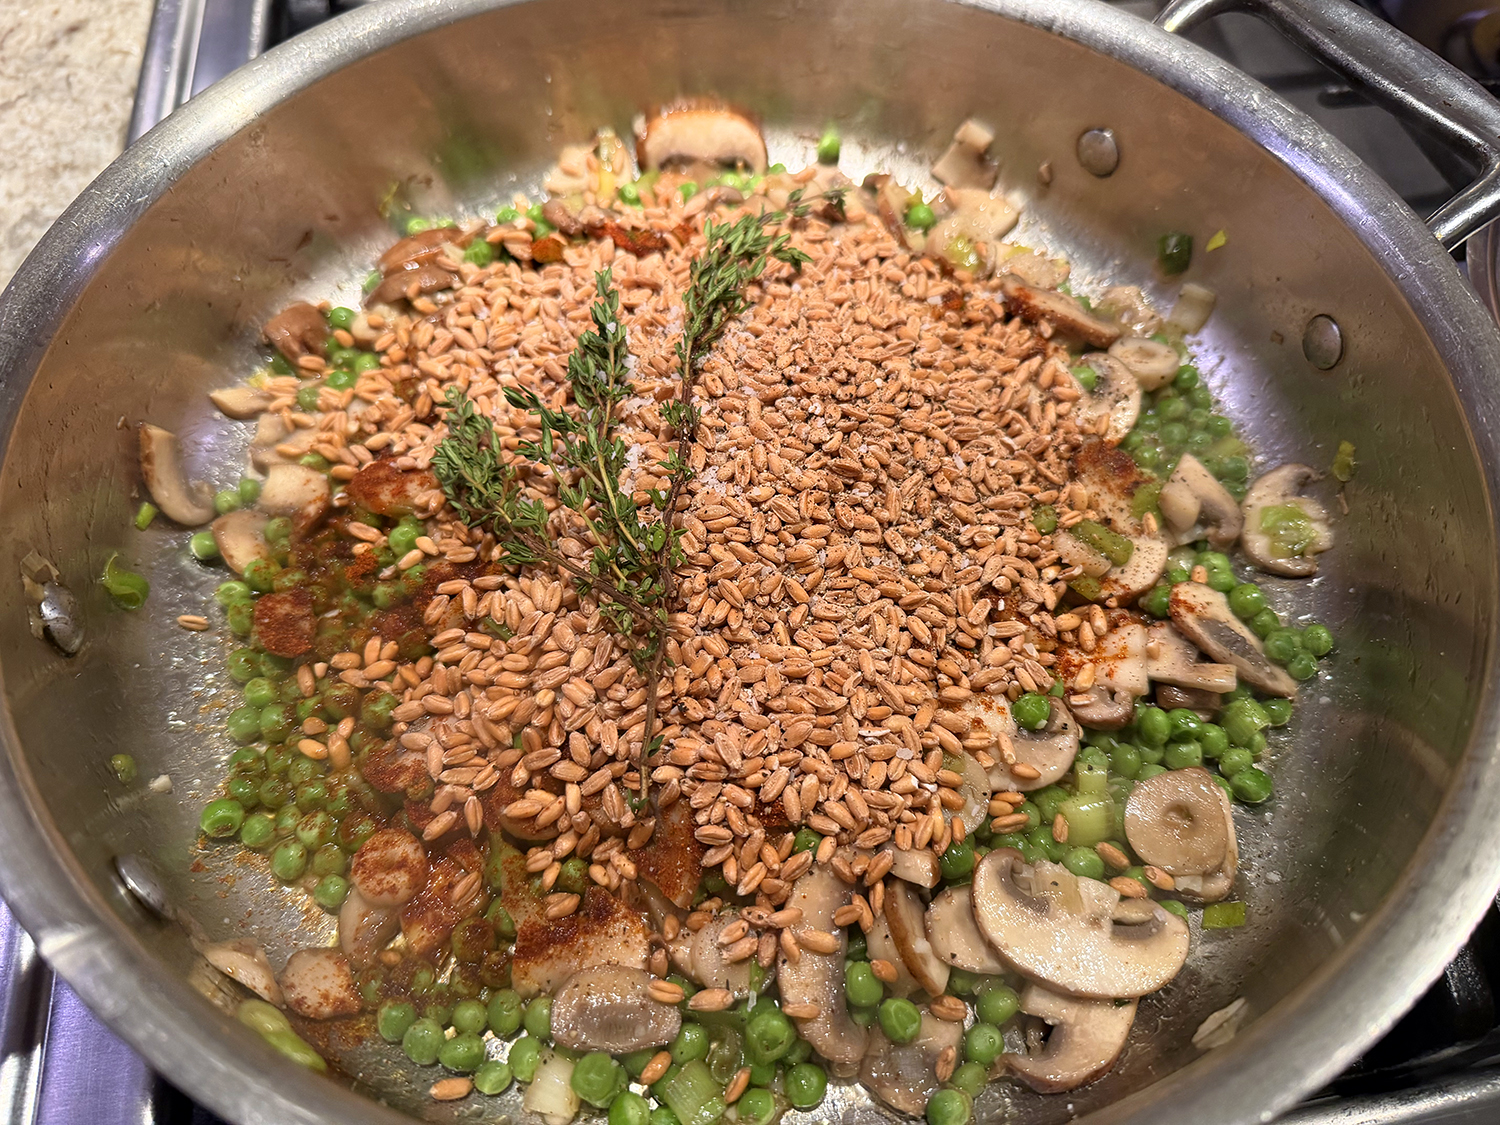
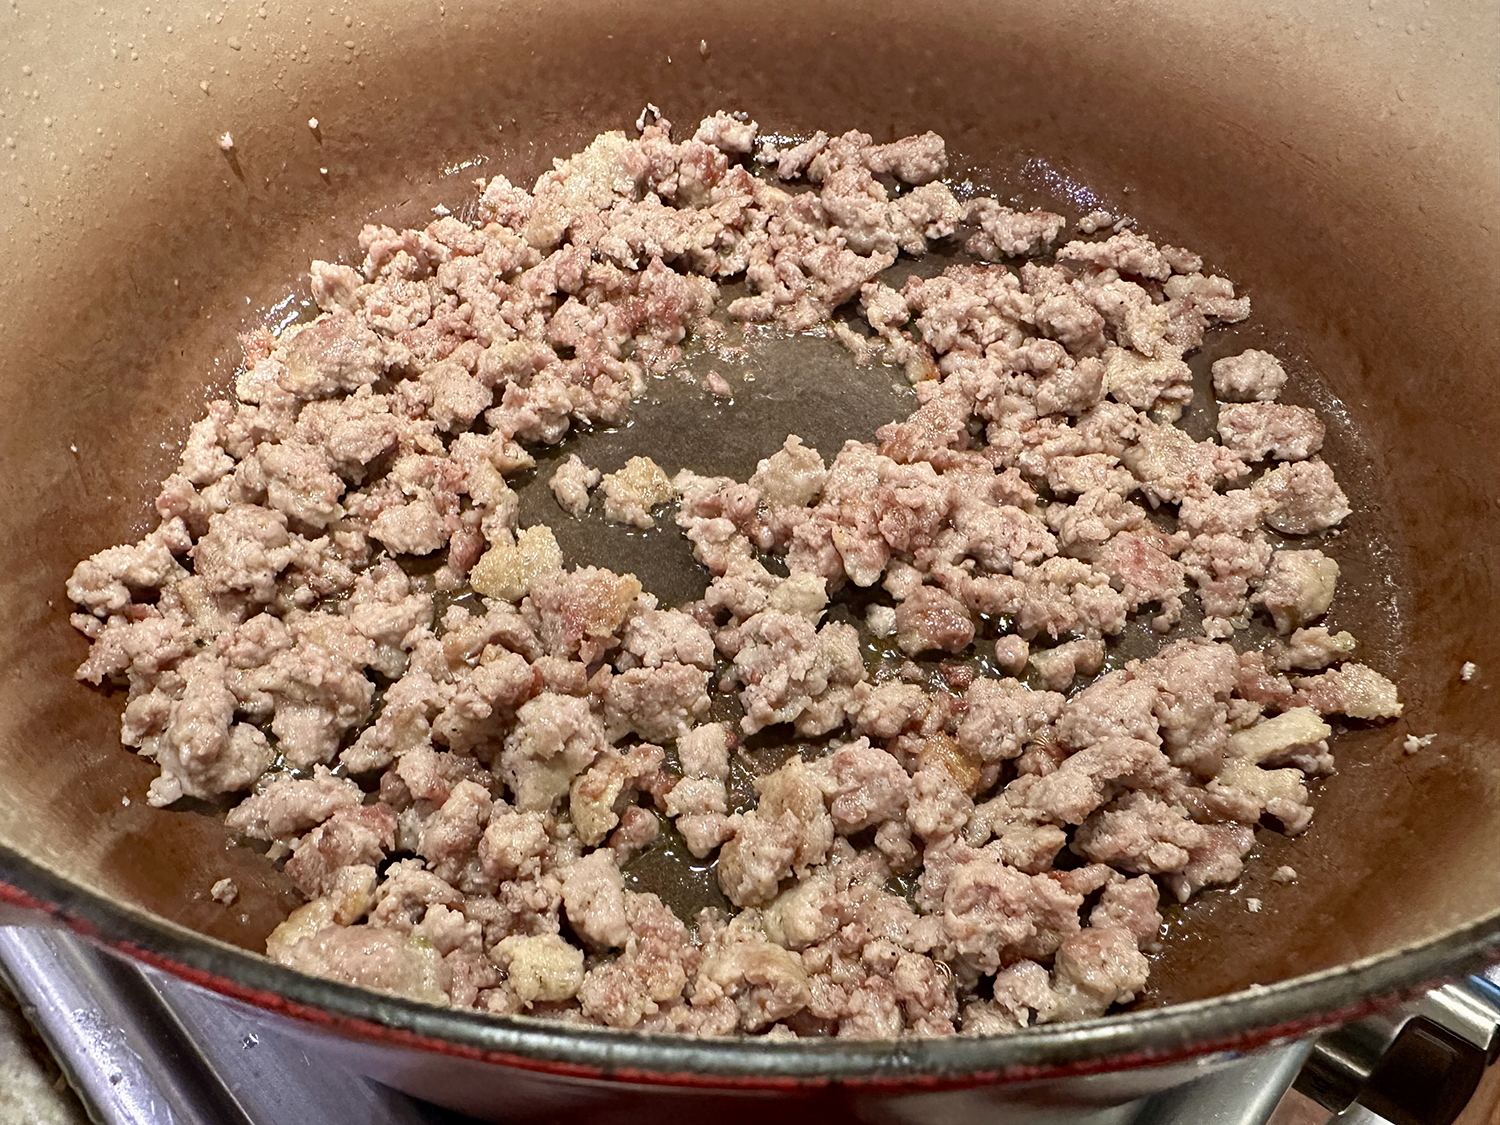
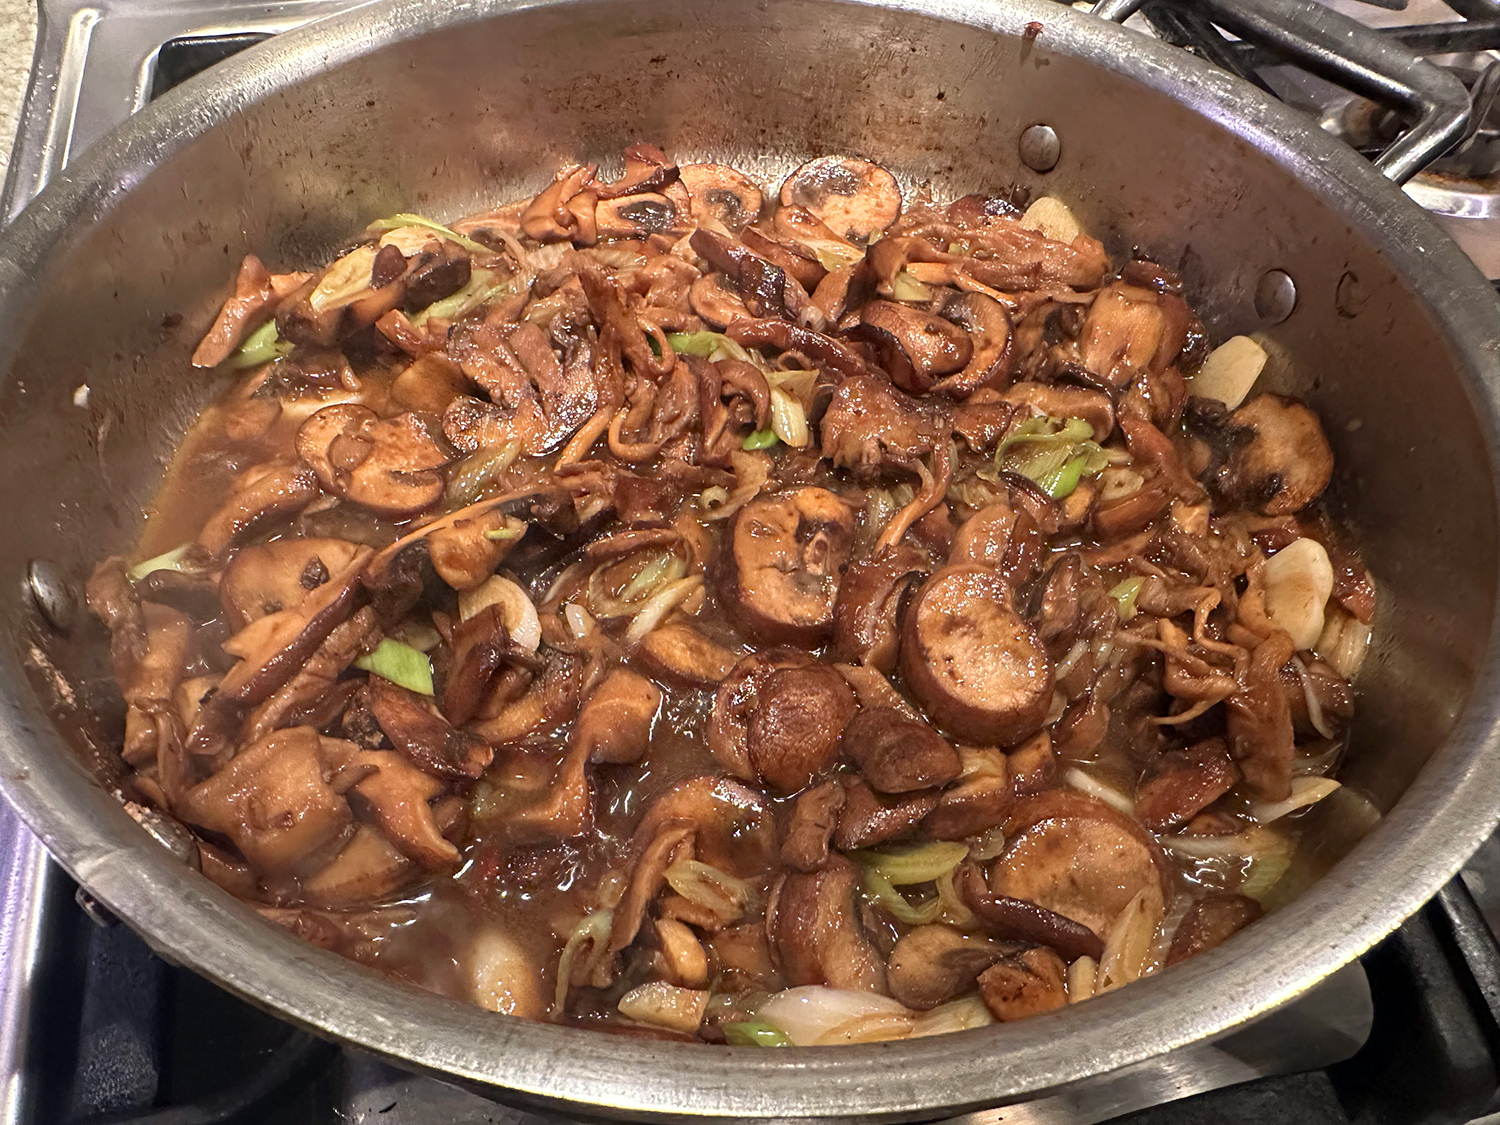
- In a medium-to-large (4-to-6-quart) pot over medium-high heat, heat the oil until shimmering. Add the mushrooms and cook, stirring occasionally, until they release their liquid and it evaporates, 4 to 5 minutes.
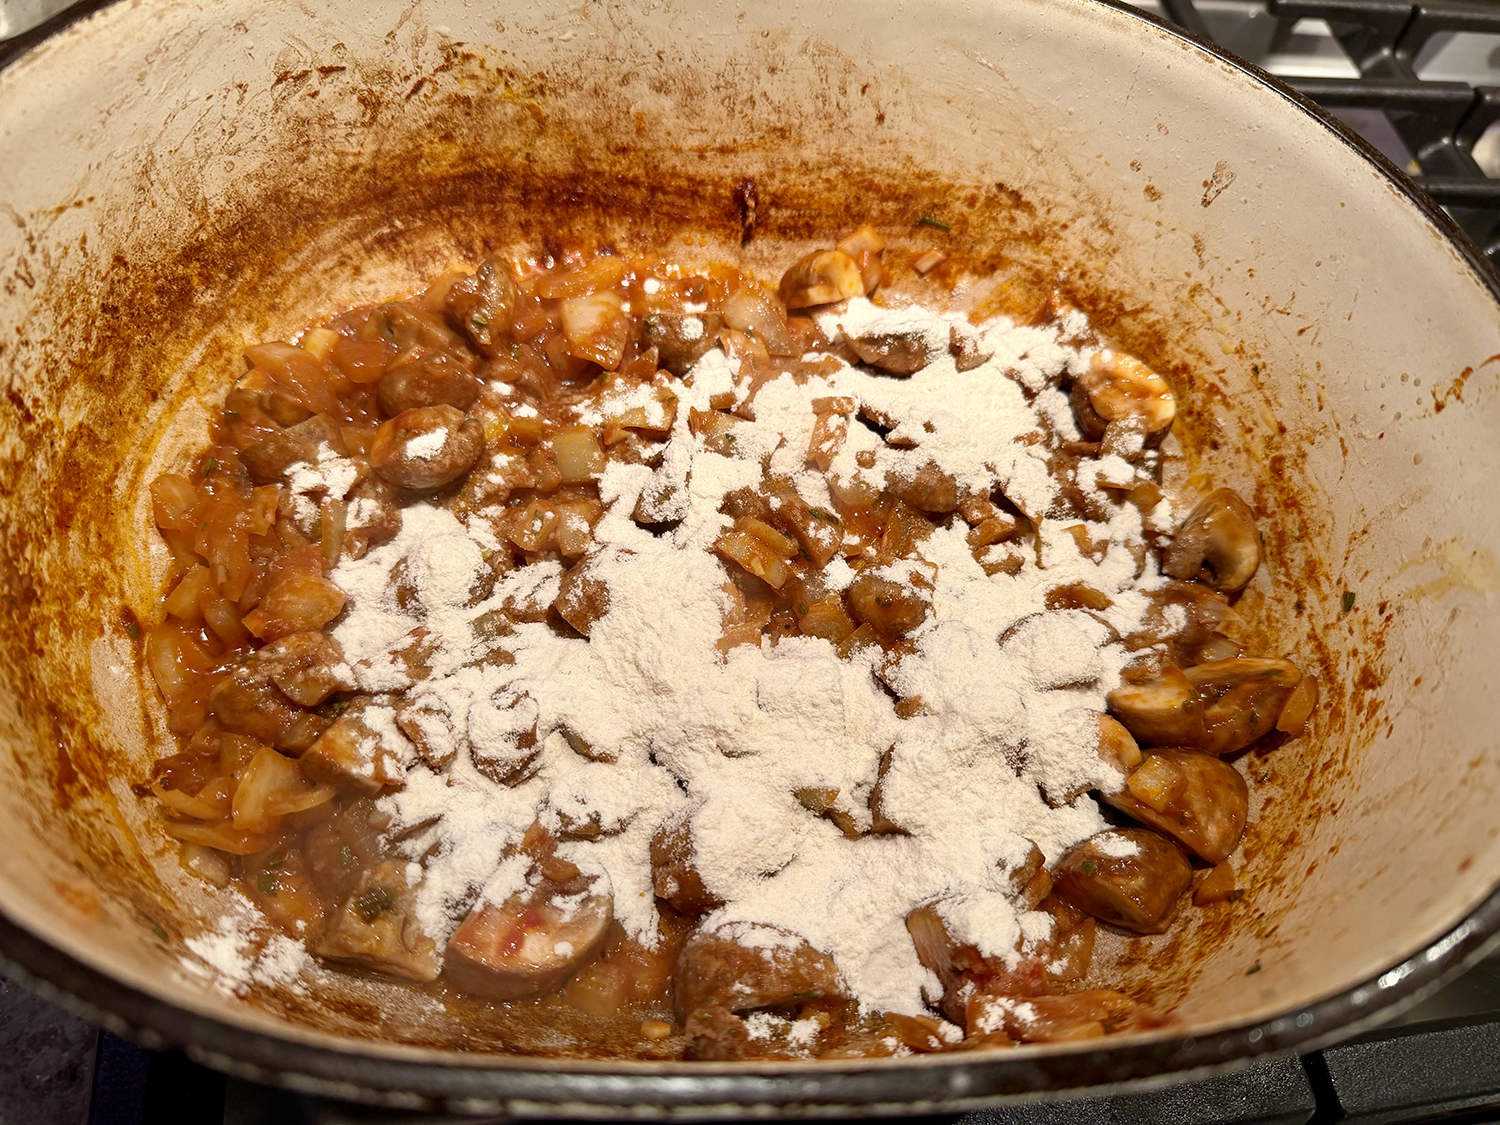
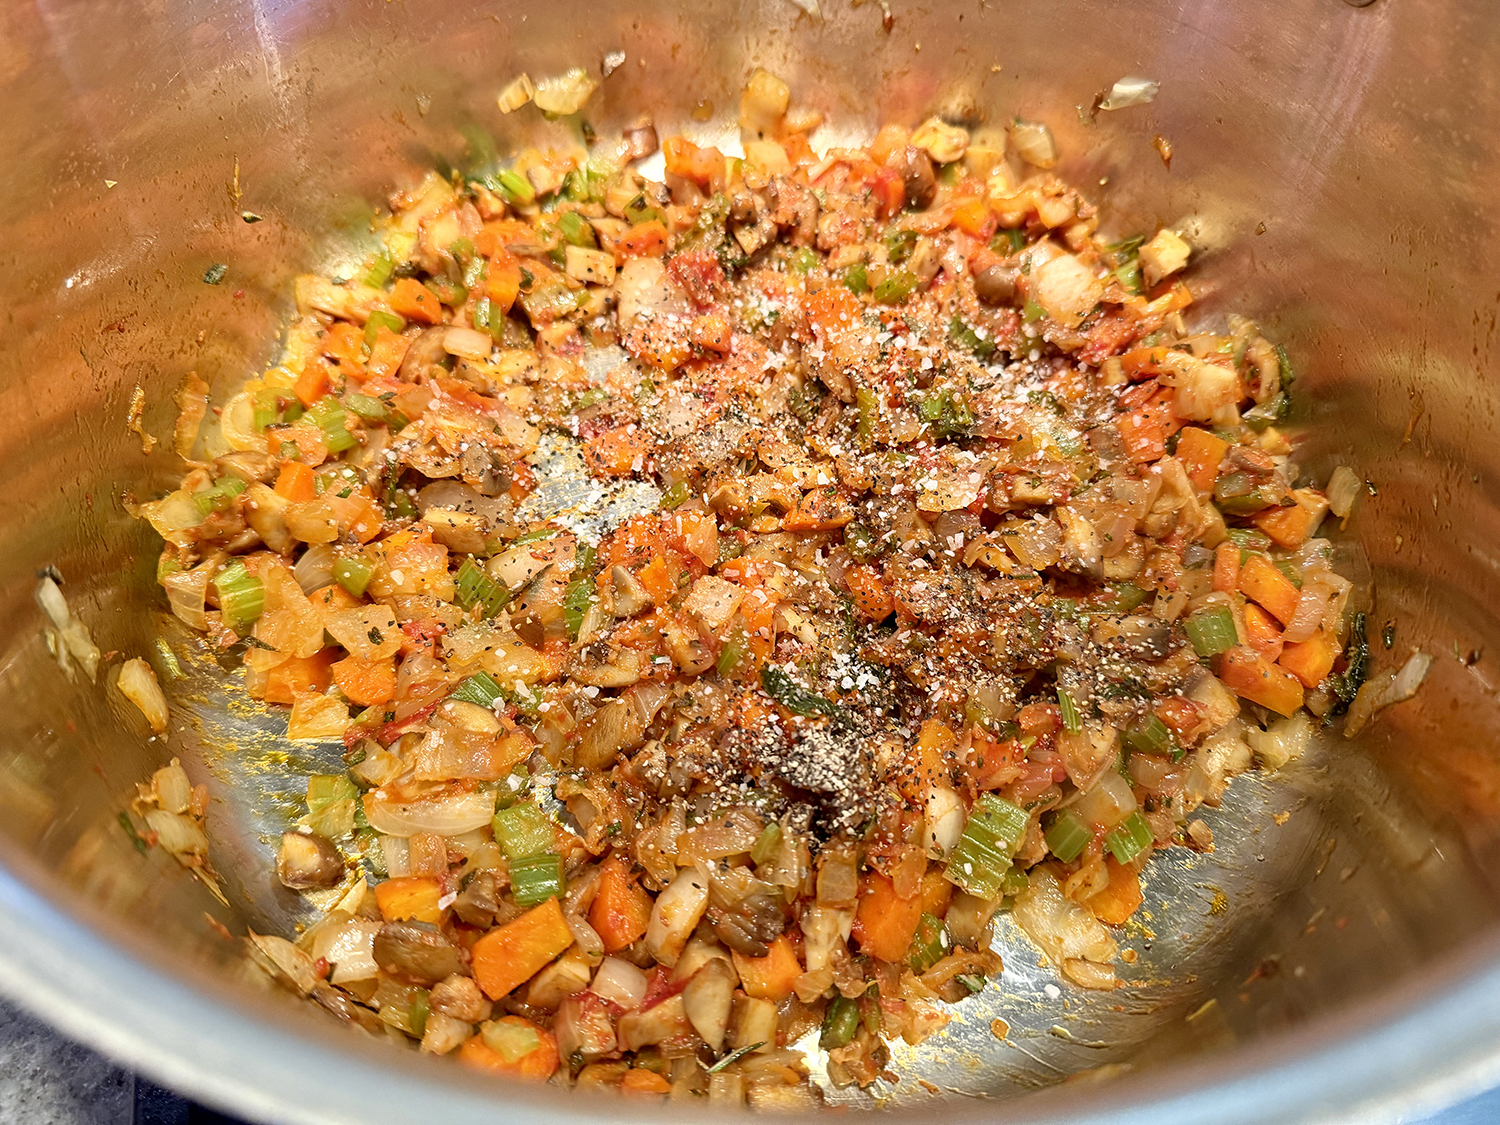
- Add the celery, onion, carrot and 1/4 teaspoon of the salt, and reduce the heat to medium. Cook, stirring frequently, until the vegetables slightly soften, about 4 minutes. Stir in the garlic, rosemary and tomato paste, and cook, stirring, until aromatic, about 1 minute.
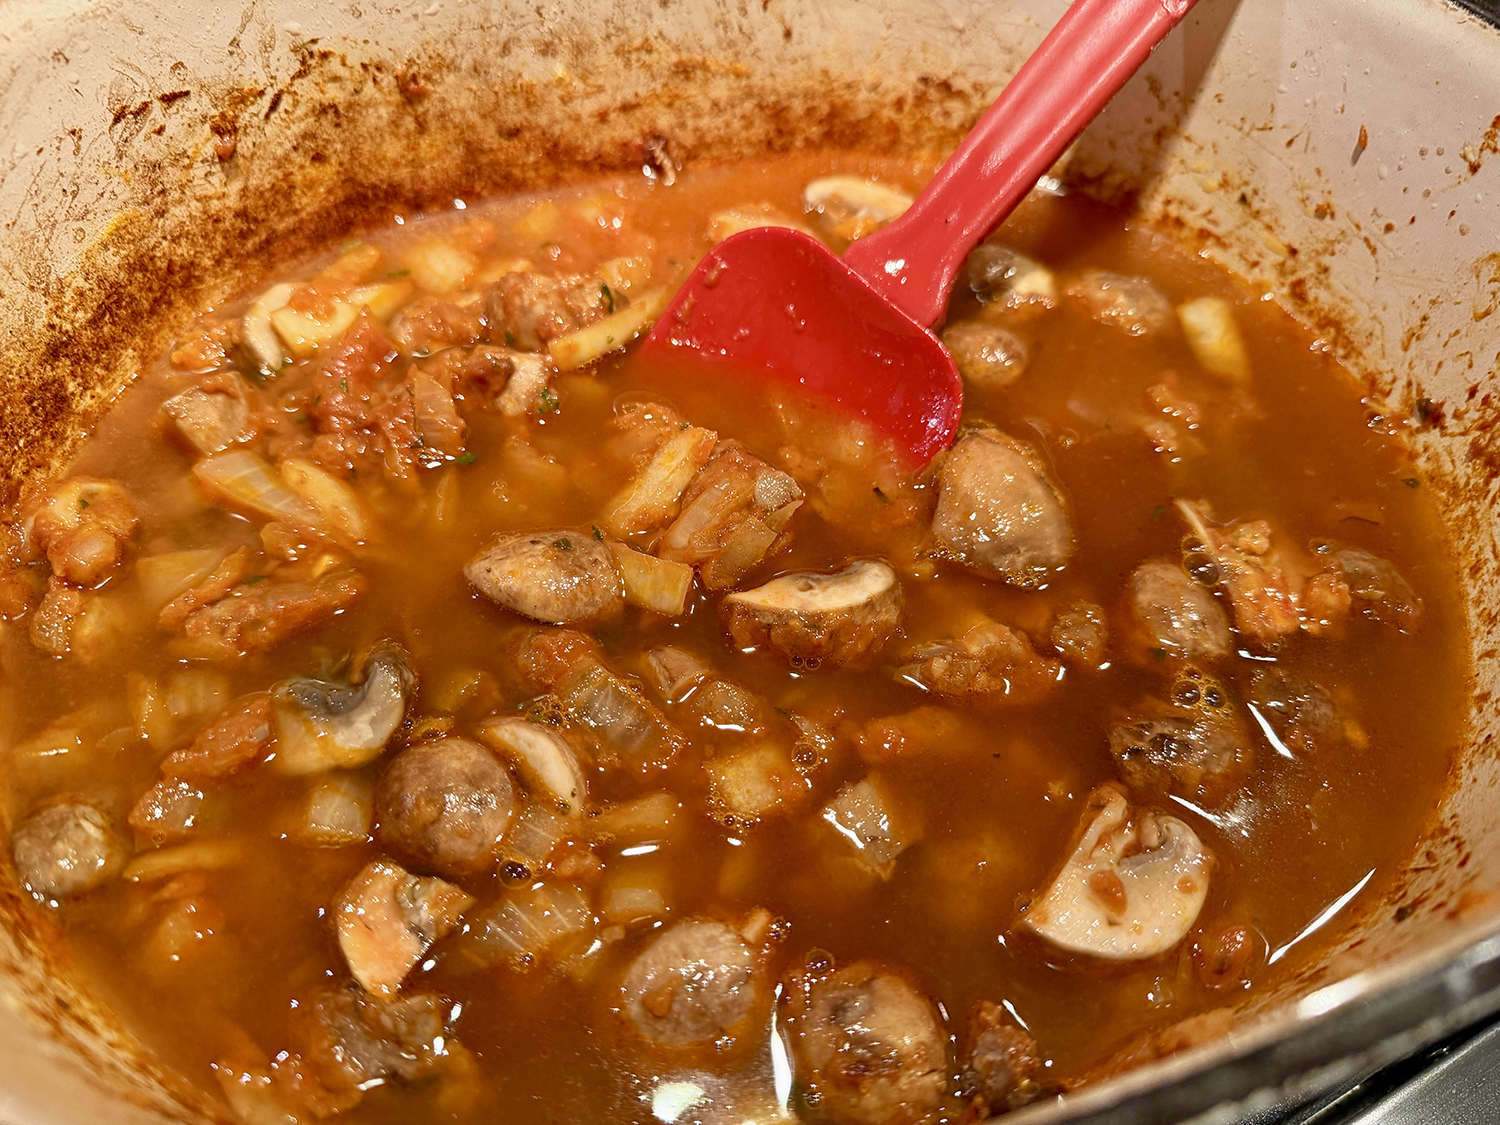
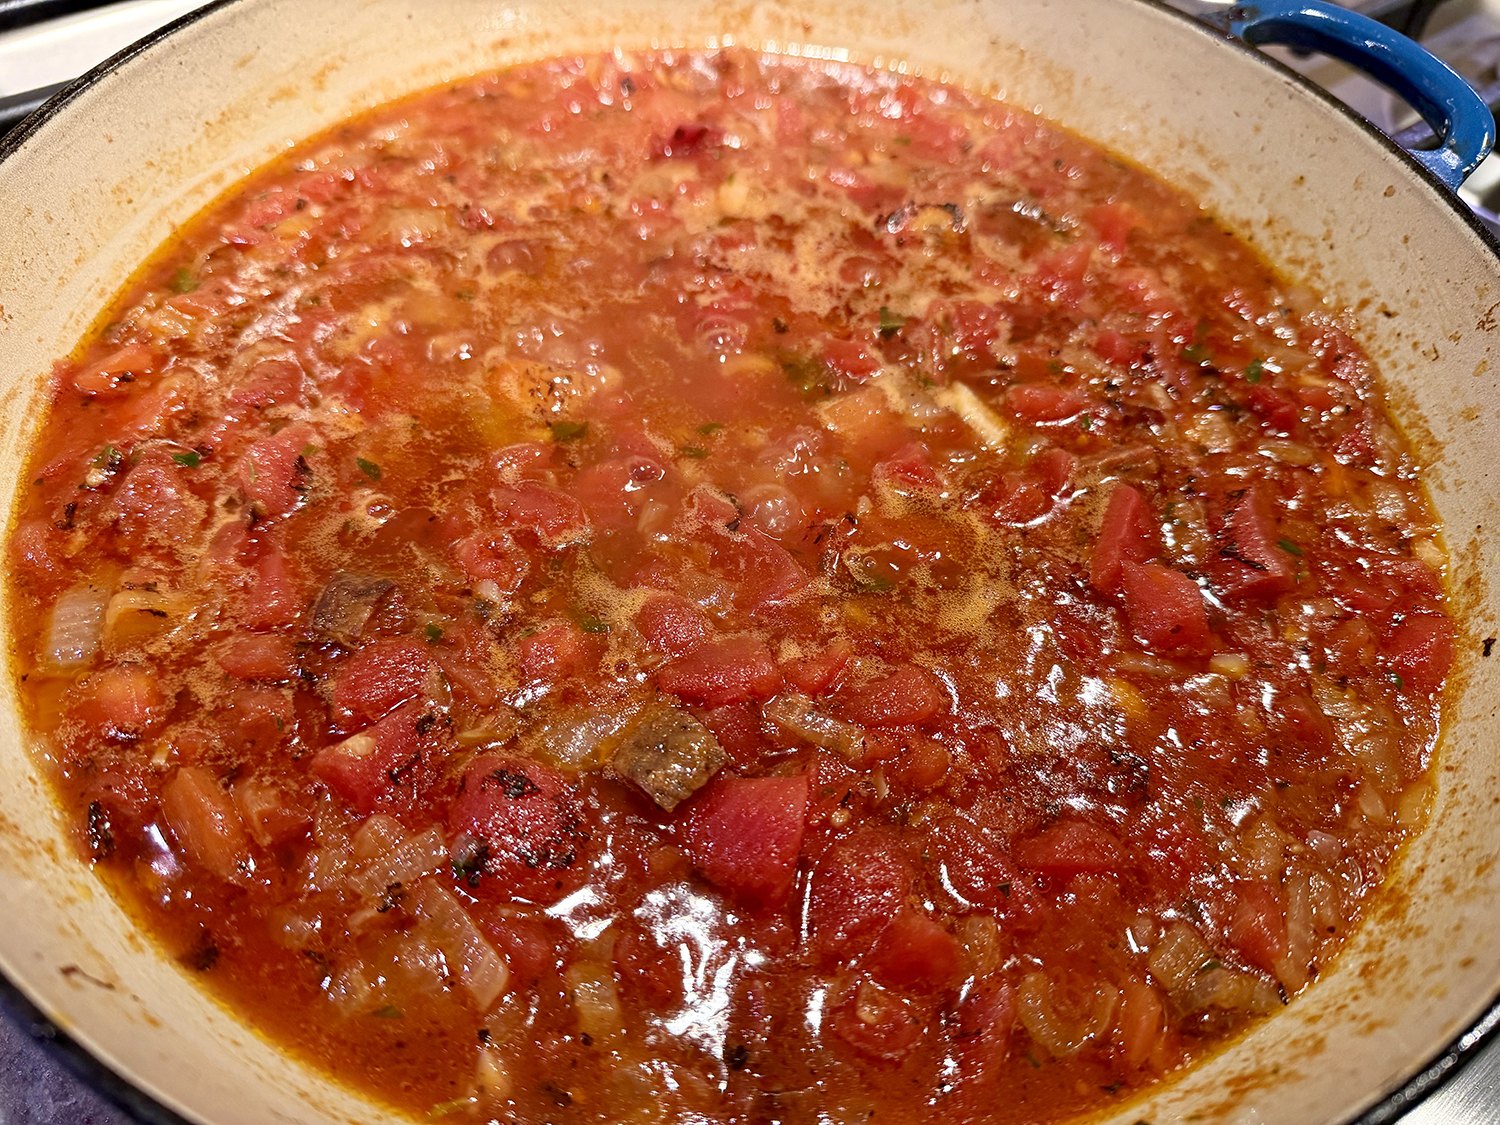
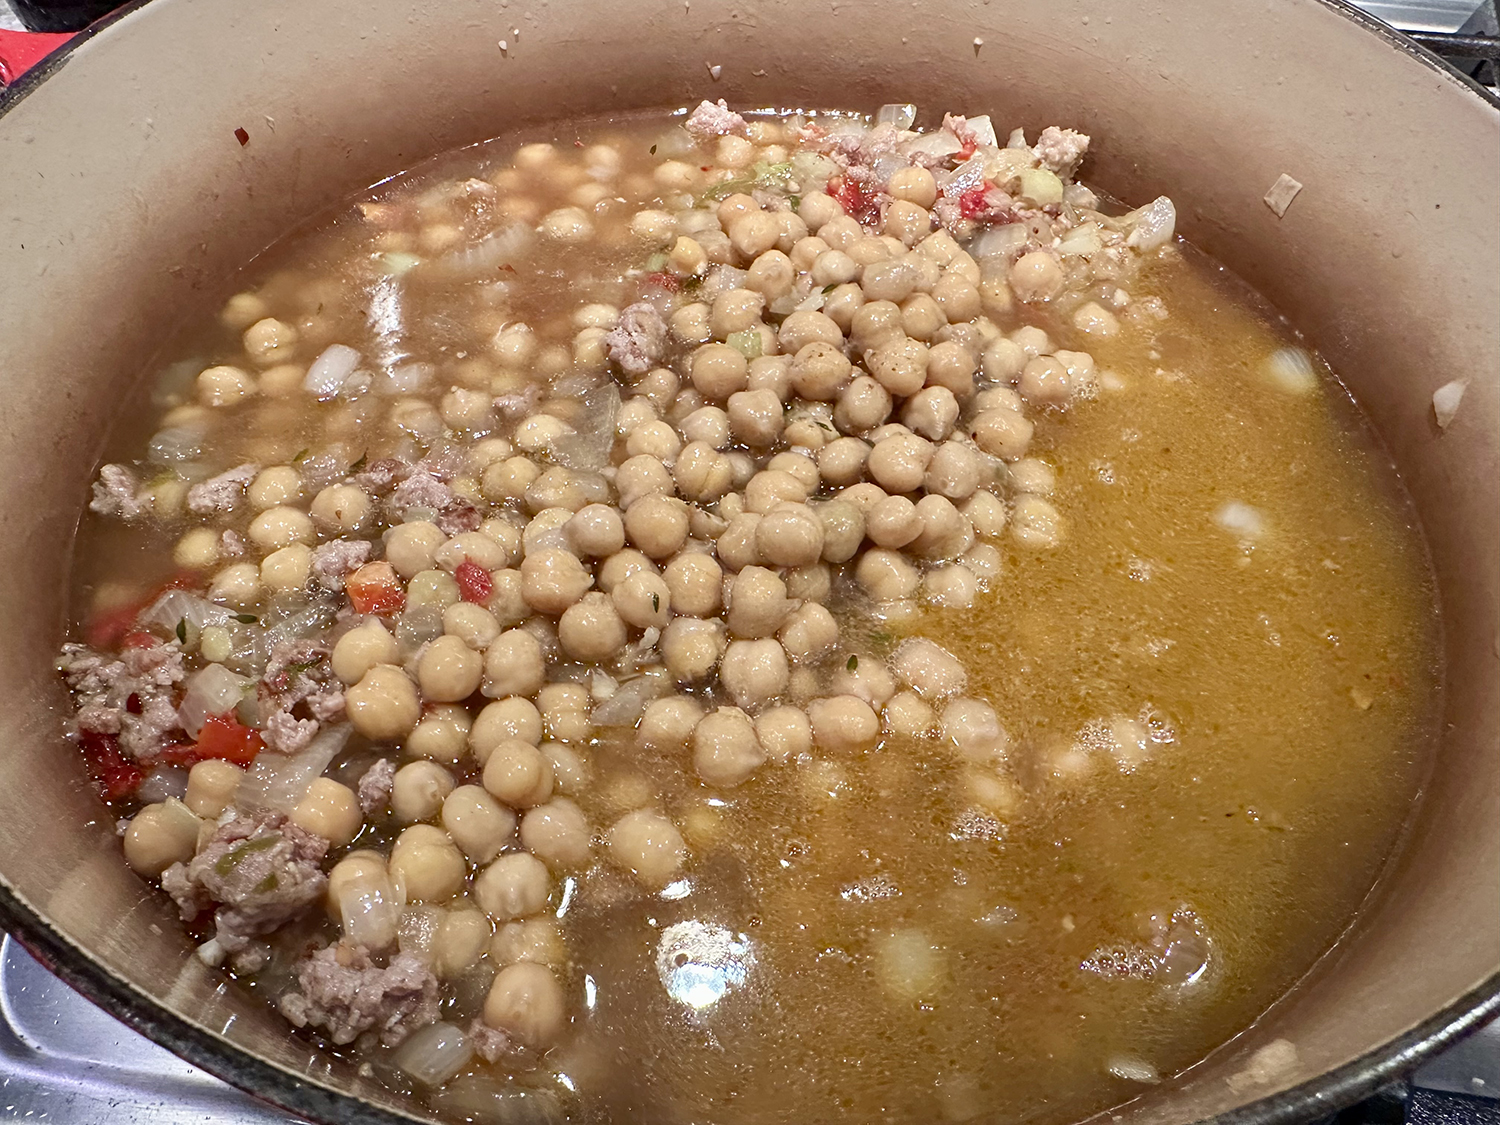
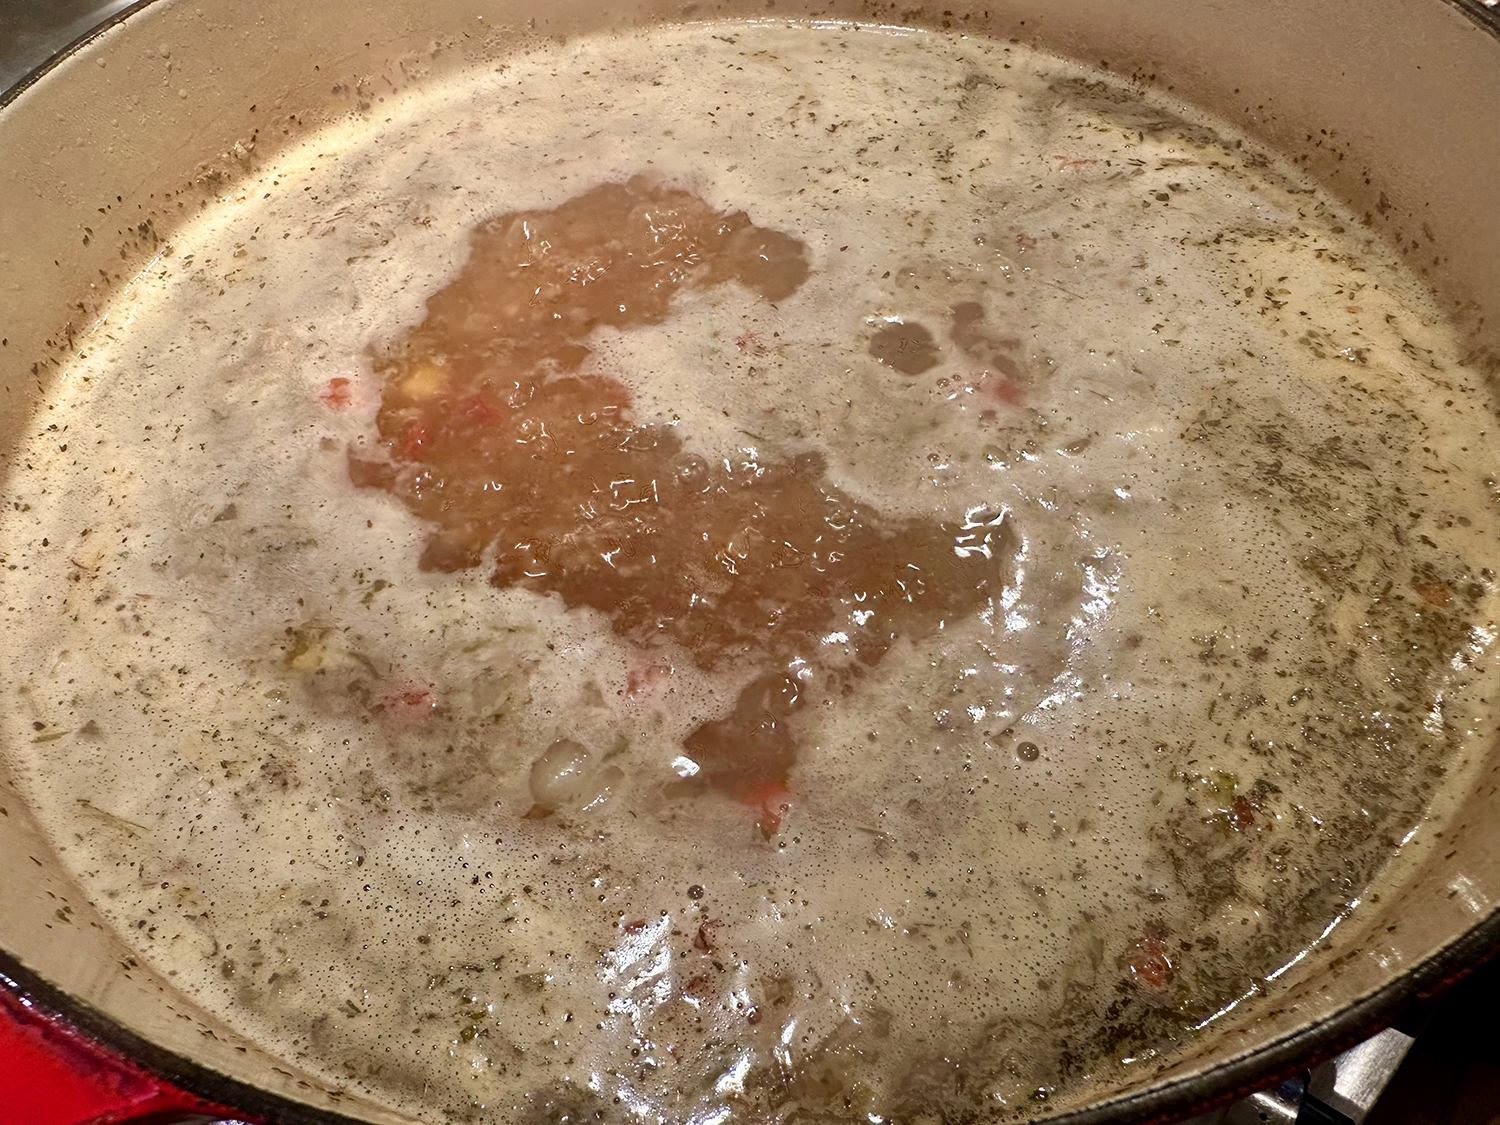
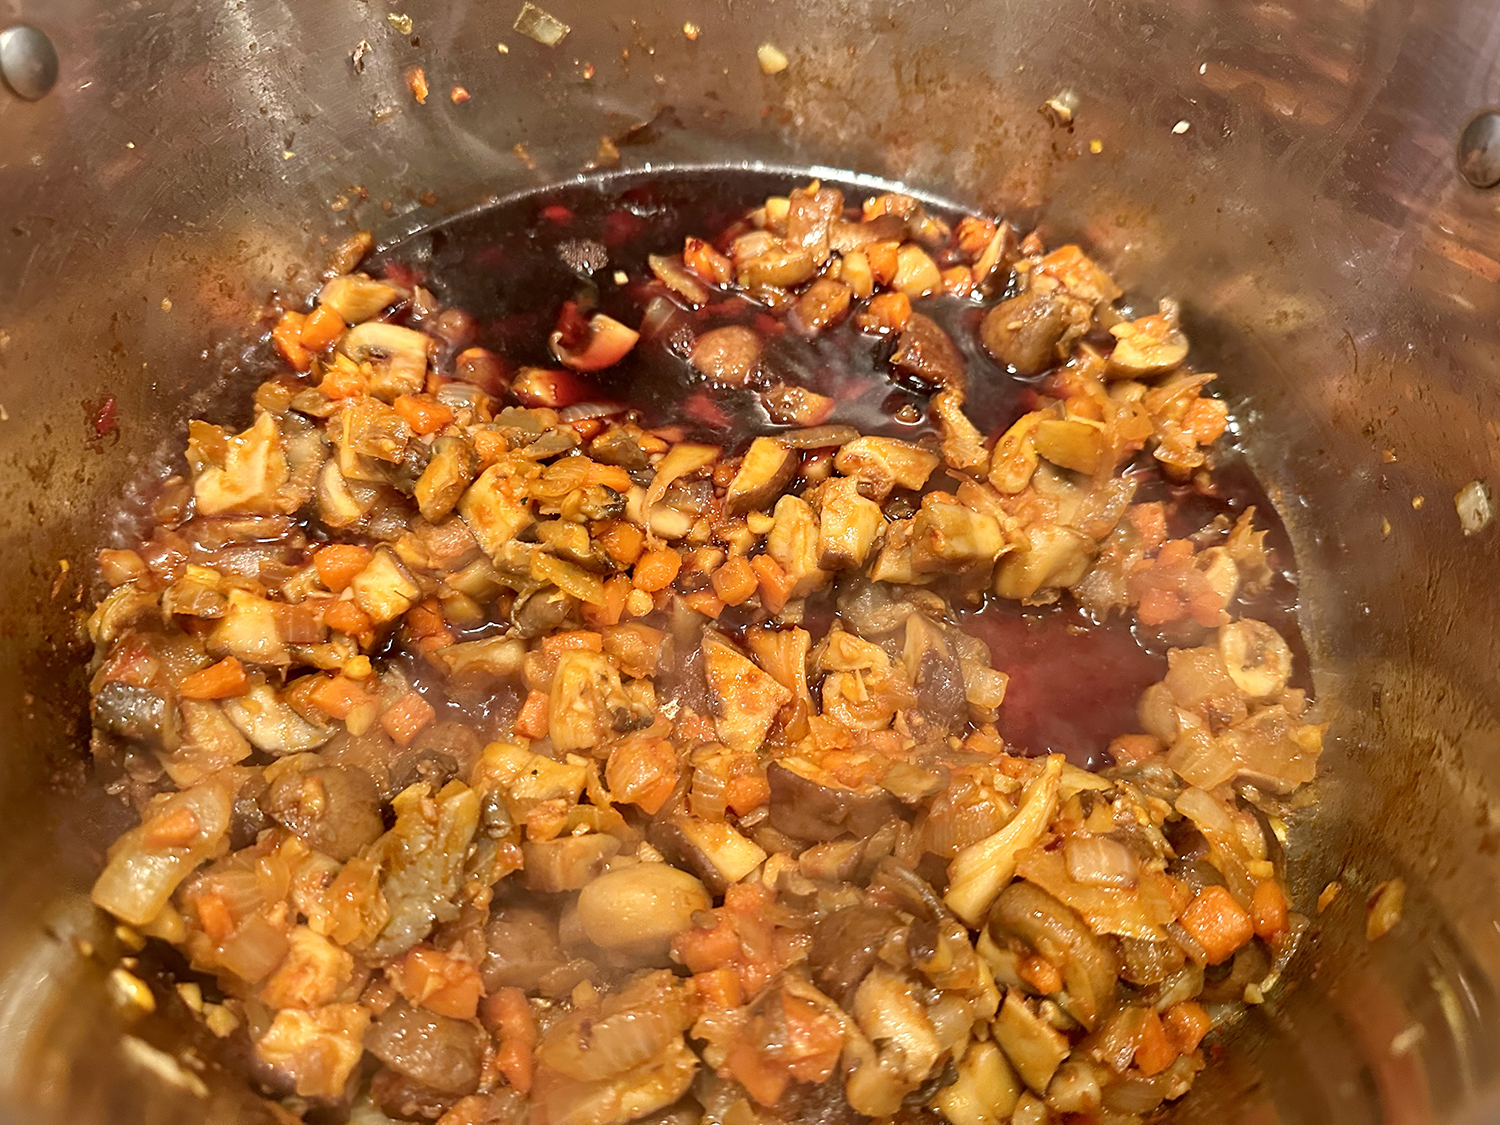
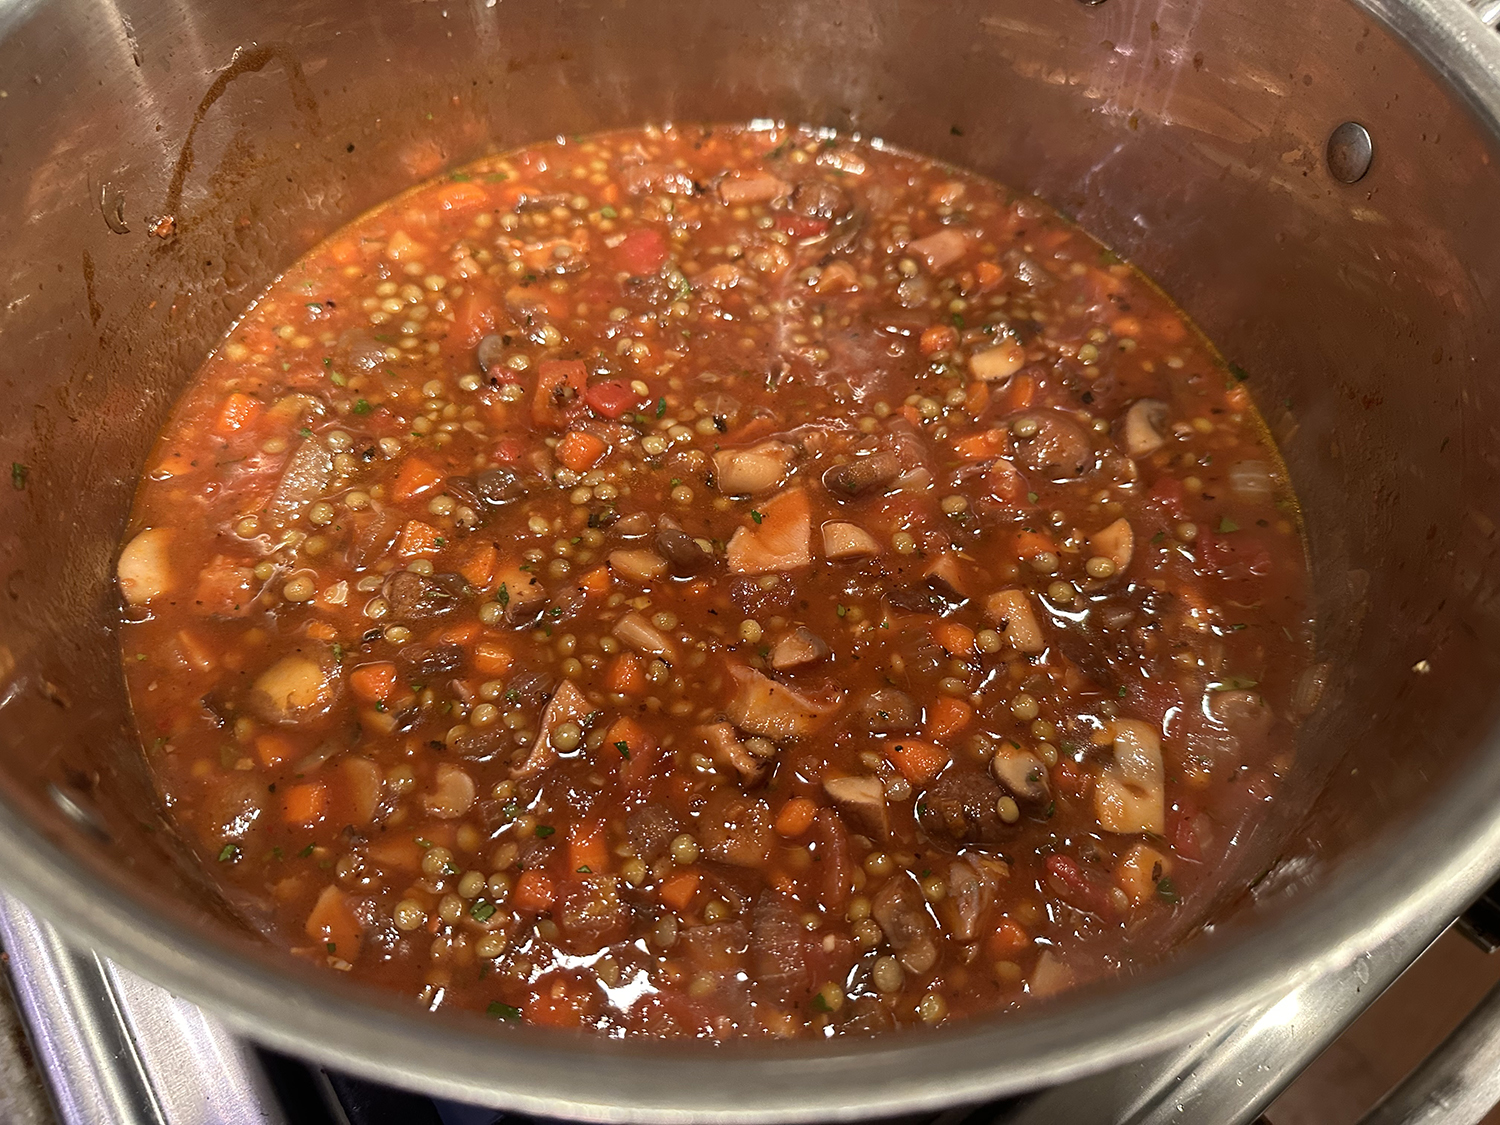
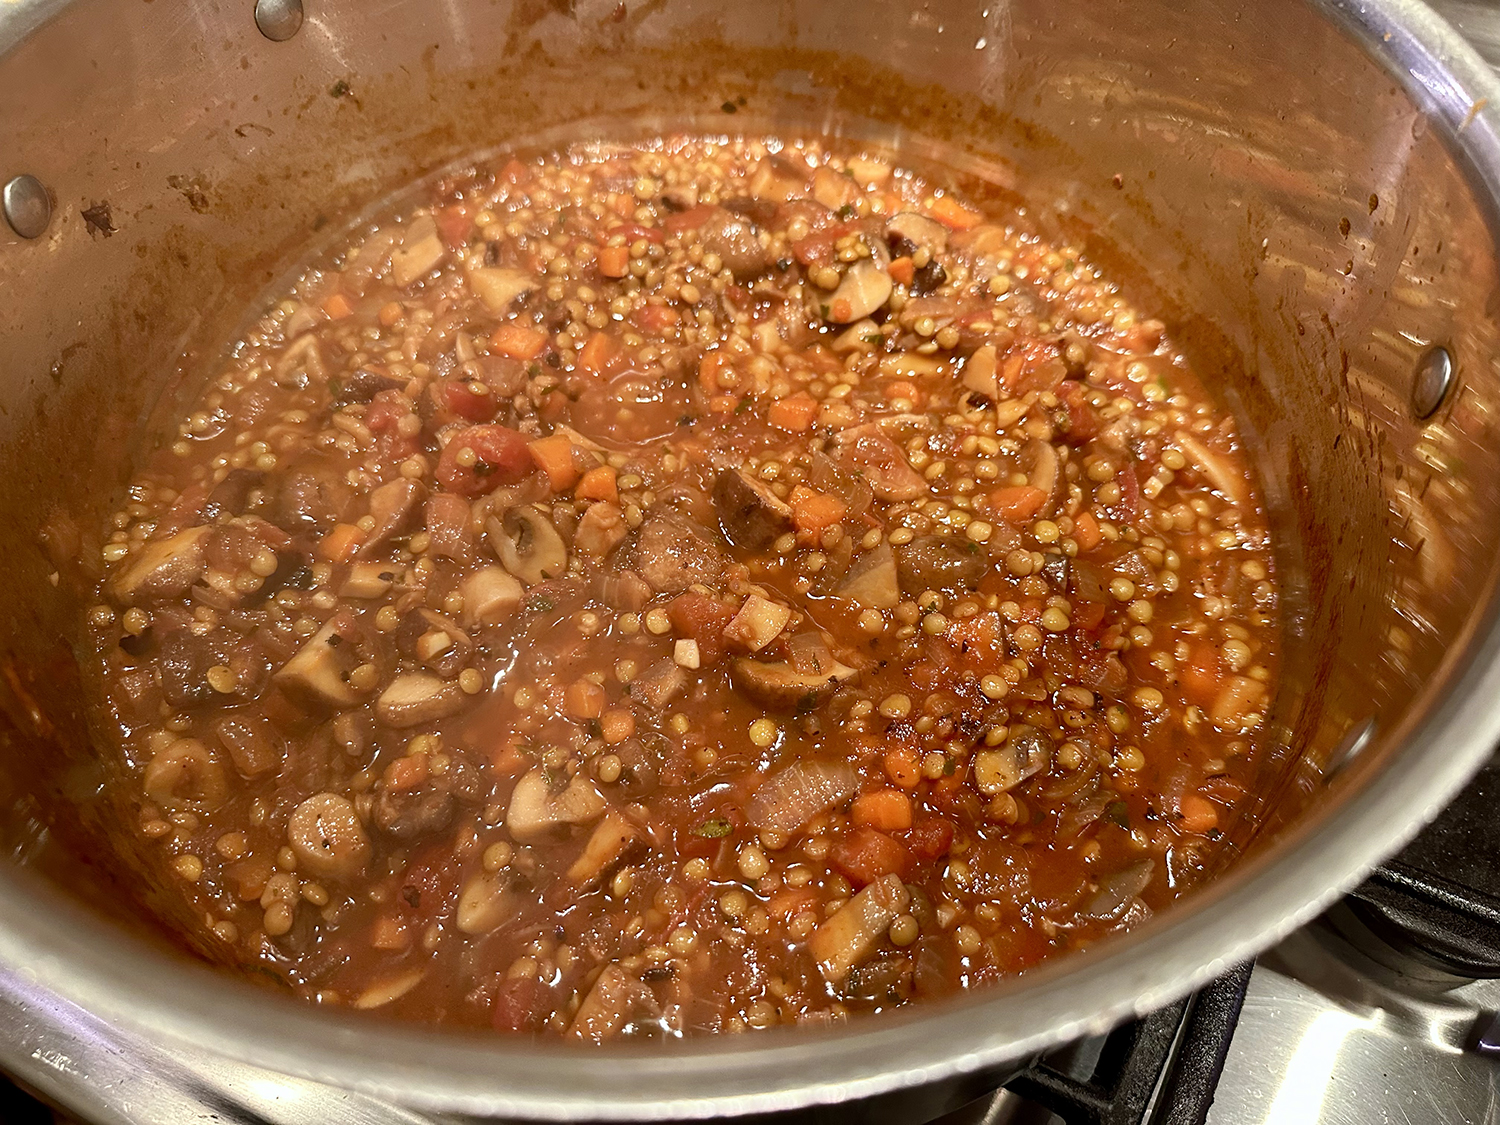
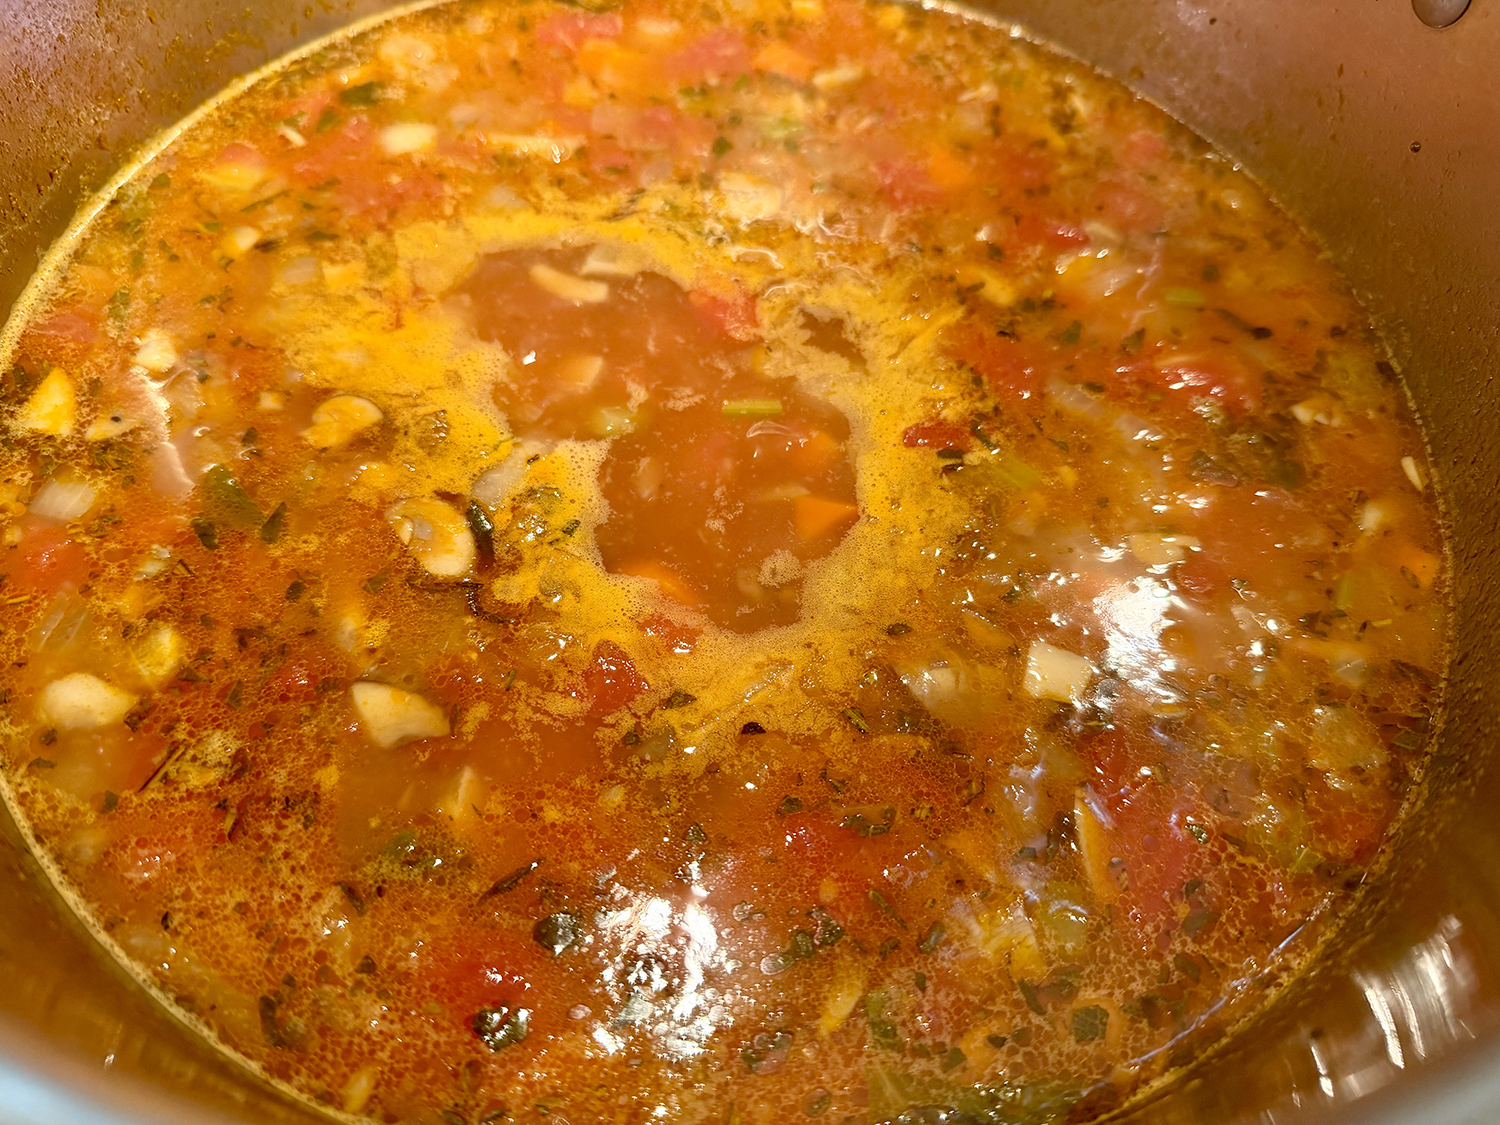
- Stir in the beans, then add the broth, tomatoes, the Parmesan rind (if using), and the remaining 1/2 teaspoon of salt and the pepper, then increase the heat to high and bring to a boil. Stir in the farro, then reduce the heat to medium-low and simmer, partially covered, until the farro is al dente, 30 to 35 minutes.
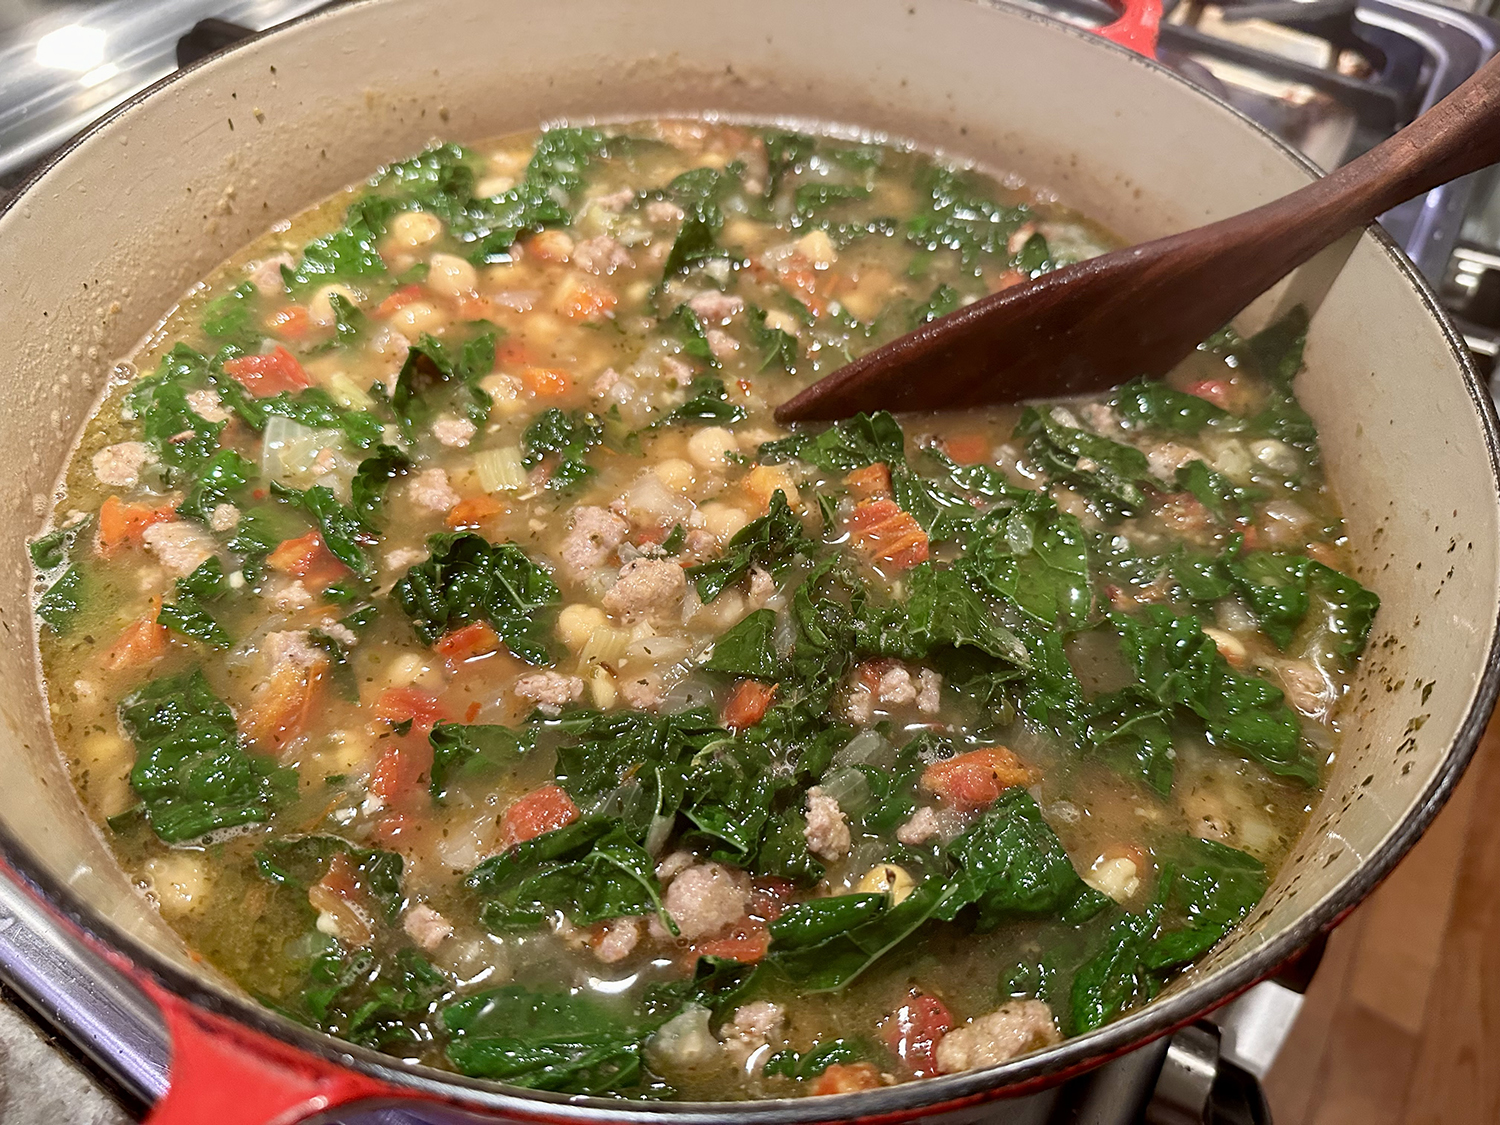
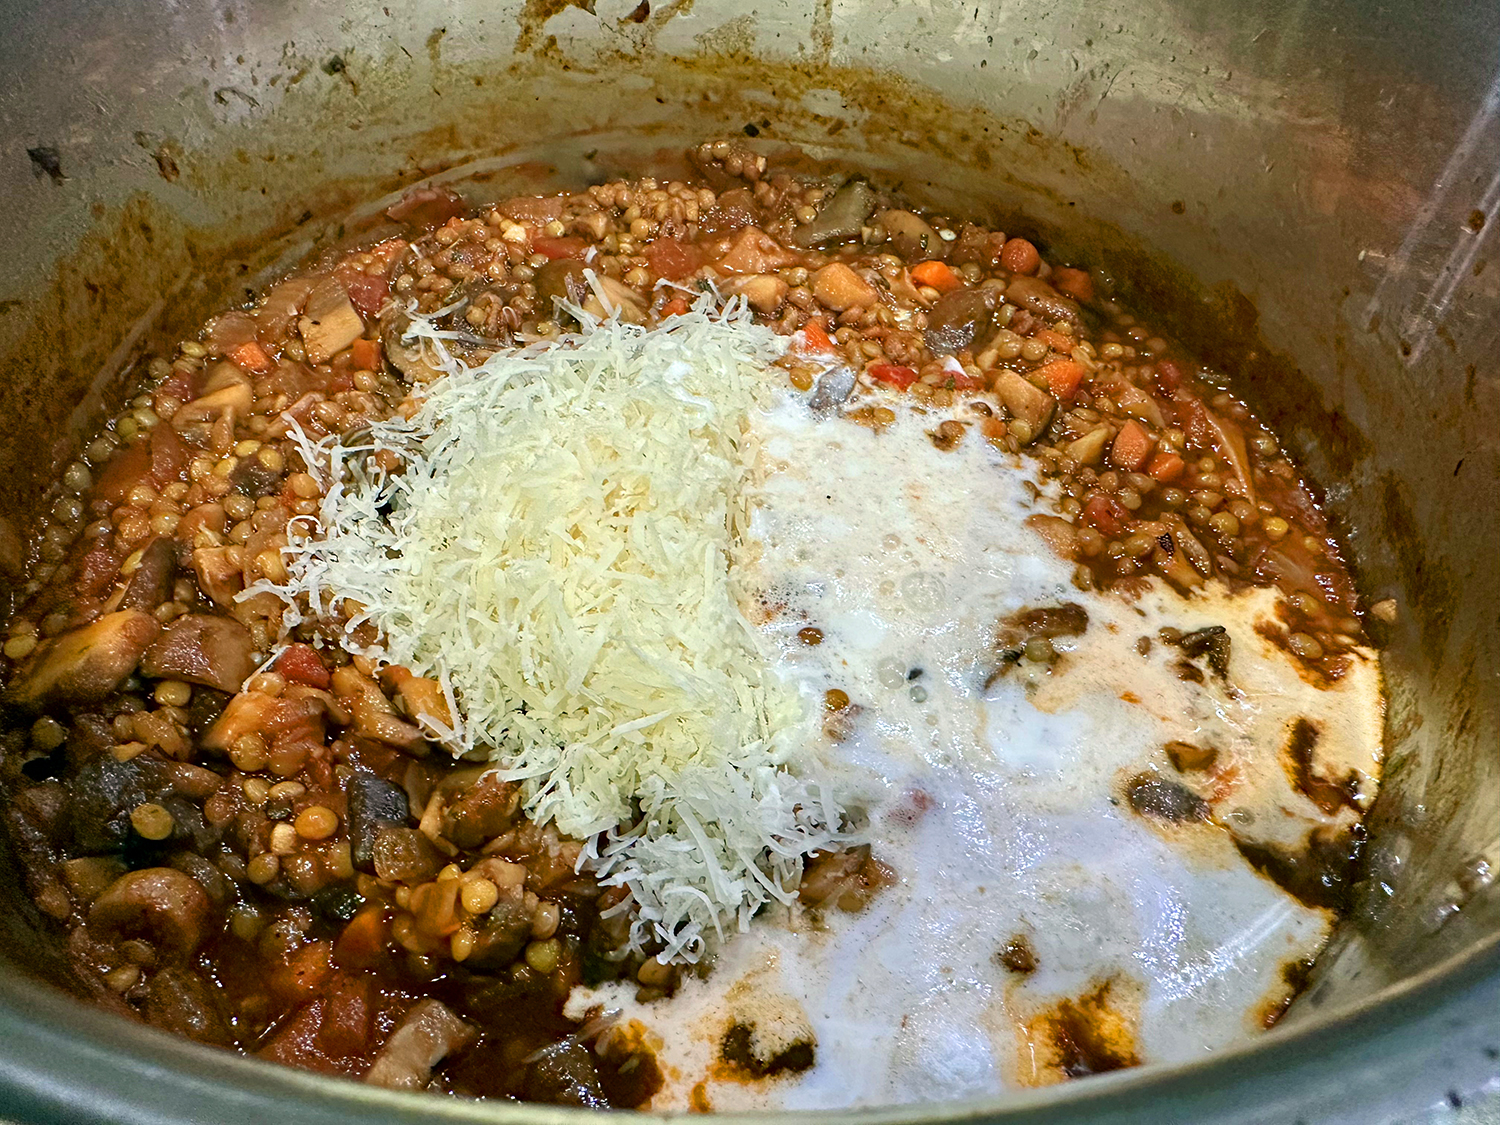
- Stir in the kale and cook until just tender, about 5 minutes. Taste for salt and pepper and adjust according to taste. Remove from the heat, ladle into bowls, sprinkle with parmesan, if using, drizzle with extra-virgin olive oil, and serve hot.
Adapted from a recipe by Ellie Krieger