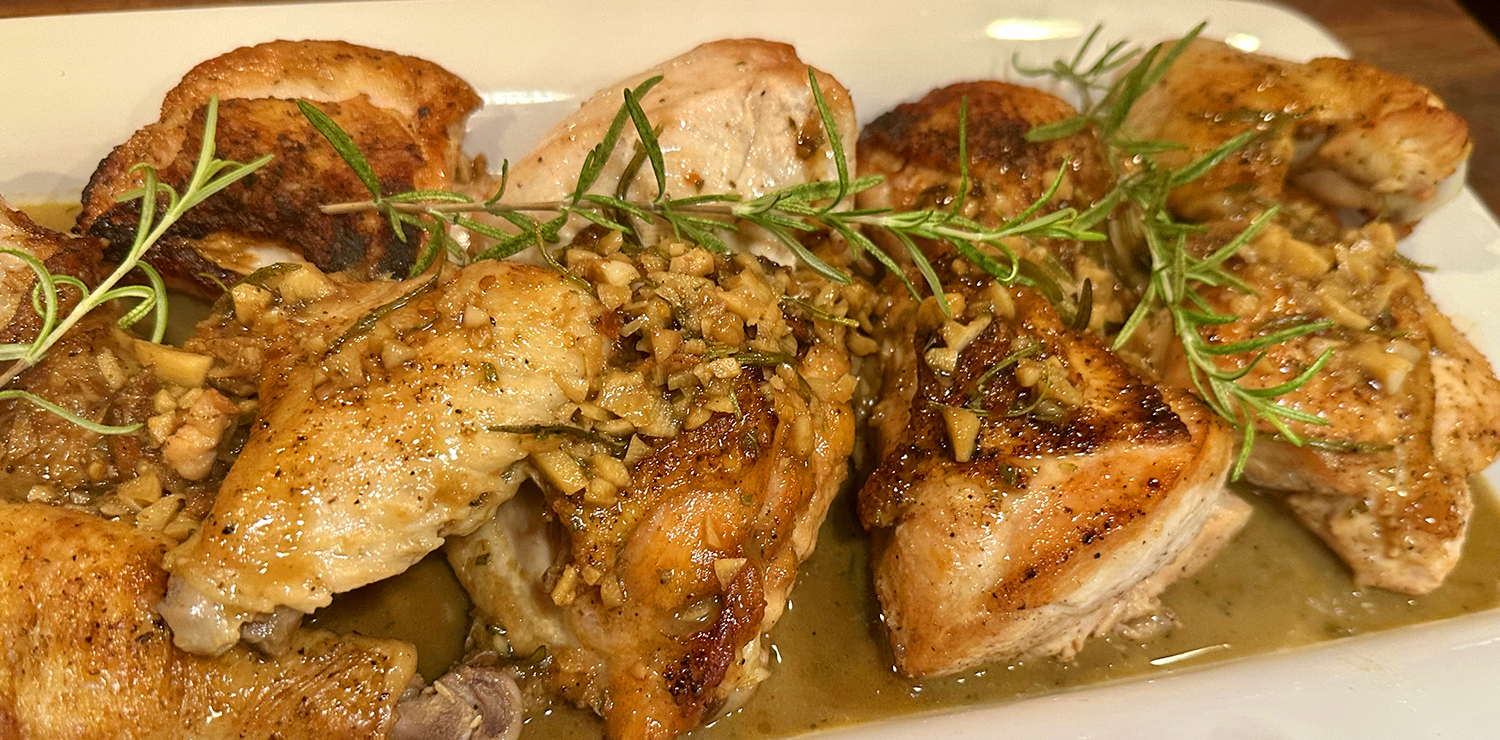
Cacciatore without tomatoes? As it turns out, it is not always a chunky, tomato-heavy braise. At Piatto Romano in Rome, Milk Street learned how to make the Roman version—an elegant, minimalist dish bright with the acidity of white wine and vinegar and heady with rosemary, garlic and anchovies, not a tomato in sight. (And you would never know there were anchovies in it.)
With so few ingredients, deeply searing the bone-in, skin-on pieces is necessary for developing rich flavor. A quick sauté of aromatics followed by a deglazing with a full bottle of a light, dry white wine forms the cooking liquid that becomes the fabulous sauce.

To preserve the chicken’s browning during braising, the pieces are only partially submerged in liquid and cooked, uncovered, to completion in a 450°F oven; the dry heat keeps the skin crisp and caramelized even as the liquid simmers in the bottom of the pan. (You will need an oven-safe 12-inch skillet for this recipe.)
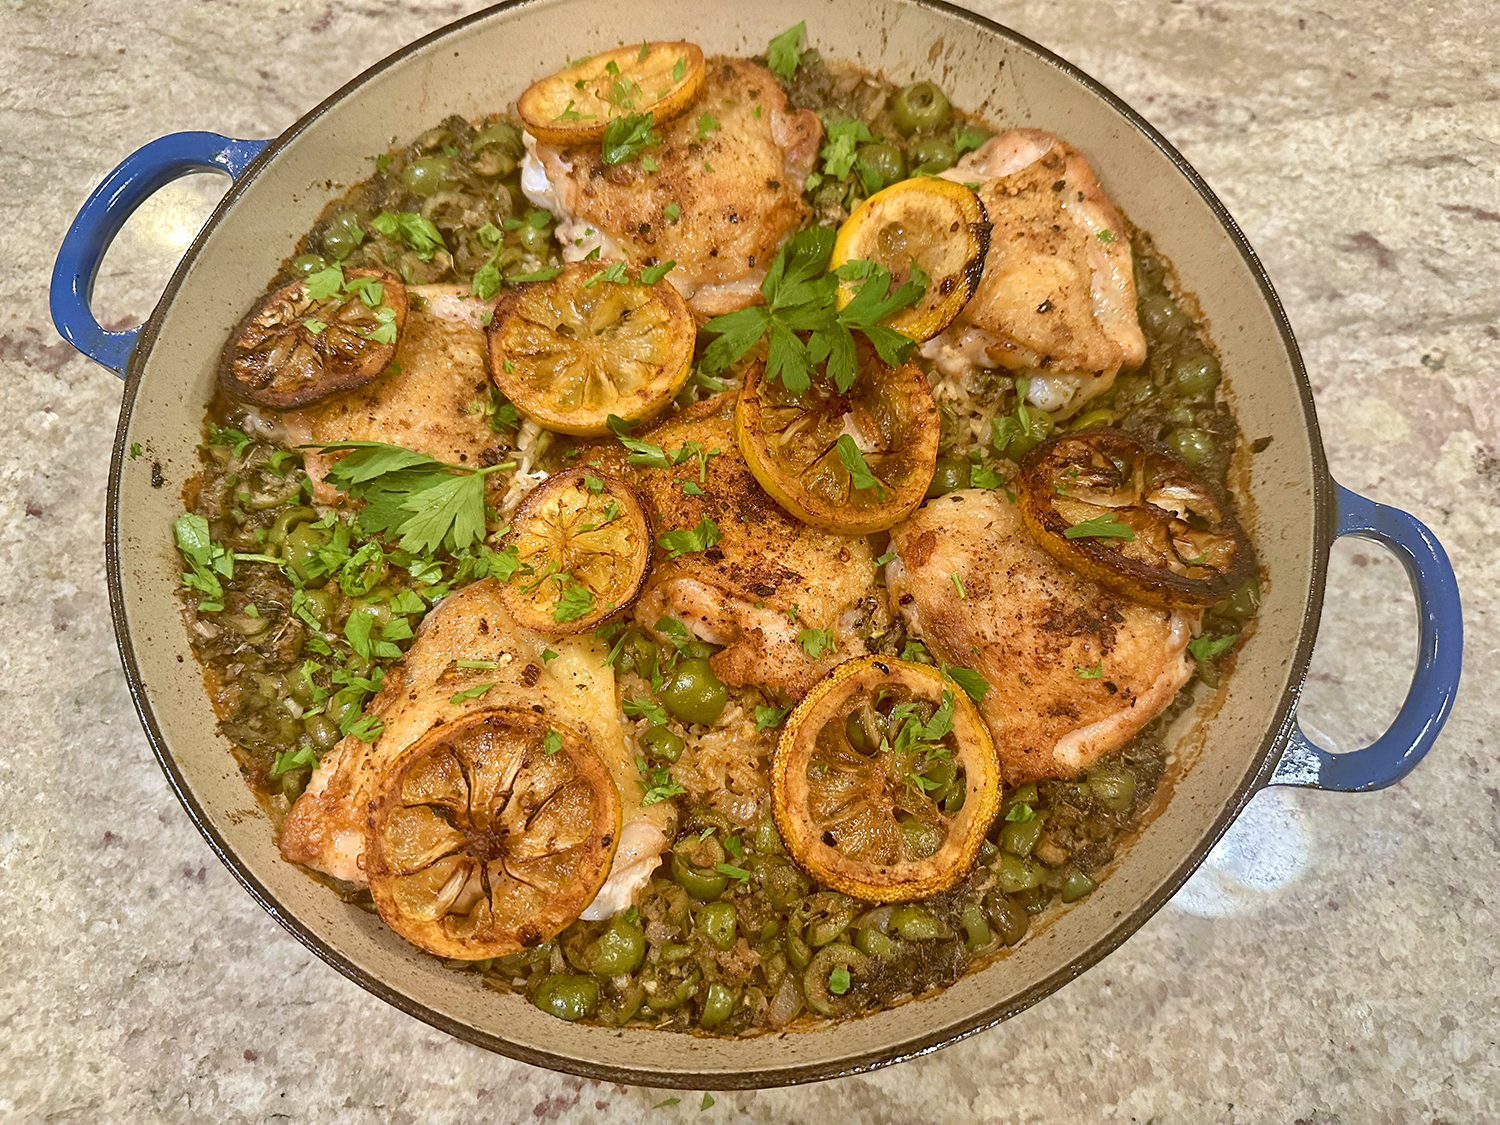
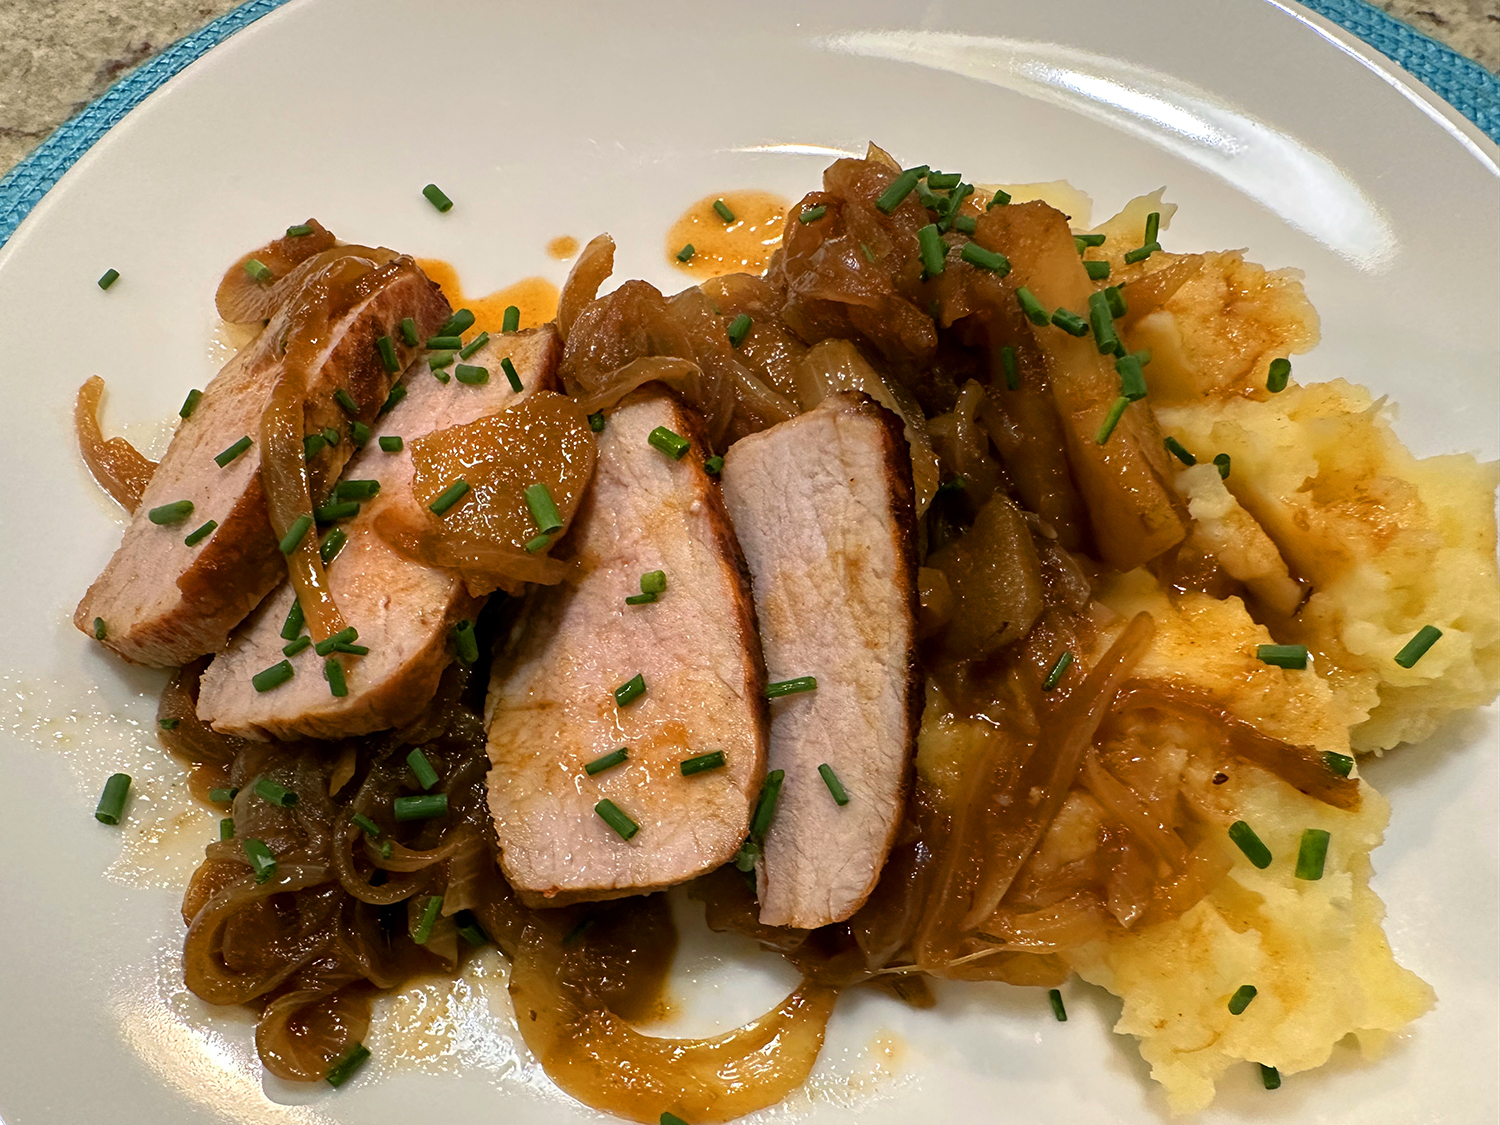
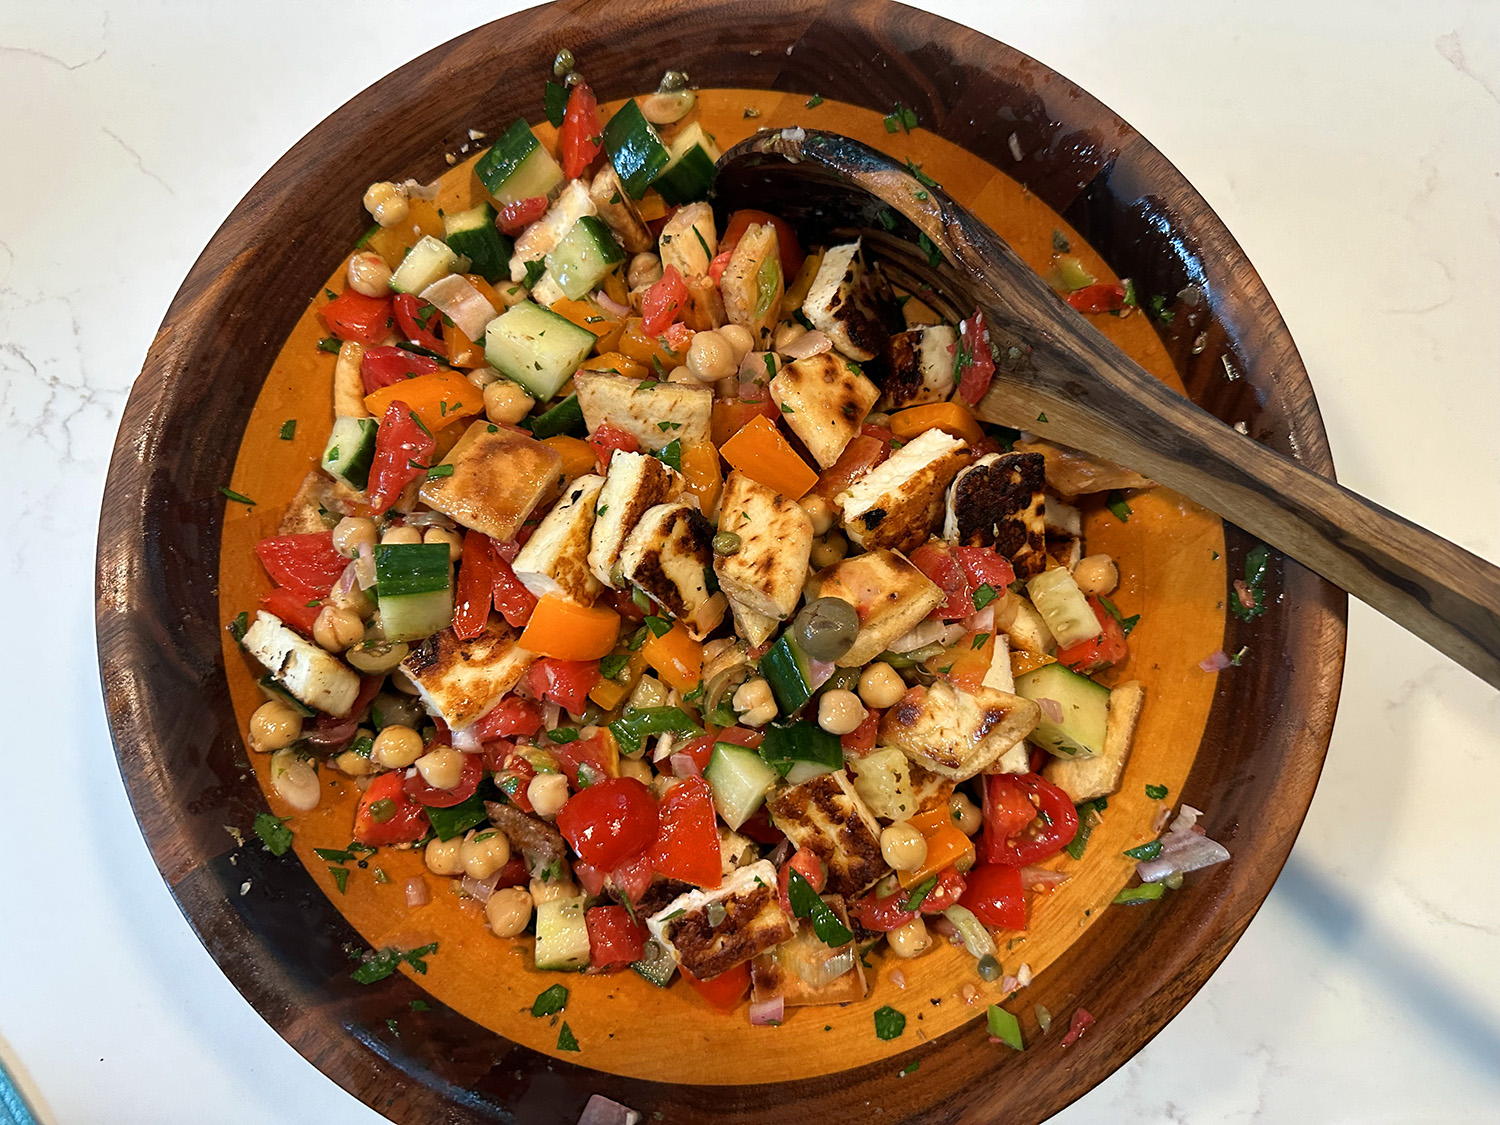
A good measure of white wine vinegar and minced rosemary finishes the dish, adding a surge of tartness and herbal notes to keep the flavors vibrant. This cacciatore is best with a starchy side, such as crusty bread, polenta or mashed potatoes. We served ours with garlic and rosemary-infused mashed potatoes, and a side of roasted carrots and Brussels sprouts.
What a tremendous weeknight meal that can just as well be the feature of an intimate dinner party. Adding the final zip of vinegar is just the right balance of acid.
Don’t forget to lower the heat before adding the wine. This helps prevent fiery flare-ups if the wine splashes out of the skillet.
Instead of chicken pieces, we used a whole chicken, cut it up and saved the remaining body parts (neck, back, heart, etc.) to add to our “body bag” of frozen chicken parts for future homemade stock.

Roman-Style Chicken Cacciatore
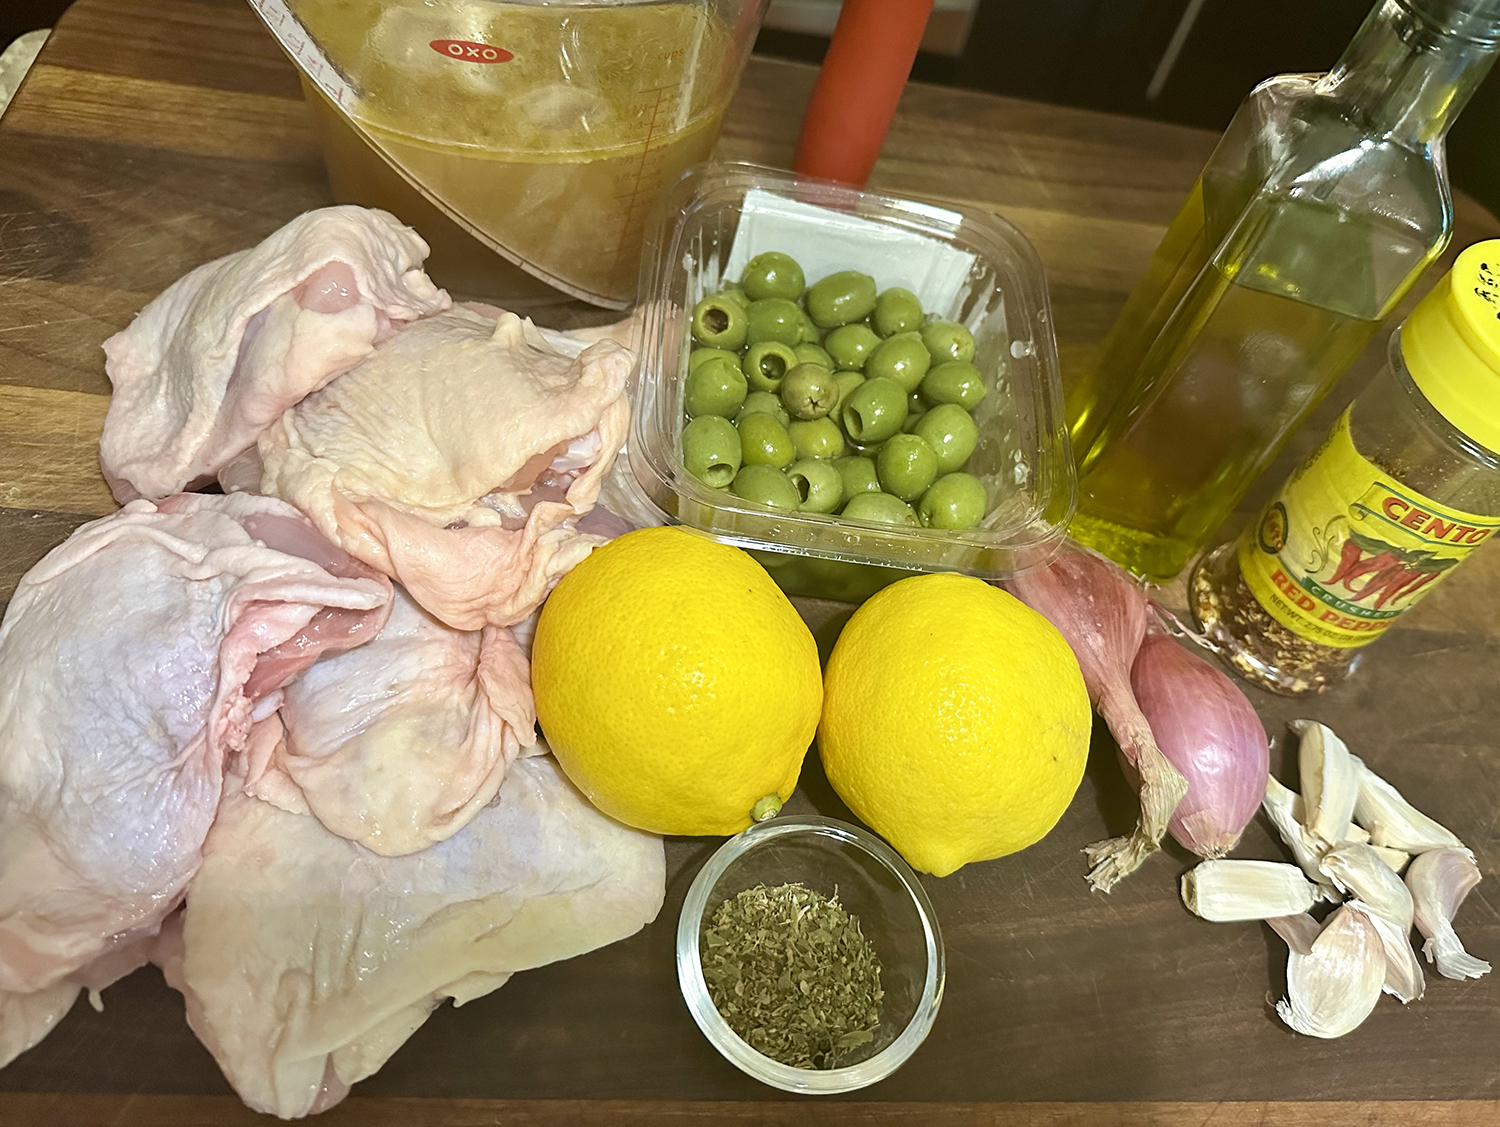
Ingredients
- 3-4 lb. bone-in, skin-on chicken thighs or breasts, trimmed and patted dry
- Kosher salt and ground black pepper
- 2 Tbsp. extra-virgin olive oil
- 6 – 8 oil-packed anchovy fillets, patted dry
- 6 medium garlic cloves, minced
- 3 5-inch rosemary sprigs, plus 1 tsp. minced fresh rosemary, reserved separately
- 1/4 tsp. red pepper flakes
- 750 mL bottle dry white wine, such as pinot grigio or frascati
- 1/4 cup white wine vinegar


Directions
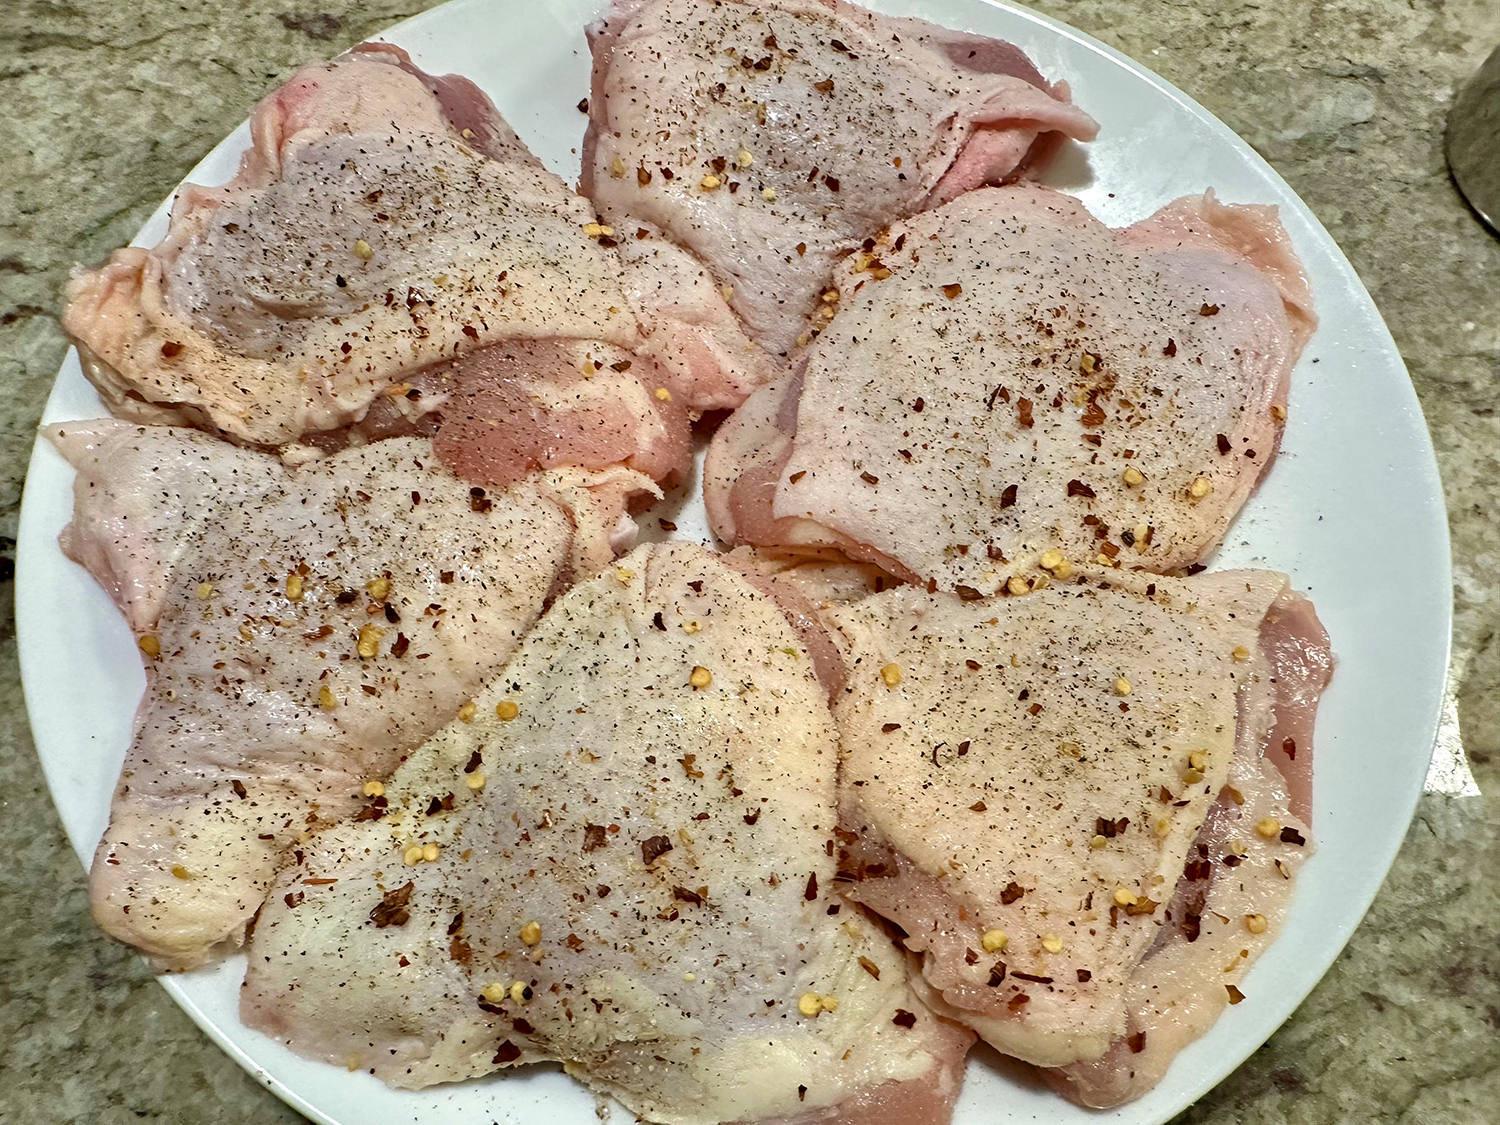
- Heat the oven to 450°F with a rack in the middle position. If the chicken breasts are larger than about 12 ounces each, cut them in half crosswise. Season the chicken all over with salt and pepper.
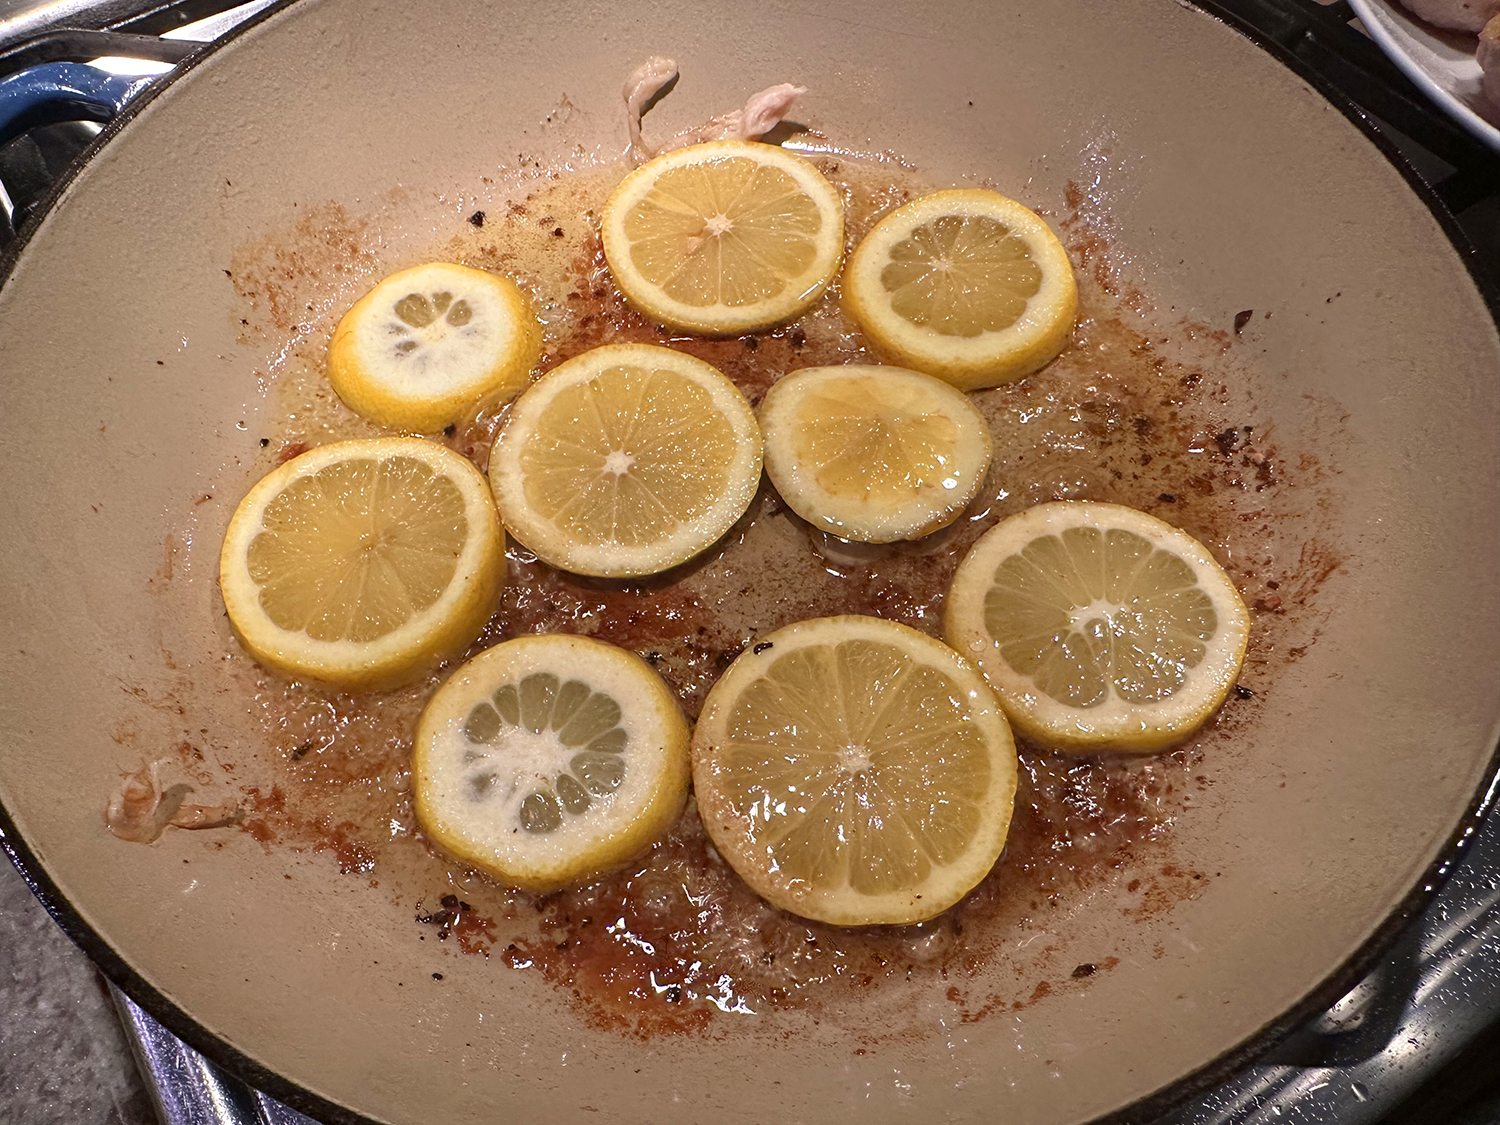
- In a 12-inch oven-safe skillet over medium-high, heat the oil until shimmering. Add the chicken skin-side down and cook until golden brown on both sides, 8 to 10 minutes, flipping the pieces halfway through. Transfer to a large plate; set aside.
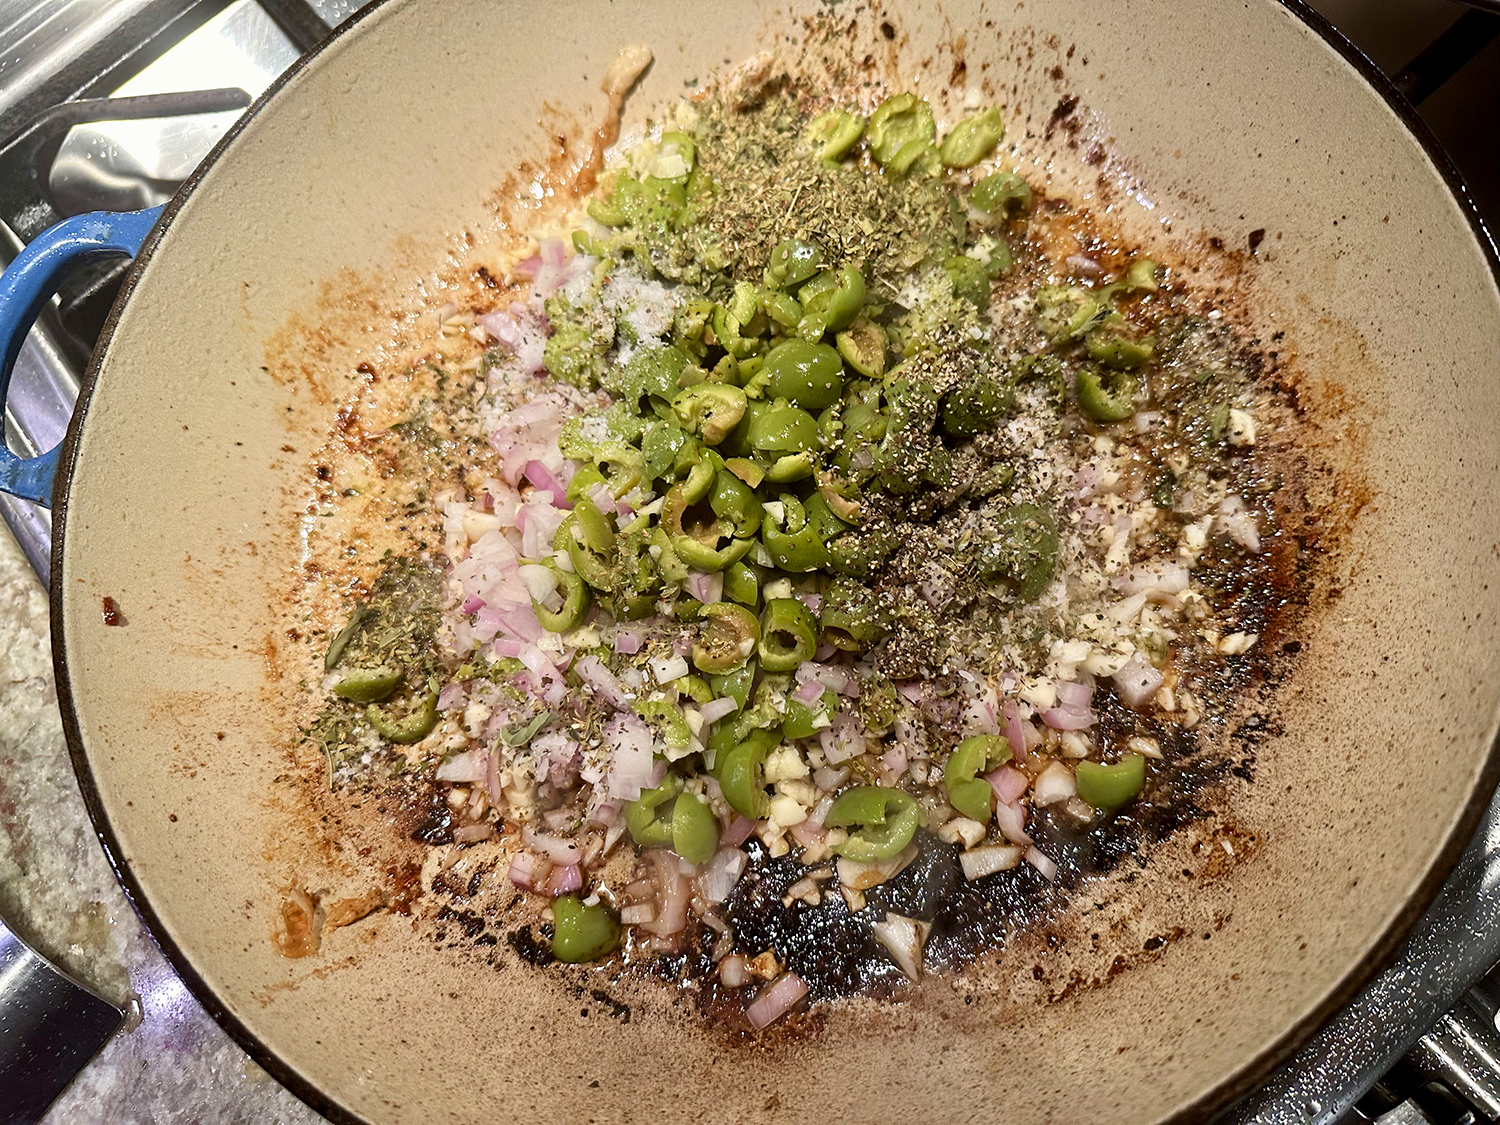
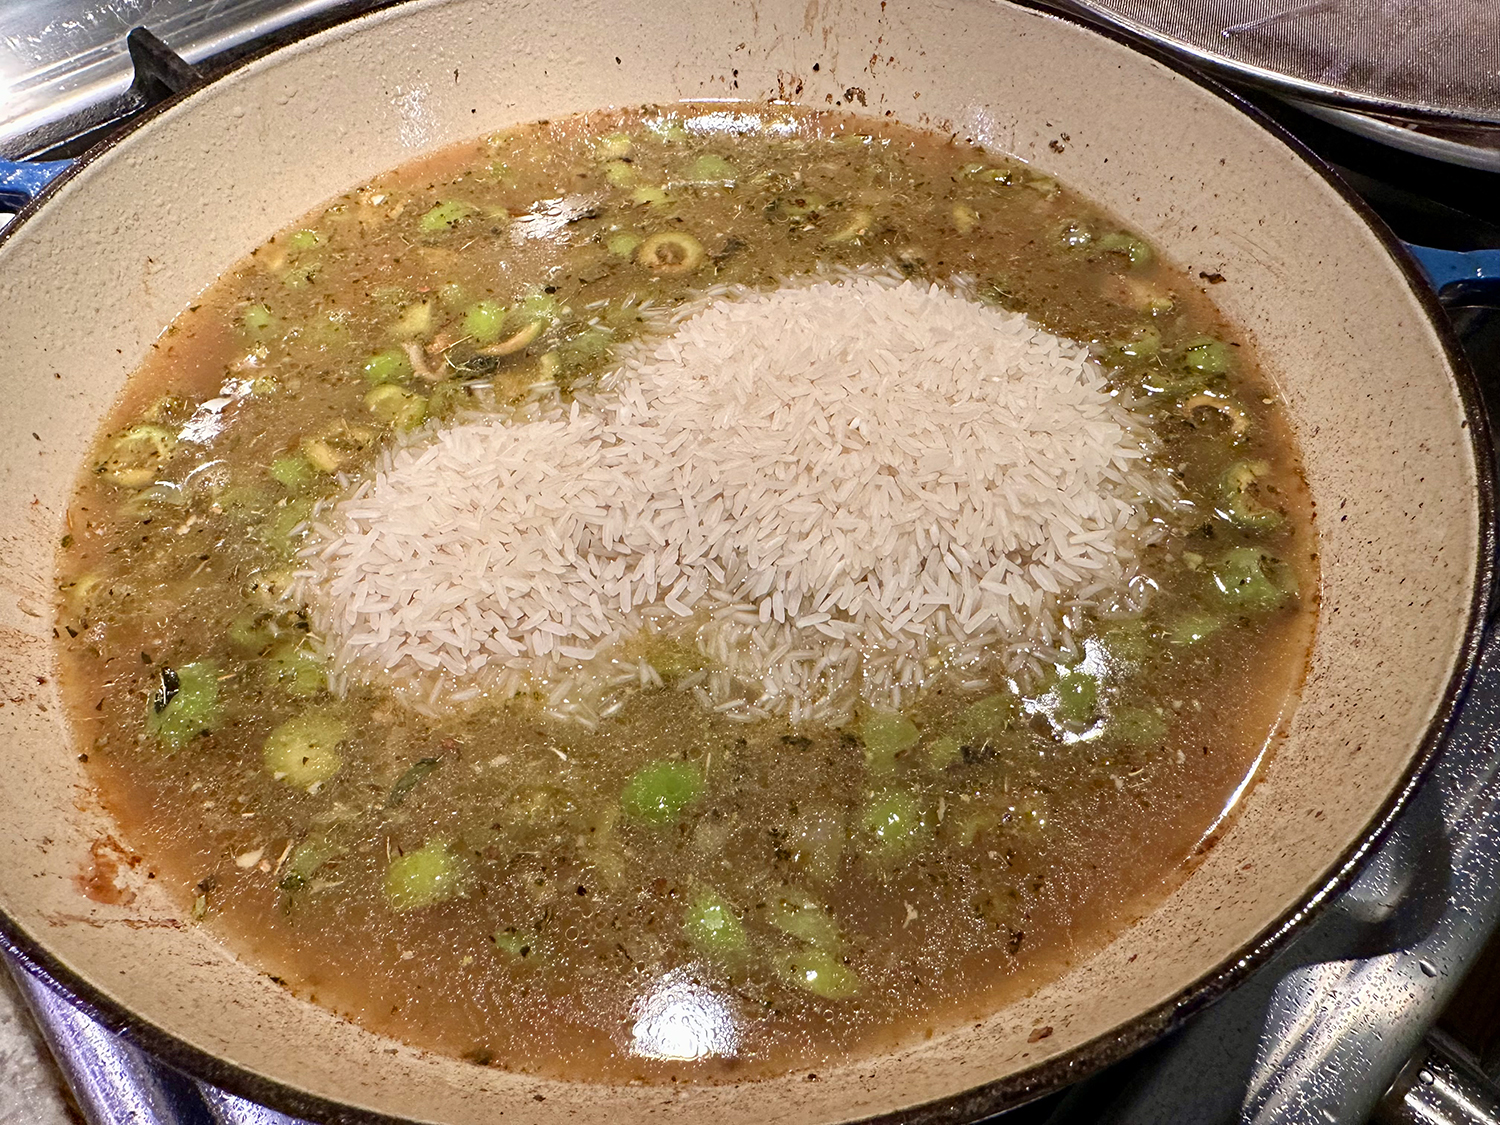
- To the skillet over medium, add the anchovies, garlic, rosemary sprigs and pepper flakes. Cook, stirring, until the anchovies have broken down and the mixture is fragrant, about 1 minute. Reduce to low, then slowly add the wine. Bring to a simmer over medium-high and cook, scraping up the browned bits, until the wine has reduced by about half, 8 to 10 minutes.
- Return the chicken skin-side up to the pan and add the accumulated juices. Transfer to the oven and cook until a skewer inserted into the thickest part of the chicken meets no resistance, 12 to 15 minutes.
- Remove the skillet from the oven (the handle will be hot) and set it on the stovetop. Transfer the chicken, skin side up, to a deep platter. Remove and discard the rosemary sprigs from the skillet. Add the minced rosemary and vinegar to the liquid in the skillet; bring to a simmer over medium-high. Cook, stirring, until reduced by about half, about 5 minutes. Remove from the heat, then taste and season with salt and black pepper. Spoon the sauce over and around the chicken.
Adapted from a recipe from Courtney Hill for Milk Street