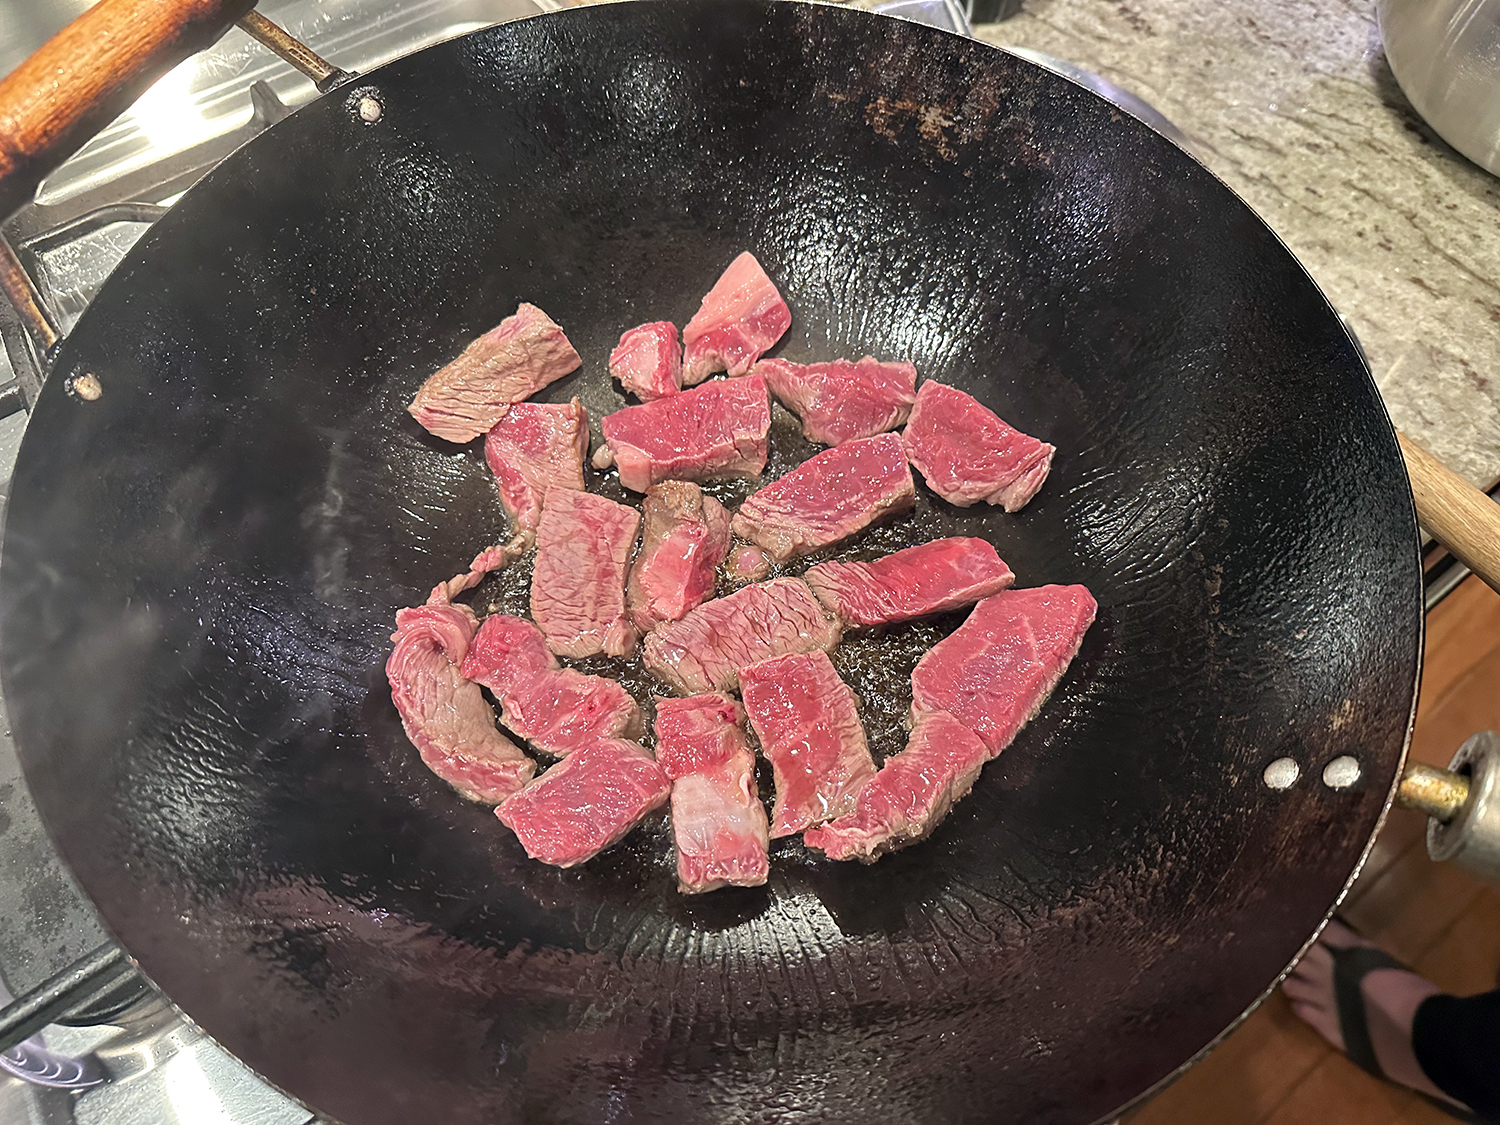
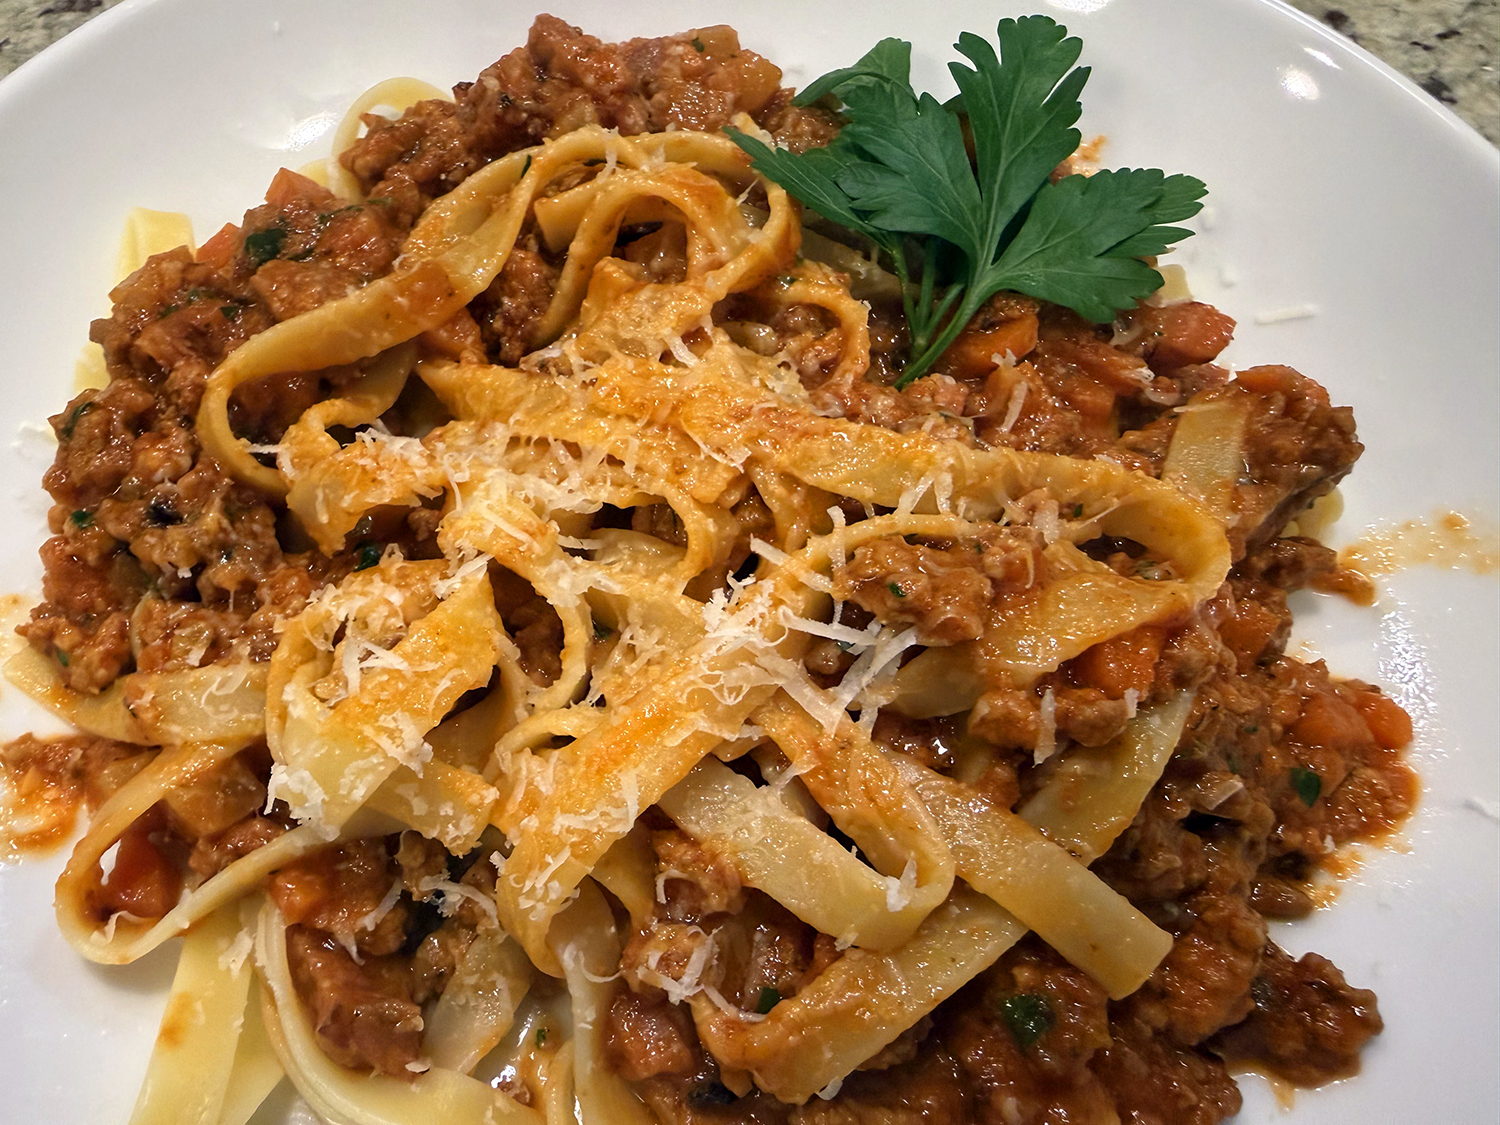
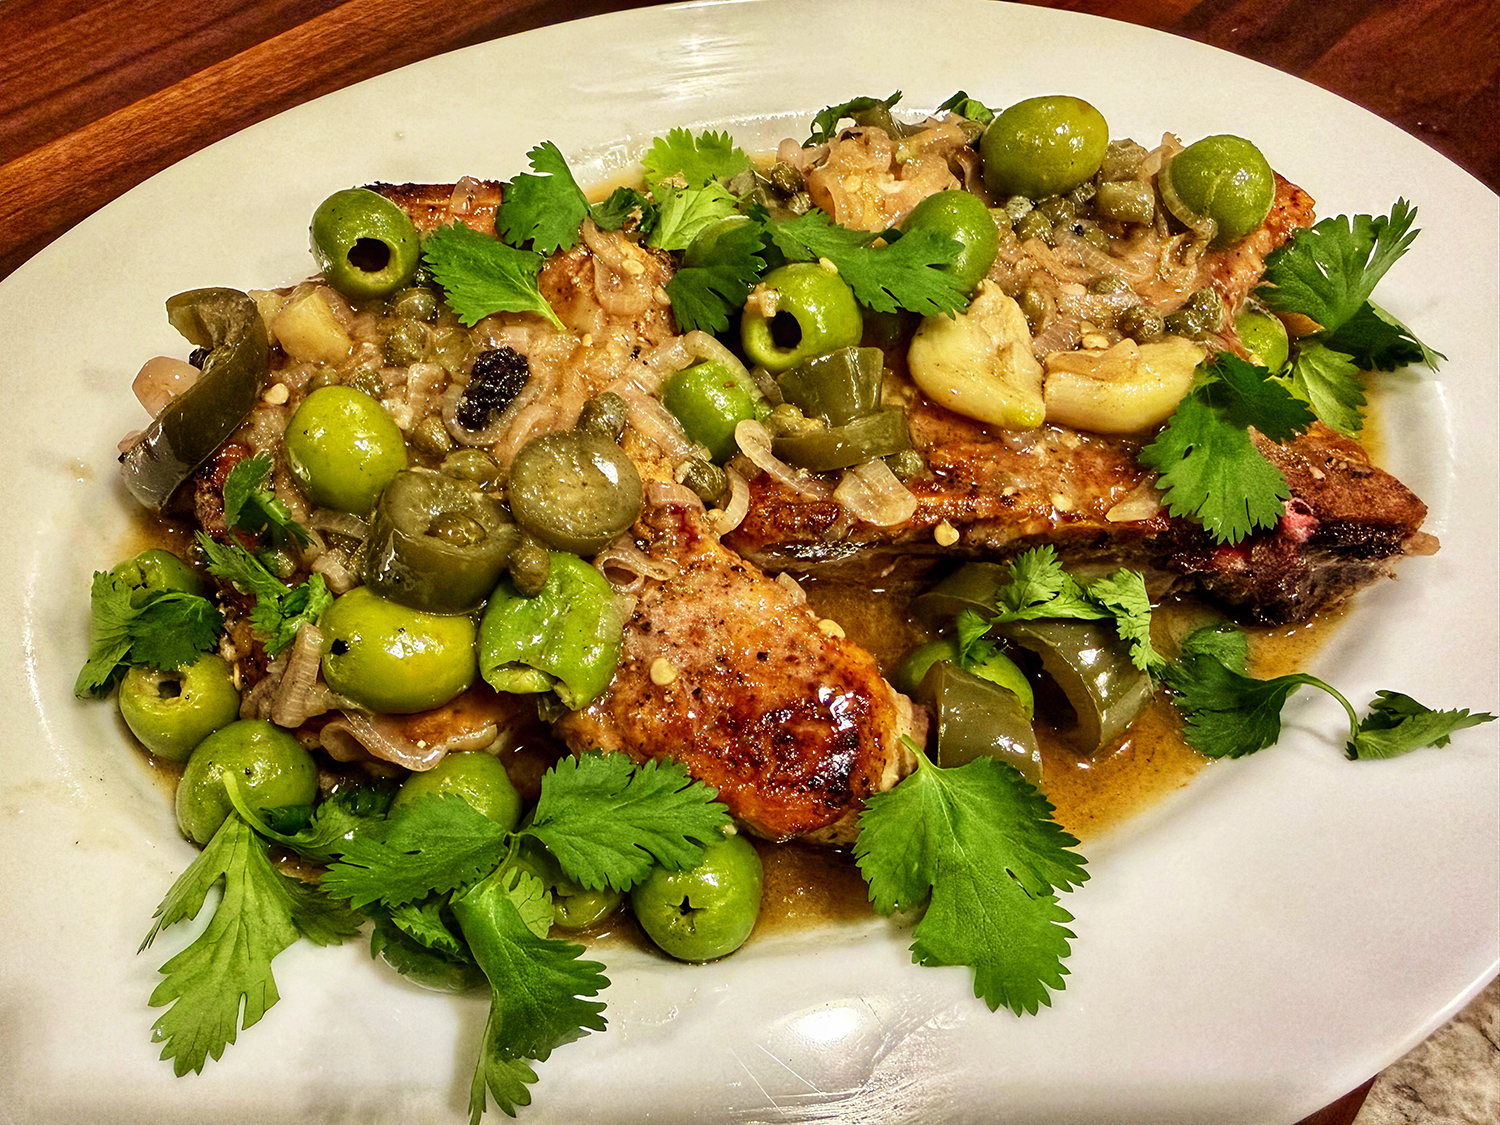
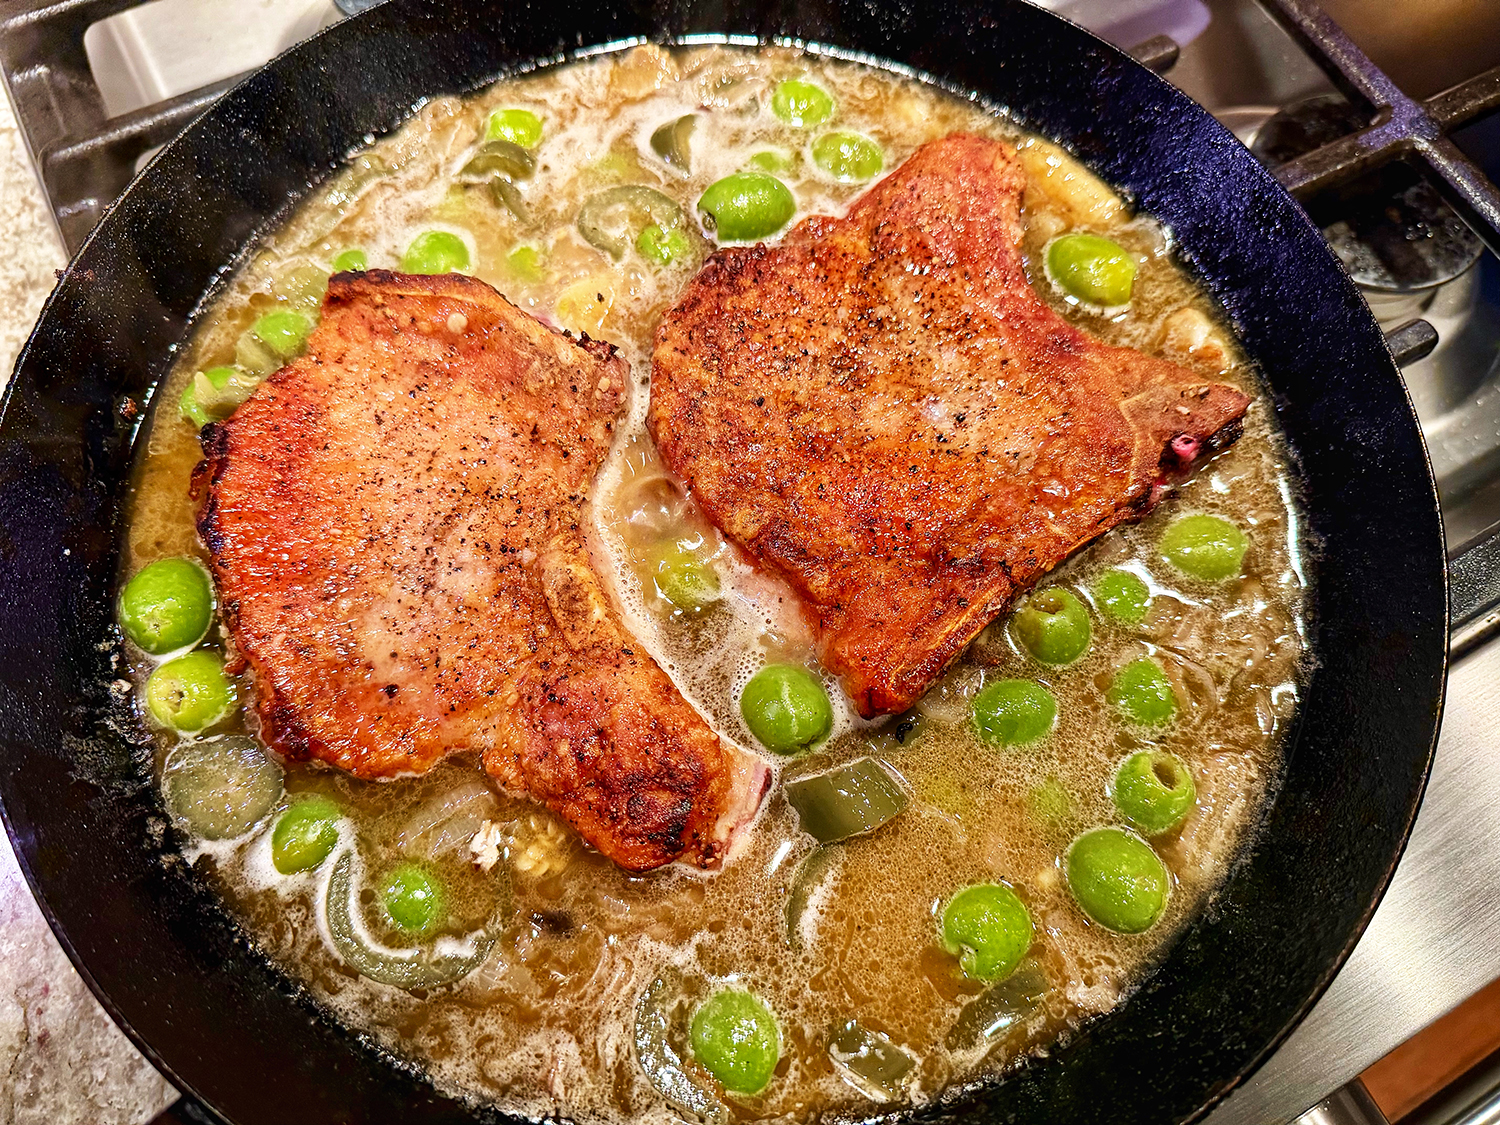
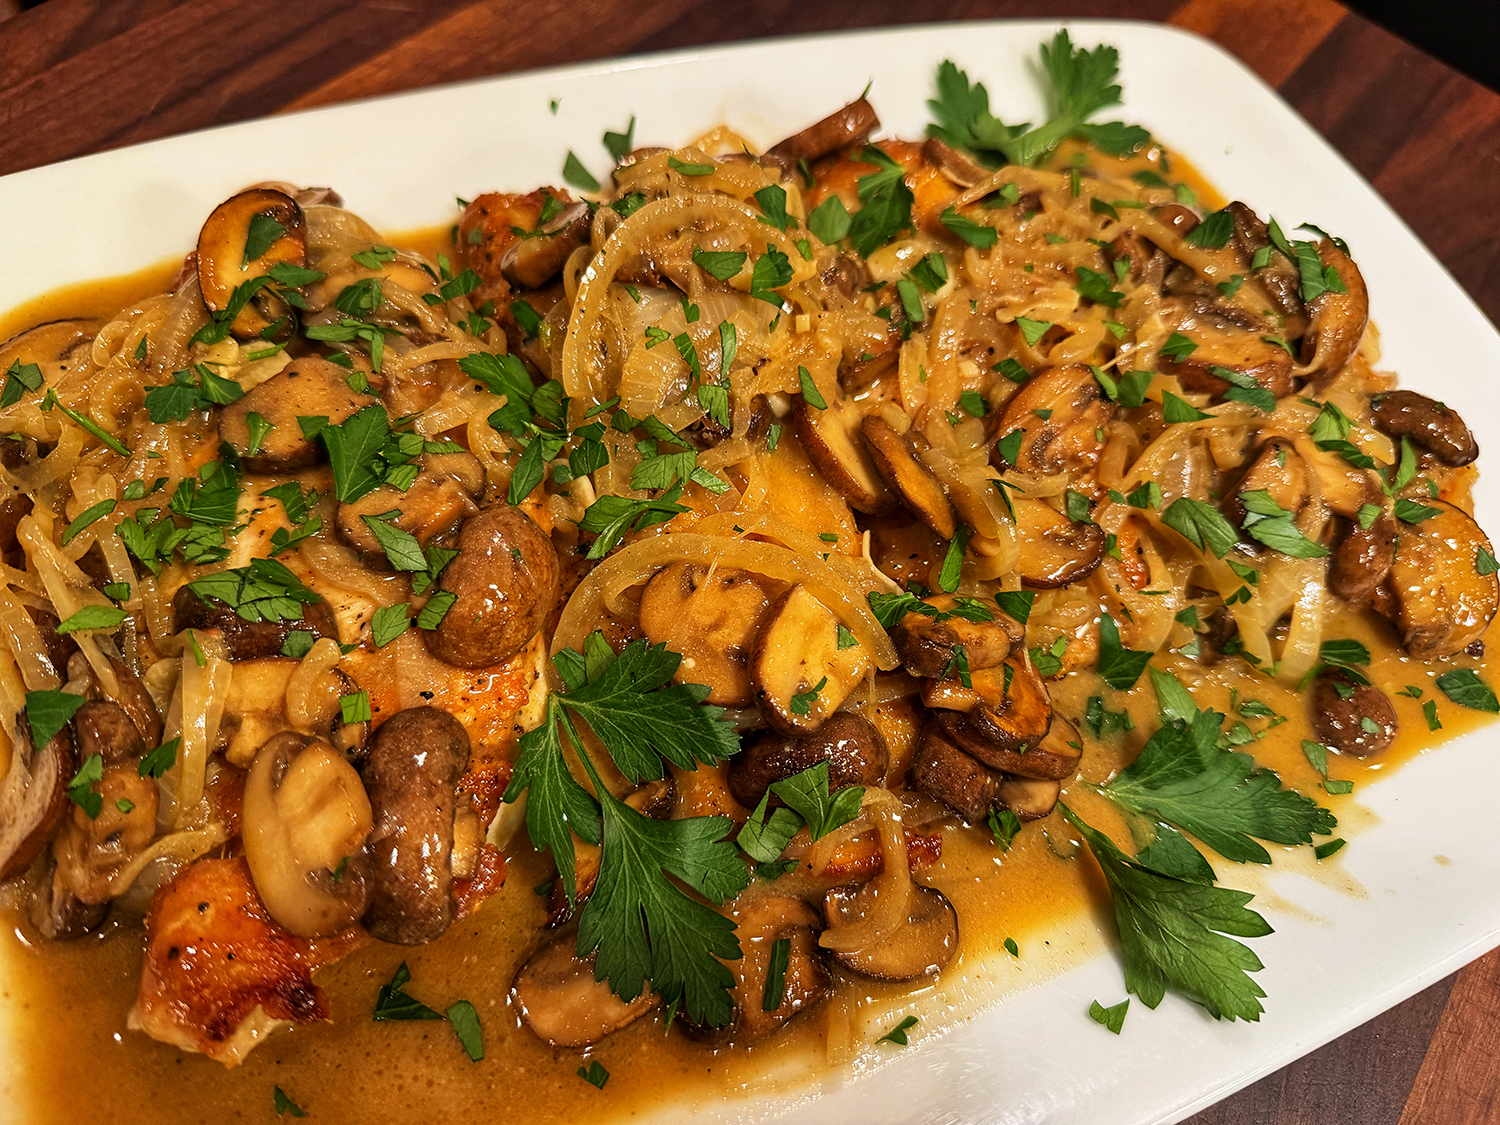
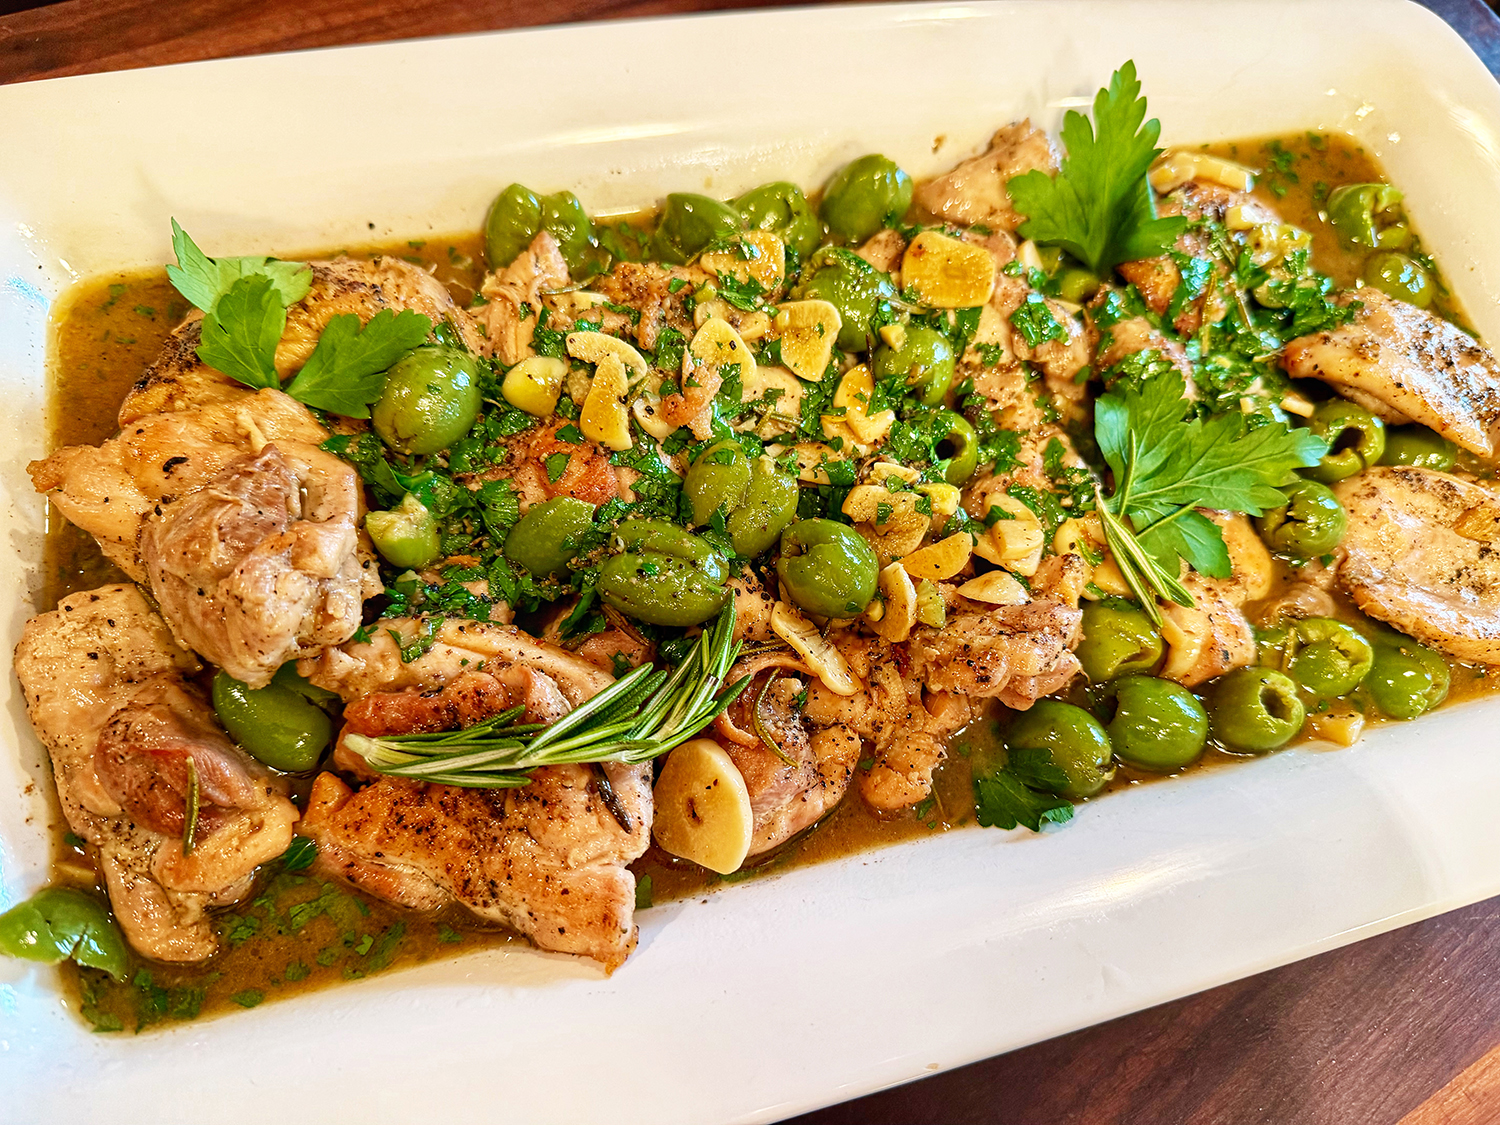
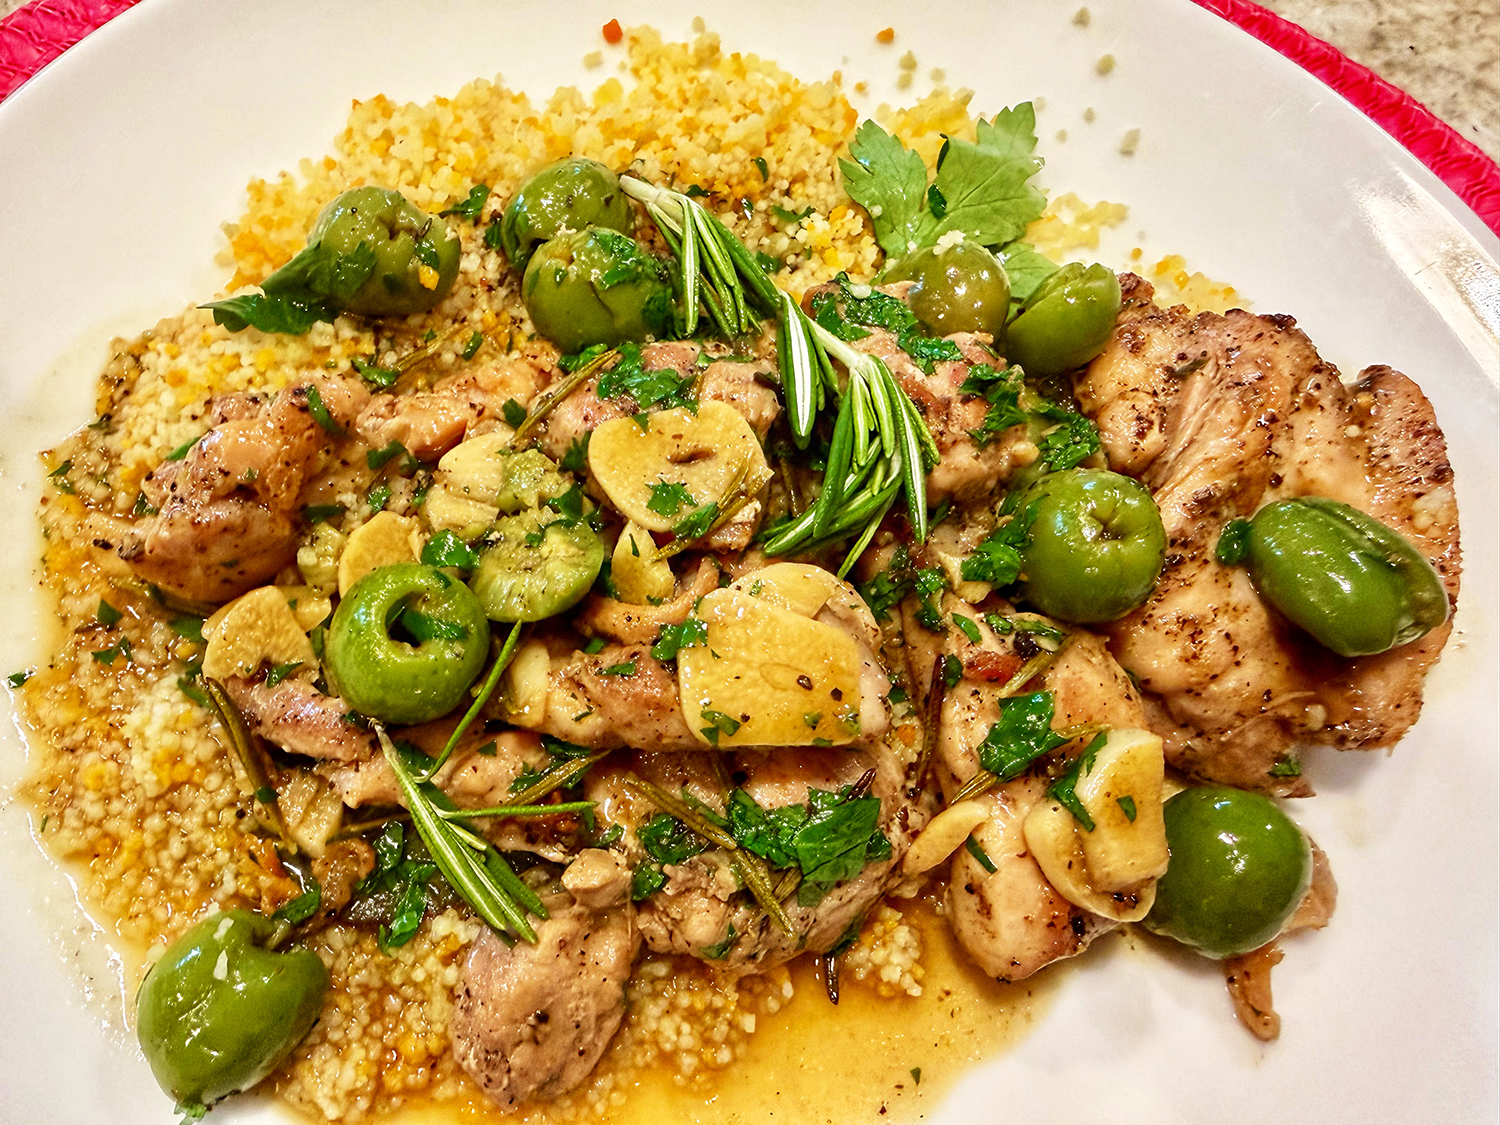
This is a wonderfully rustic, Mediterranean-inspired dish that comes together in one pan in about an hour. The chicken thighs are first seared to develop a golden crust, then slowly braised in a fragrant bath of white wine, chicken broth, garlic, and herbs — which means they finish incredibly tender and juicy.
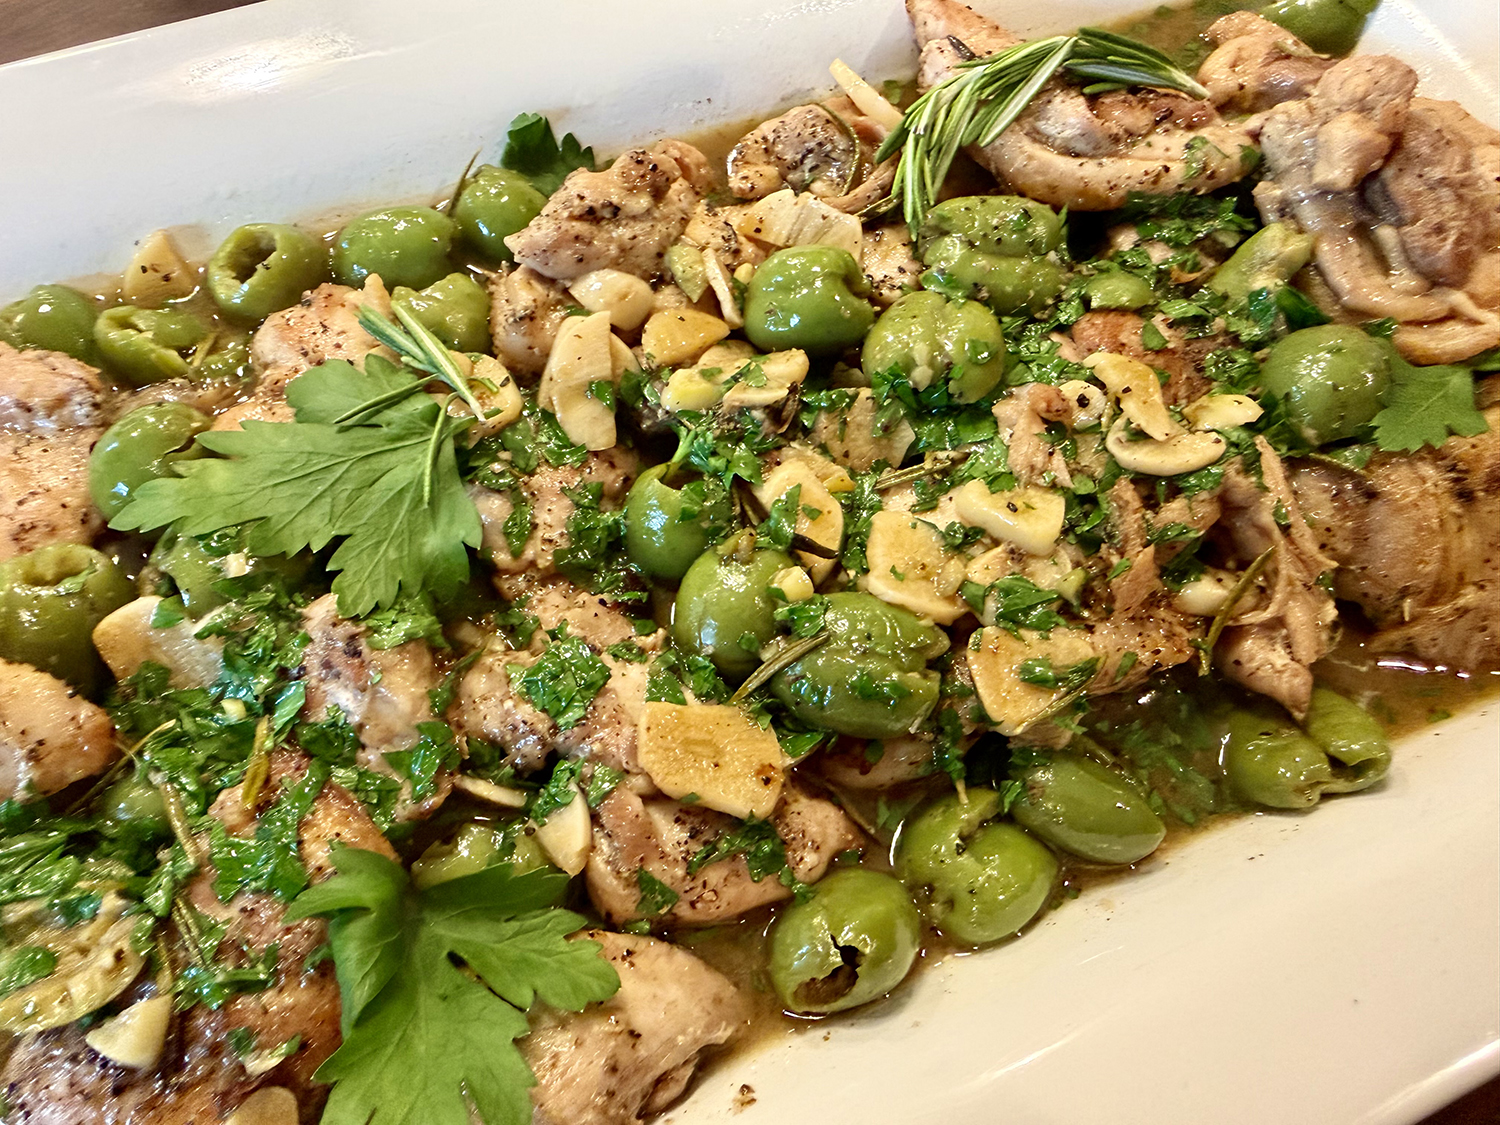
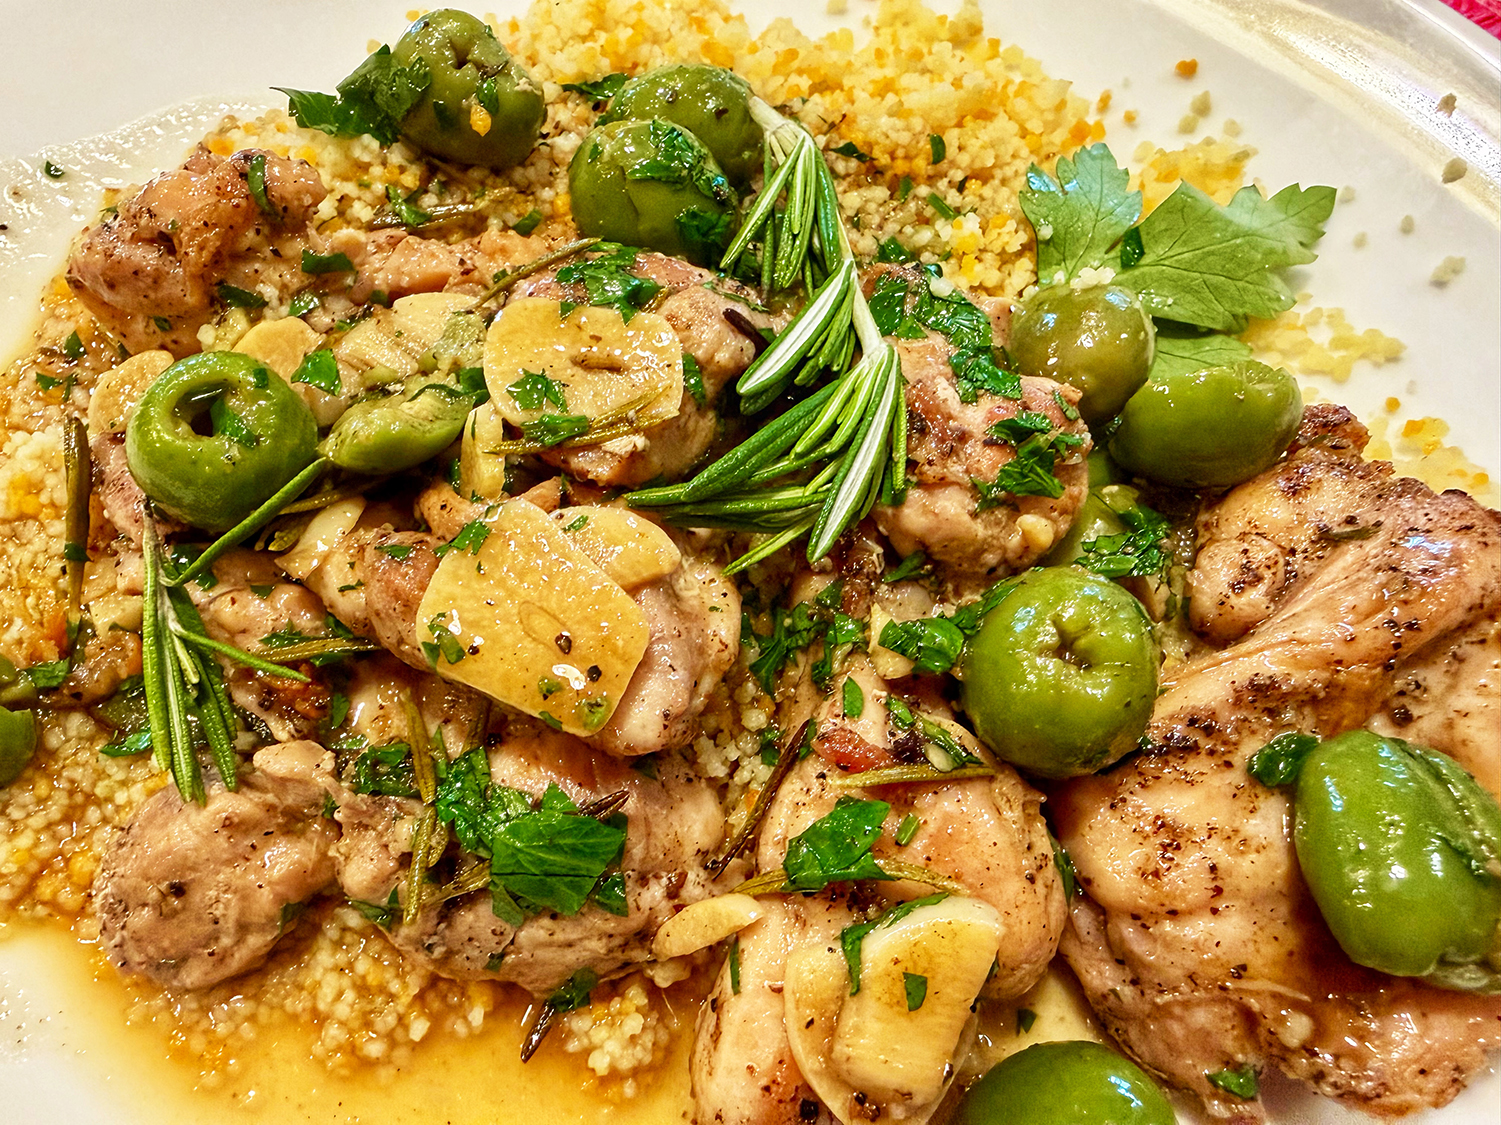
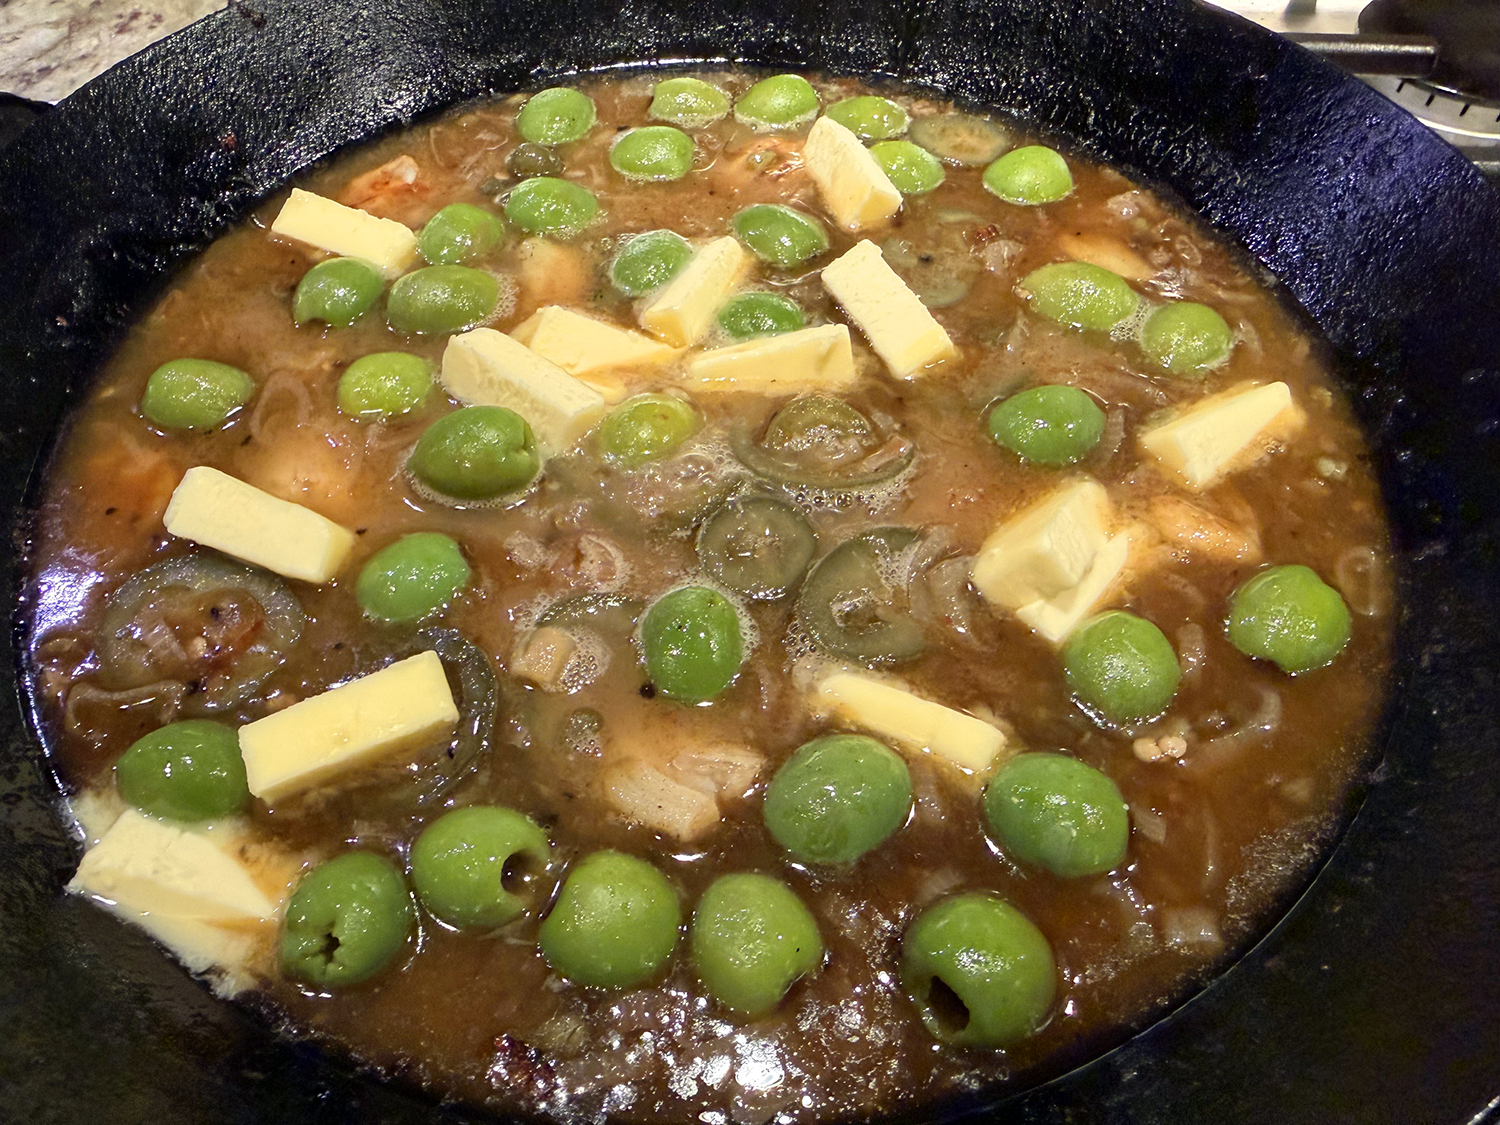
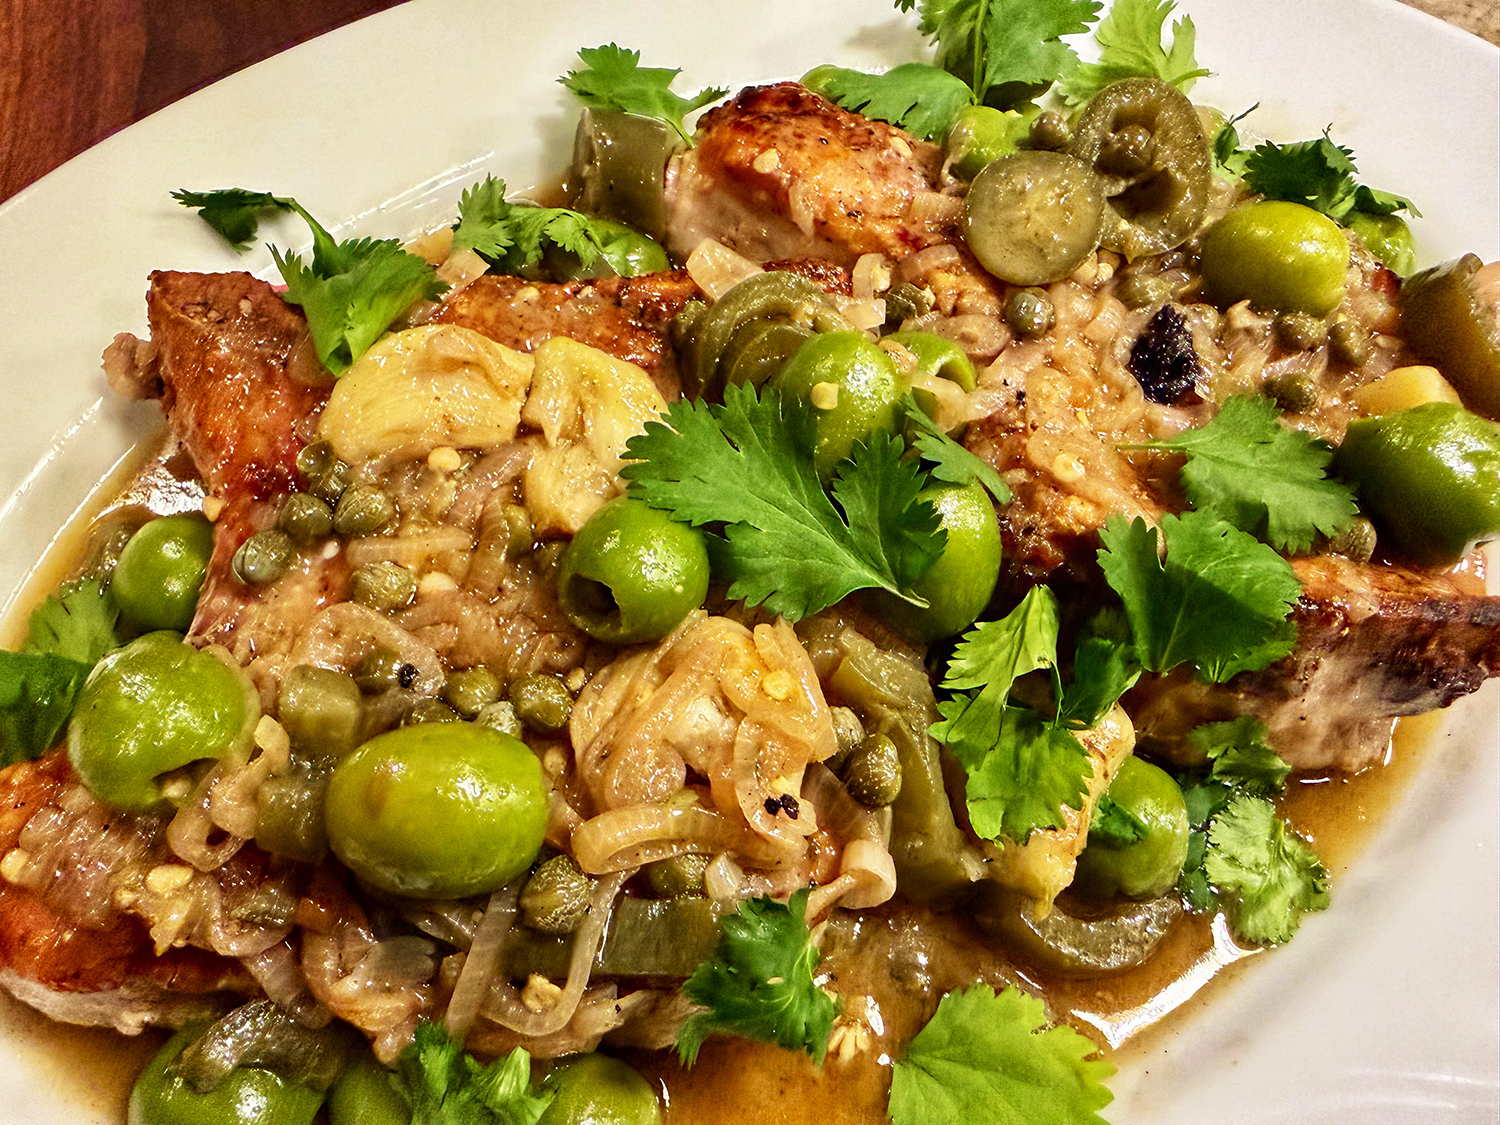
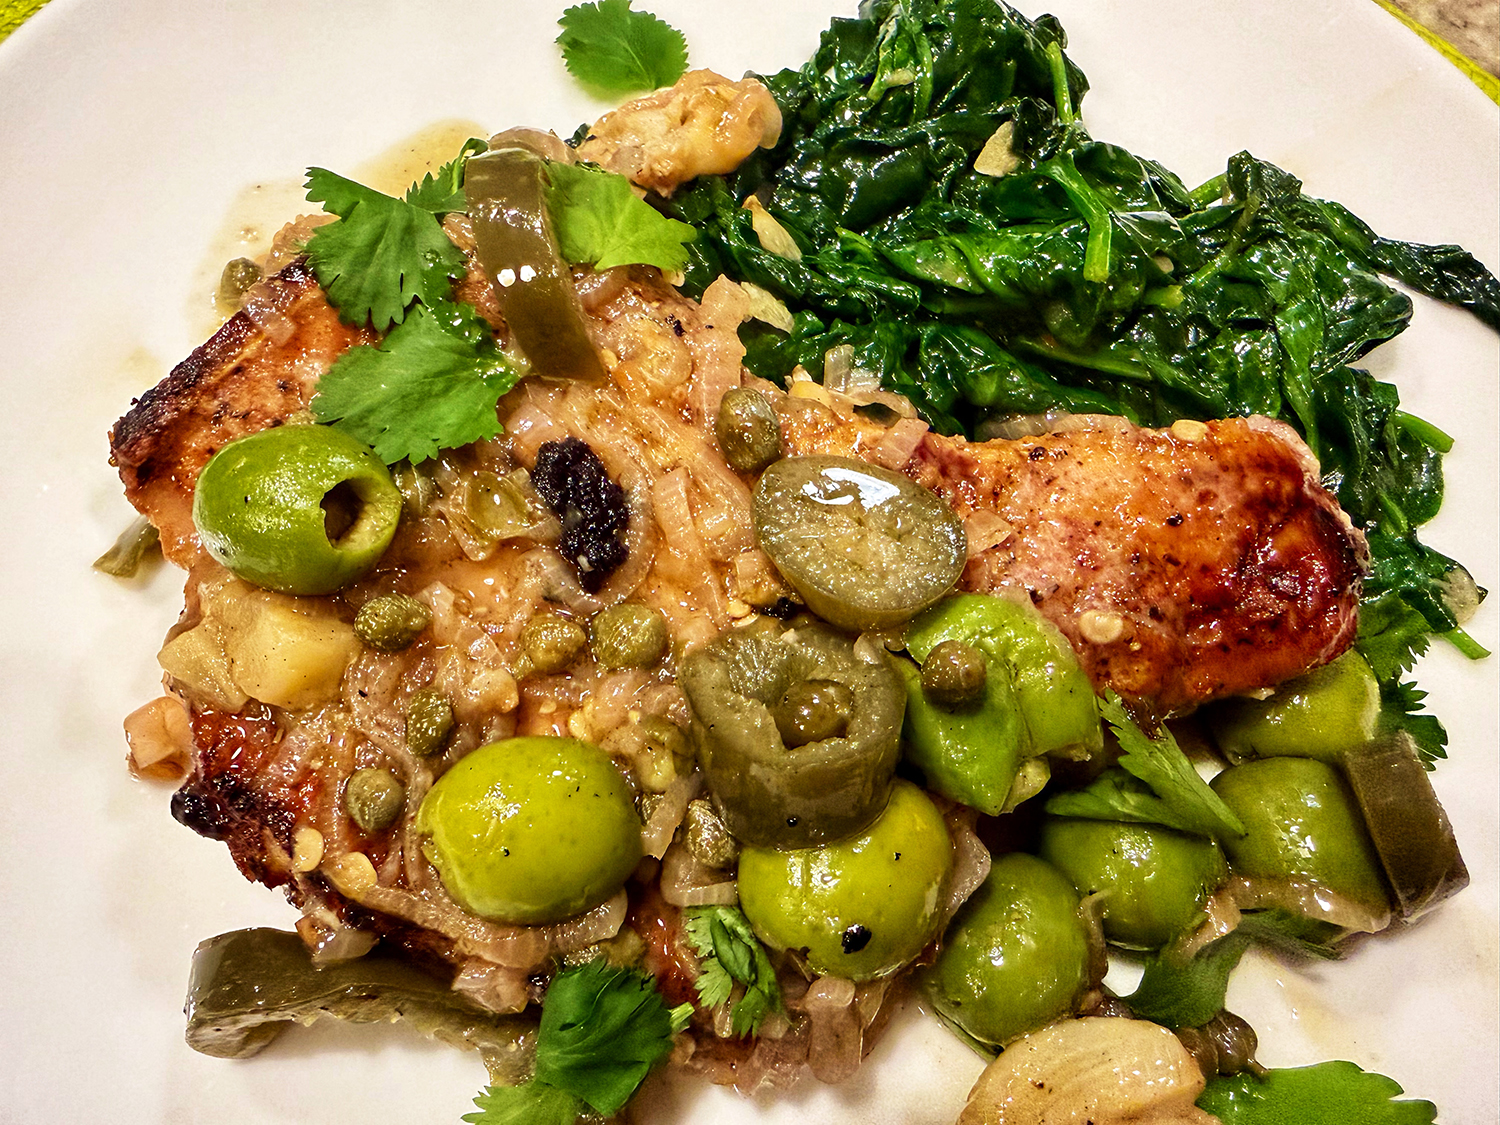
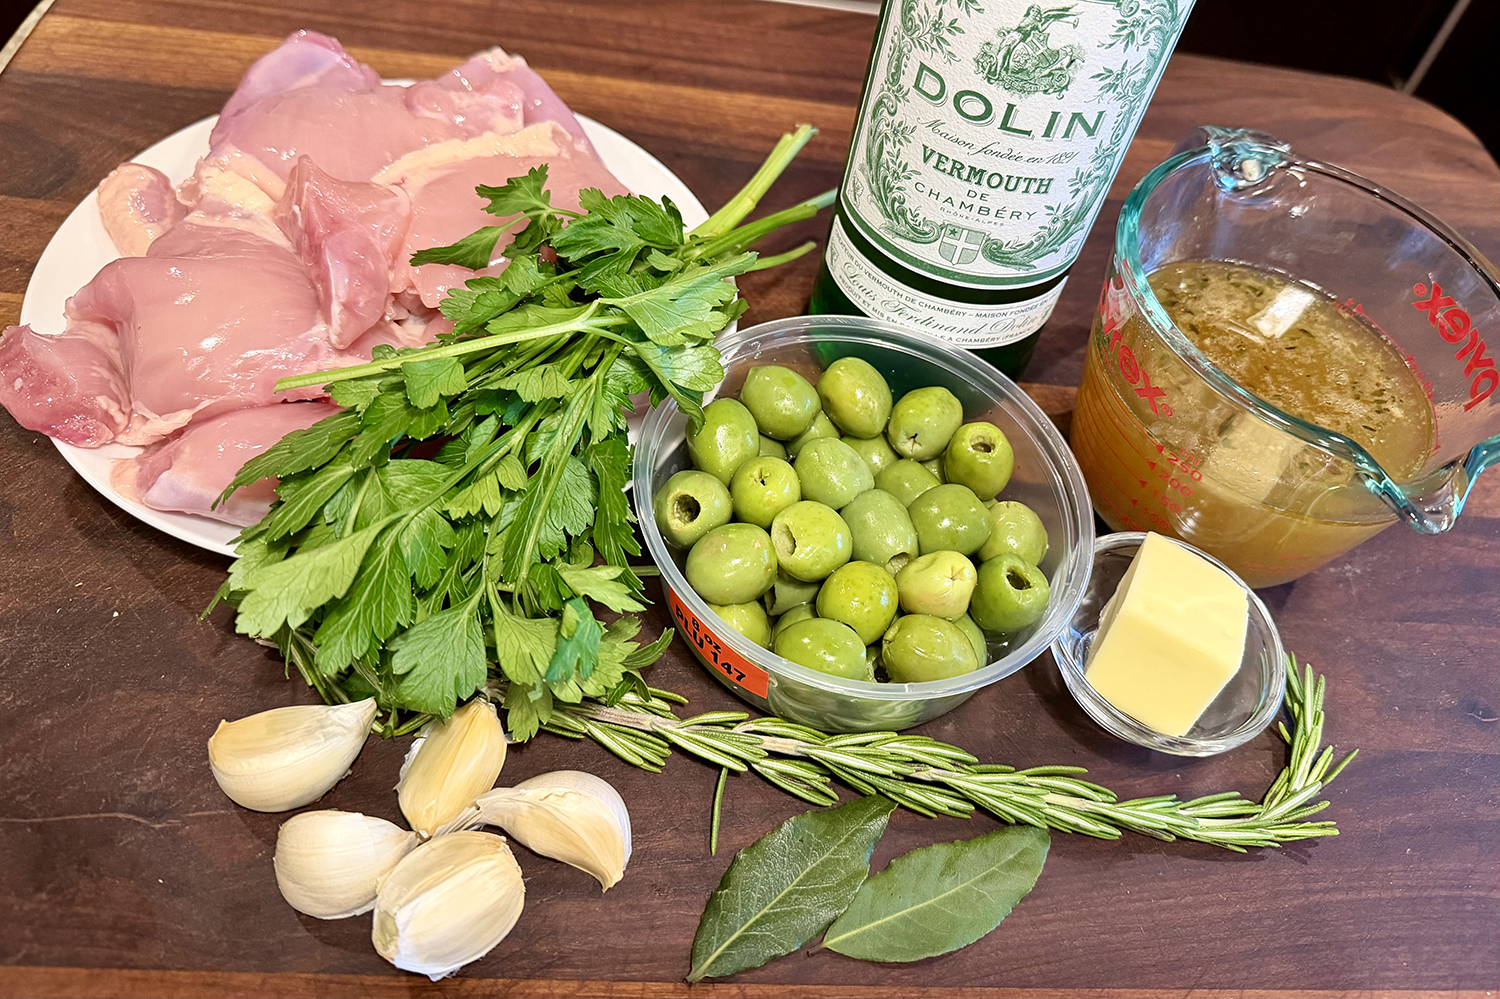
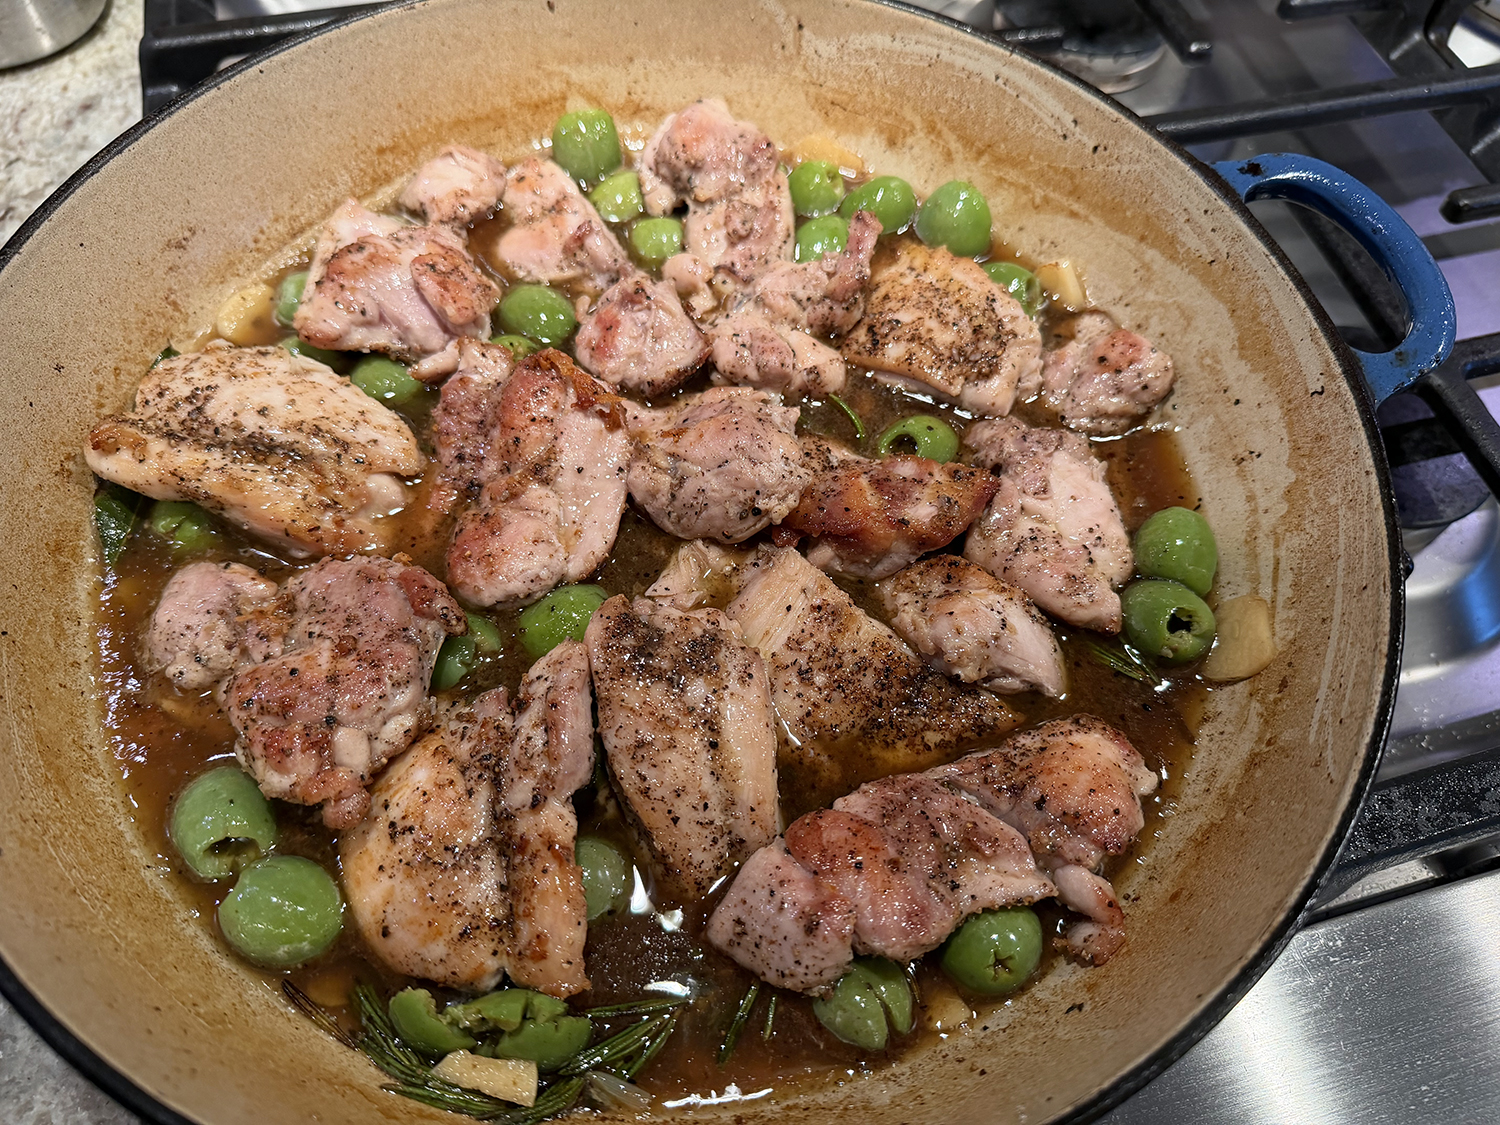
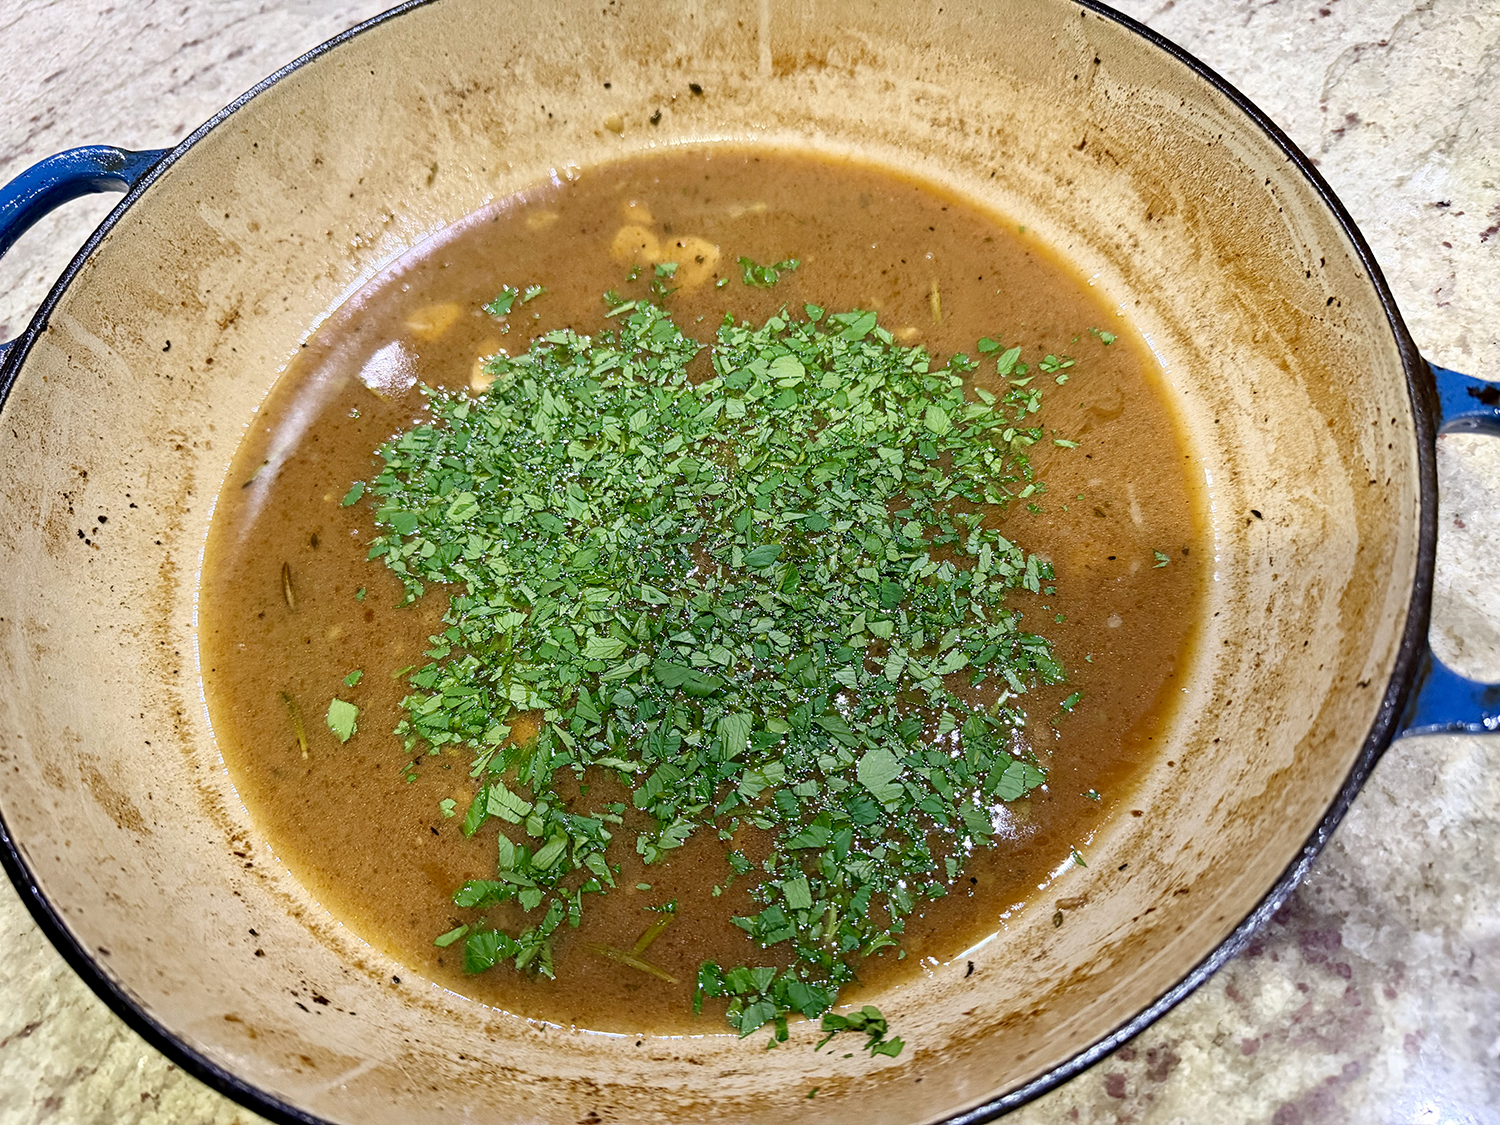
The real star is the combination of mild, smooth green olives and butter at the end. Large, buttery Castelvetrano olives are especially good paired with this braised chicken. The olives bring a meaty, juicy punch that balances the richness of the braising liquid, while swirling in butter at the finish creates a silky, glossy sauce that clings beautifully to the chicken. The rosemary and bay leaves perfume everything throughout the braise, and the fresh parsley at the end adds a bright, herby lift.
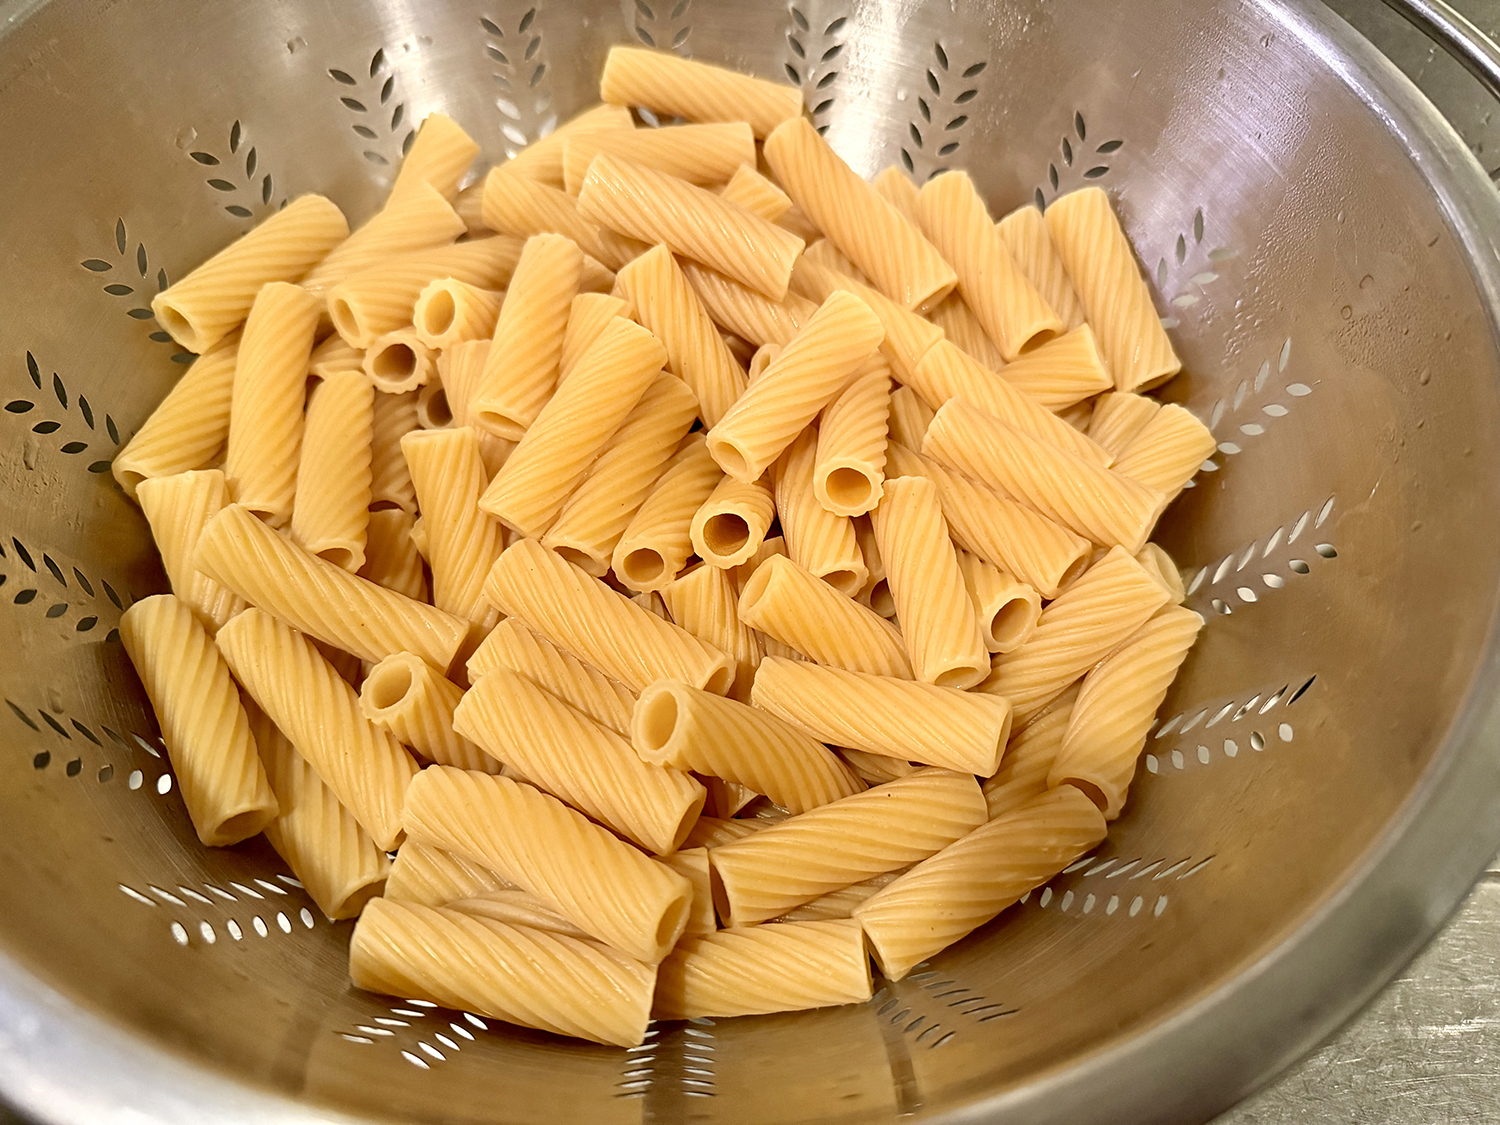
It’s the kind of dish that tastes like it took much longer than it did — great served with crusty bread, creamy polenta, simple white rice, or like we did, with couscous. And using homemade chicken stock adds tons of flavor over store-bought.
A few changes that we made included increasing the amounts for the garlic, rosemary and olives; and switching out the wine in favor of dry vermouth. Dry vermouth has a more complex flavor profile due to its botanicals, often includes herbs and spices that enhance its taste, and is typically less sweet than white wine.
TIP: Don’t cover the pot tightly when simmering the chicken. Keep the lid ajar to trap some heat but still allow for some evaporation, which concentrates the flavors.
VARIATIONS: Olive choice matters: Castelvetrano olives are ideal here — buttery and mild. Cerignola or Manzanilla also work beautifully. Wine swap: No white wine on hand? Dry vermouth or even a splash of white wine vinegar diluted with extra broth works in a pinch. Make it ahead: This dish tastes even better the next day as the flavors meld. Reheat gently on the stovetop. Add heat: A pinch of red pepper flakes added with the garlic gives a nice subtle kick.
Green Olive and Garlic Braised Chicken
Ingredients
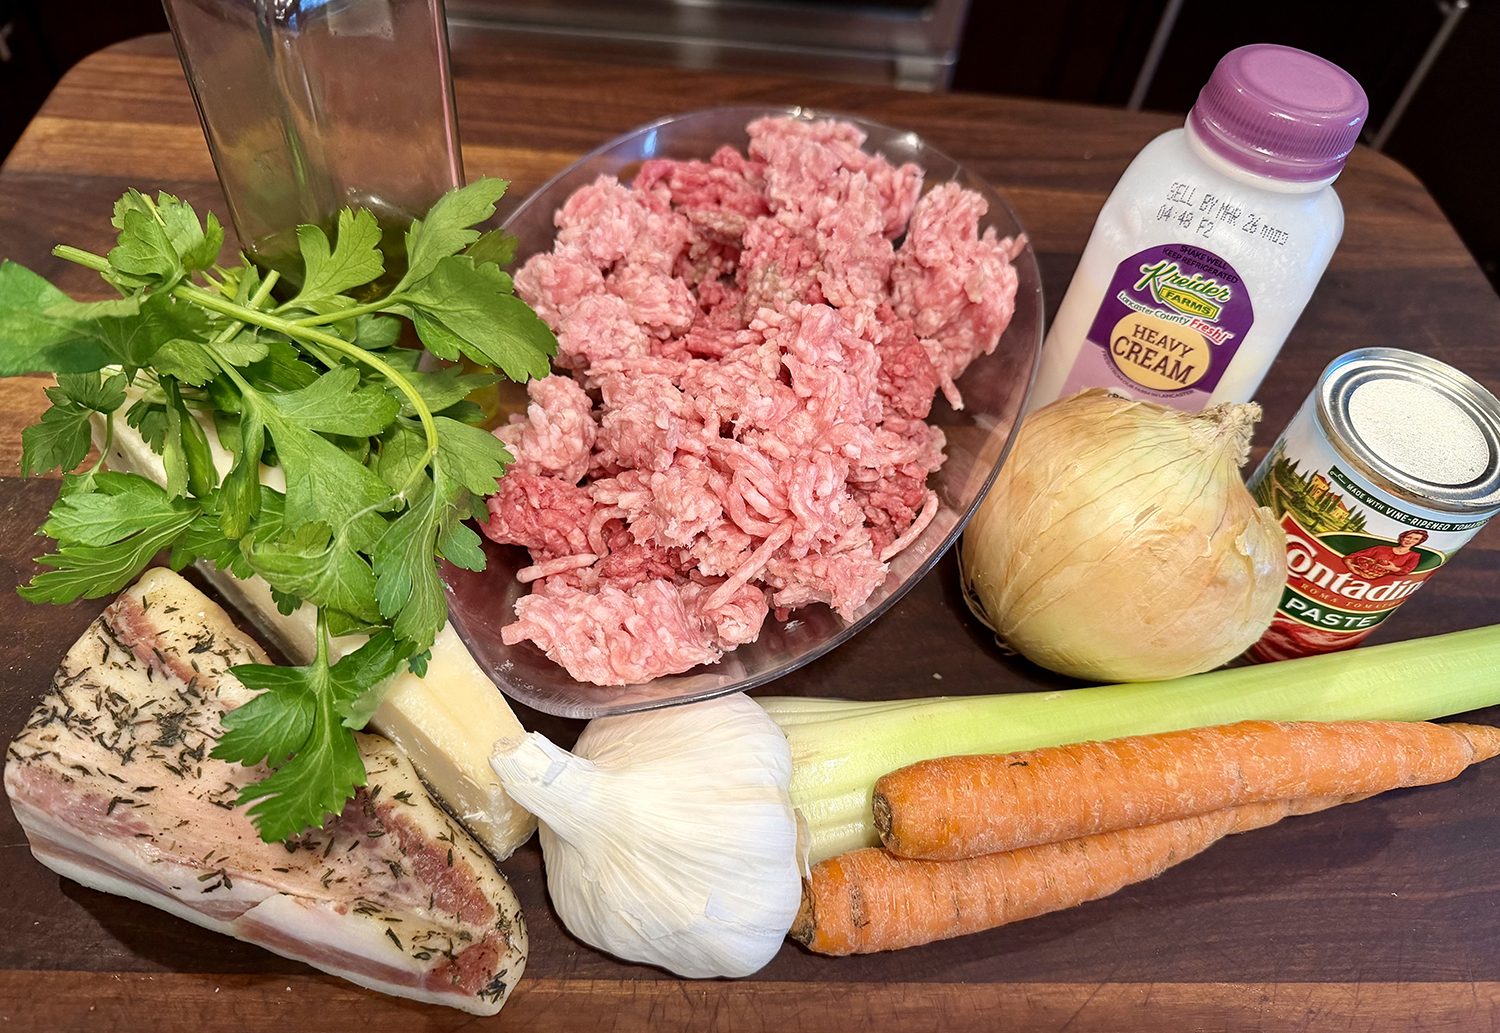
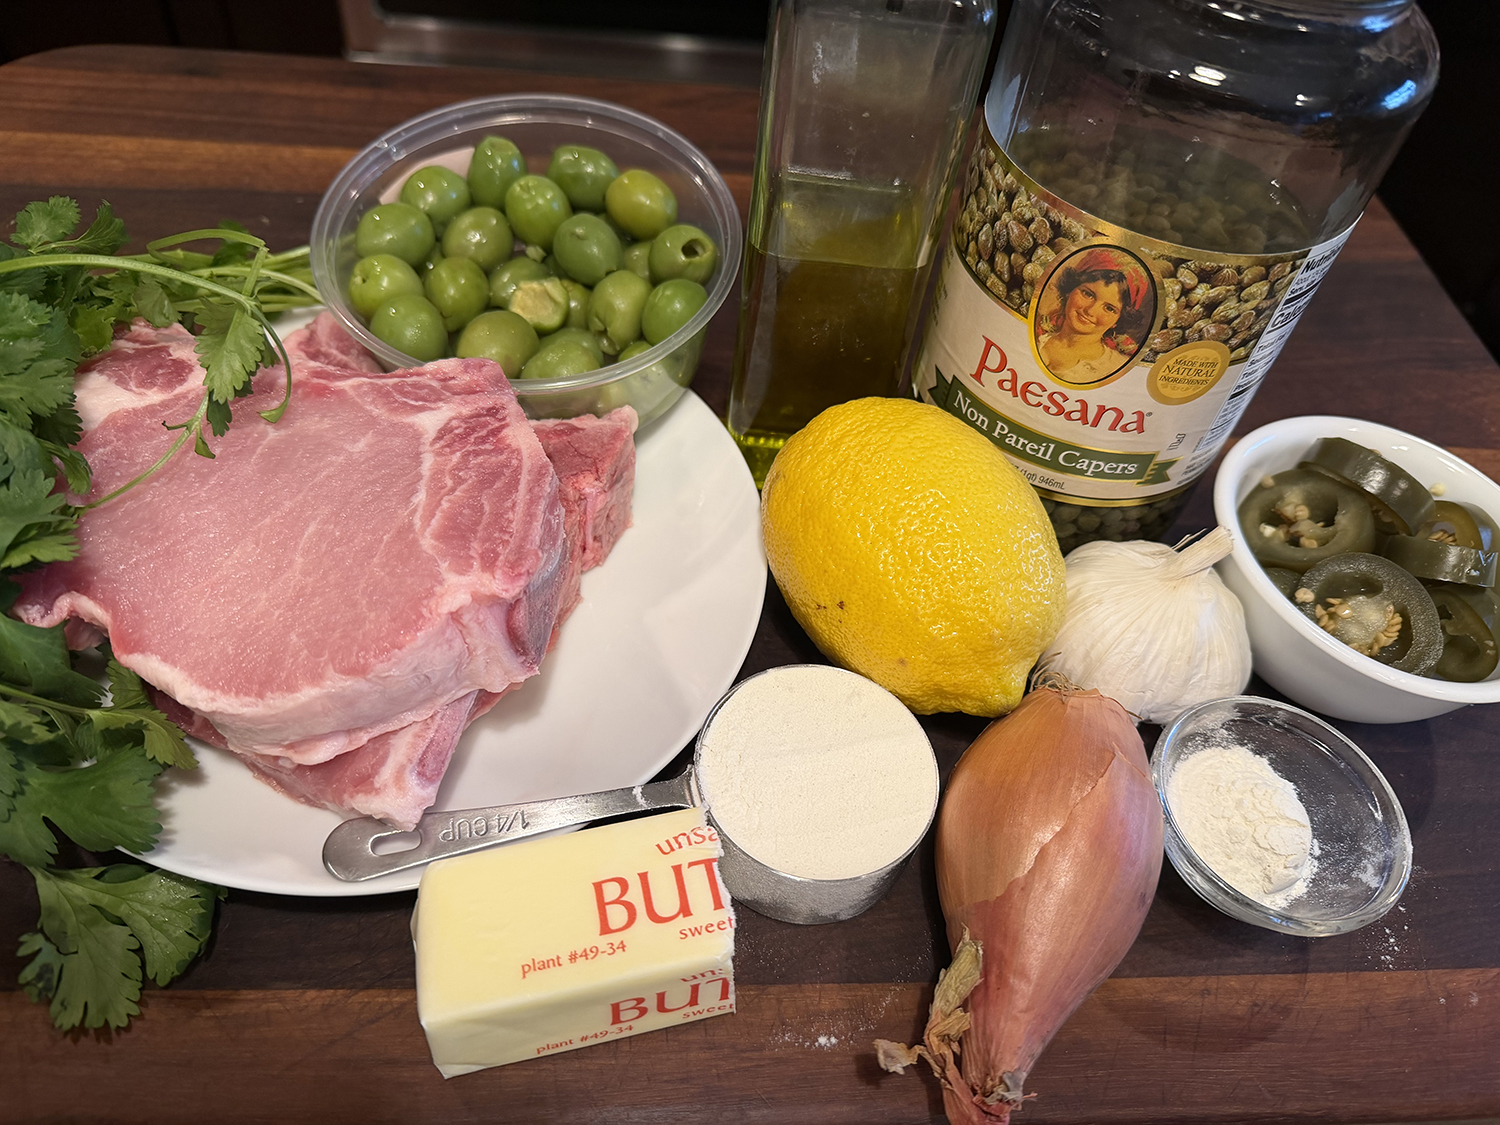
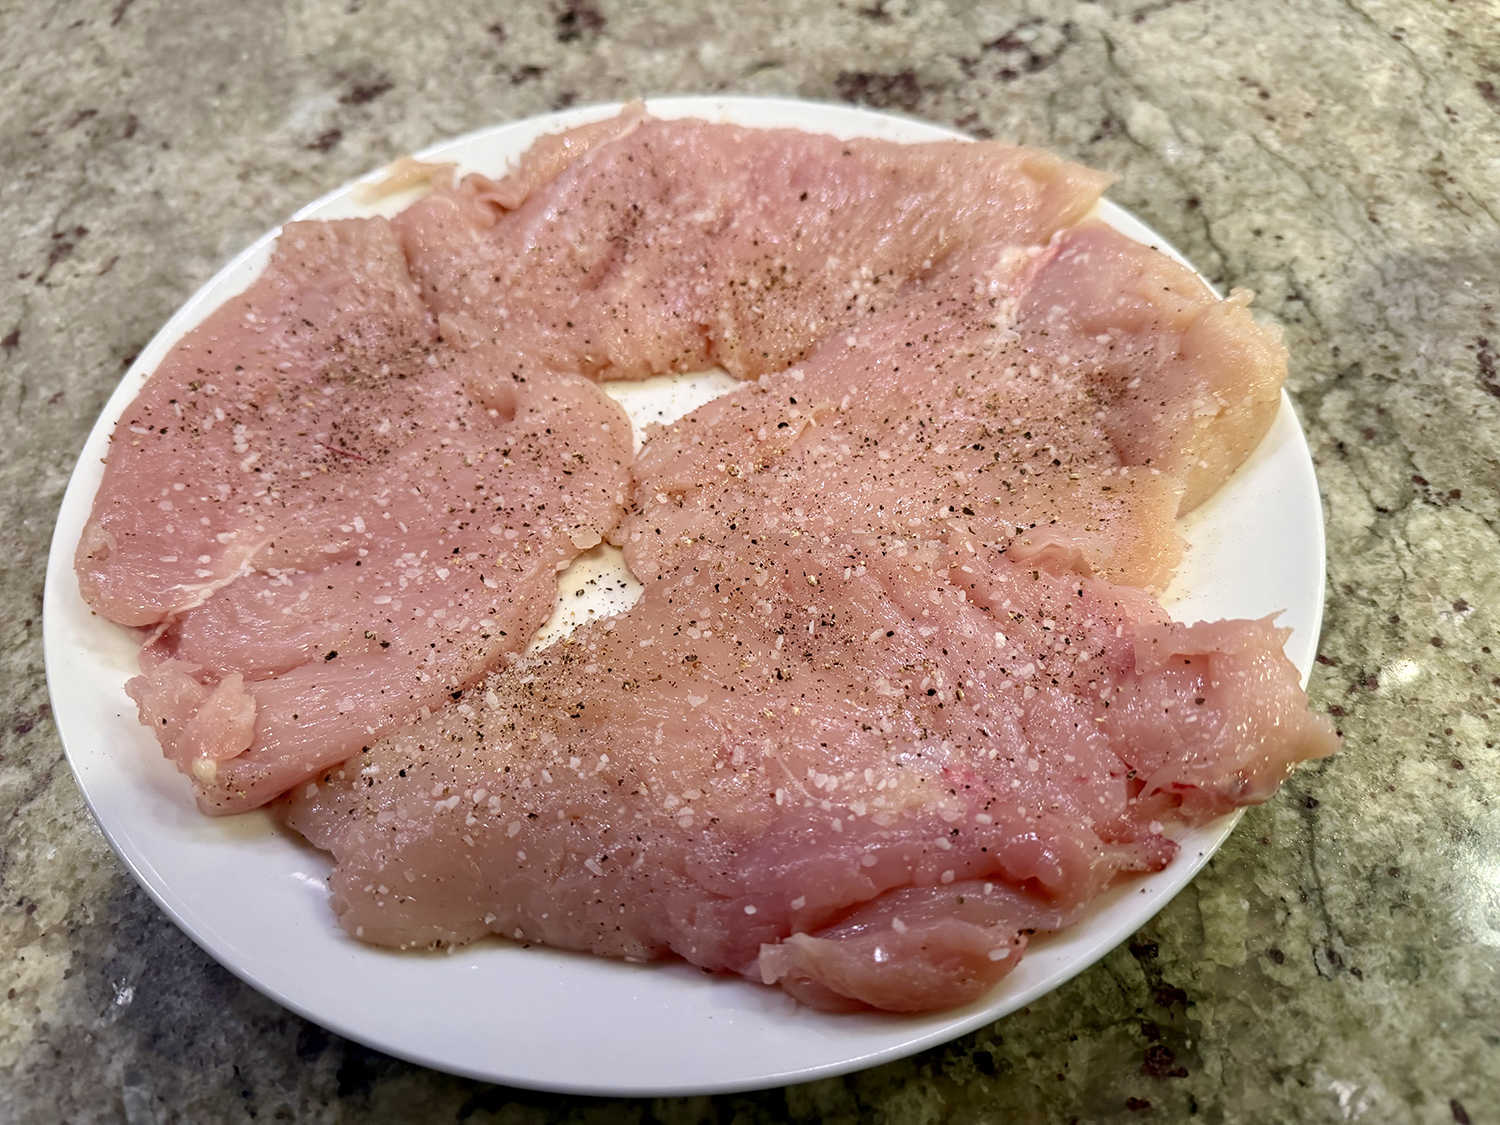
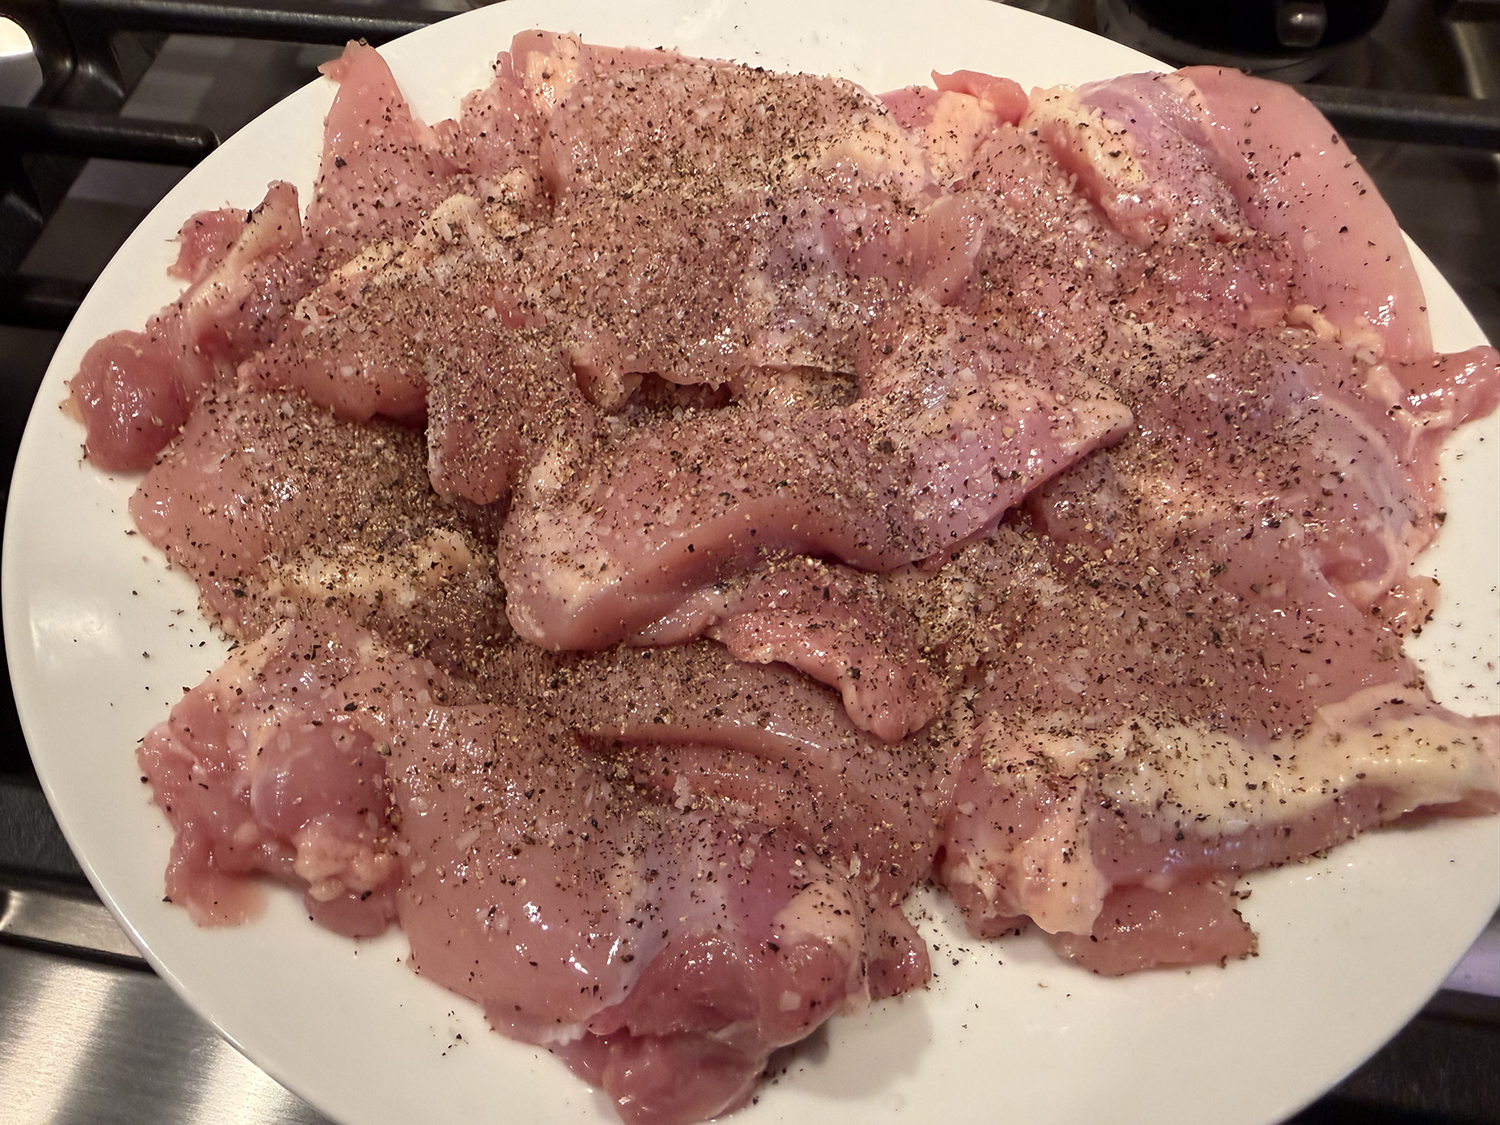
- 1½ lbs. boneless, skinless chicken thighs, trimmed and halved crosswise
- Kosher salt and ground black pepper
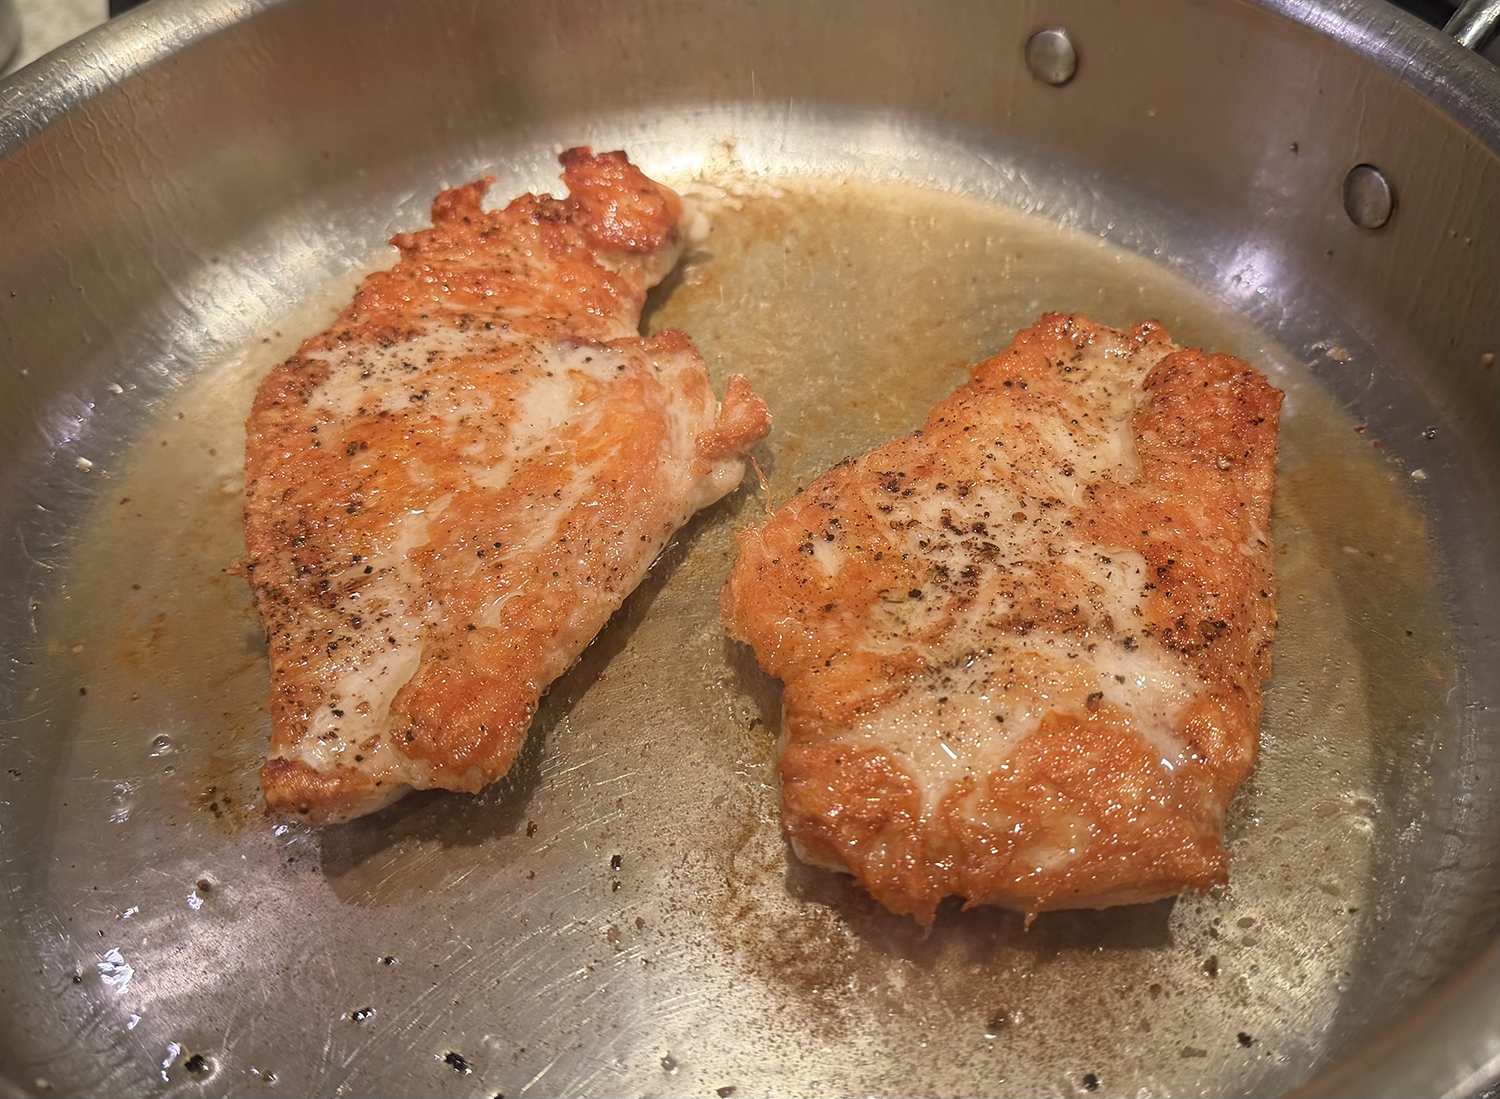
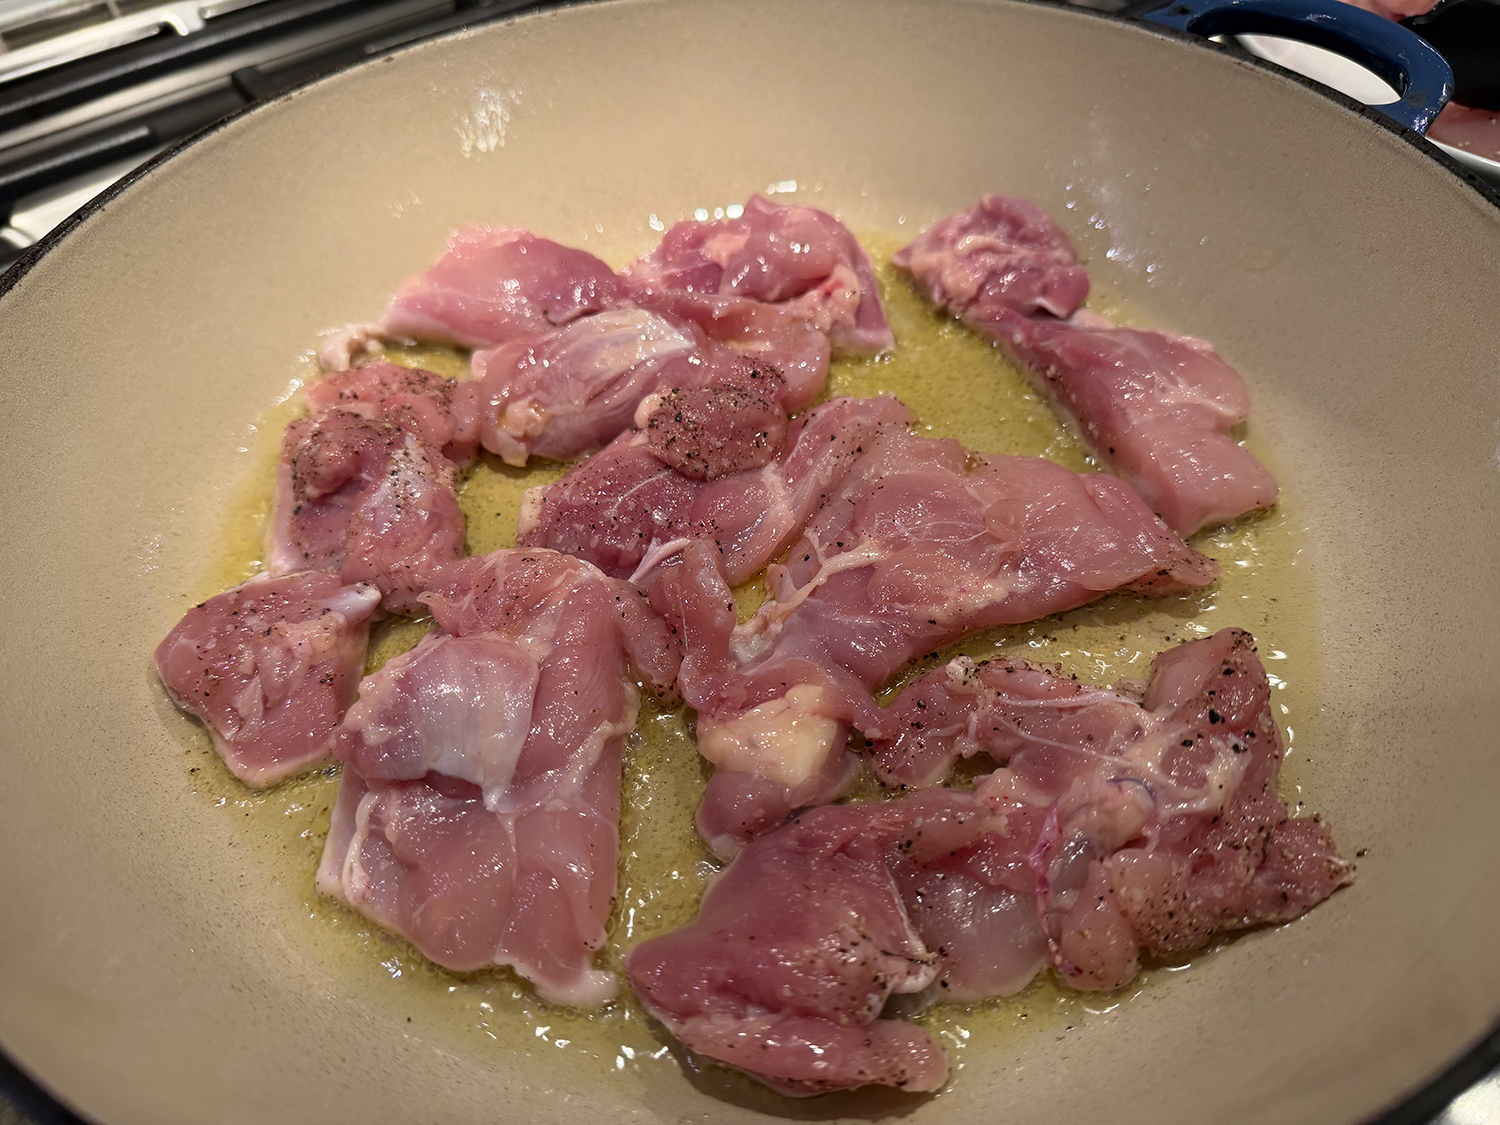
- 1 Tbsp. extra-virgin olive oil
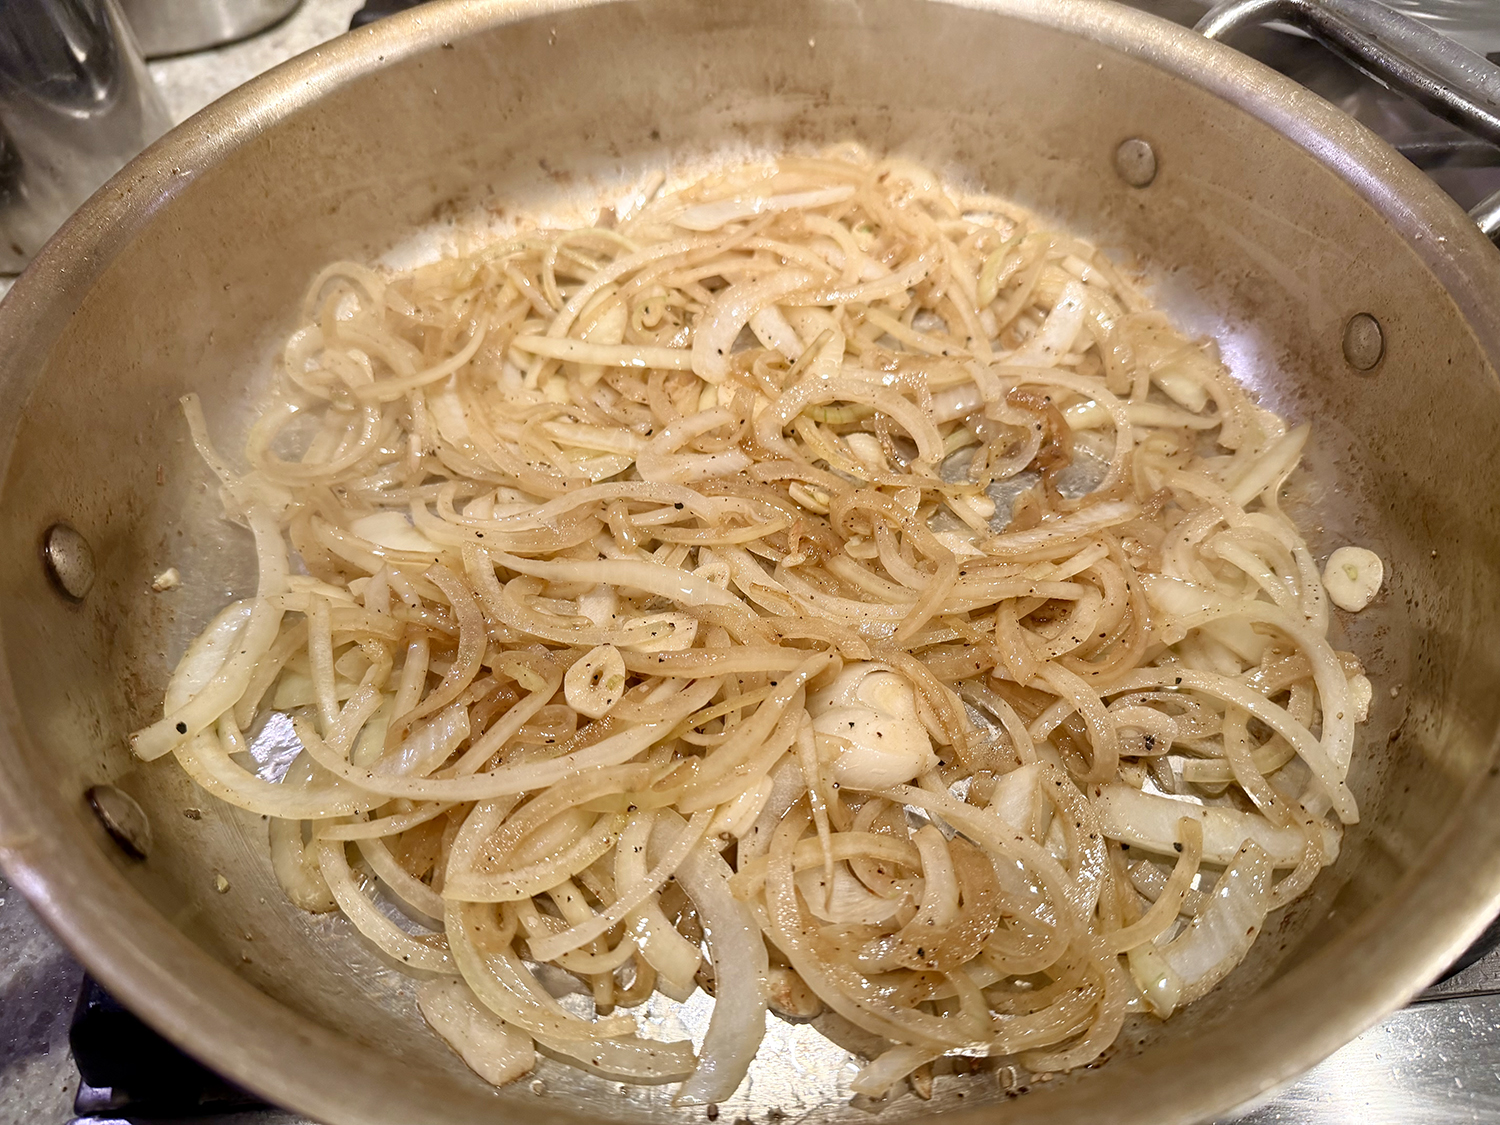
- 3 medium garlic cloves, thinly sliced
- 2 bay leaves
- 6 inch sprig rosemary
- 3/4 cup dry white wine
- 1 cup chicken broth, preferably homemade
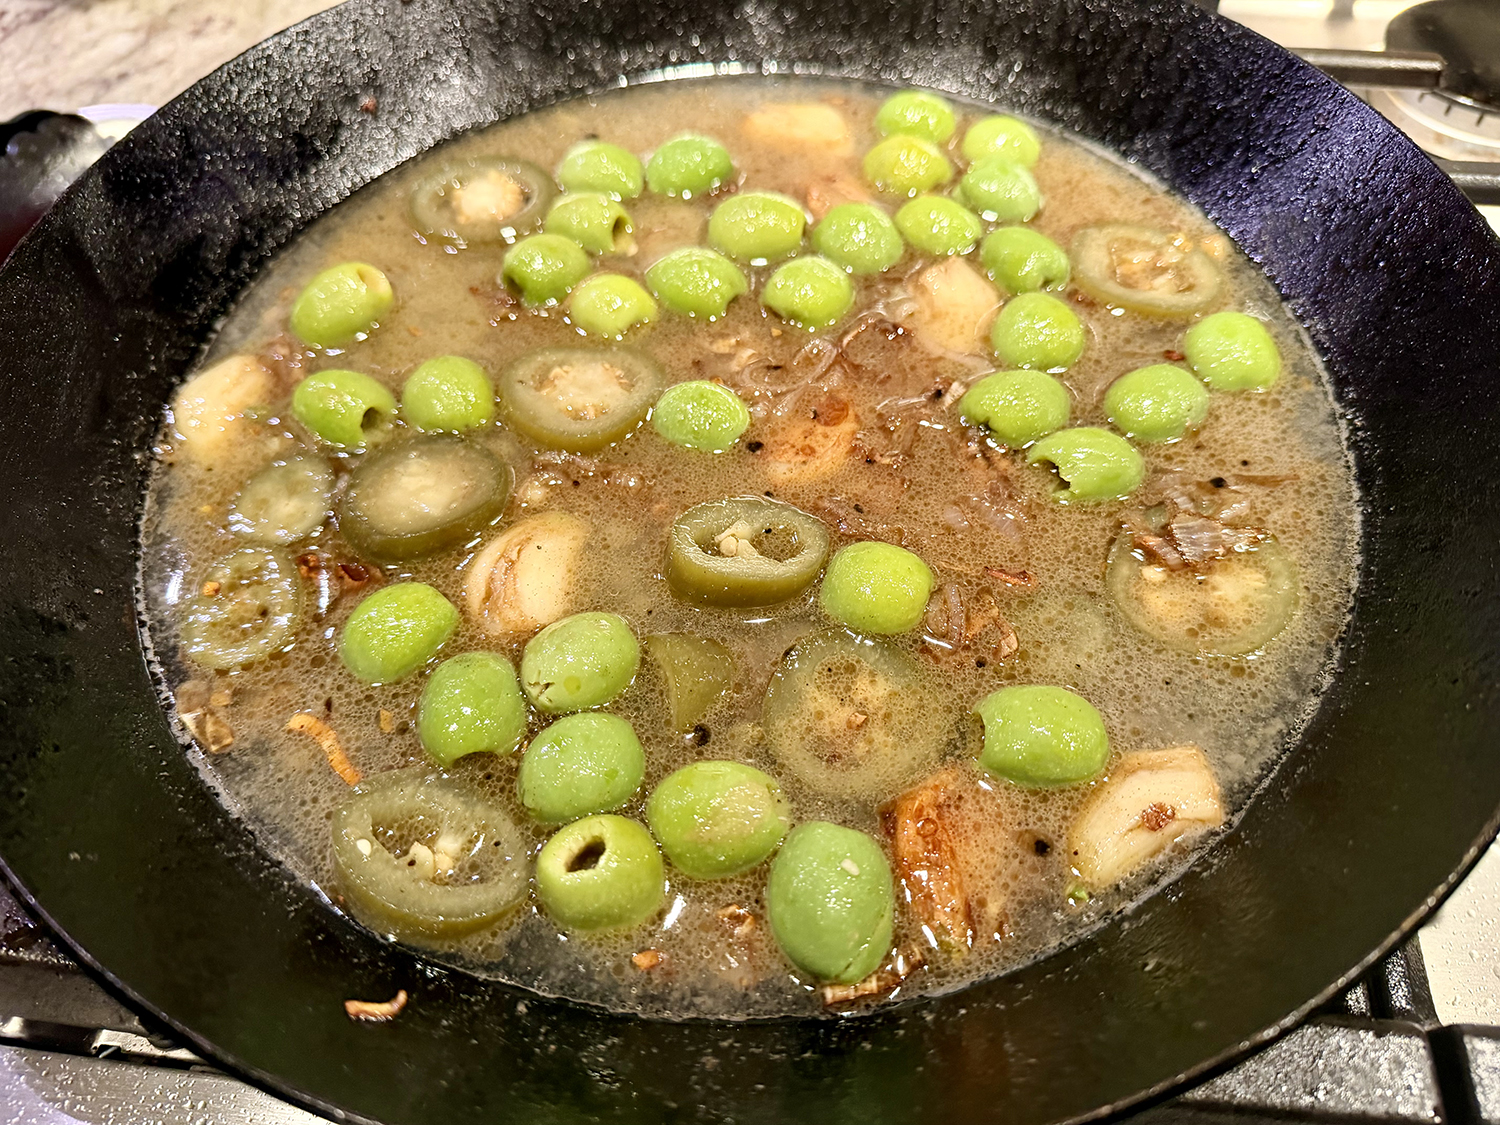
- 1 cup pitted green olives, lightly smashed
- 2 Tbsp. salted butter, cut into 2 pieces
- 1/4 cup chopped fresh flat-leaf parsley
Directions
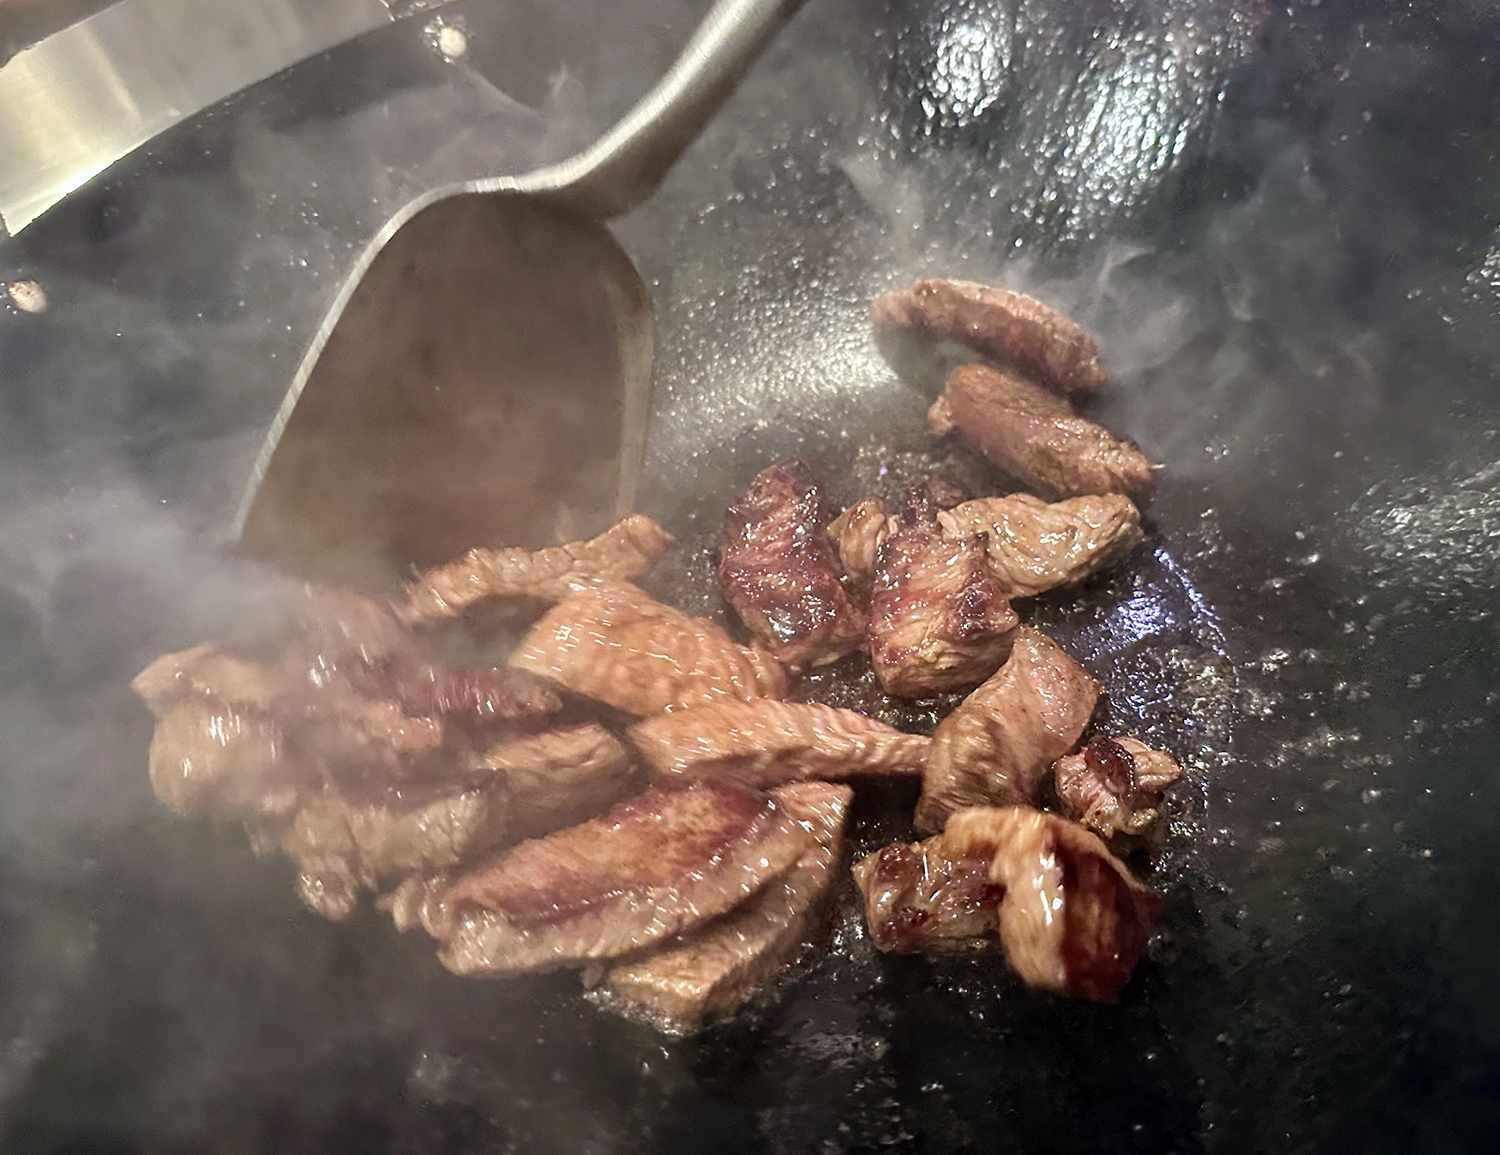
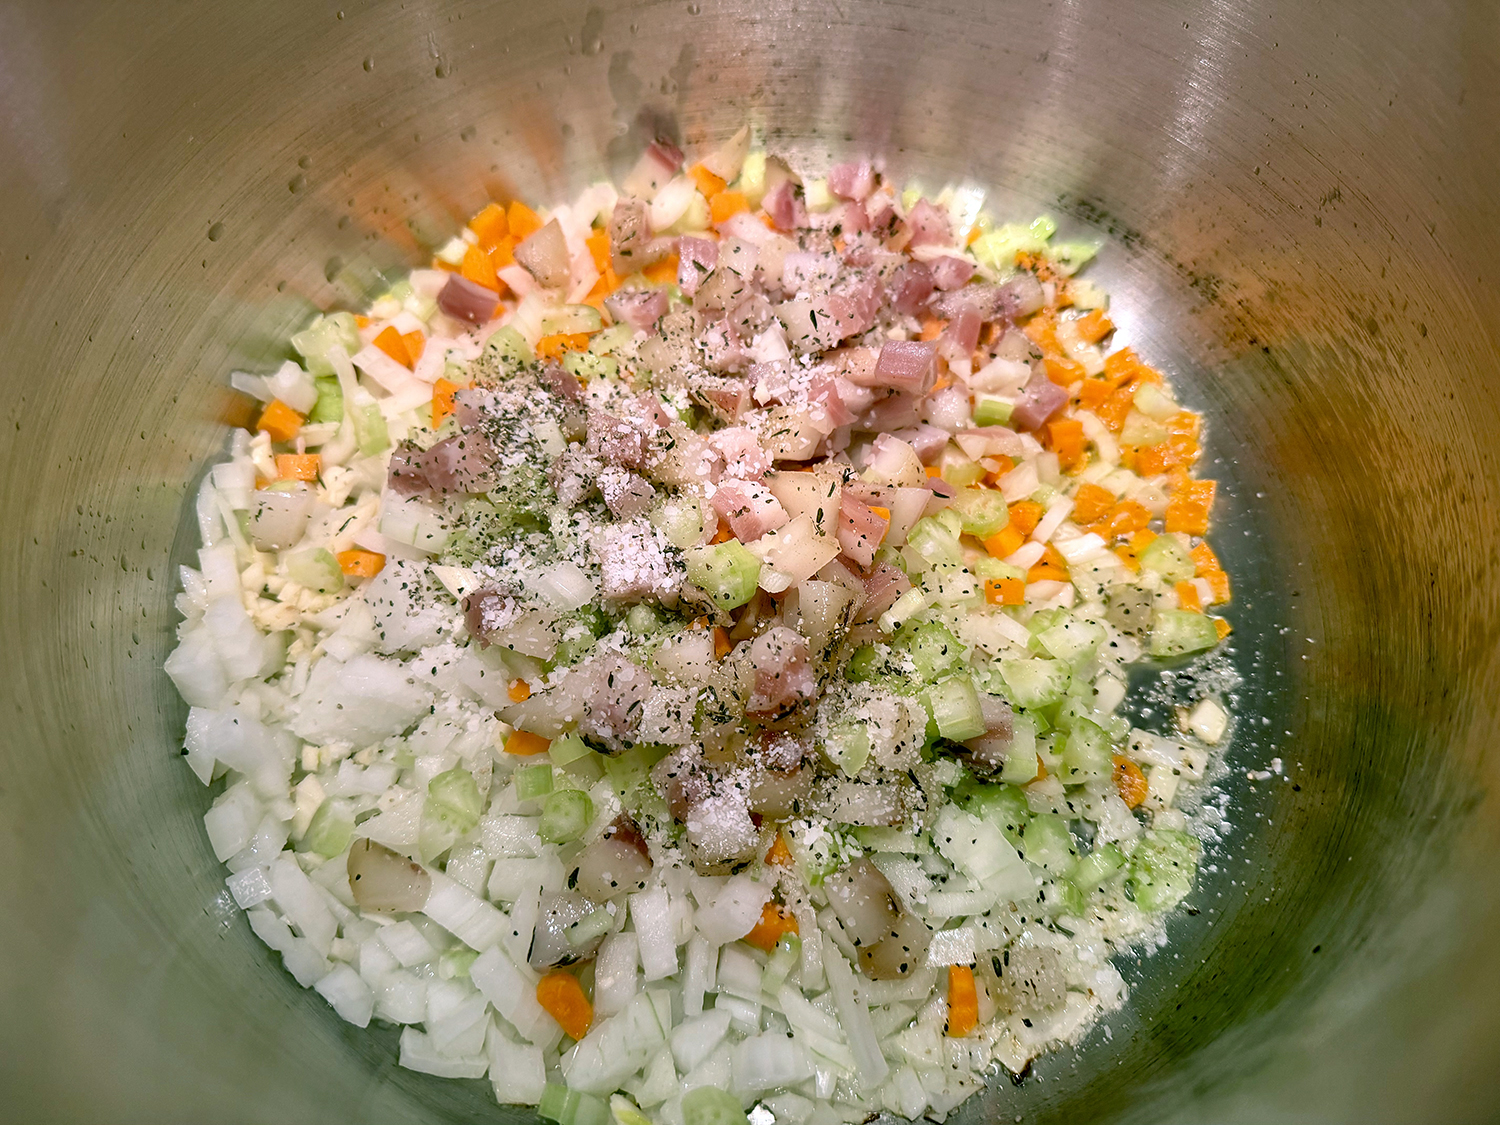
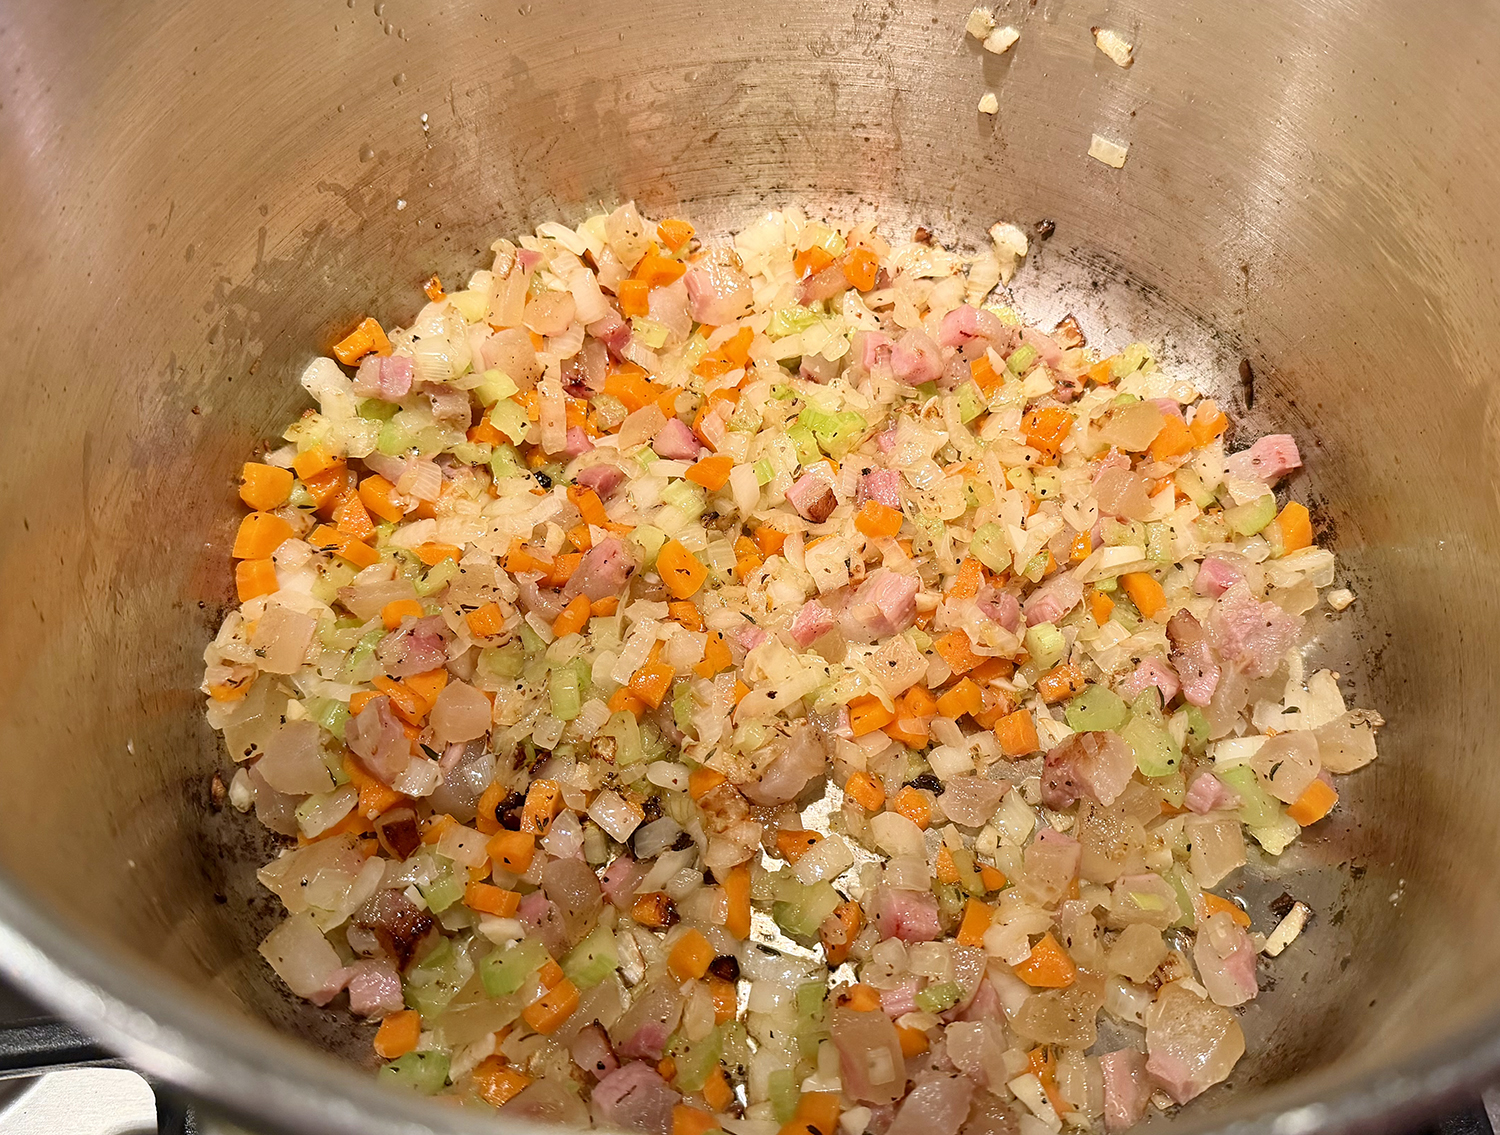
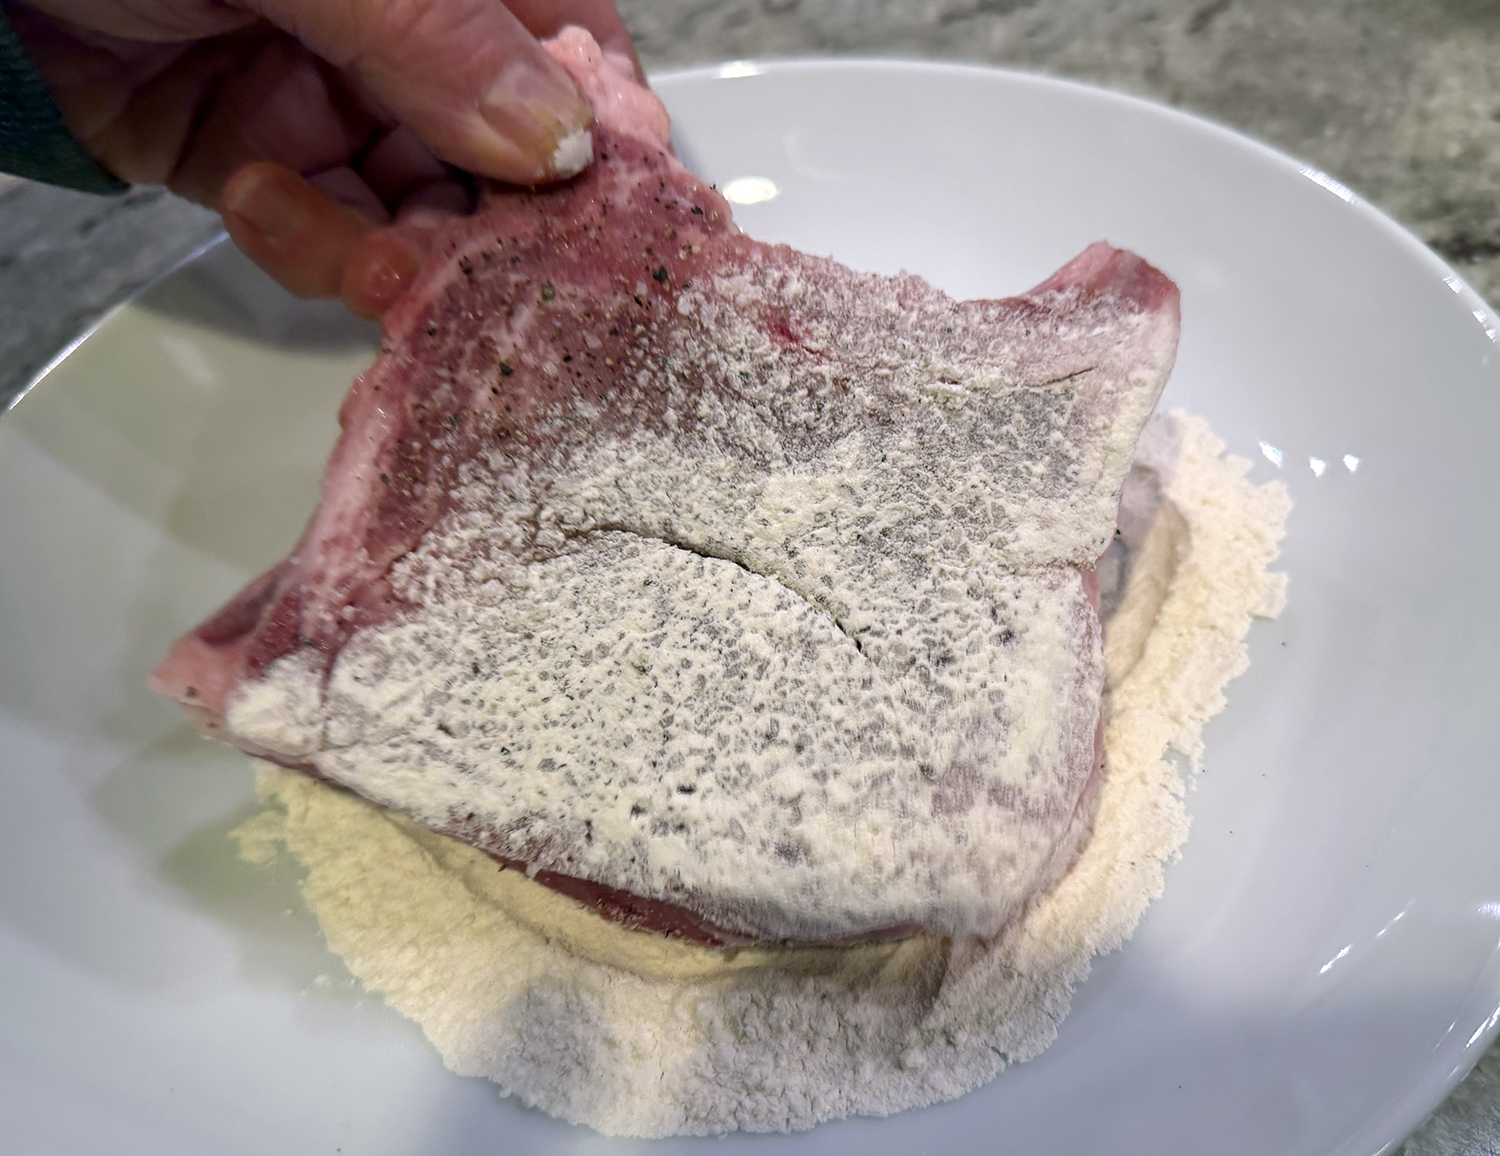
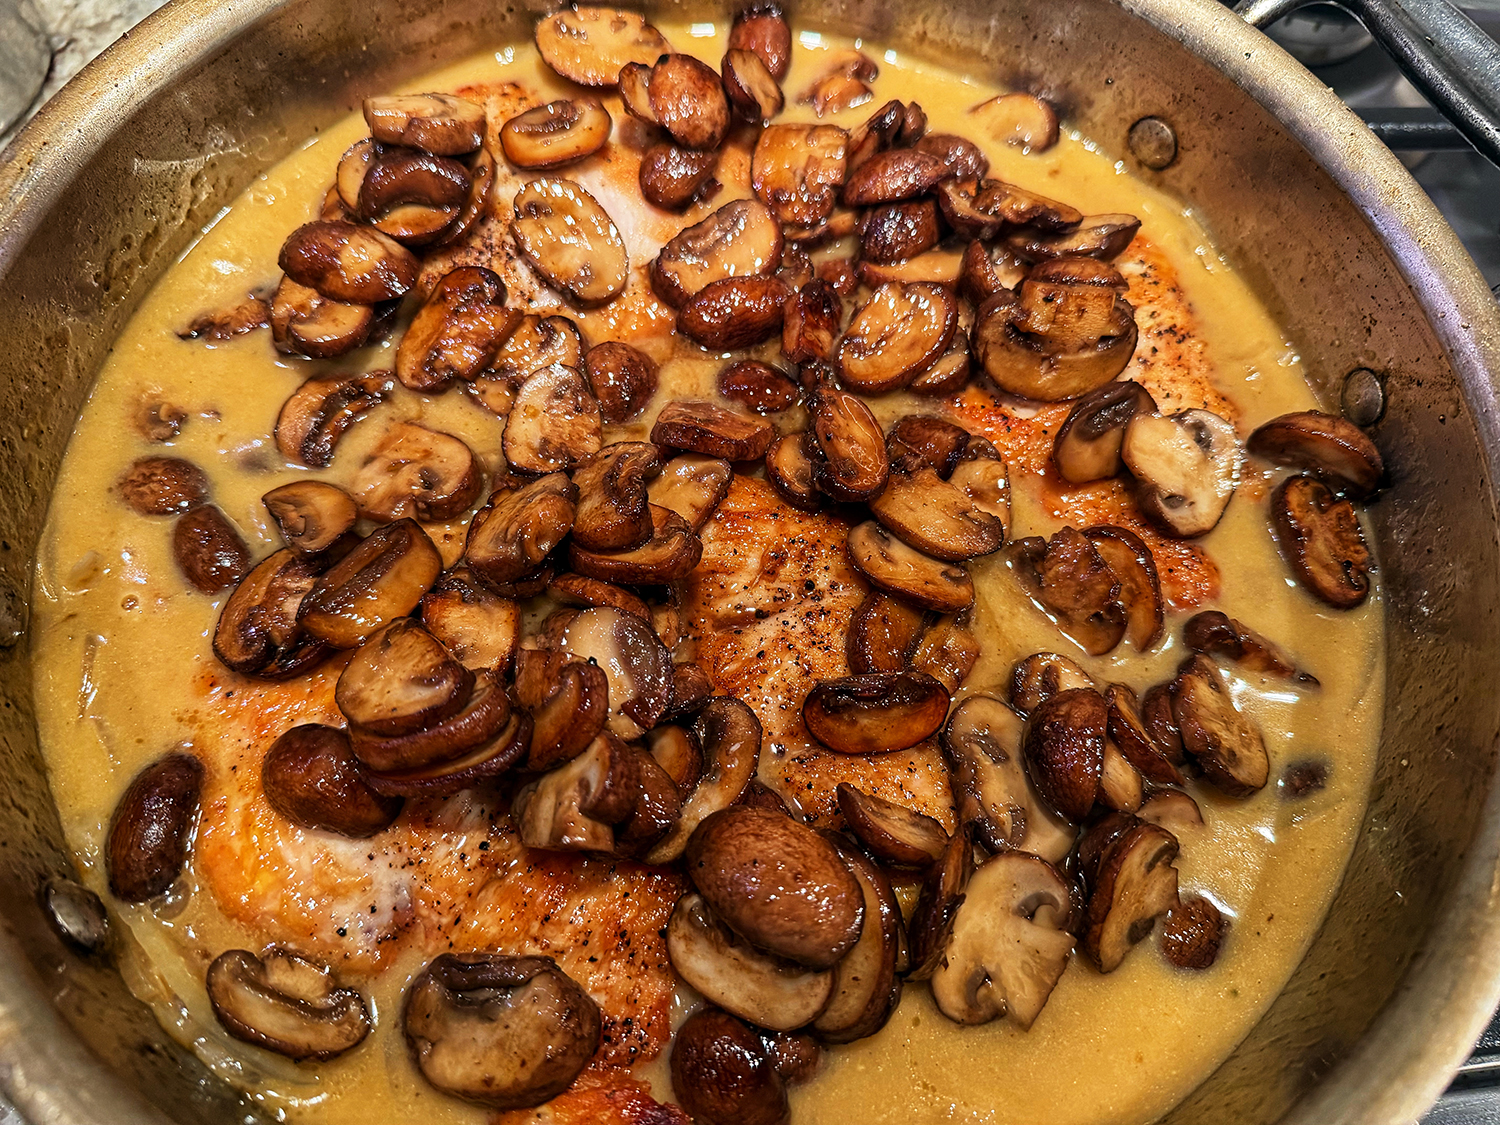
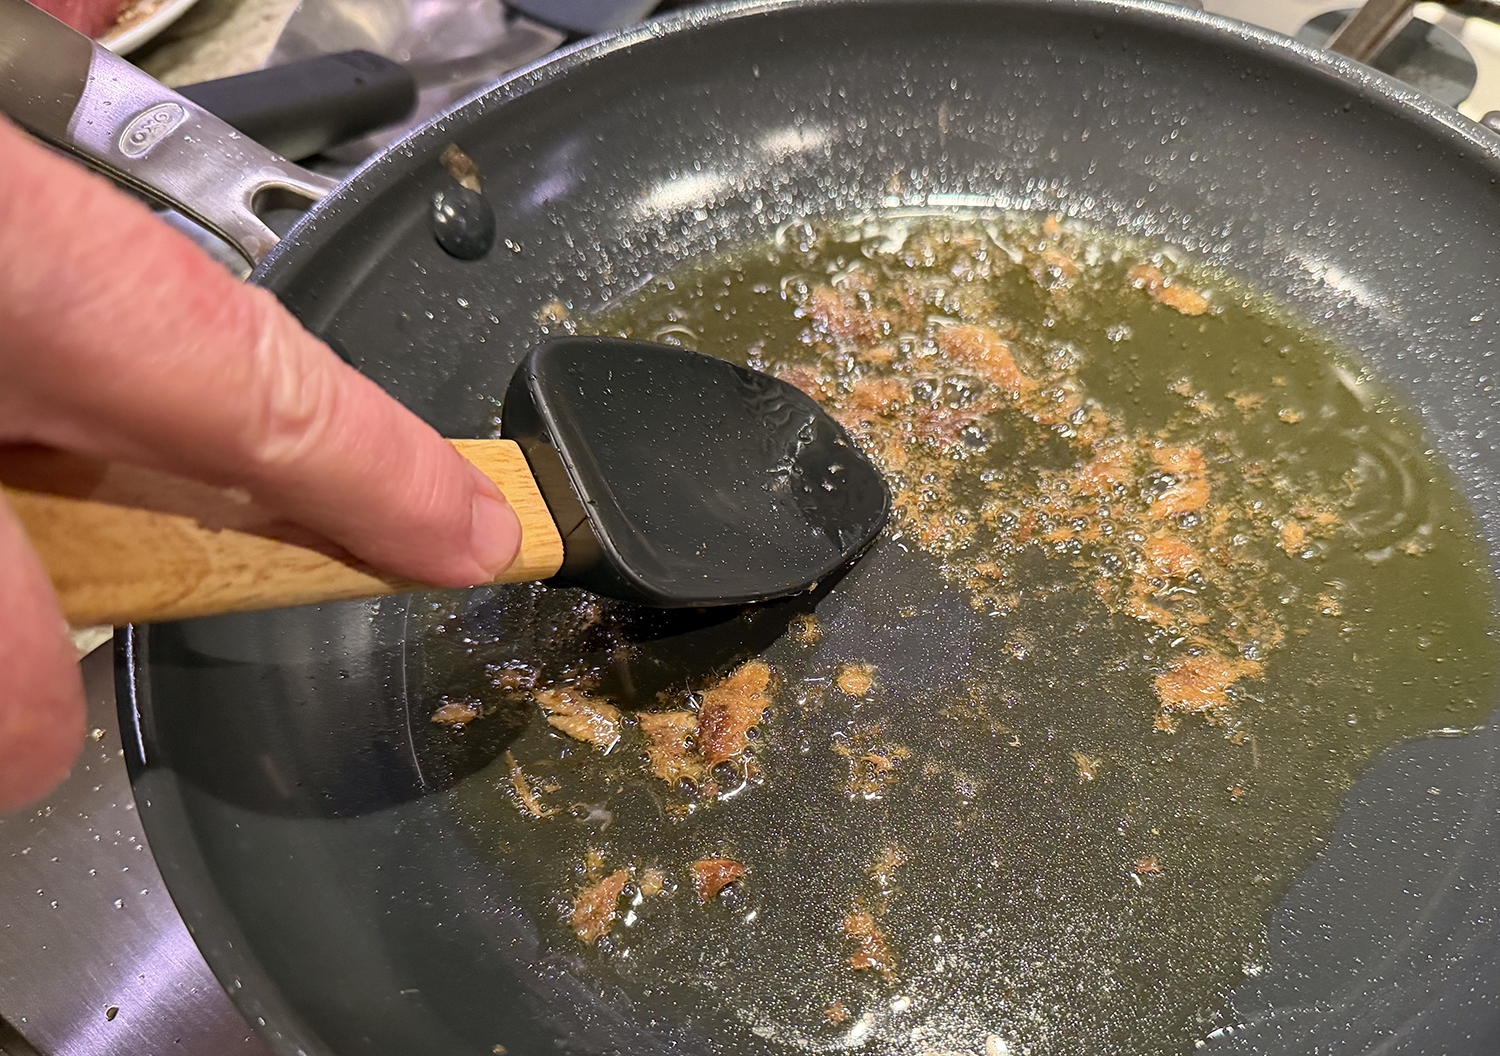
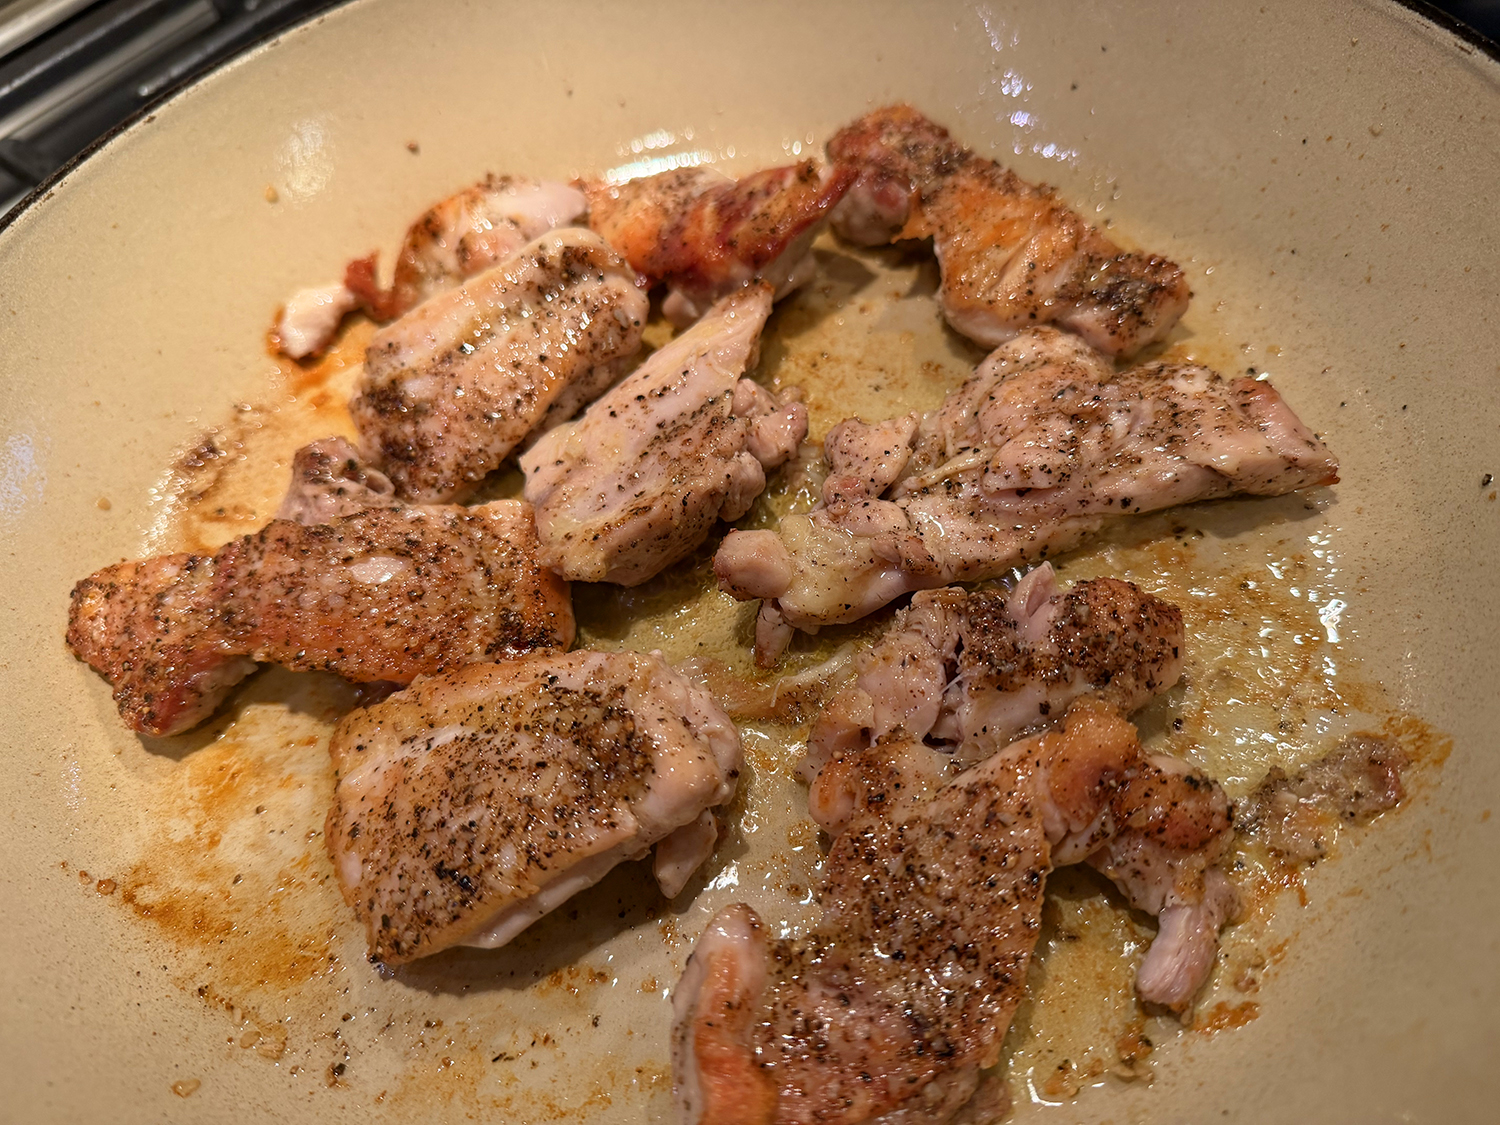
- Season the chicken with salt and pepper. In a large Dutch oven over medium-high, heat the oil until shimmering. Add the chicken and cook until browned on both sides, 6 to 8 minutes, flipping the pieces halfway through. Transfer to a large plate.
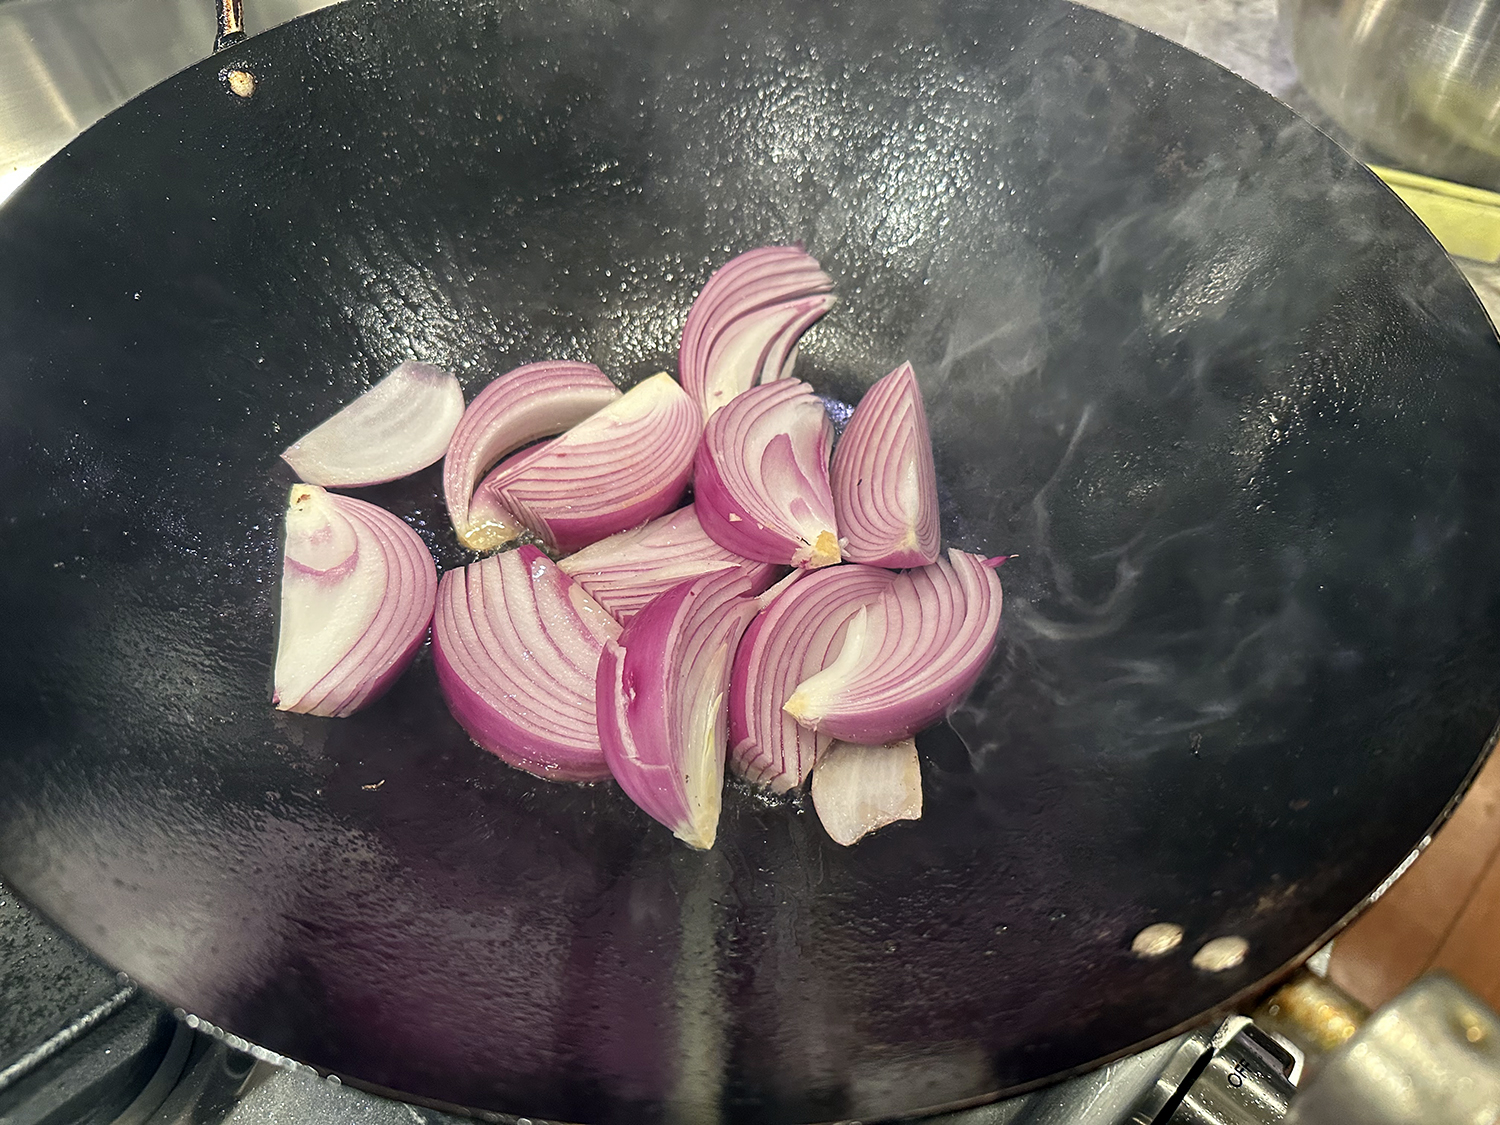
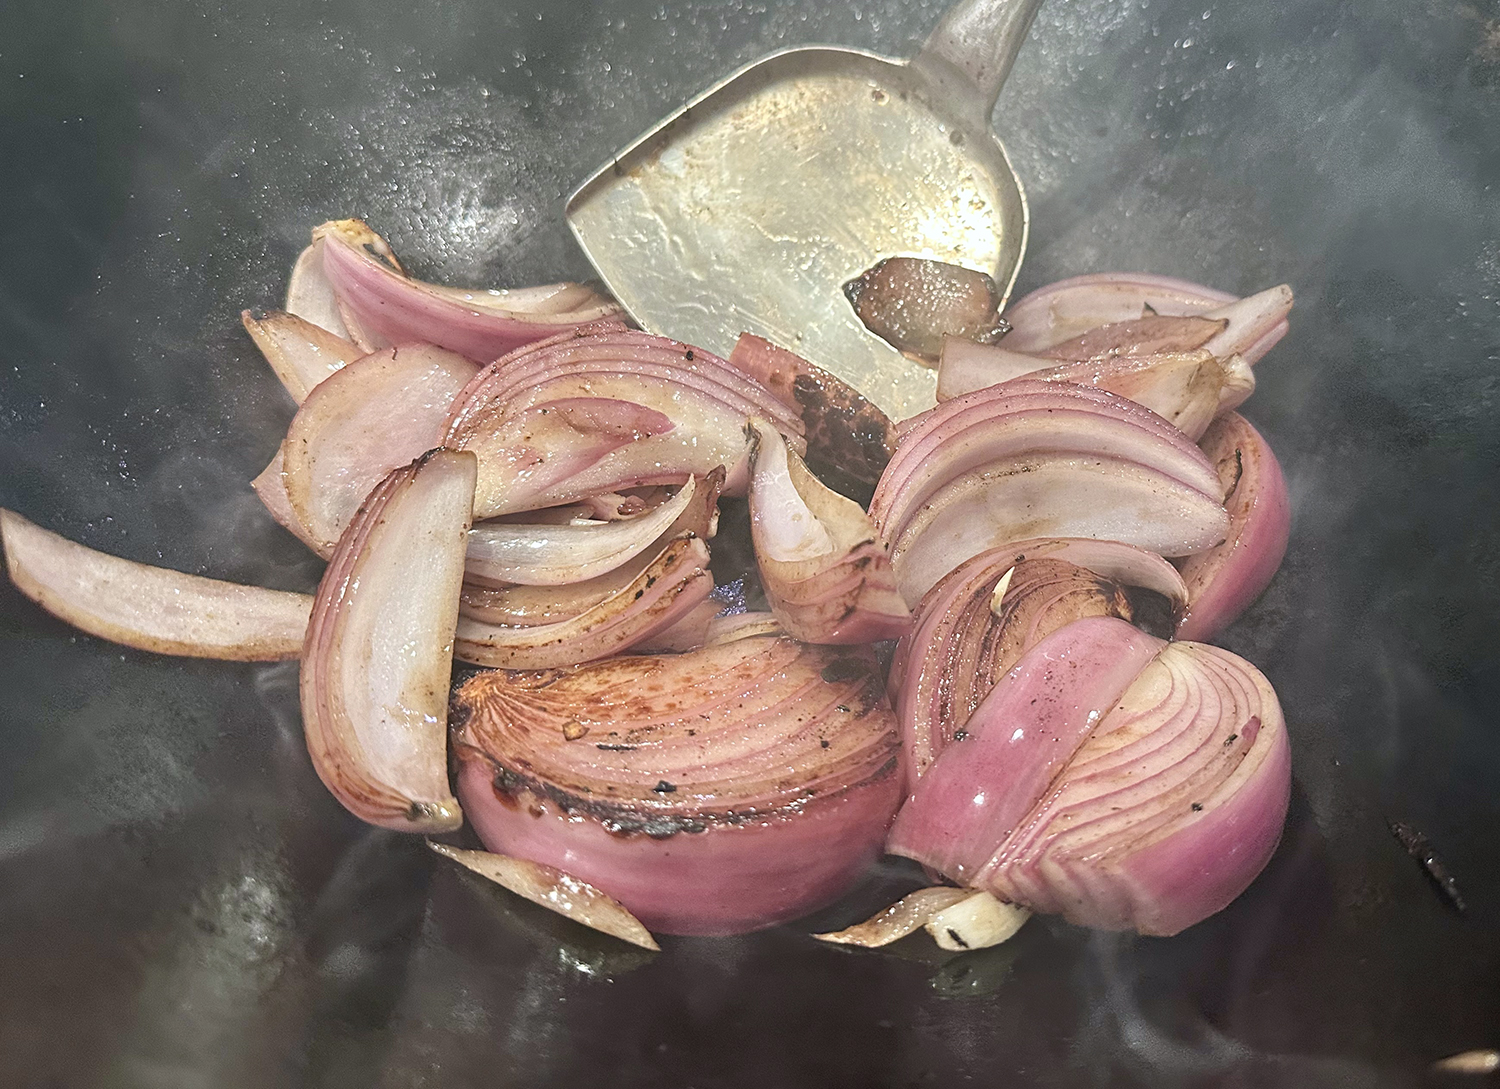
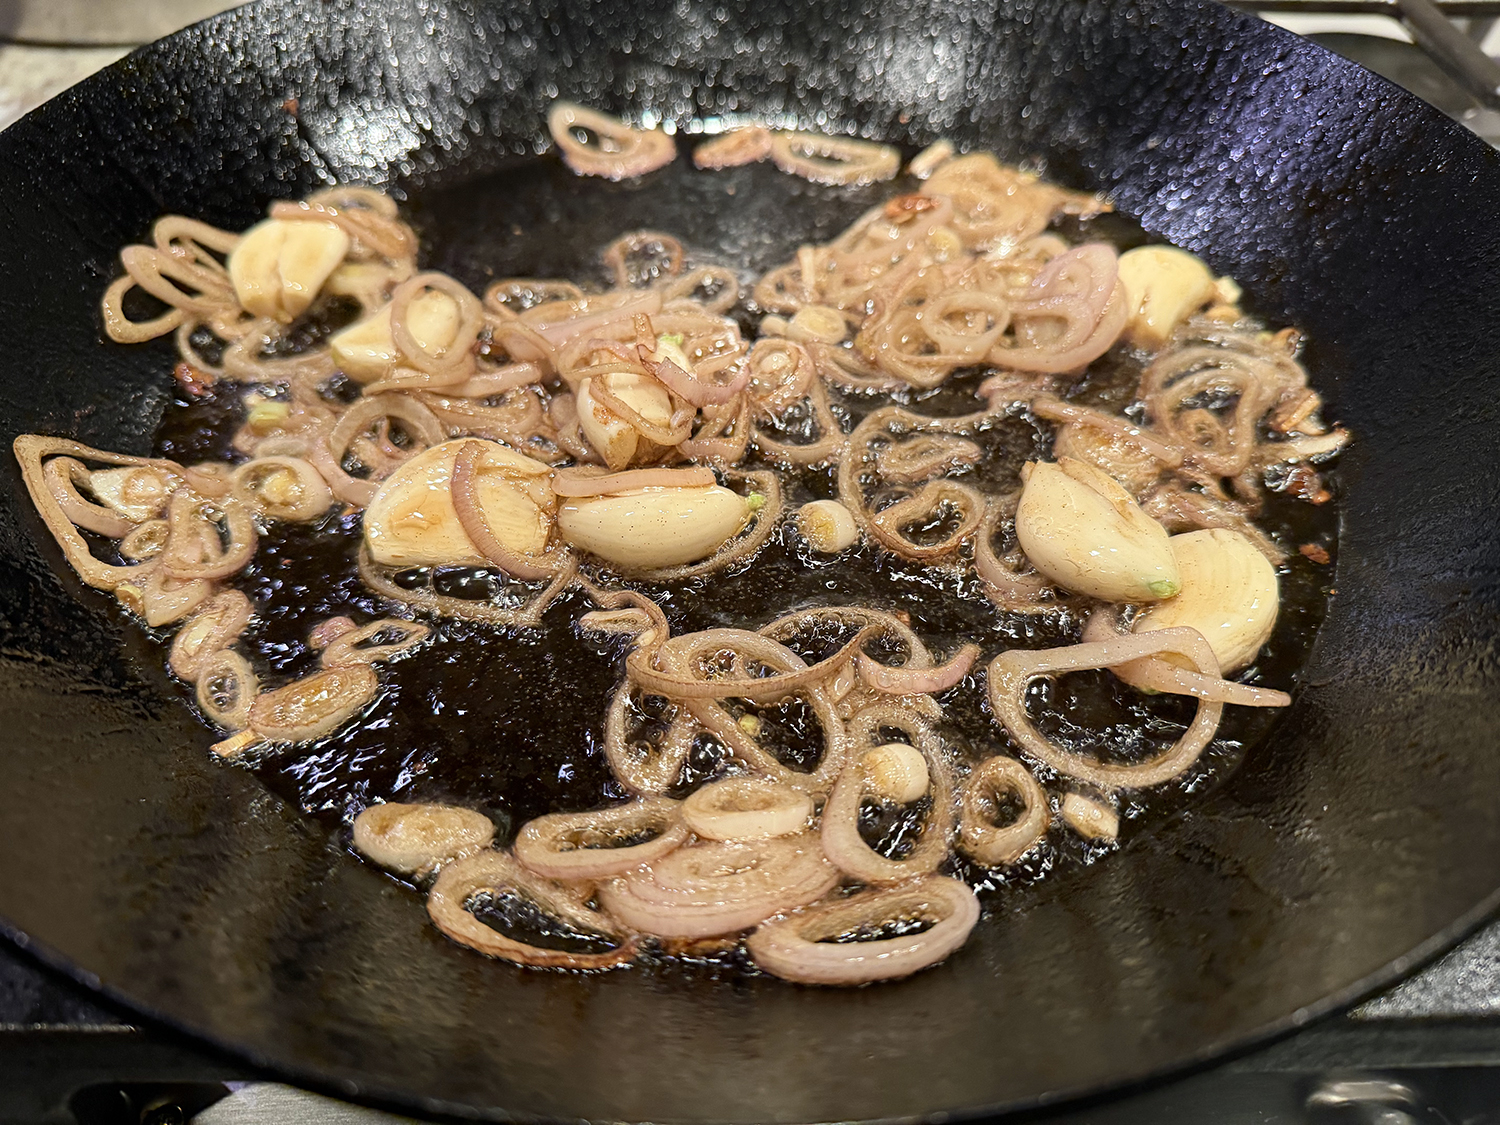
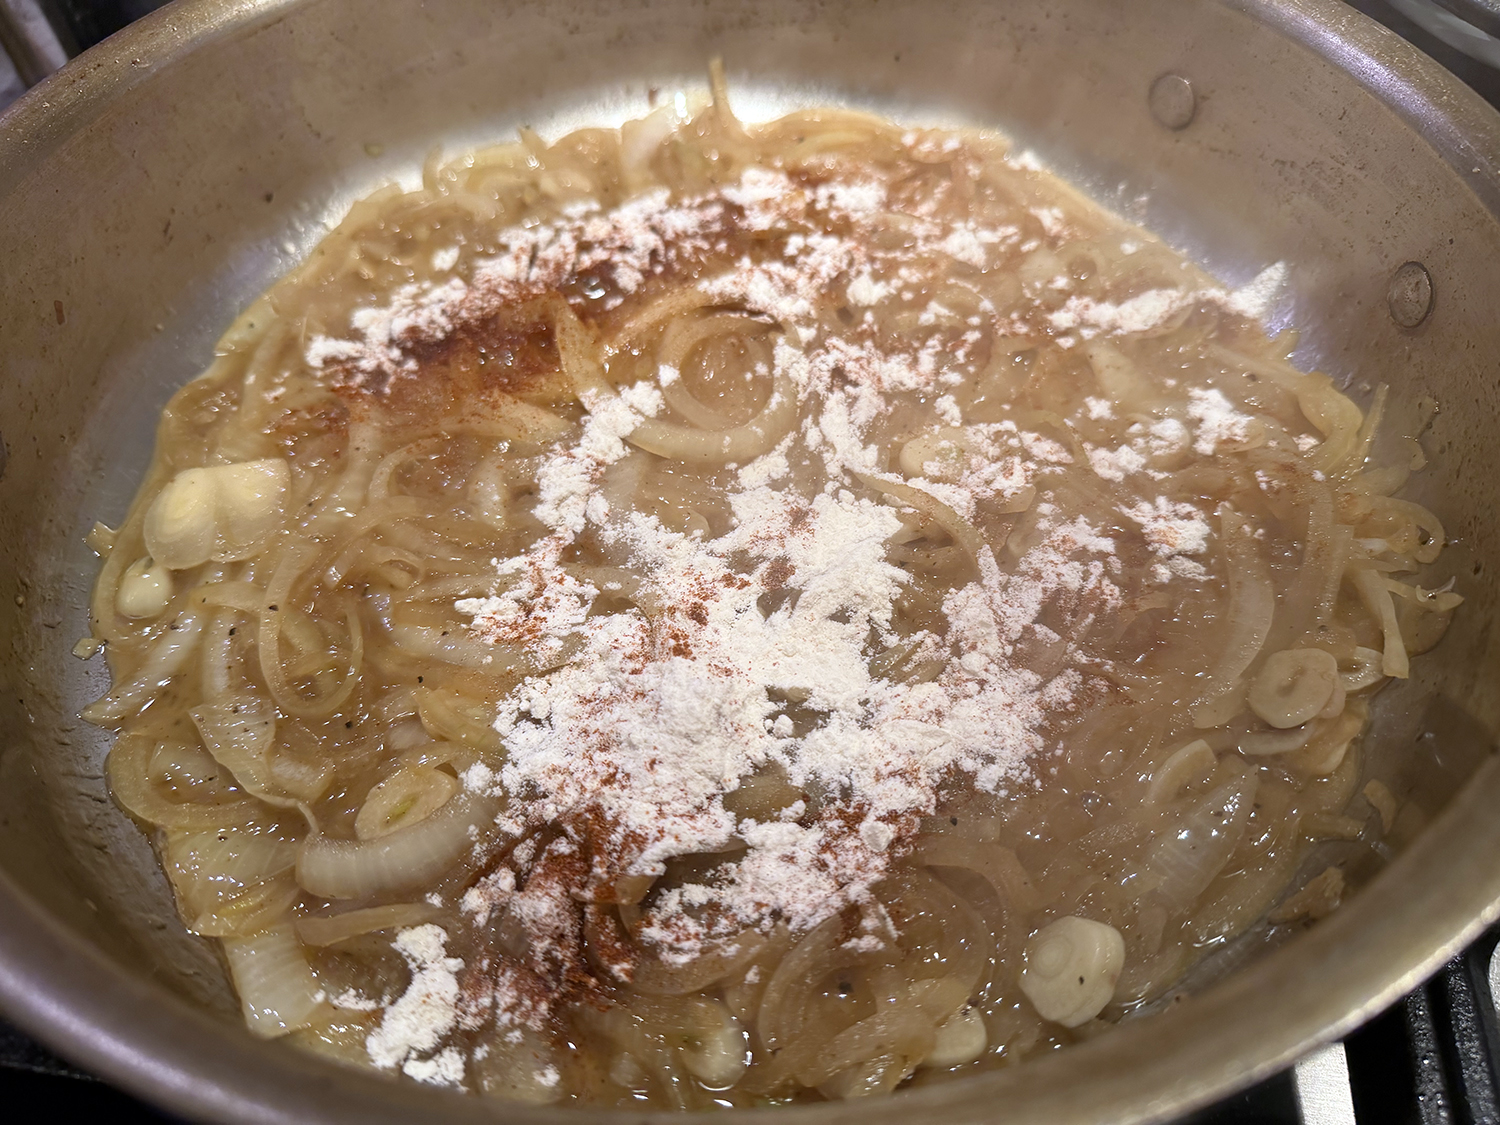
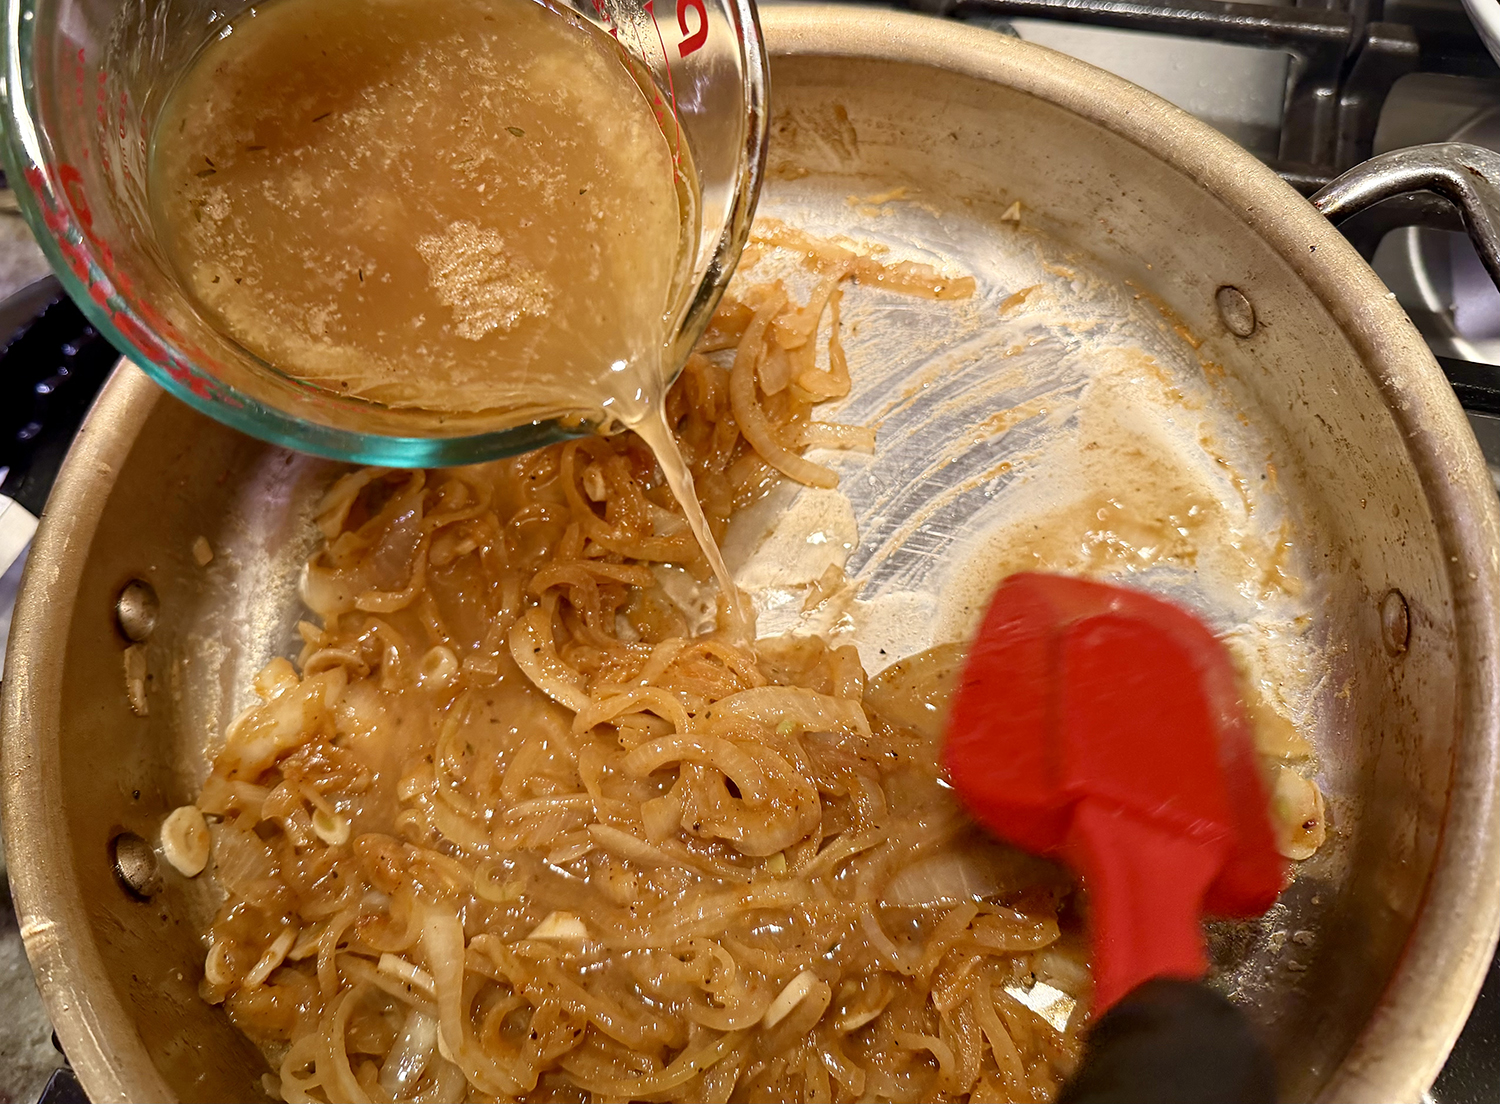
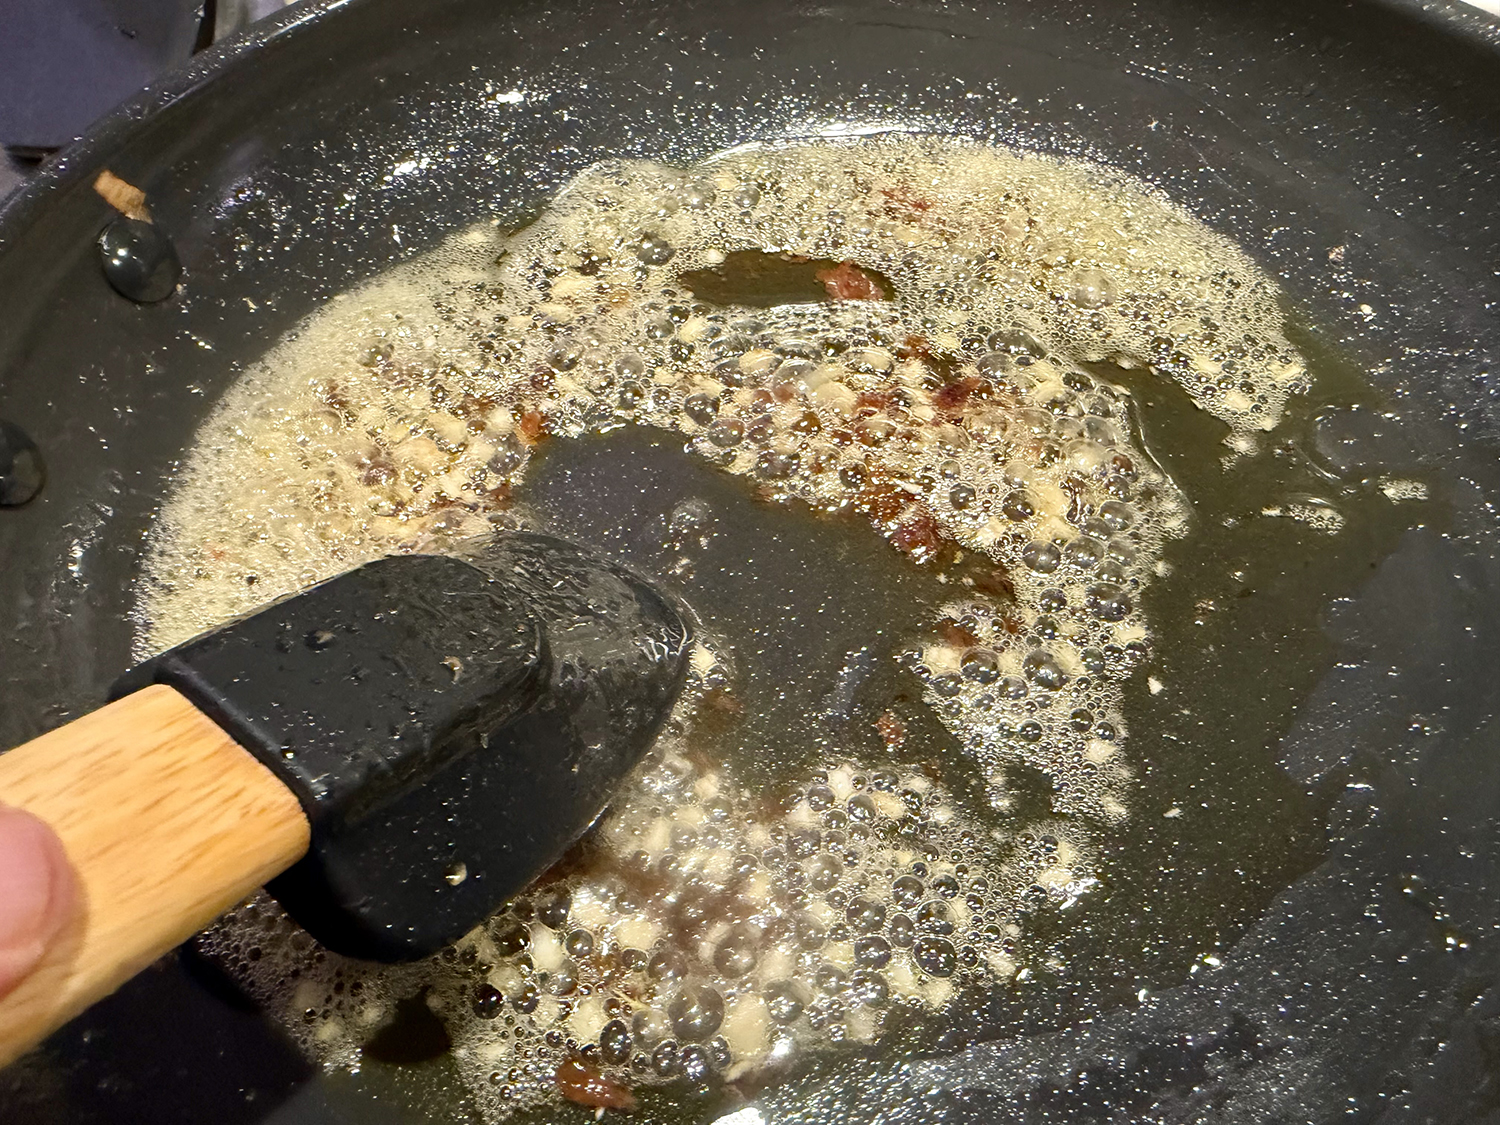
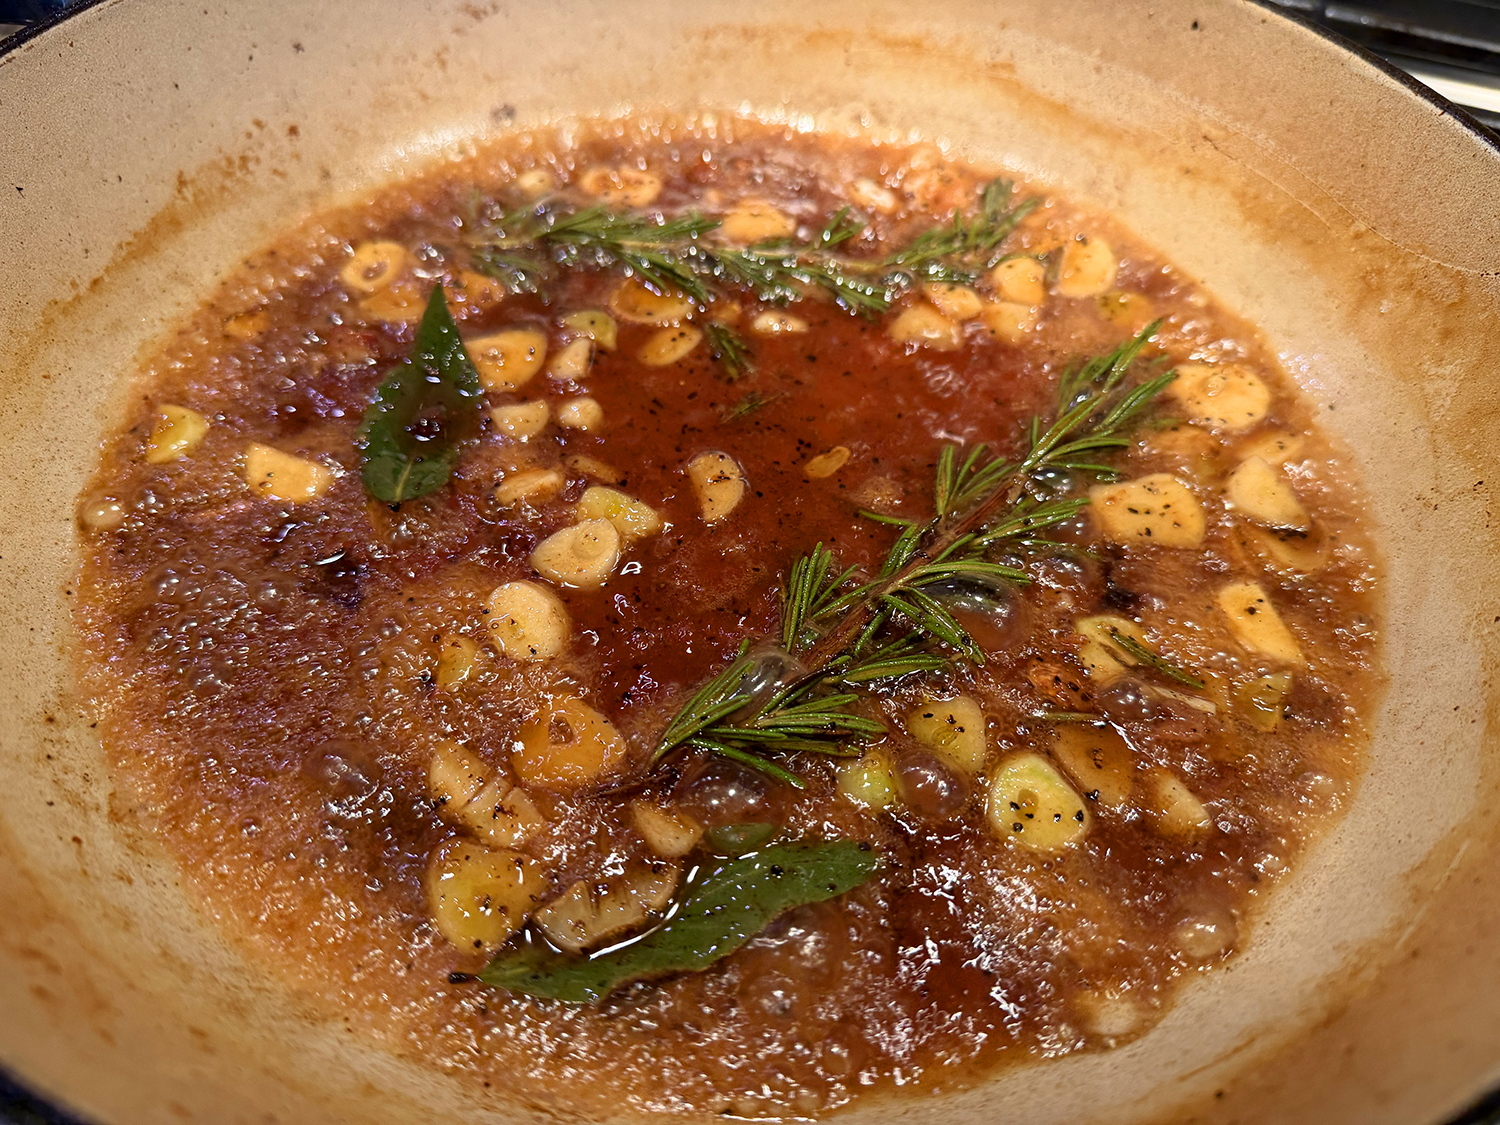
- To the fat in the pot, add the garlic, bay, rosemary and ¼ teaspoon each salt and pepper. Cook over medium-high, stirring, until fragrant, about 1 minute. Add the wine and cook, scraping up the browned bits, until reduced by half, 3 to 4 minutes. Stir in the broth, then the olives, chicken and any accumulated juices. Bring to a simmer, then cover partially and reduce to low. Cook, stirring occasionally, until a skewer inserted into the chicken meets no resistance, 15 to 20 minutes.
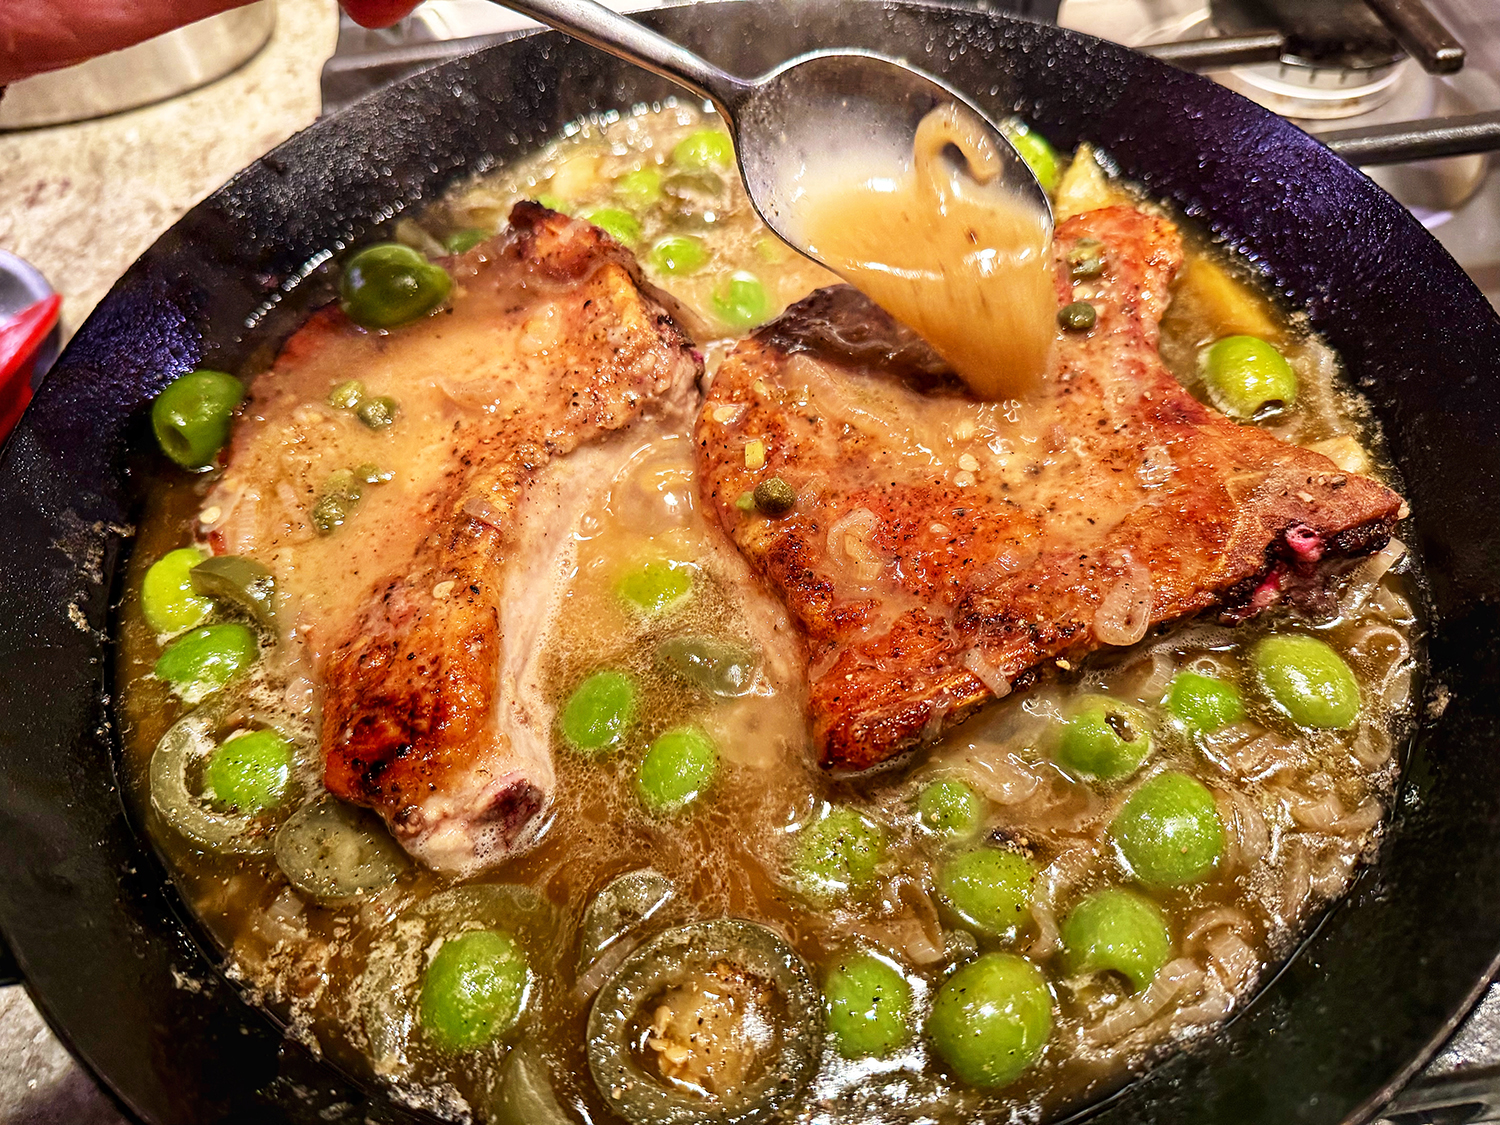
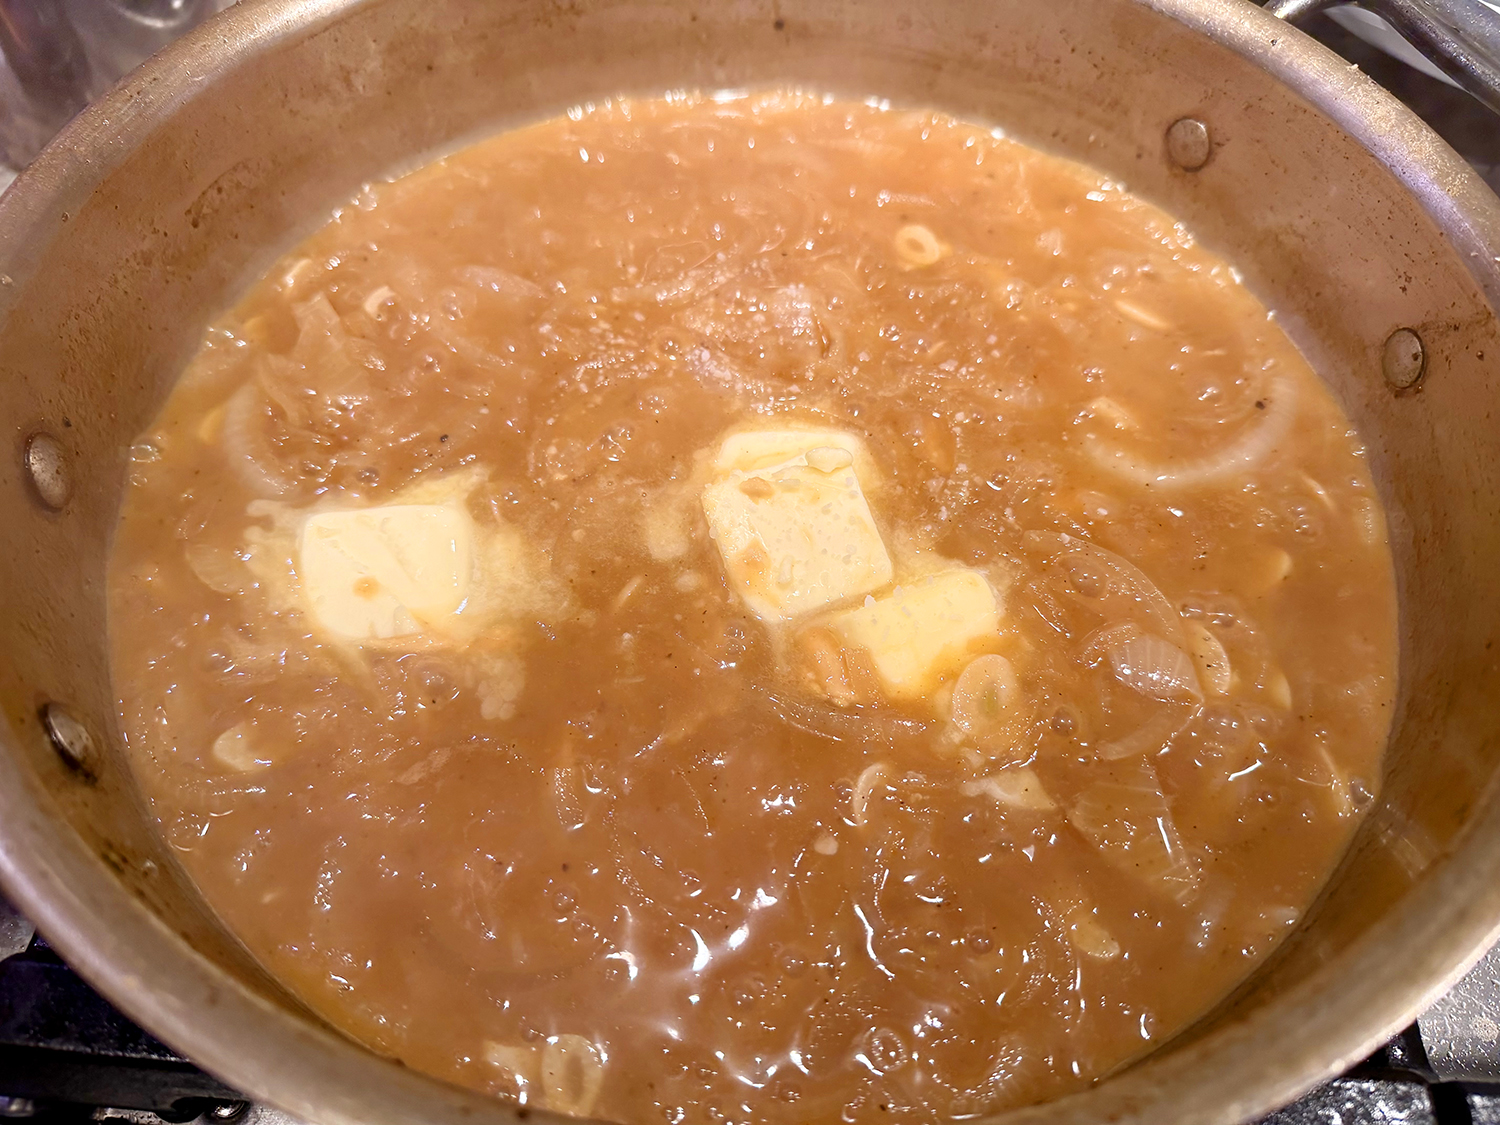
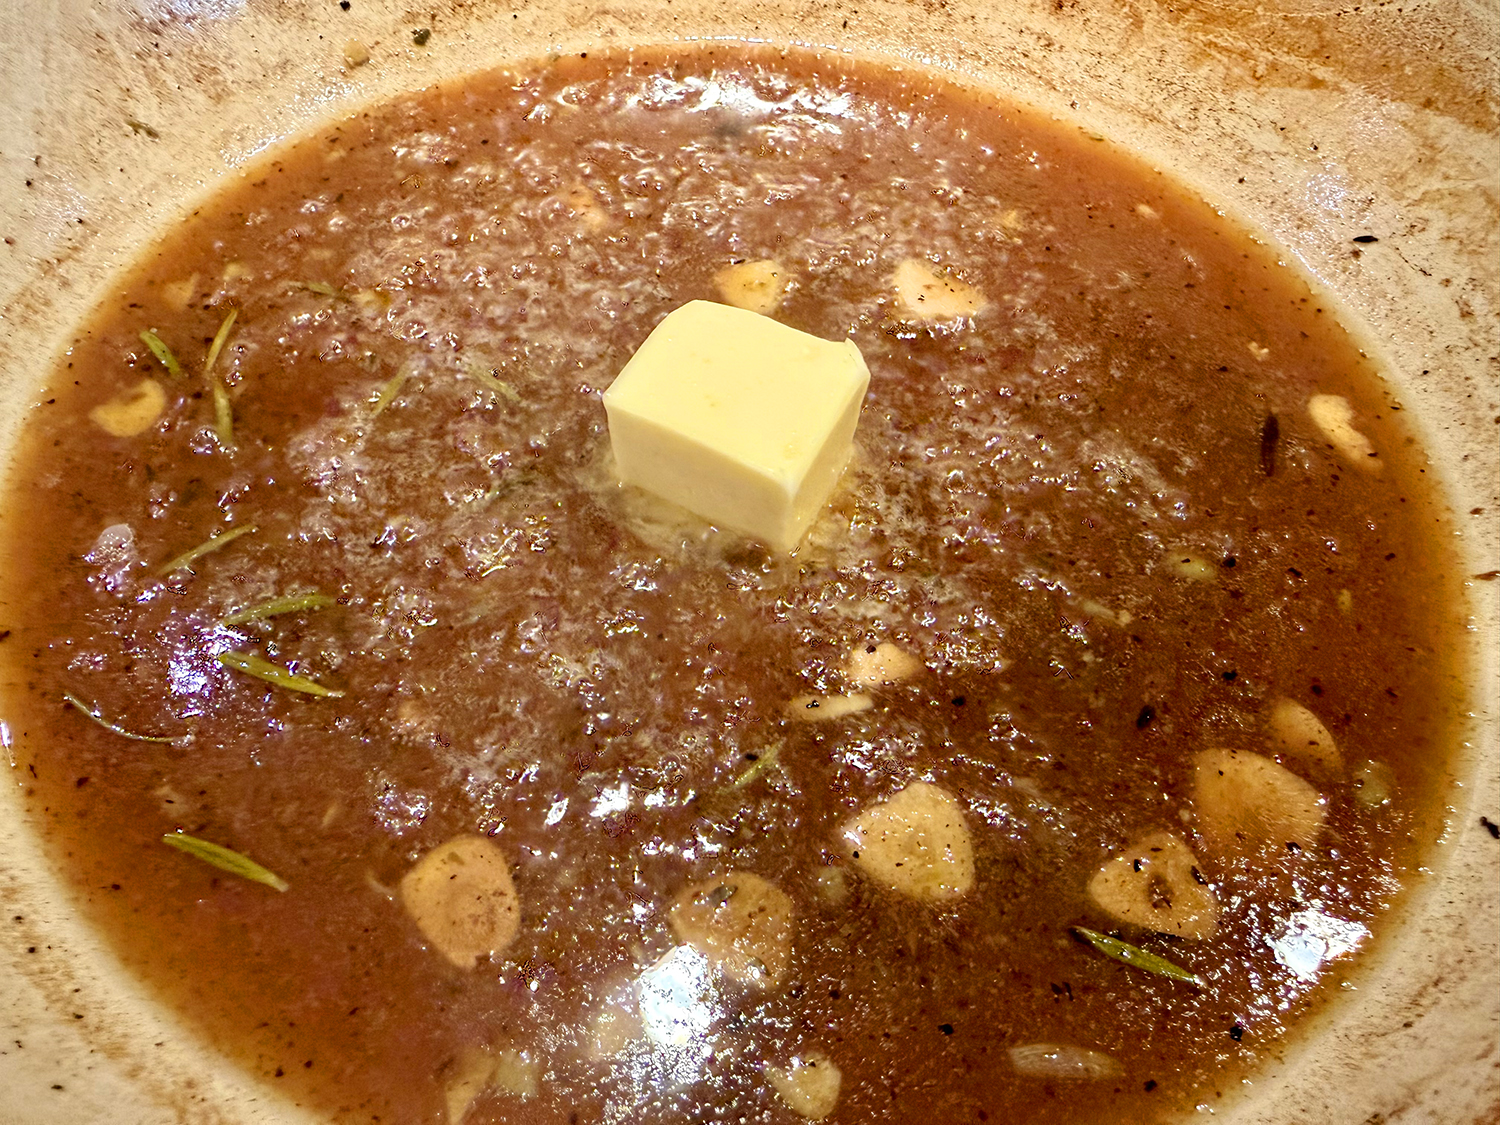
- Using a slotted spoon, transfer the chicken and olives to a platter. Simmer the braising liquid over medium until slightly reduced, 2 to 3 minutes. Remove and discard the rosemary and bay, then whisk in the butter. Off heat; stir in the parsley, then taste and season with salt and pepper. Spoon the sauce over and around the chicken.
Adapted from a recipe by Rose Hattabaugh for Milk Street