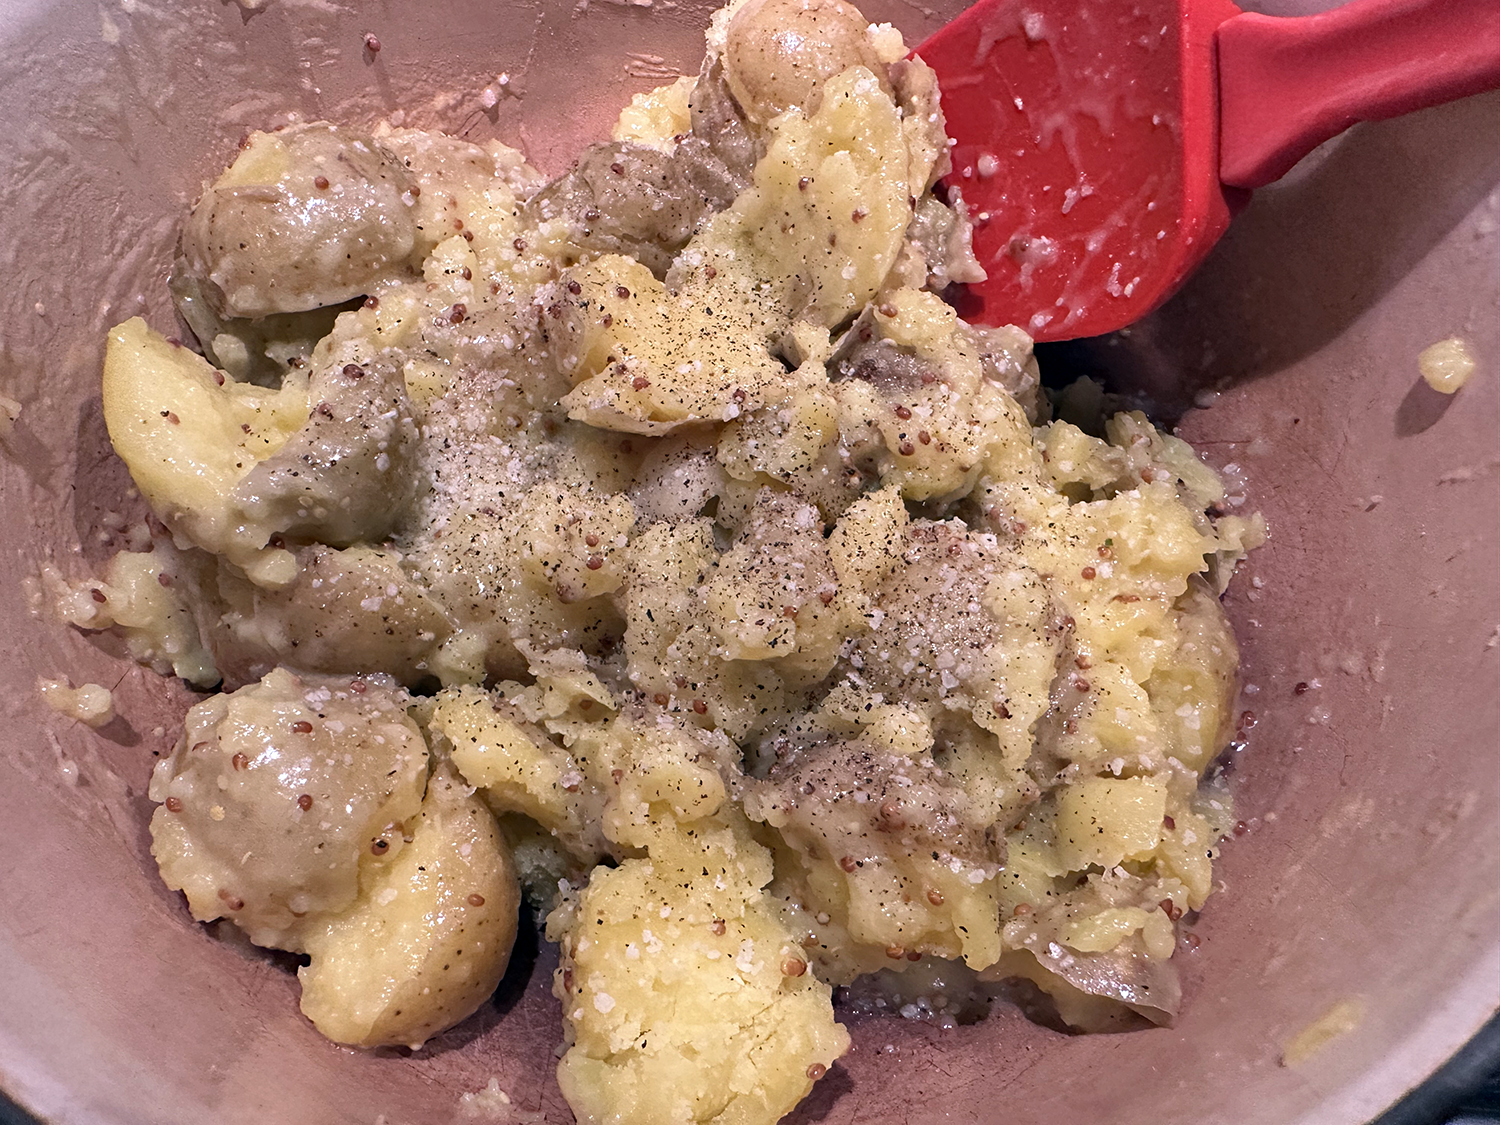
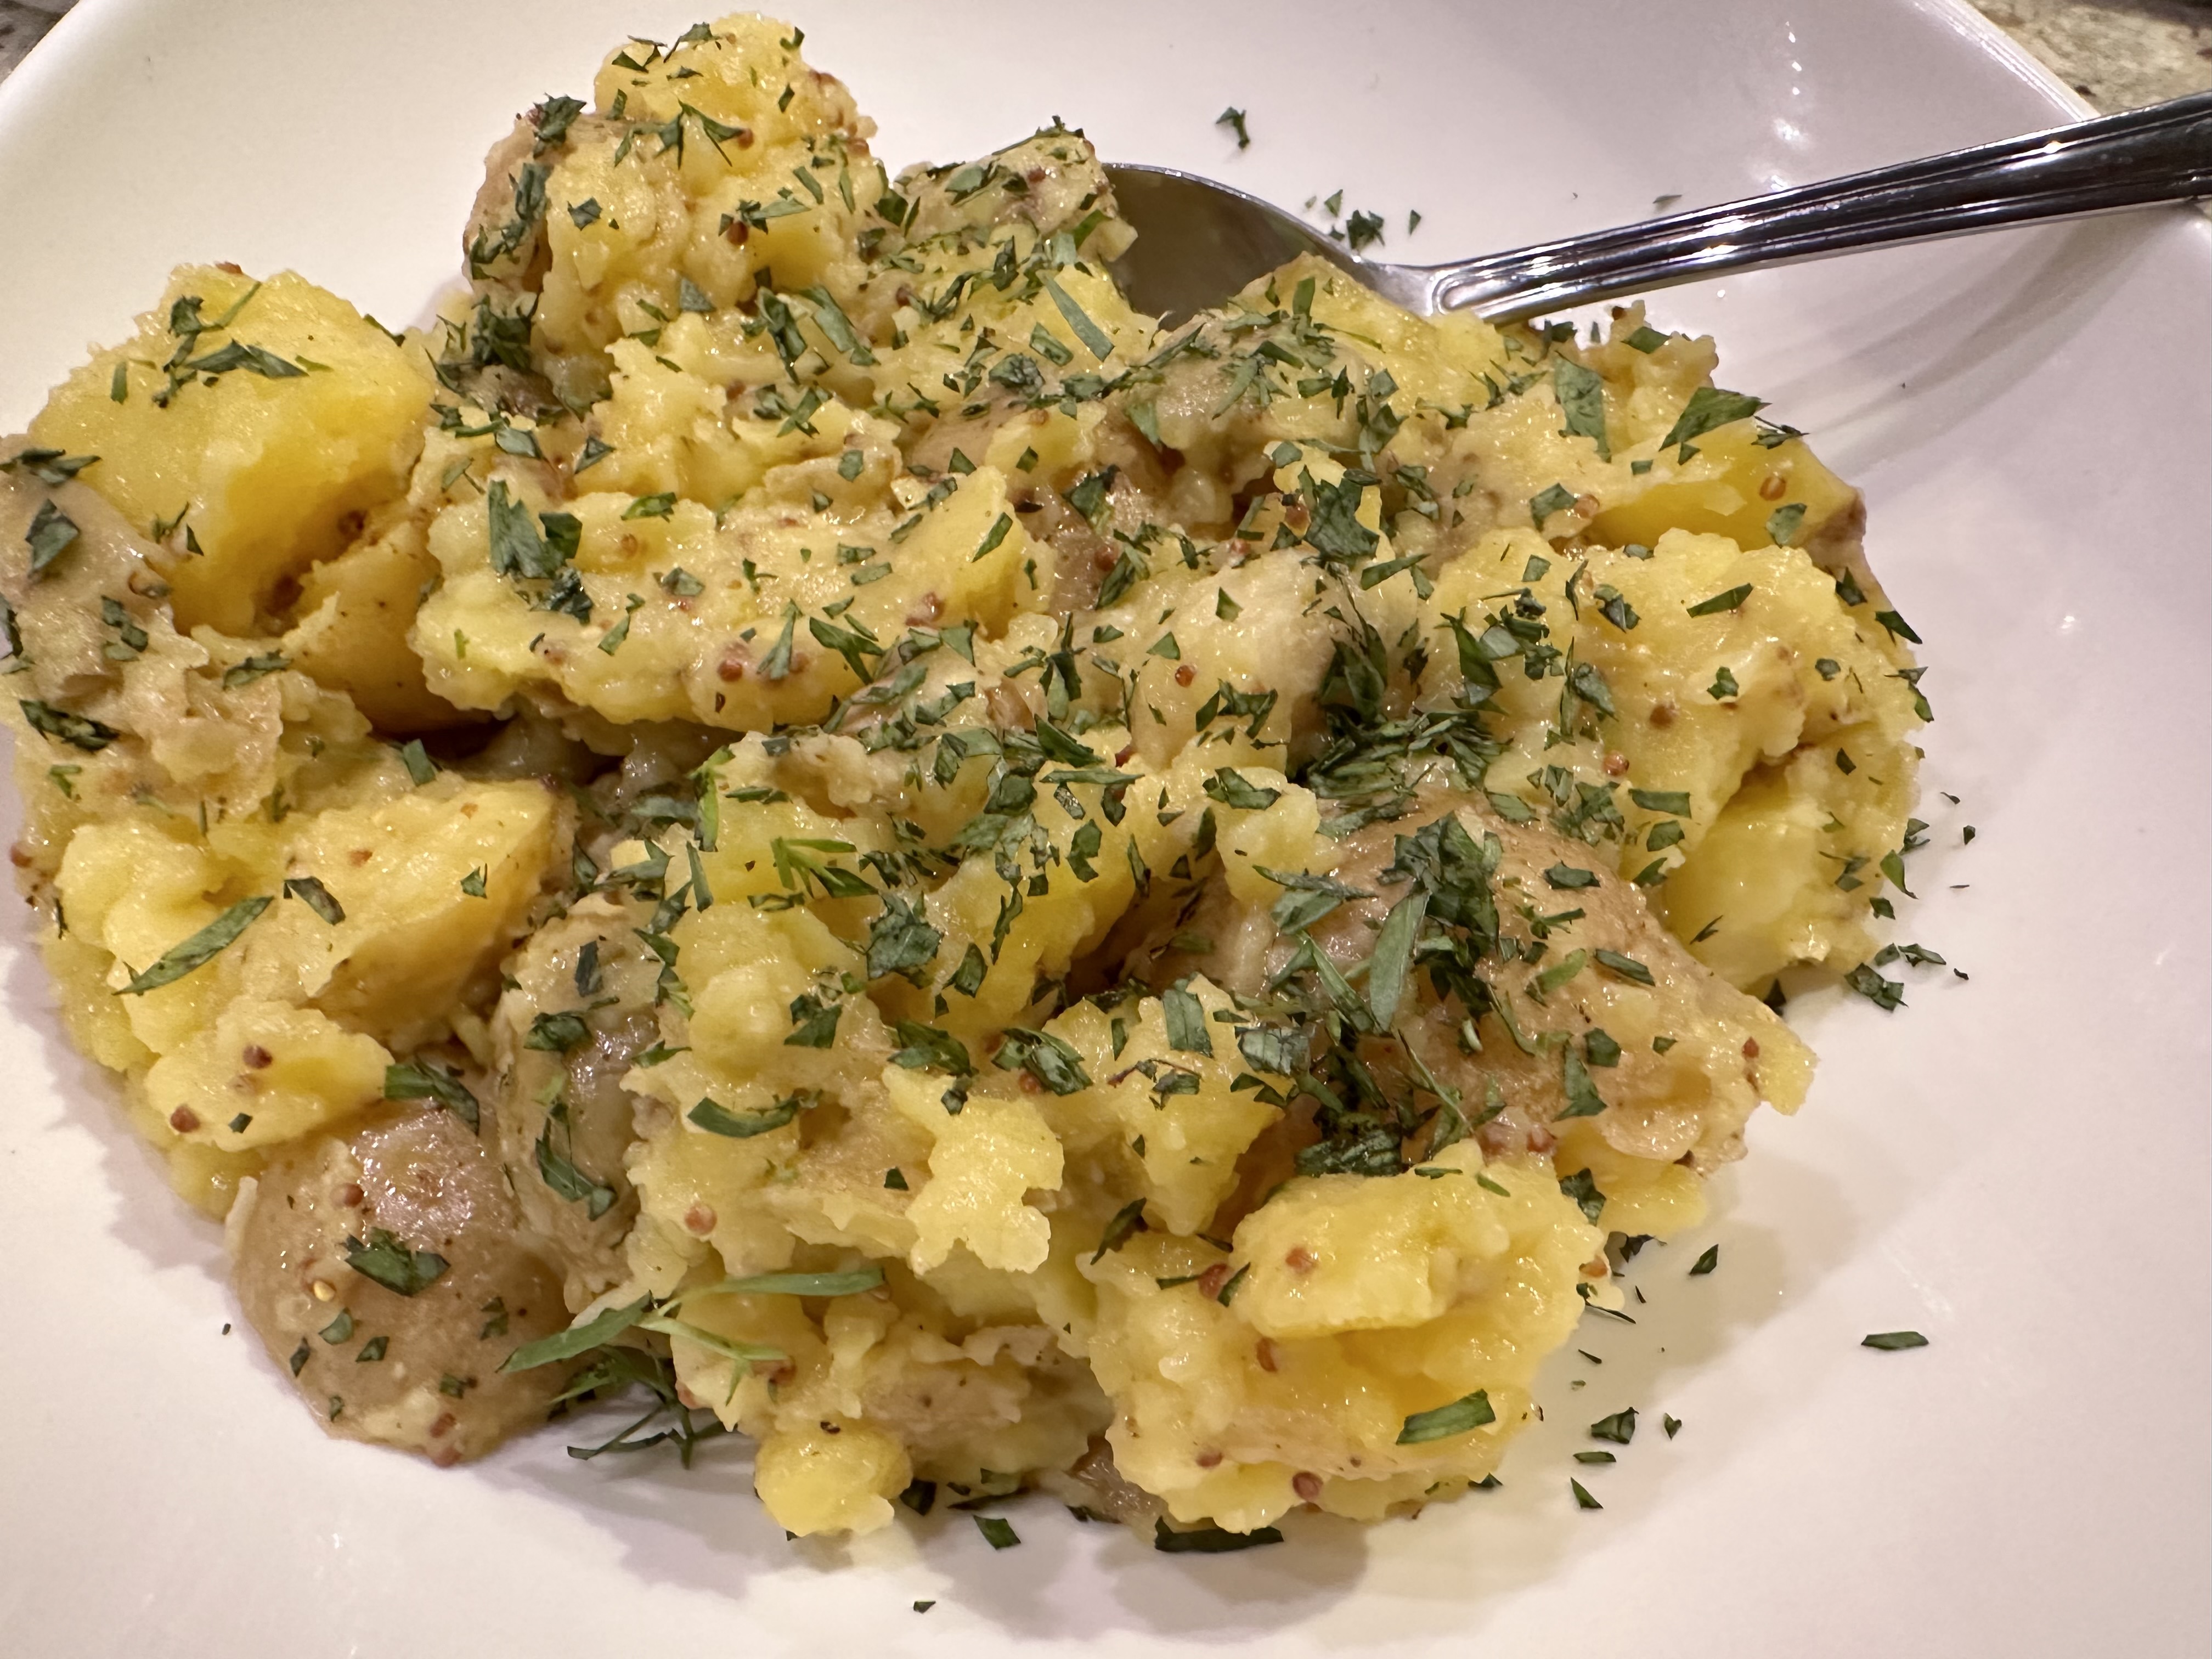
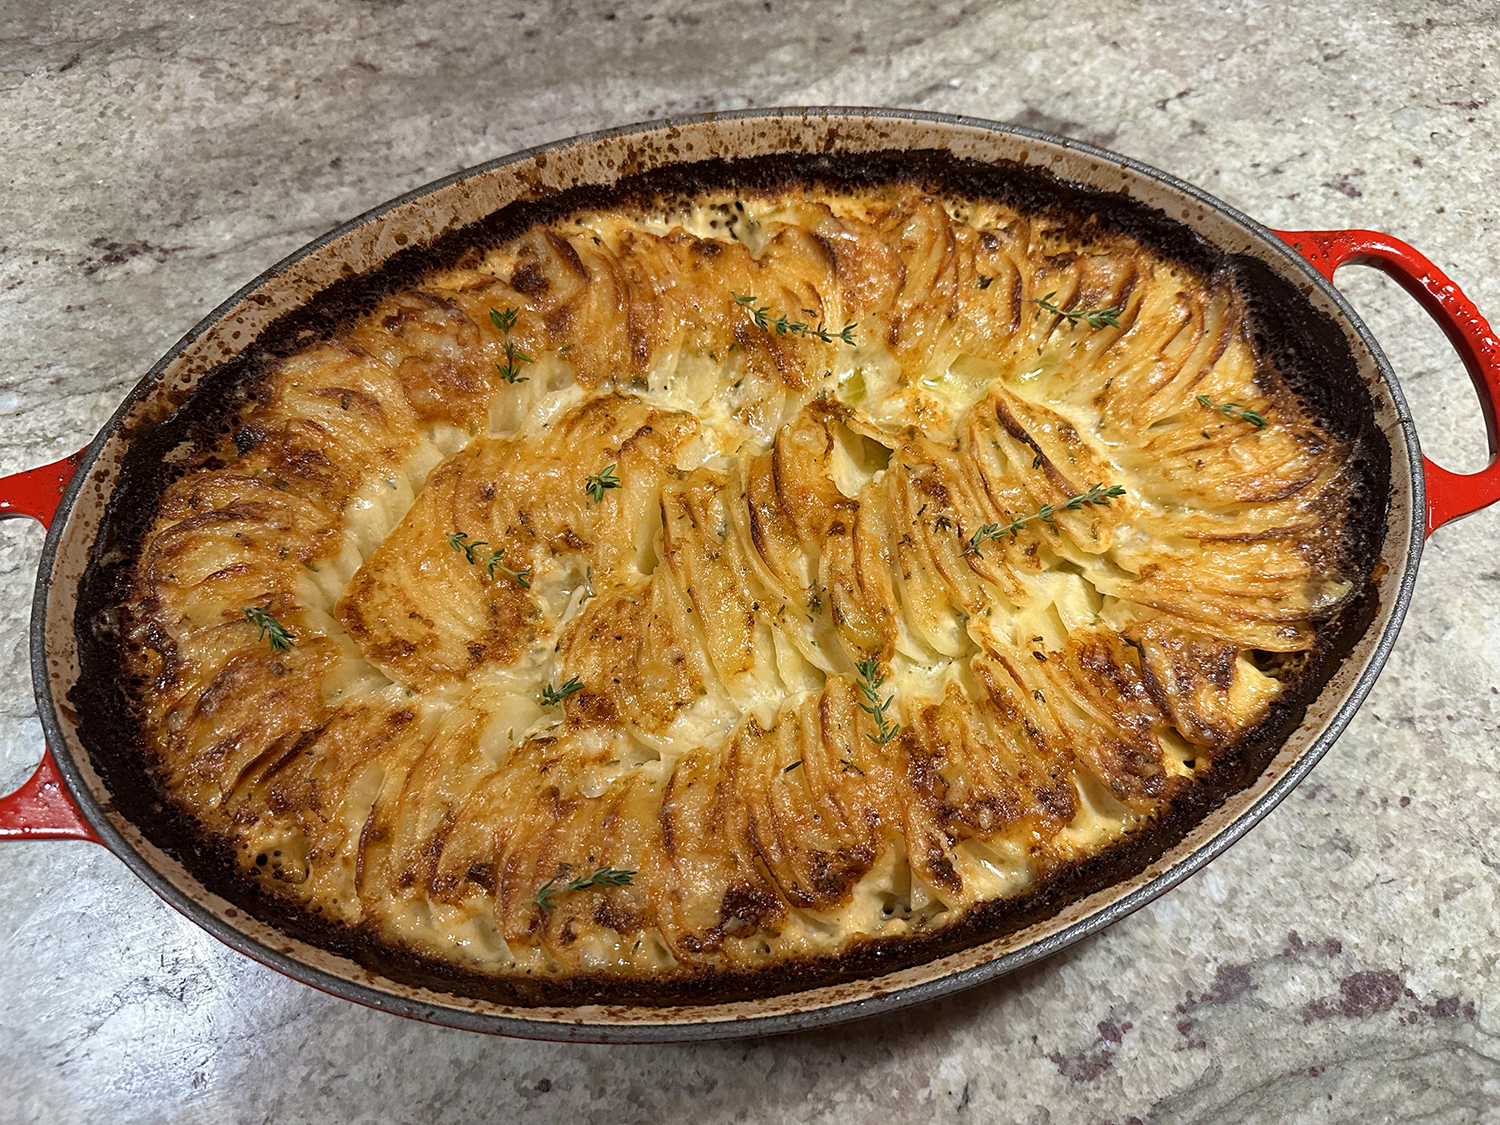
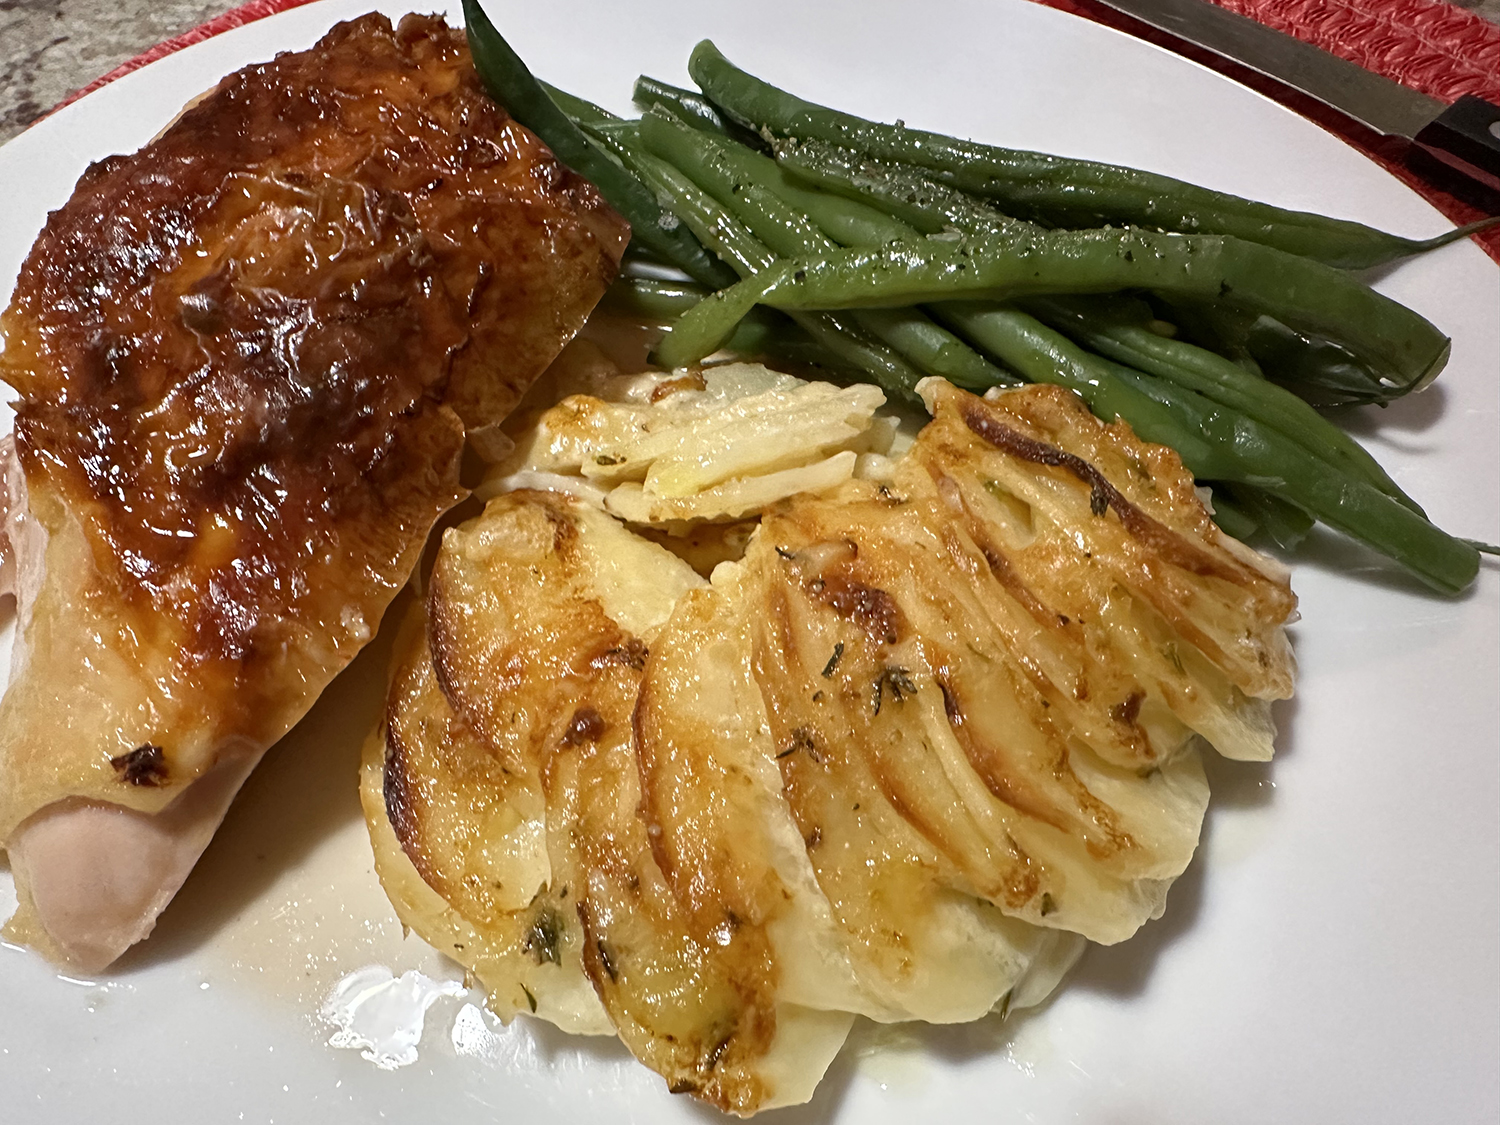
Scalloped potatoes are a tried-and-true side dish. There’s no reason to reinvent a classic, but adding a kick, a rather strong kick, can be a fun twist. The piquant horseradish in this recipe does exactly that. It cuts through the double richness of the cream and cheese and makes you crave another serving.
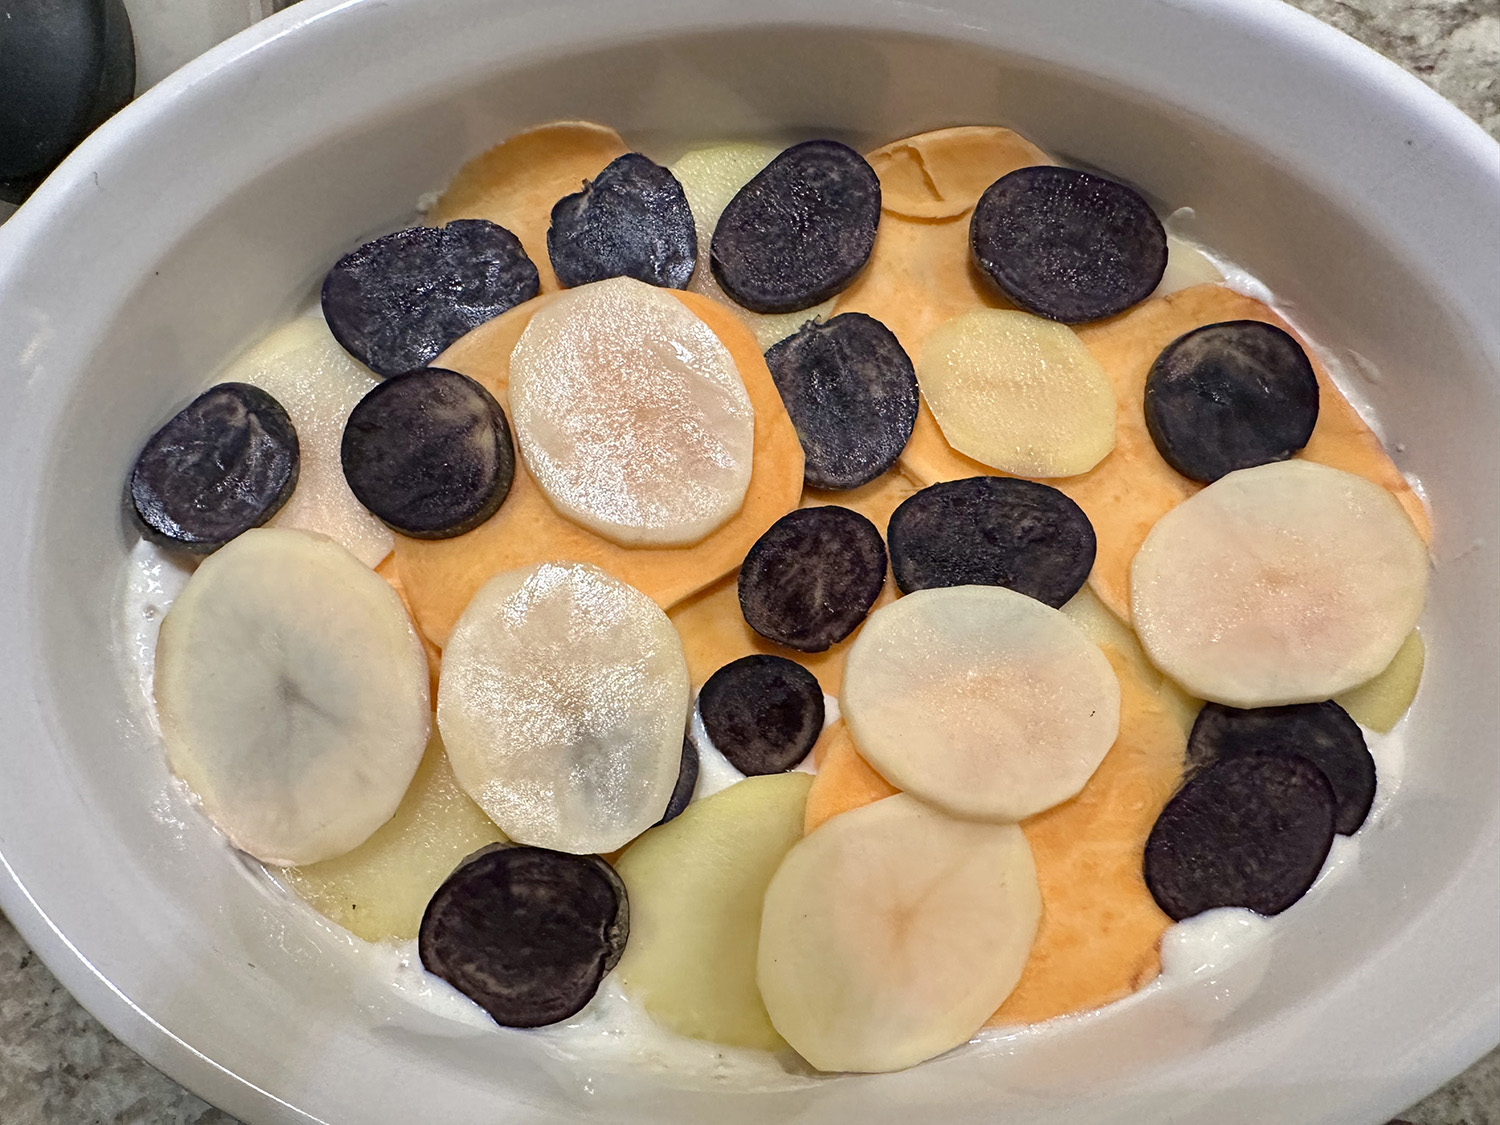
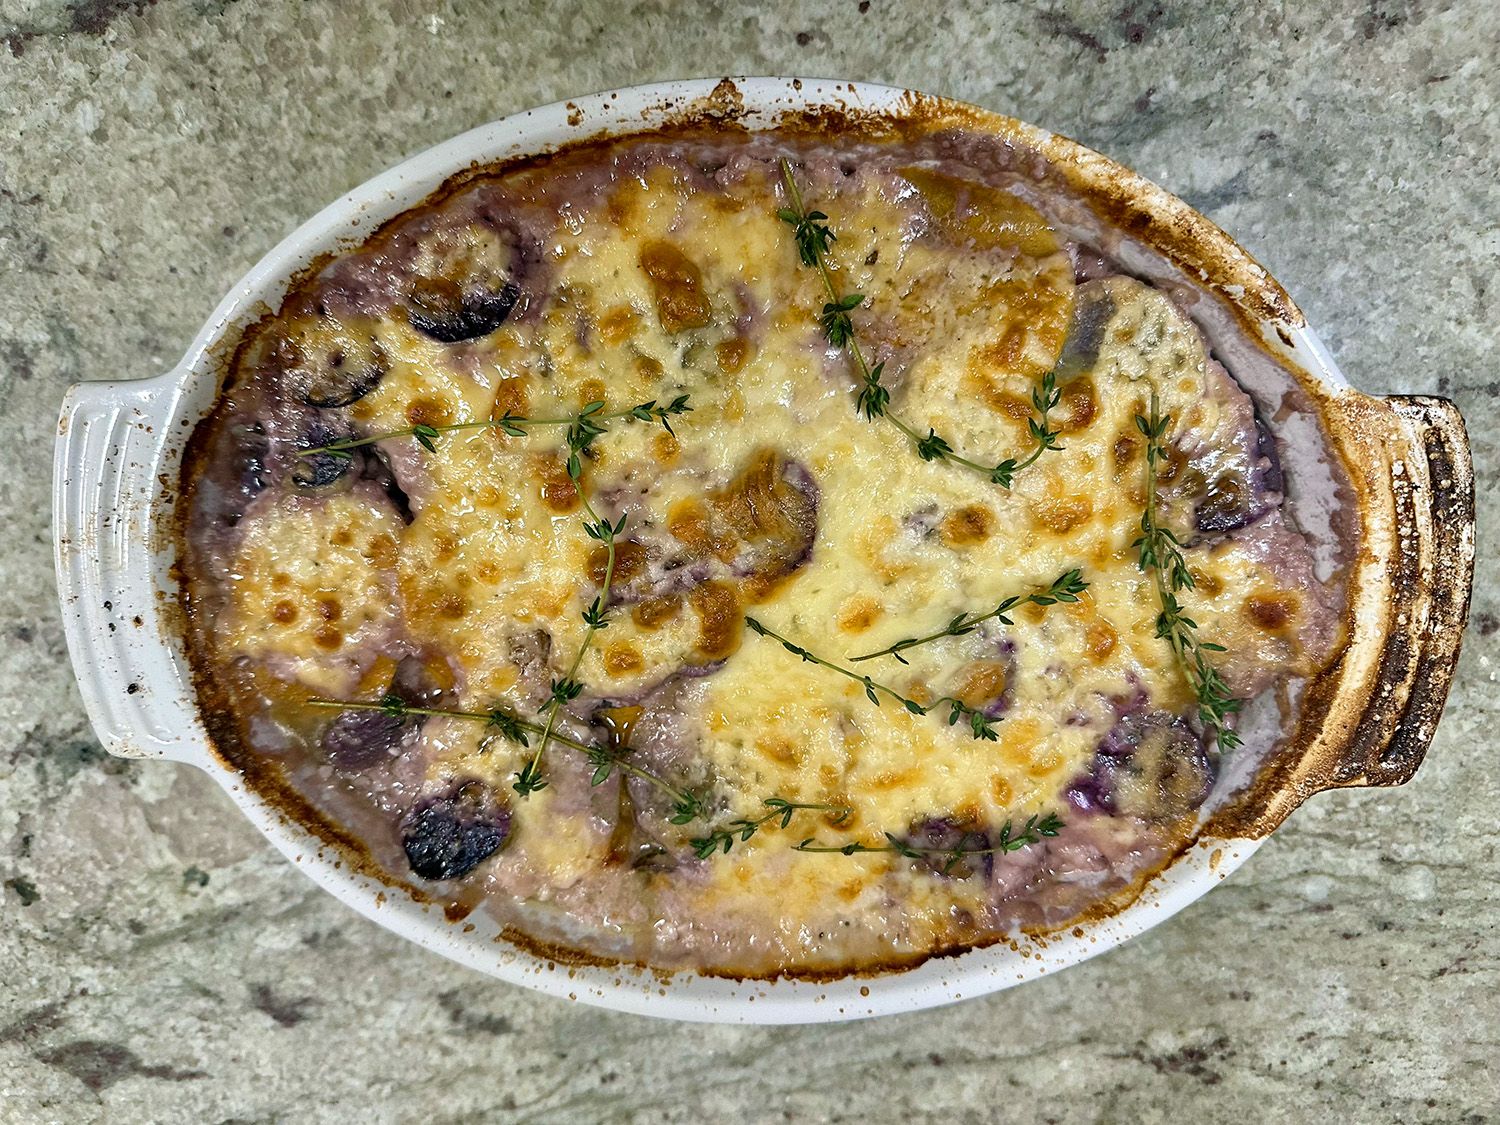
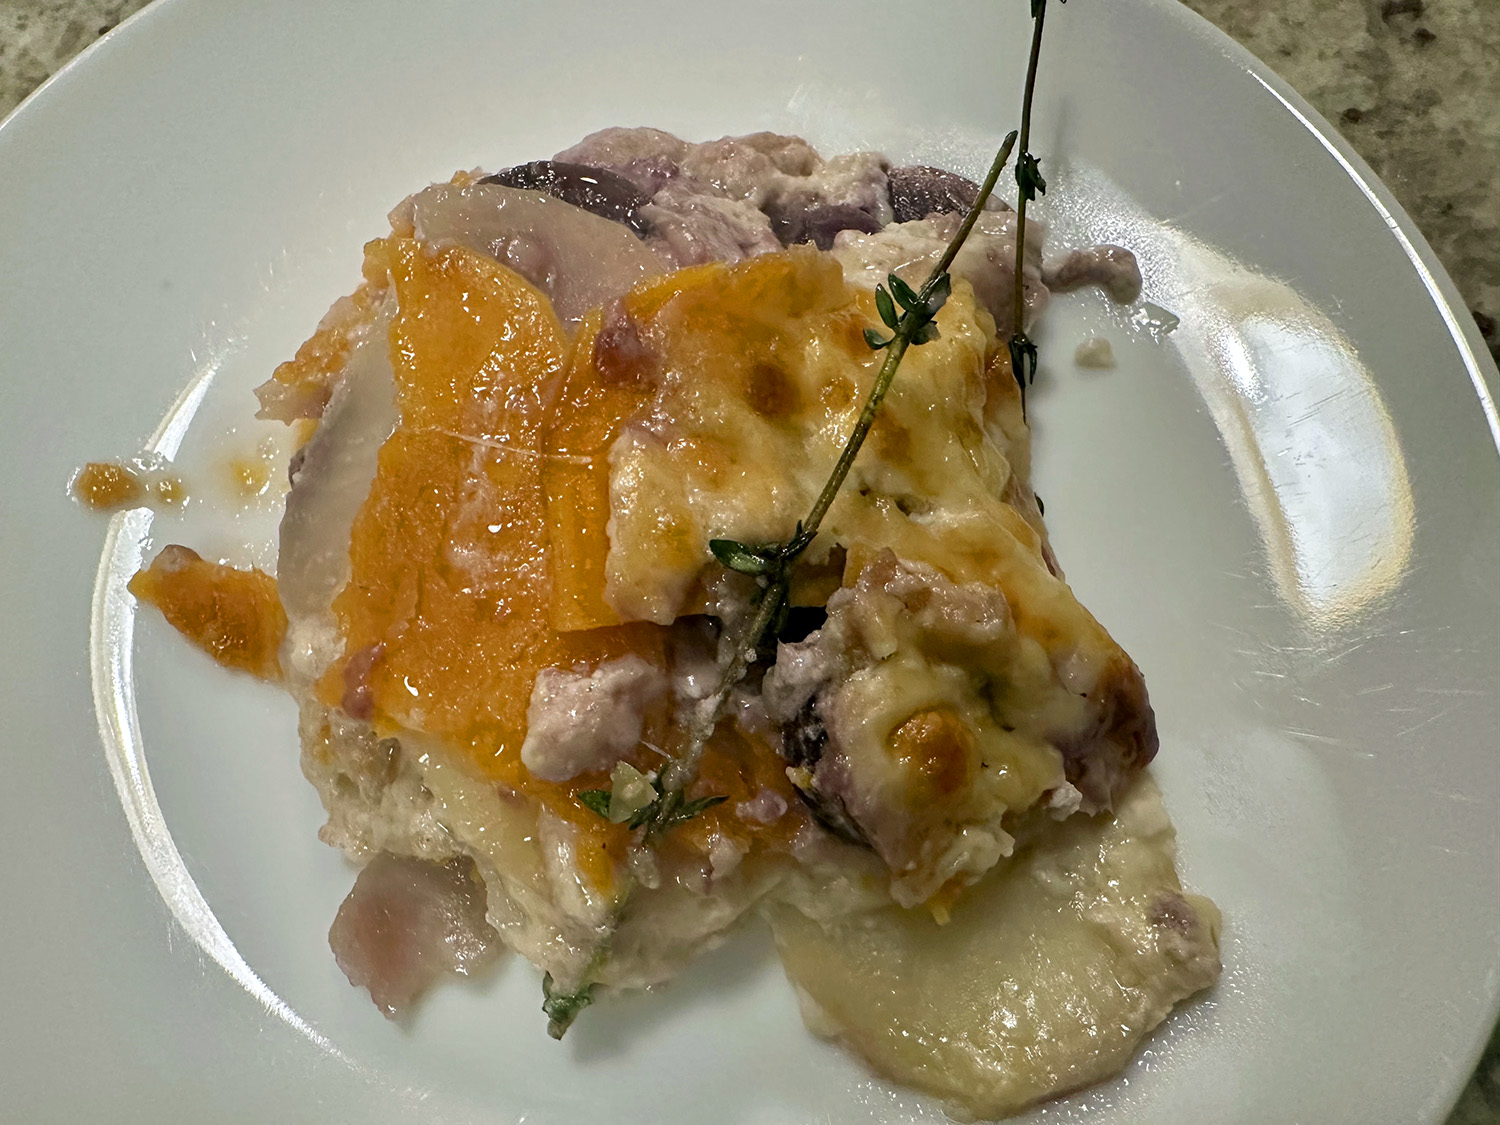
Swapping a single variety of potato for three — purple, sweet and russet — adds more texture and flavor. Purple potatoes (see Tip) pop on the plate and offer that earthy flavor but with a less starchy texture, and the sweet potatoes are meltingly tender. Give this festive, upgraded version of scalloped potatoes a try at your next gathering.
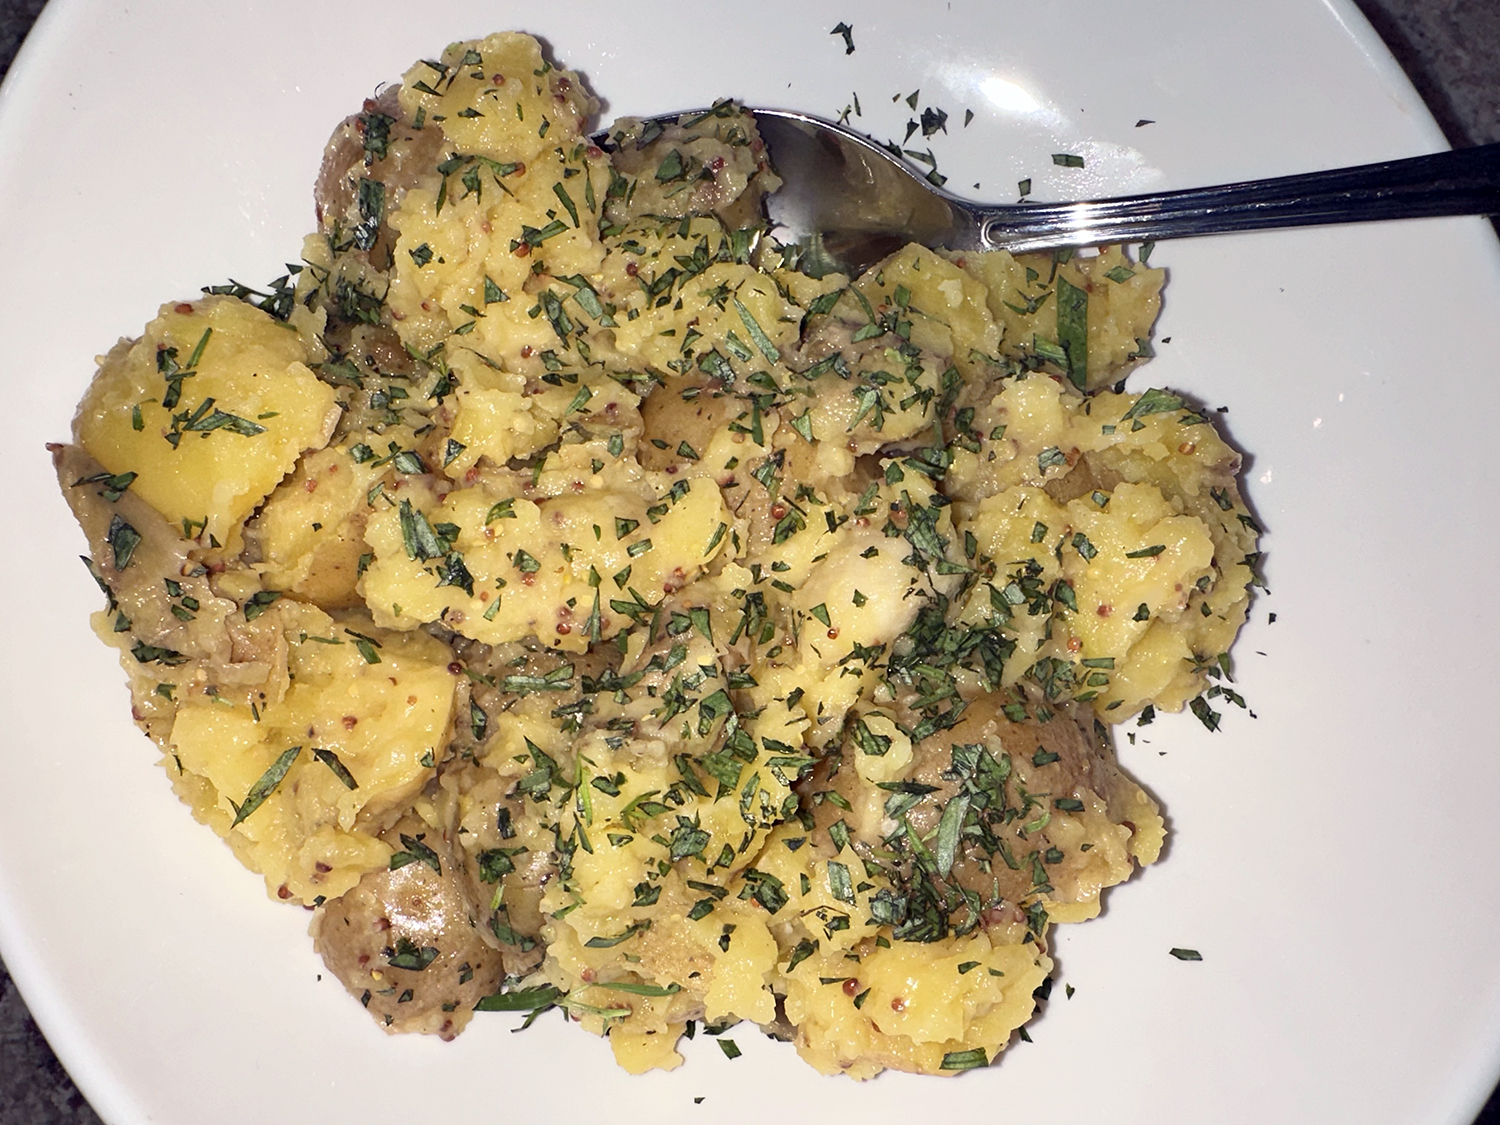
Intended for just the two of us, we cut the recipe me half. It was still enough for six decent-sized portions.
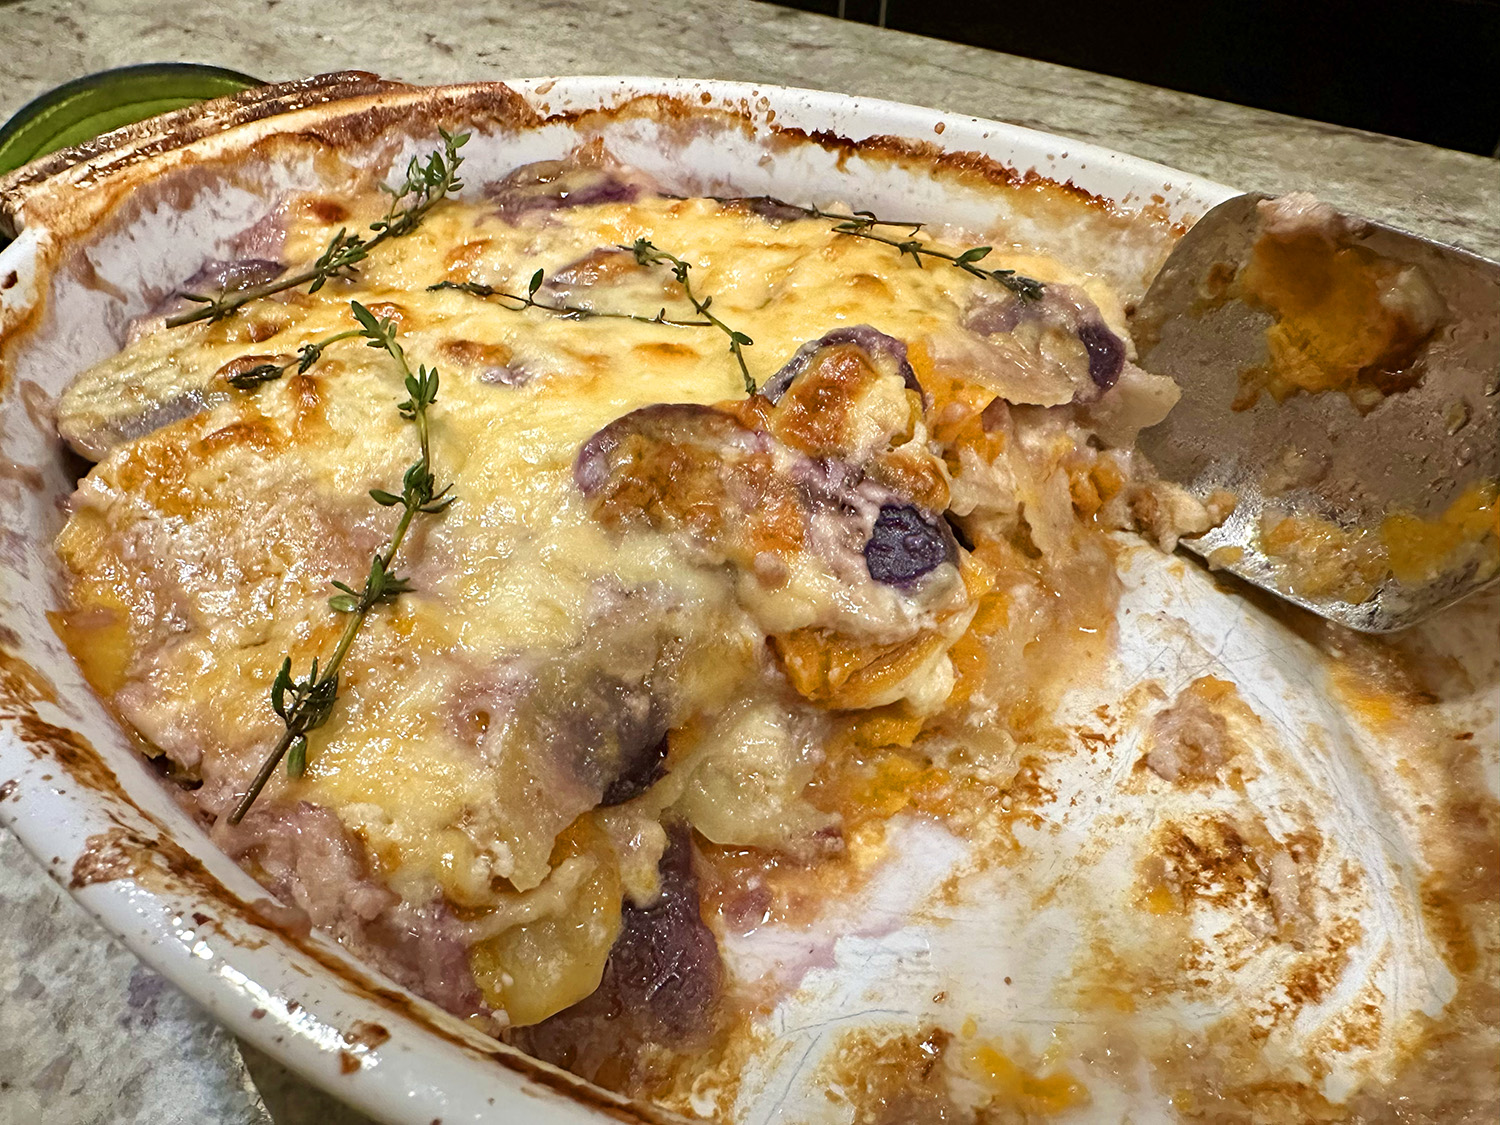
TIP: Go with whatever variety and size of purple potatoes are available. If using ones with thin skins, you can go ahead and skip peeling.
Scalloped Potatoes with Horseradish and Gruyere
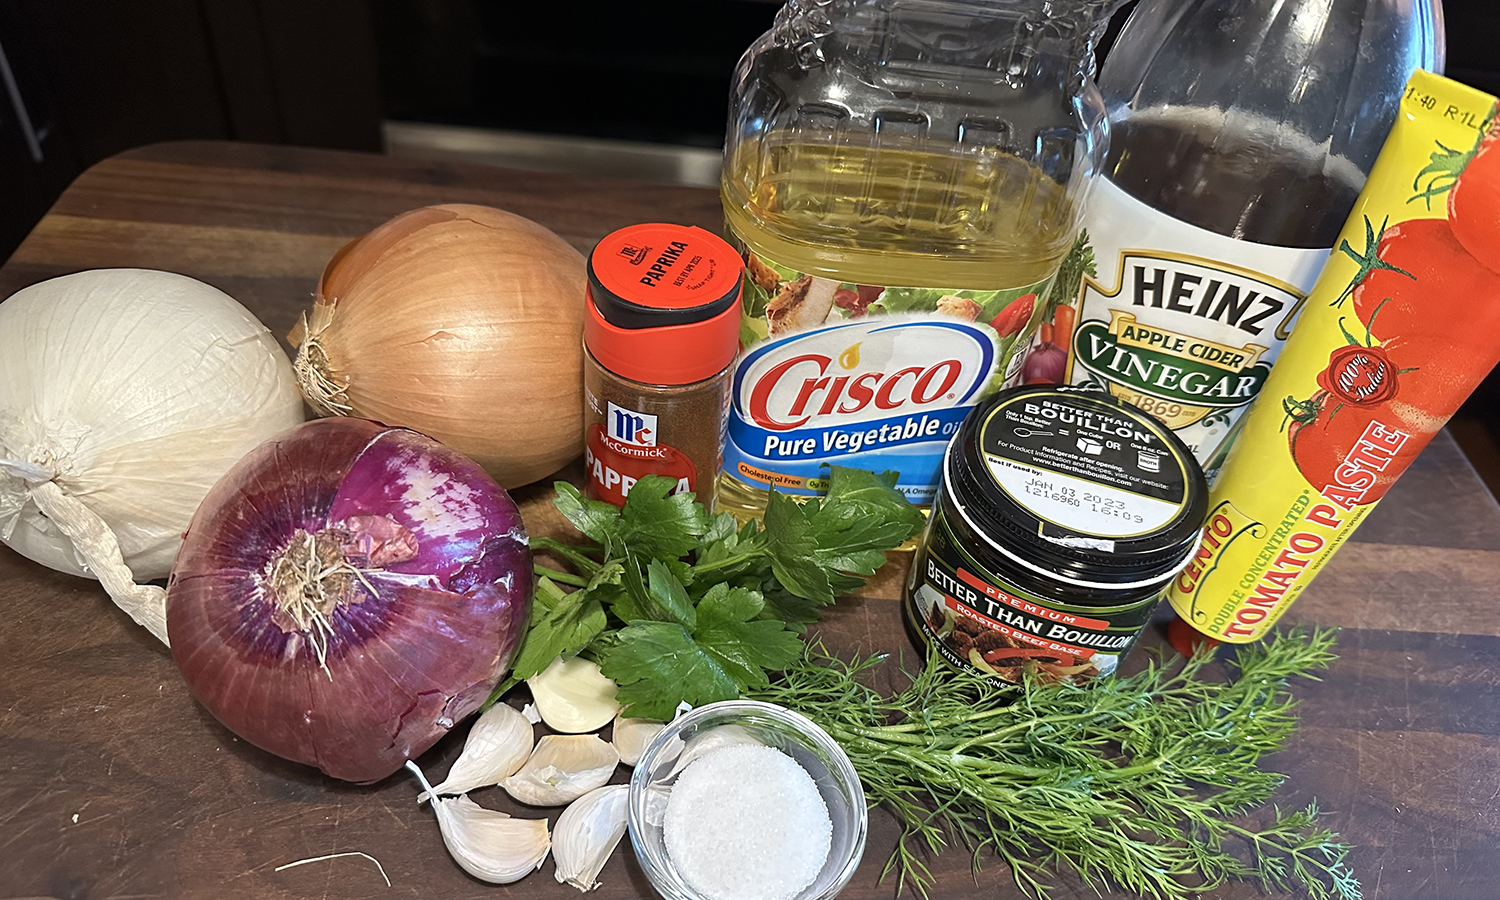
Ingredients
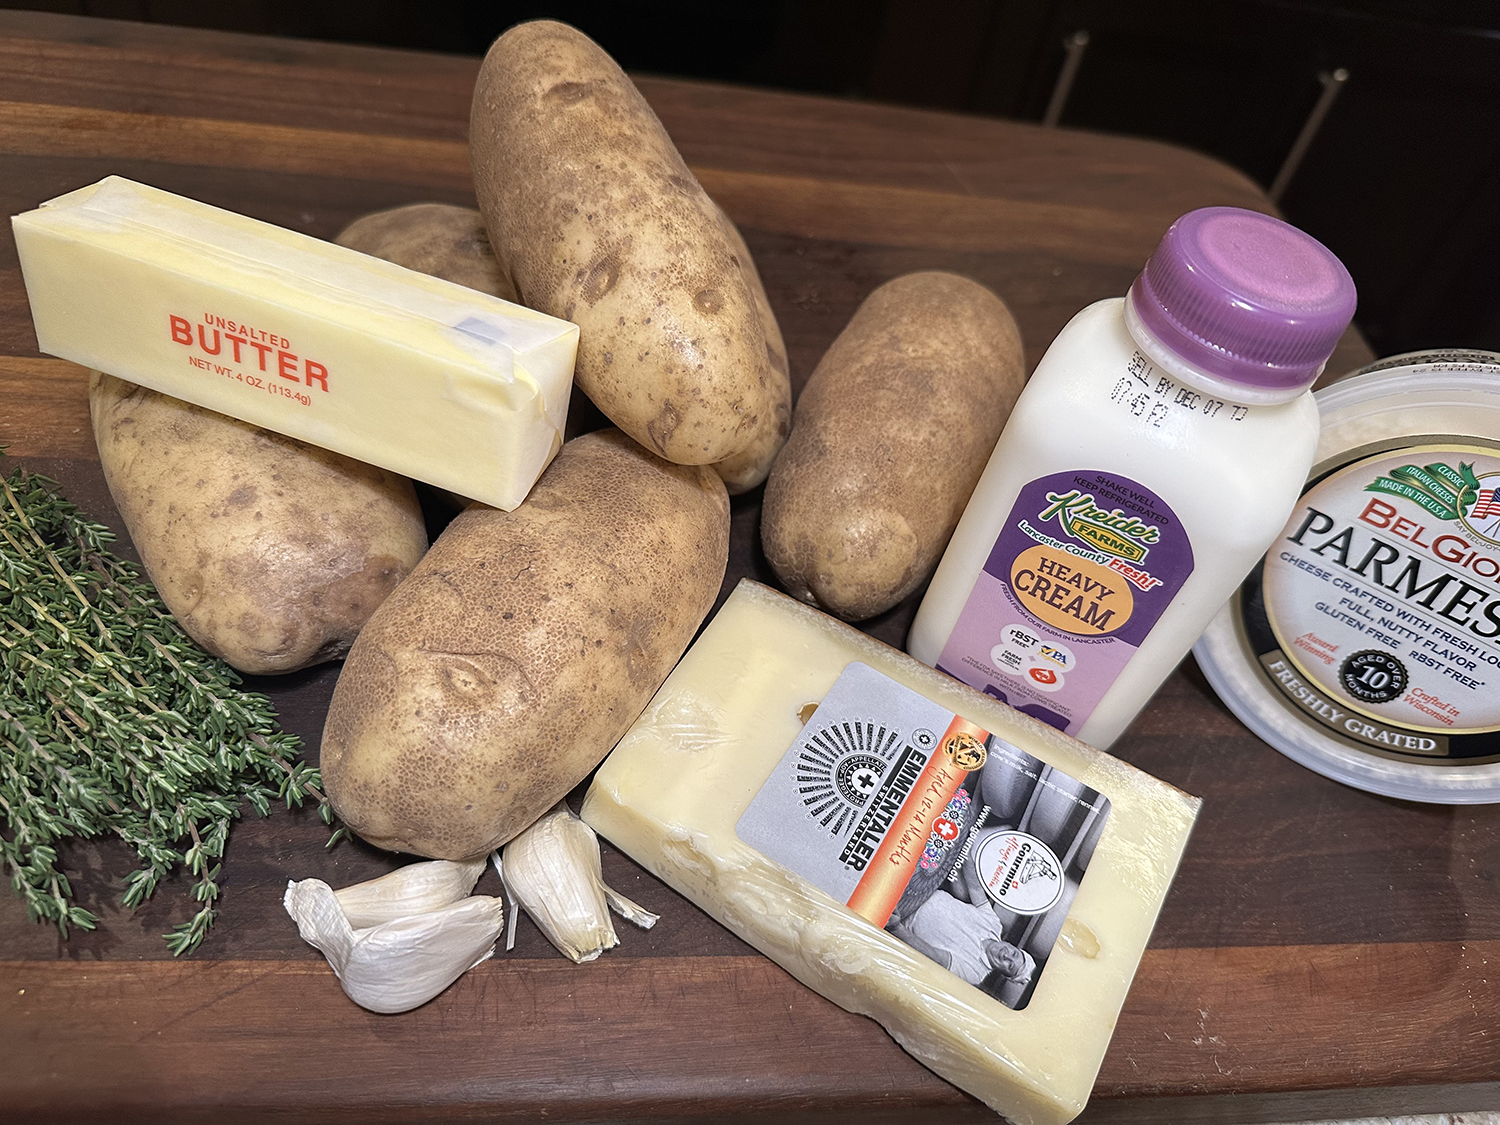
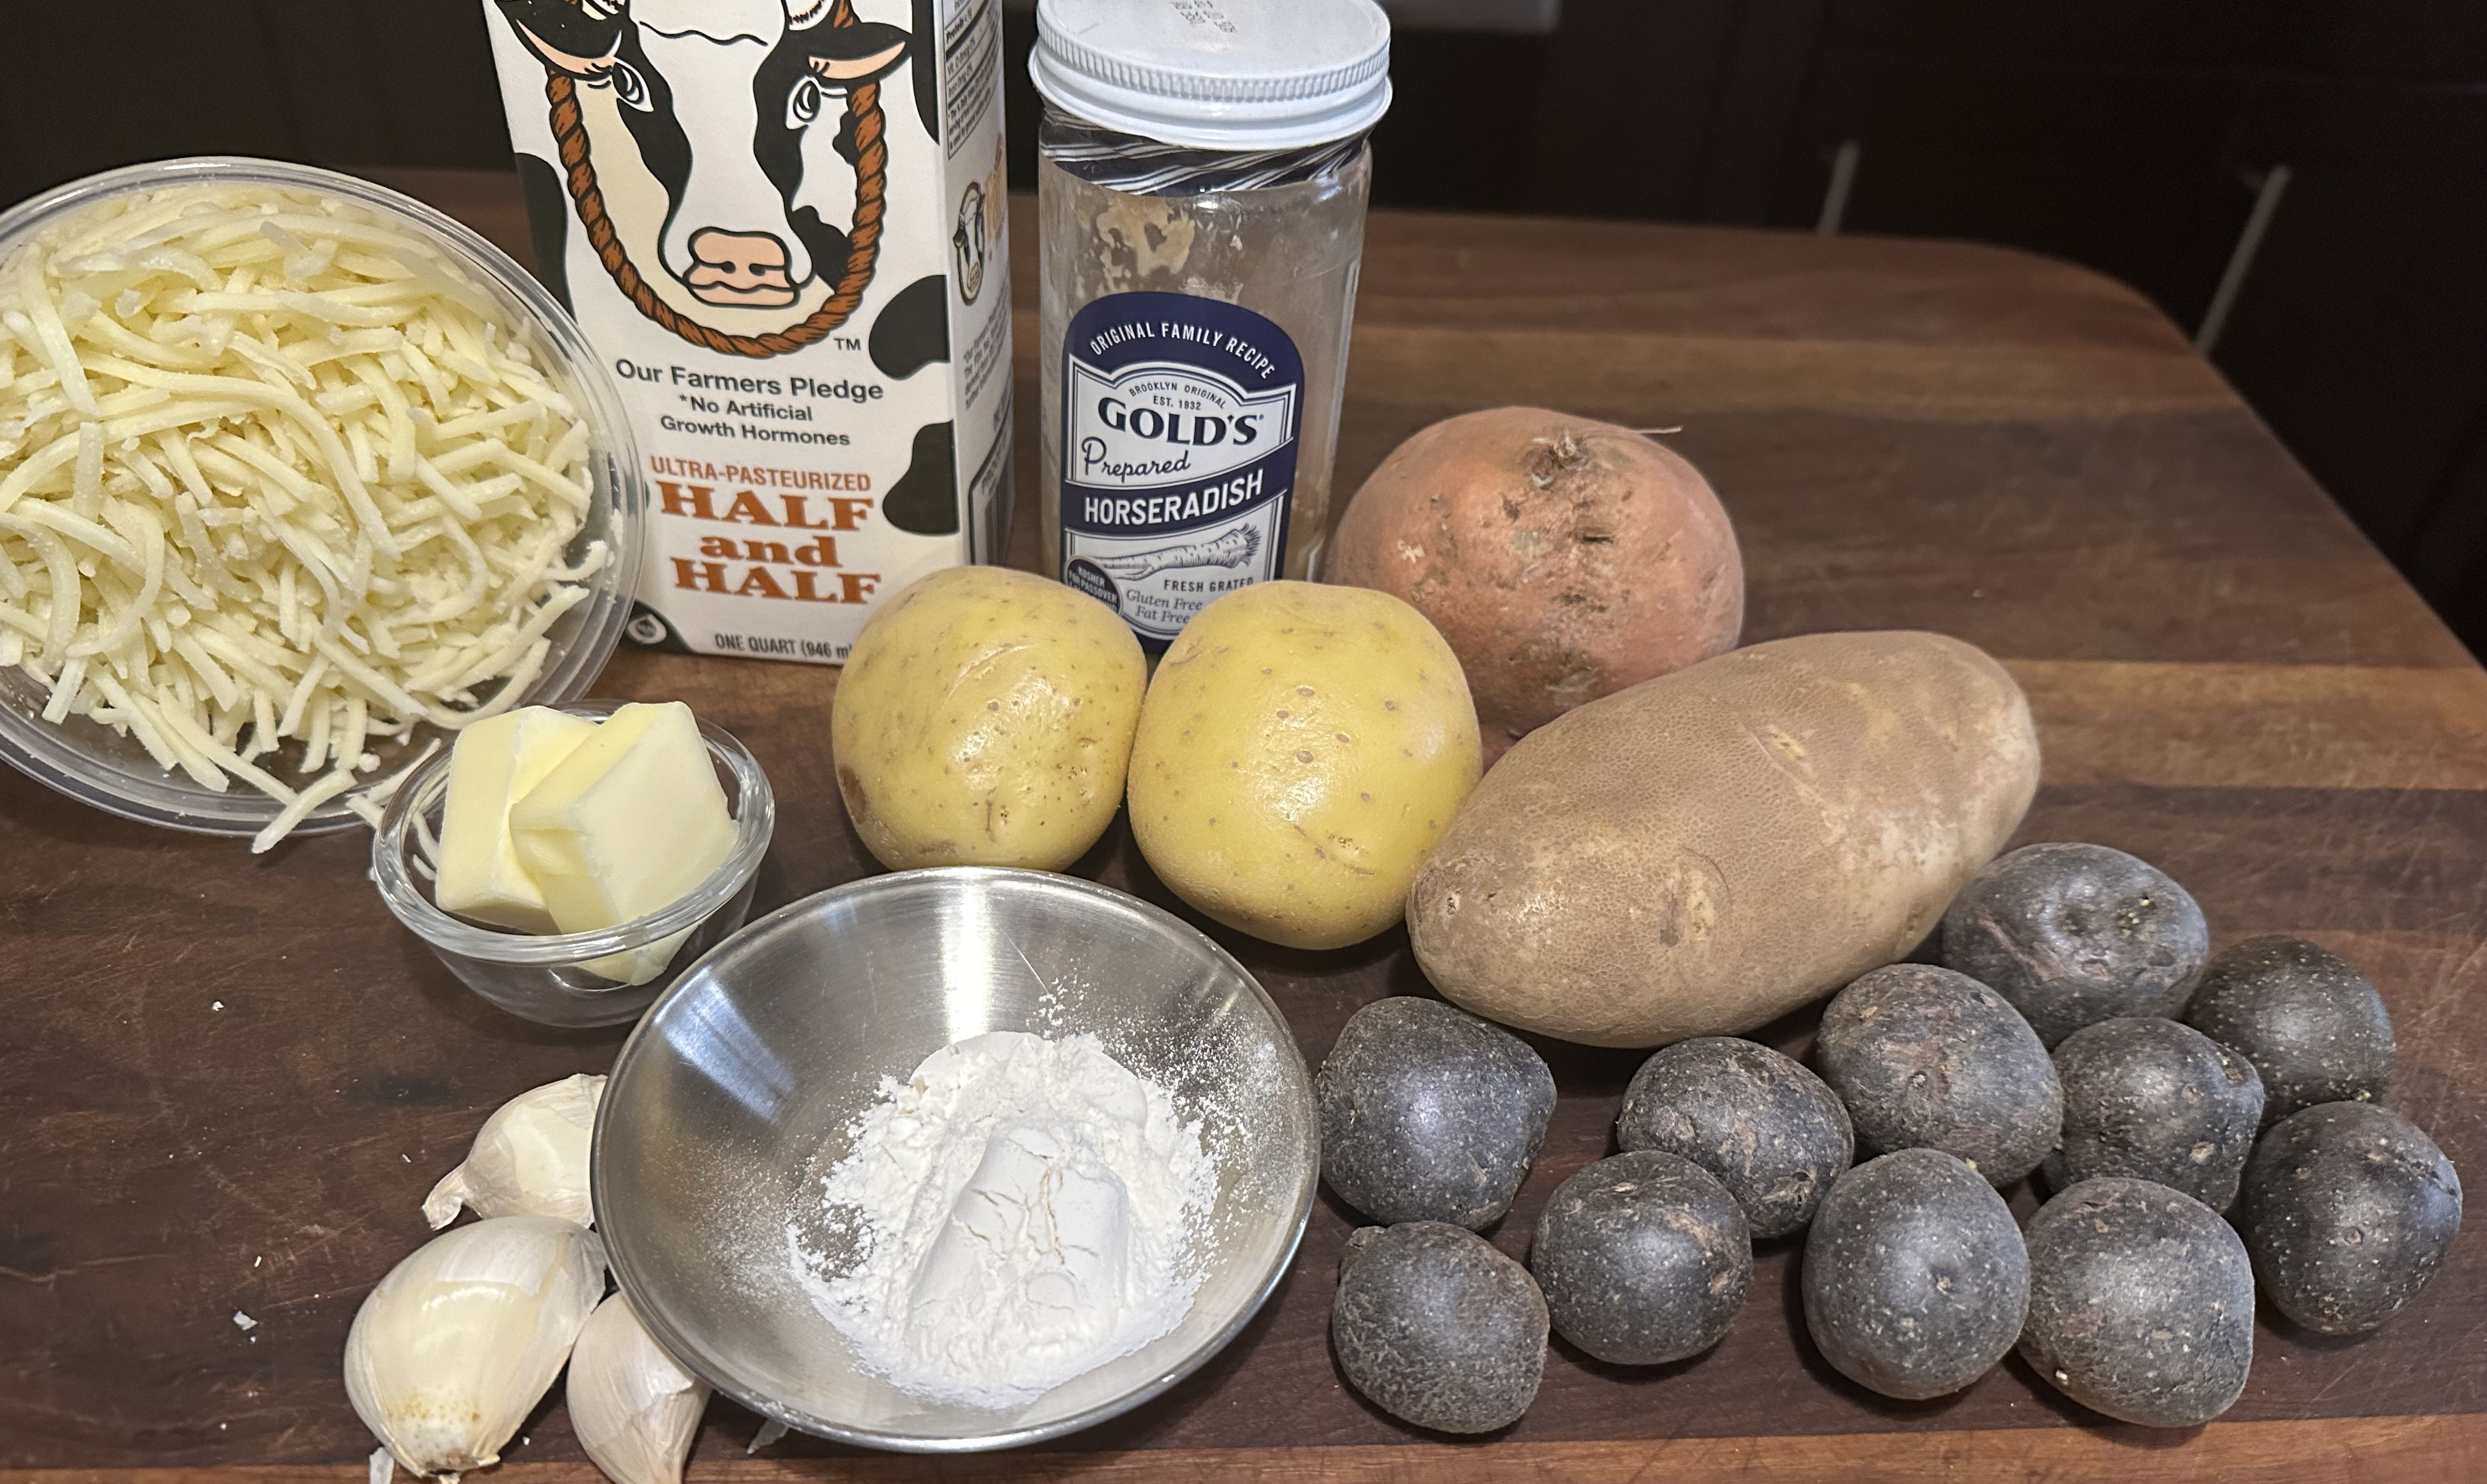
- 1 lb. russet potatoes (about 2 medium)
- 1 lb. purple potatoes (see Tip)
- 1 lb. sweet potatoes (about 2 medium)
- 3 Tbsp. unsalted butter
- 5 medium garlic cloves, finely grated
- 3 Tbsp. all-purpose flour
- 3 cups half-and-half
- ½ cup prepared horseradish
- Kosher salt (such as Diamond Crystal)
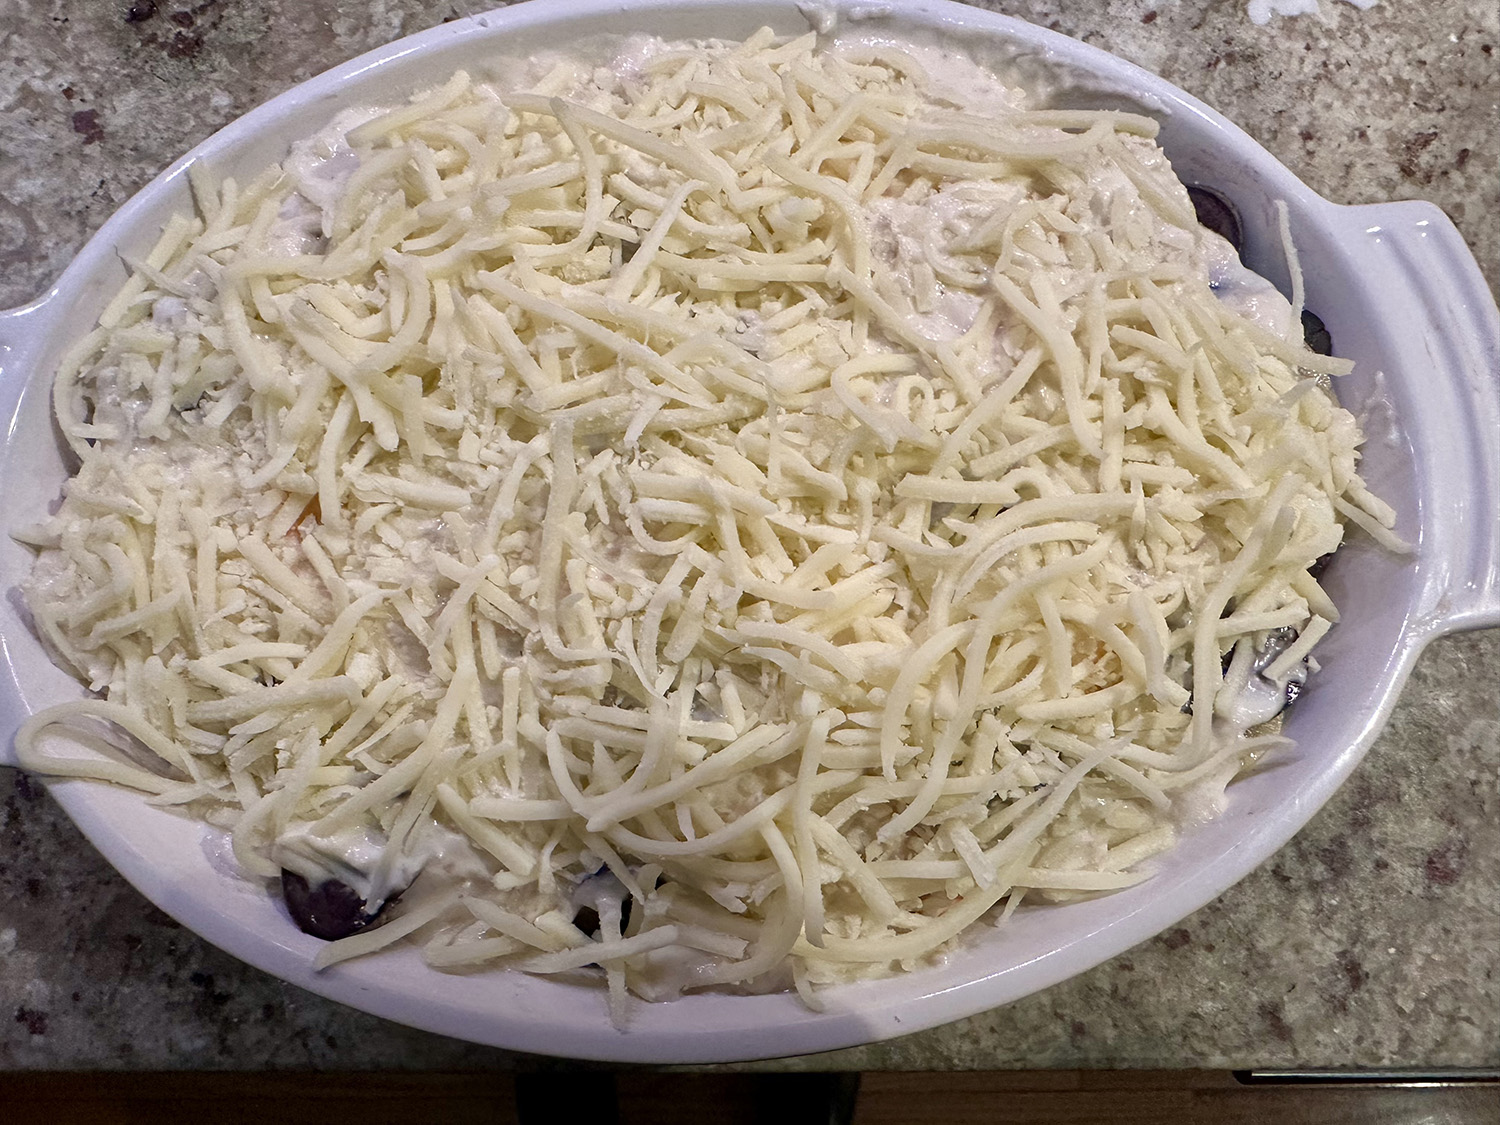
- 2 cups shredded Cheddar or Gruyère


Directions
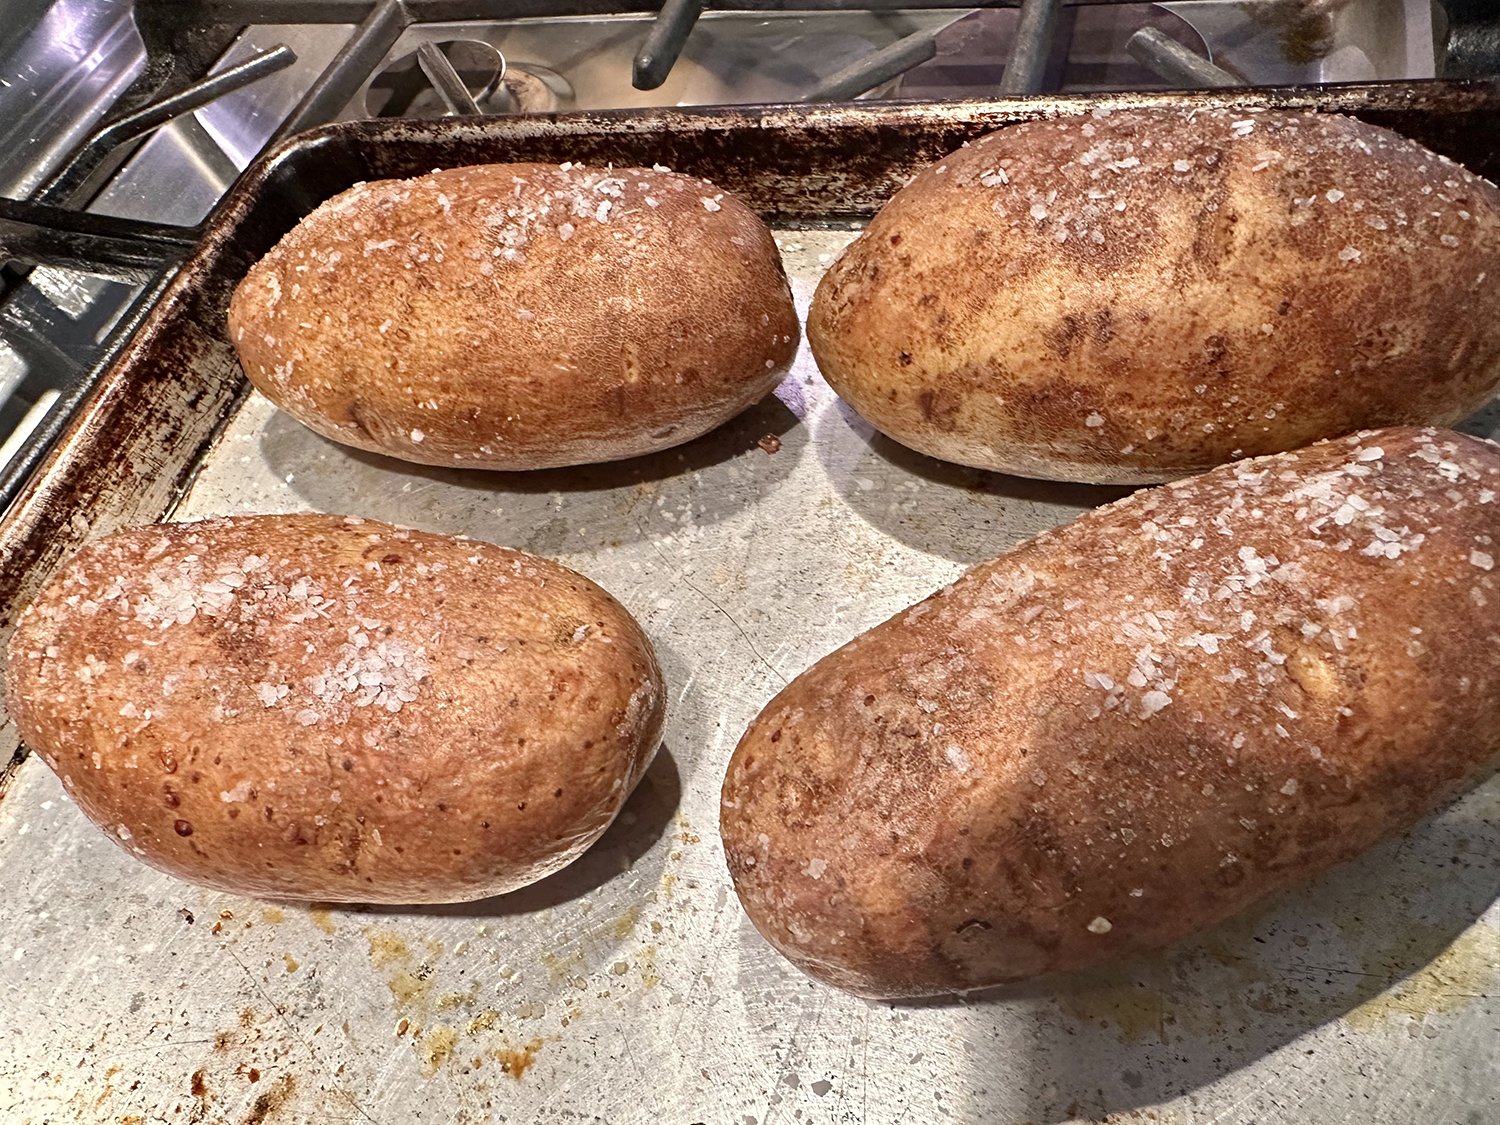
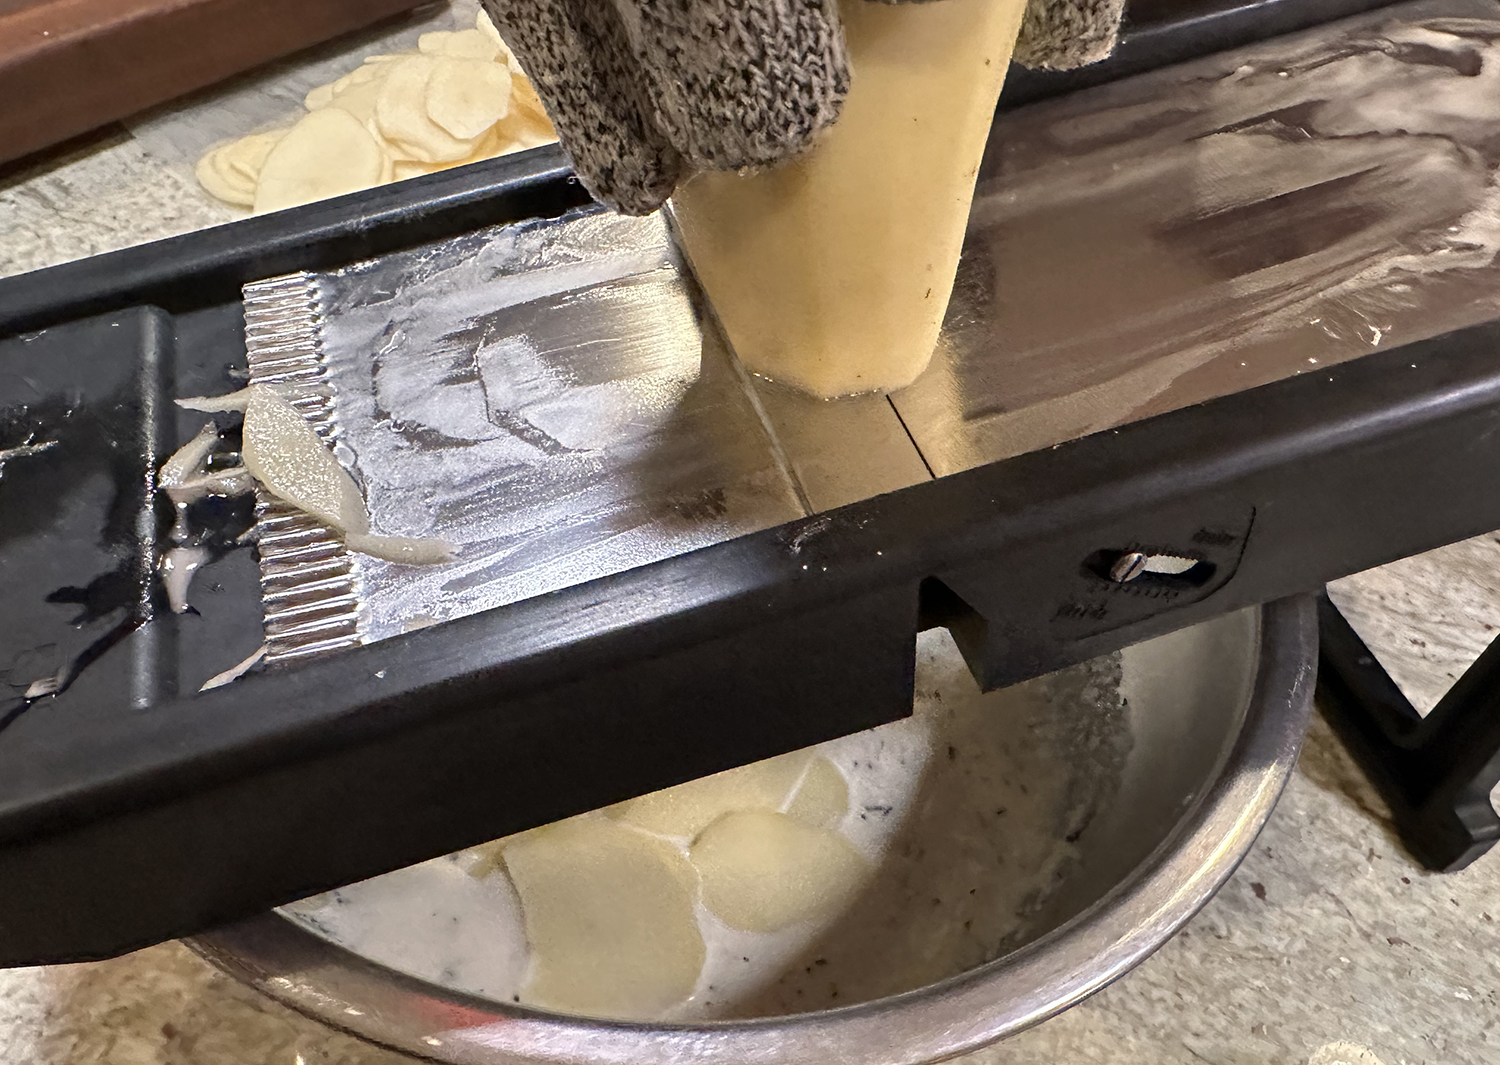
- Arrange a rack in the top third of the oven and heat to 400 degrees. Peel all the potatoes (see Tip) and cut into ⅛-inch-thick slices with a sharp knife or mandoline.
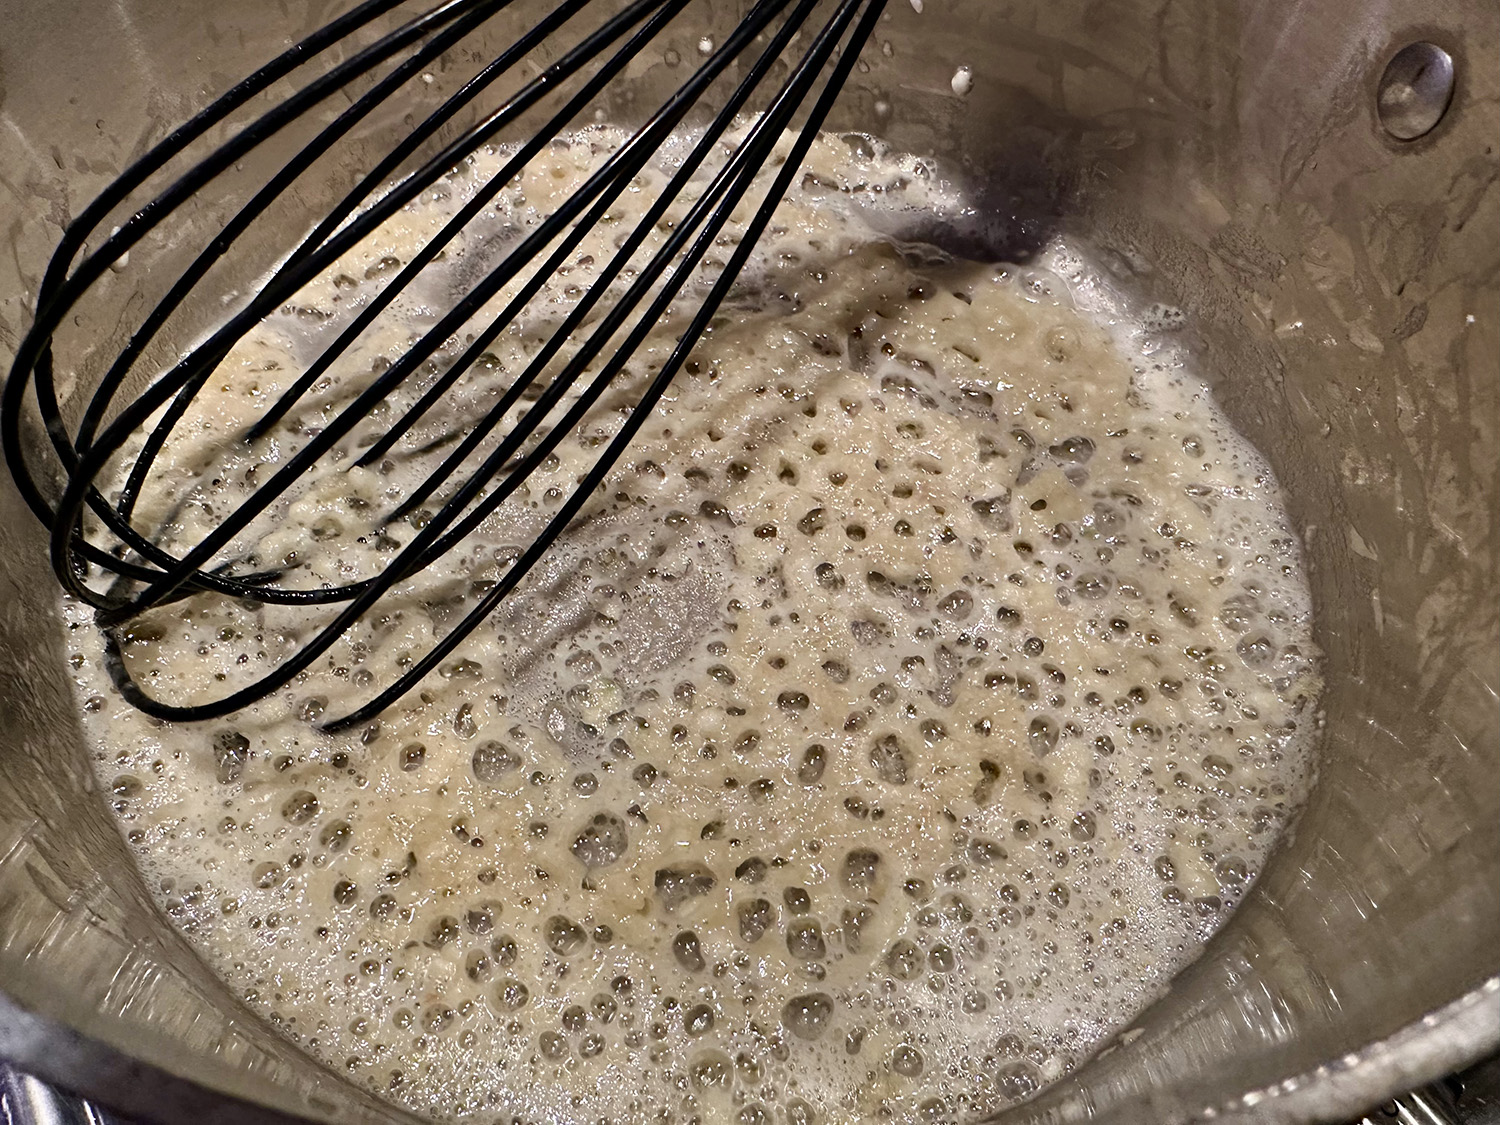
- In a medium saucepan, melt the butter over medium heat. Add the garlic and cook until just golden, about 1 minute. Sprinkle in the flour and whisk until a paste forms, then continue stirring to cook the flour until bubbling, 30 seconds to 1 minute more. Slowly pour in 1½ cups of the half-the-half and whisk until combined. Whisk in remaining half-and-half, the horseradish and 2 teaspoons salt. Bring to a simmer while whisking constantly, then turn off heat and let steep for about 5 minutes.
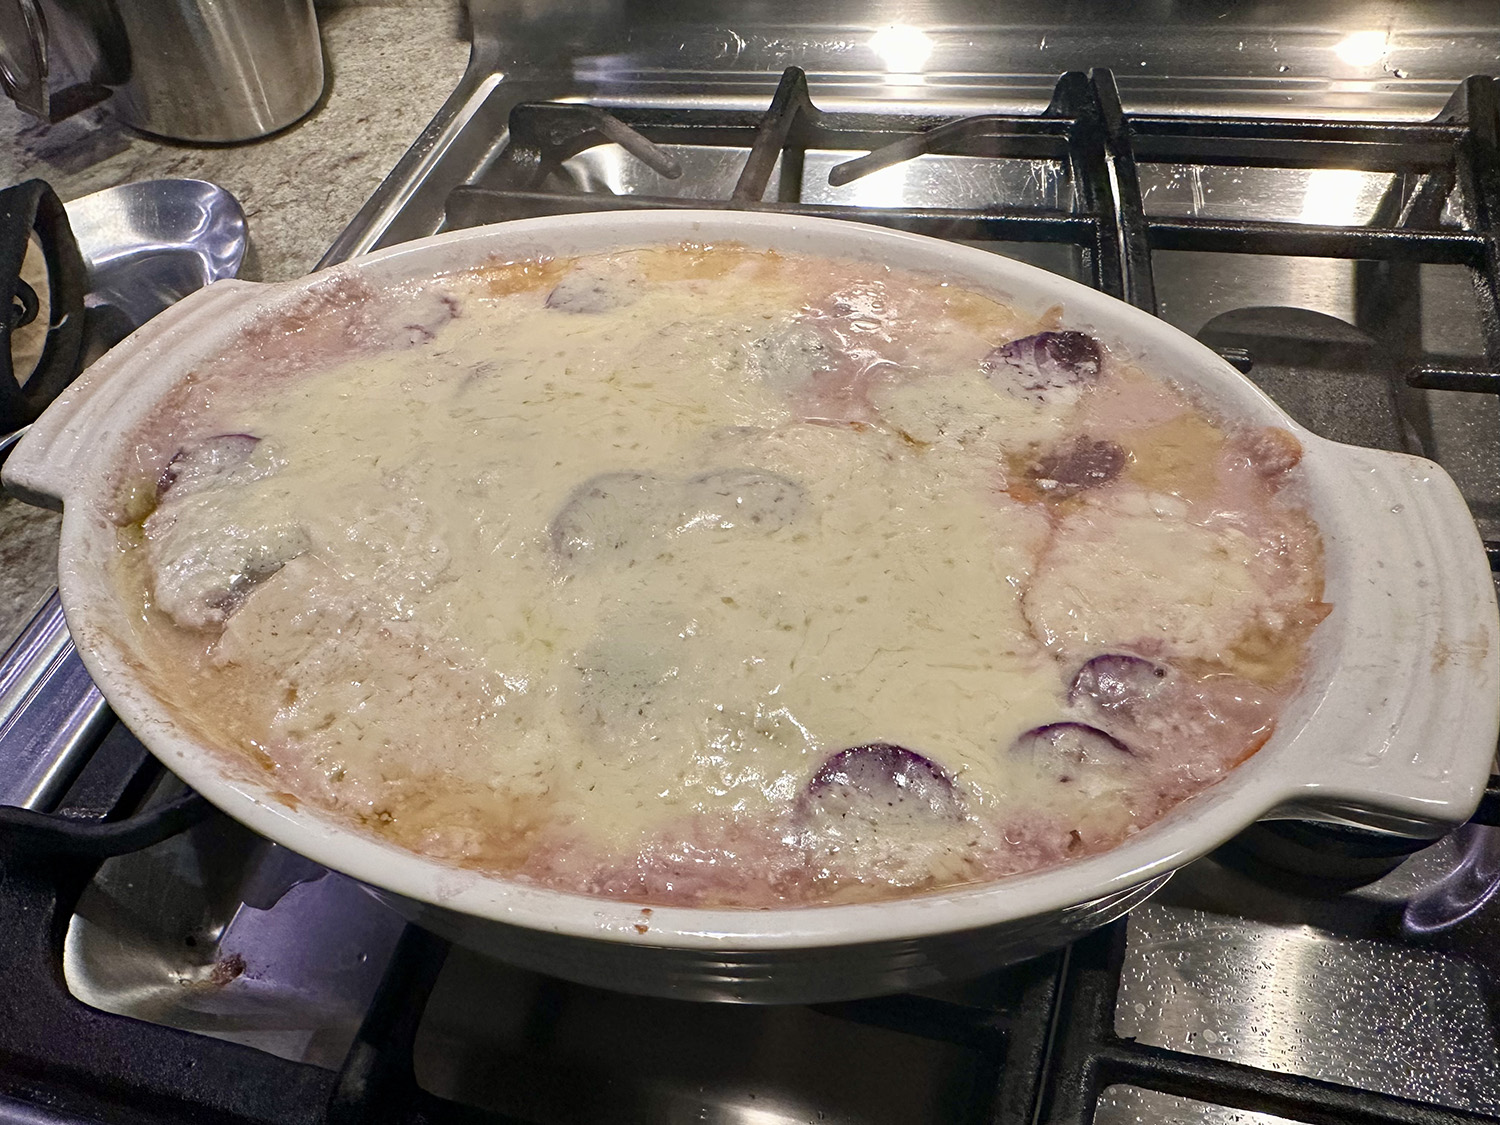
- Ladle 1 cup of the horseradish cream sauce into a 9-by-13-inch baking dish, spreading to fully coat the bottom of the dish. Add half the sliced potatoes in an even layer; have fun mixing the colors. Sprinkle half the cheese on top and pour over another cup of the sauce, making sure the sauce is fully covering the cheese and potatoes. Add the remaining sliced potatoes, and top with remaining sauce and cheese.
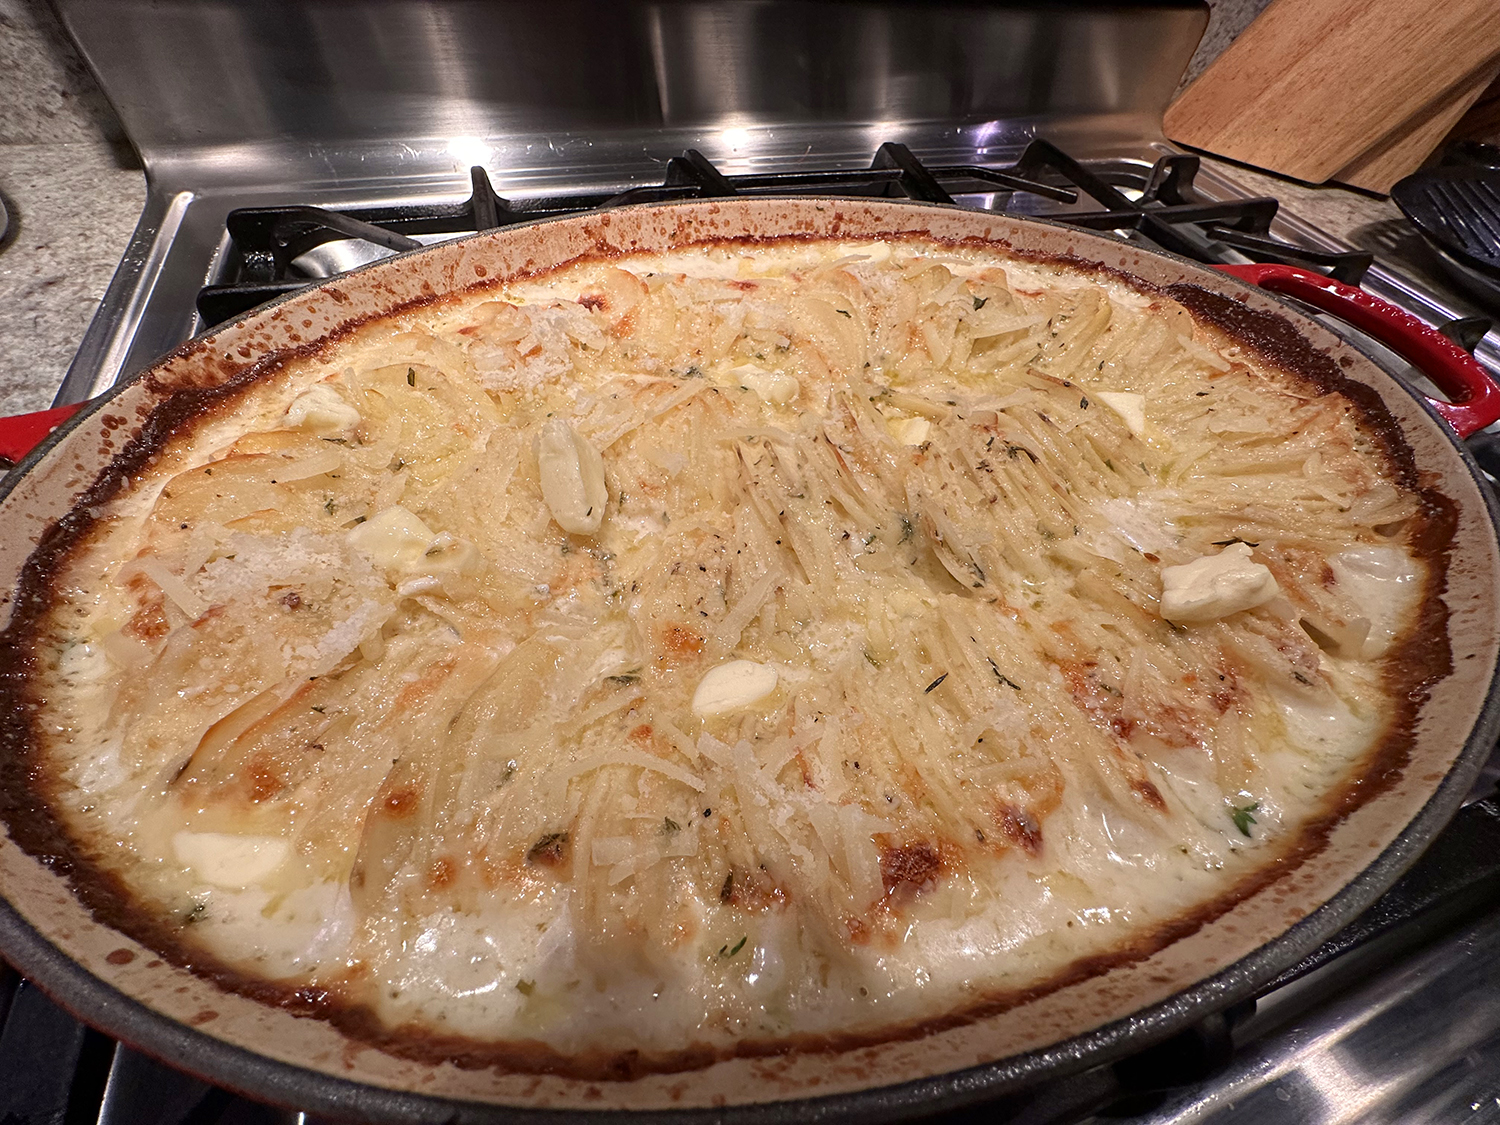
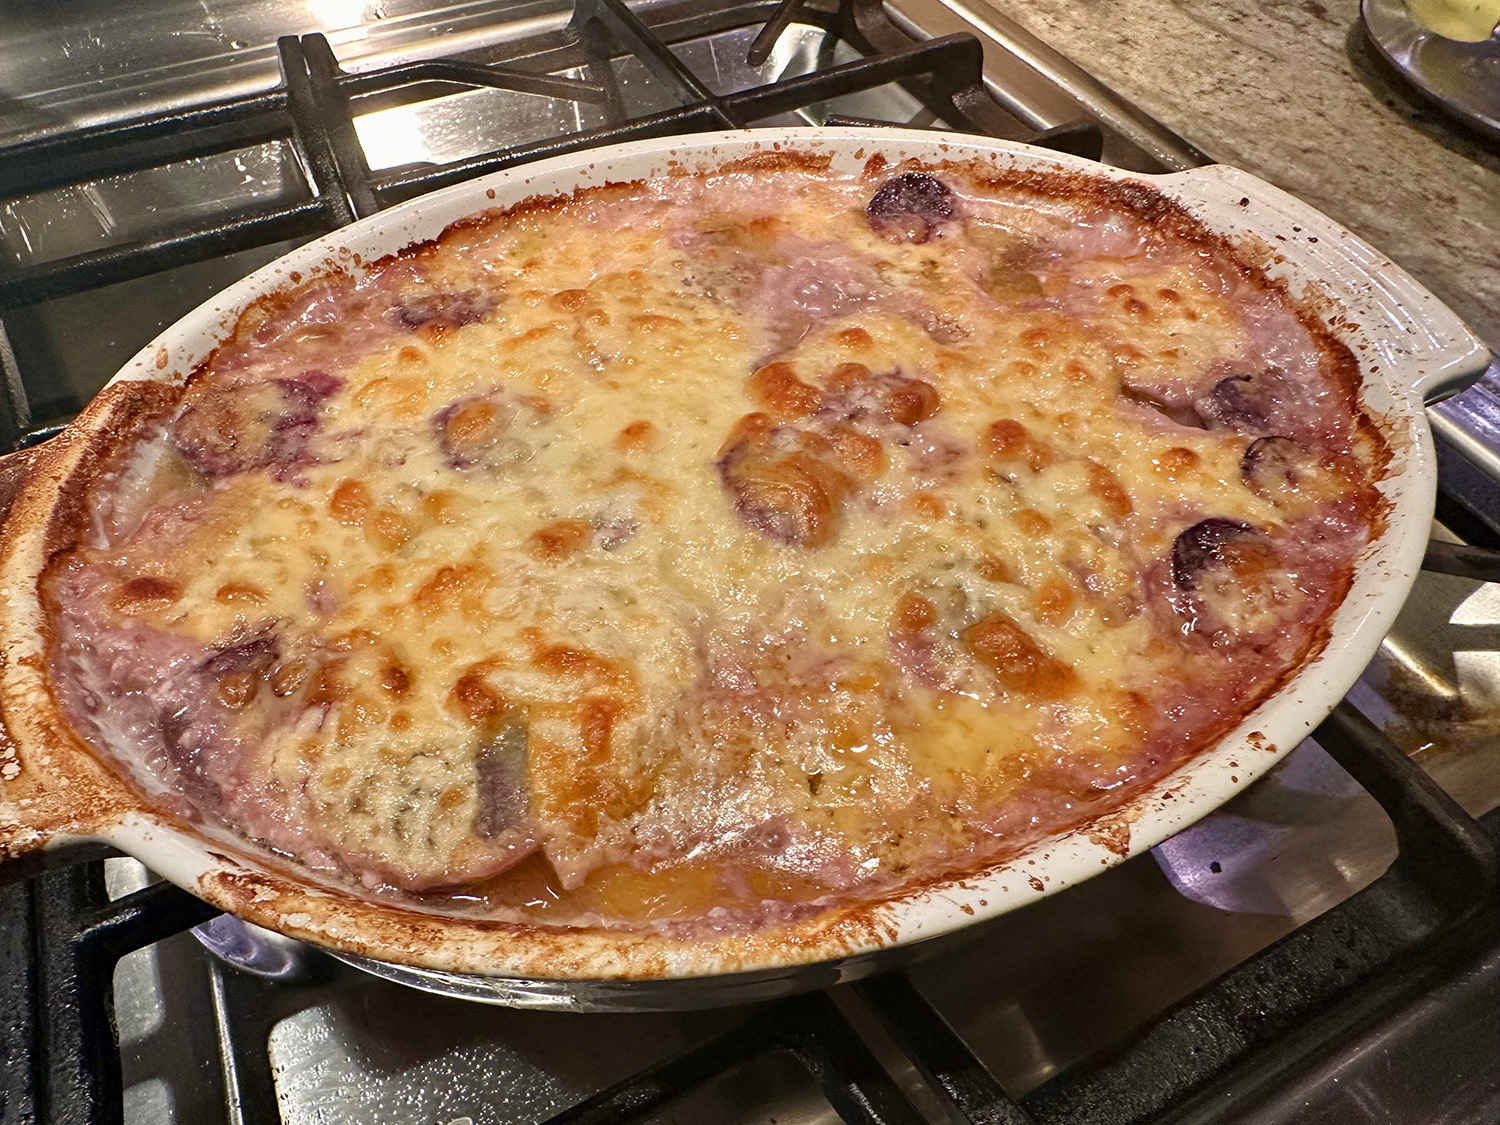
- Cover with aluminum foil and bake until potatoes are almost fully tender and sauce is bubbling, about 45 minutes. Remove the foil and continue to bake until the edges are slightly crisp and the cheese is golden brown in spots, about 10 minutes more. Let sit at room temperature for 15 minutes before serving.
Recipe by Vivian Chan-Tam for NYTimes Cooking