Four heads of garlic sounds like a lot — until you taste it. Slow-cooked until sweet, nutty, and pleasantly caramelized, garlic confit loses all its sharpness and transforms into something rich and almost buttery. Mashed with olive oil and fresh parsley, it becomes the kind of sauce that makes people ask what your secret is.

Boneless chicken thighs are seared until golden, then finished in the oven — simple technique, serious results. The whole dish is bold but never harsh, savory but never heavy.
A few things worth knowing before you start: The garlic confit comes together fastest in the microwave at 50% power, which gives you the same gentle, even cooking as a long stovetop simmer — in a fraction of the time. And when it comes to the skillet, a well-seasoned cast iron or nonstick pan isn’t optional — the garlic mixture will stick and scorch in a conventional pan, so don’t skip this one.
Finish the plate with warm flatbread or a crusty loaf to catch every bit of sauce, and a crisp, leafy salad to keep things bright. We paired ours with a cucumber, dill and sour cream salad.
NOTES: Don’t microwave the garlic heads in oil on high. Use 50 percent power so the oil doesn’t overheat and scorch the garlic. Also, don’t crank up the burner when browning the garlic-coated chicken in the skillet. Use moderate heat so the garlic does not burn. And when flipping the chicken, use a spatula to scrape them up so the garlic stays with the chicken rather than sticks to the pan.

Chicken with Caramelized Garlic Confit
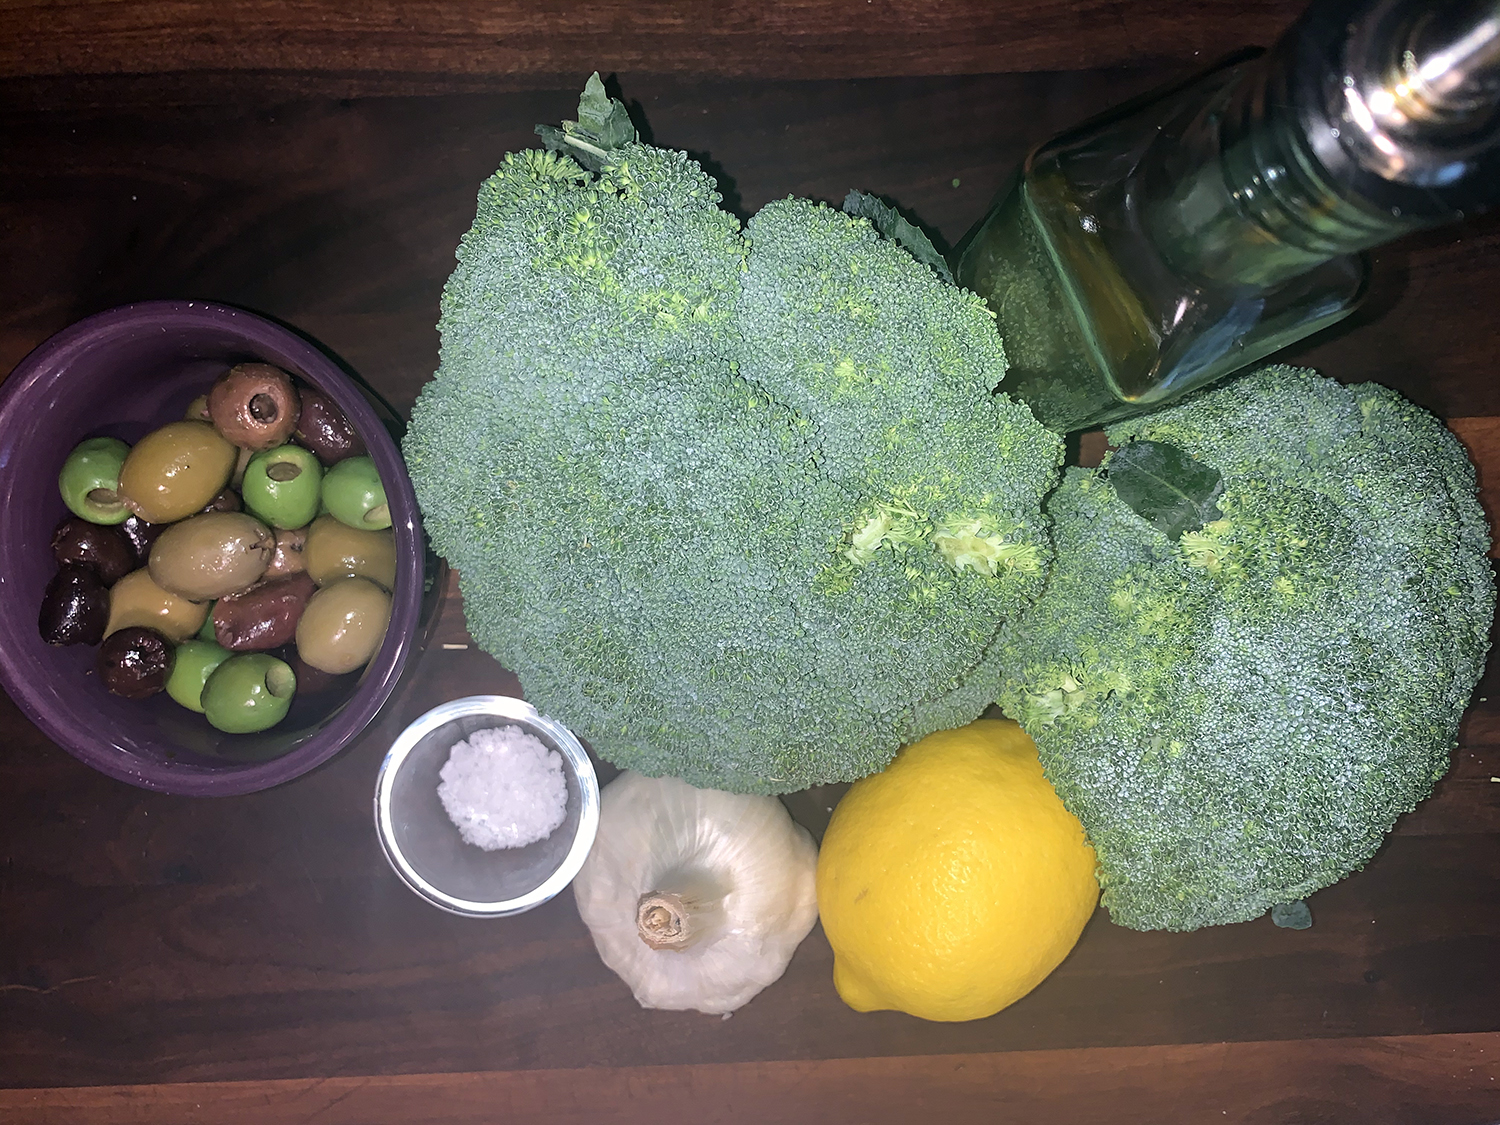
Ingredients
- 1/2 cup extra-virgin olive oil
- 3 large or 4 medium heads garlic (9 to 10 oz. total weight), top one-third of the head cut off to expose the cloves
- 1 cup lightly packed fresh flat-leaf parsley, chopped, plus more to serve
- 2 tsp. grated lemon zest, plus 1 Tbsp. lemon juice, plus lemon wedges to serve
- Kosher salt and ground black pepper
- 2½ lbs. boneless, skinless chicken thighs, trimmed


Directions
- Pour the oil into a large microwave-safe bowl. Place the garlic heads cut side down in the oil. Cover tightly and microwave on 50 percent power until the garlic heads feel soft and yielding when pressed on the sides with the back of a fork, 13 to 15 minutes. Cool, covered, until barely warm to the touch.
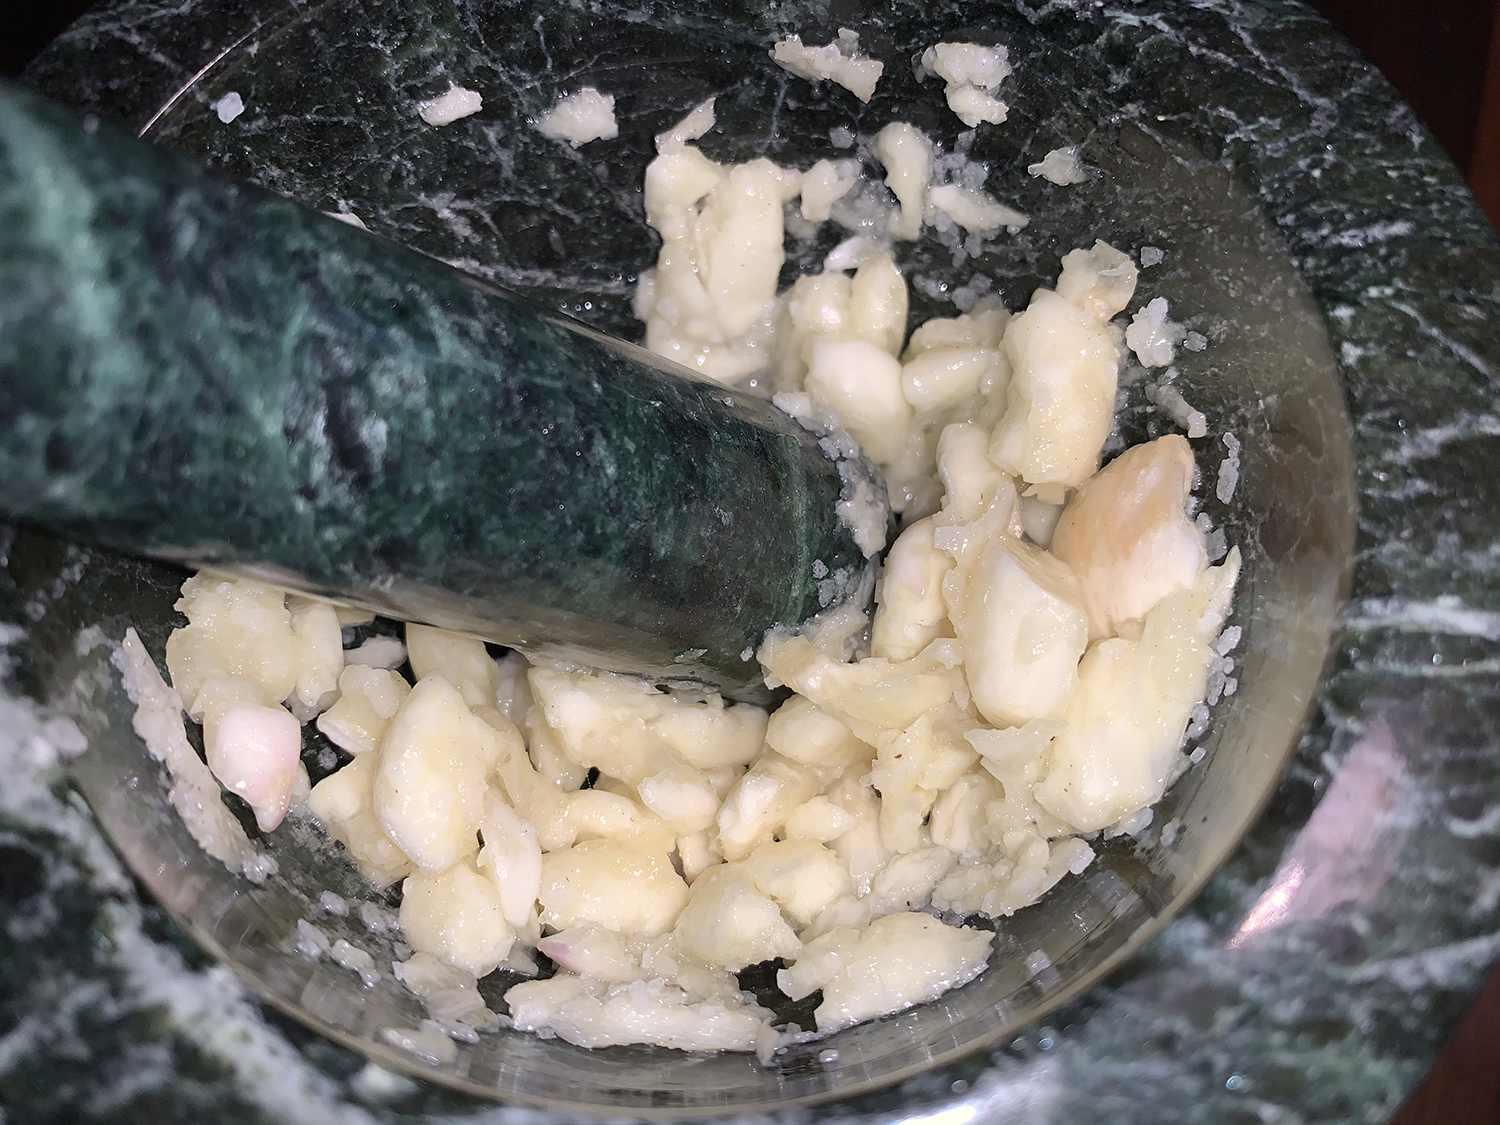
- Measure 2 tablespoons of the oil into a small bowl and reserve for browning the chicken. Squeeze the garlic cloves out of their skins and into the oil remaining in the bowl in which the garlic was cooked. To the bowl, add the parsley, lemon zest and juice, 1 teaspoon salt and ½ teaspoon pepper. Mash with the fork to a coarse paste. (Alternatively, use a mini food processor.)
- Add the chicken thighs and garlic confit to a large bowl, and mix until thoroughly coated. Let stand at room temperature while you heat the oven to 425°F with a rack in the middle position.
- Set a rimmed baking sheet near the stovetop. In a 12-inch cast-iron or nonstick skillet over medium, heat 1 tablespoon of the reserved garlic oil until shimmering. Place half of the chicken in a single layer; do not scrape the garlic mixture off the thighs, but do not slather on any more, either. Cook, without disturbing, until spottily browned on the bottom and the chicken releases easily from the pan, 5 to 7 minutes. With a thin metal spatula (if using a cast-iron pan) or a silicone spatula (if using nonstick), scrape up each thigh, along with any garlic mixture under it that clings to the skillet, and flip. Cook until spottily browned on the second sides, 3 to 4 minutes. Using the spatula, transfer the thighs to the baking sheet. Using the remaining 1 tablespoon reserved garlic oil, brown the remaining thighs in the same way and transfer to the baking sheet.
- Slather any garlic mixture remaining in the bowl onto the thighs, distributing it evenly. Place in the oven and cook until well browned and the thickest part of the largest thighs reach 175°F, 10 to 13 minutes. Transfer the chicken to a platter, then drizzle on any juices from the baking sheet. Sprinkle with additional chopped parsley and serve with lemon wedges.
Microwave Garlic Confit
Start to finish: 20 minutes
Makes 3 or 4 heads garlic


- Pour ½ cup extra-virgin olive oil into a large microwave-safe bowl. Remove the outer papery skins from 3 large or 4 medium heads garlic (9 to 10 ounces total weight), then cut off the top one-third of each head to expose the cloves. Place the garlic heads cut side down in the oil.
- Cover tightly and microwave on 50 percent power until the garlic heads feel soft and yielding when pressed on the sides with the back of a fork, 13 to 15 minutes. Let the garlic cool, covered, in the oil.
- Follow recipe above at Step 2 to continue.
Recipe by Courtney Hill for Milk Street