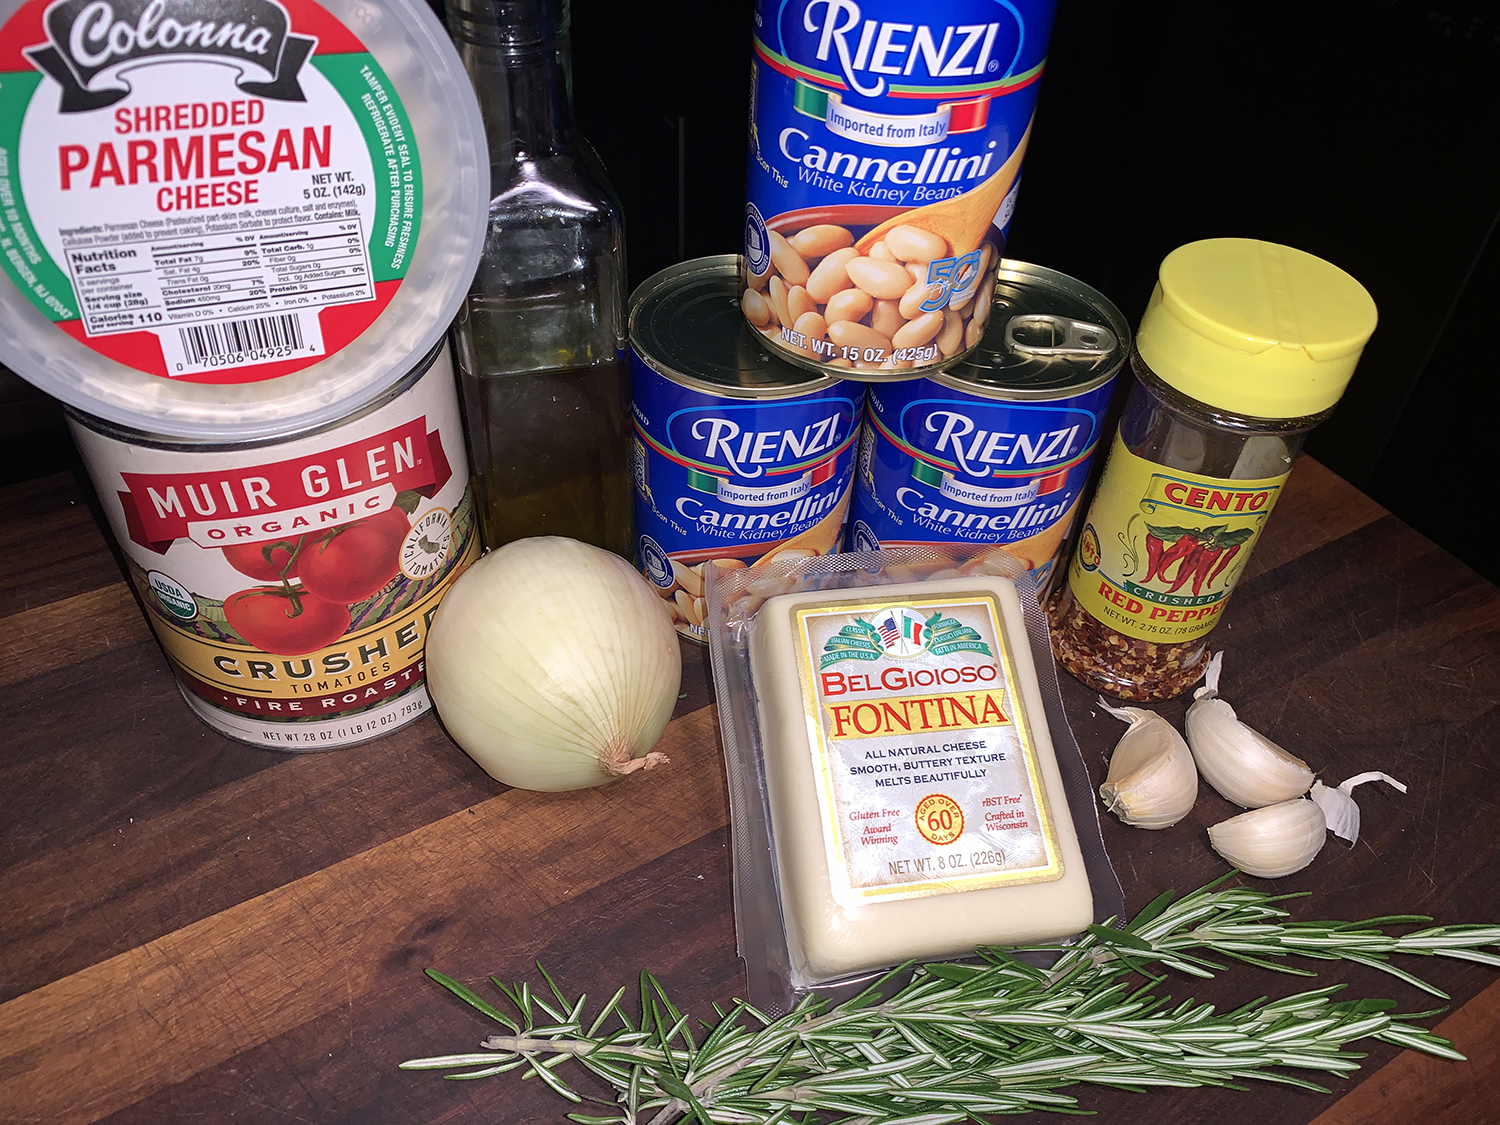
Flexible in that this Cheesy Italian Baked Beans recipe could be your main dish, or part of a meal as a side. Here, traditional Italian ingredients like onion, garlic, tomatoes, cheese, and rosemary put a spin on classic baked beans.
The prep is minimal and afterward it only cooks in the oven for about 20 minutes. When it came to topping the casserole with the shredded fontina cheese, I may have put a bit more than the 1/2 cup that was called for… like 50% more 🙂
I added a final step of letting the casserole sit for 5-10 minutes after removing from the oven. We paired the entrée with a side of steamed broccolini and a toasted whole grain baguette with garlic and parmesan.
1 28-oz. can fire-roasted crushed tomatoes, undrained
¼ cup fresh rosemary leaves, coarsely chopped, plus additional for garnish
3 15-oz. cans cannellini beans, rinsed and drained
¾ cup shredded Parmesan cheese
Crushed red pepper
Coarse salt and freshly ground black pepper
½ cup cup shredded Fontina cheese
Directions
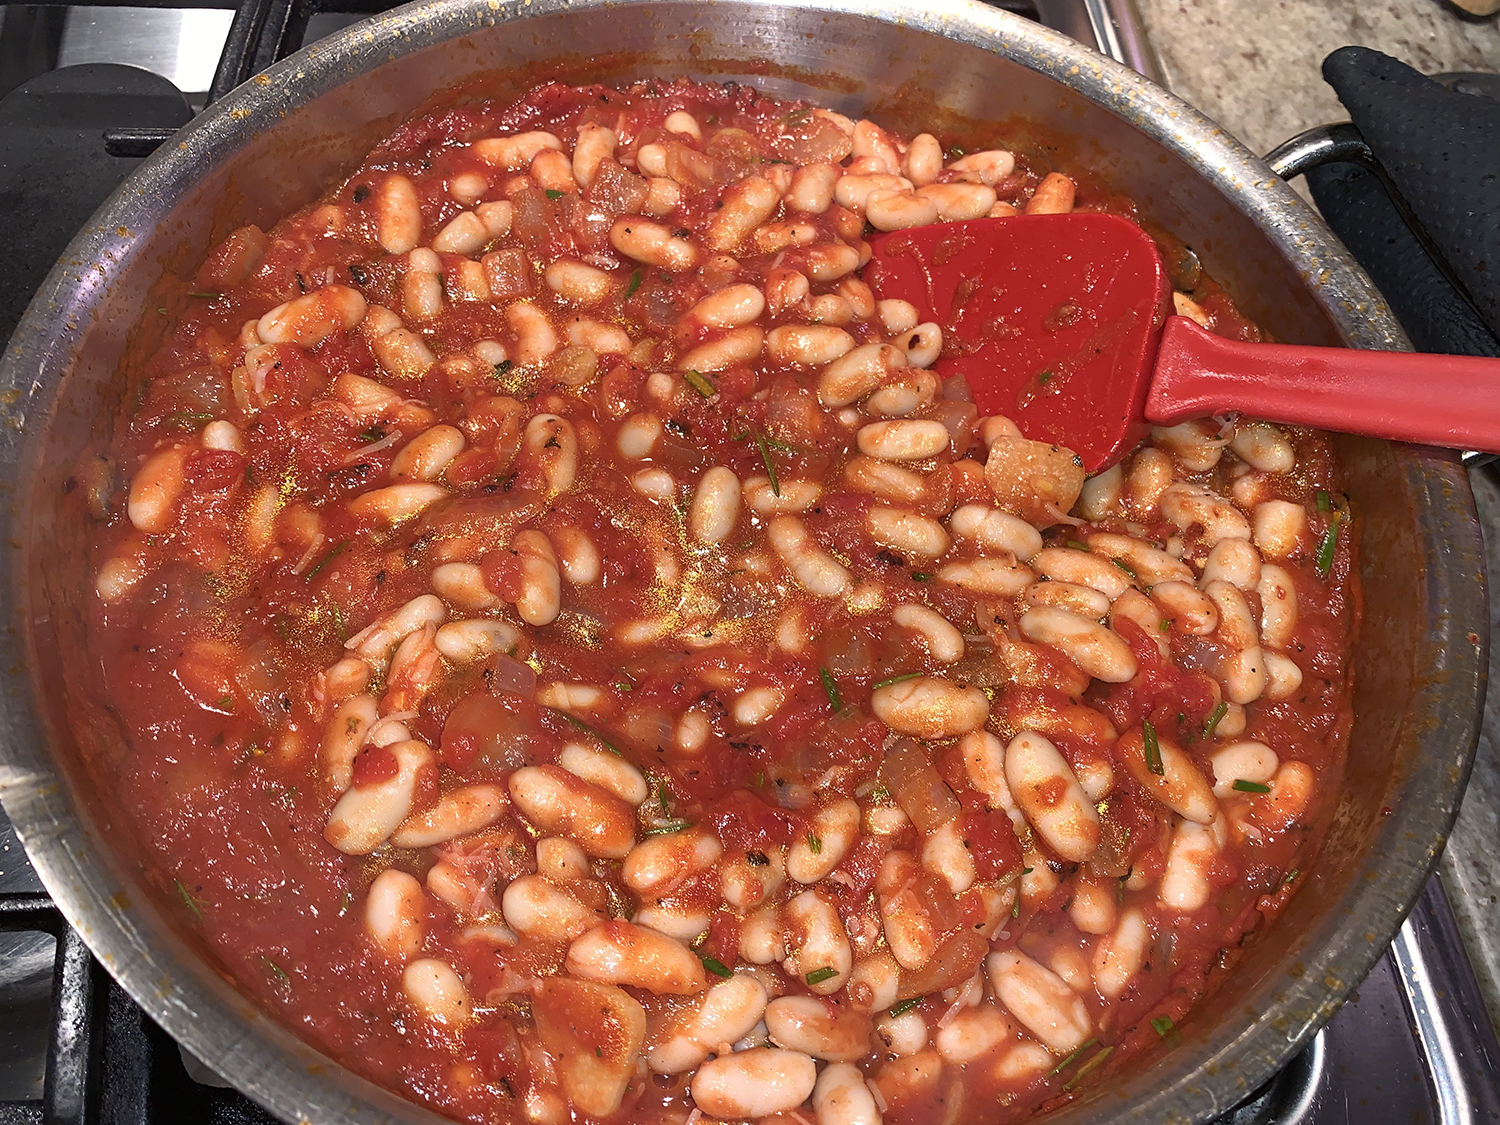
Preheat oven to 400°F. In a large skillet heat olive oil over medium-high heat. Add onion, garlic, and 1/8 tsp. salt. Cook and stir for 5 minutes or until tender.
Stir in tomatoes and rosemary. Bring to boiling; boil gently, uncovered, 5 minutes or until slightly thickened.
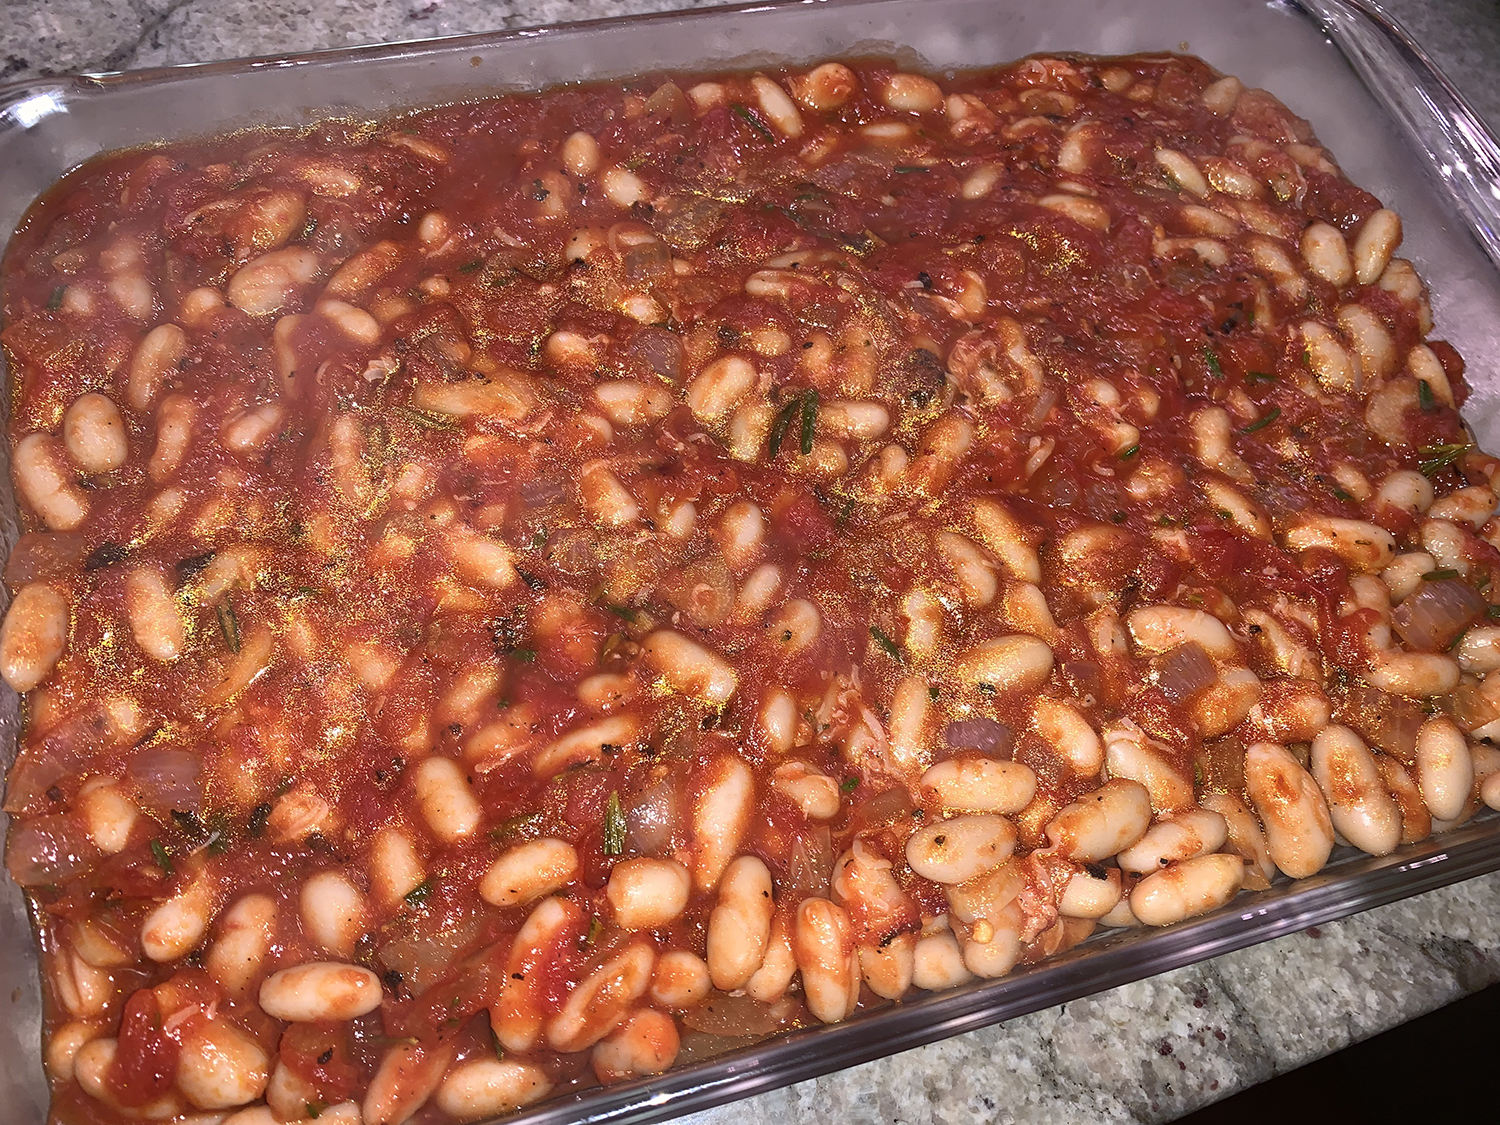
Stir in beans and half the Parmesan. Season to taste with crushed red pepper, salt, and black pepper. Transfer to a 2-qt. rectangular baking dish. Top with remaining Parmesan and the Fontina. Bake 15 to 20 minutes or until beginning to lightly brown around the edges.
Remove from the oven and let sit for 5-10 minutes to thicken.
The city of Jerez de la Frontera—commonly shortened to Jerez— is in a corner of the Andalusia region in southern Spain. It is home to sherry, the unique fortified wine that is produced in an area known as the Sherry Triangle. We were lucky enough to visit there a few years ago and experience a sherry tasting.
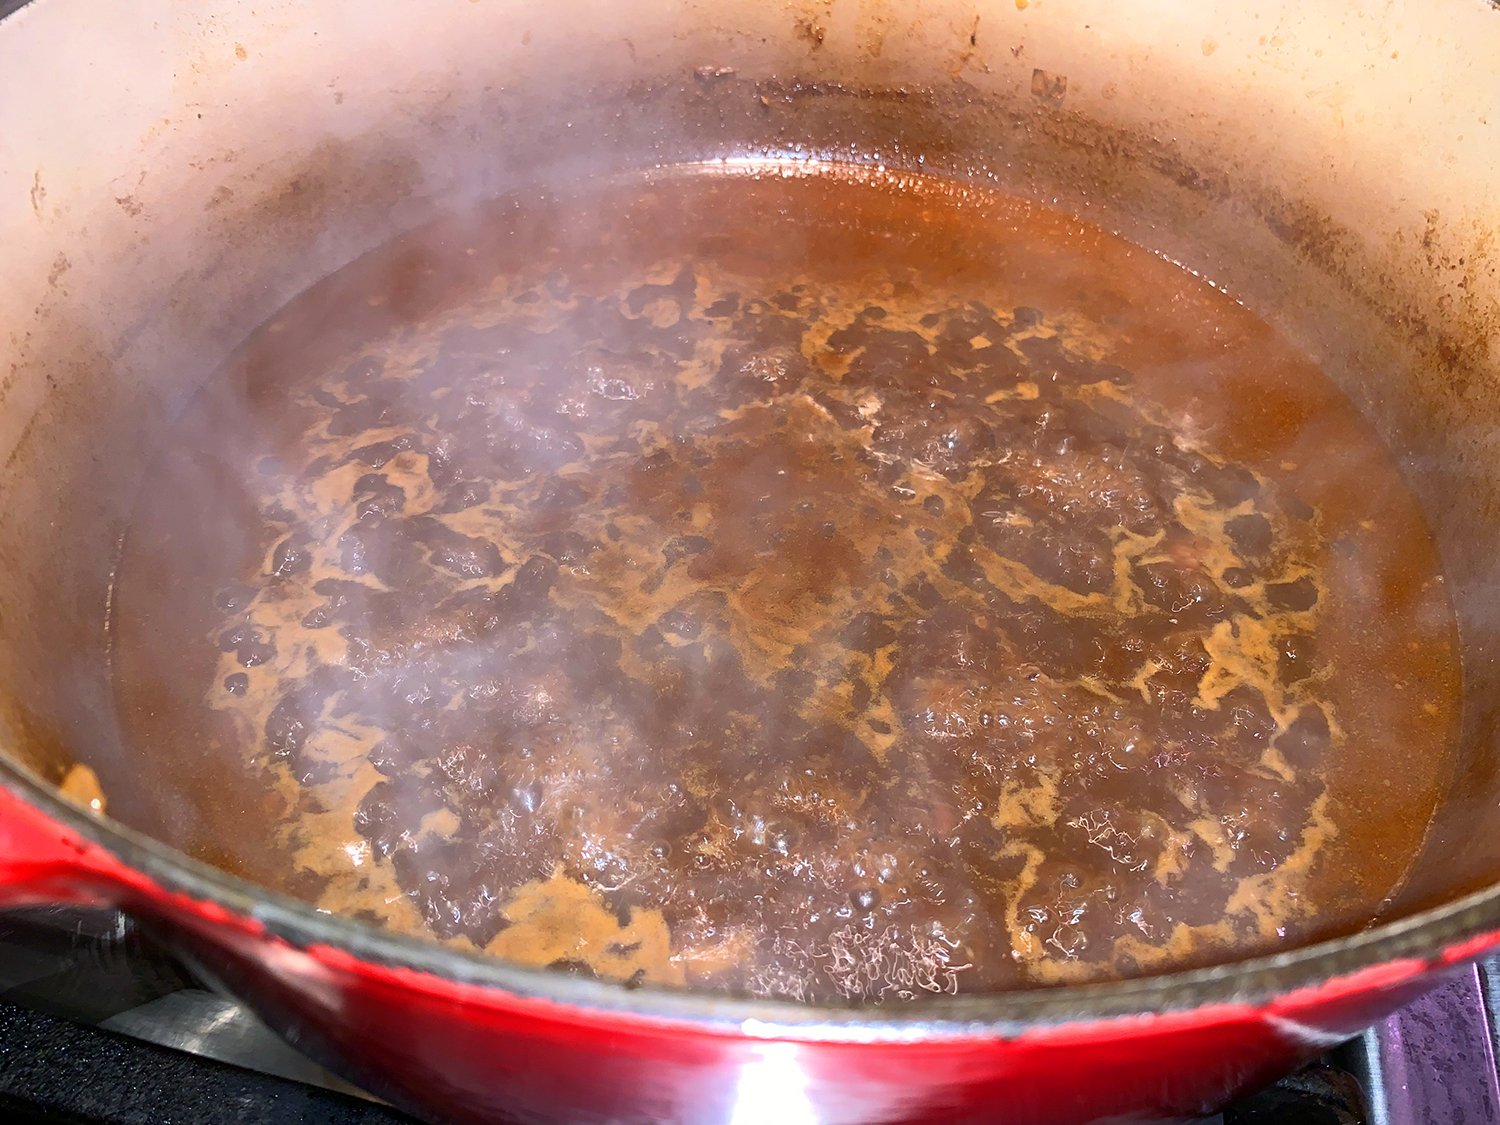
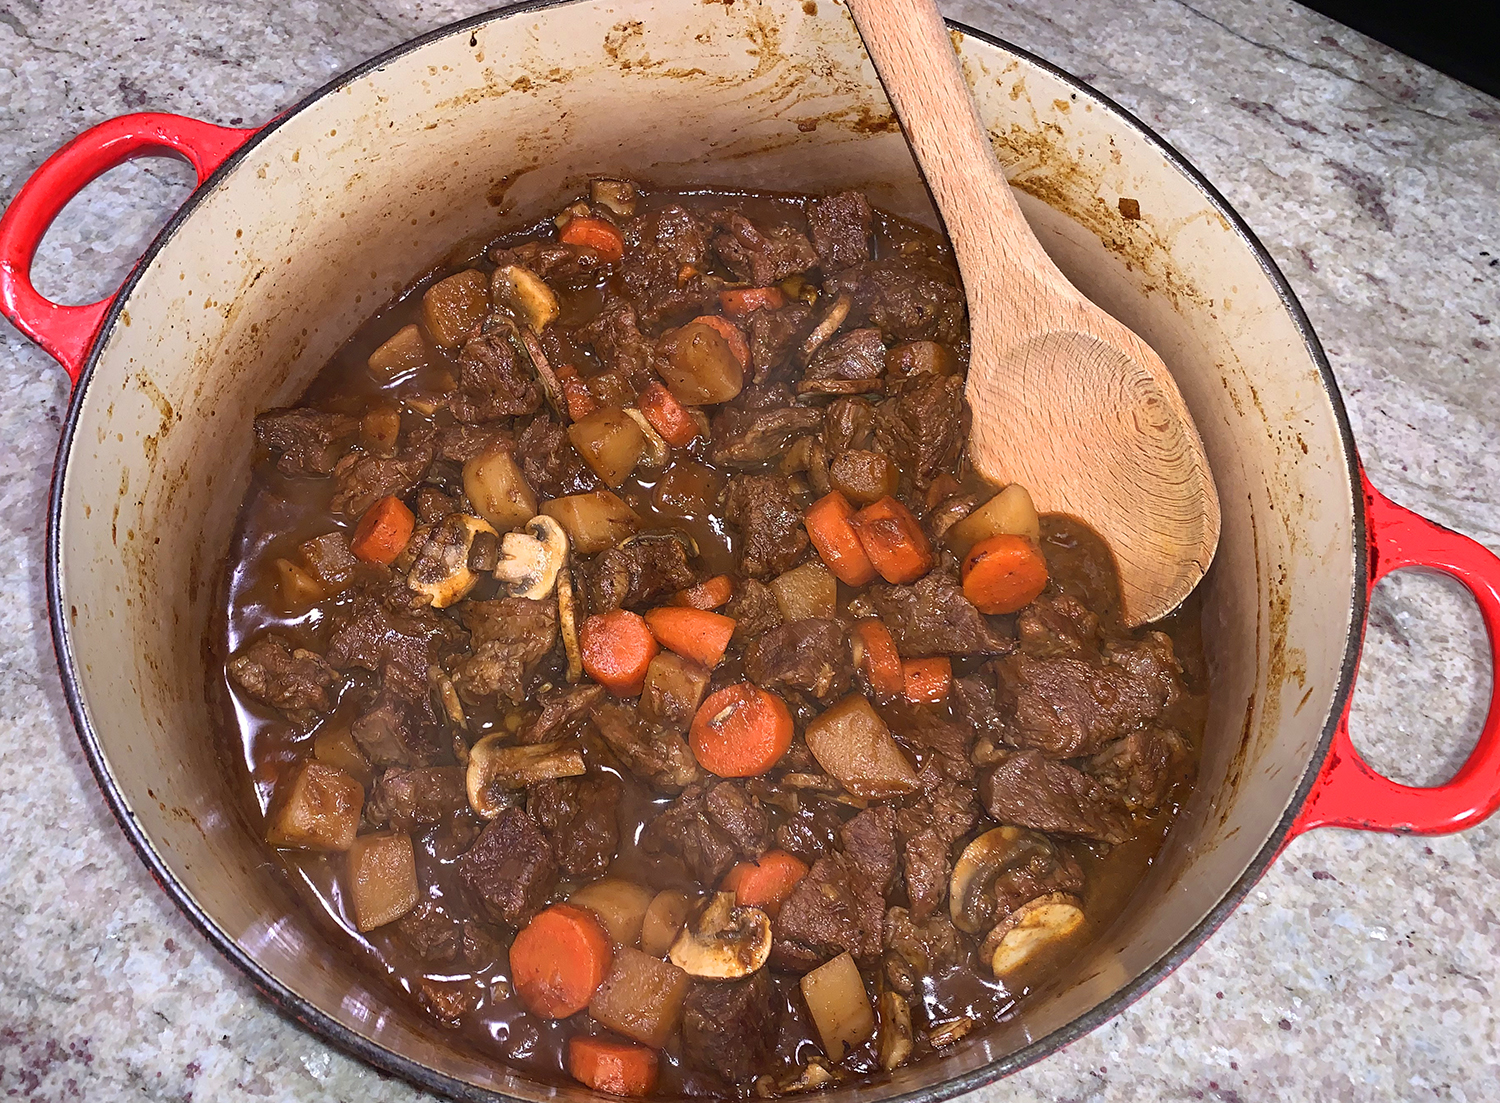
This beef stew got its origins in the “triangle.” It features tender, succulent pieces of beef, silky, supple mushrooms and a braising liquid rich with both sherry wine and sherry vinegar. The stew is familiar and comforting, yet deliciously different thanks to the wine’s tangy, nutty notes and the aged woodsiness and mellow acidity of the vinegar.
Milk Street adapted the recipe, adding a turnip along with the carrots and cinnamon to complement the wine. They say for this recipe simply seek a fino or manzanilla sherry—both are dry, bright and light, and therefore excellent counterpoints for the richness of the beef and mushrooms.
The sherry vinegar? If you can spare the expense, opt for gran reserva which is aged for at least 10 years and has a smooth, complex flavor, balanced acidity and mahogany hue. But, if that’s not an option, reserva (which we used) or any aged sherry vinegar, though less nuanced than gran reserva, will work perfectly well.
After one hour with the pot covered, there seemed to be too much liquid, so we left it uncovered to help some of that evaporate. After the hour and a half elapsed, we still weren’t happy with how watery it seemed so we removed the contents with a slotted spoon to a covered bowl, and reduced the liquid another 10 minutes. The beef, veggies and mushroom slices were added to the pot for the final 10 minutes.
The perfect meal on a lazy Sunday afternoon after a massive snowstorm… in fact, we both agreed, the BEST stew we’ve ever had! Confession, we were wiping our bowls clean of any residual sauce…
The original recipe claimed it would feed 4 to 6. If you served it over polenta or mashed potatoes, maybe 4 to 5? We got three portions. Next time we’ll add in another carrot and an extra turnip to make it more veggie-forward.
*NOTE: Don’t use sherry cooking wine or domestically produced “dry sherry.” To get the right complexity and balance of richness and acidity, look for fino or manzanilla sherry produced in Spain. Also, avoid sweet sherry for the obvious reasons.
2 lbs. boneless beef chuck roast, trimmed of excess fat and cut into 1- to 1½-inch pieces
4 medium garlic cloves, peeled
1 medium yellow onion, halved and thinly sliced
Kosher salt and ground black pepper
2 medium carrots, peeled and sliced ½ inch thick
1 small white turnip, peeled and cut into ½-inch cubes
2 bay leaves
1 cinnamon stick
4 tsp. sweet paprika
1/2 tsp. grated nutmeg
1 cup fino or manzanilla sherry*
1 qt. low-sodium beef broth
2 Tbsp. good-quality aged sherry vinegar, plus more to taste
4 z. oyster or cremini mushrooms, trimmed and thinly sliced
Directions
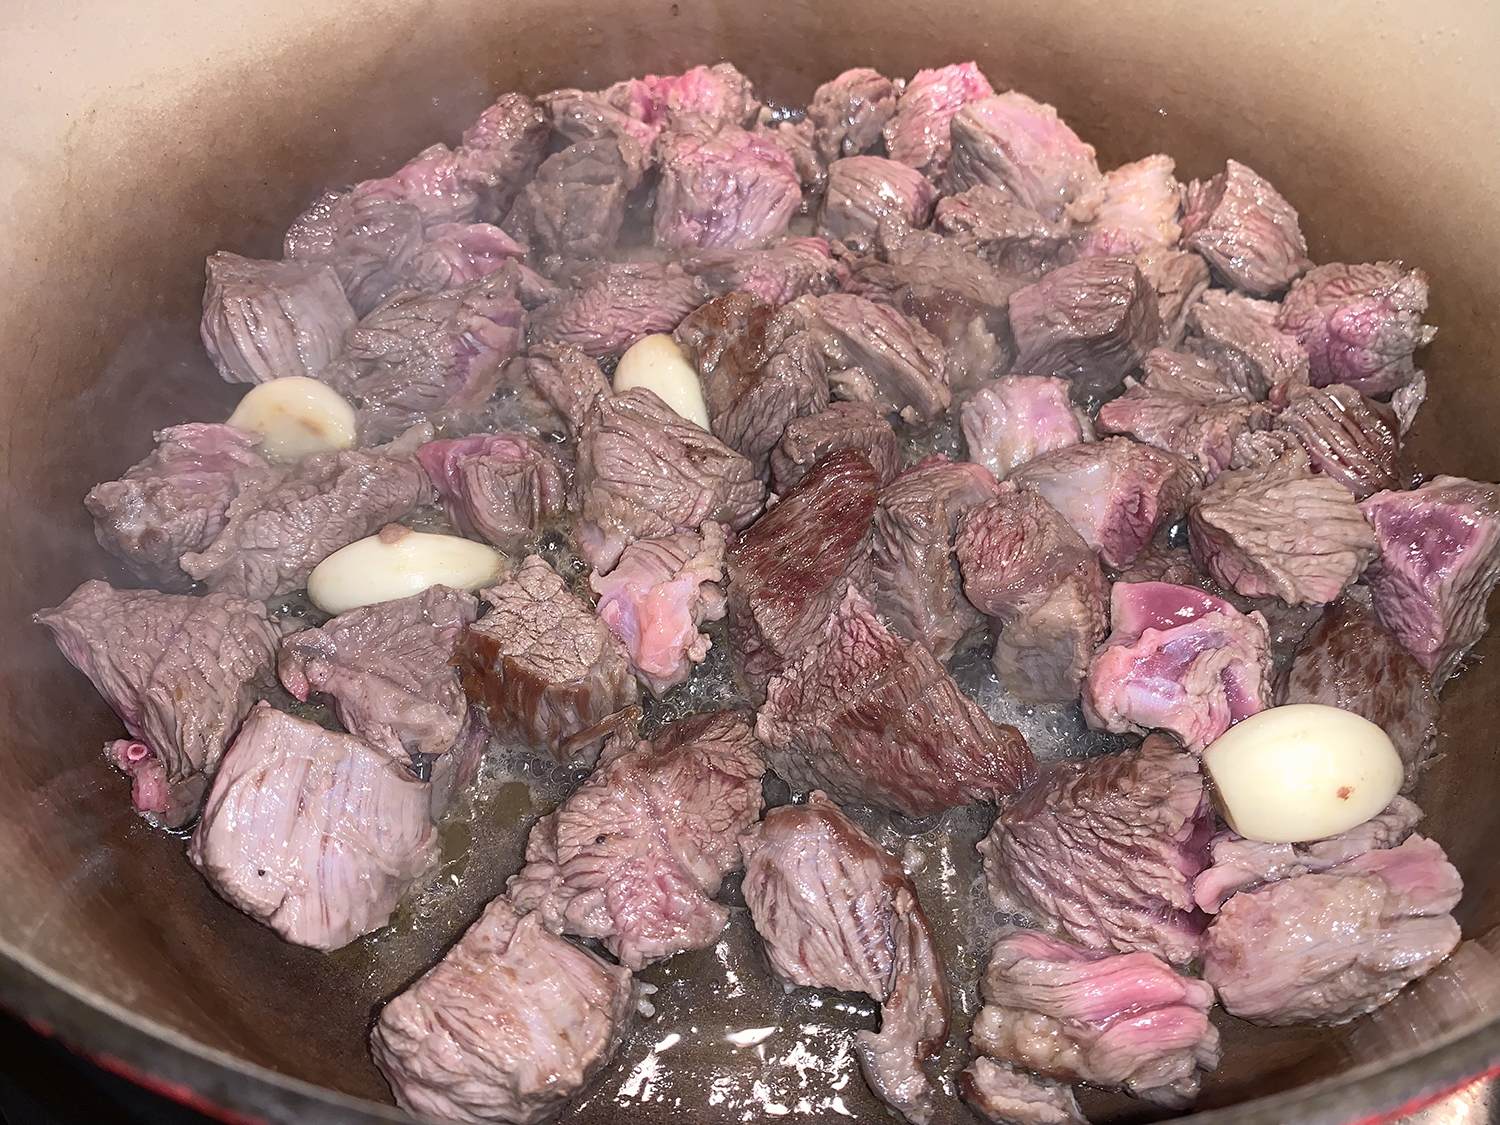
In a large Dutch oven over medium-high, heat the oil until shimmering. Add the beef and garlic, then cook, stirring occasionally, until lightly browned, about 5 minutes. Using a slotted spoon, transfer to a medium bowl and set aside; reserve the fat in the pot.
To the same pot, add the onion and 1 teaspoon salt; cook over medium, stirring often, until golden brown, 8 to 10 minutes.
Add the carrots, turnip, bay, cinnamon, paprika and nutmeg; cook, stirring, until fragrant, about 30 seconds.
Add the sherry and bring to a simmer over medium-high, scraping up any browned bits; cook, stirring occasionally, until reduced by about half, 3 to 5 minutes.
Stir in the broth, vinegar and ¼ teaspoon pepper. Return the beef and garlic, along with the accumulated juices, to the pot. Bring to a simmer, then cover partially. Reduce to medium-low and cook, stirring occasionally, until a skewer inserted into the beef meets just a little resistance, about 1½ hours.
Stir in the mushrooms and cover completely. Reduce to low and cook, stirring once or twice, until the mushrooms are tender, 10 to 15 minutes.
Off heat, remove and discard the cinnamon and bay. Taste and season with salt, pepper and additional vinegar, if needed.
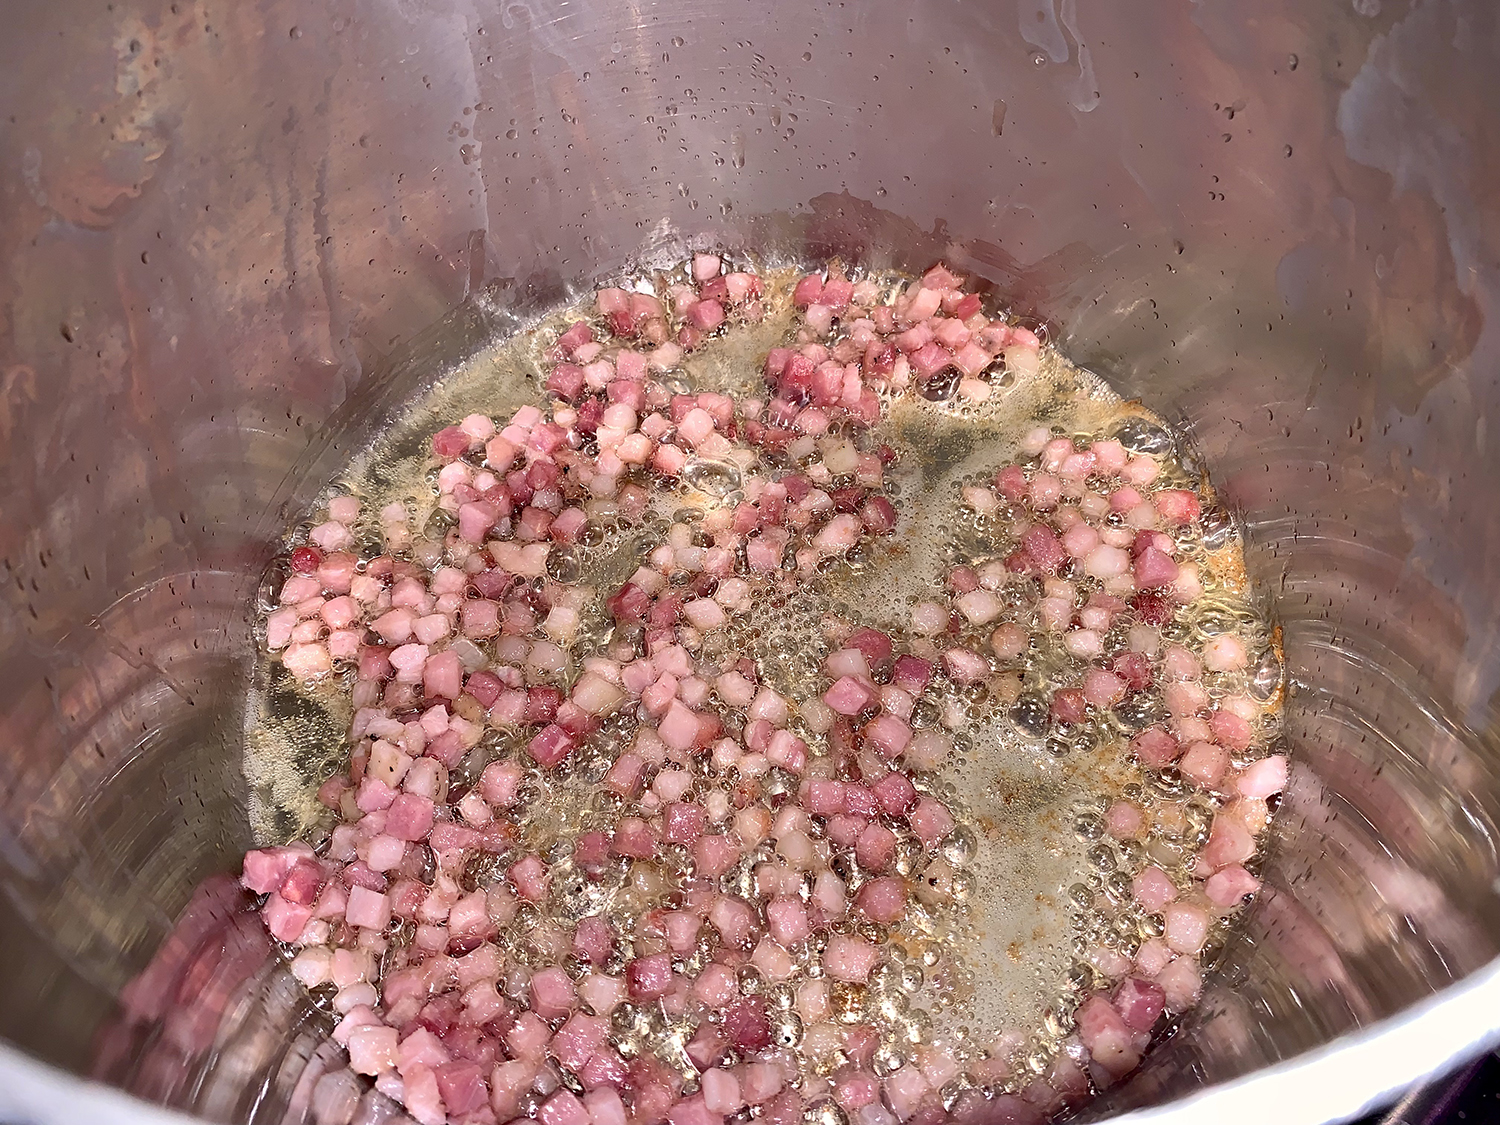
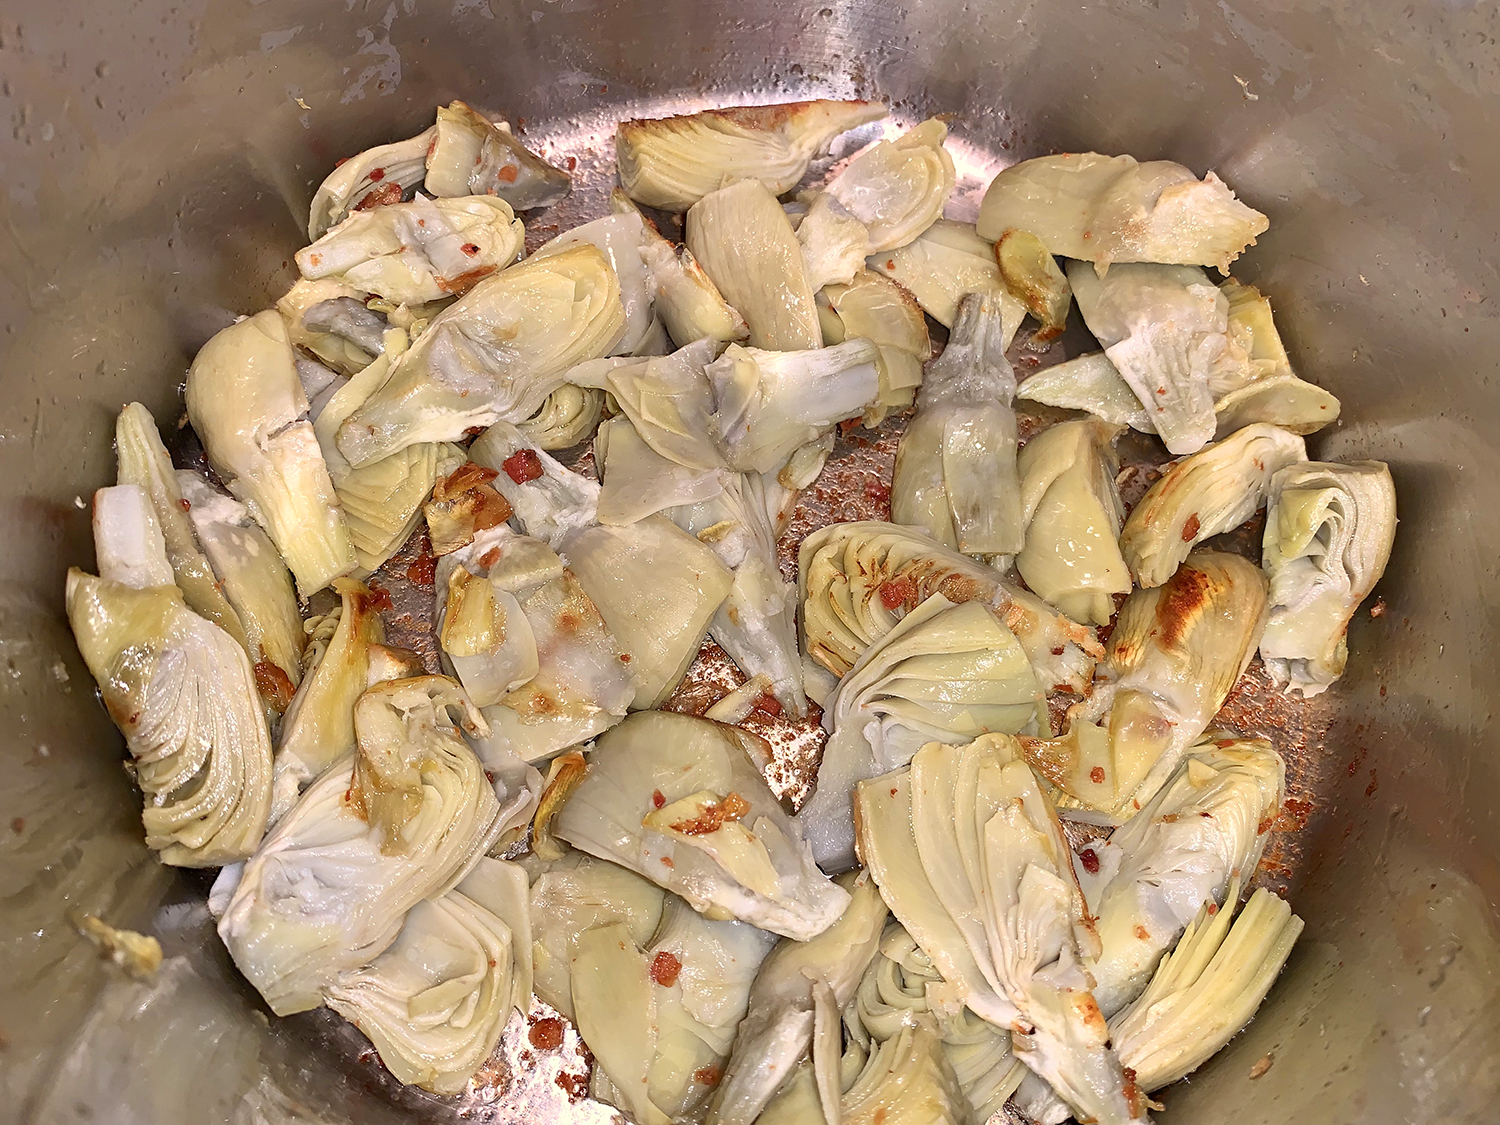
Milk Street got the idea for this pasta dish from “Pasta Grannies” by Vicky Bennison. The unusual sauce is made by blitzing artichokes in a blender. Canned artichokes are used instead of fresh for ease, but first they are browned in a mixture of olive oil and rendered in pancetta fat to build flavor in the sauce. The crisp bits of pancetta lend texture and saltiness, lemon adds brightness and balance, and a generous amount of Parmesan ties all the elements together. Voila!
With a minimum of ingredients, this lovely pasta dish can be served as a first course or as the main entrée. Instead of canned, we used frozen artichokes—just make sure to really dry those chokes, otherwise they won’t brown. Using a wider pan would accelerate the browning process. In fact, you may want more of them for the topping!
Don’t use marinated artichokes for this recipe, as their flavor is too sharp and tangy. After draining the artichokes, make sure to pat them dry so they caramelize when added to the pot. Don’t forget to reserve about 2 cups of the pasta water before draining the noodles. You will need it for pureeing the artichokes and building the sauce. And we used every drop of those 2 cups, so perhaps save a bit more…
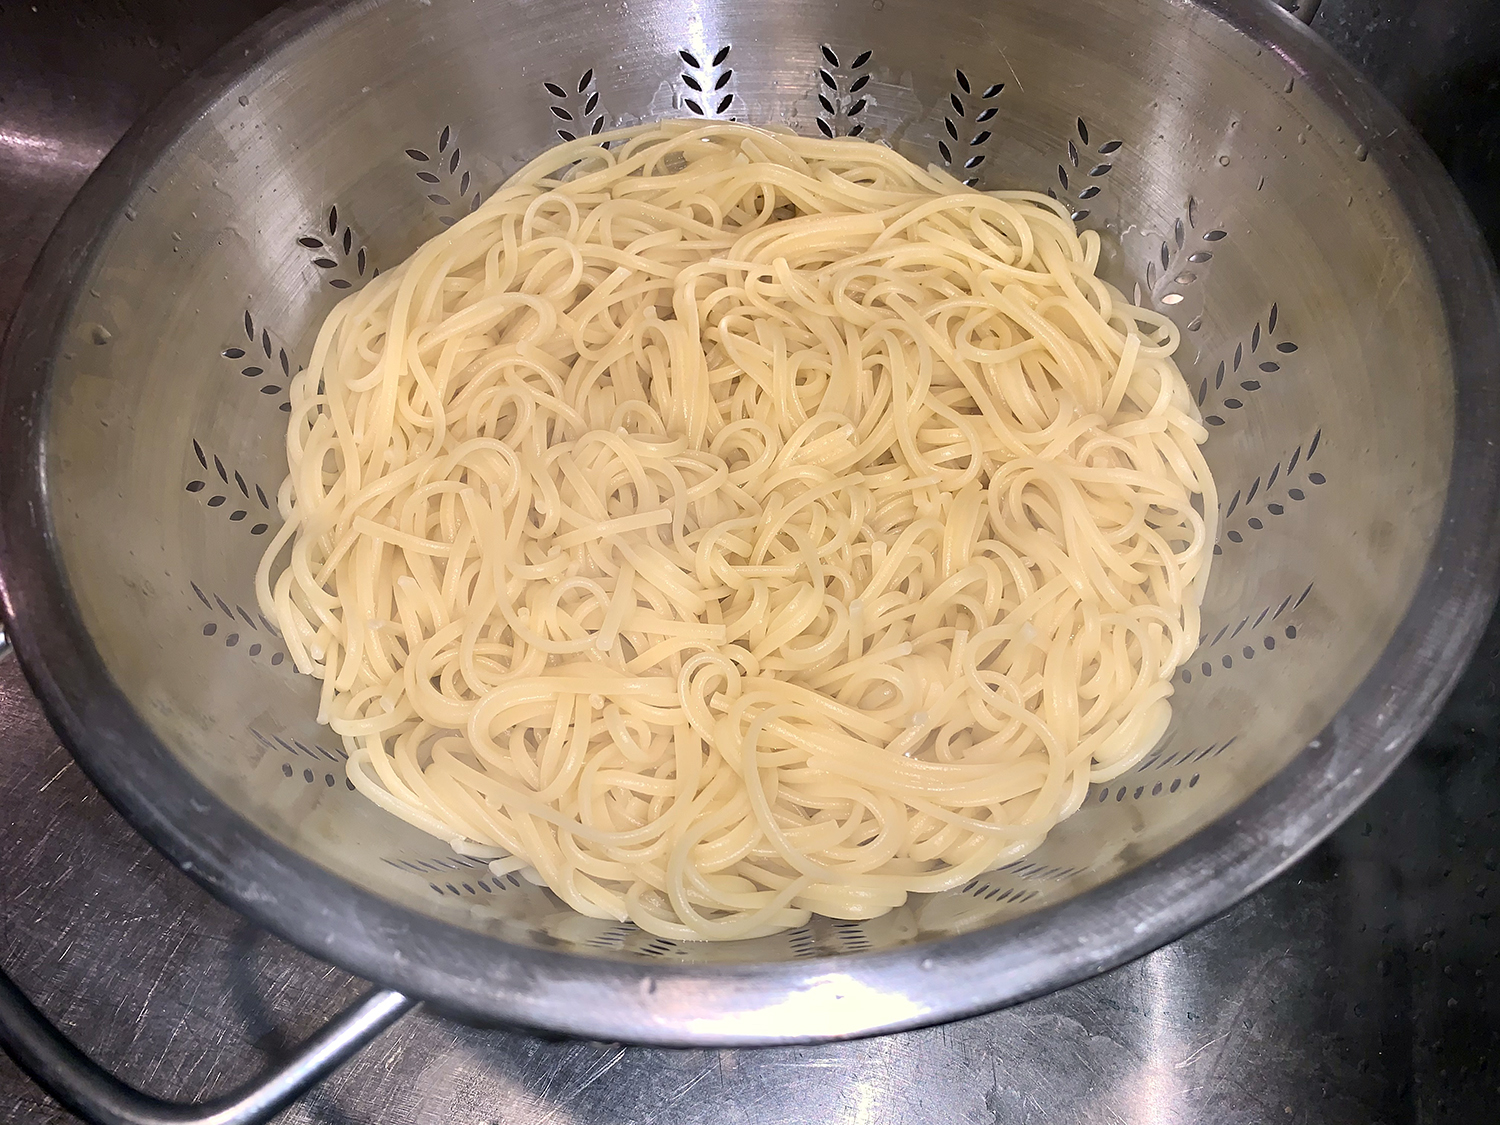
One other note. Instead of letting the cooked pasta sit in a colander while you make the rest of the dish, use two pots. As the linguine boils, cook the pancetta and then the artichokes in another. This way, everything comes together at one time and is guaranteed to be piping hot.
1 Tbsp. extra-virgin olive oil, plus more to serve
4 oz. pancetta, chopped
14 oz. can artichoke hearts, drained, patted dry and quartered if whole
1 Tbsp. grated lemon zest, plus 3 tablespoons lemon juice
2 oz. Parmesan cheese, finely grated (1 cup), plus more to serve
½ cup finely chopped fresh flat-leaf parsley OR chives OR basil
Directions
In a large pot, bring 4 quarts water to a boil. Stir in the pasta and 1 tablespoon salt, then cook, stirring occasionally, until al dente. Reserve about 2 cups of the cooking water, then drain.
In the same pot over medium, heat the oil until shimmering. Add the pancetta and cook, stirring, until crisp, 3 to 4 minutes. Using a slotted spoon, transfer to a small plate; set aside.
Add the artichokes to the pot and cook, stirring, until beginning to brown at the edges, 3 to 4 minutes. Remove the pot from the heat. Transfer half the artichokes to a small bowl; add the remainder to a blender. Reserve the pot.
To the artichokes in the blender, add ½ cup cooking water, the lemon juice and ¼ teaspoon each salt and pepper; puree until smooth. In the same pot over medium, bring 1 cup of the remaining cooking water to a simmer, scraping up any browned bits.
Add the artichoke puree, the pasta, lemon zest, pancetta, Parmesan and parsley. Cook, tossing to combine, just until the noodles are heated through, 1 to 2 minutes; add more reserved water as needed to make a silky sauce. Taste and season with salt and pepper.
Transfer to a serving bowl and top with the reserved artichokes, along with additional oil and Parmesan.
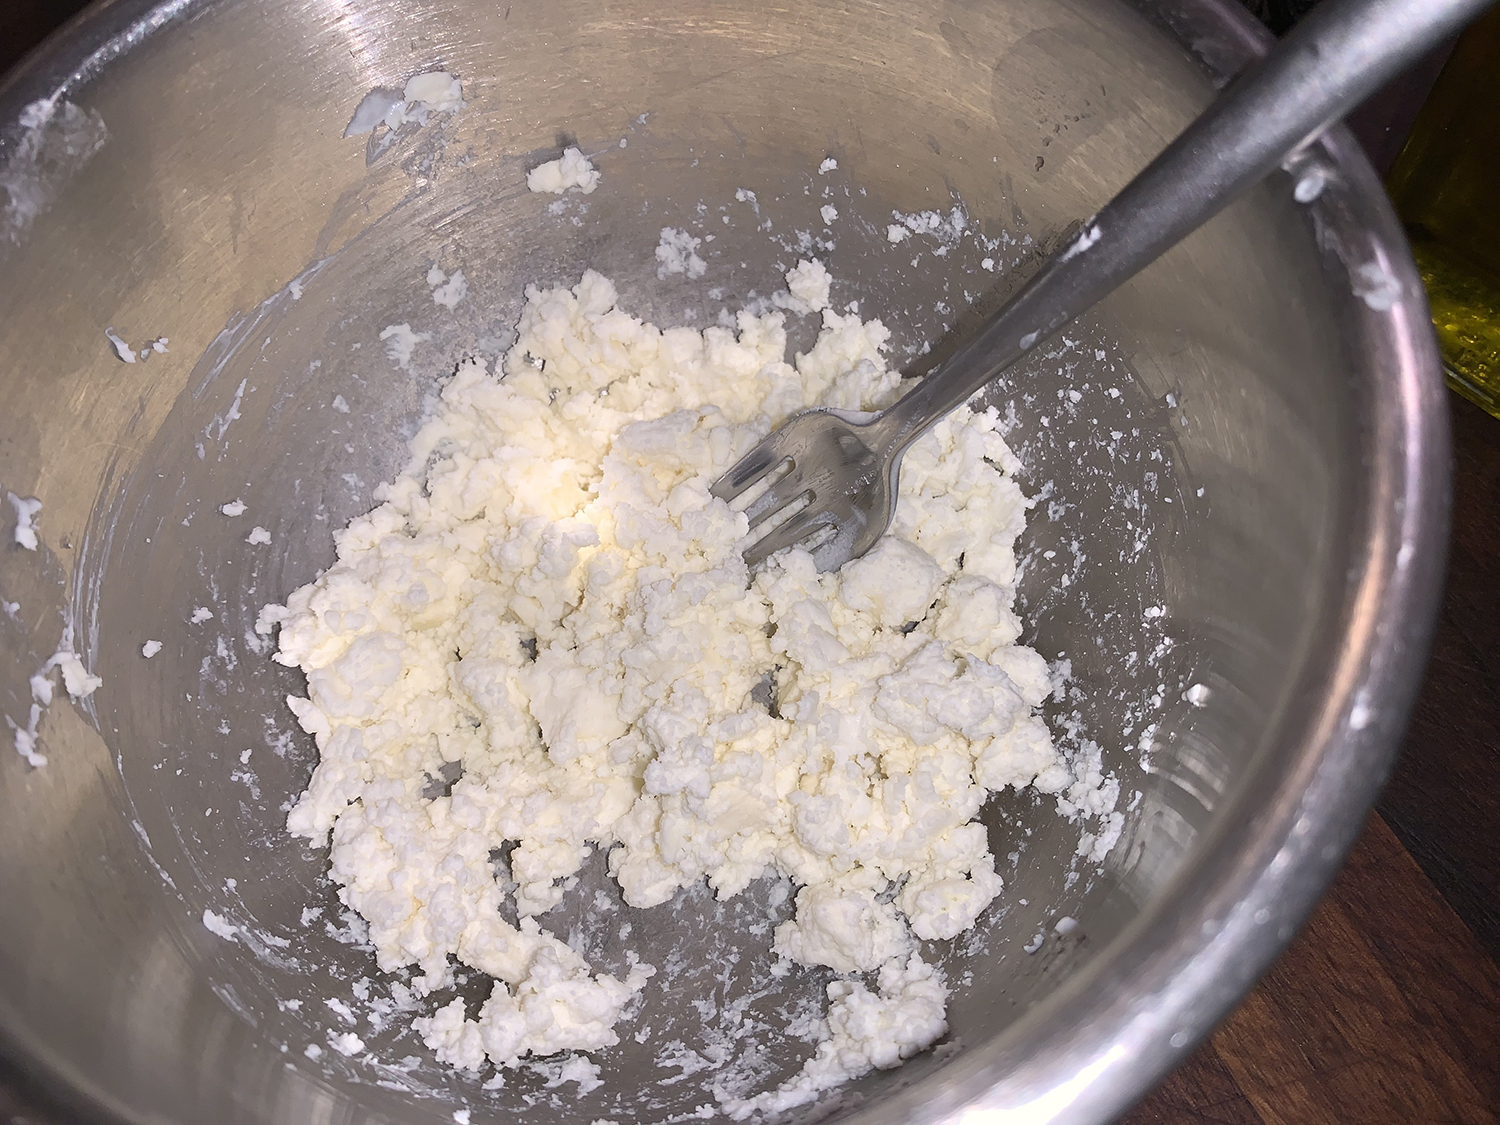
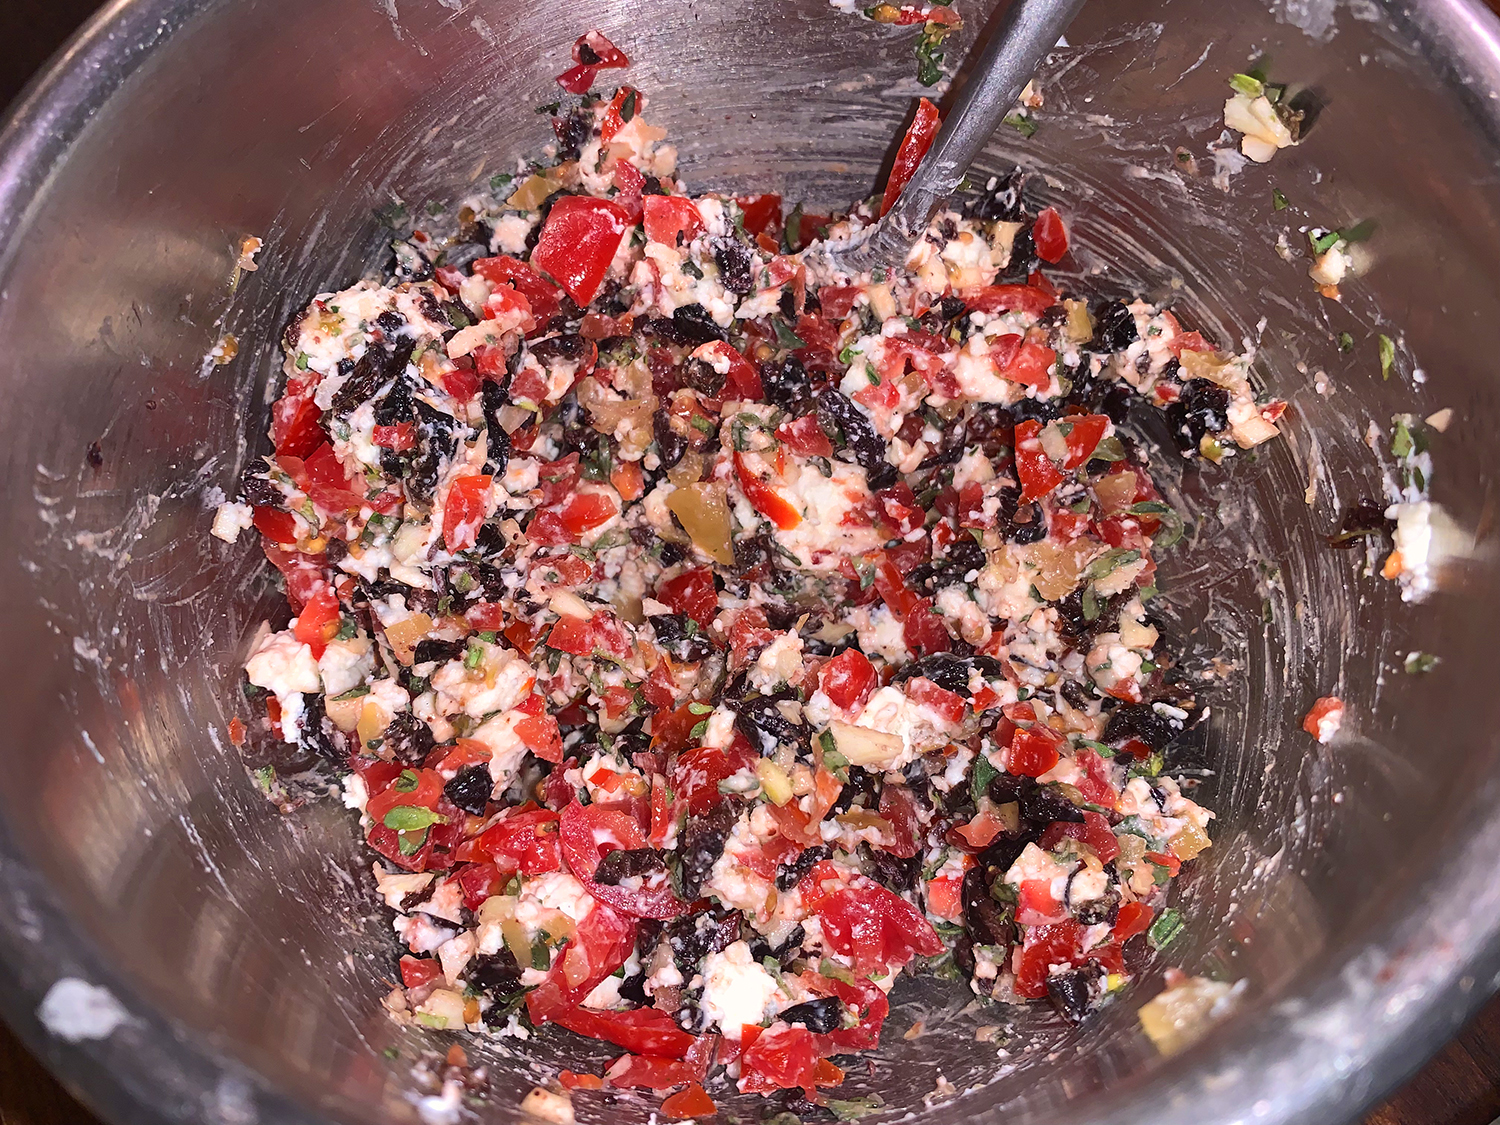
This recipe is a lighter spin on the typical cheese-stuffed chicken breast, featuring feta, tomato and Greek-inspired flavors.
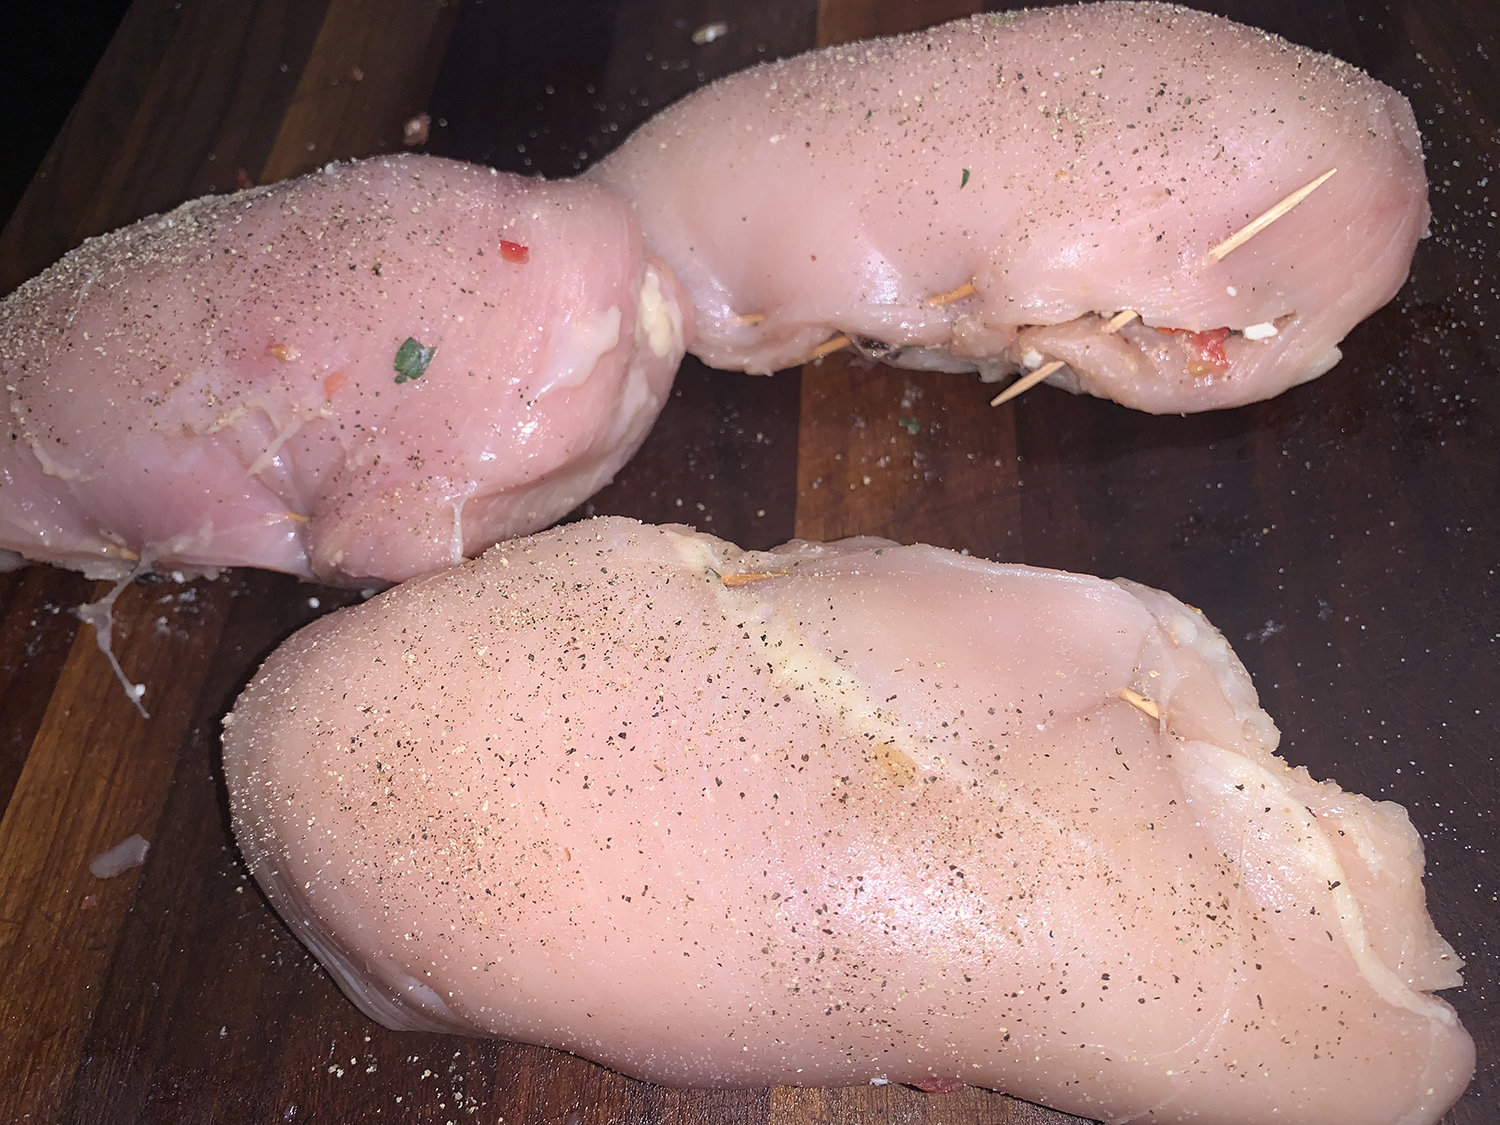
Purchase similarly sized chicken breasts so they’ll cook at the same rate. Because our 3 breasts were quite large, the stuffing mixture was doubled, although that is NOT noted in the list of ingredients below. And, they had to be cooked an additional 10 minutes to come to the proper temperature. As a side dish, we roasted some asparagus spears drizzled with olive oil and seasoned with salt, pepper and Za’atar.
Preserved lemons are a common ingredient in Moroccan recipes. You can find the salty pickled citrus in well-stocked grocery stores (near the pickles and olives) or Middle Eastern markets. We usually make and keep a jar of them in our auxiliary refrigerator. (Forgot to include them in the set-up photo below.)
Mash feta and yogurt together in a small bowl. Stir in tomatoes, olives, lemon, oregano and garlic.
Using a sharp knife, cut chicken breasts in half horizontally without cutting all the way through, to create a pocket. Stuff each pocket with equal amounts of the feta mixture; fold the chicken back over and secure with toothpicks. Sprinkle with salt and pepper.
Heat oil in a large ovenproof skillet over medium-high heat. Add the chicken and cook until golden brown, about 4 minutes. Carefully flip the chicken and transfer the pan to the oven.
Bake until an instant-read thermometer inserted in the thickest part of the chicken registers 165 degrees F, 20 to 25 minutes. Transfer to a clean cutting board. Let rest for 5 minutes, then slice.
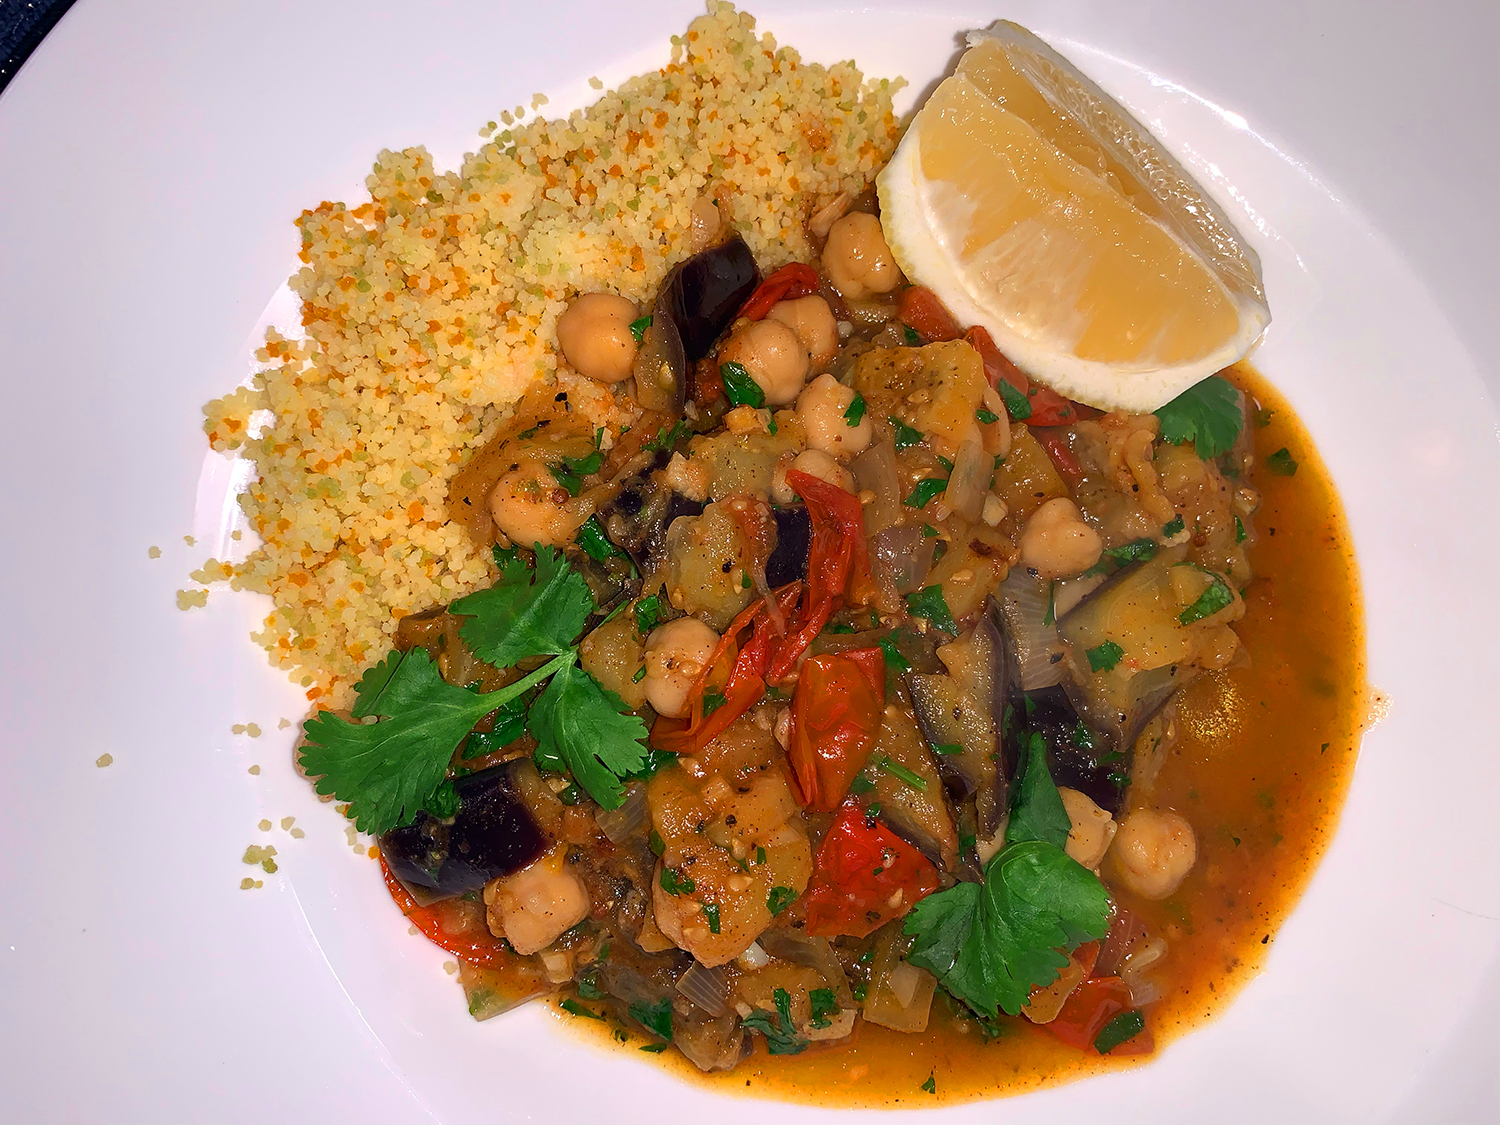
We found this lovely and full-flavored vegetarian dish in Milk Street’s Fast and Slow Cookbook for Instant Pot Cooking. A tagine is a North African stew cooked in a shallow, conical clay pot that goes by the same name. This chunky vegetable dish is warmly spiced like a tagine and features the common North African pairing of sweet and tart flavors.
For extra depth and a touch of spiciness, swirl in a spoonful of harissa into the tagine just before serving or offer some at the table for spooning on to taste. You will probably want to soak up the delicious sauce with crusty bread, warmed flatbread or couscous (or choice).
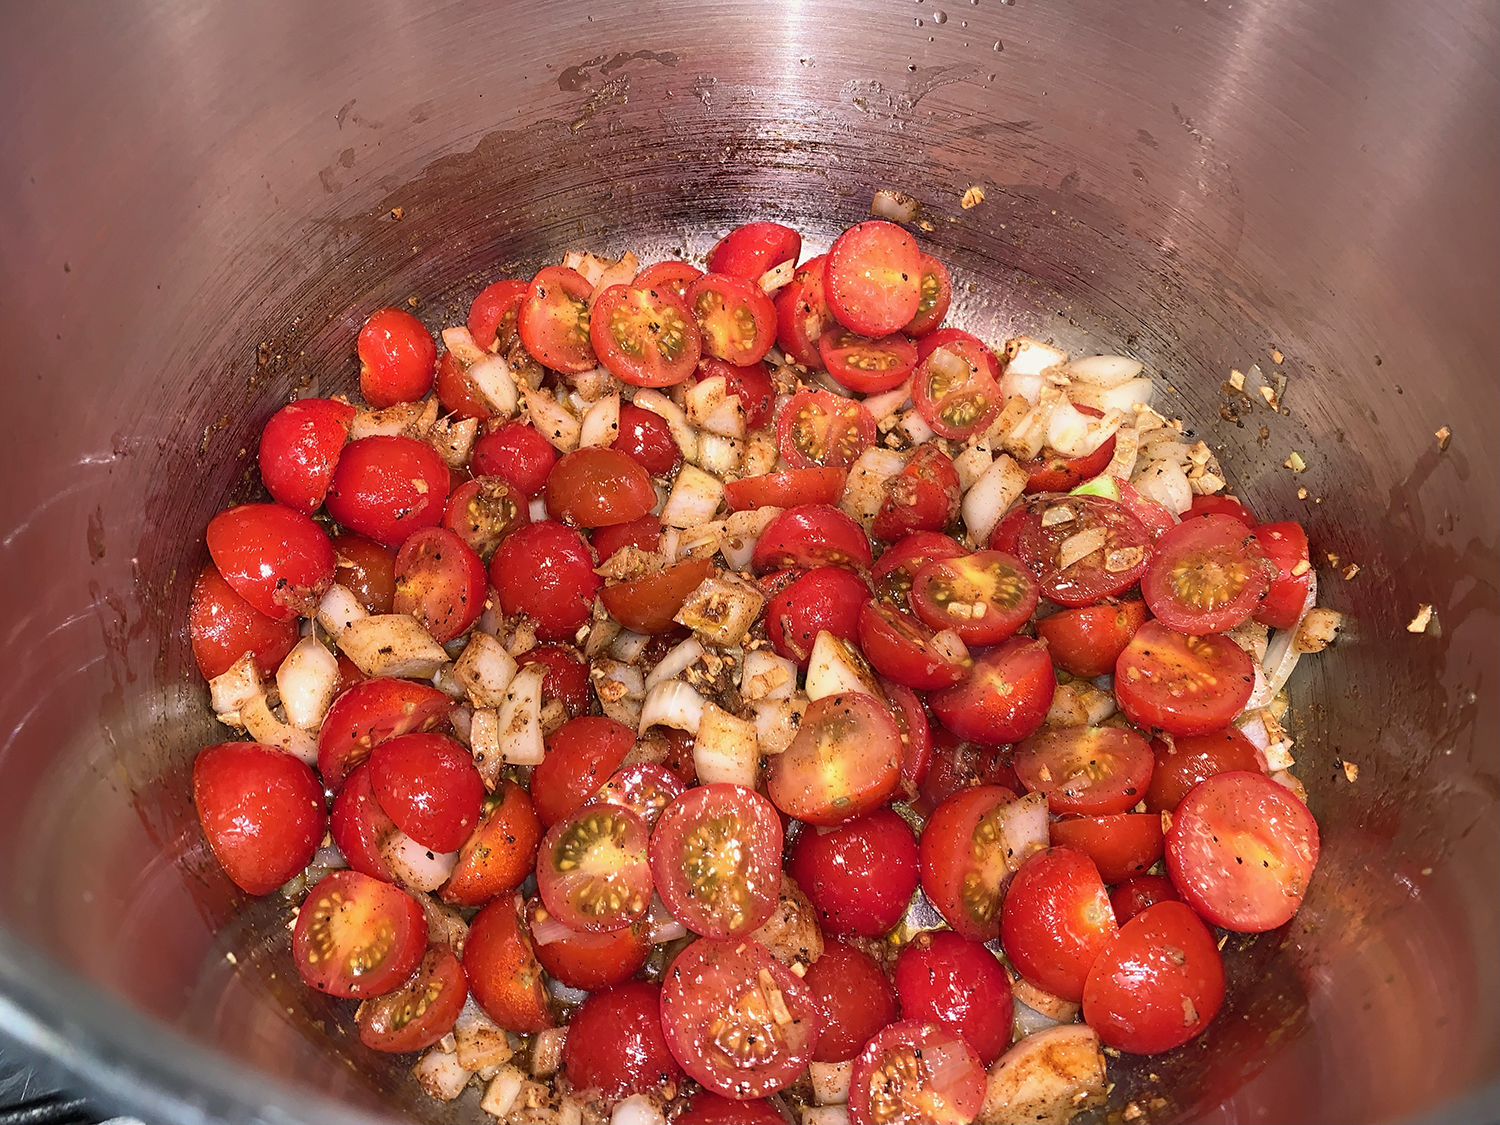
Be aware, you don’t want to shortcut the prep by leaving the tomatoes whole. Slicing 2 pints of grape tomatoes may sound like a bummer, but this step helps the tomatoes break down and cook at the same rate as the eggplant.
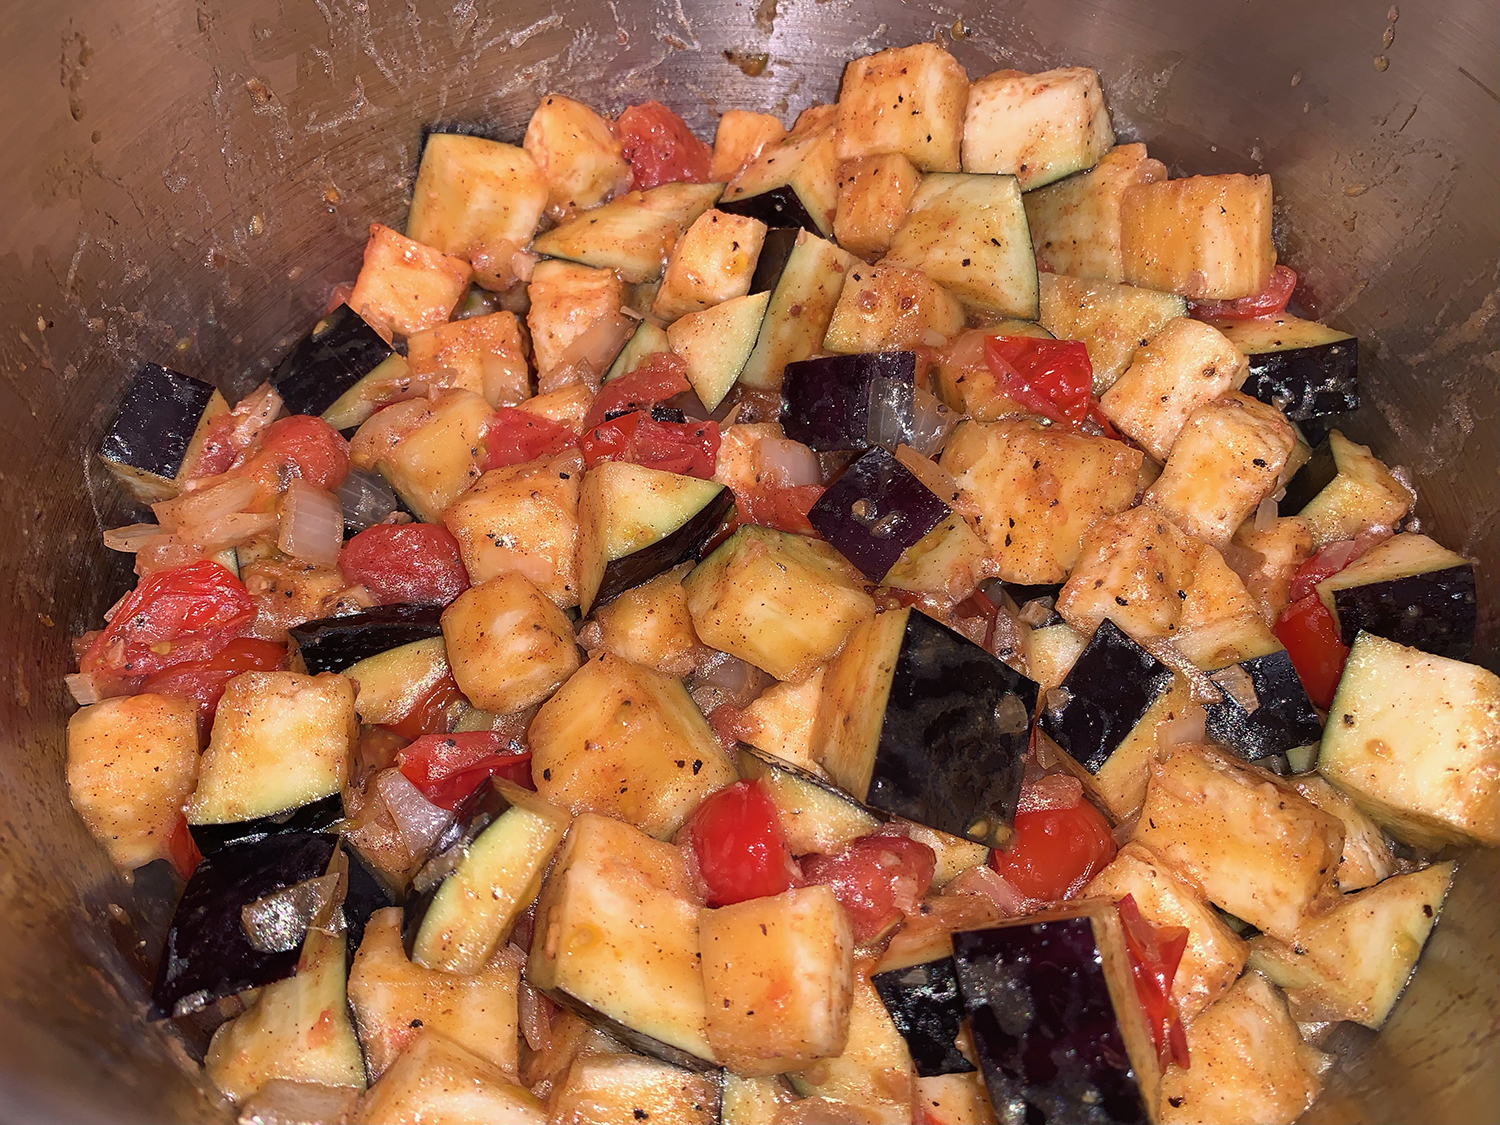
2 lbs. eggplant, trimmed and cut into 1-inch chunks
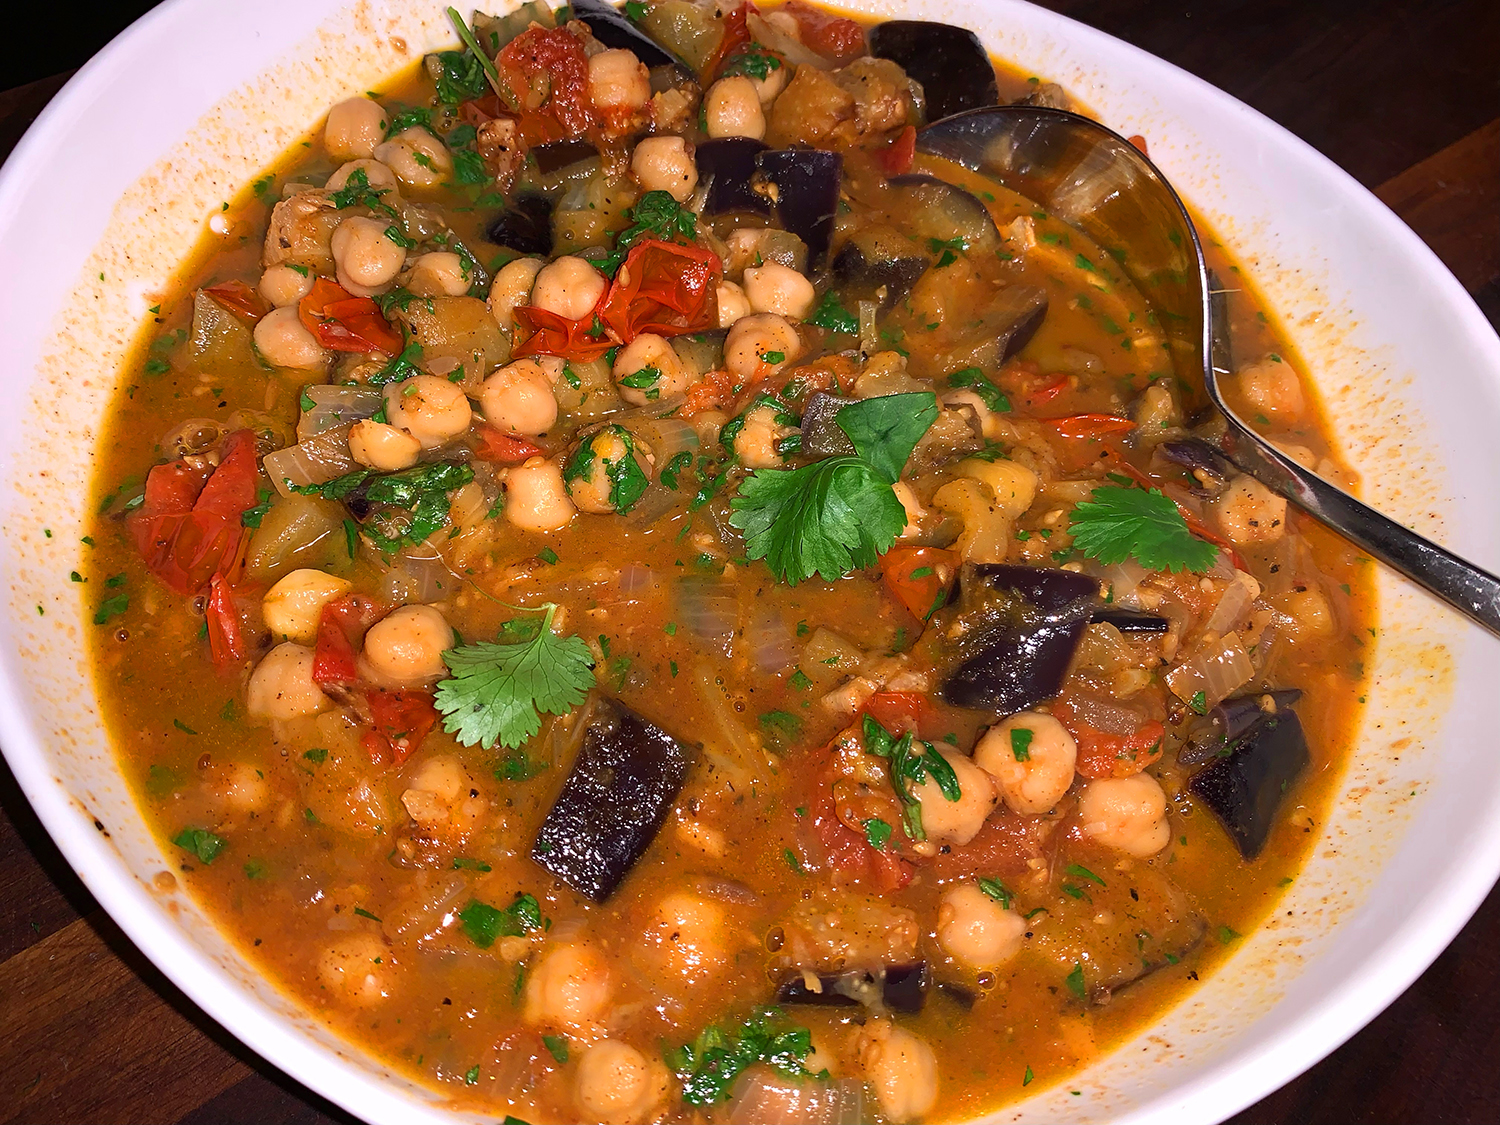
15½ oz. can chickpeas, rinsed and drained
1 Tbsp. lemon juice, plus lemon wedges to serve
1 cup lightly packed fresh cilantro, finely chopped
Directions
On a 6-quart Instant Pot, select Normal/Medium Sauté.
Add the oil and garlic, then cook, stirring often, until golden brown, about 4 minutes.
Add the onion, tomatoes, ginger, cumin, paprika, cinnamon, 2½ teaspoons salt and 1 teaspoon pepper. Cook, stirring occasionally, until the tomatoes begin to release some of their juices, 2 to 4 minutes.
Press Cancel, then stir in ¼ cup water, scraping up any browned bits. Gently stir in the eggplant, then distribute in an even layer.
Lock the lid in place and move the pressure valve to Sealing. Select Pressure Cook or Manual; set the pressure level to Low. Set the cooking time for 3 minutes. When pressure cooking is complete, quick-release the steam by moving the pressure valve to Venting. Press Cancel, then carefully open the pot.
Gently stir in the chickpeas and lemon juice, then taste and season with salt and pepper. Stir in the cilantro.
Serve drizzled with additional oil and with lemon wedges on the side.
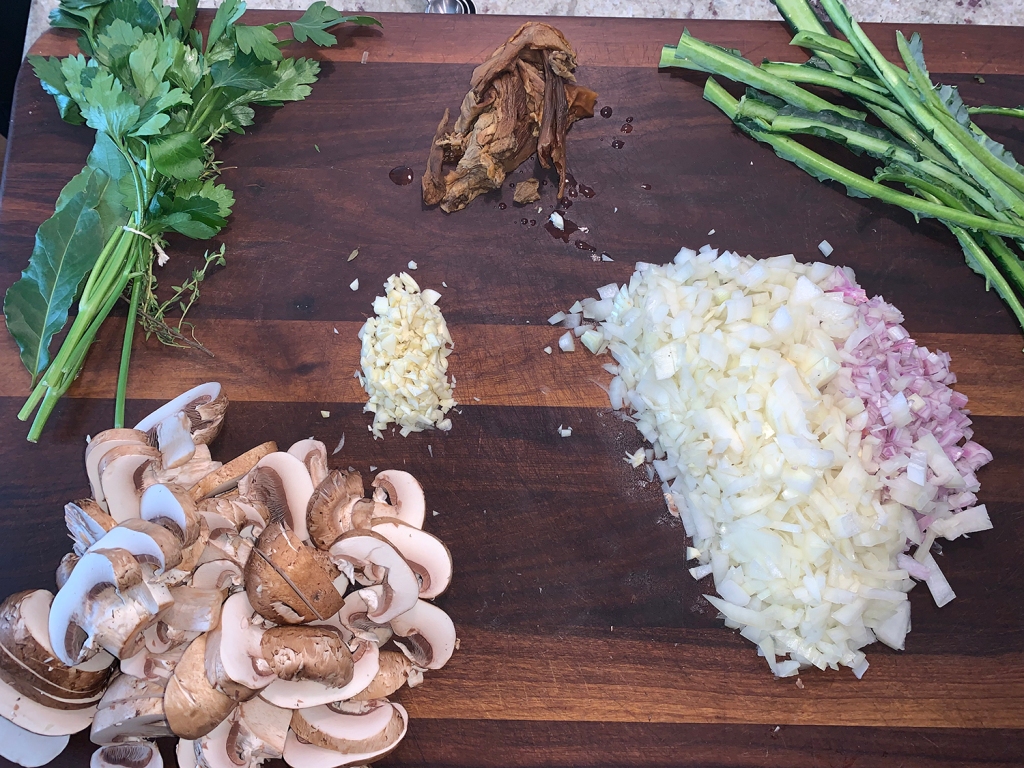
What a powerhouse of healthy ingredients! First, there’s the barley. This versatile grain has a somewhat chewy consistency and a slightly nutty flavor that can complement many dishes. It’s also rich in many nutrients and packs some impressive health benefits, ranging from improved digestion and weight loss to lower cholesterol levels and a healthier heart.
And mushrooms are a low-calorie food that packs a nutritional punch. Loaded with many health-boosting vitamins, minerals, and antioxidants, they’ve long been recognized as an important part of any diet. Plus, the anti-inflammatory effect of mushrooms has been shown to greatly improve the efficiency of the immune system.
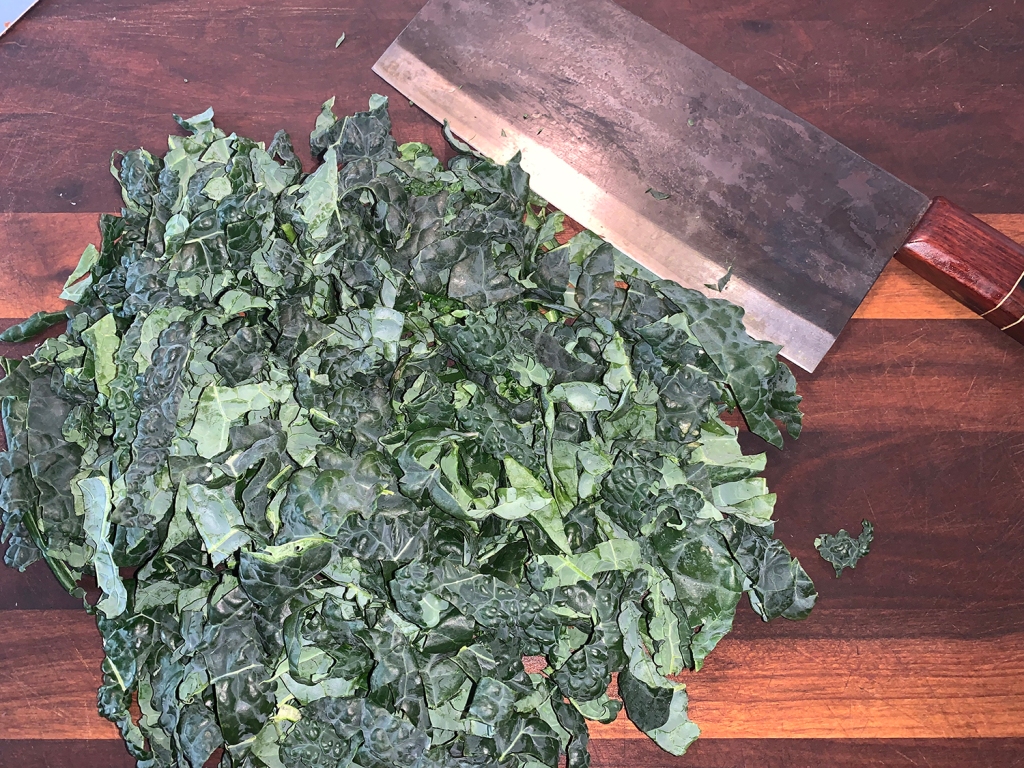
Kale, one of the so-called “superfoods” is also packed with nutrition that puts it high on the list of world’s healthiest food, not to mention it is low in calories and has zero grams of fat.
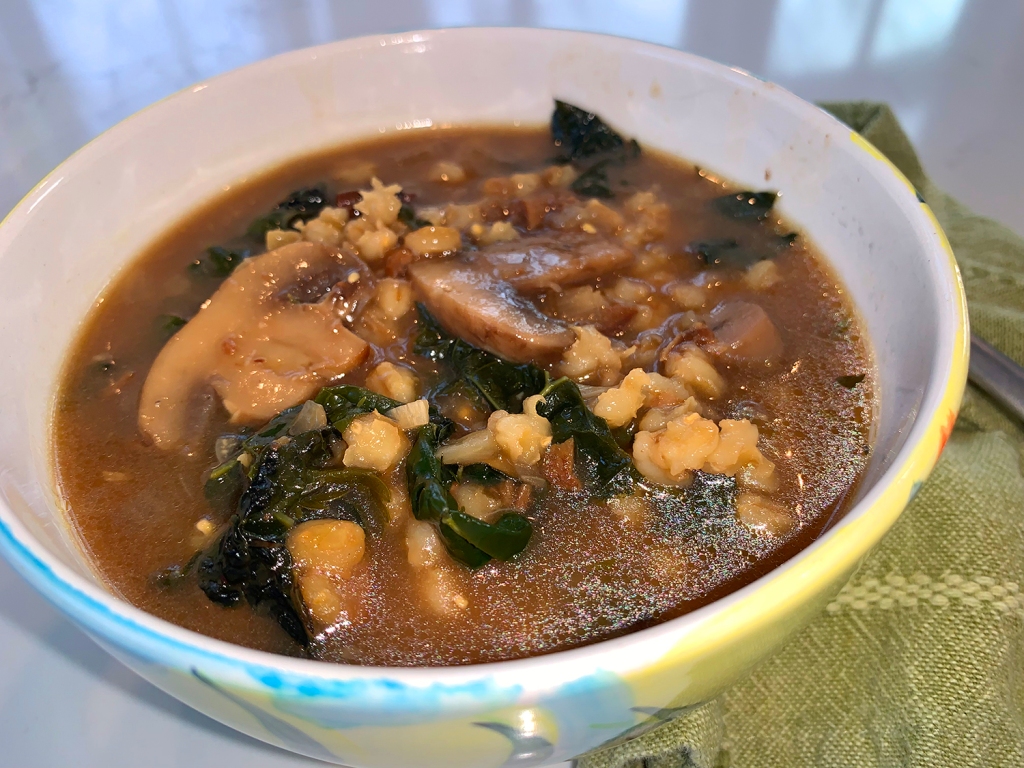
All health info aside, the soup is just darn tasty too! Because our onion wasn’t very large, we also included a shallot. Instead of lining a strainer with cheesecloth, The Hubs drained the hydrating porcinis through a coffee filter, which prevents any grit seeping into the broth.
It will keep for about three days in the refrigerator, but the barley will swell and absorb liquid, so you will have to add more to the pot when you reheat. We added one cup of mushroom broth when we reheated a few days later.
1/2 lb. cremini mushrooms, cleaned, trimmed and sliced thick
2 large garlic cloves, minced
Salt, preferably kosher salt, to taste
3/4 cup whole or pearl barley
1 1/2 qts. chicken stock, or beef stock
A bouquet garni made with a few sprigs each thyme, parsley and a bay leaf
8 oz. kale, stemmed and washed
Freshly ground pepper to taste
Directions
Place the dried porcini mushrooms in a bowl or a Pyrex measuring cup, and pour on two cups boiling water. Let sit for 30 minutes.
Set a strainer over a bowl, and line it with cheesecloth, or better yet, a coffee filter. Lift the mushrooms from the water and squeeze over the strainer, then rinse in several changes of water. Squeeze out the water and set aside. Strain the soaking water through the cheesecloth/coffee filter-lined strainer. Add water as necessary to make two cups. Set aside.
Heat the oil in a large, heavy soup pot or Dutch oven over medium heat, and add the onion. Cook, stirring often, until just about tender, about five minutes.
Add the sliced fresh mushrooms. Cook, stirring, until the mushrooms are beginning to soften, about three minutes, and add the garlic and 1/2 teaspoon of salt. Continue to cook for about five minutes, until the mixture is juicy and fragrant.
Add the reconstituted dried mushrooms, the barley, the mushroom soaking liquid, and the stock or water. Salt to taste. Bring to a boil, reduce the heat, cover and simmer 45 minutes.
Meanwhile, stack the kale leaves in bunches and cut crosswise into slivers. Add the kale to the simmering soup, and continue to simmer for another 15 to 20 minutes.
The barley should be tender and the broth aromatic. The kale should be very tender. Remove the bouquet garni, taste and adjust salt, add a generous amount of freshly ground pepper and serve.
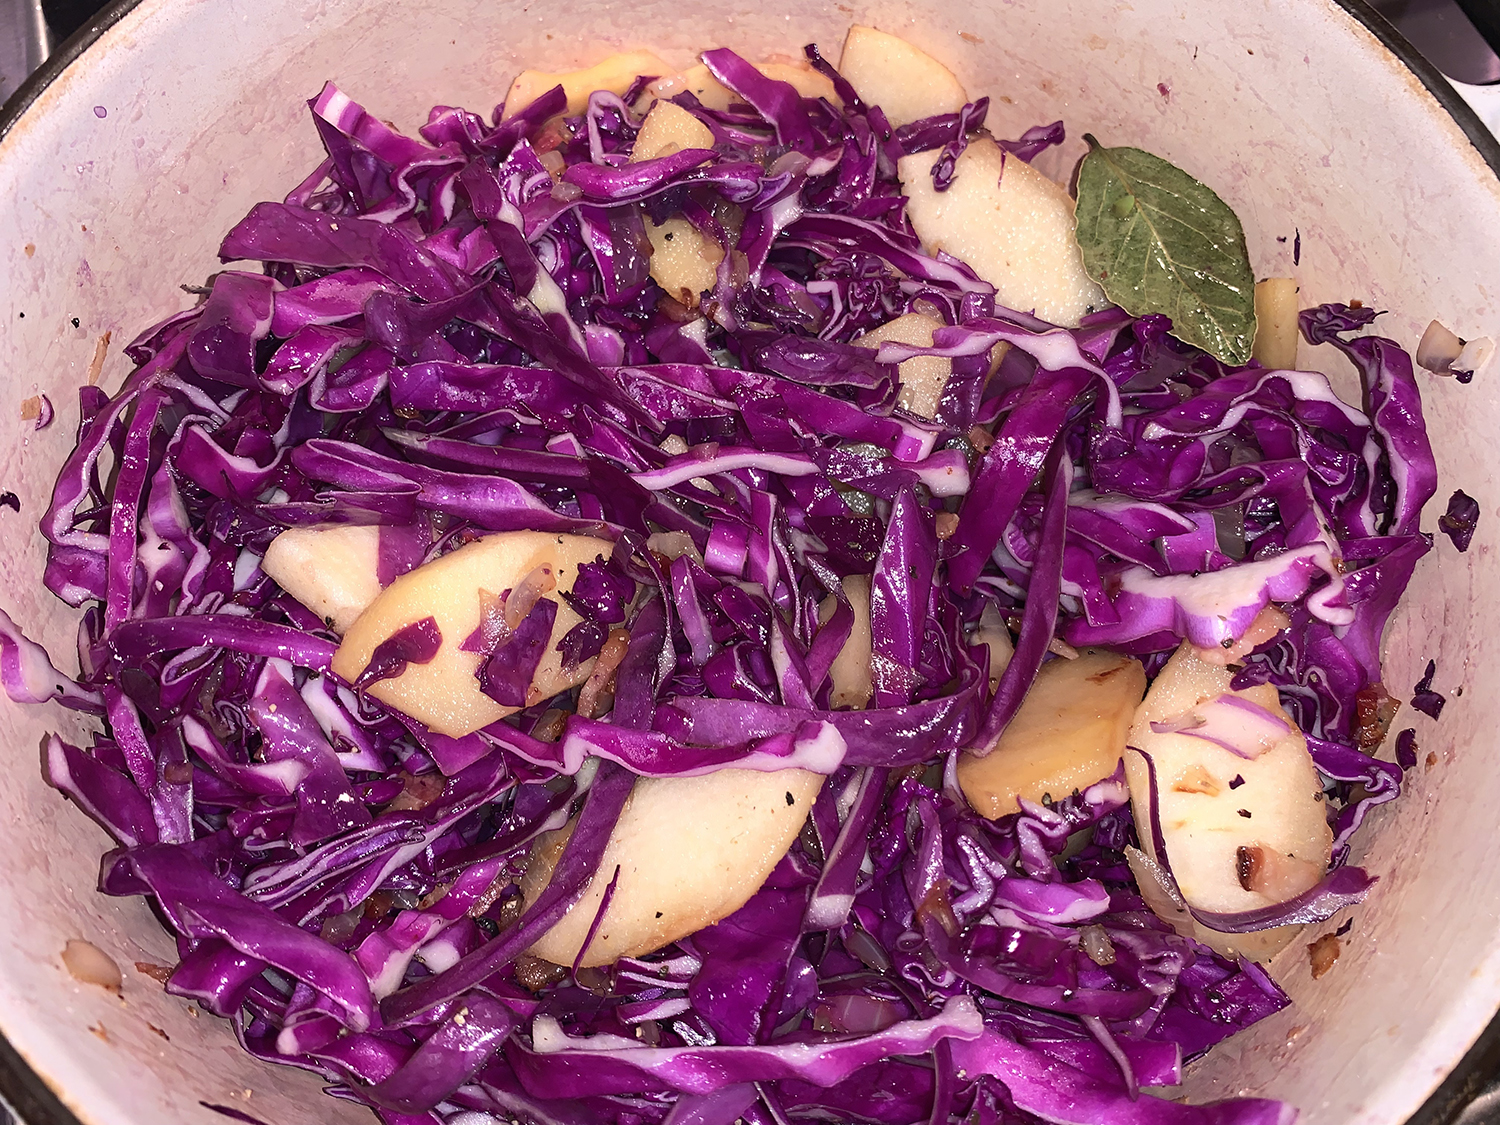
This recipe, published in The Times in 1991, was adapted from Yves Labbé, the chef at Le Cheval d’Or, a restaurant in Jeffersonville, Vt., that showcased French country cooking. Mr. Labbé was known to serve this side dish alongside quail in a red-wine sauce, and its simple instructions belie depths of flavor. The cabbage cooks down, braising in its own juices, while the sweetness of the apples and maple syrup, a Vermont staple, tones down the bitterness of the cabbage. The result has broad appeal. —Marialisa Calta
We decided to pair it with a tasty and moist Sous Vide Pork Loin which came out of it’s immersion bath at just the right temperature, then was seared on all sides to achieve a golden crust…. but I’m getting ahead of myself… now about this cabbage dish.
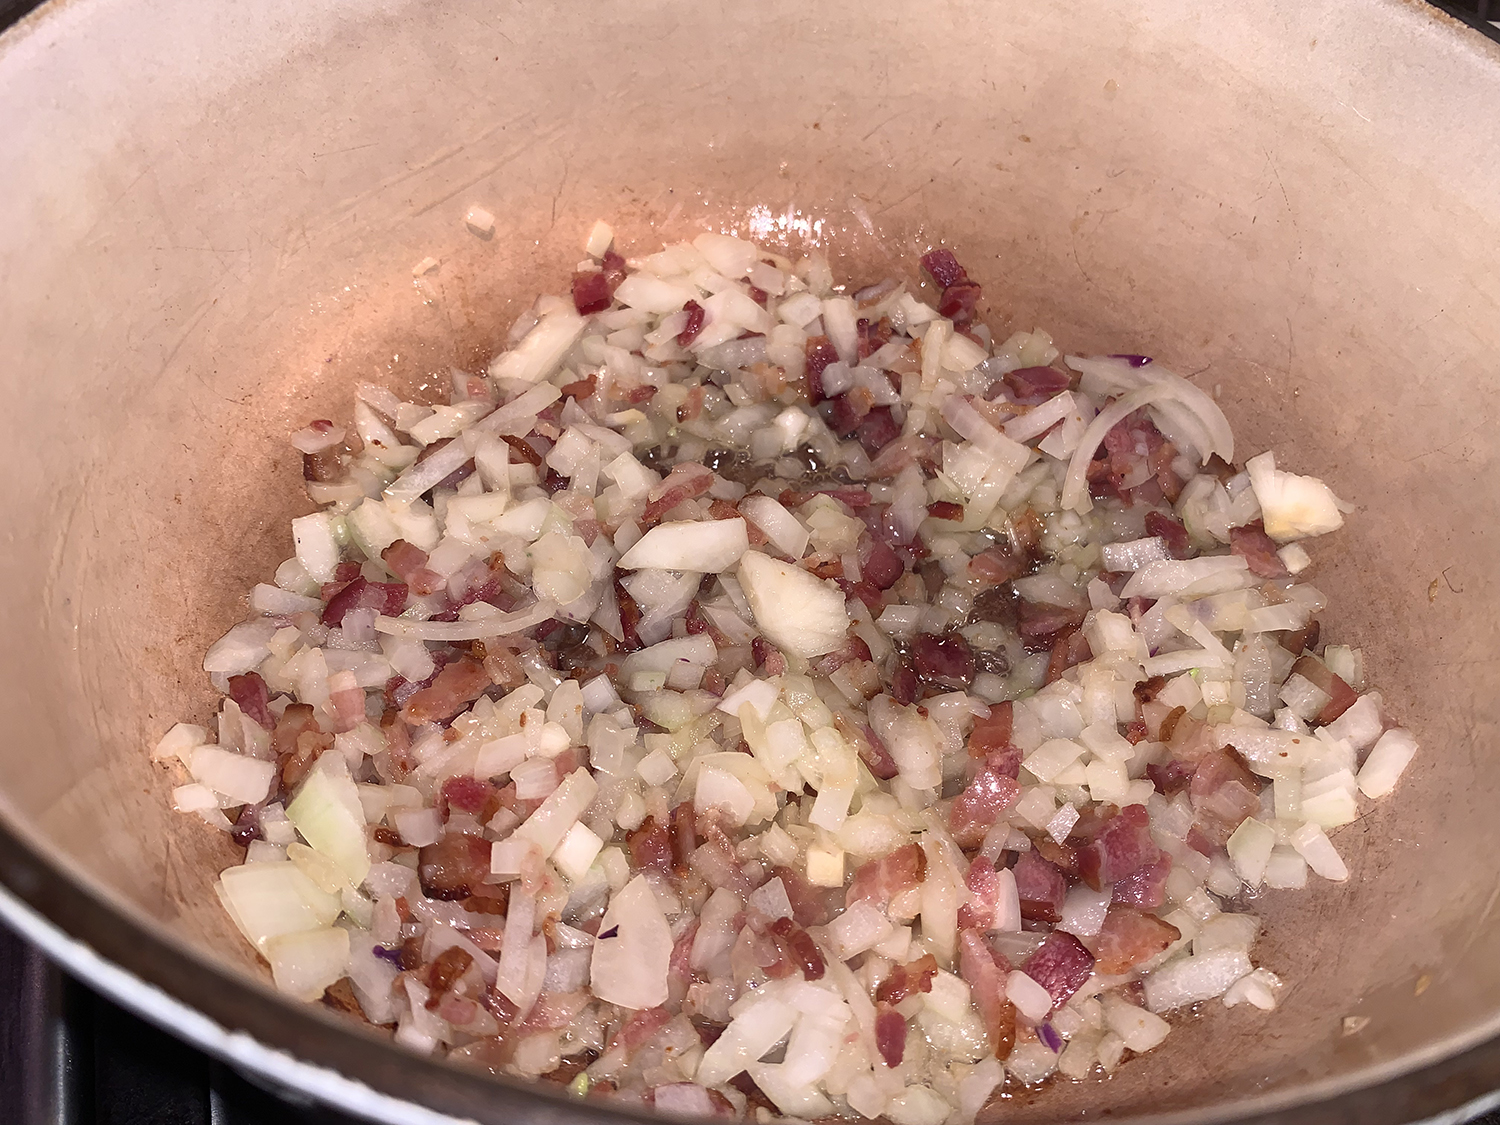
It’s quite easy actually. Spend a bit of prep time chopping or mincing the first four ingredients. Next several minutes are spent sautéing the bacon and onion. Everything else now goes in the Dutch oven, the pot is covered and put in the preheated oven for 30 minutes.
The dish was incredibly good. We did notice however quite a bit of liquid in the bottom of the pot and thought perhaps next time we’d reduce the amount of maple syrup by half, using only a 1/4 cup instead of a 1/2 cup. Which would appeal to our preference for more savory than sweet.
1 medium firm, tart apple, peeled, quartered, cored and sliced
1 lb. red cabbage (about 1/2 head), cored, outer leaves removed and shredded
1 bay leaf
1/4 cup maple syrup
Salt and black pepper
Directions
Heat oven to 350 degrees. In an ovenproof saucepan or Dutch oven large enough to hold all of the ingredients, sauté the bacon over medium until crisp, about 5 minutes. Add the onion and sauté until translucent, about 5 more minutes.
Add the apple, cabbage, bay leaf, maple syrup, and season with salt and pepper, cover, and transfer to the oven. Bake for 30 minutes.
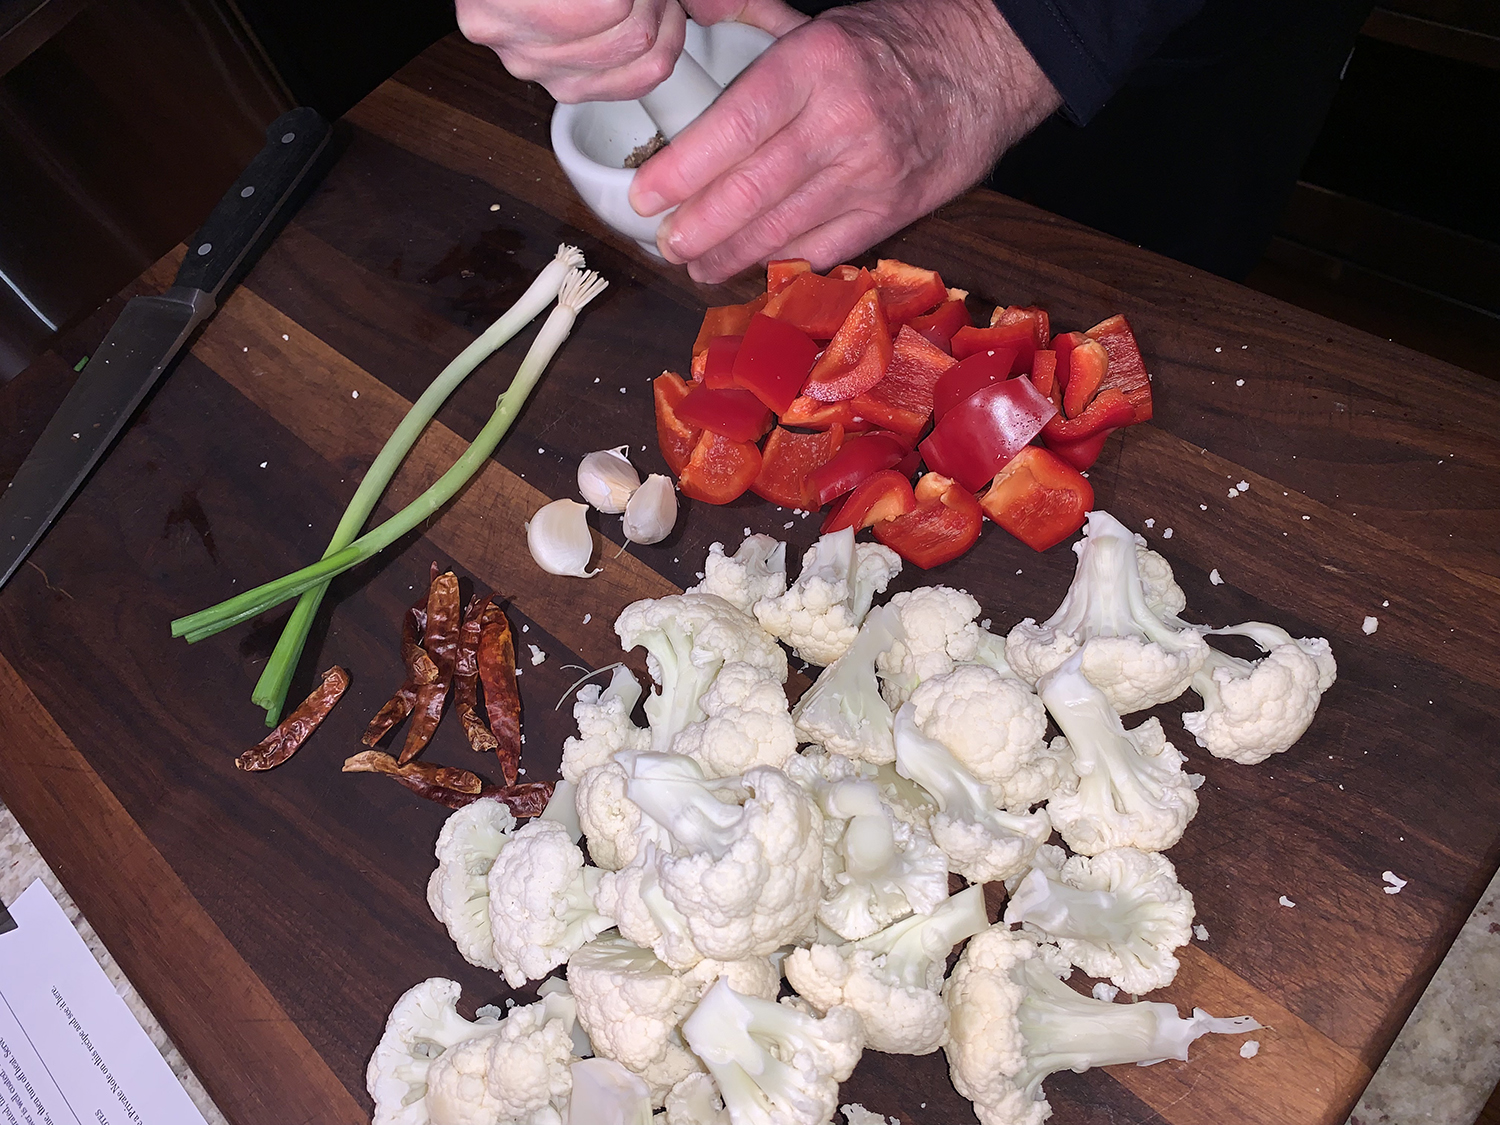
Even though Kung Pao Chicken originated in China’s Sichuan Province, it has become an iconic Chinese-American dish. The popular stir-fry typically includes chicken, vegetables and peanuts tossed in a dark, salty, sweet and spicy sauce, but in this vegan take, cauliflower steps in for the chicken.
Dark soy sauce is more caramel-flavored and less salty than regular soy sauce, and it adds color and richness to the dish. If you don’t have dark soy, substitute with regular soy sauce or hoisin sauce.
Make sure you have a lid for your skillet or wok on hand before you start cooking, as covering the cauliflower allows it to cook quicker and more evenly. And as with any stir-fry, always prep each ingredient ahead of cooking because you won’t have time in between.
Now, The Hubs inadvertently made more sauce than called for. He was using the “ounce” side of the small measuring cup instead of the “tablespoon” side. So he ended up doubling the soy sauces, vinegar, sugar and cornstarch. The vegetable stock remained at 1/4 cup. It ended up being a good mistake, as we tend to prefer our stir-fries on the saucier side anyway.
1 head cauliflower (about 2 lbs.), cut into small 2-inch-long florets
Kosher salt
1 green or red bell pepper, core, seeds and membrane removed, and cut into 1-inch pieces
1 tsp. Sichuan peppercorns, lightly ground in a mortar and pestle, spice grinder or crushed with a rolling pin
8 whole dried chiles, such as er jing tiao or chiles de árbol
2 cloves garlic, finely chopped
1 piece ginger, (1-inch) peeled and finely sliced
1/3 cup roasted peanuts
2 scallions, white and green parts, finely sliced
Steamed rice, to serve
Directions
In a small bowl, whisk together the dark soy sauce, soy sauce, black vinegar, sugar, vegetable stock or water, and cornstarch. Set aside.
Heat wok or large (12-inch) skillet on medium-high until very hot. Add 2 tablespoons of oil, the cauliflower florets and 1/2 teaspoon salt, and toss for 1 minute. Cover and cook for 5 to 6 minutes, tossing the cauliflower every 1 1/2 minutes or so, until the cauliflower is crisp-tender and charred in some parts. Remove from the pan and set aside.
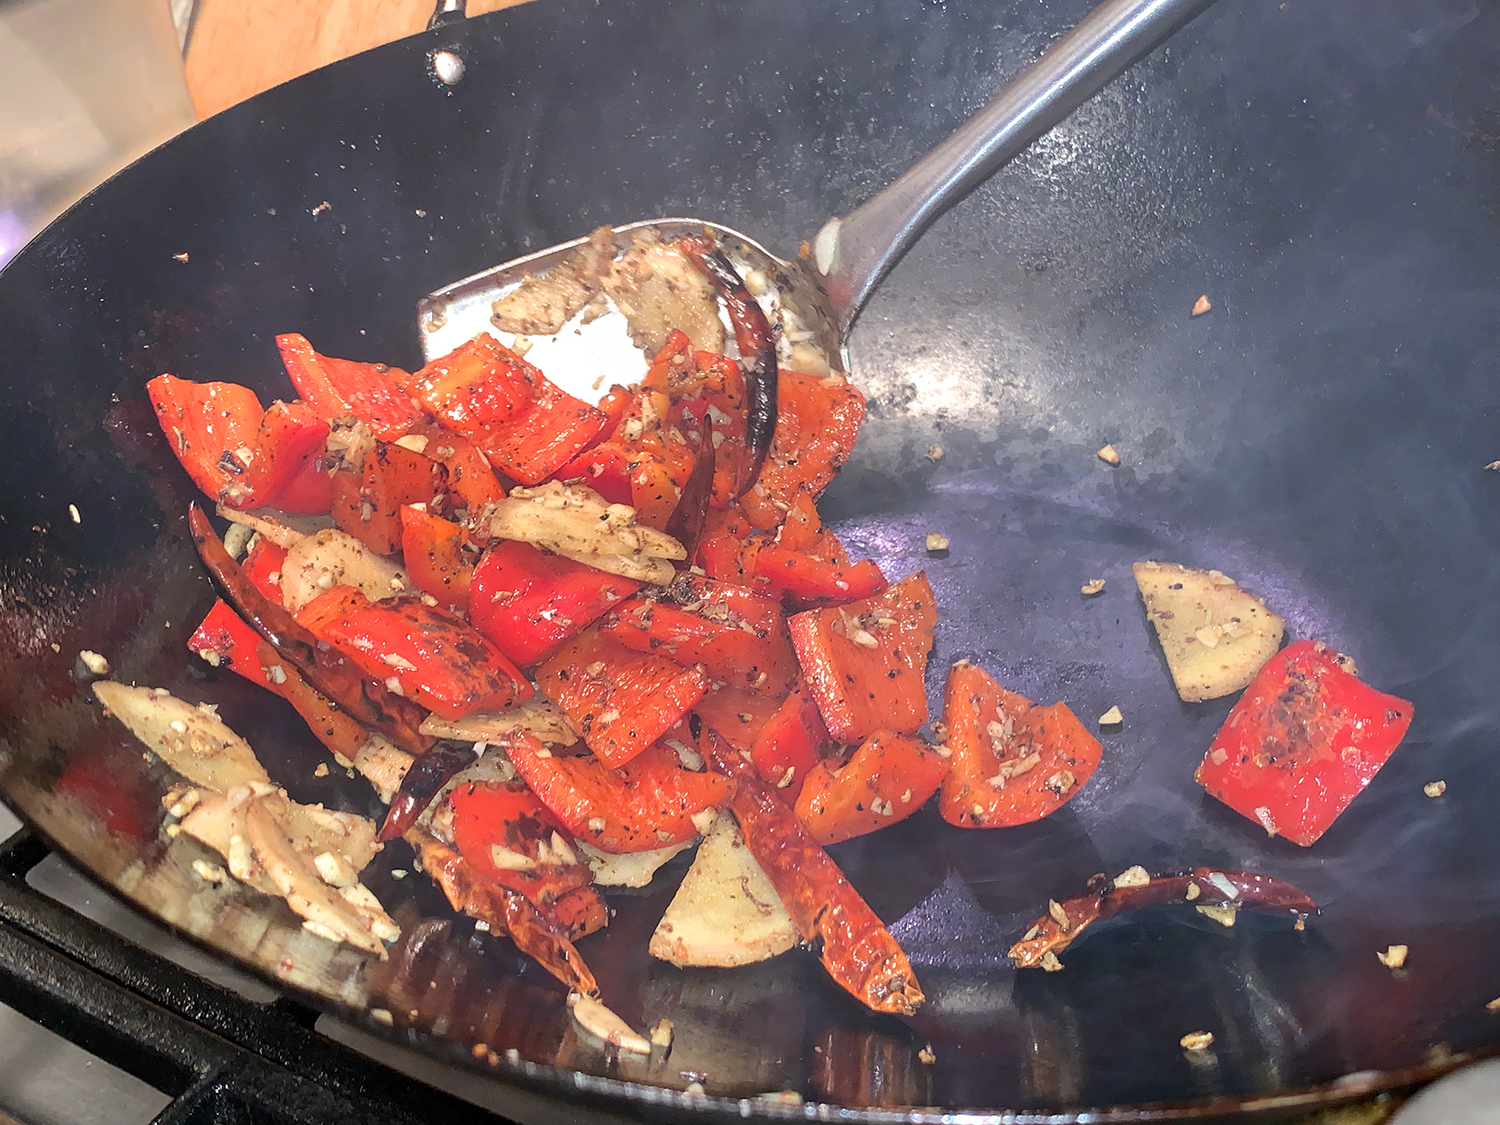
In the same wok or skillet, add the remaining 1 tablespoon of neutral oil, along with the bell pepper. Toss for 1 minute, then add the Sichuan peppercorns and whole dried chiles, and stir for 1 minute until fragrant.
Add the garlic and ginger, and stir for 30 seconds, then add the cauliflower back to the pan. Stir the sauce in the bowl to make sure the cornstarch is well incorporated, then pour it over the cauliflower and toss until the cauliflower is well coated.
Toss in the peanuts and scallions, stir to combine, then turn off heat. Serve with rice.
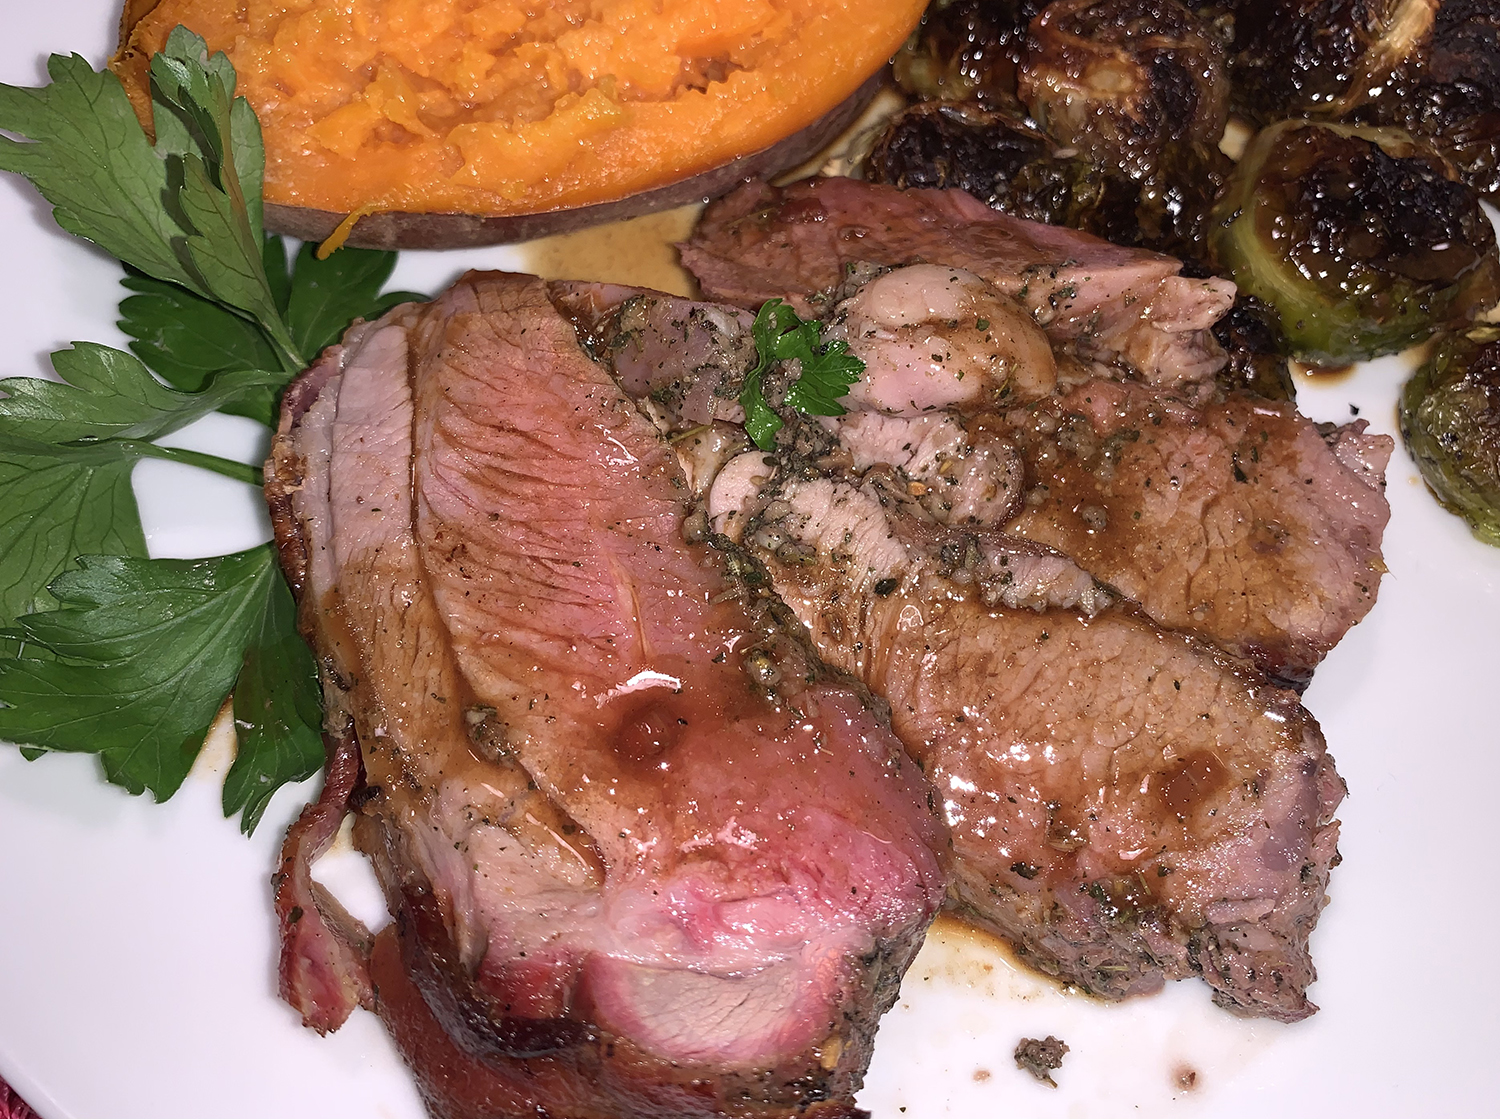
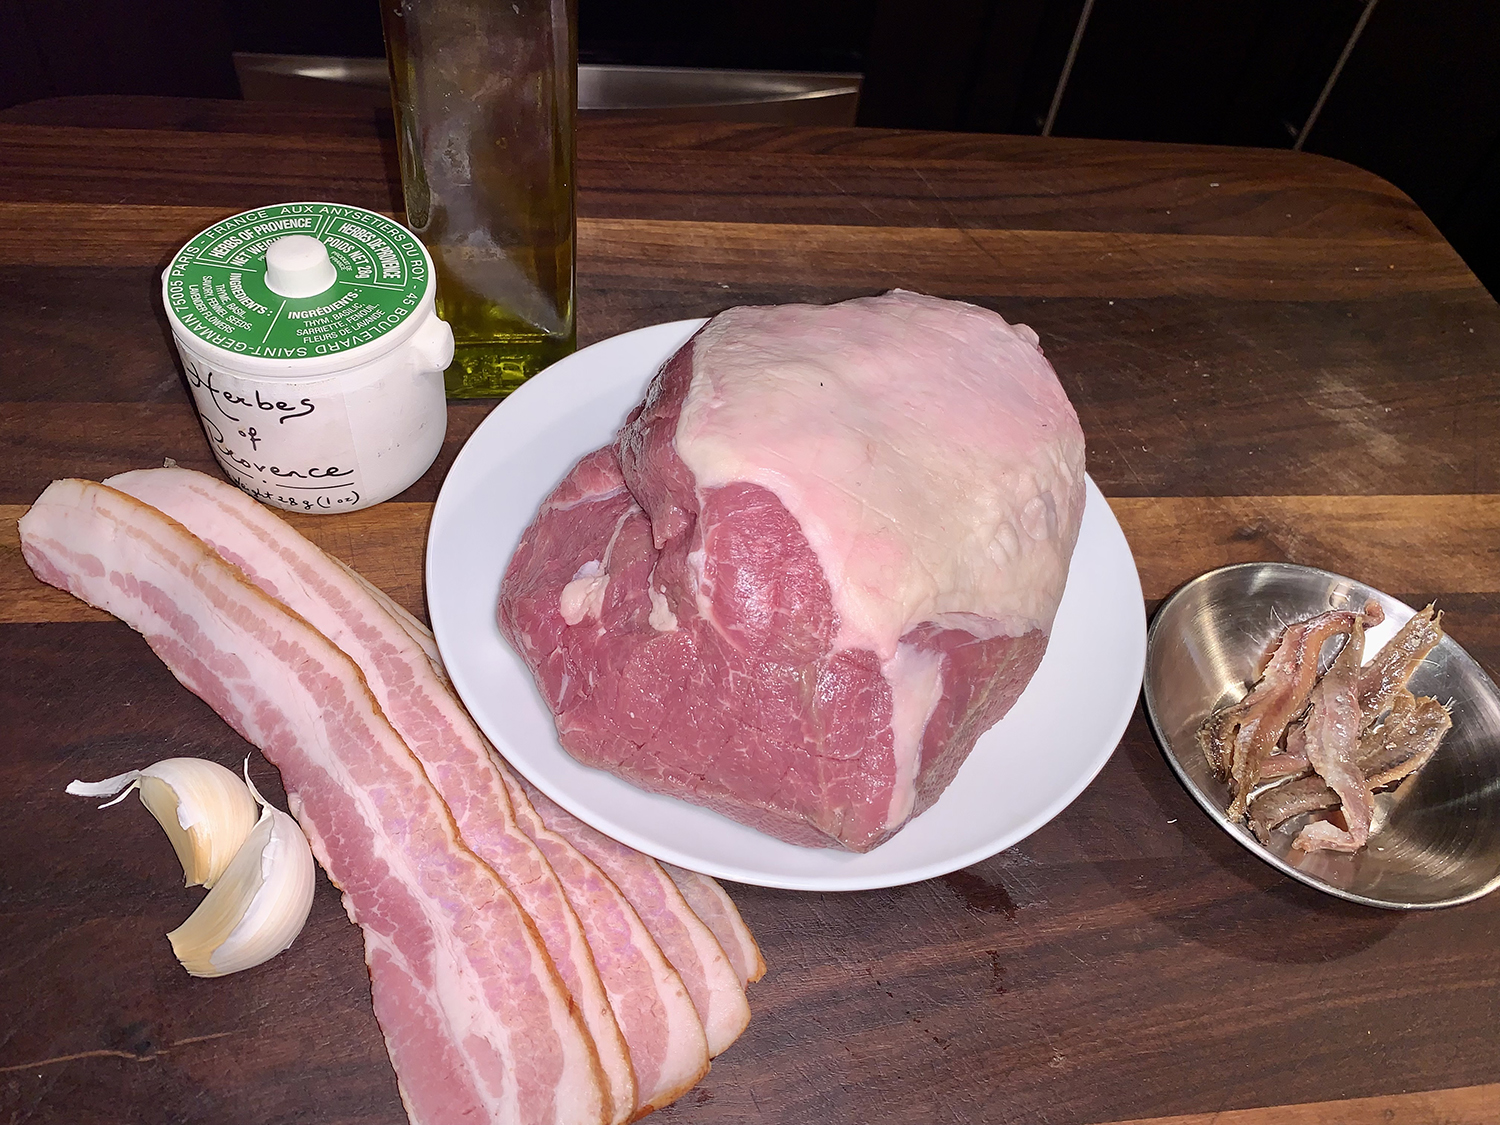
So elegant, yet so simple, this roasted leg of lamb is truly company-worthy. It originally calls for a 4-pound roast, but we had a 2 1⁄2 pounder on hand, so we used that—though we did not cut back on the anchovy-garlic-herbs mixture which lends it so much umami goodness. Even if you are not an anchovy fan, you’d never know they were in the dish because their flavor just melds so perfectly with the other ingredients. DON’T leave them out.
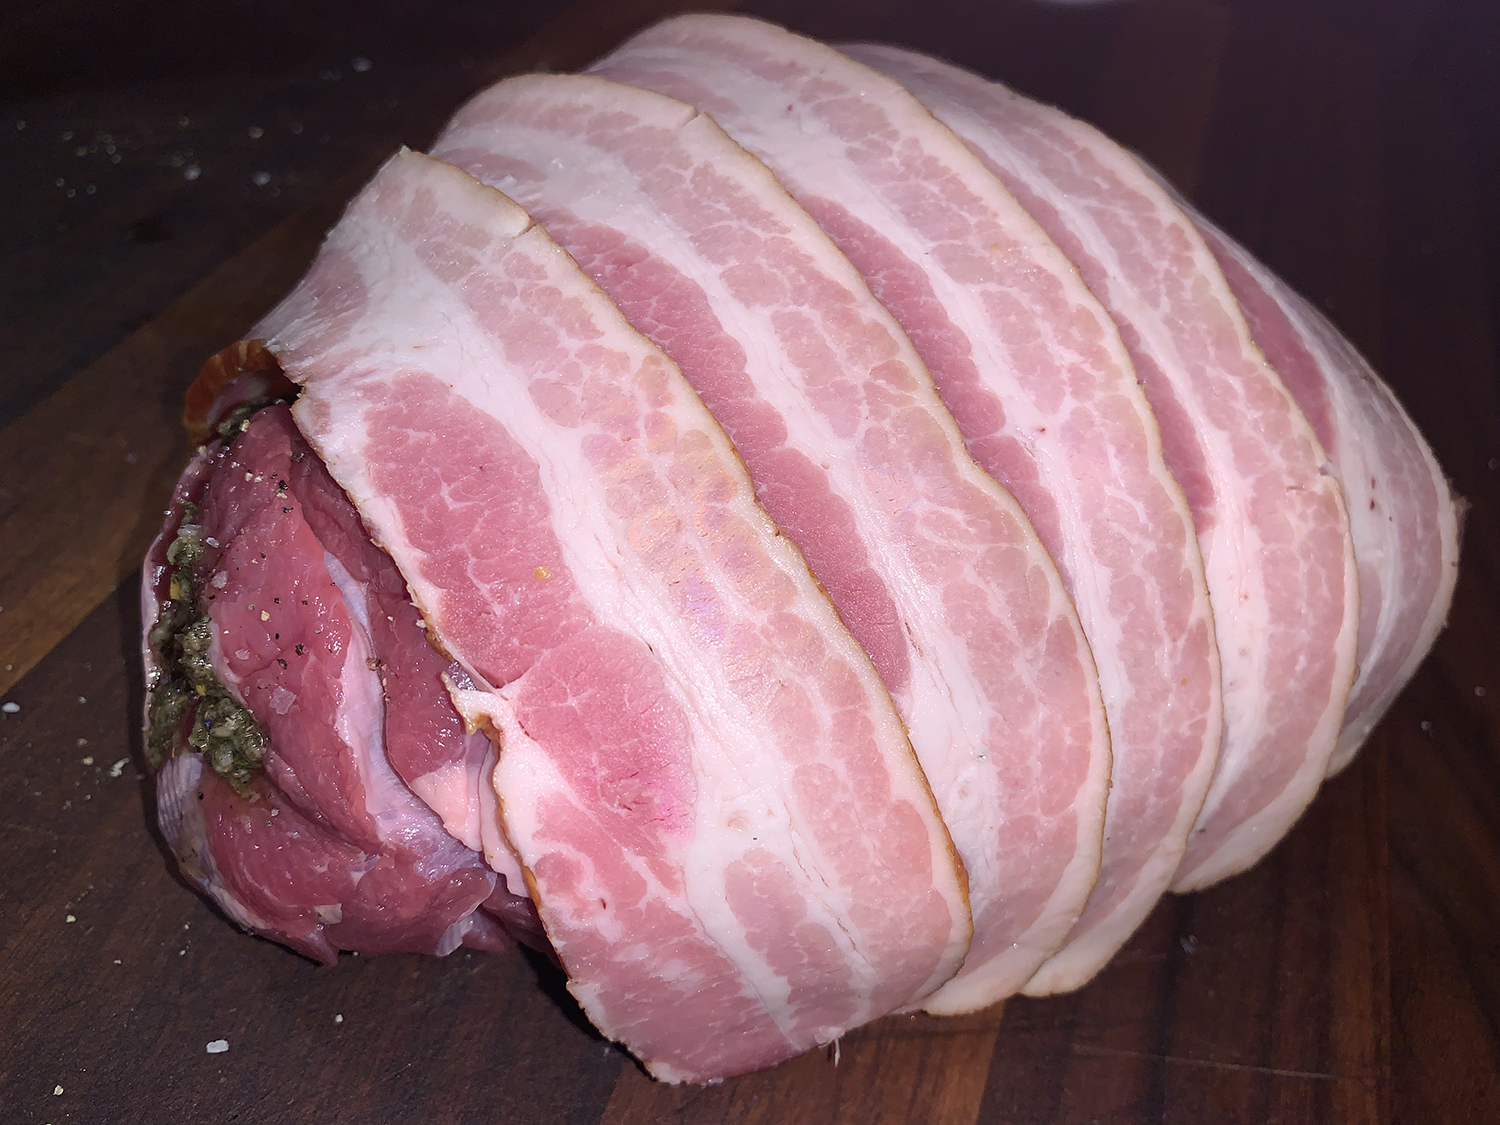
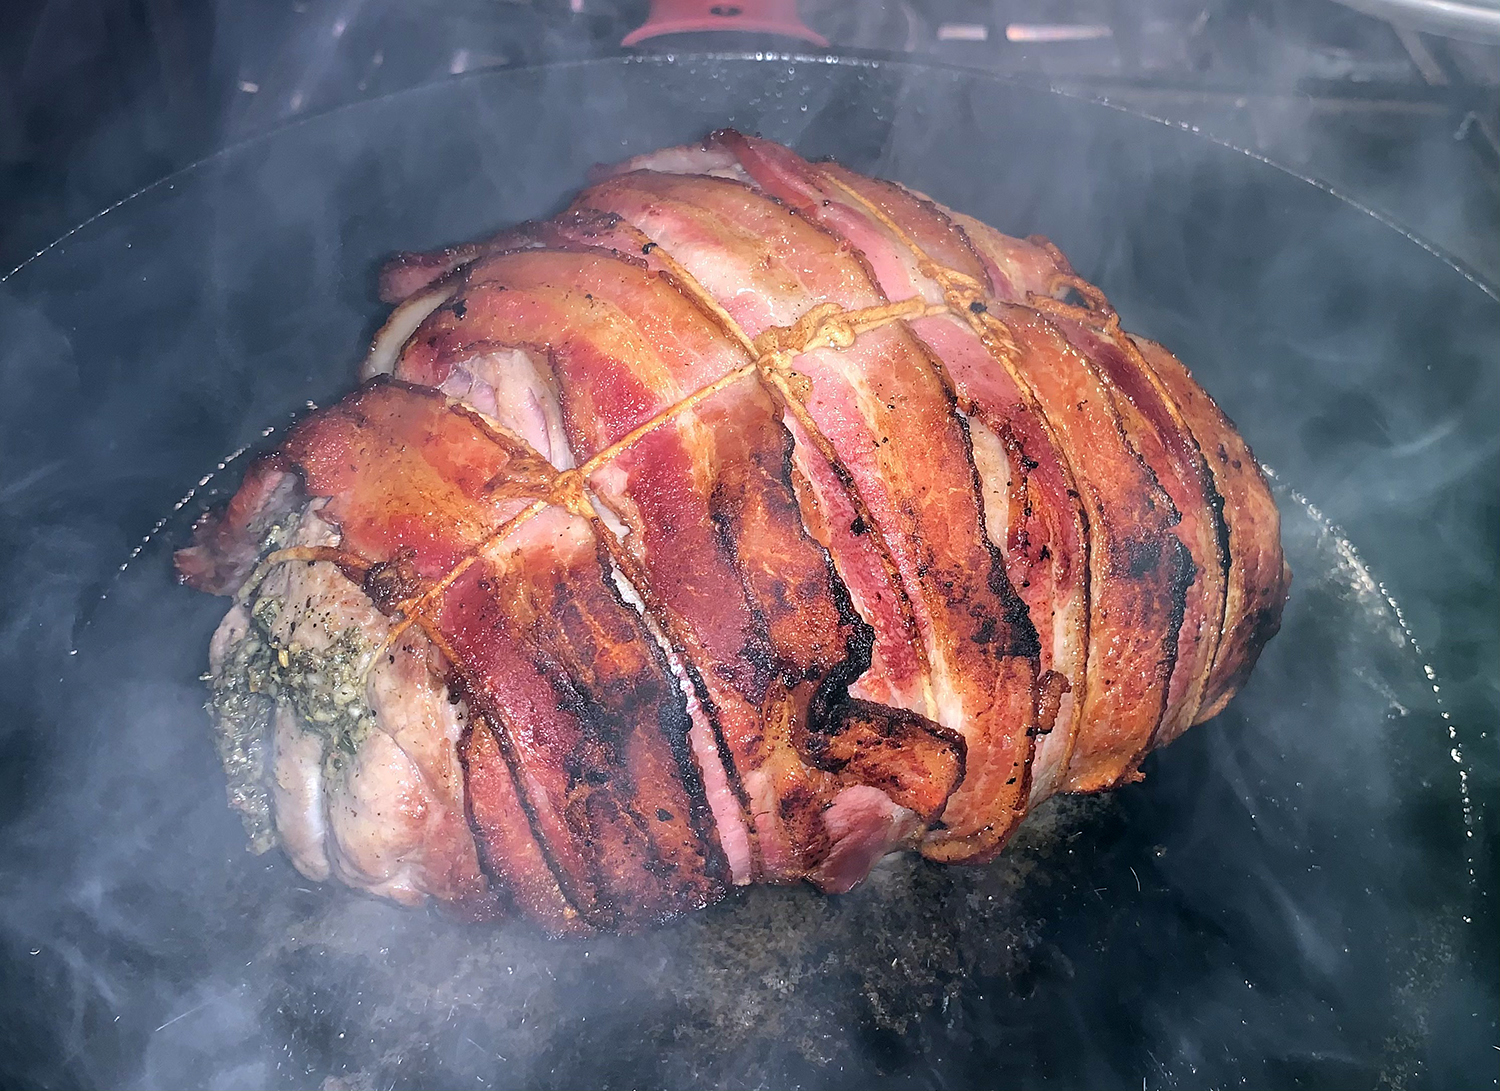
And the icing on the cake so to speak? The bacon slices overlap each other across the top of the roast which create a beautiful crusty and golden exterior. And because our lamb was smaller in size, it took less strips of bacon to cover it.
Paired with baked sweet potatoes and roasted Brussels sprouts, all of which cook at the same 425°F temperature as the lamb—just different lengths of time—everything can be done in just one oven at the same time. Dinner done!
Heat oven to 425 degrees. Place anchovy fillets, garlic and herbs in food processor, and process until finely chopped. With machine running, add olive oil in a thin stream, and process until mixture forms an oily paste. Transfer paste to a small bowl and set aside.
Dry the lamb well with paper towels and open flat on work surface. Sprinkle inside of lamb with salt and pepper and spread paste evenly over it. Roll lamb up tightly. Arrange bacon in overlapping slices on top of lamb, and tie roast as snugly as possible with butcher’s twine.
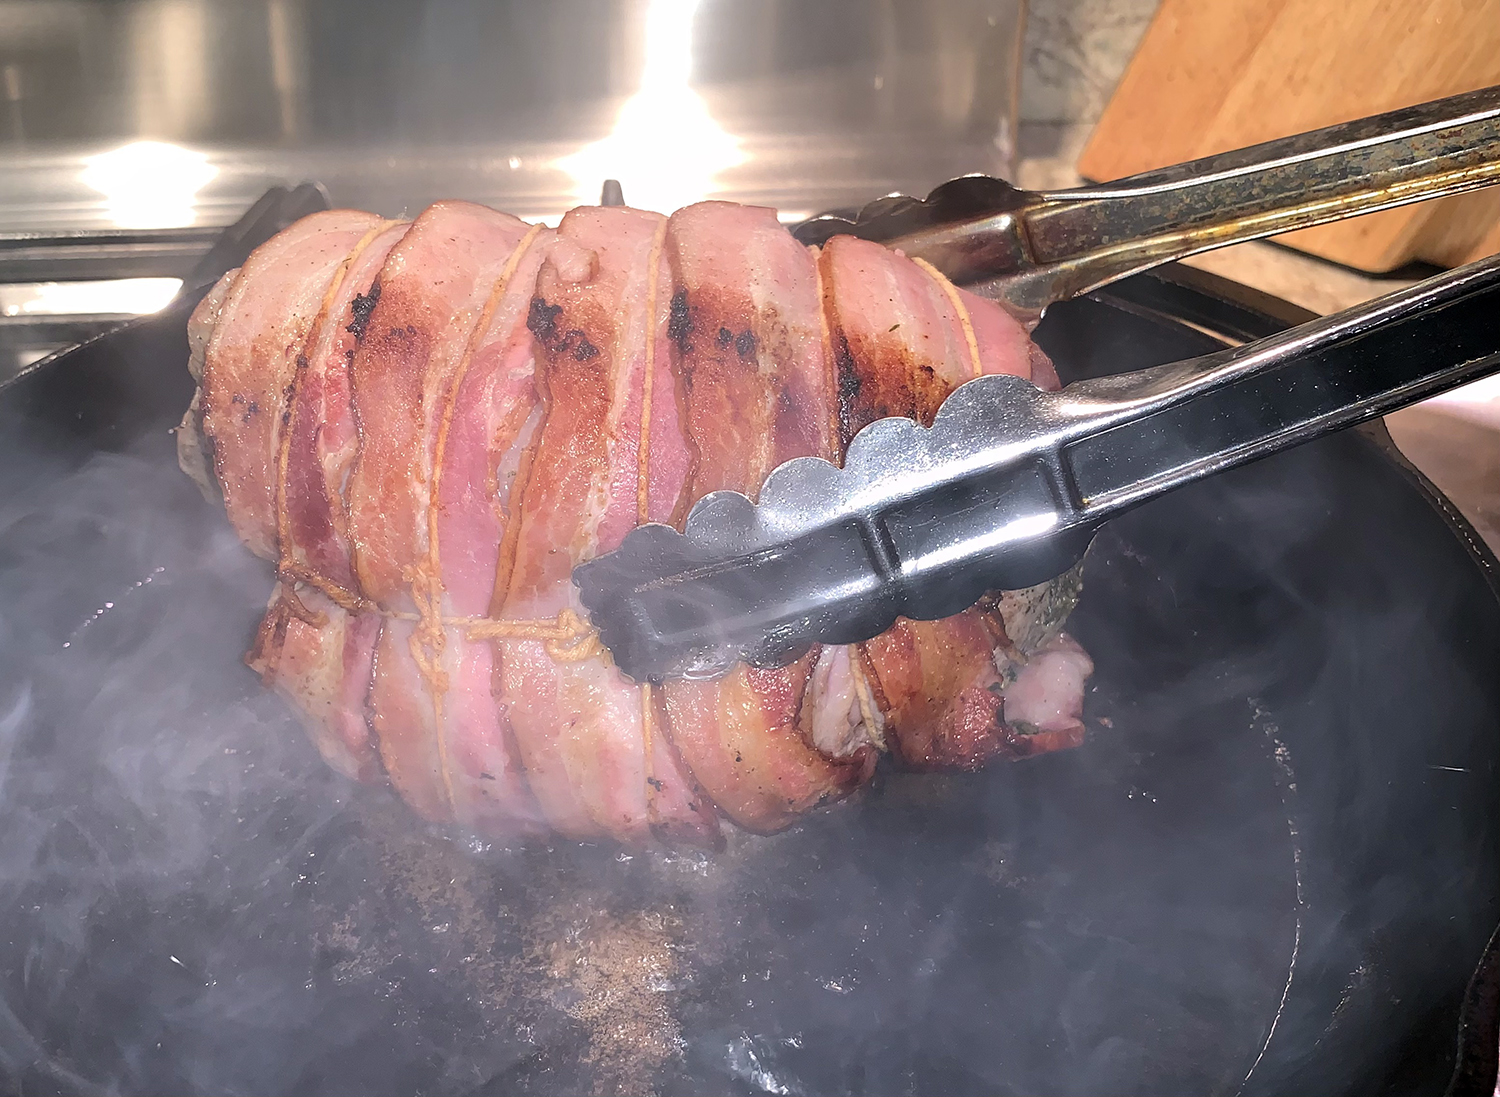
Heat an oven-proof, 10-12 inch wide skillet over high heat 5 minutes. Sear lamb, bacon side down, until brown, about 4 minutes. Turn lamb with tongs and continue searing until all sides are browned, about 12 minutes total.
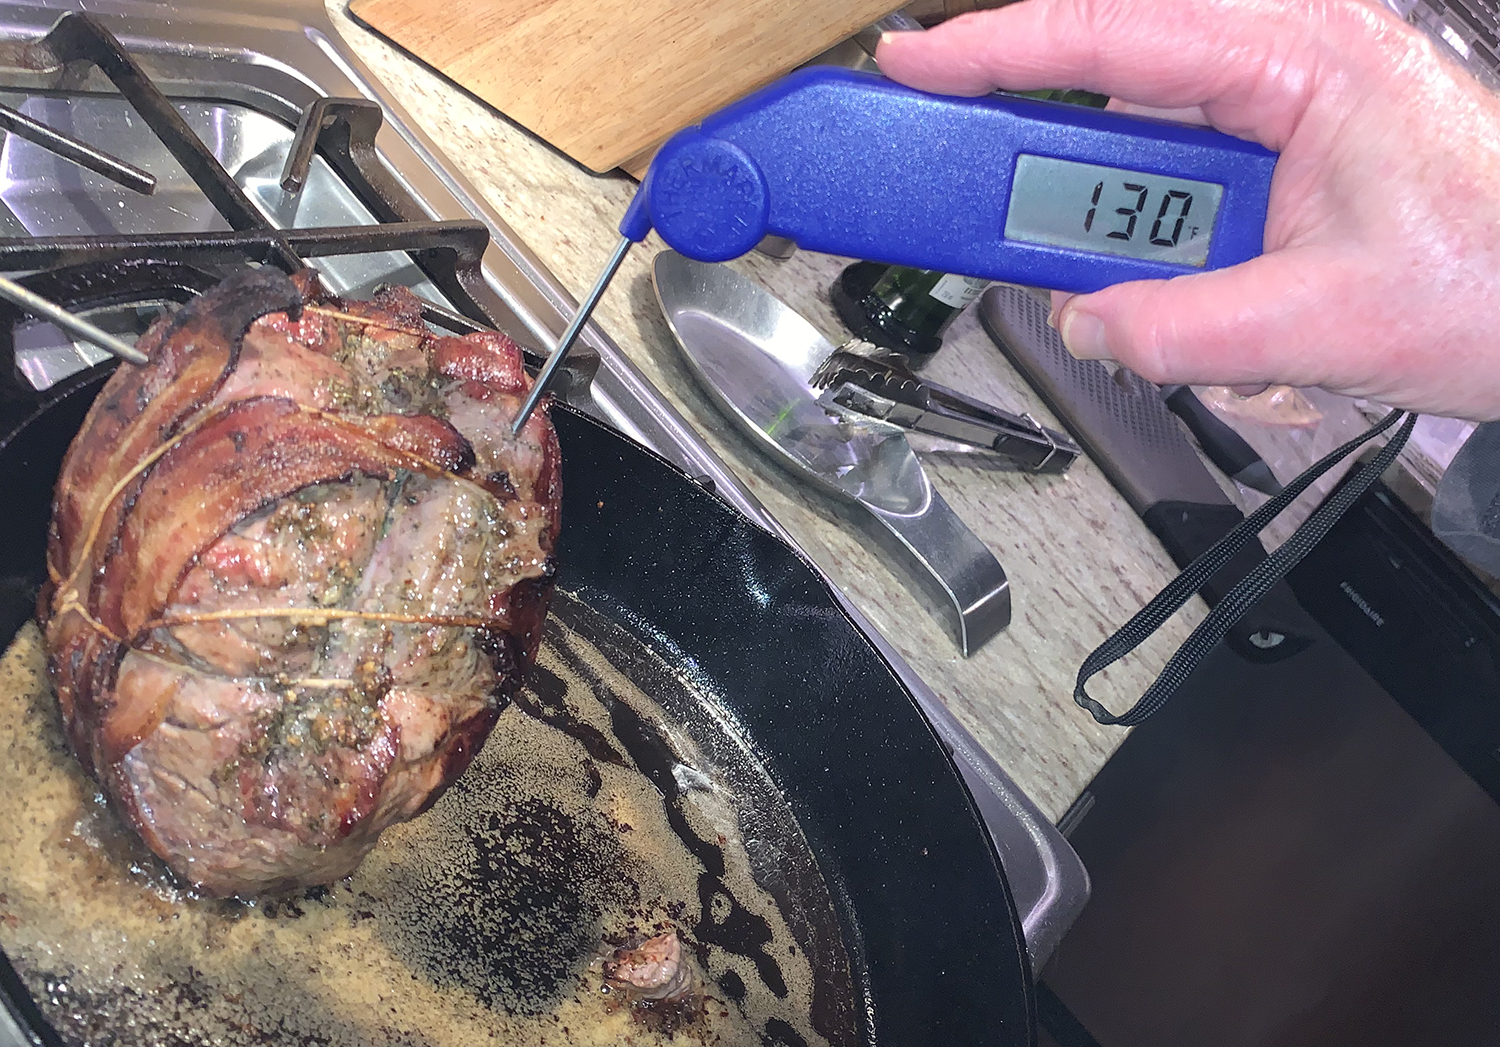
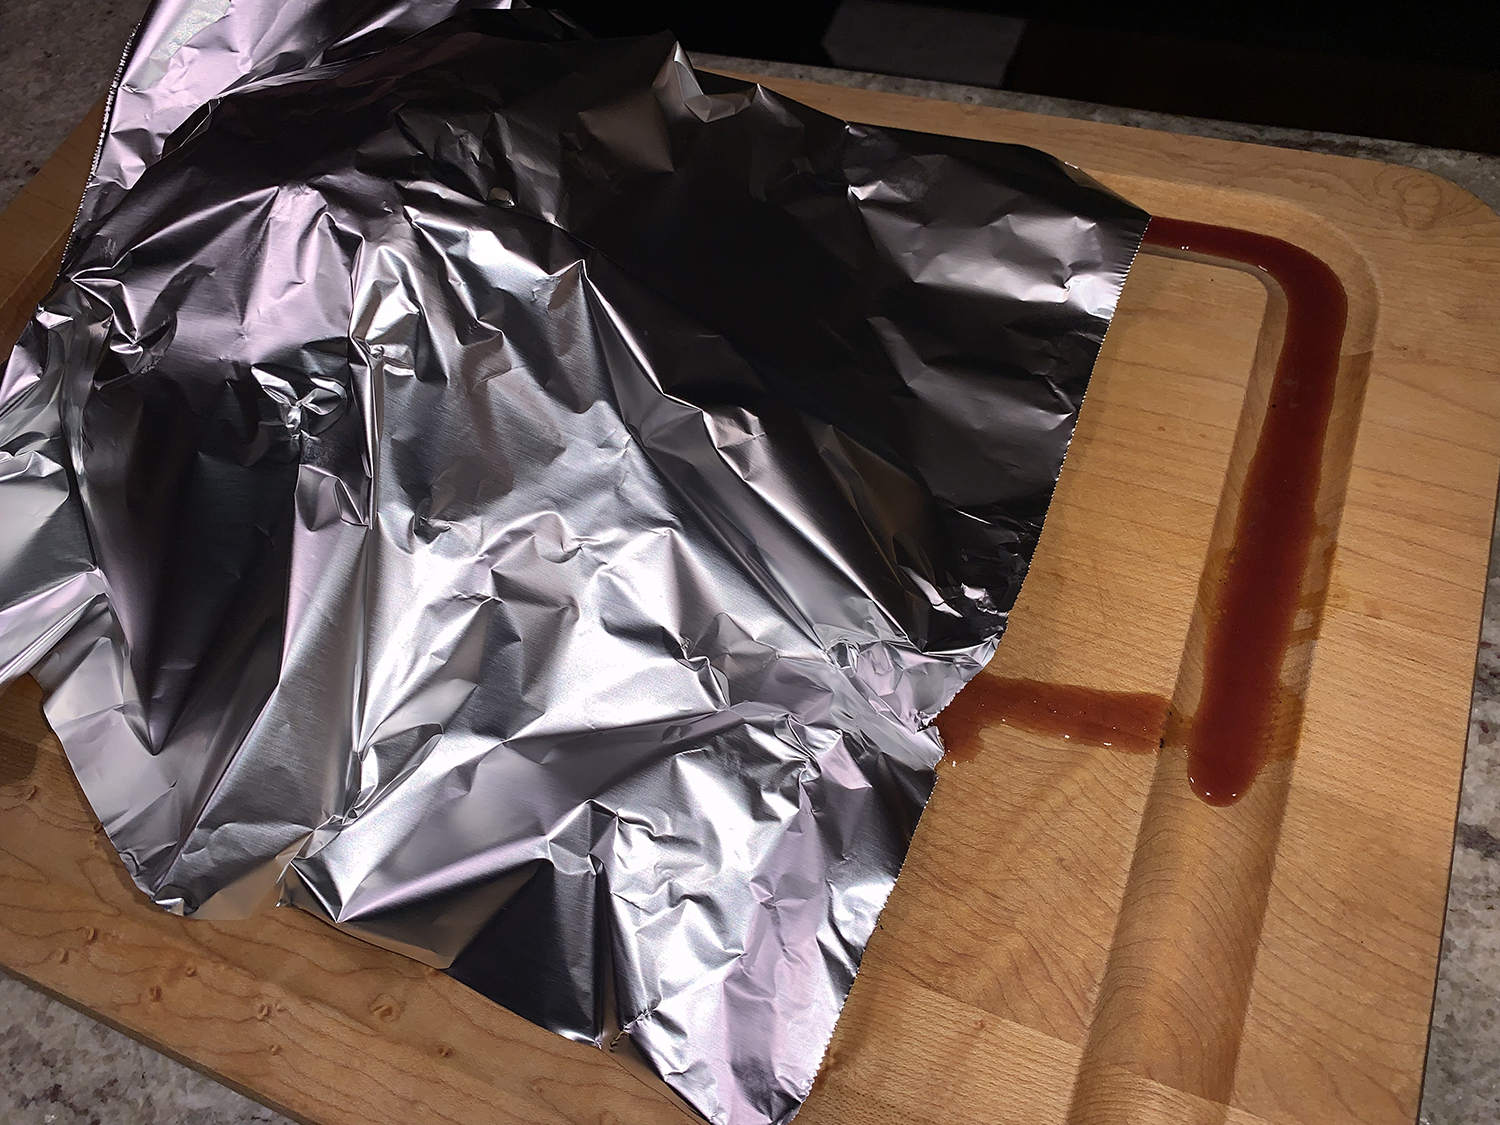
Transfer skillet to oven and roast until lamb registers 130 degrees on instant-read meat thermometer, about 40 to 45 minutes. Remove lamb from oven and let rest, covered loosely with foil, at least 10 minutes before slicing.
We found this version of Tamale Pie in a recent issue of Fine Cooking Magazine. Its name is due to the awesome layer of cornbread that sits on top of the ground beef (or ground turkey) filling, mimicking masa-wrapped, meat-filled tamales. In lieu of more traditionally used canned tomatoes, this Southwest riff favors green chiles and tangy, tomatillo-spiked salsa verde.
As is often the case, we put our own spin on the recipe. In this instance, we doubled the amounts of beans and onion. Originally I planned on using ground turkey in place of ground beef, but the supermarket was out of it. (Still dealing with COVID supply and delivery issues two years later!)
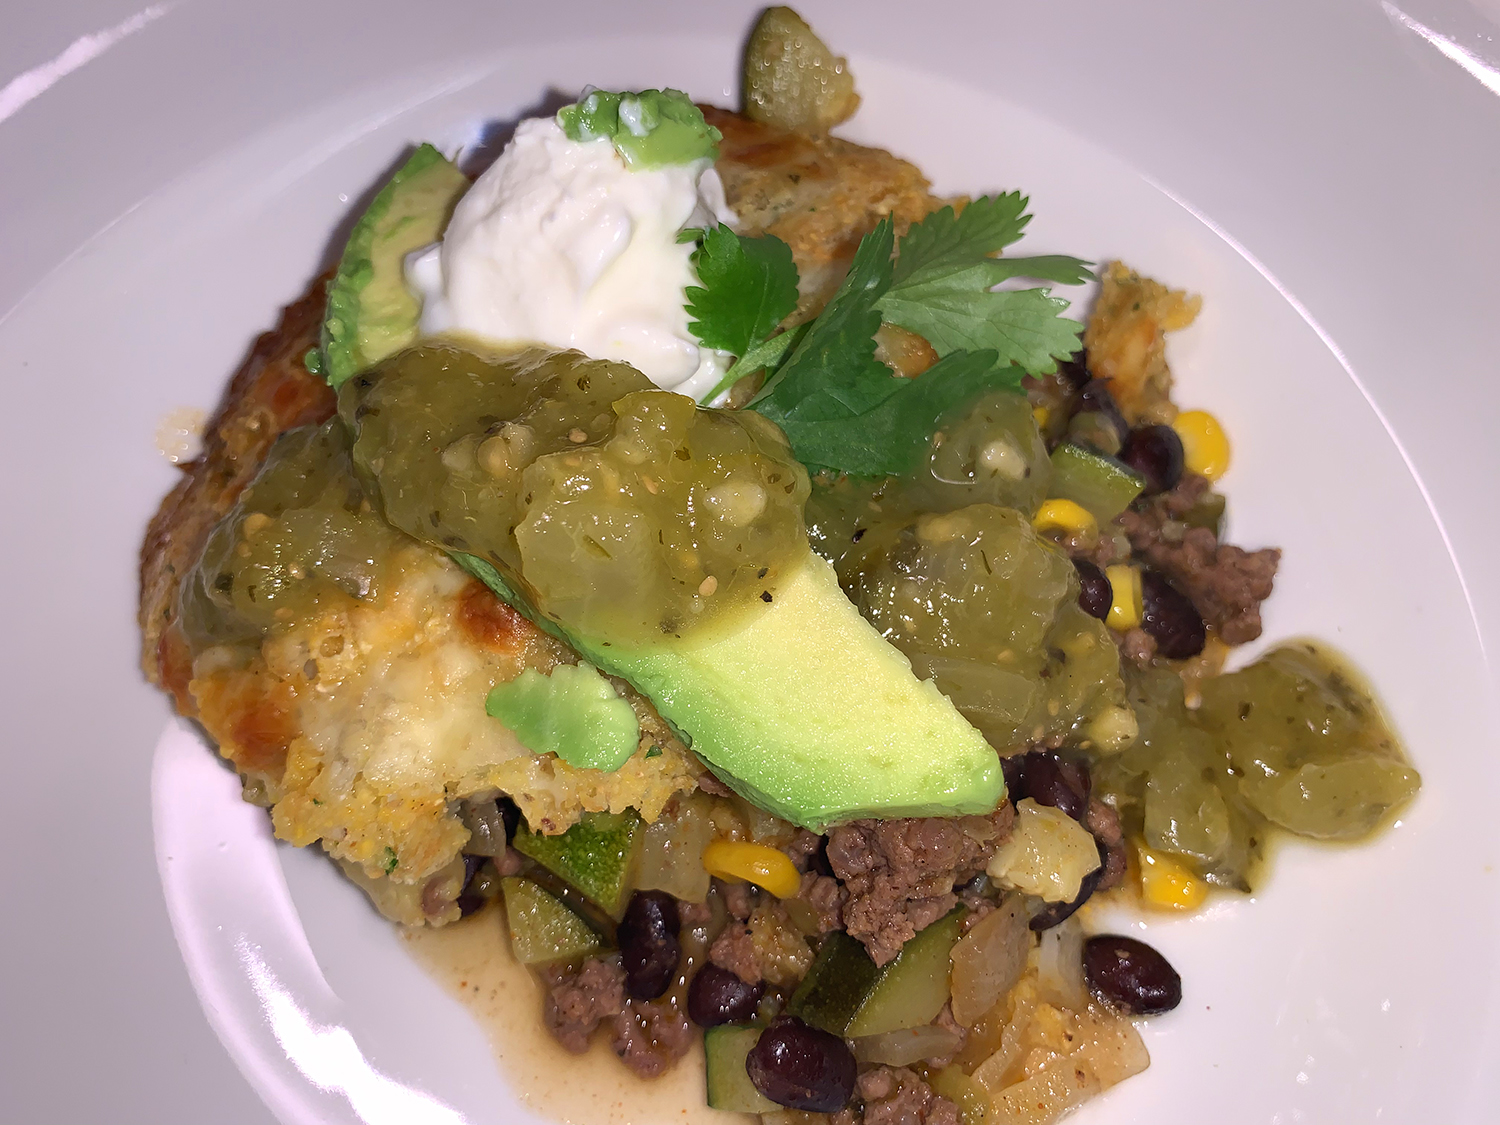
After it was fully cooked, and I went to spoon out a portion, there seemed to be a fair amount of liquid in the bottom of the skillet. Once in my dinner bowl however, the fluid soaked up into the cornbread topping. Perhaps replacing the zucchini with red pepper—which has less moisture content—would be a good alternative and add a nice pop of color.
Based on some of the ingredients, you may think it is spicy. And yes, it does have a slight kick, but I wouldn’t scale back on any of the suggested amounts. An alternative, if spice is just not your thing, incorporate milder salsa verde and chopped green chiles. We both thought that the leftovers, when reheated, were even better than the first go-around—plus any liquid had been reabsorbed.
1/2 cup fresh or thawed frozen yellow corn kernels
1 4-oz. can mild or spicy chopped green chiles (undrained)
Kosher salt
For the cornbread topping
1 cup stone-ground yellow cornmeal
1/4 cup all-purpose flour
1 Tbs. sugar
1 tsp. baking powder
1 tsp. kosher salt
1/2 tsp. baking soda
1 cup buttermilk
3 Tbsp. unsalted butter, melted
1 Tbsp. chopped fresh cilantro leaves; more for garnish
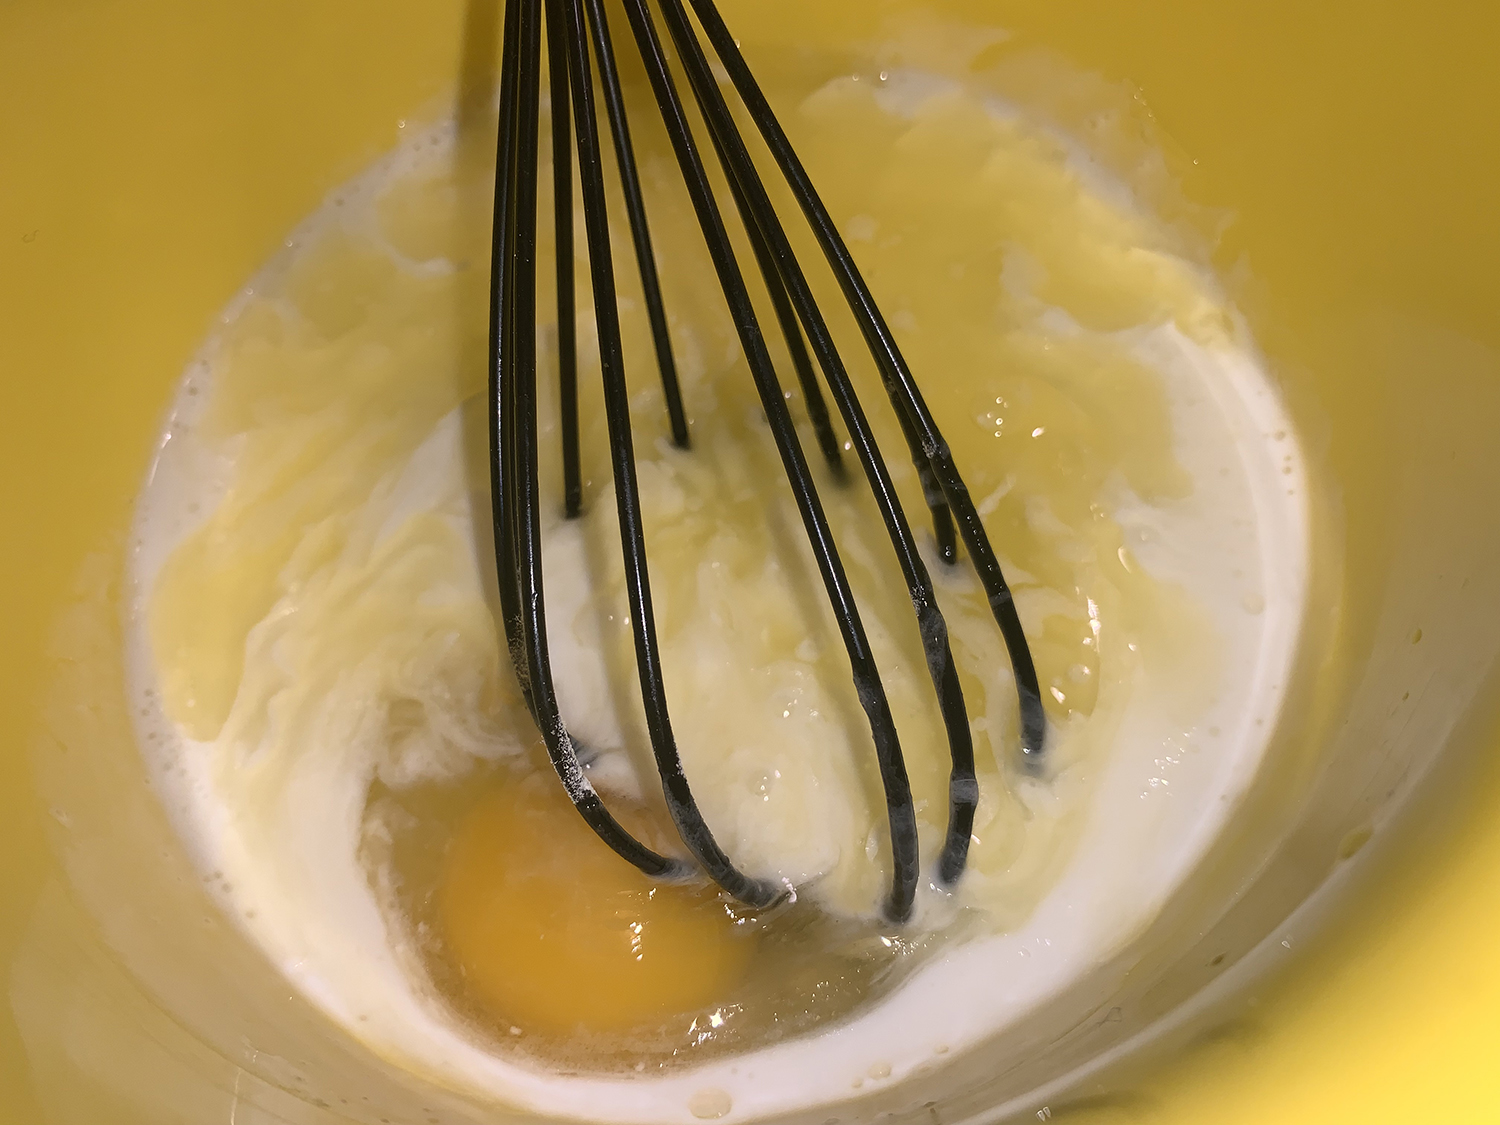
1 large egg
1 cup shredded Monterey Jack or pepper Jack cheese
Sour cream and avocado slices, for serving
Directions
Make the filling
Preheat the oven to 400°F.
In a deep 10-inch wide cast-iron skillet, cook the beef over medium-high heat until browned, breaking it into pieces with a wooden spoon, 6 to 8 minutes.
Add the zucchini, onion, and chili powder, reduce heat to medium, and cook, stirring occasionally, until softened, about 5 minutes.
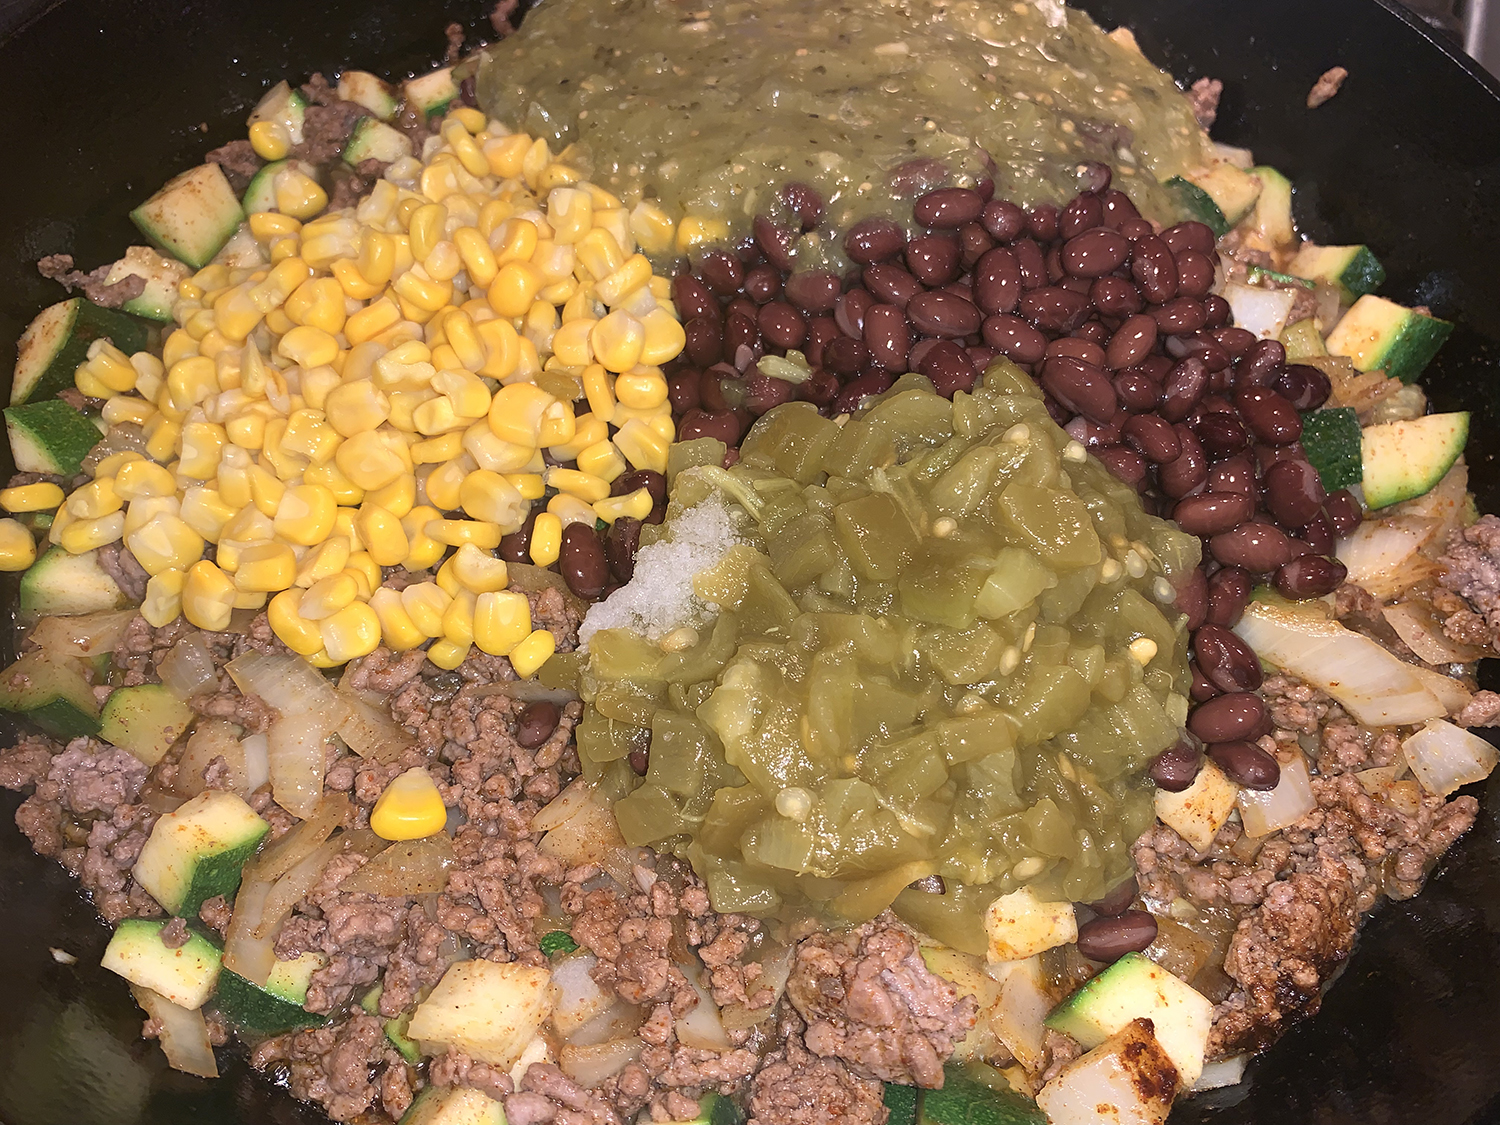
Stir in the salsa, beans, corn, green chiles, and salt. Remove from the heat.
Make the cornbread topping
In a medium bowl, whisk together the cornmeal, flour, sugar, baking powder, salt, and baking soda, and set aside.
In another medium bowl, whisk together the buttermilk, butter, cilantro, and egg. Add the wet ingredients to the dry ingredients, and stir just until combined.
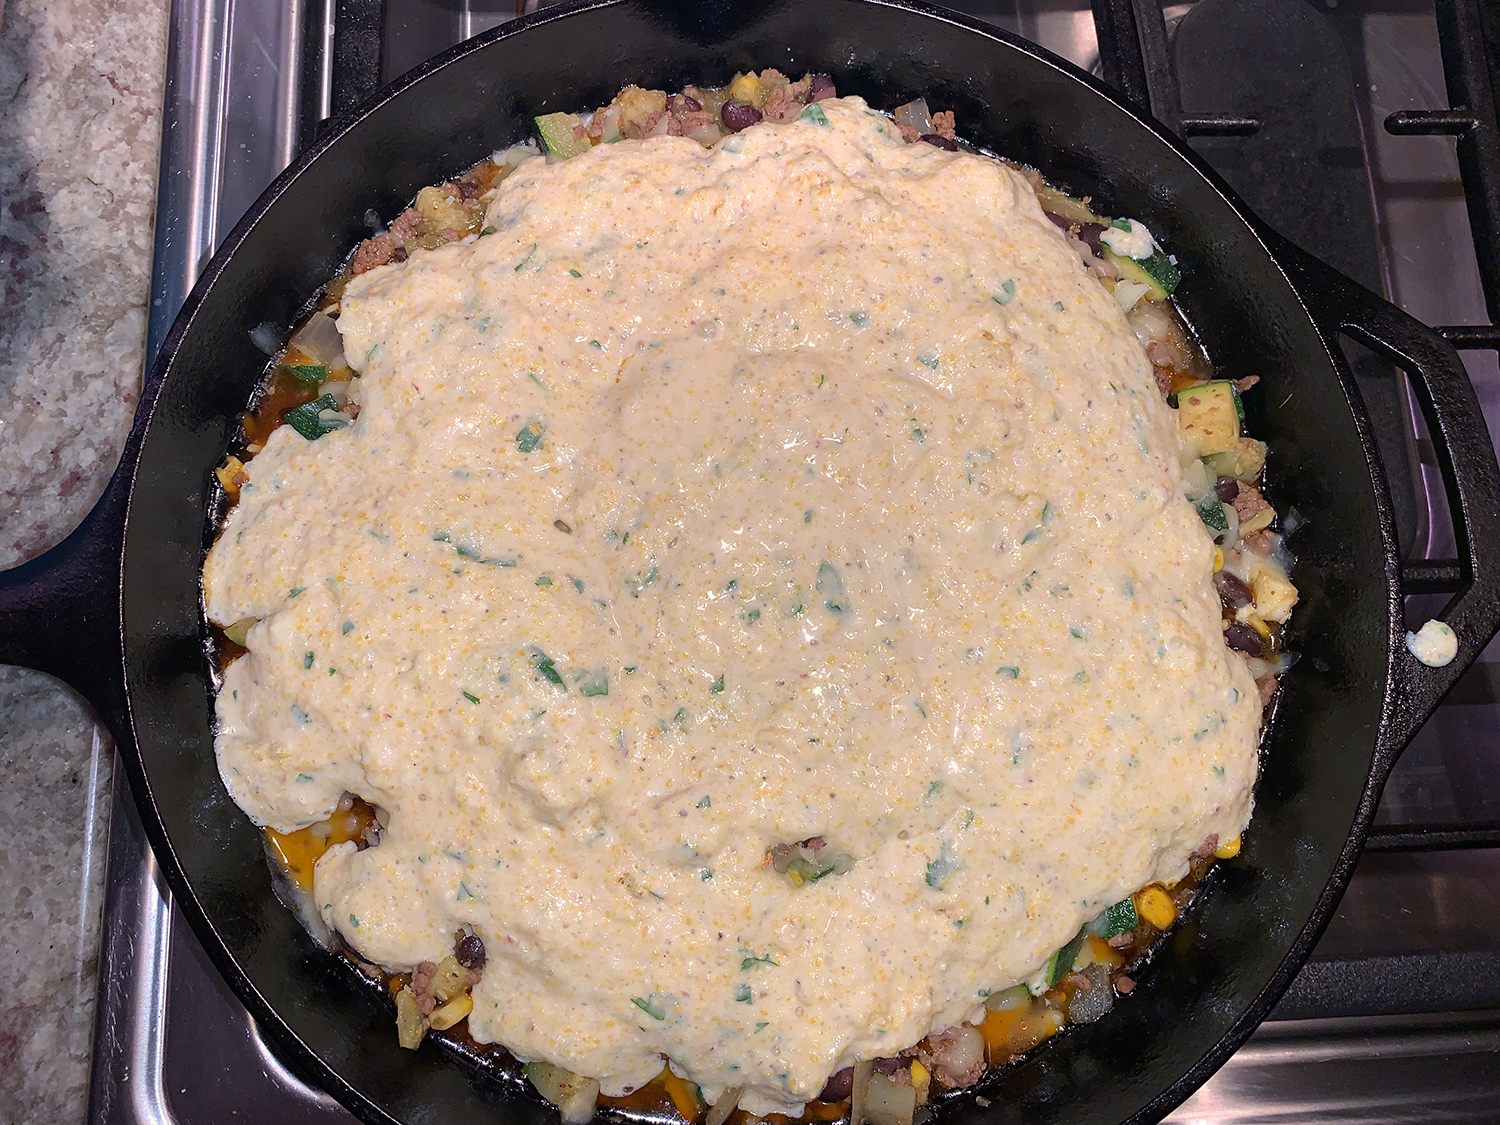
Scatter half of the cheese over the beef mixture in the skillet, then pour the cornbread batter over and spread to the edges. Sprinkle with the remaining cheese.
Bake until cornbread is cooked through and golden brown, about 25 minutes.
Serve with additional salsa, sour cream, and avocado slices. Garnish with cilantro.
Friends of ours, husband and wife, were in a car accident, and while luckily they weren’t seriously injured, they were not in any mood, or condition, to cook for themselves for a period of days. Their daughter set up a “Meals on Wheels” type of delivery system called Meal Train, whereas each night friends and/or family members made a hot meal to be delivered to their household in the evening at the time of their choosing.
What a fantastic idea! The couple filled out an online form which described their likes and dislikes (i.e. nothing too spicy, prefer chicken and pasta dishes), and the link was emailed to the group. We chose our day and then the recipe based on their criteria. Our contribution? Chicken Paprikash. And just as The Hubs was leaving to transport the goods, he commented that one of their passions was delivering meals on wheels to those in need. What goes around, comes around…
This Hungarian classic can be on the table (or in the car as the case would be) in an hour if you use an Instant Pot or pressure cooker. And less than 10 ingredients to boot! To streamline the process even more, prep the dill while the chicken cooks, as it’s not used until the end of cooking to finish the sauce and as a garnish. We happened to use dried dill, saving even more time.
Paprika is a key ingredient in this dish, so make sure yours is fresh and fragrant; paprika that has gone stale and lost its flavor and color will result in a bland, lackluster stew. Buttered egg noodles are the perfect accompaniment. Even though you might be tempted, don’t use low-fat sour cream. It lacks richness and body and will make a lean, watery chicken paprikash.
3 lbs. bone-in, skin-on chicken thighs, skin removed and discarded
1 cup sour cream
1 Tbsp. cornstarch
4 Tbsp. chopped fresh dill, divided
Egg noodles, cooked to package directions
Directions
On a 6-quart Instant Pot, select More/High Sauté. Add the butter and let melt. Add the onion, ½ teaspoon salt and ¼ teaspoon pepper, then cook, stirring occasionally, until the onion is golden brown, about 6 minutes.
Add the paprika and tomato paste and cook, stirring, until fragrant, about 1 minute.
Stir in ½ cup water, scraping up the browned bits. Nestle in the chicken in an even layer, slightly overlapping the pieces if needed.
Cancel, lock the lid in place and move the pressure valve to Sealing. Select Pressure Cook or Manual; make sure the pressure level is set to High. Set the cooking time for 10 minutes.
When pressure cooking is complete, allow the pressure to reduce naturally for 10 minutes, then release the remaining steam by moving the pressure valve to Venting. Press Cancel, then carefully open the pot.
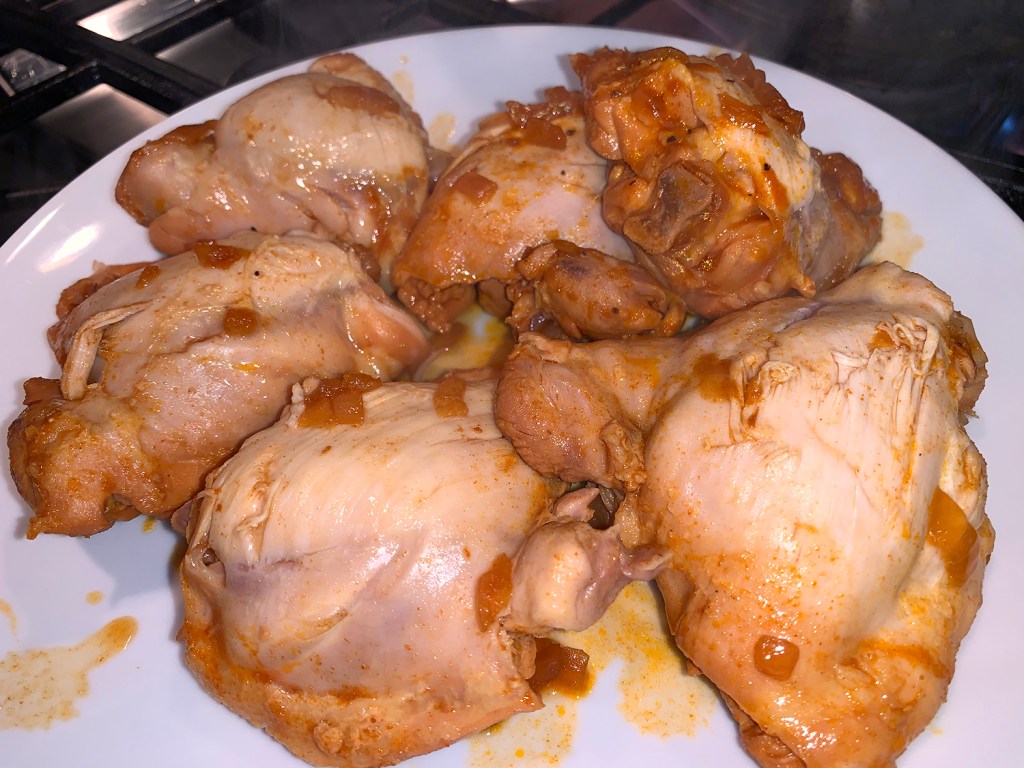
Using tongs, transfer the chicken to a dish and tent with foil.
In a small bowl, whisk together the sour cream and cornstarch. Stir the mixture into the pot, then select More/High Sauté and cook, whisking constantly, until the sauce begins to simmer and is lightly thickened.
Press Cancel to turn off the pot, then taste and season with salt and pepper. Stir in 2 tablespoons of dill. Using potholders, carefully remove the insert from the housing and pour the sauce over the chicken.
Serve over hot cooked egg noodles and sprinkle with the remaining 2 tablespoons dill (or parsley).
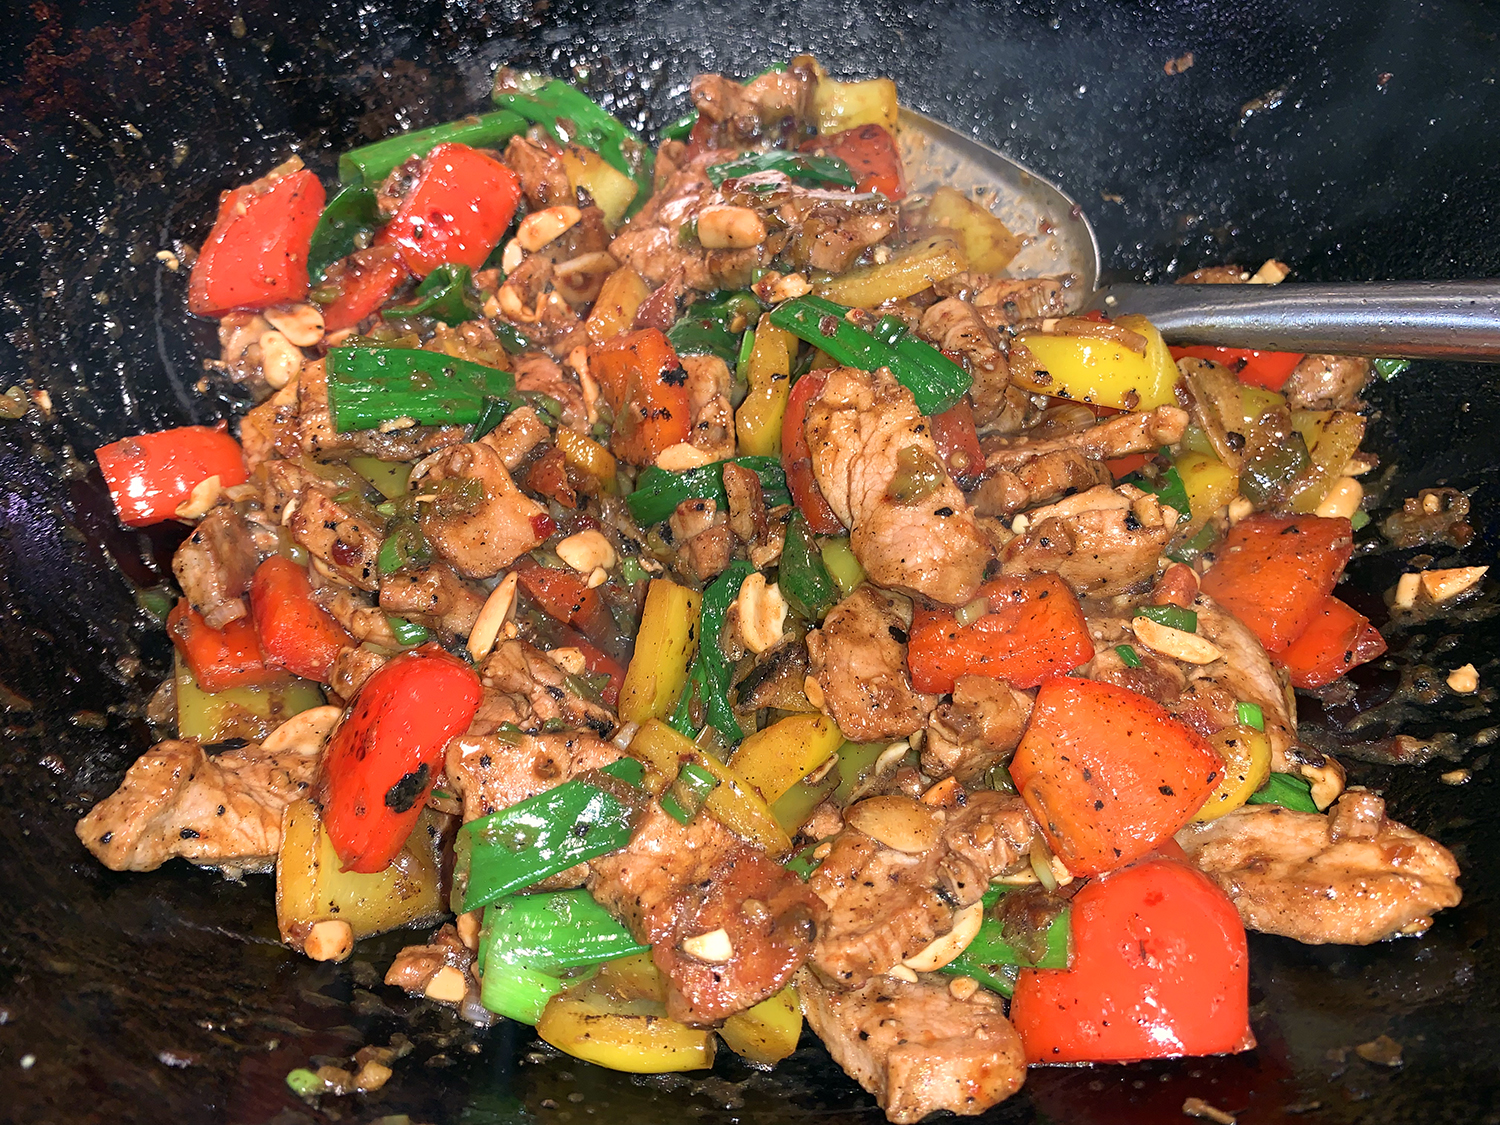
Yes indeed, the flavors in this colorful stir-fry from Milk Street are a fantastic combination of savory, sweet, tangy, garlicky, spicy and nutty. The chili-garlic sauce can be moderated depending on your tolerance for spicy, and those peanuts add just the right amount of crunch.
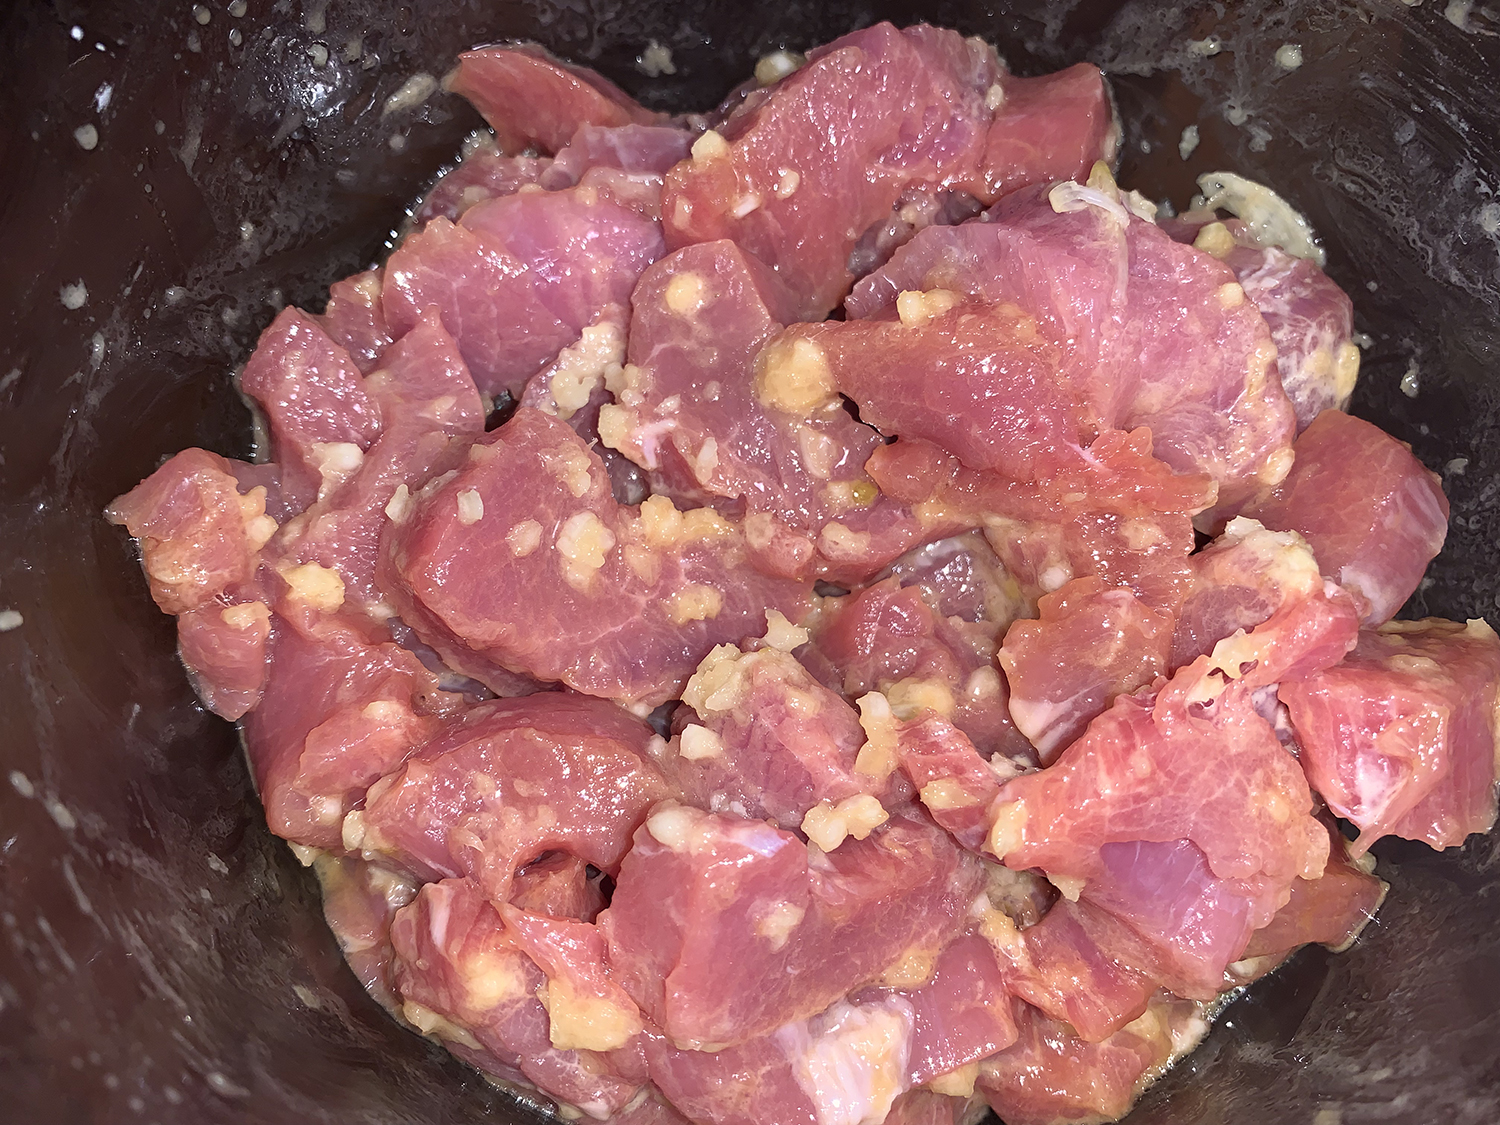
Briefly marinating the sliced tenderloin means that the meat browns beautifully in the skillet and also adds flavor and moisture to an otherwise lean and mild cut. Balsamic vinegar may seem like an odd ingredient in a stir-fry, but it mimics the subtle sweetness, moderate acidity and maltiness of Chinese black vinegar and probably already is in your pantry. Serve with steamed white rice.
Instead of a nonstick skillet, we used a well-seasoned wok. The Hubs swears you get a hotter heat with the added benefit of pushing ingredients up the sides.
Warning: Don’t use a conventional (that is not nonstick) skillet. The pork will char and stick to the skillet instead of nicely browning.
In a medium bowl, stir together the pork, 1 tablespoon of the oil, 1 tablespoon of the sherry, 1 tablespoon of the soy sauce, the minced garlic and the cornstarch. Let stand for about 15 minutes.
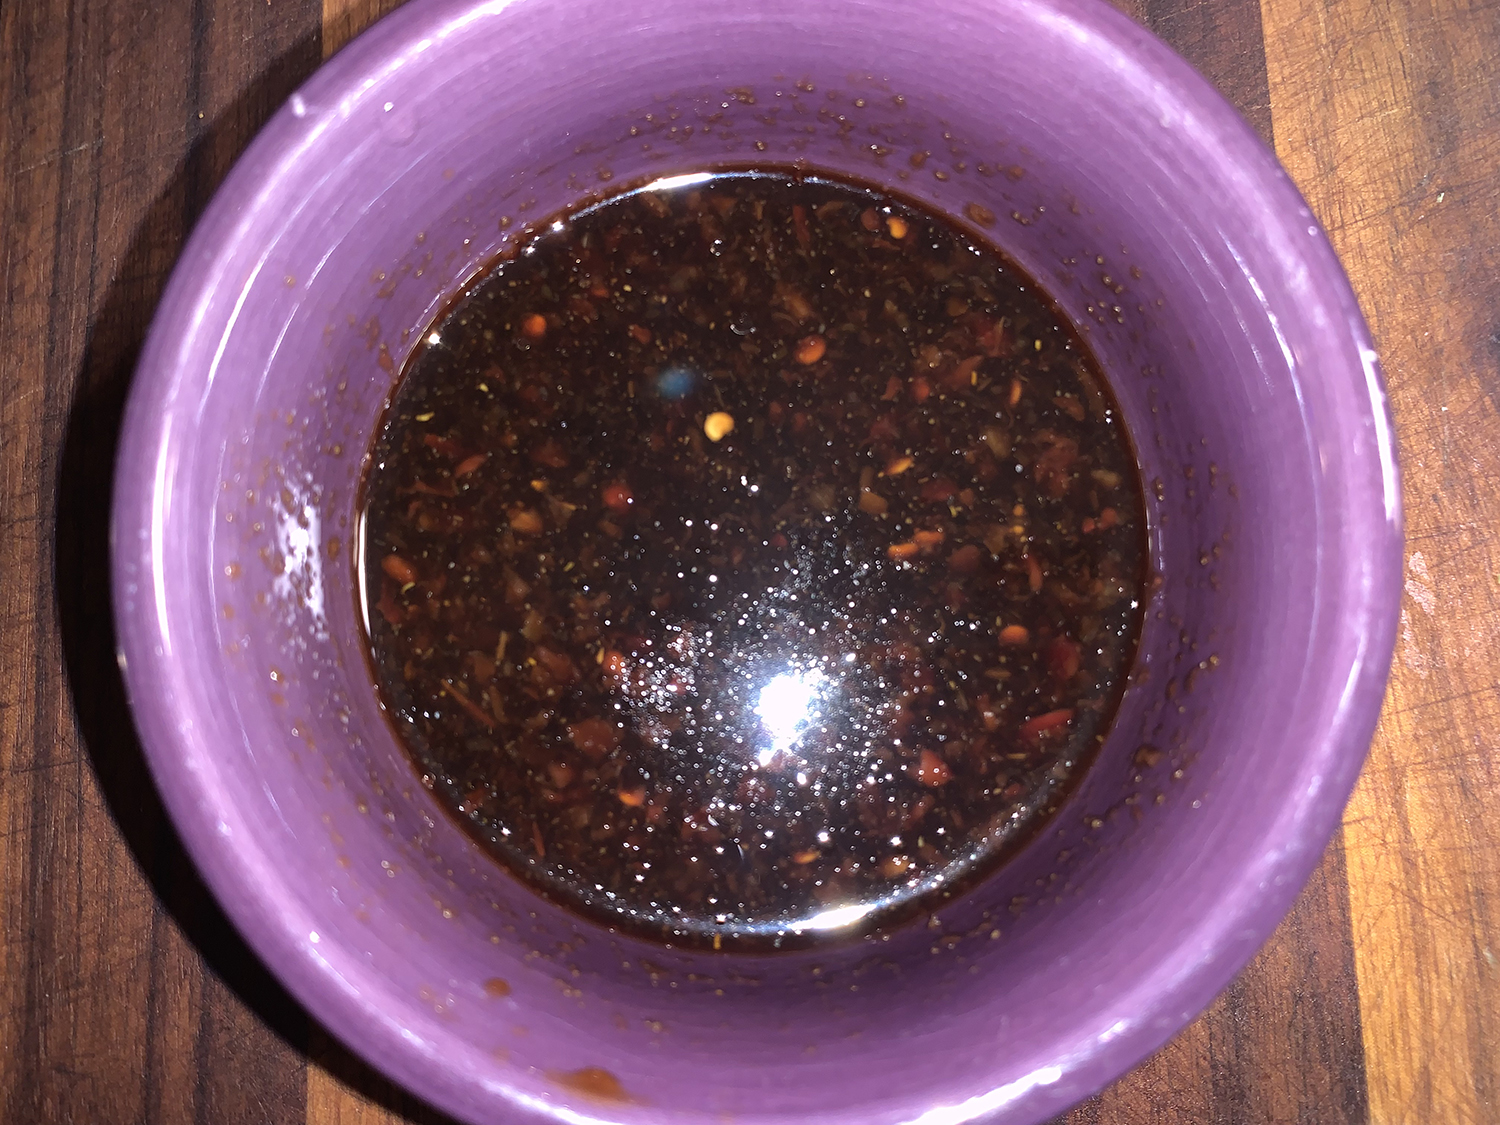
Meanwhile, in a small bowl, stir together the remaining 2 tablespoons sherry, remaining 1 tablespoon soy sauce, chili-garlic sauce and vinegar.
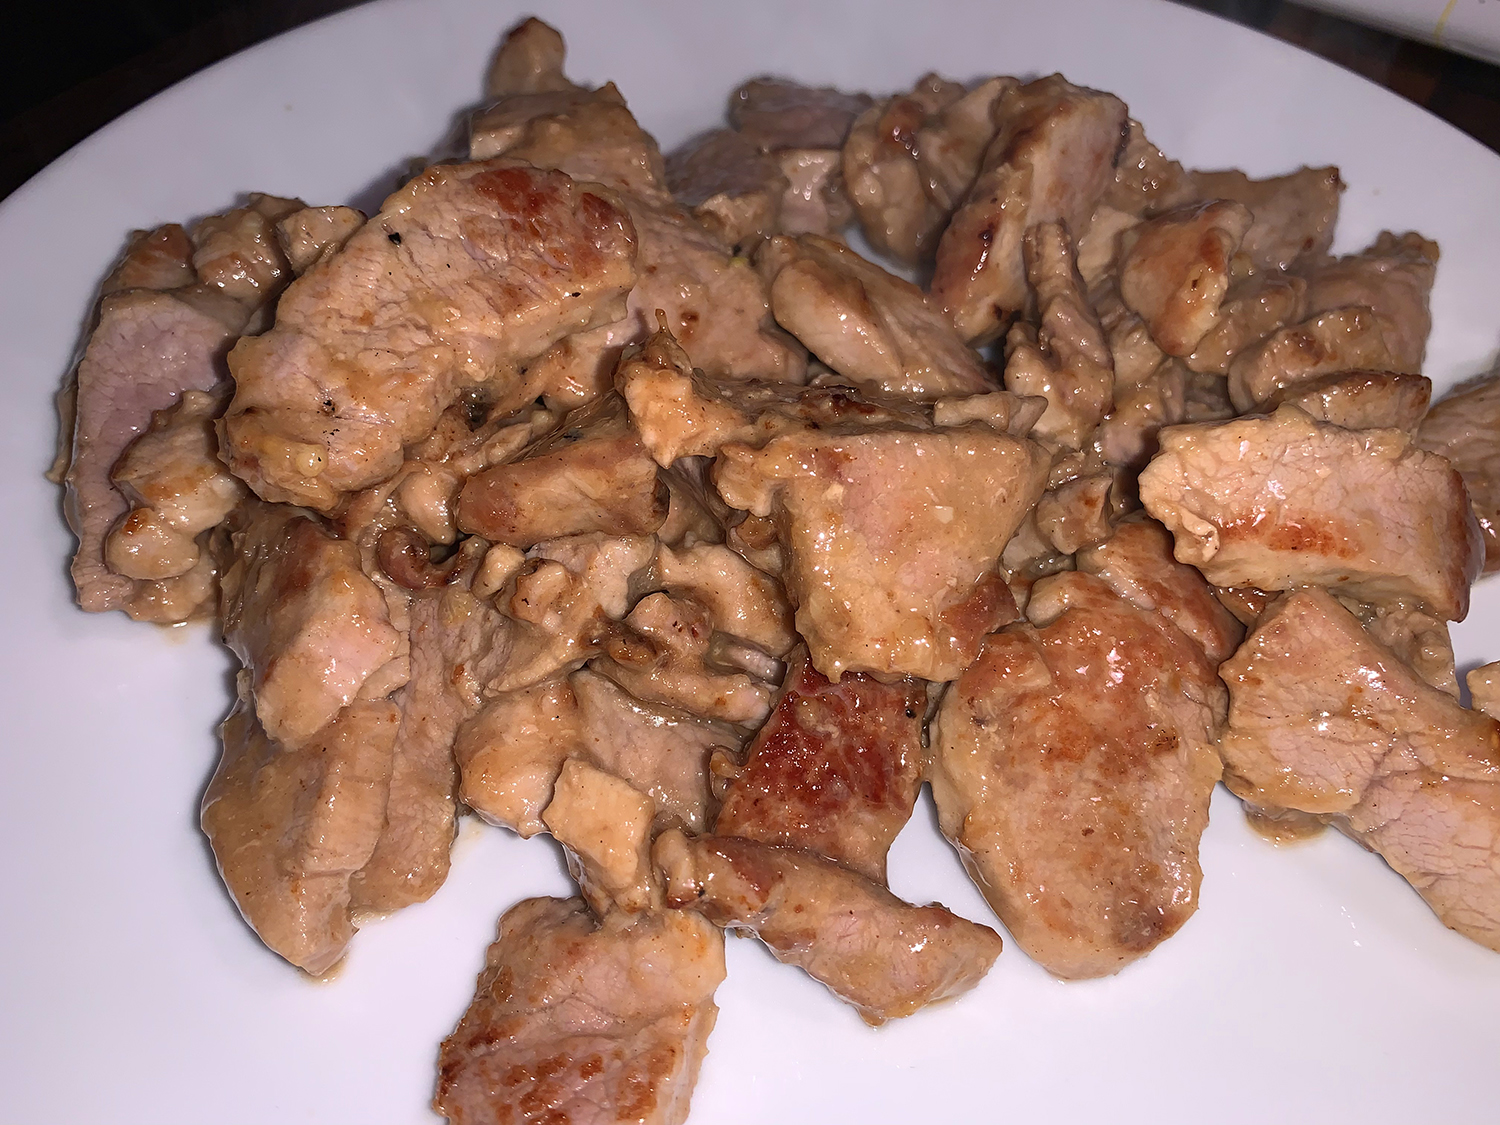
In a 12-inch nonstick skillet over medium-high, heat another 1 tablespoon oil until barely smoking. Add the pork in an even layer and cook, stirring once or twice, until well browned, 4 to 5 minutes; transfer to a plate.
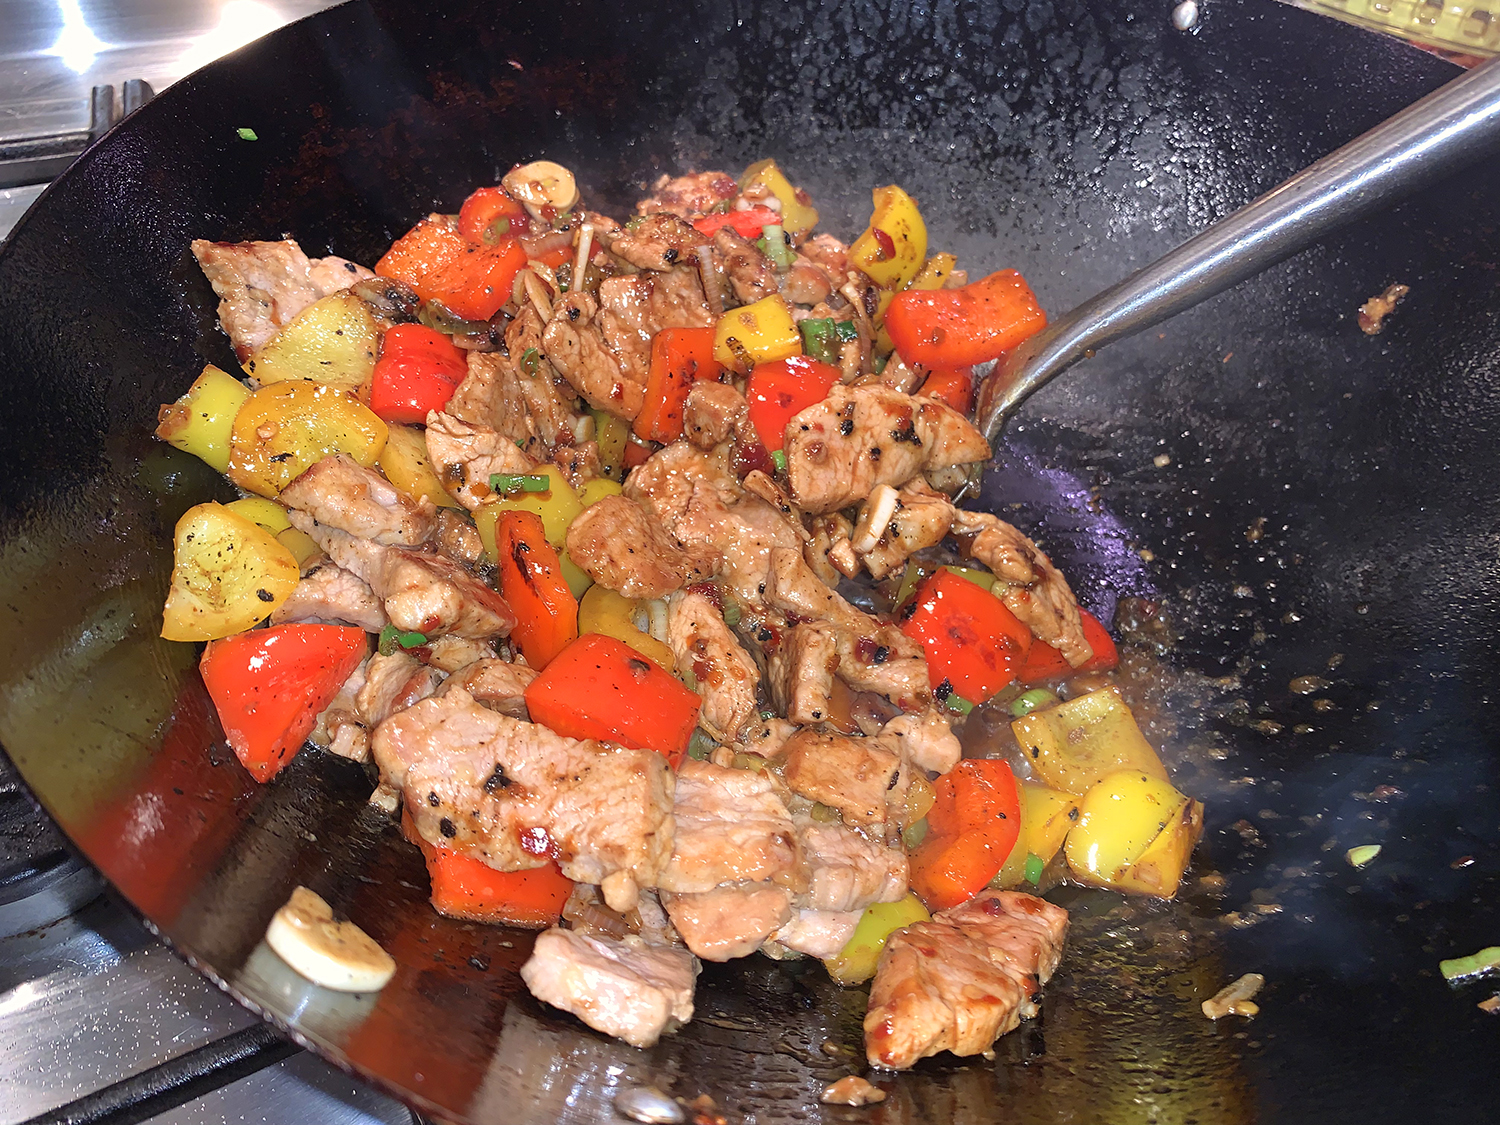
Add the remaining 1 tablespoon oil to the skillet and heat until shimmering. Add the bell peppers and cook, stirring occasionally, until tender-crisp, 6 to 7 minutes.
Add the scallion whites and sliced garlic; cook, stirring, until fragrant, 30 to 60 seconds.
Add the pork and accumulated juices, sauce mixture and scallion greens; cook, stirring, until the sauce is lightly thickened, 30 to 60 seconds.
Off heat, stir in half the peanuts. Transfer to a serving dish and sprinkle with the remaining peanuts.
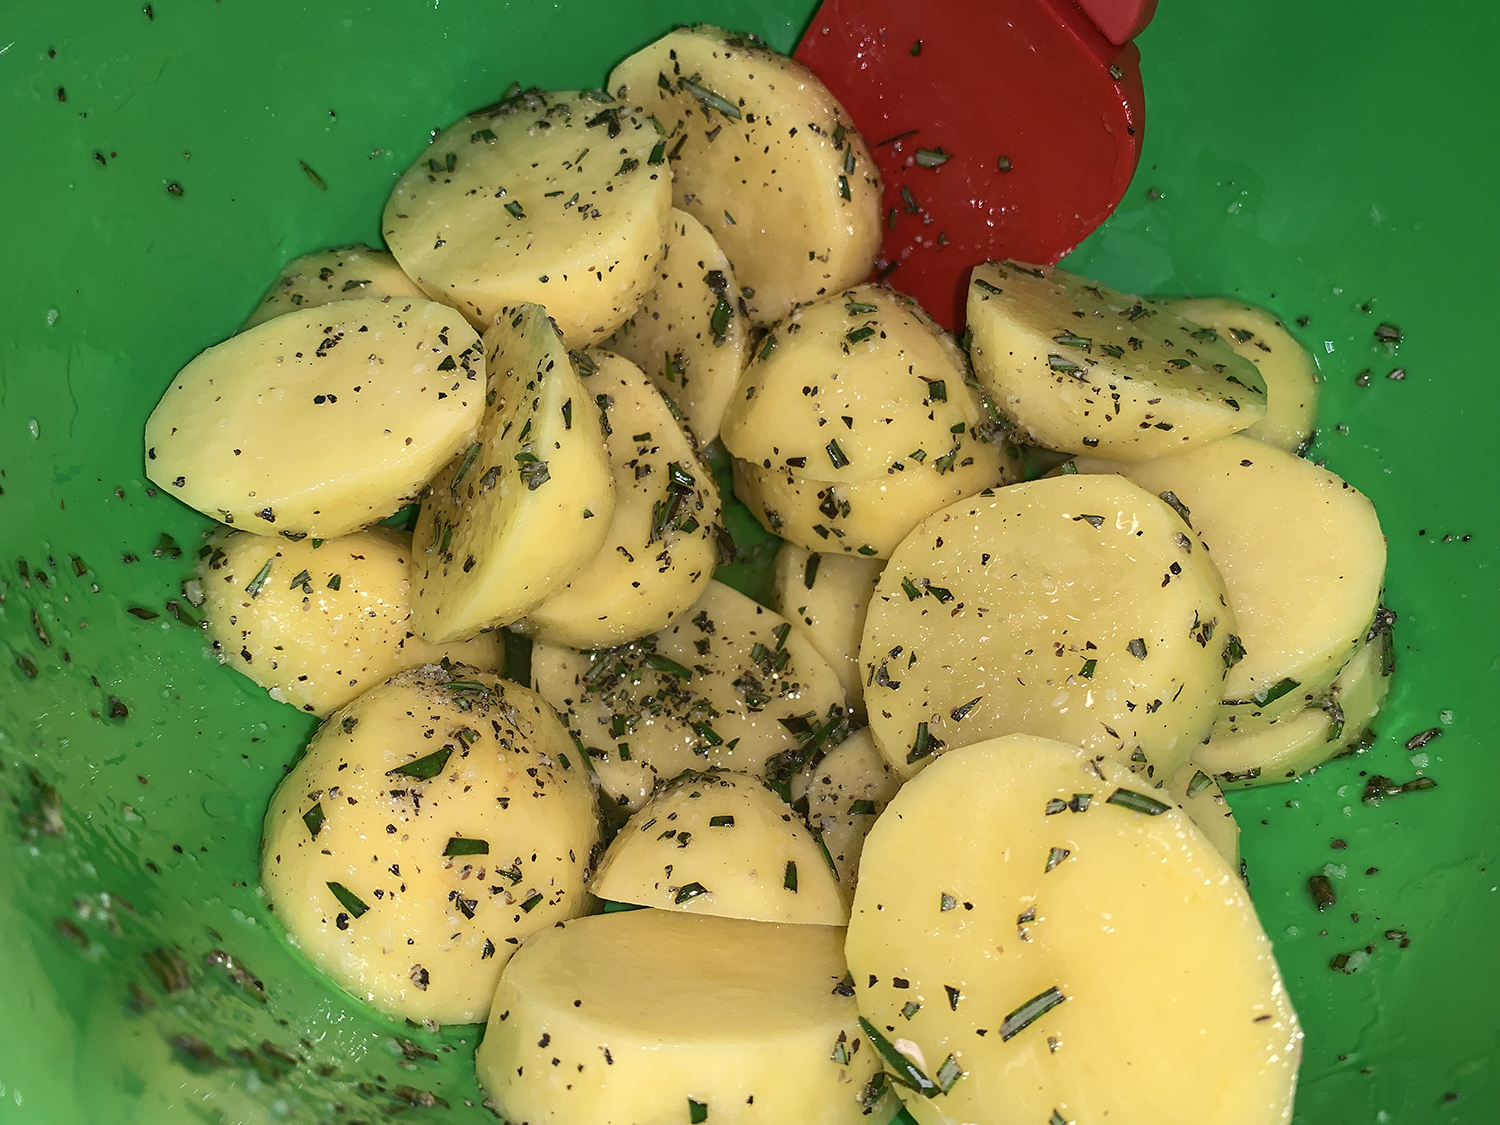
“These full-flavored potatoes are a great new approach to your typical potato side dish. The potatoes roast, then “melt” with the flavors of lemon, rosemary and garlic. They’re good enough for a special occasion, but easy enough for a weeknight.” —EatingWell
We paired our potatoes with a sous vide, pan-seared steak and spinach sautéed with garlic and olive oil.
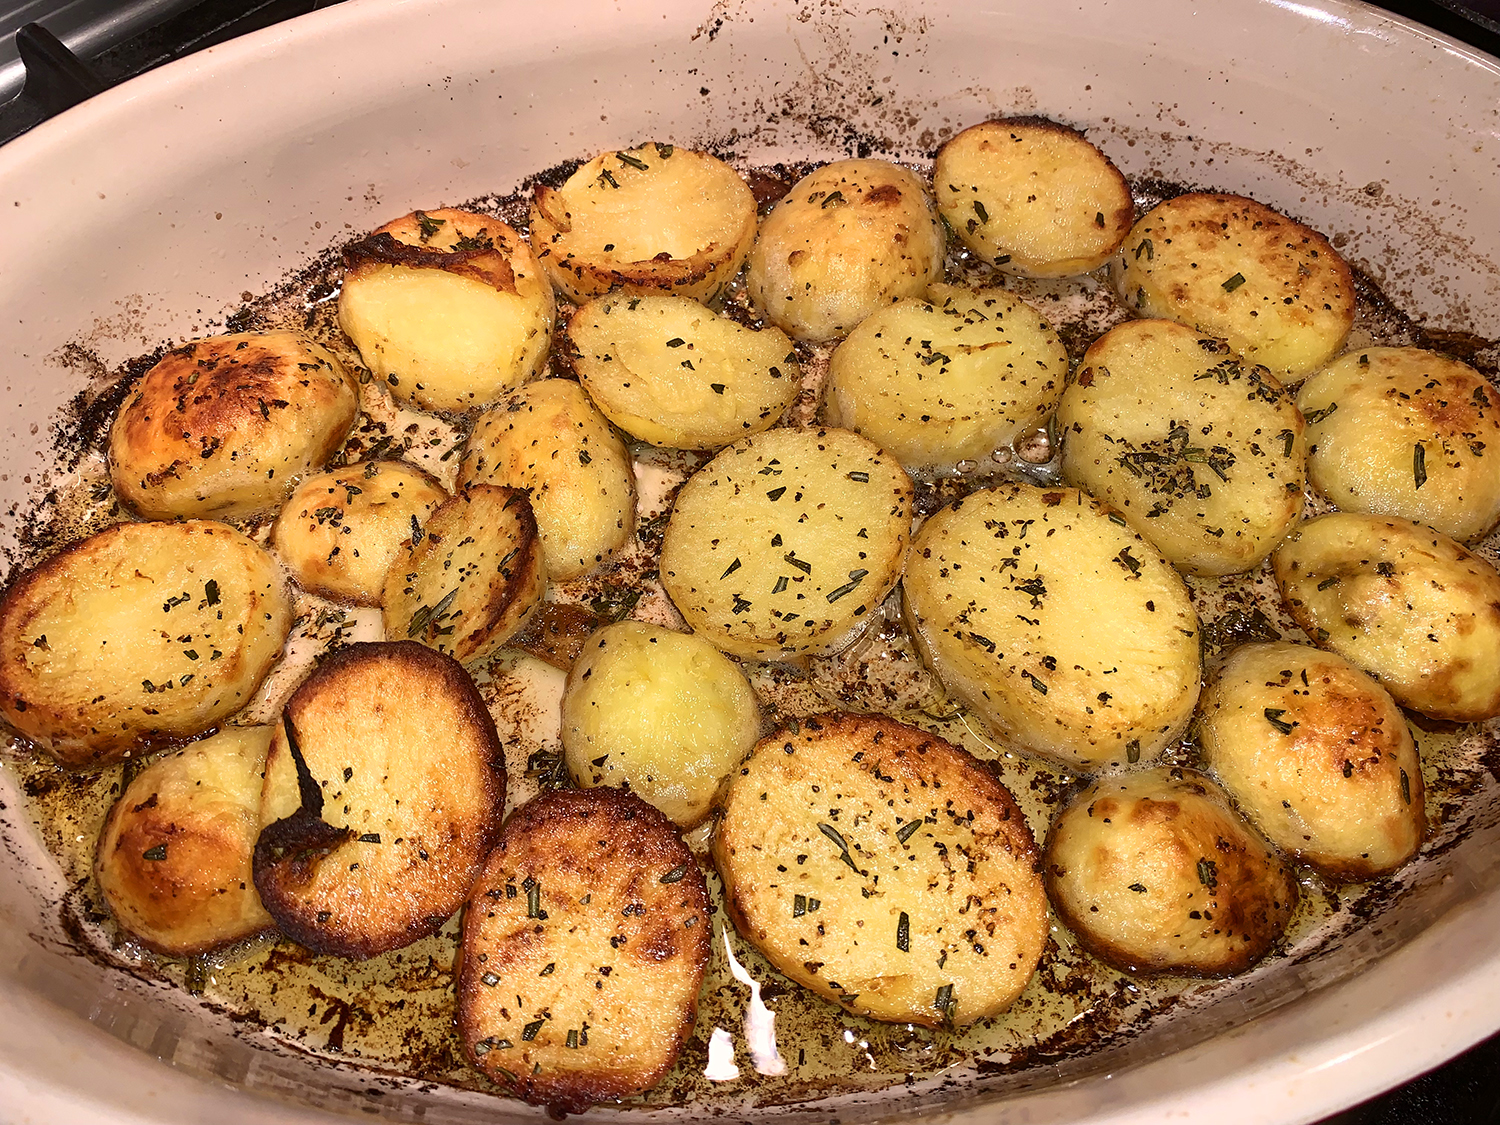
The original recipe indicates the potatoes will serve six. They were so good, we barely got three portions from them, so I would plan on a maximum of four servings.
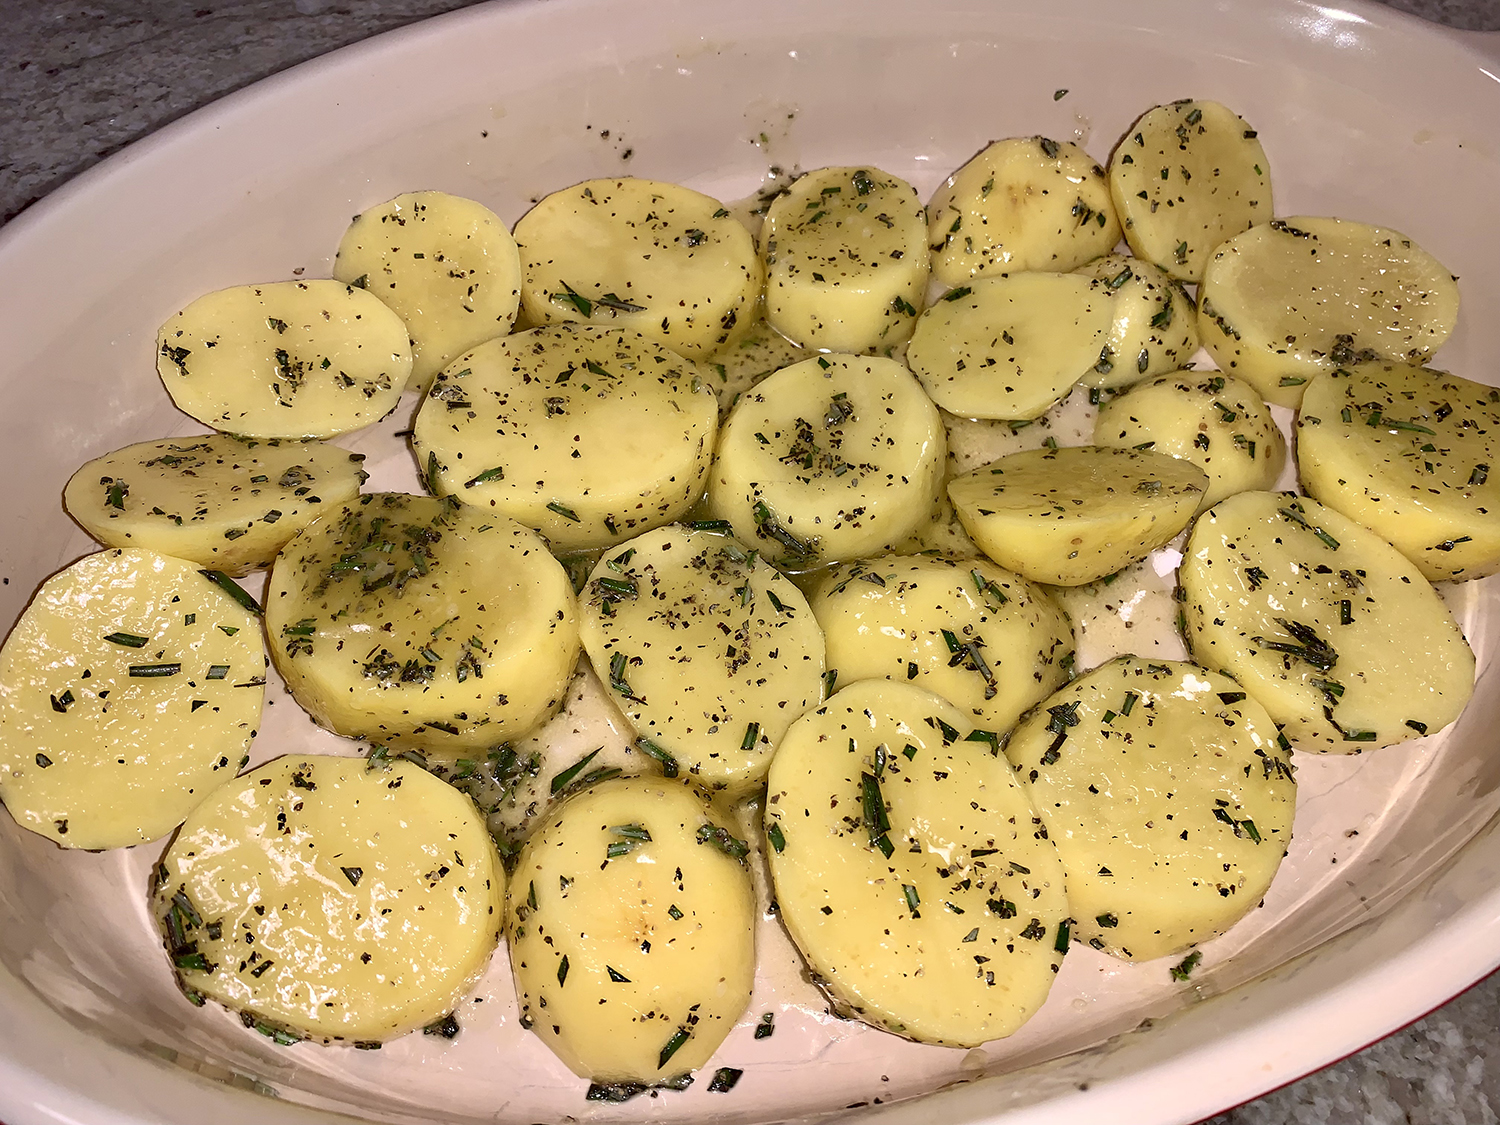
A word to the wise, DO NOT use glass or stone bakeware. When it’s time to add the broth and lemon, even though the liquids are room temperature, there’s a high likelihood the very hot dish will crack, trust us on this one. Either a metal pan or enameled cast-iron one are good choices. Ideally, the pan should have a wide enough bottom to accommodate the potato slices arranged in a single layer.
2 lbs. Yukon Gold potatoes, peeled and sliced 1 inch thick
2 Tbsp. butter, melted
2 Tbsp. extra-virgin olive oil
1 Tbsp. chopped fresh rosemary, plus more for garnish
¾ tsp. salt
½ tsp. ground pepper
¾ cup vegetable or chicken broth
¼ cup lemon juice
2 Tbsp. sliced garlic
Directions
Position rack in upper third of the oven; preheat to 500 degrees F.
Toss potatoes, butter, oil, rosemary, salt and pepper in a large bowl. Arrange the potatoes in a single layer in a 9-by-13-inch metal baking pan. (Don’t use a glass dish, which could shatter.) Roast, turning once, until browned, about 30 minutes.
Carefully add broth, lemon juice and garlic to the pan. Continue roasting until most of the liquid is absorbed and the potatoes are very tender, 10 to 12 minutes more.
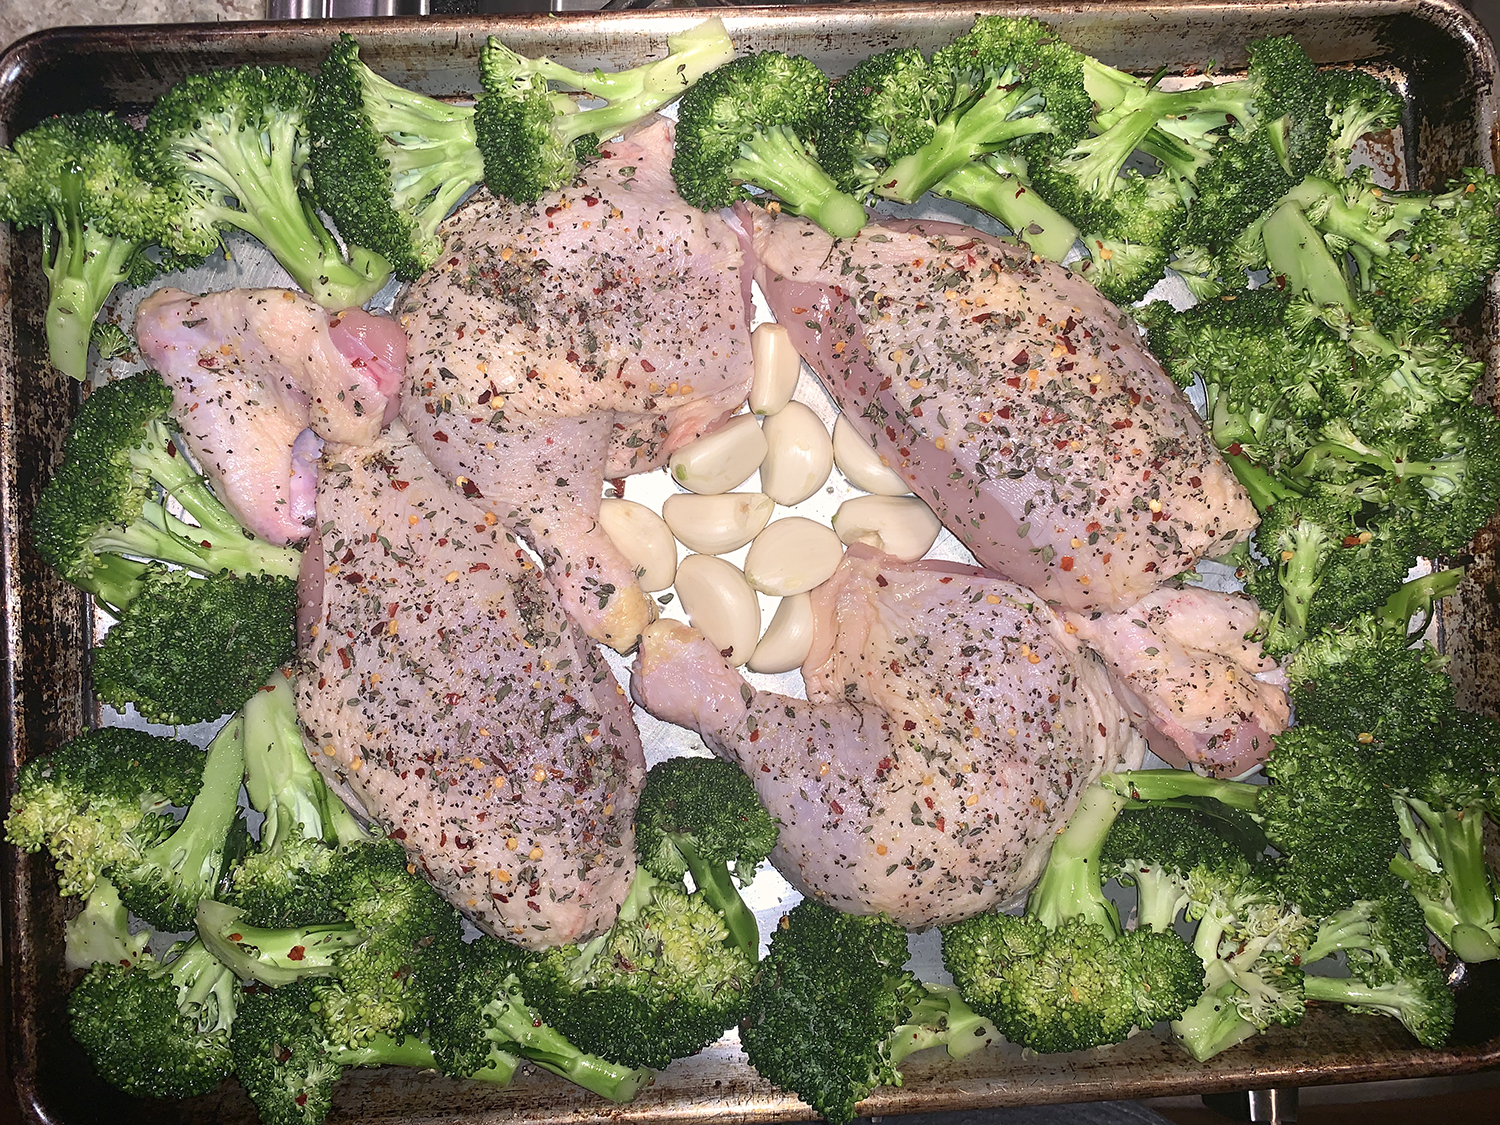
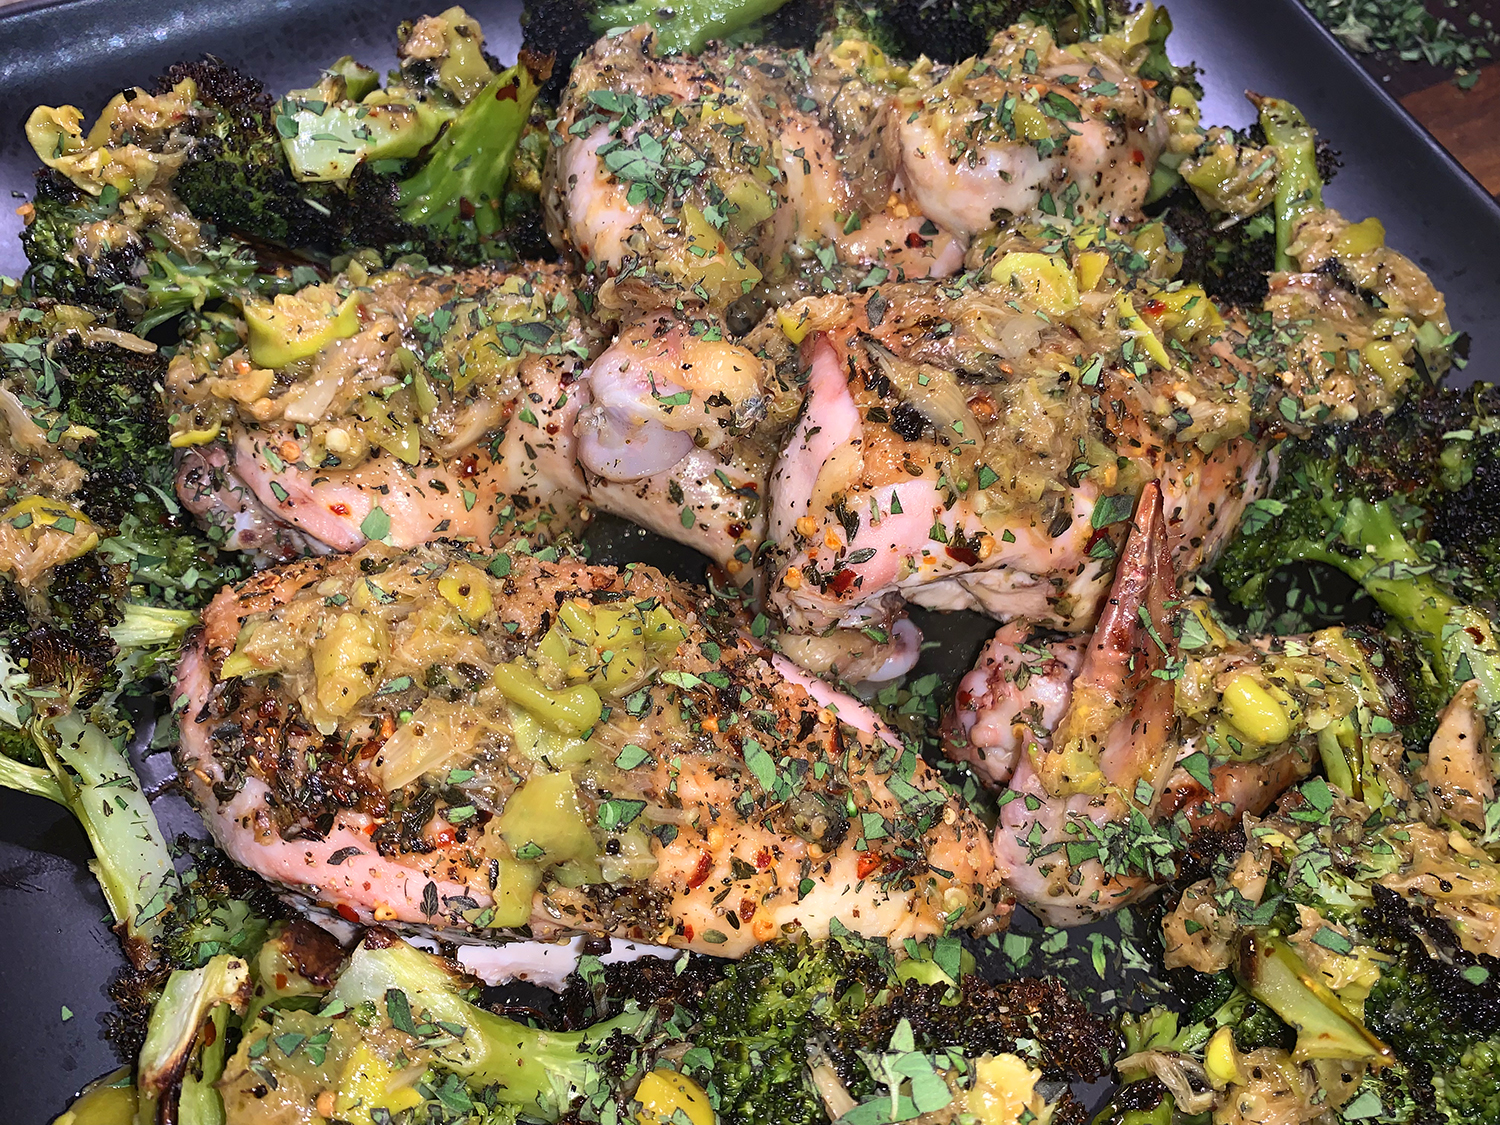
Here’s a one-pan meal that has risen to the top of our list—pretty much after one bite! The chicken was amazingly moist and juicy, the broccoli florets cooked just right, and the hot, sour and vinegary peperonicini-garlic topping was a WOW factor!
The chicken for Italian pollo alla diavola, or devil’s-style chicken, usually is spatchcocked and grilled. The name is a reference to cooking the chicken over flames and/or the seasonings that make the bird diabolically spicy.
For this easy weeknight version, Milk Street quick-cooks chicken parts instead of a whole bird, seasons them generously with both red pepper flakes and black pepper, then roasts them on a baking sheet in a very hot oven. The broccoli florets also get tossed onto the baking sheet for a complete one-pan dinner. A simple garlic-lemon pan sauce spiked with peperoncini finishes the dish and adds another layer of piquancy.
We used a whole 4-pound-plus chicken. First because, we both prefer different meat options; and secondly because we like to have the extra parts, neck, back, gizards, ect. for our “body bag” which we store in the freezer until such time we need to make homemade chicken stock again. And a whole chicken is typically cheaper than buying the sum of its parts separately. But, yes it is a bit more work. If you prefer to buy already cut up thighs, and or breasts, by all means, do so.
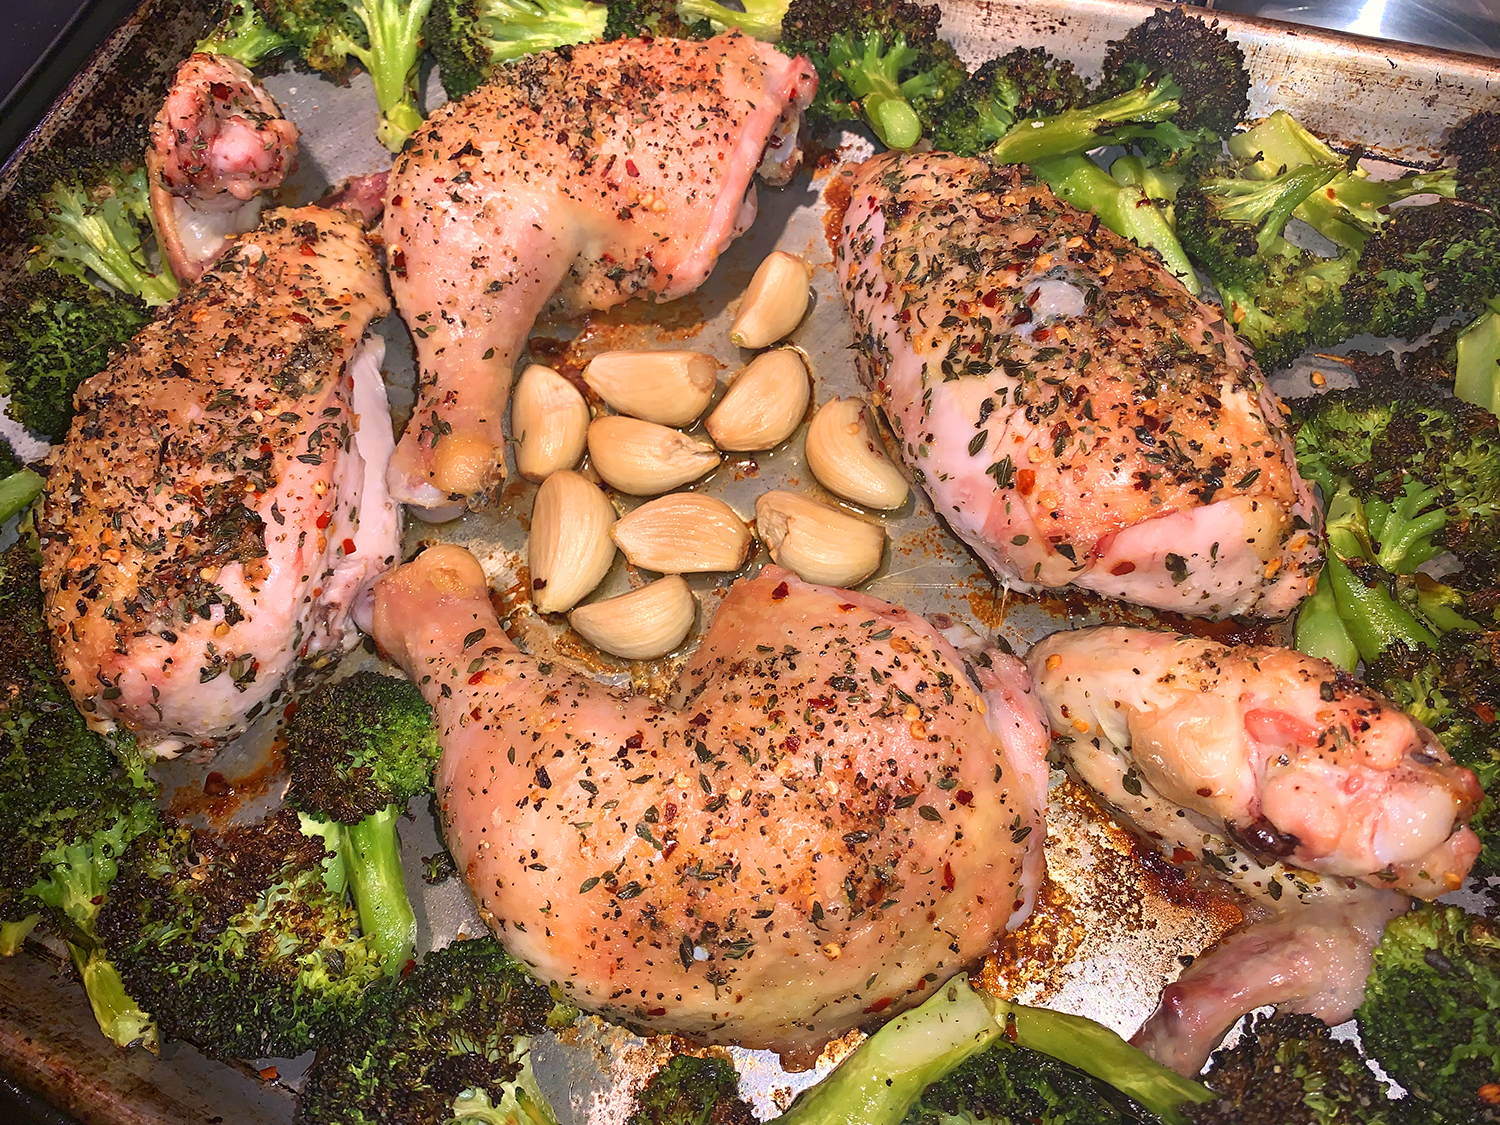
About that broccoli. Don’t cut the crowns into small florets. Keep them in largish 3-inch pieces so they don’t overcook. The baking sheet will be crowded after the broccoli is added, but both the chicken and broccoli reduce in size during cooking.
Two steps not mentioned in the original directions, but that we think are necessary is to, first, massage the chicken parts with oil so that the rub will adhere to the skin. Second, oil the center of the rimmed baking sheet where the garlic cloves will be, and then drizzle a bit more oil over the cloves.
4 12-oz. bone-in, skin-on chicken breasts or 3 pounds bone-in, skin-on chicken thighs, trimmed and patted dry
¼ cup plus Tbsp. extra-virgin olive oil, divided
2 lbs. broccoli crowns, cut into 3-inch florets
8 medium garlic cloves, peeled
1 Tbsp. grated lemon zest, plus lemon wedges to serve
½ cup chopped drained peperonicini
¼ cup lightly packed fresh oregano, chopped
Rub skin with oil before sprinkling with seasoningsAdd oil under and over garlic cloves
Directions
Heat the oven to 475°F with a rack in the middle position.
In a large bowl, stir together the thyme, pepper flakes and 2 teaspoons each salt and black pepper. Sprinkle 2 tablespoons of the mix onto all sides of the chicken. To the remaining seasoning mix in the bowl, add the ¼ cup oil and the broccoli, then toss to coat.
Place the garlic in the center of a rimmed baking sheet, then arrange the chicken, skin up, around the garlic; this placement helps prevent the garlic from scorching during roasting. Arrange the broccoli in an even layer around the chicken. Roast until the thickest part of the breasts (if using) reaches 160°F and the thickest part of the thighs (if using) reaches 175°F, about 30 minutes.
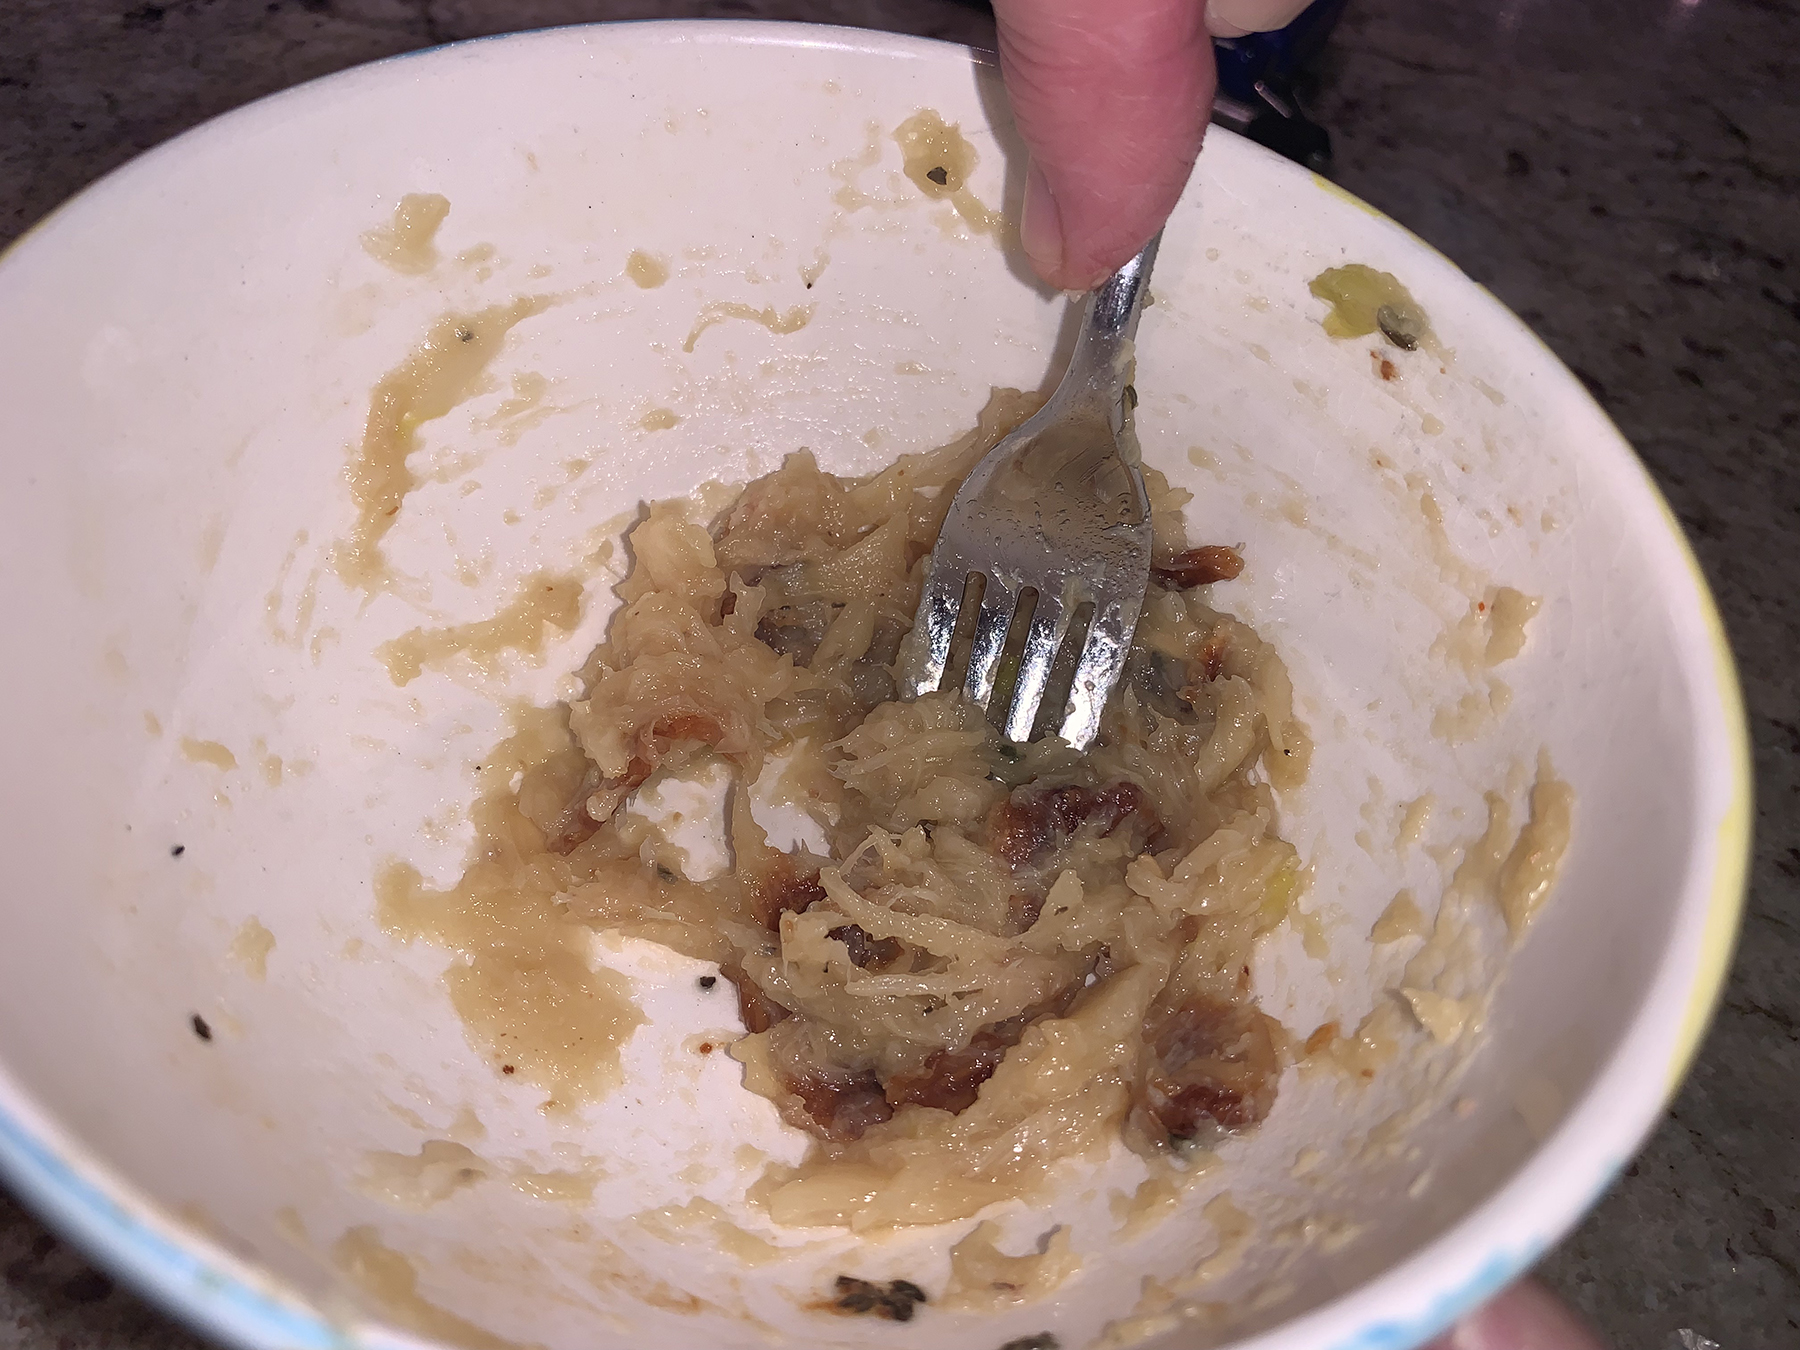
Using tongs, transfer the chicken and broccoli to a serving platter. Transfer the garlic to a medium bowl and, using a fork, mash to a rough paste.
Carefully pour ¼ cup water onto the baking sheet and scrape up any browned bits. Pour the pan juices over the garlic and add the lemon zest and peperoncini, then whisk in the remaining 2 tablespoons oil. Taste and season with salt and pepper.
Pour the sauce over the chicken and broccoli, then sprinkle with oregano. Serve with lemon wedges.
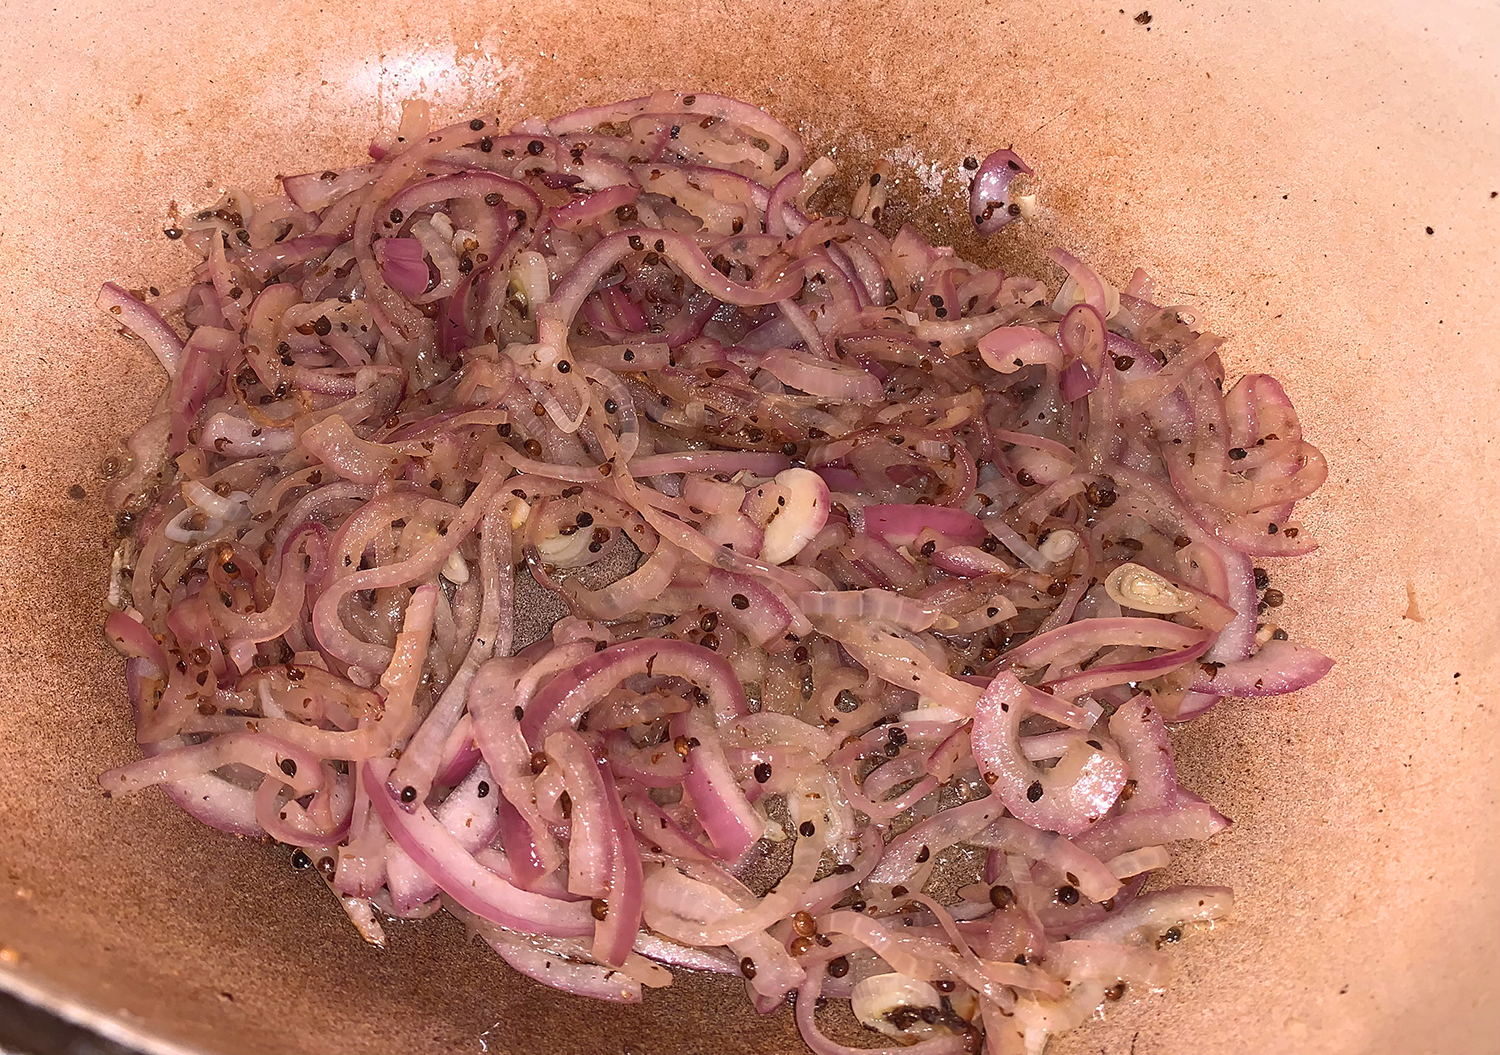
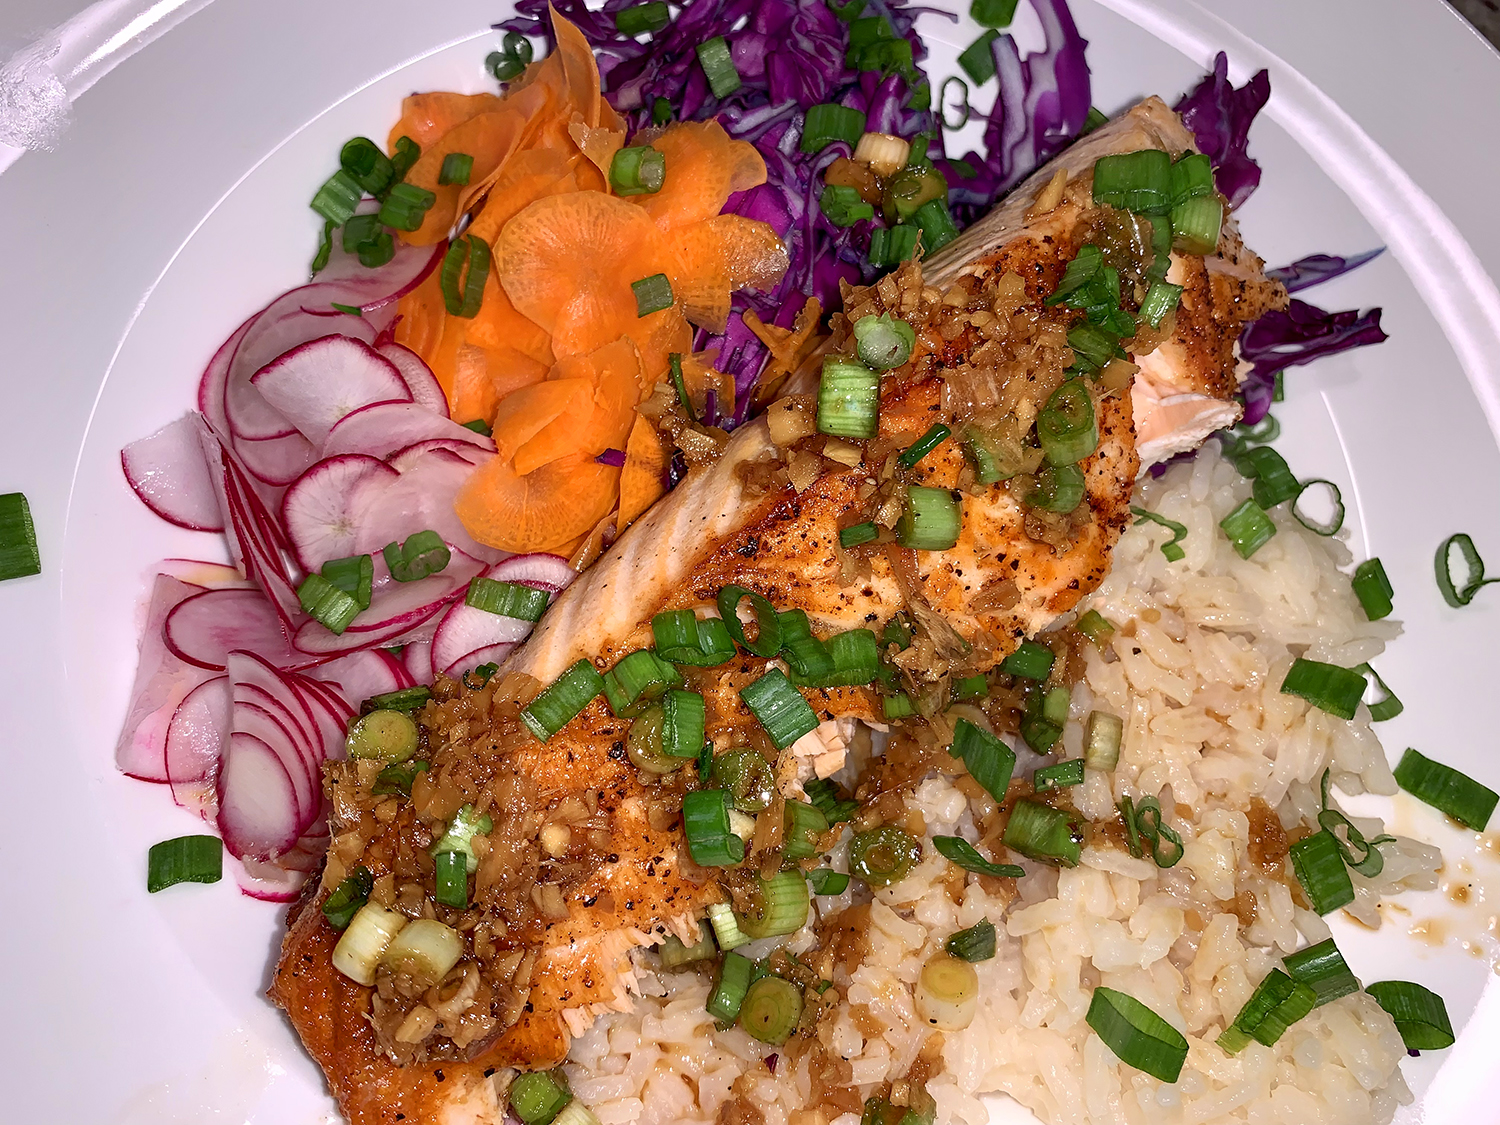
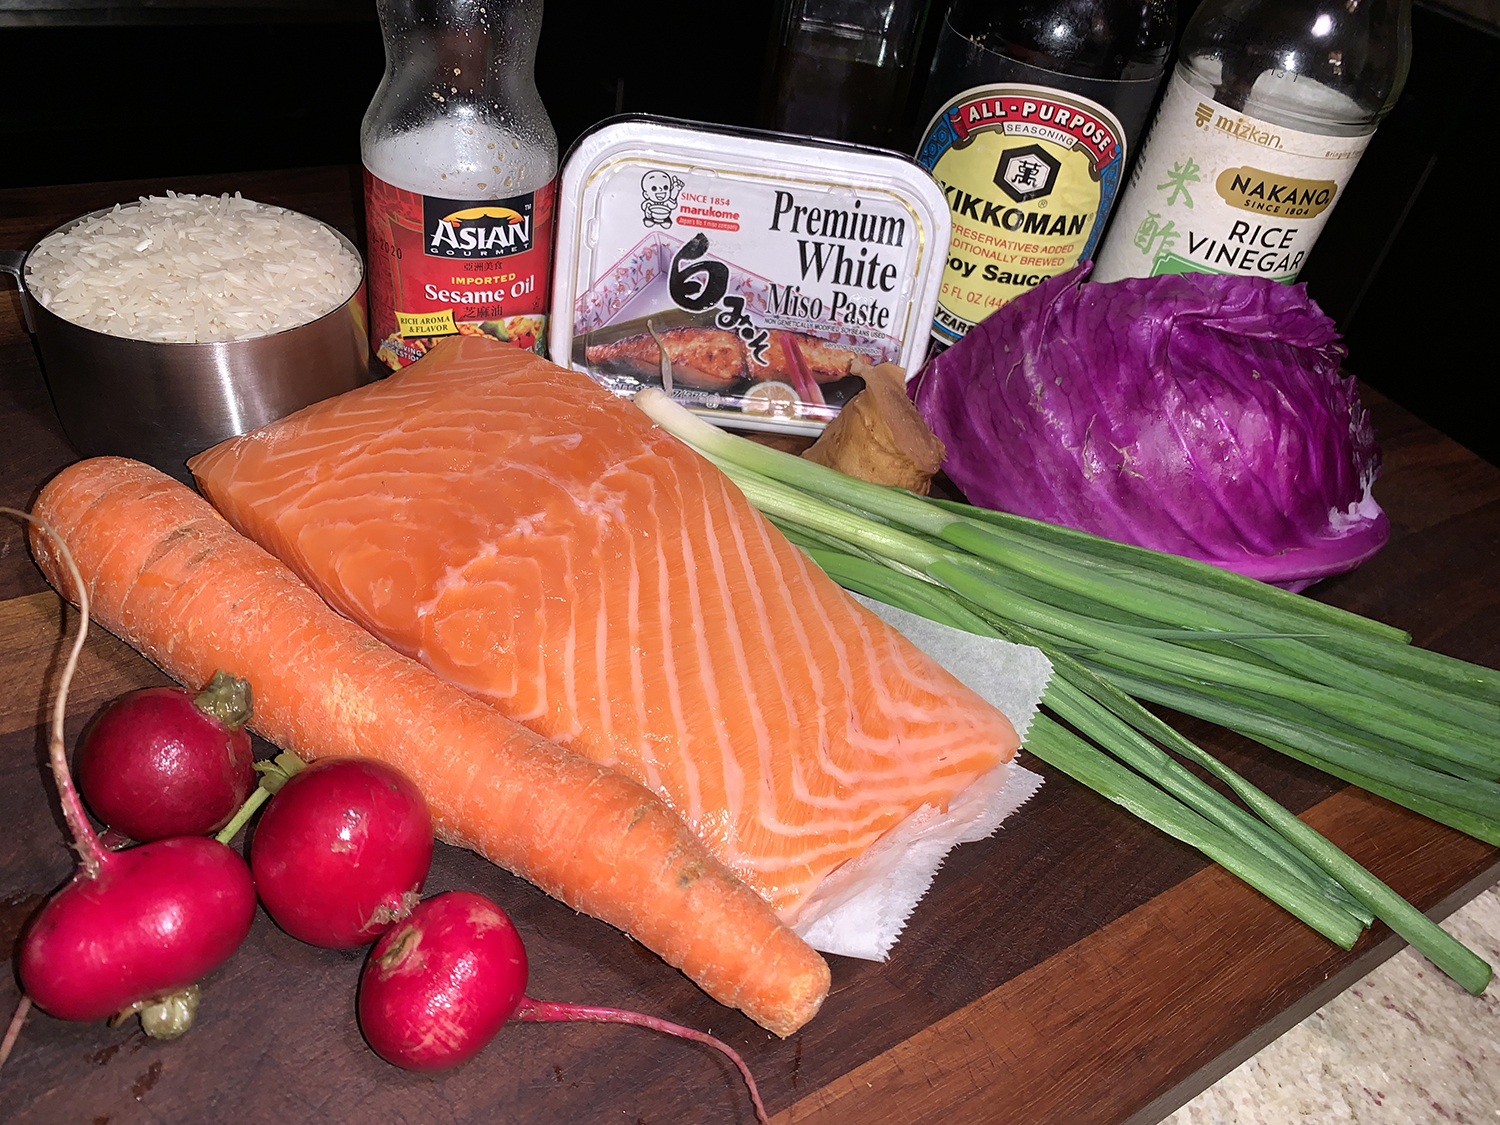
This simple weeknight meal makes great use of pantry staples to create complex flavors with minimal work. Miso is often used to flavor soups or sauces, and here, it is added to raw rice before cooking, which results in a delightfully sticky, savory steamed rice. Fragrant and nutty basmati is called for, but any long-grain rice, such as jasmine (which we used), will work.
Shredded cabbage brings freshness and crunch to the finished dish, but use whatever crispy vegetable you have on hand such as shredded Brussels sprouts, carrots, snap peas, and/or radishes. We had leftover red cabbage, so we used that along with shredded carrots and radishes providing wonderful pops of color!
If possible, use a hand mandoline to get paper thin carrot and radish slices. And if you desire a heftier meal, add some canned chickpeas, white beans or black beans, although neither of us thought it would be necessary.
To finish, the vibrant tang of the bright ginger-scallion vinaigrette balances the richness of the roasted salmon, which we cooked only a pound for the two of us. But if you make the full 1 1/2 pounds, you may want to consider doubling that scallion vinaigrette.
Probably the biggest change we made to the recipe was how we cooked the fish. Instead of in the oven on a rimmed baking sheet, we used a non-stick skillet, and cooked skin-side down for the first 6 minutes, then carefully turned it over to finish, about another 2 minutes.
Quick, easy, colorful and healthy. What more can you ask for as a weeknight meal?
Pan-Seared Salmon With Miso Rice and Ginger-Scallion Vinaigrette
1 Tbsp. distilled white vinegar or unseasoned rice vinegar
1 Tbsp. minced fresh ginger
4 cups finely shredded cabbage, such as green, Napa or savoy; OR a mix of thinly sliced cruciferous veggies (about 8 ounces)
Toasted sesame oil, for serving
Directions
Heat oven to 425 degrees.
In a medium saucepan, whisk miso with 2 1/4 cups water until dissolved. Stir in rice and bring to a boil. Cover, reduce heat to low and cook until all of the liquid is absorbed and rice is tender, about 15 minutes. Remove from heat and let stand for 5 minutes. Fluff rice with a fork (it will be a little sticky).
On a rimmed baking sheet, rub salmon all over with olive oil, season with salt and pepper and arrange skin-side up. Roast until fish is just opaque and cooked to medium, 8 to 10 minutes. OR, in a non-stick skillet over medium-high, sear the salmon skin side down for 6 minutes until golden brown and crisp. Carefully flip over and sear another 2 minutes or so. For medium to medium-rare, aim for 125˚F to 135˚F.
In a small bowl, combine soy sauce, scallions, vinegar and ginger, and season with salt and pepper.
Divide miso rice and cabbage, and other vegetables if using, among bowls. Top with salmon, ginger-scallion vinaigrette and sesame oil.