Technically, who knows? The FDA can, and has, given the OK for any orange-colored squash to also be labeled pumpkin. So that can of pumpkin you’ve been buying all these years? BINGO, it doesn’t have any actual Halloween pumpkin in it at all! So now let me rock your world…
Scoop that autumnal glop out of a can, even one labeled “100 percent pure pumpkin,” and you just may be cooking up a delicious little lie. Libby’s Pure Pumpkin—the quintessential American canned pumpkin brand—is responsible for 85% of canned pumpkin sold in the world.
Libby’s grows a proprietary strain of tan-skinned Dickinson squash, which looks like a pale, slightly misshapen butternut squash. And although Libby’s does refer to its fruit as “pumpkin,” in appearance, taste, and texture, it more closely resembles squash. In fact, its closest high-profile relative is butternut squash. Who knew?
If it’s a real deal breaker for you, go ahead and make your own pie filling from scratch. Or, you could just pop open a can and accept the fact that if it was good enough for mom, it’s good enough for you…. and that’s exactly what The Hubs did…
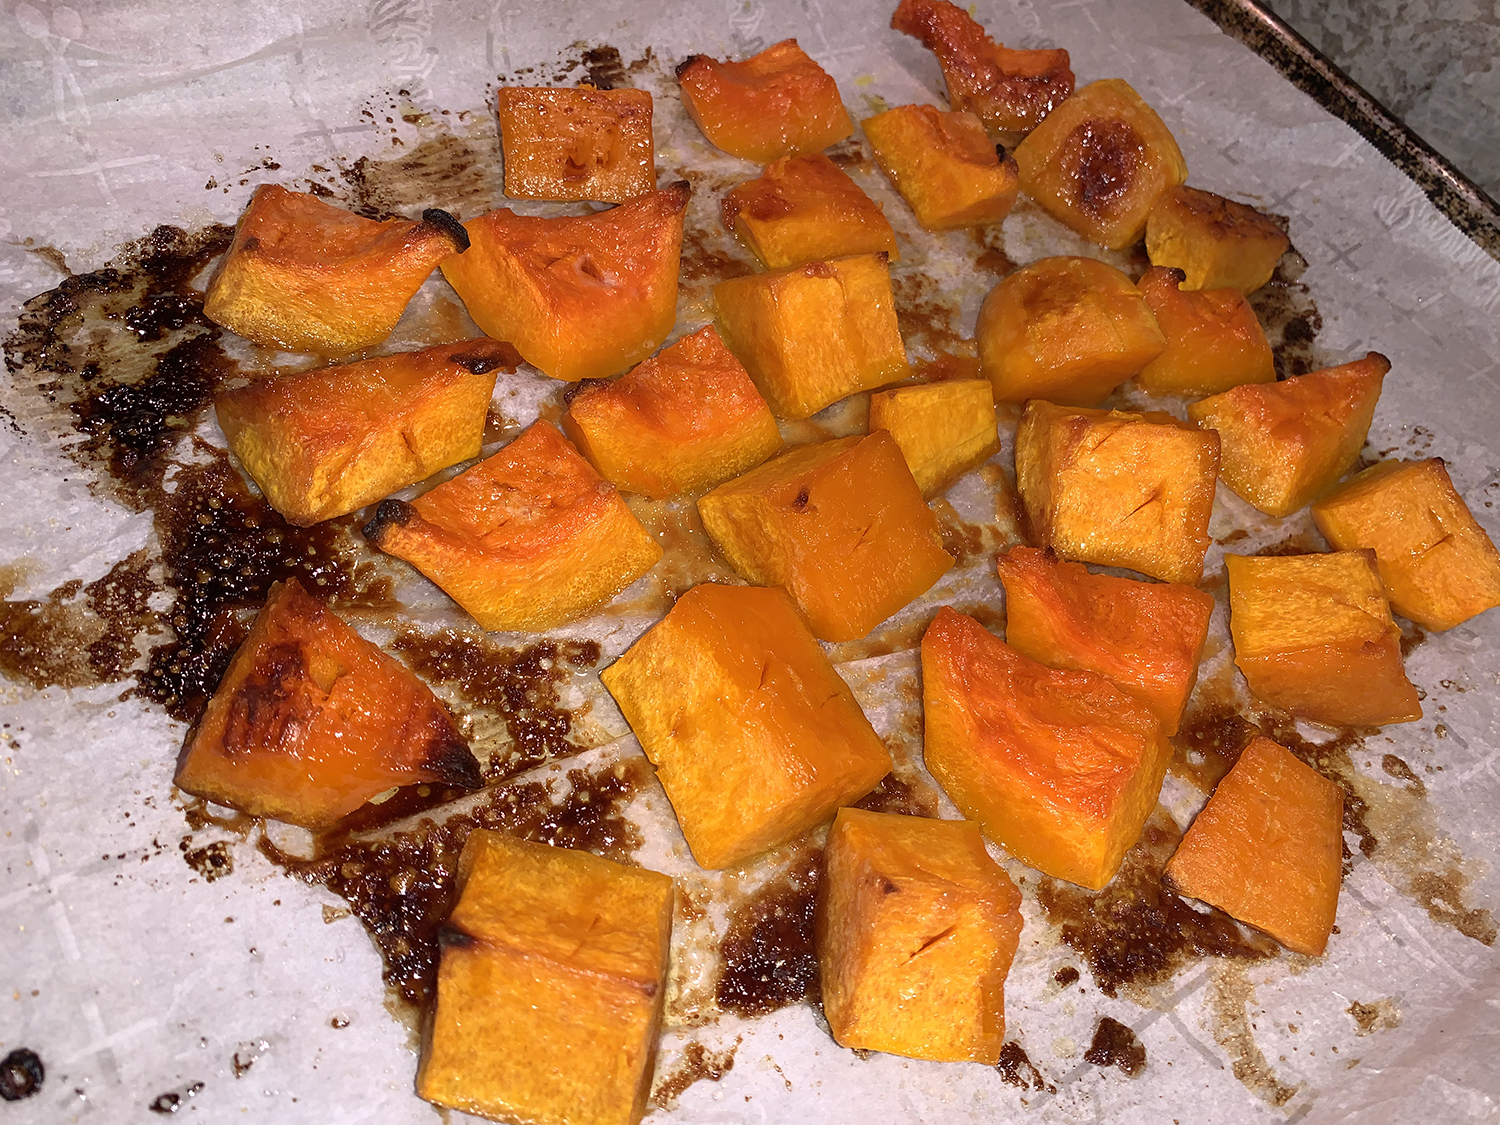
He made the pie from scratch, including the crust, and used butternut squash instead of canned pumpkin. According to chef/auther Melissa Clark, “Making your own fresh purée from sweet winter varieties will give you the best possible pumpkin pie, one that’s both ultracreamy and richly flavored. Just don’t be tempted to halve the whole squash and bake it still in the skin. Cutting it into cubes allows for the most evaporation and condensation for the best texture and taste.”
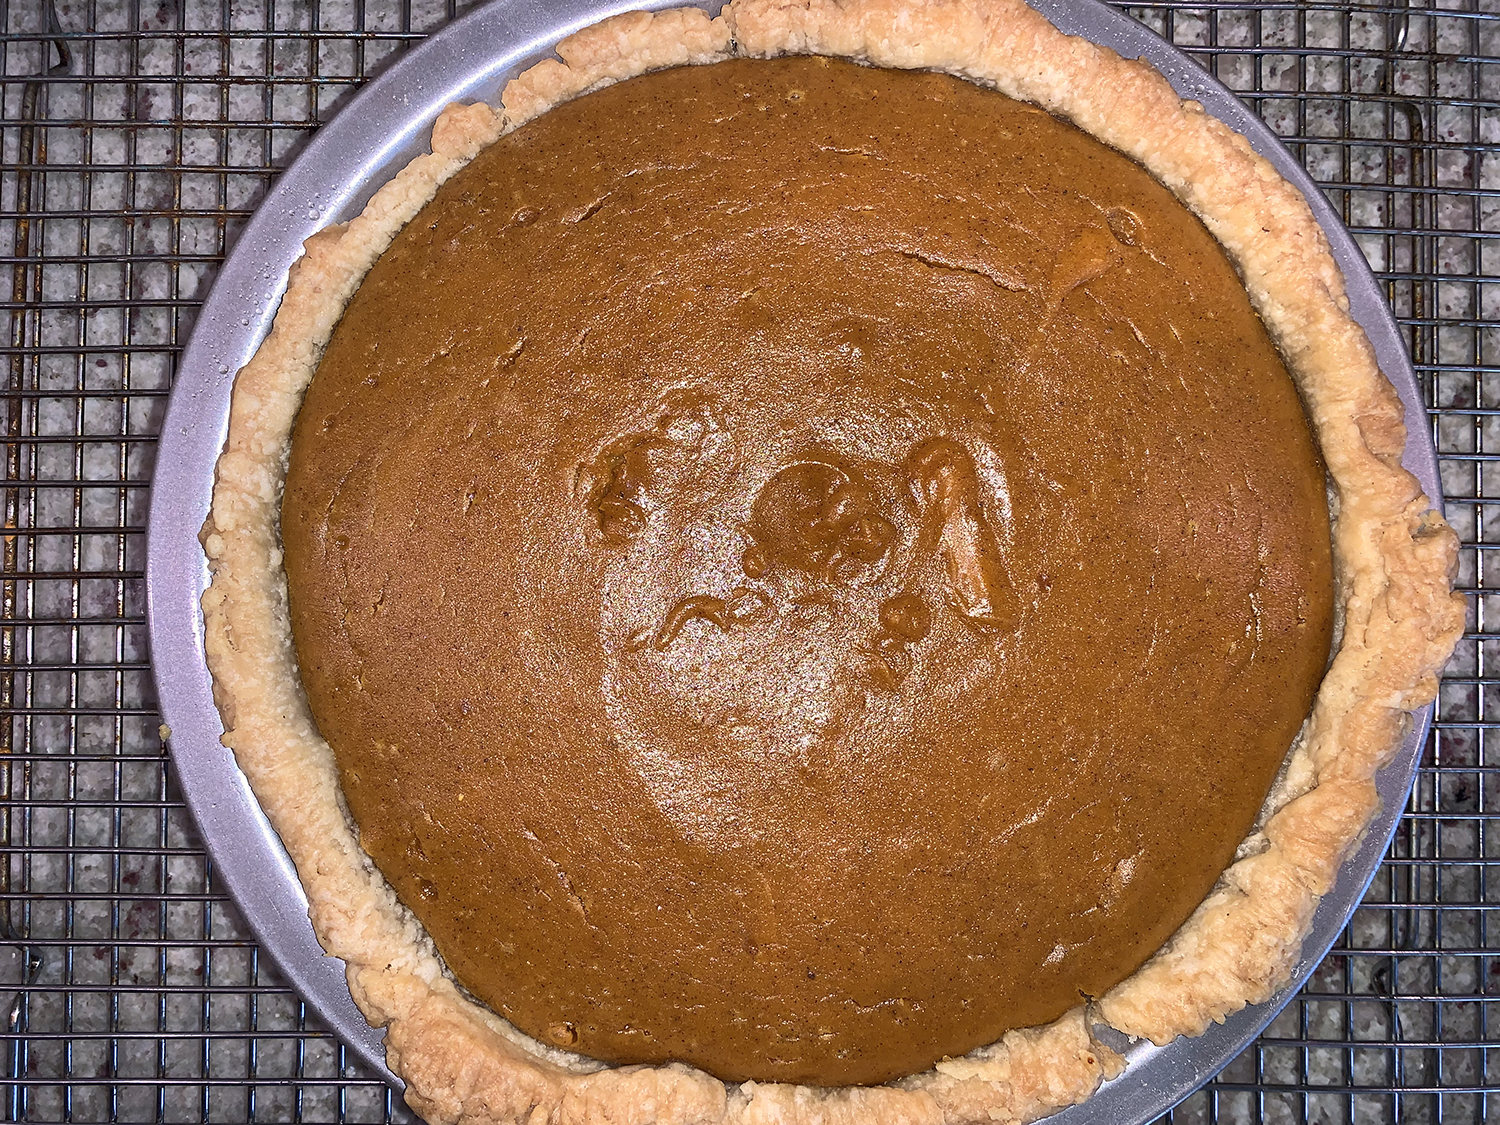
If using a glass or ceramic pie pan, you might want to parbake the crust. Since glass doesn’t conduct heat as well as metal, the crust may not cook through if you don’t parbake.
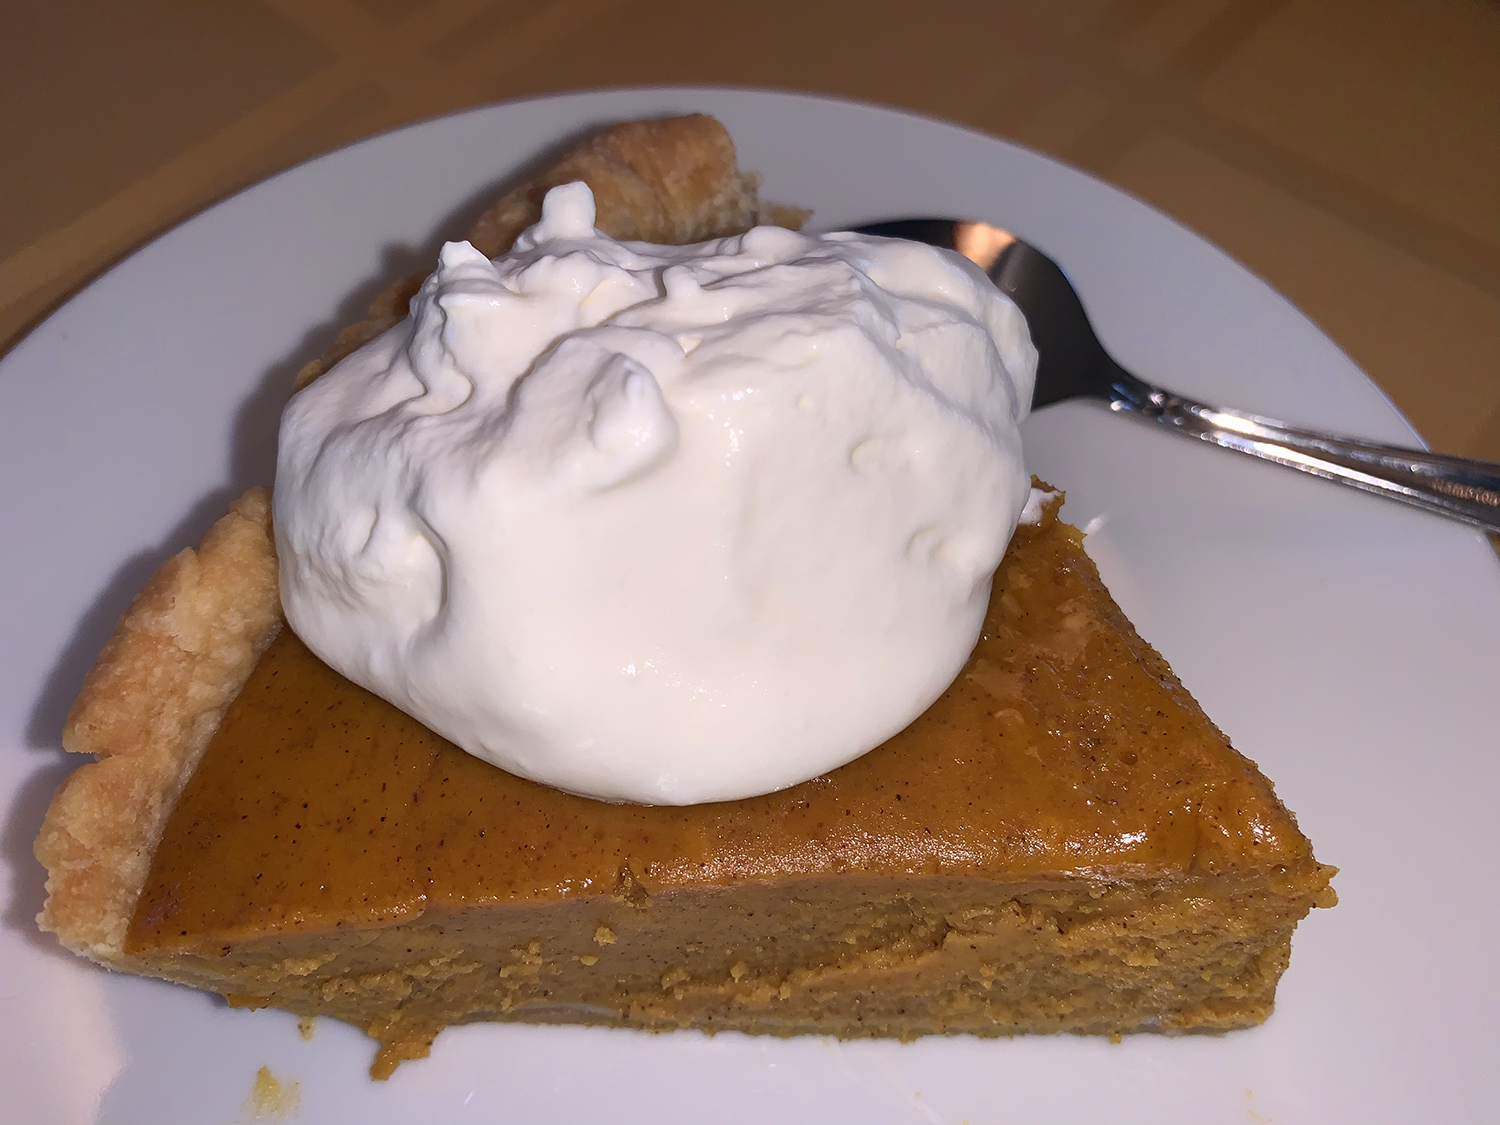
Let it just be said, I am not a pie person, nor do I ever eat dessert, but I did taste a sliver just to know what I was going to write about. The Hubs claims it was very light and up there with some of the best he’s ever eaten; and while I did like the flavors and creamy texture, I am no pie convert yet…
To make it even more special and really rock your world, why not top it with an extravagant Bourbon Whipped Cream from Cook’s Country? Recipe follows.

The Ultimate Pumpkin Pie
Ingredients
- 2 lbs. butternut squash (1 small squash), peeled, seeded and cut into 1 1/2-inch chunks (about 3 cups)
- 1 cup heavy cream
- 2 Tbsp. granulated sugar
- 2 Tbsp. unsalted butter, cut into small pieces
- All-purpose flour, for rolling out the dough
- Dough for a single 9-inch pie crust
- 3 large eggs
- 2/3 cup light brown sugar
- 1 1/2 tsp. ground ginger
- 1 1/2 tsp. ground cinnamon
- 1/2 tsp. grated nutmeg
- 1/8 tsp. ground allspice or pinch of ground cloves
- 1 Tbsp. bourbon or dark rum, or use 1 tsp. pure vanilla extract
- 1/2 tsp. fine sea salt


Directions
- Place two racks in the oven: one in the lower third and one in the upper third. Place a rimmed baking sheet on the lower oven rack and heat oven to 400 degrees.
- Line another rimmed baking sheet with parchment paper and spread butternut squash on it. Drizzle squash with 2 tablespoons of the heavy cream, sprinkle with granulated sugar and dot the top with butter. Roast on the upper rack, stirring once or twice, until squash is very tender, 40 to 50 minutes.
- Meanwhile, on a lightly floured surface, roll pie dough into a 12-inch circle. Transfer to a 9-inch metal pie pan. Fold over any excess dough, crimping the edges. Transfer to the freezer for at least 30 minutes and up to 24 hours. (This helps the crust hold its shape so the edges don’t slump.)
- When the squash is soft, transfer the pan to a wire rack to cool for at least 10 minutes (and up to a few hours). Raise the oven temperature to 425 degrees.
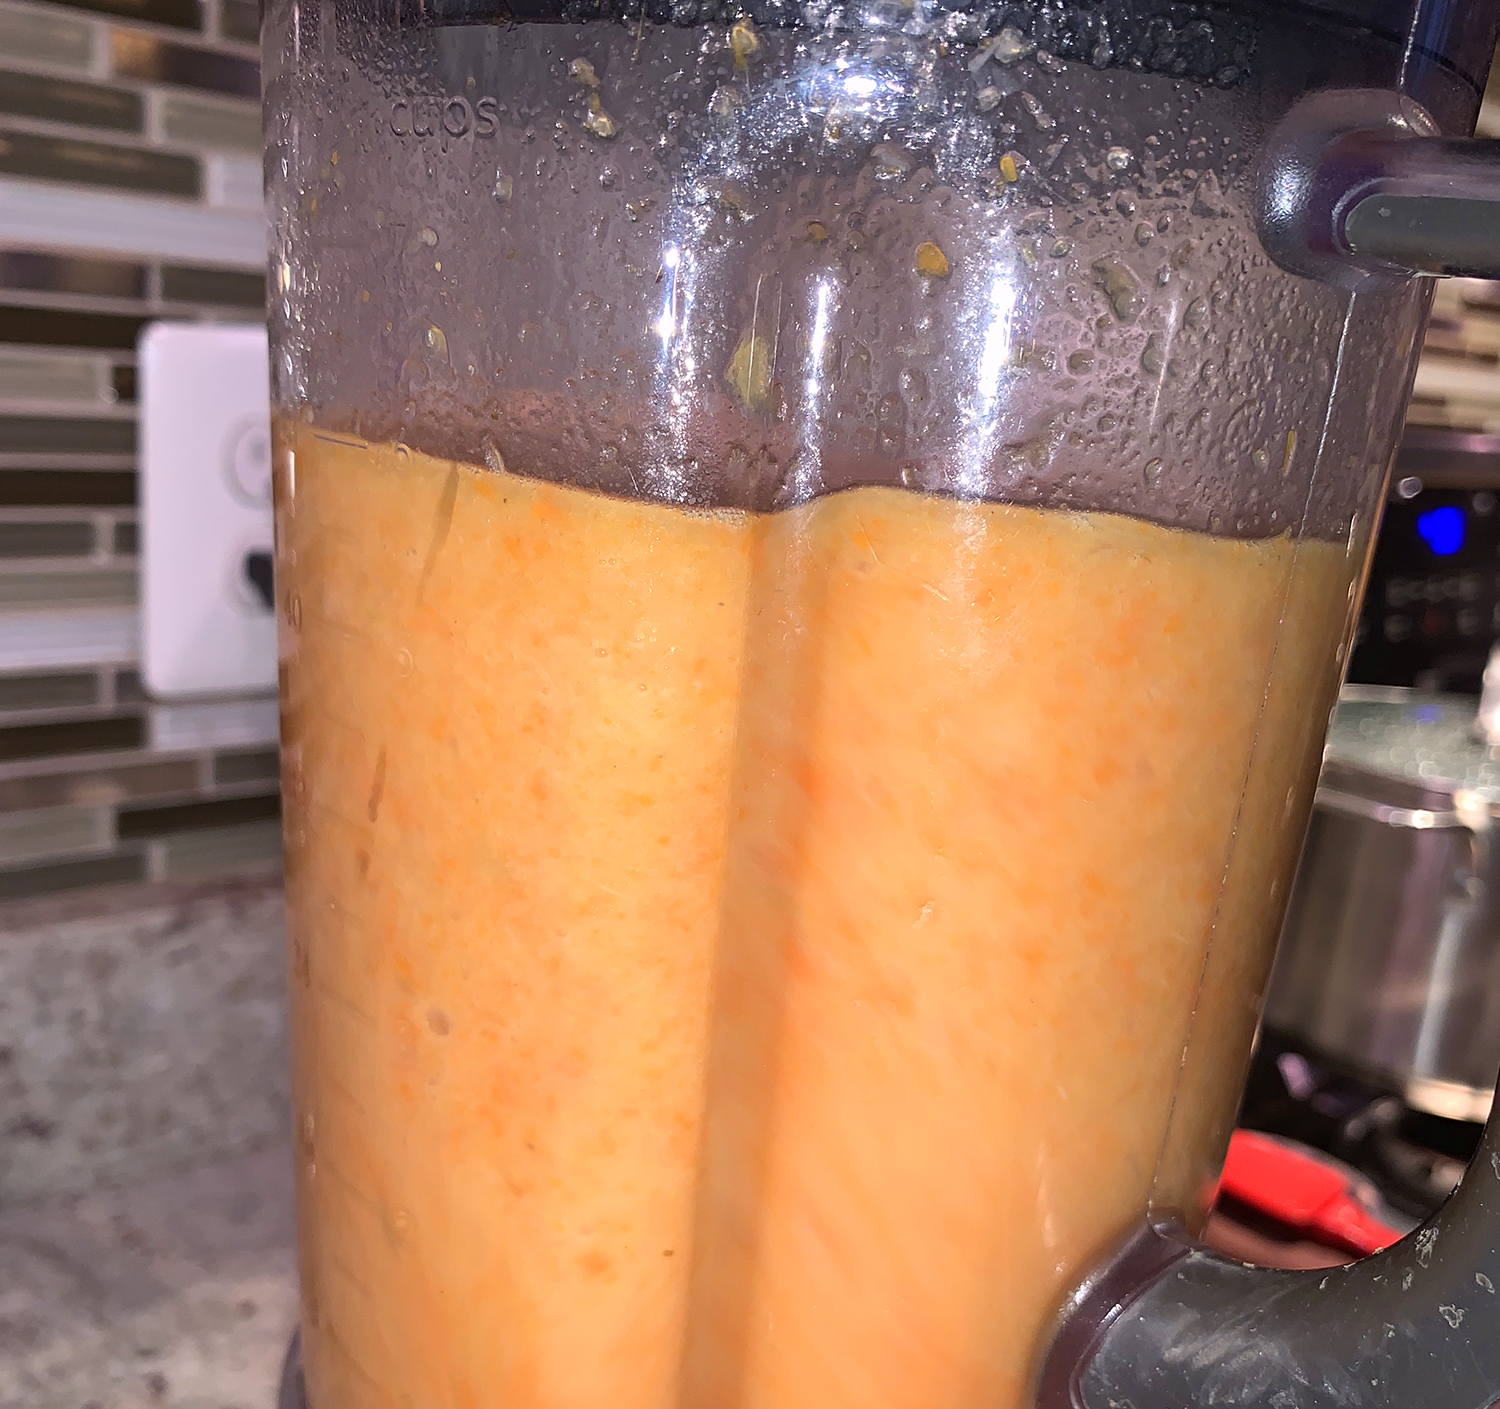
- In a food processor or blender, purée the squash with the remaining cream until smooth. Add eggs, brown sugar, spices, bourbon and salt, and pulse to combine. The mixture should be very smooth.
- Pour mixture into the chilled pie shell. Carefully transfer pie to the hot baking sheet on the bottom rack. Bake for 10 minutes, then lower the oven temperature to 300 and continue to bake until the crust is golden and the center jiggles just slightly when shaken, 35 to 45 minutes longer. Transfer pie to a wire cooling rack and allow to cool completely before serving. Pie can be baked up to 24 hours ahead of serving; do not refrigerate before serving.
Recipe from Melissa Clark

Bourbon Whipped Cream
Keep the heavy cream cold until you start whipping. Confectioners’ sugar produces a more stable whipped cream than granulated sugar.
Bourbon Whipped Cream
Ingredients
- 1 ½ cups heavy cream, chilled
- 2 Tbsp. bourbon
- 1 ½ Tbsp. confectioners’ sugar
- ¾ tsp. vanilla extract
Directions
- Using stand mixer fitted with whisk, mix all ingredients together on medium-low speed until foamy, about 1 minute.
- Increase speed to high and whip until stiff peaks form, 1 to 3 minutes.
Recipe from Cook’s Country