Rich with coconut milk and crushed peanuts, panang curry, also known as phanaeng or panaeng curry, is subtly spiced with coriander and cumin. This version is made with chicken, but you’ll often find it made with beef and sometimes prawns.
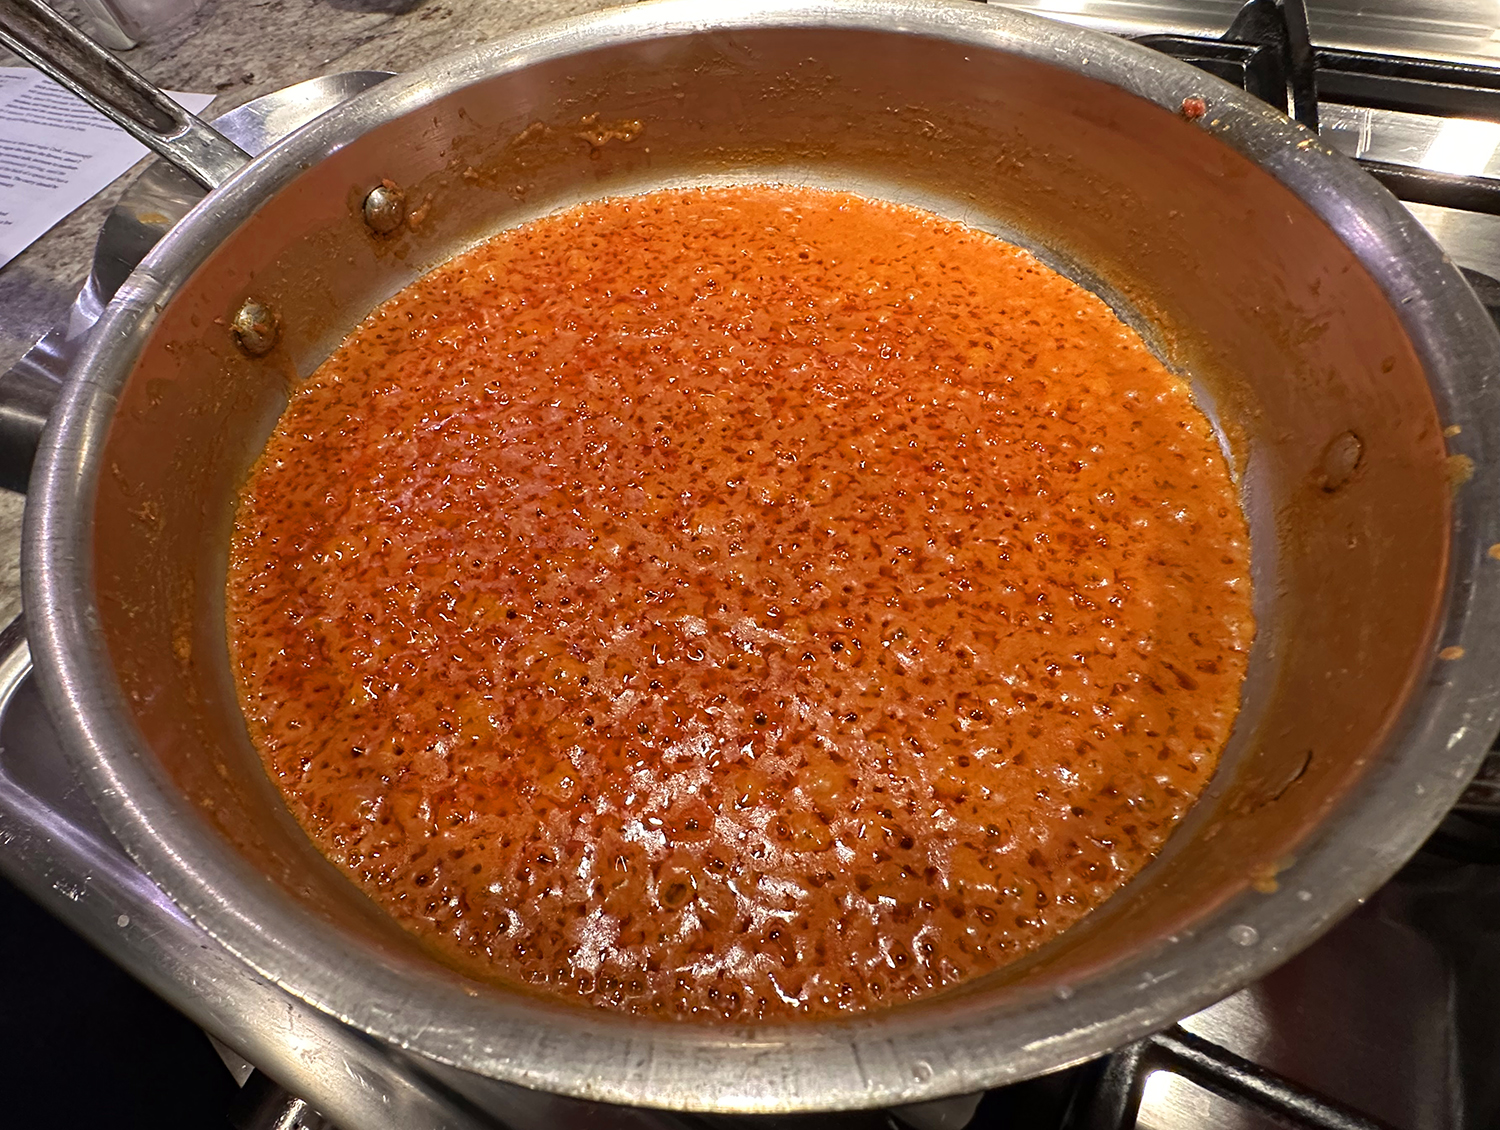
Panang curry is sometimes mistakenly linked to Penang, a Malaysian island, but it actually originated in Thailand. It’s important to use thick coconut milk for the creamiest results, and be sure to break the sauce by simmering until a layer of bright red oil shimmers on top. Purchase panang curry paste online or at an Asian market and add crushed peanuts to it if it doesn’t include them (not all of them do), or prepare your own paste, as is done here.

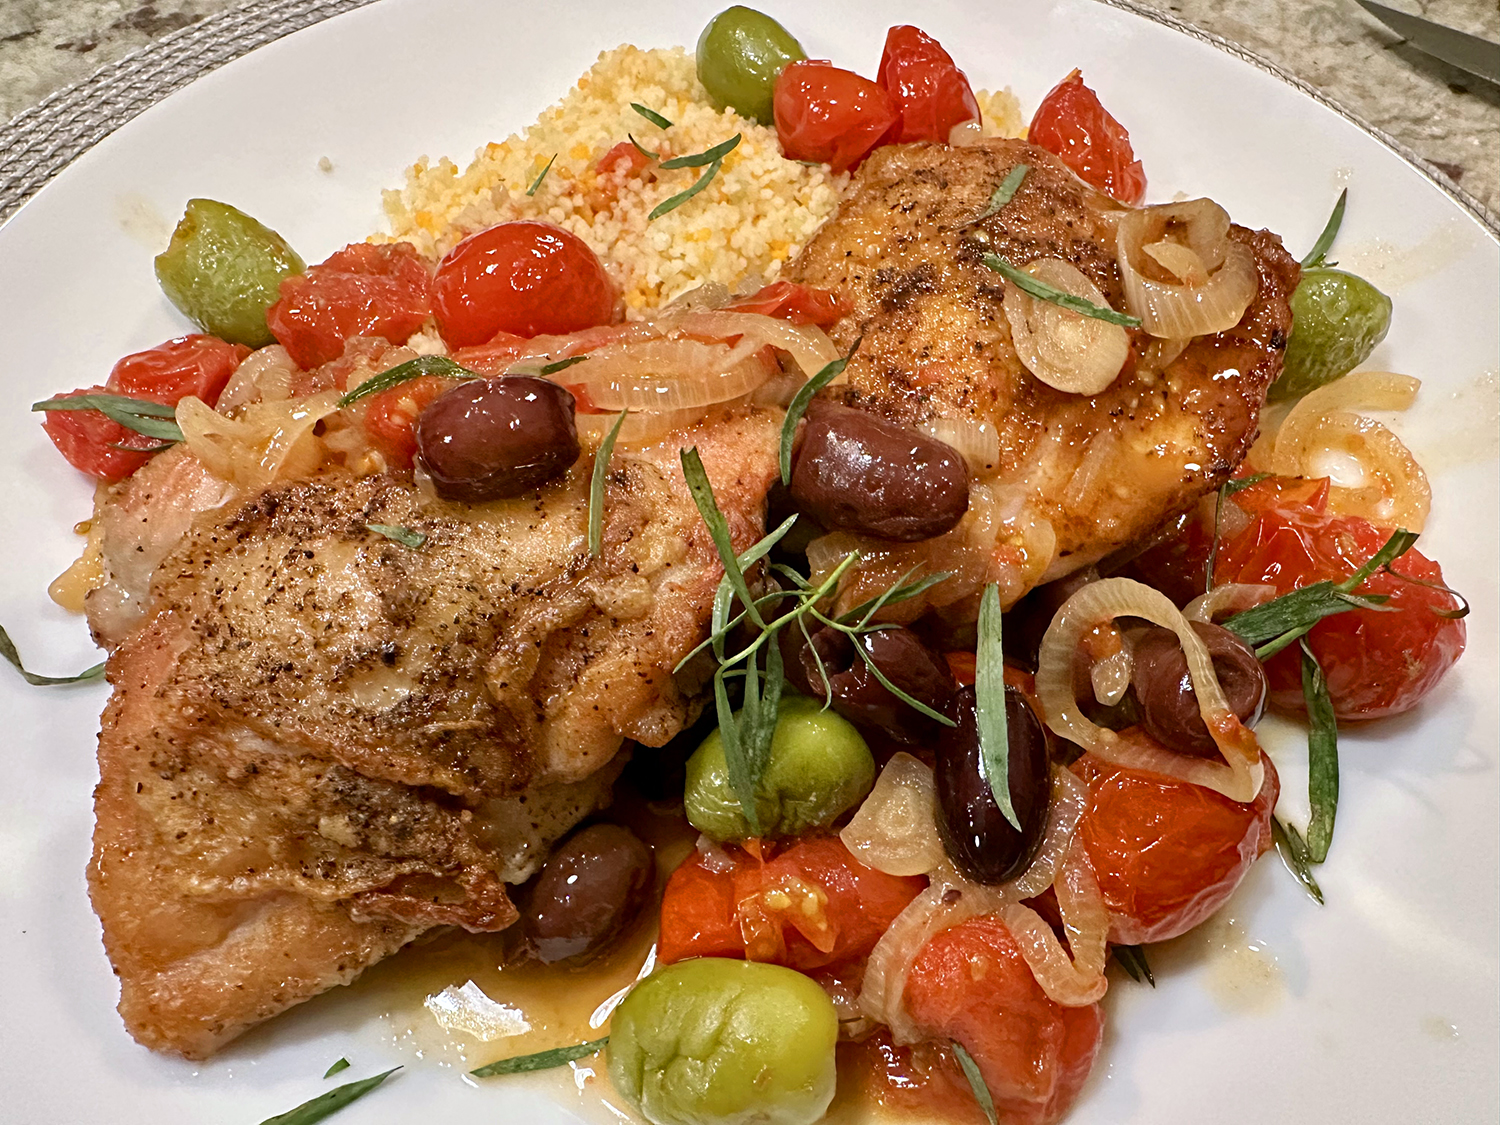
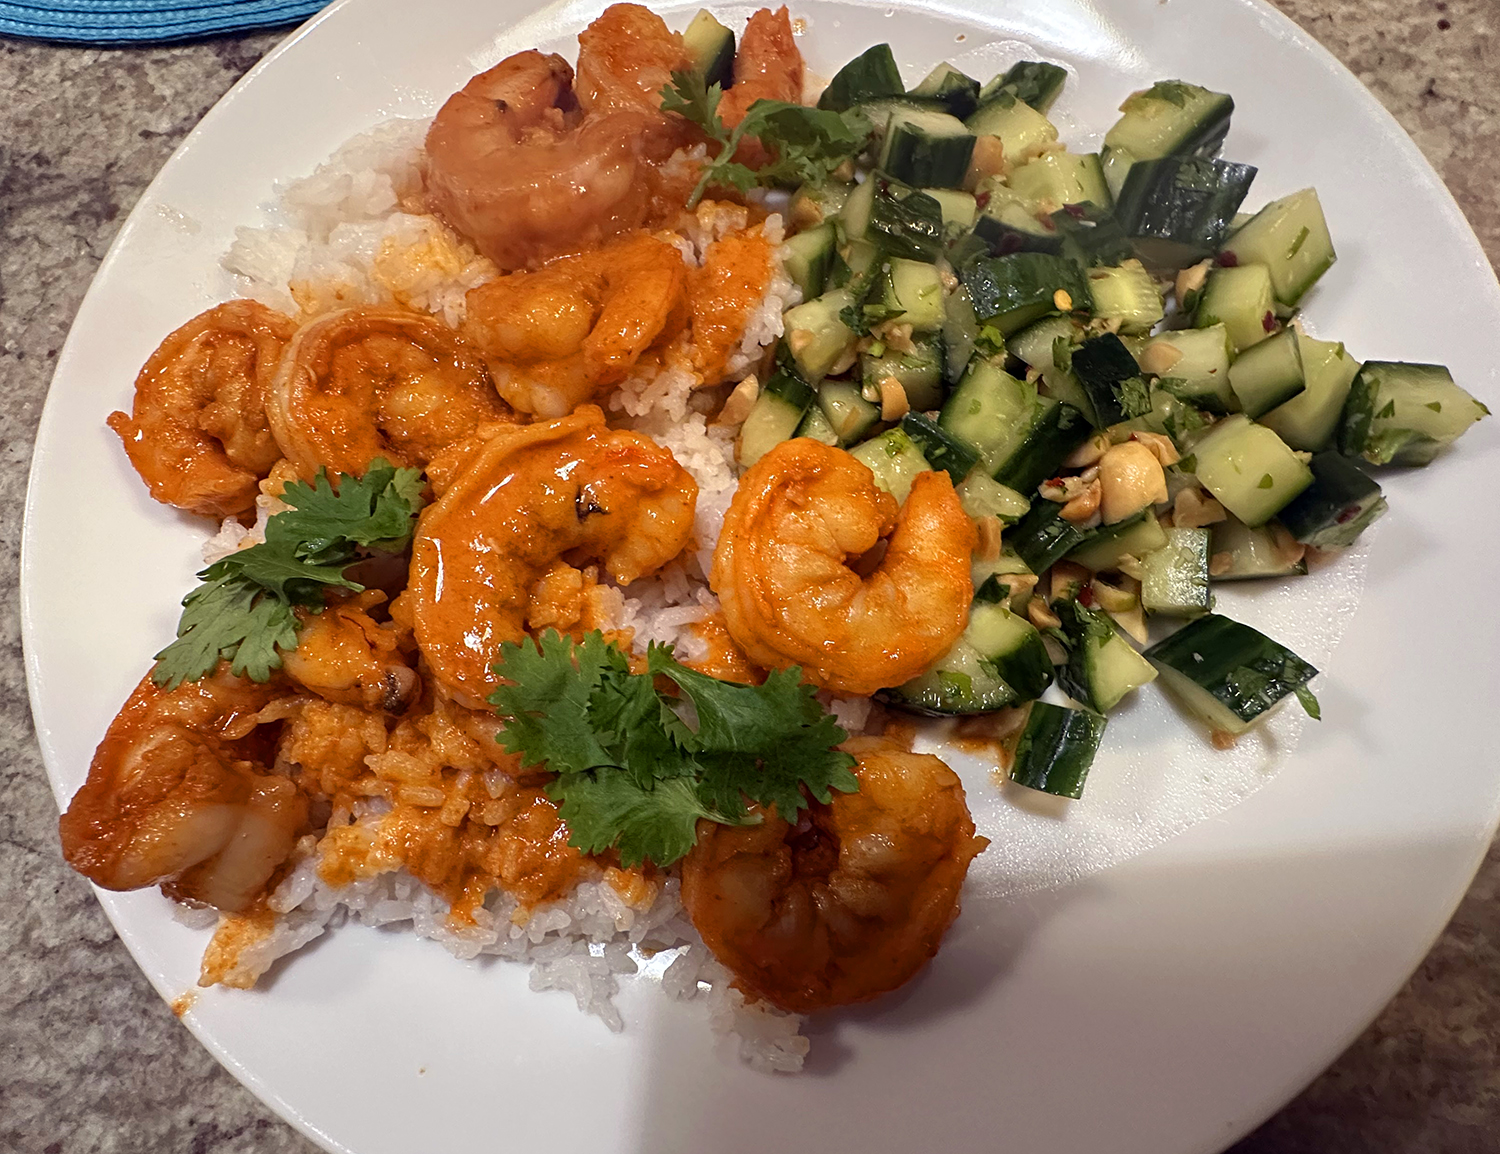
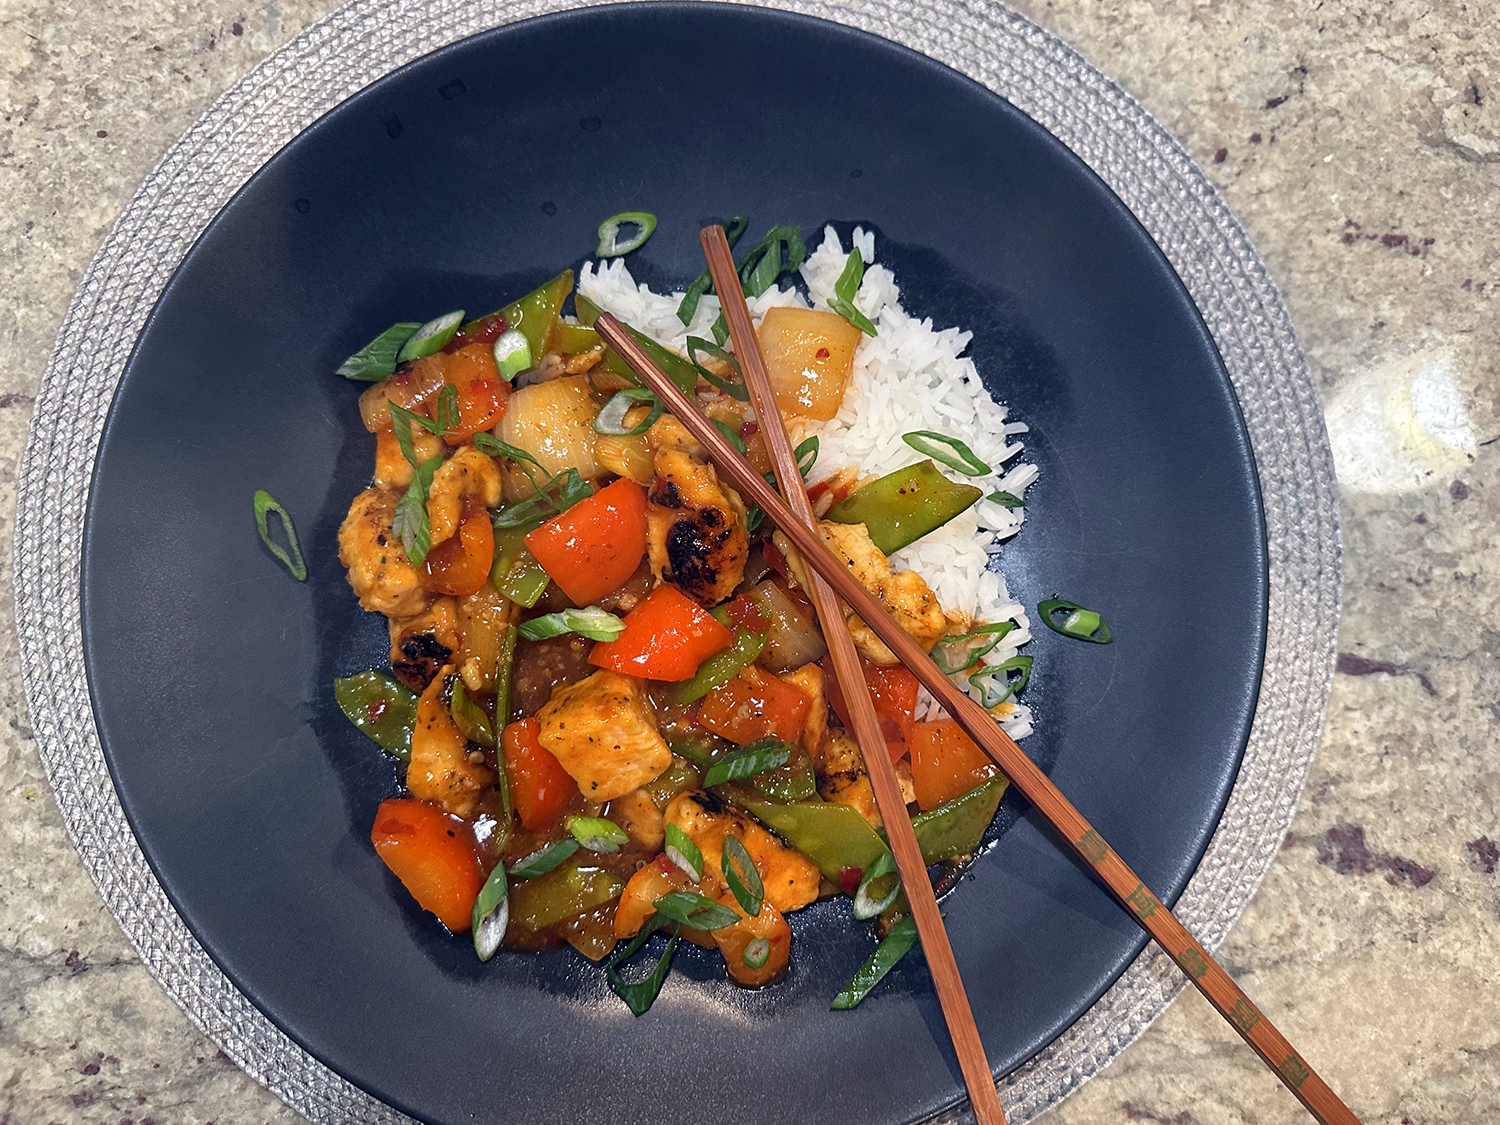
Since there are really no veggies other than the Fresno chili, serve with a vegetable side and/or salad. The original recipe indicates it will create 4 servings with rice. We beg to differ. You could maybe squeeze out 3 servings, but realistically plan on 2. (See above photo showing one of our serving portions.)
TIPS: Different brands of curry paste vary in spice levels. Taste a little first and determine how much to use. Maesri brand curry paste is highly recommended.
Coconut milk varies widely in its make up. Some cheap brands have as little as 25% coconut. Look at the ingredients, you should not accept less than 60%, some brands go up to 85% plus… Not all coconut milks are the same, it will makes a huge difference to the taste.

Panang Curry
Ingredients
For the Panang Curry Paste
- ½ tsp. coriander seeds
- ½ tsp. cumin seeds
- ¼ cup/1 ounce dry-roasted, unsalted peanuts
- 2 to 4 Tbsp. red curry paste, to taste (see Tip)
For the Curry
- 1 lb. boneless, skinless chicken breasts or thighs
- 2 tsp. fish sauce, plus more as needed
- 1 (13.5-oz) can full-fat coconut milk (do not shake)
- 8 makrut lime leaves, deveined, 6 torn and 2 thinly sliced, OR 1 teaspoon grated lime zest, for serving
- 1½ tsp. palm, granulated or brown sugar, plus more as needed
- 1 small, mild, thin-skinned pepper, such as a Fresno, Anaheim or banana pepper, or ½ small red bell pepper, thinly sliced
- Thai basil, thinly sliced, for serving (optional, if makrut lime leaves are not used)
- Rice, for serving


Directions
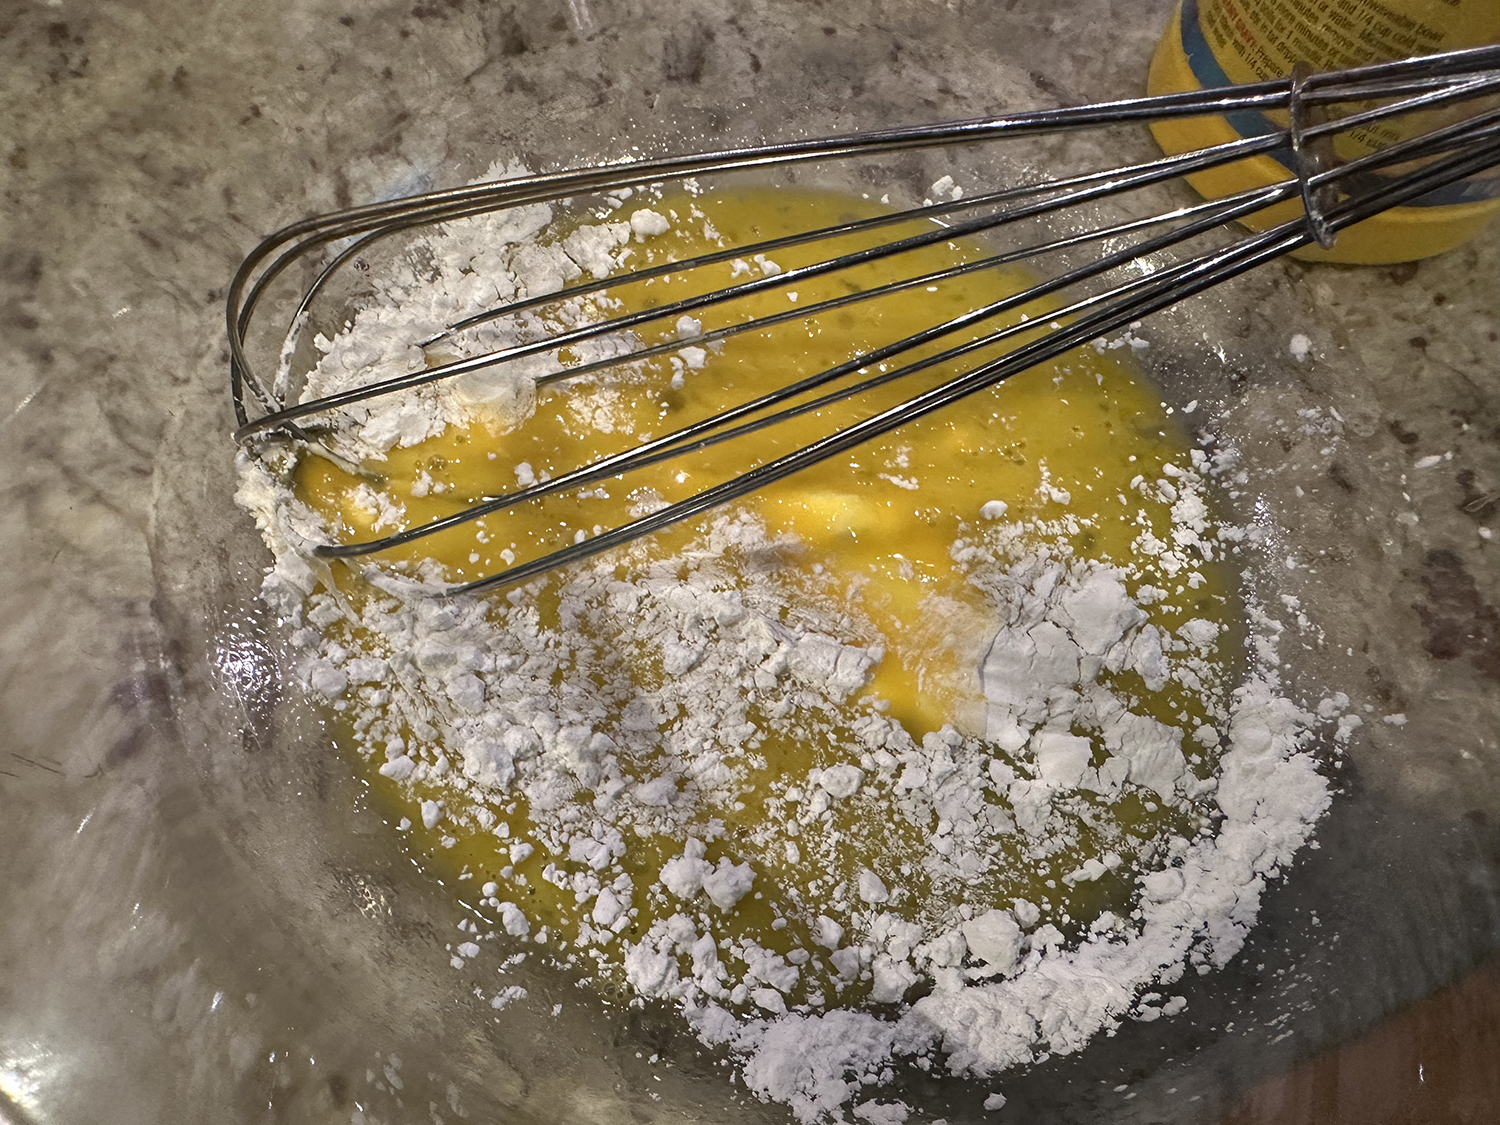
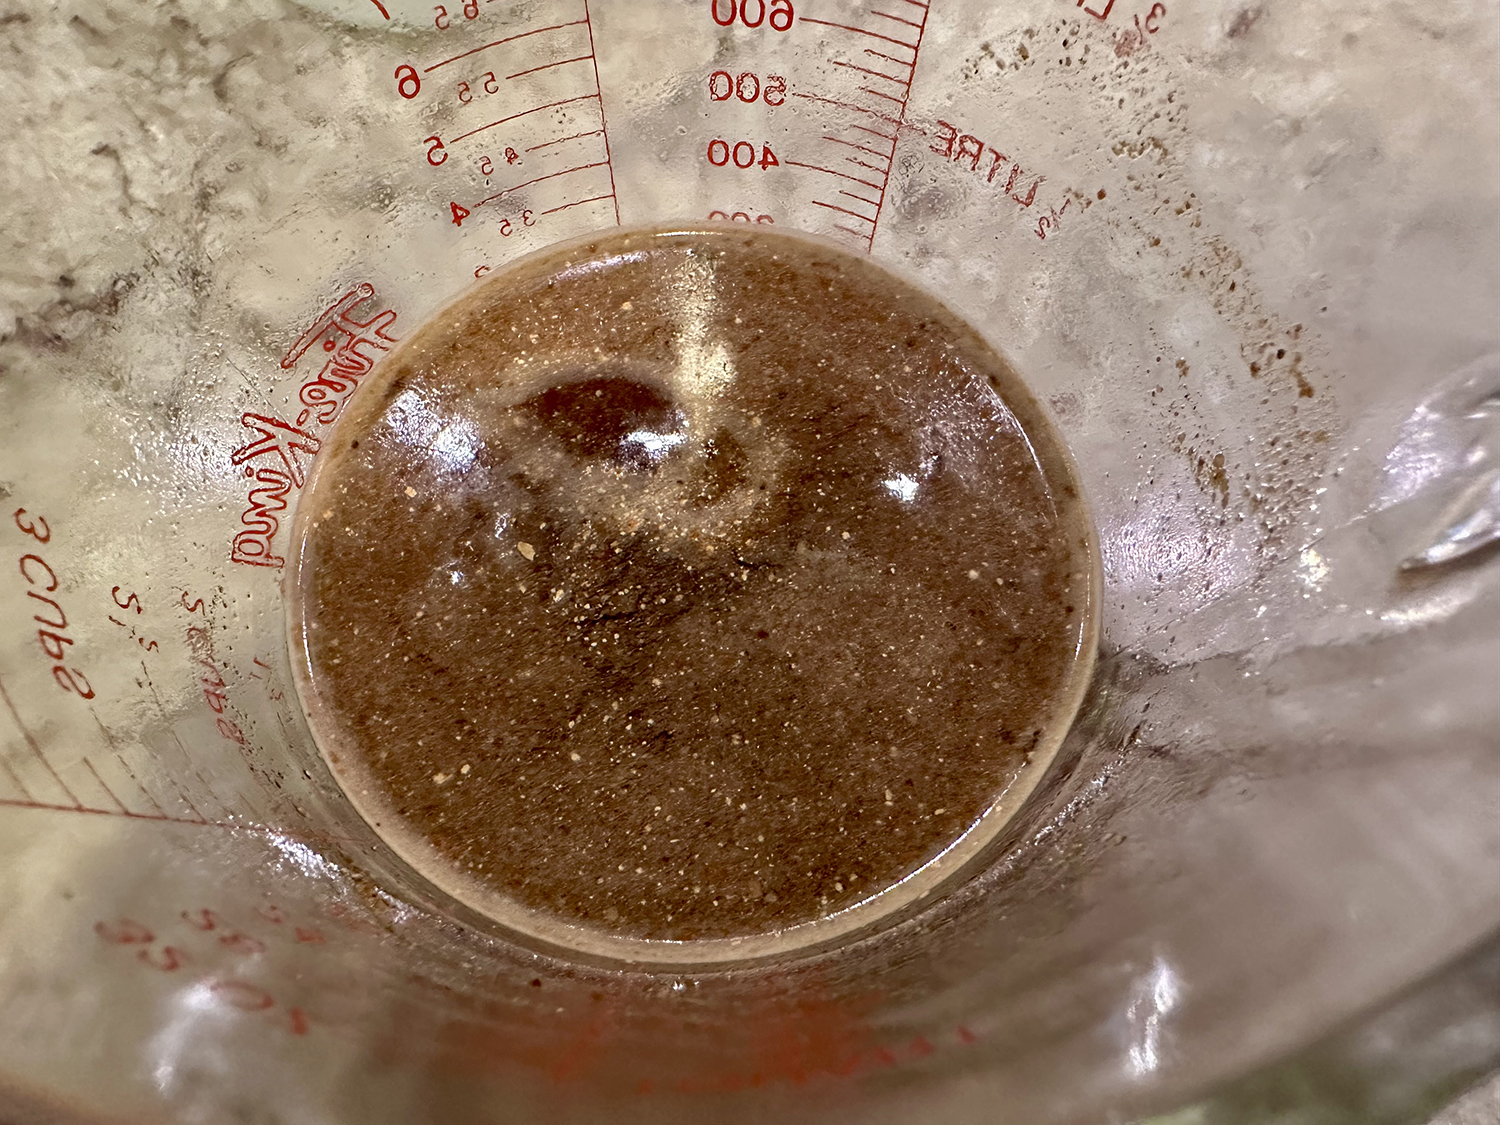
- Prepare the curry paste: Heat a medium sauté pan over medium. Add the coriander and cumin. Swirl the pan around, or toss the seeds with a wooden spoon, and gently toast until fragrant, about 1 minute, taking care not to burn the spices. Transfer to a small plate and cool, then place in a spice grinder or mortar and pestle, and grind to a fine powder.
- Add the peanuts and finely grind until smooth. Transfer the mixture to a small bowl, add the red curry paste and stir until mixed.
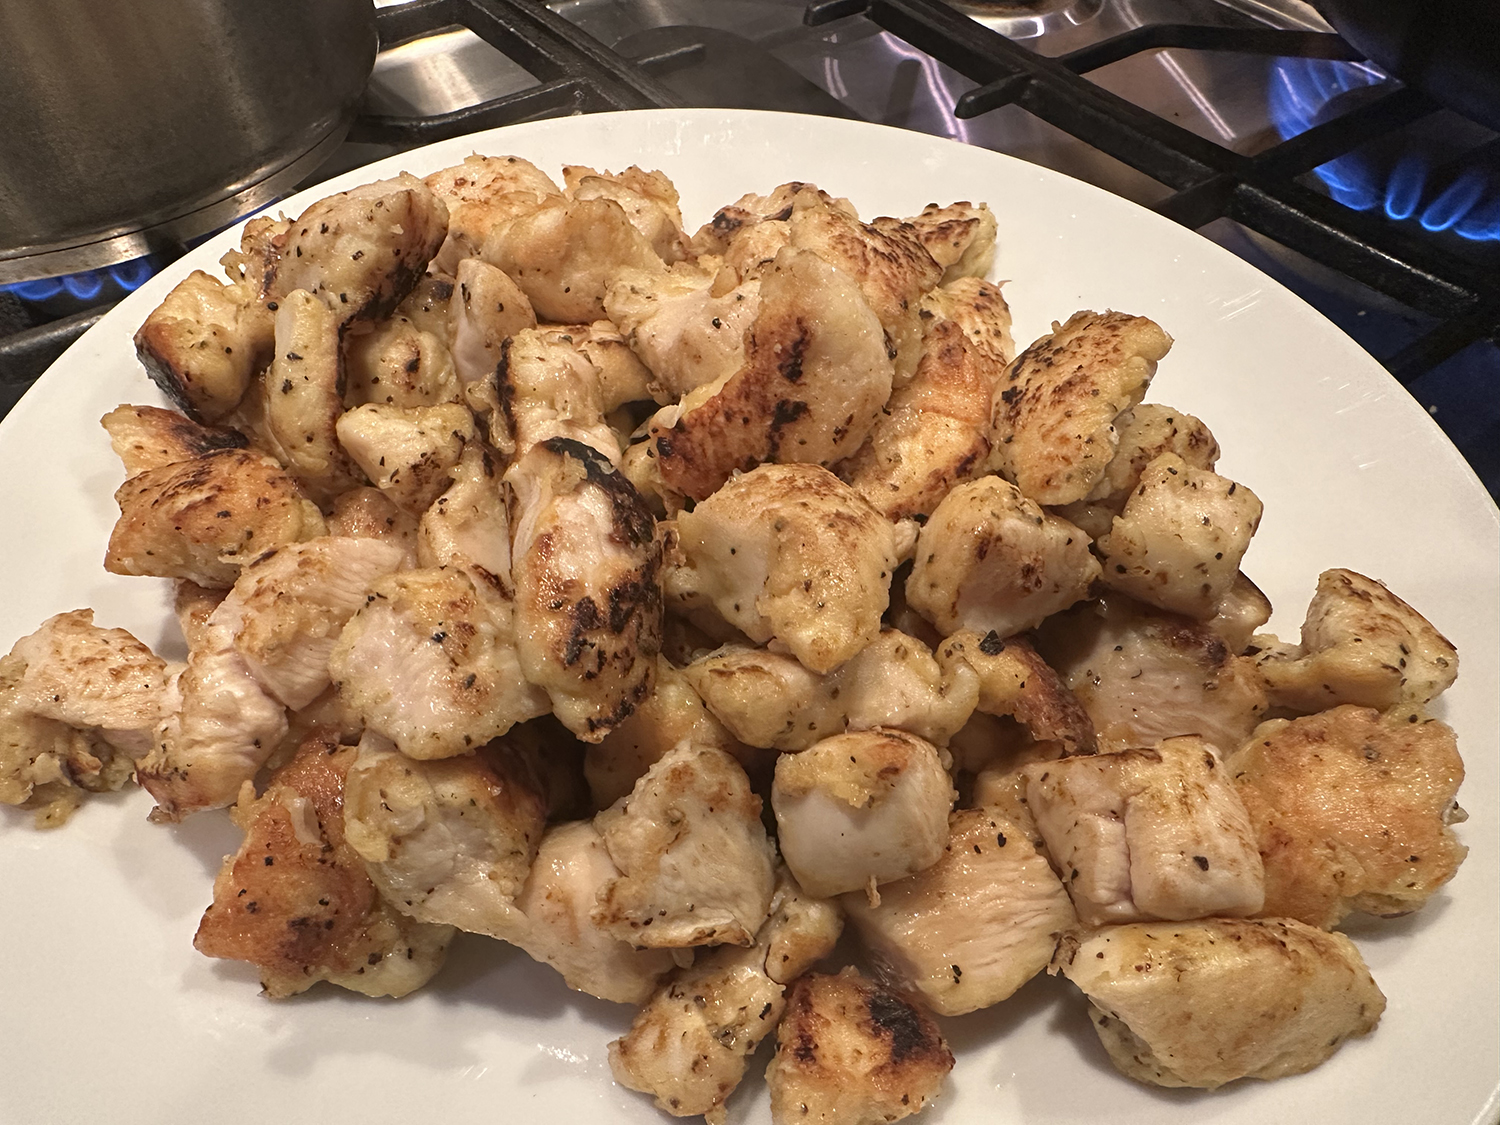
- Thinly slice the chicken into 1½-inch-long pieces. Place in a medium bowl, drizzle with the fish sauce and mix until coated.
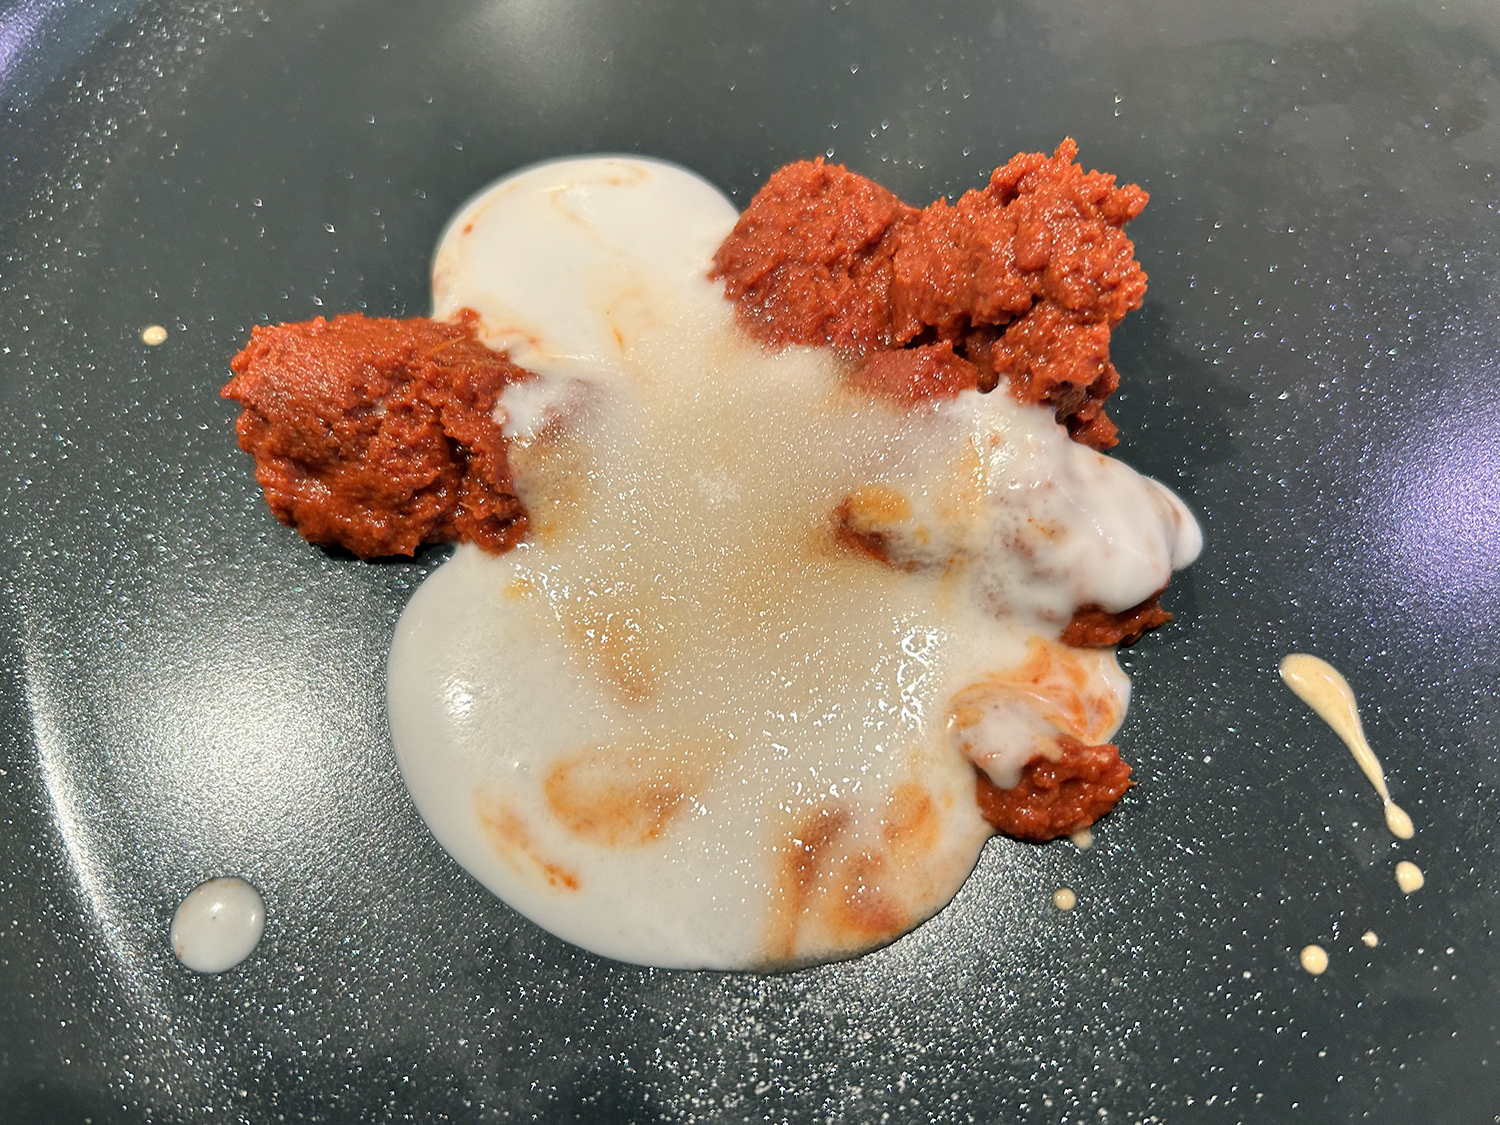
- Heat the same pan over medium-high. Scoop 4 tablespoons of the thick cream off the top of the coconut milk and add it to the pan; it will immediately sizzle. Stir until thickened and bubbling on the sides, about 30 seconds. Stir in the curry paste, to taste. Reduce to medium, and cook the paste, continuously stirring, until a thick paste forms and the coconut oil separates (the sauce “breaks”), 2 to 3 minutes. If it starts sticking, add a splash of coconut milk and scrape up anything from the bottom of the pan.
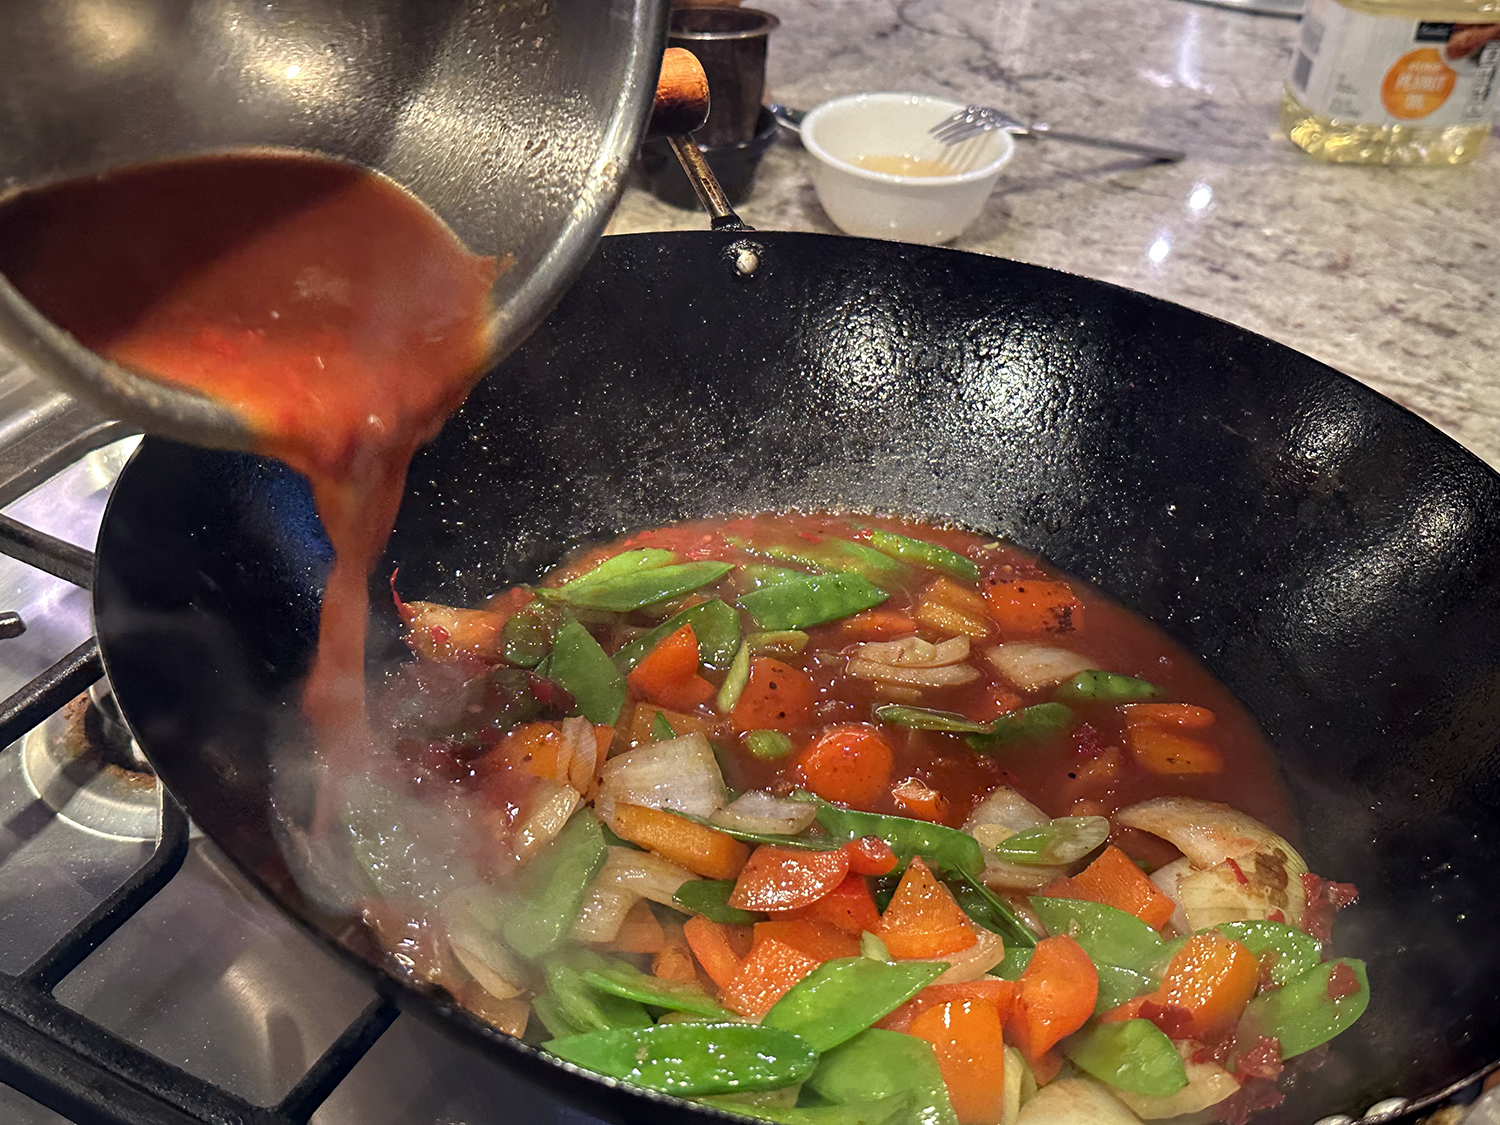
- Add the torn lime leaves or zest and sugar. Cook, continuously stirring, to dissolve the sugar and infuse the flavors, about 2 minutes. Add the remaining coconut milk, increase to medium-high, bring to a boil and cook, continuously stirring, until the curry has thickened enough to coat the back of a spoon and has a layer of bright red oil on top, 4 to 8 minutes. The curry should be at a lively simmer; adjust the heat as necessary.
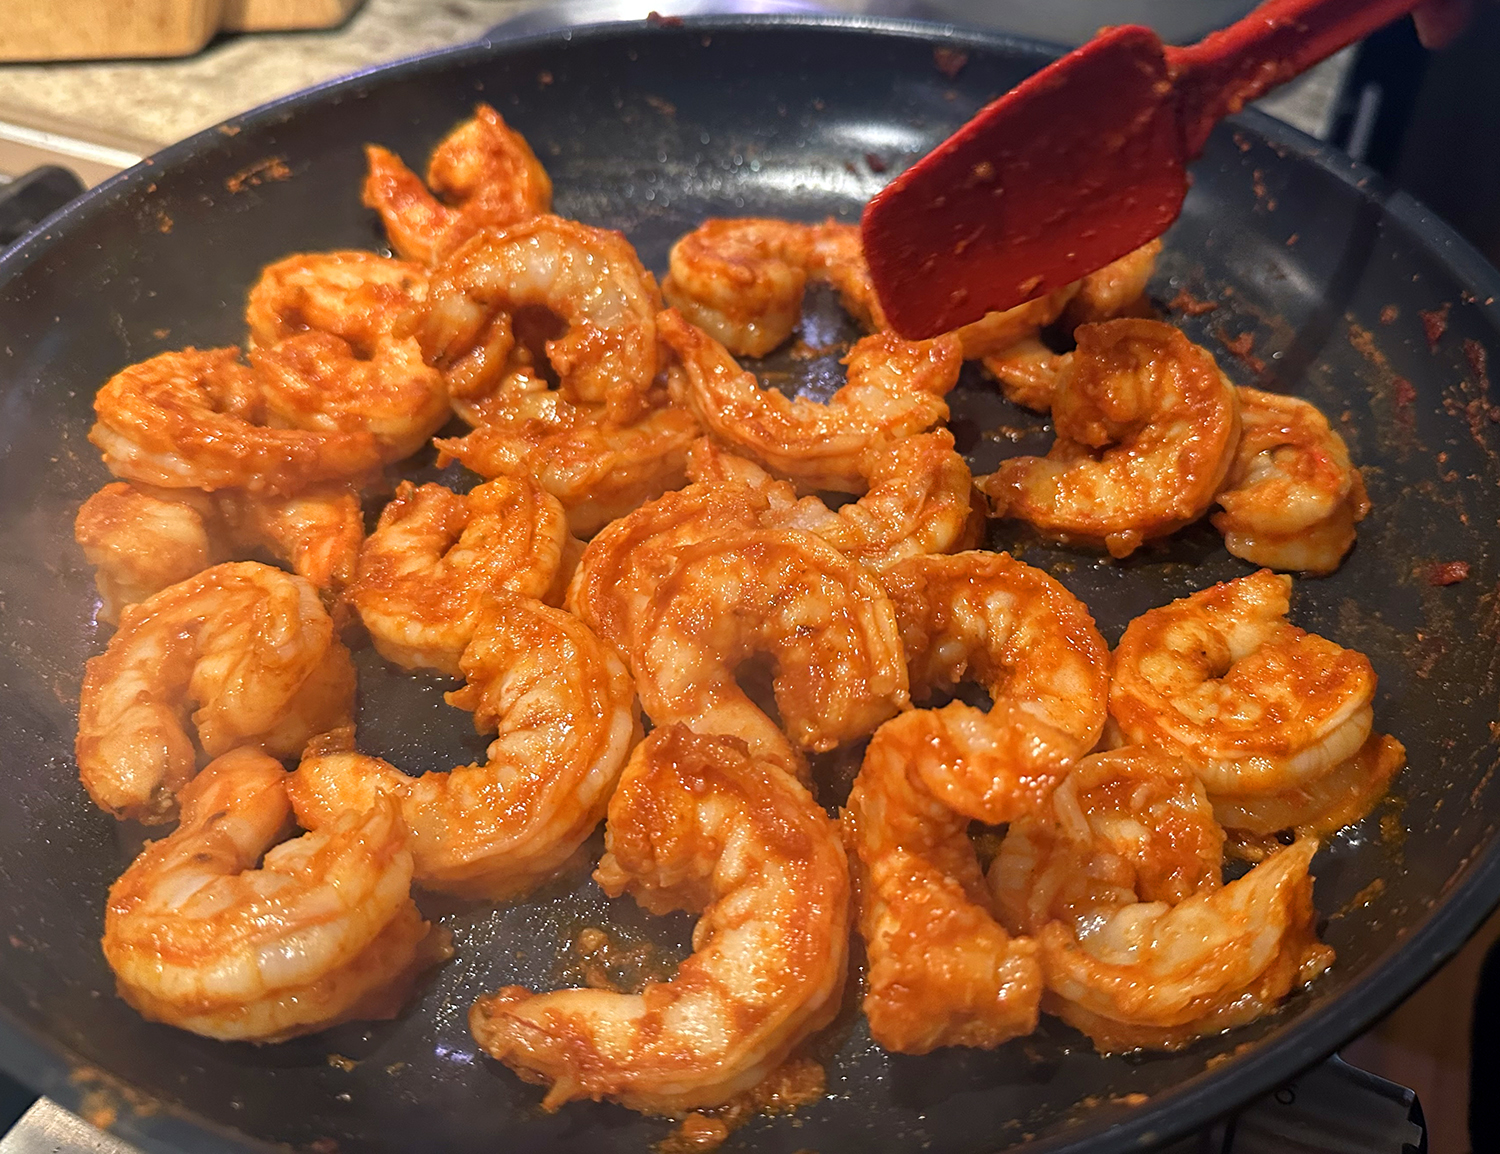
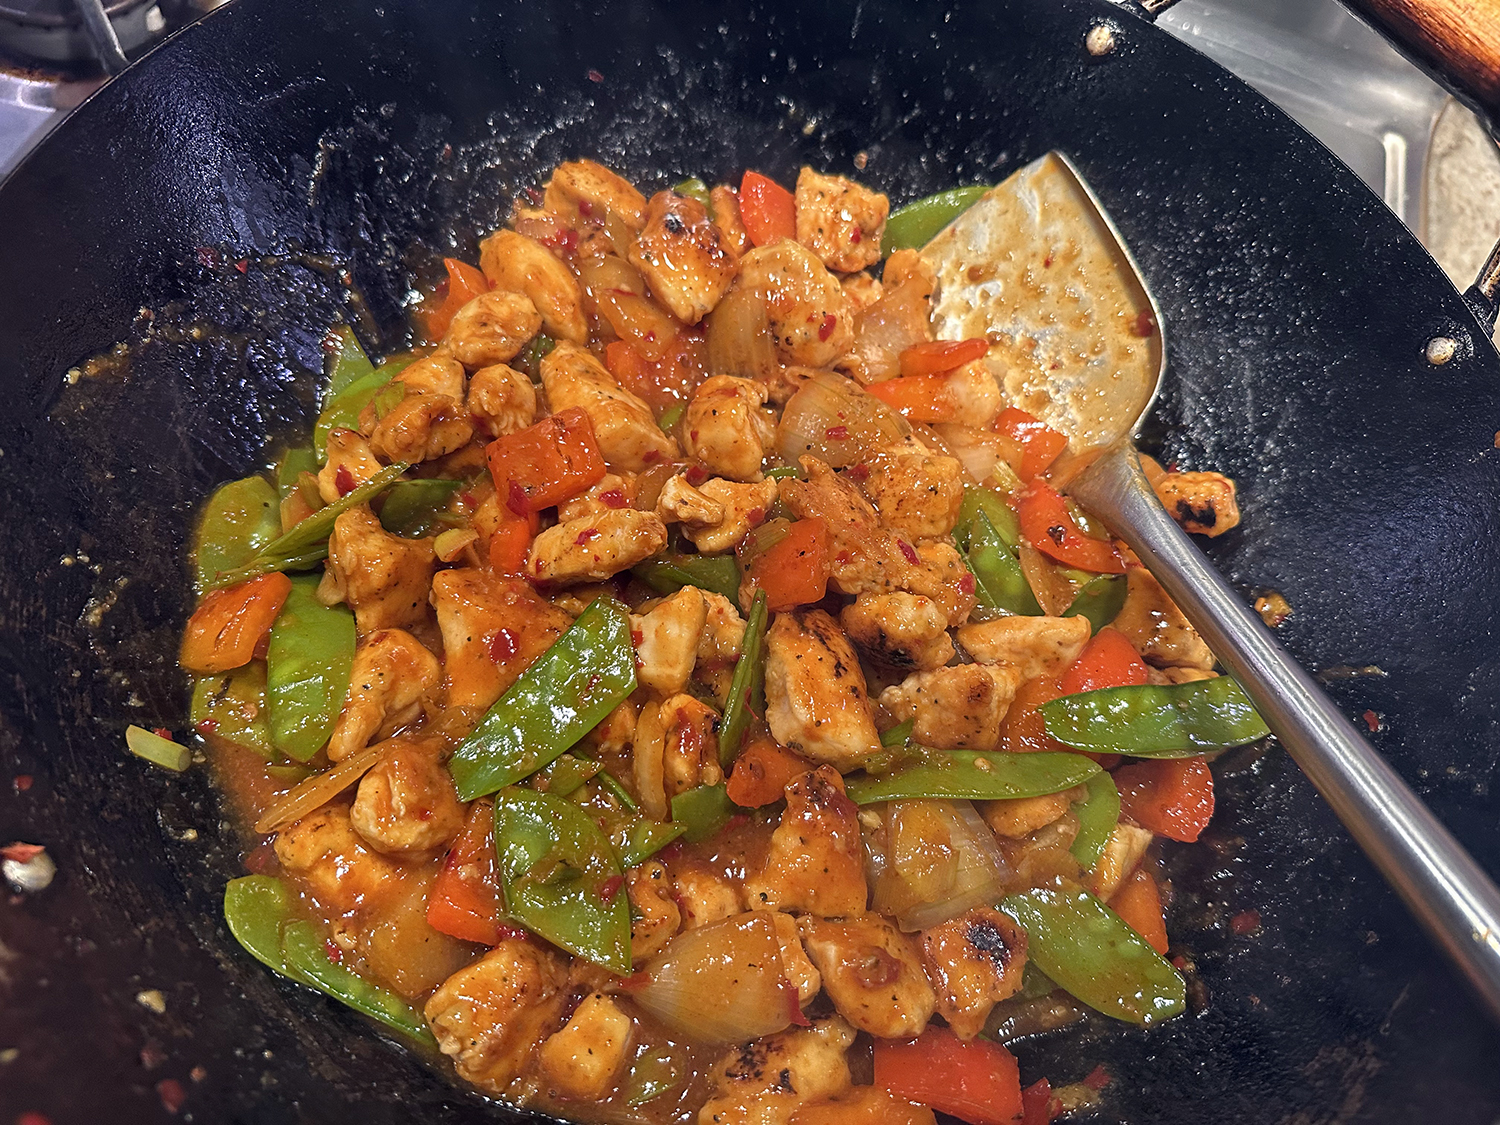
- Add the chicken and cook, stirring frequently, until cooked through, 3 to 4 minutes. If using, stir in the peppers, saving a few for serving, and cook until just incorporated, about 1 minute. Taste and add more fish sauce and sugar, if needed. (Be mindful, this is not a sweet curry; the sweetness should hit a back note, not lead with it.)
- Garnish with the sliced lime leaves or Thai basil and reserved peppers. Serve alongside rice.
Recipe by Naz Deravian for NYTimes Cooking