Our pantry is full of different grains and a variety of lentils, which are all part of a healthy diet. Lentils, like beans, soak up whatever flavor they are cooked with. Here, it is Italian chicken sausage and sweet fresh fennel with other aromatics like onions and garlic for a perfectly hearty lentil stew!
If you’re worried about the amount of fennel in the recipe, just know that the licorice-y taste of fresh fennel will mellow quite a bit once cooked, resulting in a slightly sweet flavor that is well balanced with the saltiness of the sausage.

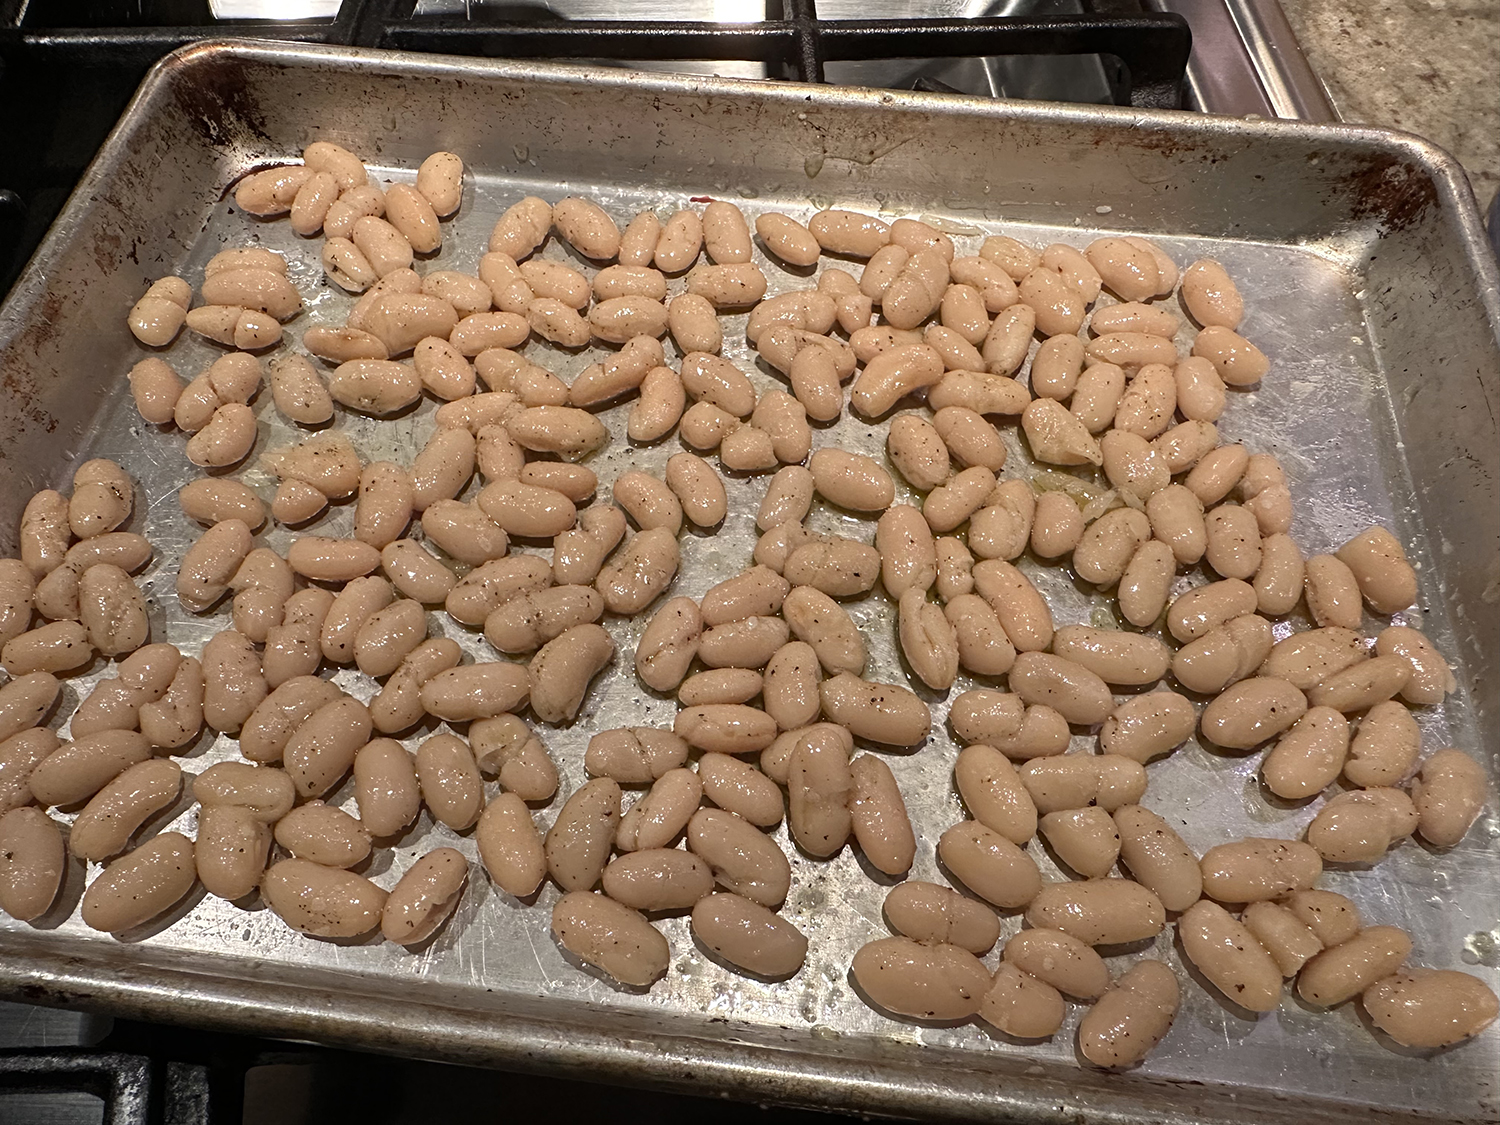
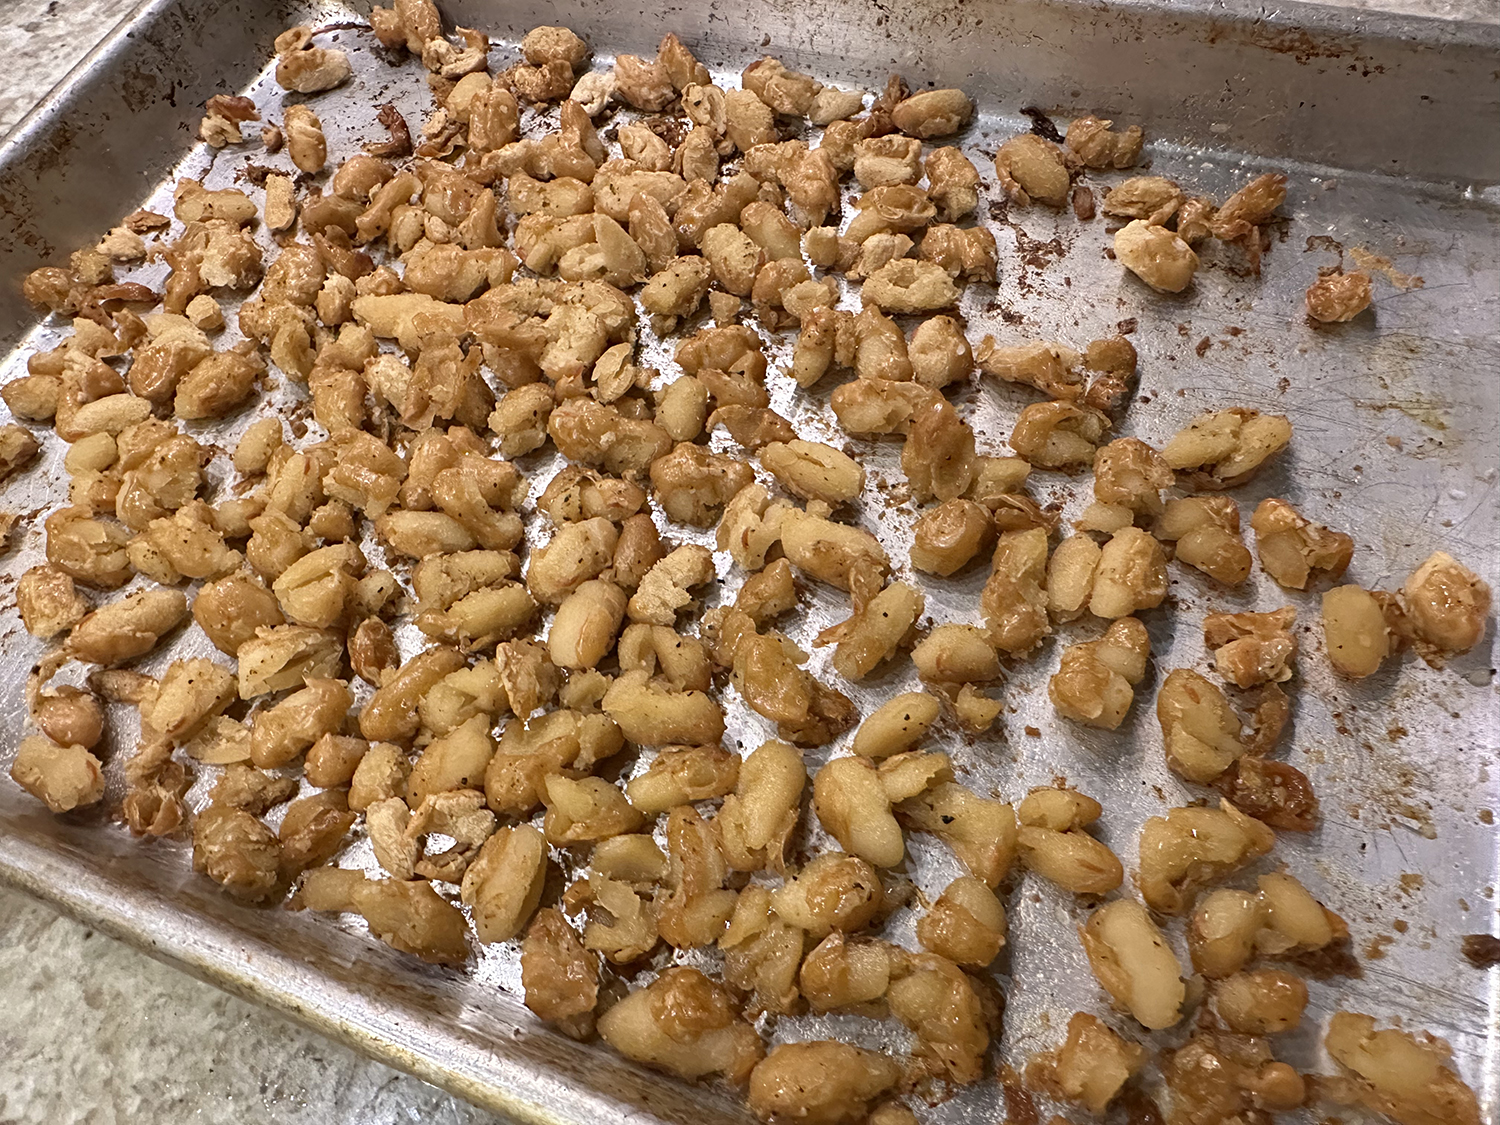
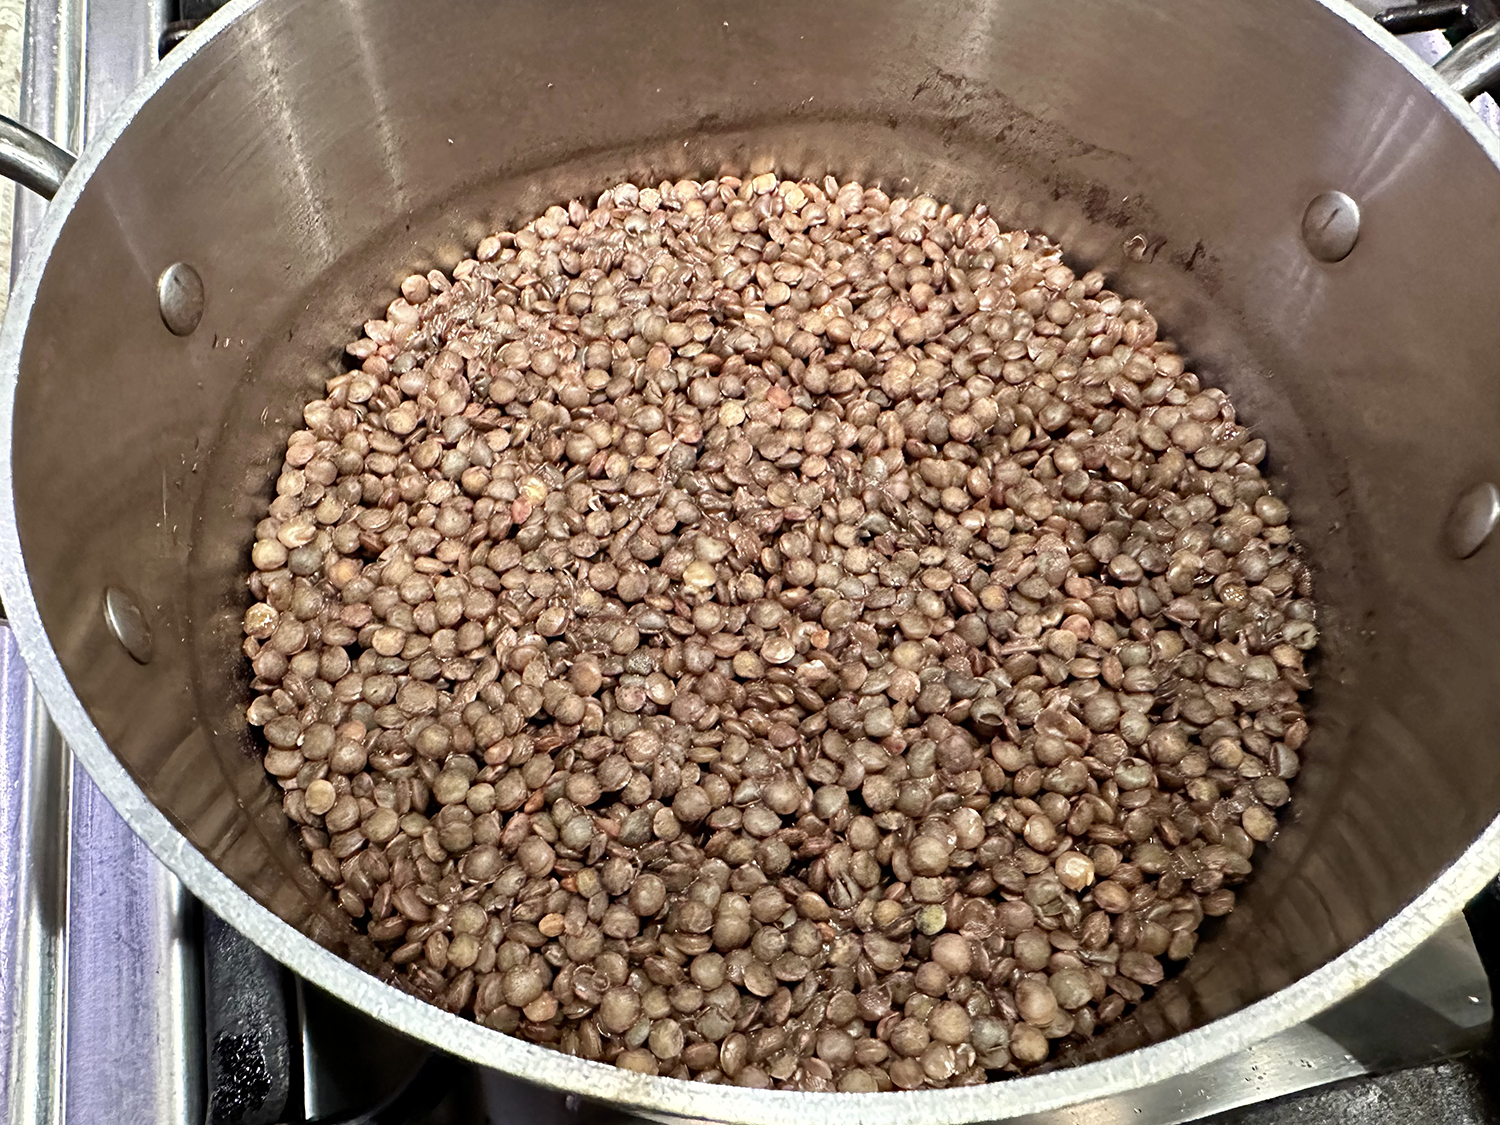
Parboiling basically means partially cooked, so you’ll cook the lentils for about 10 minutes, they will start to become tender but will still have a firm bite (don’t worry, they will finish cooking later with the rest of the ingredients). Do NOT discard the lentil cooking water, you’ll need it for the stew.
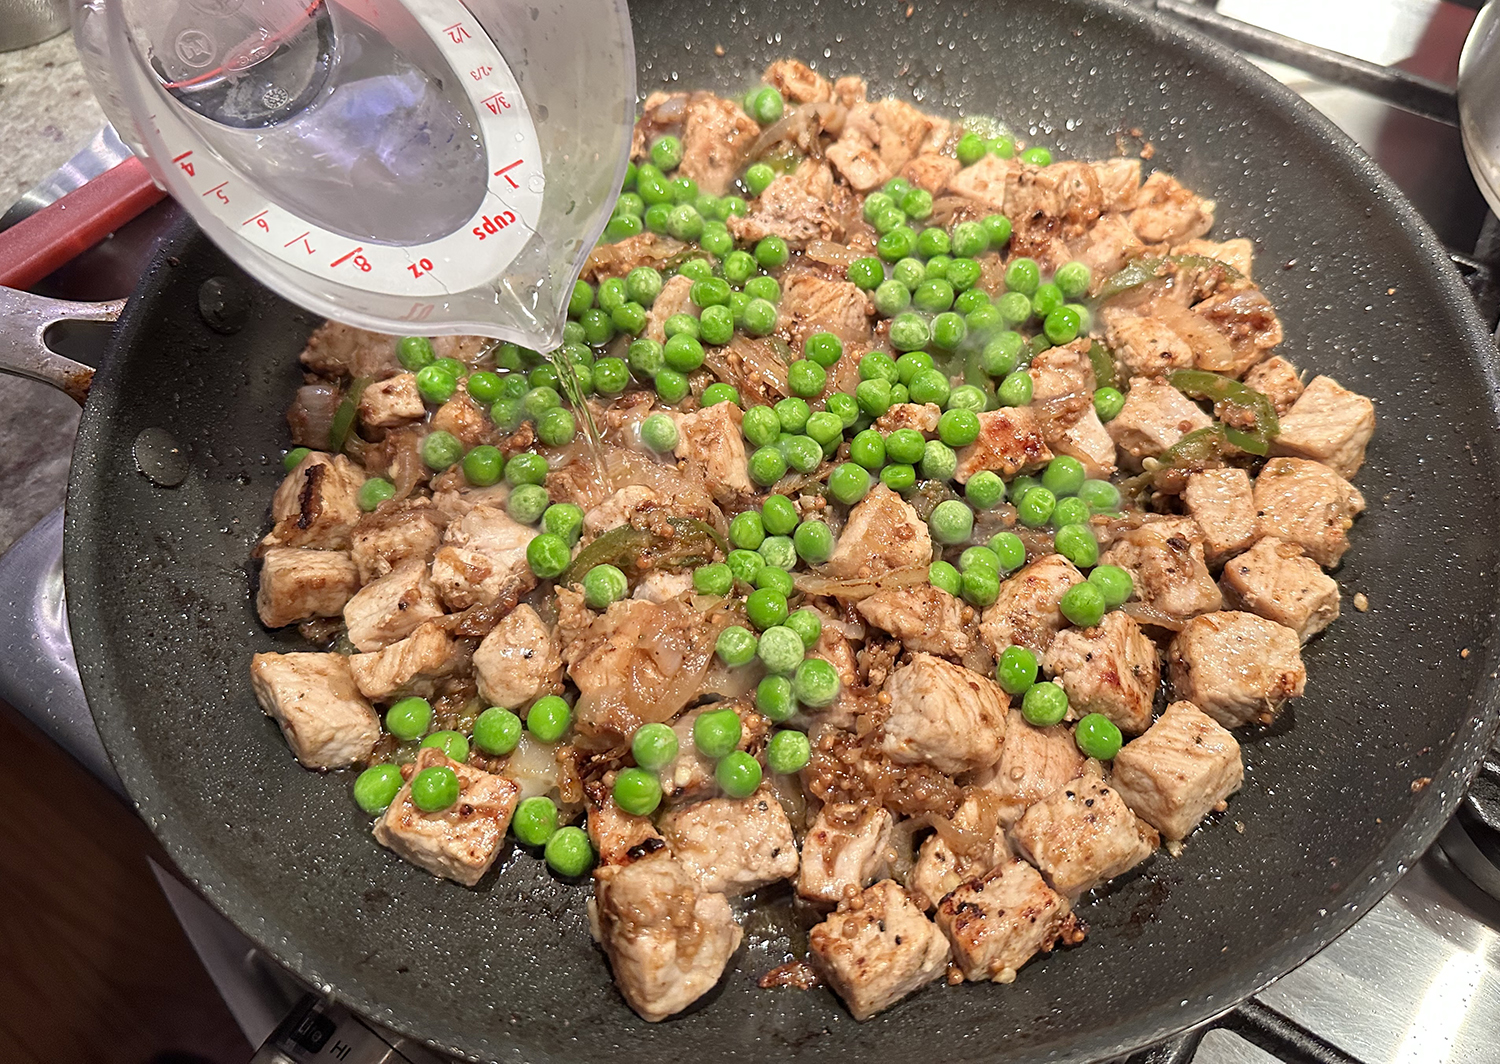
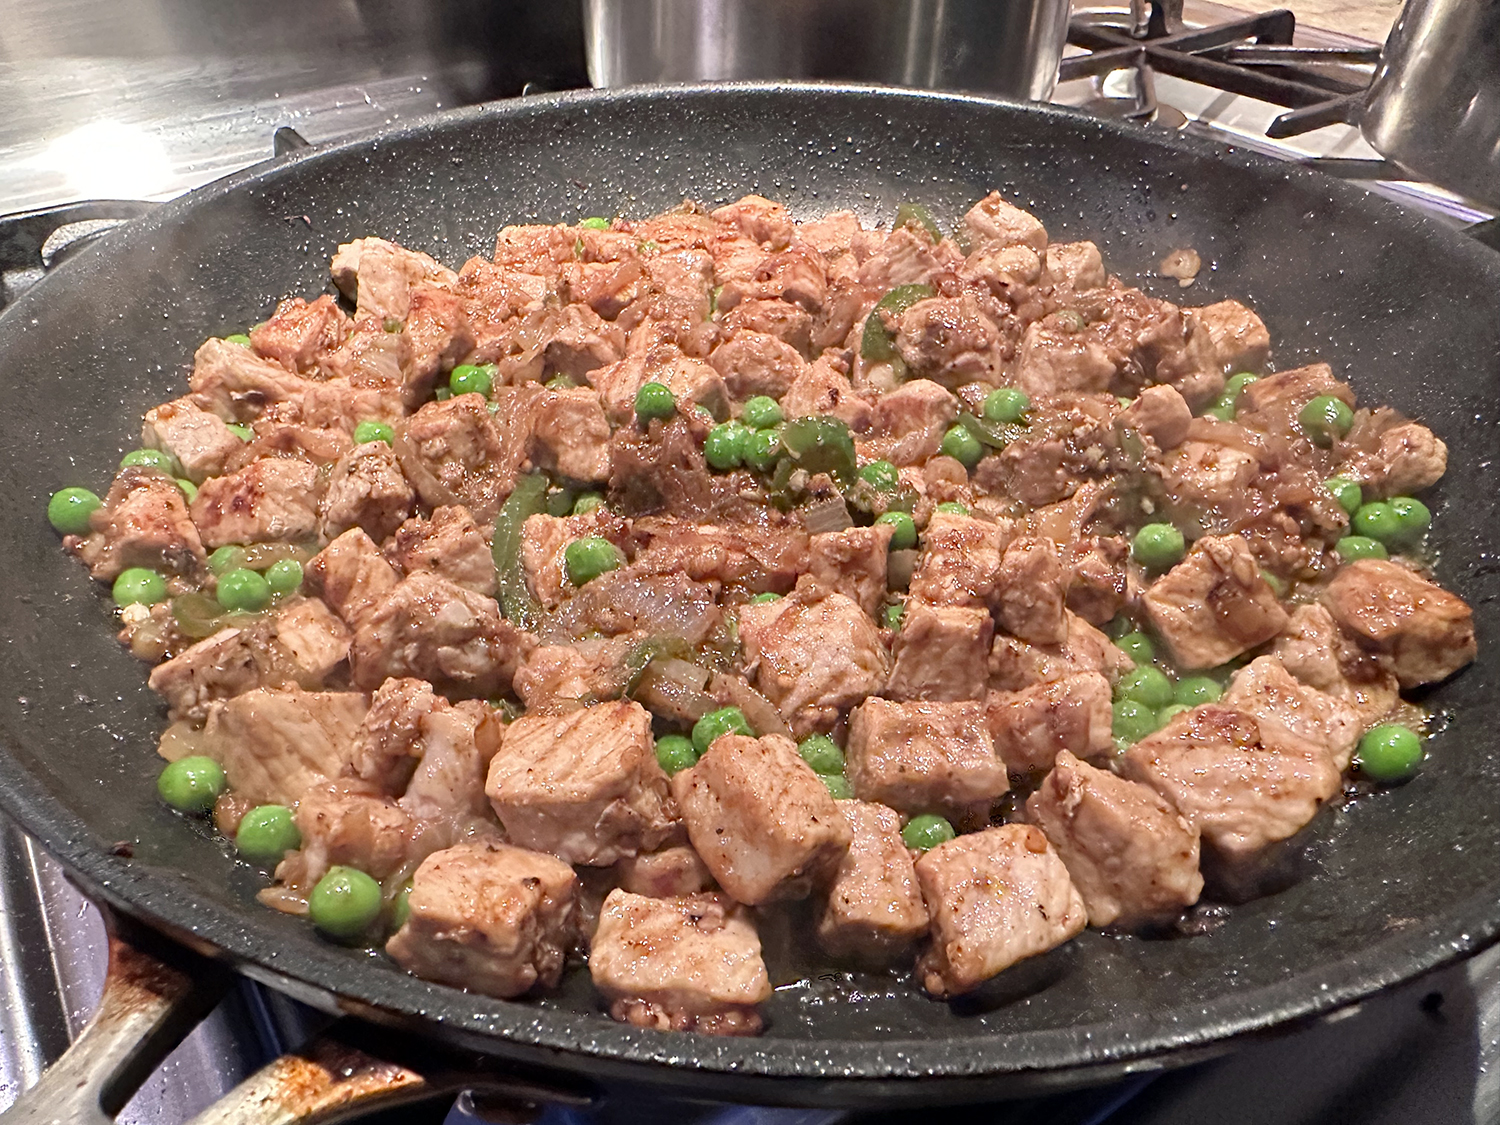
The dish is easily customizable. Use whatever type of sausage you prefer and adjust the amount according to your preferences—we used a full pound of sausage. Add in more variety of veggies, such as mushroom and/or peas.
Italian Sausage and Lentils with Fennel
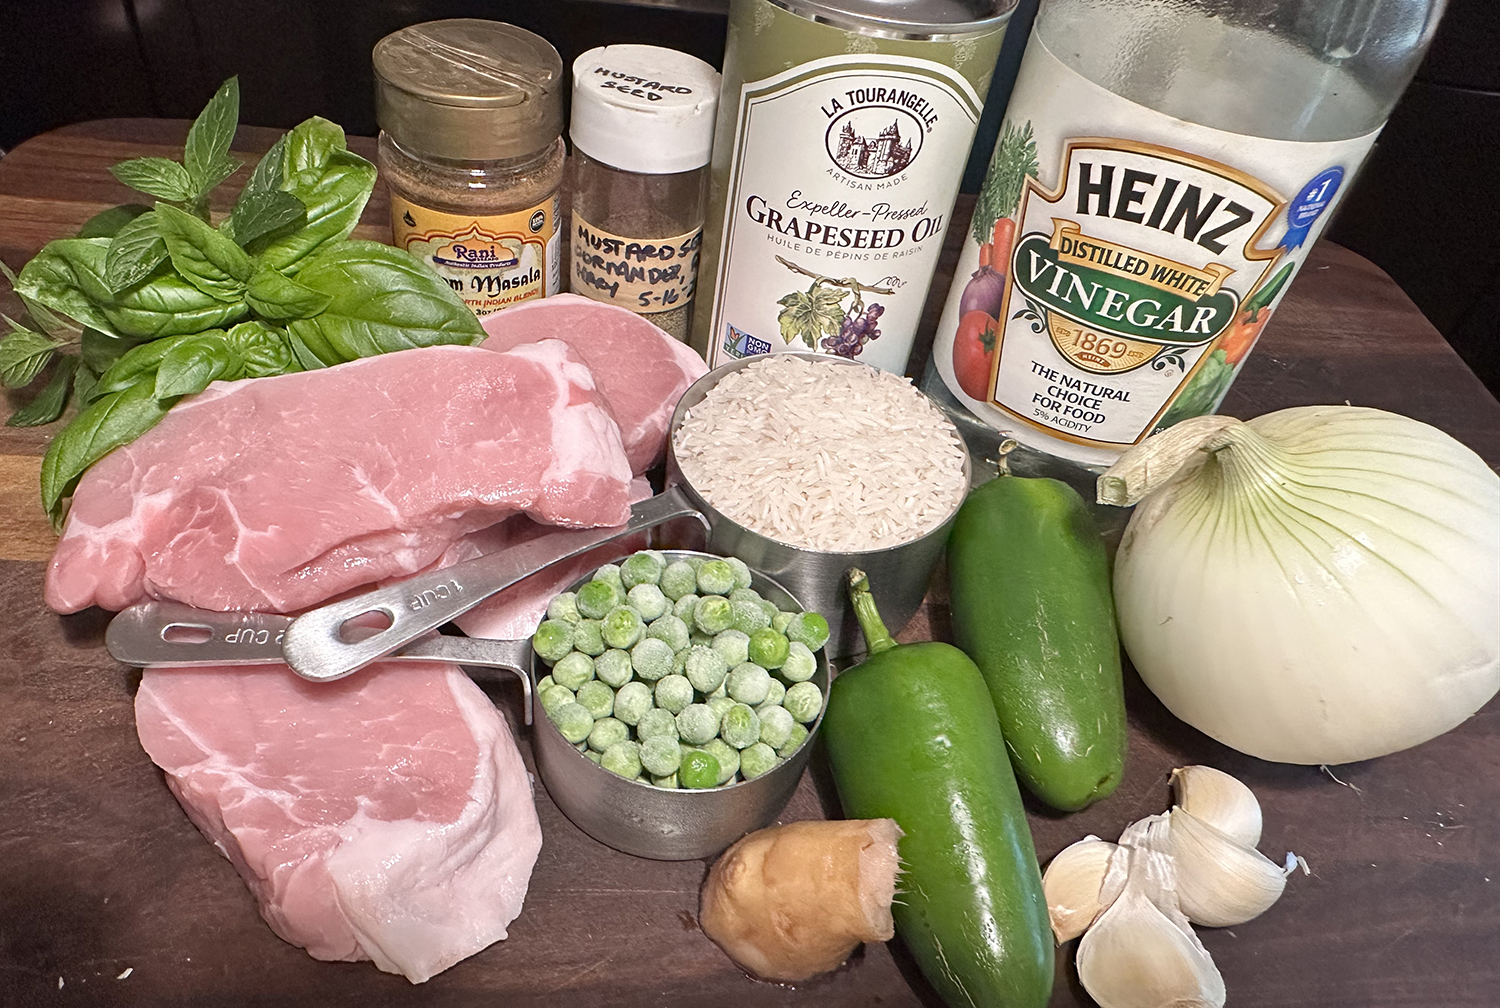
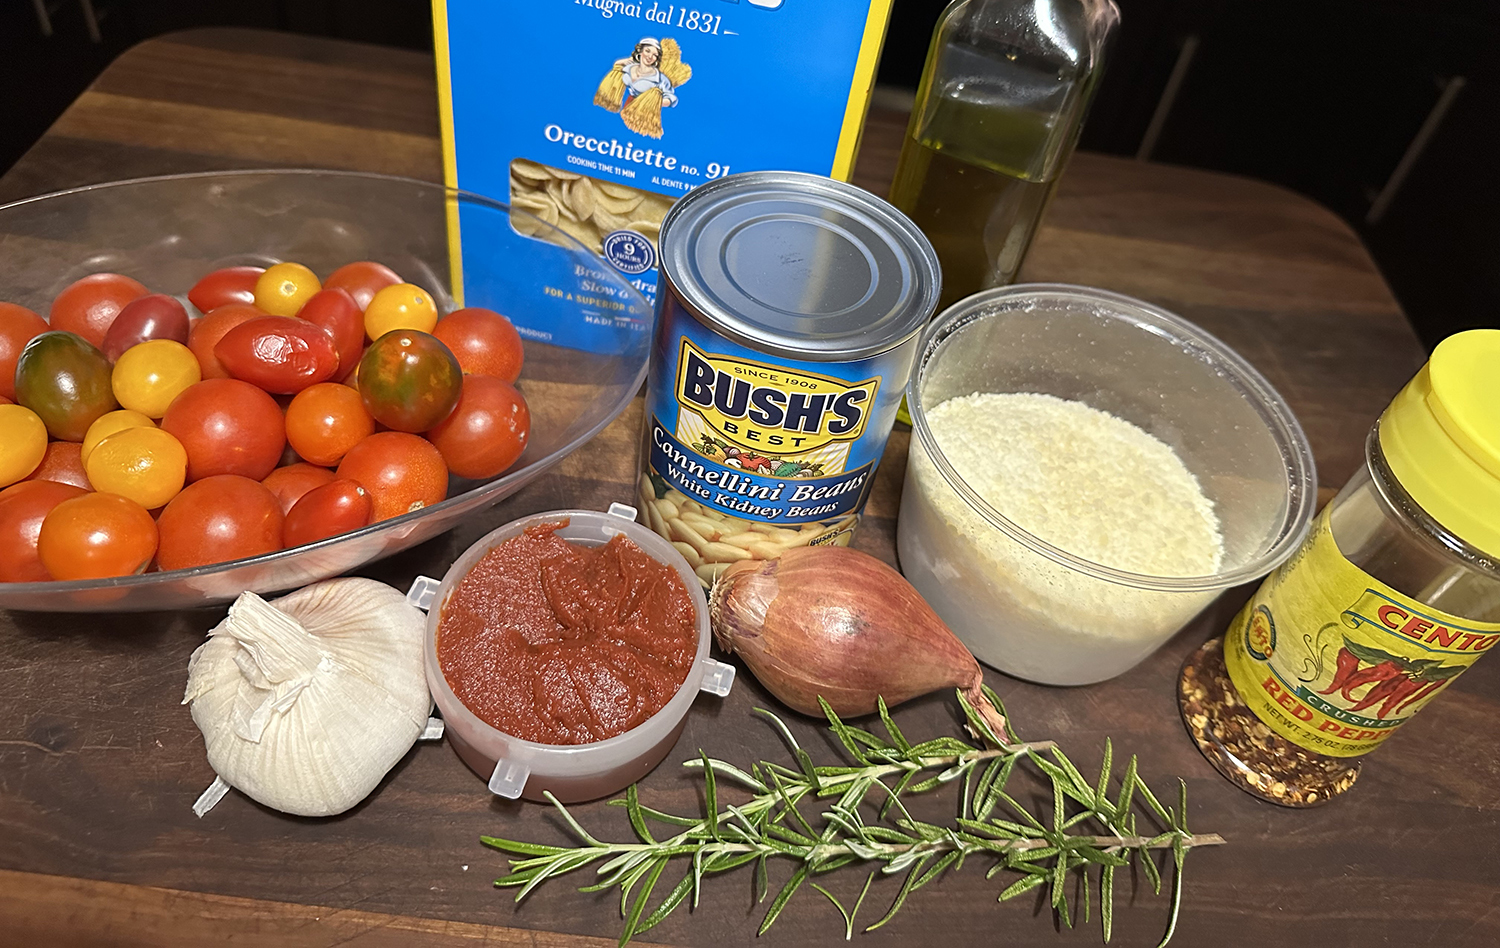
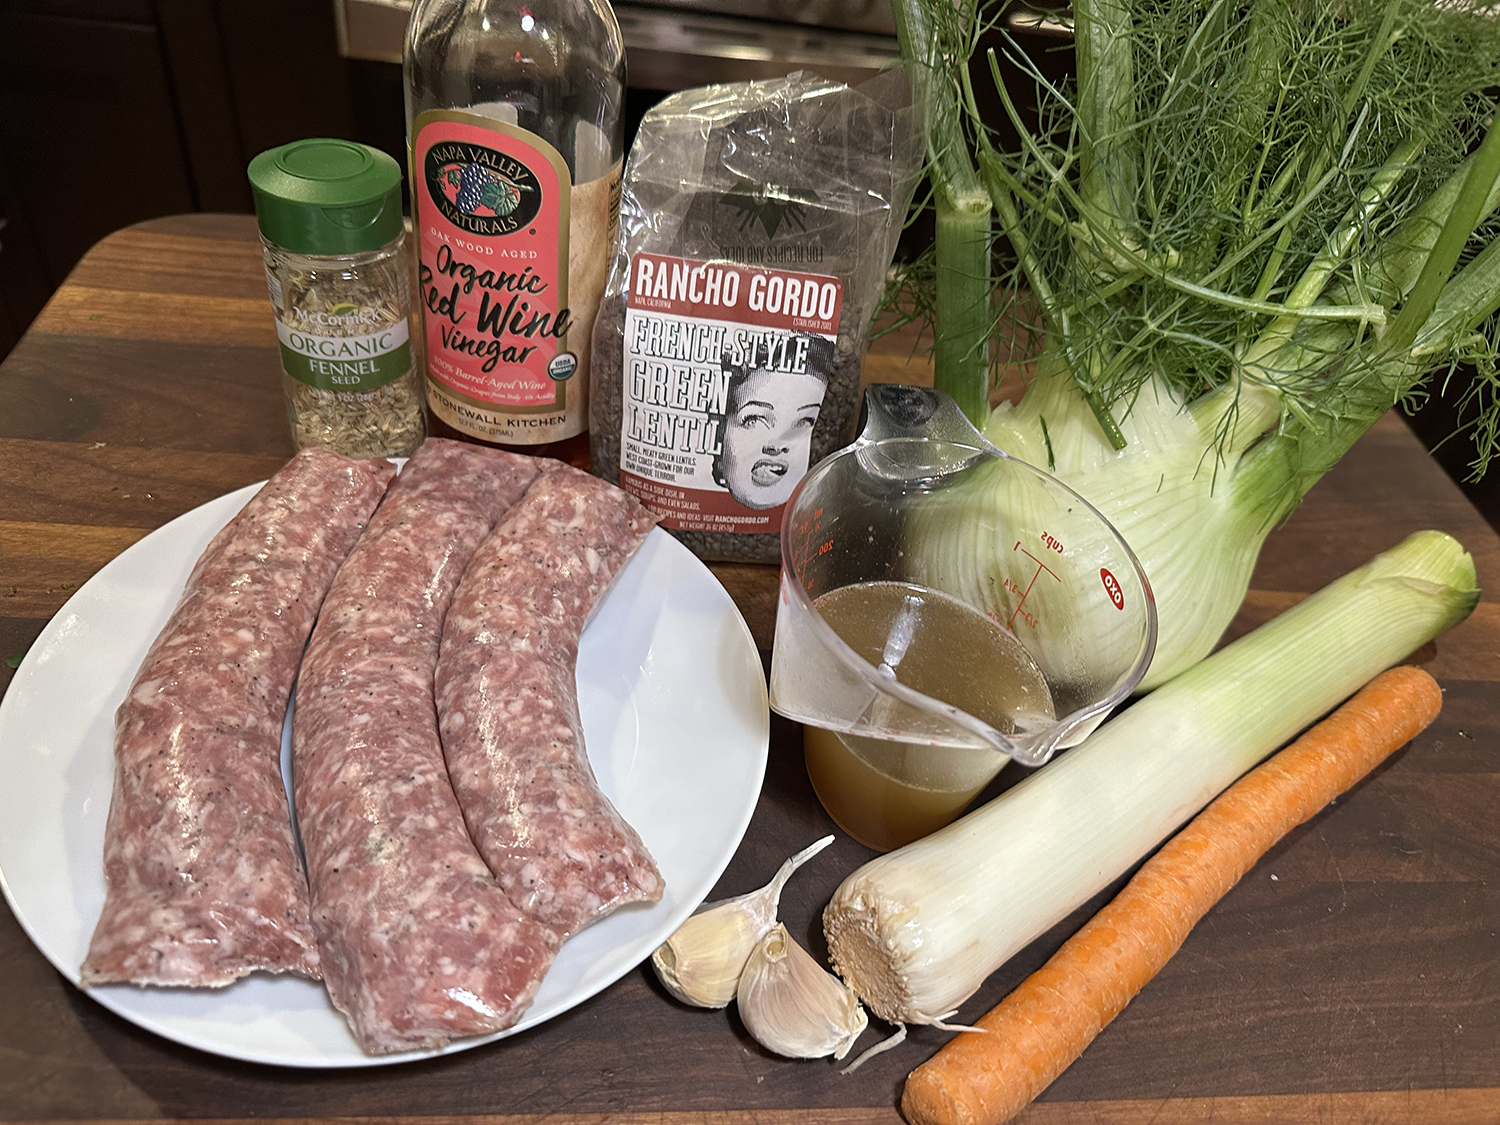
Ingredients
- 1 cup green lentils, black lentils will work as well
- Extra virgin olive oil
- 8 oz. chicken or pork sausage, casings removed (about 2 to 3 sausages)
- 1 fennel bulb large or 2 small, thinly sliced
- 1 to 2 large cloves garlic, grated
- 1 yellow onion, finely chopped
- 1 carrot, grated
- ½ tsp. fennel seeds
- ½ cup chicken broth
- 2 Tbsp. red wine vinegar


Directions
- In a saucepan, combine the lentils with 3 cups of water. Bring to a boil, then lower the heat and cover part-way to simmer for about 10 minutes (the lentils should be cooked just part-way through (there should be some liquid in the pan still).
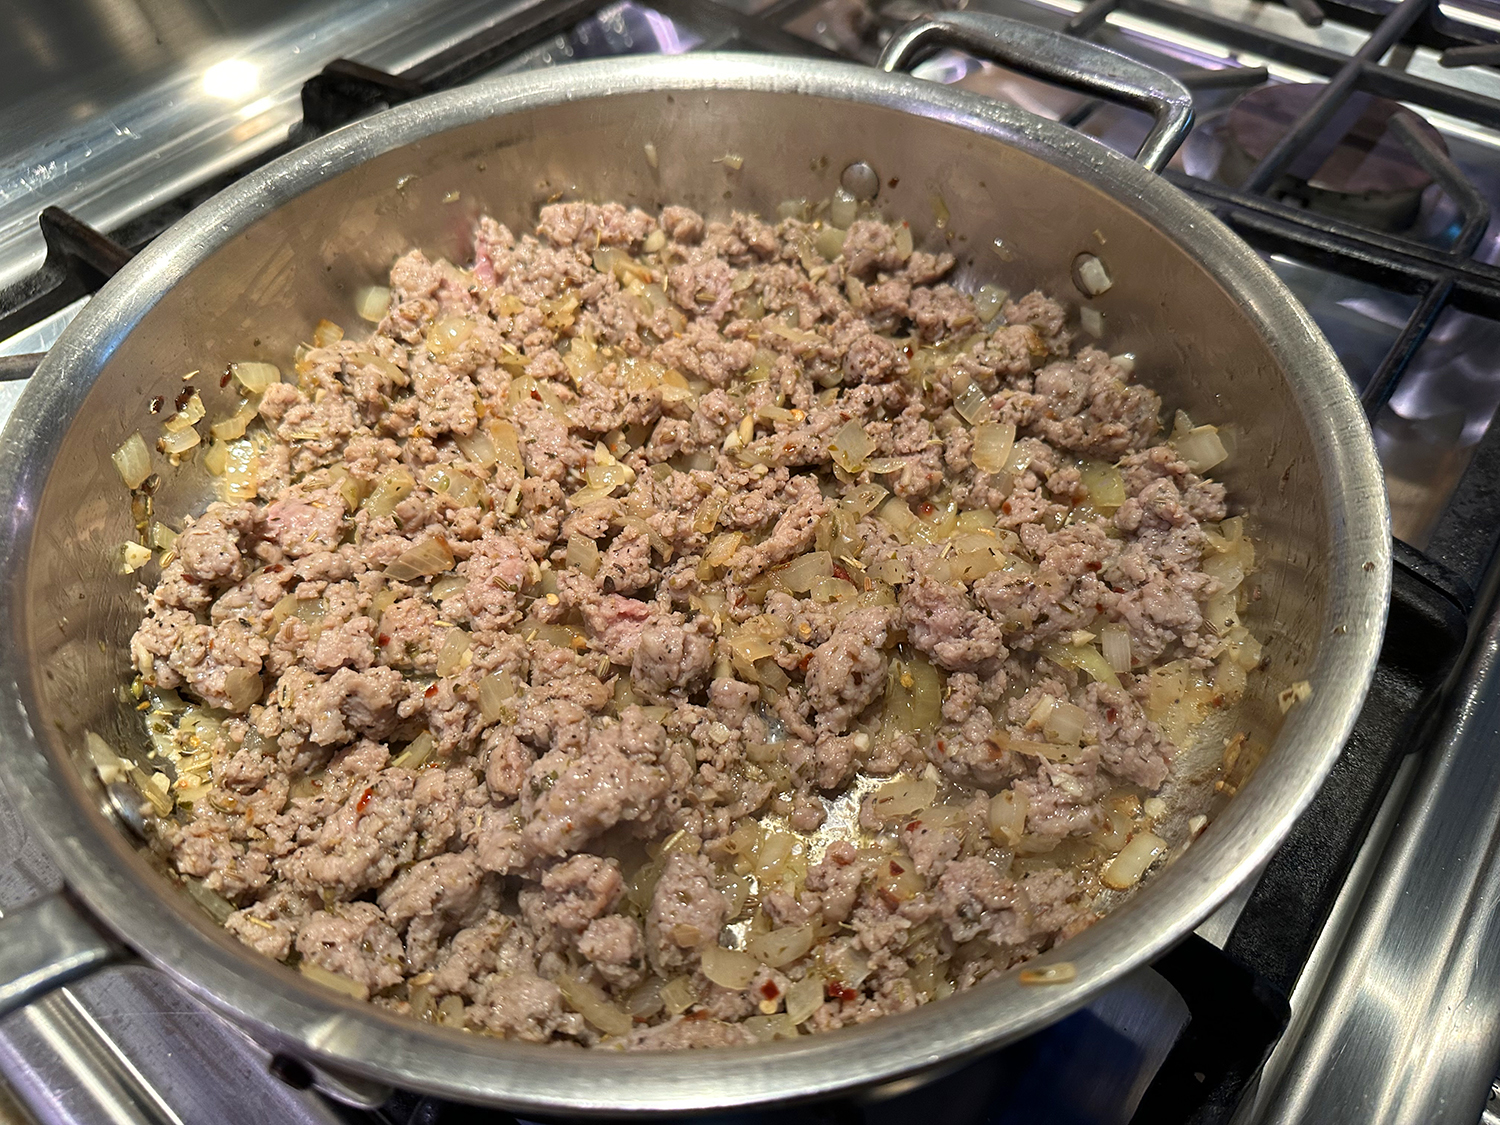
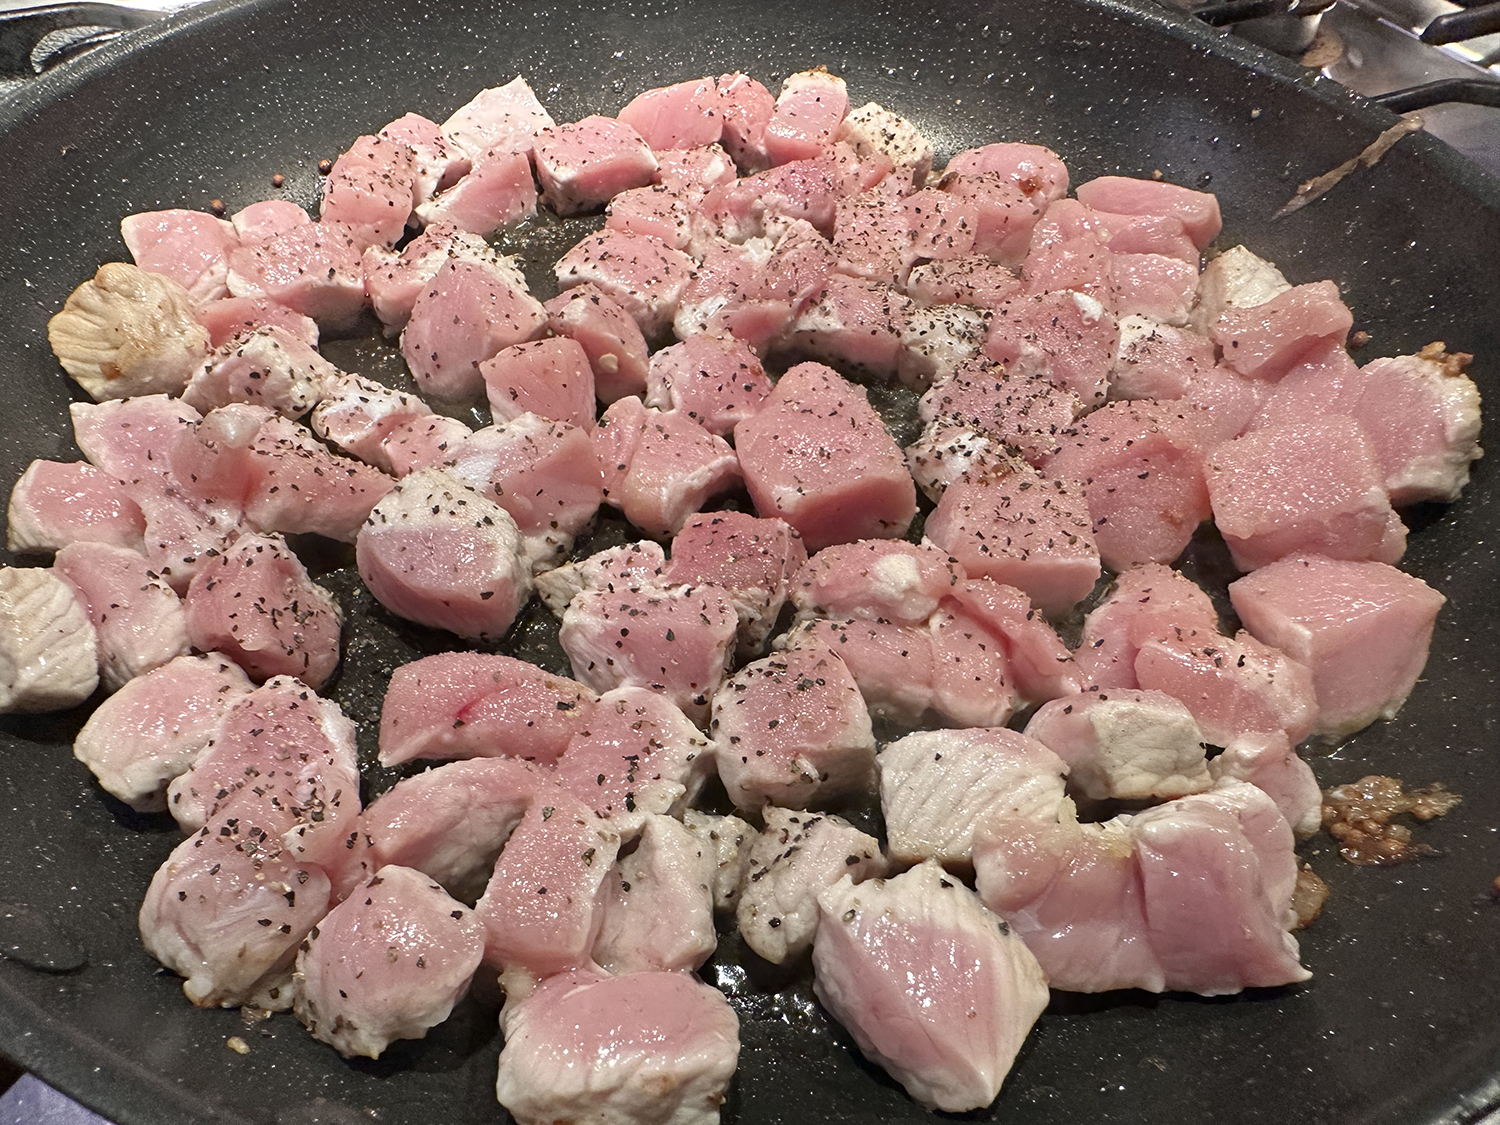
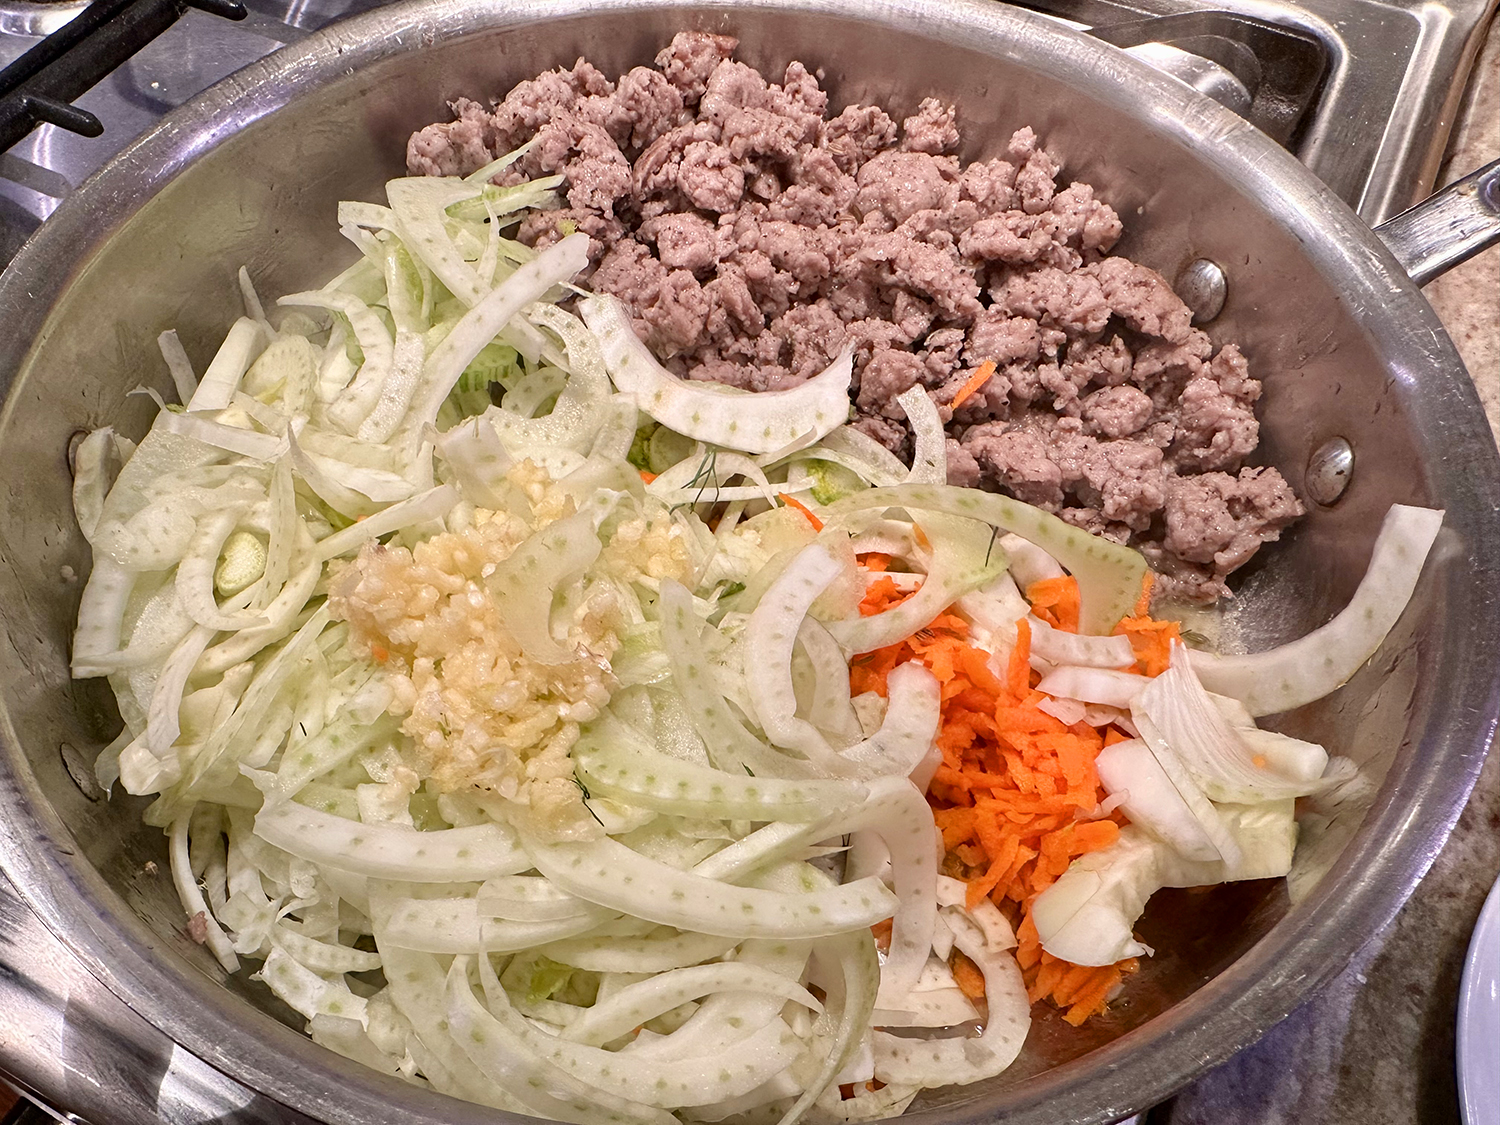
- In a large 12″ skillet, heat 1 to 2 tablespoons of extra virgin olive oil. Add the sausage and cook over medium-high heat, tossing regularly and breaking the sausage up with a wooden spoon, until fully cooked and browned.
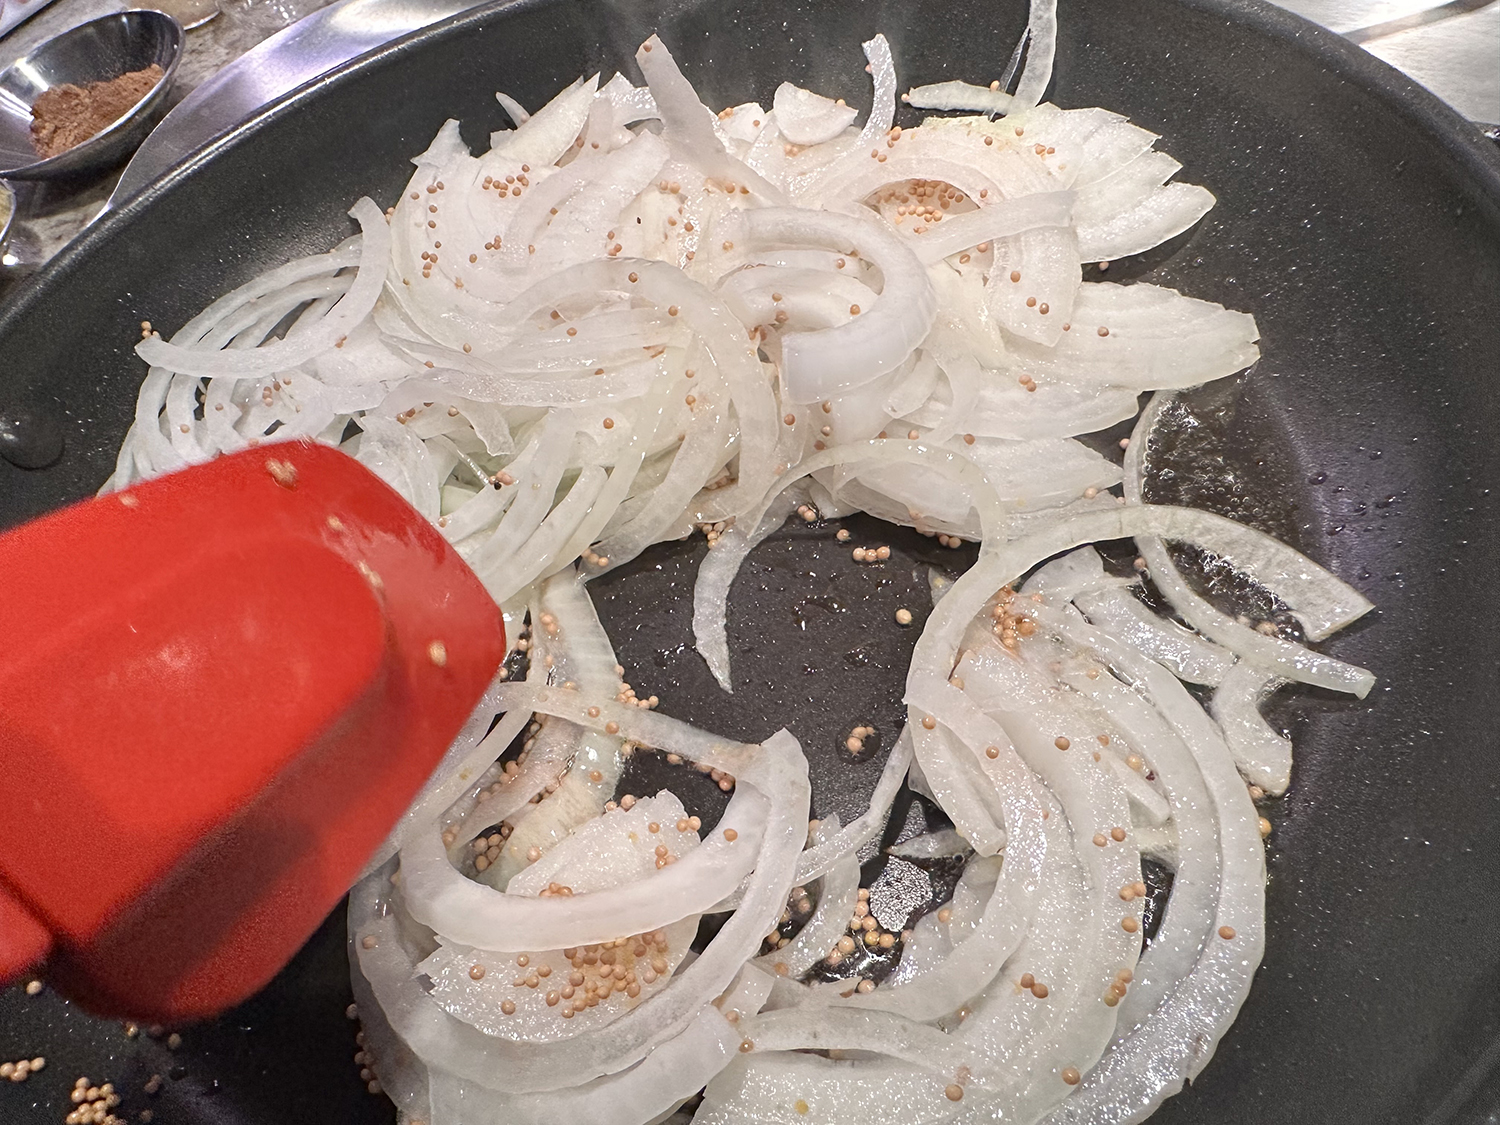
- Push the sausage to one side of the skillet and add the fennel, garlic, onion, carrots, and fennel seed. Add broth and red wine vinegar.
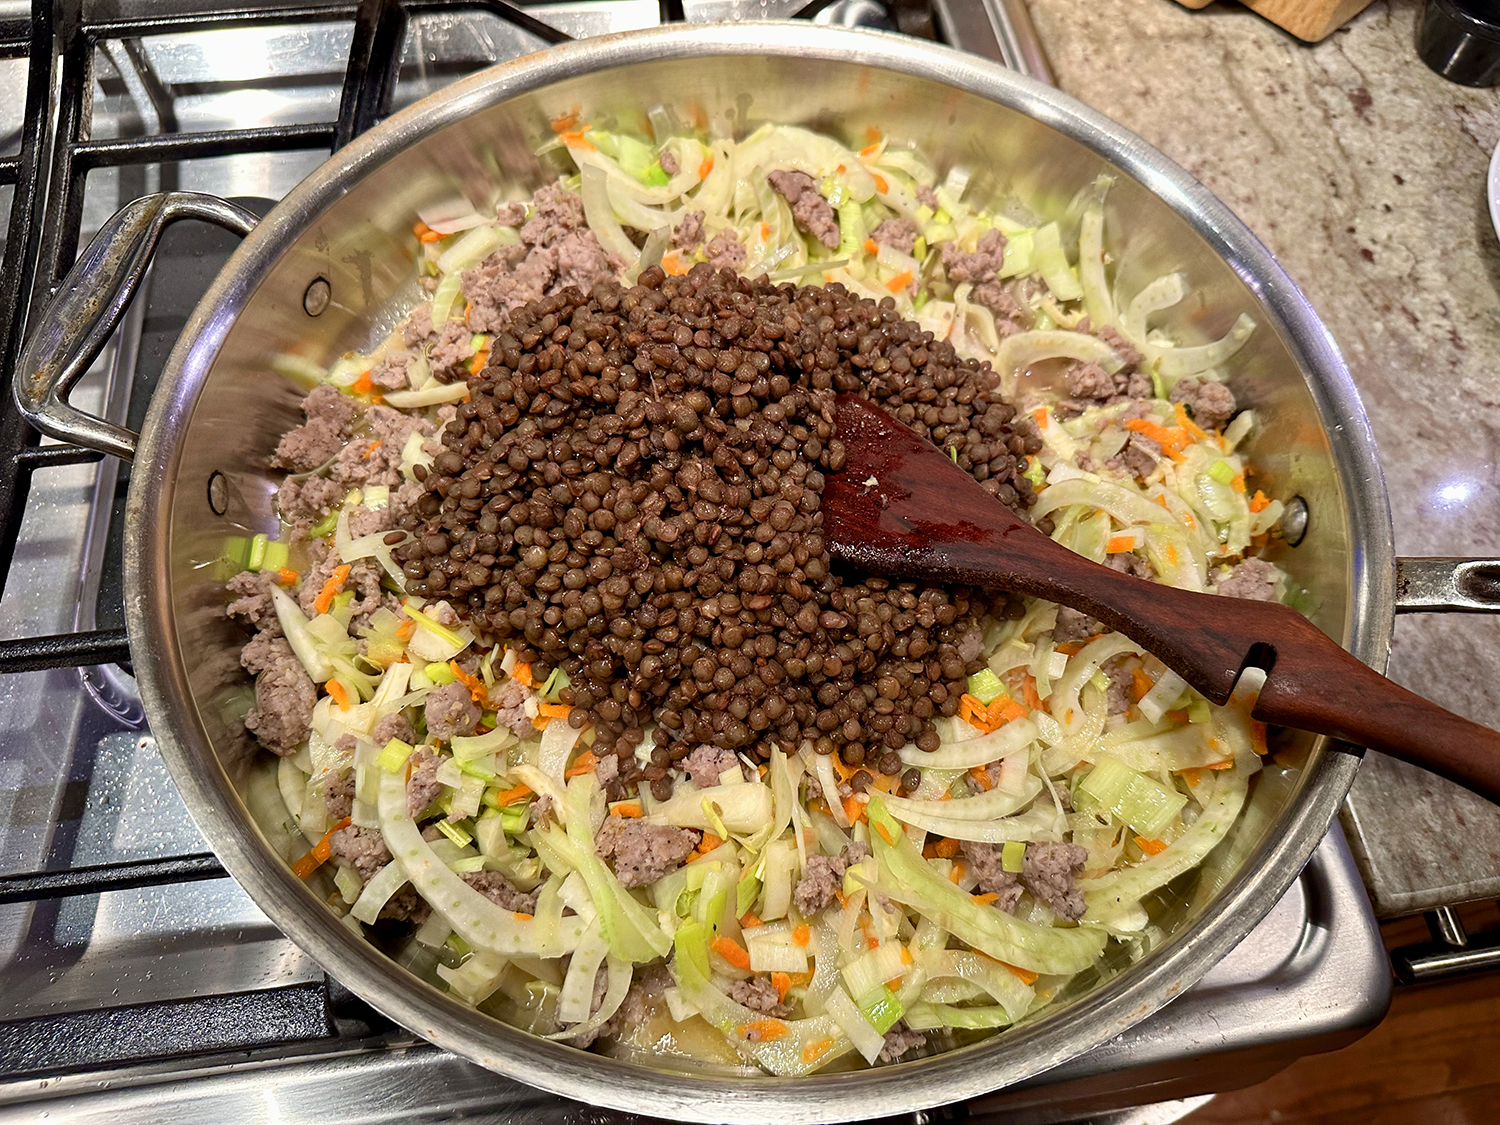
Alternatively, remove the sausage from the pan to a plate and cover, then add the fennel, garlic, onion, carrots, and fennel seed. Add broth and red wine vinegar. Cook until the fennel is soft, about 8-10 minutes. - Add the par-boiled lentils and the sausage (If they were removed) to the fennel skillet. Bring to a boil, then lower the heat and let simmer, partially covered, for 15 to 20 minutes.
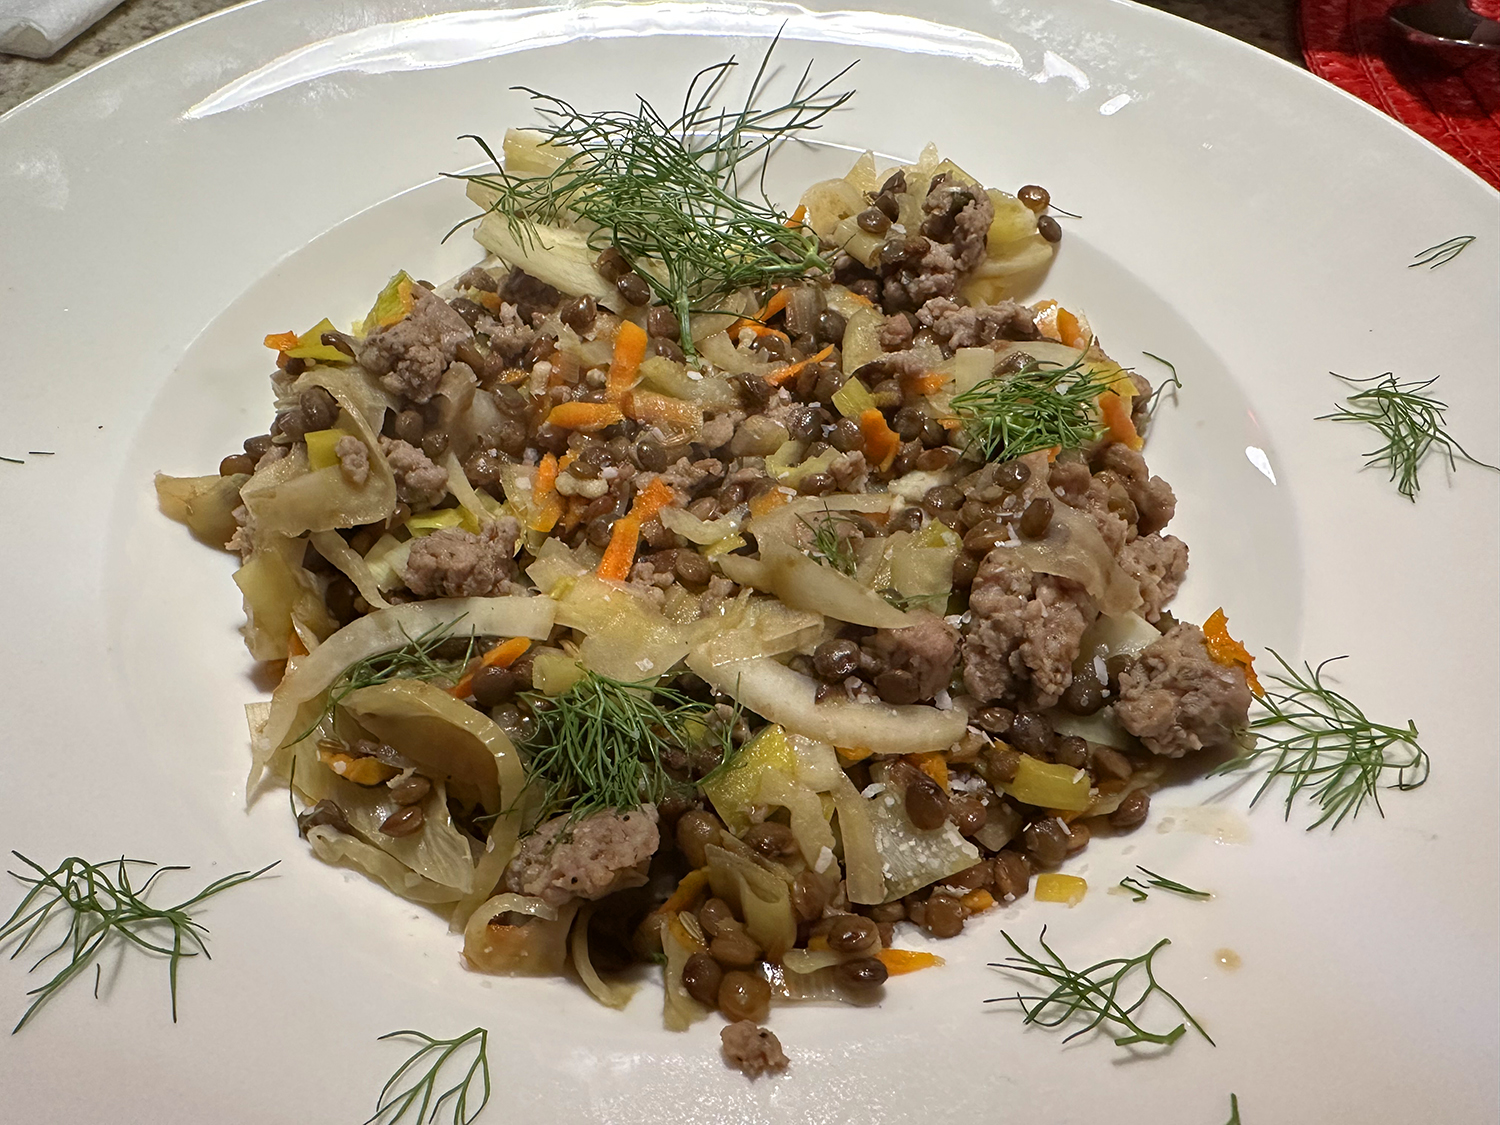
- Taste and adjust seasoning. To serve, drizzle a bit of extra virgin olive oil on top. Serve immediately with your favorite crusty bread.
Recipe by Suzy Karadsheh