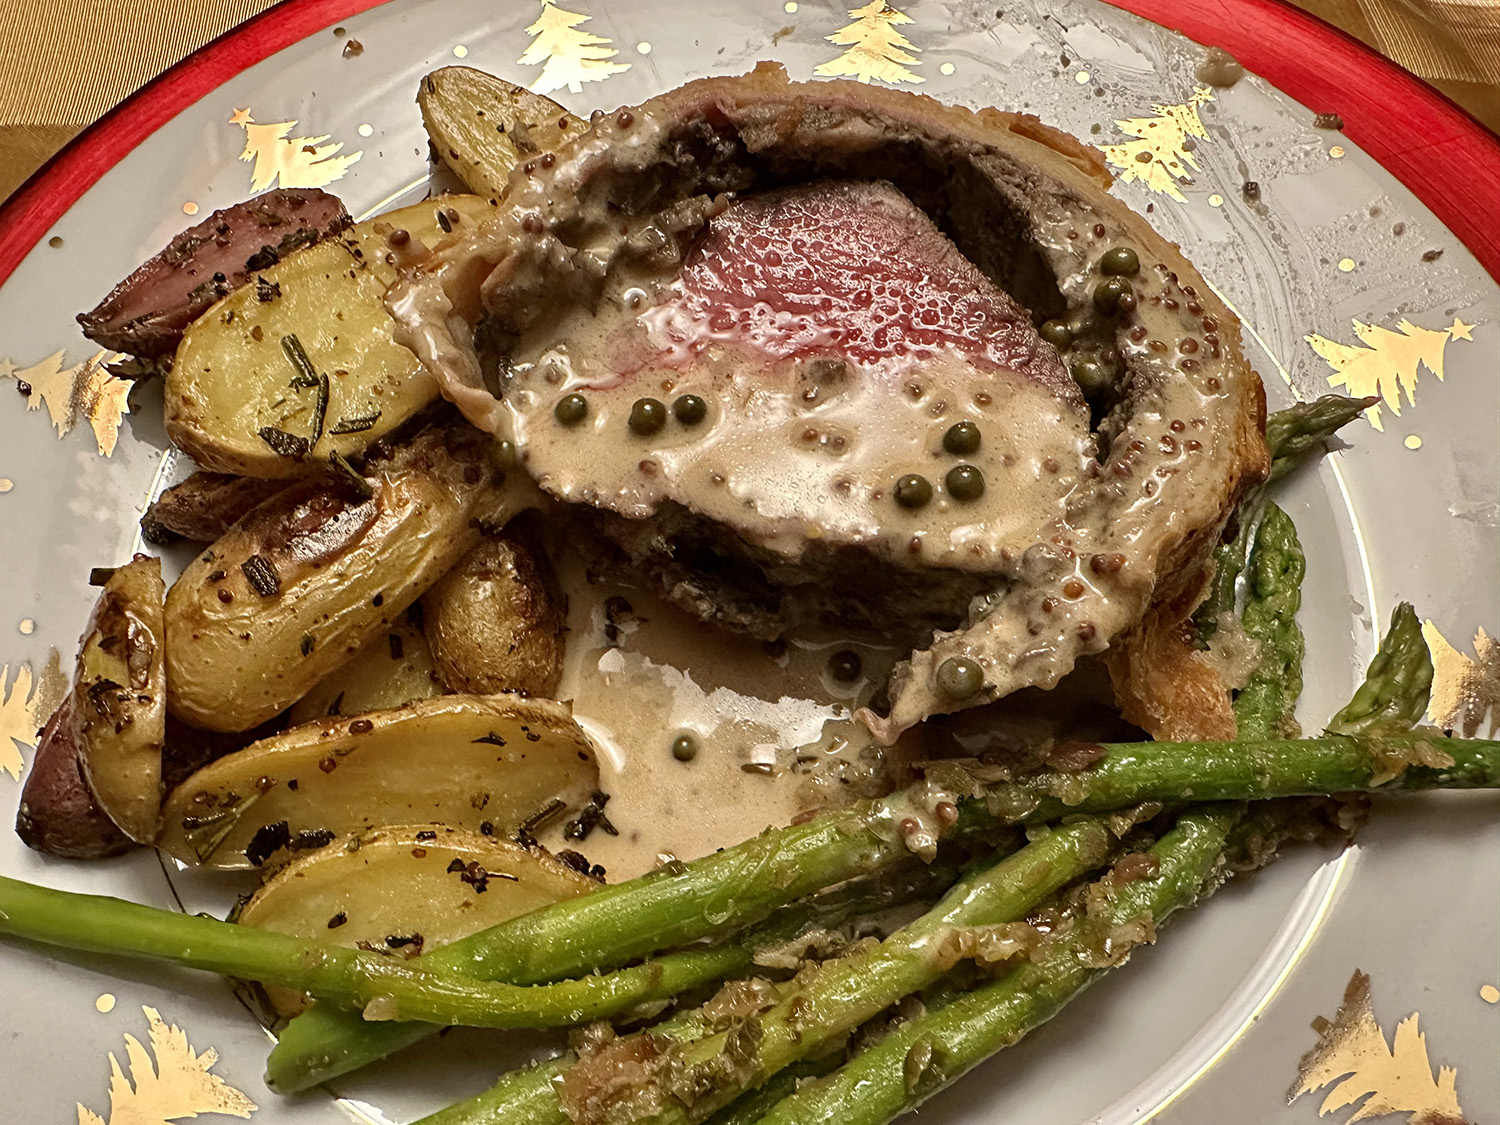
It’s the holidays, so not only do you dress to impress, but you dazzle with the ultimate in decadence when it comes to the star of the show, your entrée. This Beef Wellington recipe is not for culinary novices, so perhaps engage a more knowledgeable foodie to assist in the preparation.
That being said, it’s definitely a special-occasion meal, so plan on giving it your all, and neither you, nor your guests, will be disappointed. In fact it was exclaimed the “BEST Christmas dinner ever” by a few at the table, and we couldn’t disagree.
We decided to prep much of the work ahead, so we made the duxelles and the green peppercorn sauce the day before. The beef tenderloin had dry-aged overnight in the refrigerator the day before and got the wrap treatment after we finished making the duxelles, then again went into the fridge overnight. The puff pastry exterior was accomplished slightly before it made it’s way into the oven to roast.
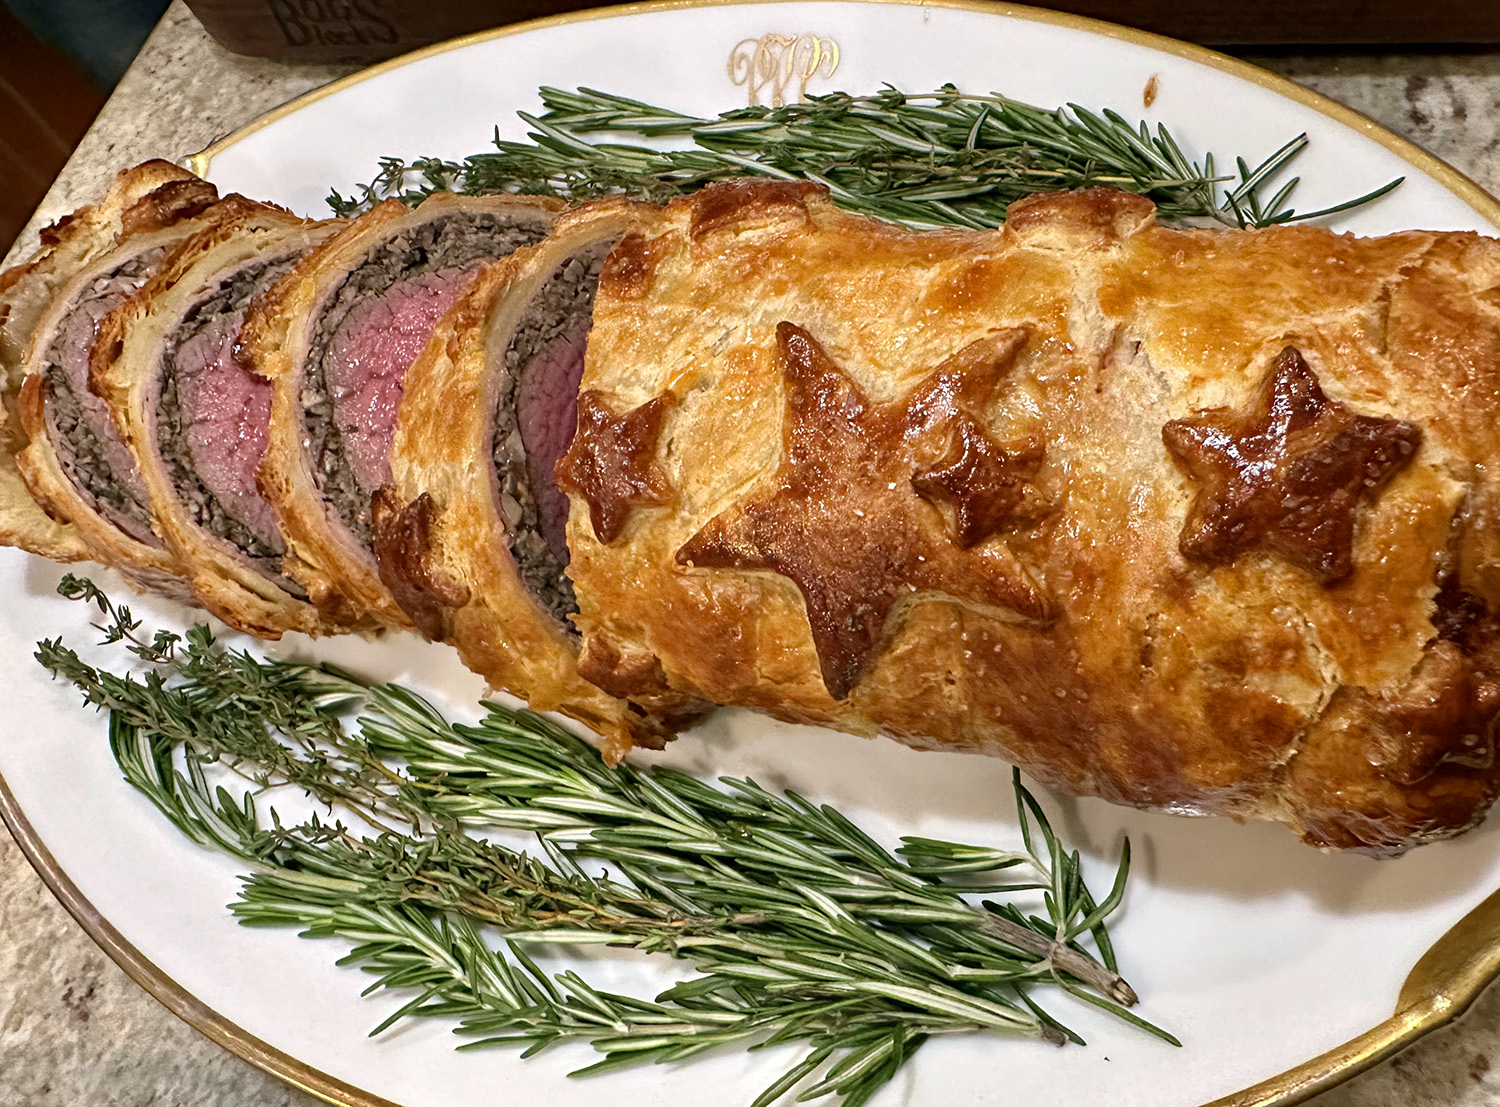
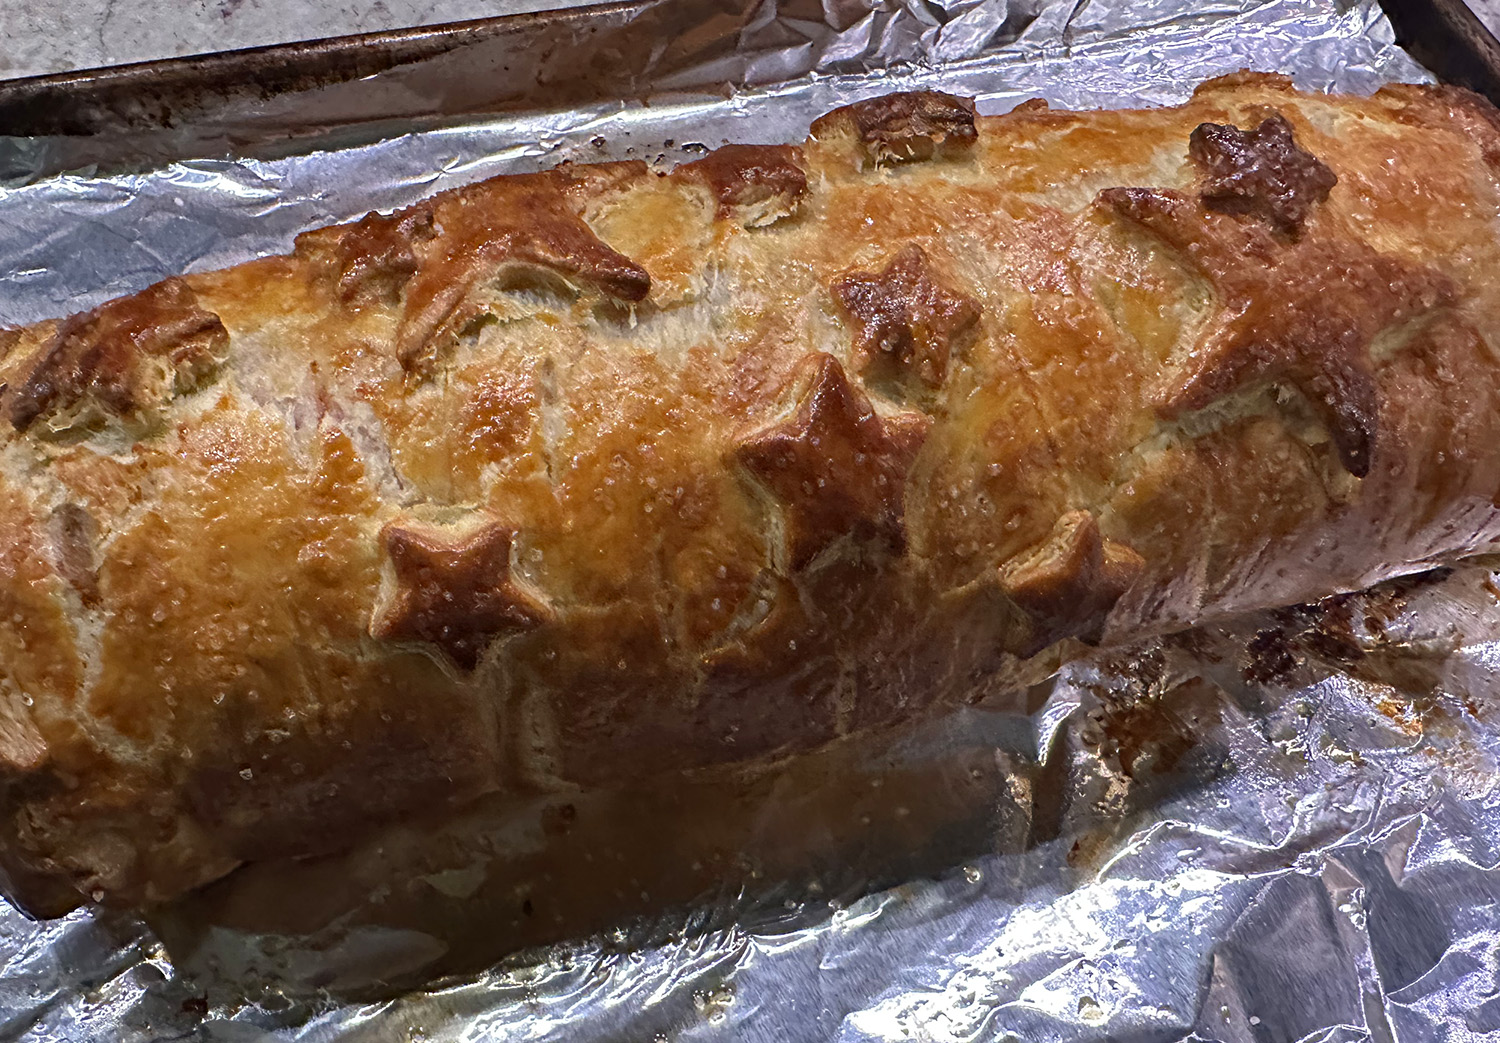
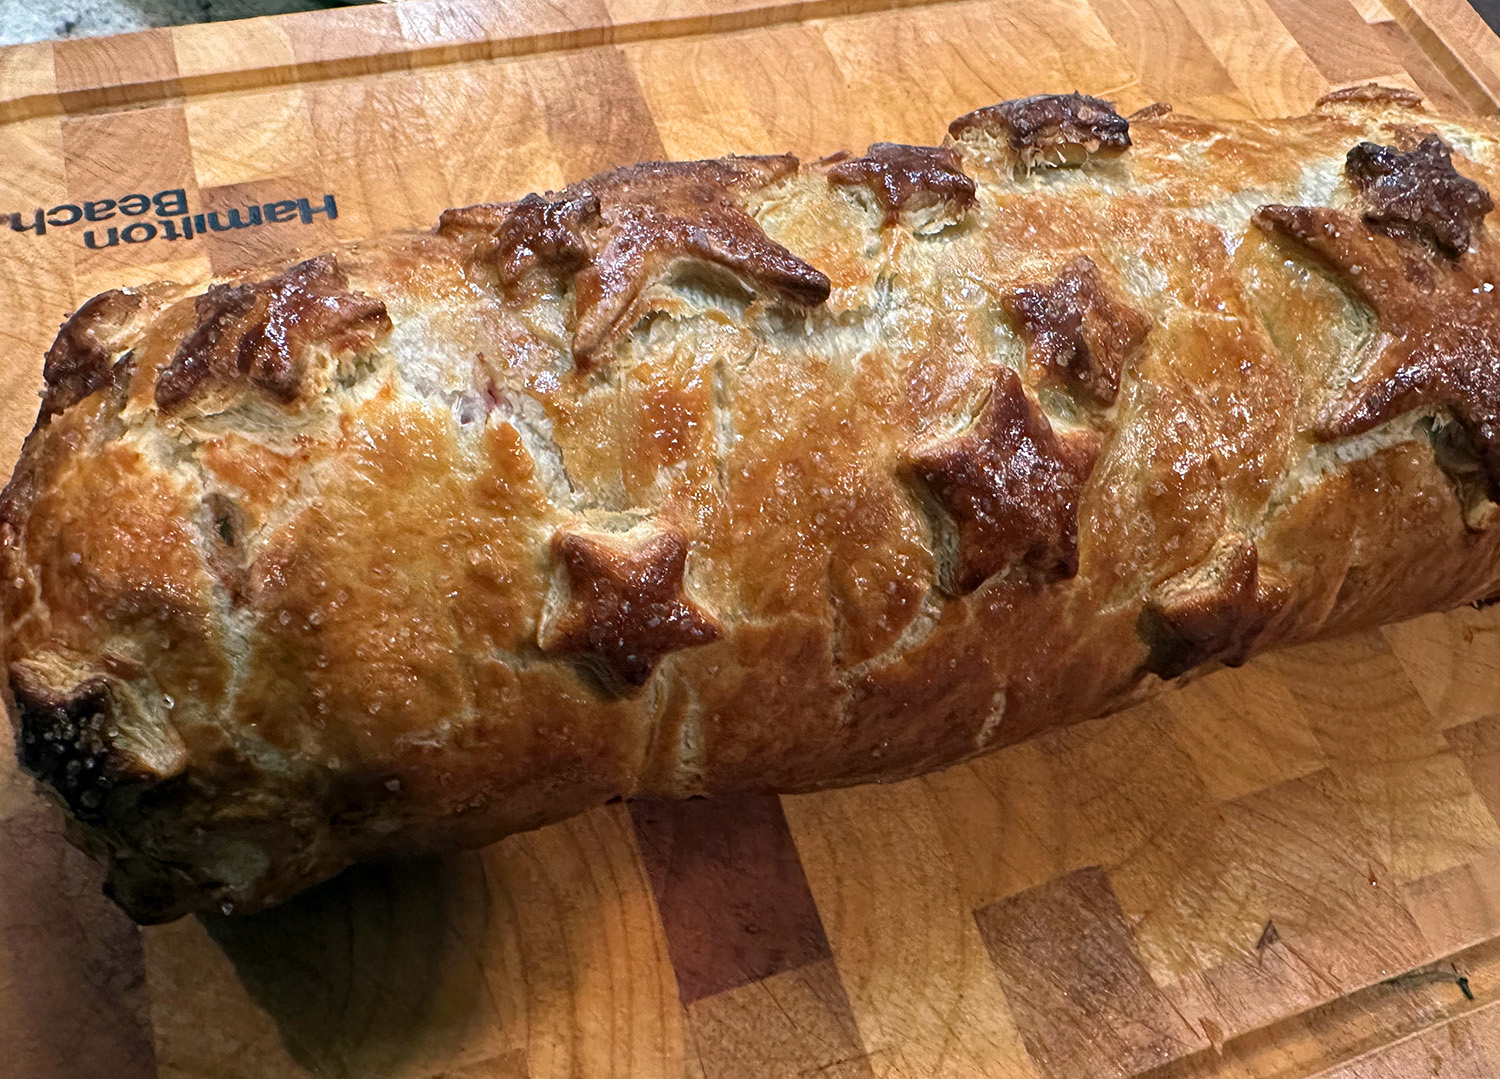
And of course being a designer/artist, I couldn’t just wrap the beef in puff pastry without adding some sort of embellishment, in this case, various sized stars.

The Ultimate Beef Wellington with Green Peppercorn Sauce
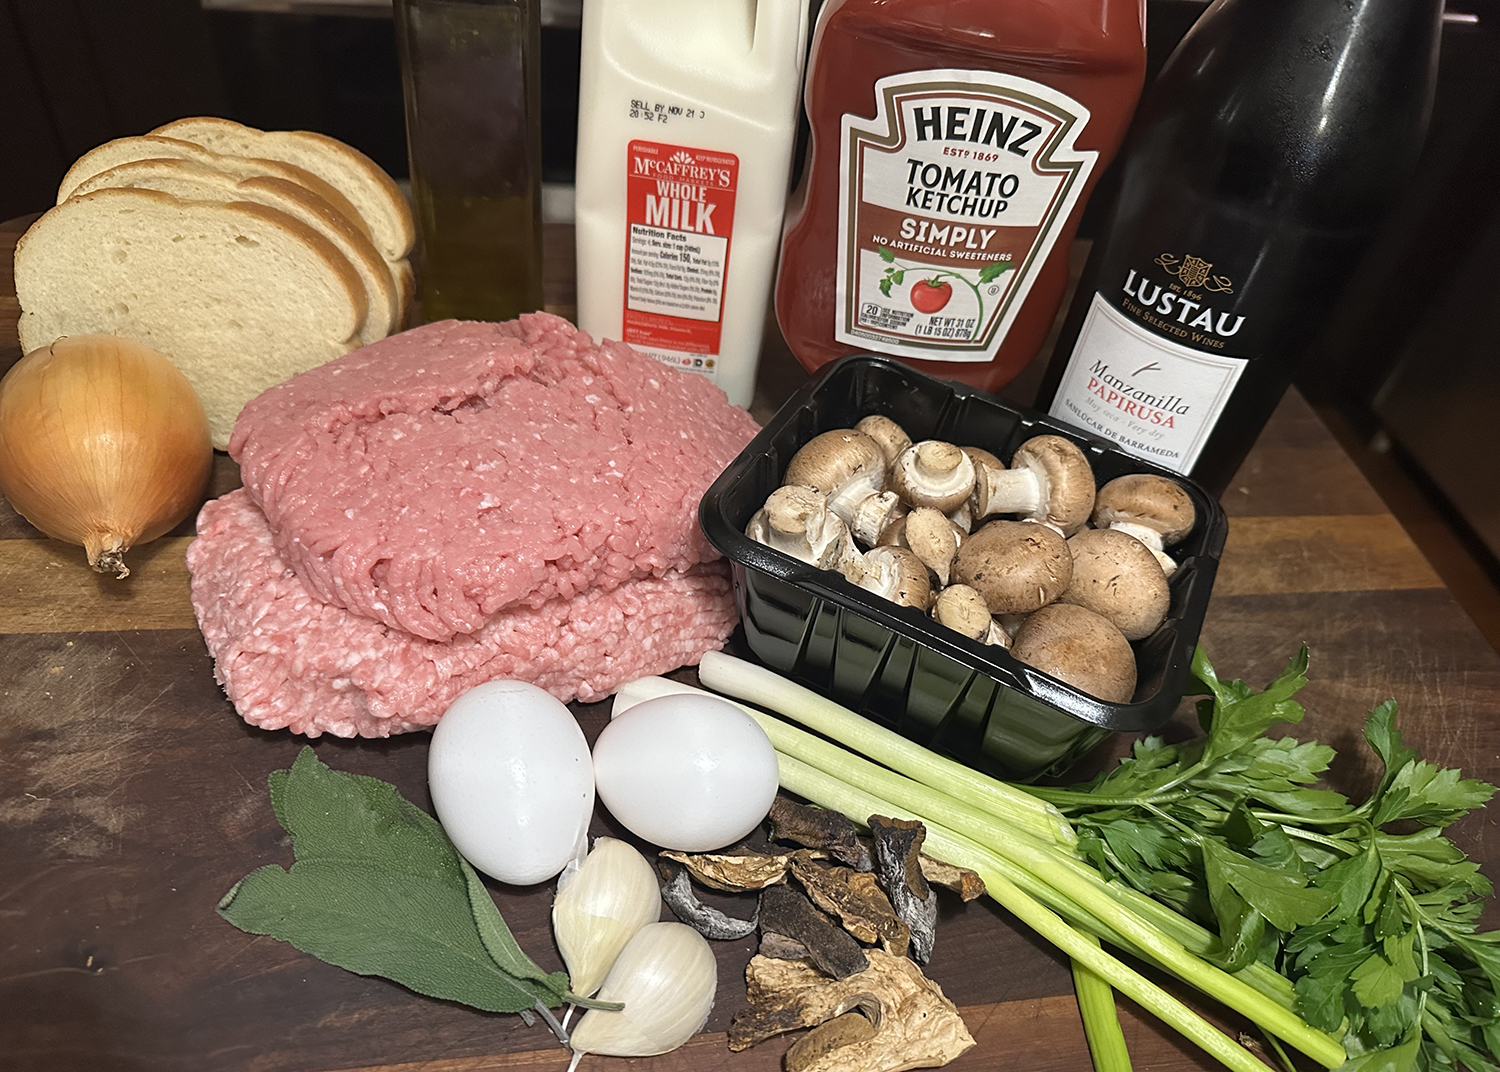
Ingredients
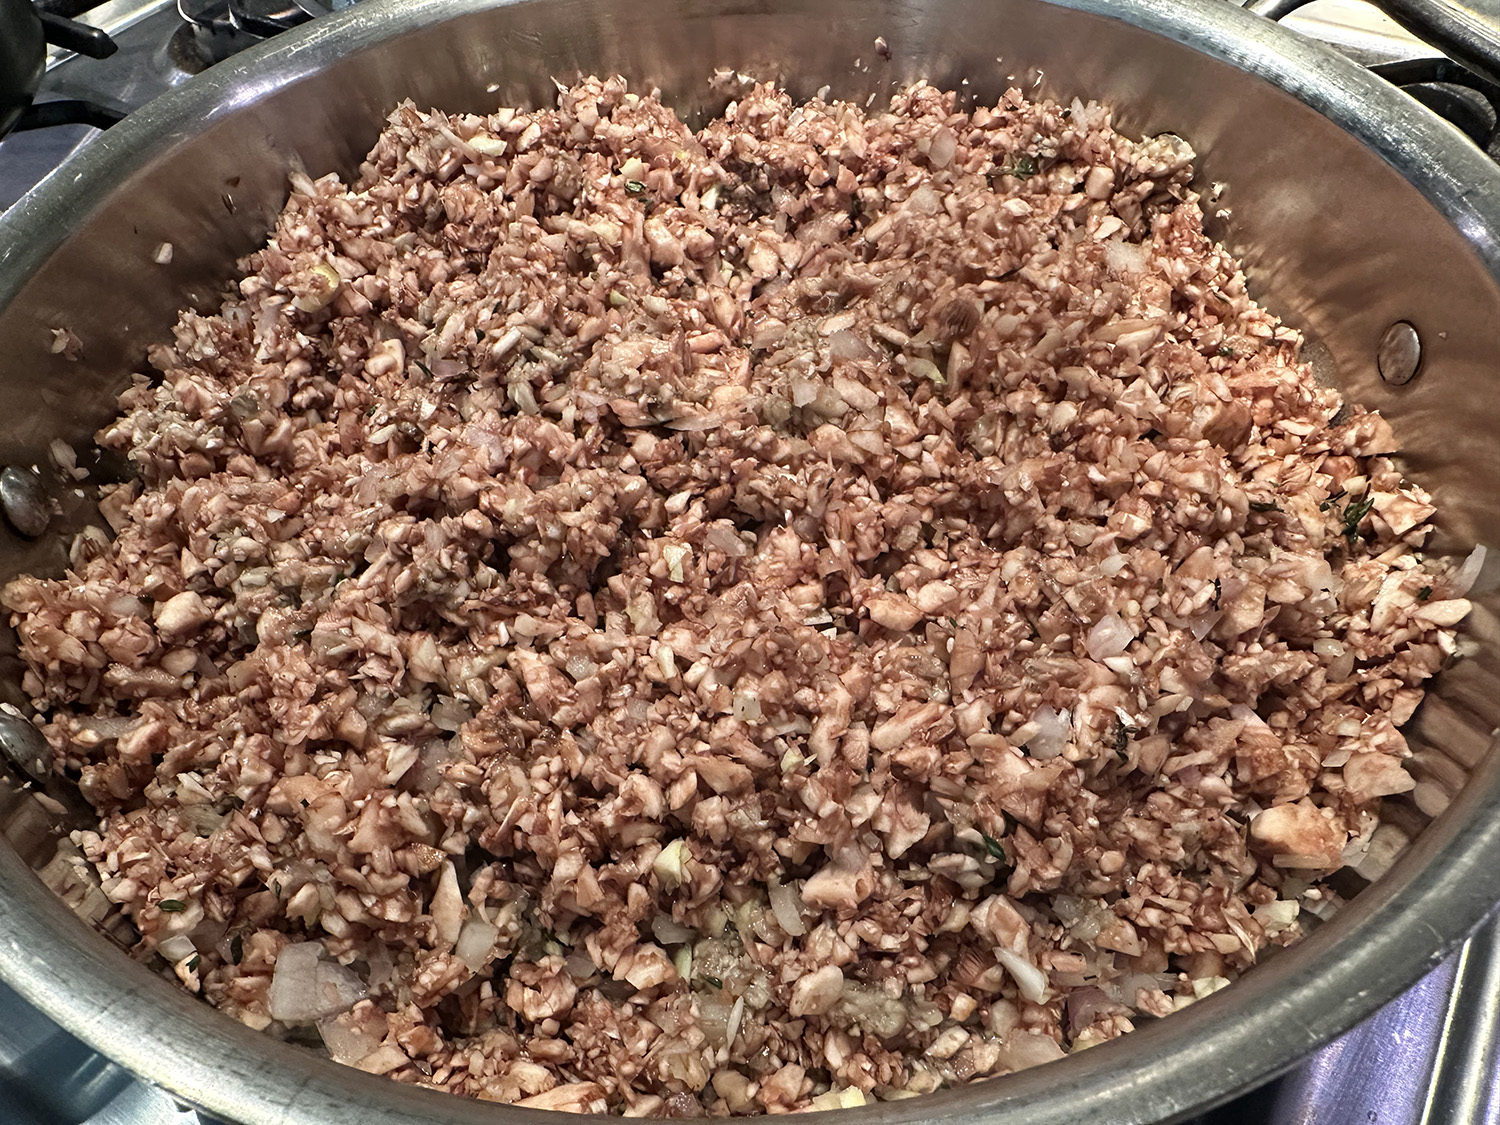
For the Duxelles:
- 3 pints (1 1/2 lbs.) white button mushrooms
- 2 shallots, peeled and roughly chopped
- 4 cloves garlic, peeled and roughly chopped
- 2 sprigs fresh thyme, leaves only
- 2 Tbsp. unsalted butter
- 2 Tbsp. extra-virgin olive oil
- Kosher salt and freshly ground black pepper


For the Beef:
- One 3-lb. center cut beef tenderloin (filet mignon), trimmed
- Extra-virgin olive oil
- Kosher salt and freshly ground black pepper
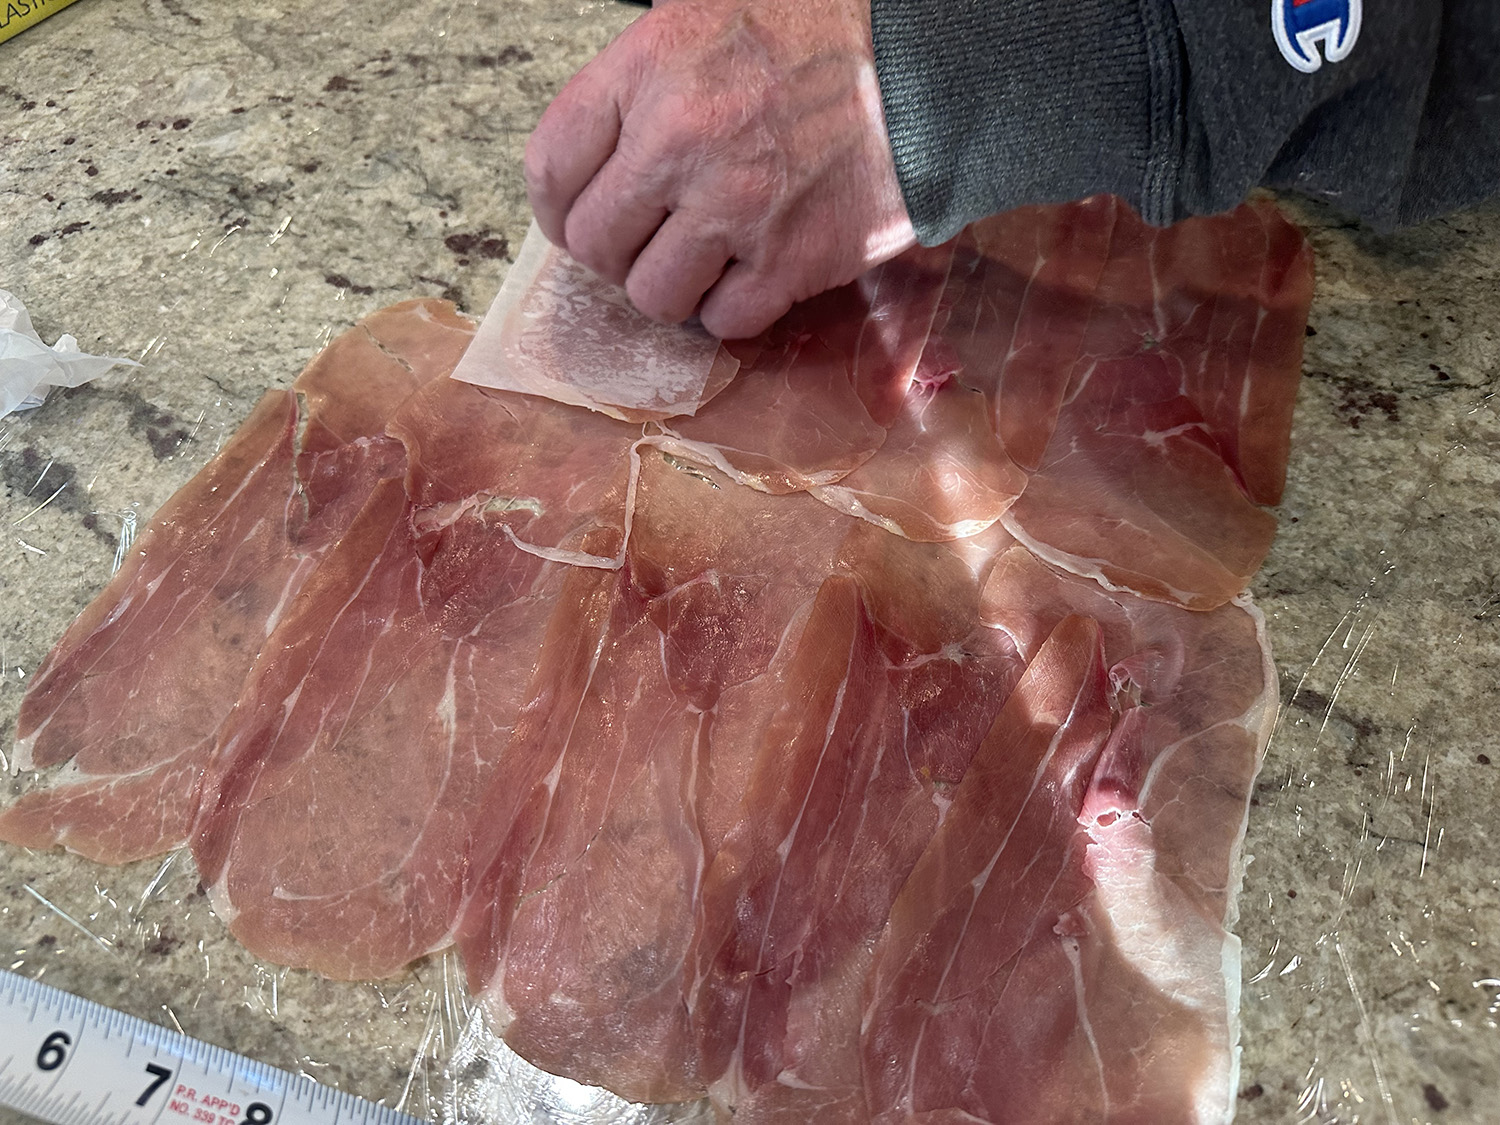
- 12 thin slices prosciutto
- 6 sprigs of fresh thyme, leaves only
- 2 Tbsp. Dijon mustard
- Flour, for rolling out puff pastry
- 1 lb. puff pastry, thawed if using frozen
- 2 large eggs, lightly beaten
- 1/2 tsp. coarse sea salt
- Minced chives, for garnish
- Green Peppercorn Sauce, recipe follows
- Roasted Fingerling Potatoes with Fresh Herbs and Garlic, recipe follows


Green Peppercorn Sauce:
- 2 Tbsp. olive oil
- 2 shallots, sliced
- 2 cloves garlic, peeled and smashed
- 3 sprigs fresh thyme, leaves only
- 1 cup brandy
- 1 box beef stock
- 2 cups cream
- 2 Tbsp. grainy mustard
- 1/2 cup green peppercorns in brine, drained, brine reserved

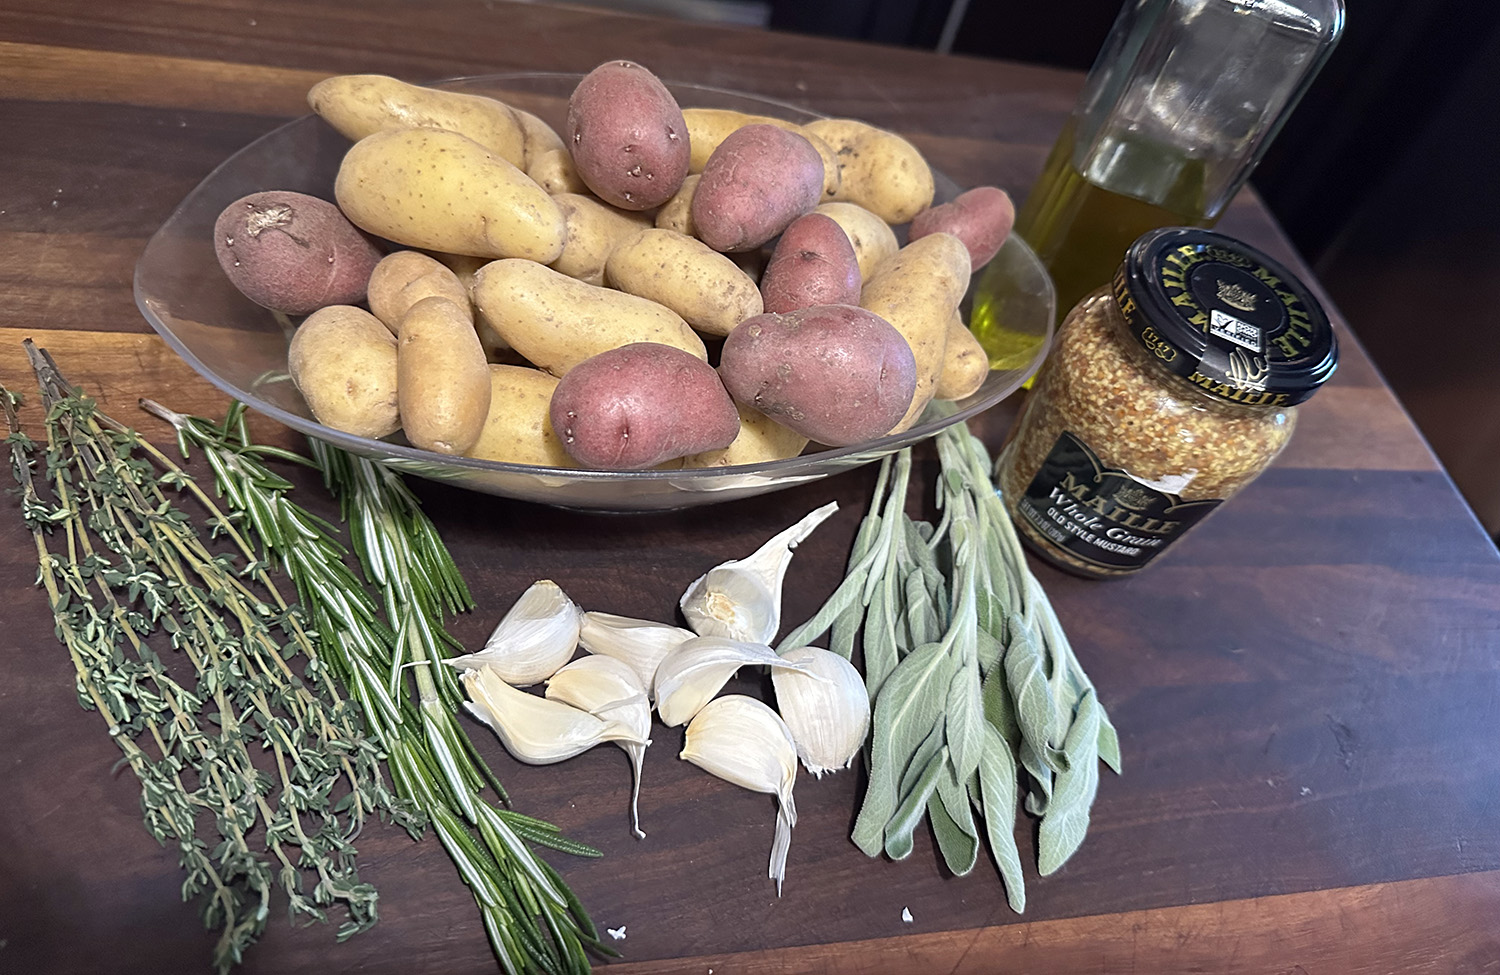
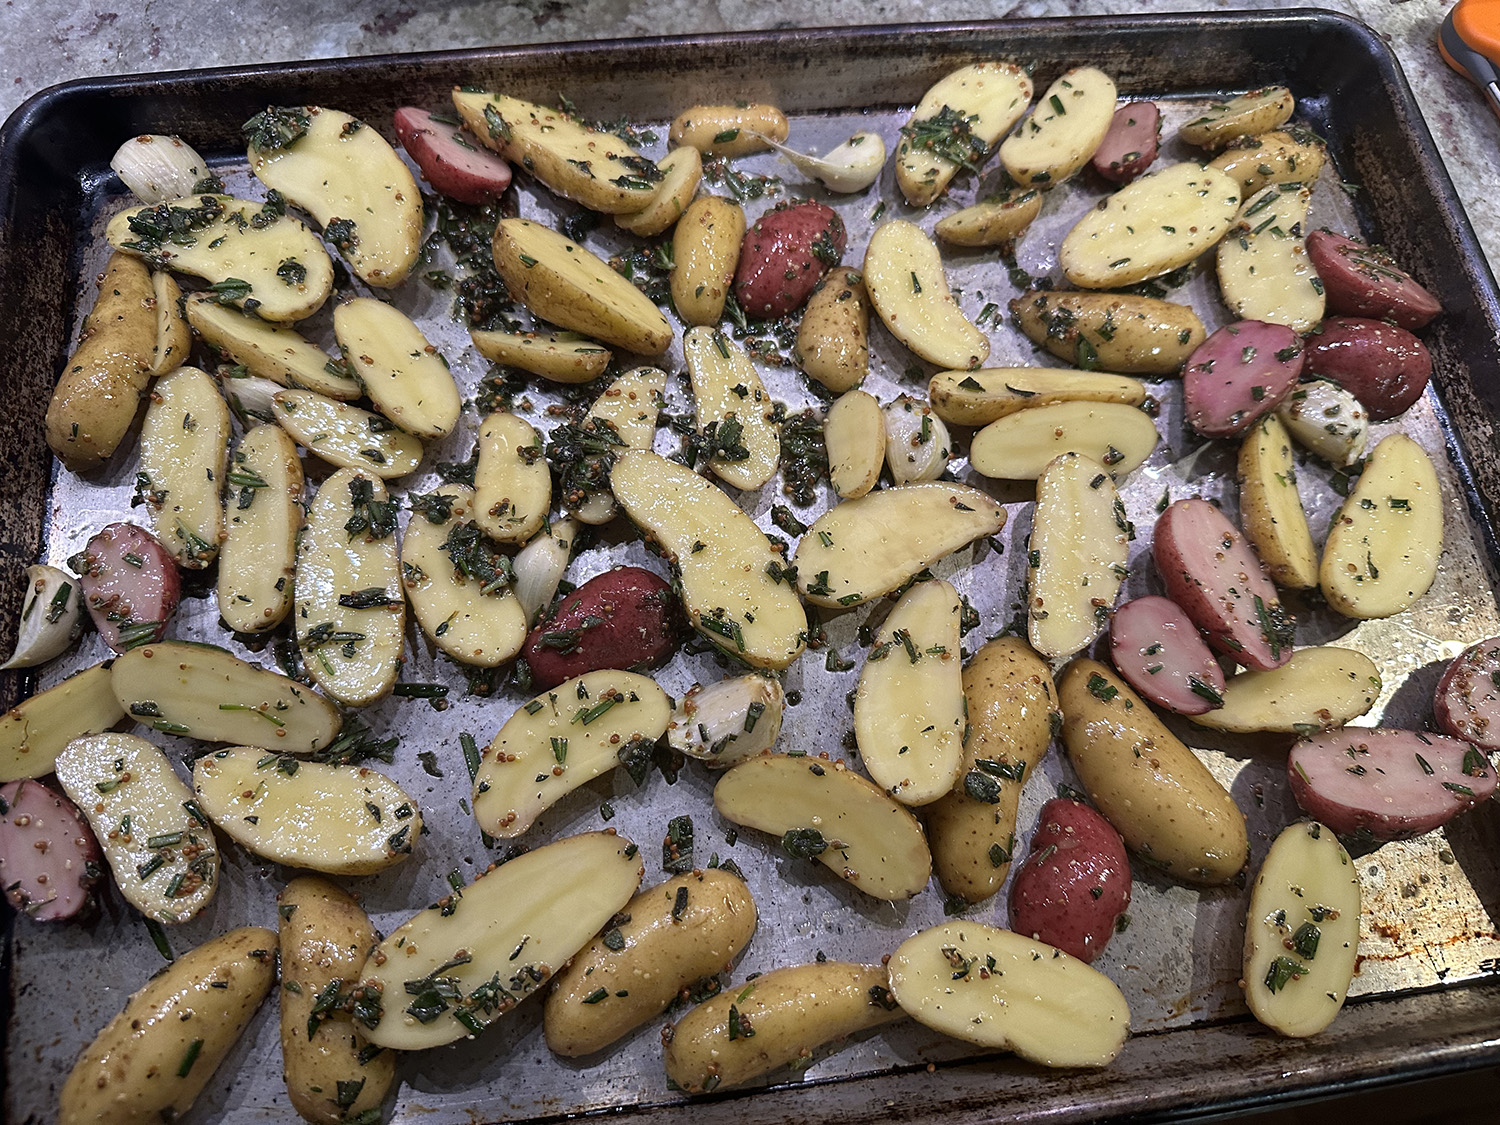
Roasted Fingerling Potatoes with Fresh Herbs and Garlic: 4-6 servings, 25 minutes.
- 2 lbs. fingerling potatoes, cut in half horizontally
- 2 sprigs fresh rosemary, leaves removed and coarsely chopped
- 3 sprigs fresh sage, leaves removed and chopped
- 3 sprigs fresh thyme, leaves removed and chopped
- 6 cloves garlic, left unpeeled
- 2 tsp. whole-grain mustard, (optional)
- 3 Tbsp. extra-virgin olive oil, plus more for sheet pan
- Salt and pepper, to taste
Directions
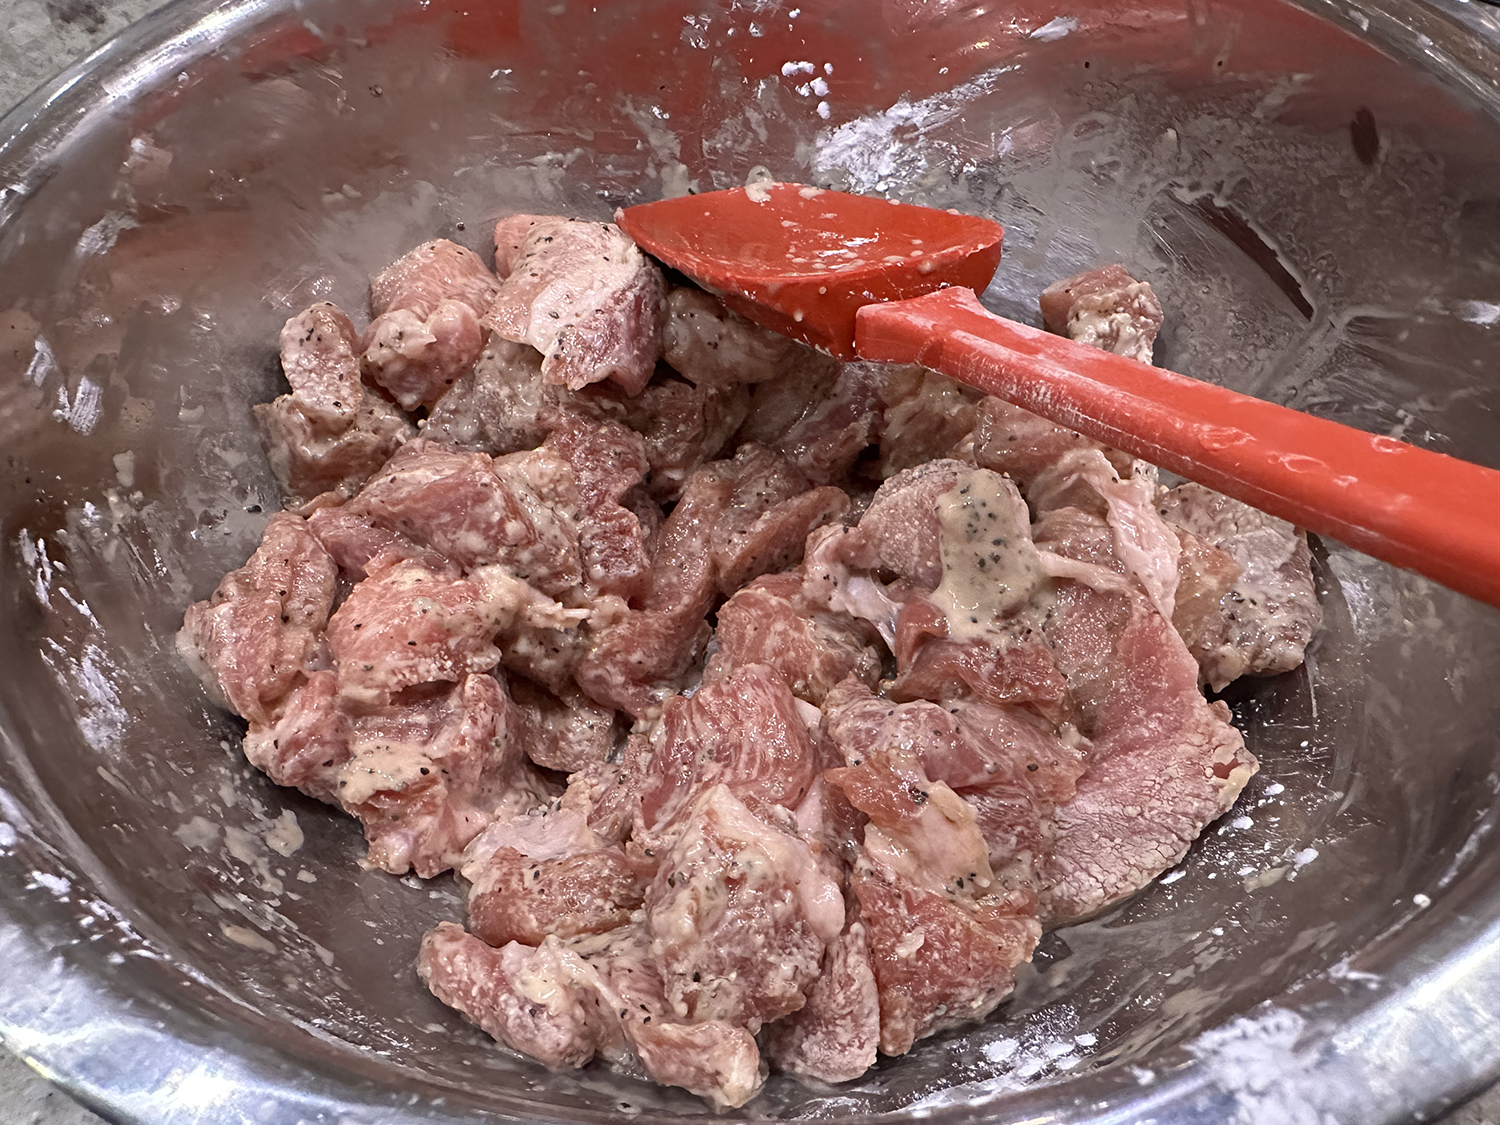
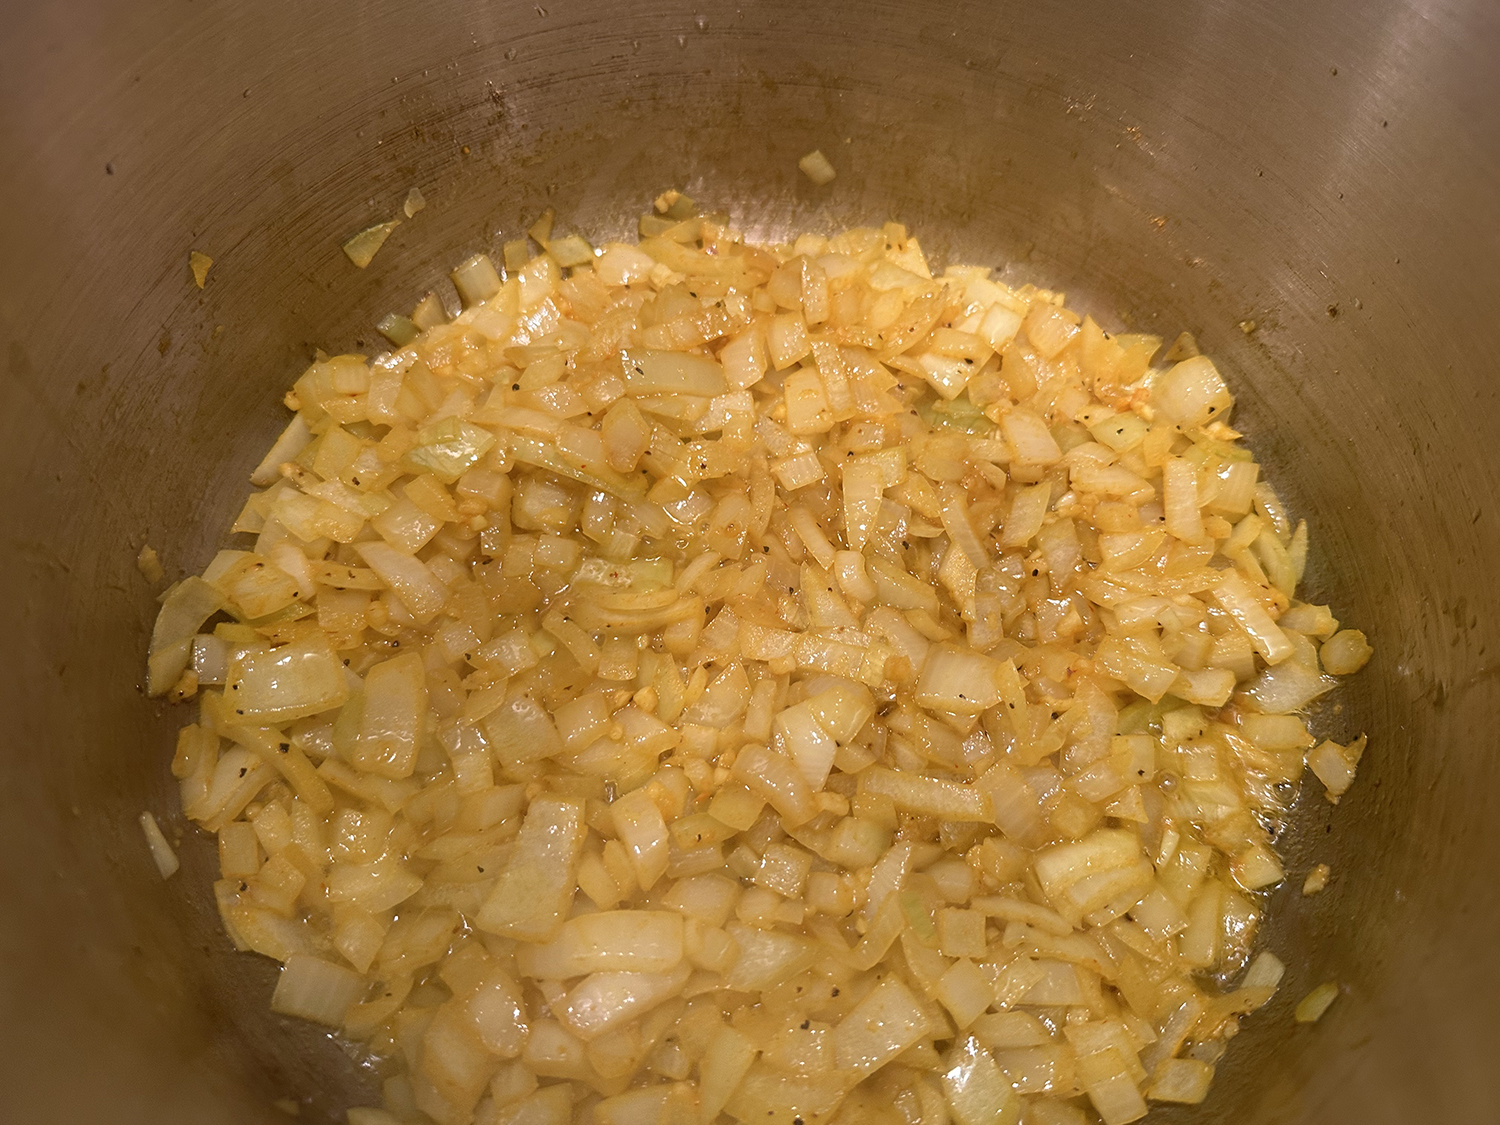
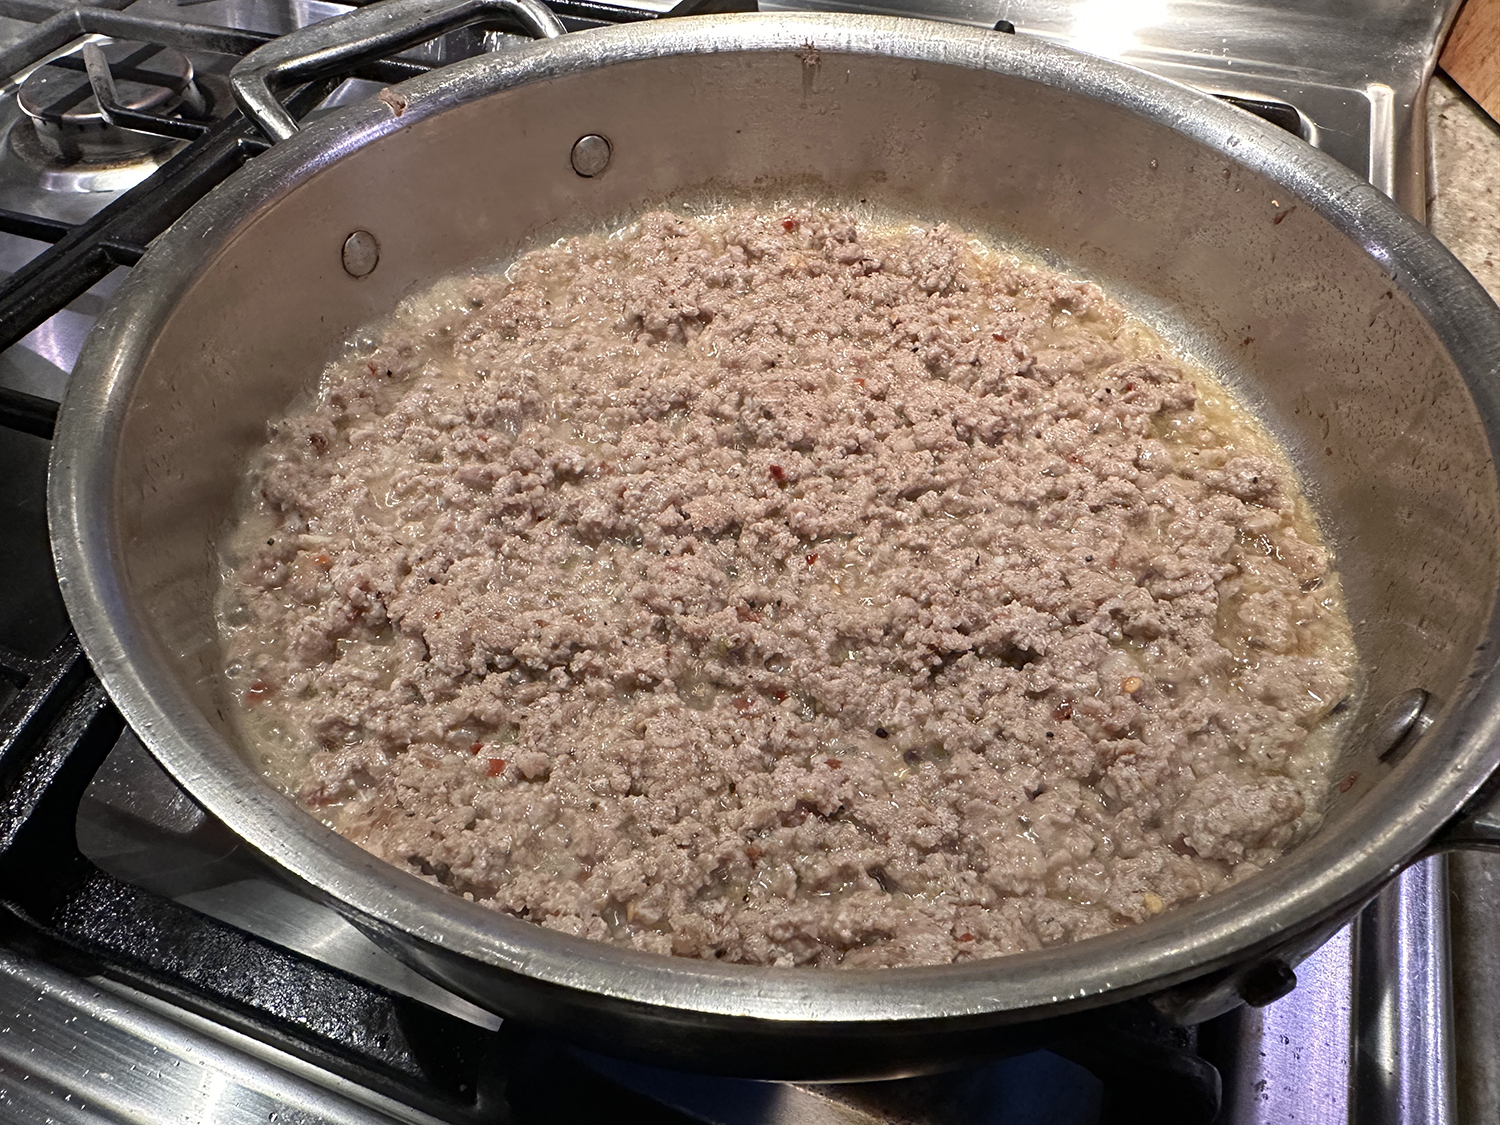
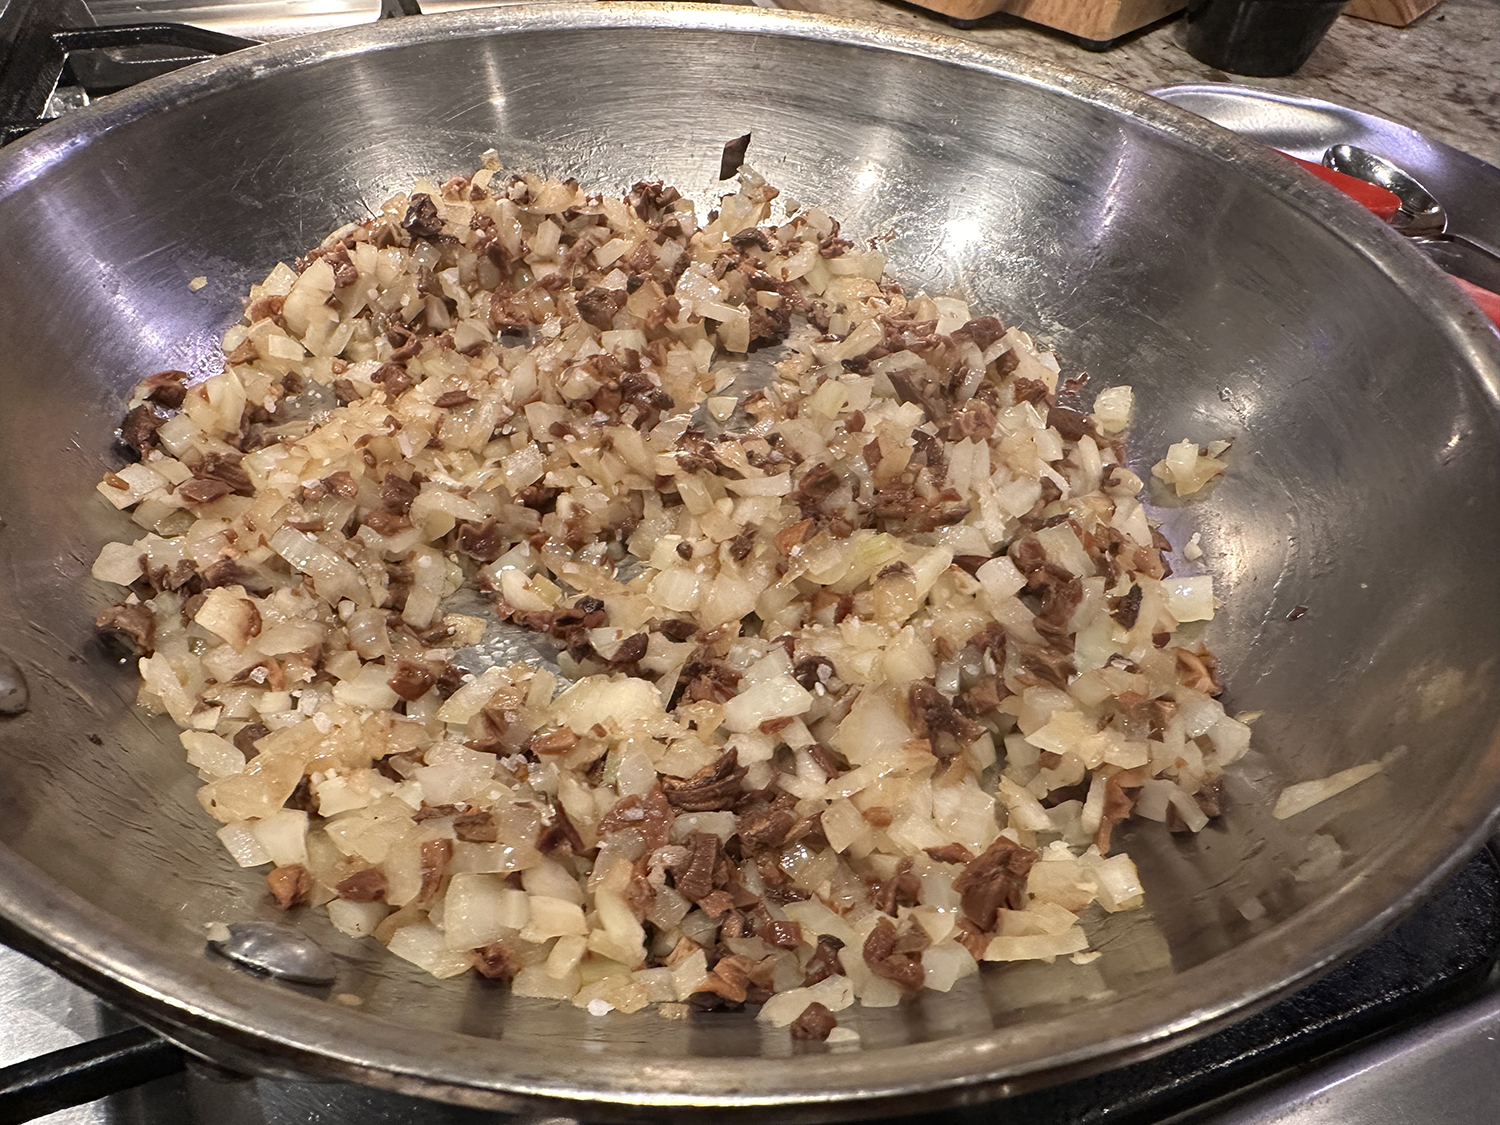
- To make the Duxelles: Add mushrooms, shallots, garlic, and thyme to a food processor and pulse until finely chopped. Add butter and olive oil to a large saute pan and set over medium heat. Add the shallot and mushroom mixture and saute for 8 to 10 minutes until most of the liquid has evaporated. Season with salt and pepper and set aside to cool.
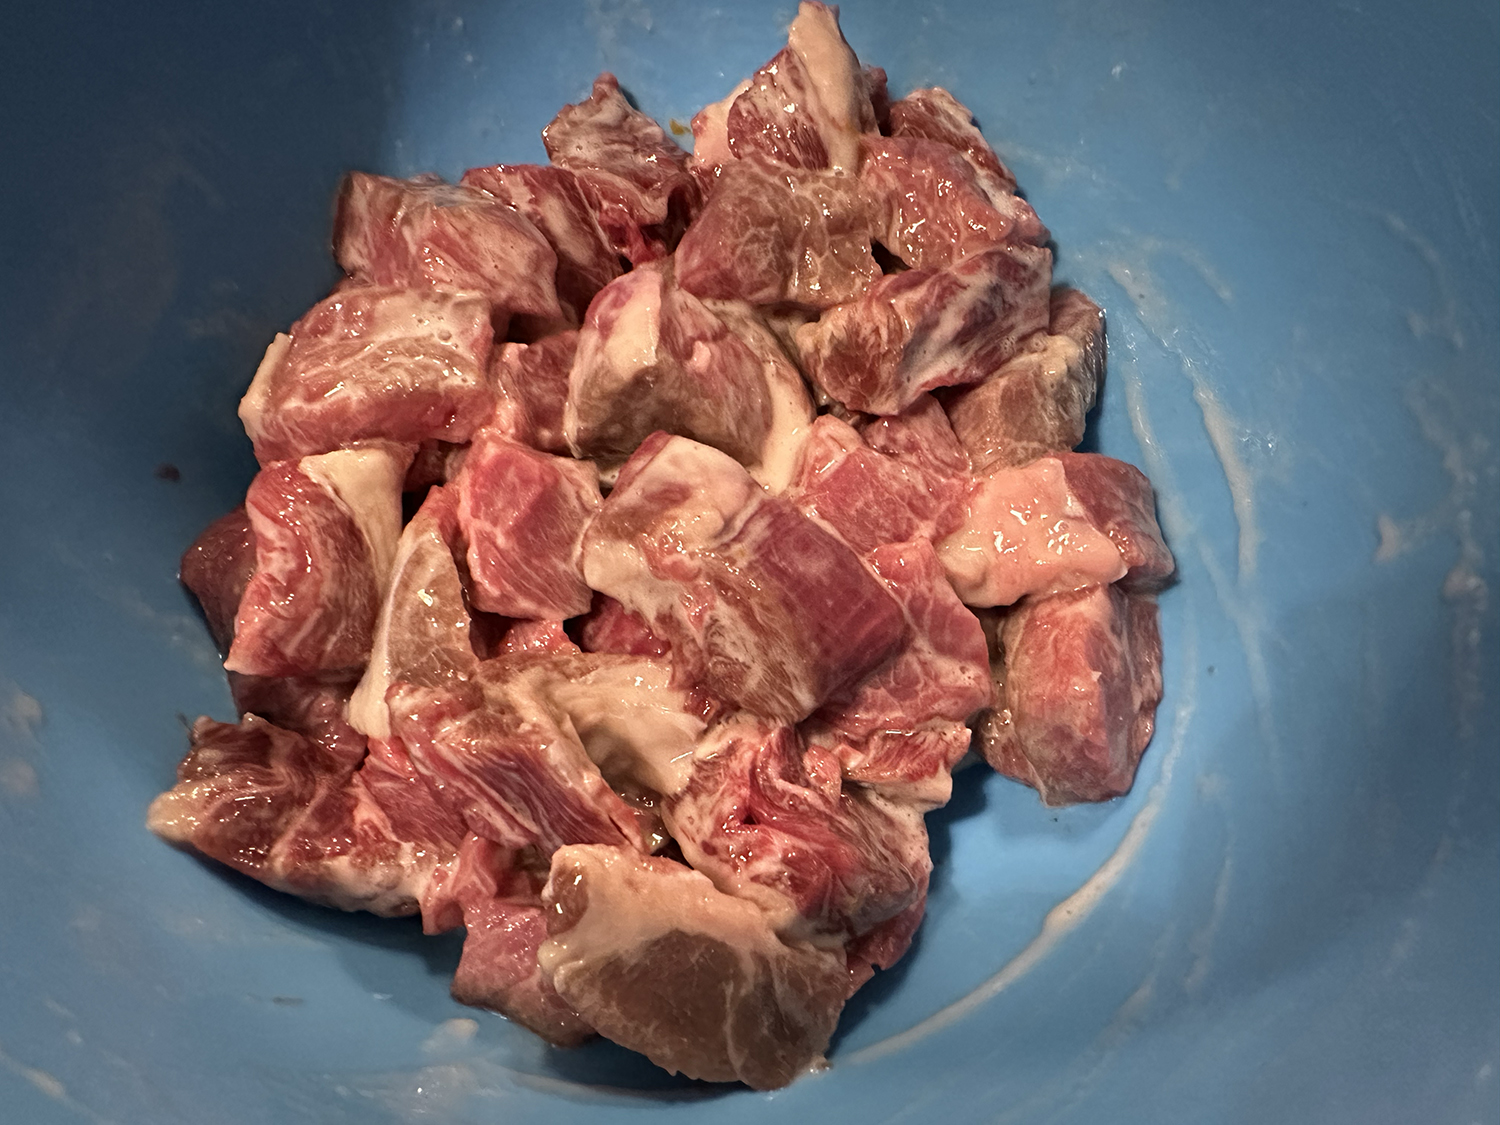
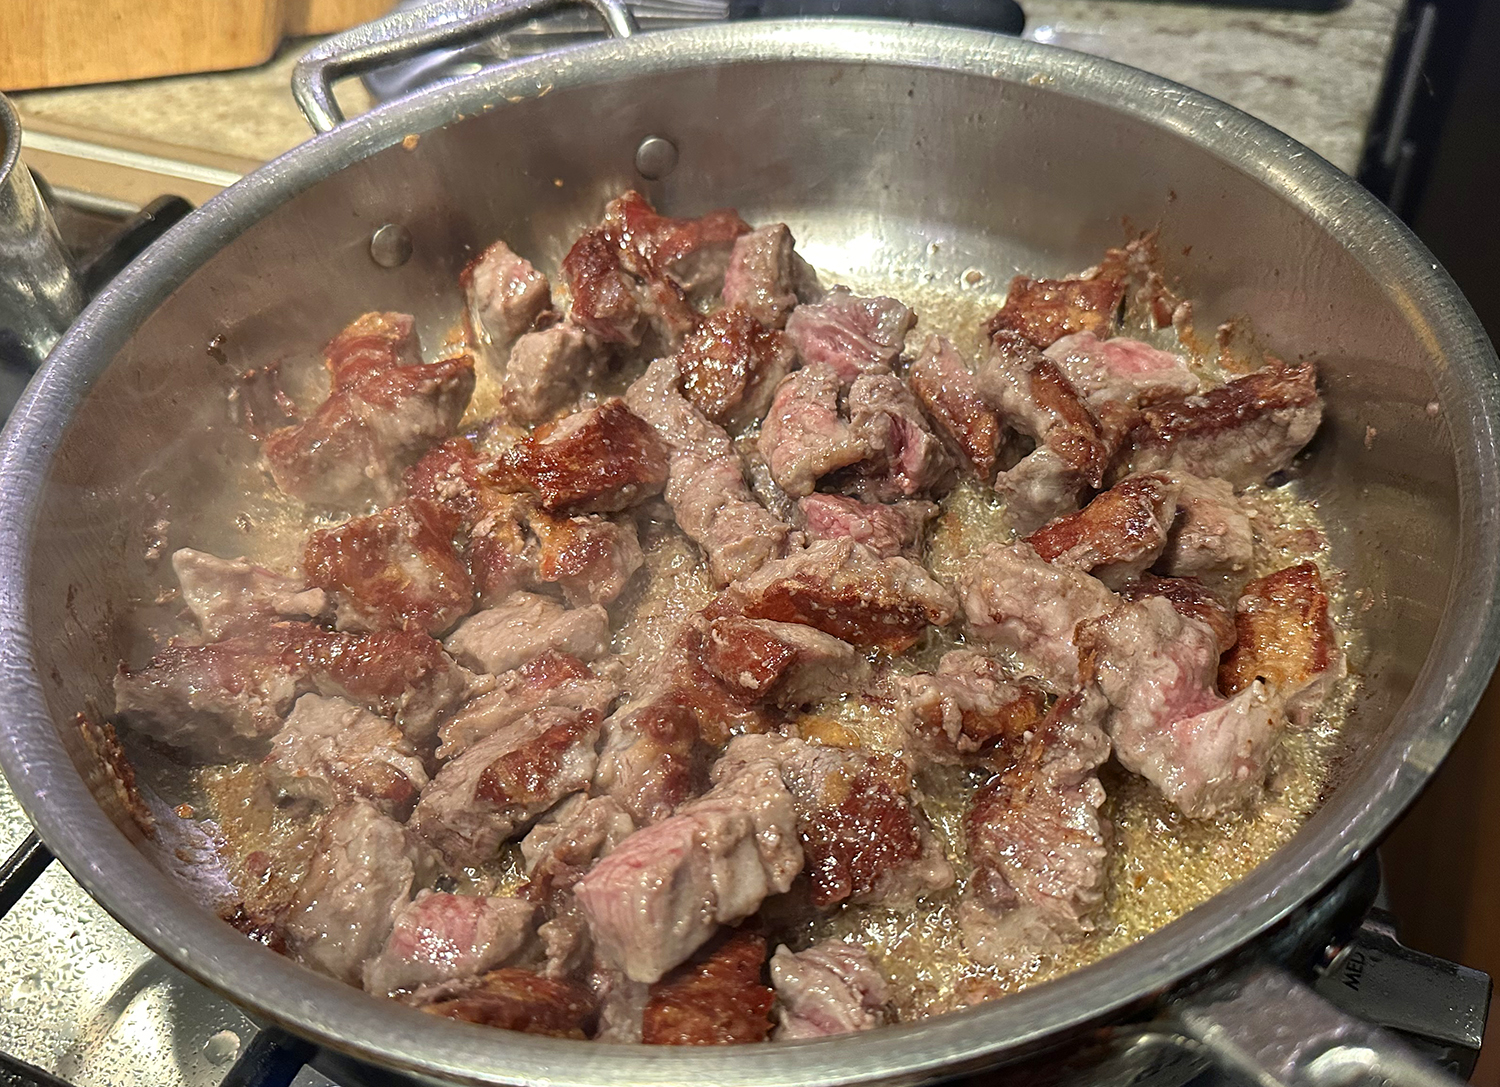
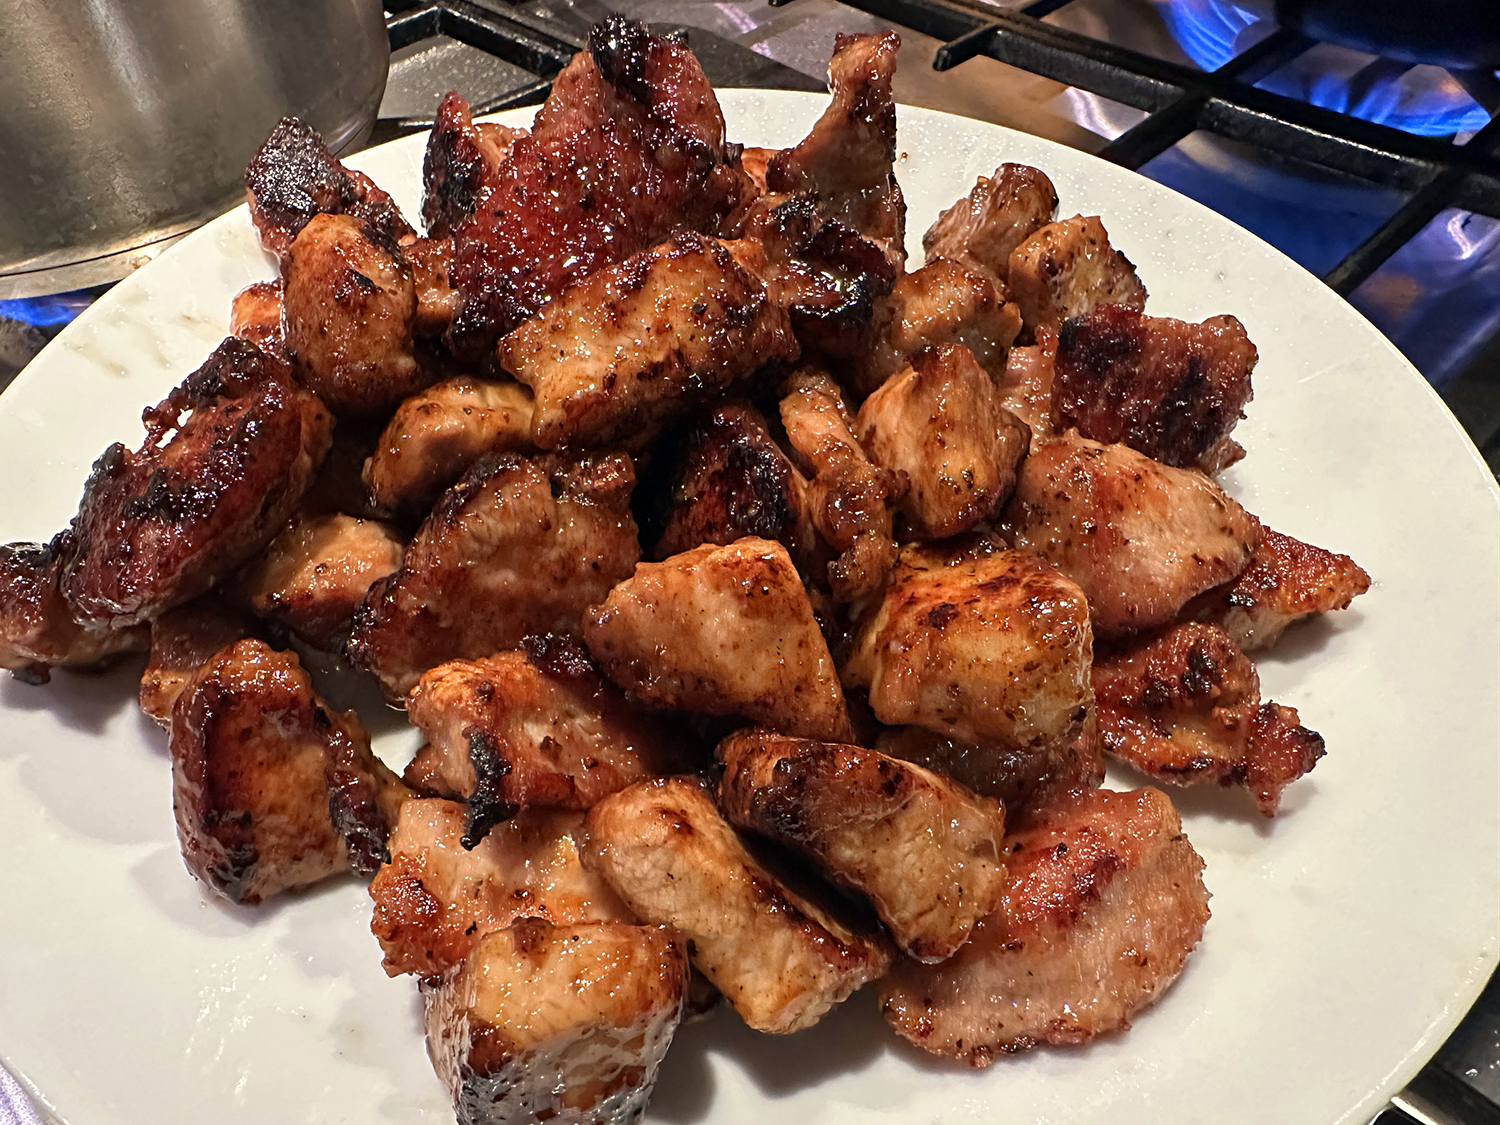
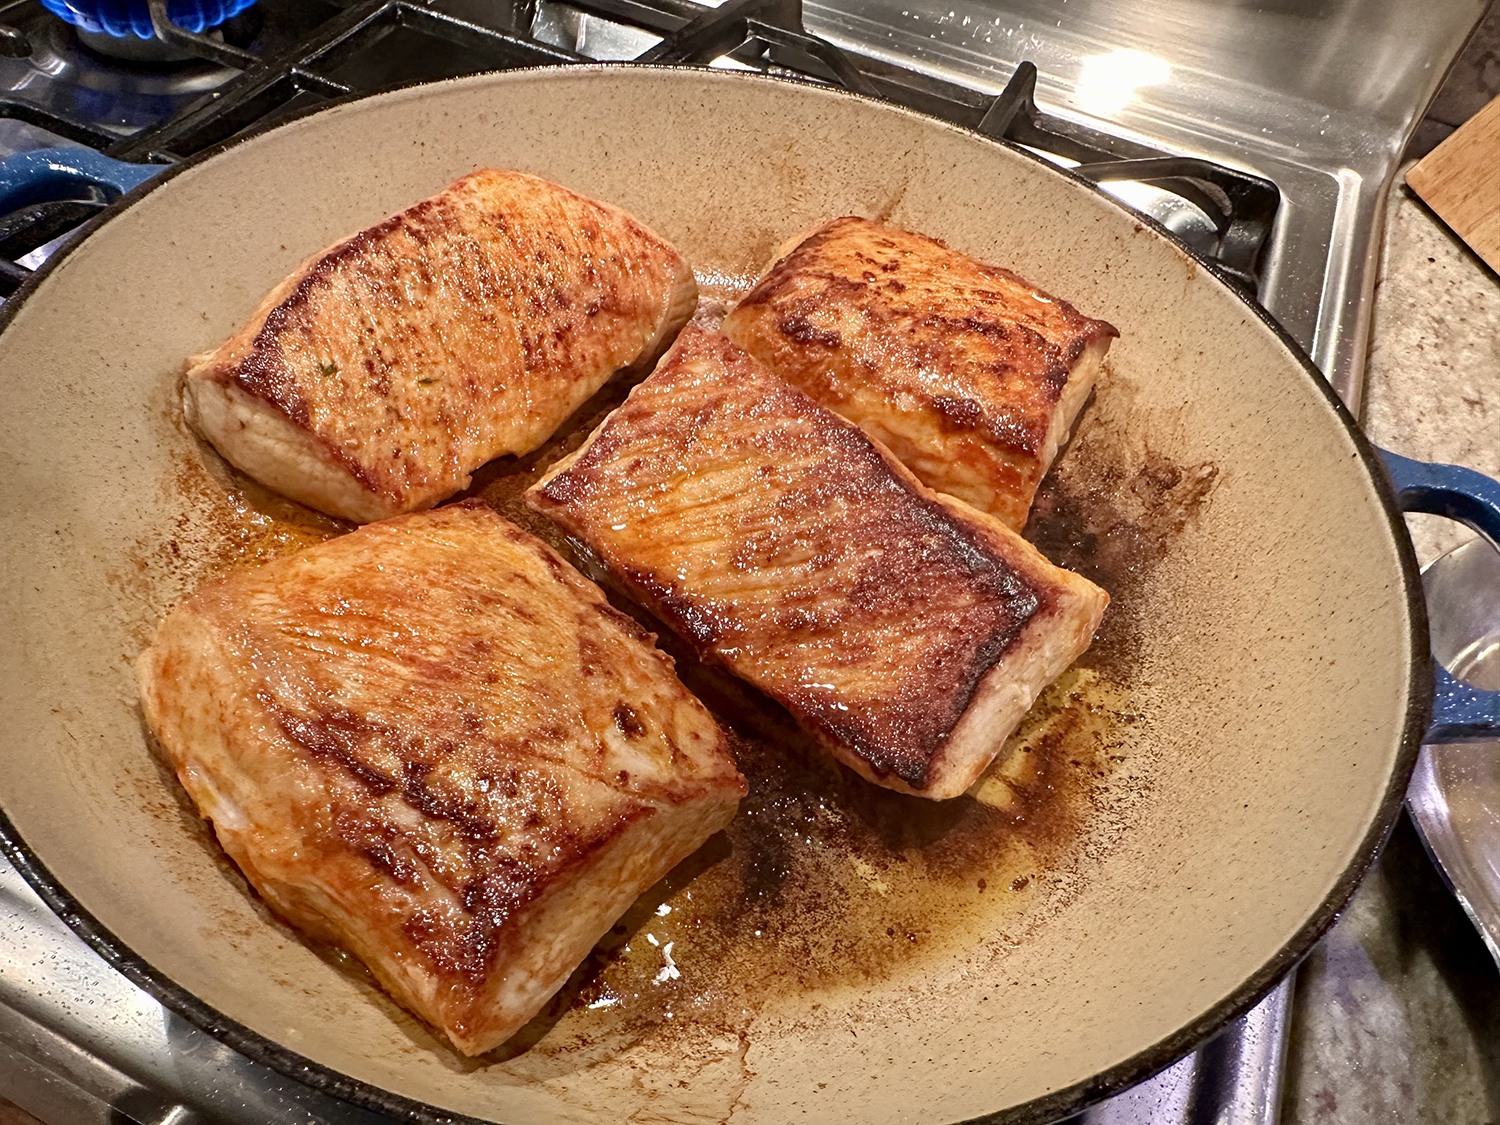
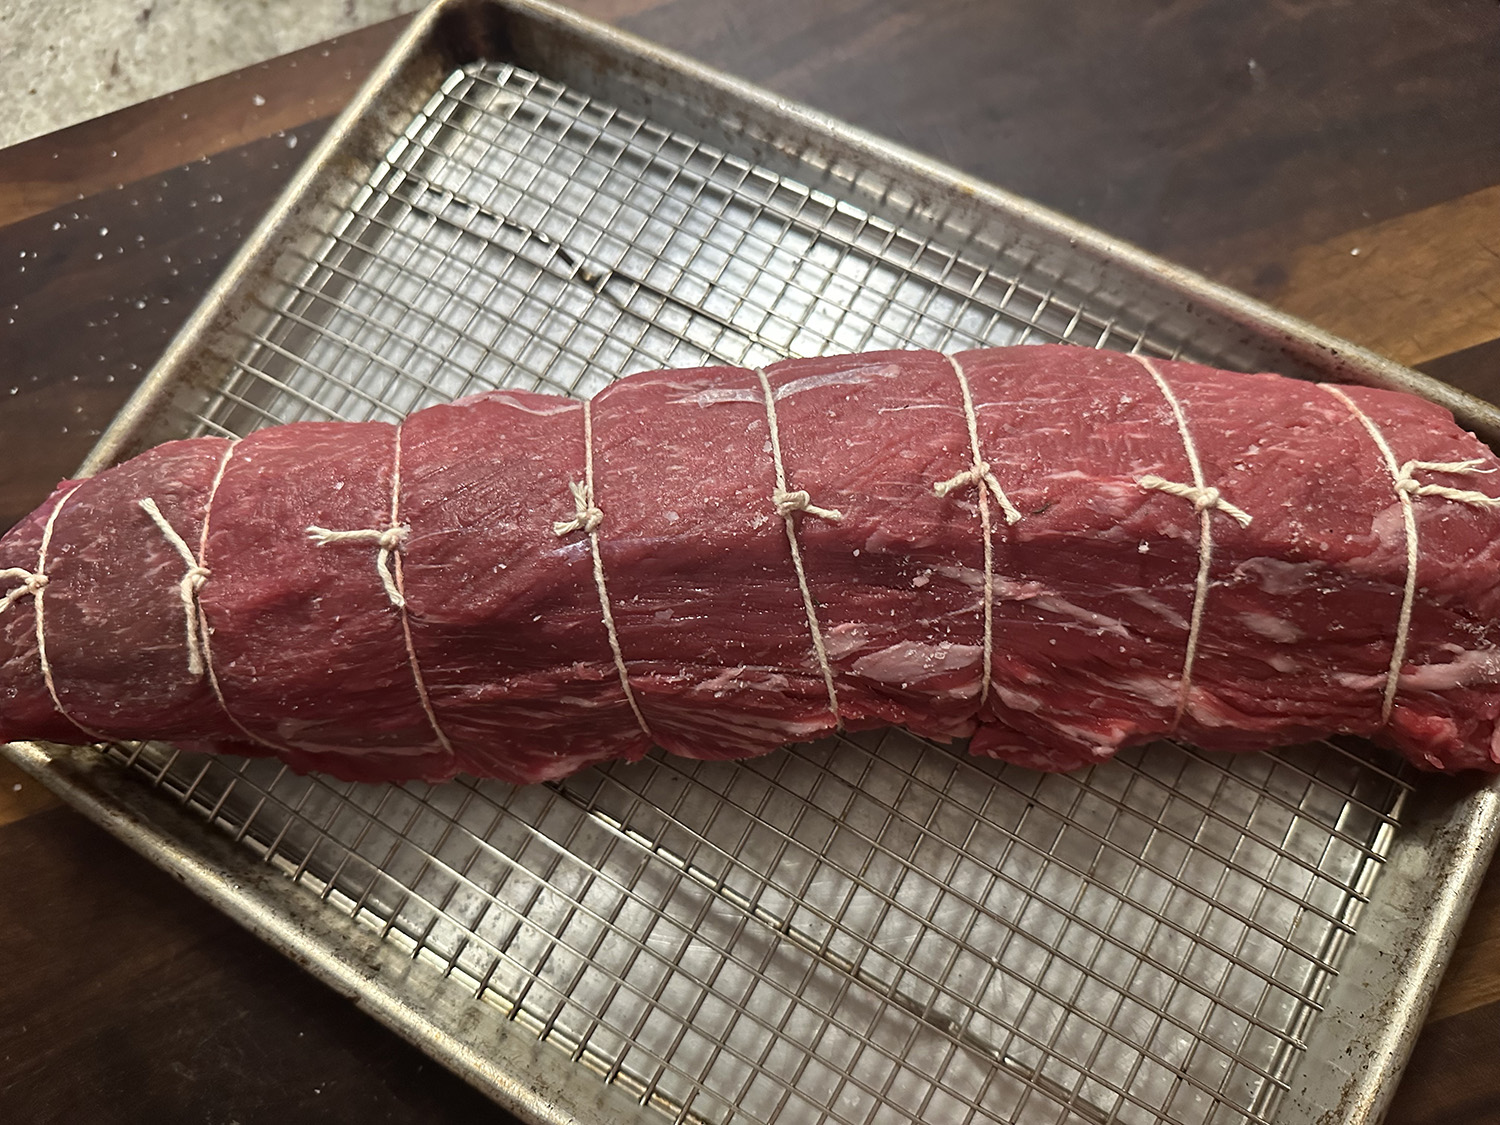
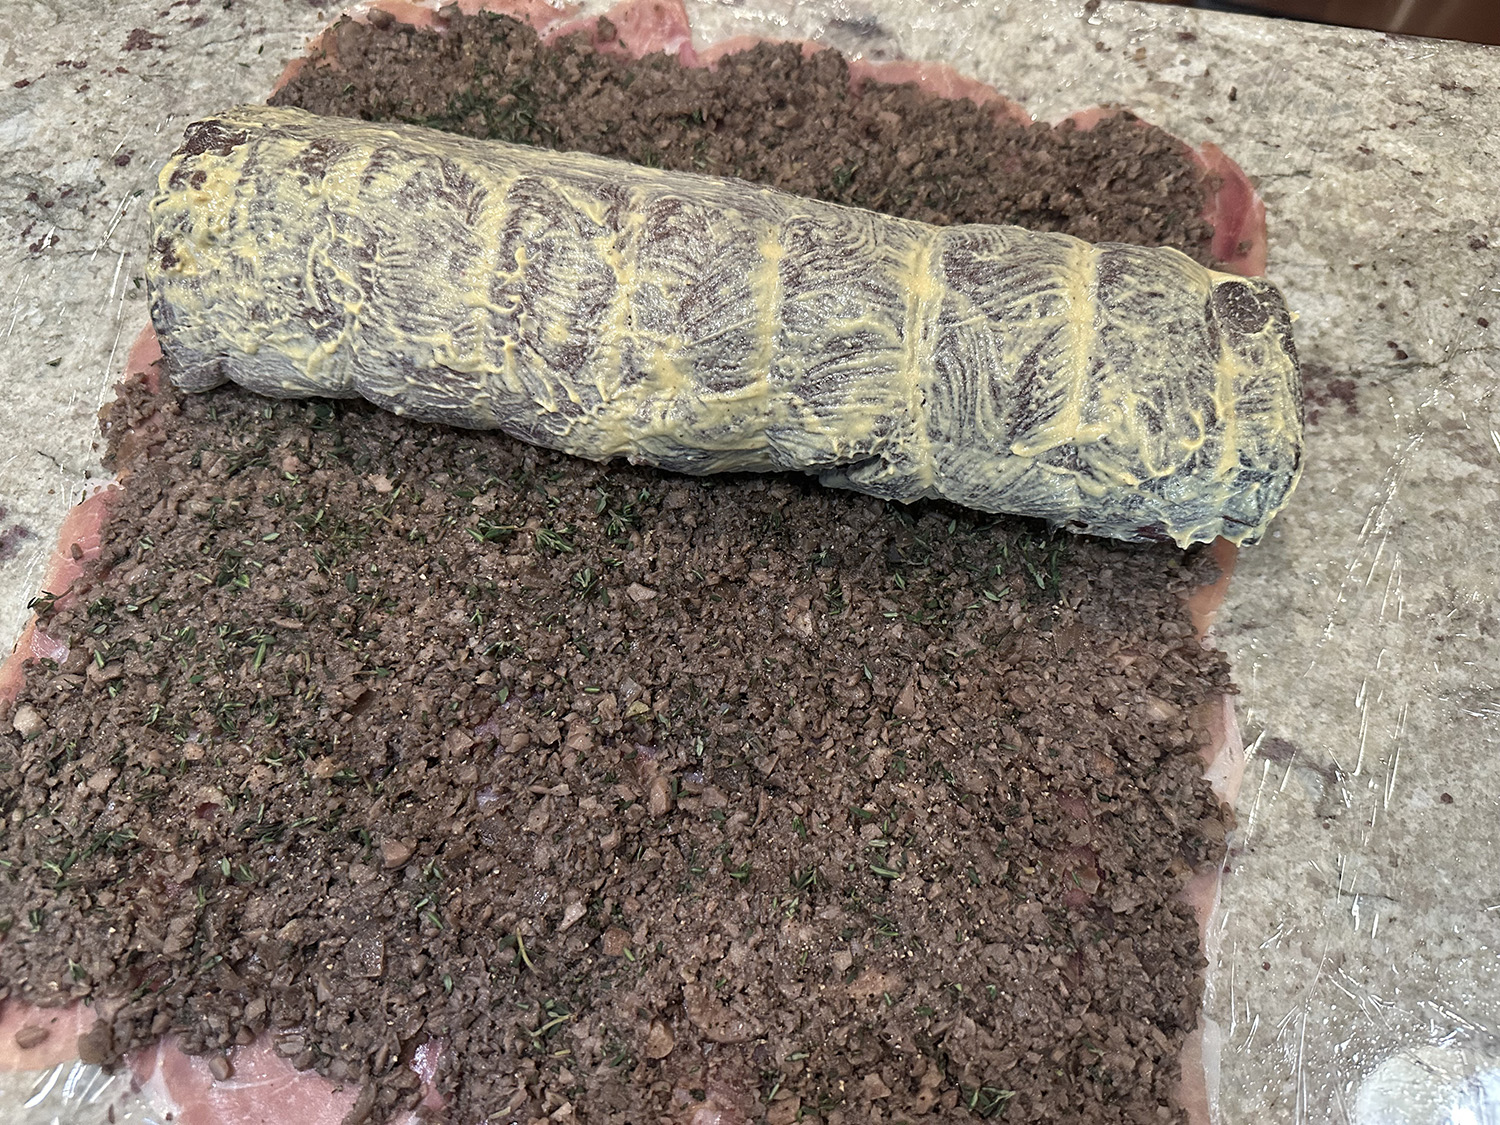
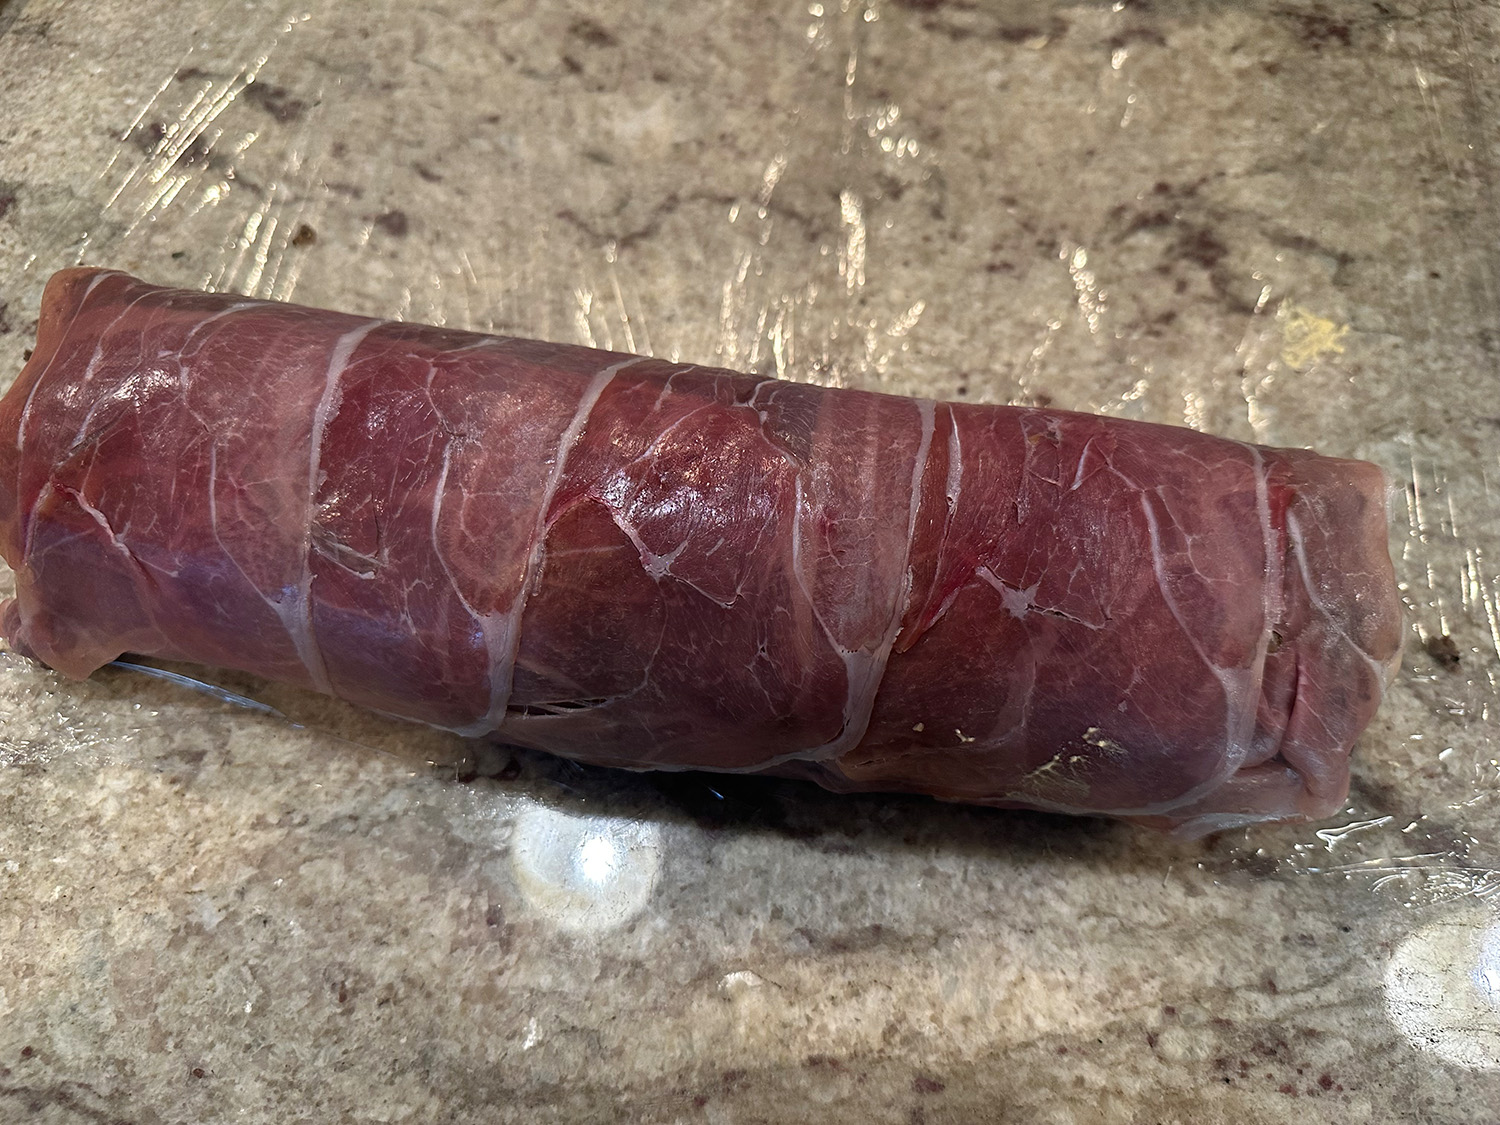
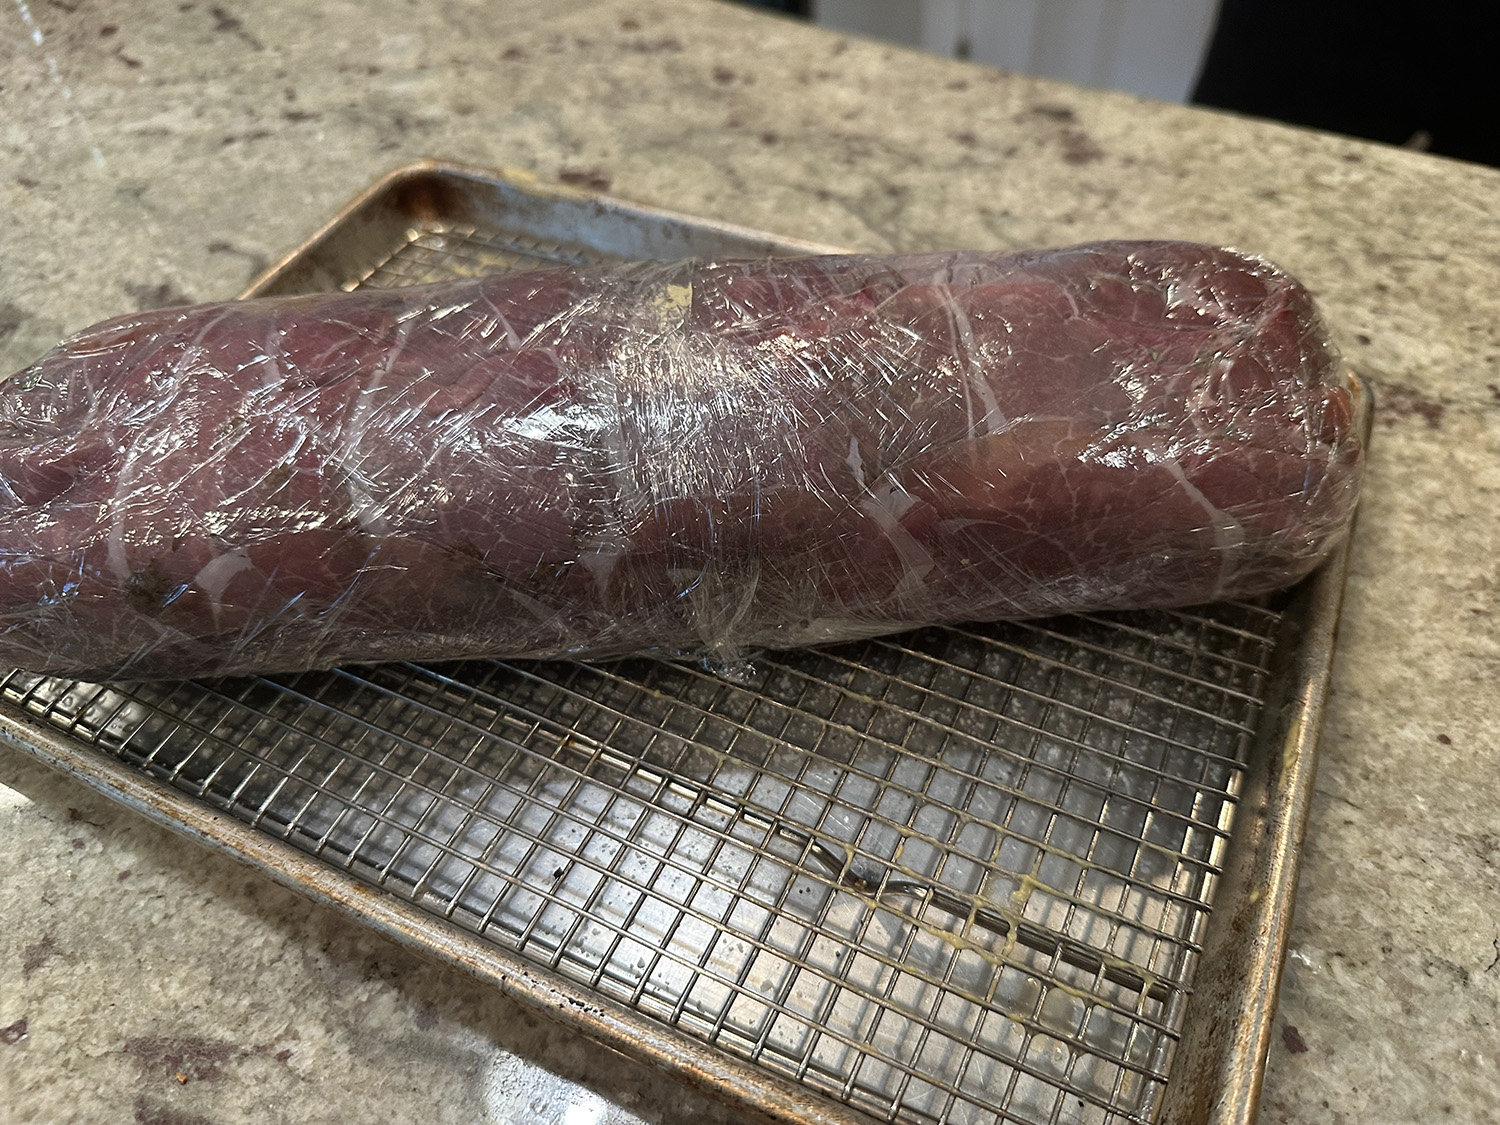
- To prepare the beef: Tie the tenderloin in 4 or more places so it holds its cylindrical shape while cooking. Drizzle with olive oil, then season with salt and pepper and sear all over, including the ends, in a hot, heavy-based skillet lightly coated with olive oil – about 2 to 3 minutes. Meanwhile set out your prosciutto on a sheet of plastic wrap (plastic needs to be about a foot and a half in length so you can wrap and tie the roast up in it) on top of your cutting board. Shingle the prosciutto so it forms a rectangle that is big enough to encompass the entire filet of beef. Using a rubber spatula cover evenly with a thin layer of duxelles. Season the surface of the duxelles with salt and pepper and sprinkle with fresh thyme leaves. When the beef is seared, remove from heat, cut off twine and smear lightly all over with Dijon mustard. Allow to cool slightly, then roll up in the duxelles covered prosciutto using the plastic wrap to tie it up nice and tight. Tuck in the ends of the prosciutto as you roll to completely encompass the beef. Roll it up tightly in plastic wrap and twist the ends to seal it completely and hold it in a nice log shape. Set in the refrigerator for 30 minutes, up to overnight, to ensure it maintains its shape.
- Preheat oven to 425 degrees F.
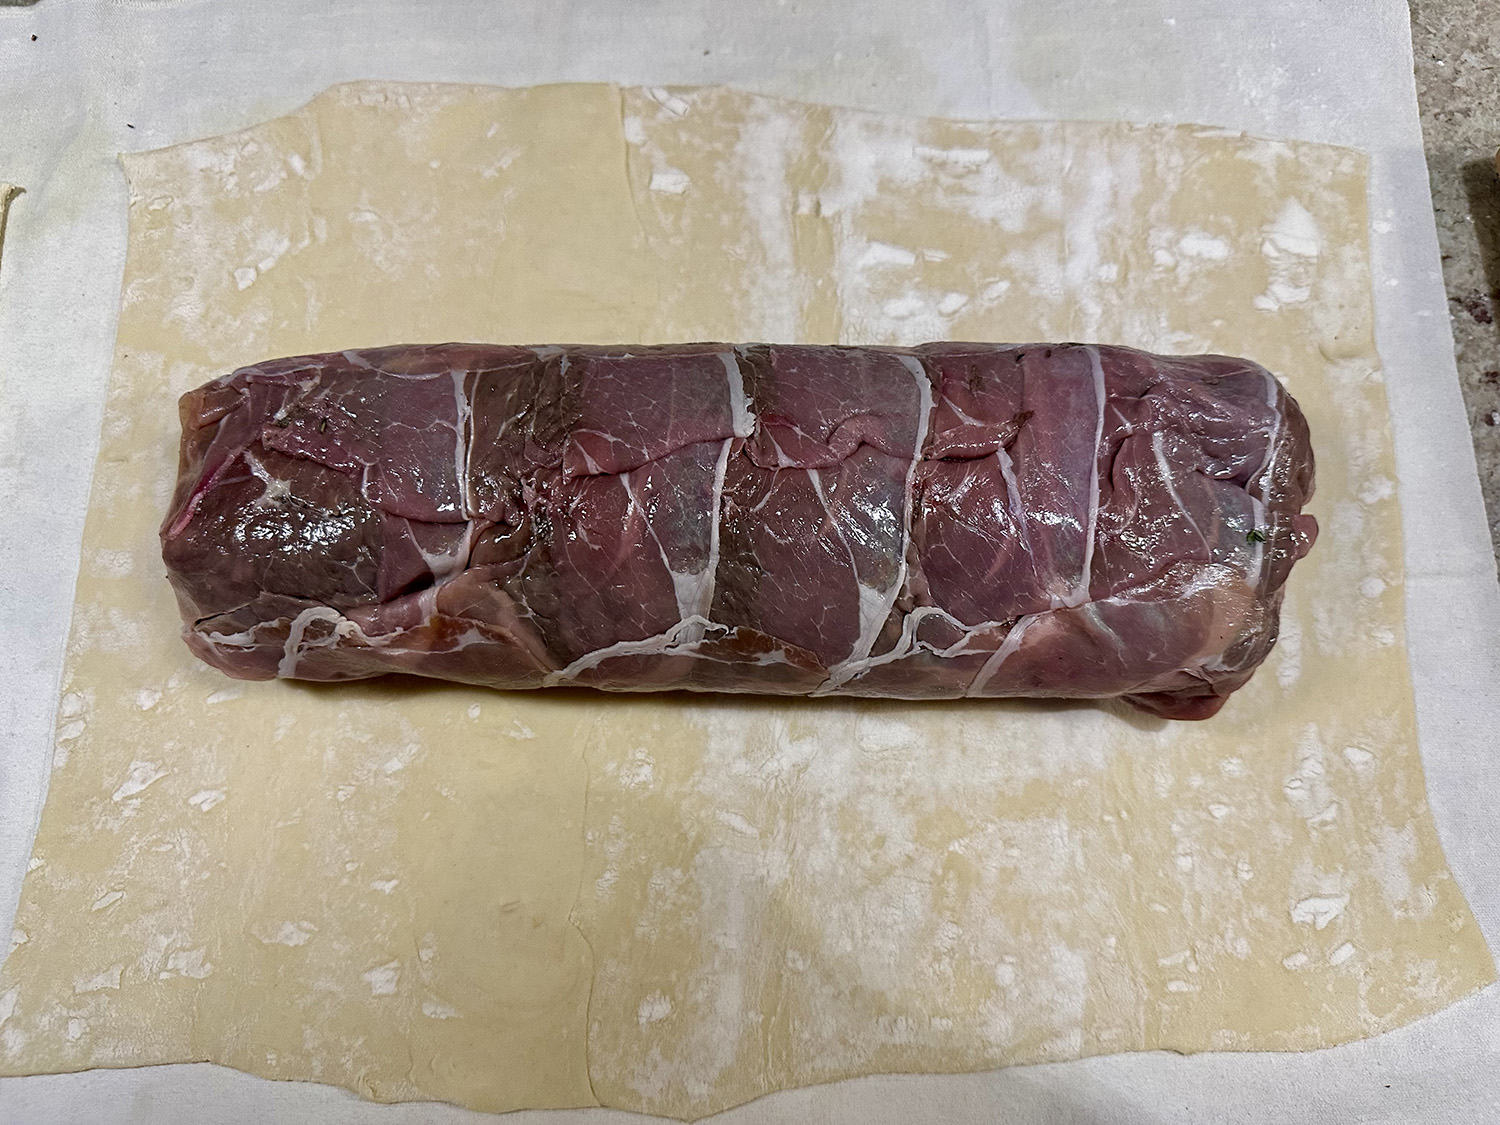
- On a lightly floured surface, roll the puff pastry out to about a 1/4-inch thickness. Depending on the size of your sheets you may have to overlap 2 sheets and press them together. Remove beef from refrigerator and cut off plastic. Set the beef in the center of the pastry and fold over the longer sides, brushing with egg wash to seal. Trim ends if necessary then brush with egg wash and fold over to completely seal the beef – saving ends to use as a decoration on top if desired. Top with coarse sea salt. Place the beef seam side down on a baking sheet.
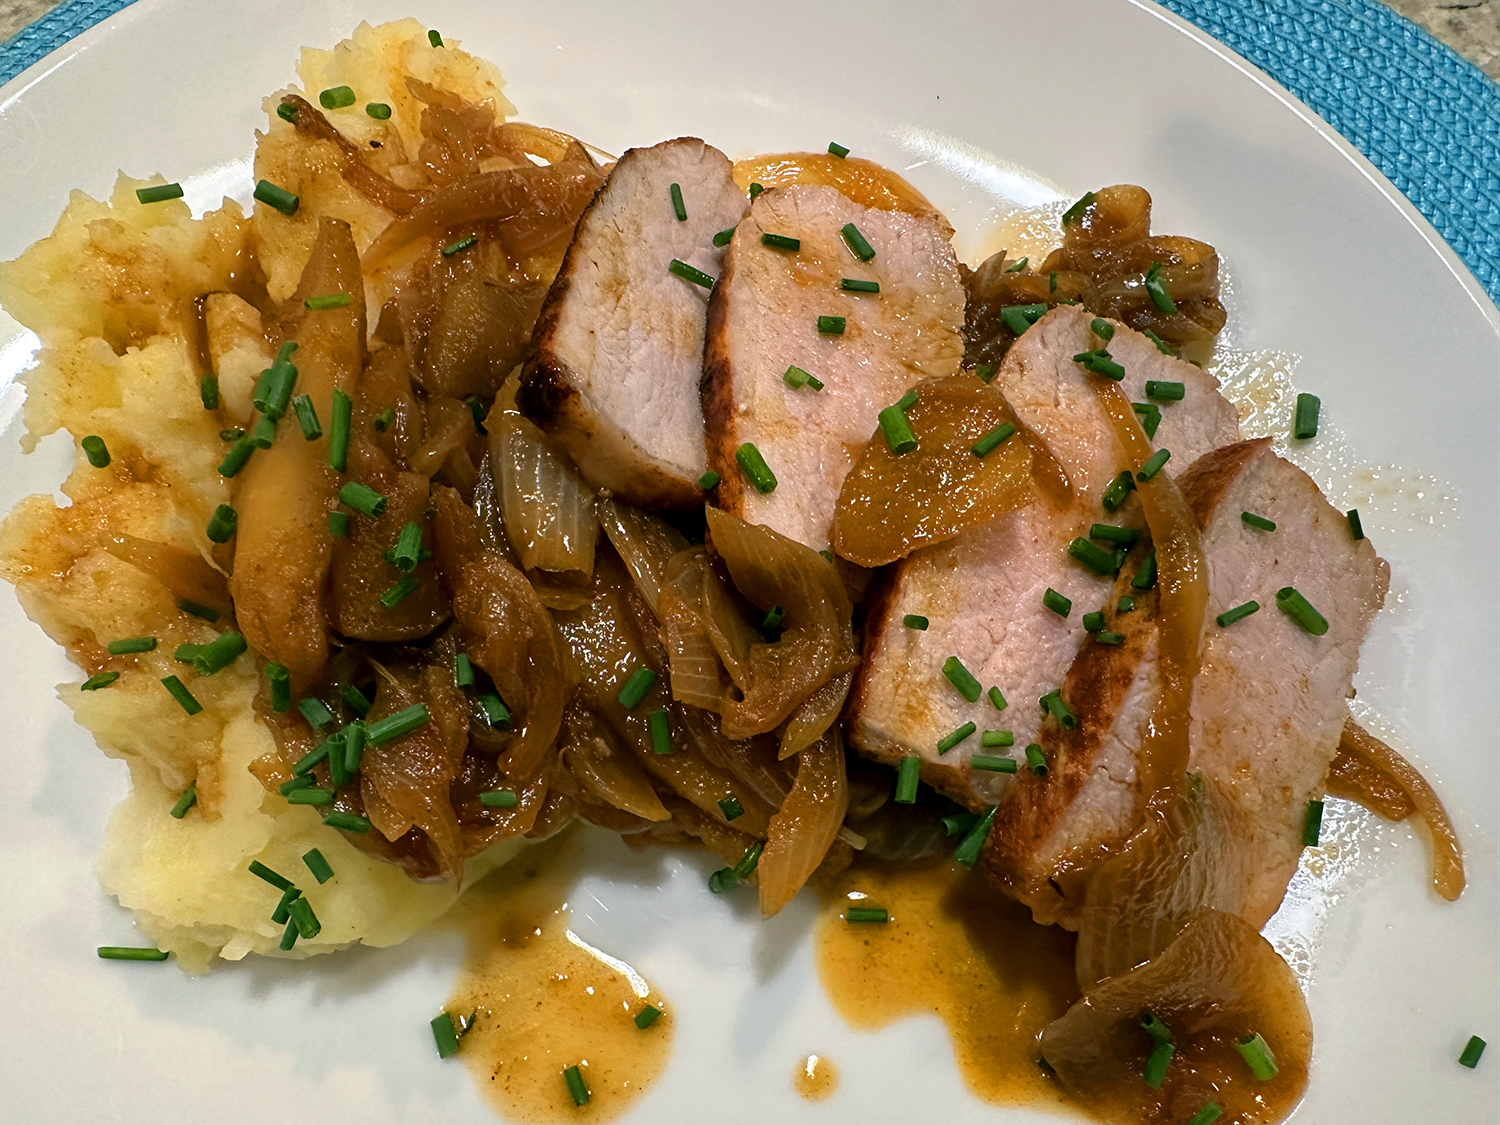
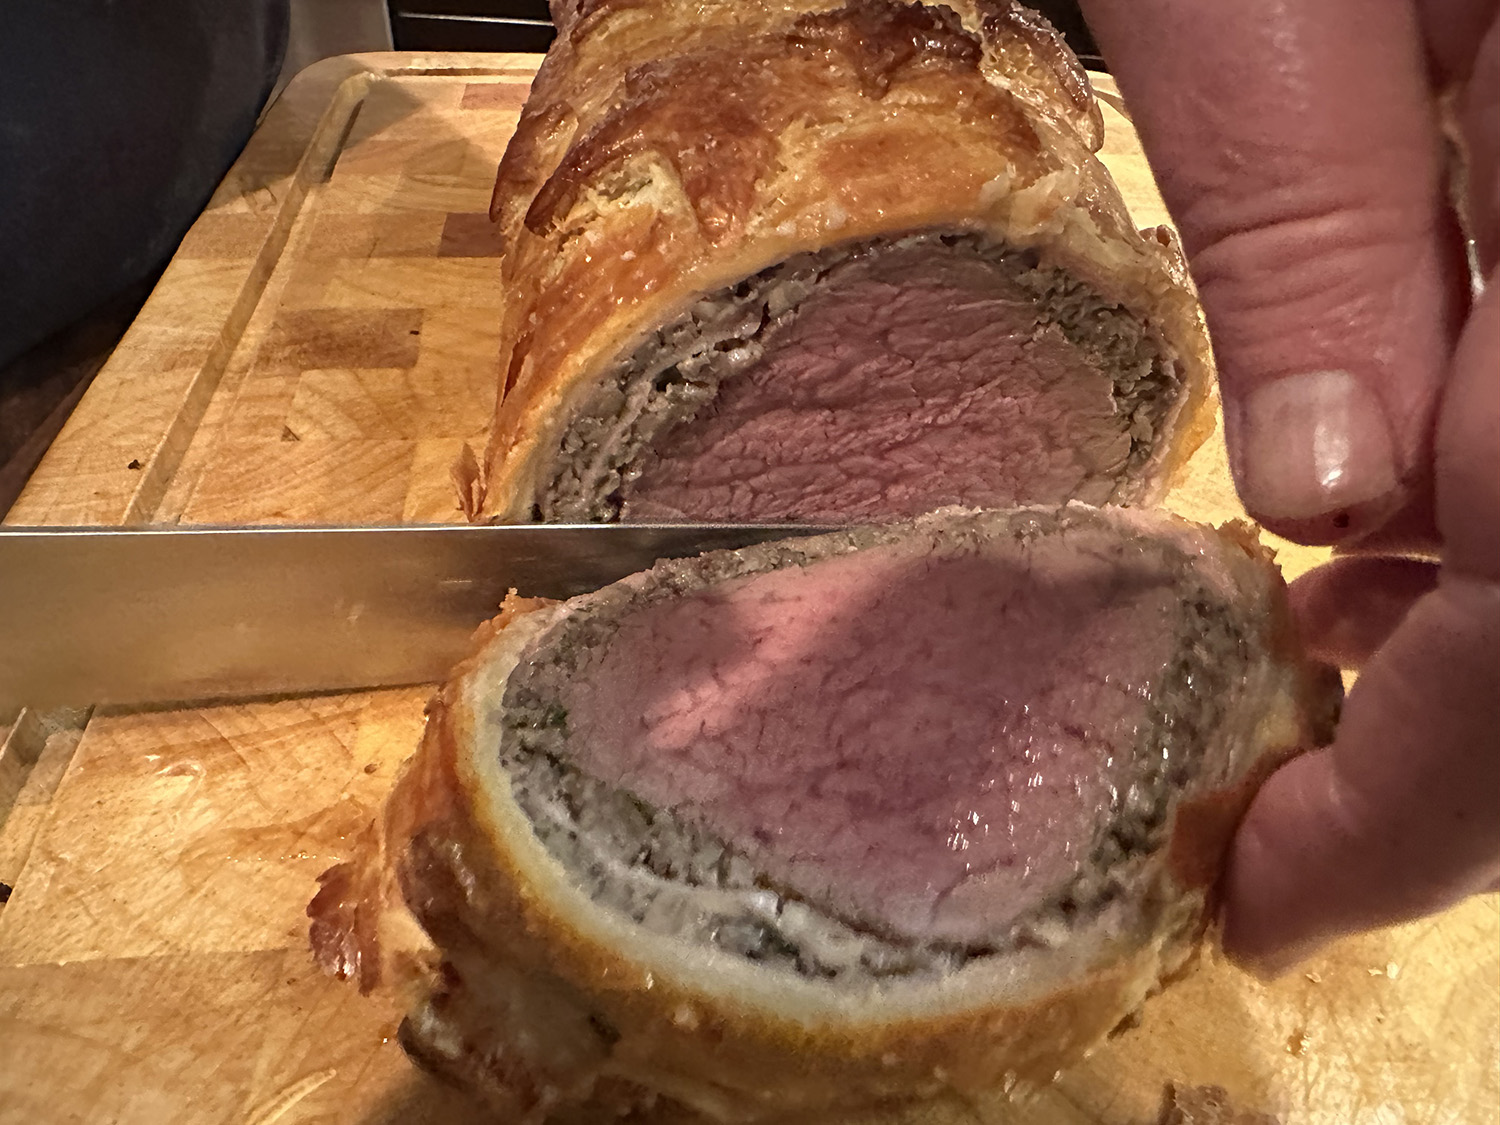
- Brush the top of the pastry with egg wash then make a couple of slits in the top of the pastry using the tip of a paring knife—this creates vents that will allow the steam to escape when cooking. Bake for 40 to 45 minutes until pastry is golden brown and beef registers 125 degrees F on an instant-read thermometer. Remove from oven and rest before cutting into thick slices. Garnish with minced chives, and serve with Green Peppercorn Sauce and Roasted Fingerling Potatoes with Fresh Herbs and Garlic.
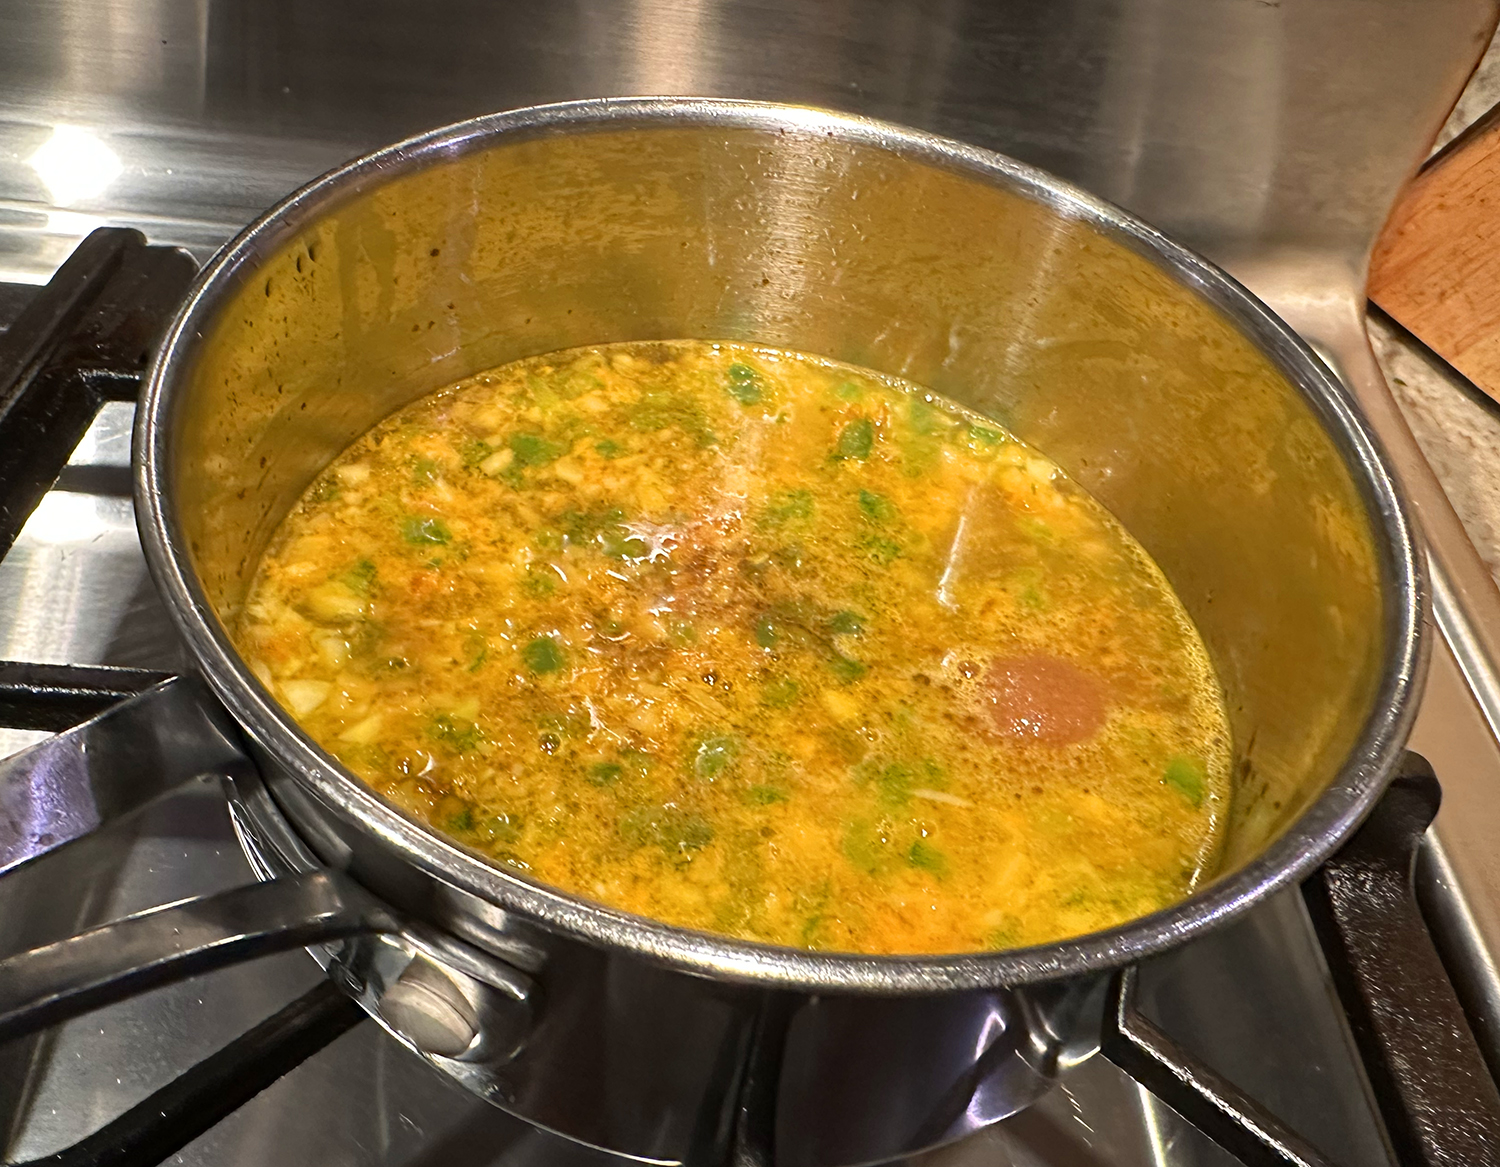
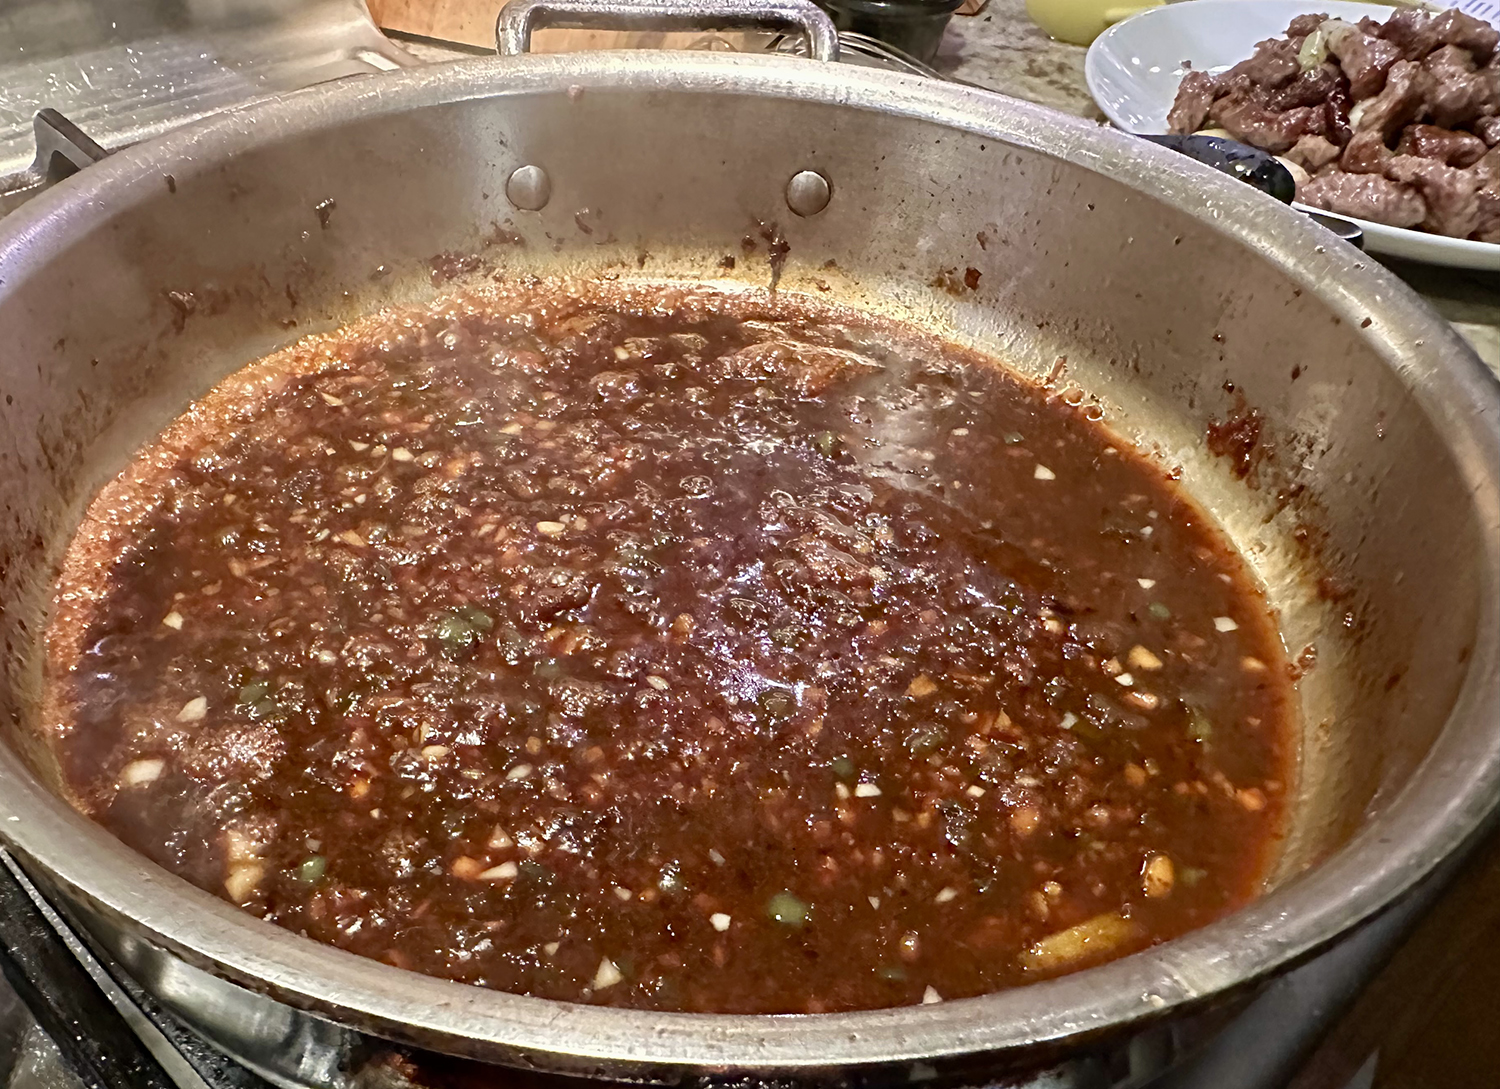
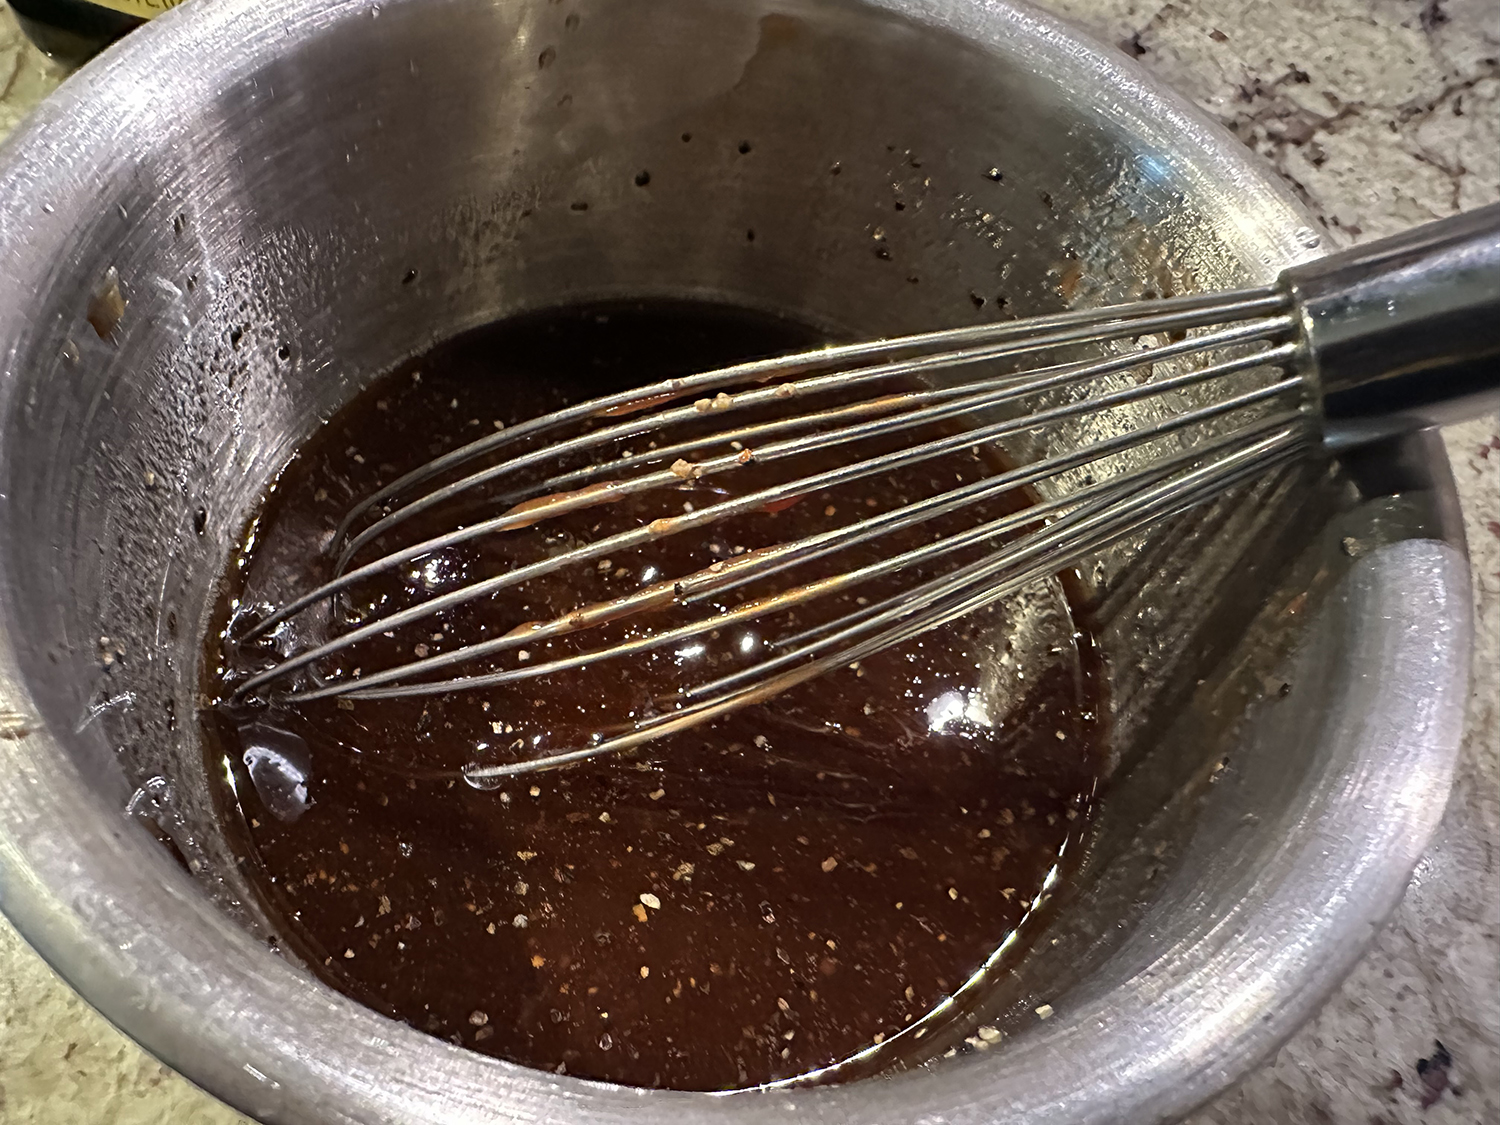
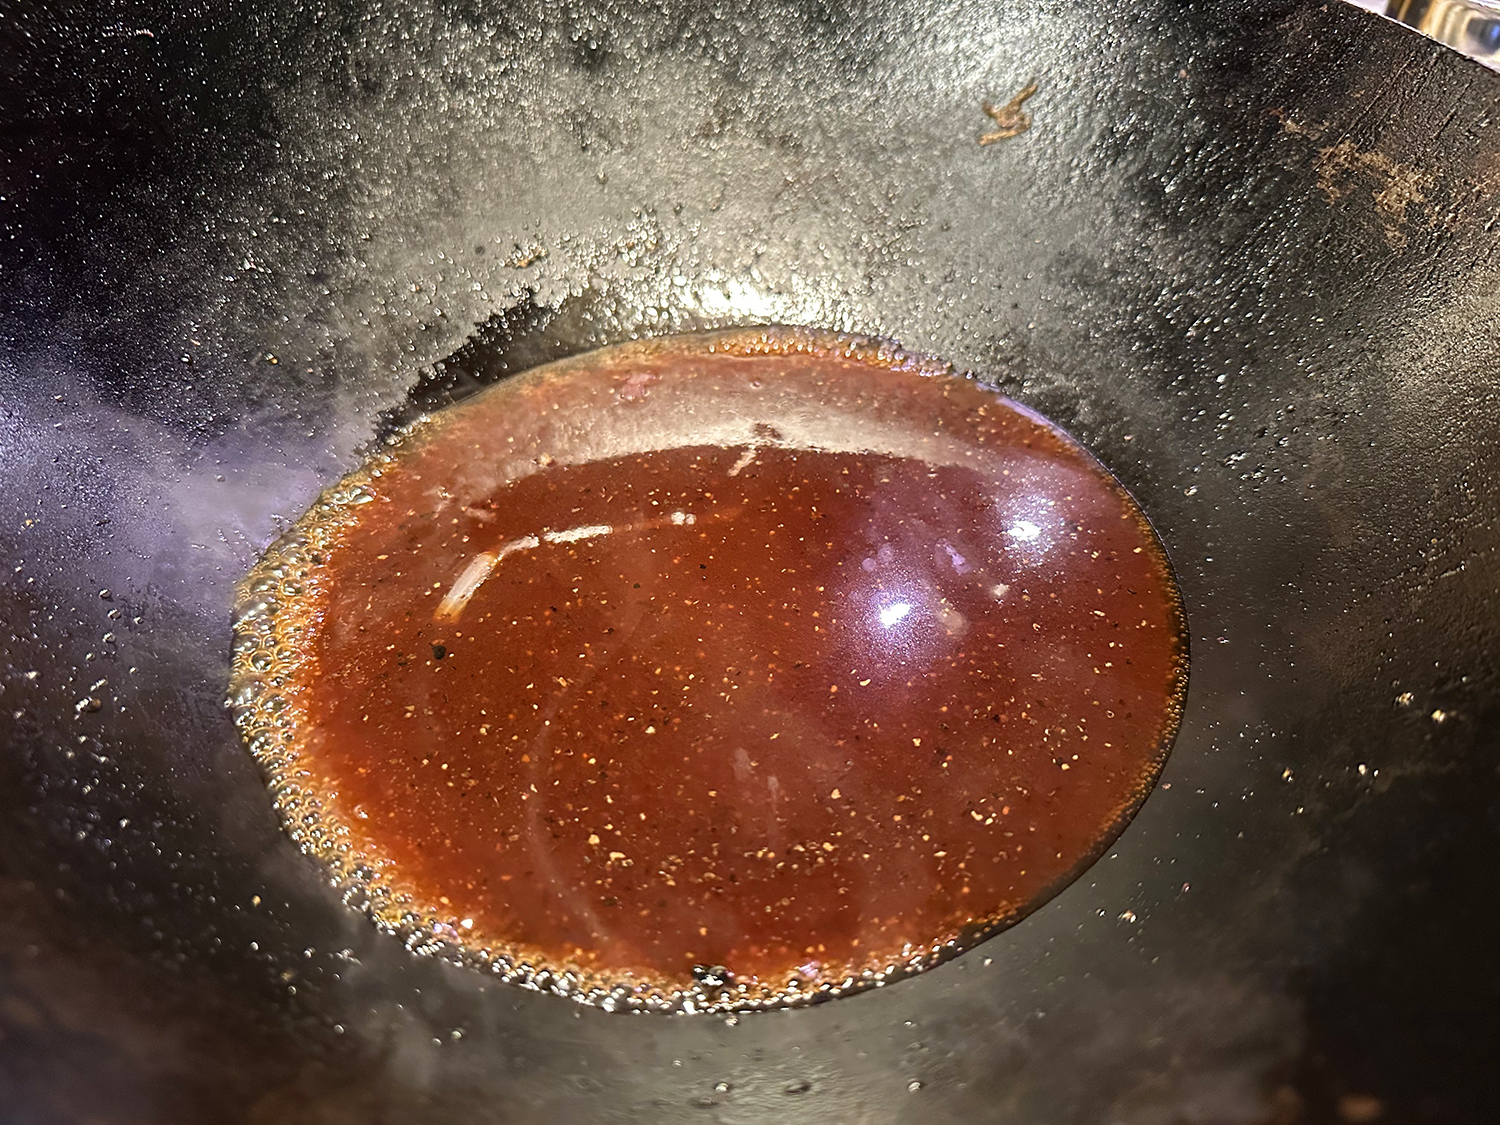
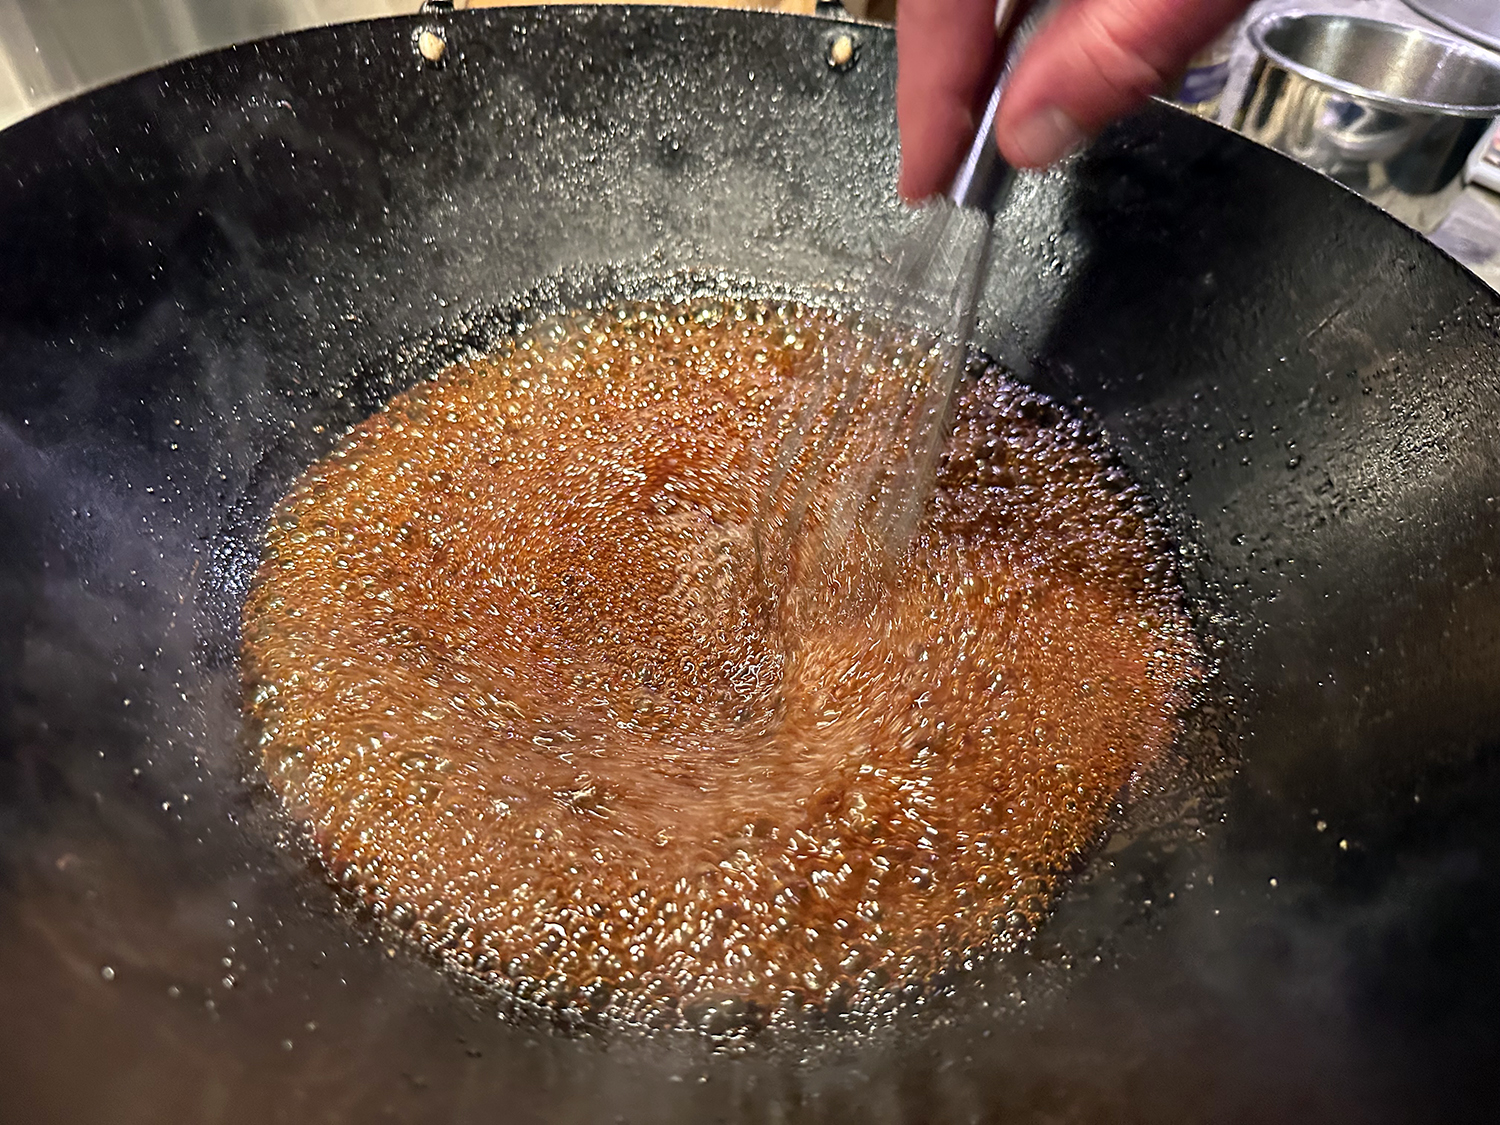
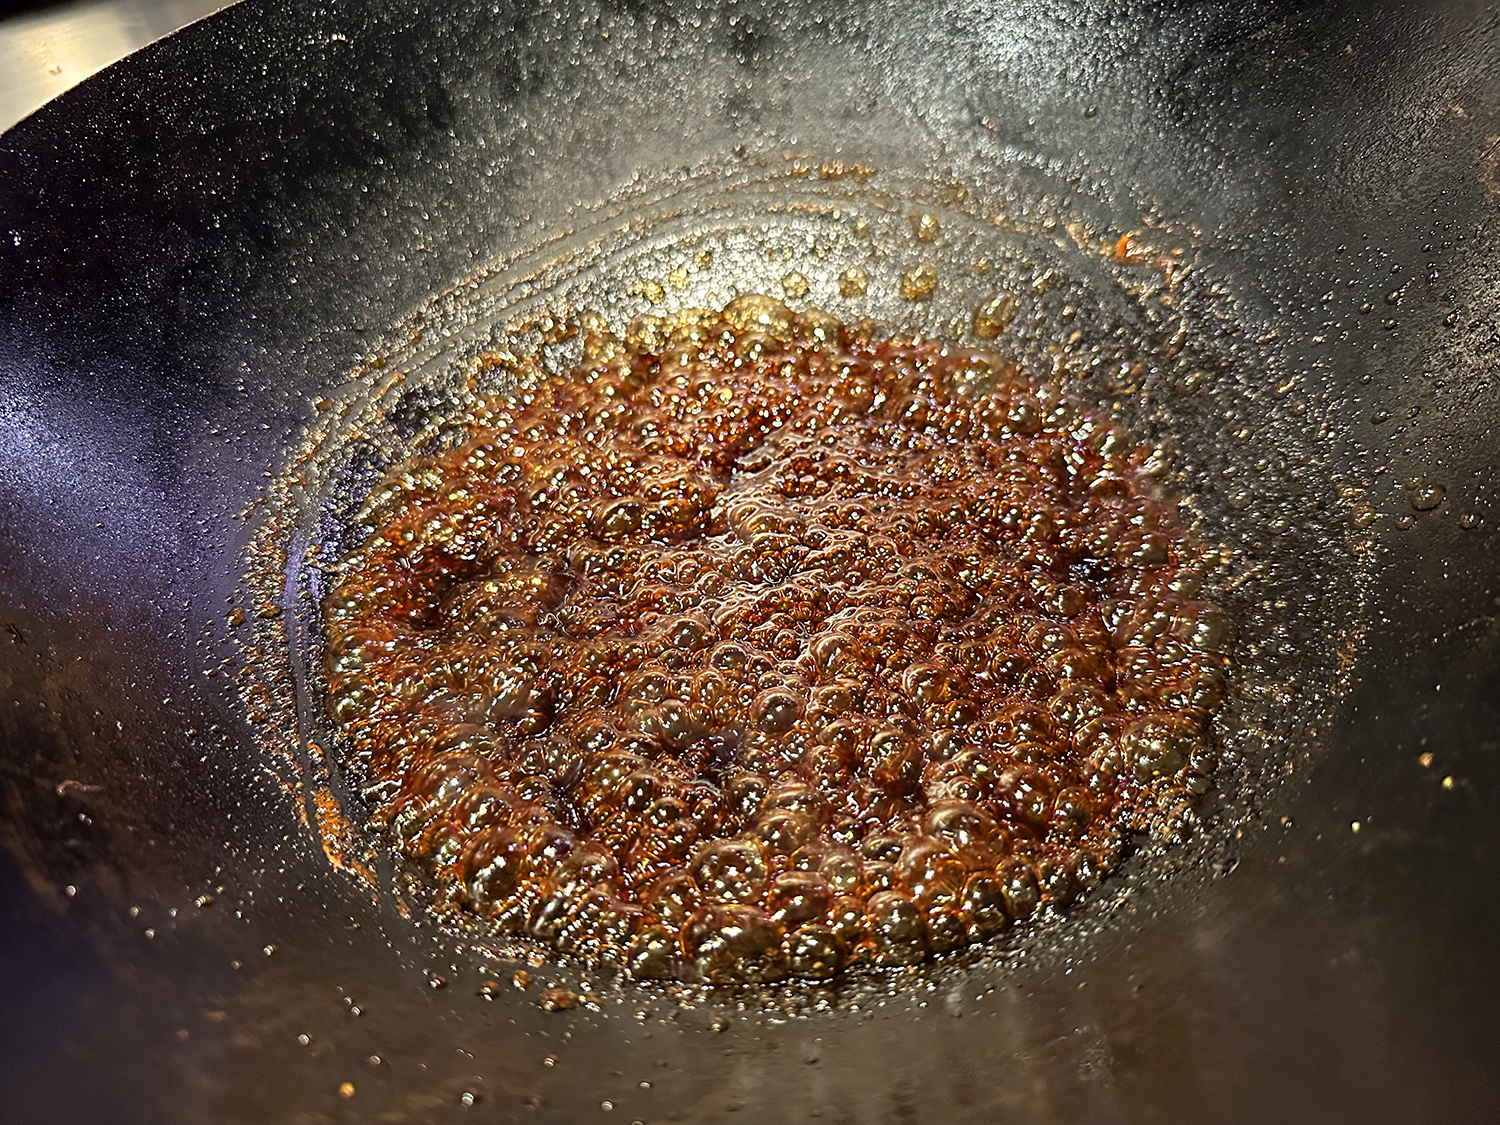
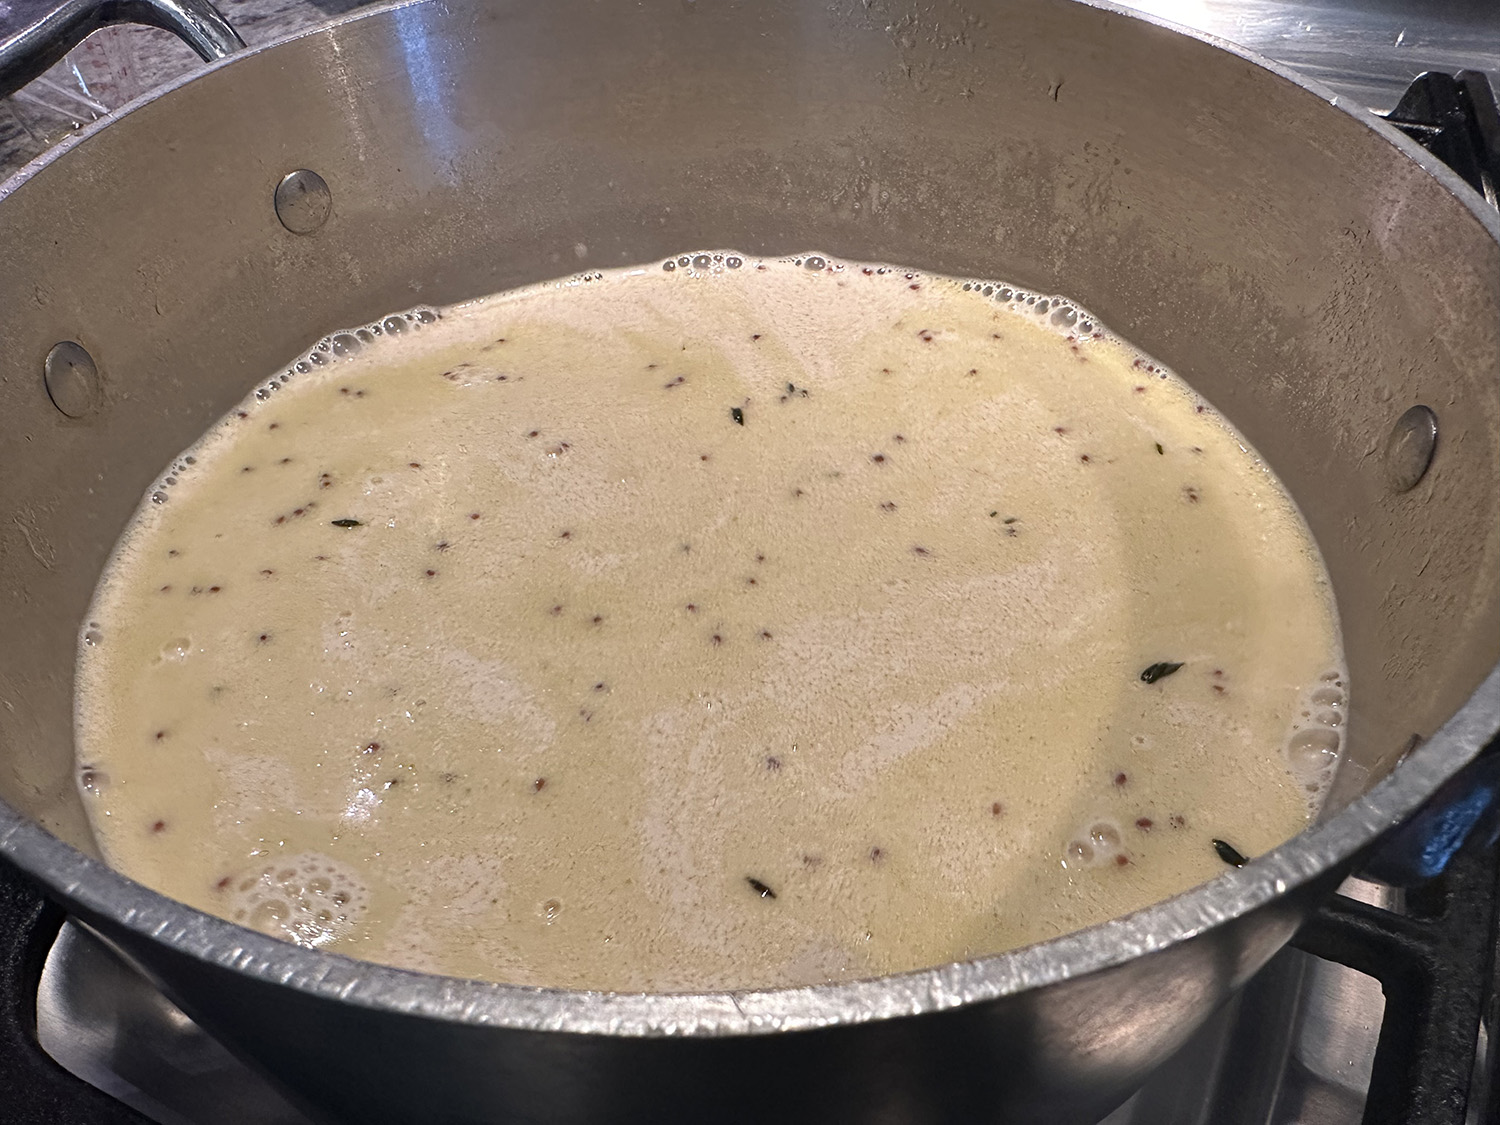
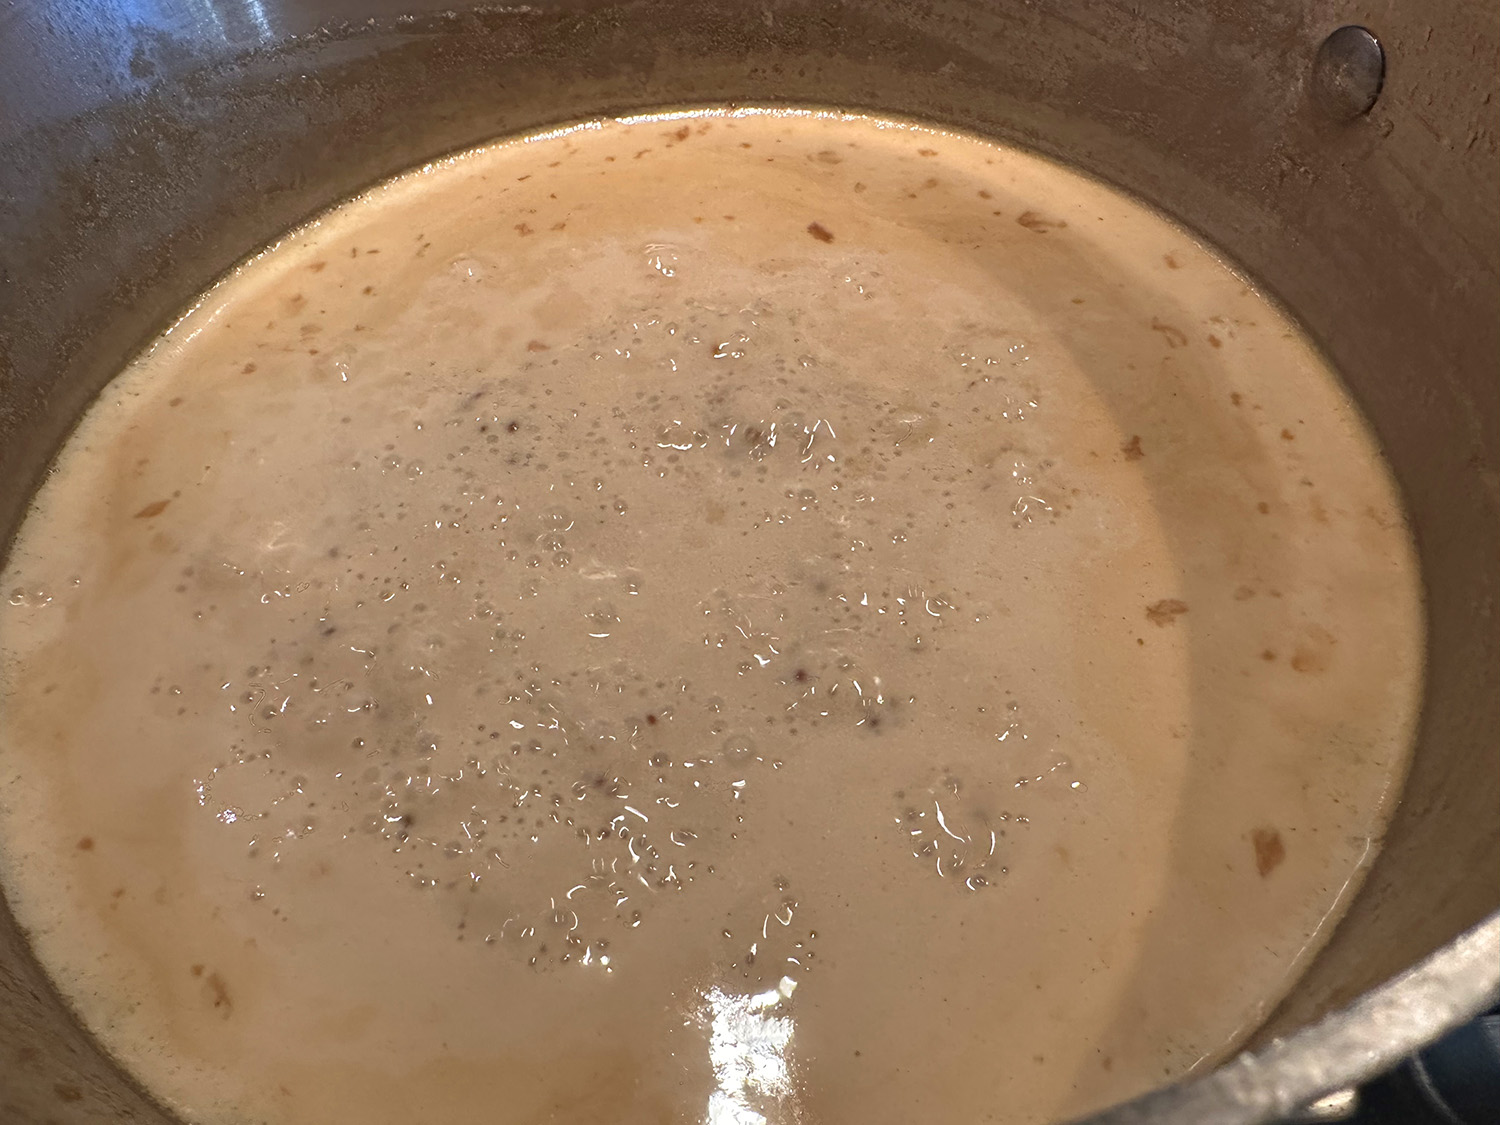
- For the Green Peppercorn Sauce: Add olive oil to pan after removing beef. Add shallots, garlic, and thyme; sauté for 1 to 2 minutes, then, off heat, add brandy and flambé using a long kitchen match. After flame dies down, return to the heat, add stock and reduce by about half. Strain out solids, then add 2 cups cream and mustard. Reduce by half again, then shut off heat and add green peppercorns. Can be made ahead, covered and put into the refrigerator. Reheat slowly in a saucepan when ready to eat.
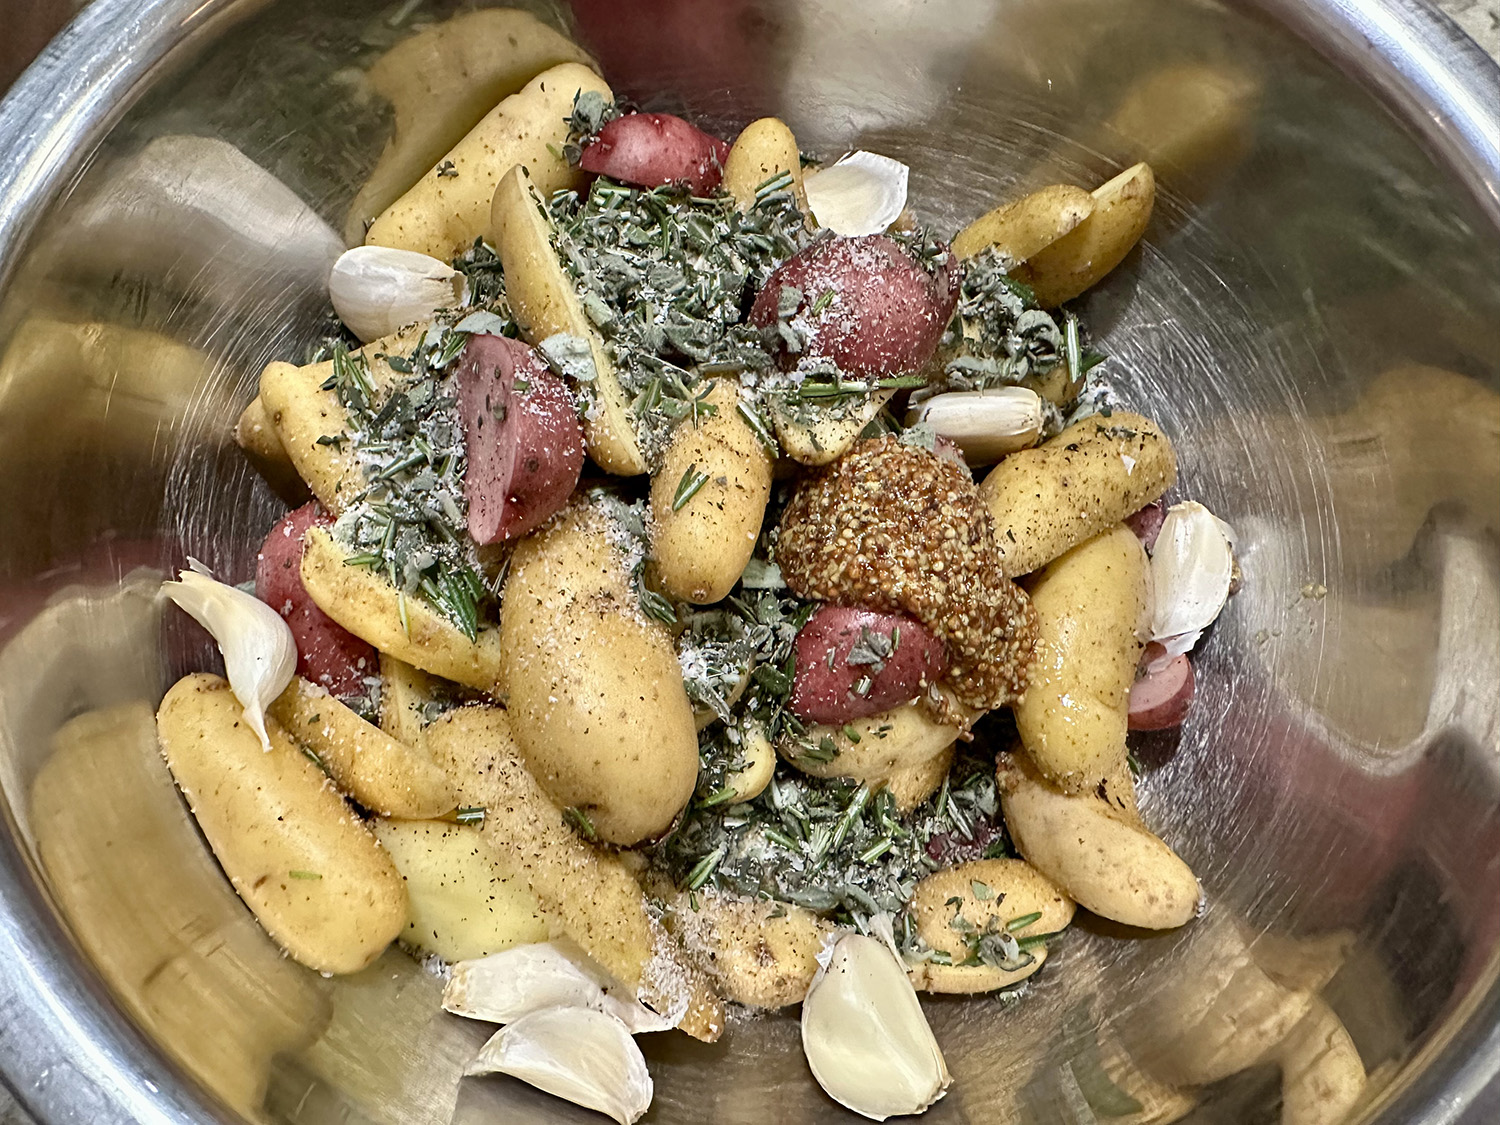
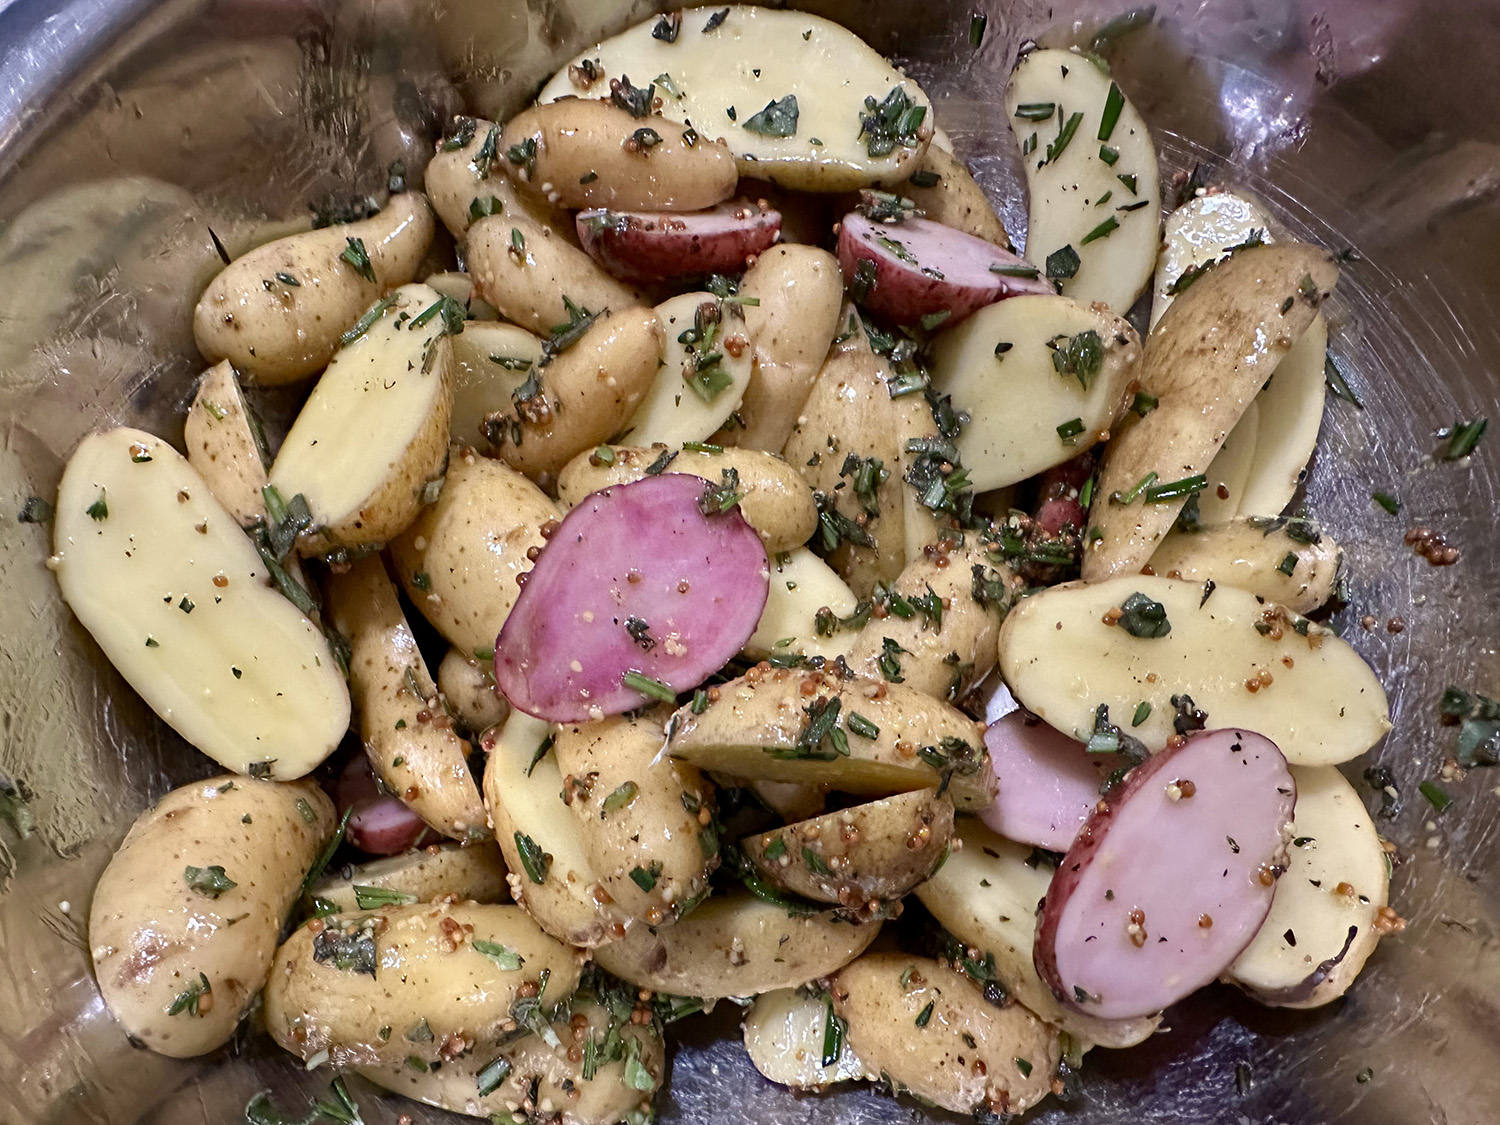
- Roasted Fingerling Potatoes with Fresh Herbs and Garlic: Preheat oven to 500 degrees F and place a baking sheet inside to heat. Add potatoes, rosemary, sage, thyme, garlic, and mustard (if using) to a medium bowl. Drizzle with the olive oil, season to taste with salt and pepper, and toss well.
- Remove sheet pan from oven, lightly coat it with olive oil, and pour potatoes onto pan, reserving the bowl. Place potatoes in oven and reduce heat to 425 degrees F. Roast for 20 minutes, or until crispy on outside and tender on inside.
- Place roasted potatoes in the bowl. Remove the garlic cloves from their peels and place in a small bowl. Mash the garlic, then return it to the bowl and blend it well with the potatoes. Serve.
Adapted from recipes by Tyler Florence