Tag Archives: main dish

Umbrian-Style Chicken alla Cacciatora Revisited

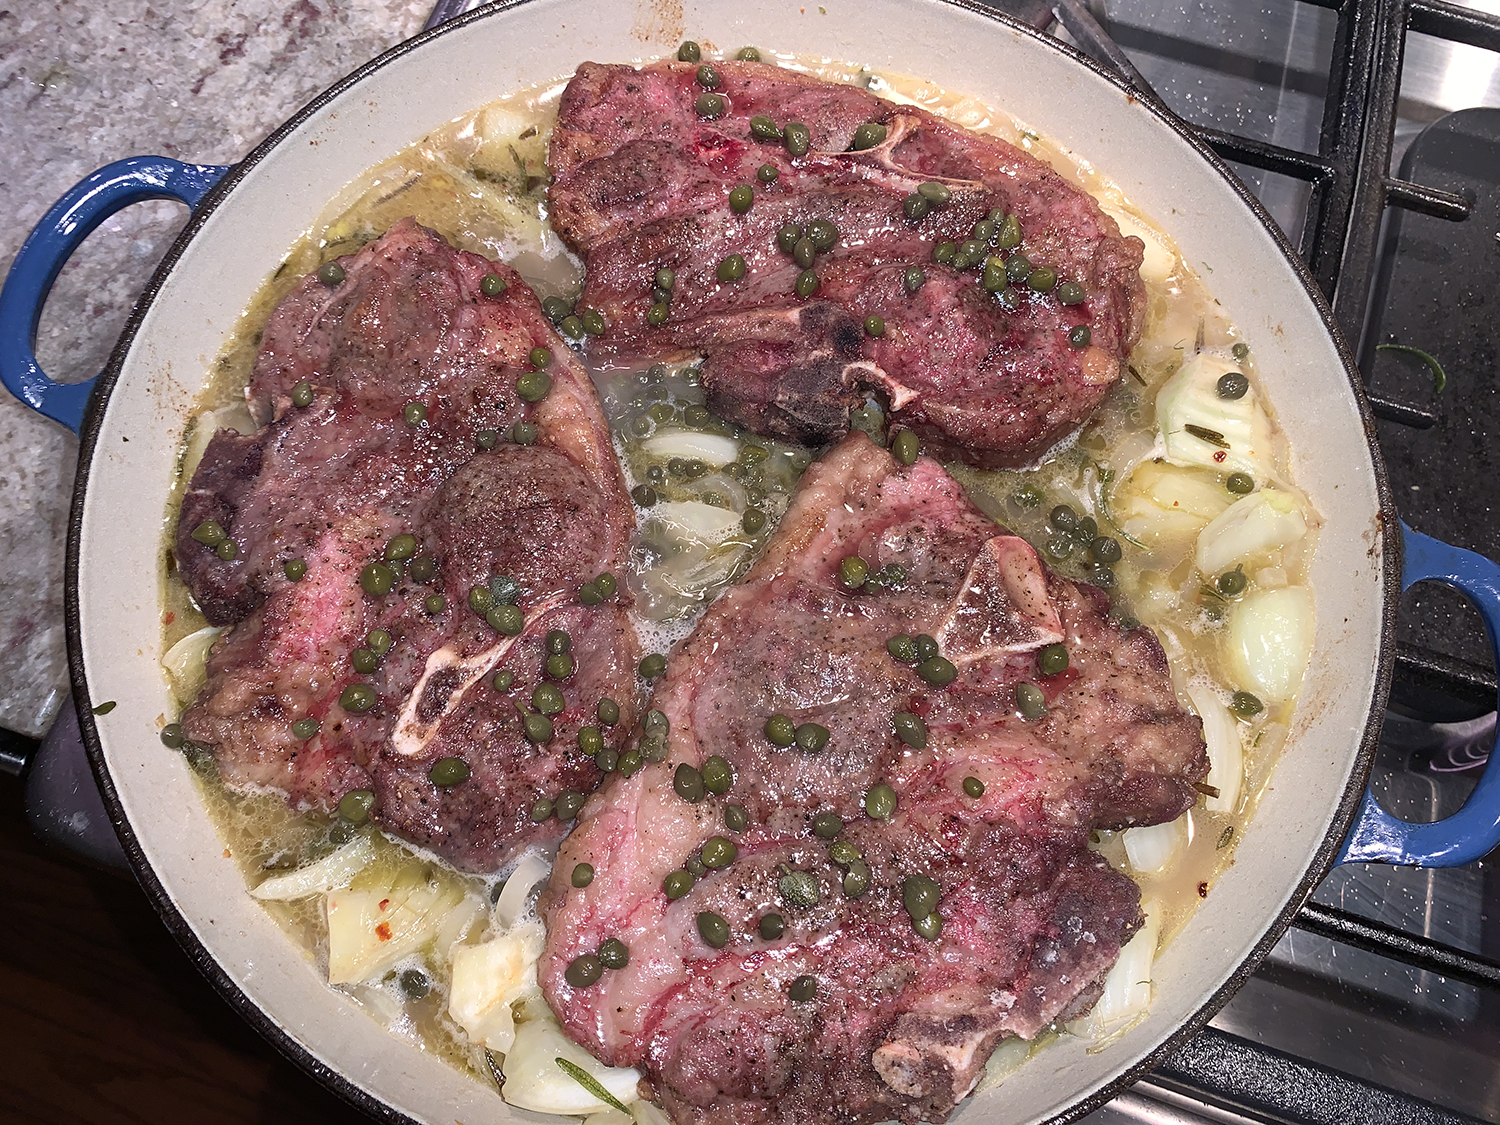
Did you know that Umbria, in central Italy, is home to a tomato-free version of Chicken alla Cacciatora? Rather, the rustic braise gets it character from lemon, olives, garlic and herbs. Capers also are customary, but this version uses pancetta instead to build rich, savory depth. Finally, alternatively to cutting up a whole chicken, which is what we usually do, here we substitute bone-in, skin-on thighs.

Strips of lemon zest are simmered into the sauce to infuse the dish with subtle citrusy notes. For easiest results, use a sharp vegetable peeler to plane off wide strips of zest from the fruit; each piece should be roughly 2 to 3 inches long. You will need a 12-inch oven-safe skillet for this recipe, our 3-quart Le Creuset “Baby Blue” enameled cast-iron pot was perfect.

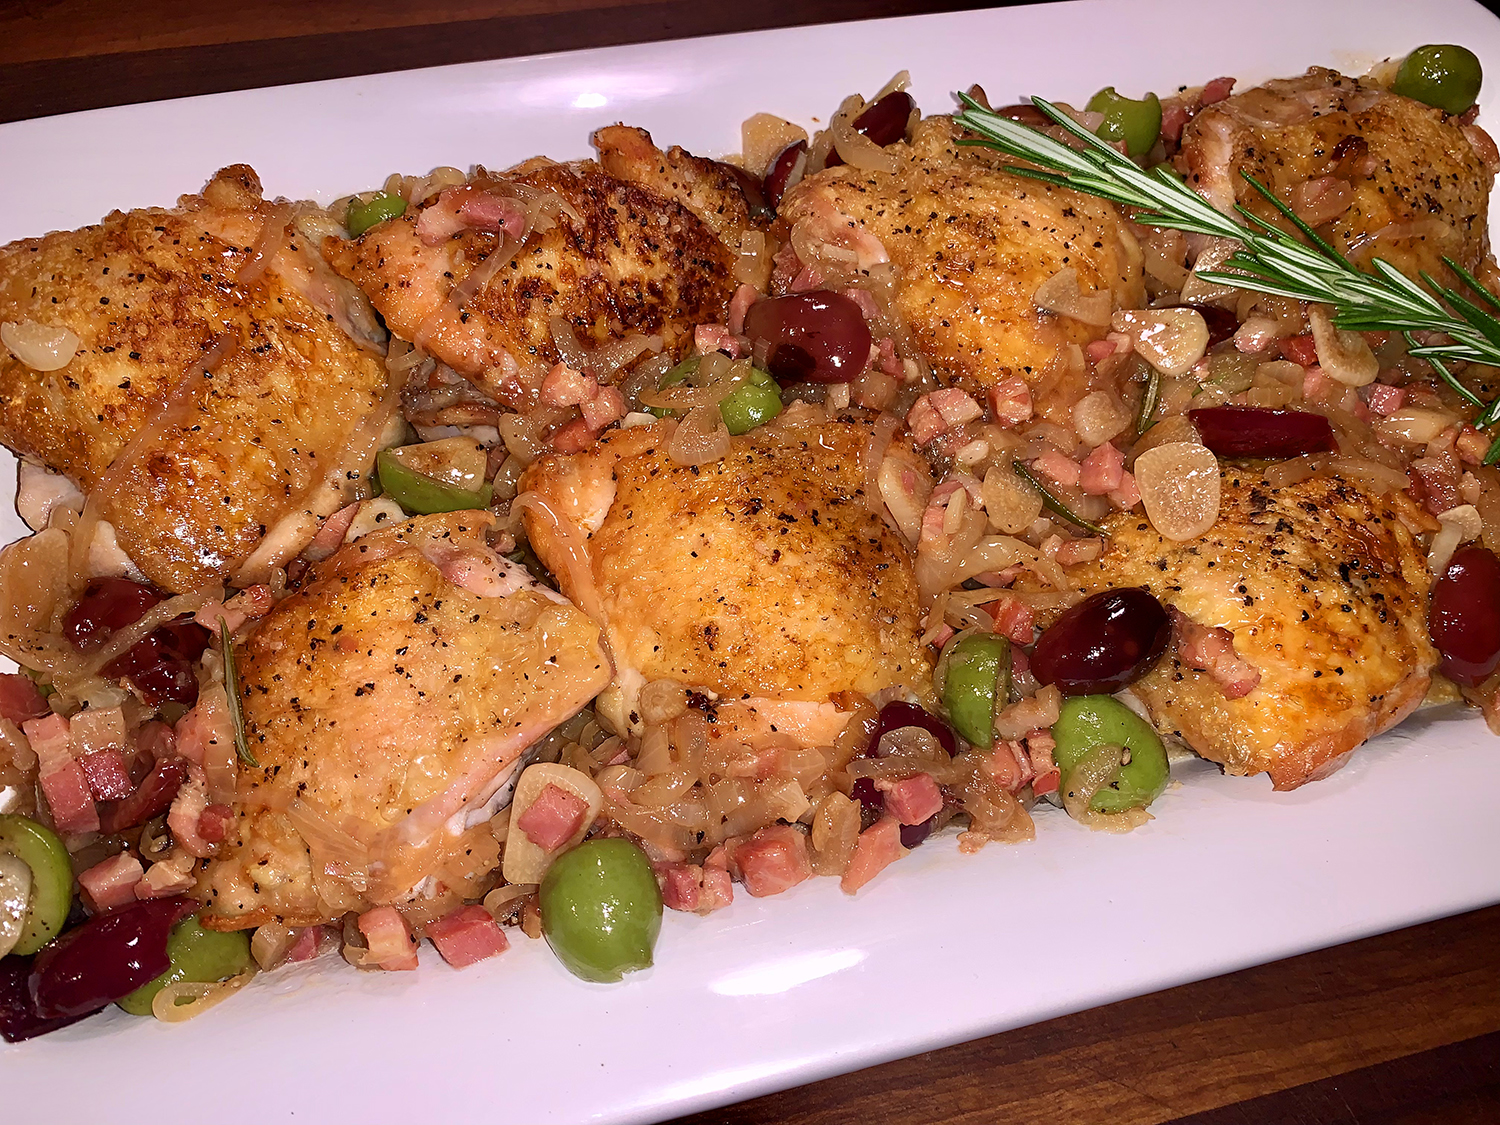
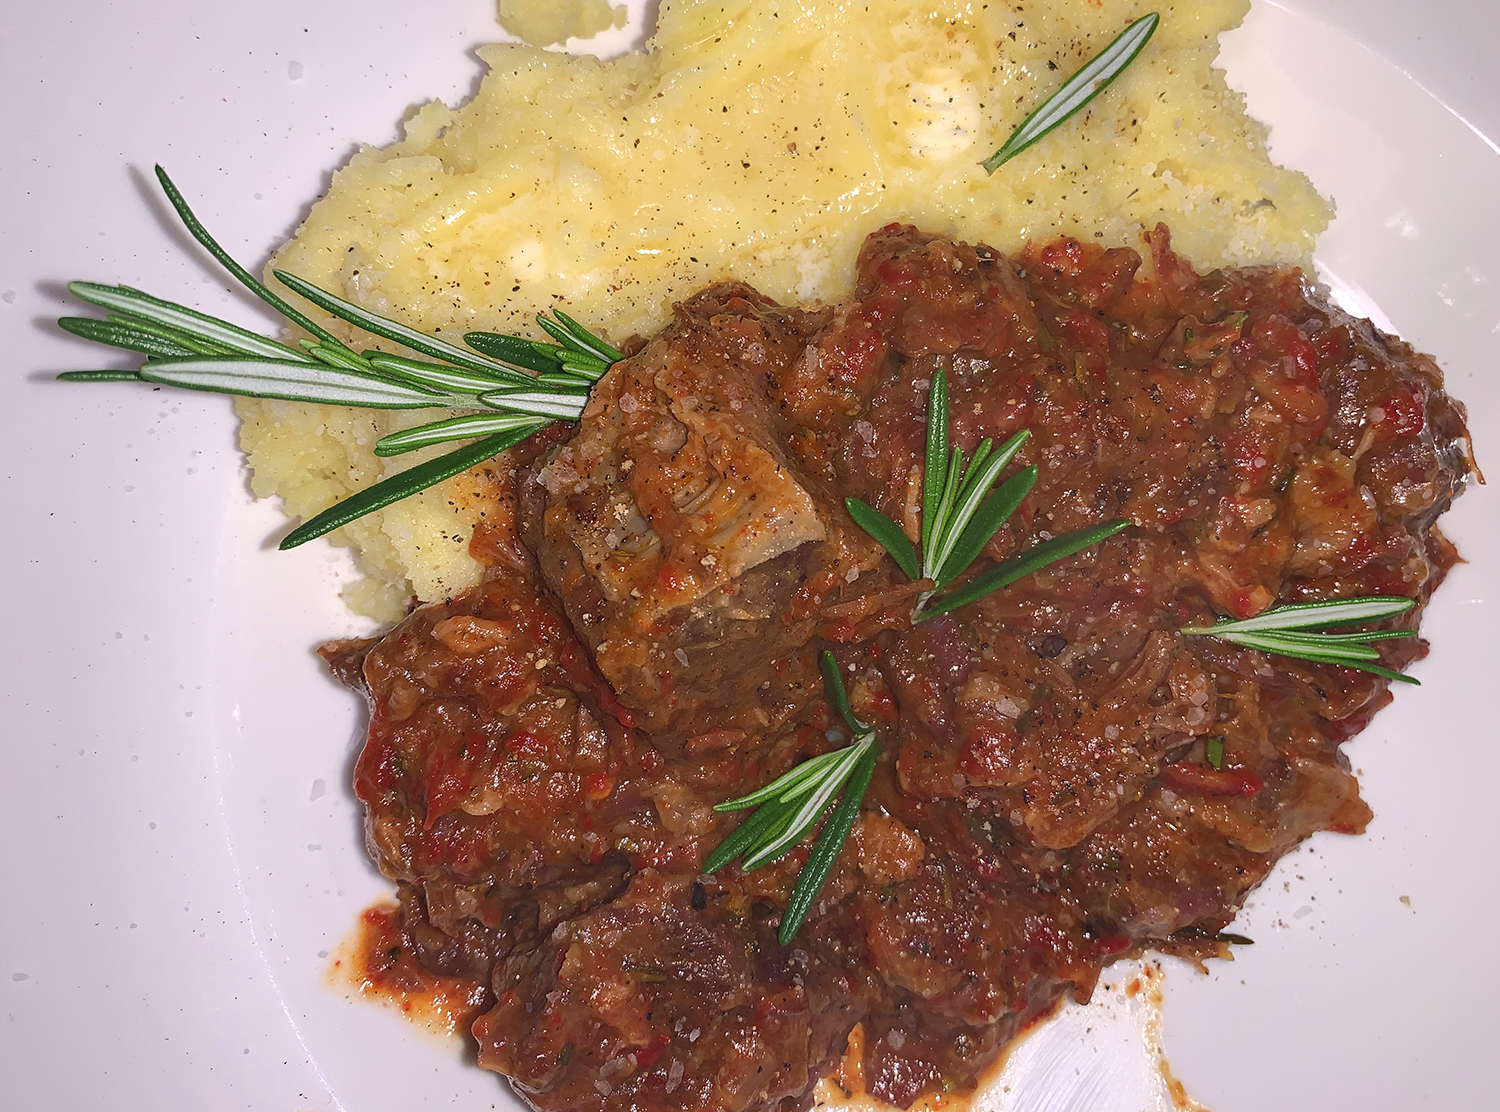
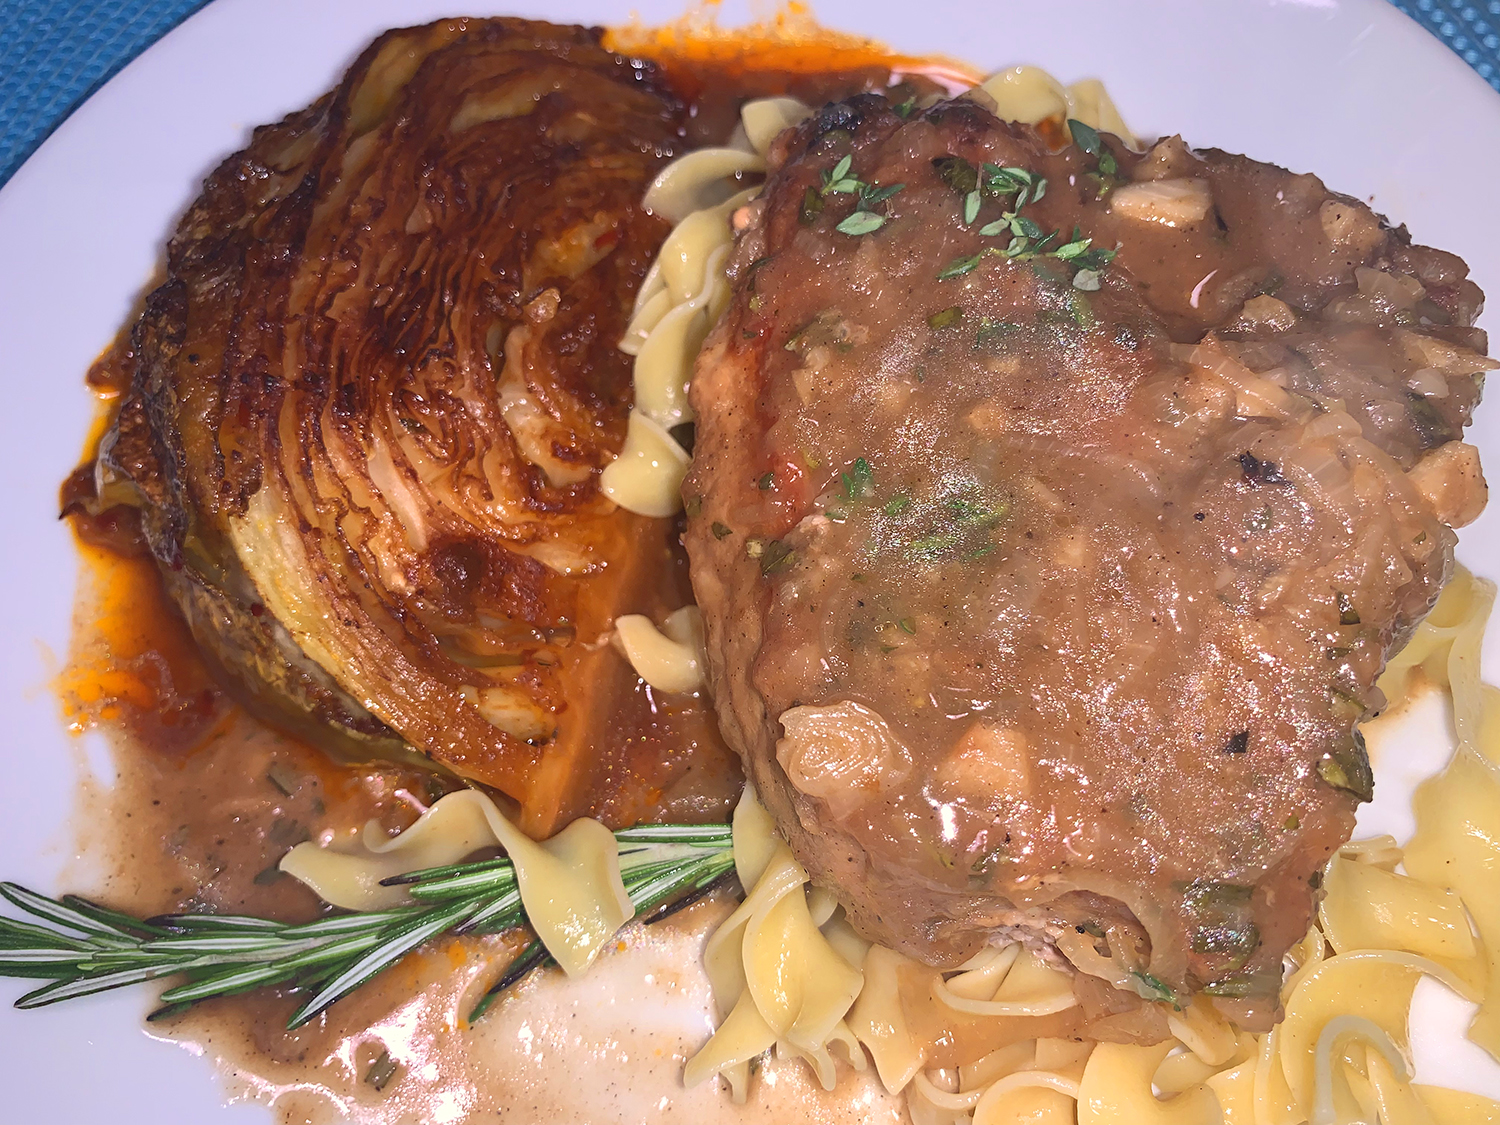
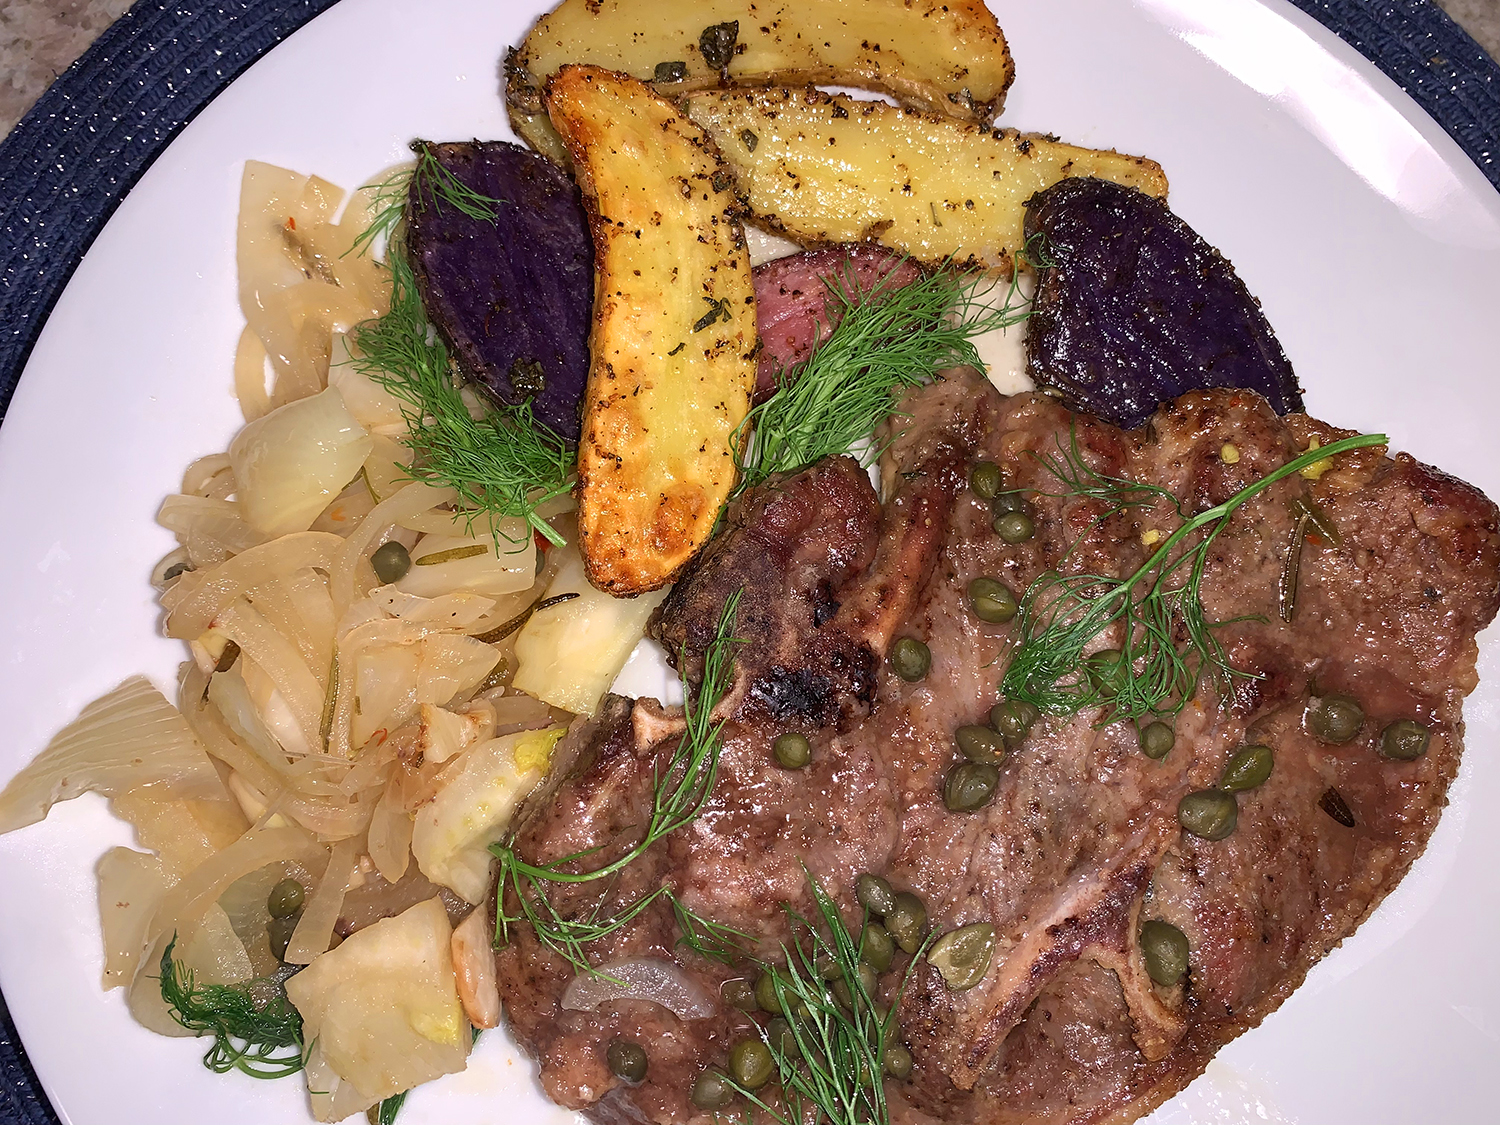
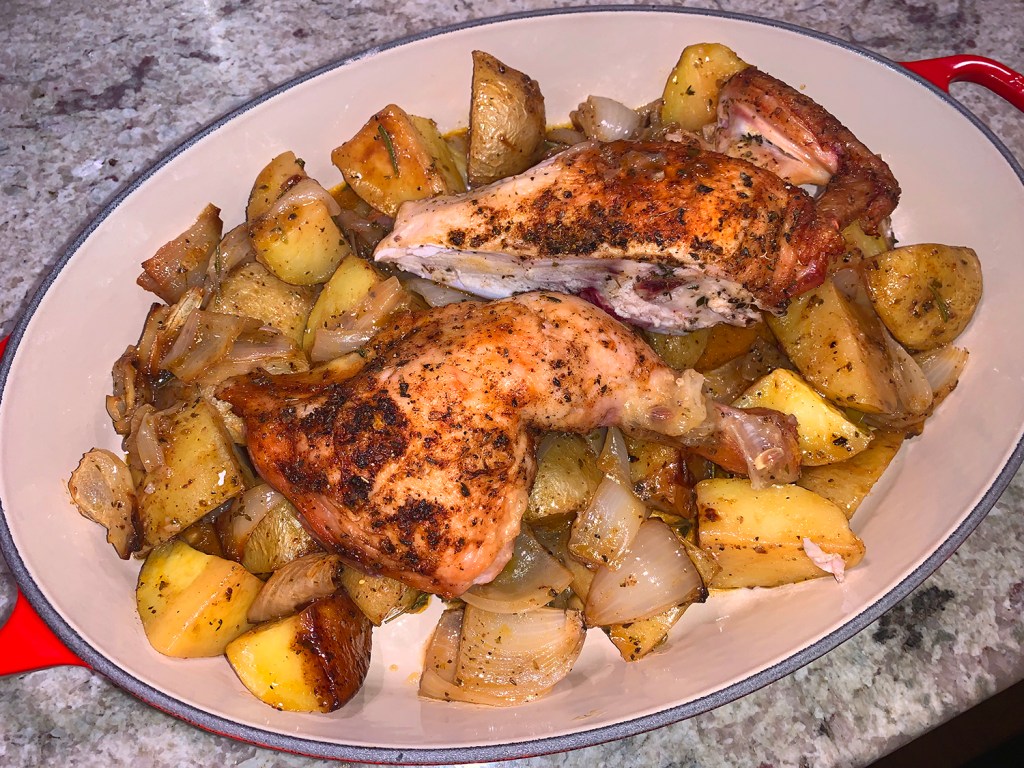
Fantastic! The combination of flavors had so much depth, we wanted to lick our plates clean. I know we loved the previous version using an entire chicken and capers, but this riff may have raised the bar to another level…

Umbrian-Style Chicken alla Cacciatora

  • Servings: 4
  • Difficulty: easy
  • Print

Ingredients

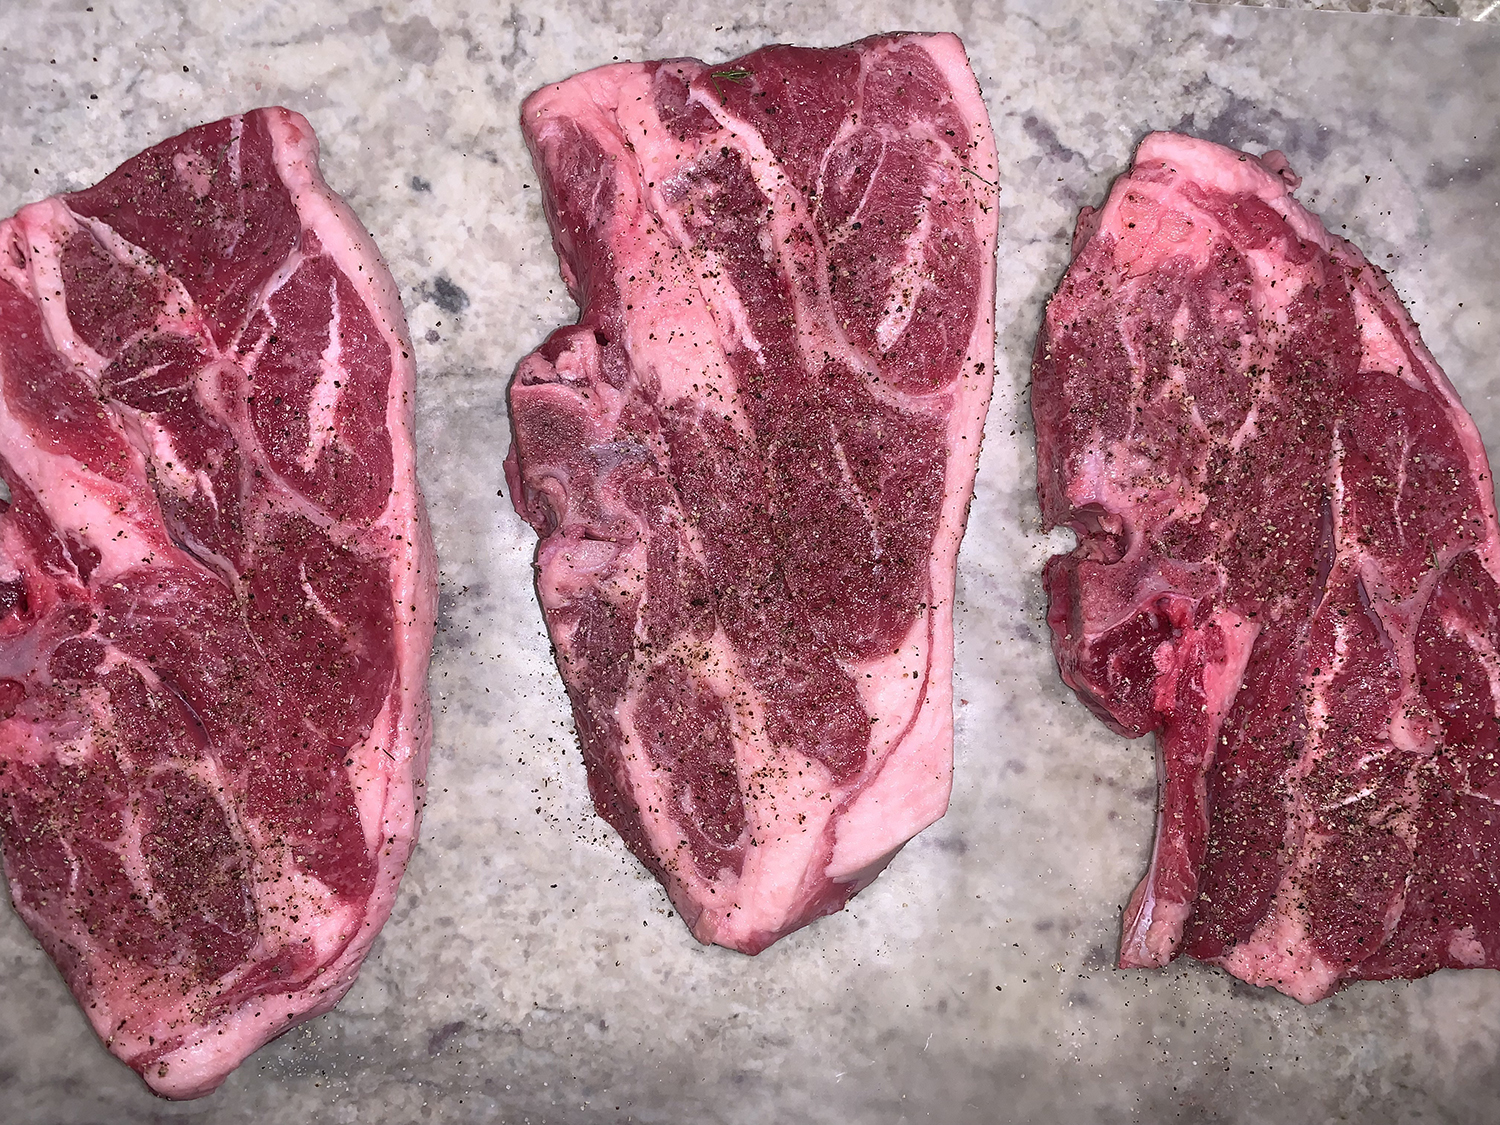
  • 3 lbs. bone-in, skin-on chicken thighs, trimmed and patted dry
  • Kosher salt and ground black pepper
  • 1 Tbsp. extra-virgin olive oil
  • 4 oz. pancetta, finely chopped
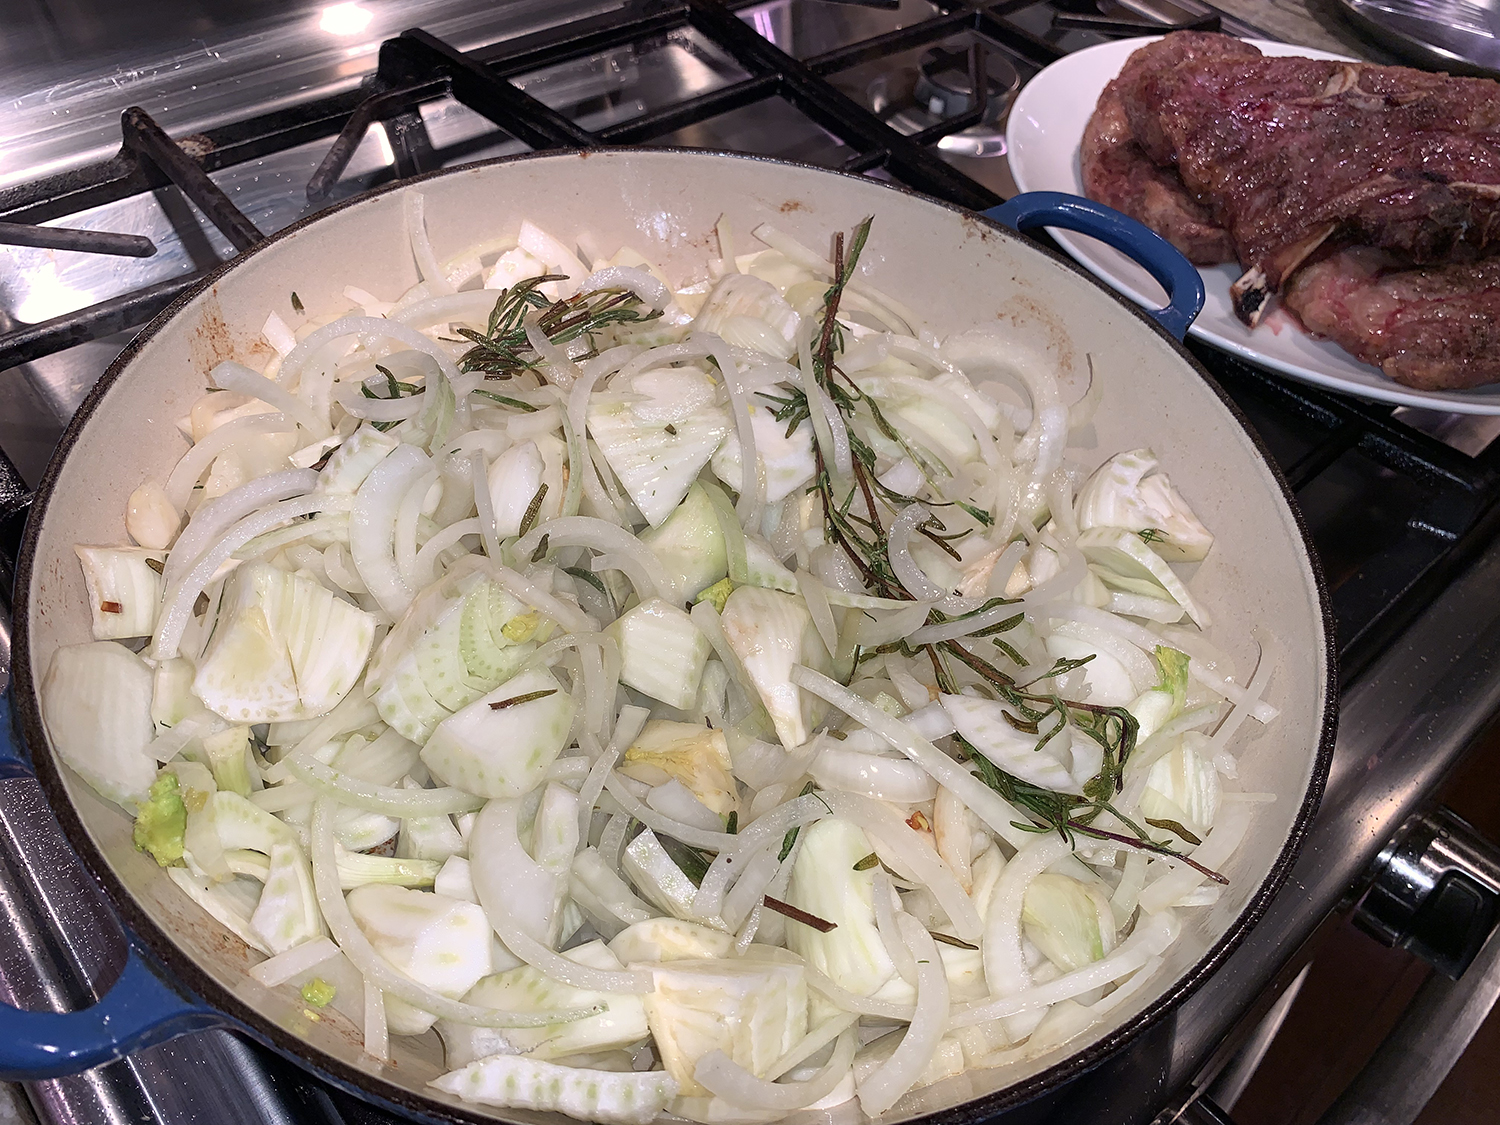
  • 1 large yellow onion, halved and thinly sliced
  • 1 cup dry white wine
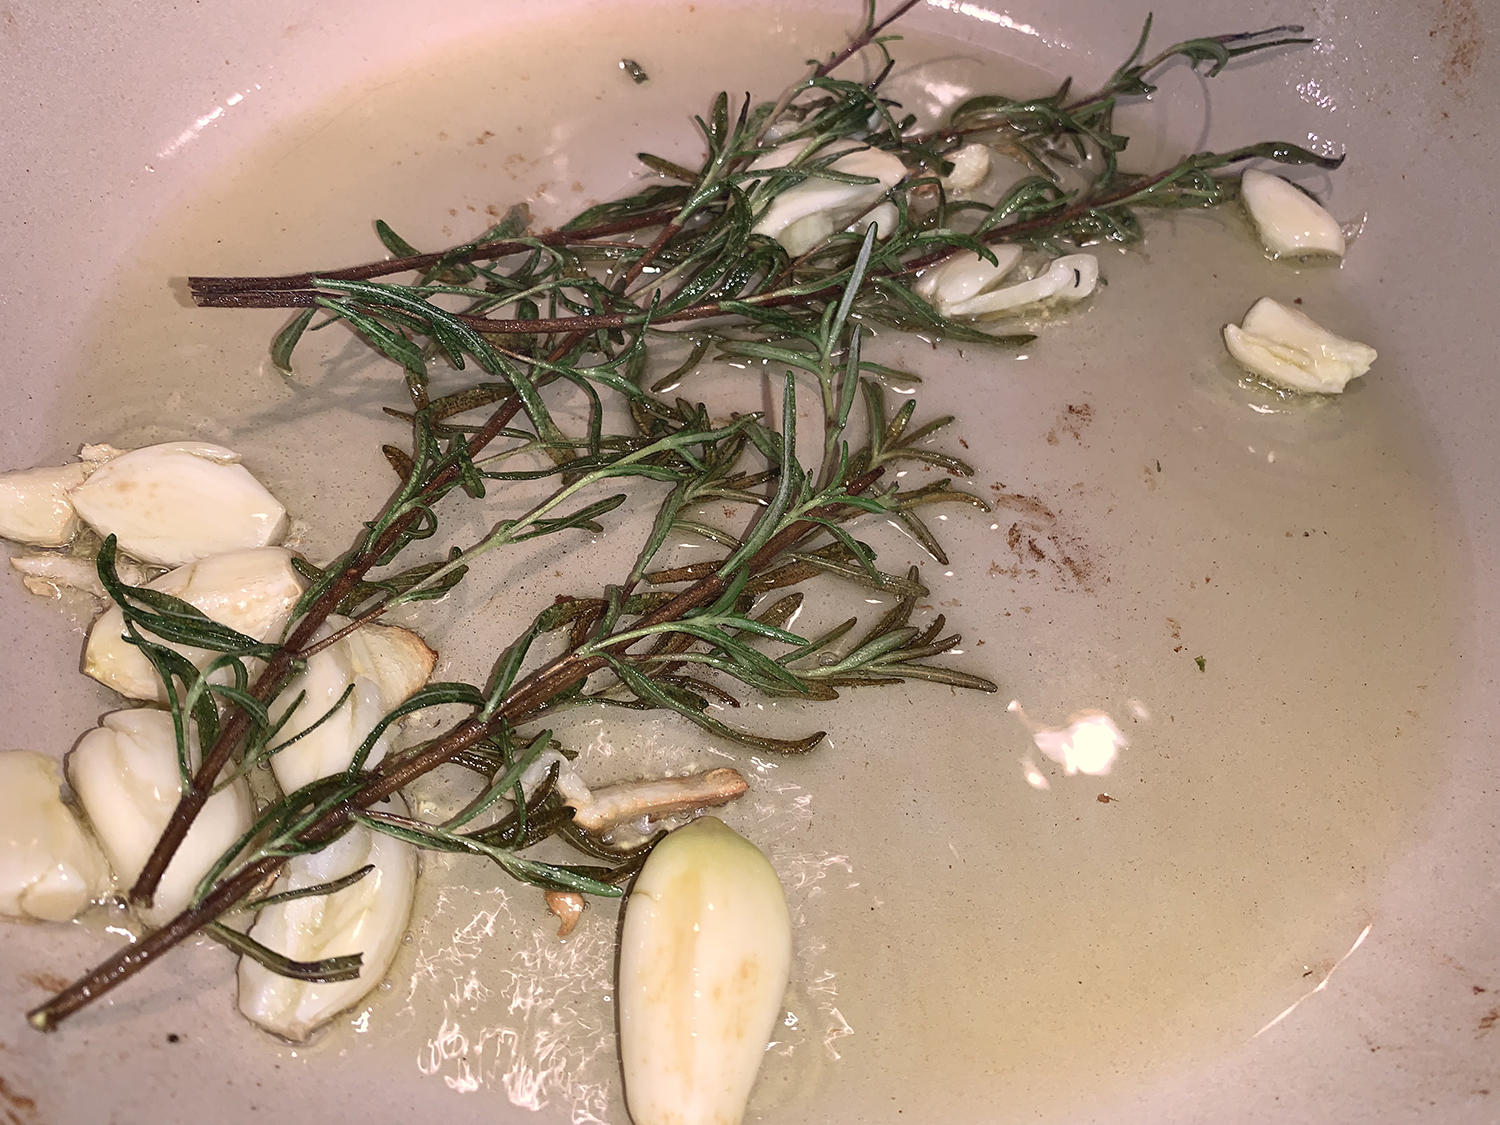
  • 4 cloves garlic, thinly sliced
  • 2 sprigs fresh rosemary
  • 1 cup pitted green or black olives or a combination, drained and halved
  • 4 strips lemon zest, plus 1 Tbsp. lemon juice
  • 2 Tbsp. white balsamic vinegar

Directions

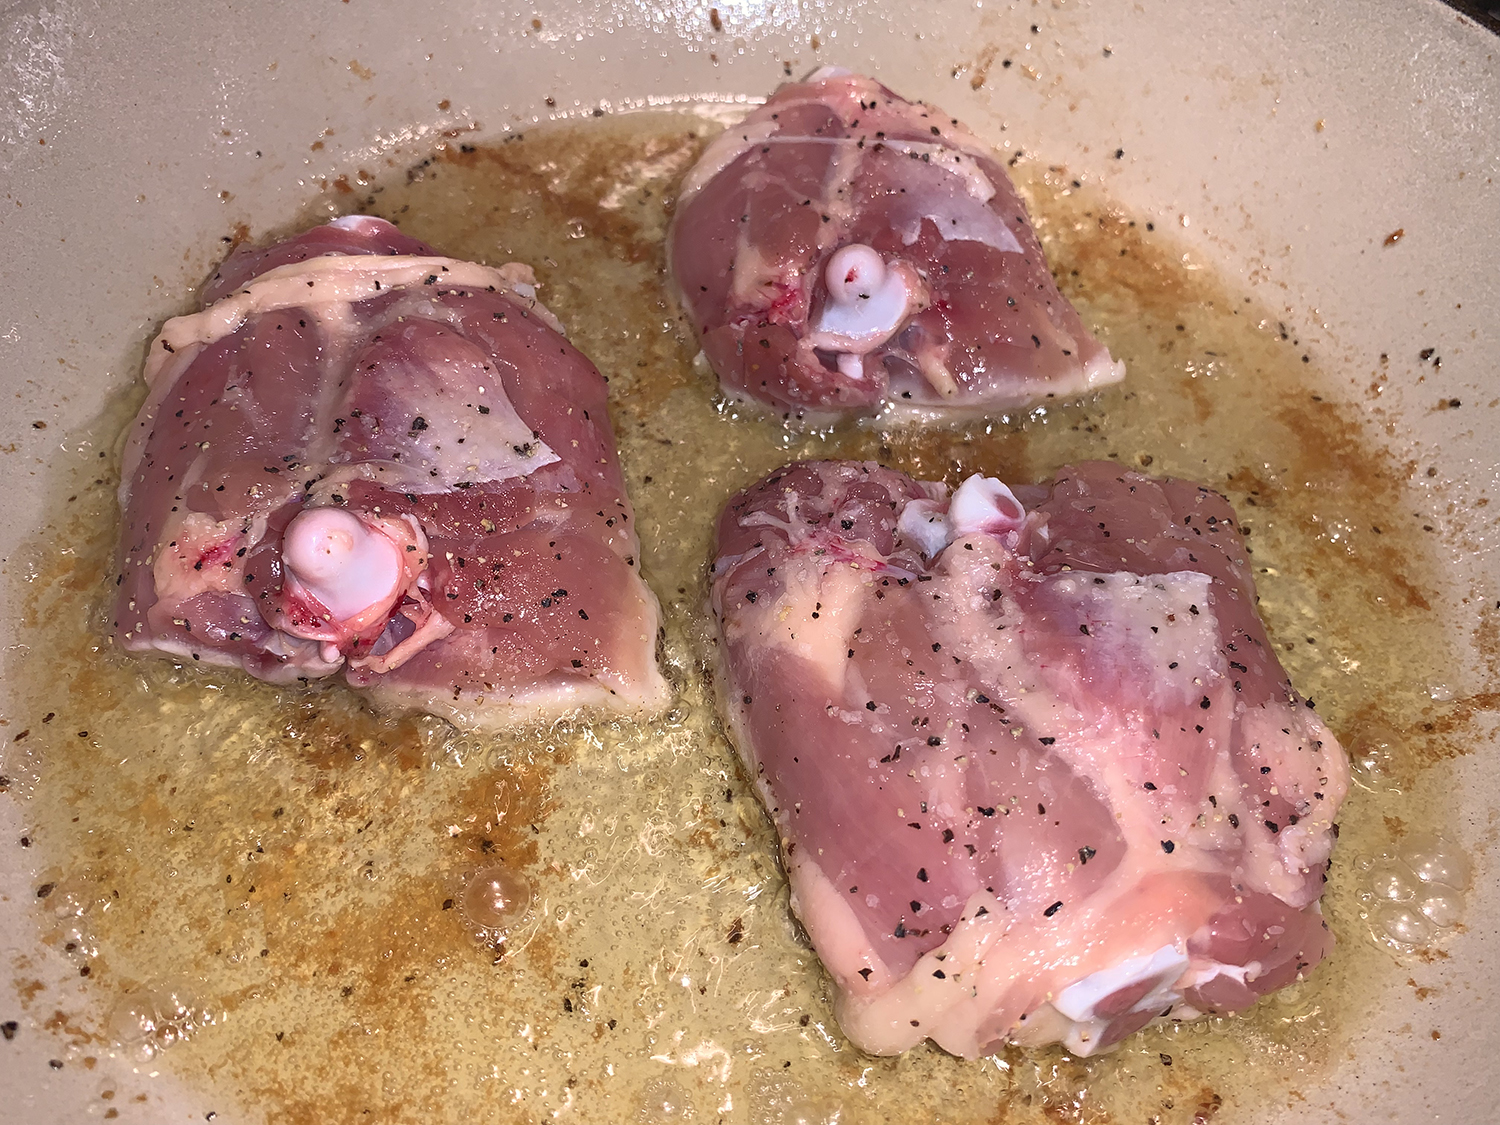
  1. Heat the oven to 450°F with a rack in the middle position. Season the chicken on both sides with salt and pepper.
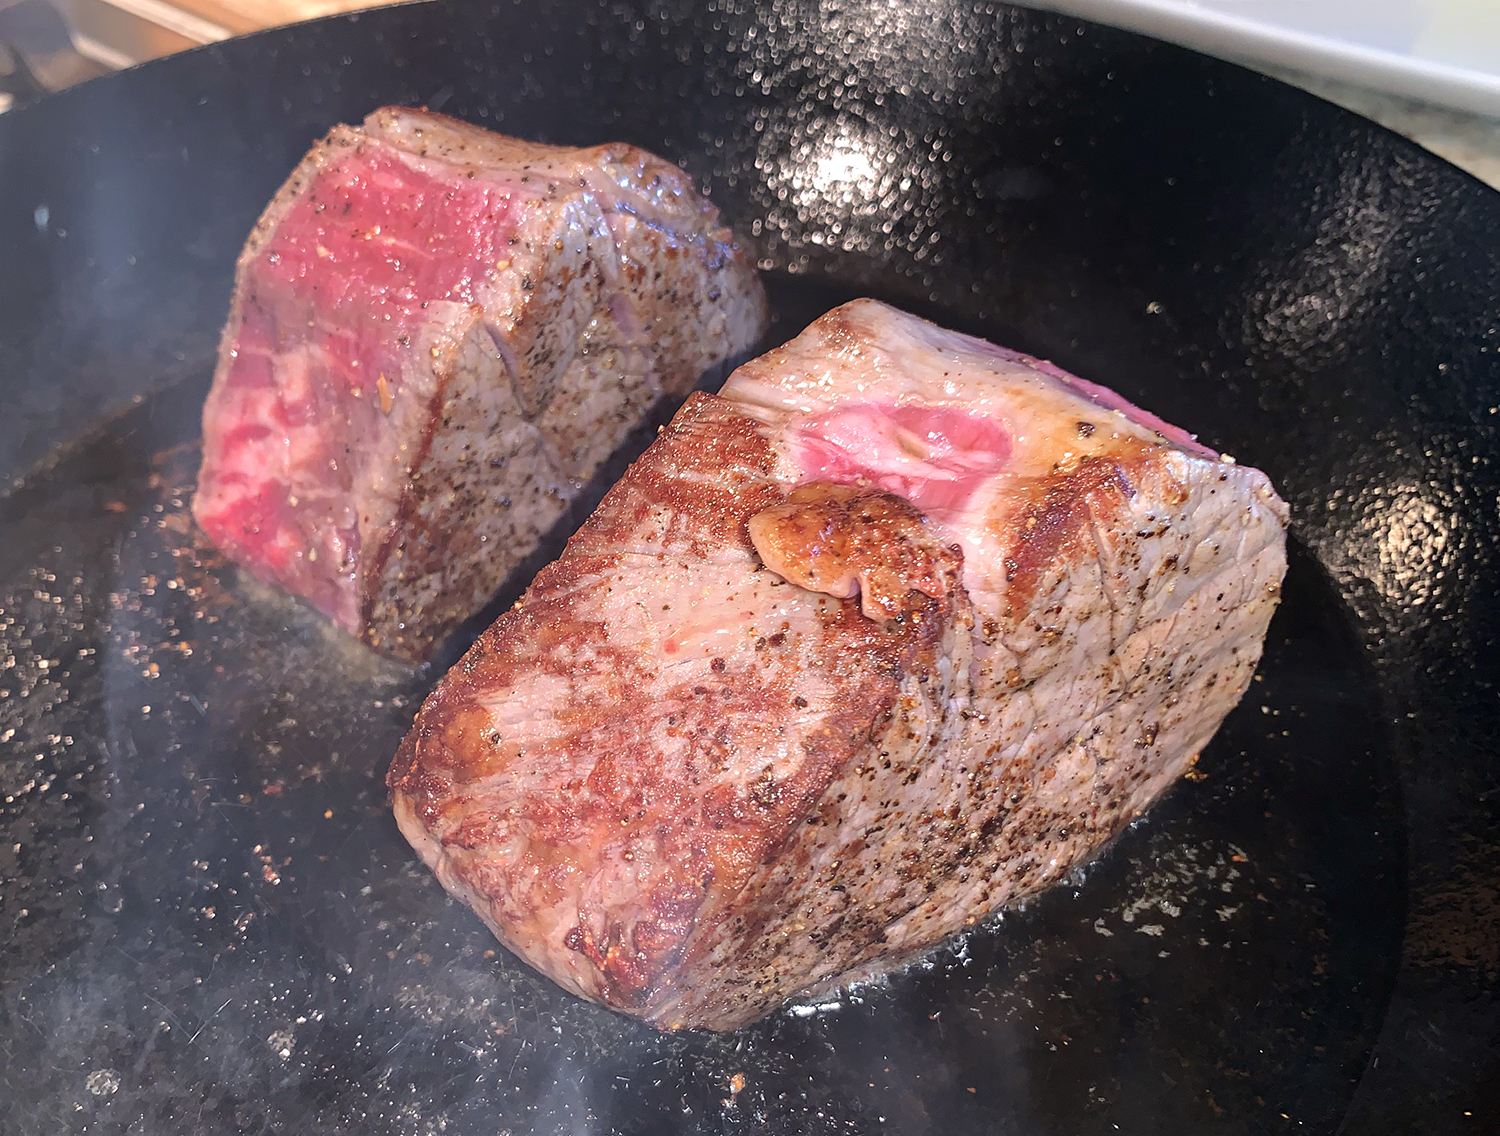
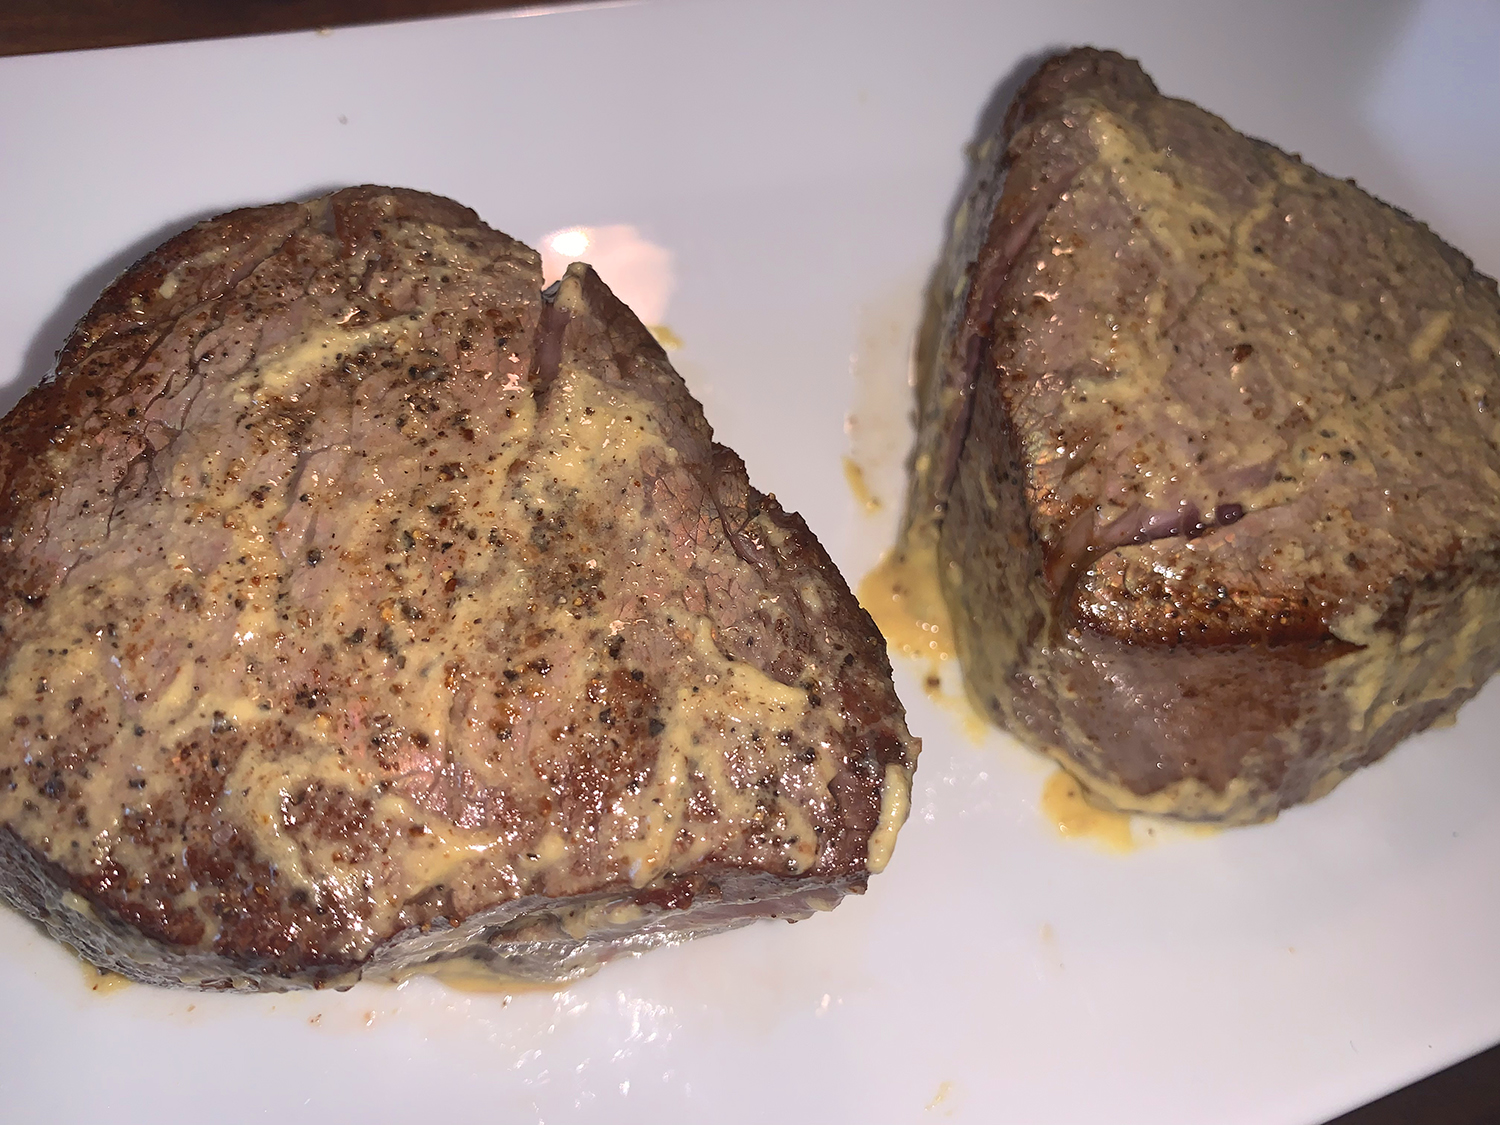
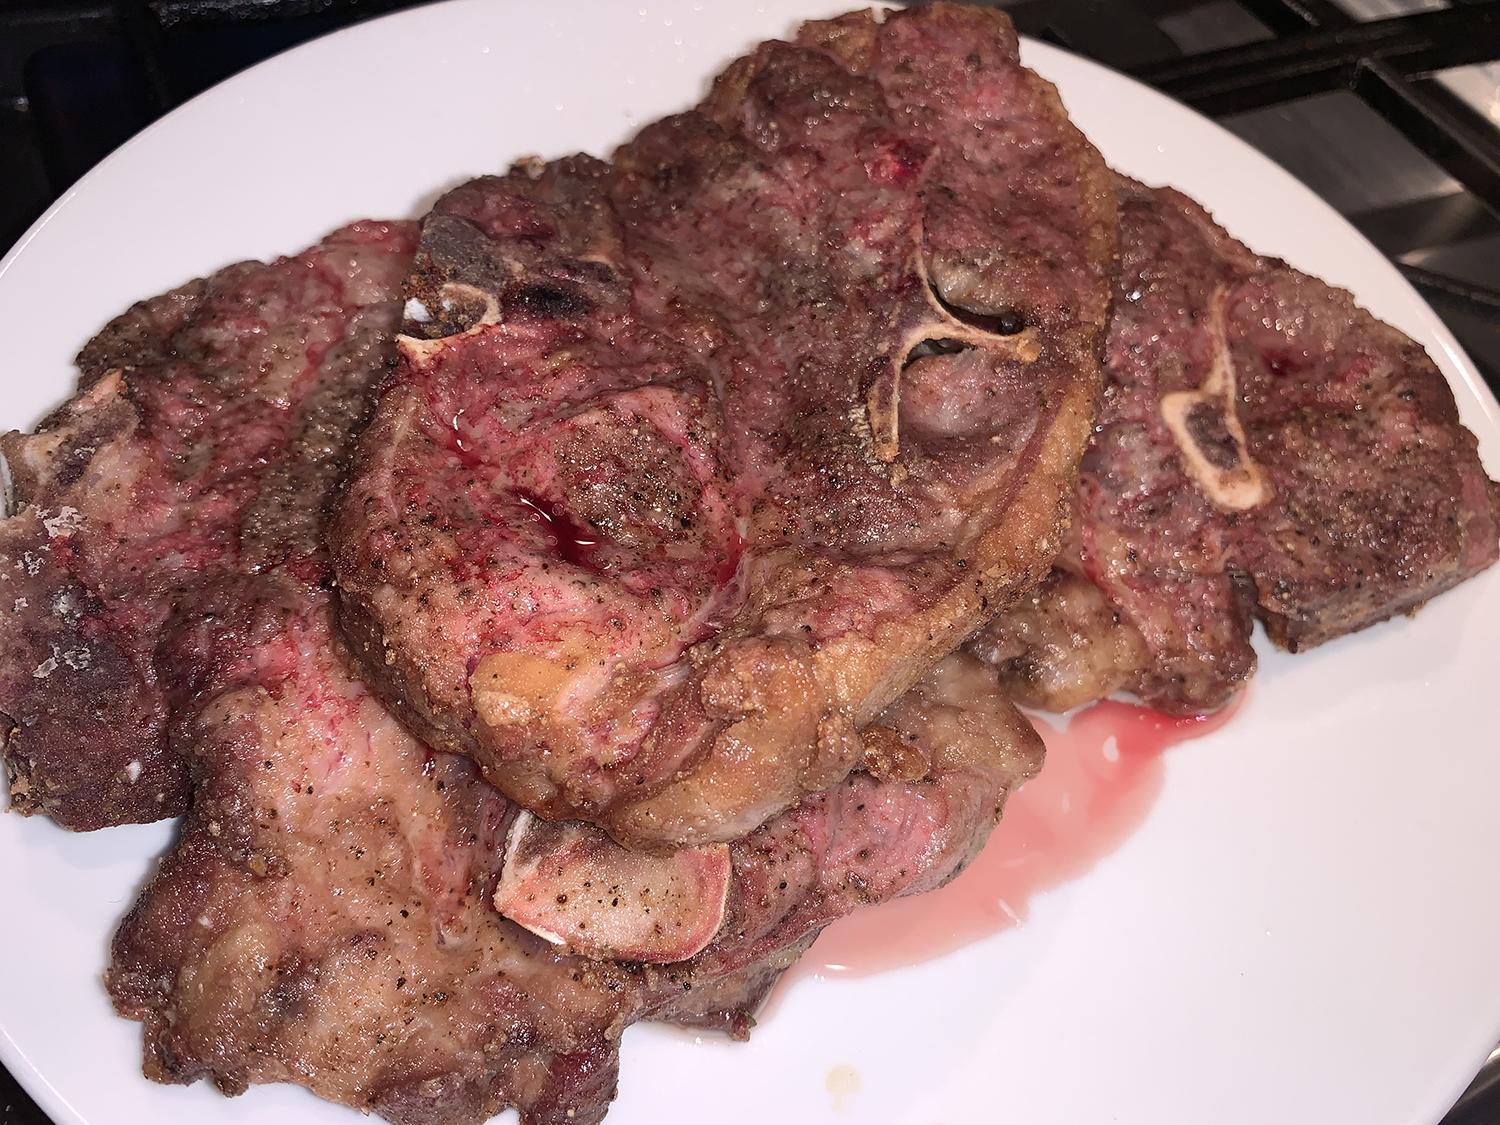
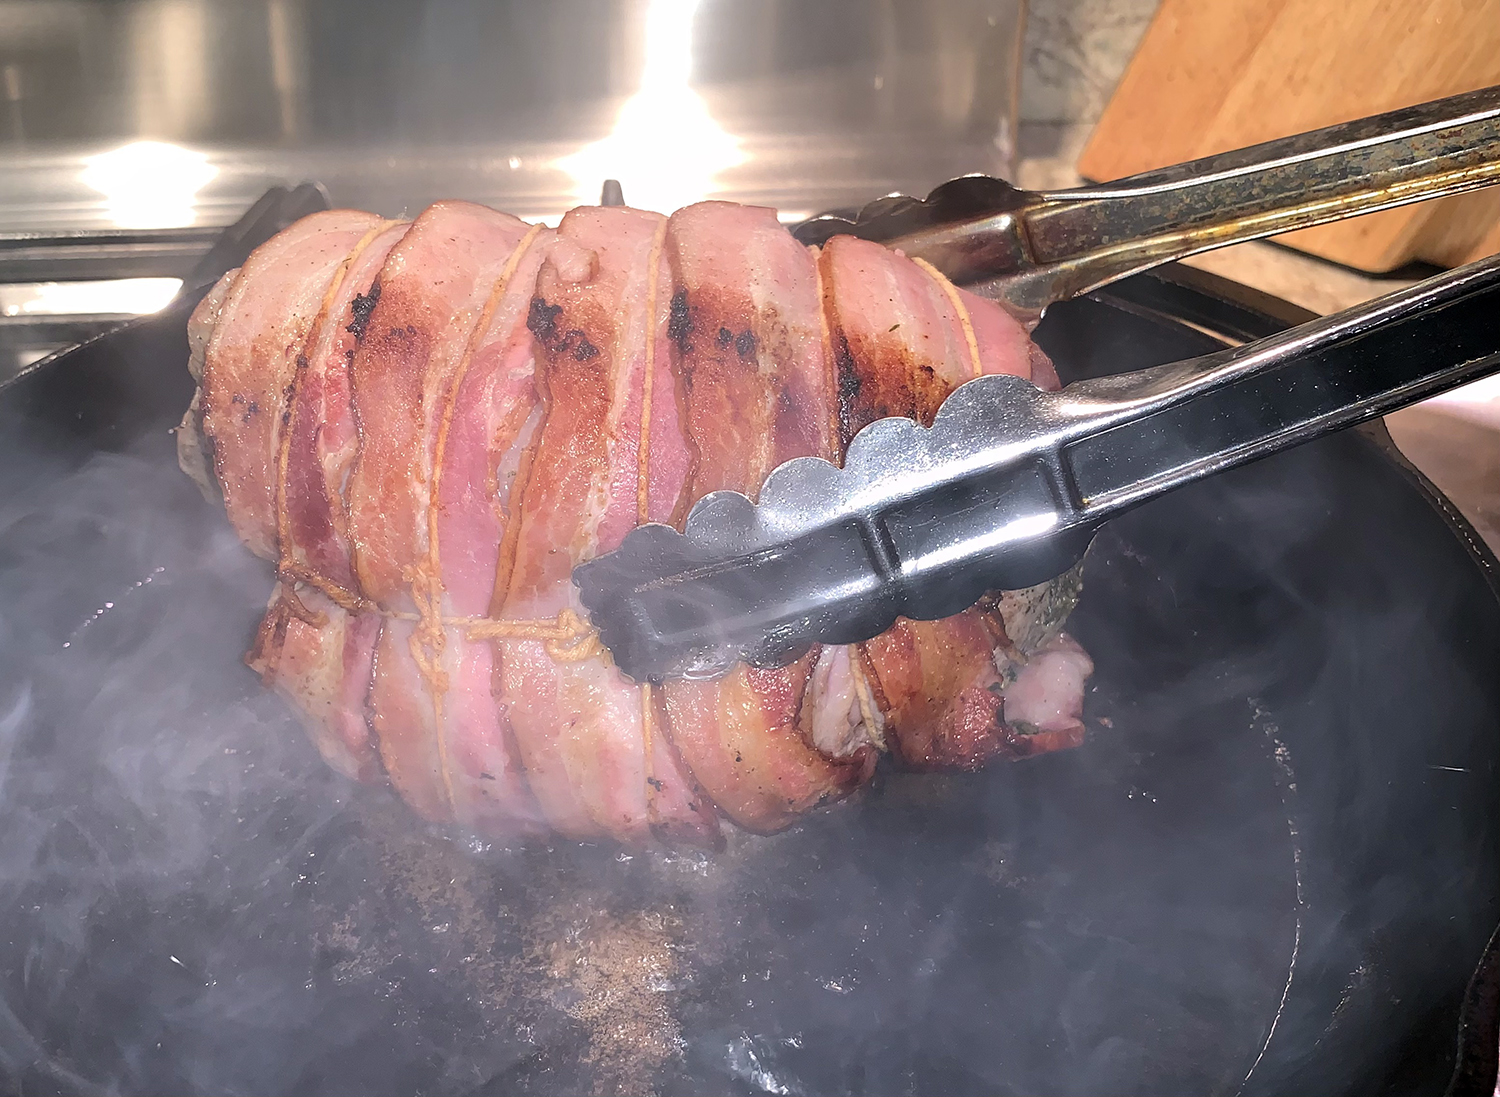
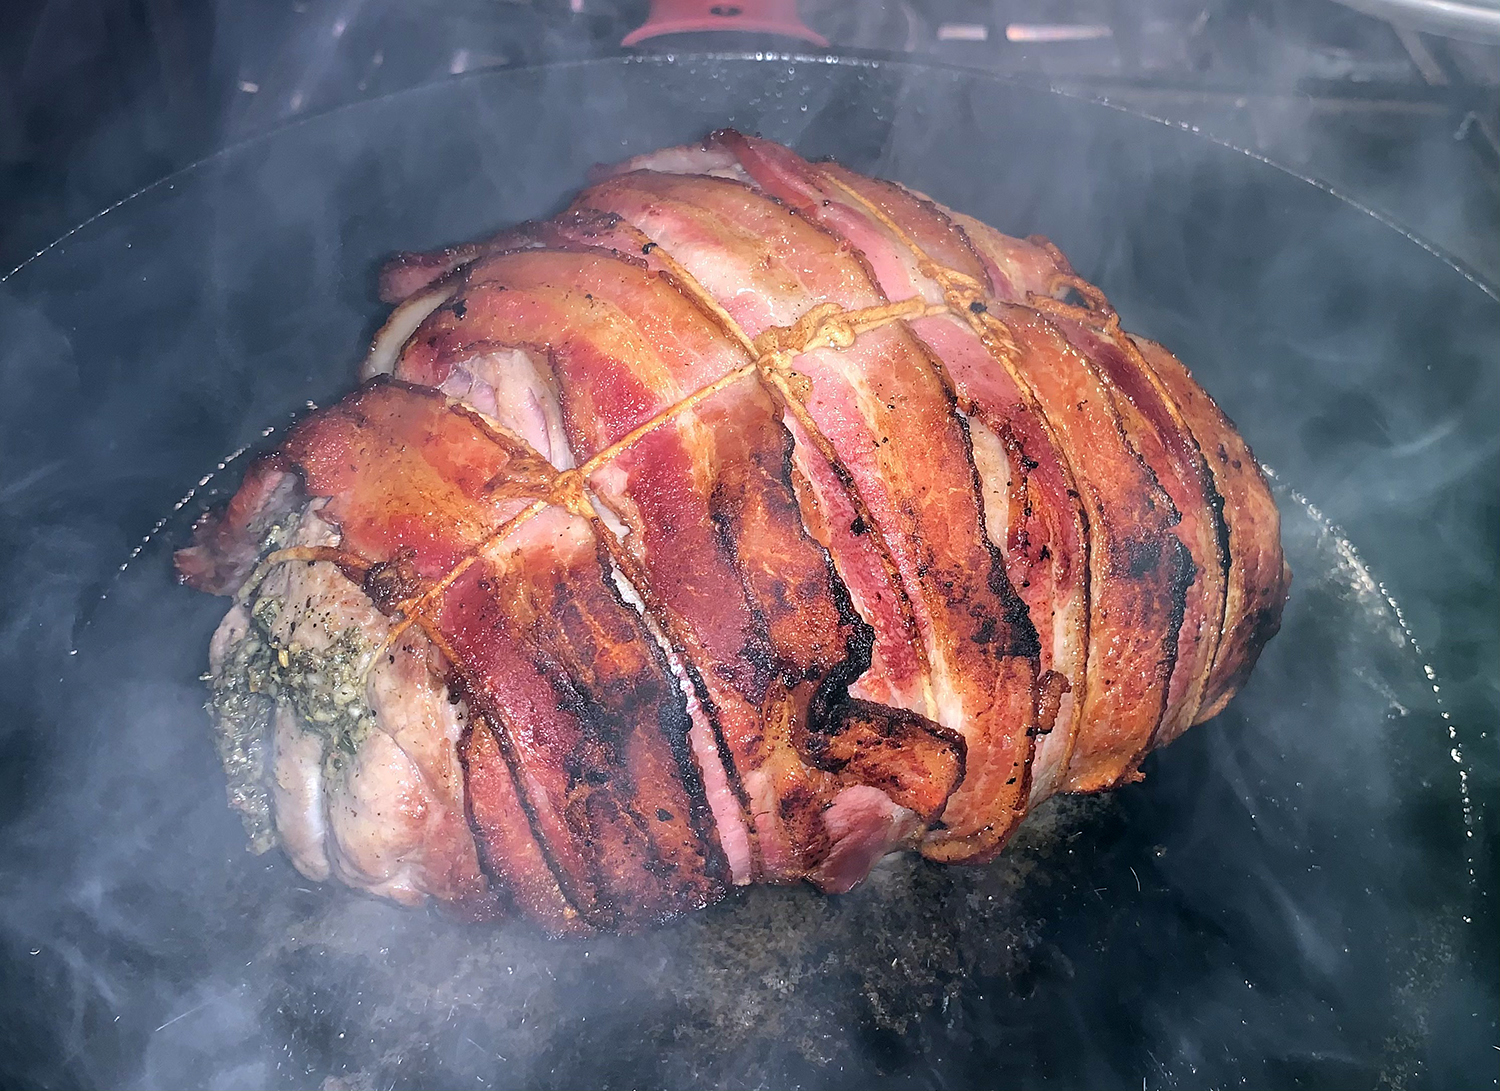
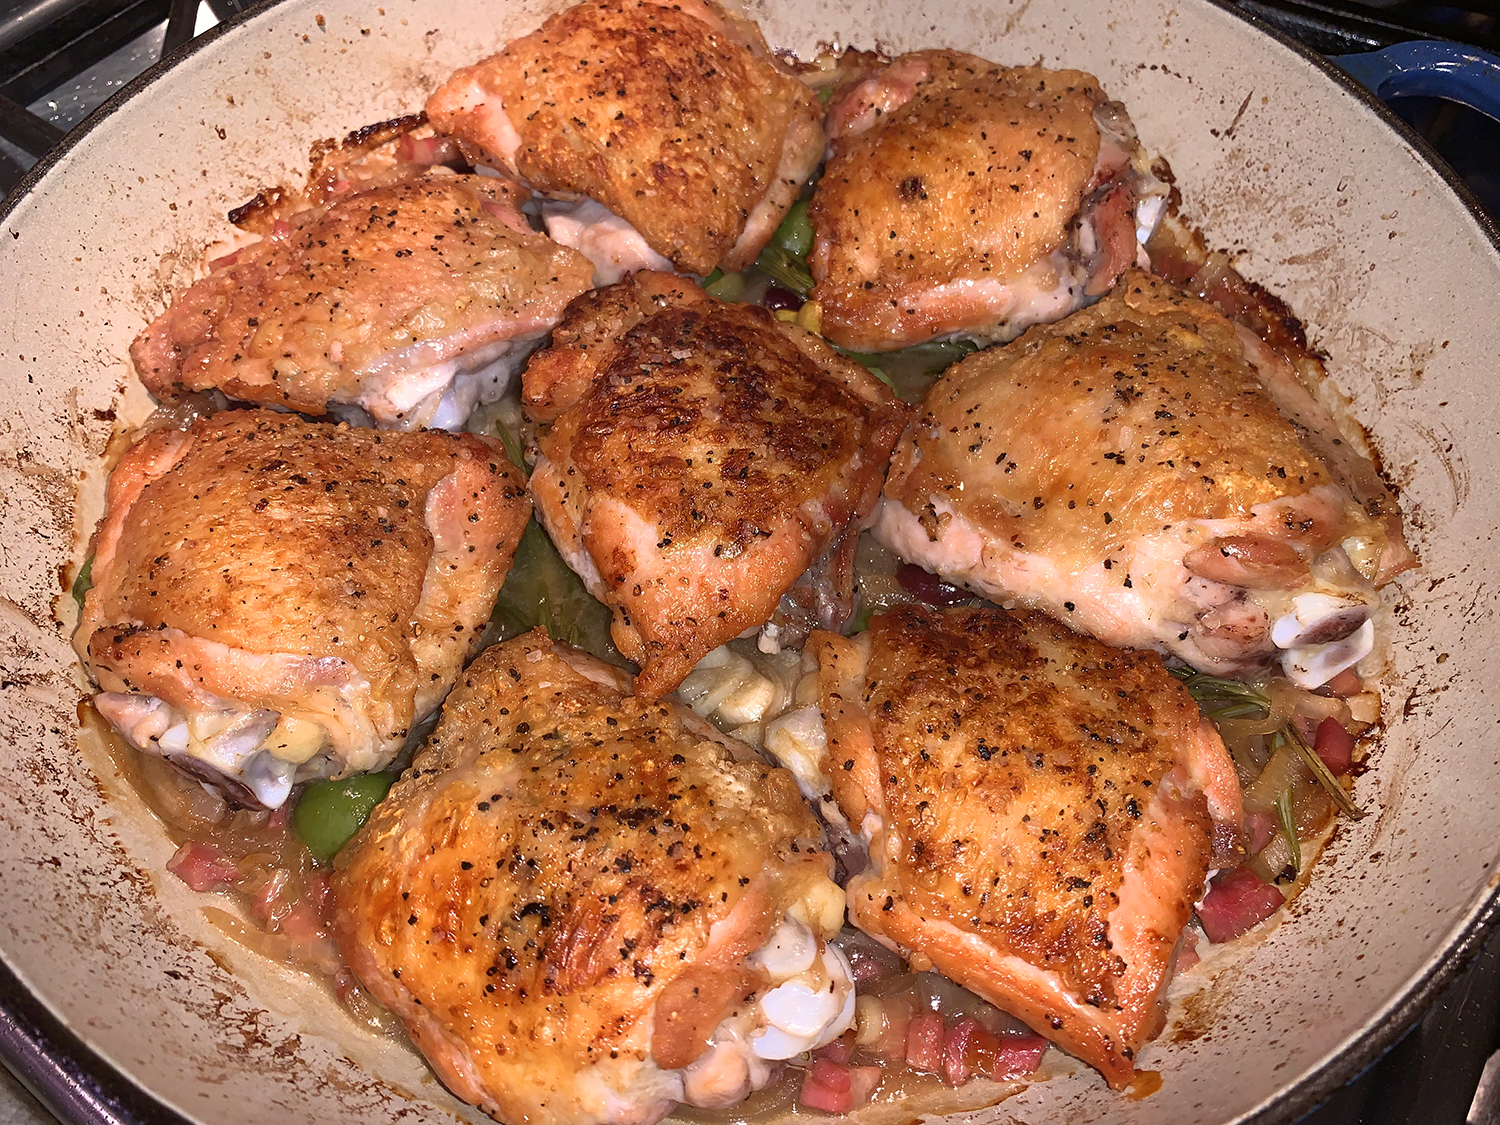
  2. In an oven-safe 12-inch skillet over medium-high, heat the oil until shimmering. Add the chicken skin down and cook without disturbing until golden brown on the bottom, 5 to 8 minutes. Using tongs, transfer the chicken skin up to a large plate.
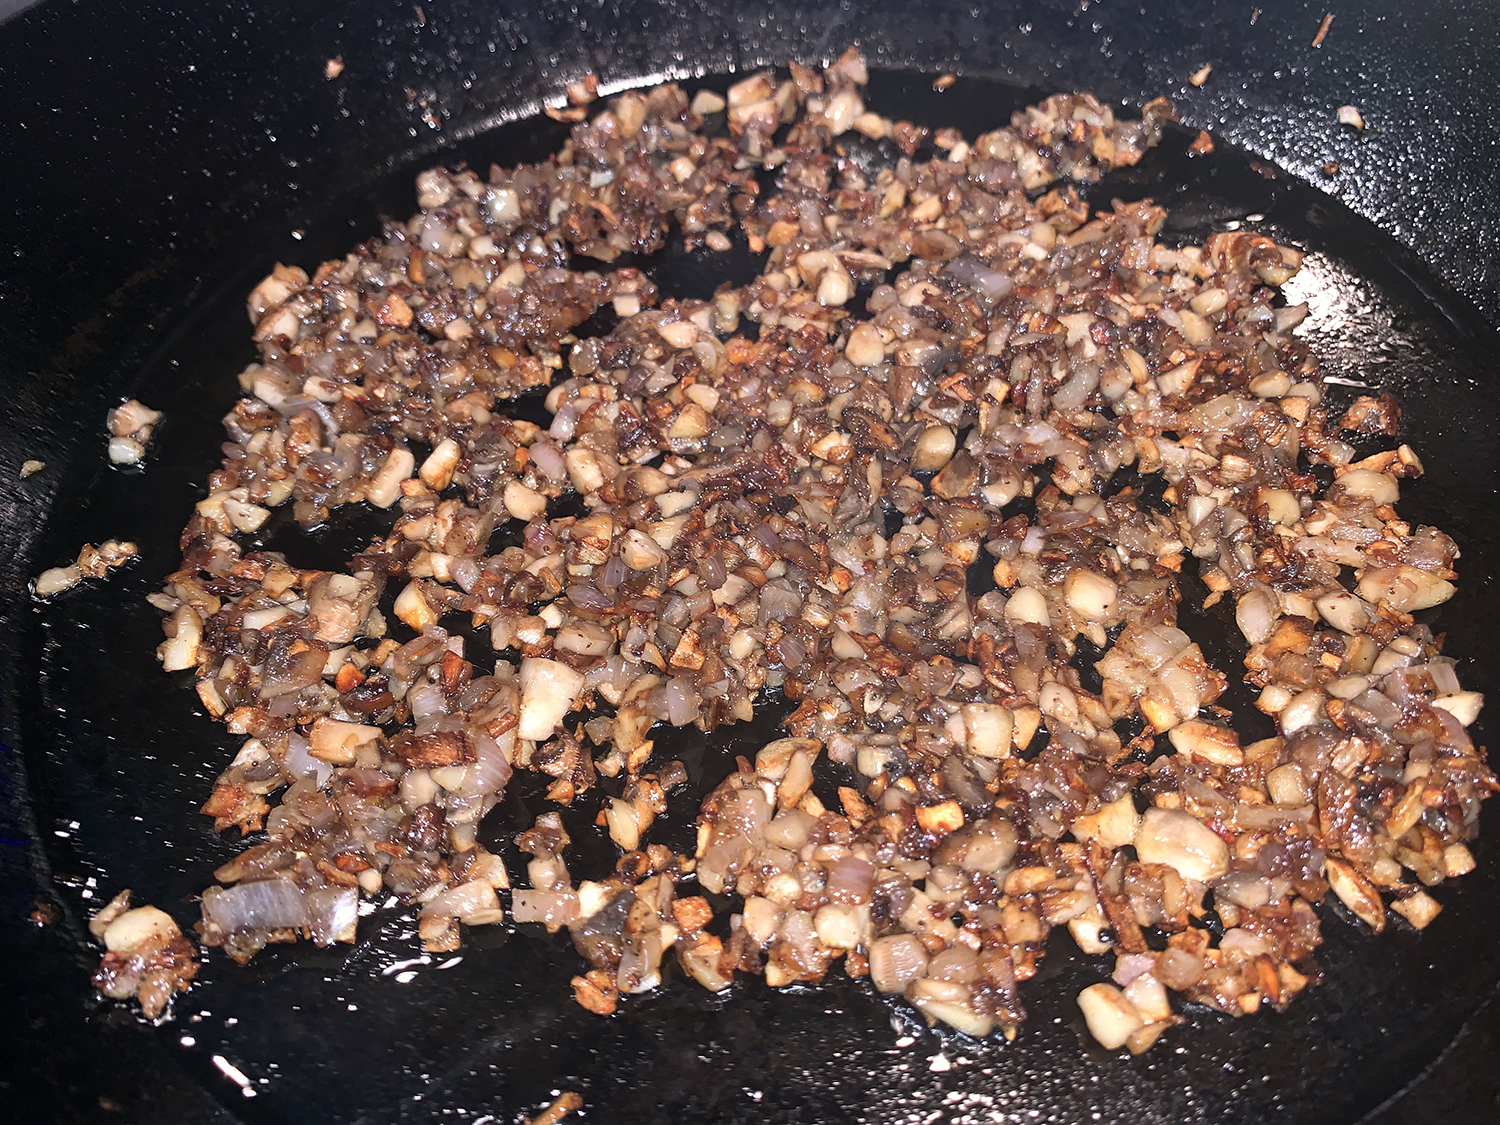
  3. Pour off and discard all but 1 tablespoon fat from the skillet and set the pan over medium. Add the pancetta and onion, then cook, stirring occasionally, until the onion begins to brown, about 5 minutes.
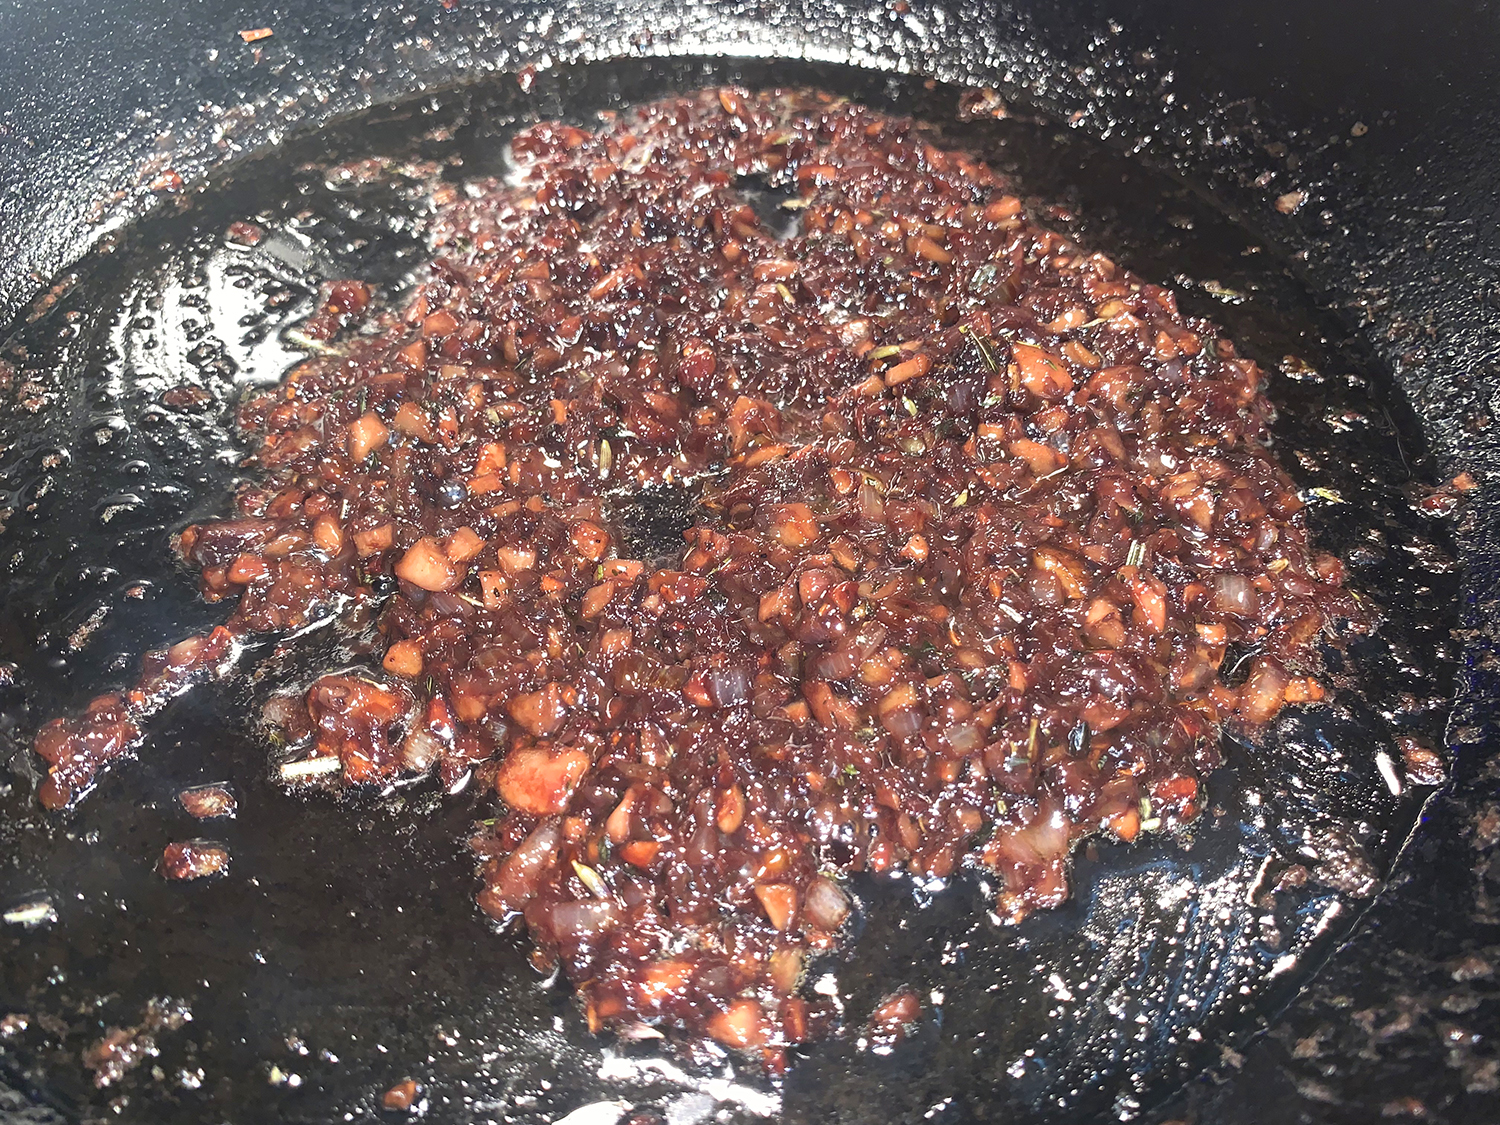
  4. Add the wine, bring to a simmer over medium-high and cook, scraping up any browned bits, until most of the liquid has evaporated, 2 to 3 minutes.
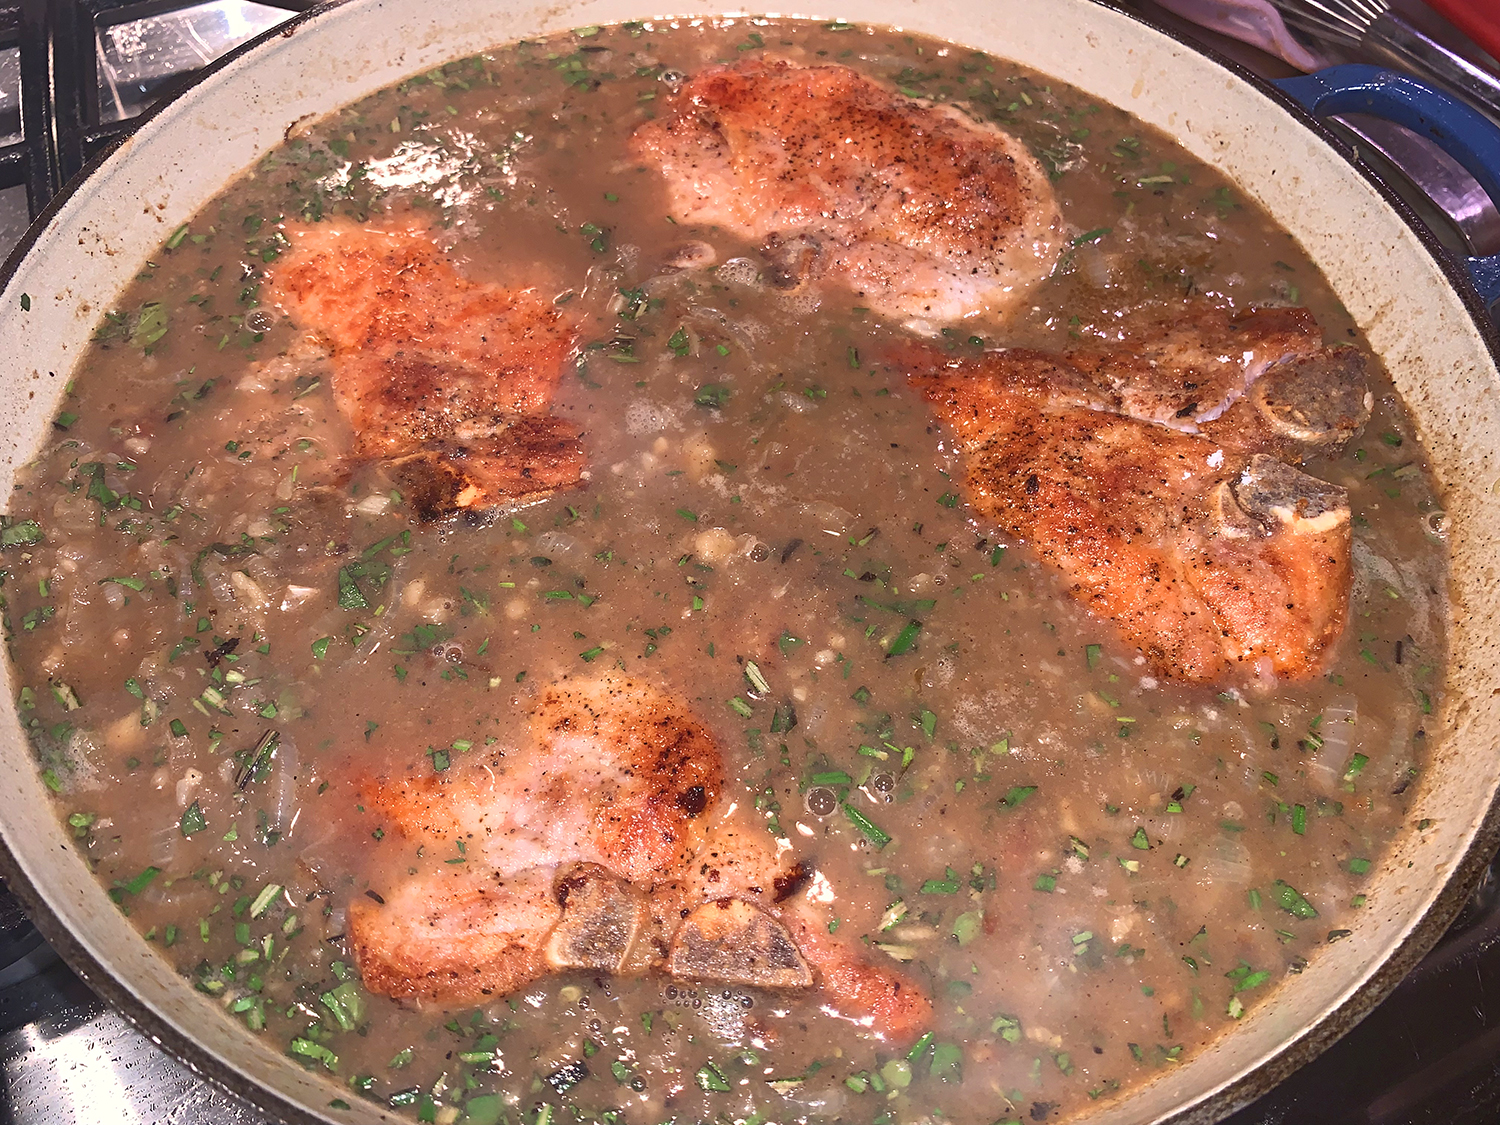
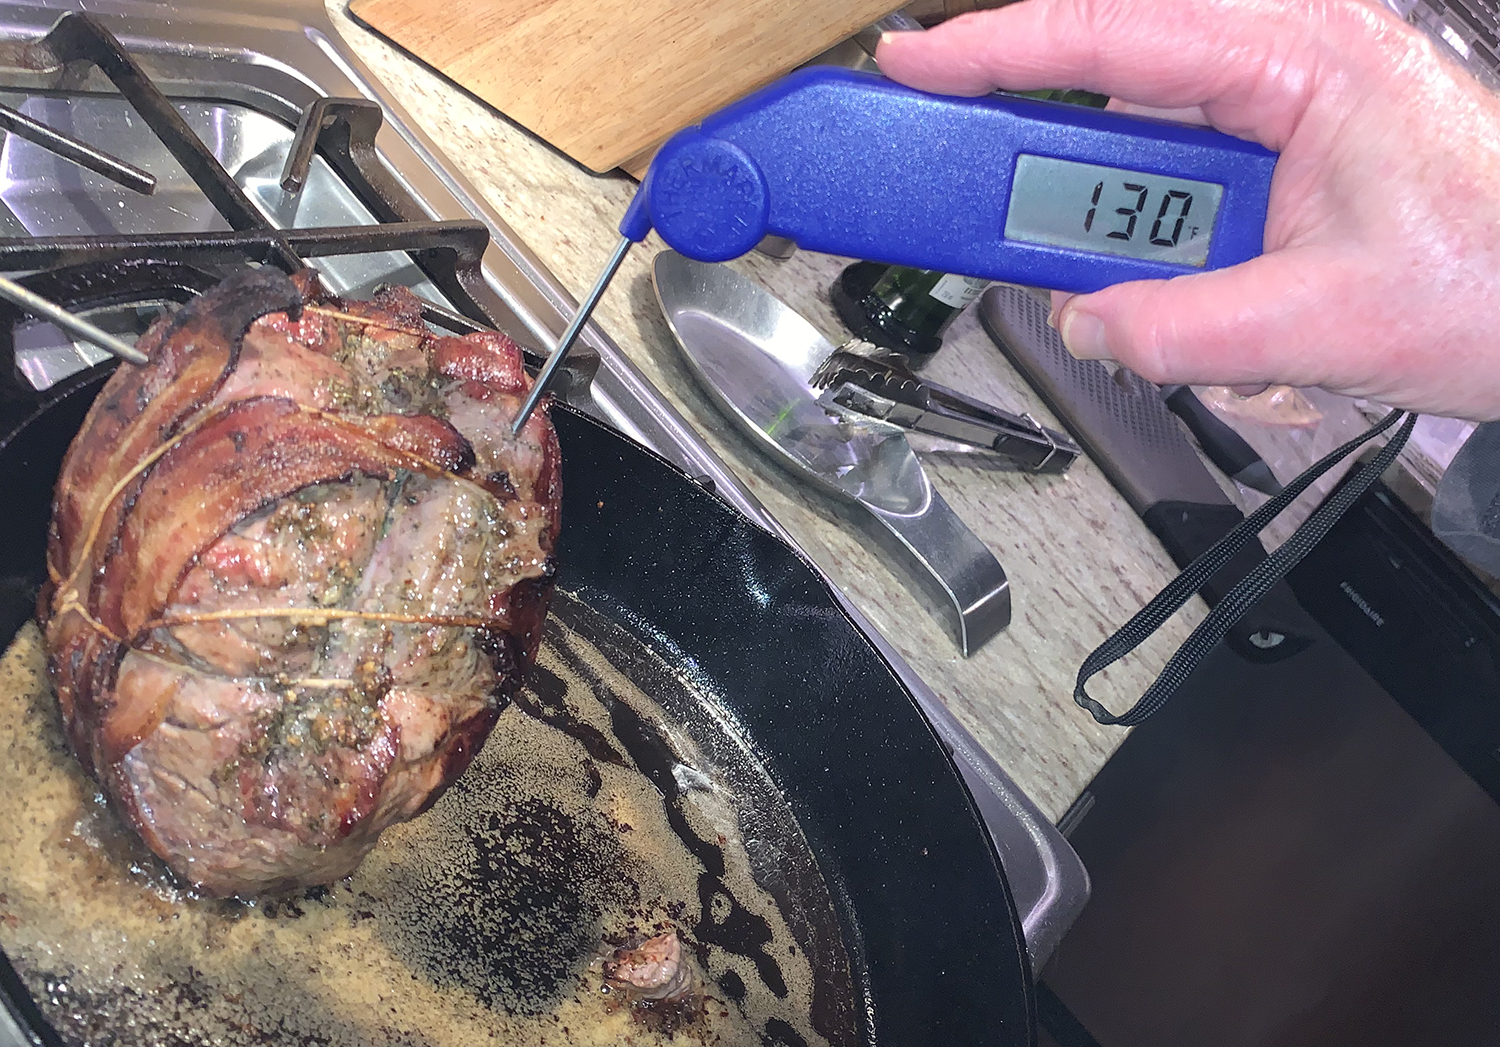
  5. Stir in the garlic, rosemary, olives and lemon zest. Return the chicken skin up to the skillet and pour in the accumulated juices. Transfer to the oven and cook until the thickest part of the thigh reaches 175°F, 15 to 20 minutes.
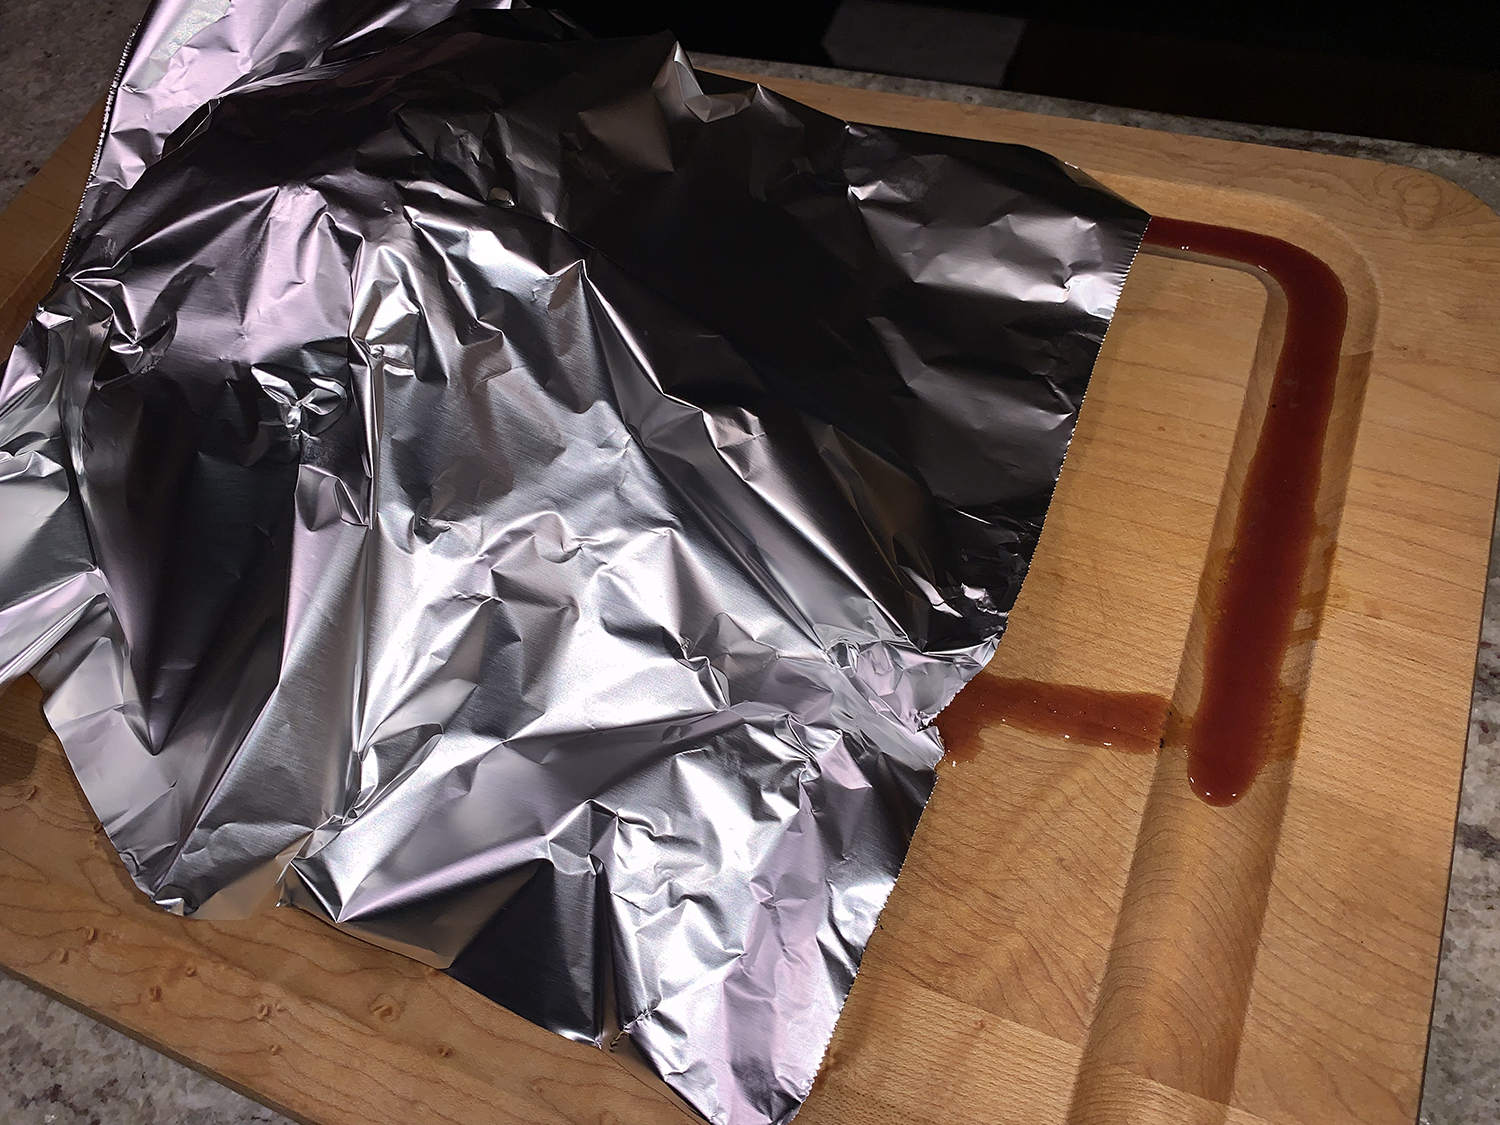
  6. Remove the skillet from the oven; the handle will be hot. Using tongs, transfer the chicken skin up to a serving platter, then remove and discard the rosemary and lemon zest. Bring the liquid in the pan to a simmer over medium-high and cook, stirring occasionally, until slightly thickened and reduced, 2 to 3 minutes.
  7. Stir in the lemon juice and vinegar, then taste and season with salt and pepper. Spoon the sauce around the chicken.

http://www.lynnandruss.com

Adapted from a recipe from Milk Street

Garlic Mushroom Pasta

According to chef/author Suzy Karadheh, this is hands-down the BEST mushroom pasta recipe without cream. Rich and velvety with loads of mushrooms, garlic, shallots, a little parmesan, and a lighter silky-smooth sauce.

An easy recipe, it has two main components: the pasta and the mushroom sauce. Once you cook the pasta and sauté the mushrooms, everything will come together with a light sauce in one pan.

A typical pasta with mushrooms usually involves a heavy cream-based sauce that you would likely cook separately and then spoon over the pasta. Making a hearty garlic mushroom pasta without cream or too much butter is fairly simple. The science behind this is using a little of the starchy pasta water.

Walnuts were in the original list of ingredients, but you know how The Hubs detests those little nuggets, claiming they taste like soap. I personally love them, but to keep the peace they went by the wayside. And the dish didn’t seem to suffer without them!

Garlic Mushroom Pasta

  • Servings: 4
  • Difficulty: easy
  • Print

Ingredients

  • 8 oz. dry pasta, such as orecchiette, campanelle or farfalle
  • Kosher salt
  • ⅓ cup extra virgin olive
  • 1 Tbsp. butter
  • 2 shallots, minced
  • 5 garlic cloves, minced
  • 8 oz. cremini mushrooms, sliced
  • 8 oz. white mushrooms, sliced
  • 8 oz. portabella mushrooms, roughly chopped
  • Black pepper
  • 1 tsp. rosemary
  • 3 Tbsp. of tomato paste
  • ¼ cup dry red wine
  • ½ cup of grated Parmigiano-Reggiano
  • ½ cup packed parsley, chopped
  • Red pepper flakes to taste, optional

Directions

  1. Cook the pasta to al dente in boiling salted water according to box instructions. Keep 1 cup of the pasta cooking water then drain the pasta.
  2. In a large skillet, heat the olive and butter over medium-high heat, add the shallots and garlic and cook, tossing regularly for 2 to 3 minutes (manage the heat so that the garlic does not burn).
  3. Add all the mushrooms and toss them around in the pan for a couple of minutes, adding another drizzle of extra virgin olive oil. Season with a good pinch of kosher salt, black pepper and the rosemary. Cook the mushrooms for about 7 to 10 minutes, tossing occasionally, until they turn color and release their juices.
  4. Add the tomato paste, wine and about ½ to ¾ cup of the pasta cooking water. Cook over medium heat for about 4 to 5 minutes (this becomes your mushroom pasta sauce).
  5. Add the cooked pasta to the mushroom sauce. Toss to combine. If needed add a little bit more of the pasta cooking water.
  6. Stir in Parmesan cheese and finish with a sprinkle of parsley and red pepper flakes. Serve immediately.

http://www.lynnandruss.com

Adapted from a recipe by Suzy Karadheh

Spanish Beef, Red Pepper and Paprika Stew

In Milk Street’s Fast and Slow Instant Pot cookbook, they explain Chilindrón, a hearty stew from Aragon in northeastern Spain, gets savory, meaty flavor from jamón serrano (dry-cured Spanish ham) balanced by subtly sweet tomato and red bell peppers; while paprika adds earthy flavor as well as a rich, brick-red color. Chicken, lamb or game sometimes are used, but here the succulence of a beef chuck roast is preferred.

In place of jamón serrano, the recipe uses easier-to-find Italian prosciutto, which has a similar texture and salty, nutty flavor. Pancetta, a fattier cut, works in a pinch, though it lacks some complexity. We served ours with garlicky mashed potatoes, but you could also pair with roasted potatoes or warm, crusty bread.

We used sweet smoked paprika (pimentón dulce). Spanish pimentón can be spicy, sweet, or smoky, but it’s almost always better than the regular grocery store paprika which is usually machine-dried and lacks the smoky, sweet depth of pimentón. It is essential to Spanish cooking, flavoring such national dishes as chorizo and paella. Whereas paprika from the U.S. usually comes from red bell peppers, Spanish pimentón comes from a wide variety of local peppers with differing levels of sweetness and spice.

Don’t use bacon in place of the prosciutto or pancetta. Its sweetness and intense smokiness will overpower the other ingredients. Similarly, don’t use deli ham, which is wet-cured and typically has an overly assertive artificial smoke flavor.

Spanish Beef, Red Pepper and Paprika Stew

  • Servings: 4
  • Difficulty: easy
  • Print

Ingredients

  • 1 Tbsp. extra-virgin olive oil
  • 10 medium garlic cloves, smashed and peeled
  • 1 large shallot, halved and thickly sliced
  • 1 plum tomato, cored, seeded and chopped
  • ½ cup jarred roasted red peppers, patted dry and finely chopped
  • 4 oz. prosciutto or pancetta, chopped
  • 4 tsp. finely chopped fresh rosemary, divided
  • 1 Tbsp. sweet paprika
  • 3 lbs. boneless beef chuck roast, trimmed and cut into 2-inch chunks
  • 2 Tbsp. all-purpose flour
  • 1 tsp. lemon juice
  • Kosher salt and ground black pepper

Directions

  1. On a 6-quart Instant Pot, select More/High Sauté. Add the oil and heat until shimmering. Add the garlic, shallot, tomato, roasted peppers and prosciutto. Cook, stirring occasionally, until the shallot is very soft and the tomatoes have broken down, about 5 minutes.
  2. Stir in 3 teaspoons of rosemary and the paprika. Add the beef and stir to combine, then distribute in an even layer.
  3. Press Cancel, lock the lid in place and move the pressure valve to Sealing. Select Pressure Cook or Manual; make sure the pressure level is set to High. Set the cooking time for 35 minutes.
  4. When pressure cooking is complete, let the pressure reduce naturally for 15 minutes, then quick-release the remaining steam by moving the pressure valve to Venting. Press Cancel, then carefully open the pot.
  5. Drain the contents of the pot in a sieve over a large bowl. Pour the liquid in a fat separator, keeping the juices and discarding the fat. Put the meat mixture back into the pot.
  6. In a small bowl, whisk the flour with 6 tablespoons of the cooking liquid until smooth, then stir the mixture into the pot with the meat along with the remaining 1 teaspoon rosemary.
  7. Select Less/Low Sauté. Bring the stew to a simmer and cook, stirring often, until thickened, 2 to 3 minutes.
  8. Press Cancel to turn off the pot. Stir in the lemon juice, then taste and season with salt and pepper.

http://www.lynnandruss.com

Adapted from a recipe by Julia Rackow for Milk Street

Pan-Seared Thick-Cut Bone-In Pork Chops

Can’t get much simpler than this. Few ingredients, three steps, main dish done. Achieving deeply browned, juicy bone-in pork chops starts with choosing the right chop: Use 1½-inch-thick rib chops, which are thick enough to build up a browned exterior before cooking through.

Start the chops in a cold (not preheated) nonstick skillet (we used our well-seasoned carbon steel skillet) over high heat and flip them every 2 minutes so that the meat’s temperature increases gradually, allowing a crust to build up on the outside without overcooking the interior. Starting the chops in a cold pan helps the meat heat up slowly and evenly, and using a nonstick pan means that no oil is necessary.

If you have time, salt the chops for at least 1 hour or up to 24 hours before cooking: Sprinkle each chop with 1½ teaspoons of Diamond Crystal Kosher Salt (if using Morton, which is denser, use only 1⅛ teaspoons), refrigerate them, and pat them dry with paper towels before cooking. If the pork is enhanced (injected with a salt solution), do not salt the chops ahead. Make sure to include the bones when serving; they’re great for nibbling—it might be a battle as to who of the four diners get them though… 

Yes, quite simple. However, every 2 minutes for about 25 minutes, you’ll need to flip the meat. But it resulted in perfectly cooked pork chops without much effort or other ingredients. Our sides included Beer Braised Cabbage and Braised Red Potatoes with Miso and Scallions. Since there was only the two of us, the chops were served whole—but there was plenty of leftovers for another meal.

Pan-Seared Thick-Cut Bone-In Pork Chops

  • Servings: 4
  • Difficulty: easy
  • Print

Ingredients

  • (14- to 16-oz.) bone-in pork rib chops, 1½ inches thick, trimmed
  • 1 Tbsp. Kosher salt
  • ½ tsp. pepper

Directions

  1. Pat chops dry with paper towels and sprinkle both sides with pepper. Place chops 1 inch apart in cold 12-inch nonstick or carbon-steel skillet, arranging so narrow part of 1 chop is opposite wider part of second. Place skillet over high heat and cook chops for 2 minutes. Flip chops and cook on second side for 2 minutes. (Neither side of chops will be browned at this point.)
  2. Flip chops; reduce heat to medium; and continue to cook, flipping chops every 2 minutes, until exterior is well browned and meat registers 140 degrees, 10 to 15 minutes longer. (Chops should be sizzling; if not, increase heat slightly. Reduce heat if skillet starts to smoke.)
  3. Transfer chops to carving board and let rest for 5 minutes. Carve meat from bone and slice ½ inch thick. (When carving chops, meat at tapered end near bone may retain slightly pink hue despite being cooked.) Season meat with coarse or flake sea salt to taste. Serve with bones.

http://www.lynnandruss.com

Recipe from Cook’s Illustrated

PotLikker

Curious? We certainly were. Let me put your mind at ease. Potlikker, or Pot Liquor, a Southern tradition, is the brothy liquid gold left behind after boiling greens and beans. However, here potlikker is made from scratch and used as an ultra-concentrated broth—often the first step in imbuing a dish with layers of meaty flavor. The potlikker is made with dry-cured country ham, but if you can’t find it, get smoked ham hocks which will bring similar intensity.

The juicy seared pork chops get smothered in a rich brown gravy made with the savory Country Ham Potlikker for layer upon layer of Southern comfort. Making the broth is a crucial first step, so be sure to read through the recipe before you begin to make the Smothered Pork Chops dinner. We actually made the potlikker the day before, which saved a lot of time on dinner day.

We served our chops over hot buttered egg noodles with a wedge of braised cabbage.

*After the simmering was done, we deemed the sauce too thin. The pork chops were removed to a platter and covered with foil, while we reduced the sauce by boiling it over medium-high heat for an extra 10 minutes. When ready, remove the foil from the meat and pour the thicker sauce over the chops, sprinkle with thyme leaves and serve.

The meal was outstanding! We practically became plate-lickers of the potlikker sauce left on the dinnerware… The Bon Appétit article had a few more potlikker broths and companion recipes, so I’m sure this won’t be the last. For instance, Braised Chicken Thighs with Olives and Herbs to go with a smoked paprika and sun-dried tomato potlikker… my mouth is watering already…

Country Ham Potlikker Gravy

  • Servings: Yields 2 1⁄2 cups
  • Difficulty: easy
  • Print

Ingredients

  • 1 1½-oz. piece country ham or one 12-oz. smoked ham hock
  • 2 garlic cloves, finely chopped
  • ¾ tsp. crushed red pepper flakes
  • ½ tsp. Diamond Crystal or ¼ tsp. Morton kosher salt

Directions

  1. Bring ham, garlic, red pepper flakes, salt, and 1 quart water to a boil in a large saucepan. Reduce heat and simmer, skimming foam from surface as needed, 1 hour.
  2. Strain through a fine-mesh sieve into a medium heatproof bowl. Pick out ham and reserve for another use; discard remaining solids.

Do Ahead: Potlikker can be made 5 days ahead. Let cool. Transfer to an airtight container and chill, or freeze up to 3 months.

http://www.lynnandruss.com

Smothered Pork Chops in Potlikker Gravy

  • Servings: 4
  • Difficulty: easy
  • Print

Ingredients

  • 1½ cups (or more) Country Ham Potlikker
  • 2 Tbsp. distilled white vinegar
  • 2 Tbsp. Worcestershire sauce
  • 1 tsp. Dijon mustard
  • 1 tsp. ground allspice
  • 1 tsp. mild-flavored (light) molasses
  • ⅓ cup all-purpose flour
  • 4 1″–1½”-thick bone-in pork chops
  • Kosher salt, freshly ground pepper
  • ⅓ cup vegetable oil
  • 2 medium onions, thinly sliced
  • 6–8 garlic cloves, finely chopped
  • 1 Tbsp. finely chopped marjoram
  • 1 Tbsp. finely chopped rosemary
  • 1½ tsp. finely chopped thyme, plus leaves for serving

Directions

  1. Whisk together potlikker, vinegar, Worcestershire sauce, mustard, allspice, molasses, and 1 cup water in a medium bowl; set potlikker mixture aside.
  2. Place flour in a shallow bowl. Pat pork chops dry; season with salt and pepper. Dredge chops in flour, shaking off excess, and transfer to a platter. Set remaining flour in bowl aside.
  3. Heat oil in a large Dutch oven or other heavy pot over medium-high. Working in 2 batches, cook pork chops until golden brown, about 3 minutes per side; transfer to a plate.
  4. Reduce heat to medium. Add onions and garlic; cook, stirring, until onions are softened, about 4 minutes. Reduce heat to low. Sprinkle reserved flour evenly over; cook, stirring often and scraping up any browned bits, until onions are beginning to brown, 6–8 minutes.
  5. Add reserved potlikker mixture; whisk until incorporated and lump-free. Bring to a boil, then add marjoram, rosemary, and 1½ tsp. thyme. Reduce heat to medium-low; return pork chops and any accumulated juices to pot. Cover and simmer until pork chops are tender, 70–80 minutes. If gravy looks too thick, thin with more potlikker or water. (*If it’s too thick, reduce the sauce, see above.) Taste gravy and season with more salt as needed.
  6. Transfer pork chops to a platter; top with thyme leaves.

http://www.lynnandruss.com

Adapted from a recipe by Carla Hall for Bon Appétit

Individual Beef Wellington

The back story. This elegant staple of 1960s dinner parties derives its name from The Duke of Wellington, the nineteenth century English statesman and military officer. The name is not due to his gourmet tastes, however, but because the final dish is said to resemble the shiny dark military boots he wore.

Boots aside, it was Valentine’s and we wanted to treat ourselves at home as opposed to dining out. Initially our plan was a surf and turf riff of some sort, but then The Hubs ran across these individual “wellies” from NY Times Cooking, and we never looked back. The dinner, with a fantastic bottle of rioja wine, red salad, red baby bliss potatoes and the most mouth-watering tender braised leeks was a moment in Heaven, sigh.

Beef Wellington traditionally is a 2 to 4 pound beef tenderloin topped with mushroom duxelles and foie gras pate, and then encased in puff pastry. The preparation is simplified by instead wrapping individual beef filets. The Hubs had the romantic idea of adding heart embellishments with the leftover puff pastry and I whole”heart”edly jumped on that idea ❤

The filets need to be cut about 1 1/2-inches thick to ensure that the meat doesn’t dry out or become overcooked while roasting in the oven. If the meat is cut thinner, reduce the oven cooking time appropriately. And if your filets are greater than six ounces, the puff pastry may need to be cut into a larger square in order to envelop the meat completely. Ours were over 6 ounces, yet I managed with just the one sheet.

Also, the cooking plus resting time, is for meat that’s served medium-rare. If you like your meat more done, increase the initial cooking time in the skillet by another minute or two, and monitor the doneness of the meat from the oven with an instant-read thermometer. This recipe makes 2 servings, but it easily can be doubled.

Individual Beef Wellington

  • Servings: 2
  • Difficulty: intermediate
  • Print

Ingredients

  • 2 Tbsp. olive oil
  • 2 (6-oz.) filet mignons, at least 1 1/2″ thick
  • Salt and freshly ground black pepper
  • 2 tsp. Dijon mustard
  • 4 oz. cremini mushrooms, wiped clean, stemmed, and finely chopped
  • 1 large shallot, minced
  • 1/2 tsp. herbes de Provence
  • 1 tsp. honey
  • 1/4 cup dry red wine
  • 2 Tbsp. heavy cream
  • Frozen puff pastry (1 sheet from 17 1/4-oz. package), thawed but still cold
  • 1 large egg

Directions

  1. Heat a large skillet over medium-high heat and add 1 tablespoon oil. Generously season the filet mignons with salt and pepper, and sear until the surfaces on the top, bottom and rounded sides are no longer raw, about 2 minutes total. Transfer the steaks to a plate, reserving the oil in the skillet. Brush or spread on the Dijon mustard all over each filet and refrigerate until cool, about 15 minutes.
  2. Turn the heat to medium-high, and add the remaining 1 tablespoon oil to the skillet. Add the mushrooms and shallot, season with salt and pepper, and cook, stirring occasionally, until deeply browned and no longer watery, about 10 to 12 minutes. Be patient: The mushrooms will first release some water; then, once that liquid evaporates, the vegetables will start to brown. If they are starting to stick before they brown, lower the heat or add a little water to the pan.
  3. When the mushrooms are deeply browned, reduce the heat to medium and stir in the herbes de Provence, honey, wine and cream. Let the liquids bubble and reduce until the moisture is thick and jammy, about 2 minutes. transfer to a small dish and refrigerate until cool.
  4. To assemble the Wellingtons, cut the puff pastry sheet in half (it doesn’t matter which direction). Lightly flour your working surface. Use a rolling pin to evenly roll each sheet into an 1/8-inch-thick rectangle. Mount a filet mignon-size circle of the chilled mushroom mixture in the center of each rolled-out sheet, evenly dividing the mixture between the 2 sheets. Top each mound of mushrooms with a filet.
  5. Carefully bring the edges of the puff pastry up and over the steaks, stretching the dough if needed to completely cover the meat. Twist the tops of the dough to seal the filling, as if you’re making dumplings. You want an even, uniform layer of pastry, so trim any overlapping dough as you go. When the tops are nicely sealed, flip the Wellingtons over, seam side down, and transfer to a parchment lined sheet pan. You can use your hands to gently tighten each Wellington into perfectly smooth spheres. Refrigerate to chill completely before baking, at least 30 minutes or up to 24 hours (ours were refrigerated 6 hours).
  6. Heat the oven to 425°. In a small dish, whisk the egg until homogenous and, using a pastry brush or your fingers, evenly coat the entire outsides of the chilled Wellingtons with the egg, discard the remainder. Bake until the pastry is golden brown, 17 to 20 minutes. The internal temperature should read 120° for medium-rare (it will continue to cook as it rests.)
  7. Transfer the Wellingtons to serving plates.Let them rest for about 15 minutes before serving.

http://www.lynnandruss.com

Recipe from the NYTimes Cooking

Pescatarian Pantry Pasta

For this Spaghetti al Tonno pasta dish, it uses two jars of olive oil–packed tuna and a small amount of canned whole tomatoes, crushed by hand to produce small, supple pieces. Lots of garlic, some cooked in olive oil and the rest simply warmed through, contribute potent flavor to the tomato sauce, along with red pepper flakes for heat and anchovies for a briny backbone.

To ensure that the tuna stays moist and silky, stir it into slightly underdone spaghetti along with the tomato mixture off the heat and simply let it warm through. This not only gently warms the fish through so that it holds its moisture, but also hedges against mushy spaghetti.

Spaghetti or linguine are preferred for this dish (we used whole wheat pasta), but short or tubular shapes such as penne, fusilli, farfalle, ziti, or rigatoni also work. Likewise, oil-packed tuna is recommended, but if you happen to have water-packed tuna instead, don’t let that stop you. For a spicier dish, use the full ½ teaspoon of red pepper flakes.

The tuna brand we buy is Tonnino. With rich flavor and silky, thick‑cut yellowfin fillets, it is a step above most brands. Yes, it costs a few extra dollars, but it yields pasta al tonno that’s posh enough for company, and can bring a luxurious touch to any weeknight meal. And aren’t you worth at least a few extra bucks?

*Now here’s the thing. If you are using the more expensive jarred tuna, why would you discard the oil it is packed in? Use that oil and add some EVOO if needed to make the 1/2 cup called for in the recipe.

Spaghetti al Tonno

  • Servings: 4
  • Difficulty: easy
  • Print

Ingredients

  • 2 5- to 7-oz. jars/cans olive oil-packed tuna, drained* (see head note)
  • 1 Tbsp. lemon juice
  • 1 tsp. table salt, divided, plus salt for cooking pasta
  • ½ tsp. pepper, divided
  • ½ cup extra-virgin olive oil*, divided, plus extra for drizzling
  • 1½ Tbsp. minced garlic, divided
  • 3 anchovy fillets, rinsed, patted dry, and minced
  • ¼–½ tsp. red pepper flakes
  • 1 14.5-oz. can whole peeled tomatoes, drained with juice reserved, crushed by hand to small pieces
  • 12 oz. spaghetti
  • 6 Tbsp. chopped fresh parsley, divided

Directions

  1. Bring 4 quarts water to boil in large pot. While water comes to boil, gently stir tuna, lemon juice, ¼ teaspoon salt, and ¼ teaspoon pepper together in small bowl.
  2. Heat 2 tablespoons oil, 1 tablespoon garlic, anchovies, and pepper flakes in saucepan over medium heat, stirring occasionally, until oil sizzles gently and anchovies break down, 1½ to 2 minutes.
  3. Stir in tomatoes and their juice and ½ teaspoon salt. Increase heat to high and bring to strong simmer. Adjust heat to maintain gentle simmer and cook, stirring occasionally, until slightly thickened, 6 to 7 minutes. Cover and keep warm over low heat.
  4. Add spaghetti and 1 tablespoon salt to boiling water. Cook, stirring often, until barely al dente. Reserve ½ cup cooking water. Drain pasta and return it to pot.
  5. Off heat, add tomato mixture, remaining ¼ teaspoon salt, remaining ¼ teaspoon pepper, and remaining 1½ teaspoons garlic and toss until pasta is well coated. Add tuna mixture and toss gently. Cover and set aside for 3 minutes so flavors can meld and pasta can finish cooking.
  6. Adjust consistency of sauce with reserved cooking water as needed.
  7. Add ¼ cup parsley and remaining 2 tablespoons oil and toss to combine. Season with salt and pepper to taste.
  8. Distribute among pasta bowls. Drizzle each portion with extra oil, if using. Sprinkle with remaining 2 tablespoons parsley and serve.

http://www.lynnandruss.com

Recipe from Cook’s Illustrated

Shoulder Lamb Chops with Fennel and Capers

The flavors were amazing in this dish from Mastering the Art of Italian Cooking by Lidia Bastianich, one of our favorite Italian chef/authors. With rosemary, fennel, capers, onion and homemade stock, you can’t help but start salivating from the heady aromas while you’re cooking.

Shoulder lamb chops are usually not as costly as other cuts, but you do have to deal with a little more fat and bone. With only three chops, we still needed to brown them in two batches, which the original instructions didn’t indicate. Too closely together in the skillet, and the meat will steam instead of brown.

One major difference we will do next time is reduce the amount of stock from 2 cups down to 1 cup (this is noted in the list of ingredients below). After the chops were removed from the skillet, we tented them with foil, and reduced down the liquid in the pan (which still included the other ingredients).

And what is with throwing out the garlic?? That’s like tossing the baby out with the bath water, a sacrilege in our opinion! Otherwise, it was a fabulous recipe.

Shoulder Lamb Chops with Fennel and Capers

  • Servings: 4
  • Difficulty: easy
  • Print

Ingredient

  • 4 1⁄2-inch thick bone-in shoulder lamb chops
  • 2 tsp. kosher salt
  • All-purpose flour, dredging
  • Vegetable Oil for frying
  • 3 Tbsp. extra-virgin olive oil
  • 6 garlic cloves, crushed and peeled
  • 4 sprigs fresh rosemary
  • 2 large fennel bulbs, trimmed, cored, and cut into 1-inch chunks
  • 2 medium onions, sliced
  • 1⁄4 tsp. crushed red pepper flakes
  • 1⁄4 cup red wine vinegar
  • 1 cup chicken stock, preferably homemade
  • 1⁄4 cup drained tiny capers in brine

Directions

  1. Season lamb chops with 1 teaspoon of the salt. Spread some flour on a plate and dredge the chops in the flour, tapping off the excess.
  2. Heat a large skillet over medium-high heat, and add 1⁄4 inch of vegetable oil. Cook the chops until they are crisp and browned on both sides, about 3 minutes per side. Remove them to a plate. (It’s likely you will need to do this in 2 batches.)
  3. Pour out the oil and wipe the skillet clean. Set skillet over medium heat, and add olive oil. When the oil is hot, add the garlic and rosemary. Once the garlic and rosemary are sizzling, add the fennel and onions, and season with the remaining salt and the red pepper flakes. Cook, stirring to make sure the vegetables don’t burn, until they are wilted and golden, about 10 minutes.
  4. Add the vinegar and bring it to a boil. Add the stock. Reduce the heat so the sauce is simmering, and add the chops and capers.
  5. Simmer, covered, until the chops are tender, about 35 to 40 minutes. Remove the rosemary stems and garlic (no way!), and serve.

http://www.lynnandruss.com

Original recipe from Lidia Bastianich

Spatchcock Chicken with Potatoes and Lemon

A FOODGASM. That’s what The Hubs dubbed this dinner as we sucked the bones clean. “And in the blog, you can say that I said so.” So I took him up on his offer.

If roast chicken and potatoes are in your wheel house, then you must put this on your short list. The succulent poultry, mouth-watering potatoes, and variety of alliums, paired with herbs and seasonings all melded together into one harmonious orgy on the palette.

According to Spanish chef/author Mikel López Iturriaga, getting all the parts of a roasted chicken done just right is one of the greatest challenges of roasting poultry: when the thigh is cooked to temperature the breast is usually already dry, and if you remove the chicken from the oven earlier in order to keep the breast juicy, the thigh is still raw.

As Mikel claims, there are many tricks to overcome this dilemma, but the most effective has the name of a Lepidoptera, it’s called “butterflied chicken,” also known as spatchcock chicken. It’s about cutting the bird in such a way to leave it flattened. Not only does it have the advantage of bringing together cooking times for all of the parts, but it makes the cooking process much faster. In a half-hour, you can have it ready.

Now, as is our MO, we made a few changes. We added shallots in addition to the onions, increased the potato quotient, and didn’t remove garlic or potato skins. Count yourself lucky if you have leftovers. The most difficult part was waiting the extra 10 minutes for the bird to rest before carving and serving…

Spatchcock Chicken with Potatoes and Lemon

  • Servings: 4
  • Difficulty: easy
  • Print

Ingredients

  • 1 whole chicken, (3 1/2 to 4 lbs.), spatchcocked
  • 7 oz. dry white wine, or dry vermouth
  • 2 medium onions, or combination of onions and shallots
  • 4 medium Yukon Gold potatoes
  • 2 lemons, one cut in half horizontally and the other juiced
  • 1 head garlic, outer skin removed to reveal the cloves and cut in half horizontally
  • 3 sprigs fresh rosemary, each broken into 2 pieces
  • 3 sprigs fresh thyme, each broken into 2 pieces
  • 2 bay leaves, broken into halves
  • 1 Tbsp. pimentón dulce, (sweet smoked paprika)
  • 1 Tbsp. dried oregano
  • 1 tsp. freshly ground black pepper
  • Salt, to taste
  • Extra virgin olive oil

Directions

  1. Heat the oven to 475 degrees.
  2. Cut the potatoes in half, and then cut each half into three wedges. Do the same with the onions. If using shallots, cut them in half from top to bottom. Place the vegetables in a baking or roasting pan with sides high enough to allow the chicken to be placed on a rack over top of the vegetables. Add the lemon and garlic halves, drizzle everything with olive oil, mix well, and place in the preheated oven for 15 minutes.
  3. In a bowl, mix together 6 tablespoons of olive oil, the rosemary, thyme, bay leaves, pimentón, oregano, pepper, and a generous amount of salt. Cover the chicken well with a portion of this mixture reserving the remainder to pour over the vegetables.
  4. After the vegetables have been roasted for 15 minutes, remove them from the oven and pour the remaining marinade, lemon juice, and wine or vermouth over them. Place a rack over the top of the roasting pan and place the chicken on it, skin side up. Return the roasting pan to the oven.
  5. After 15 minutes, lower the oven temperature to 400 degrees and continue roasting for an additional 15 to 20 minutes, or until the chicken skin is golden and juices run clear. After removing the roasting pan from the oven, allow everything to rest for 10 minutes before serving.

http://www.lynnandruss.com

Recipe from Mikel López Iturriaga for El Pais

Cheesy Italian Baked Beans

Flexible in that this Cheesy Italian Baked Beans recipe could be your main dish, or part of a meal as a side. Here, traditional Italian ingredients like onion, garlic, tomatoes, cheese, and rosemary put a spin on classic baked beans.

The prep is minimal and afterward it only cooks in the oven for about 20 minutes. When it came to topping the casserole with the shredded fontina cheese, I may have put a bit more than the 1/2 cup that was called for… like 50% more 🙂

I added a final step of letting the casserole sit for 5-10 minutes after removing from the oven. We paired the entrée with a side of steamed broccolini and a toasted whole grain baguette with garlic and parmesan.

Cheesy Italian Baked Beans

  • Servings: 6
  • Difficulty: easy
  • Print

Ingredients

  • 2 Tbsp. extra-virgin olive oil
  • ½ cup coarsely chopped yellow onion 
  • 3 cloves garlic, sliced
  • 1 28-oz. can fire-roasted crushed tomatoes, undrained
  • ¼ cup fresh rosemary leaves, coarsely chopped, plus additional for garnish
  • 3 15-oz. cans cannellini beans, rinsed and drained
  • ¾ cup shredded Parmesan cheese 
  • Crushed red pepper
  • Coarse salt and freshly ground black pepper
  • ½ cup cup shredded Fontina cheese

Directions

  1. Preheat oven to 400°F. In a large skillet heat olive oil over medium-high heat. Add onion, garlic, and 1/8 tsp. salt. Cook and stir for 5 minutes or until tender.
  2. Stir in tomatoes and rosemary. Bring to boiling; boil gently, uncovered, 5 minutes or until slightly thickened.
  3. Stir in beans and half the Parmesan. Season to taste with crushed red pepper, salt, and black pepper. Transfer to a 2-qt. rectangular baking dish. Top with remaining Parmesan and the Fontina. Bake 15 to 20 minutes or until beginning to lightly brown around the edges.
  4. Remove from the oven and let sit for 5-10 minutes to thicken.
  5. Sprinkle with additional rosemary before serving.

http://www.lynnandruss.com

Adapted from a recipe in Fine Cooking Magazine

Tomato and Feta Stuffed Chicken Breasts

This recipe is a lighter spin on the typical cheese-stuffed chicken breast, featuring feta, tomato and Greek-inspired flavors.

Purchase similarly sized chicken breasts so they’ll cook at the same rate. Because our 3 breasts were quite large, the stuffing mixture was doubled, although that is NOT noted in the list of ingredients below. And, they had to be cooked an additional 10 minutes to come to the proper temperature. As a side dish, we roasted some asparagus spears drizzled with olive oil and seasoned with salt, pepper and Za’atar.

Preserved lemons are a common ingredient in Moroccan recipes. You can find the salty pickled citrus in well-stocked grocery stores (near the pickles and olives) or Middle Eastern markets. We usually make and keep a jar of them in our auxiliary refrigerator. (Forgot to include them in the set-up photo below.)

Tomato and Feta Stuffed Chicken Breasts

  • Servings: 4
  • Difficulty: easy
  • Print

Ingredients

  • ¼ cup crumbled feta cheese
  • 1 Tbsp. whole-milk plain Greek yogurt
  • ¼ cup finely chopped grape tomatoes
  • 2 Tbsp. finely chopped pitted Kalamata olives
  • 2 tsp. finely chopped preserved lemon
  • 2 tsp. finely chopped fresh oregano
  • 1 clove garlic, grated
  • 4 same-sized boneless, skinless chicken breasts, trimmed 
  • ⅛ tsp. salt
  • ⅛ tsp. ground pepper
  • 1 Tbsp. extra-virgin olive oil

Directions

  1. Preheat oven to 400 degrees F.
  2. Mash feta and yogurt together in a small bowl. Stir in tomatoes, olives, lemon, oregano and garlic.
  3. Using a sharp knife, cut chicken breasts in half horizontally without cutting all the way through, to create a pocket. Stuff each pocket with equal amounts of the feta mixture; fold the chicken back over and secure with toothpicks. Sprinkle with salt and pepper.
  4. Heat oil in a large ovenproof skillet over medium-high heat. Add the chicken and cook until golden brown, about 4 minutes. Carefully flip the chicken and transfer the pan to the oven.
  5. Bake until an instant-read thermometer inserted in the thickest part of the chicken registers 165 degrees F, 20 to 25 minutes. Transfer to a clean cutting board. Let rest for 5 minutes, then slice.

http://www.lynnandruss.com

Original recipe from EatingWell Magazine.

Kung Pao Cauliflower

Even though Kung Pao Chicken originated in China’s Sichuan Province, it has become an iconic Chinese-American dish. The popular stir-fry typically includes chicken, vegetables and peanuts tossed in a dark, salty, sweet and spicy sauce, but in this vegan take, cauliflower steps in for the chicken.

Dark soy sauce is more caramel-flavored and less salty than regular soy sauce, and it adds color and richness to the dish. If you don’t have dark soy, substitute with regular soy sauce or hoisin sauce.

Make sure you have a lid for your skillet or wok on hand before you start cooking, as covering the cauliflower allows it to cook quicker and more evenly. And as with any stir-fry, always prep each ingredient ahead of cooking because you won’t have time in between.

Now, The Hubs inadvertently made more sauce than called for. He was using the “ounce” side of the small measuring cup instead of the “tablespoon” side. So he ended up doubling the soy sauces, vinegar, sugar and cornstarch. The vegetable stock remained at 1/4 cup. It ended up being a good mistake, as we tend to prefer our stir-fries on the saucier side anyway.

Kung Pao Cauliflower

  • Servings: 4
  • Difficulty: easy
  • Print

Ingredients

  • 1 Tbsp. dark soy sauce
  • 1 Tbsp. soy sauce
  • 1 Tbsp. black vinegar
  • 1 Tbsp. granulated sugar
  • 1/4 cup vegetable stock or water
  • 1 tsp. cornstarch
  • 3 Tbsp. neutral oil, such as grapeseed or canola
  • 1 head cauliflower (about 2 lbs.), cut into small 2-inch-long florets
  • Kosher salt
  • 1 green or red bell pepper, core, seeds and membrane removed, and cut into 1-inch pieces
  • 1 tsp. Sichuan peppercorns, lightly ground in a mortar and pestle, spice grinder or crushed with a rolling pin
  • 8 whole dried chiles, such as er jing tiao or chiles de árbol
  • 2 cloves garlic, finely chopped
  • 1 piece ginger, (1-inch) peeled and finely sliced
  • 1/3 cup roasted peanuts
  • 2 scallions, white and green parts, finely sliced
  • Steamed rice, to serve

Directions

  1. In a small bowl, whisk together the dark soy sauce, soy sauce, black vinegar, sugar, vegetable stock or water, and cornstarch. Set aside.
  2. Heat wok or large (12-inch) skillet on medium-high until very hot. Add 2 tablespoons of oil, the cauliflower florets and 1/2 teaspoon salt, and toss for 1 minute. Cover and cook for 5 to 6 minutes, tossing the cauliflower every 1 1/2 minutes or so, until the cauliflower is crisp-tender and charred in some parts. Remove from the pan and set aside.
  3. In the same wok or skillet, add the remaining 1 tablespoon of neutral oil, along with the bell pepper. Toss for 1 minute, then add the Sichuan peppercorns and whole dried chiles, and stir for 1 minute until fragrant.
  4. Add the garlic and ginger, and stir for 30 seconds, then add the cauliflower back to the pan. Stir the sauce in the bowl to make sure the cornstarch is well incorporated, then pour it over the cauliflower and toss until the cauliflower is well coated.
  5. Toss in the peanuts and scallions, stir to combine, then turn off heat. Serve with rice.

http://www.lynnandruss.com

Recipe from Hetty McKinnon for The NY Times Cooking

Bacon-Wrapped Roast Lamb with Anchovy and Garlic

So elegant, yet so simple, this roasted leg of lamb is truly company-worthy. It originally calls for a 4-pound roast, but we had a 2 1⁄2 pounder on hand, so we used that—though we did not cut back on the anchovy-garlic-herbs mixture which lends it so much umami goodness. Even if you are not an anchovy fan, you’d never know they were in the dish because their flavor just melds so perfectly with the other ingredients. DON’T leave them out.

And the icing on the cake so to speak? The bacon slices overlap each other across the top of the roast which create a beautiful crusty and golden exterior. And because our lamb was smaller in size, it took less strips of bacon to cover it.

Paired with baked sweet potatoes and roasted Brussels sprouts, all of which cook at the same 425°F temperature as the lamb—just different lengths of time—everything can be done in just one oven at the same time. Dinner done!

Bacon-Wrapped Roast Lamb with Anchovy and Garlic

  • Servings: 8-10
  • Difficulty: easy
  • Print

Ingredients

  • 4 anchovy fillets
  • 2 large cloves garlic, coarsely chopped
  • 2 Tbsp. herbes de Provence
  • 4 Tbsp. olive oil
  • 4 lbs. leg of lamb, rolled and boneless
  • 12 slices bacon
  • Salt and freshly ground pepper

Directions

  1. Heat oven to 425 degrees. Place anchovy fillets, garlic and herbs in food processor, and process until finely chopped. With machine running, add olive oil in a thin stream, and process until mixture forms an oily paste. Transfer paste to a small bowl and set aside.
  2. Dry the lamb well with paper towels and open flat on work surface. Sprinkle inside of lamb with salt and pepper and spread paste evenly over it. Roll lamb up tightly. Arrange bacon in overlapping slices on top of lamb, and tie roast as snugly as possible with butcher’s twine.
  3. Heat an oven-proof, 10-12 inch wide skillet over high heat 5 minutes. Sear lamb, bacon side down, until brown, about 4 minutes. Turn lamb with tongs and continue searing until all sides are browned, about 12 minutes total.
  4. Transfer skillet to oven and roast until lamb registers 130 degrees on instant-read meat thermometer, about 40 to 45 minutes. Remove lamb from oven and let rest, covered loosely with foil, at least 10 minutes before slicing.
  5. Make a pan sauce if desired.

http://www.lynnandruss.com

Recipe from NY Times Cooking

Cast-Iron Green Chile Tamale Pie

We found this version of Tamale Pie in a recent issue of Fine Cooking Magazine. Its name is due to the awesome layer of cornbread that sits on top of the ground beef (or ground turkey) filling, mimicking masa-wrapped, meat-filled tamales. In lieu of more traditionally used canned tomatoes, this Southwest riff favors green chiles and tangy, tomatillo-spiked salsa verde.

As is often the case, we put our own spin on the recipe. In this instance, we doubled the amounts of beans and onion. Originally I planned on using ground turkey in place of ground beef, but the supermarket was out of it. (Still dealing with COVID supply and delivery issues two years later!)

After it was fully cooked, and I went to spoon out a portion, there seemed to be a fair amount of liquid in the bottom of the skillet. Once in my dinner bowl however, the fluid soaked up into the cornbread topping. Perhaps replacing the zucchini with red pepper—which has less moisture content—would be a good alternative and add a nice pop of color.

Based on some of the ingredients, you may think it is spicy. And yes, it does have a slight kick, but I wouldn’t scale back on any of the suggested amounts. An alternative, if spice is just not your thing, incorporate milder salsa verde and chopped green chiles. We both thought that the leftovers, when reheated, were even better than the first go-around—plus any liquid had been reabsorbed.

Cast-Iron Green Chile Tamale Pie

  • Servings: 4-6
  • Difficulty: easy
  • Print

Ingredients

For the filling

  • 1 lb. 85% lean ground beef
  • 1 medium zucchini, chopped
  • 1/2 medium yellow onion, chopped
  • 1 Tbsp. chili powder
  • 1 cup mild or spicy salsa verde; more for serving
  • 1/2 cup cooked black or pinto beans
  • 1/2 cup fresh or thawed frozen yellow corn kernels
  • 1 4-oz. can mild or spicy chopped green chiles (undrained)
  • Kosher salt

For the cornbread topping

  • 1 cup stone-ground yellow cornmeal
  • 1/4 cup all-purpose flour
  • 1 Tbs. sugar
  • 1 tsp. baking powder
  • 1 tsp. kosher salt
  • 1/2 tsp. baking soda
  • 1 cup buttermilk
  • 3 Tbsp. unsalted butter, melted
  • 1 Tbsp. chopped fresh cilantro leaves; more for garnish
  • 1 large egg
  • 1 cup shredded Monterey Jack or pepper Jack cheese
  • Sour cream and avocado slices, for serving

Directions

Make the filling

  1. Preheat the oven to 400°F.
  2. In a deep 10-inch wide cast-iron skillet, cook the beef over medium-high heat until browned, breaking it into pieces with a wooden spoon, 6 to 8 minutes.
  3. Add the zucchini, onion, and chili powder, reduce heat to medium, and cook, stirring occasionally, until softened, about 5 minutes.
  4. Stir in the salsa, beans, corn, green chiles, and salt. Remove from the heat.

Make the cornbread topping

  1. In a medium bowl, whisk together the cornmeal, flour, sugar, baking powder, salt, and baking soda, and set aside.
  2. In another medium bowl, whisk together the buttermilk, butter, cilantro, and egg. Add the wet ingredients to the dry ingredients, and stir just until combined.
  3. Scatter half of the cheese over the beef mixture in the skillet, then pour the cornbread batter over and spread to the edges. Sprinkle with the remaining cheese.
  4. Bake until cornbread is cooked through and golden brown, about 25 minutes.
  5. Serve with additional salsa, sour cream, and avocado slices. Garnish with cilantro.

http://www.lynnandruss.com

Adapted from a recipe by Liz Pearson for Fine Cooking

Meal on Wheels, For Real

Friends of ours, husband and wife, were in a car accident, and while luckily they weren’t seriously injured, they were not in any mood, or condition, to cook for themselves for a period of days. Their daughter set up a “Meals on Wheels” type of delivery system called Meal Train, whereas each night friends and/or family members made a hot meal to be delivered to their household in the evening at the time of their choosing.

What a fantastic idea! The couple filled out an online form which described their likes and dislikes (i.e. nothing too spicy, prefer chicken and pasta dishes), and the link was emailed to the group. We chose our day and then the recipe based on their criteria. Our contribution? Chicken Paprikash. And just as The Hubs was leaving to transport the goods, he commented that one of their passions was delivering meals on wheels to those in need. What goes around, comes around…

This Hungarian classic can be on the table (or in the car as the case would be) in an hour if you use an Instant Pot or pressure cooker. And less than 10 ingredients to boot! To streamline the process even more, prep the dill while the chicken cooks, as it’s not used until the end of cooking to finish the sauce and as a garnish. We happened to use dried dill, saving even more time.

Paprika is a key ingredient in this dish, so make sure yours is fresh and fragrant; paprika that has gone stale and lost its flavor and color will result in a bland, lackluster stew. Buttered egg noodles are the perfect accompaniment. Even though you might be tempted, don’t use low-fat sour cream. It lacks richness and body and will make a lean, watery chicken paprikash.

Chicken Paprikash

  • Servings: 3-4
  • Difficulty: easy
  • Print

Ingredients

  • 2 Tbsp. salted butter
  • 1 large yellow onion, finely chopped
  • Kosher salt and ground black pepper
  • 2 Tbsp. sweet paprika
  • 1 Tbsp. tomato paste
  • 3 lbs. bone-in, skin-on chicken thighs, skin removed and discarded
  • 1 cup sour cream
  • 1 Tbsp. cornstarch
  • 4 Tbsp. chopped fresh dill, divided
  • Egg noodles, cooked to package directions

Directions

  1. On a 6-quart Instant Pot, select More/High Sauté. Add the butter and let melt. Add the onion, ½ teaspoon salt and ¼ teaspoon pepper, then cook, stirring occasionally, until the onion is golden brown, about 6 minutes.
  2. Add the paprika and tomato paste and cook, stirring, until fragrant, about 1 minute.
  3. Stir in ½ cup water, scraping up the browned bits. Nestle in the chicken in an even layer, slightly overlapping the pieces if needed.
  4. Cancel, lock the lid in place and move the pressure valve to Sealing. Select Pressure Cook or Manual; make sure the pressure level is set to High. Set the cooking time for 10 minutes.
  5. When pressure cooking is complete, allow the pressure to reduce naturally for 10 minutes, then release the remaining steam by moving the pressure valve to Venting. Press Cancel, then carefully open the pot.
  6. Using tongs, transfer the chicken to a dish and tent with foil.
  7. In a small bowl, whisk together the sour cream and cornstarch. Stir the mixture into the pot, then select More/High Sauté and cook, whisking constantly, until the sauce begins to simmer and is lightly thickened.
  8. Press Cancel to turn off the pot, then taste and season with salt and pepper. Stir in 2 tablespoons of dill. Using potholders, carefully remove the insert from the housing and pour the sauce over the chicken.
  9. Serve over hot cooked egg noodles and sprinkle with the remaining 2 tablespoons dill (or parsley).

http://www.lynnandruss.com

Thanks to Milk Street for this easy recipe