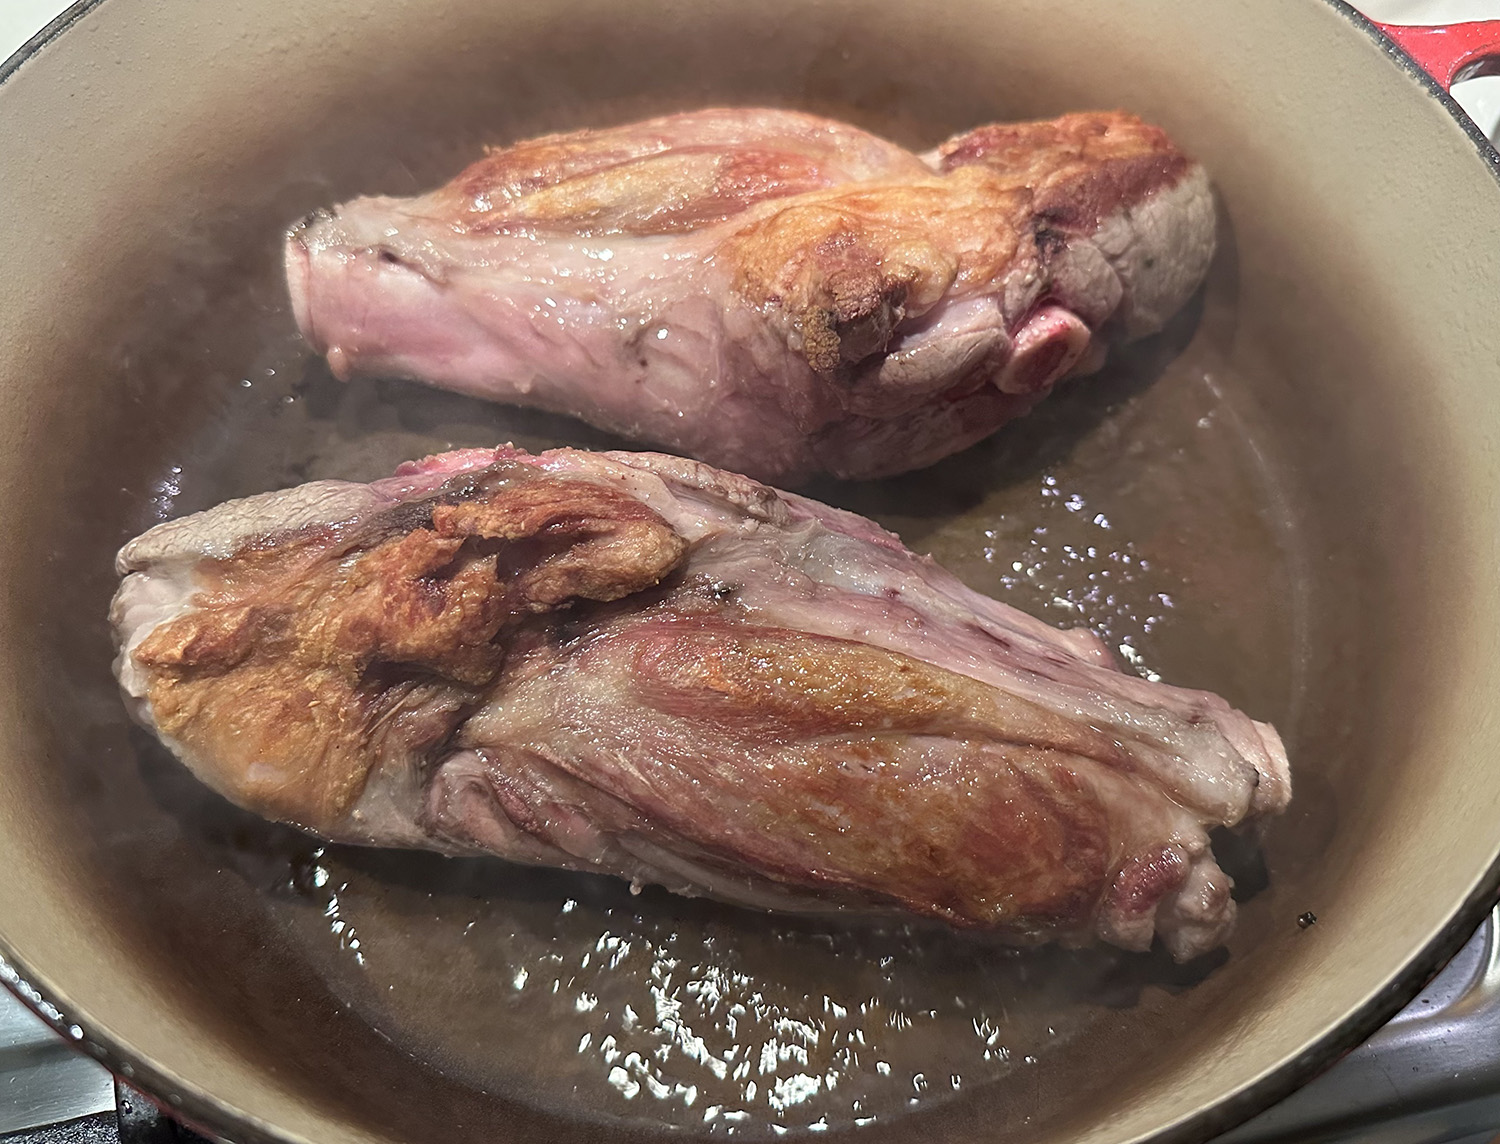
For this lamb shanks recipe, Cook’s Illustrated preferred to braise them in the oven rather than on the stovetop, as the oven provided more even heat. Browning the shanks over high heat in a skillet first added a great deal of flavor to the dish. The shanks are braised in chicken stock (which complements, rather than overpowers, the lamb, as beef or veal stock might have), white wine, and herbs.
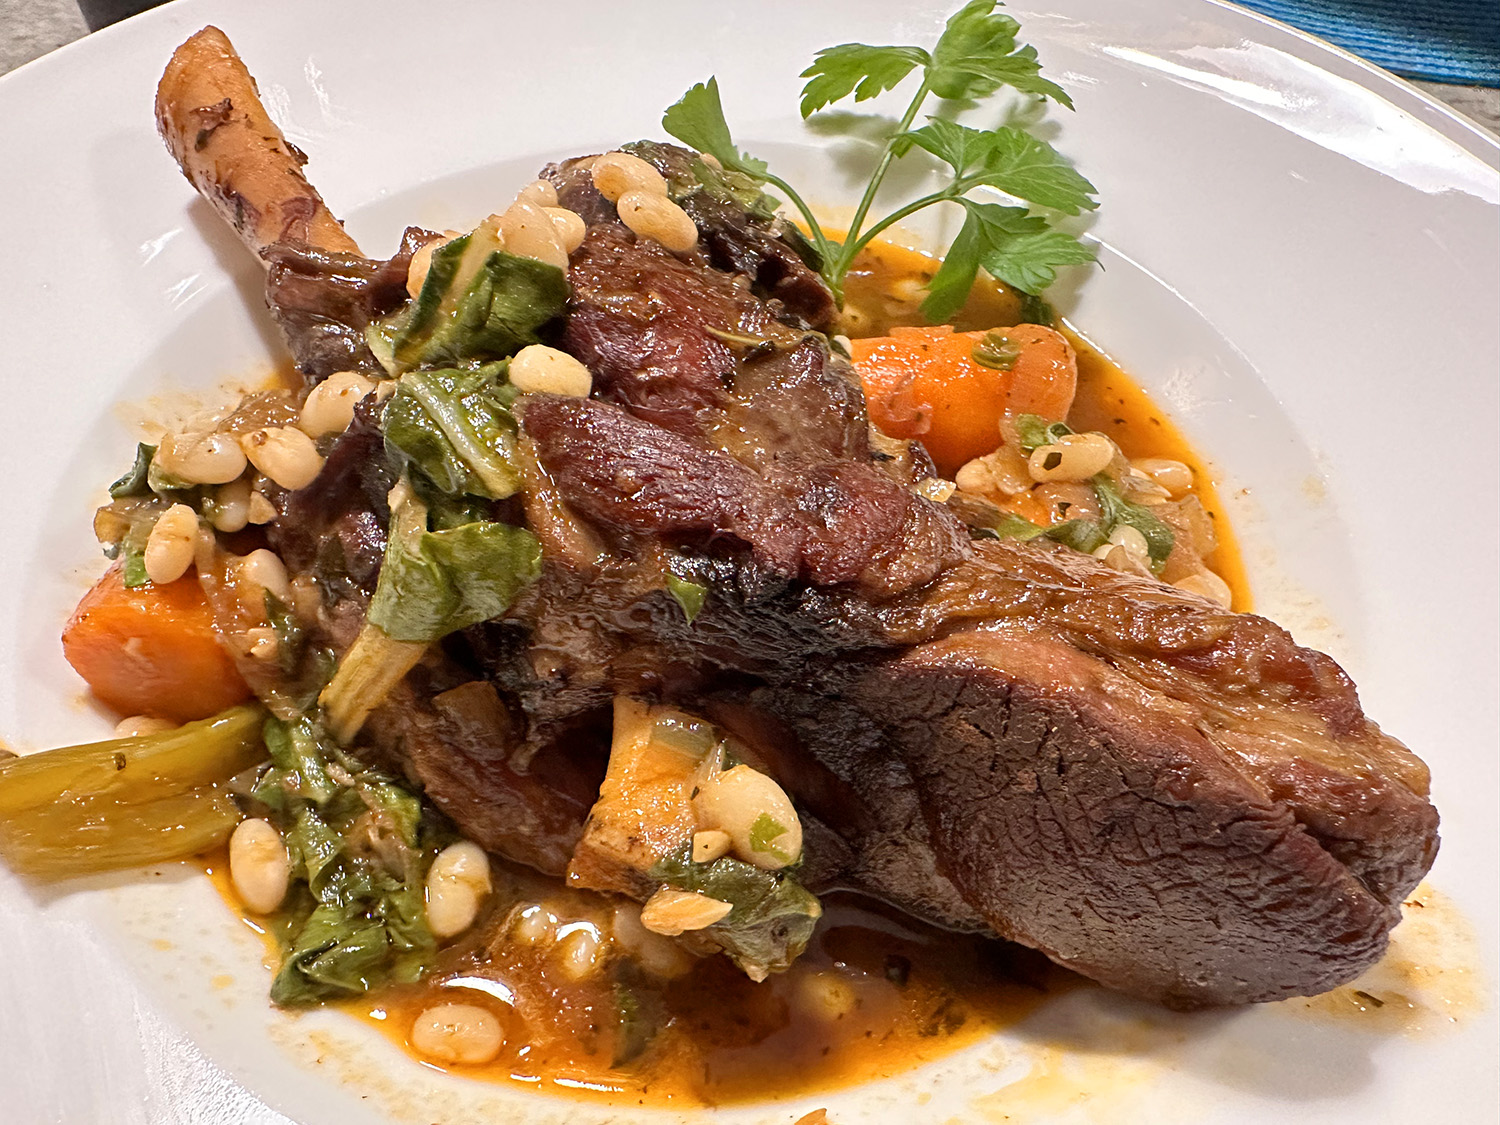
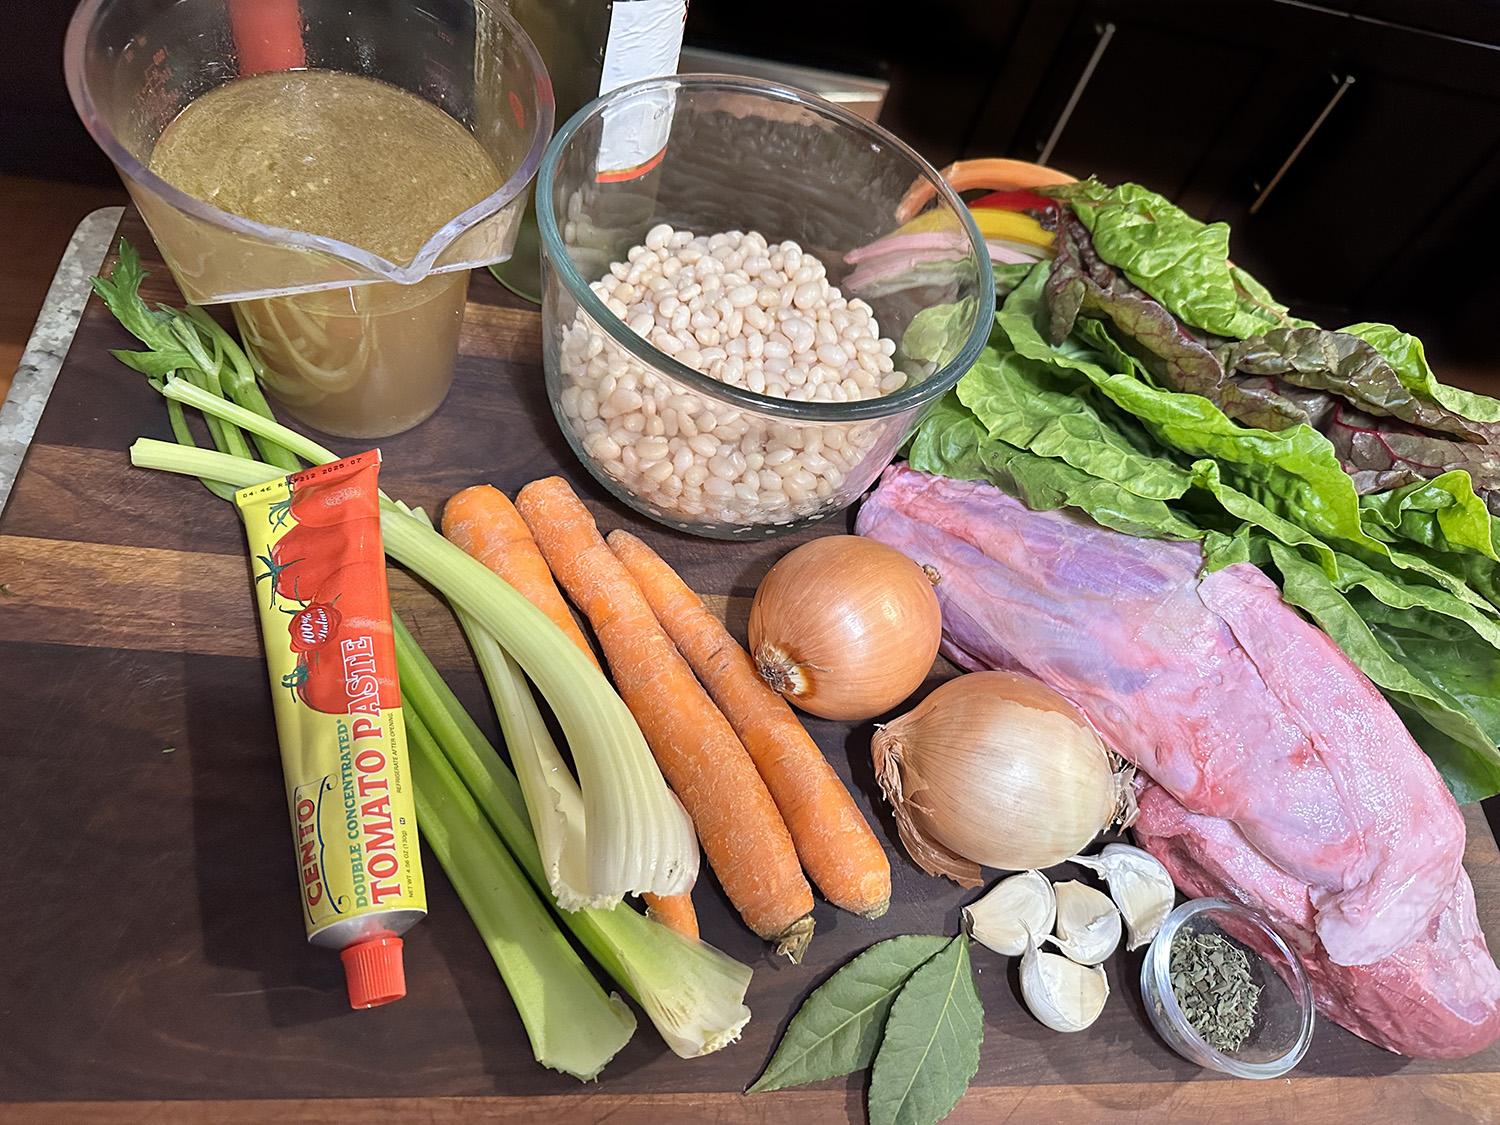
We made numerous changes to this recipe, starting with the lamb shanks. Instead of six small (which equates to more bone and less meat), we braised two meaty shanks that weighed close to two pounds each. When it is time to brown the shanks, you may have to do it in two batches if cooking more than two of them.
*As for the white beans, we did soak ours overnight as per the instructions below, but you could use 2 cans of cannellinis, drained and rinsed to save time. Instead of using several different skillets and pans, we did everything in one large braising pot. Finally, although we didn’t do it this time, we highly suggest that you reduce the liquids from 3 cups of broth to 2, and 2 cups of white wine down to 1 cup. These changes are note in the recipe below.
Braised Lamb Shanks with White Beans, Swiss Chard and Marjoram
Ingredients
Cannellini Beans*
- 1 bay leaf
- 1 lb. small white beans (such as Cannellini), soaked until rehydrated, overnight or at least 4 hours
- 4 cloves garlic (peeled, left whole)
- 7 cups water
- 1 ½ tsp. table salt

Lamb Shanks and Braising Liquid
- 4 lamb shanks, 1 1⁄4 to 1 1⁄2 lb. each, trimmed of excess fat and fell (thin, white papery covering)
- Table salt
- 2 Tbsp. olive oil
- 2 medium onions, sliced thick
- 3 medium carrots, peeled and cut crosswise into 2-inch pieces
- 2 medium ribs celery, cut crosswise into 2-inch pieces
- 4 medium cloves garlic, minced
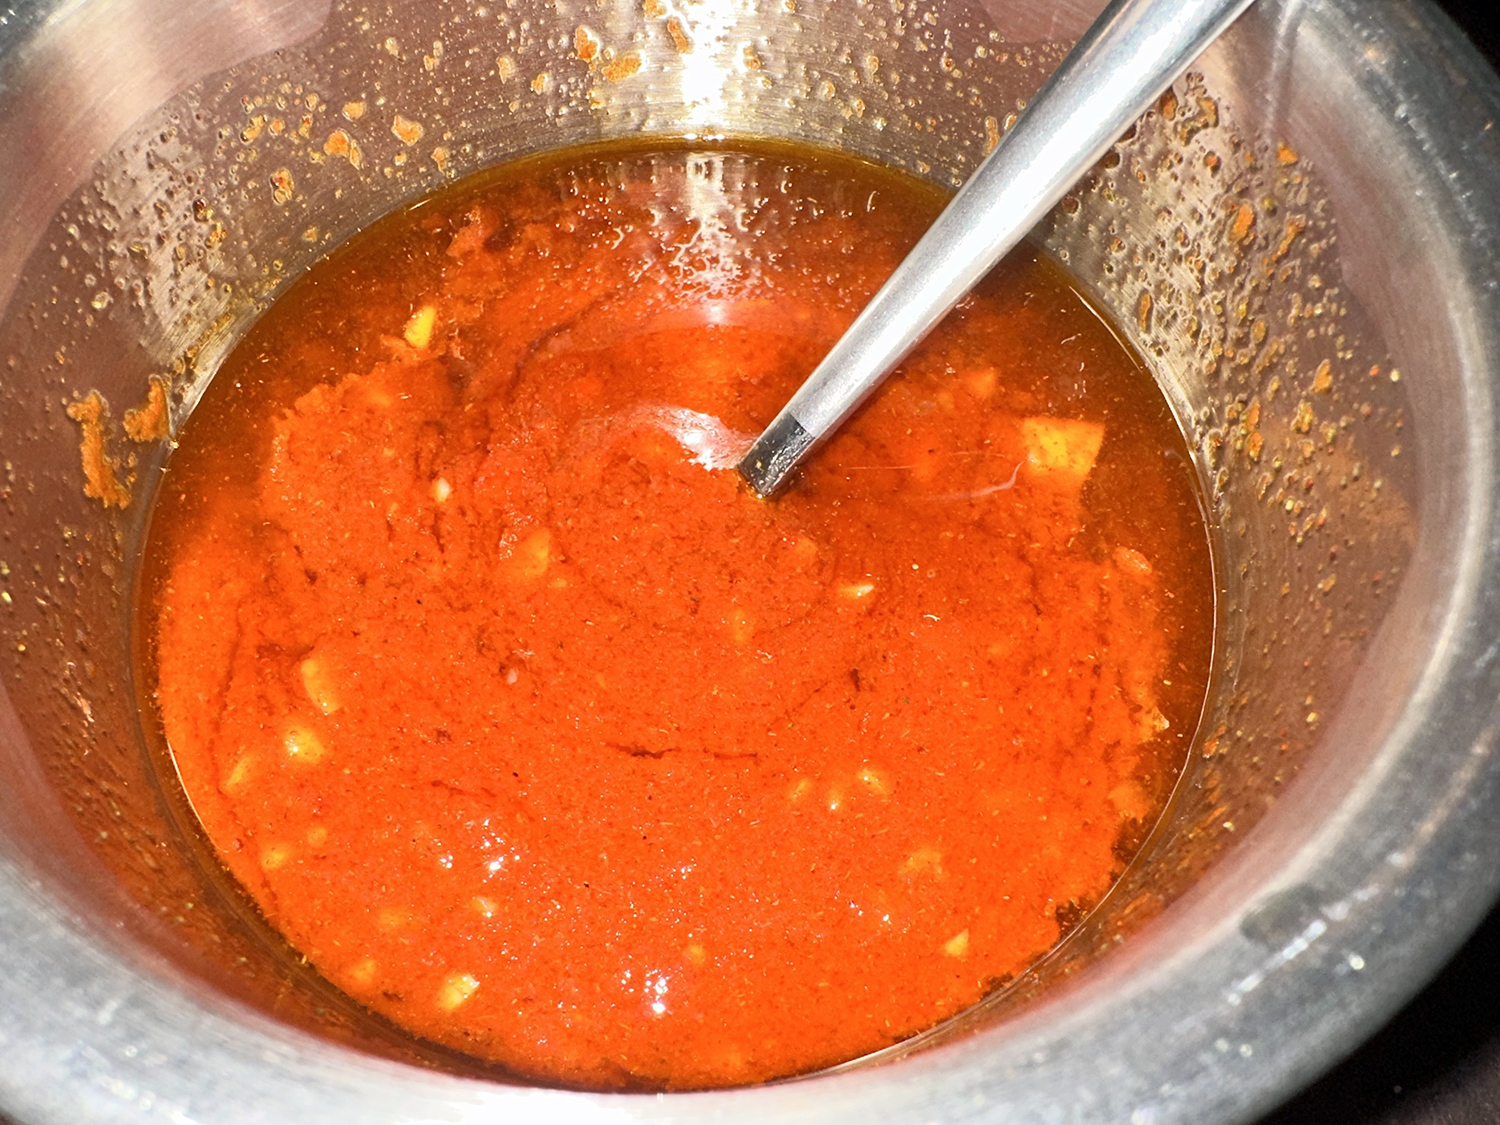
- 2 Tbsp. tomato paste
- 3 tsp. fresh marjoram leaves, minced, or 1 1/2 tsp. dried marjoram
- 2 cups chicken broth, preferably homemade
- 1 cup dry white wine
- 1 bunch Swiss chard, cleaned, stemmed, and chopped coarsely
- Ground black pepper


Directions
- FOR BEANS: Bring dried beans, bay leaf, garlic, and water to simmer in large saucepan. Simmer, partially covered, until beans are just tender, 30 to 40 minutes.
- Remove from heat, stir in salt, cover, and let beans stand until completely tender, about 15 minutes. Drain, reserve cooking liquid, and discard bay leaf and garlic. (Beans in liquid can be cooled, covered, and refrigerated up to 5 days.)
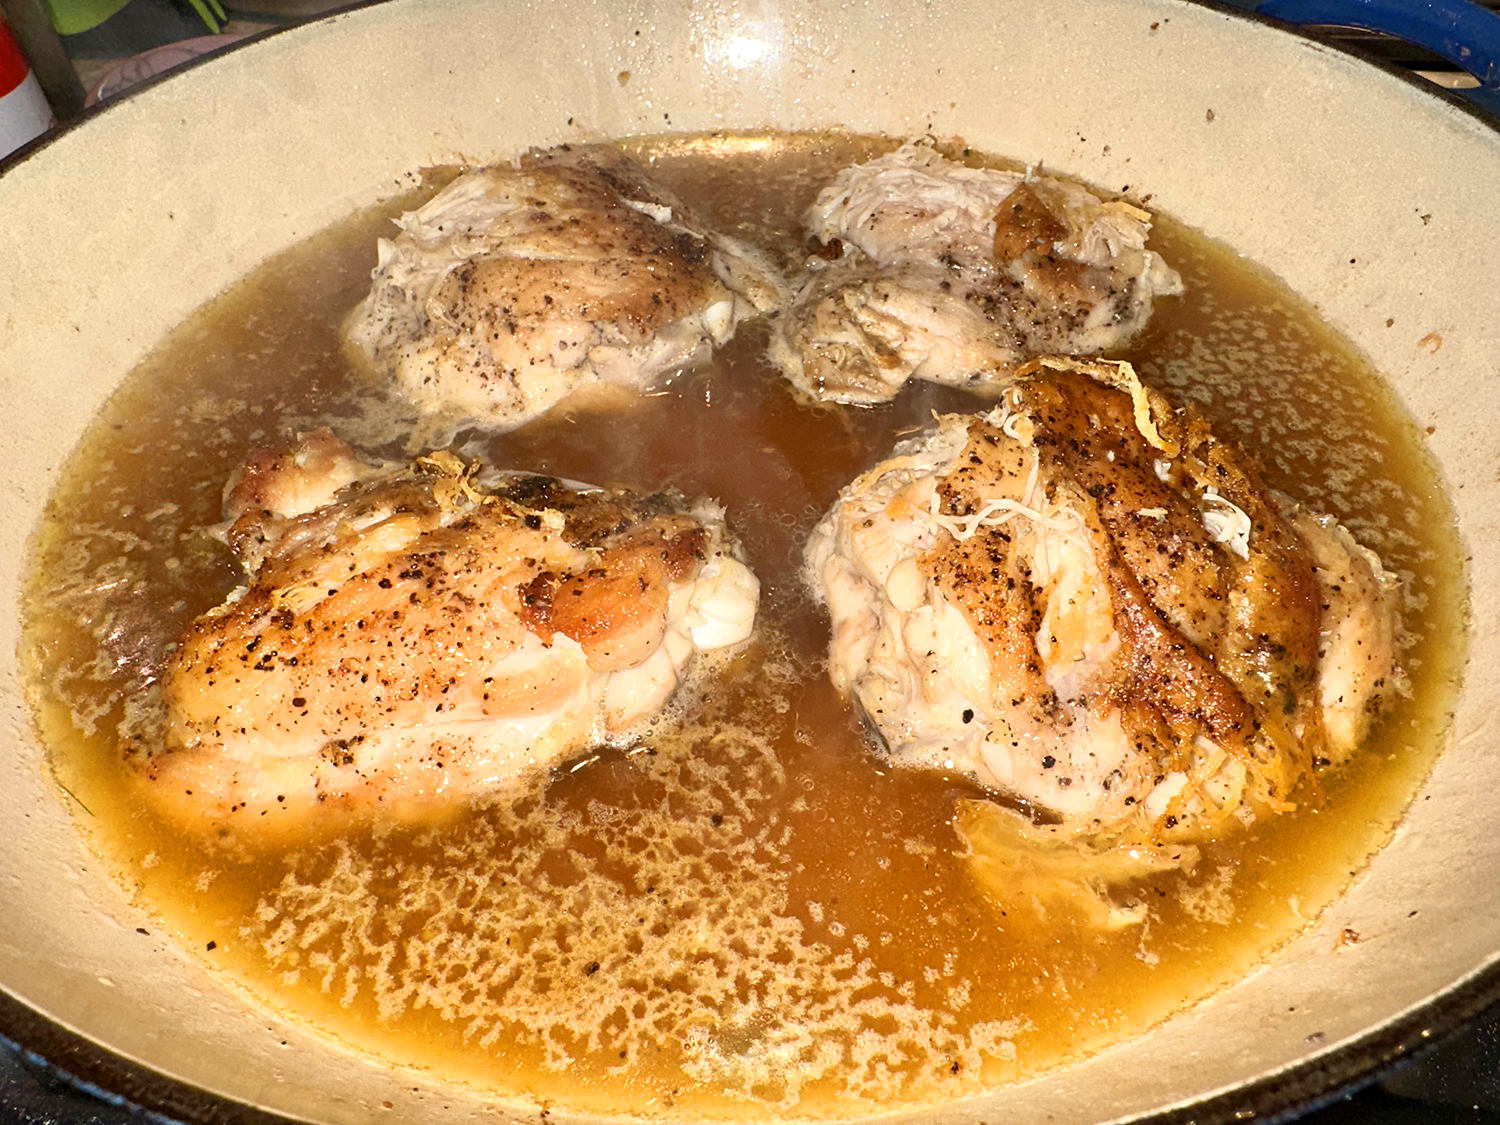
- FOR SHANKS: Heat oven to 350 degrees. Sprinkle shanks with salt. Heat oil in a large, nonreactive sauté pan over medium-high heat. Add shanks to pan in batches if necessary to avoid overcrowding. Sauté until browned on all sides, 5-7 minutes. Using tongs, transfer shanks to a plate as they brown.
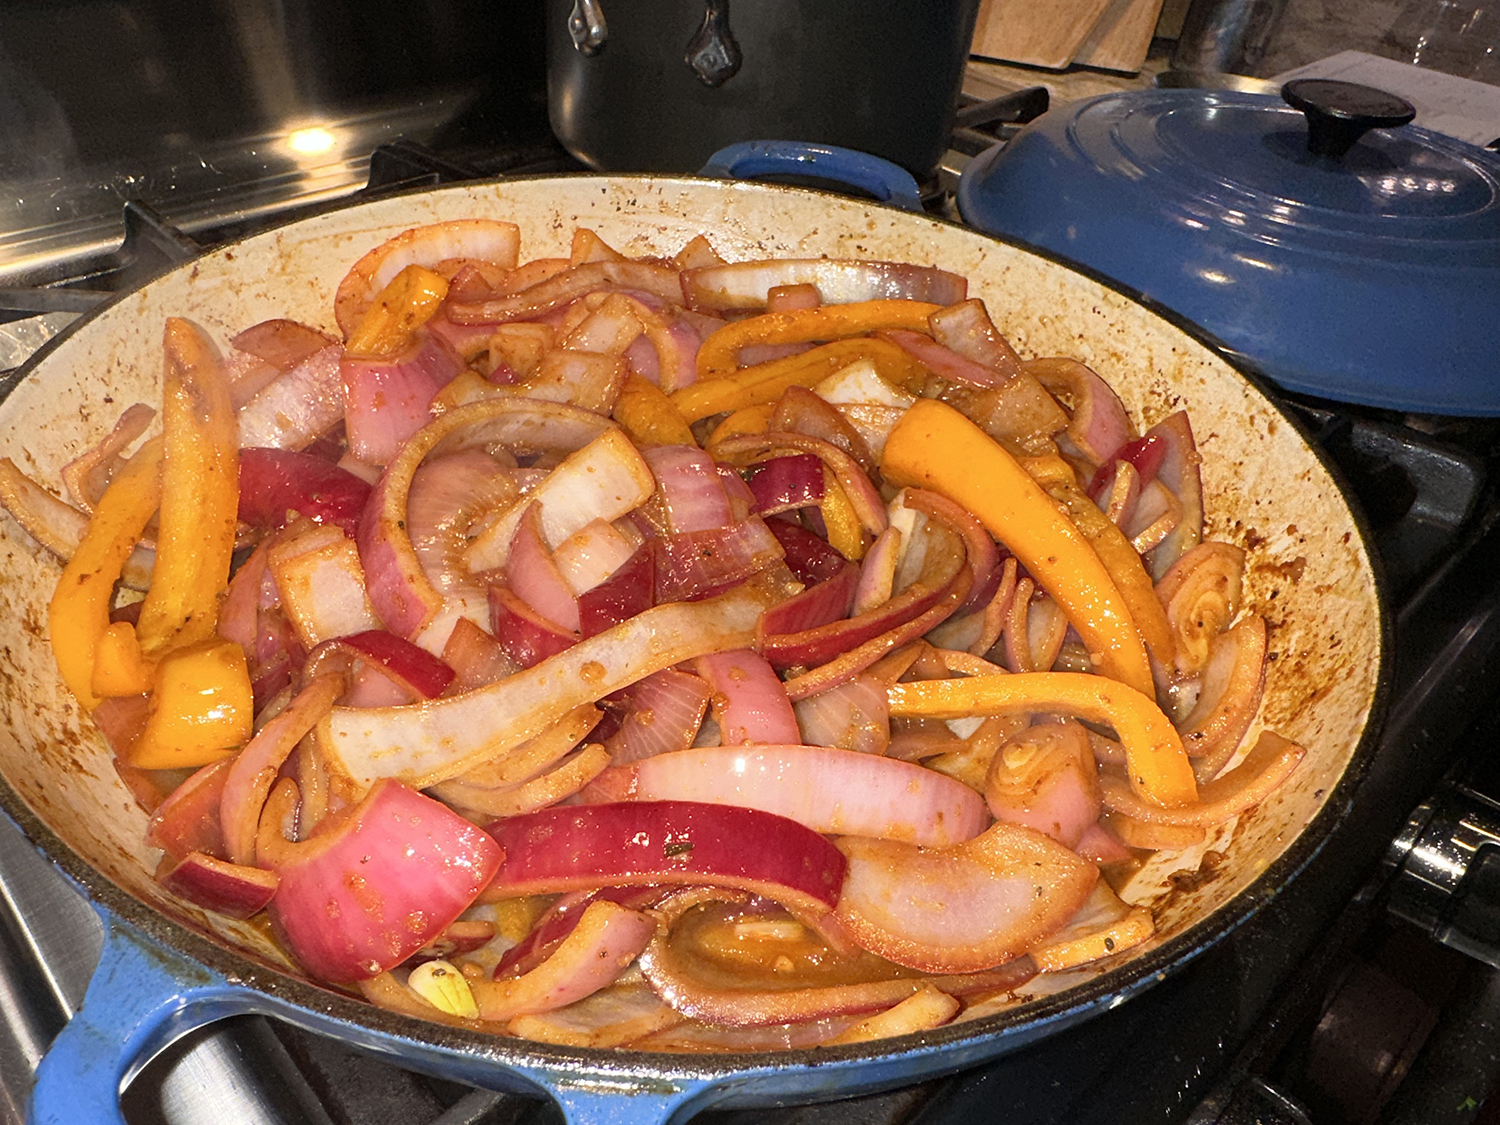
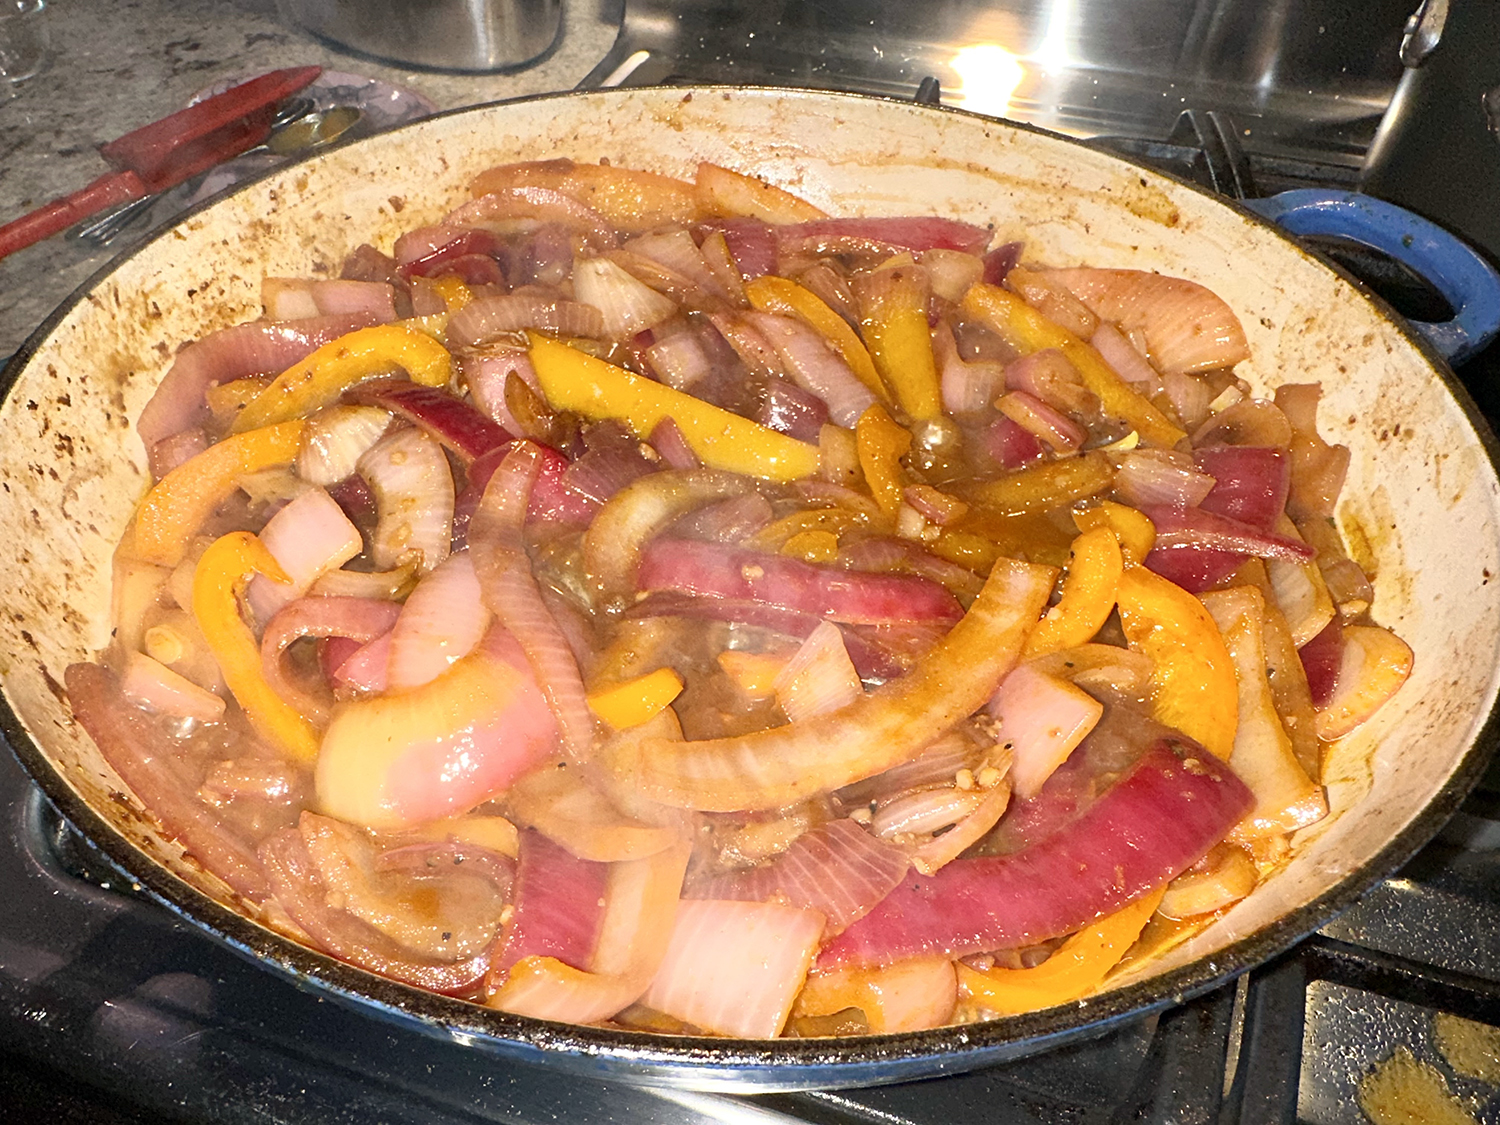
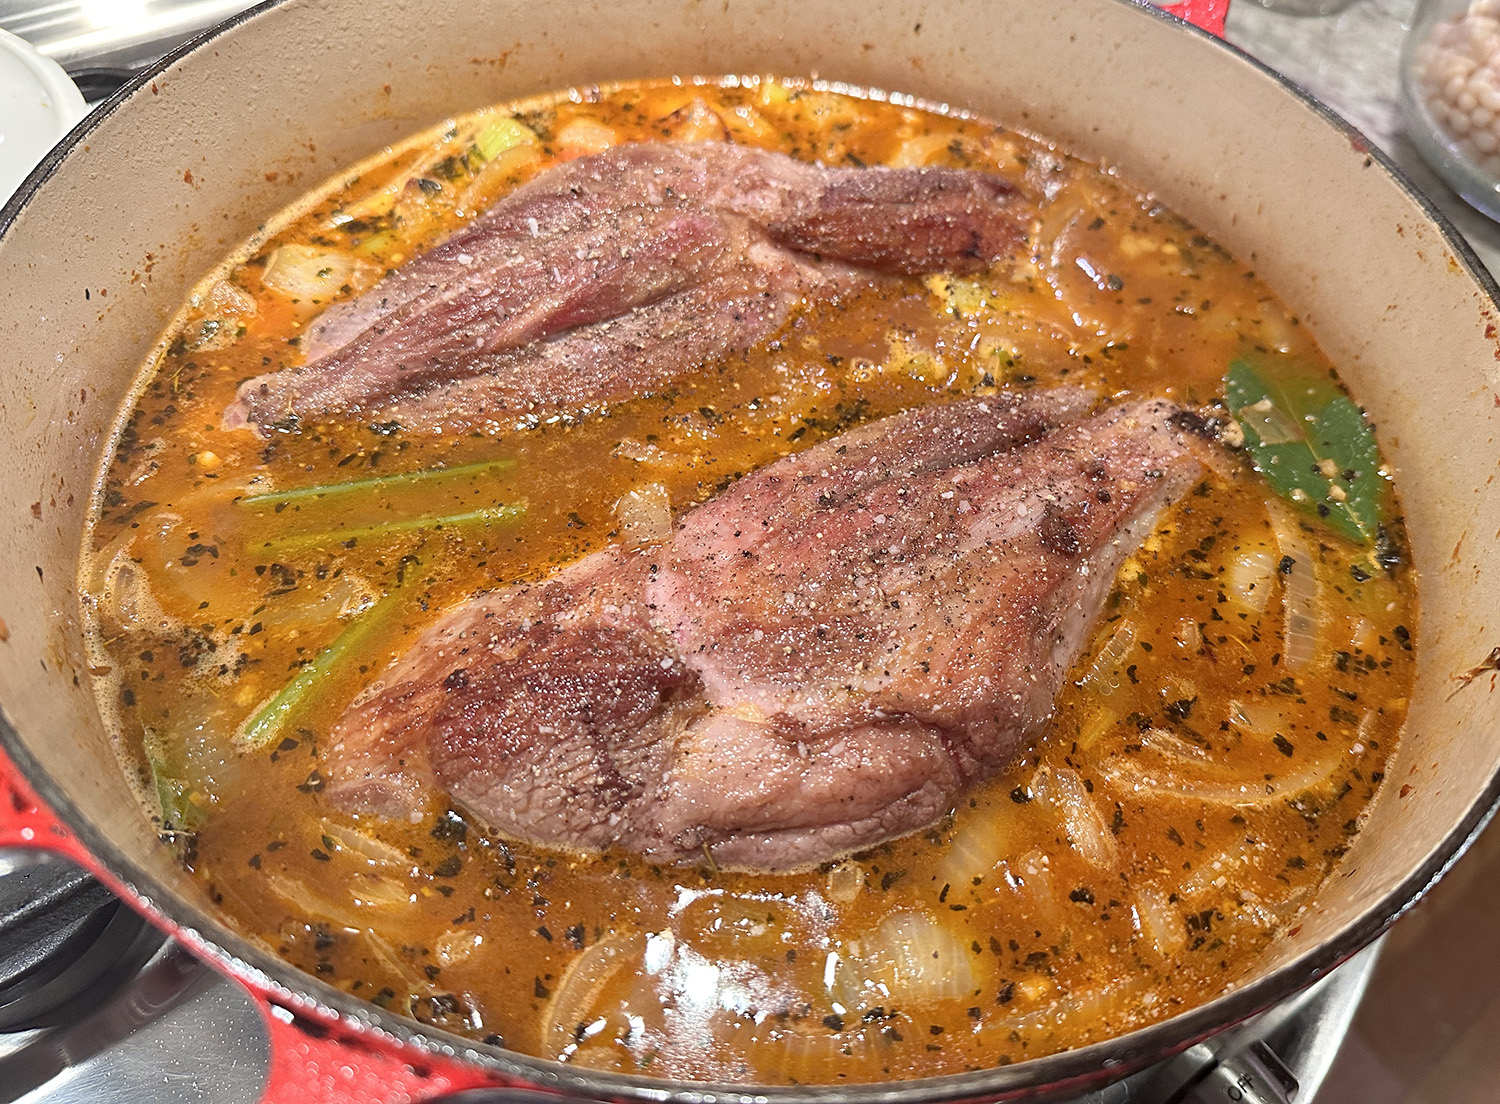
- Drain all but 2 tablespoons fat from the sauté pan; add onions, carrots, celery, garlic, tomato paste, a light sprinkling of salt and 2 teaspoons of the fresh marjoram (less if using dried); sauté to soften vegetables slightly, 3 to 4 minutes.
- Add wine, then chicken stock to the skillet, stirring with a wooden spoons to loosen browned bits from skillet bottom. Bring liquid to simmer; transfer vegetables and liquid into a deep braising pan, large enough to hold the shanks in a single layer. Add shanks and season with salt and pepper.
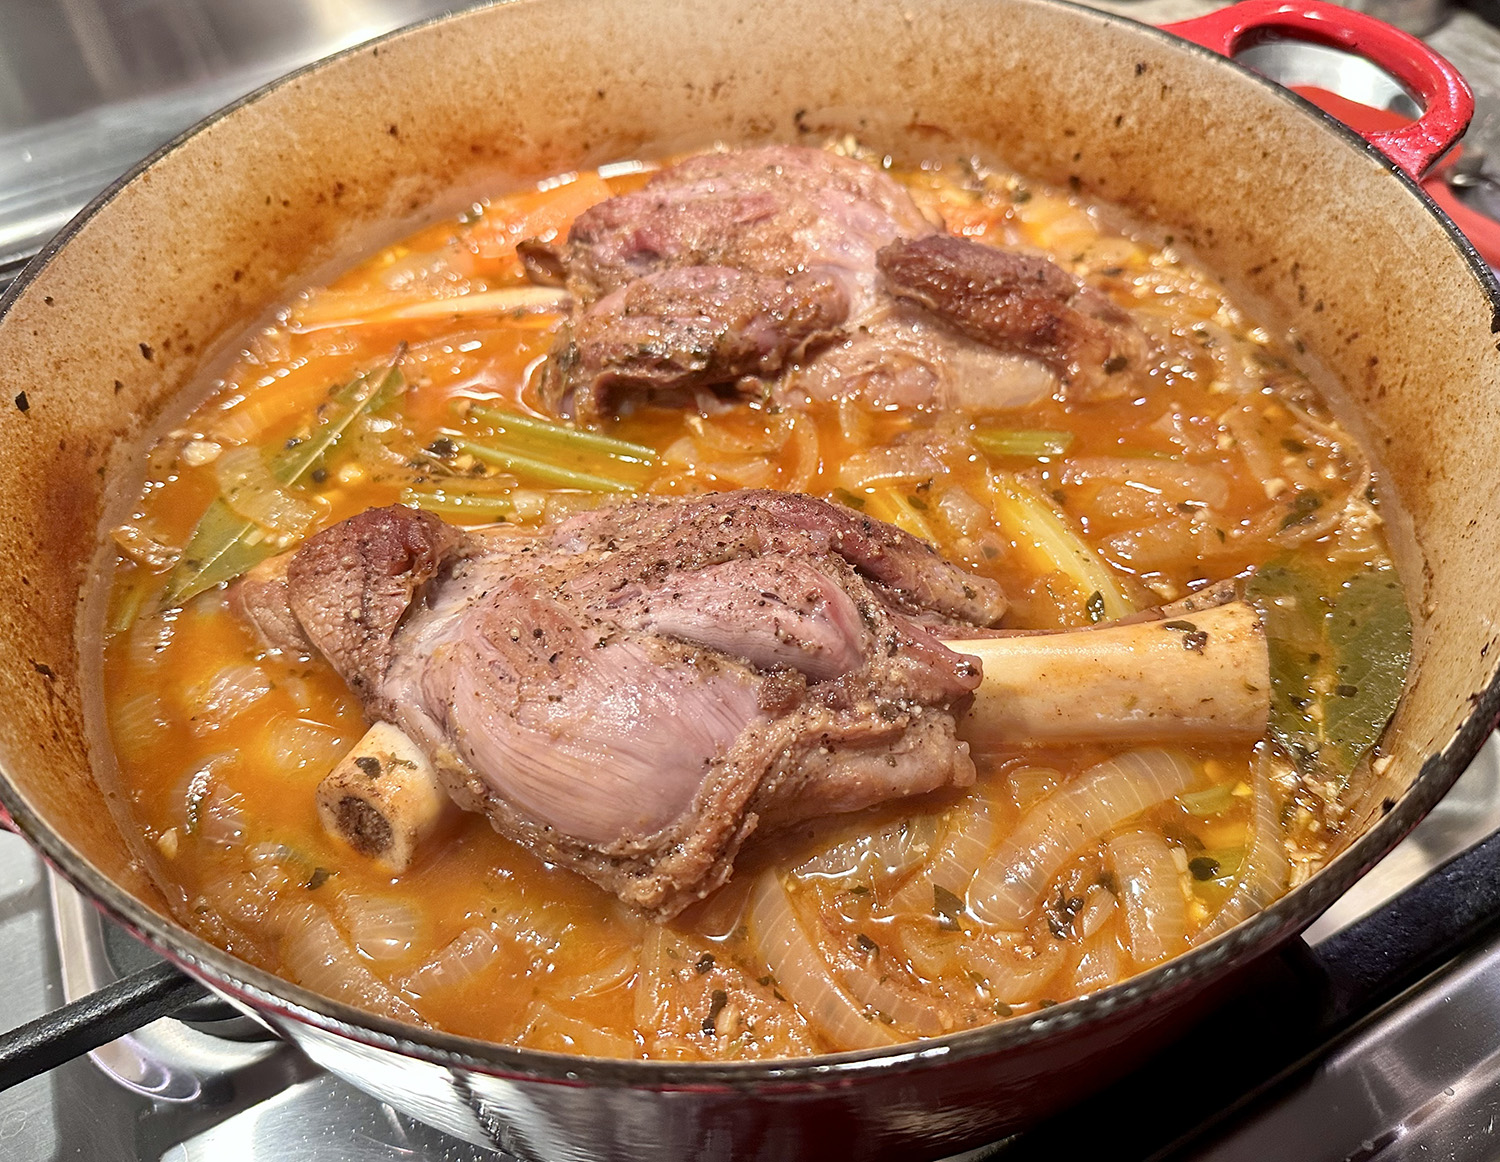
- Cover pan (with foil if pan has no lid) and transfer it to the oven; braise shanks for 1 1/2 hours. Uncover and continue braising until shank tops are browned, about 30 minutes. Turn shanks and continue braising until remaining side has browned and shanks are fall-off-the-bone tender, about another 20 minutes.
- Remove pan from oven; let shanks rest for at least 15 minutes. Carefully transfer shanks with tongs to each plate.
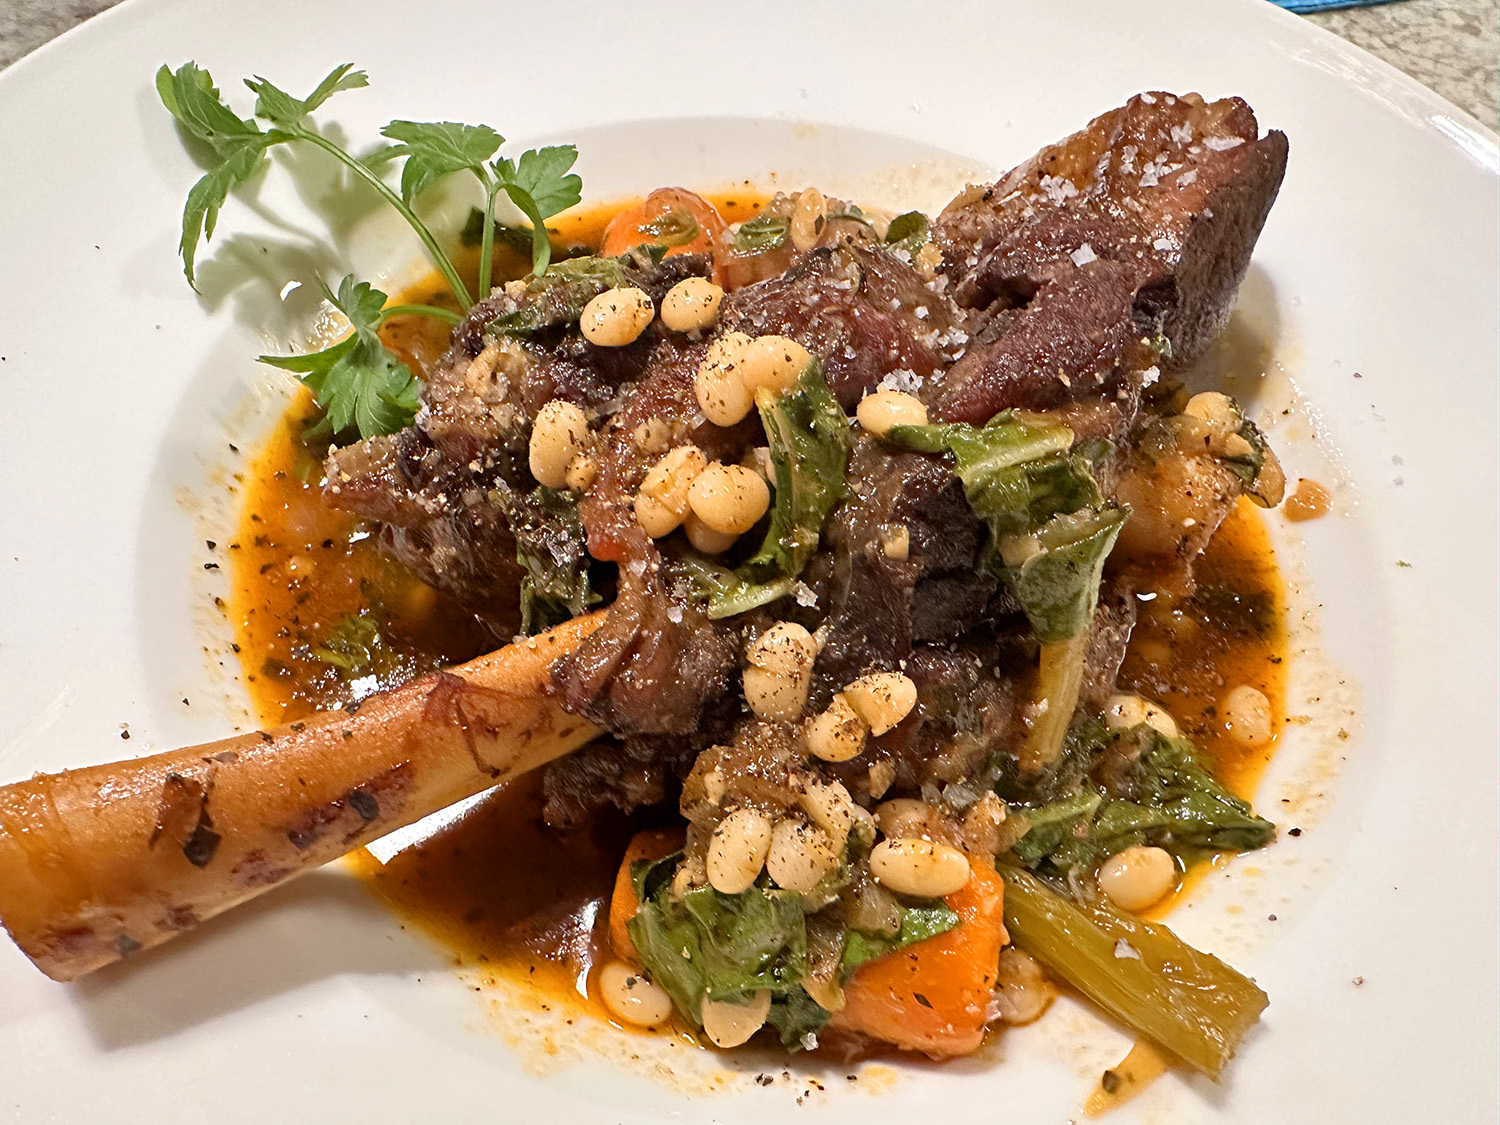
- Arrange a portion of vegetables around each shank. Skim excess fat from braising liquid. Add beans and chard and remaining 1 teaspoon marjoram; cook over medium heat until greens wilt, about 5 minutes. Adjust seasoning. Spoon a portion of braising liquid over each shank and serve.
Adapted from a recipe by Cook’s Illustrated