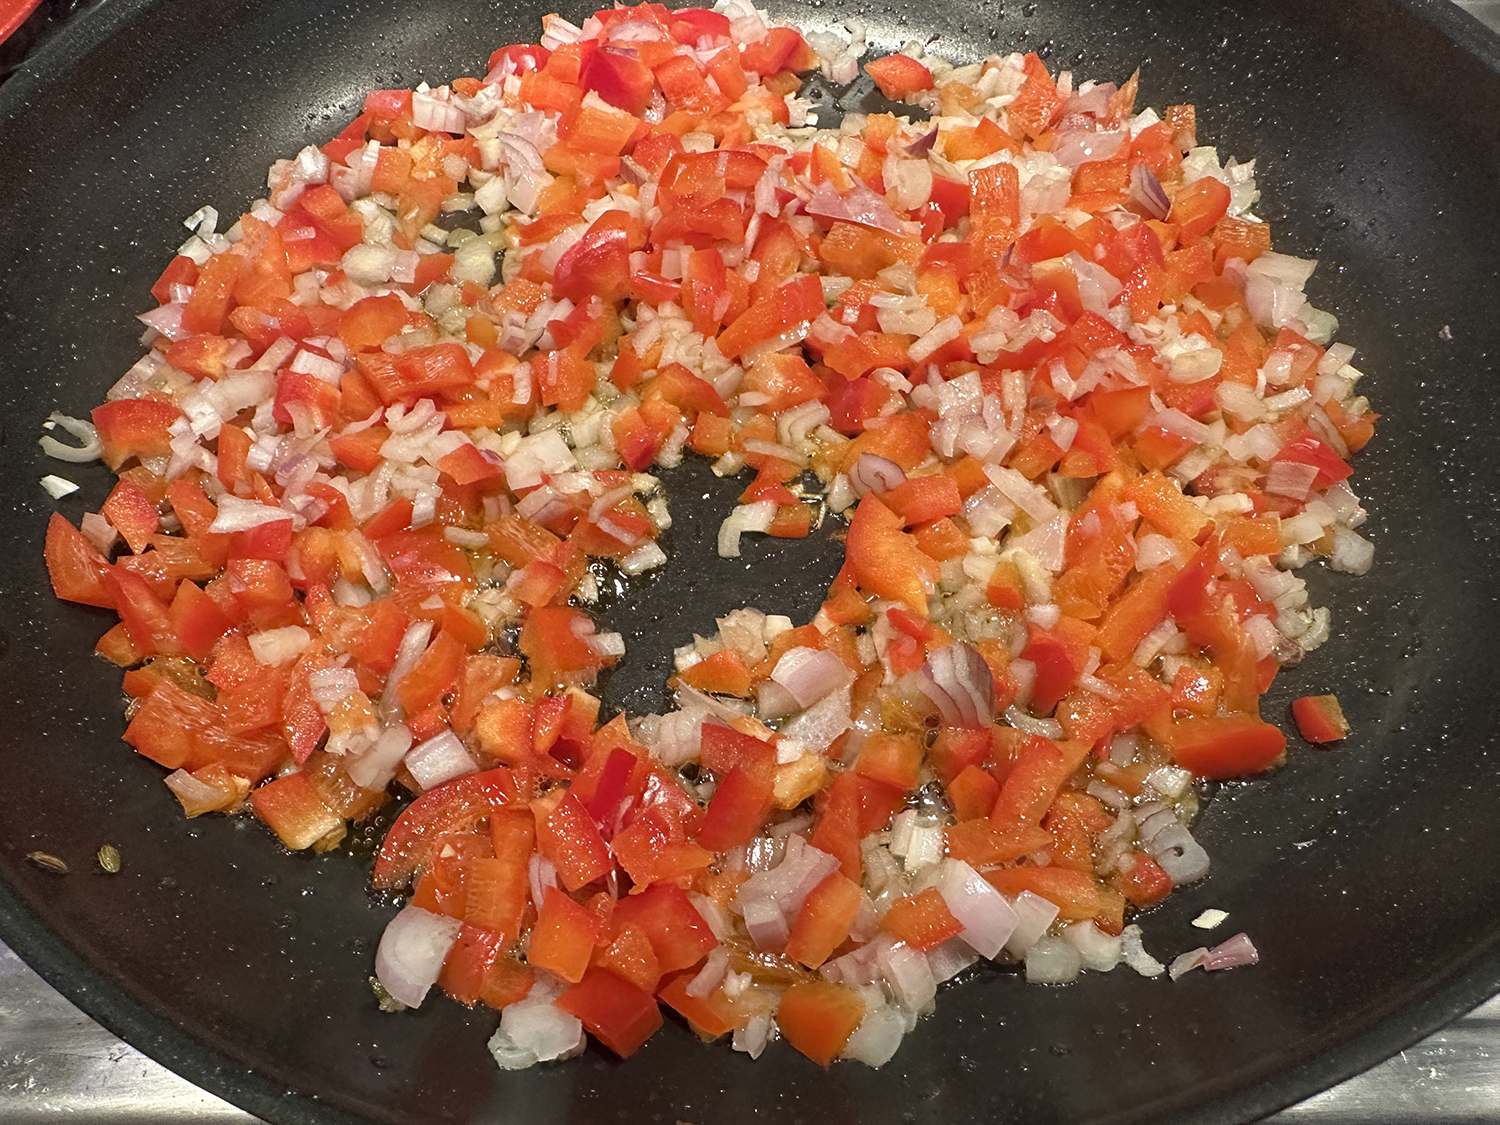
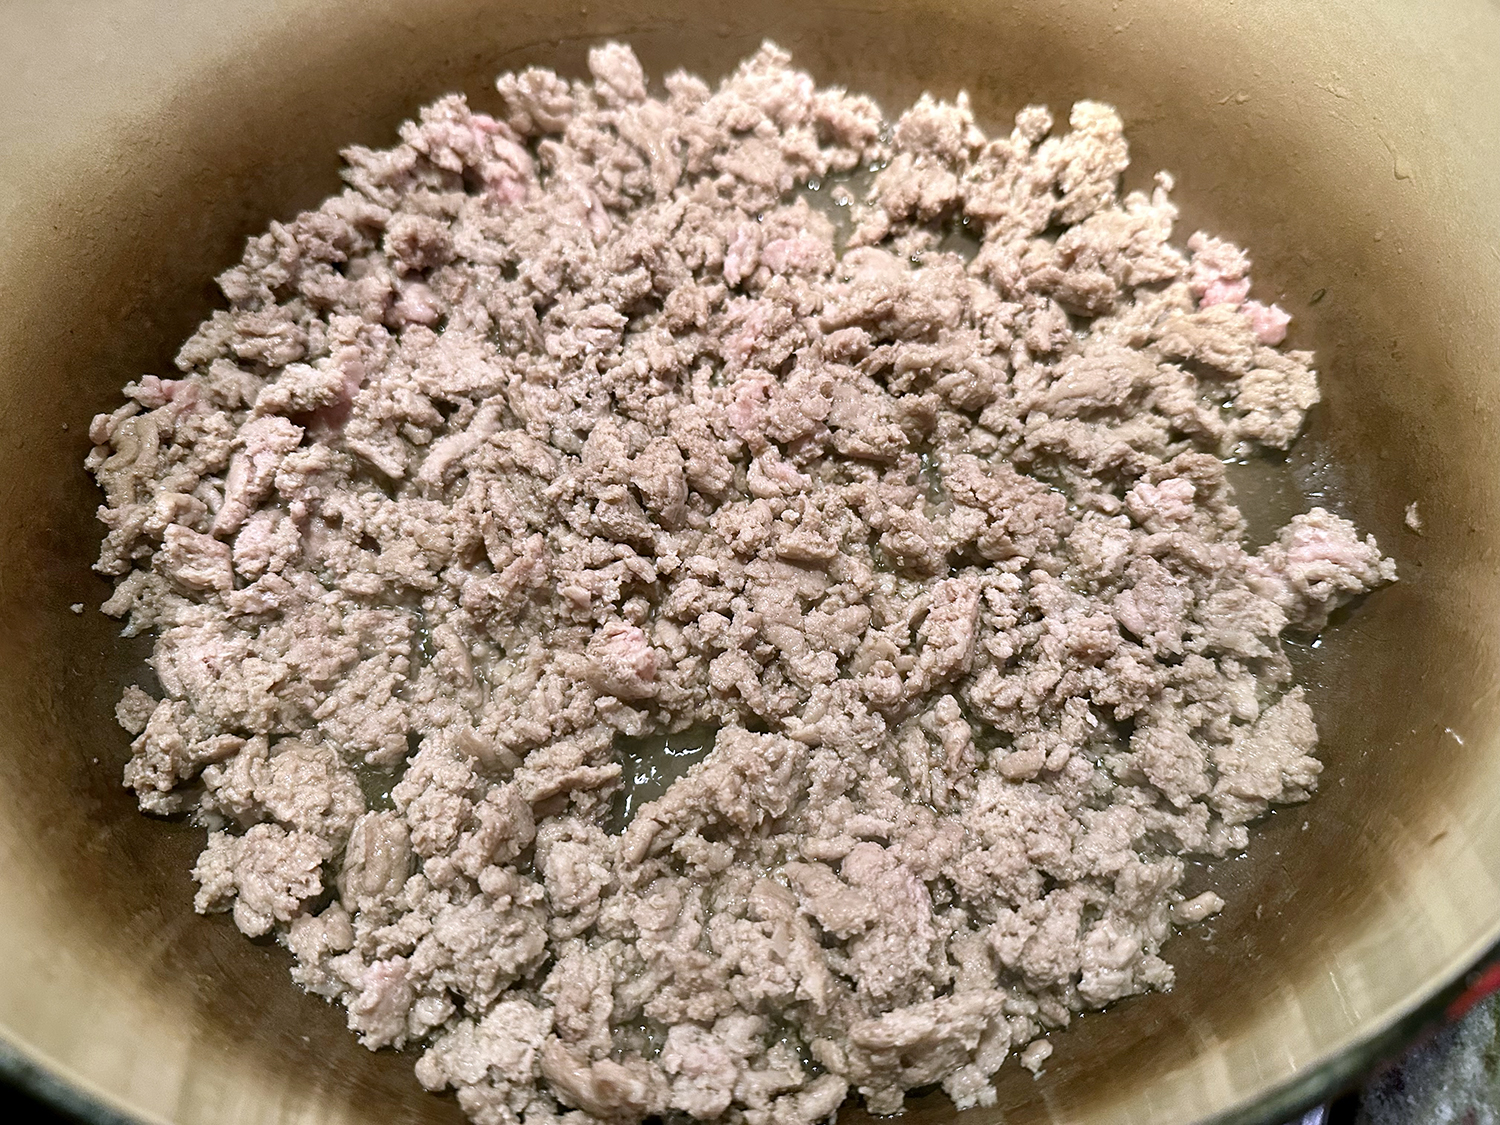
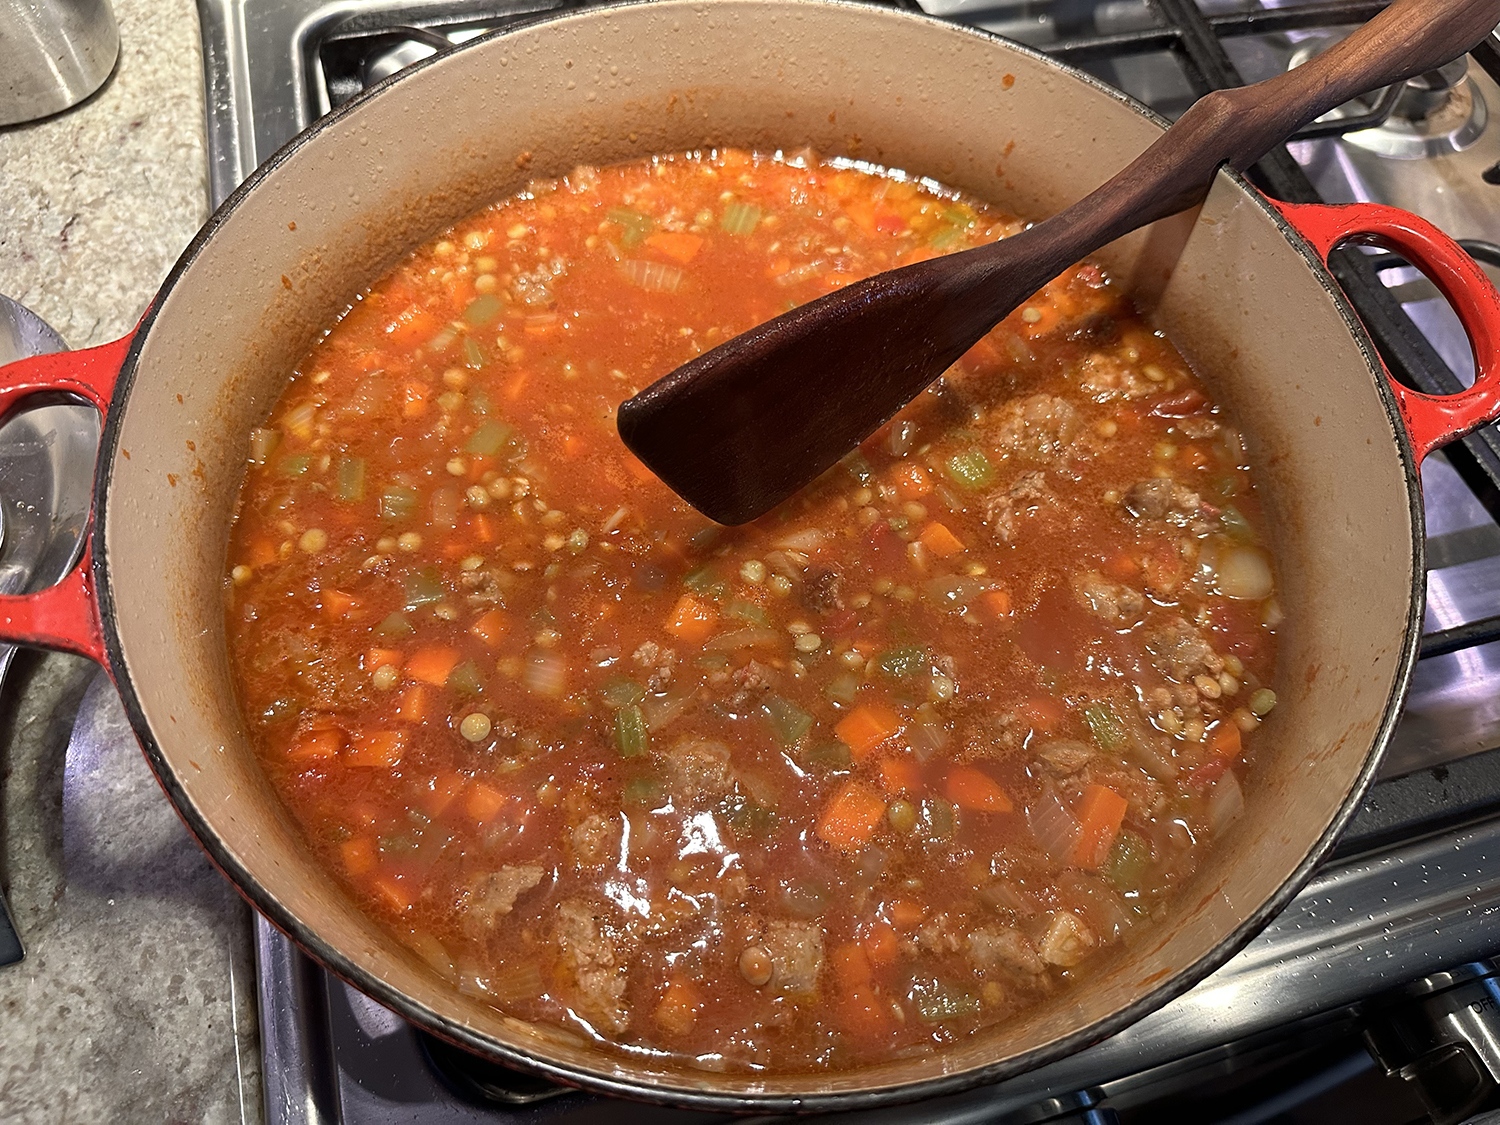
For this one-pot preparation, sausage is fried in oil to brown and release a bit of fat. Next, the soffritto and tomatoes come together, lentils are added, then the dish simmers until the legumes are tender and the liquid is saucy and thick. Like most stews, this dish can be made a few days ahead and reheated when desired.
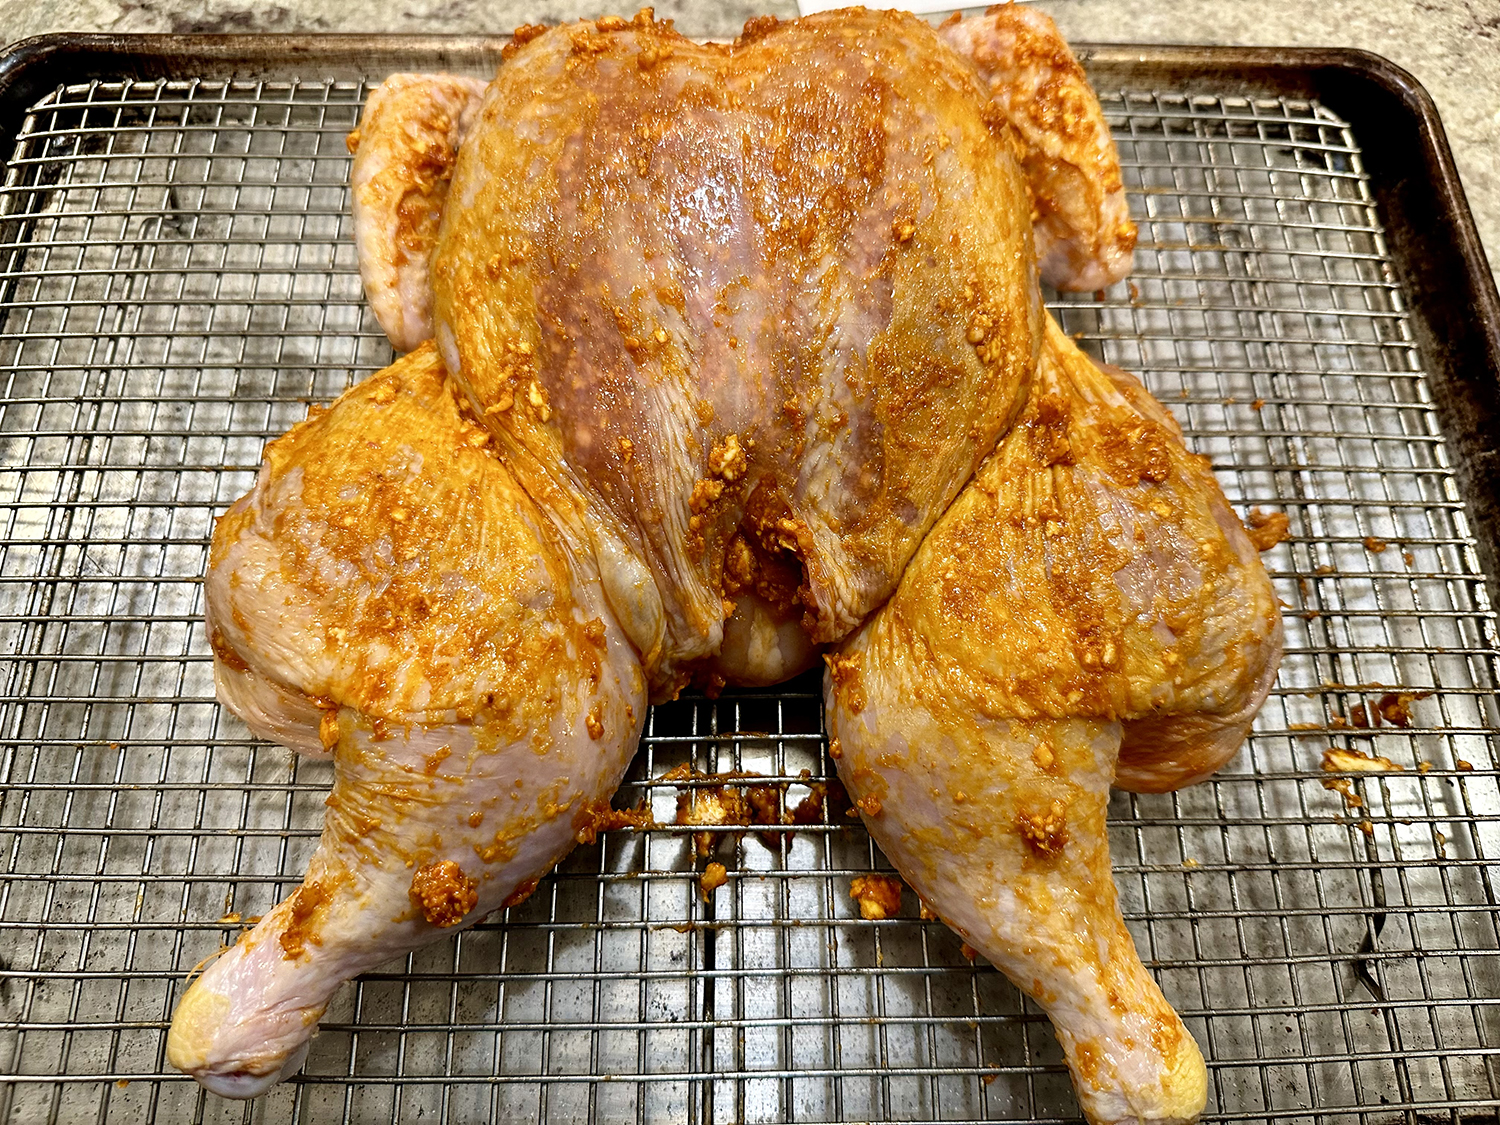
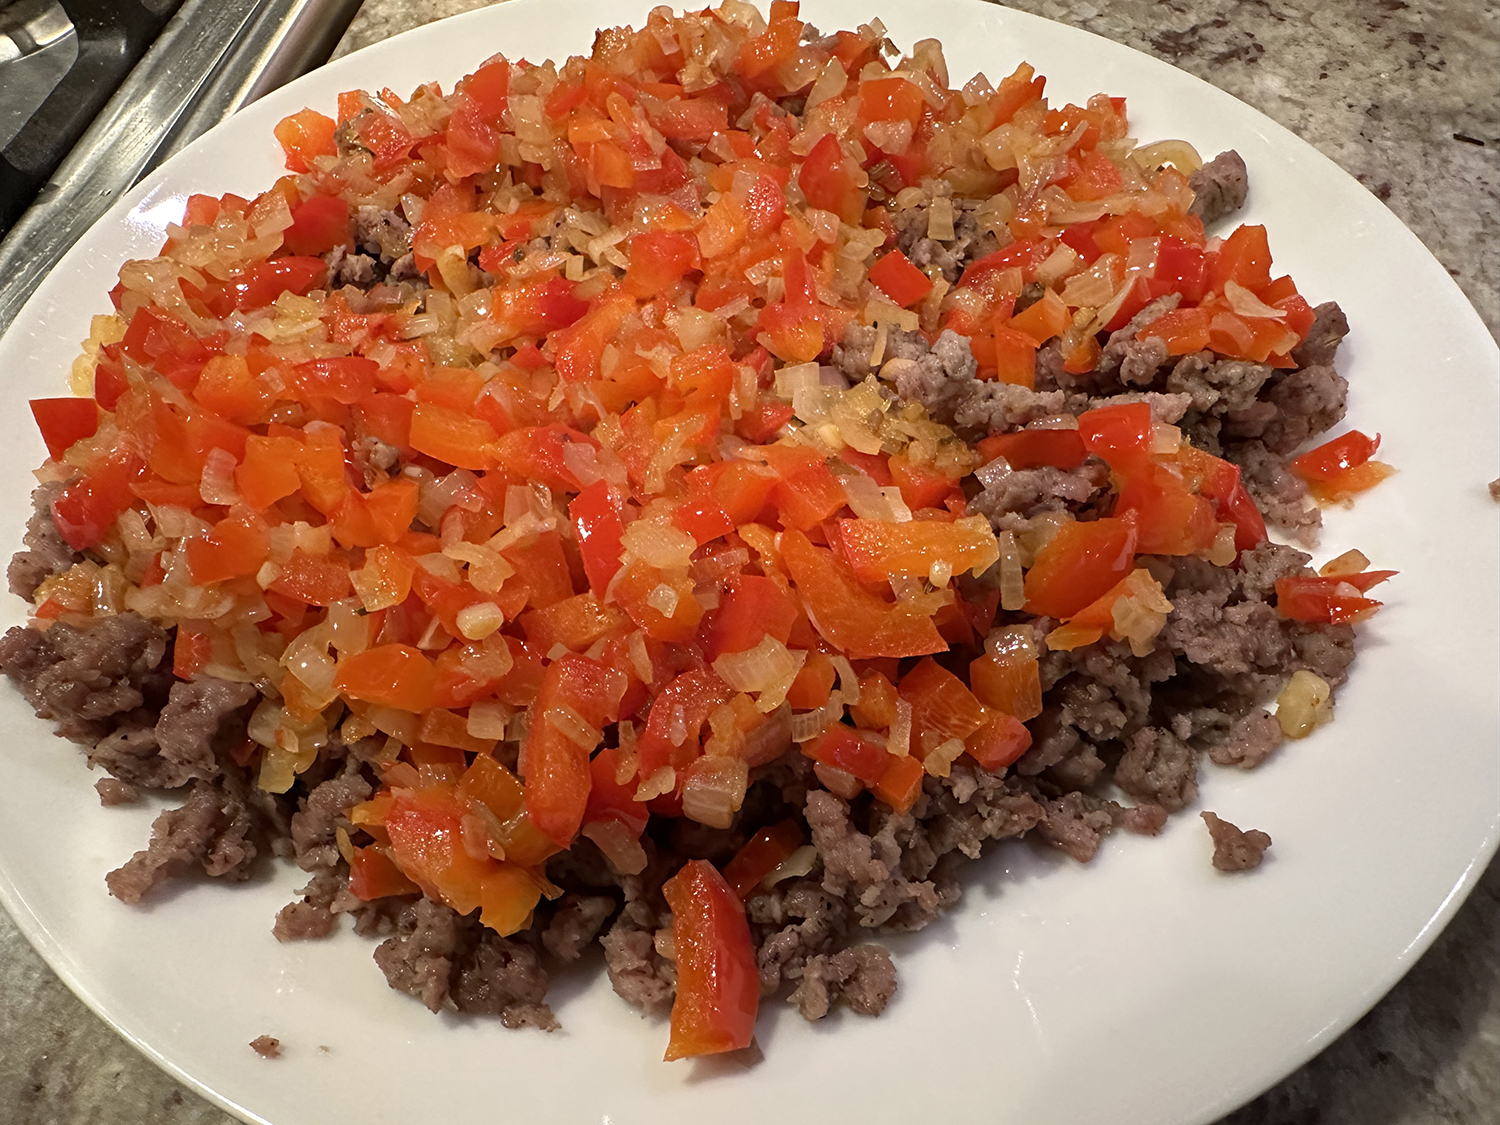
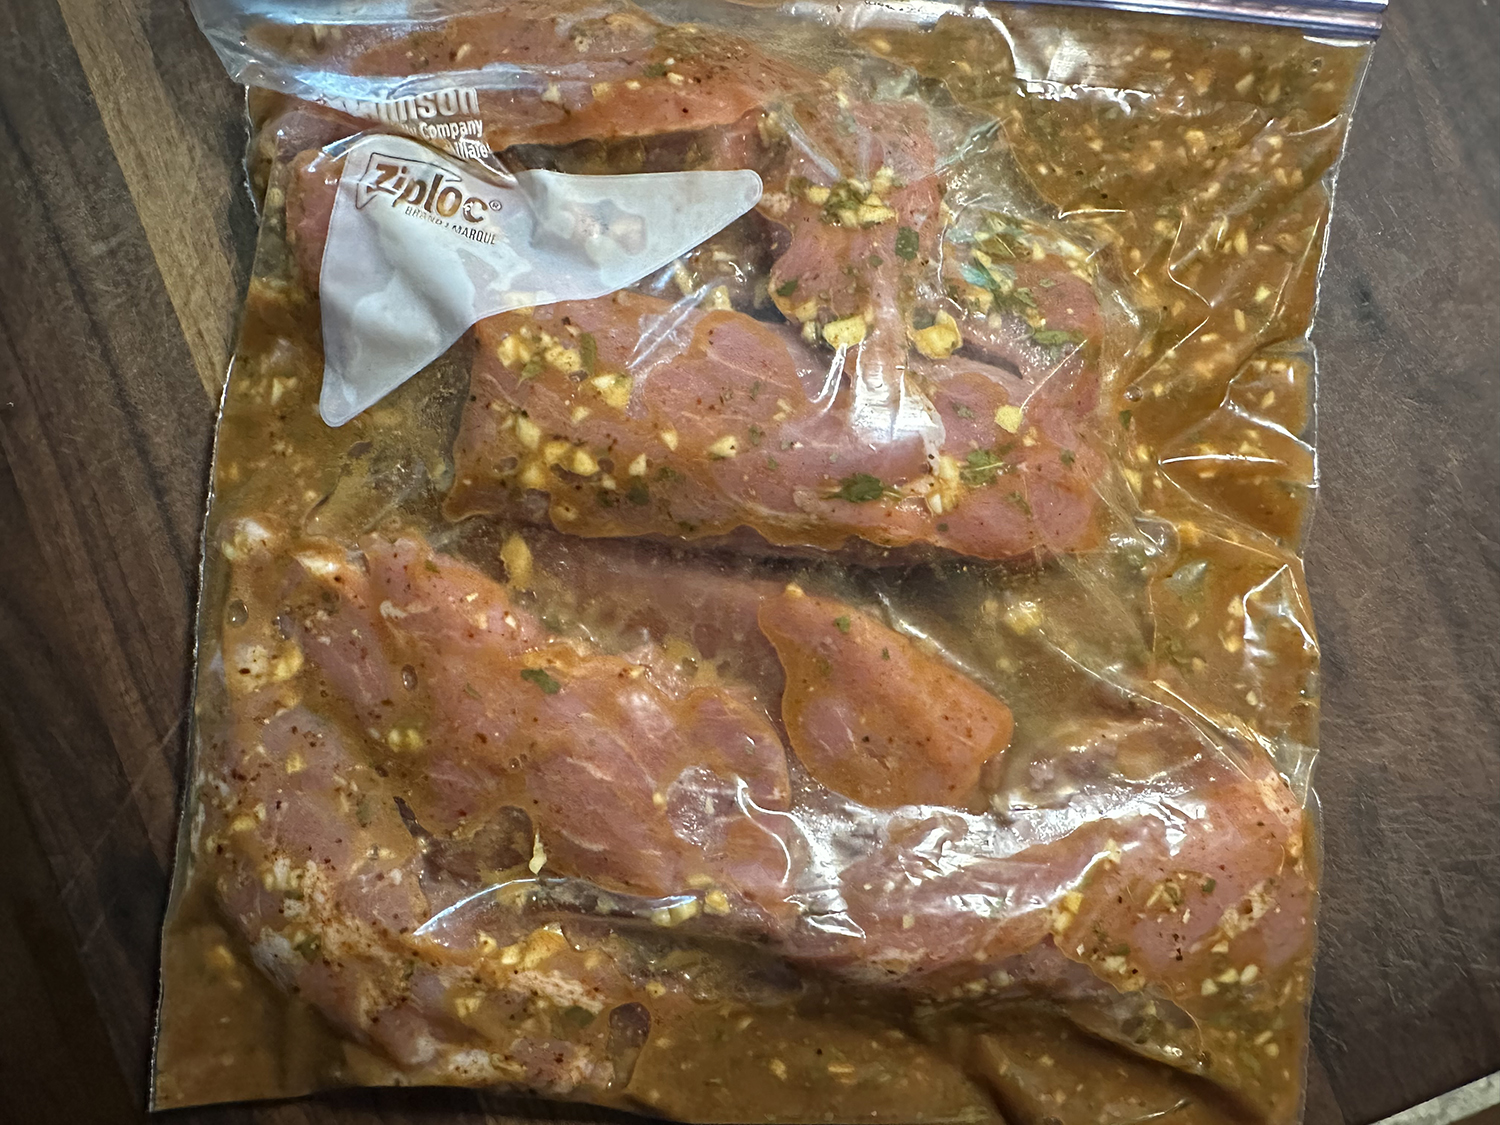
While the recipe calls for hot or sweet Italian sausage, we used up some red pepper and provolone we had on hand. Most reviewers emphasized removing the casings on the sausage if they are in links, so that is noted that below.
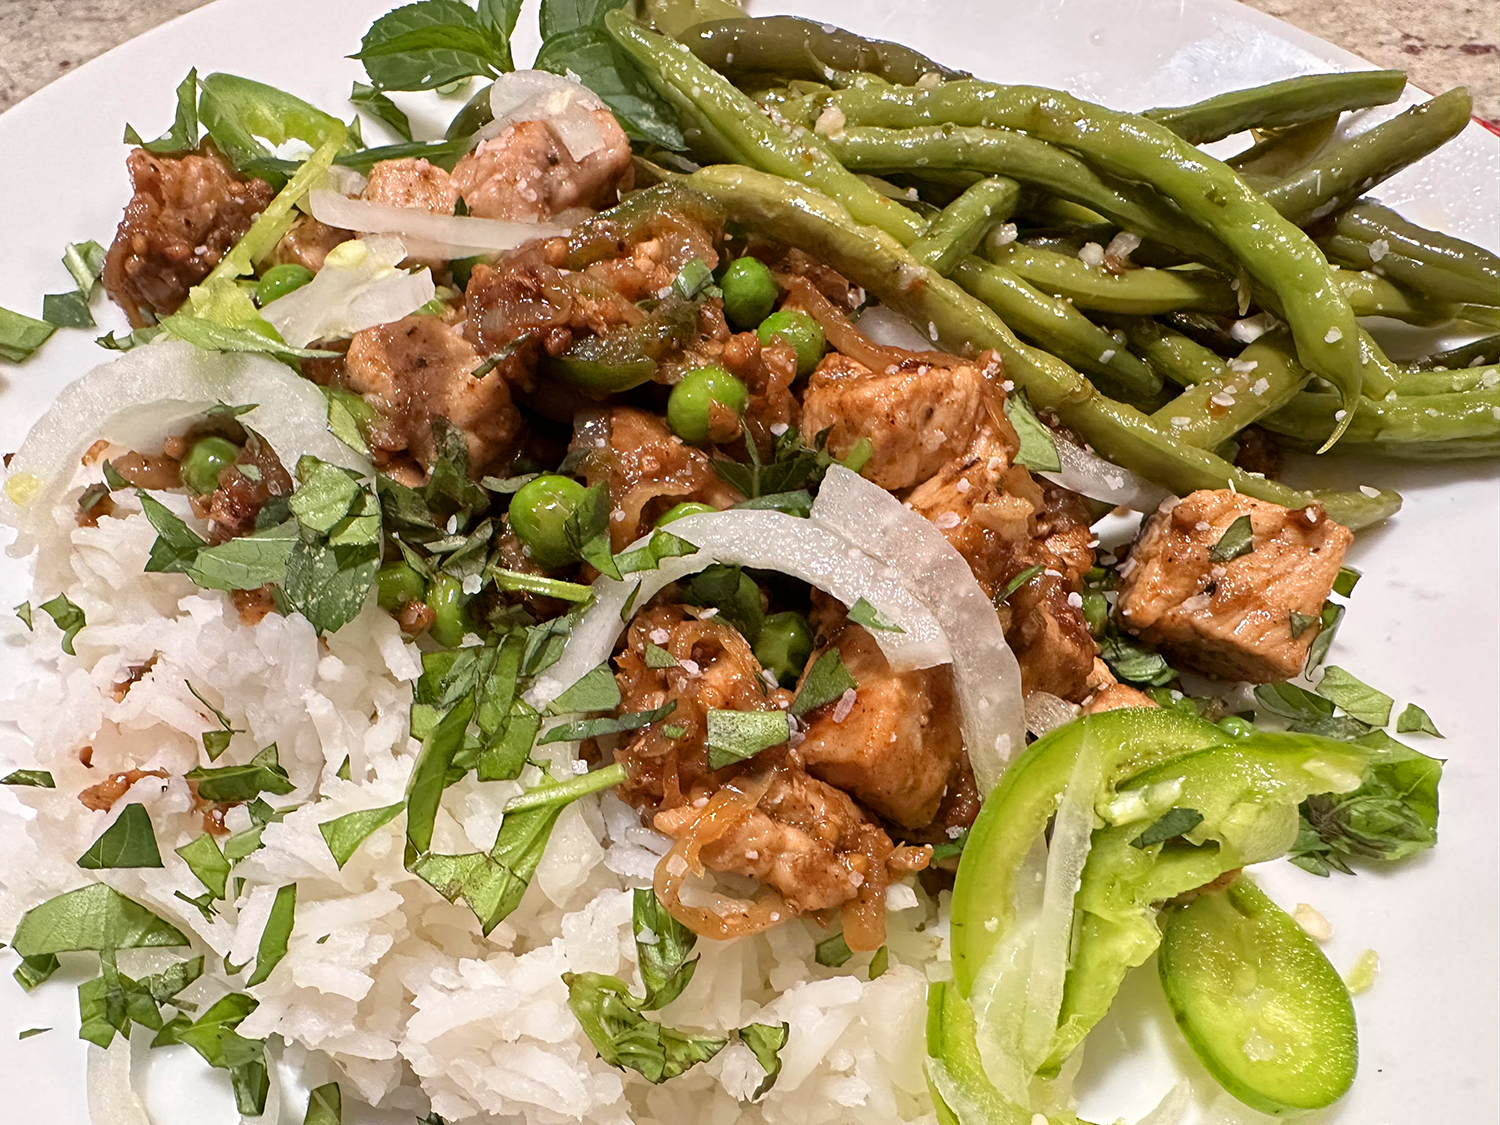
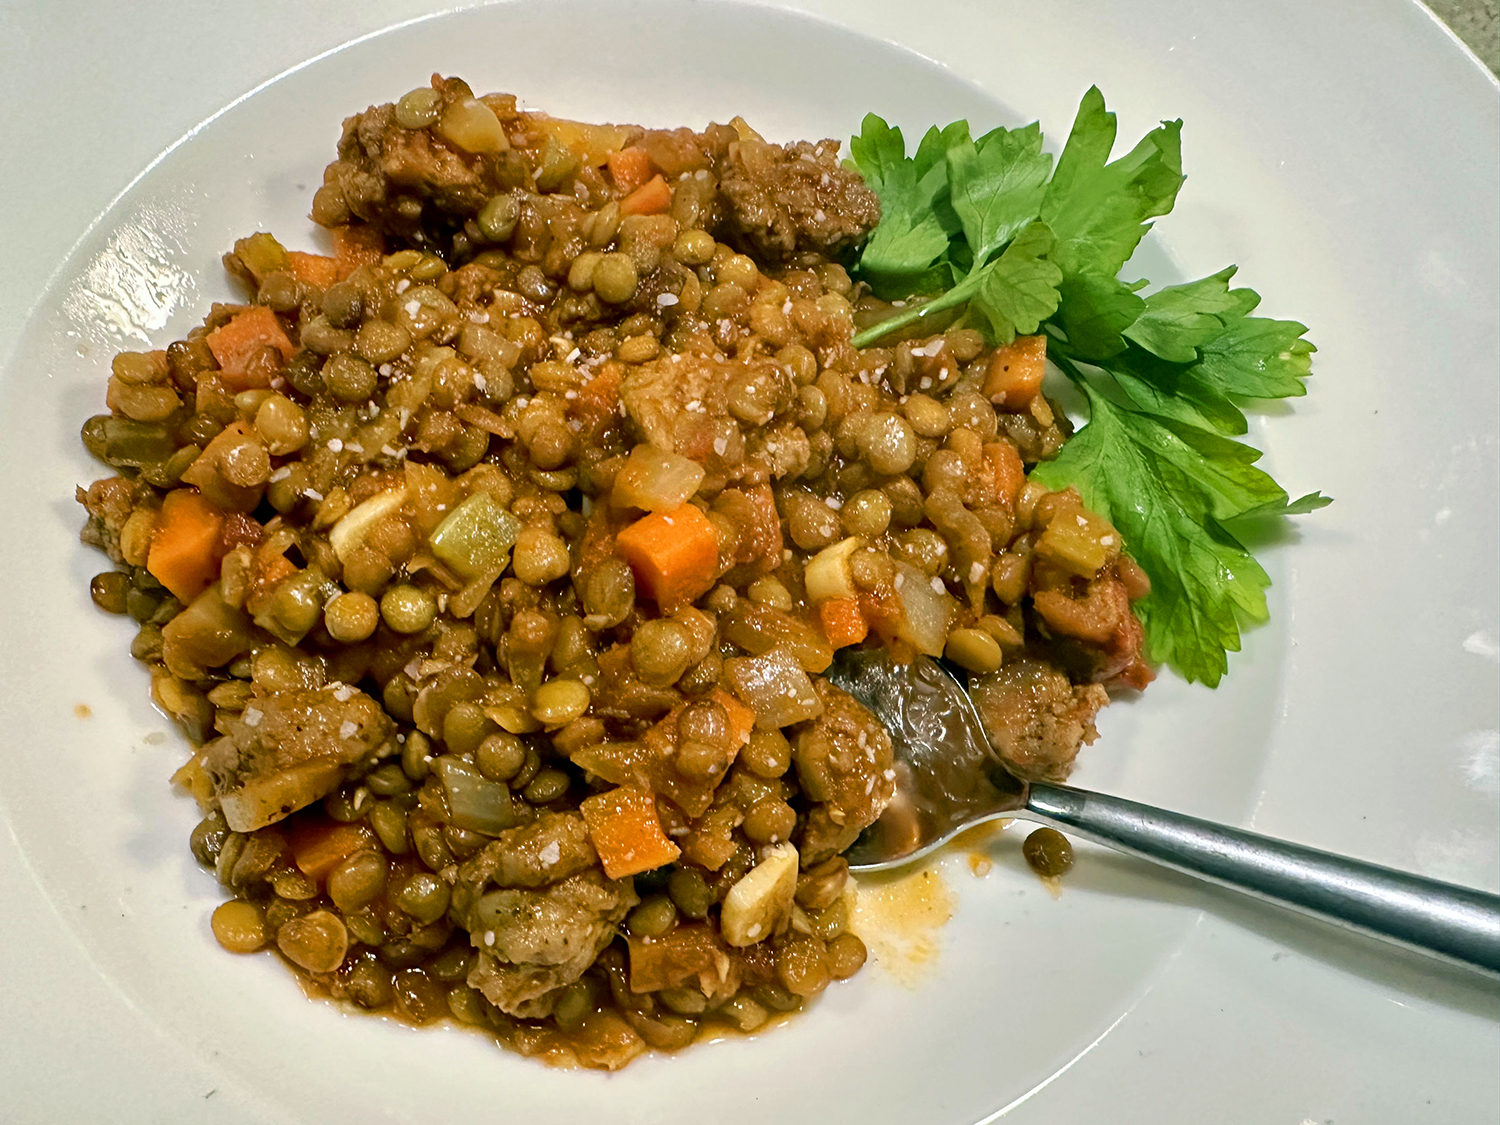
Truly tasty, and then for even more flavor, we topped ours with some grated pecorino and a shake of red pepper flakes, which would be most welcome if not using hot Italian sausage.

Interesting tidbit. In Italy, lentils are traditionally eaten at midnight to bring luck in the coming year. Because lentils are round, resembling coins, they are believed to bring prosperity to those who eat them. We can run with that… although we ate much earlier than midnight…
NOTE: While the lentils do not need a presoak, a two-hour soak will cut the cooking time in half.

Stewed Lentils With Sausage
Ingredients
- 3 Tbsp. extra-virgin olive oil
- 1 lb. large (sweet or hot) Italian sausages, casings removed; or bulk sausage
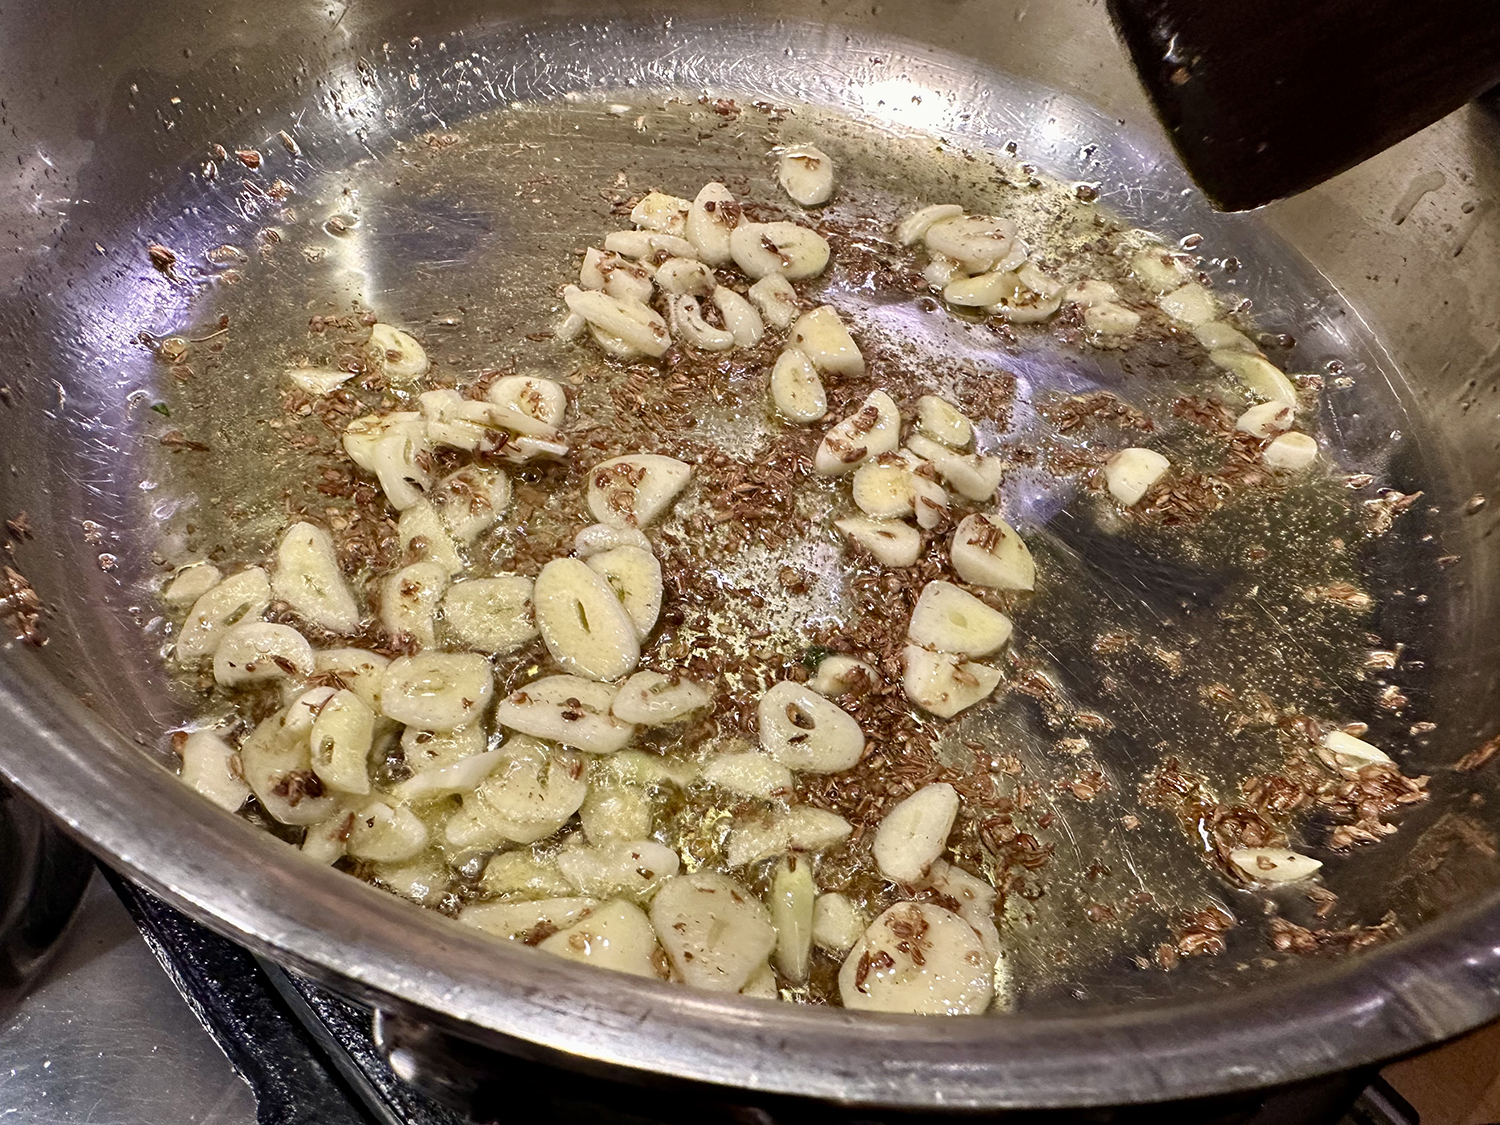
- 2 garlic cloves, thinly sliced
- 2 medium carrots, peeled and cut into ¼-inch dice
- 2 celery stalks, cut into ¼-inch dice
- 1 small yellow onion, cut into ¼-inch dice
- 1 Tbsp. tomato paste
- Kosher salt and black pepper
- 3 cups vegetable stock
- 1 (15-oz.) can tomato purée; or 1 3/4 cup passatta
- 2 cups dried brown lentils (about 14 oz.), rinsed and picked over
- 2 dried bay leaves
- Red pepper flakes, optional
- ½ cup finely grated Pecorino Romano cheese, for garnish


Directions
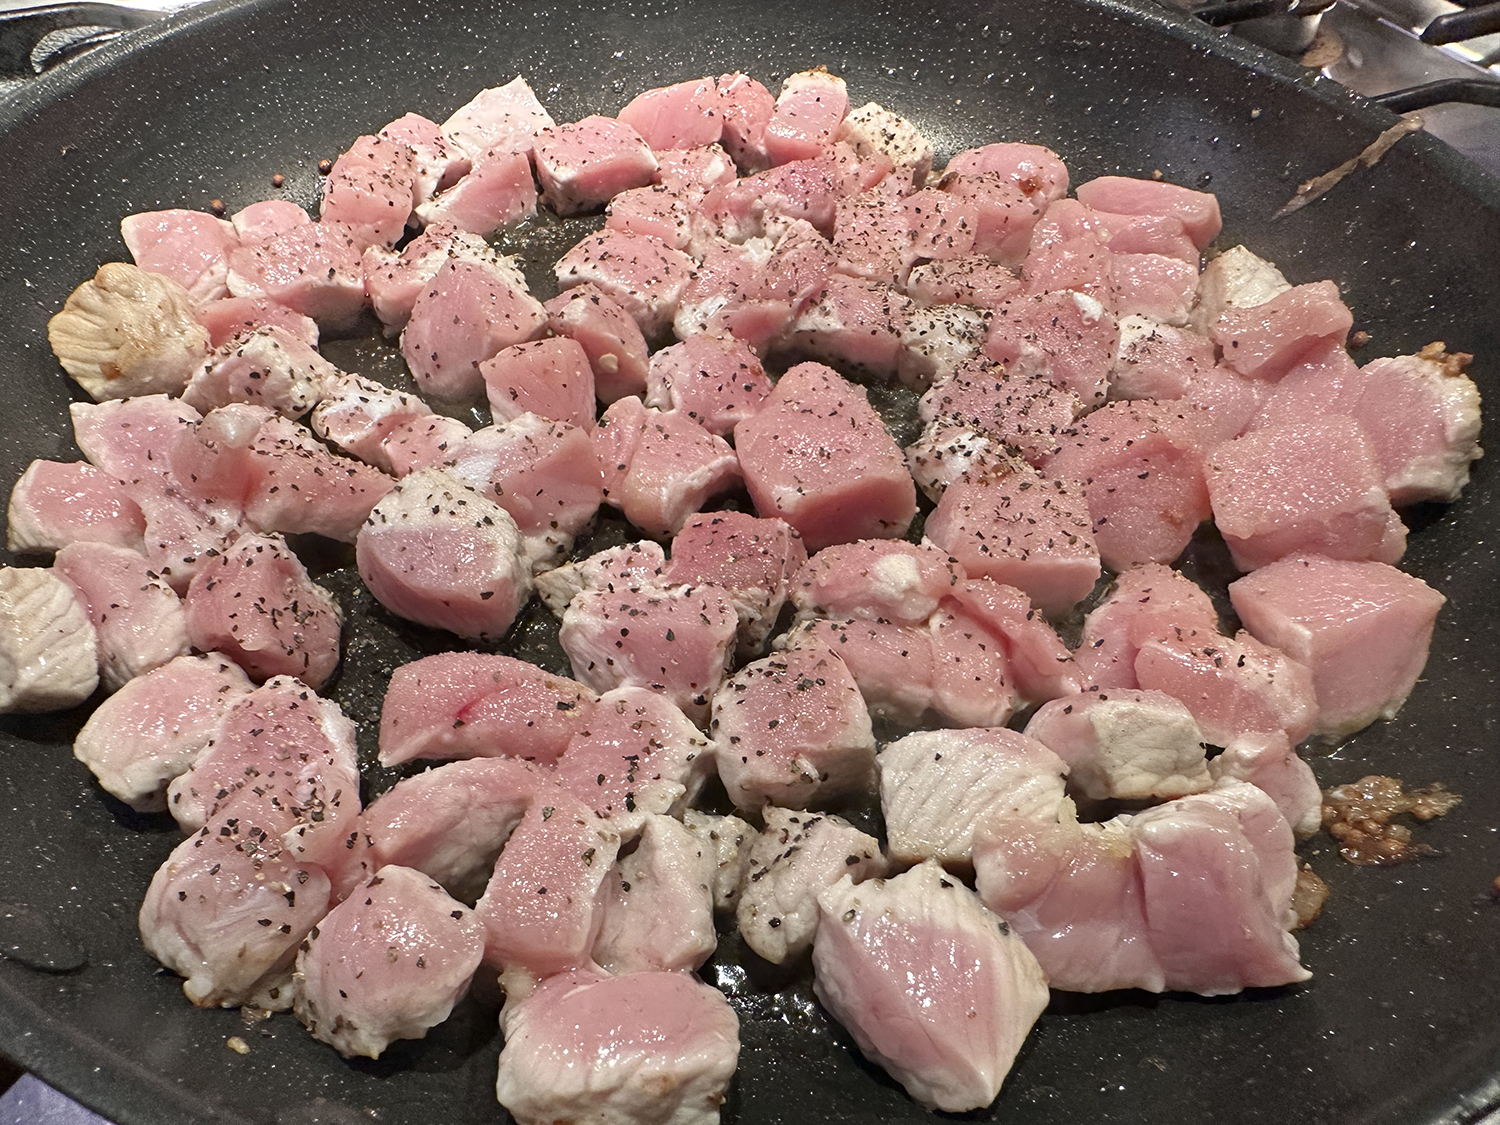
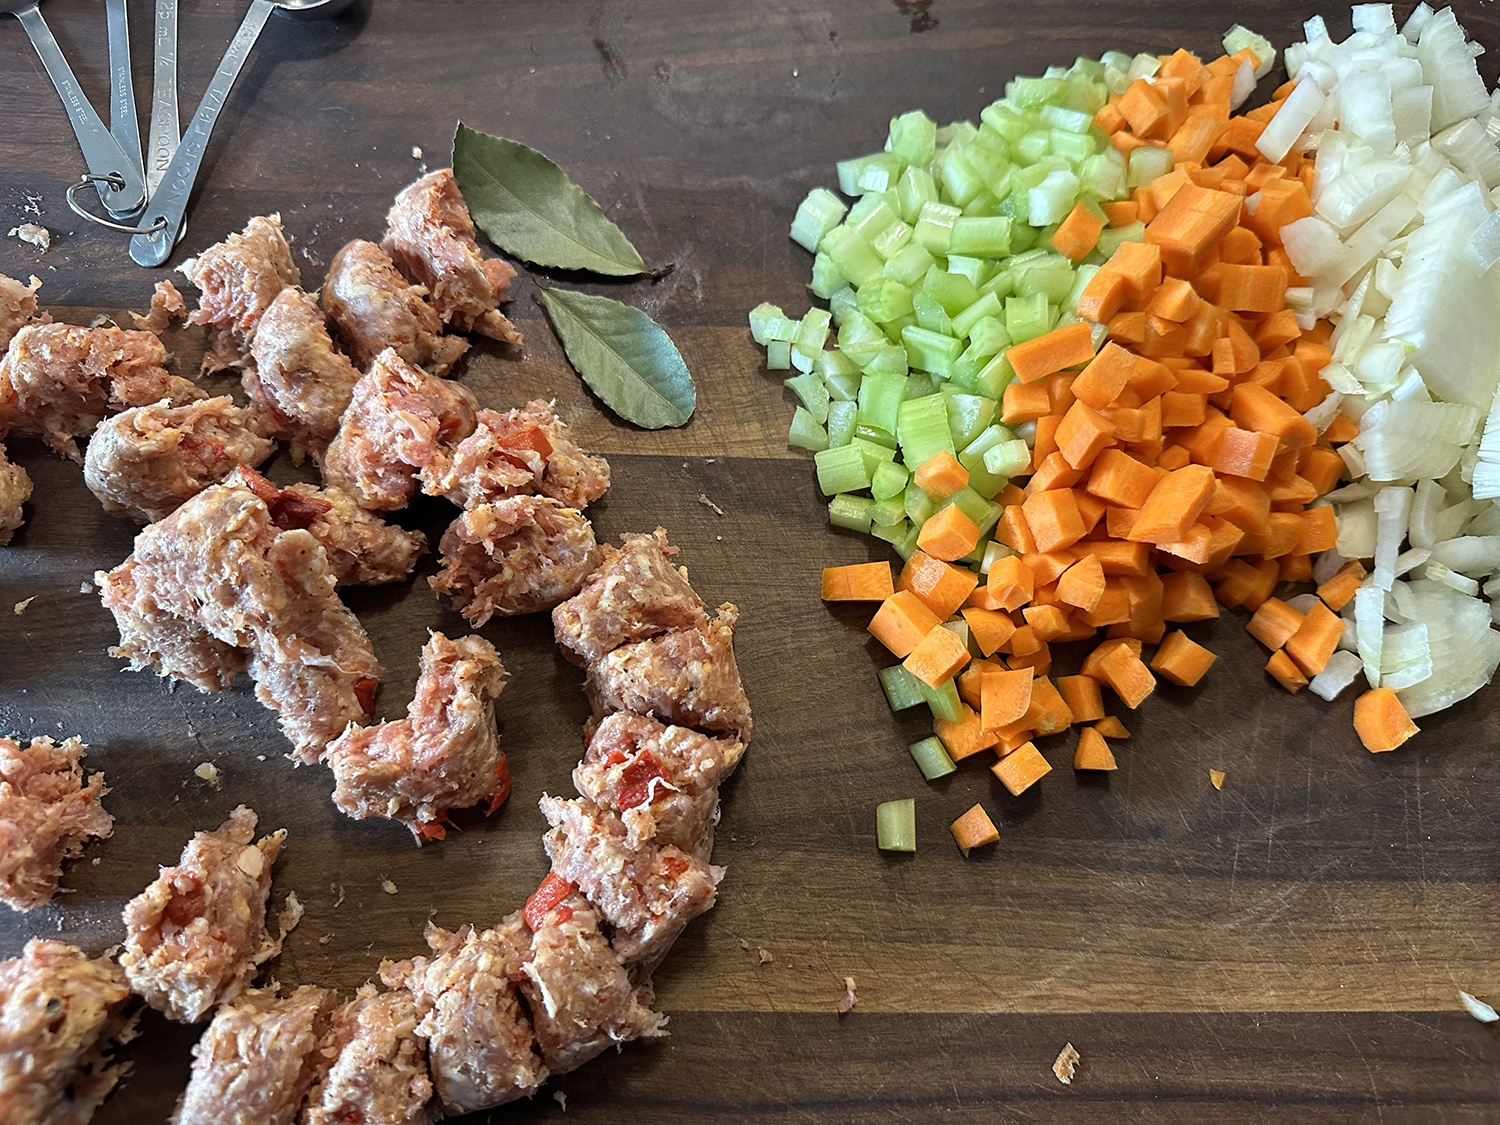
- In a large heavy pot or Dutch oven, heat oil over medium. Break the sausages into 1-inch pieces and add to the pot. Allow the chunks to sear and brown on all sides for 3 to 4 minutes, occasionally smashing with a wooden spoon to break into smaller pieces. Leaving the oil and brown bits behind, transfer the sausages to a dish layered with paper towel to soak up excess oil.
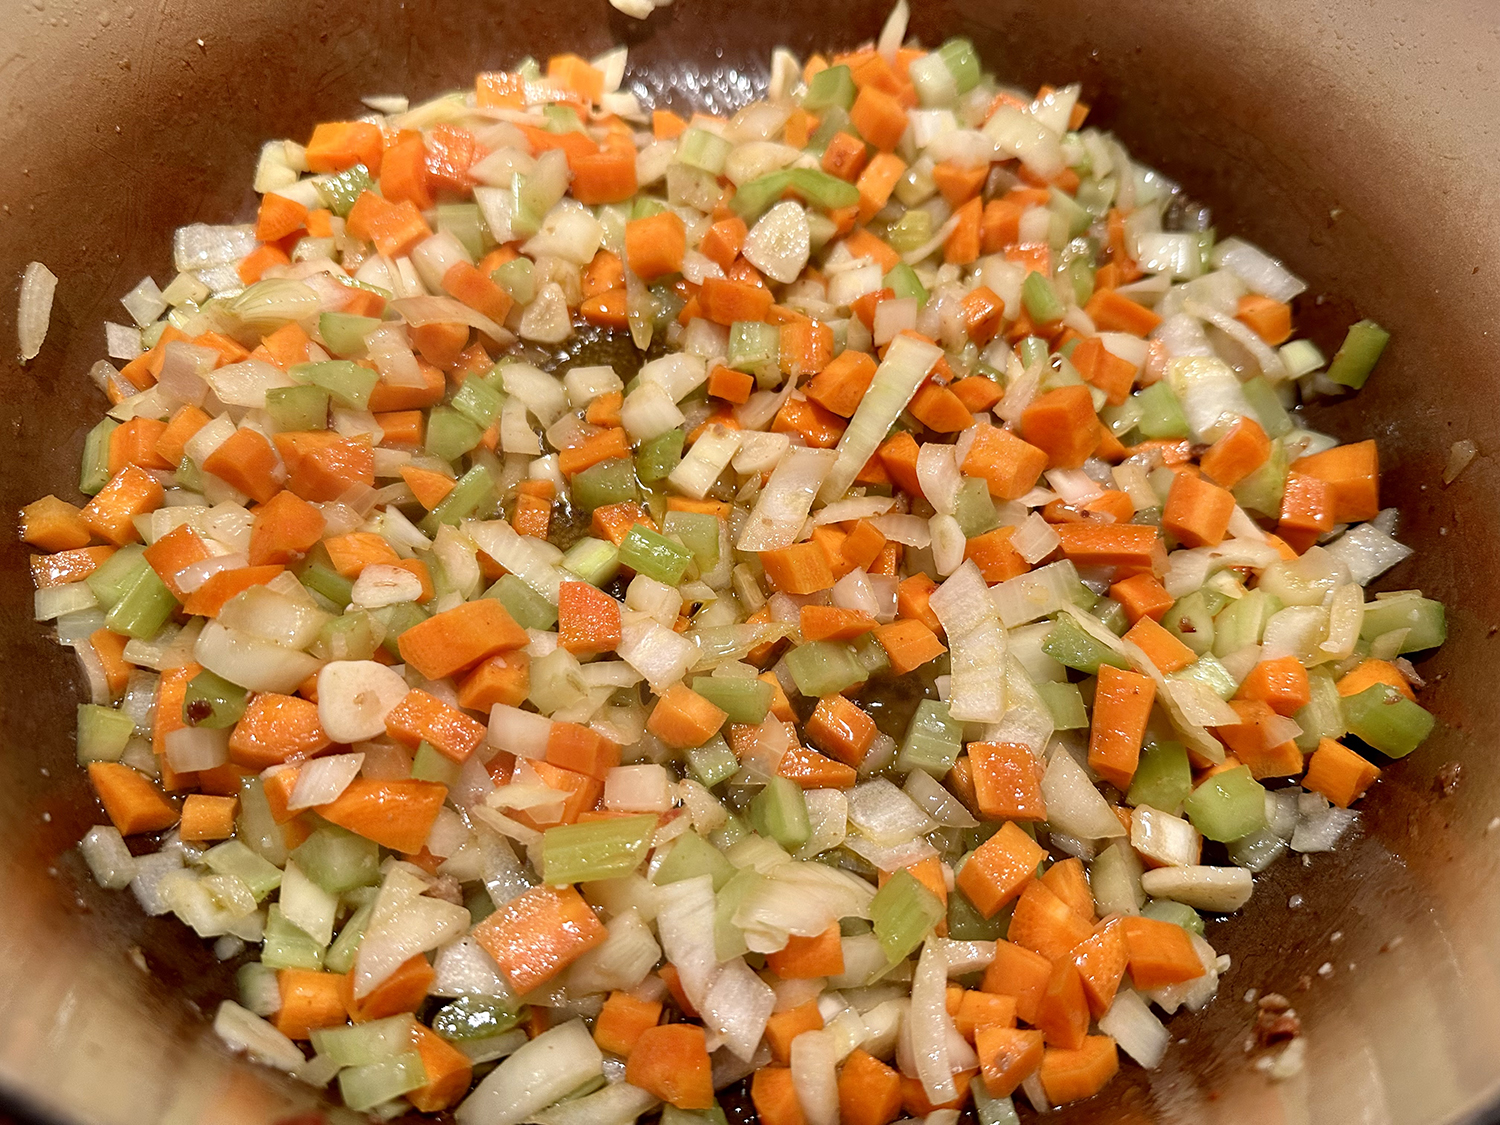
- Add the garlic, carrots, celery and onion to the pot and allow to cook for 5 minutes, stirring occasionally, until vegetables have softened and onion is translucent; add salt to taste.
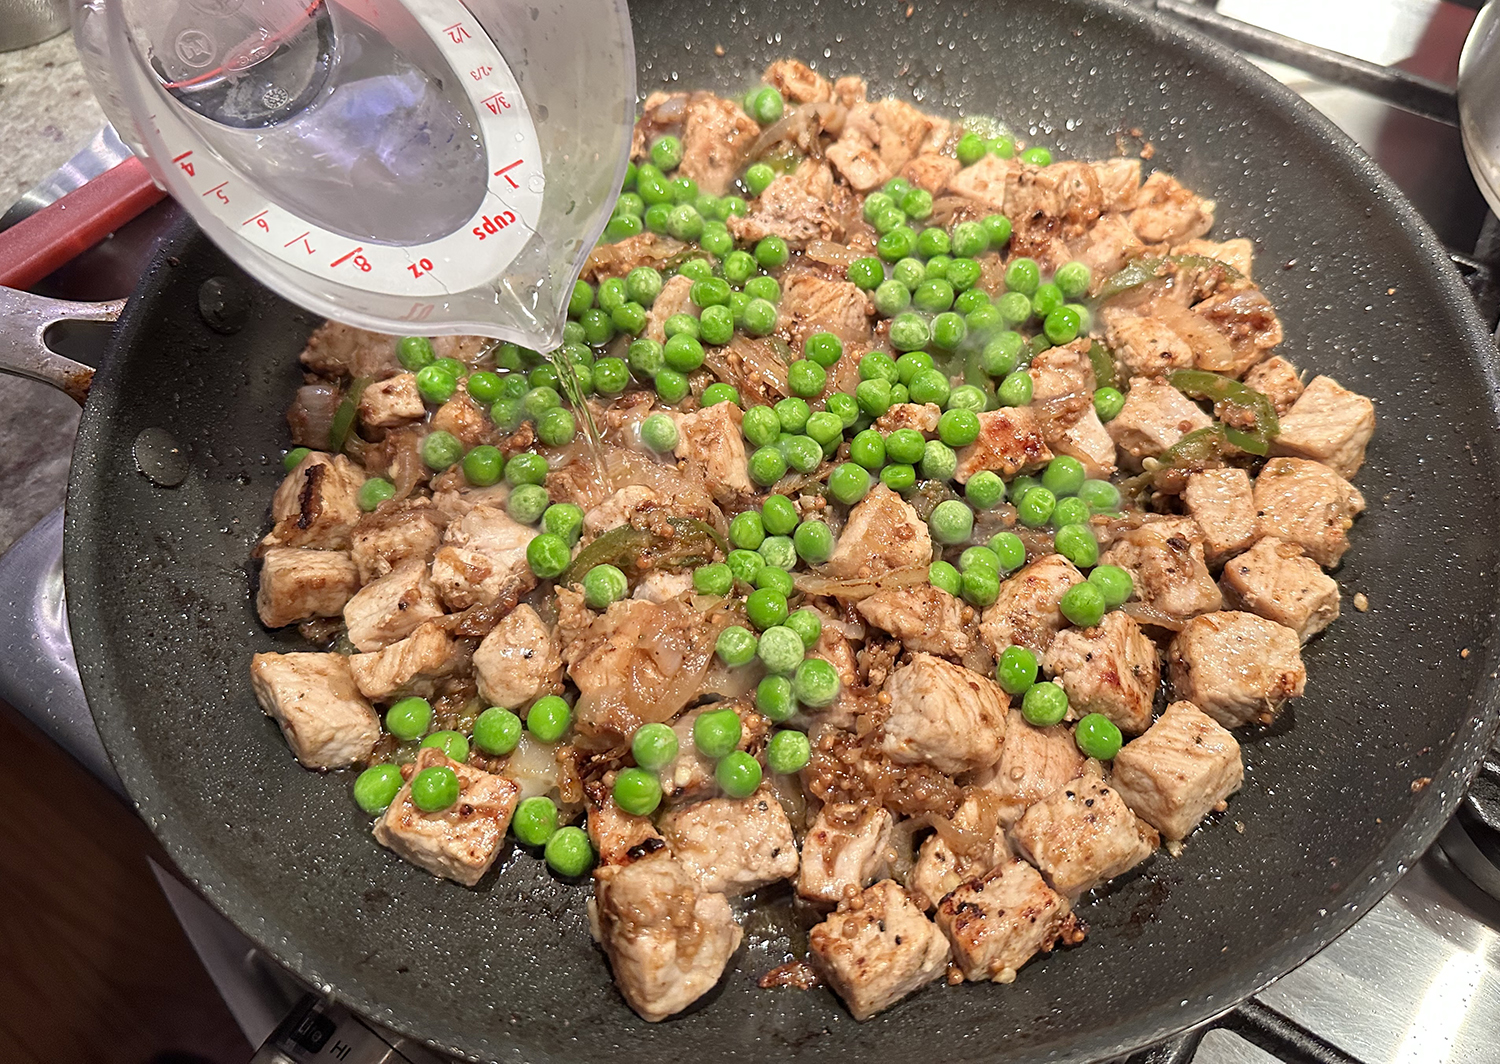
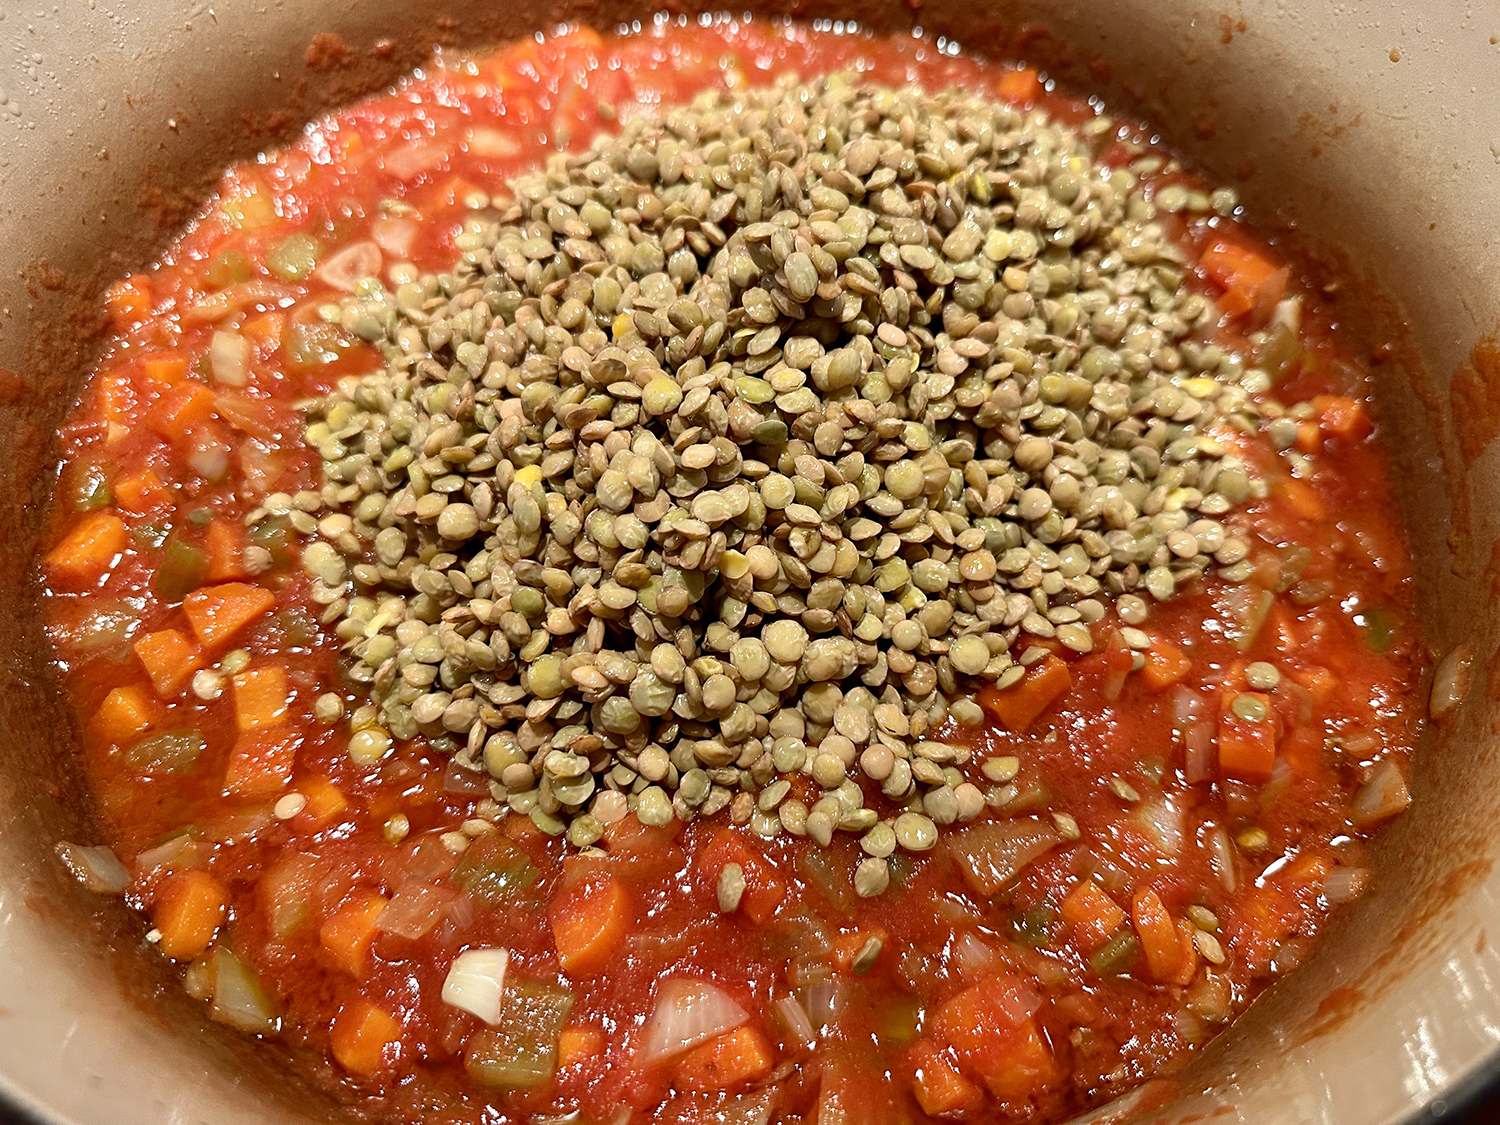
- Stir in the tomato paste until the vegetables are coated, then stir in the vegetable stock, tomato purée and lentils. Add the sausages and bay leaves; bring to a boil, then reduce to a simmer.
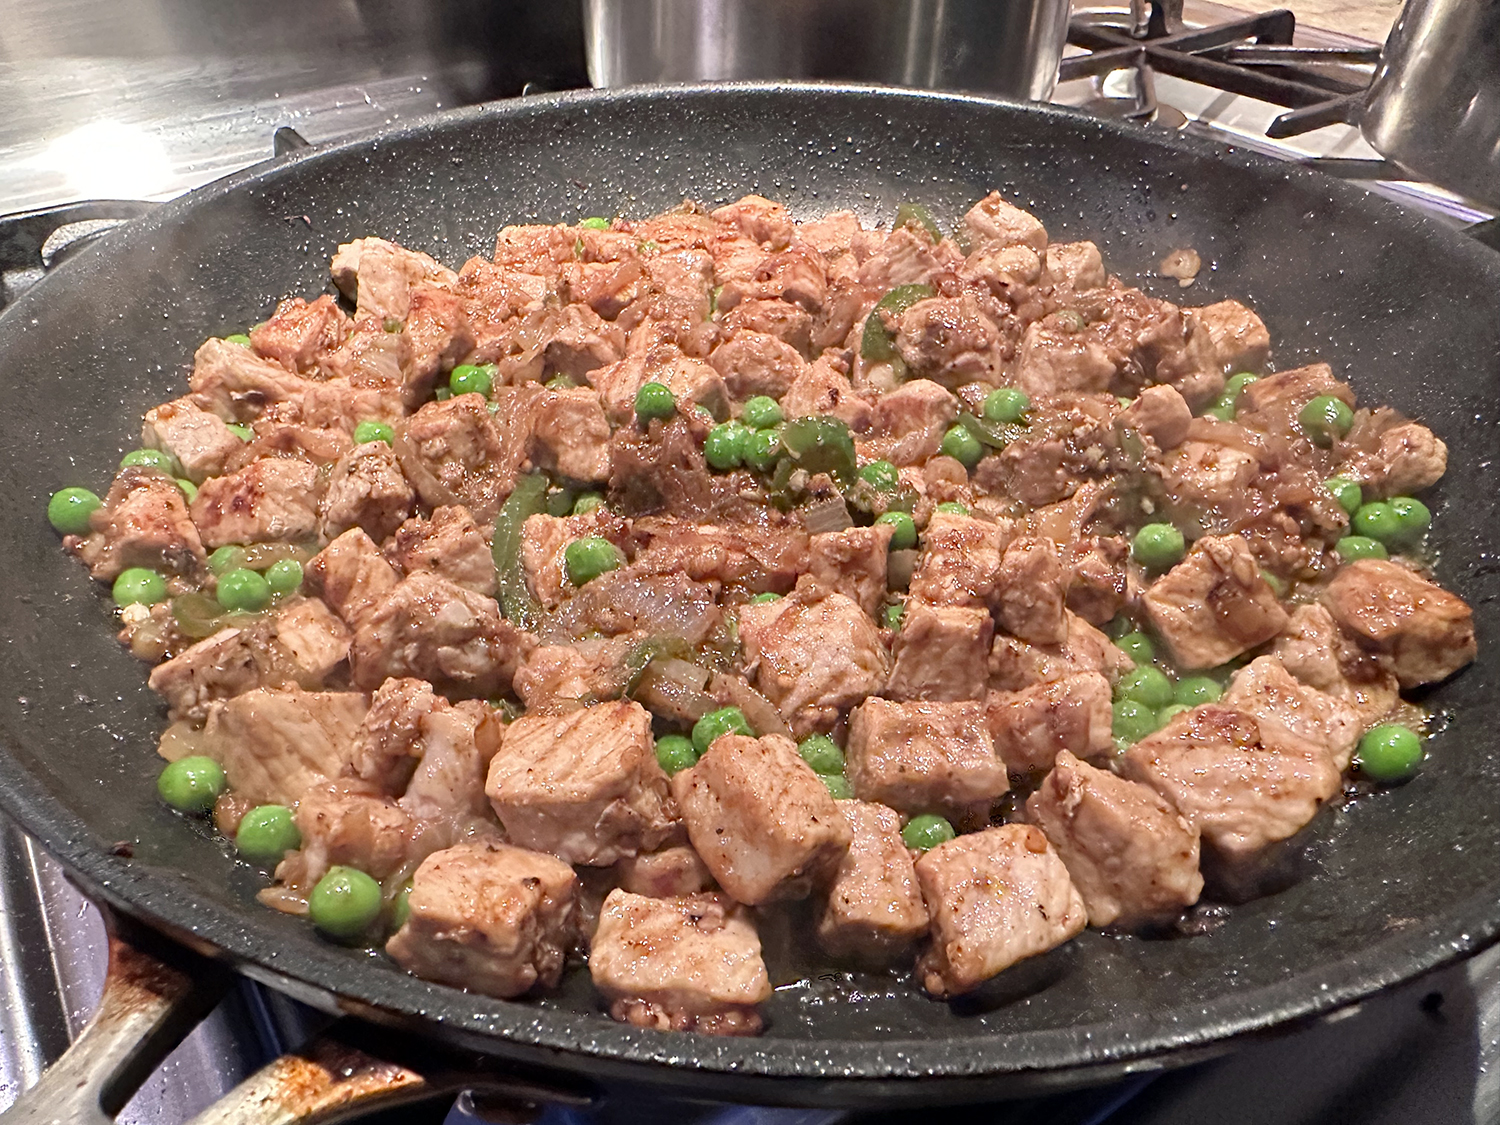
- Cover the pot and simmer gently for 45 to 50 minutes (ours took 60 min.), stirring occasionally to ensure the lentils are not sticking to the bottom. The final dish should be thick and lentils will have a bit of a bite. Discard bay leaves. Season to taste with salt and pepper; garnish each serving with cheese.
Recipe by Anna Francese Gass for NYTimes Cooking