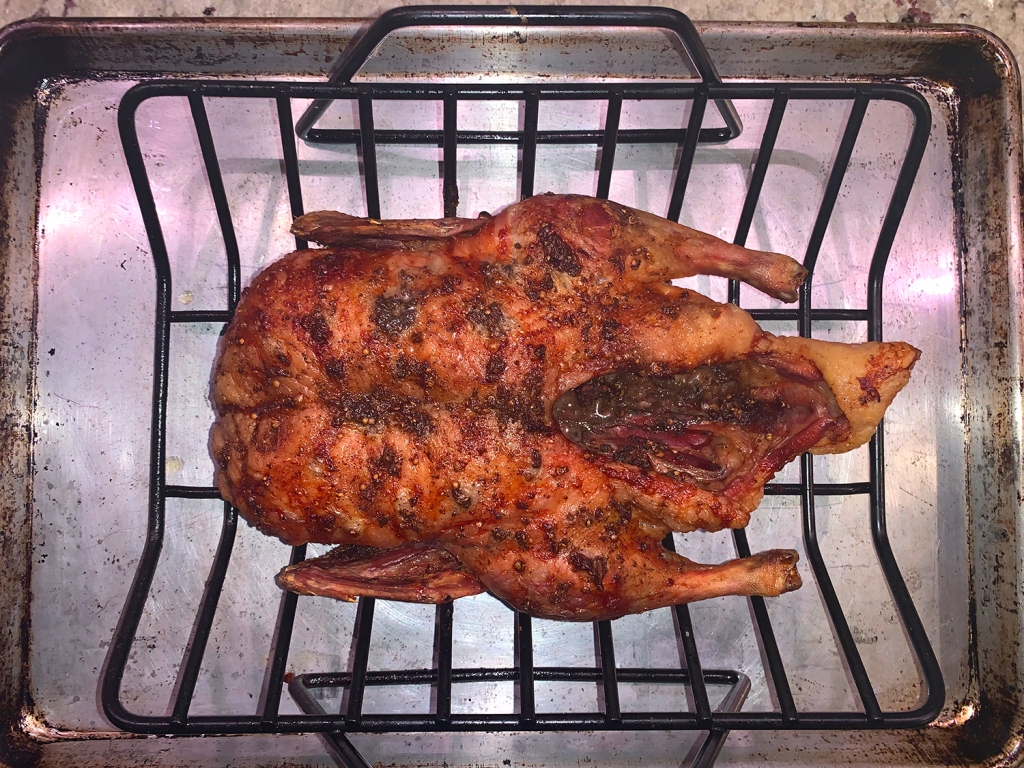
Because pork loin is so lean, it has a tendency to dry out rather quickly in the cooking process. But this fool proof brining method will leave you with the most juicy pork loin roast you’ve ever eaten. The unsung hero of meat cooking, the brining process is similar to marinating. Unlike marinating though, brining actually packs the cells of the meat full of moisture. Thanks to The Hubs for thinking of pairing this recipe with the brining process.
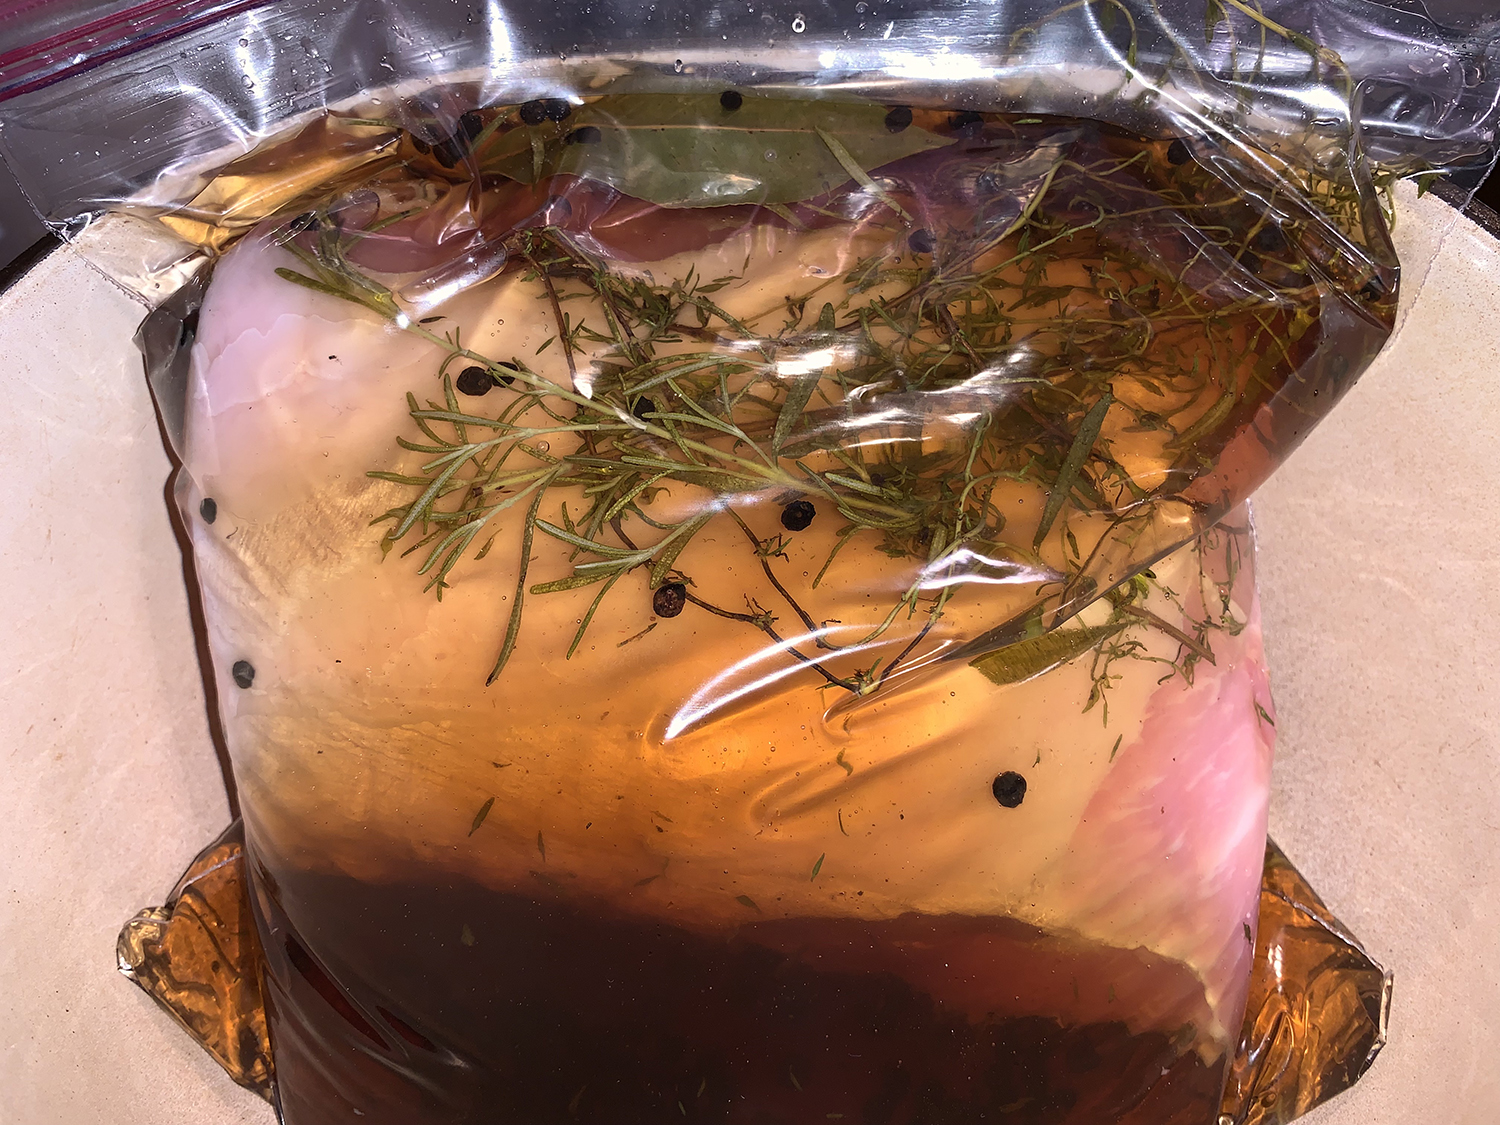
The most common and most important component of brining is salt. In many cases brown sugar is also used to offset some of the saltiness of the brine solution. Once you have the main components of salt, water and sugar, you can pretty much throw any herb in there you want. Following the advice from Grilling Companion, we added bay leaves, rosemary, thyme and black peppercorns.
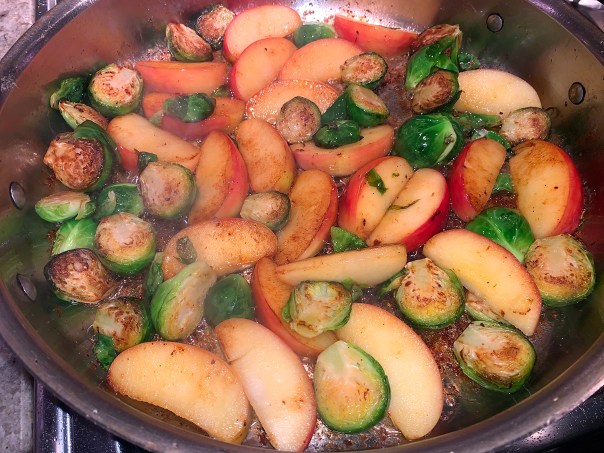
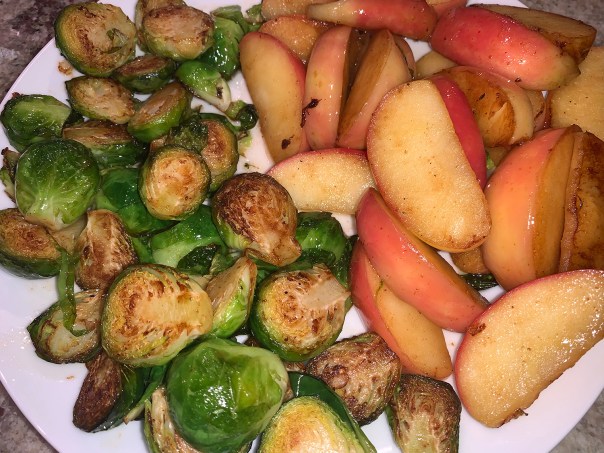
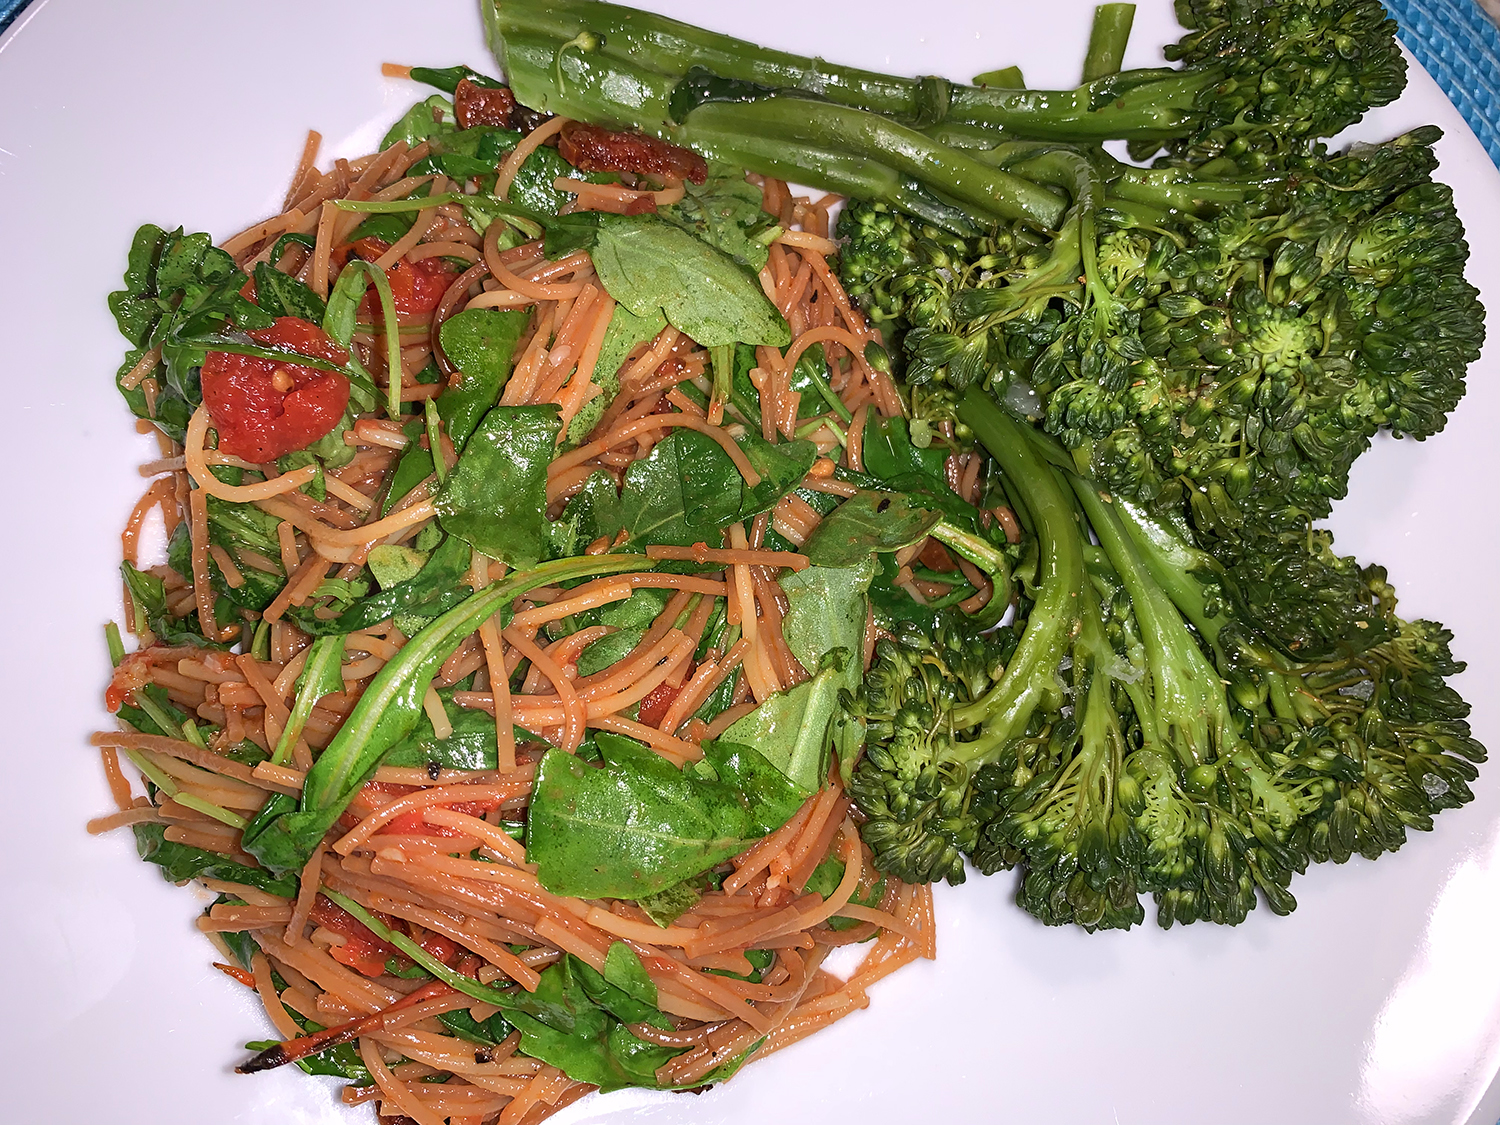
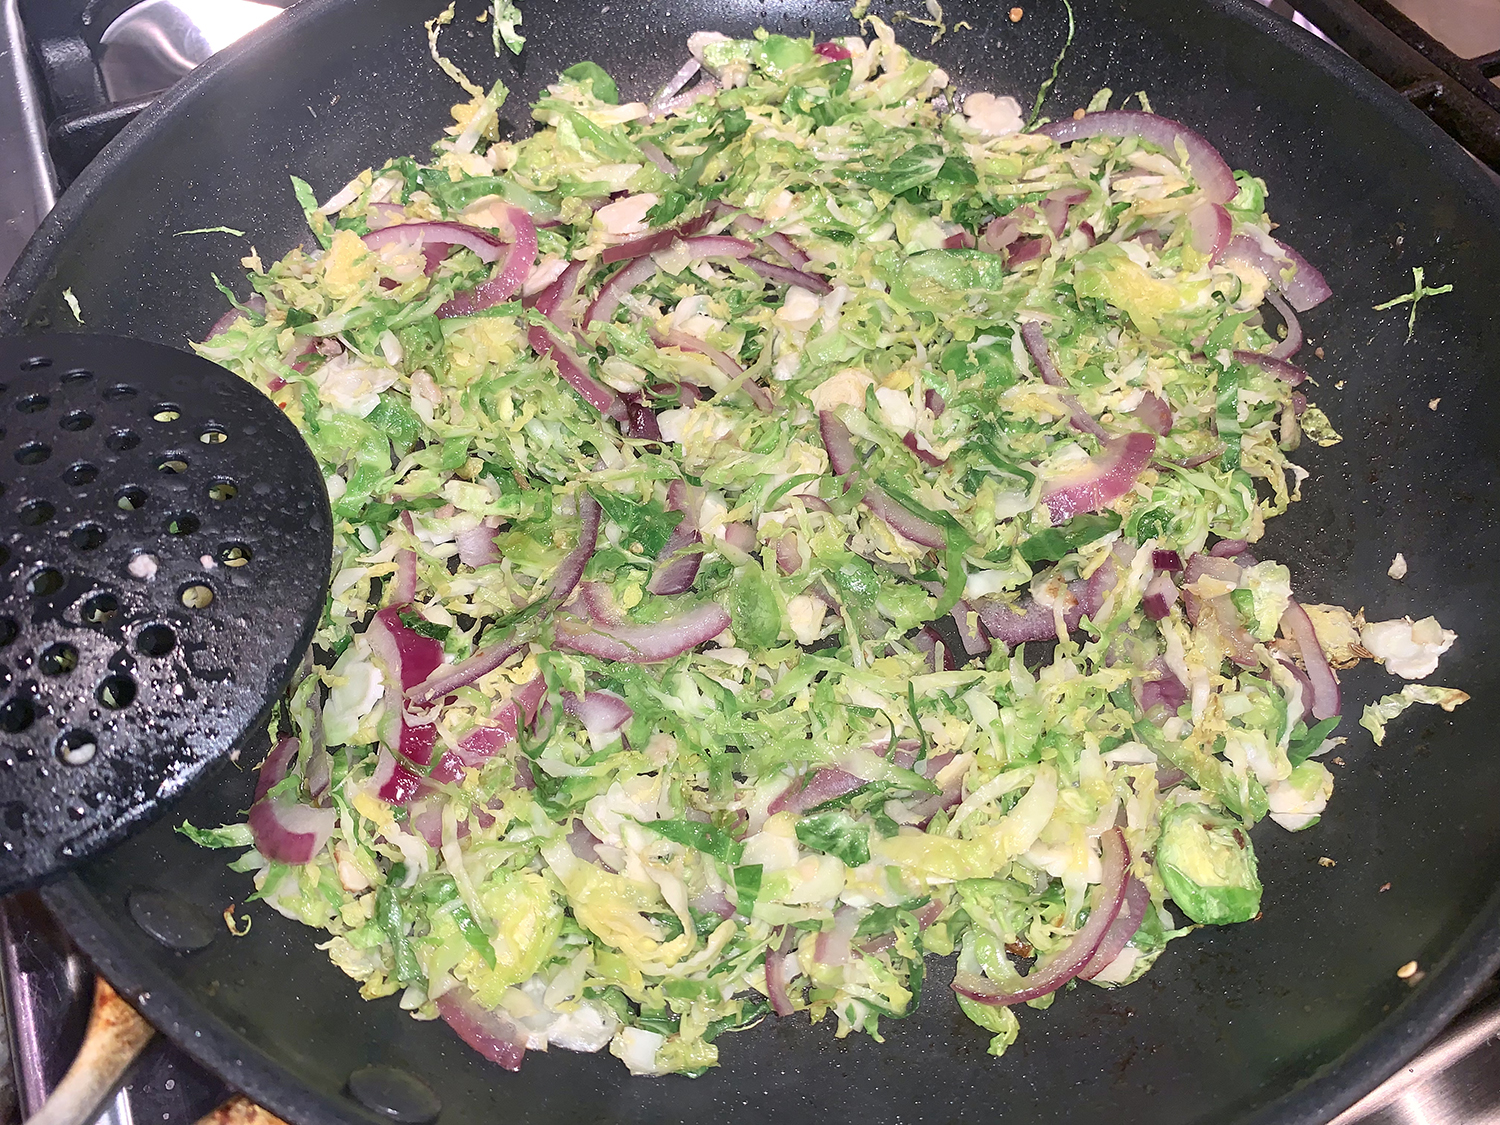
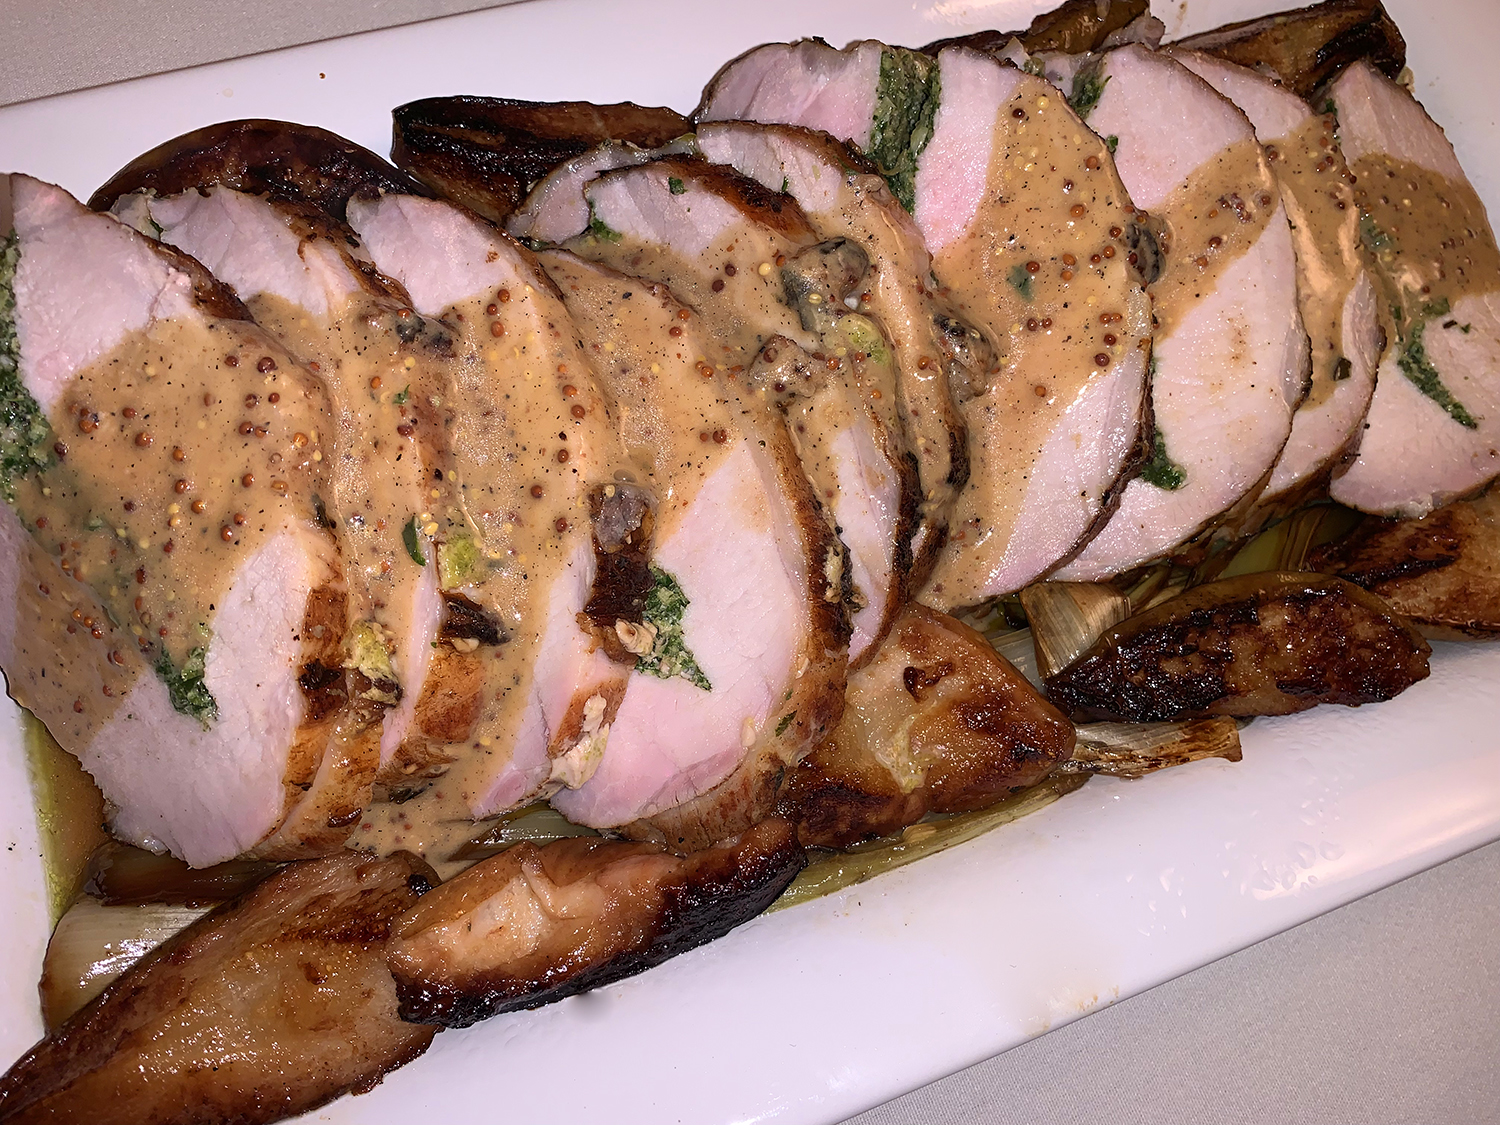
Afterward, the boneless pork loin was stuffed with a flavorful herb-and-garlic mixture and roasted with fresh Anjou pears and leeks. Finally, a creamy mustard pan sauce, which we doubled, added the finishing touch to this succulent dish. Brussels sprouts and butternut squash made for a healthy side dish with deep roasted flavors.


And I’d be remiss if I didn’t give a shout out to what our guests contributed. Along with welcome bottles of wine, the Zarrilli’s started the party with a not only attractive, but also delicious, leek and artichoke tart on puff pastry; while the Mortka’s put a bright note on the finale with their exquisite homemade apple bundt cake drizzled in a caramel glaze and topped with whipped cream.


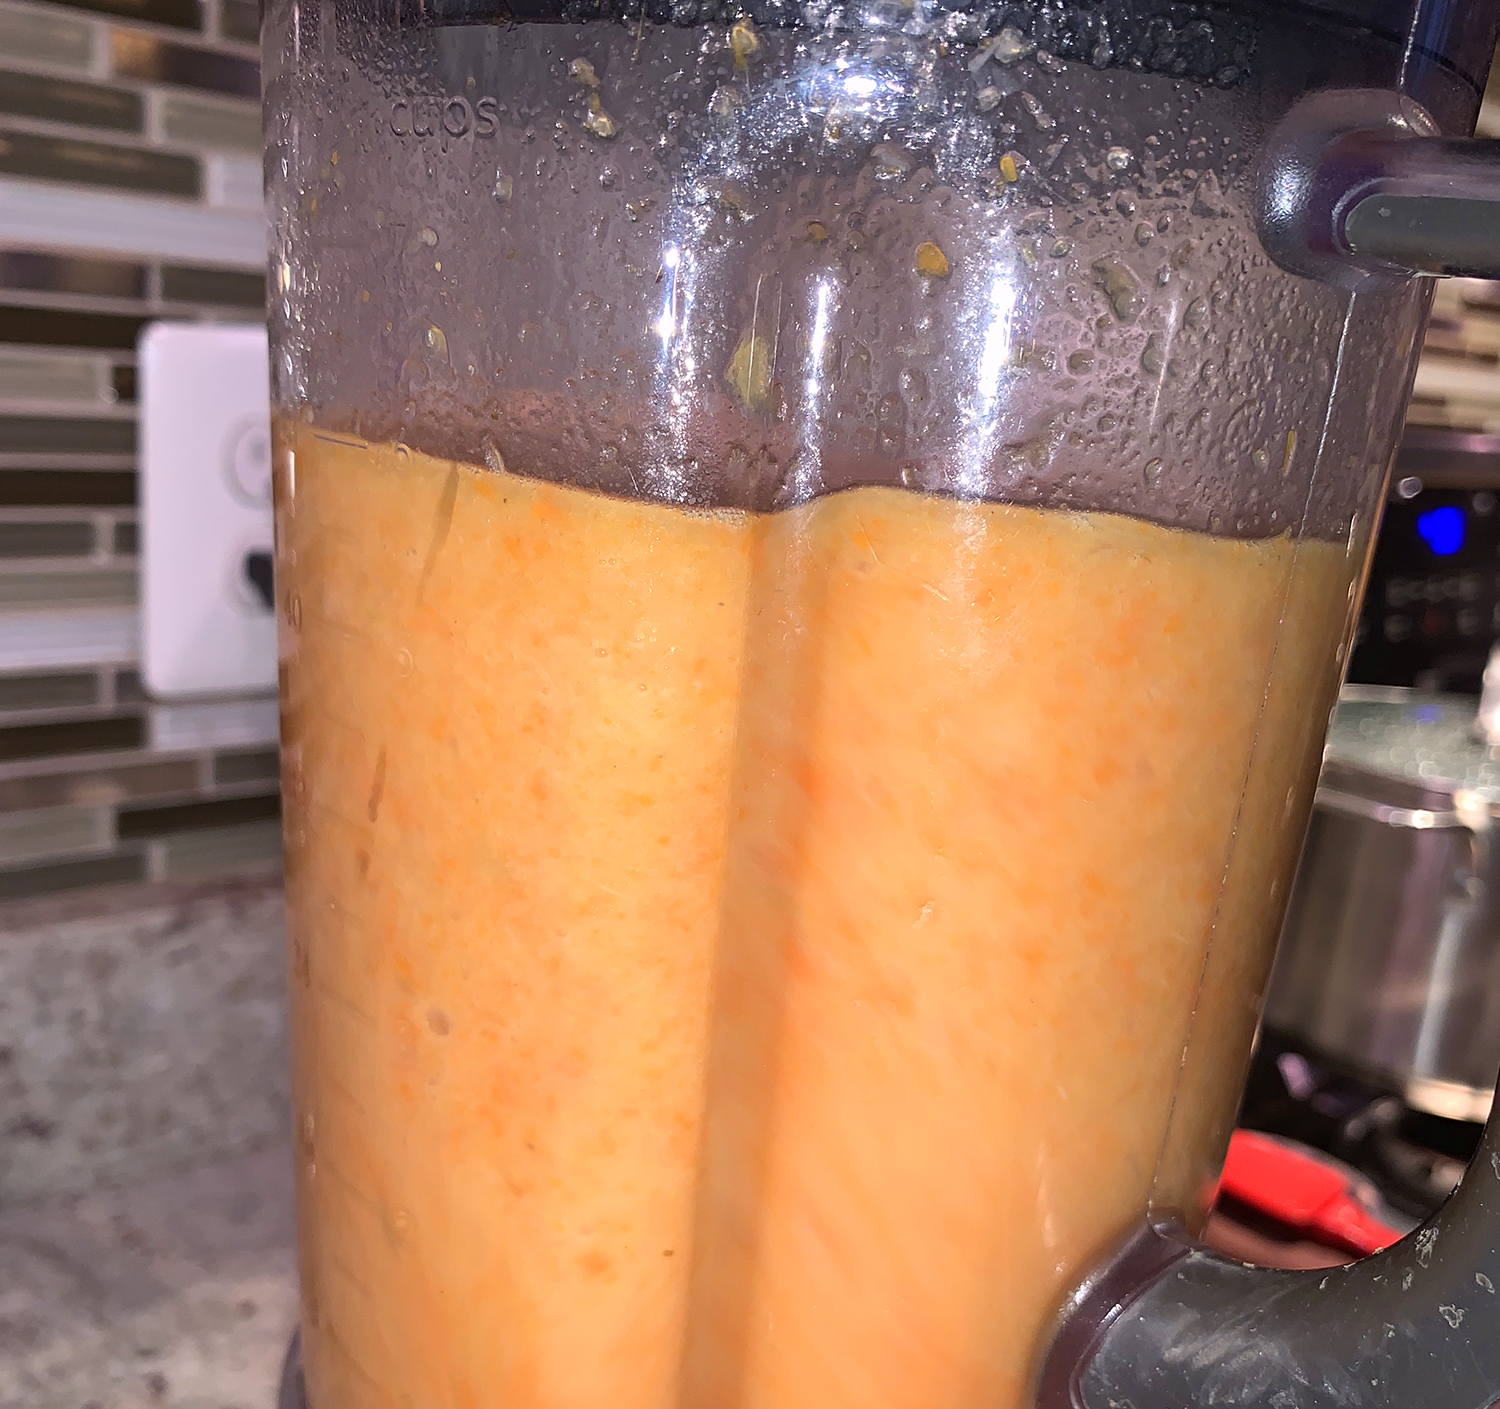
Our first course for dinner was the most luscious Cream of Carrot and Caramelized Apple Soup which set the tone for the follow-up courses with the fruit-herb-vegetable-centric theme.

Brined and Stuffed Roast Pork with Pears
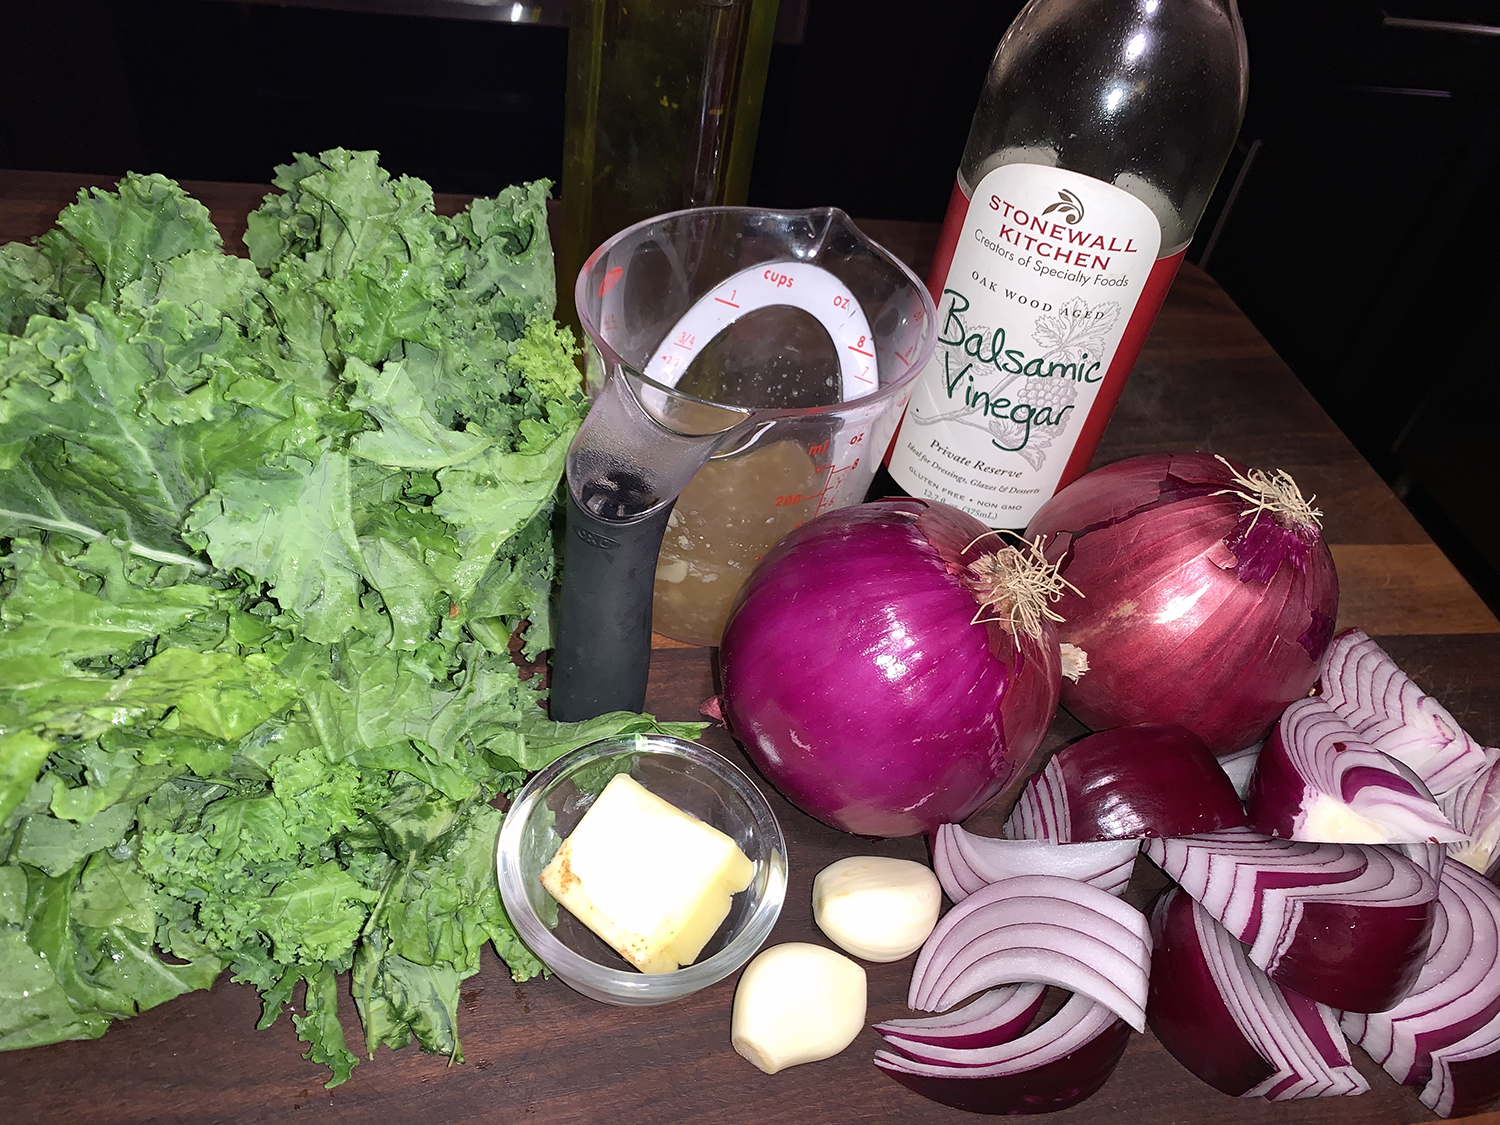
Ingredients
The Brine
- 4 – 5 lb. pork loin roast with a nice fat layer on the top
- 6 cups water
- 1/2 cup salt
- 1/2 cup dark brown sugar
- 2 bay leaves
- 1 handful peppercorns
- 4 sprigs thyme
- 2 sprigs rosemary
The Pork Loin
- 3/4 cup packed fresh flat-leaf parsley leaves
- 1/4 cup packed roughly chopped fresh sage, plus whole sage leaves for roasting
- 3 whole garlic cloves, plus 2 cloves, minced
- Salt and freshly ground pepper, to taste
- 5 Tbsp. olive oil
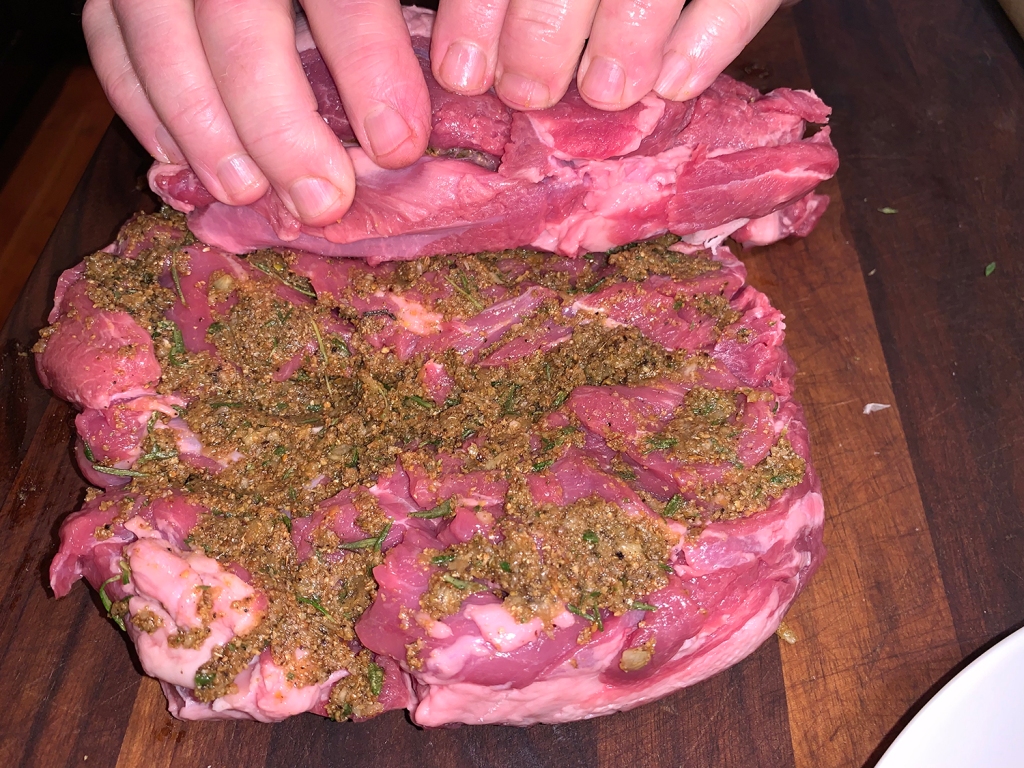
- 1 boneless pork loin roast, about 3 1/2 lb., halved horizontally
- 3 ripe red Anjou pears, halved lengthwise
- 4 leeks, white portions only, trimmed, halved
lengthwise and rinsed - 1 Tbsp. all-purpose flour
- 3 oz. dry white wine
- 3⁄4 cup chicken broth
- 3 Tbsp. whole-grain mustard
- 3 oz. cup heavy cream


Directions
The Brine
- Combine the brown sugar and salt in the water and bring to a boil.
- Stir until dissolved and then add the rest of the brine ingredients.
- Lower heat and simmer for about 5 minutes.
- Turn off the heat and allow to cool completely to room temperature.
- Once the solution has completely cooled, add the pork loin roast and brine solution to a Ziplock type bag. Seal and squeeze out as much air as possible.
- Put the sealed bag with the now brining pork roast into a pot or large bowl, one that can hold all of the liquid in case something happens to the bag. Place the bowl containing the brining meat into a refrigerator for at least 12 hours, up to 24 hours.
The Pork Loin
- Position a rack in the lower third of an oven and preheat to 400°F.
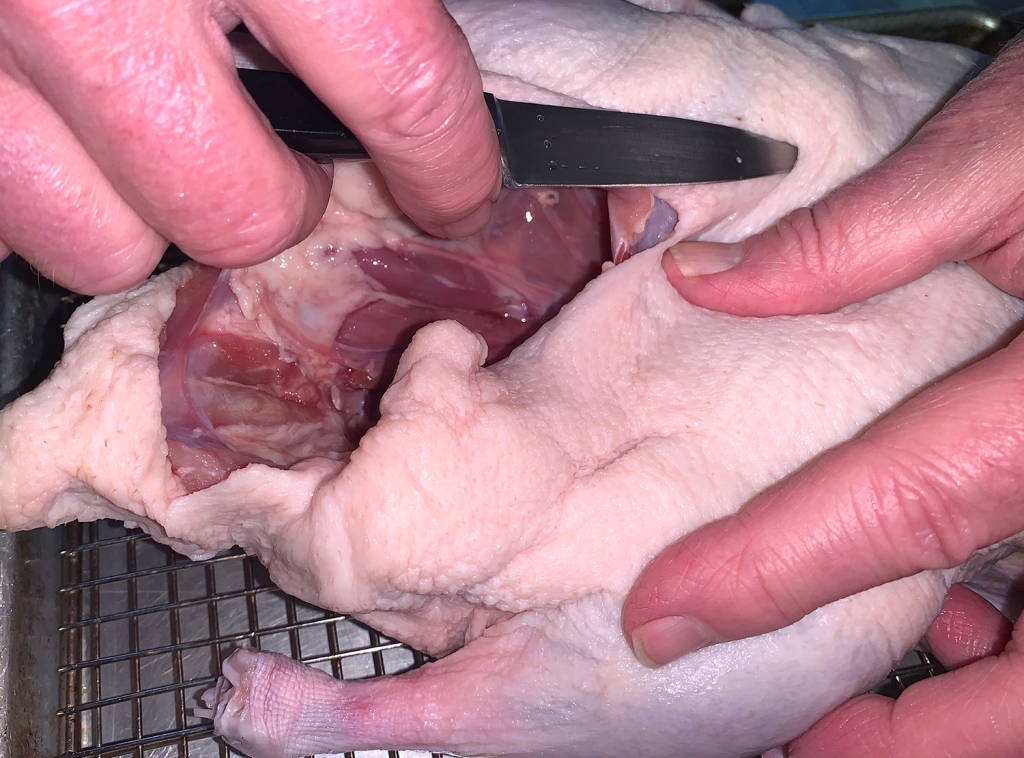
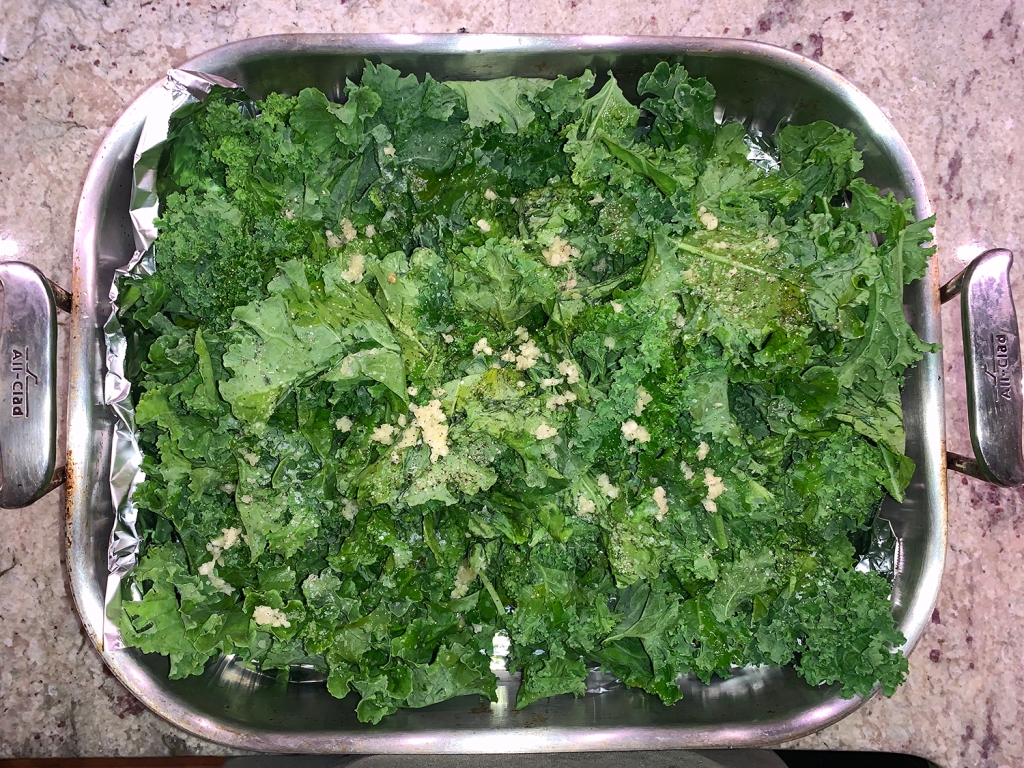
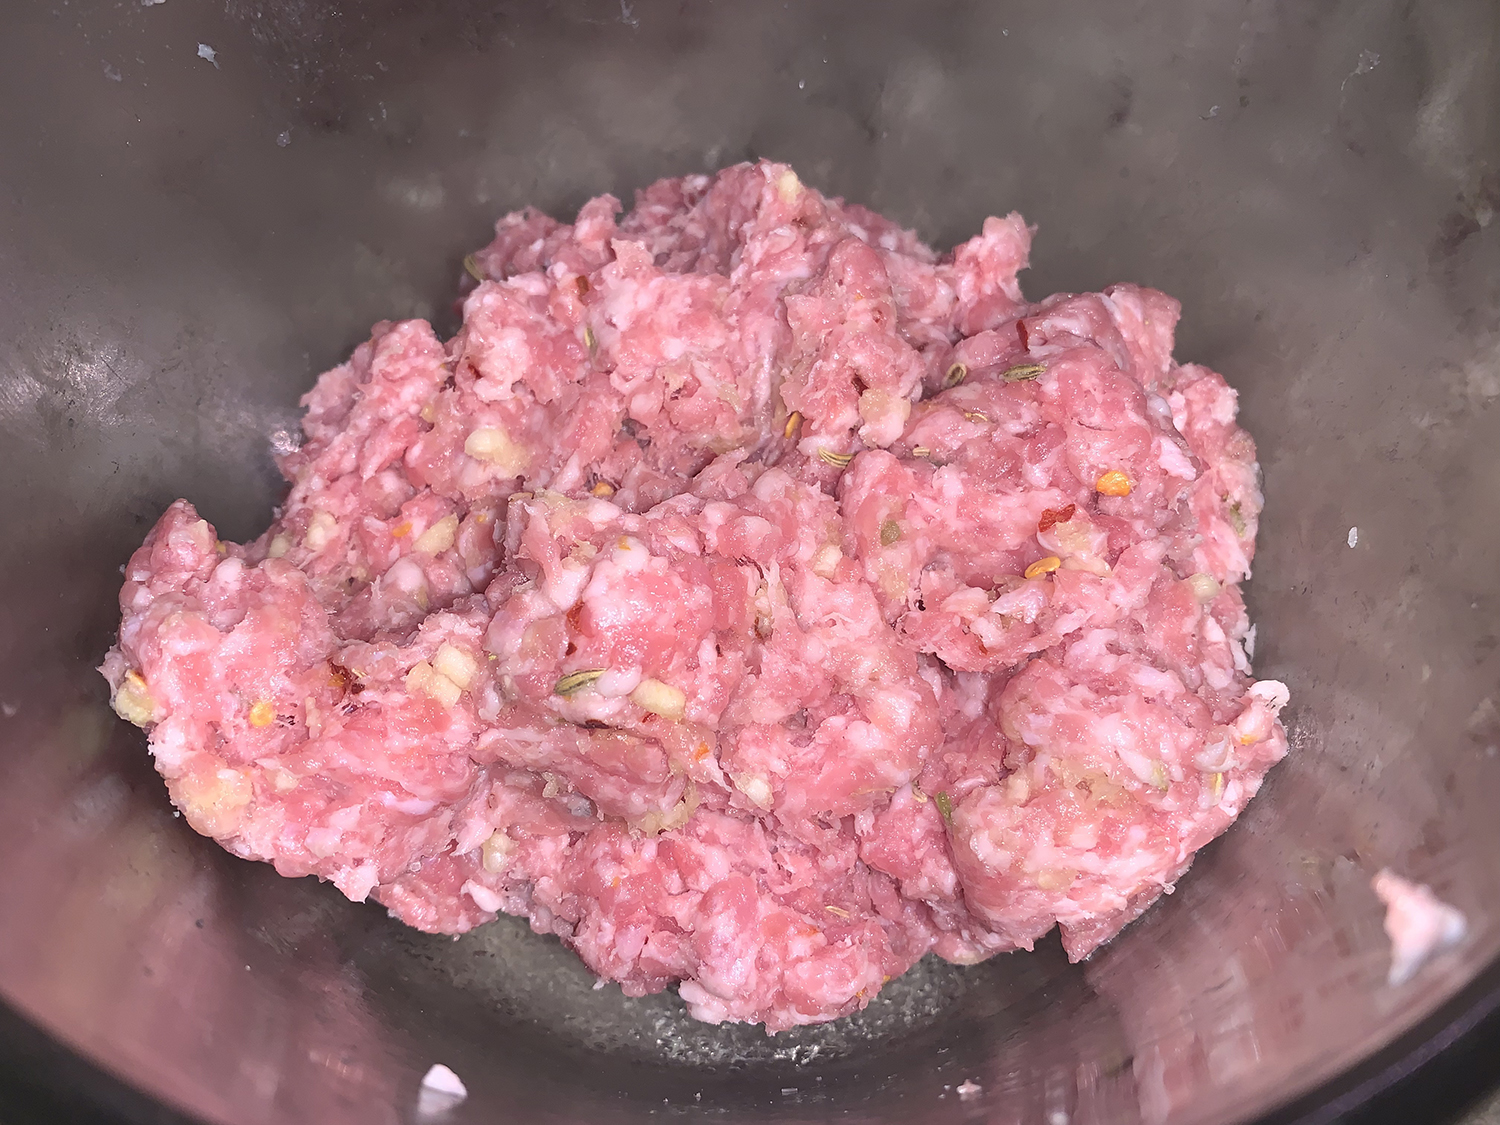
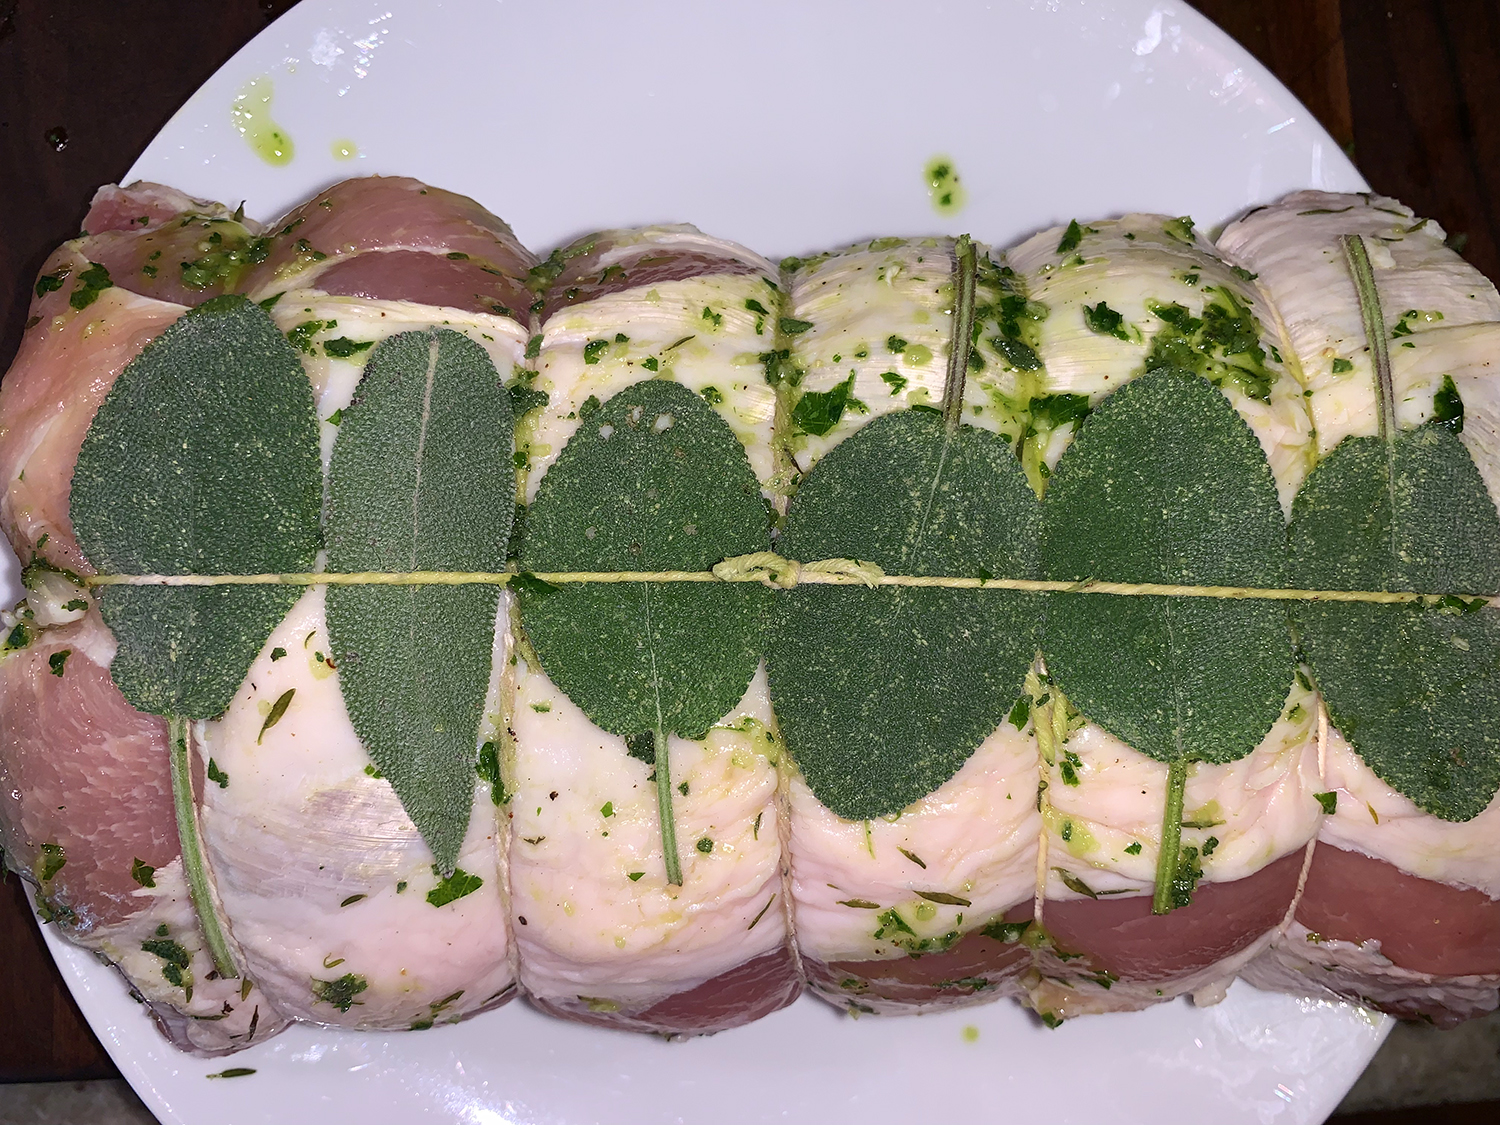
- In a mini food processor, process the parsley, chopped sage, whole garlic, salt, pepper and 3 tablespoons of the olive oil until a fine paste forms. Spread the mixture on the cut side of one half of the pork loin, then place the other half on top.
- Tie the roast together with kitchen twine and tuck whole sage leaves underneath the twine. Season the roast with salt and pepper.
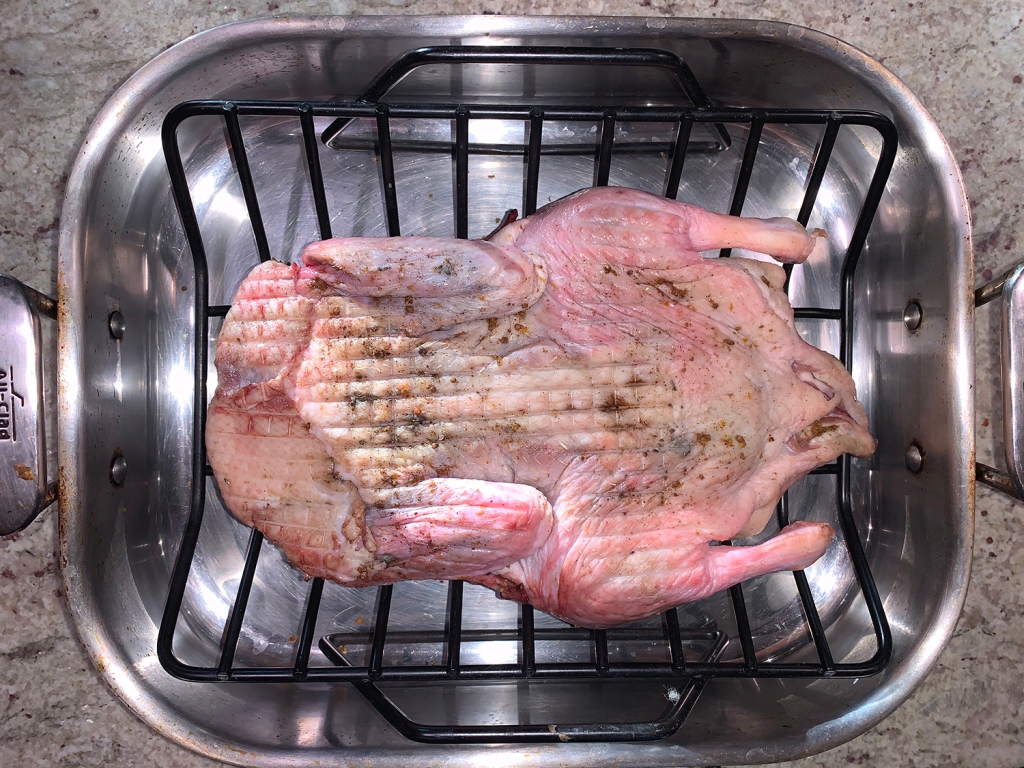
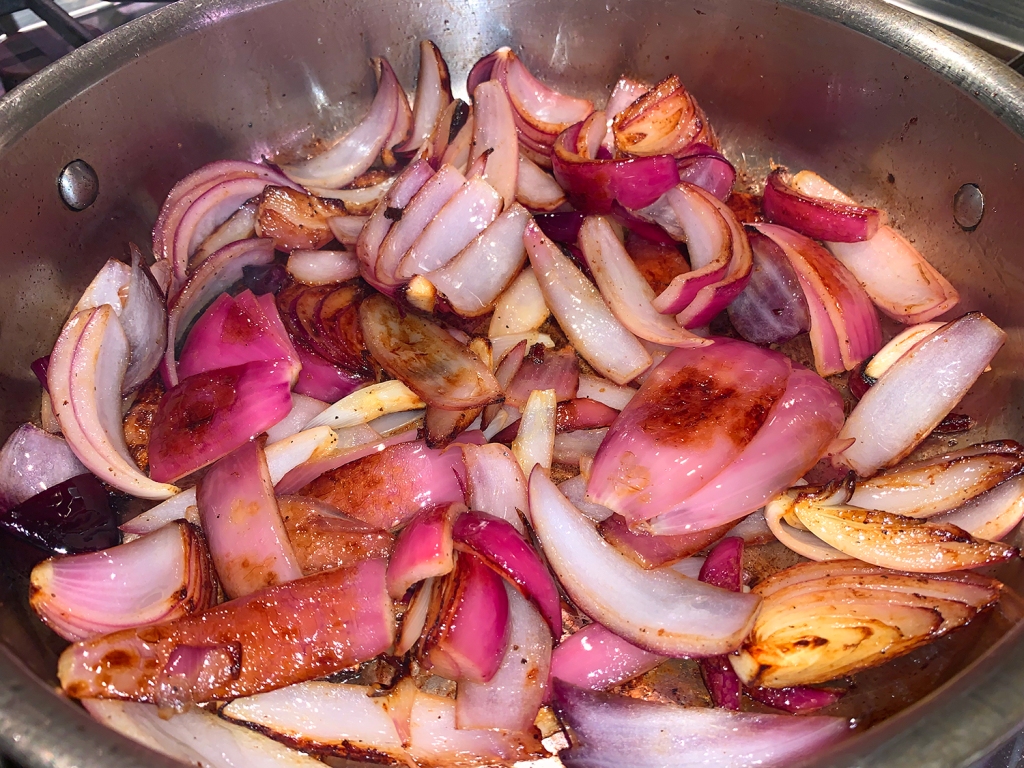
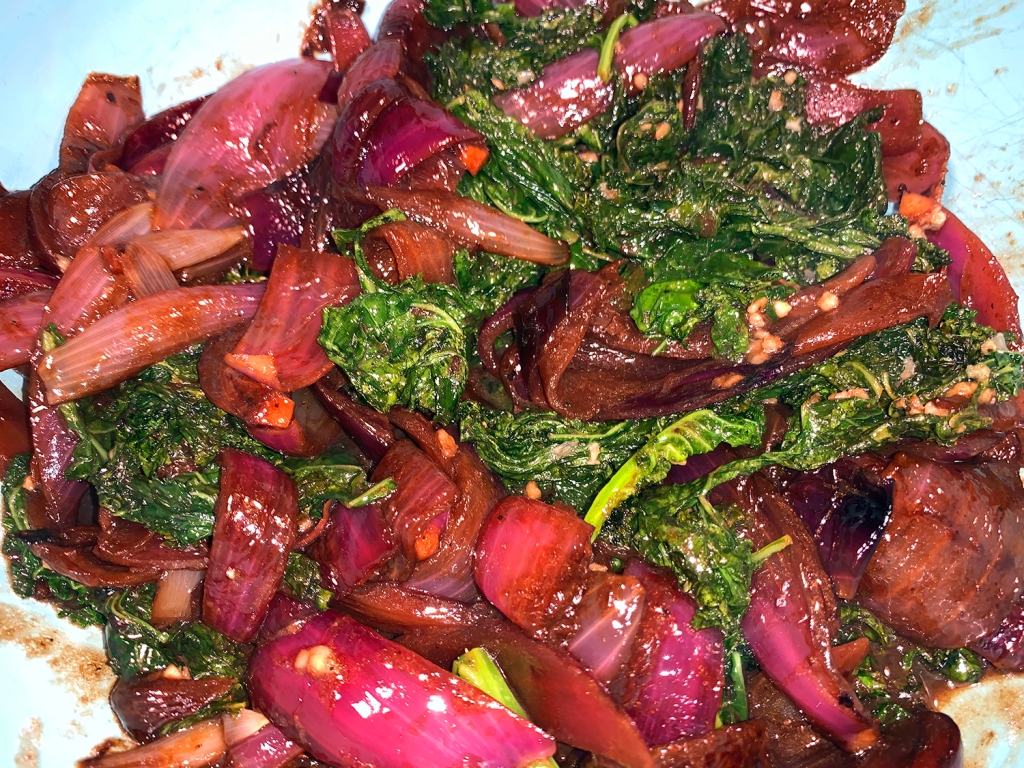
- In a 5 1/2-quart Dutch oven over medium-high heat, warm the remaining 2 tablespoons olive oil. Add the pears, cut side down, and cook until browned, about 5 minutes. Transfer to a plate. Add the pork to the pot and brown on all sides, about 8 minutes total. Transfer to a plate. Place the leeks, cut side down, in the pot in a single layer. Set the pork on top and place the pears along the sides of the pot.
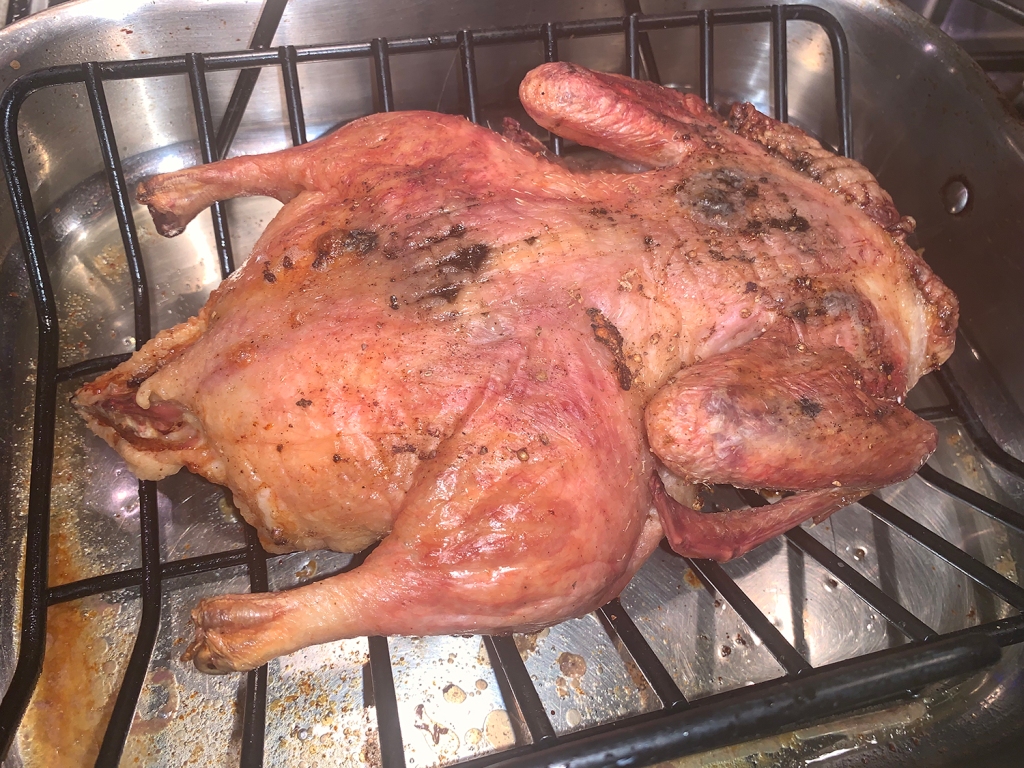
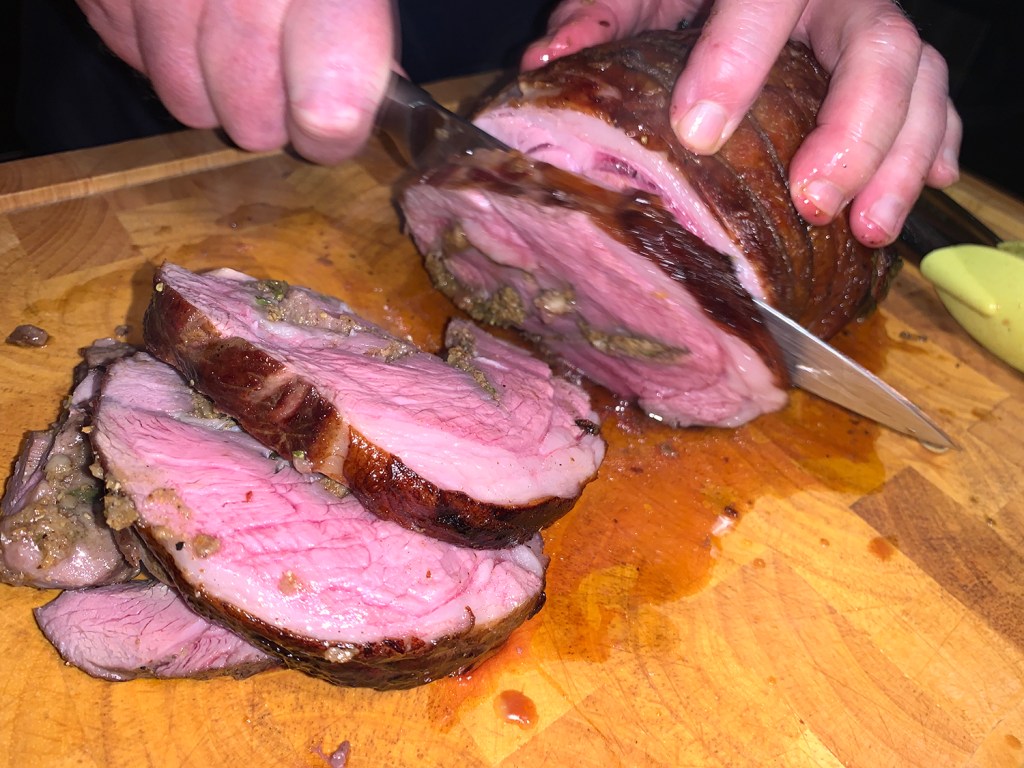
- Roast until an instant-read thermometer inserted into the center of the pork registers 140°F, 45 to 55 minutes. Transfer the pork to a carving board, cover loosely with aluminum foil and let rest for 10 minutes before carving. Transfer the leeks and pears to a platter.
- Pour the pan drippings into a bowl and discard all but 2 teaspoons. of the fat. Warm the reserved fat in the pot over medium-high heat. Add the minced garlic and flour and cook, stirring frequently, for 30 seconds. Add the wine and cook, stirring frequently, for 1 minute.
- Add the broth and pan drippings and cook until slightly thickened, about 3 minutes. Remove the pot from the heat and whisk in the mustard and cream. Season with salt and pepper.
- Cut the pork into slices and arrange on the platter. Pour some of the sauce over the slices and pass the remainder alongside.
Recipe compliments of William Sonoma Kitchen; brining method from Grilling Companion