When the cooler weather starts hanging around for good, we gravitate away from al fresco dining and grilled fare to comfort food meals such as braises, casseroles, and roasted meats with sides of mashed potatoes and gravy.
Then there are meatballs. Those round succulent tasty balls of ground meat packed with a variety of herbs and spices. This Pork and Porcini Meatballs recipe was by Nancy Oakes for a recent Food & Wine magazine.
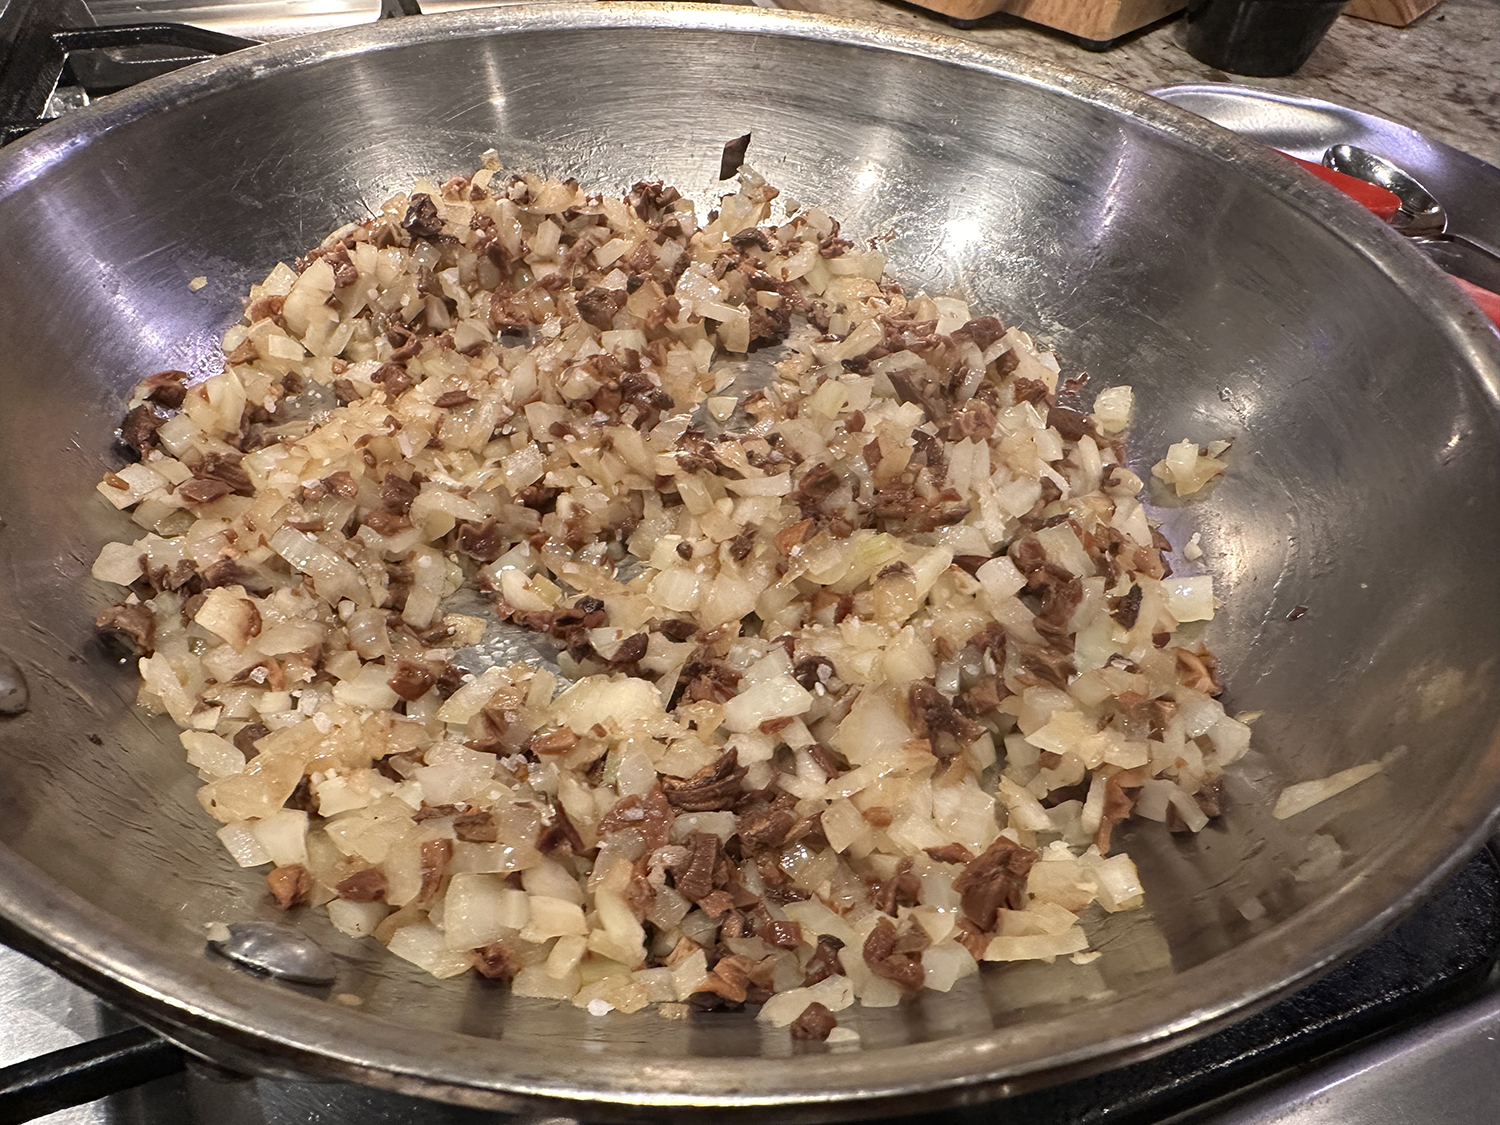
Her original recipe called for fresh or frozen porcini mushrooms, neither of which we have ever seen in our plethora of local supermarkets. Therefore, we went with dried porcinis that had to be reconstituted. That liquid was then used in place of the 1/4 cup of water*. You can buy a half (.5) ounce clamshell package of the funghi which is the perfect amount. Porcini mushrooms are a type of seasonal mushroom known for their meatier texture and rich, nutty flavor. They pop up from late summer into late autumn, peaking between September and October.
Also, the meatballs are supposed to be covered and refrigerated for 1, or up to 24 hours. We didn’t have that time, so we placed the rimmed baking sheet in the **freezer for 12-15 minutes. Then popped them directly into the heated oven.
The Hubs said that he liked the meatballs so much that they will now be our default meatballs, and are very versatile as to what you can do with them.

One recipe reviewer commented “These meatballs have a lingering savoriness, a heady aroma, and a juicy center. The porcini mushrooms add in a nuanced savoriness, and the cheeses add to that. The meat is so tender.”

Pork and Porcini Meatballs
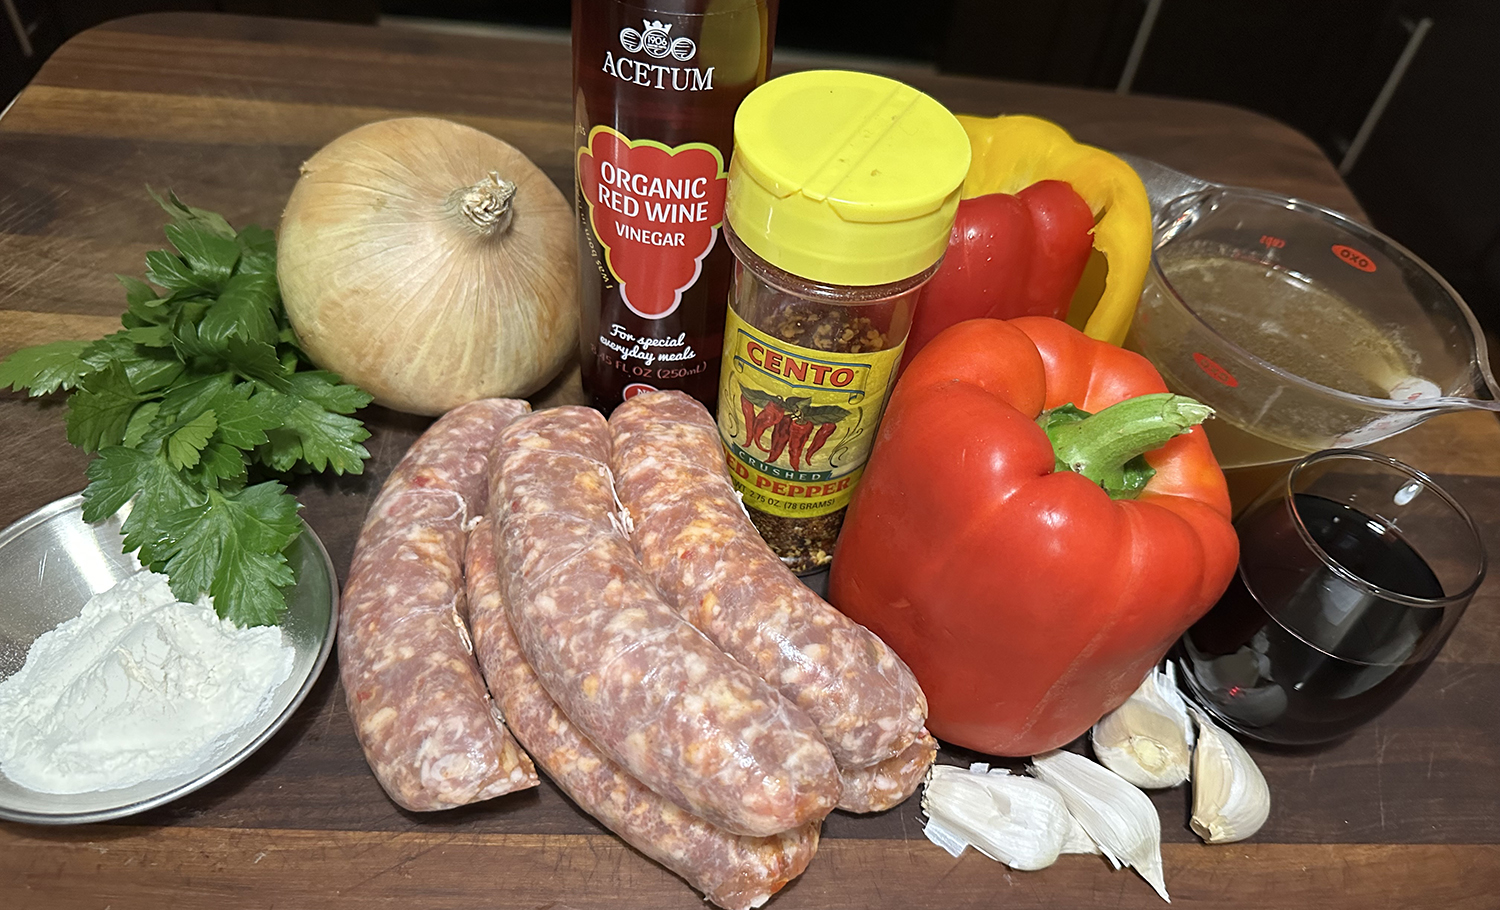
Ingredients
- 1 Tbsp. plus 2 tsp. olive oil, divided, plus more for serving
- 1 small yellow onion, finely chopped (about 1 cup)
- 1/4 cup chopped fresh or frozen porcini mushrooms
- 1 garlic clove, finely chopped
- 3/4 cup panko
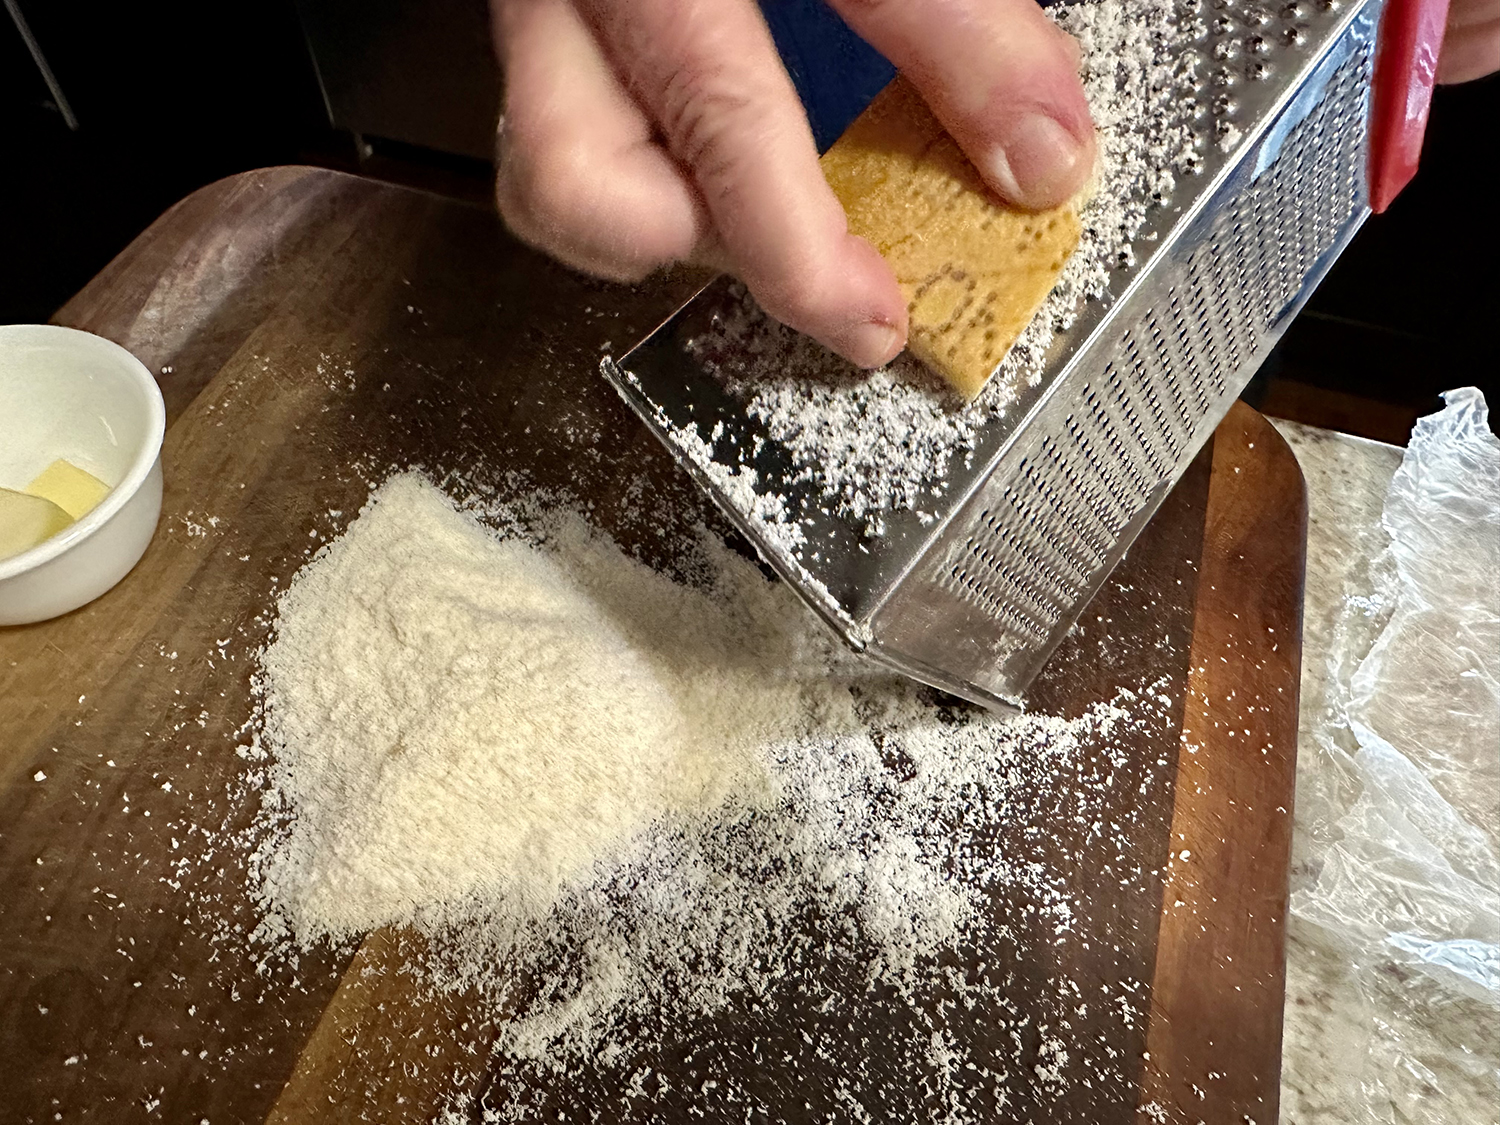
- 2 oz. Parmesan cheese, grated (about 1/2 cup), plus more for serving
- 2 oz. Pecorino Romano cheese, grated (about 1/2 cup)
- 2 Tbsp. chopped fresh flat-leaf parsley, plus more for garnish
- 2 tsp. chopped fresh rosemary
- 1 tsp. chopped fresh mint
- 1 tsp. kosher salt
- 1 tsp. black pepper
- 1 lb. ground pork
- 1 large egg, beaten
- 1/4 cup water* or use some of the liquid from the reconstituted porcinis
- Cooked polenta or orzo, for serving


Directions
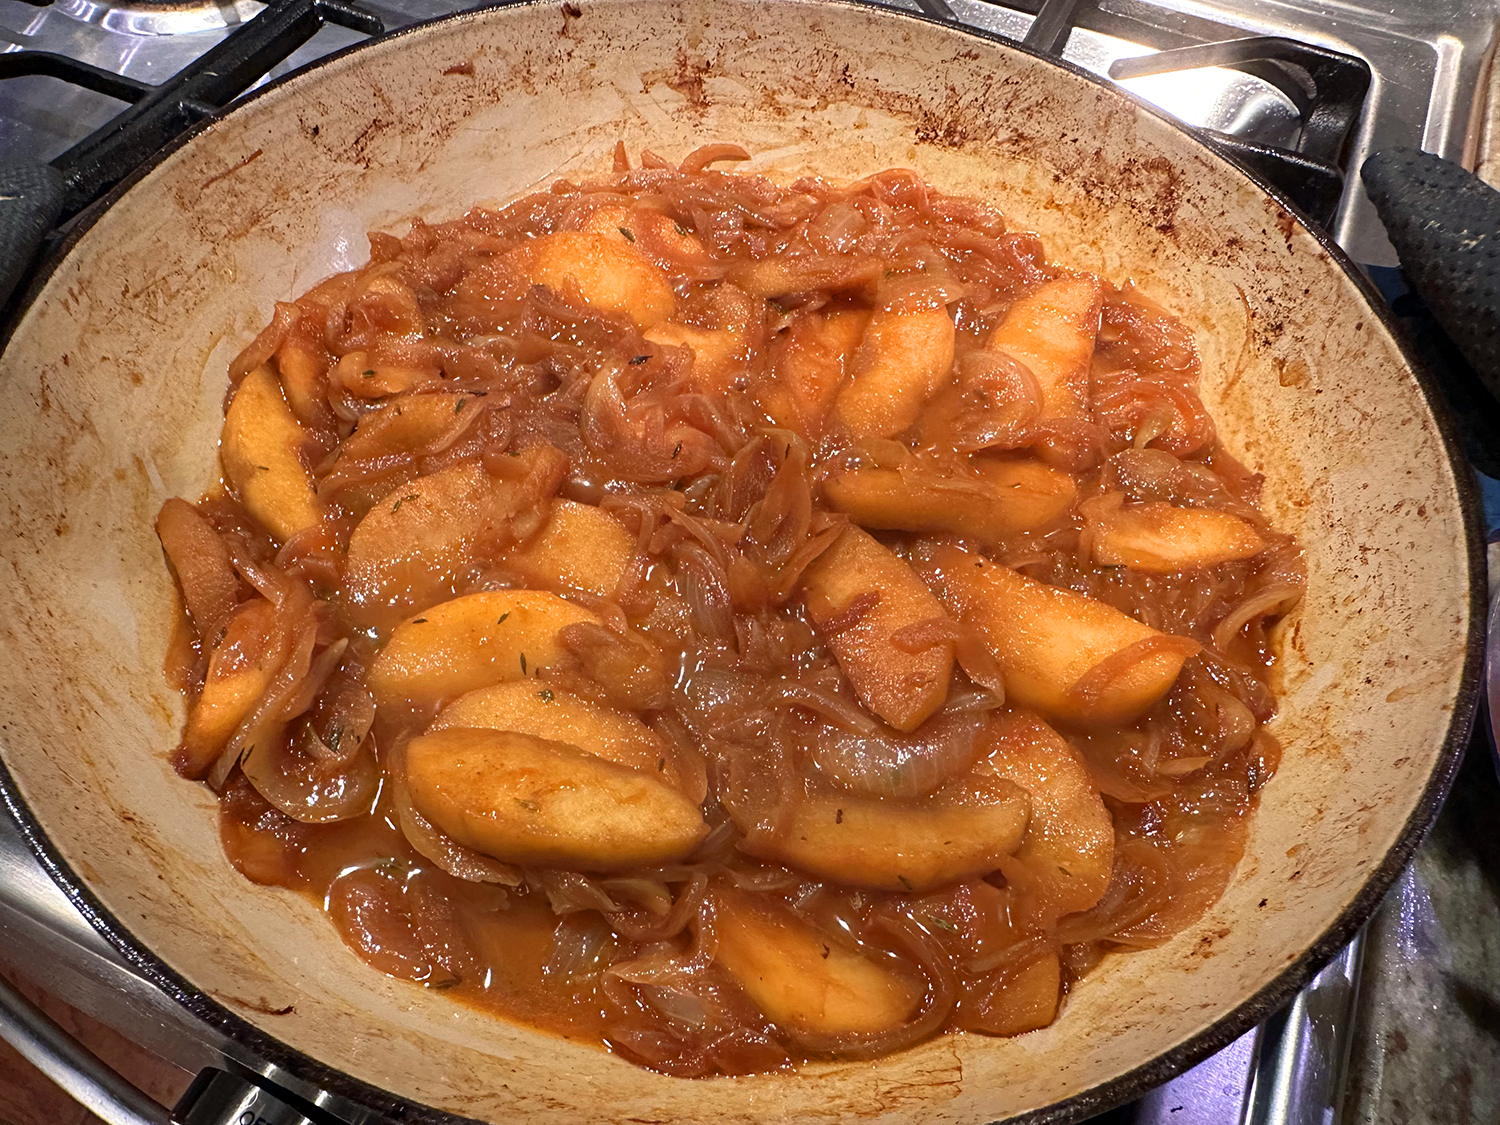
- Preheat oven to 400°F. Heat 1 tablespoon oil in a medium skillet over medium-low. Add onion, mushrooms, and garlic; cook, stirring often, until onion is softened, 5 to 6 minutes. Remove from heat; let cool 5 minutes.
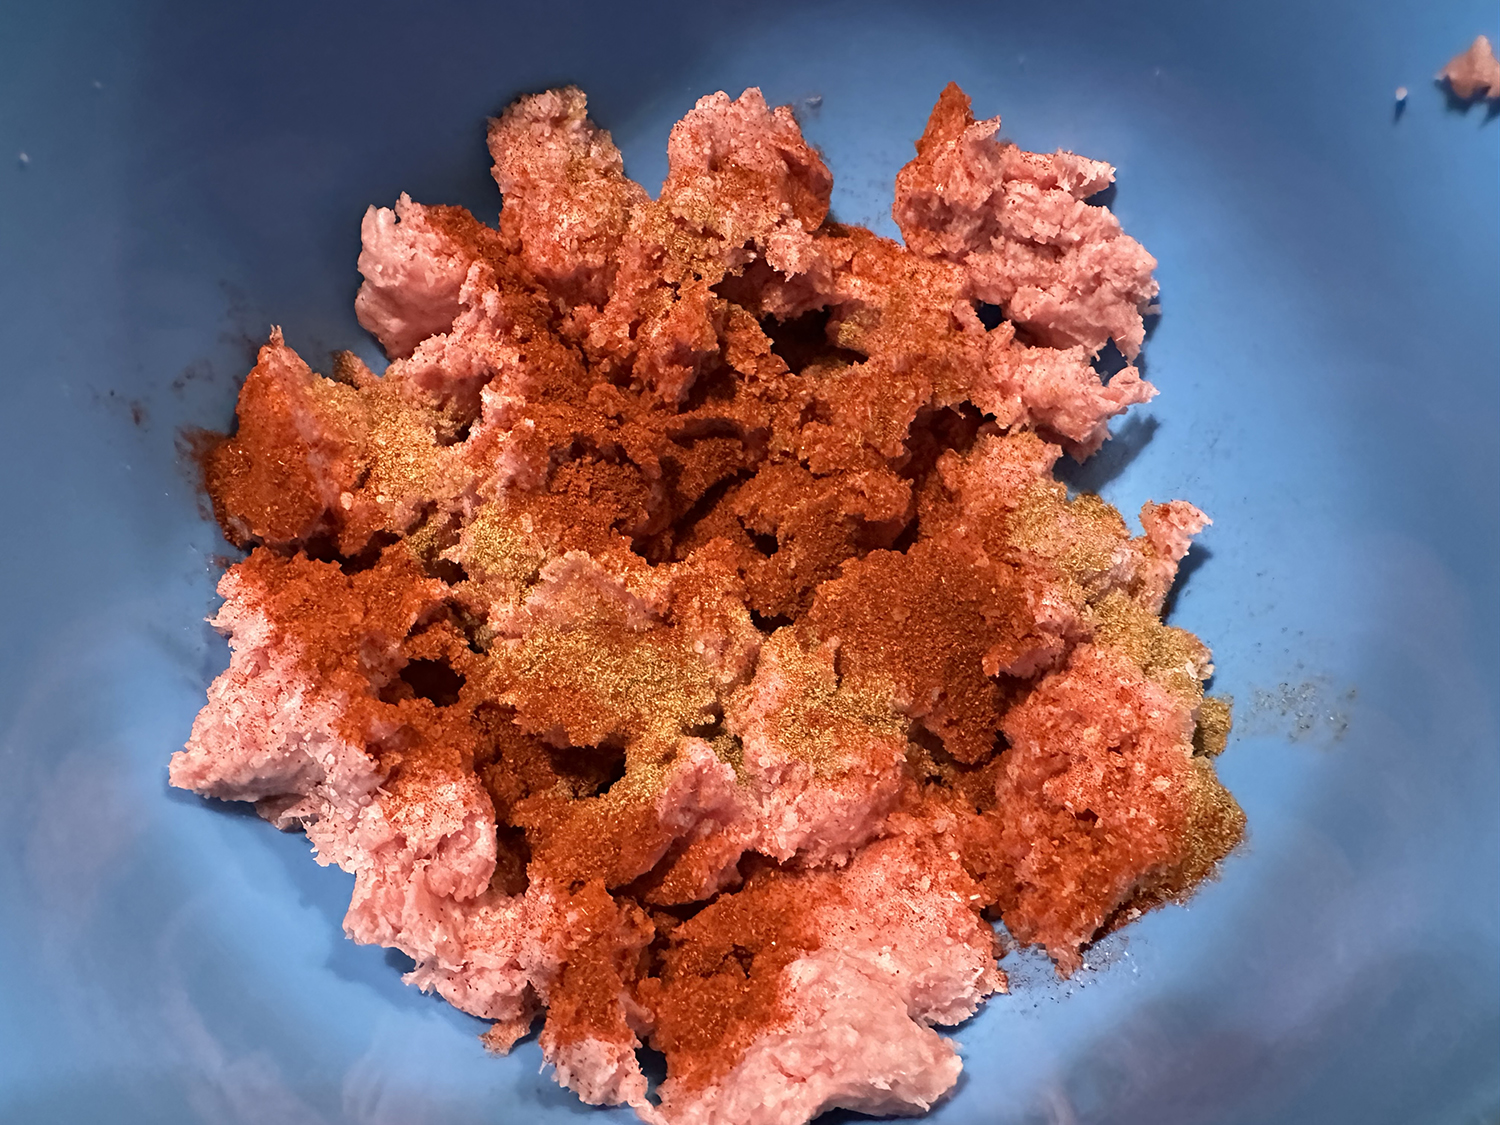
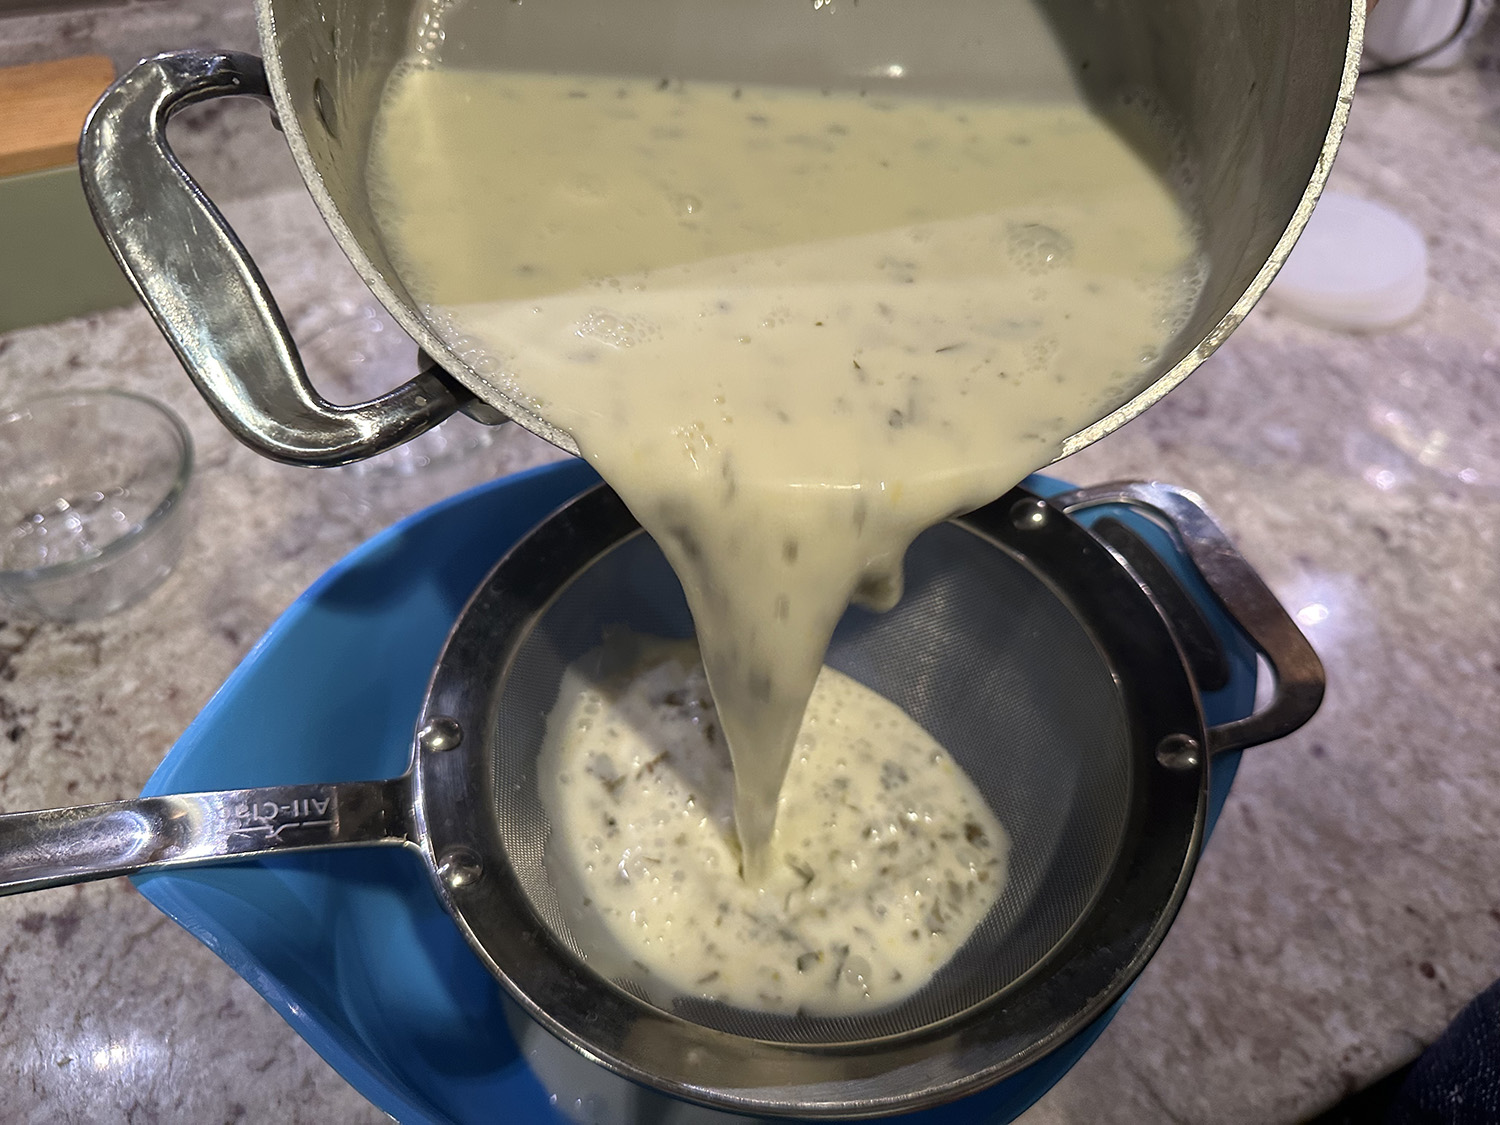
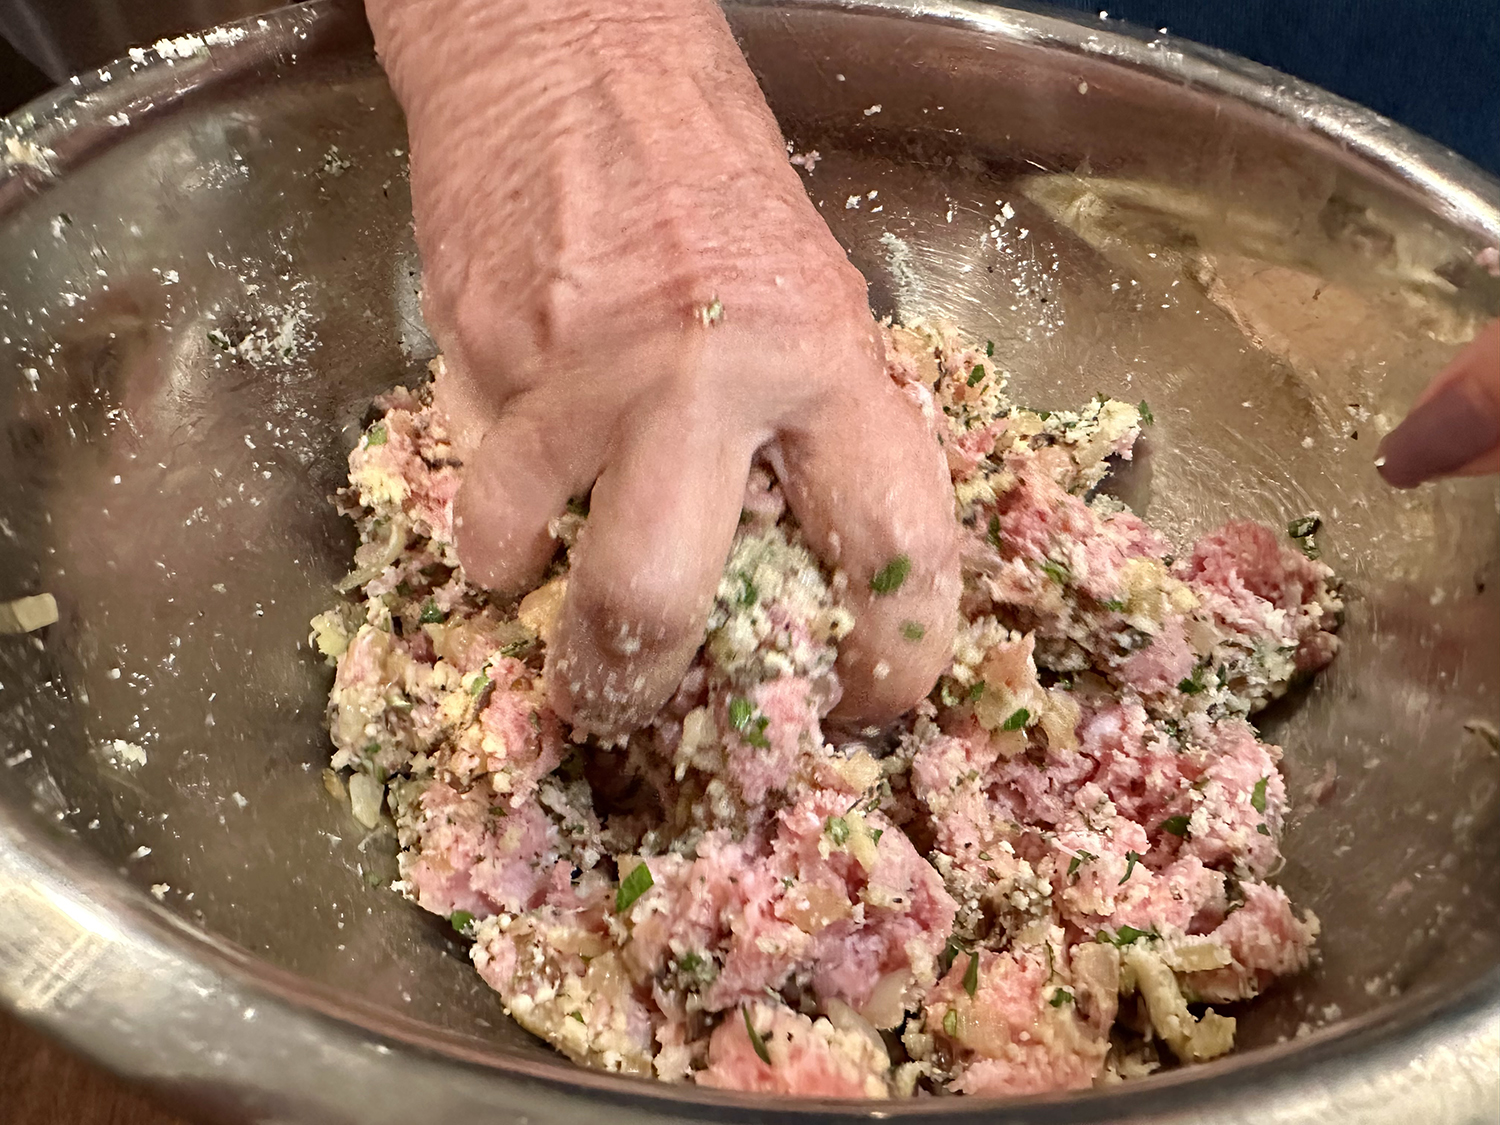
- Stir together panko, Parmesan, Pecorino Romano, parsley, rosemary, mint, salt, and pepper in a large bowl until combined. Stir in pork, egg, and cooled onion mixture until thoroughly combined. Slowly add 1/4 cup water, stirring until incorporated. Cover mixture, and refrigerate at least 1 hour or up to 24 hours. **We didn’t have the time, so we put the sheet pan of meatballs in the freezer for about 12 minutes.
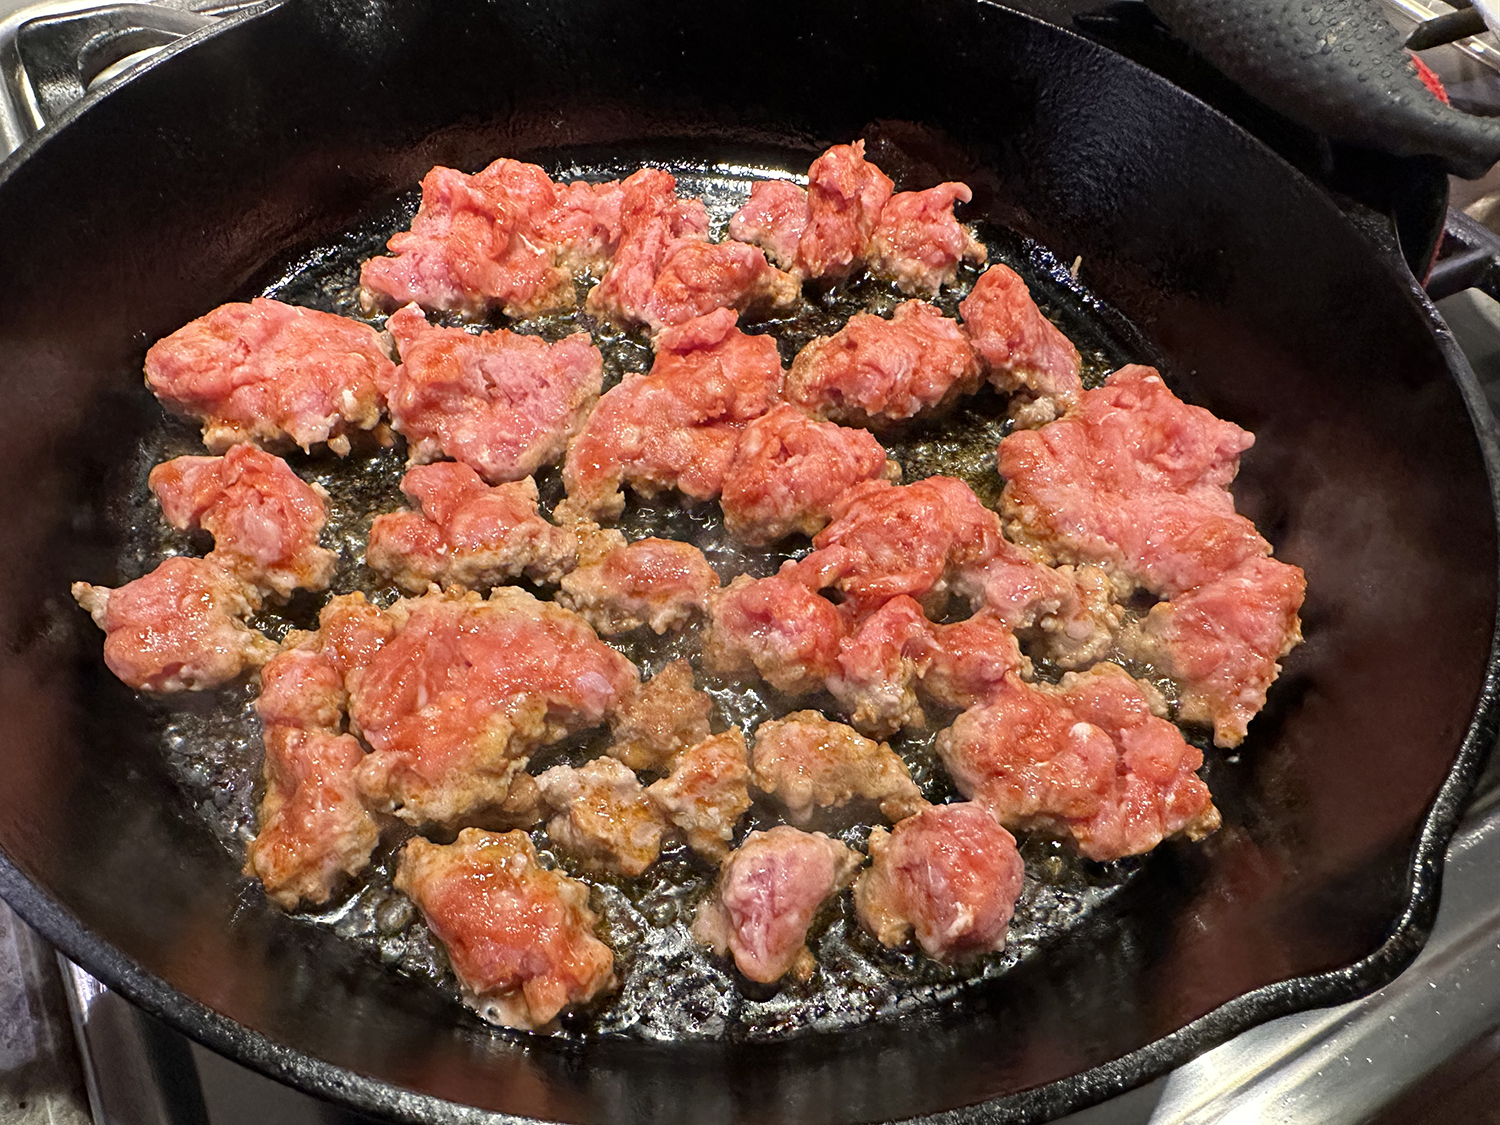
- Line a large rimmed baking sheet with aluminum foil; coat with remaining 2 teaspoons oil. Shape pork mixture into 28 (1-ounce) meatballs; transfer to baking sheet. Bake in preheated oven until an instant-read thermometer inserted in center of meatball registers 160°F, 15 to 17 minutes.
- Serve meatballs over polenta; drizzle with additional olive oil. Sprinkle with Parmesan and parsley; serve hot.
Adapted from a recipe by Nancy Oakes for Food & Wine Magazine