Even though it is labeled a tagine, it’s not cooked in one. This hearty tagine is a staple family meal in many Moroccan homes, cooked in the traditional m’qualli style with garlic, ground ginger and ground turmeric. The comforting, earthy flavors of the meat, spices and green beans create a satisfying dinner perfect for sharing or meal prepping.
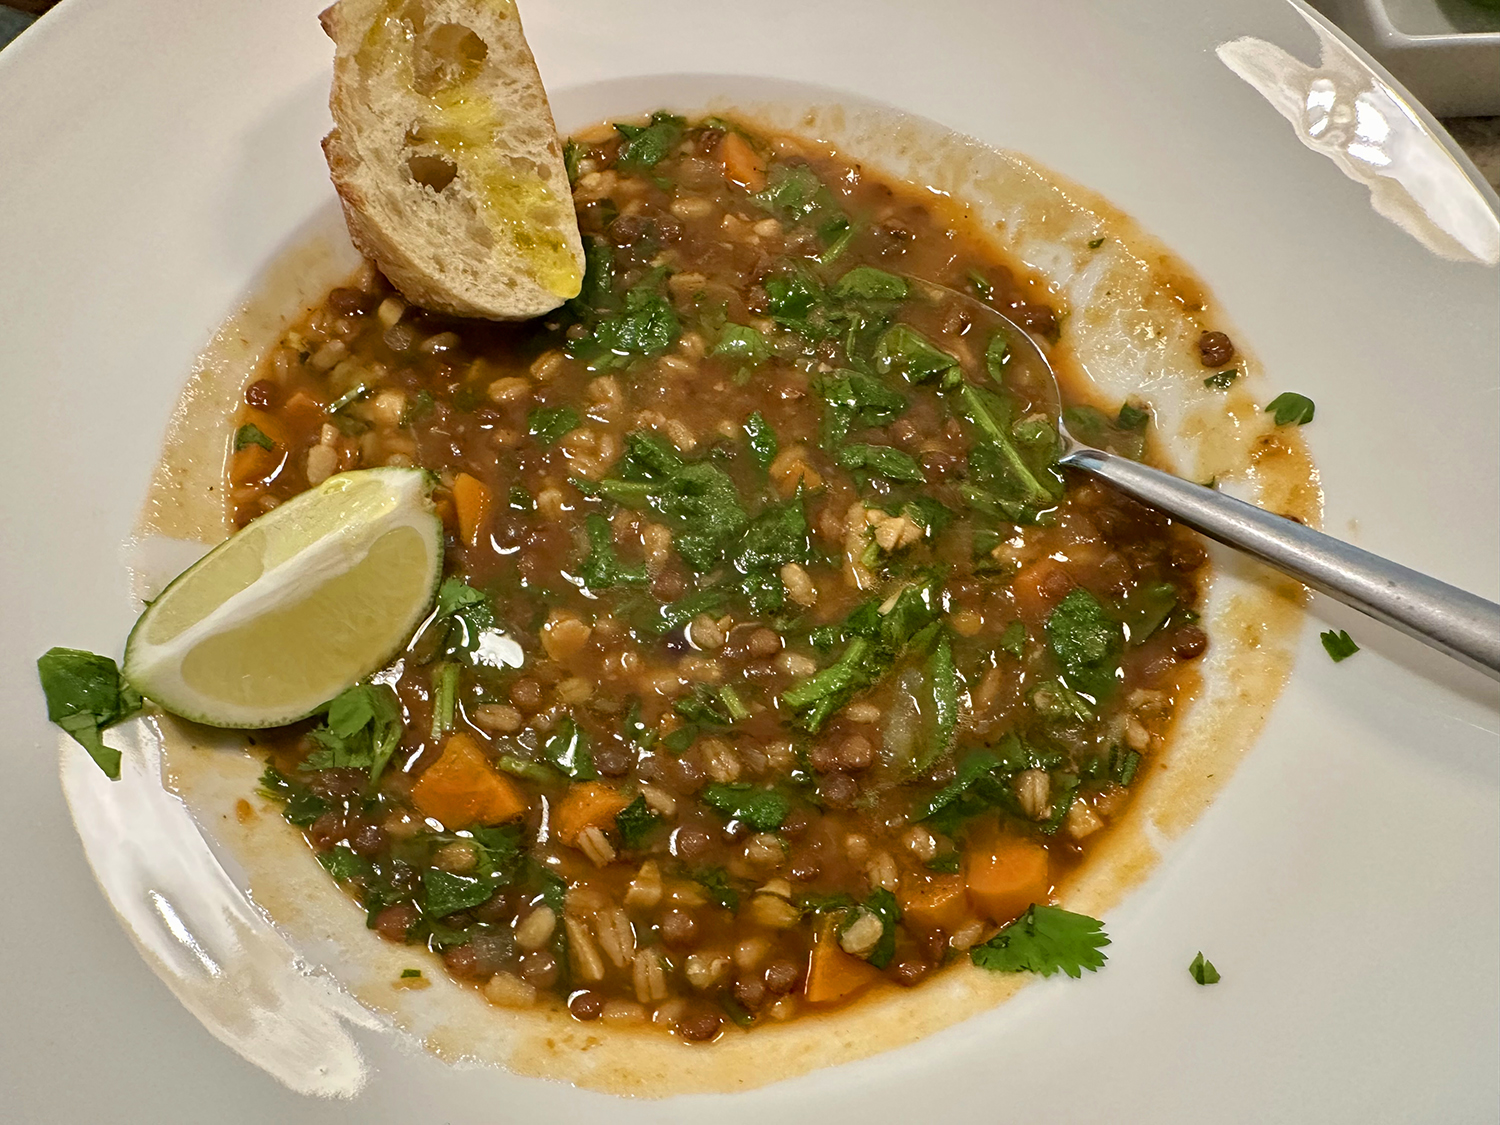
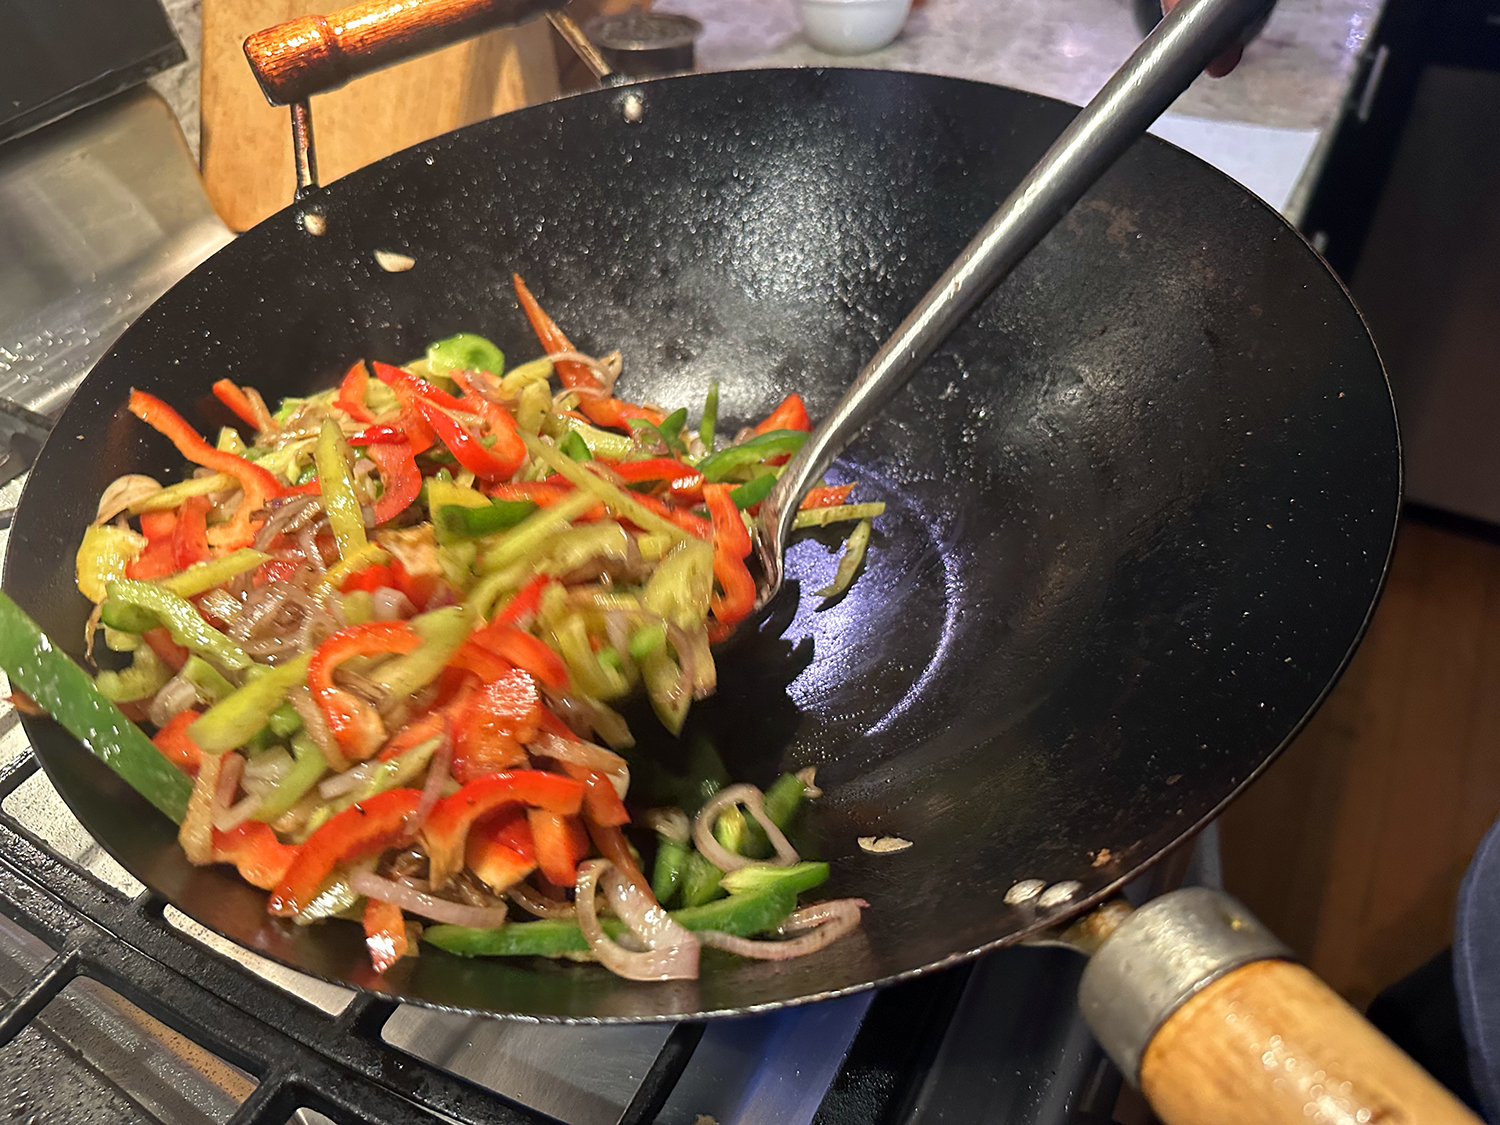
The cozy, fragrant stew is packed with pops of flavor from tangy preserved lemon and briny olives. The green beans are added towards the end when the meat is almost cooked. For a variation, consider substituting or adding peas and/or chopped carrots (see Tip). We added both peas and carrots.
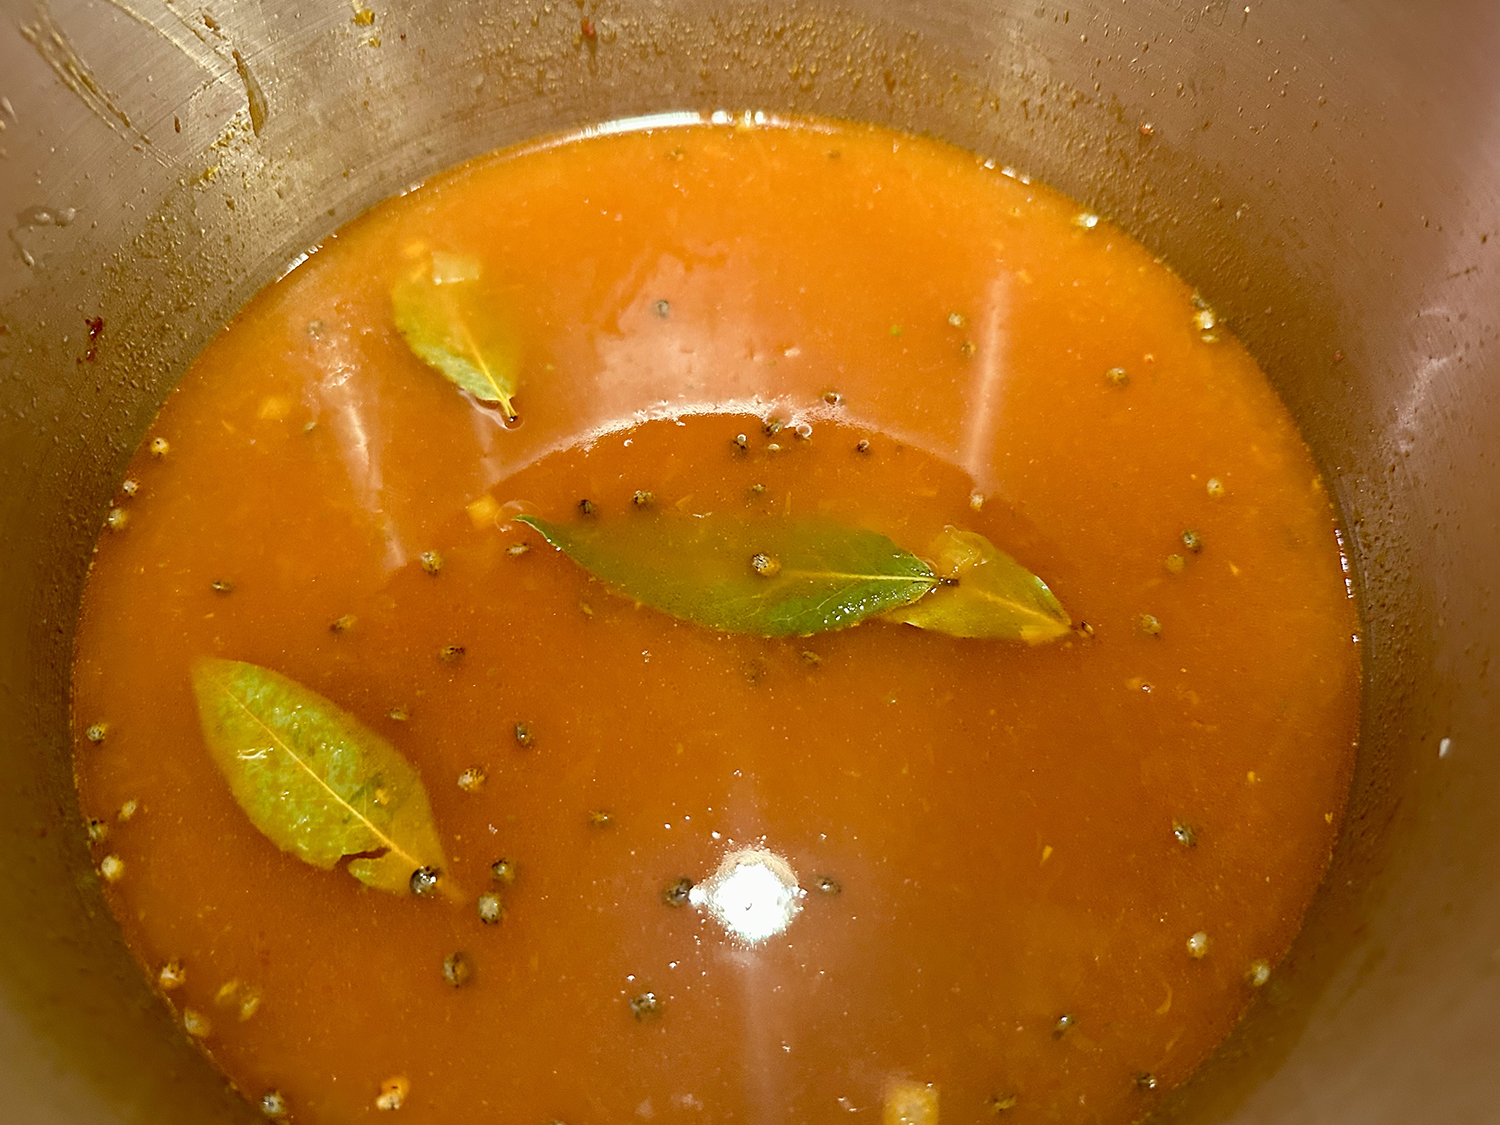
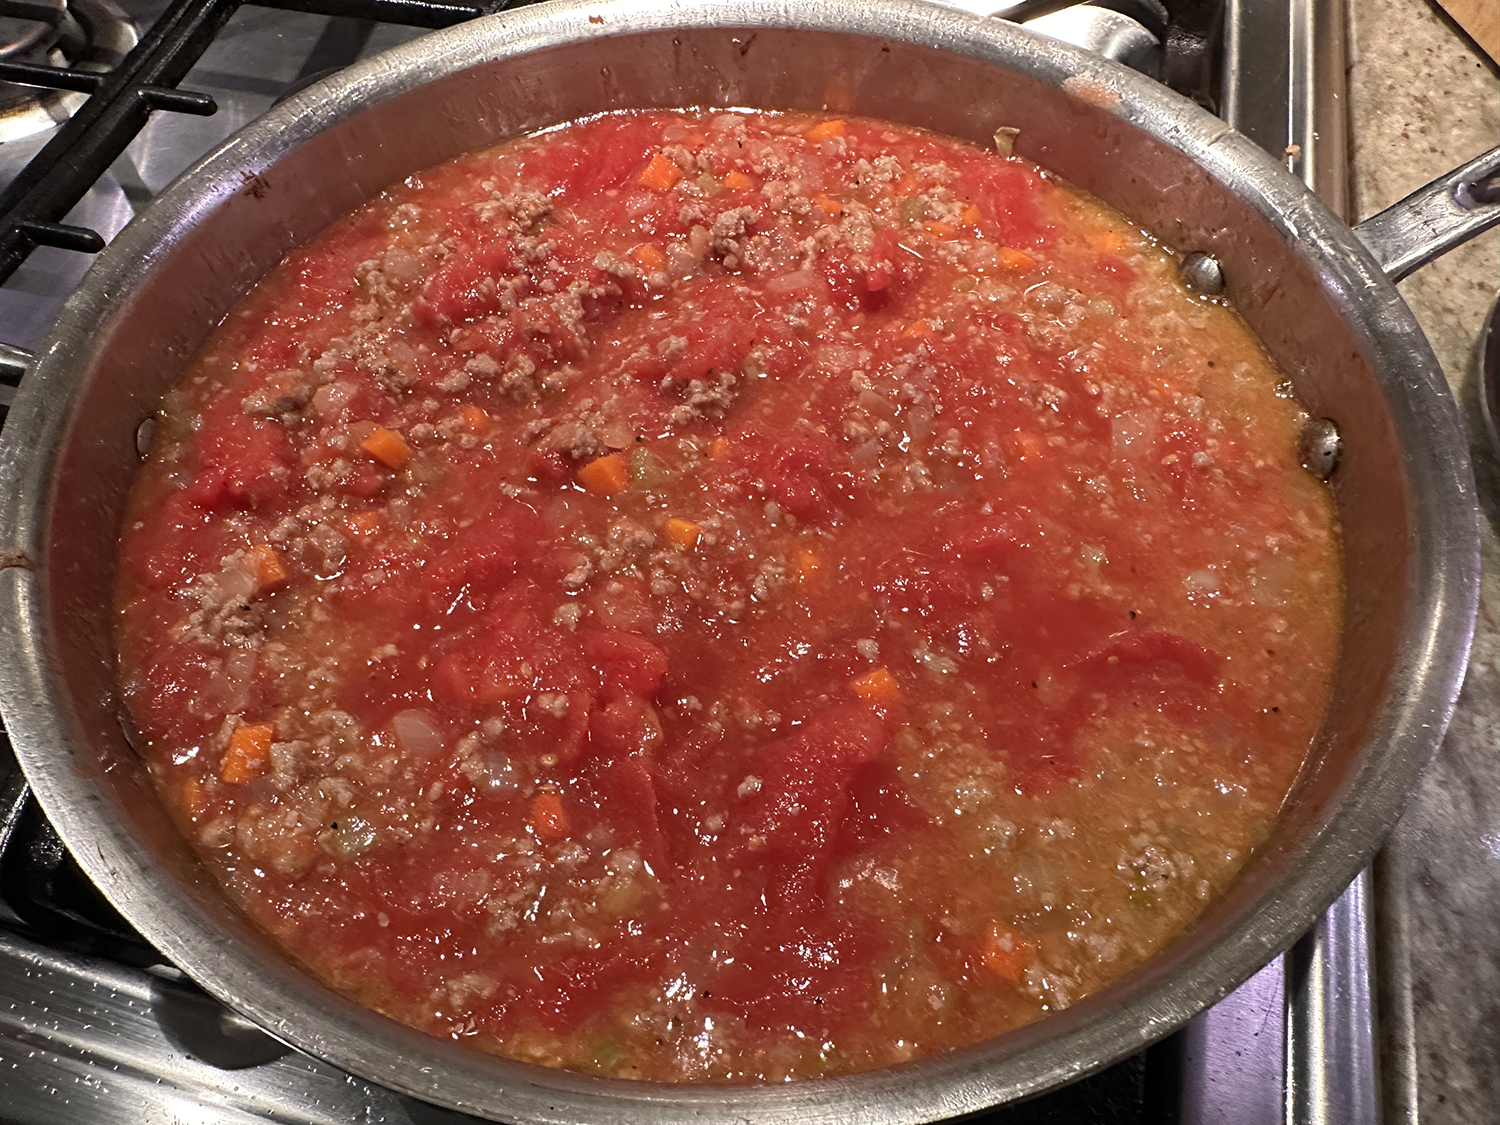
This dish is supposed to take 2 1/4 hours from start to finish. *We decided to use our pressure cooker and therefore cut the total time down to one hour. What we neglected to do was reduce the amount of liquid, because when you use a pressure cooker, none of the moisture evaporates. Next time we will add less liquid to start with, then remove the ingredients with a slotted spoon to another bowl. Add a cornstarch slurry to thicken the sauce and pour it over the meat and vegetables in the bowl.
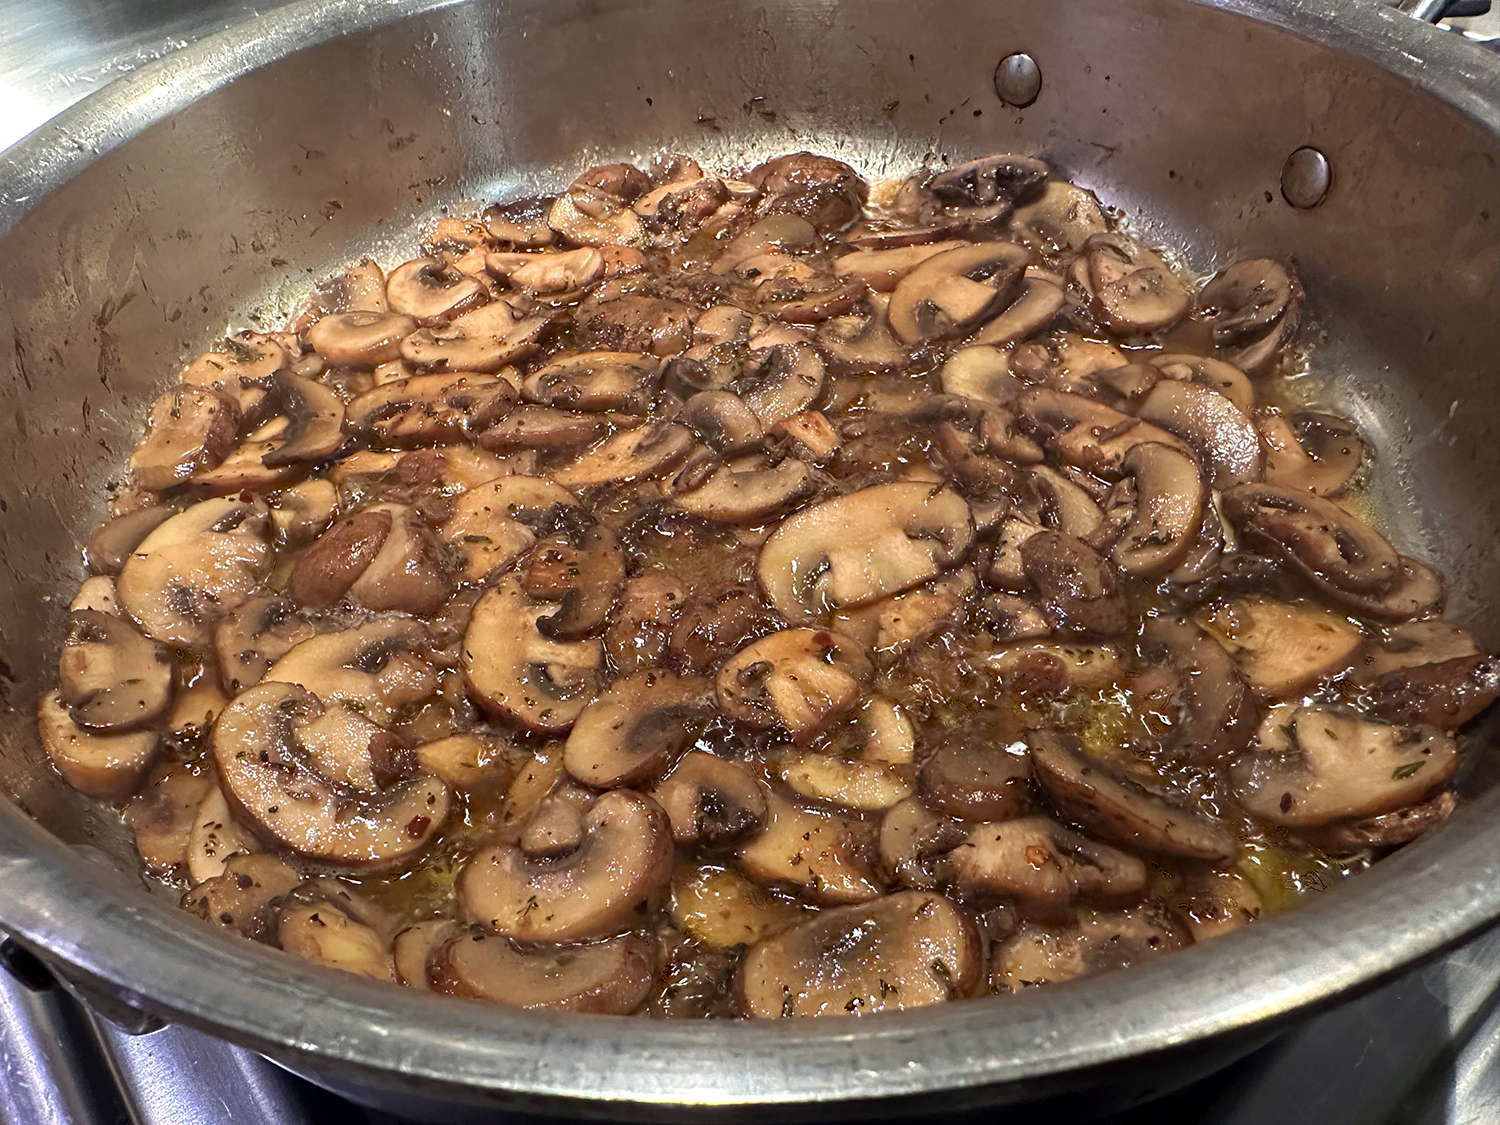
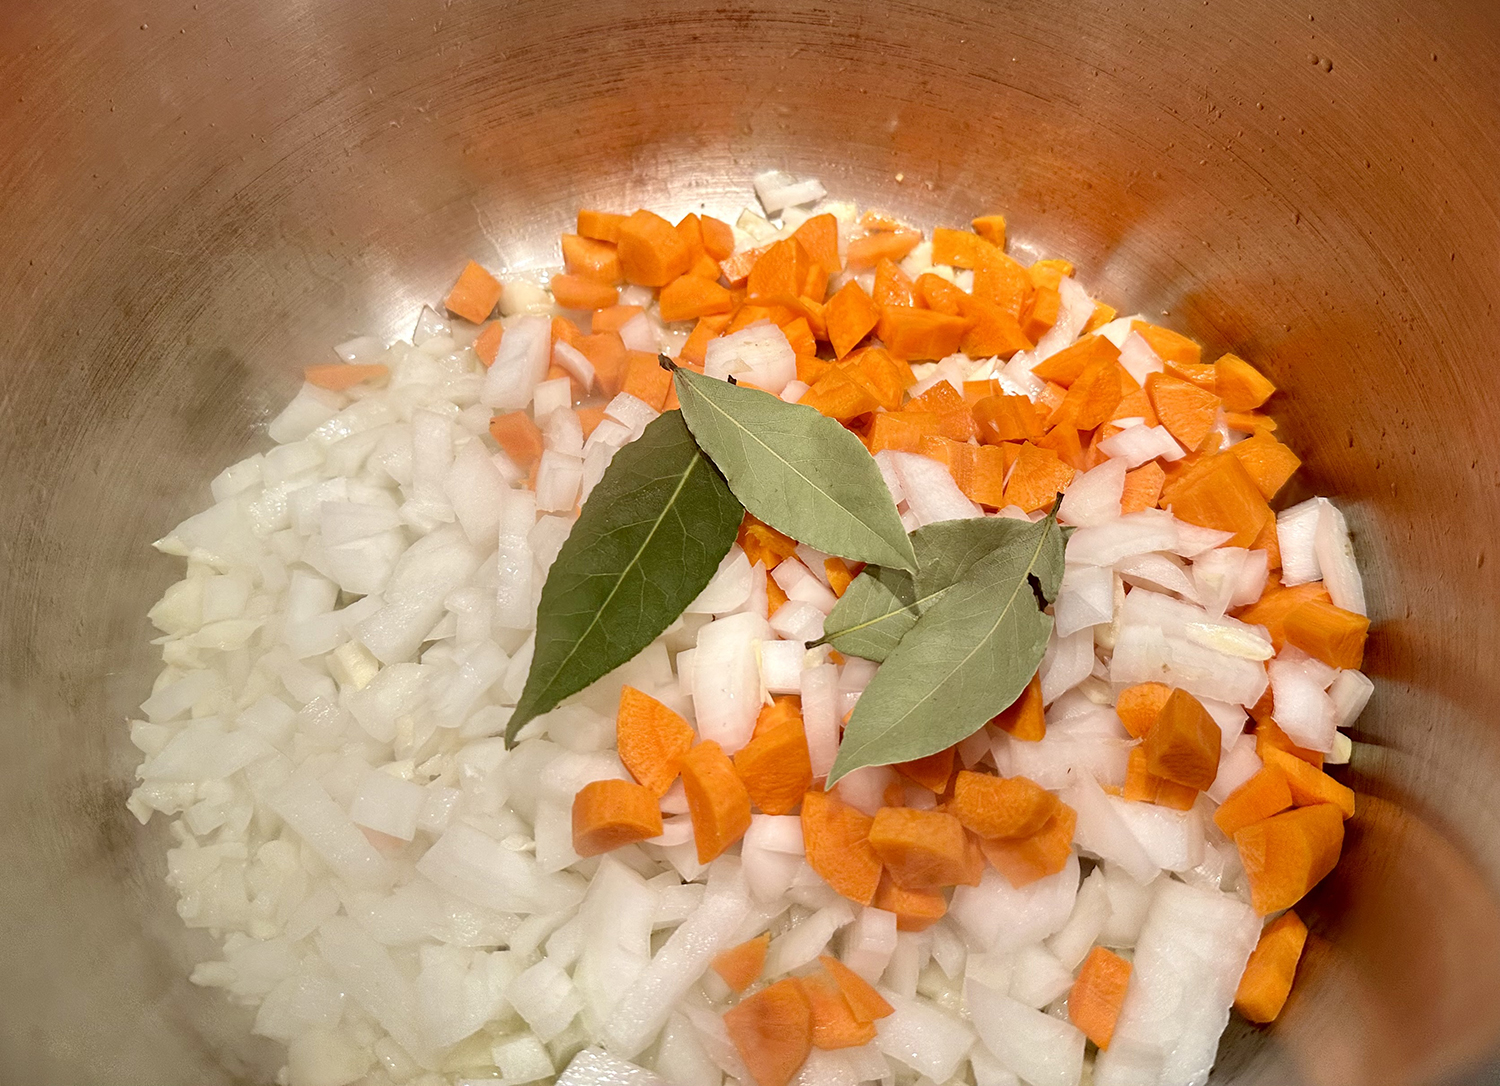
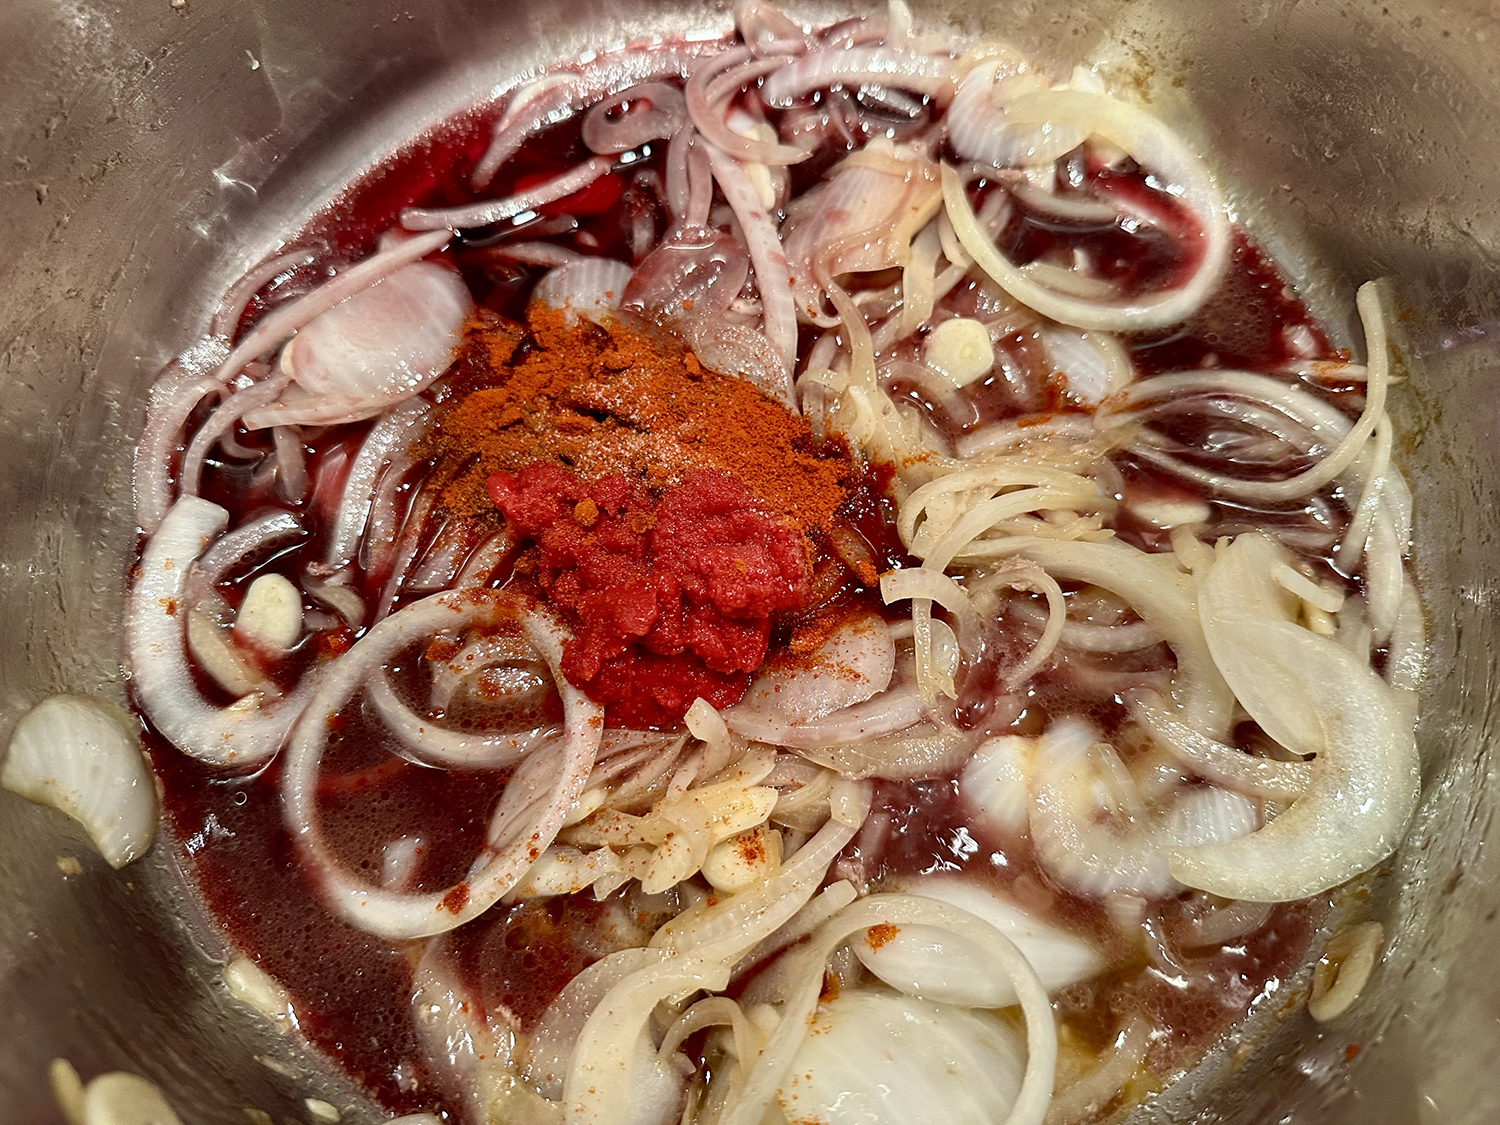
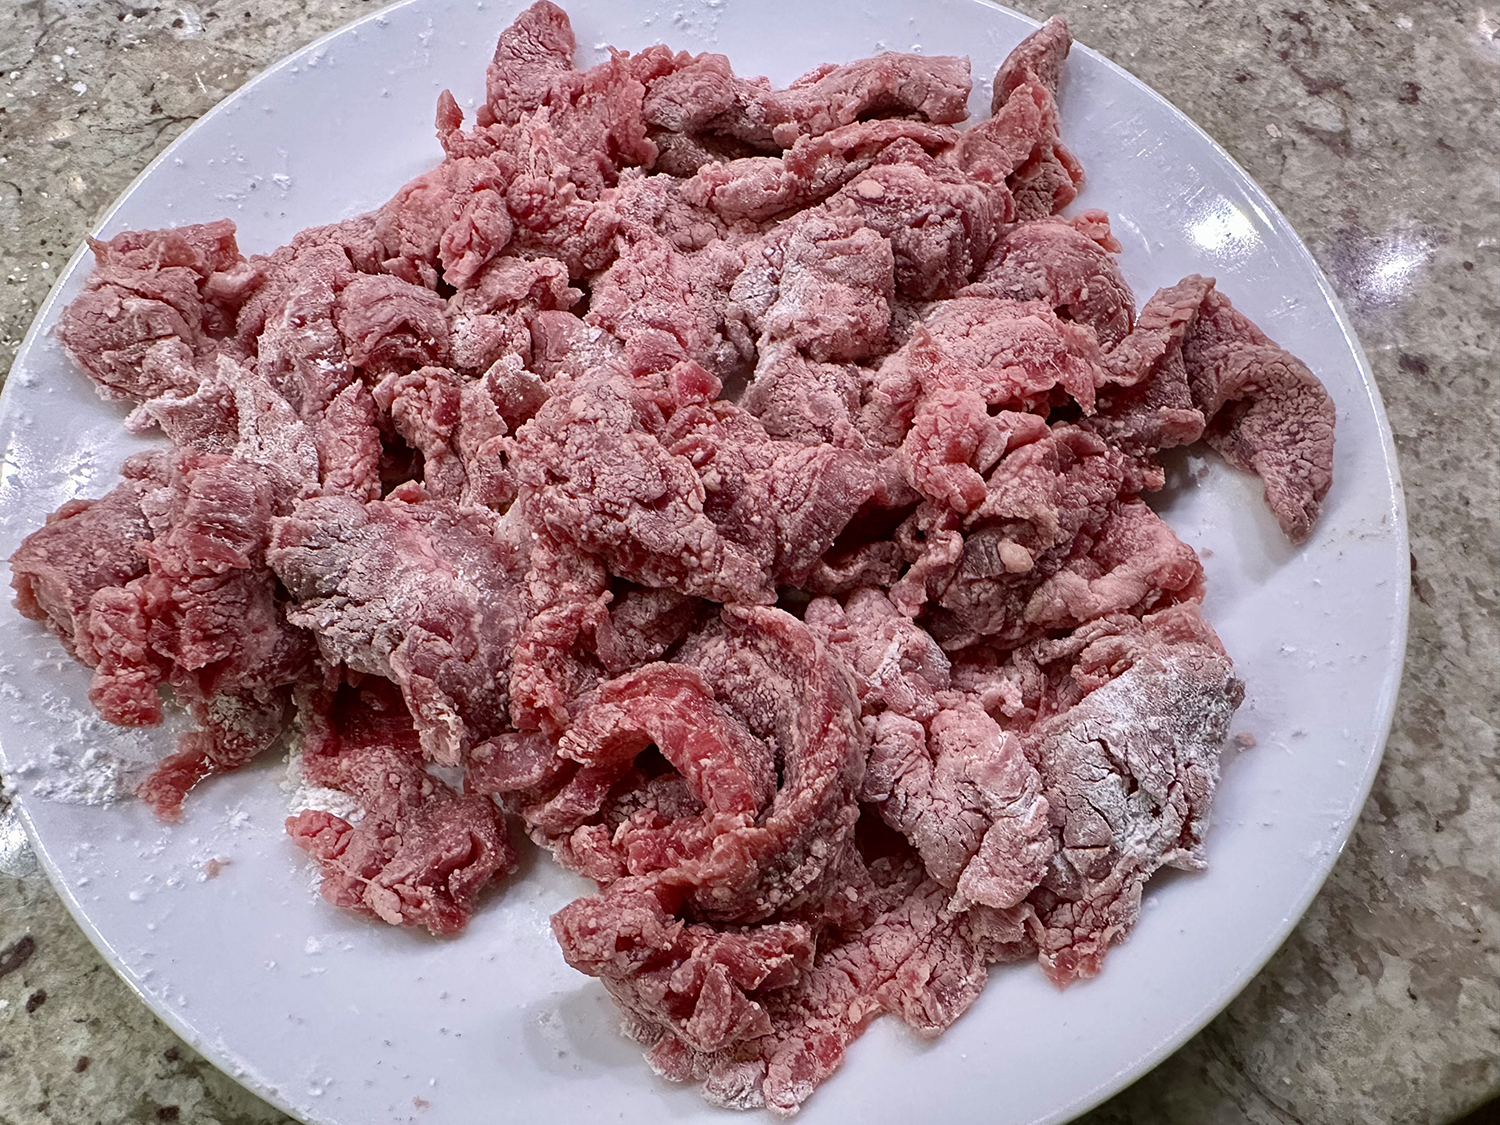
In addition, we would brown the seasoned (salt and pepper) meat chunks on all sides in shimmering oil in the Dutch oven first; in batches so as not to steam the beef. Remove the beef to a side plate, turn the heat to medium-low and add the onions, garlic and seasoning…
TIP: If making a variation on this recipe using peas and carrots, add the carrots about the same time as the green beans, and add the peas when the other vegetables are tender, cooking them for a few minutes.
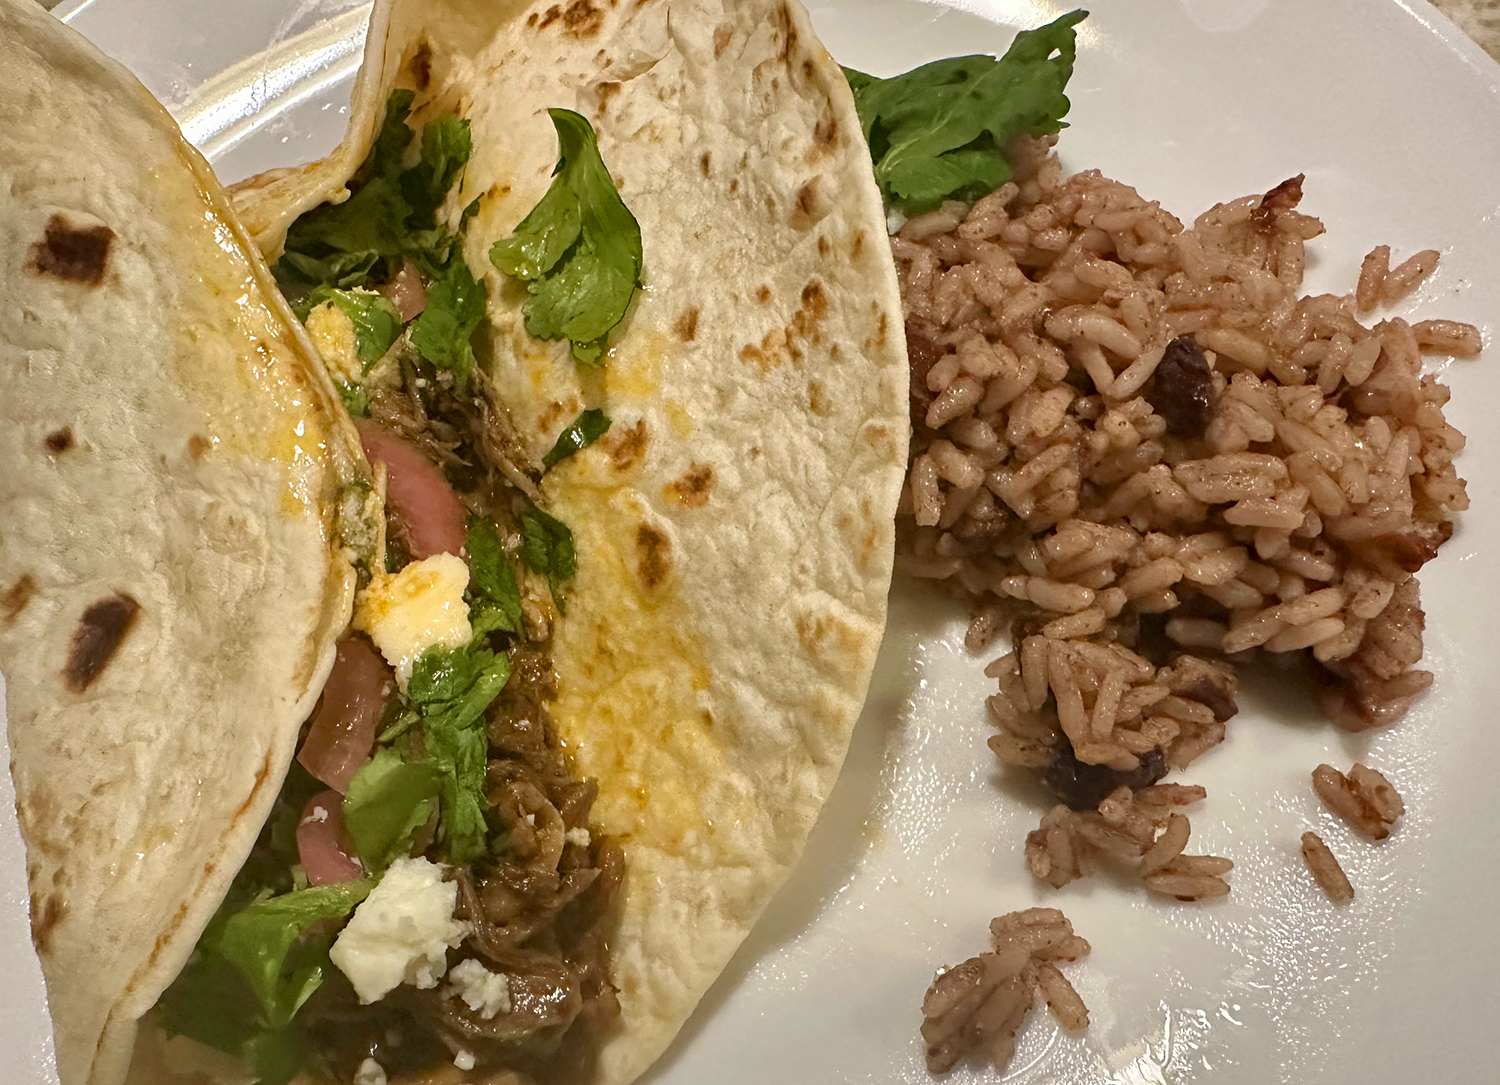
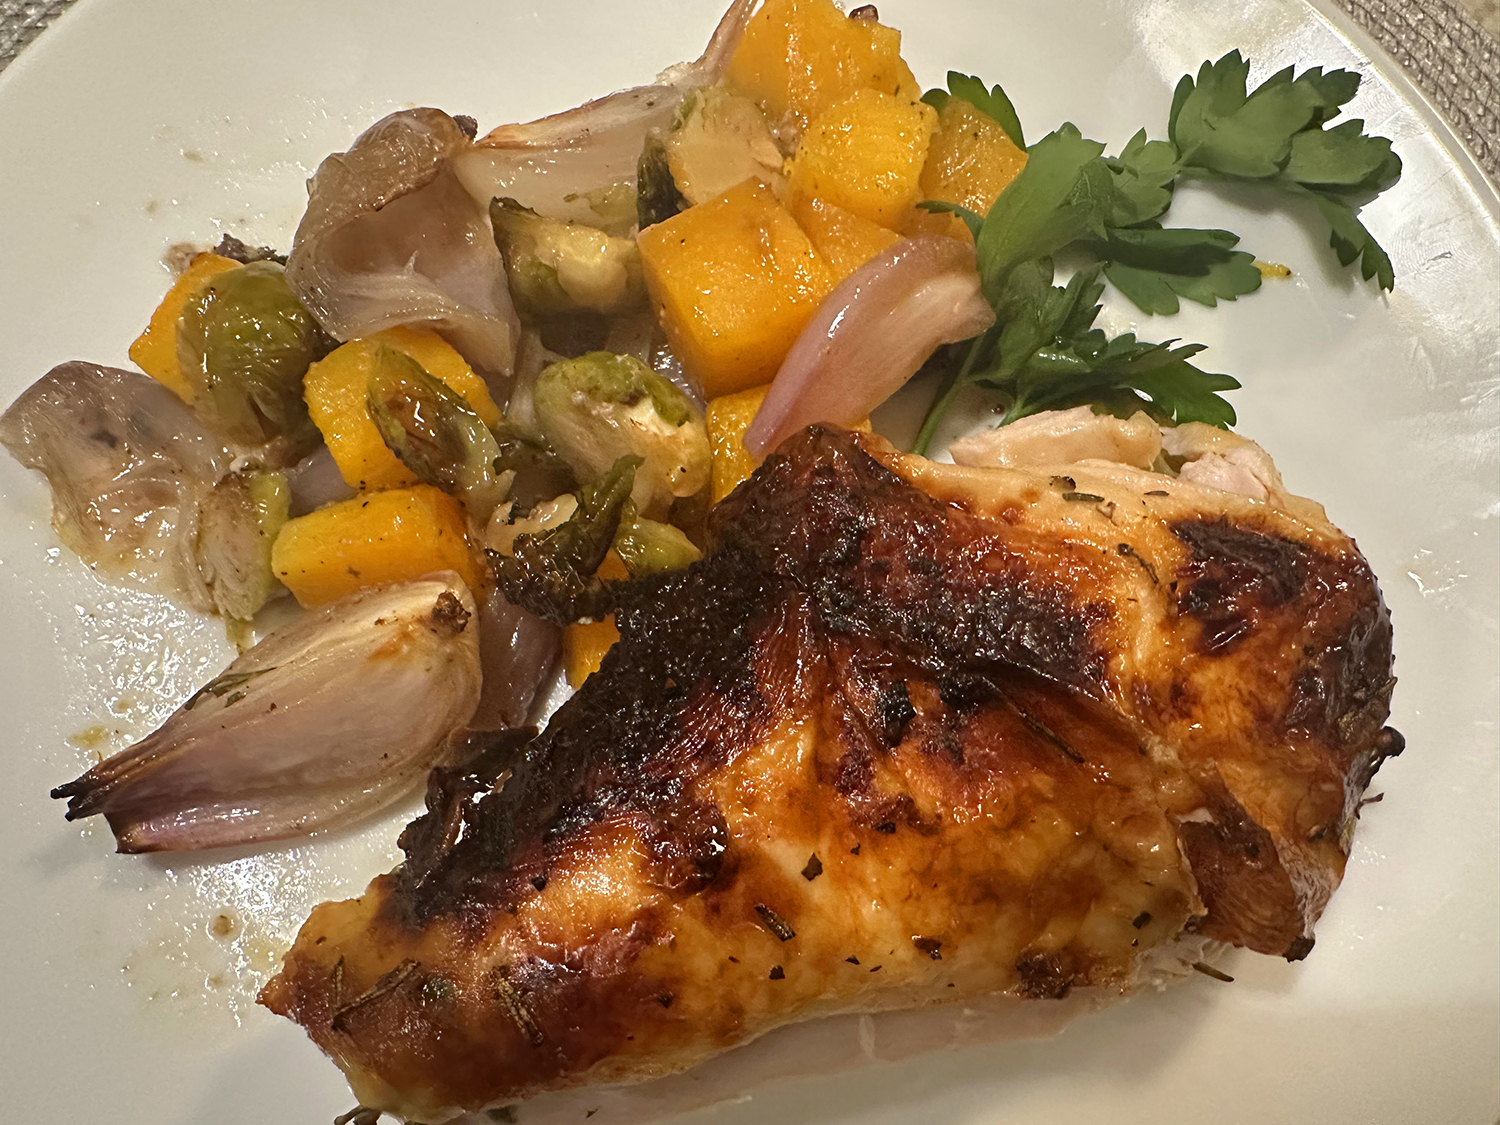
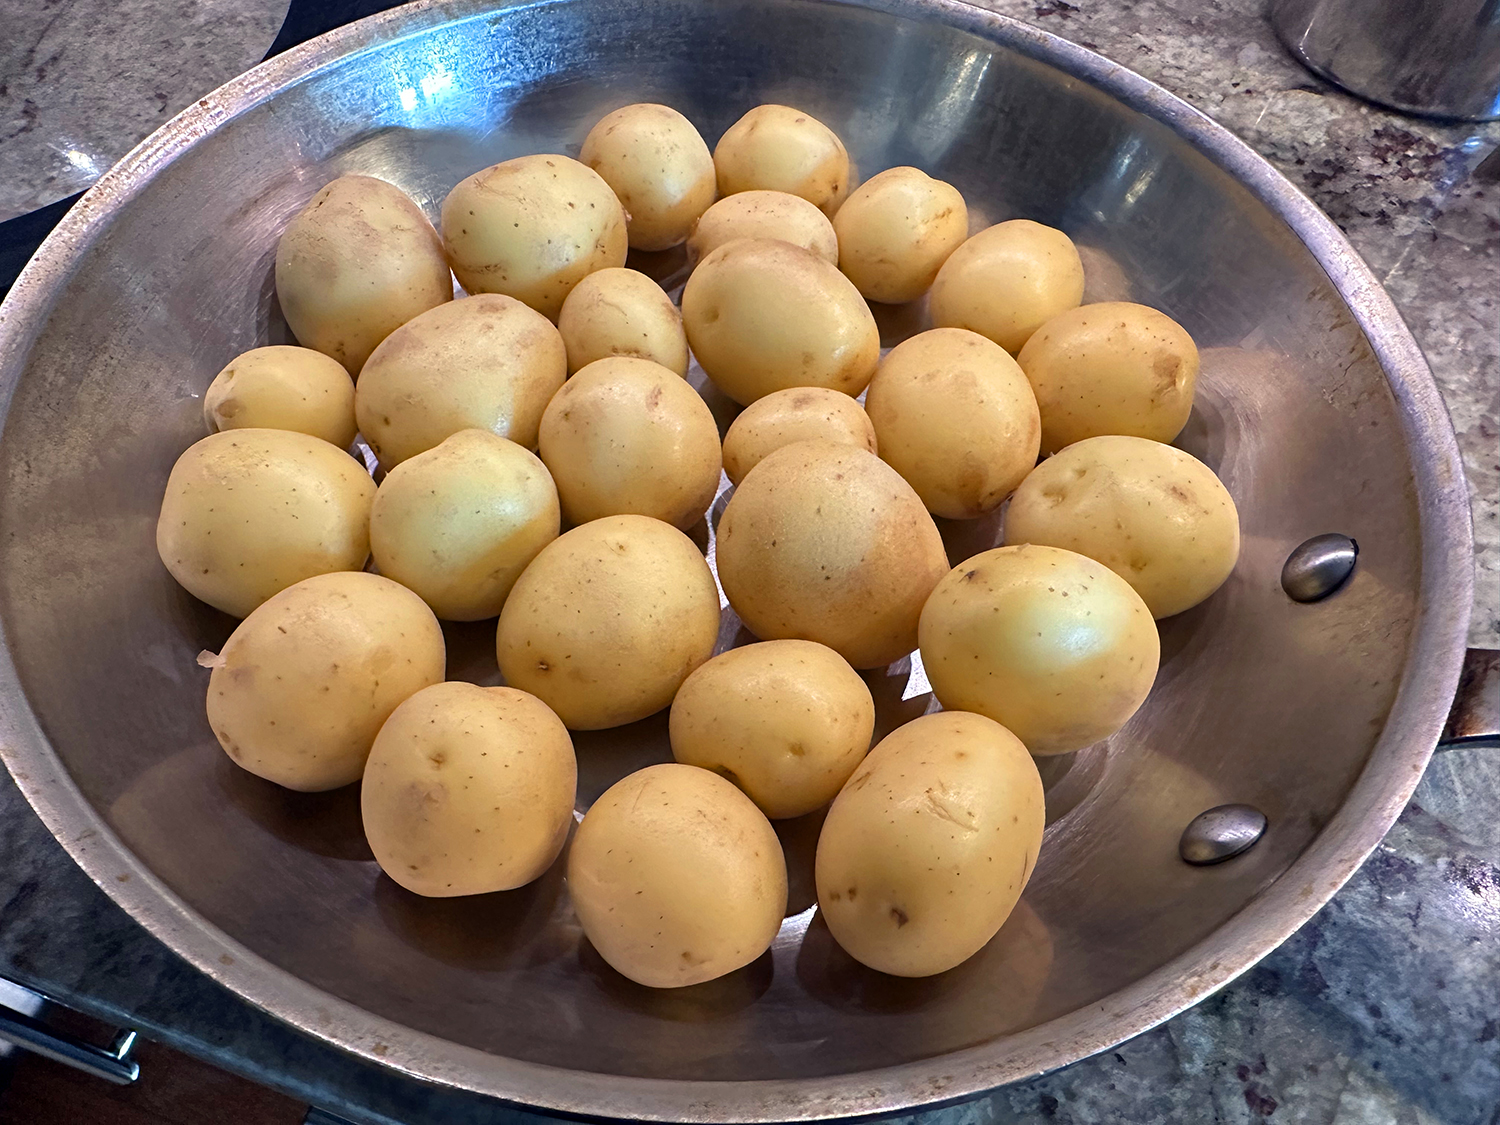
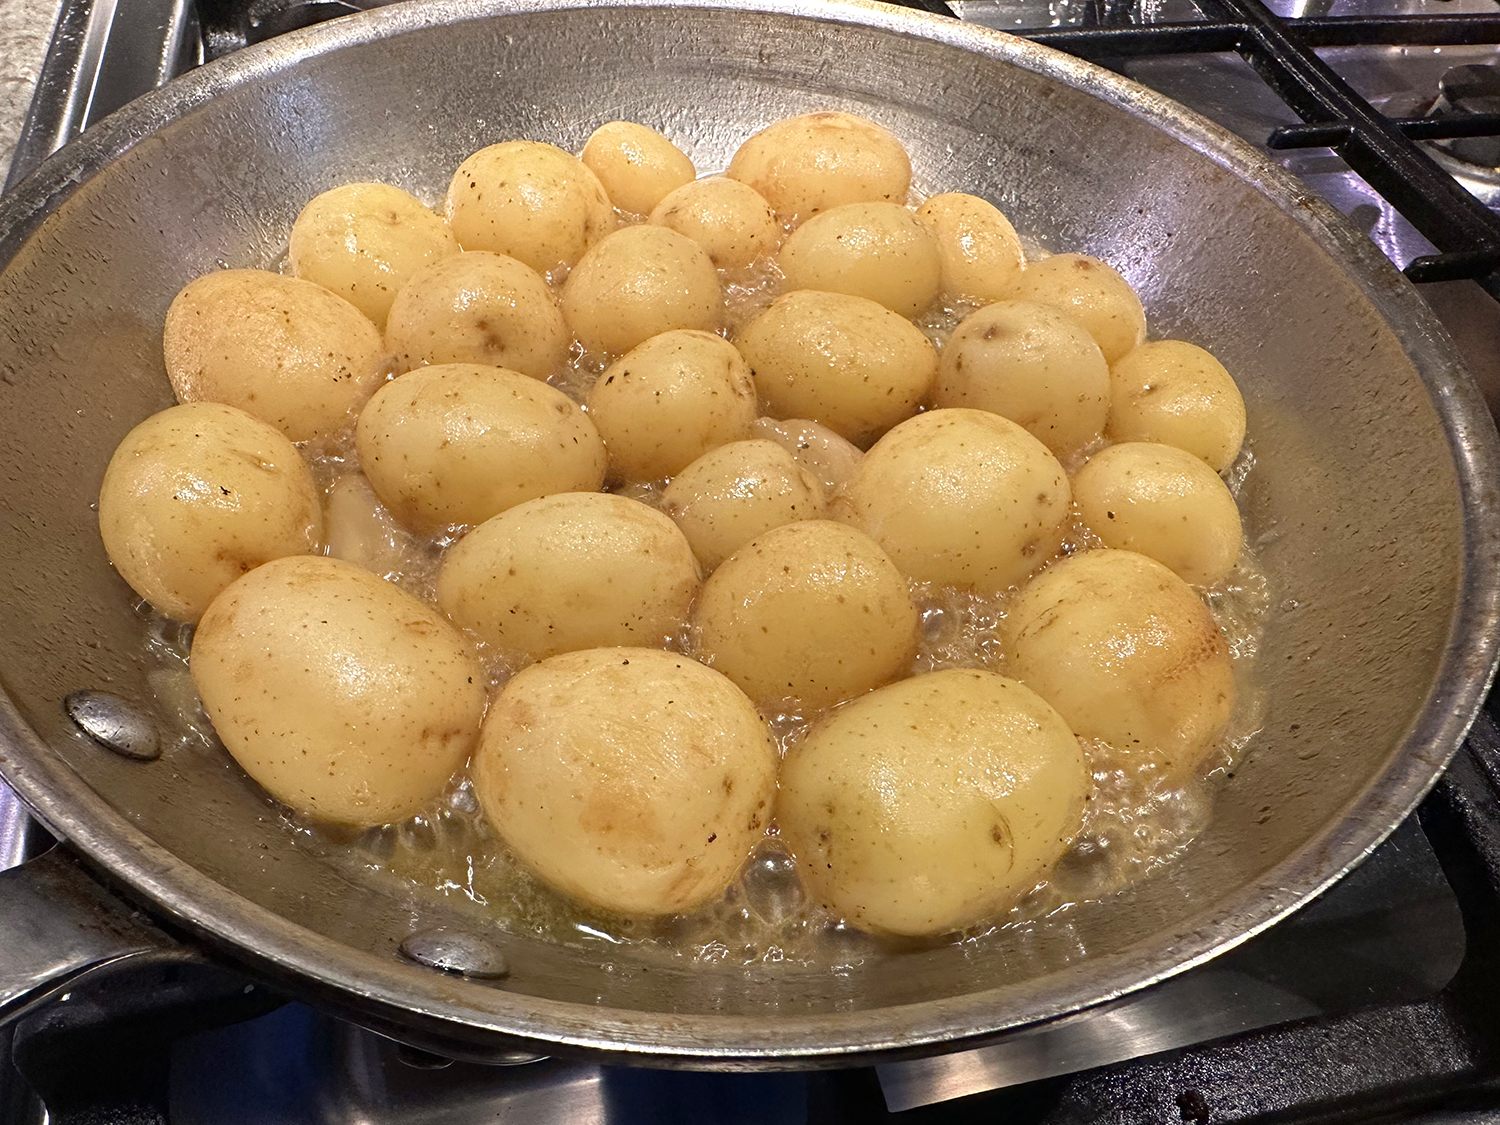
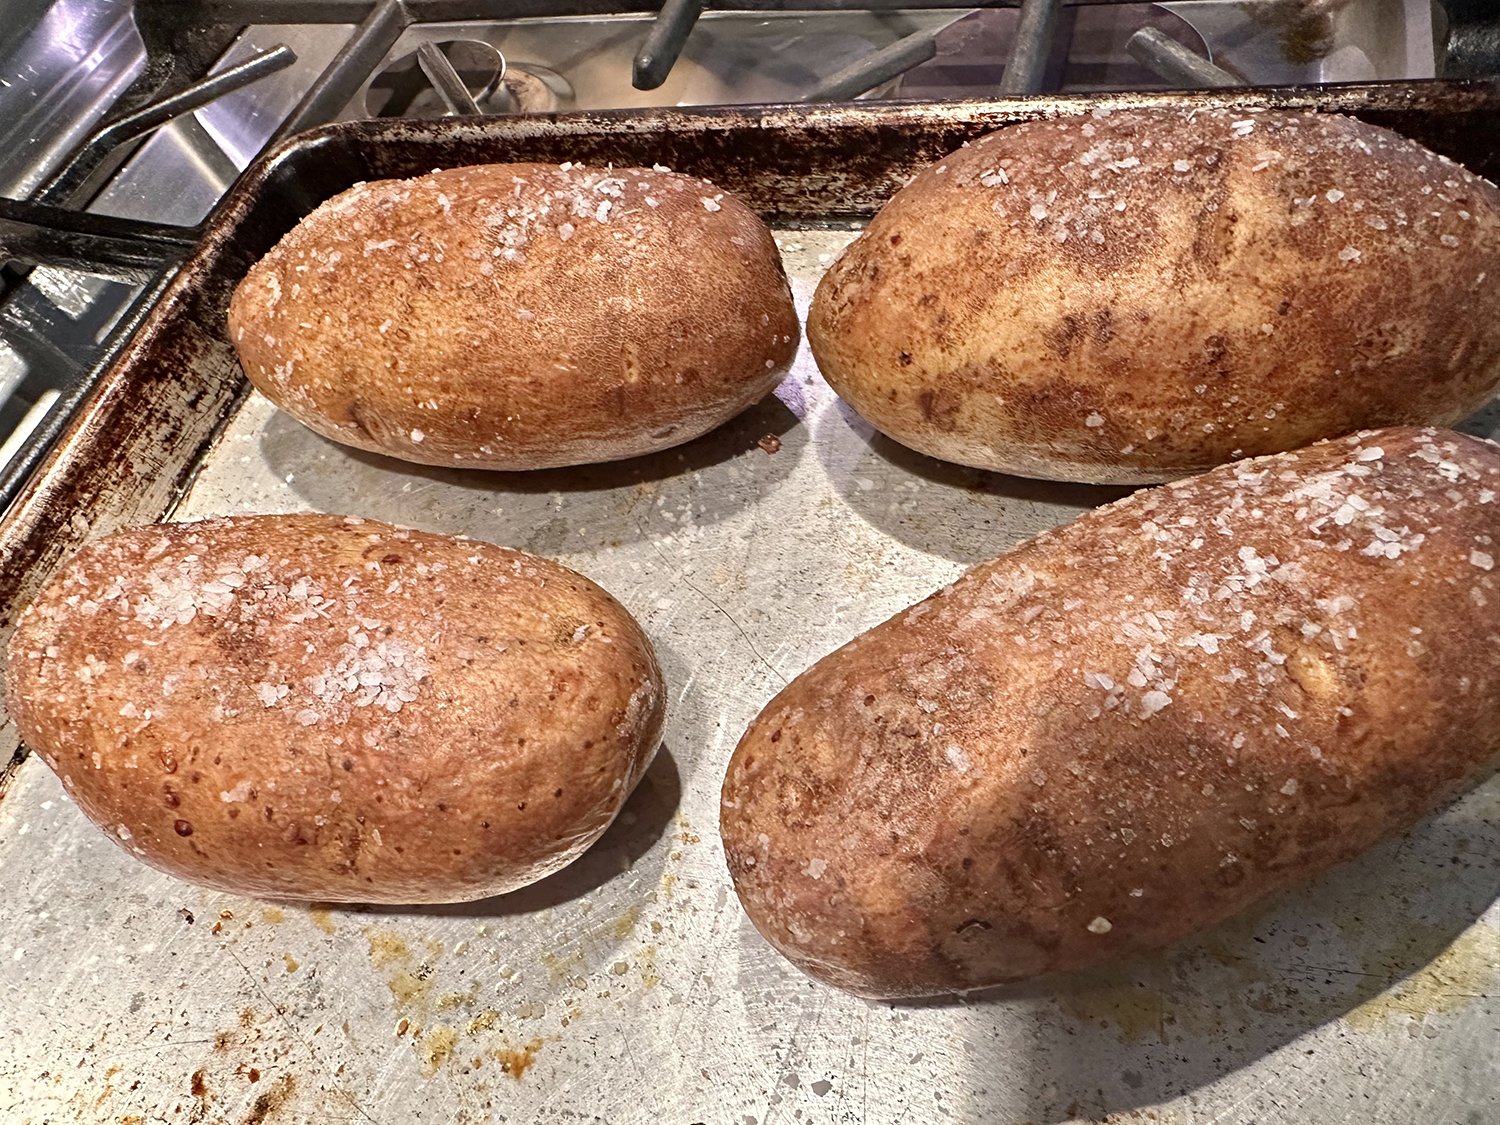
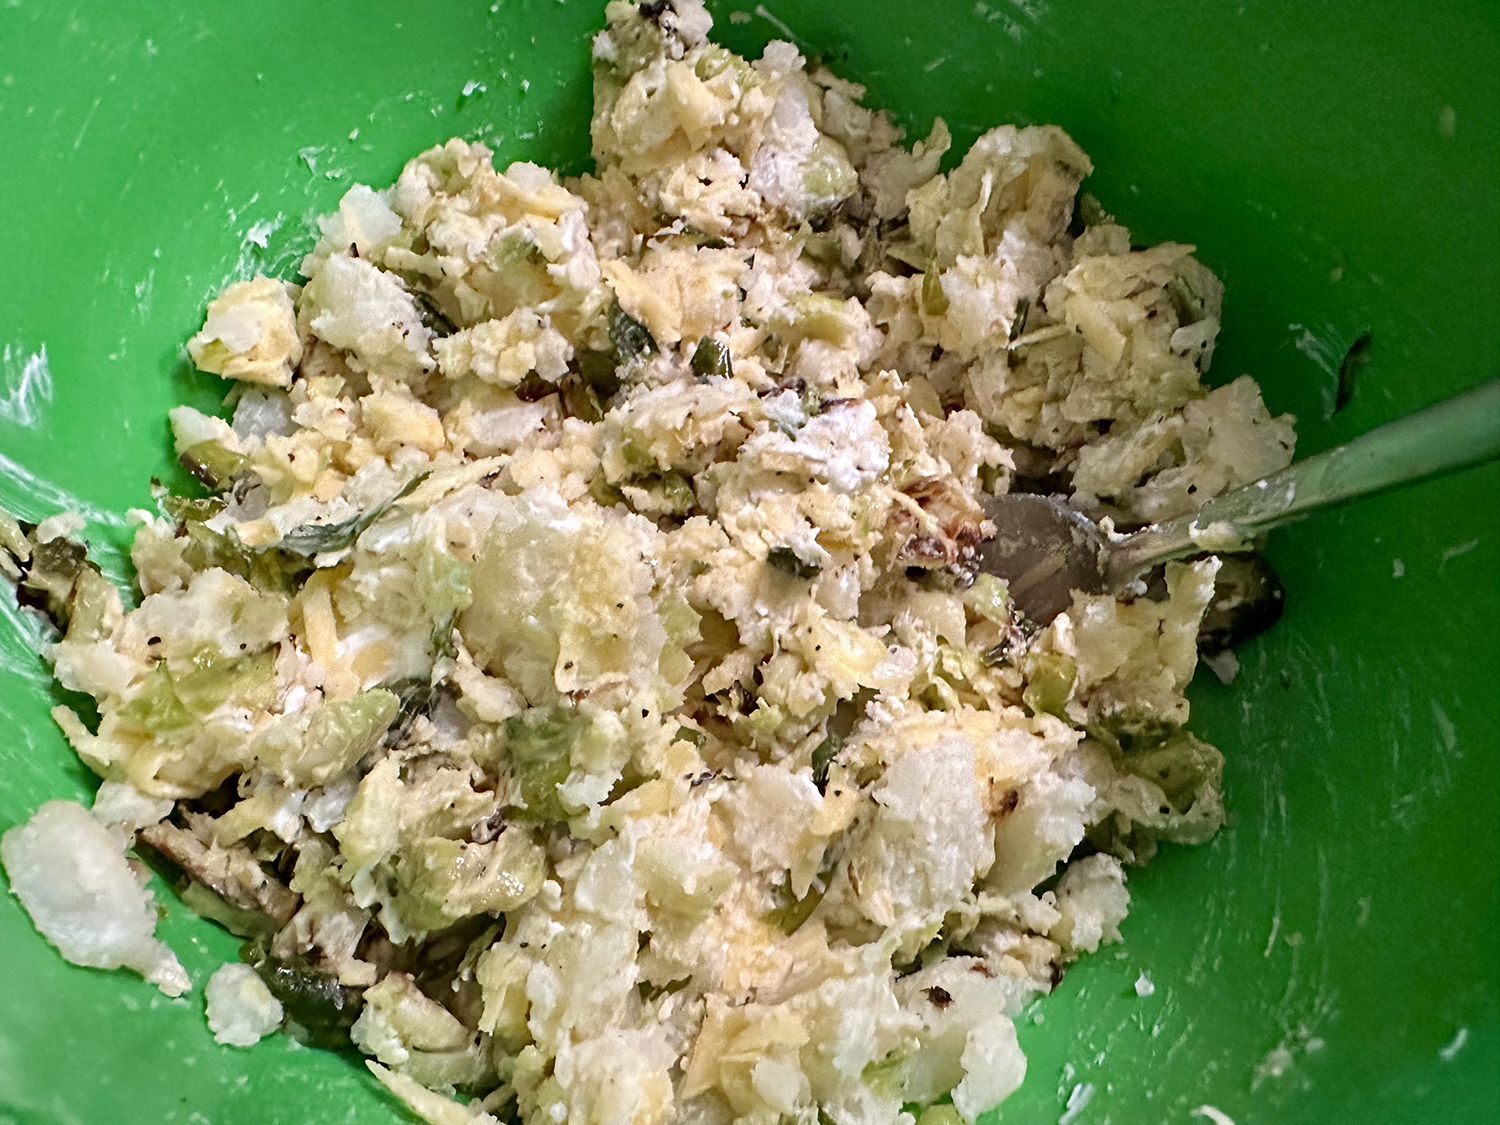
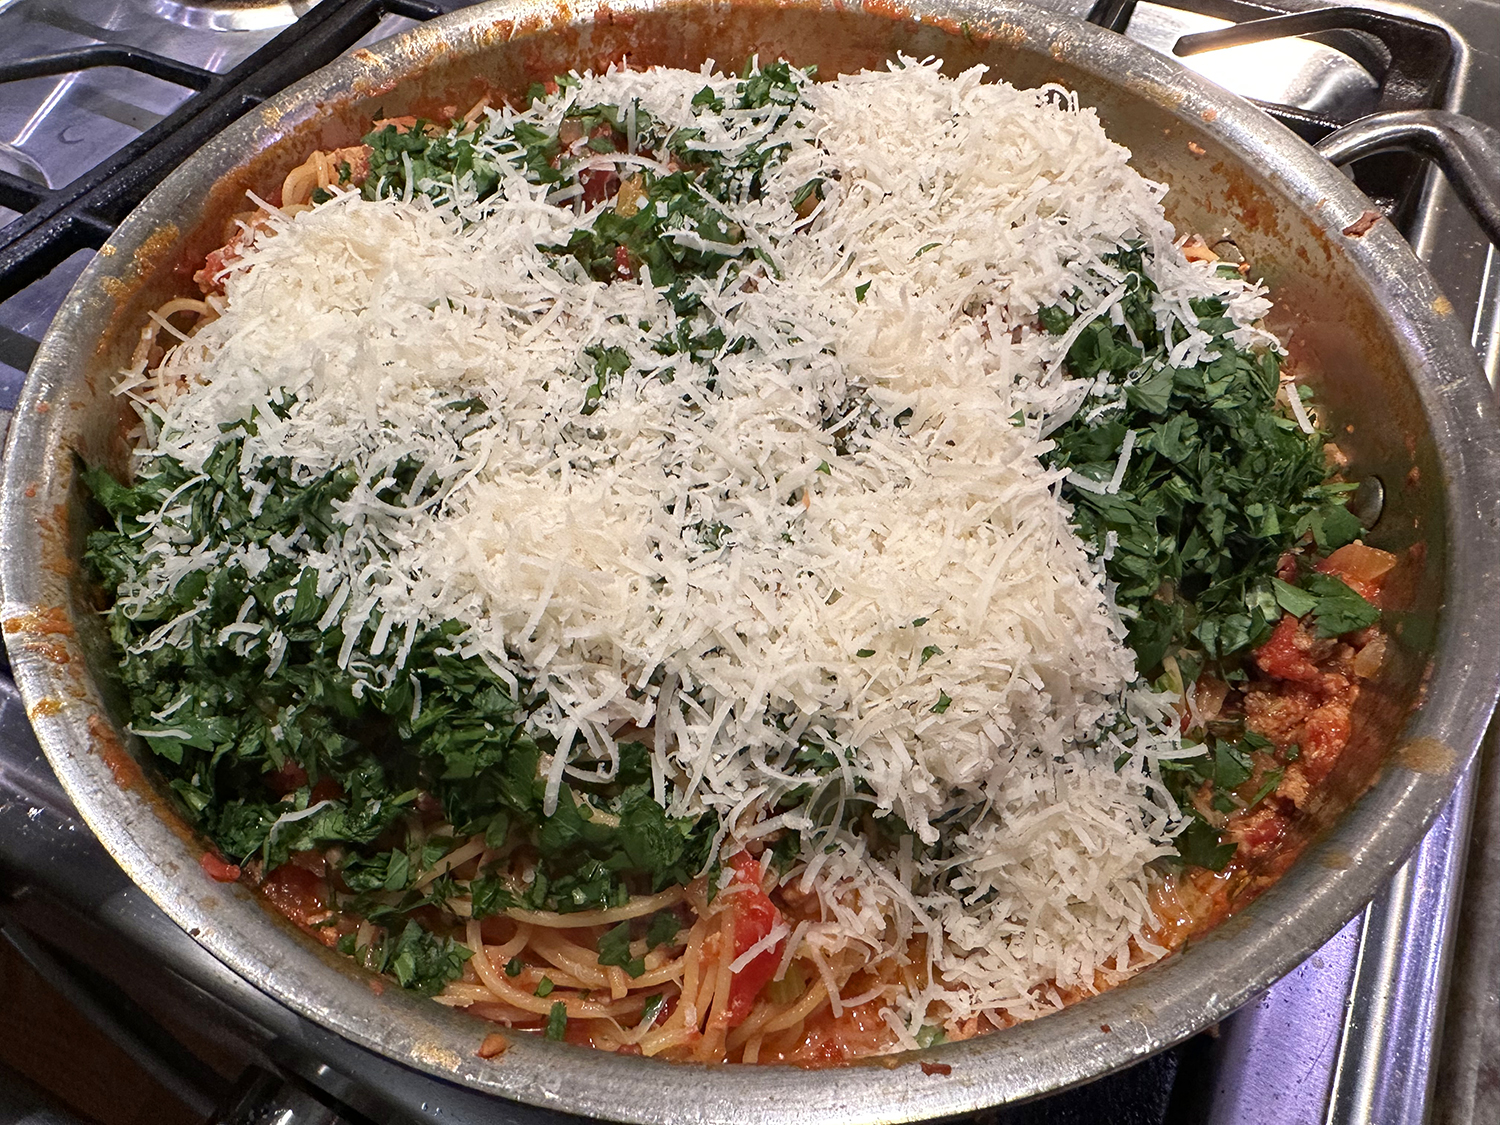
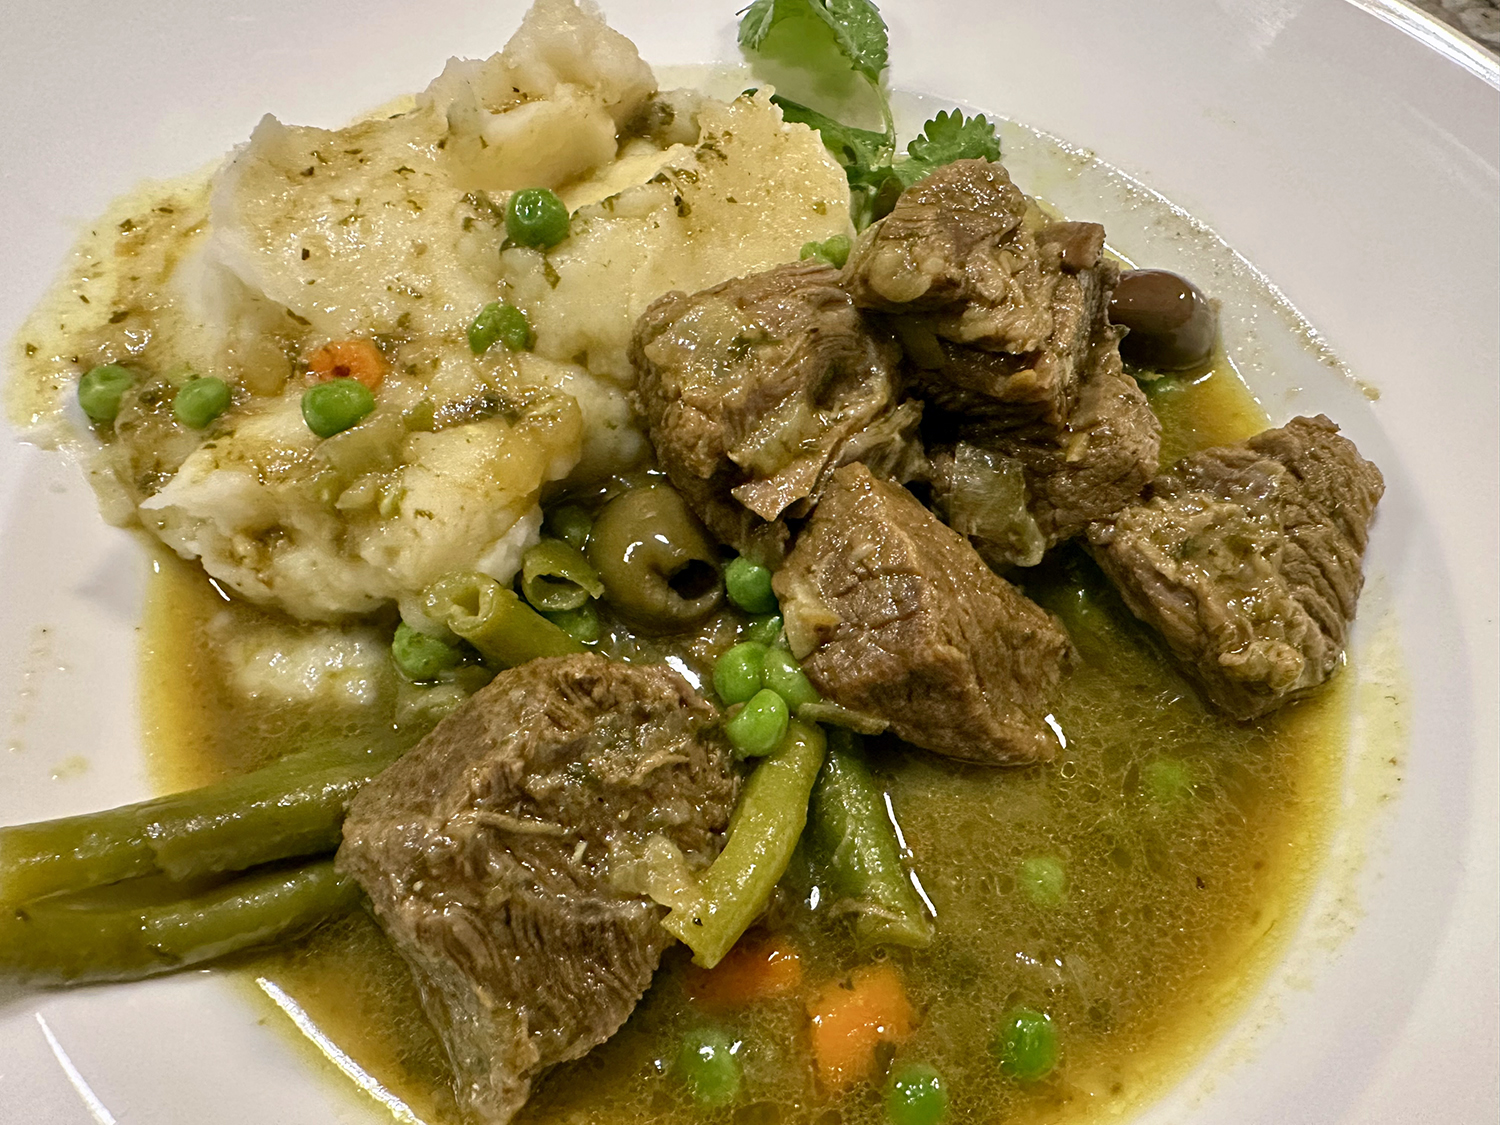
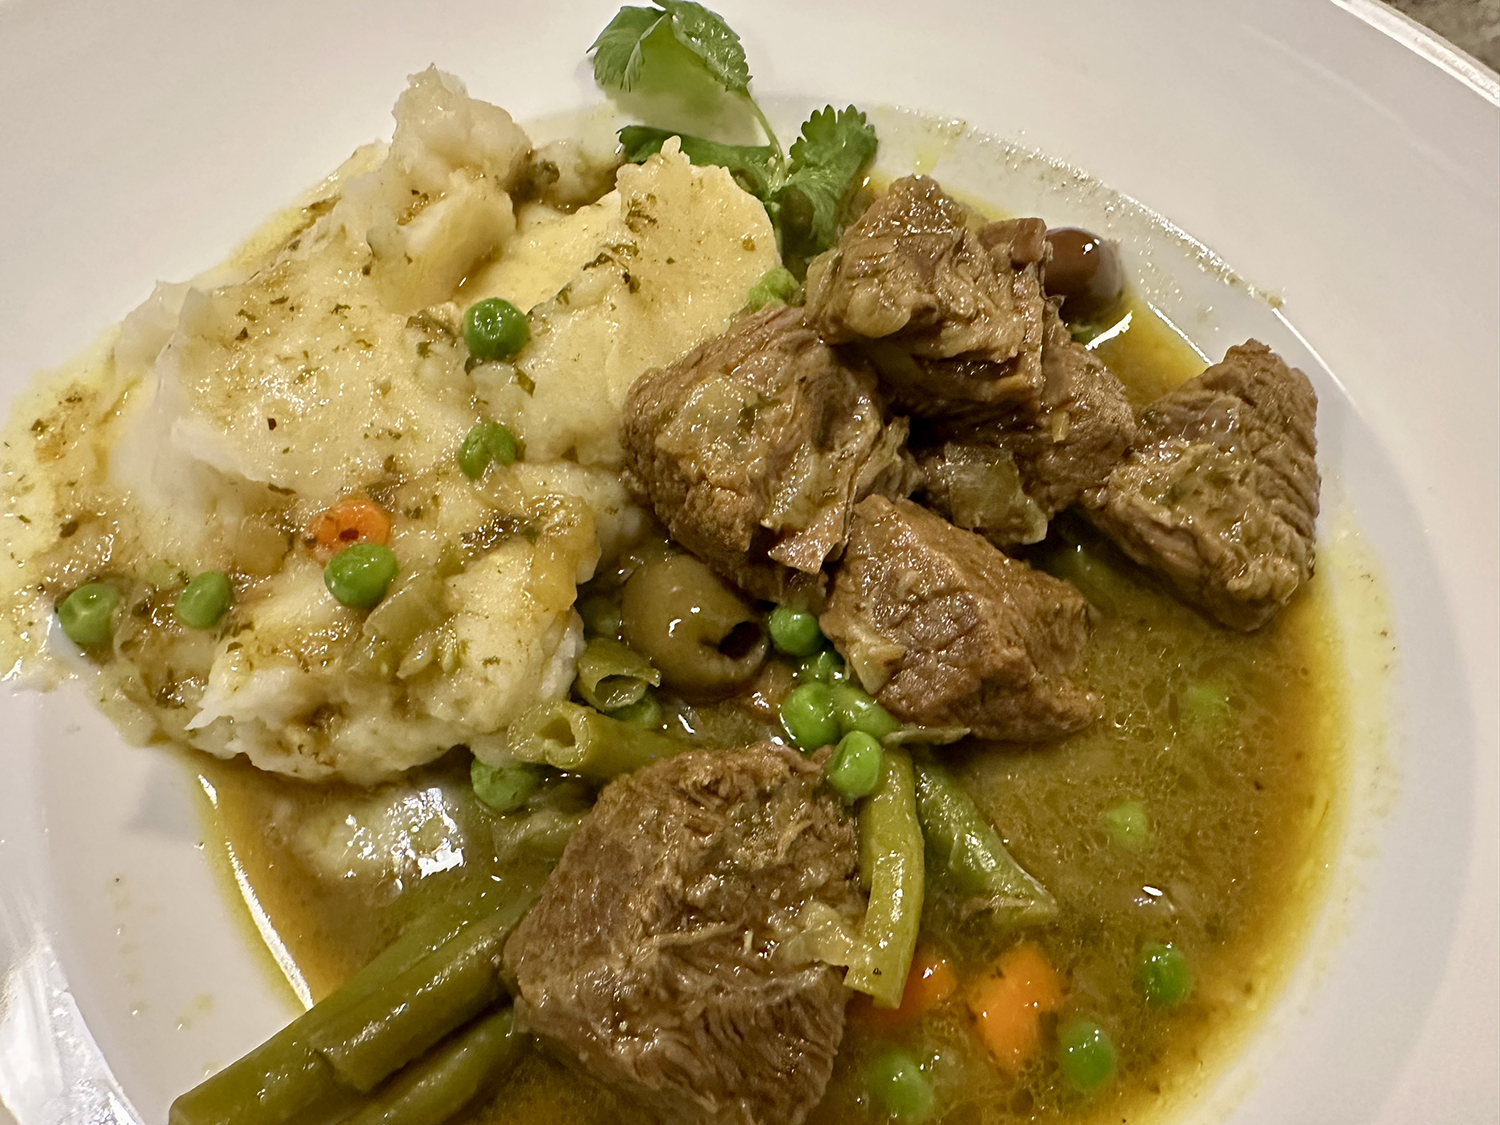
To enhance the Moroccan profile, serve over couscous, We decided on garlicky mashed potatoes, because we needed to use up our spud supply. All of our changes are noted in the recipe below.
Beef Tagine with Green Beans and Olives
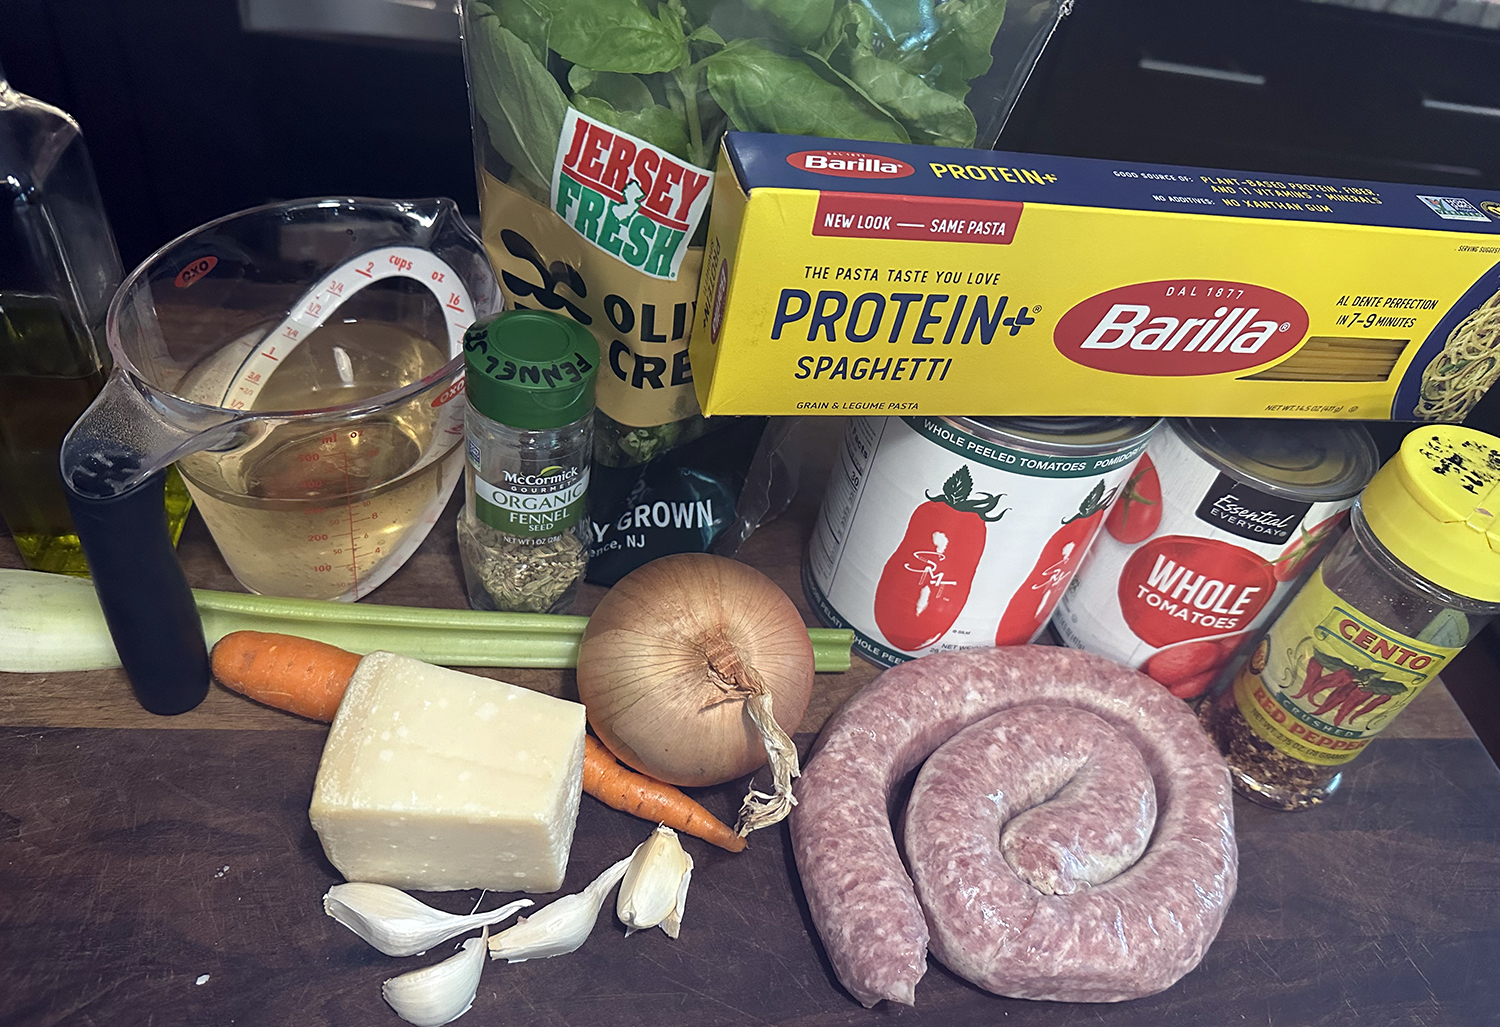
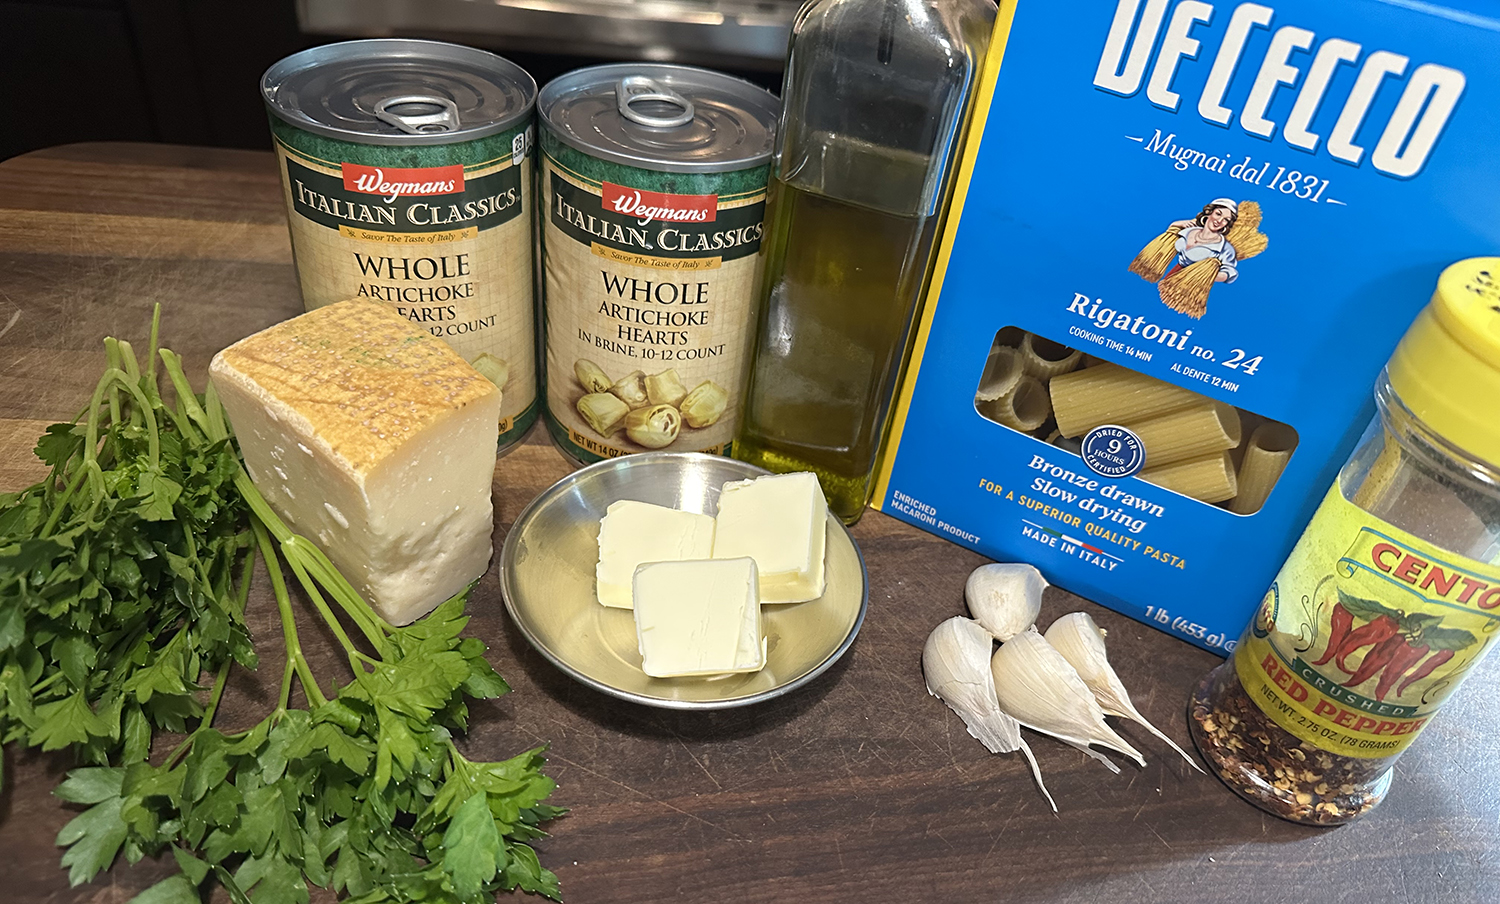
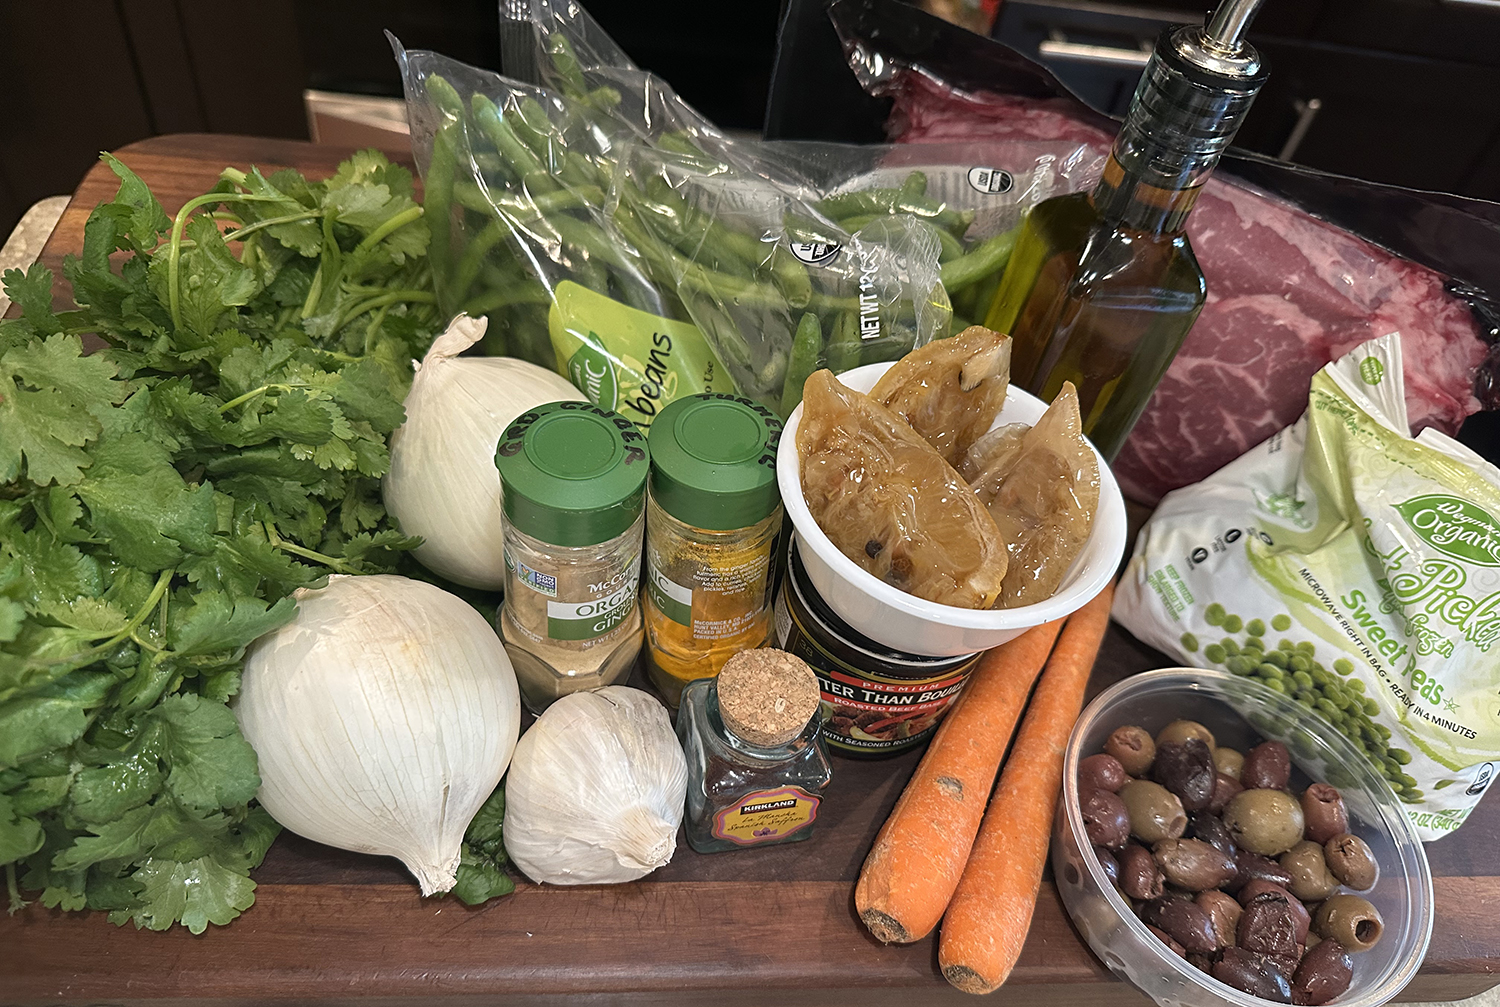
Ingredients
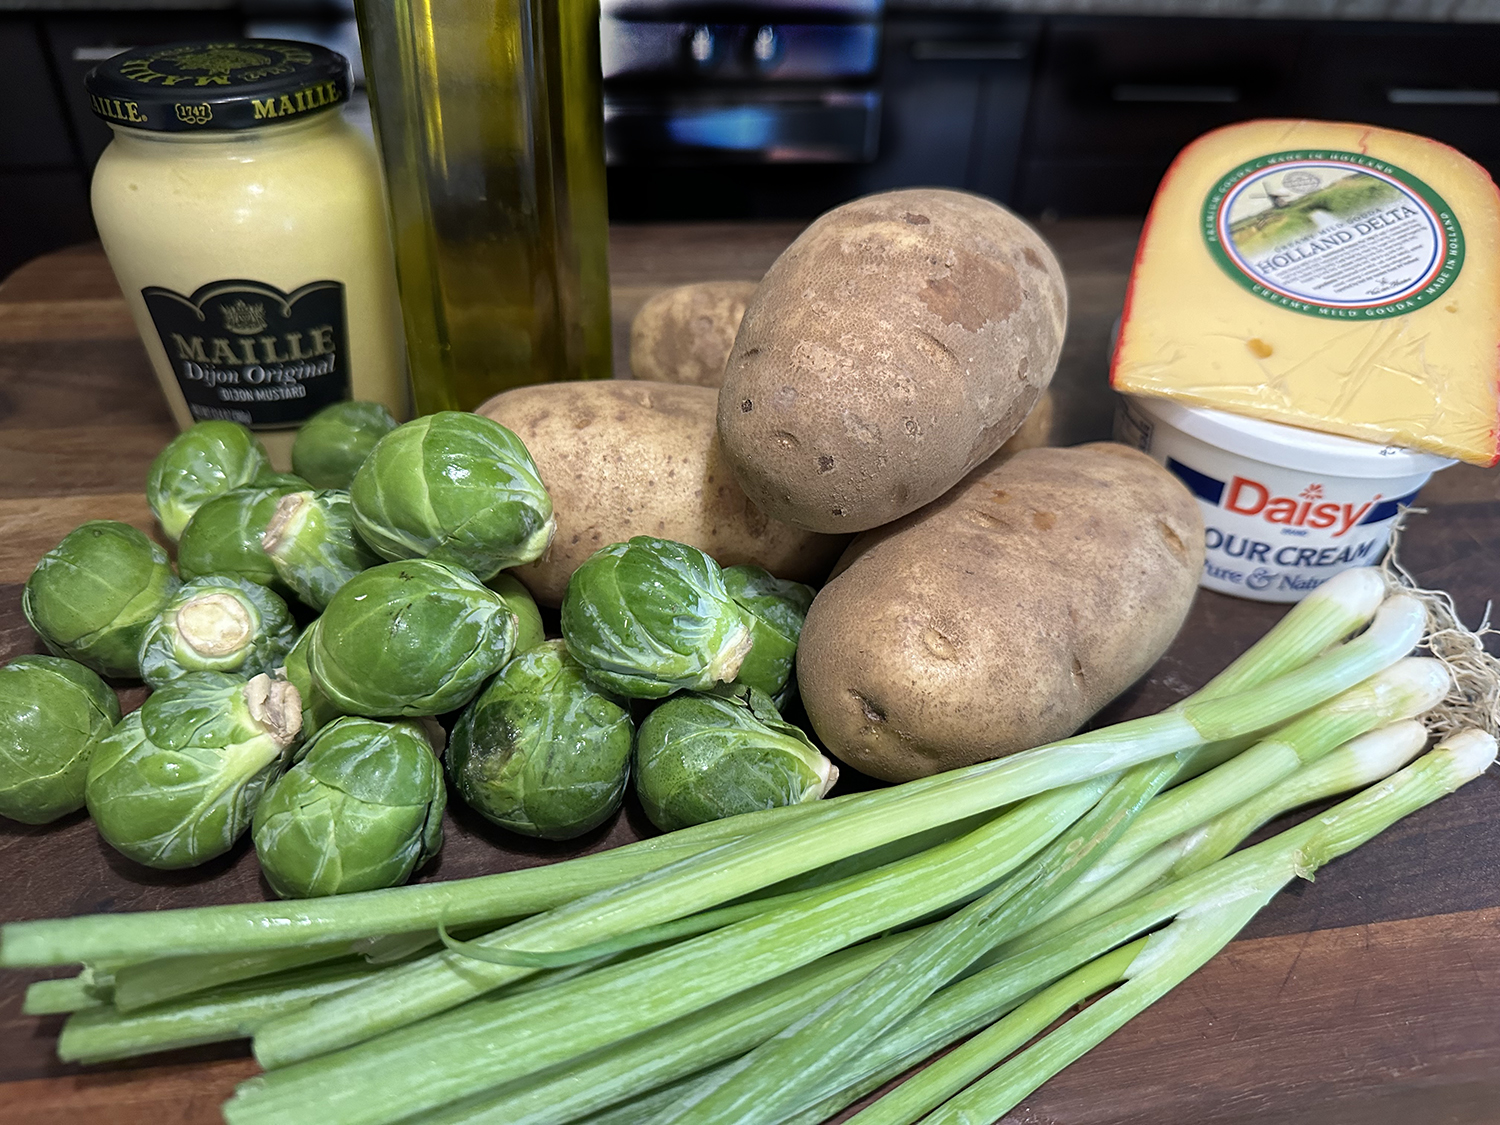
- 3 Tbsp. olive oil
- 2 medium onions, diced (about 3 cups)
- 3 garlic cloves, minced or pressed
- 1 tsp. ground turmeric
- 1 tsp. ground ginger
- 1 small pinch saffron (optional)
- Fine sea salt and black pepper
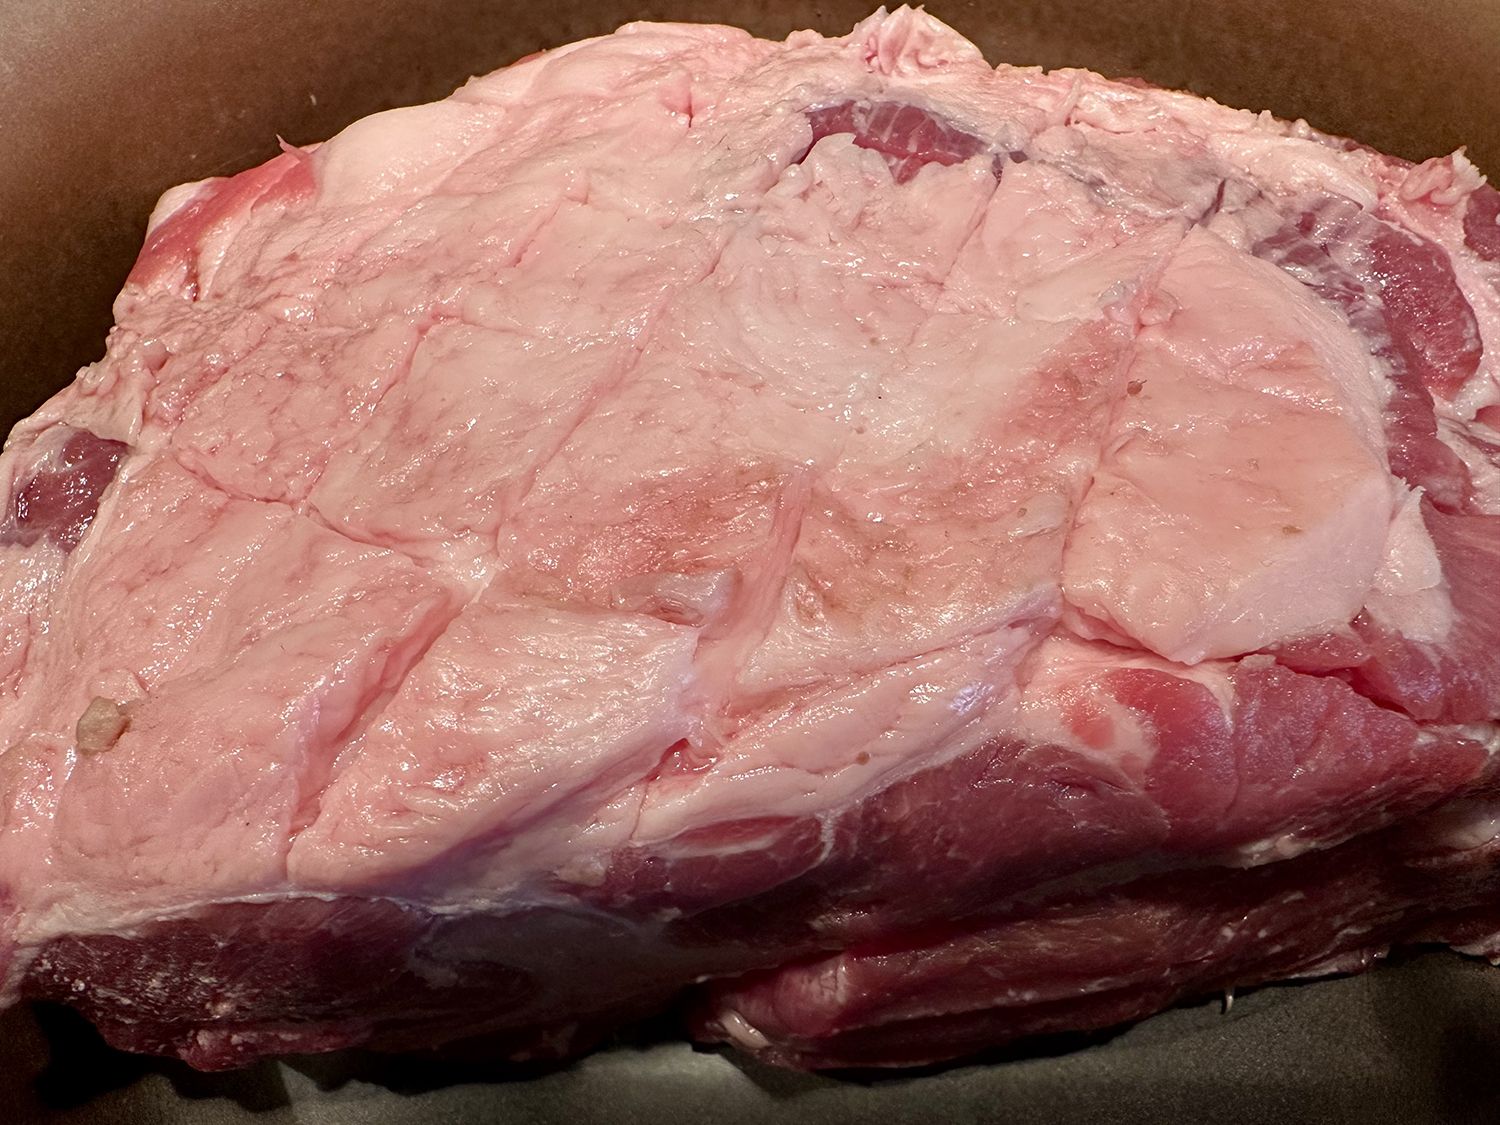
- 2½ lbs. boneless beef chuck or other stewing beef, trimmed of excess fat and cut into 2-inch pieces
- ¾ cup vegetable or beef stock, or water, plus more if needed
- 1 cup cilantro leaves and tender stems, finely chopped, plus more for serving
- 1½ lbs. green beans, trimmed
- 2 carrots peeled and cut into 1/2-inch rounds
- 2 to 3 Tbsp. seeded and finely chopped preserved lemon (about ½ lemon), plus more to taste
- ½ cup pitted Castelvetrano or Kalamata olives, and peas (if using)
- Bread, for serving


Directions
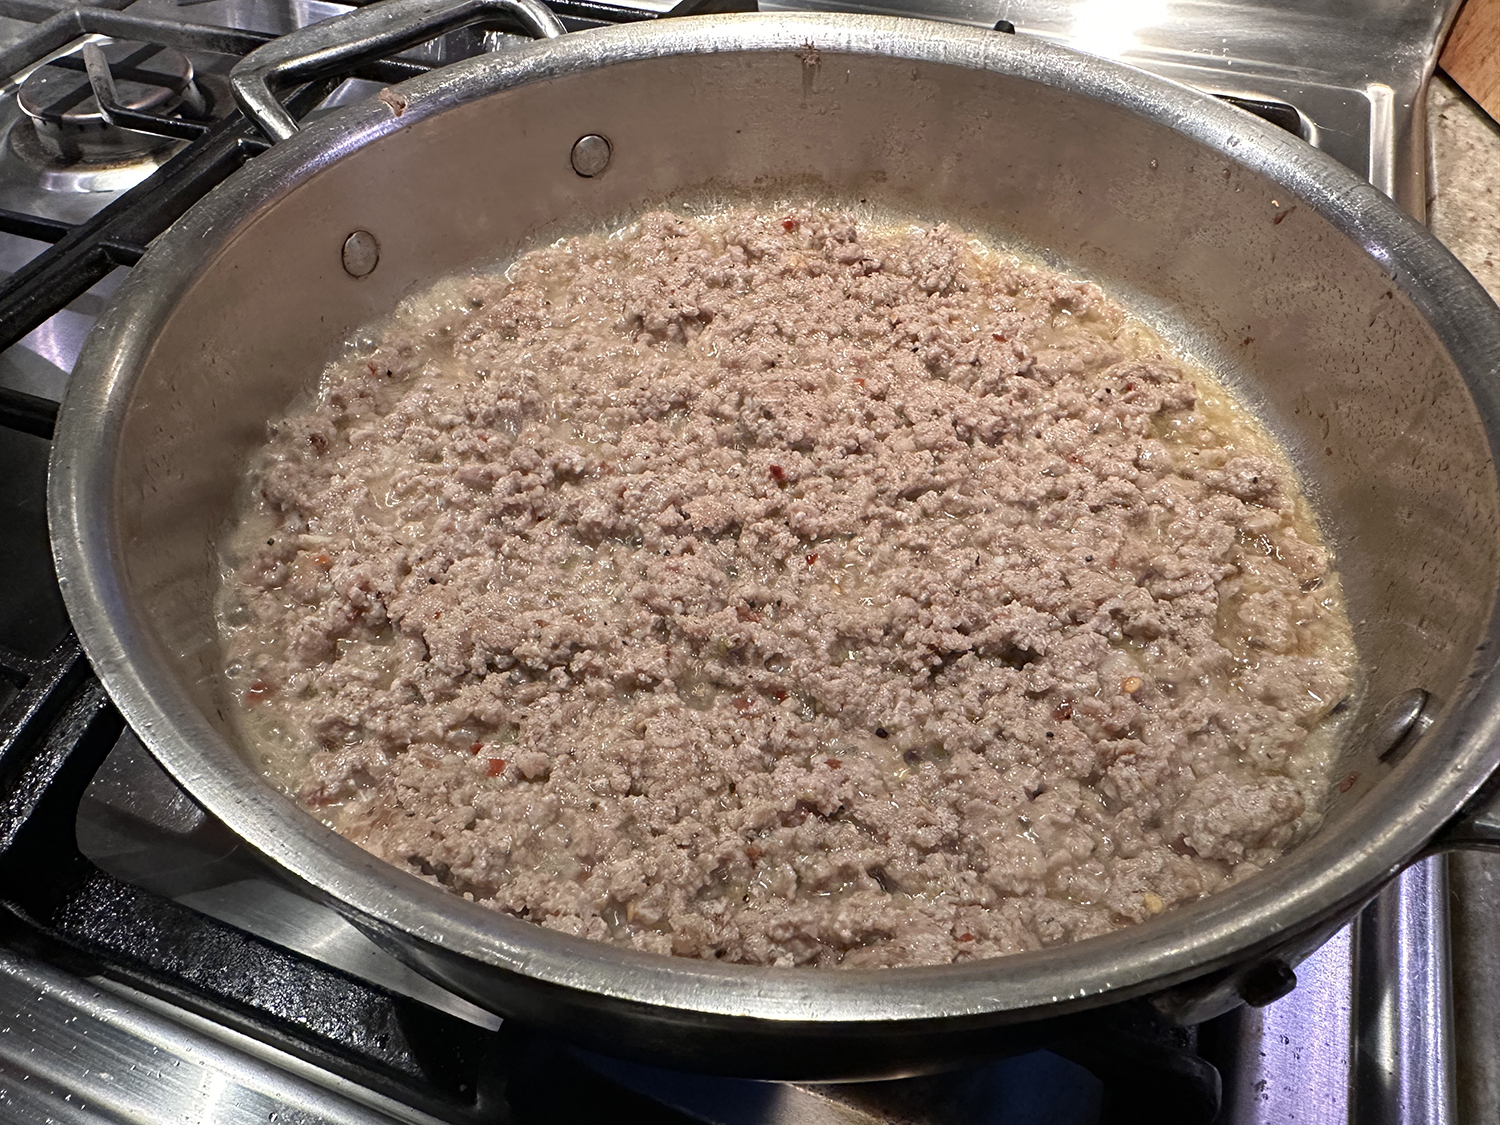
- Heat oil in a large Dutch oven over medium. Add the beef, cook, stirring occasionally, until the meat is lightly browned on all sides, about 7-8 minutes. Remove to a plate.
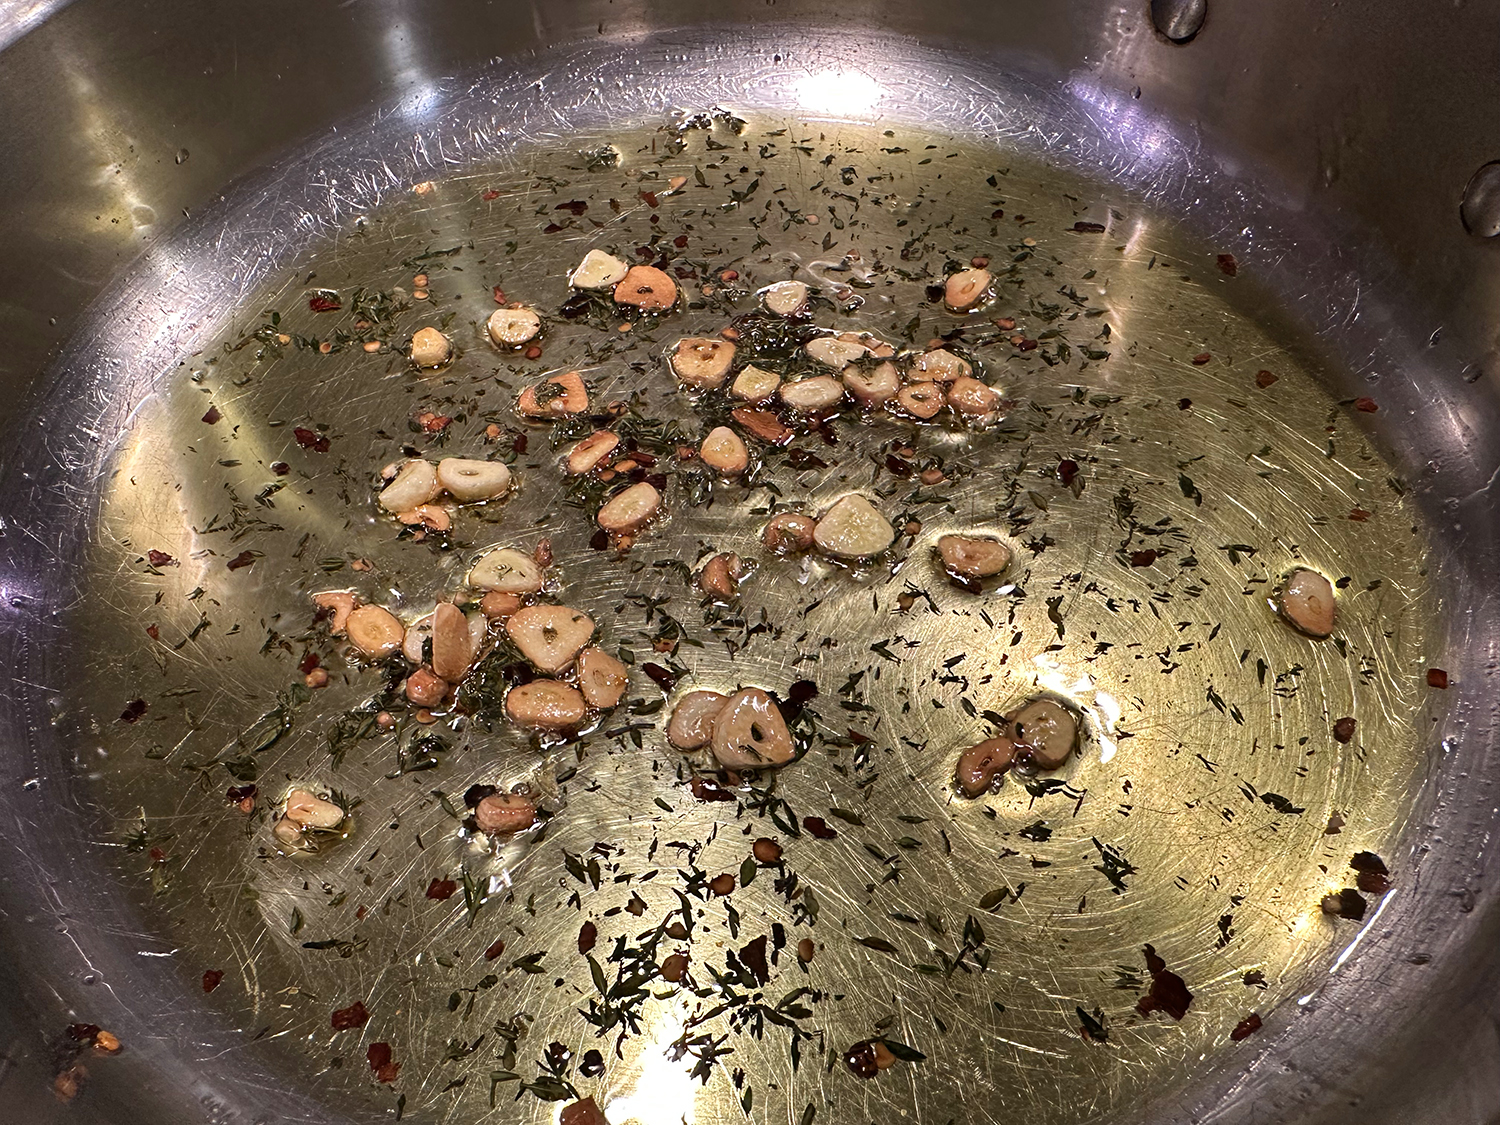
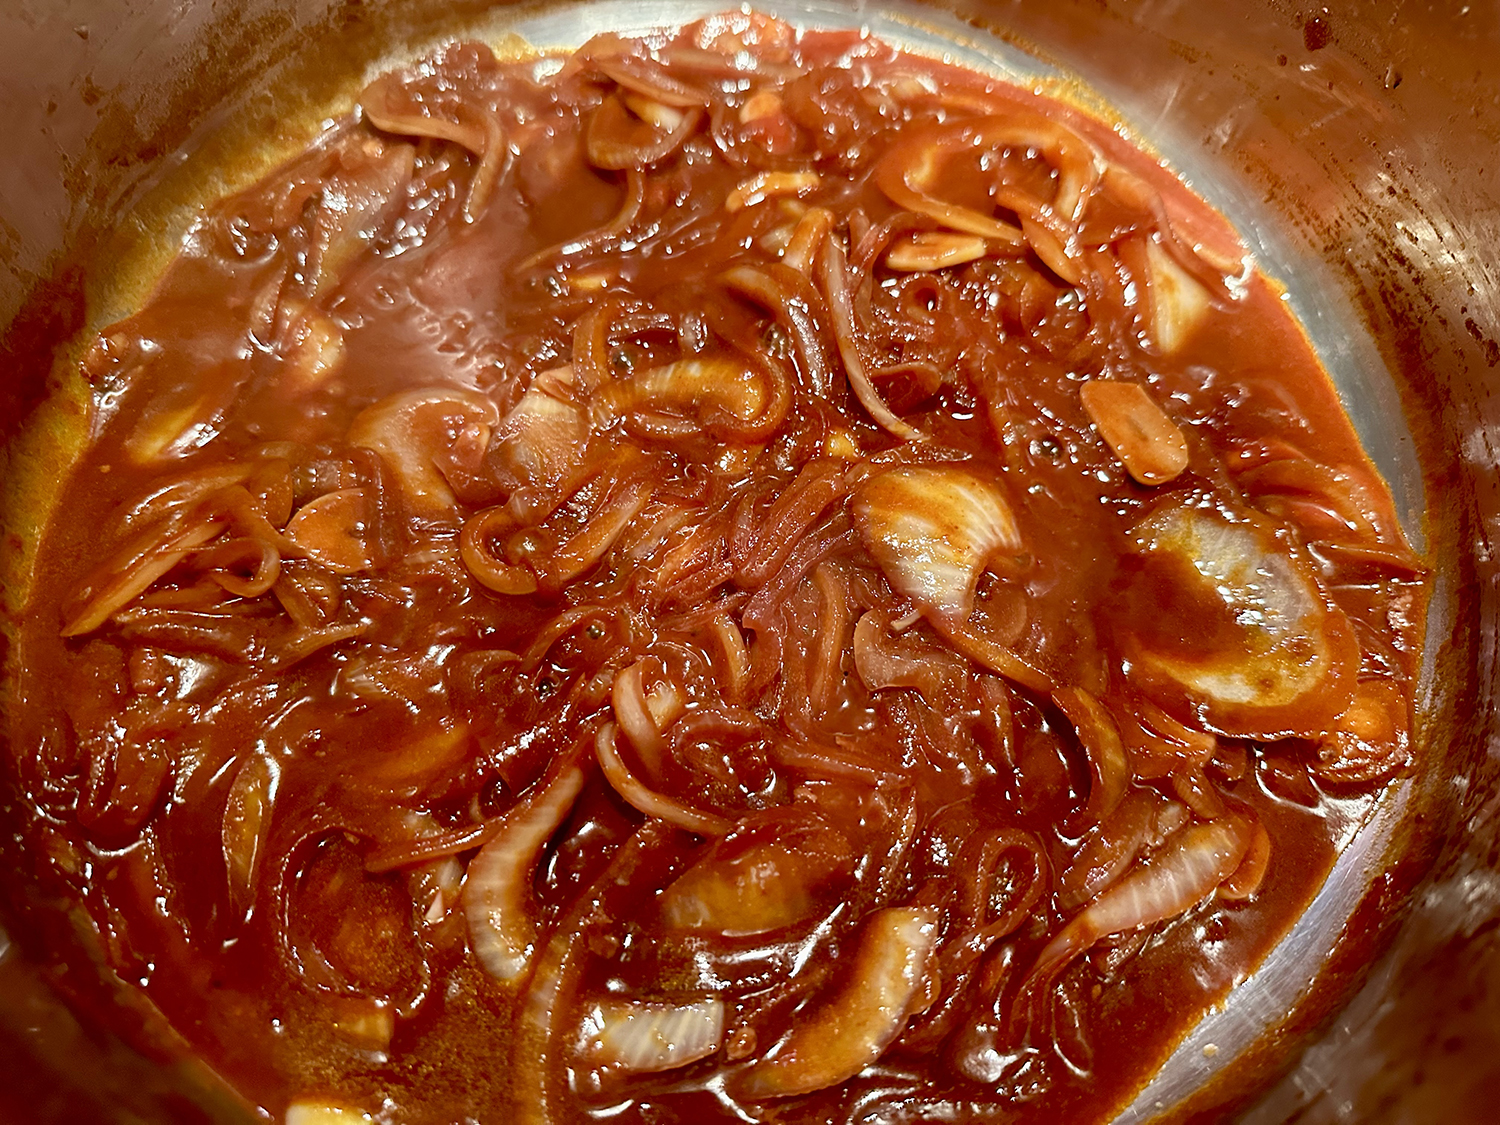
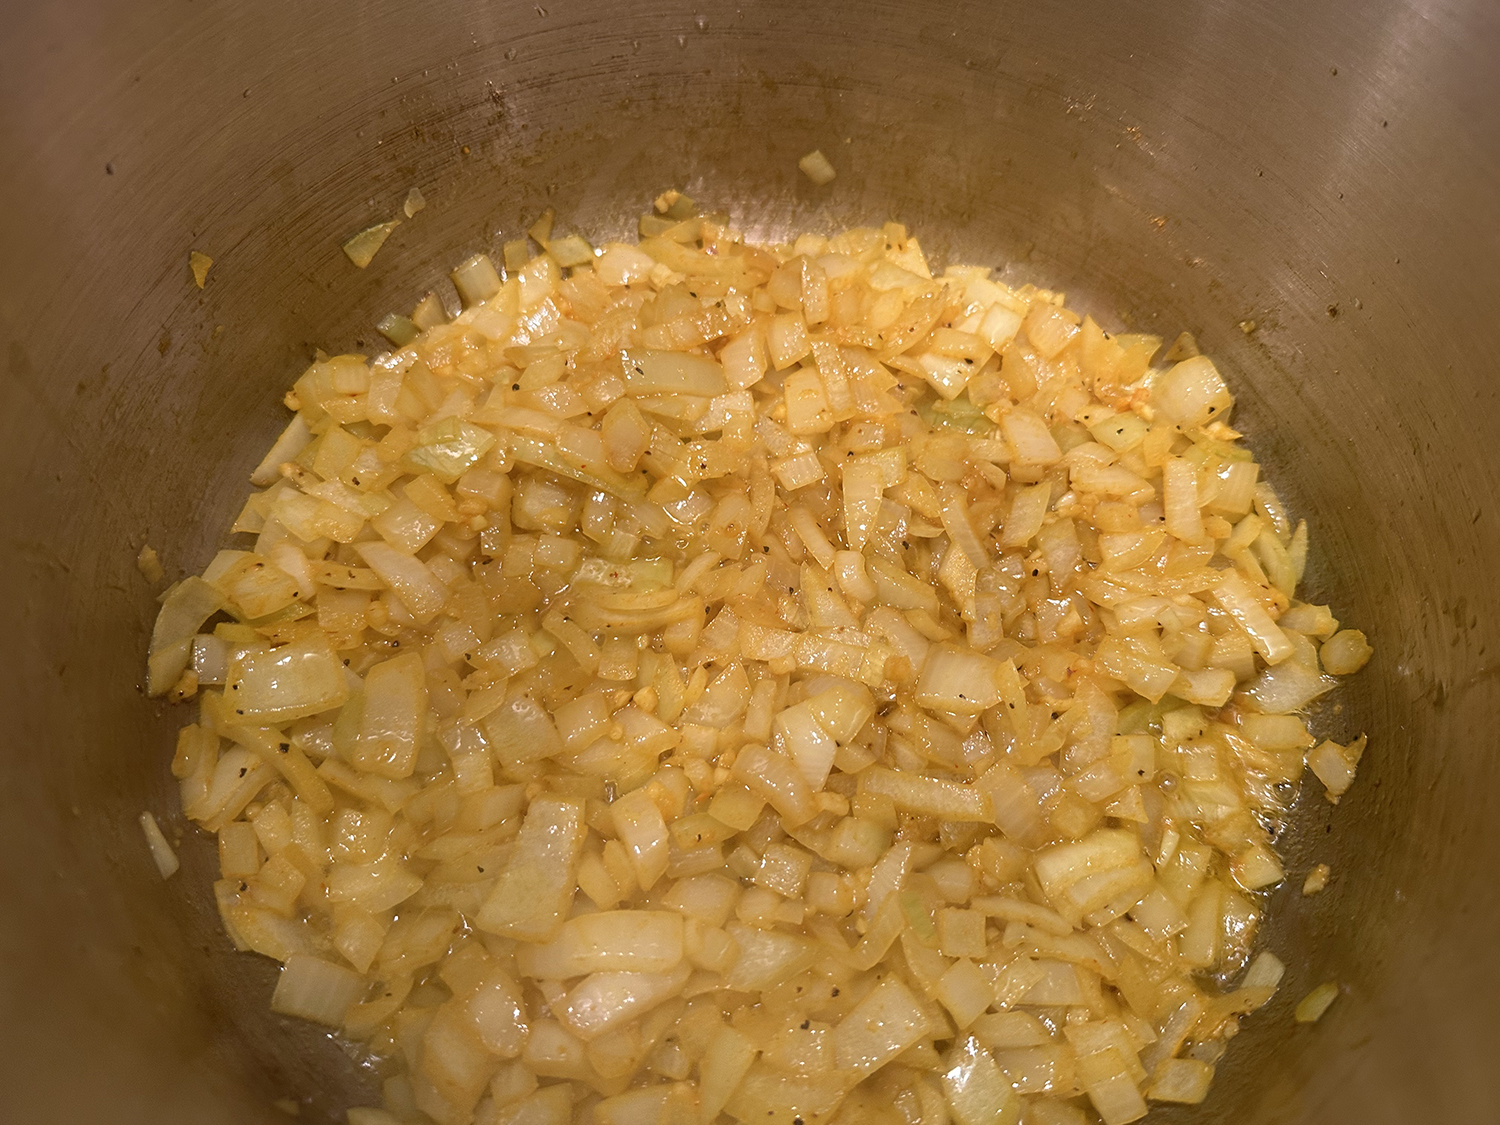
- Add onions, garlic, turmeric, ginger, saffron (if using), ¾ teaspoon salt and ¼ teaspoon pepper. Cook, stirring frequently, until the onions begin to soften, 5 to 7 minutes.
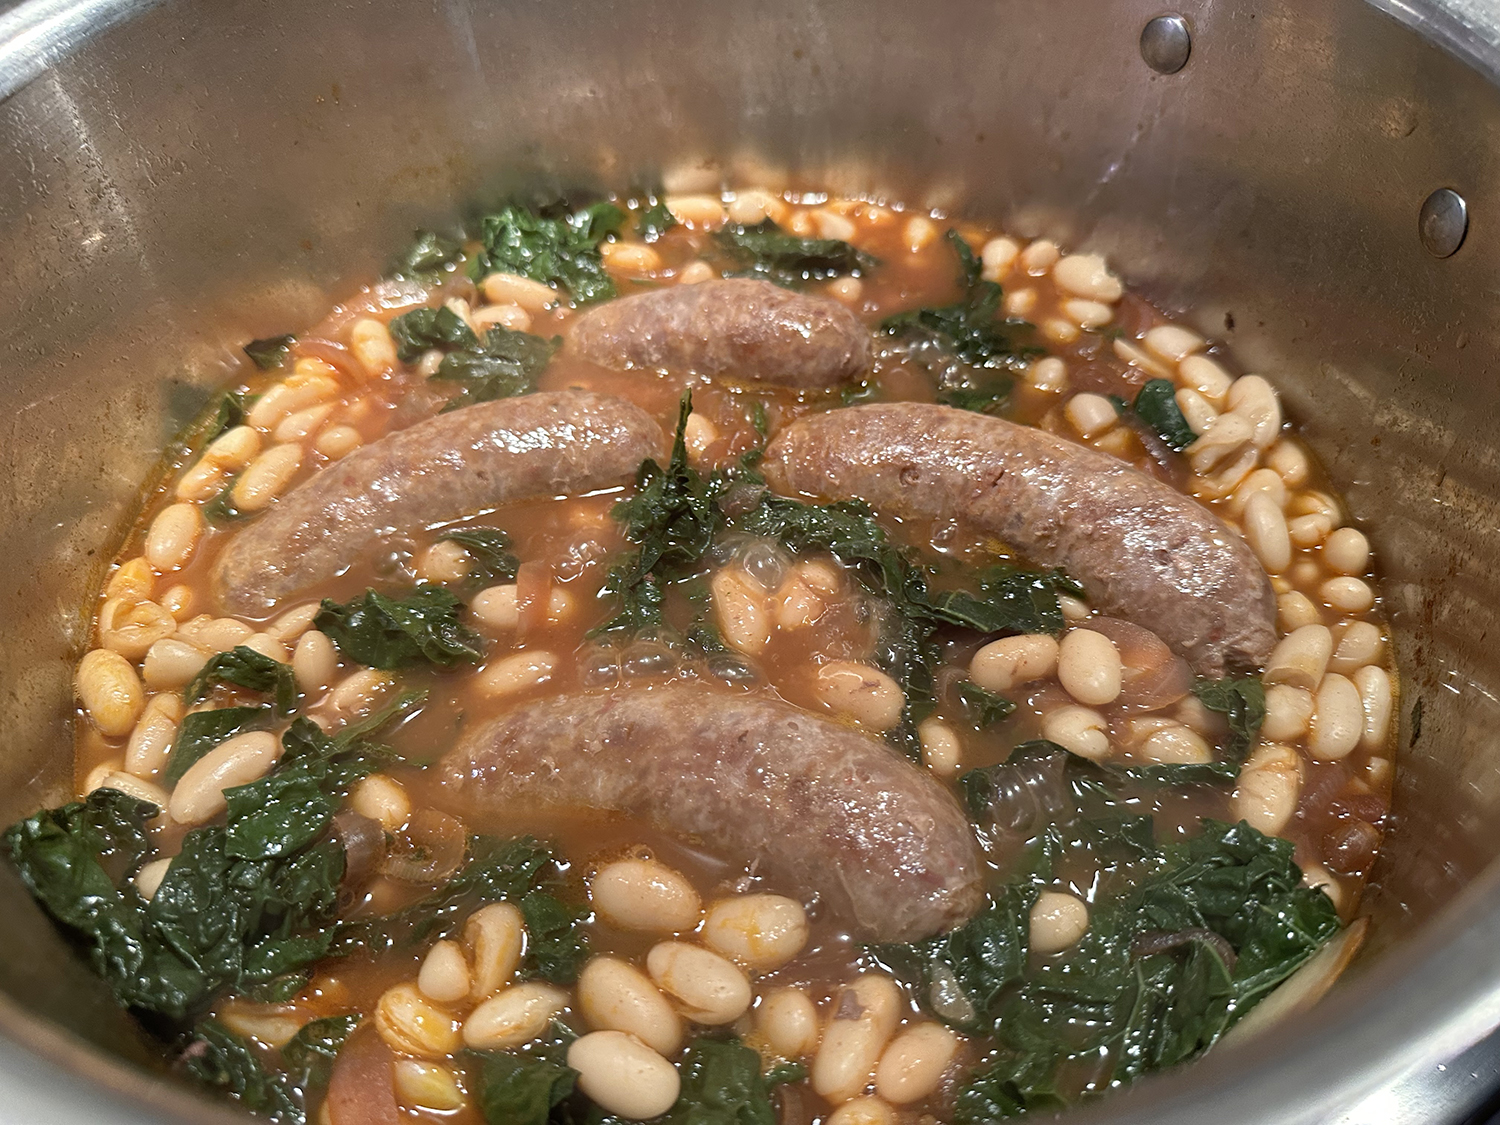
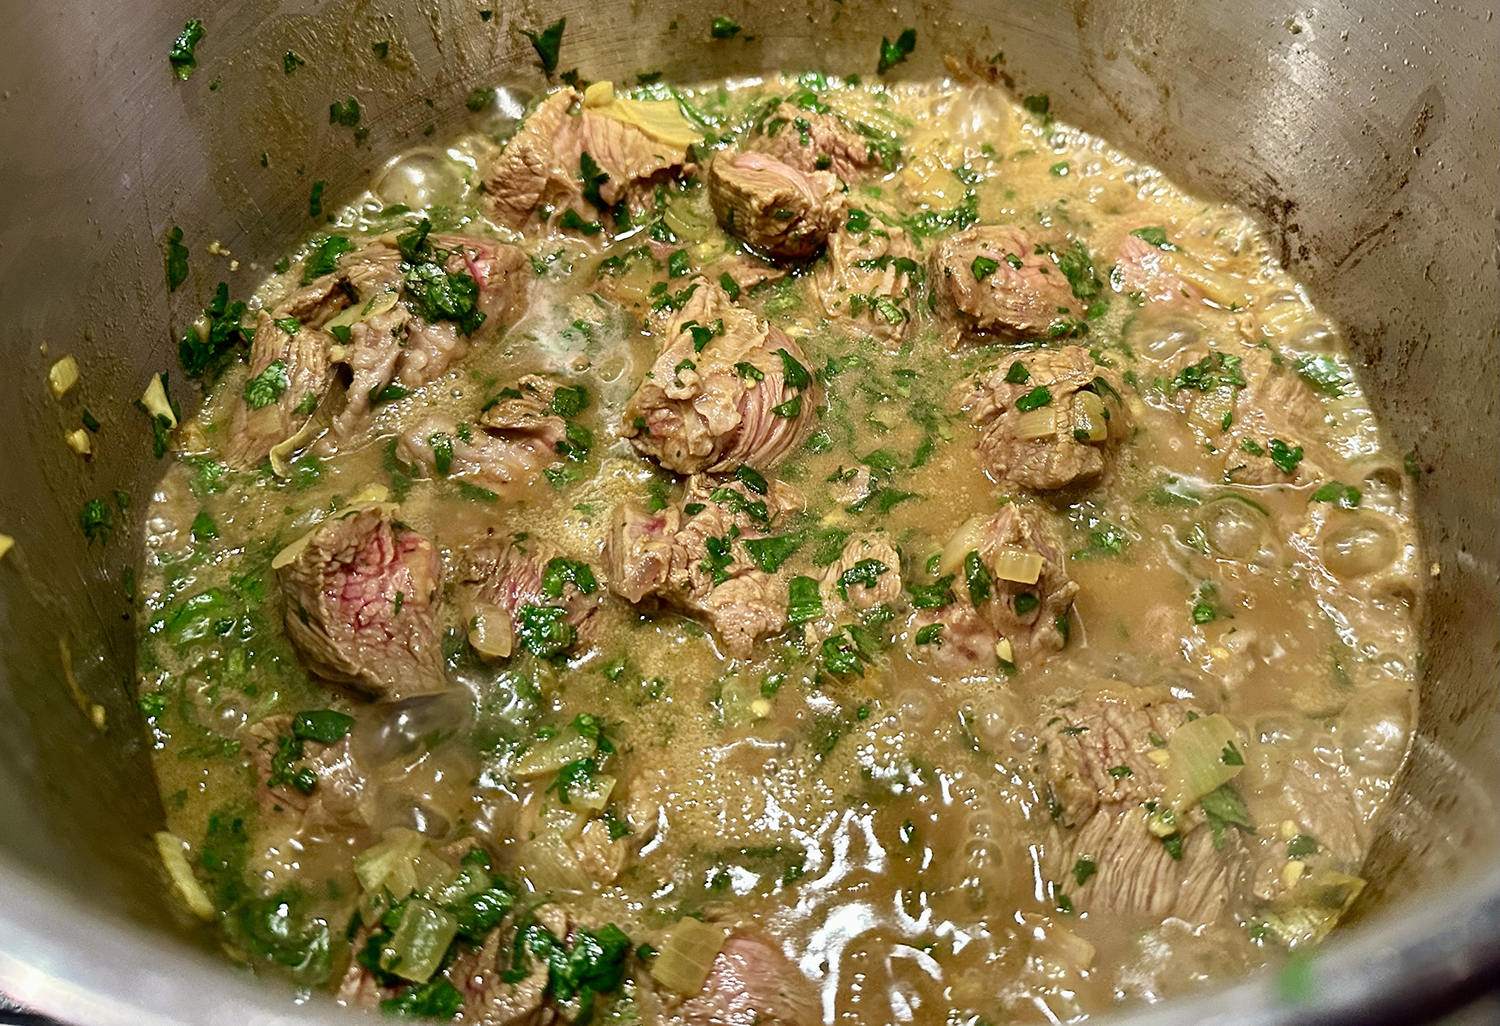
- Return meat to pot, add stock (or water) and cilantro, and bring to a boil over high heat.
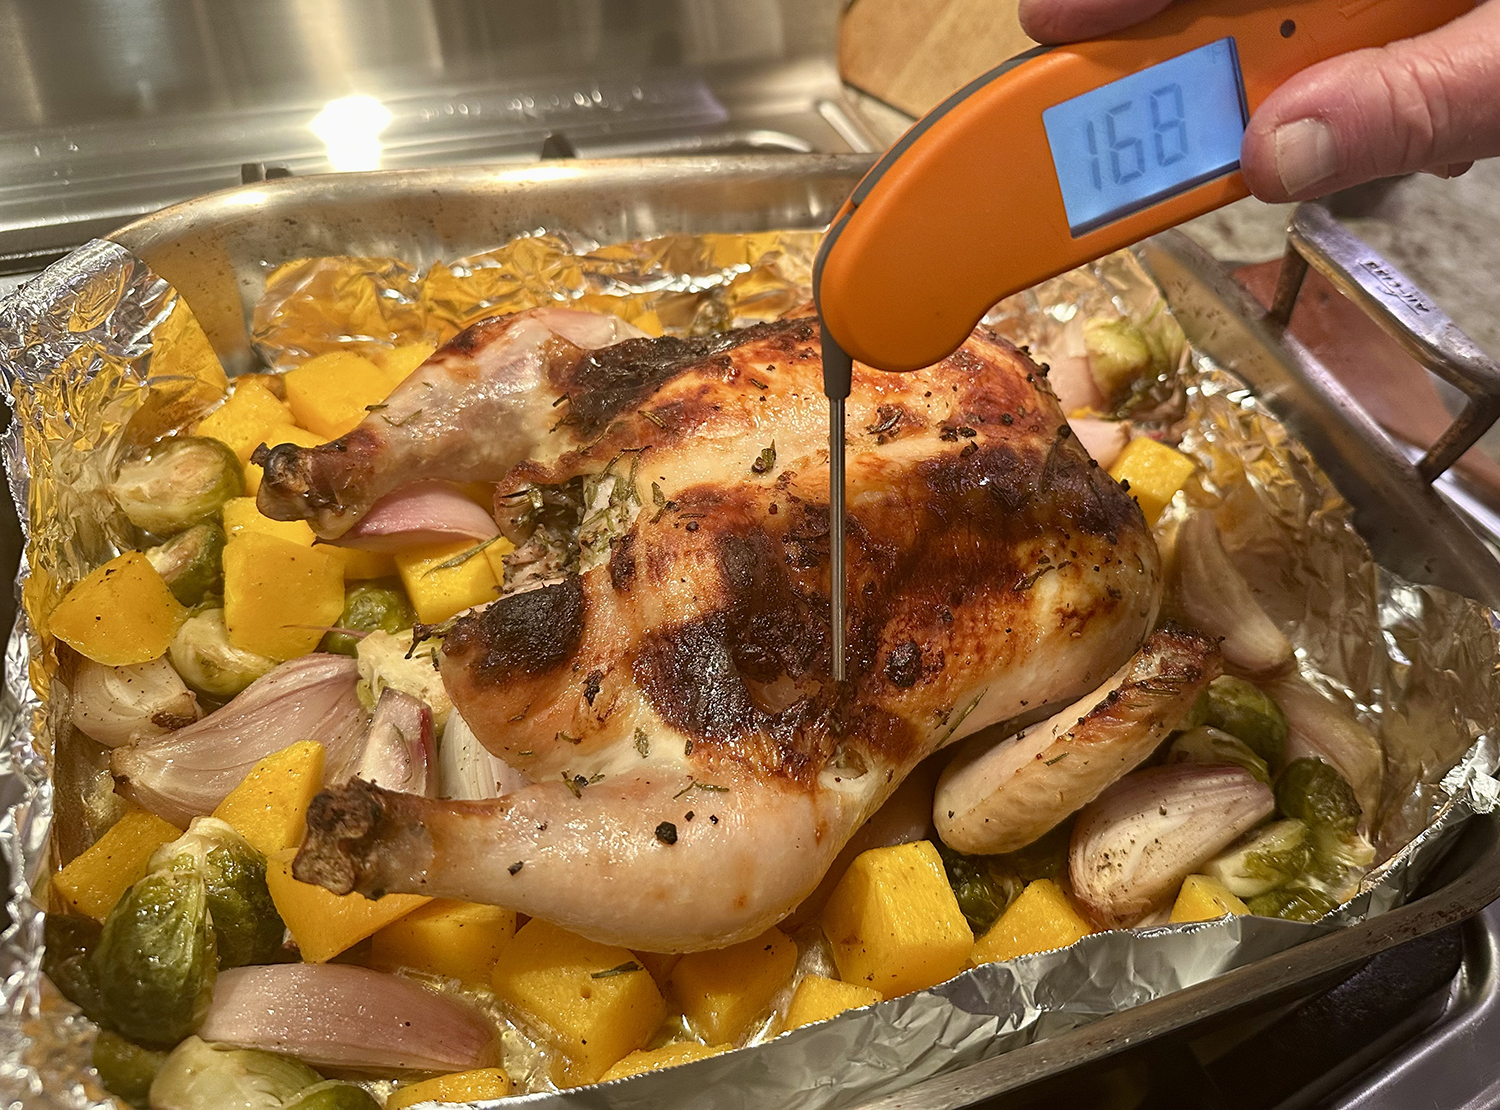
- Cover the pot, adjust heat to low and simmer for about 1½ hours, until the beef has partially softened (when pressed with a fork it should feel soft but not fall apart).
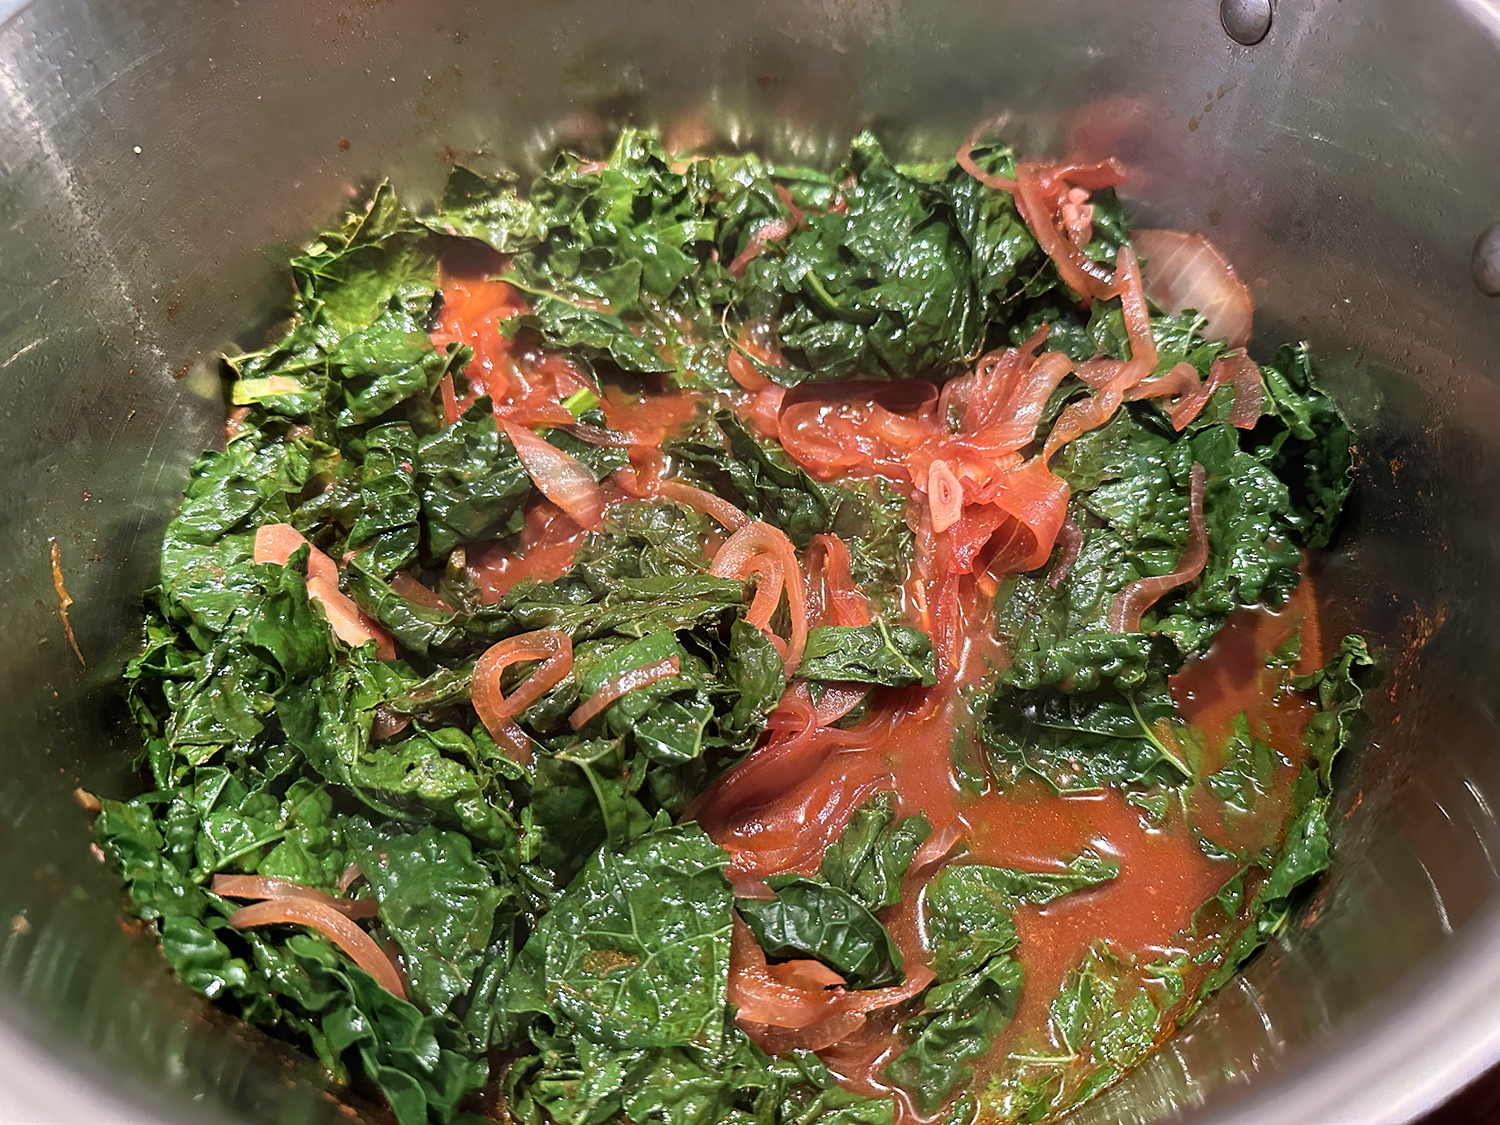
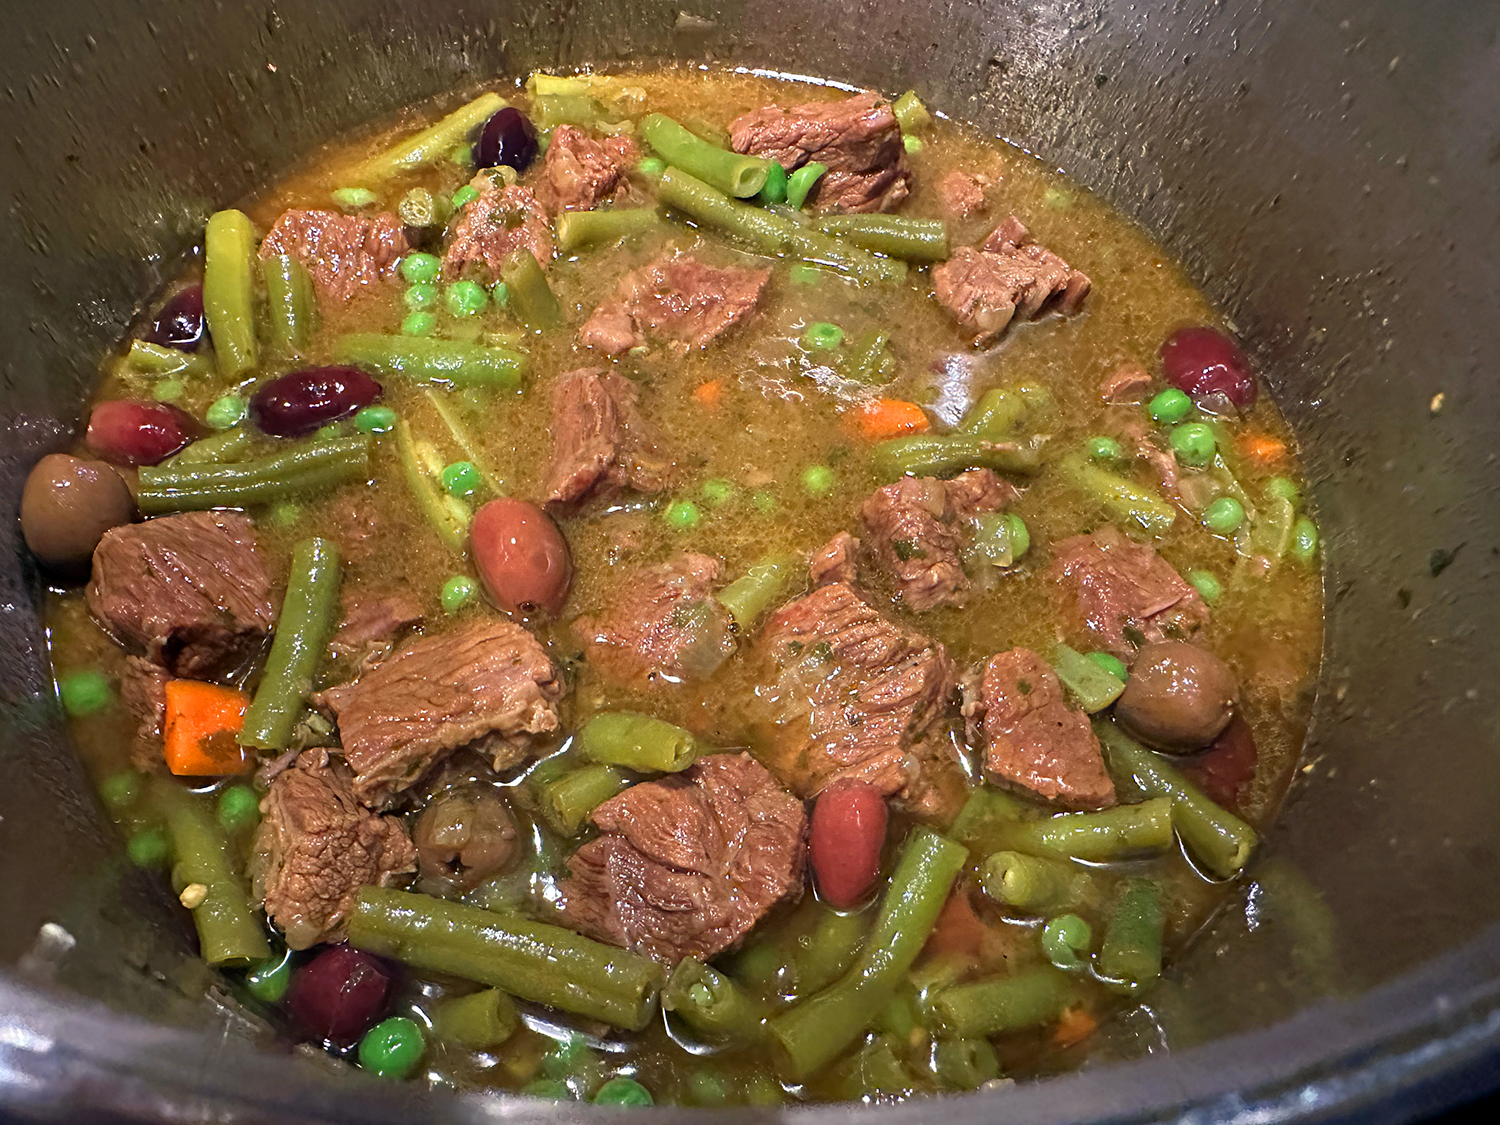
- Stir in the green beans, carrots and preserved lemon, adjust heat to high and bring to a boil. The green beans should be partially submerged in the liquid; add stock or water as needed. Turn down to low, cover and simmer until the green beans and carrots are tender, 15 to 20 minutes. Stir occasionally to make sure the beans cook evenly.
- Taste and add more preserved lemon or salt as necessary. Garnish with olives and more cilantro, and serve with bread.
Recipe by Nargisse Benkabbou for NYTimes Cooking