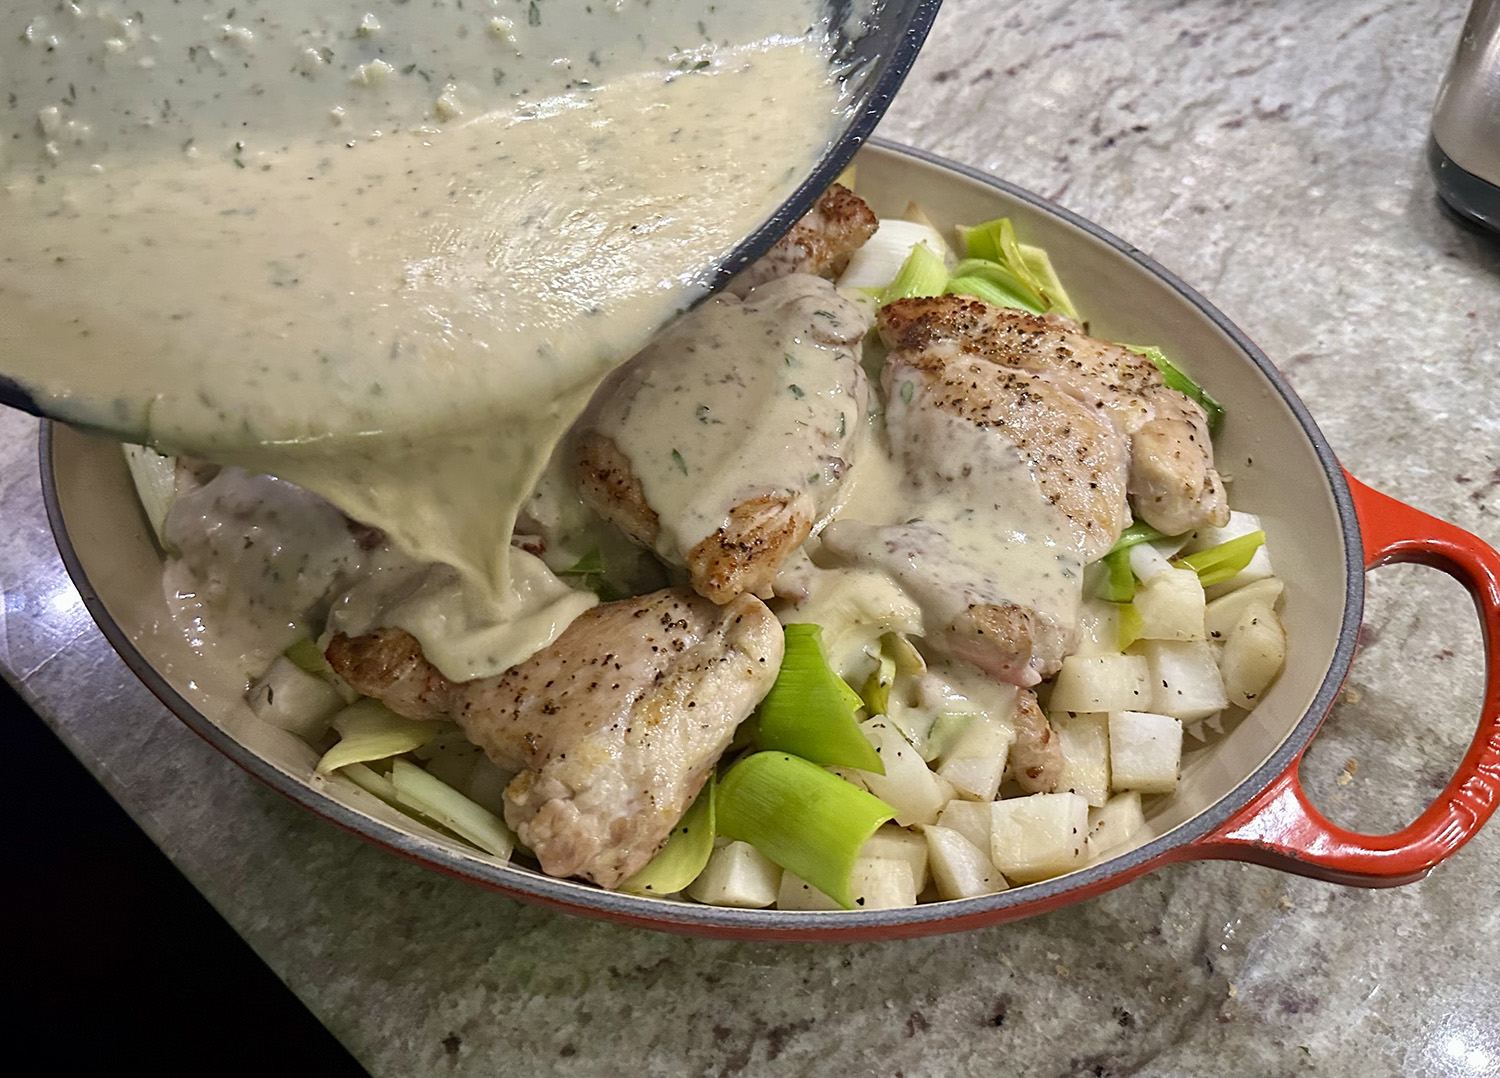
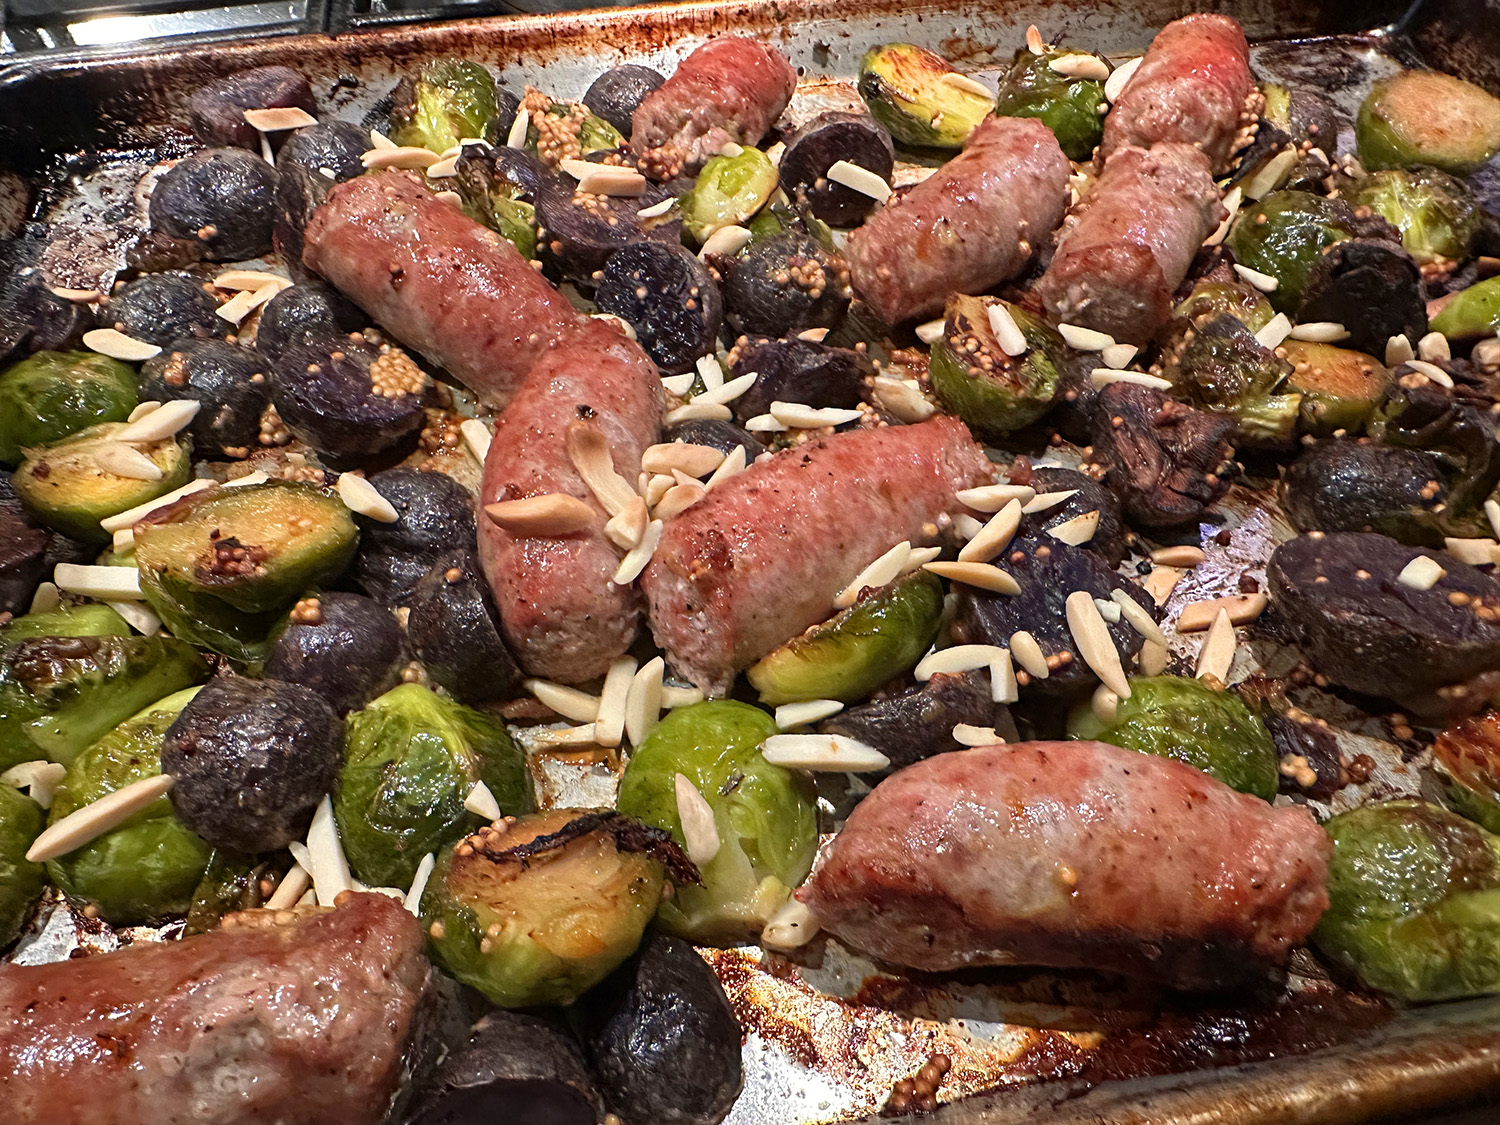
This hearty pan of sticky, honey mustard-glazed sausages, Brussels sprouts and potatoes only adds to the argument that sheet-pan dinners make the best weeknight meals. As the sausages roast, they yield a delicious fat that coats and seasons the caramelized vegetables. Use any fresh sausage you like, as long as it pairs well with the honey mustard. Feel free to substitute or add other vegetables like red onion, squash, cherry tomatoes, broccoli, carrots or cabbage. The mustard seeds and nuts provide texture and crunch, but leave them out if you prefer.

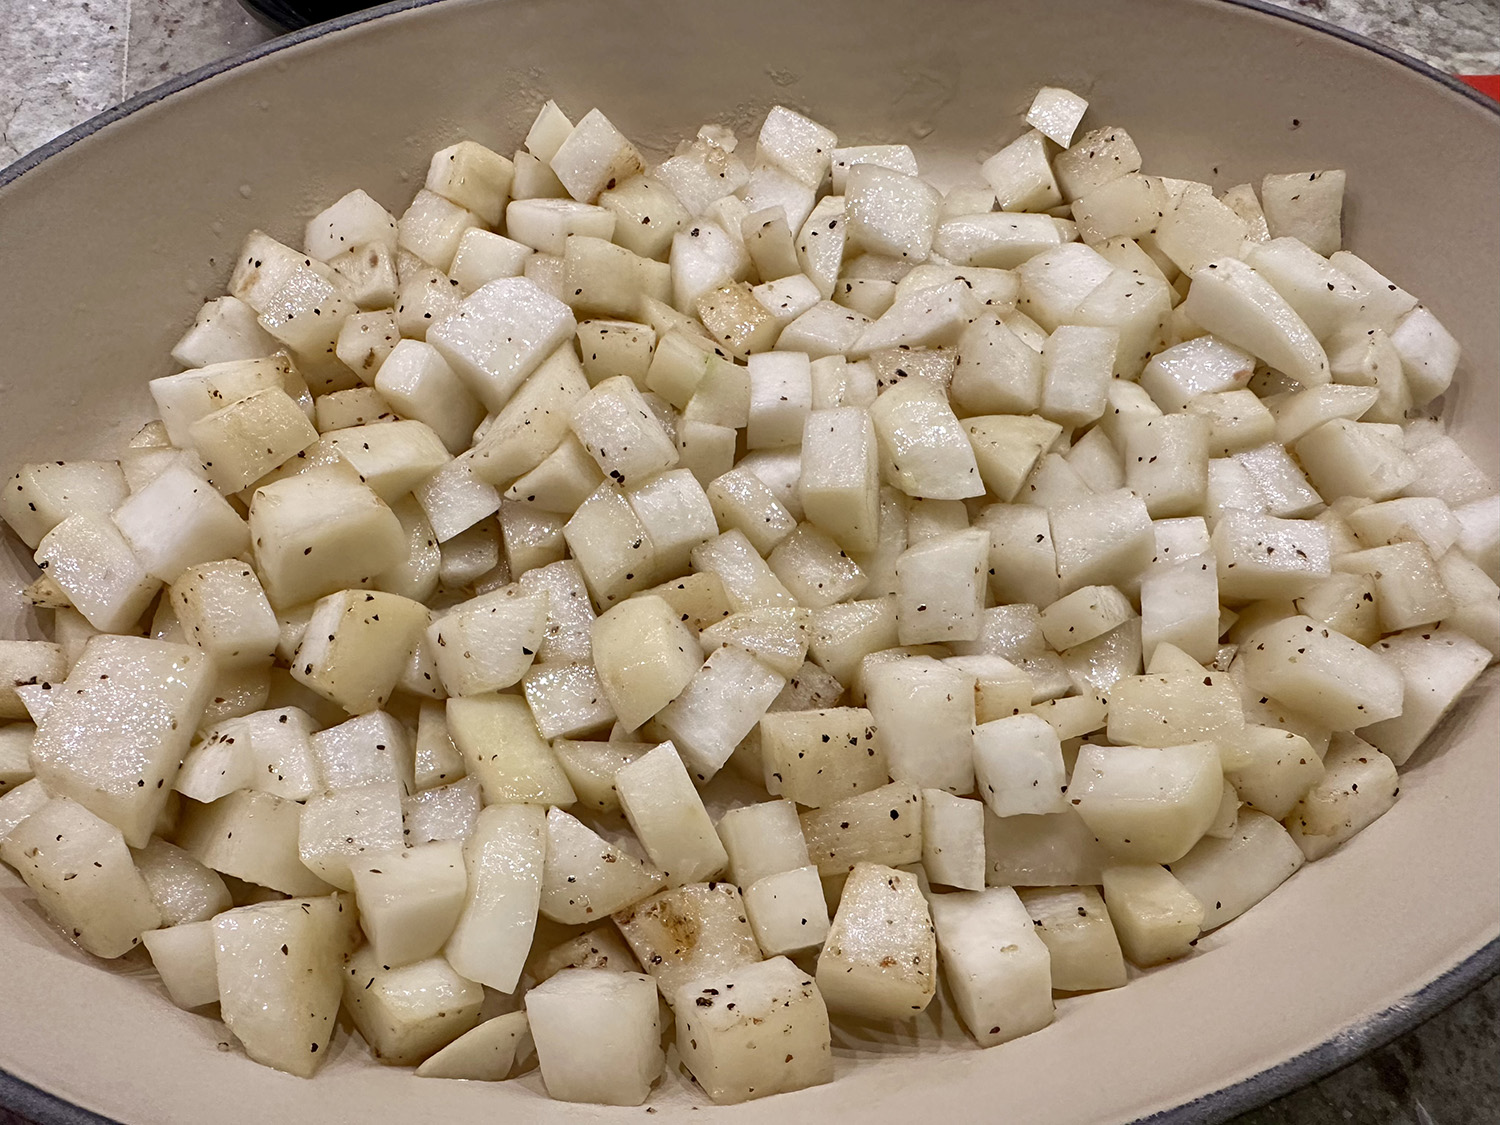
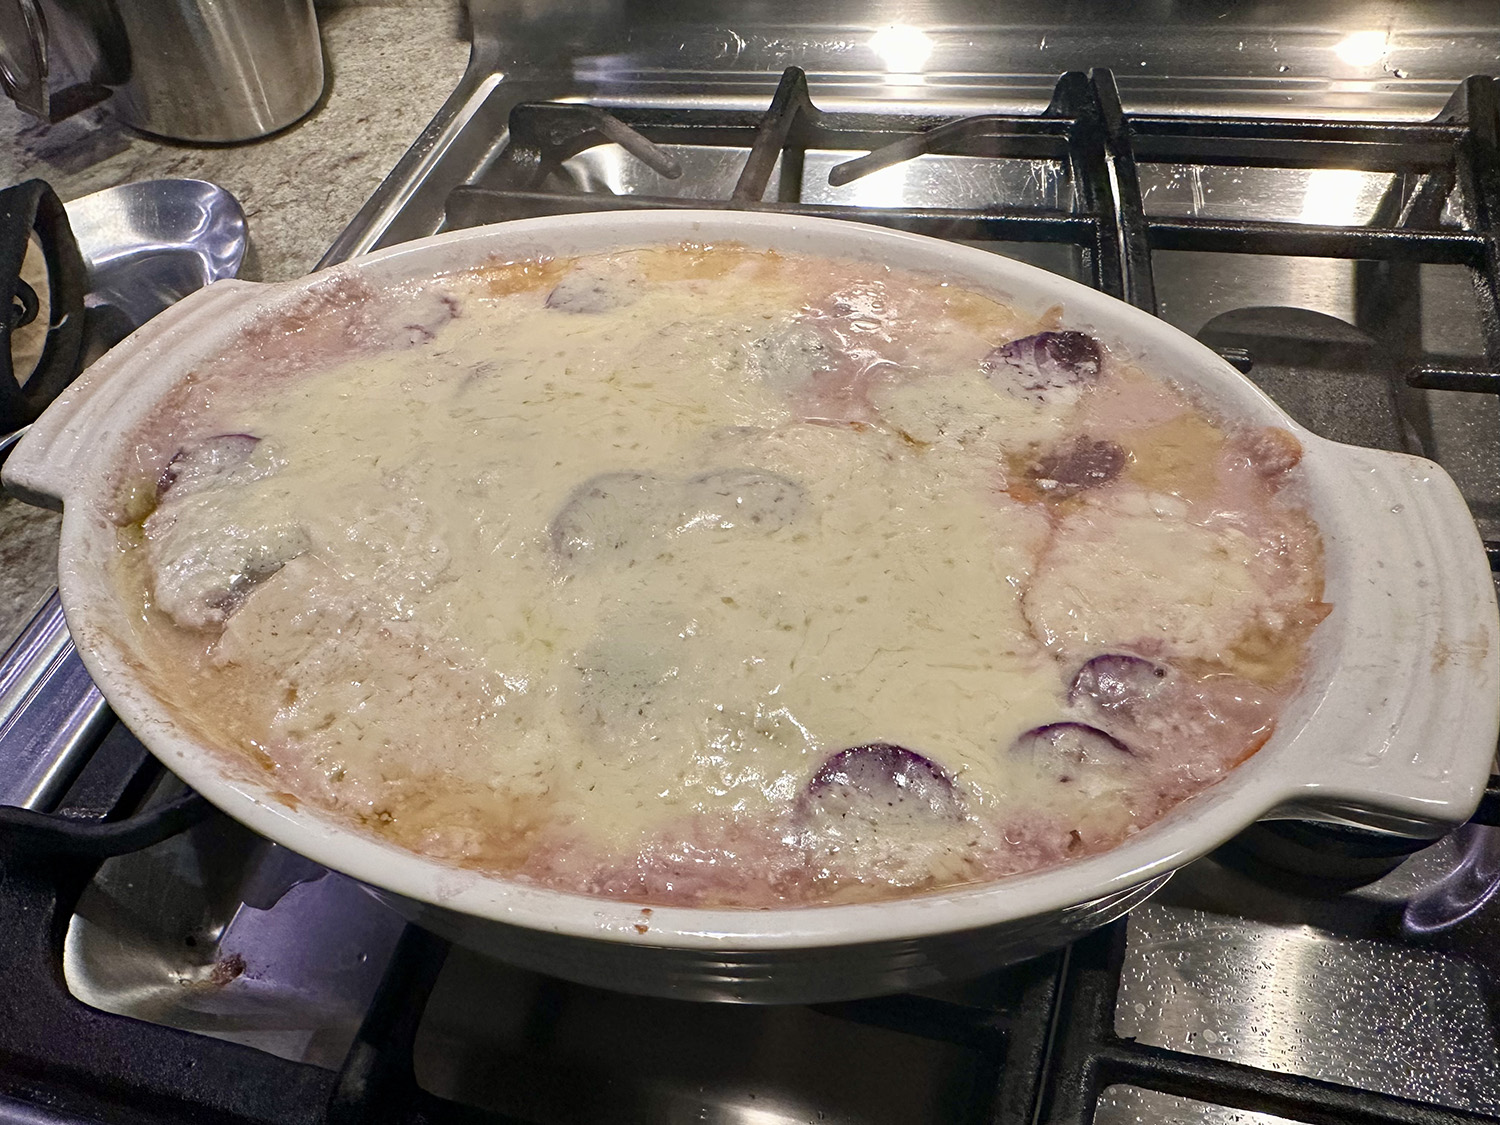
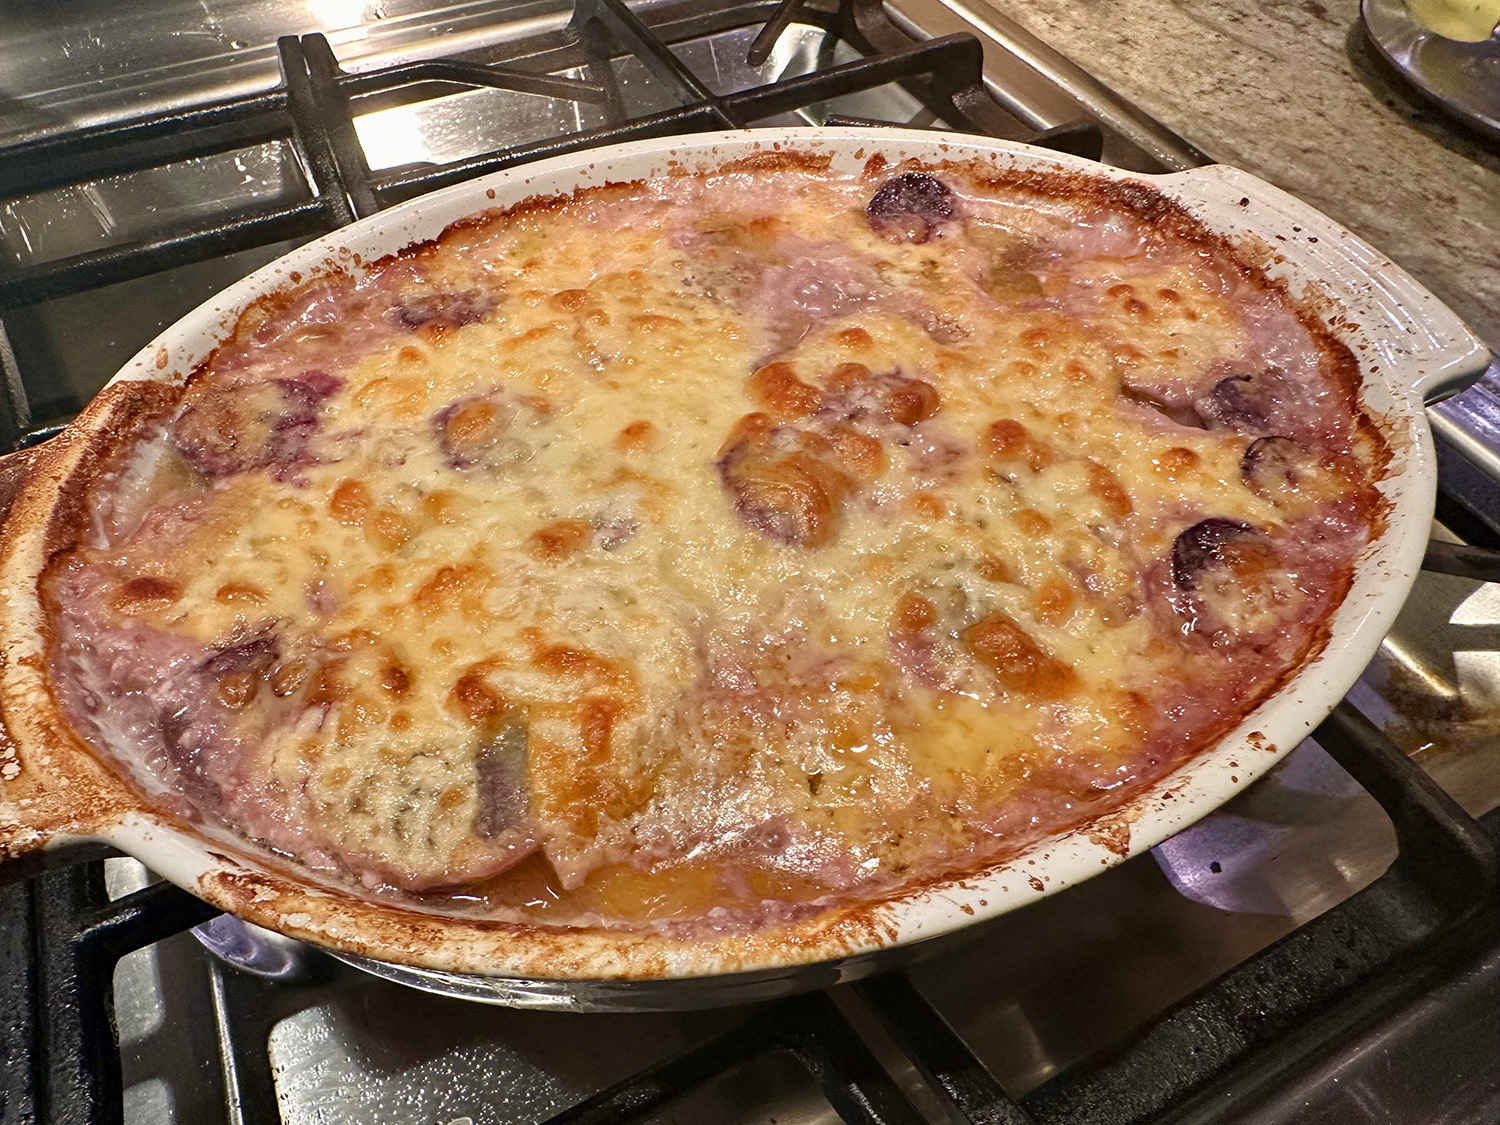
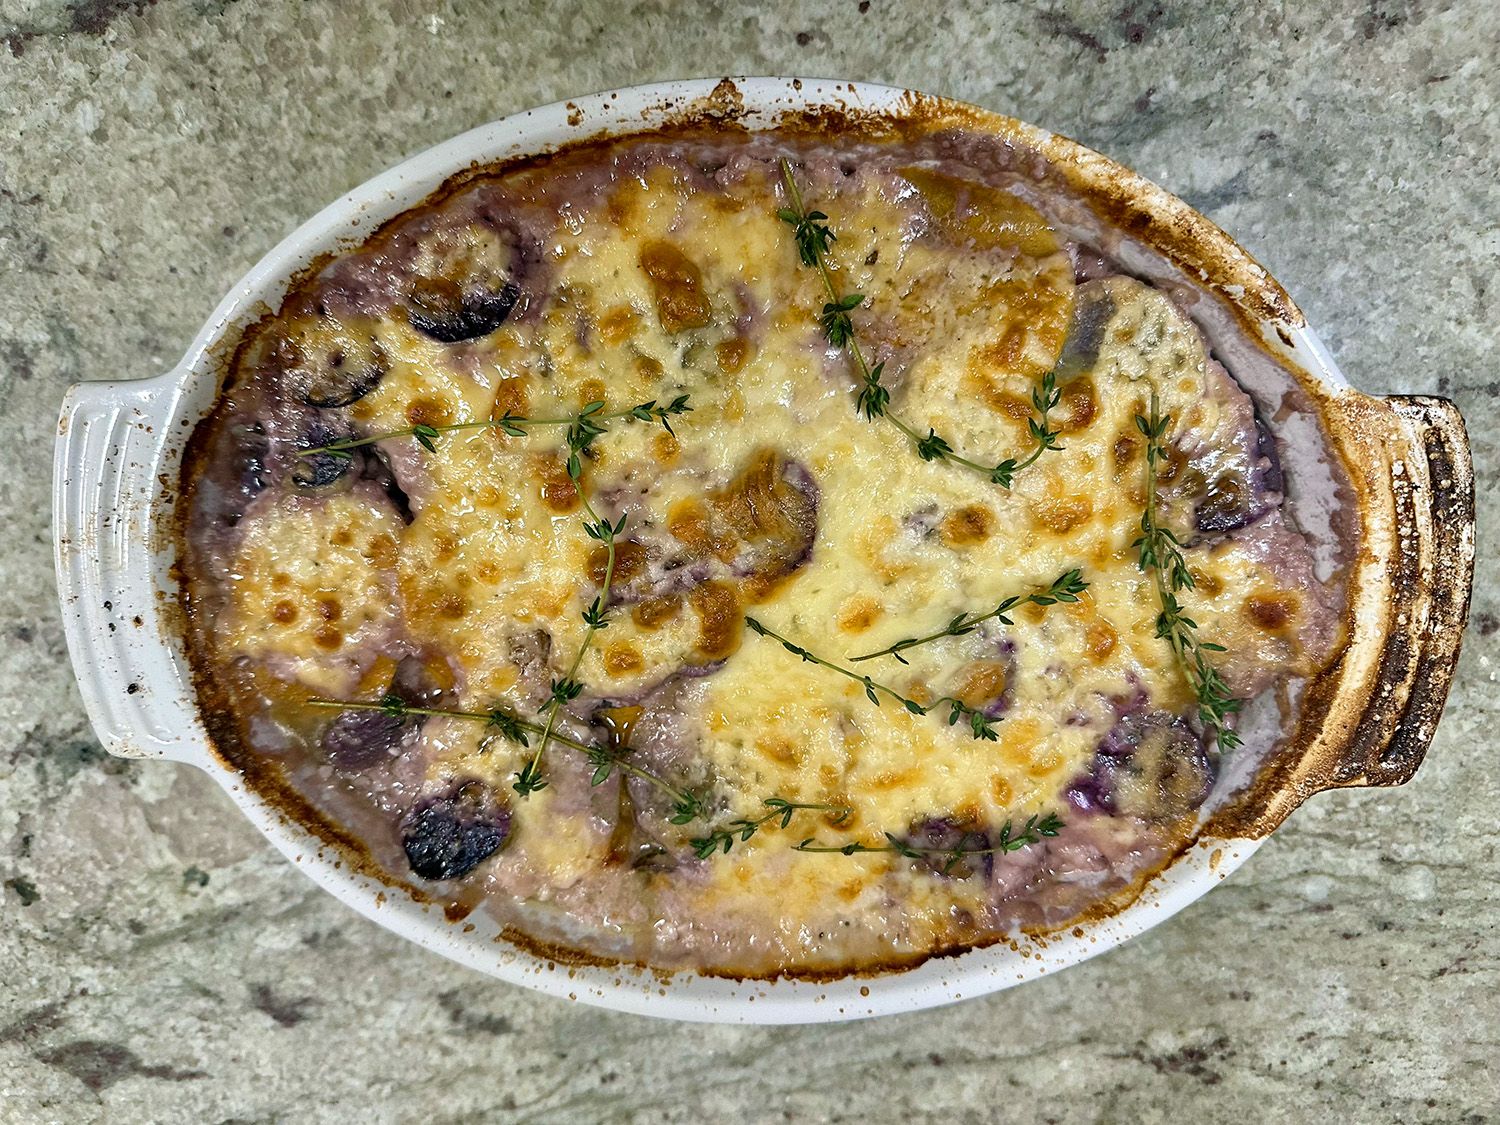
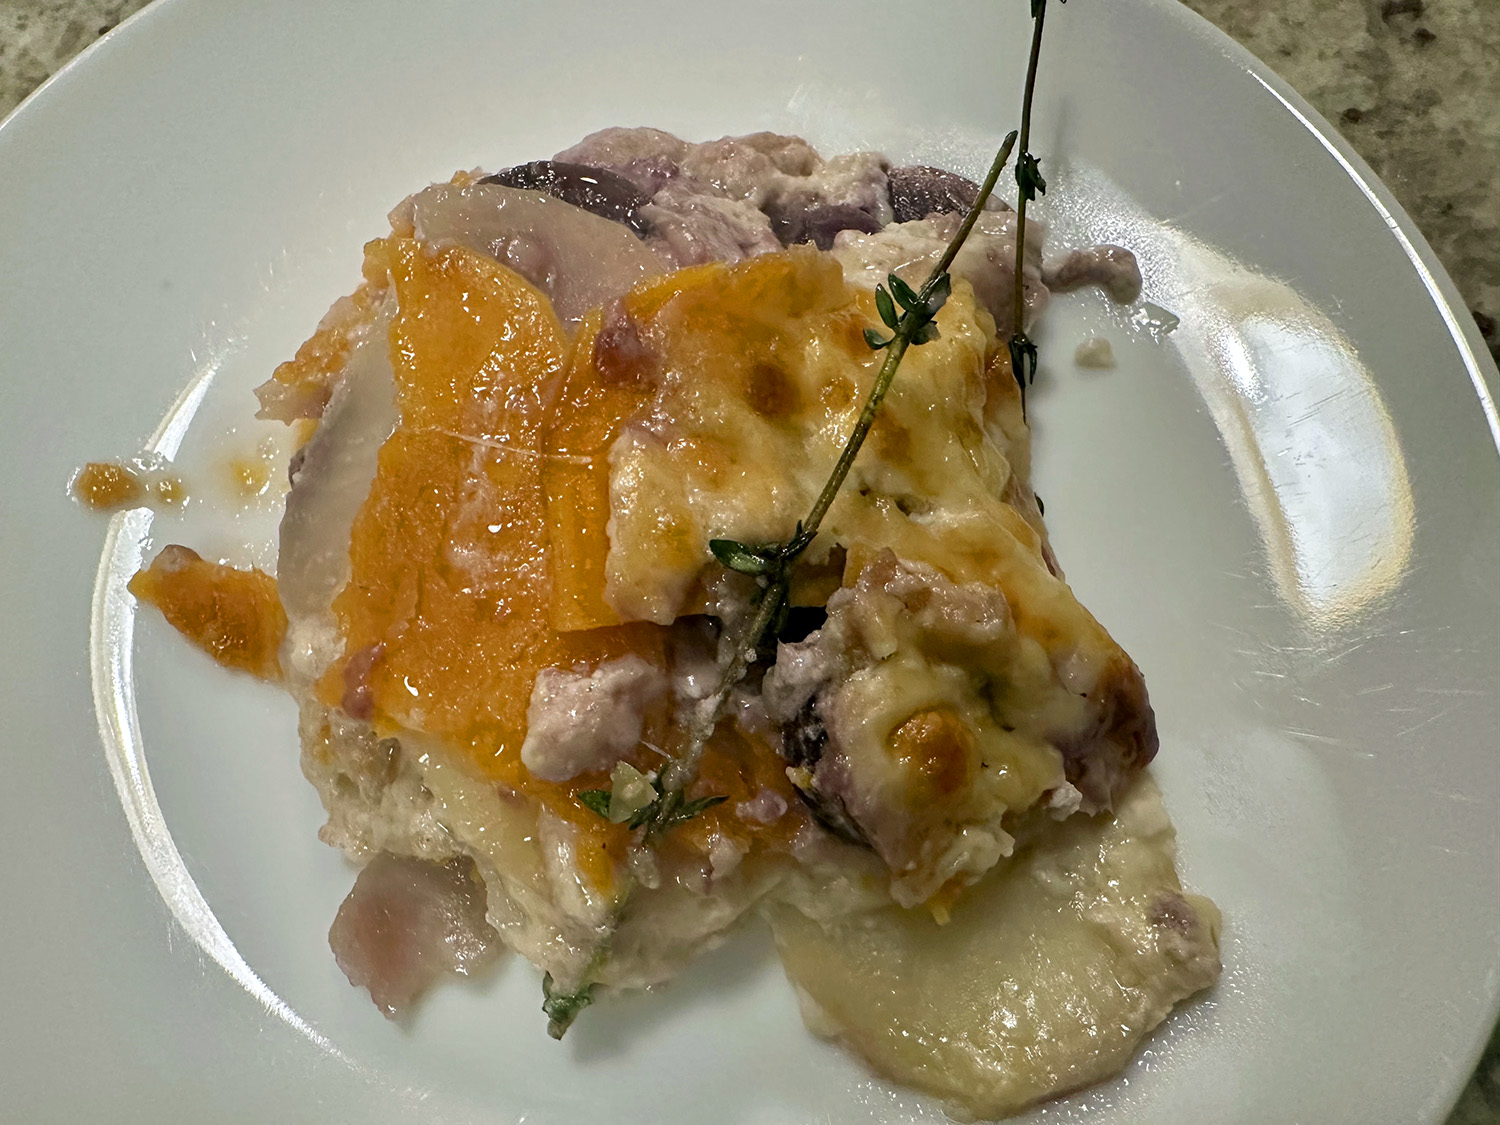
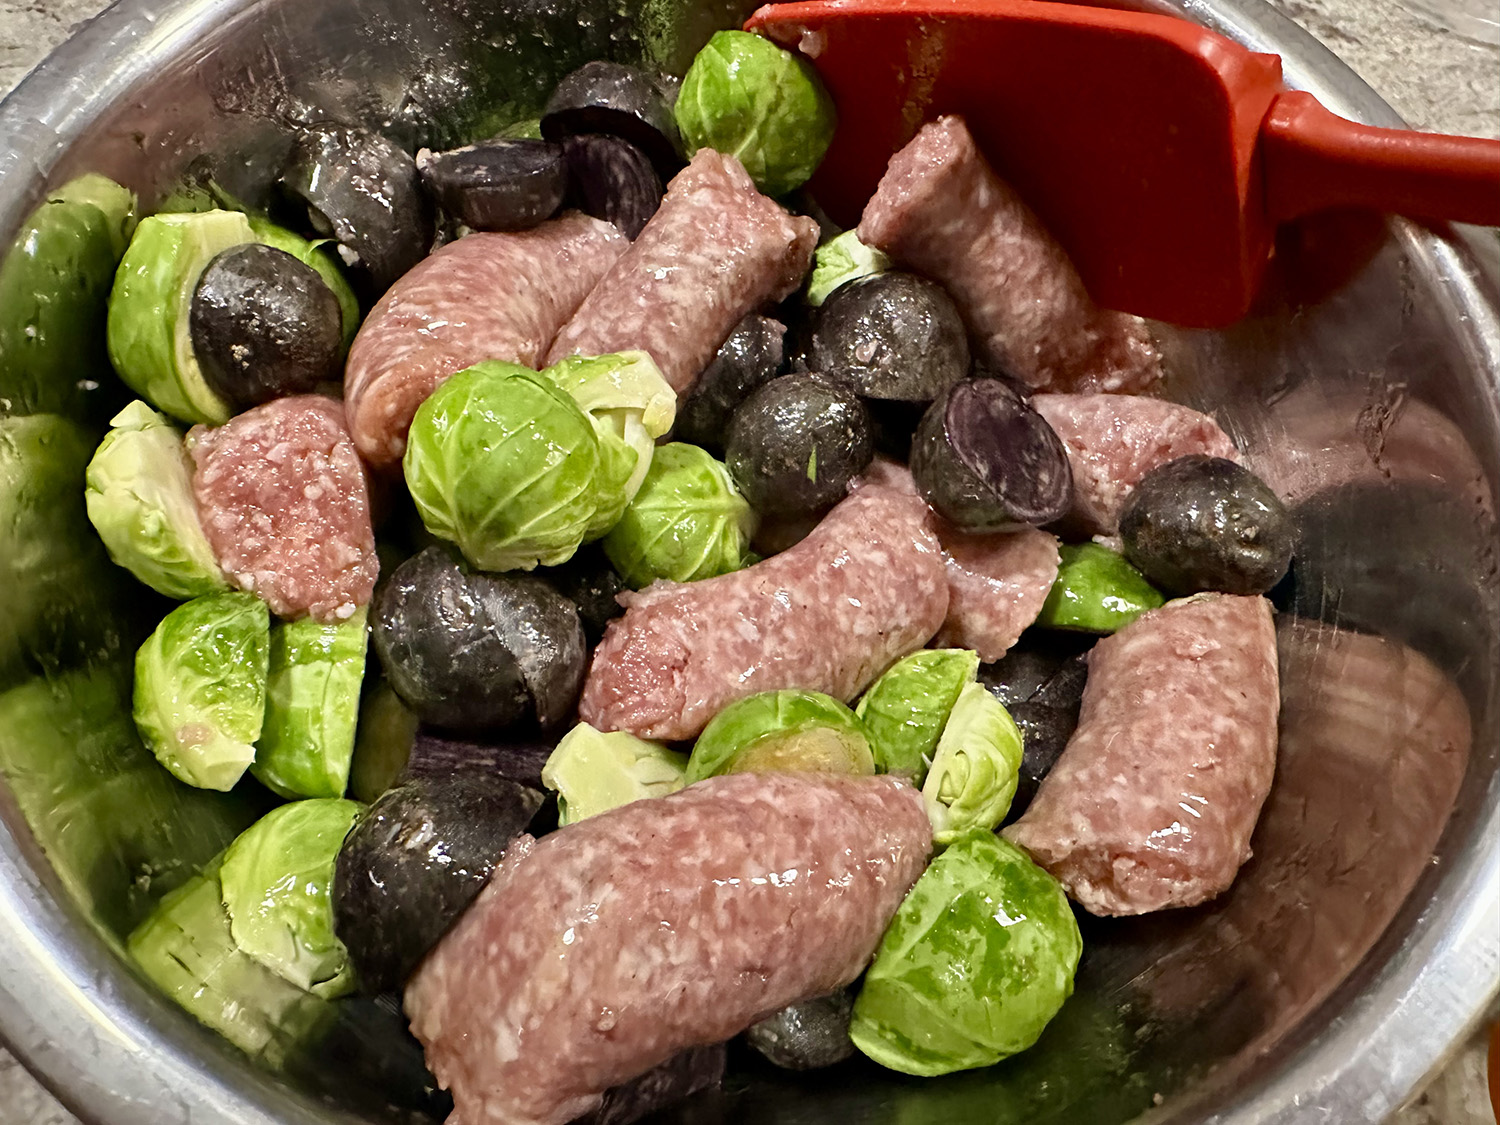
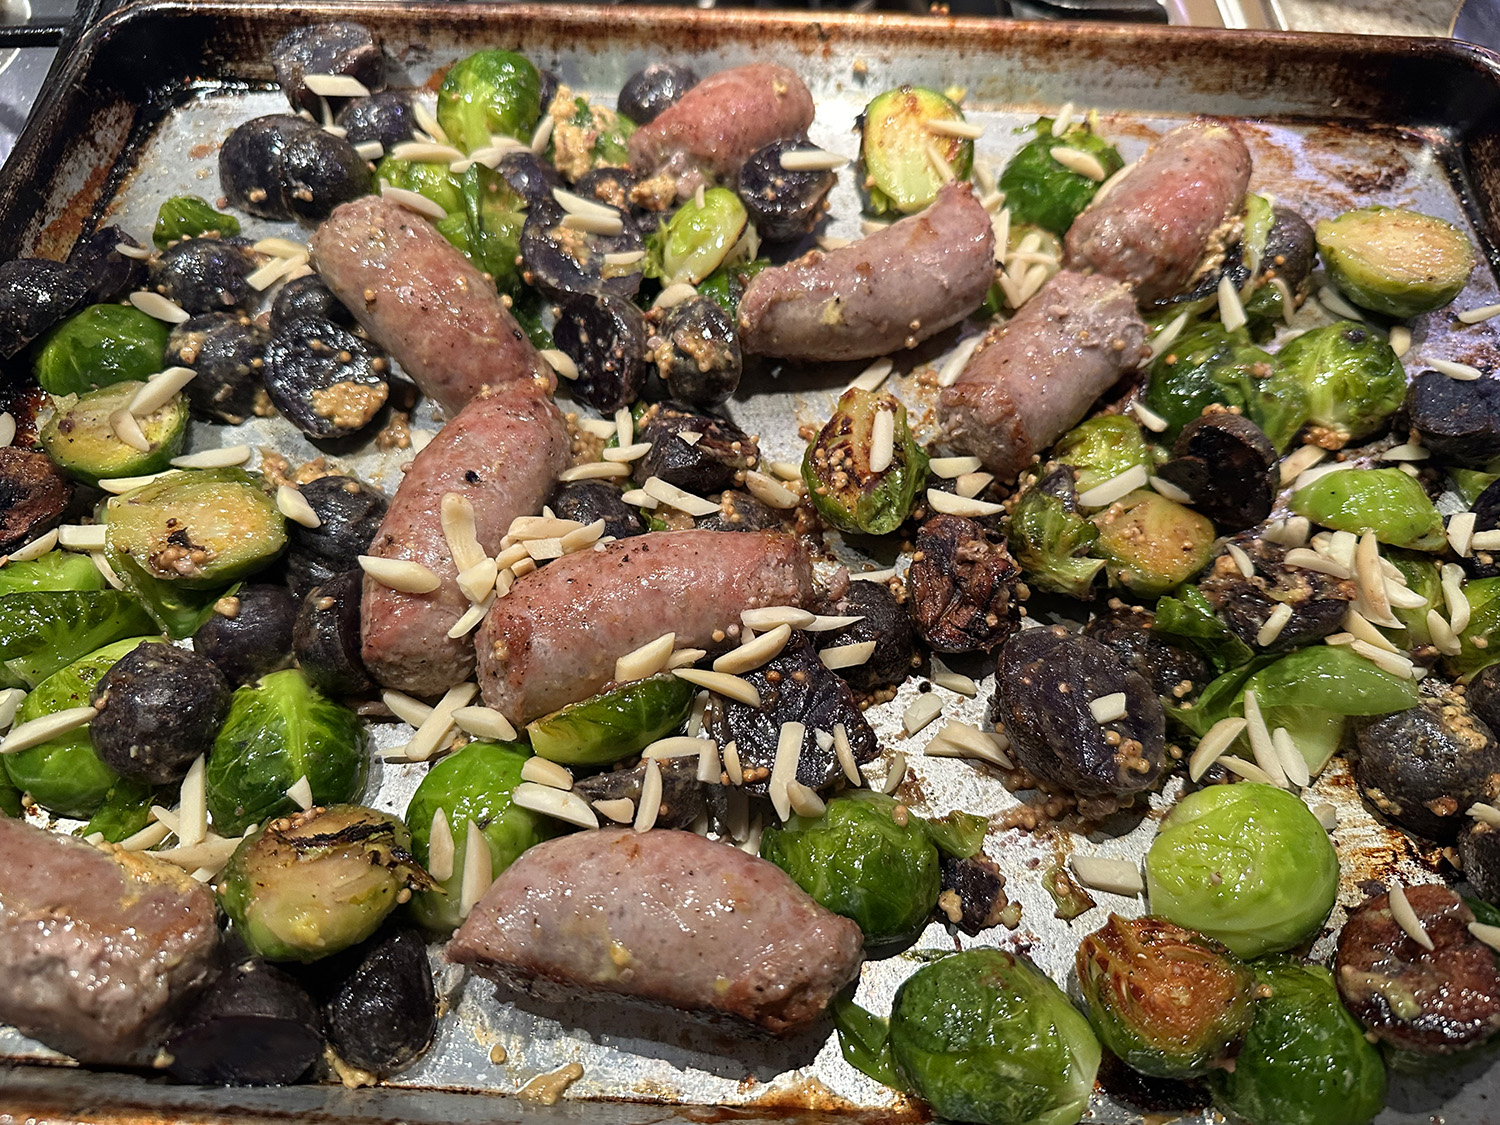
Our potatoes may look charred in the photo, but they were actually baby purple spuds that hold their deep coloring all the way through. As mentioned, you can substitute, or add vegetables that appeal to your own preferences.
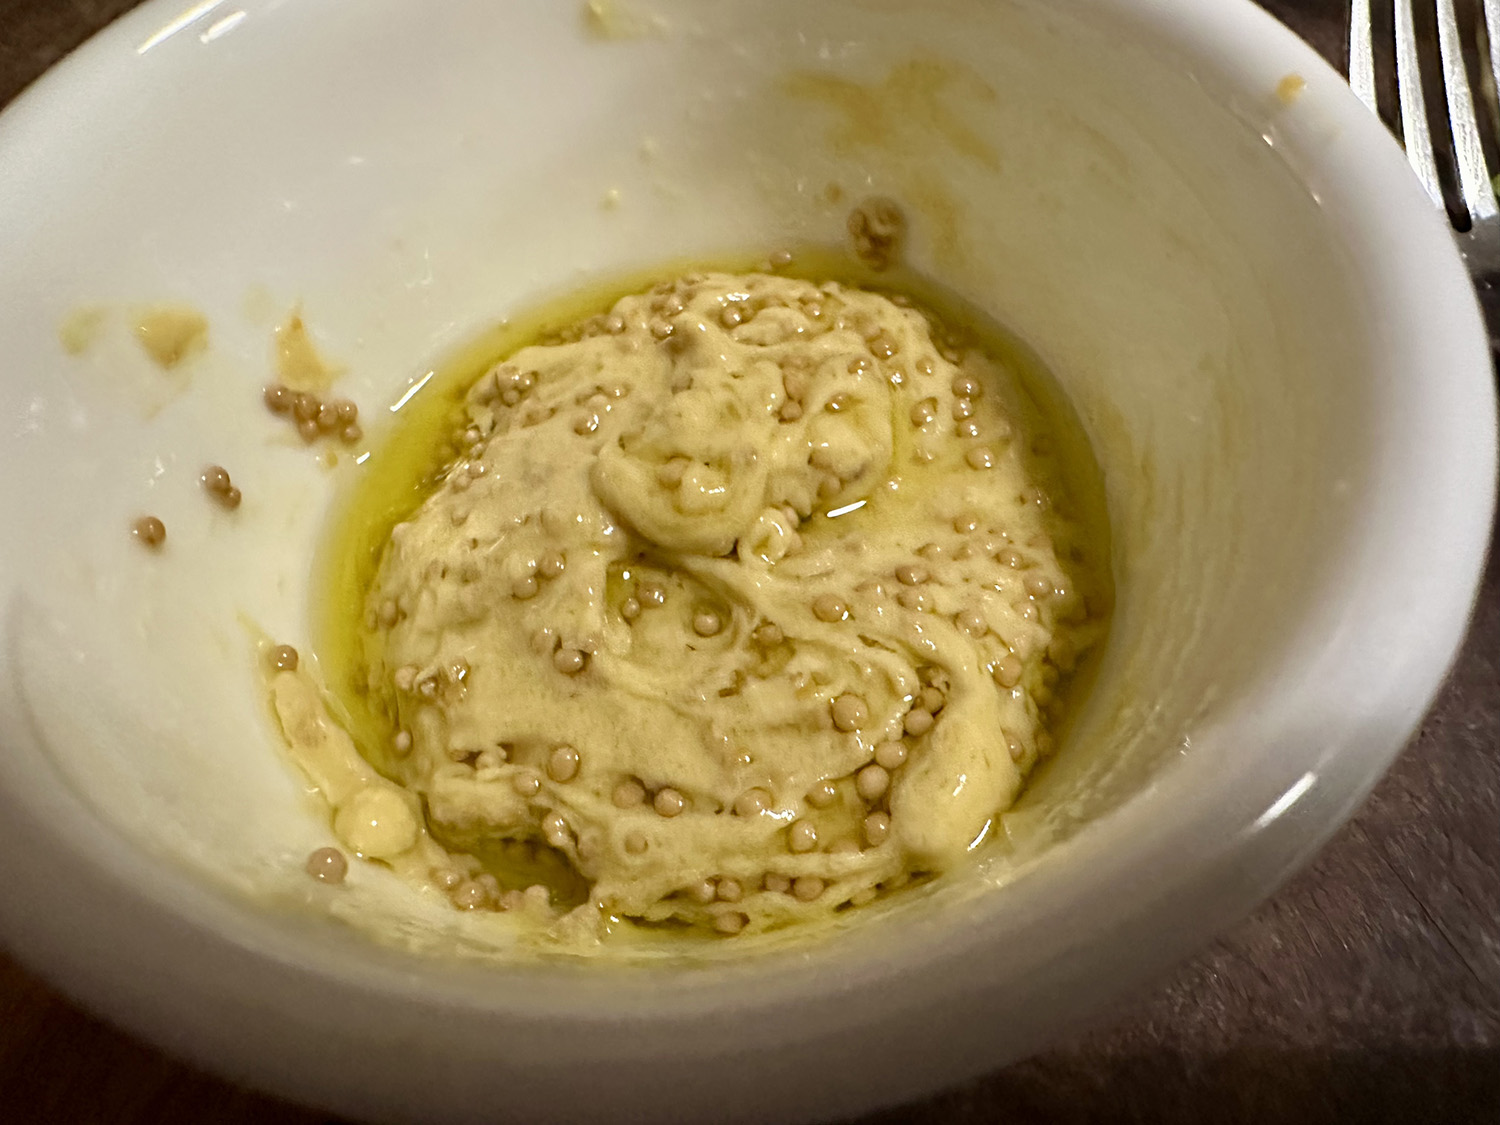
As many other reviewers noted, they would double the honey mustard mix to fully coat all of the ingredients. We agree. An increase by half to 1 1/2 pounds of sausage could be beneficial especially for those meat-centric foodies. We also served additional Dijon mustard on the side.

Sheet-Pan Sausages and Brussels Sprouts with Honey Mustard
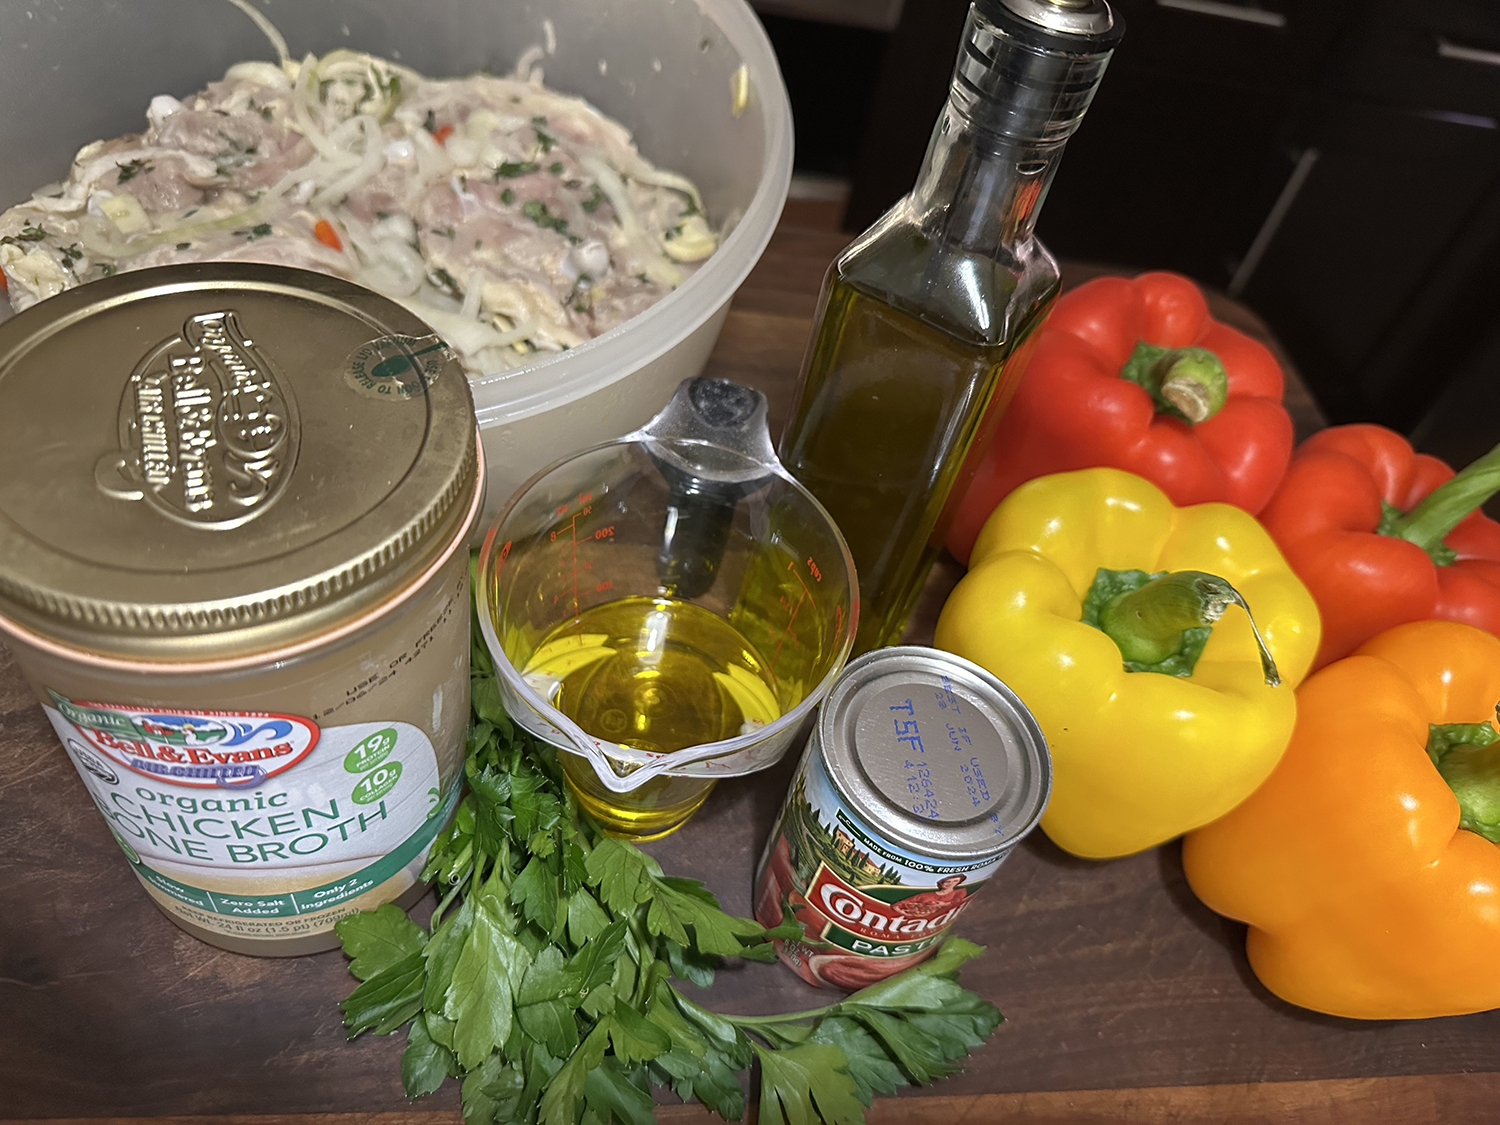
Ingredients
- 1 lb. fresh sausage, such as sweet or hot Italian, or bratwurst
- 1 lb. Brussels sprouts, trimmed and halved lengthwise
- 1 lb. small potatoes, like baby Yukon gold, purple or red potatoes, halved
- 2 Tbsp. extra-virgin olive oil, plus more as needed
- Kosher salt and black pepper
- 4 tsp. honey
- 1 Tbsp. Dijon mustard
- 1 Tbsp. yellow mustard seeds (optional)
- ¼ cup almonds or walnuts, chopped (optional)

Directions
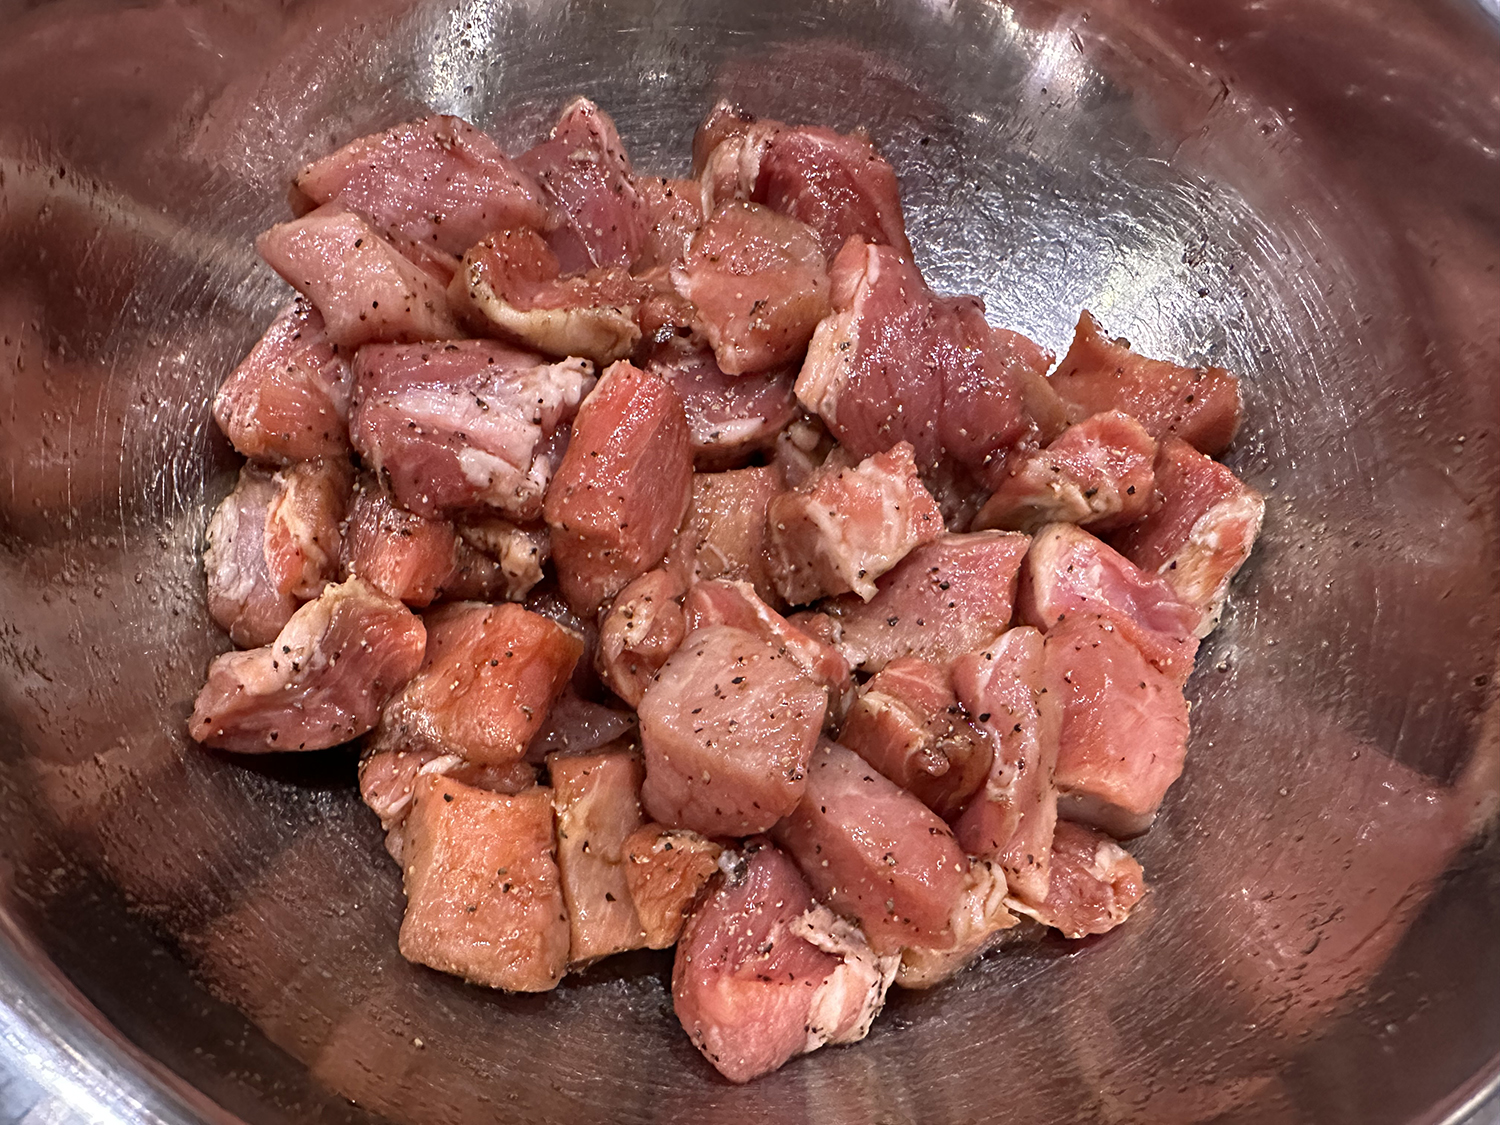
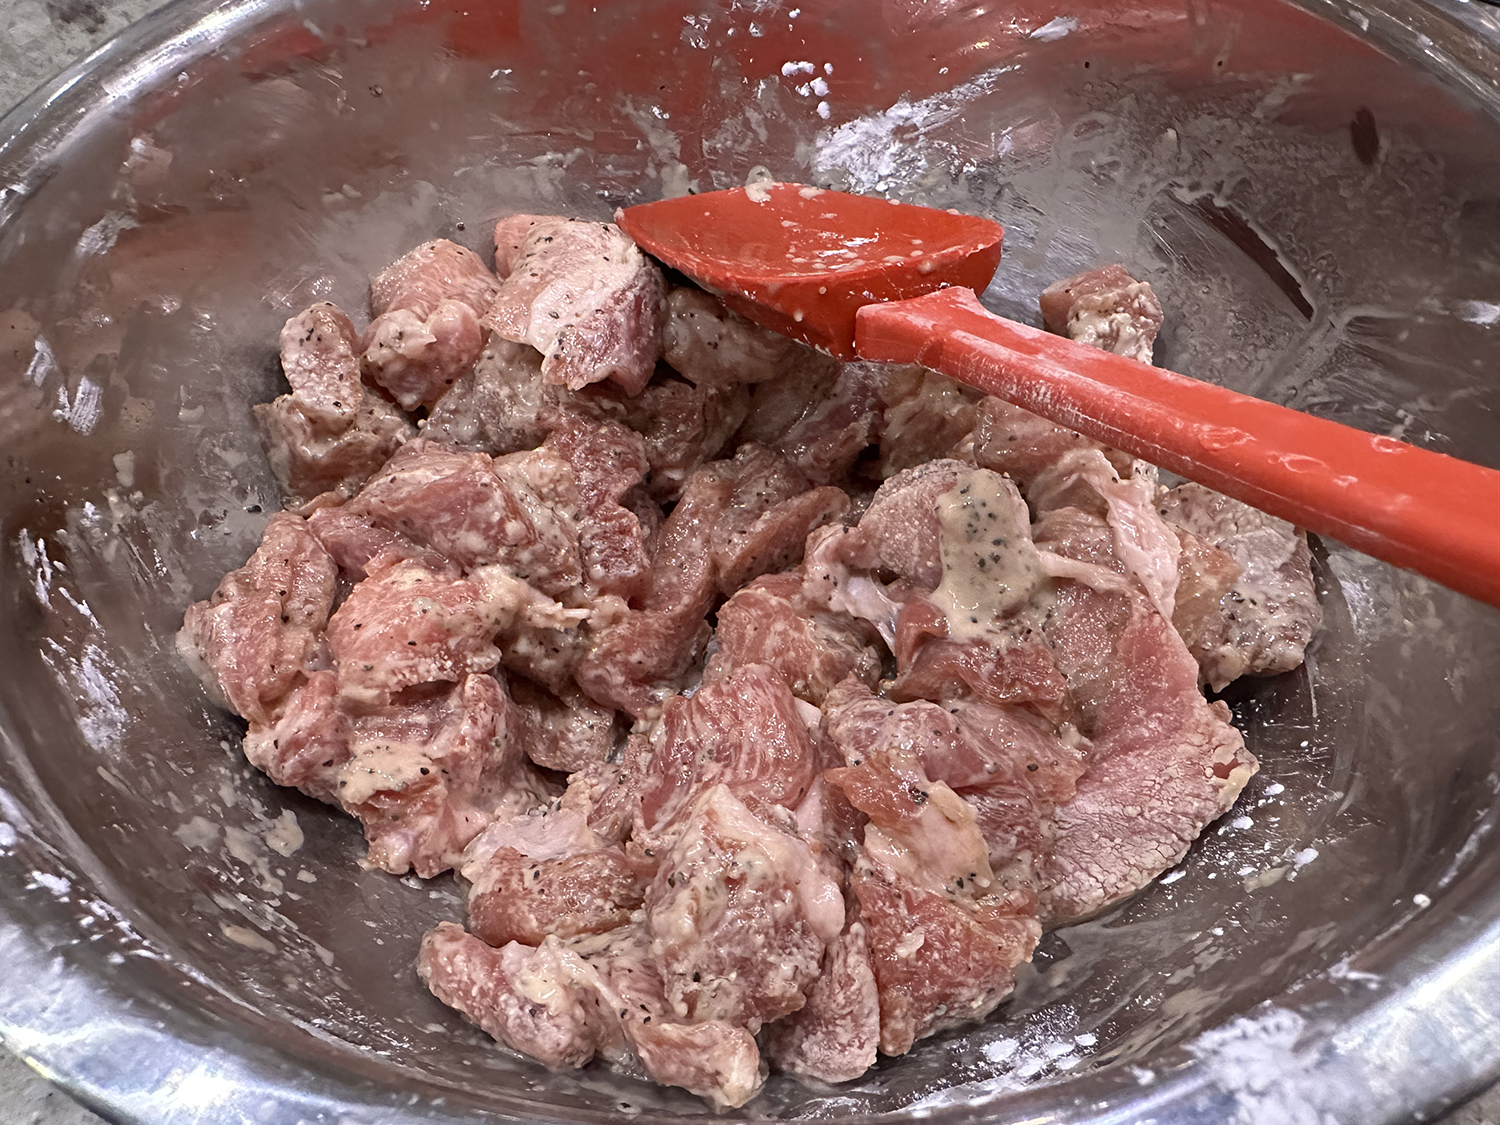
- Heat oven to 450 degrees, and place a sheet pan in the oven. Score the sausages in a few places on both sides, making sure not to cut all the way through. Transfer to a large bowl with the brussels sprouts, potatoes and 2 tablespoons olive oil, and stir until coated. (If the mixture seems dry, add a little more oil.) Season with salt and pepper.
- Spread the mixture in an even layer on the heated baking sheet, and arrange the vegetables cut-sides down. Roast 15 minutes, until the brussels sprouts and potatoes start to soften. (The sausages will not be cooked through yet.)
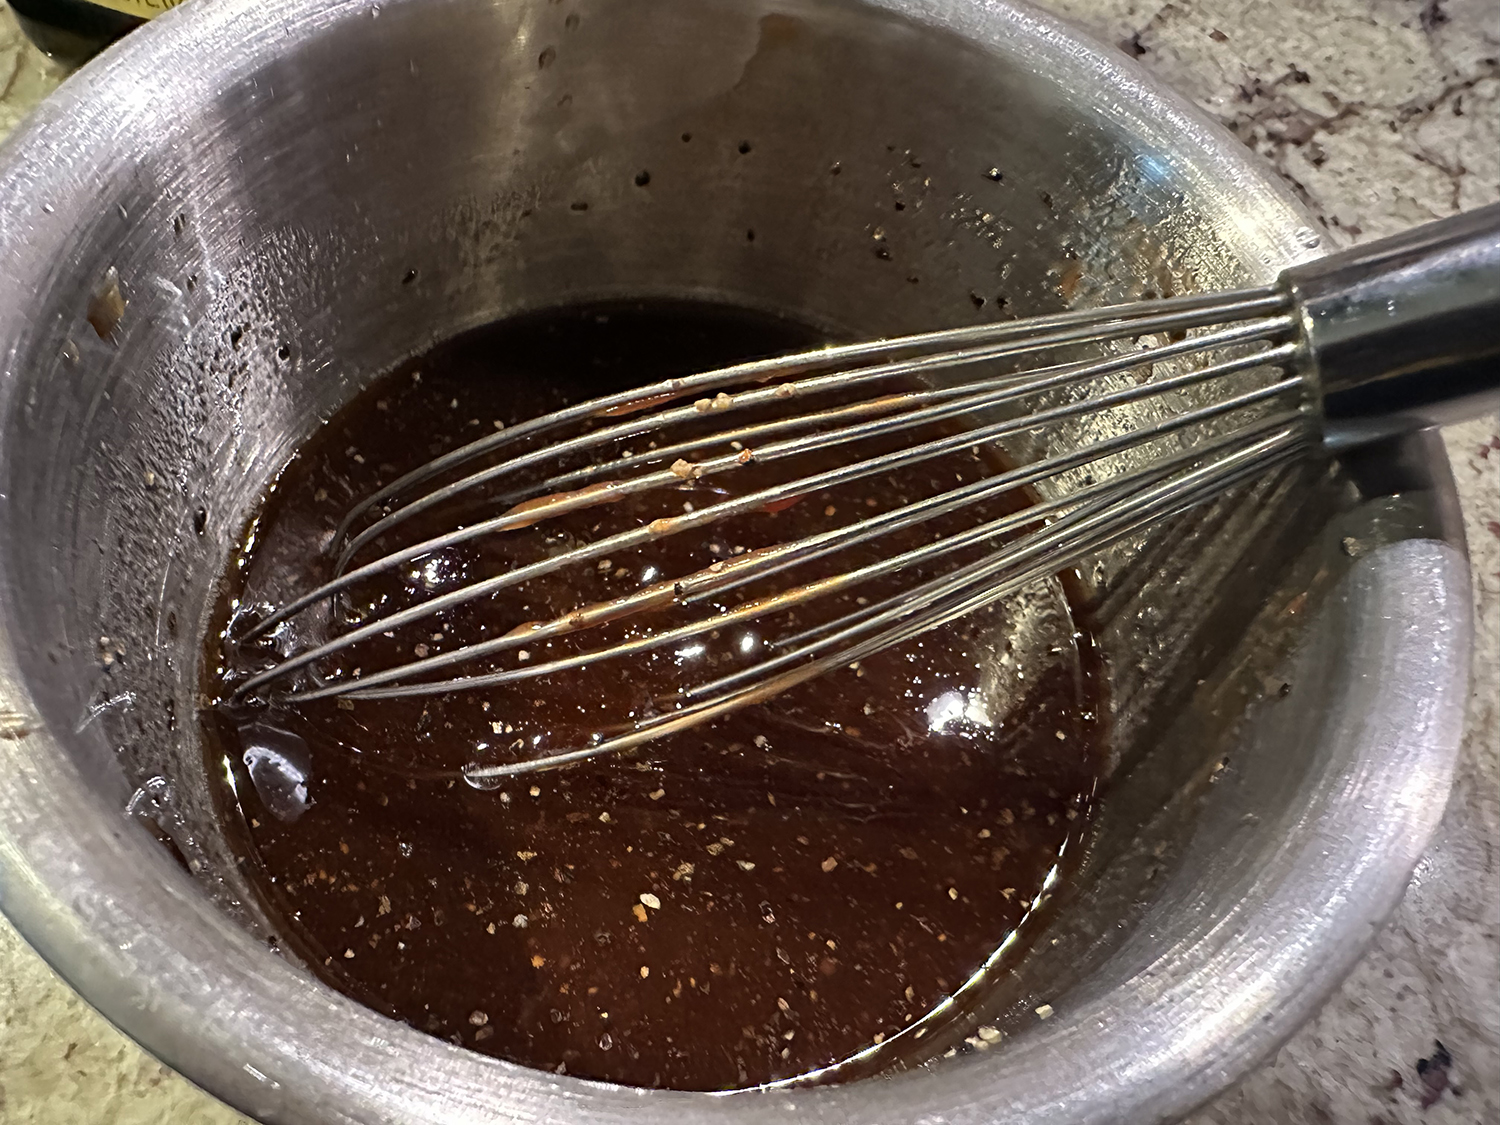
- Meanwhile, in a small bowl, stir together the honey, mustard and mustard seeds, if using.
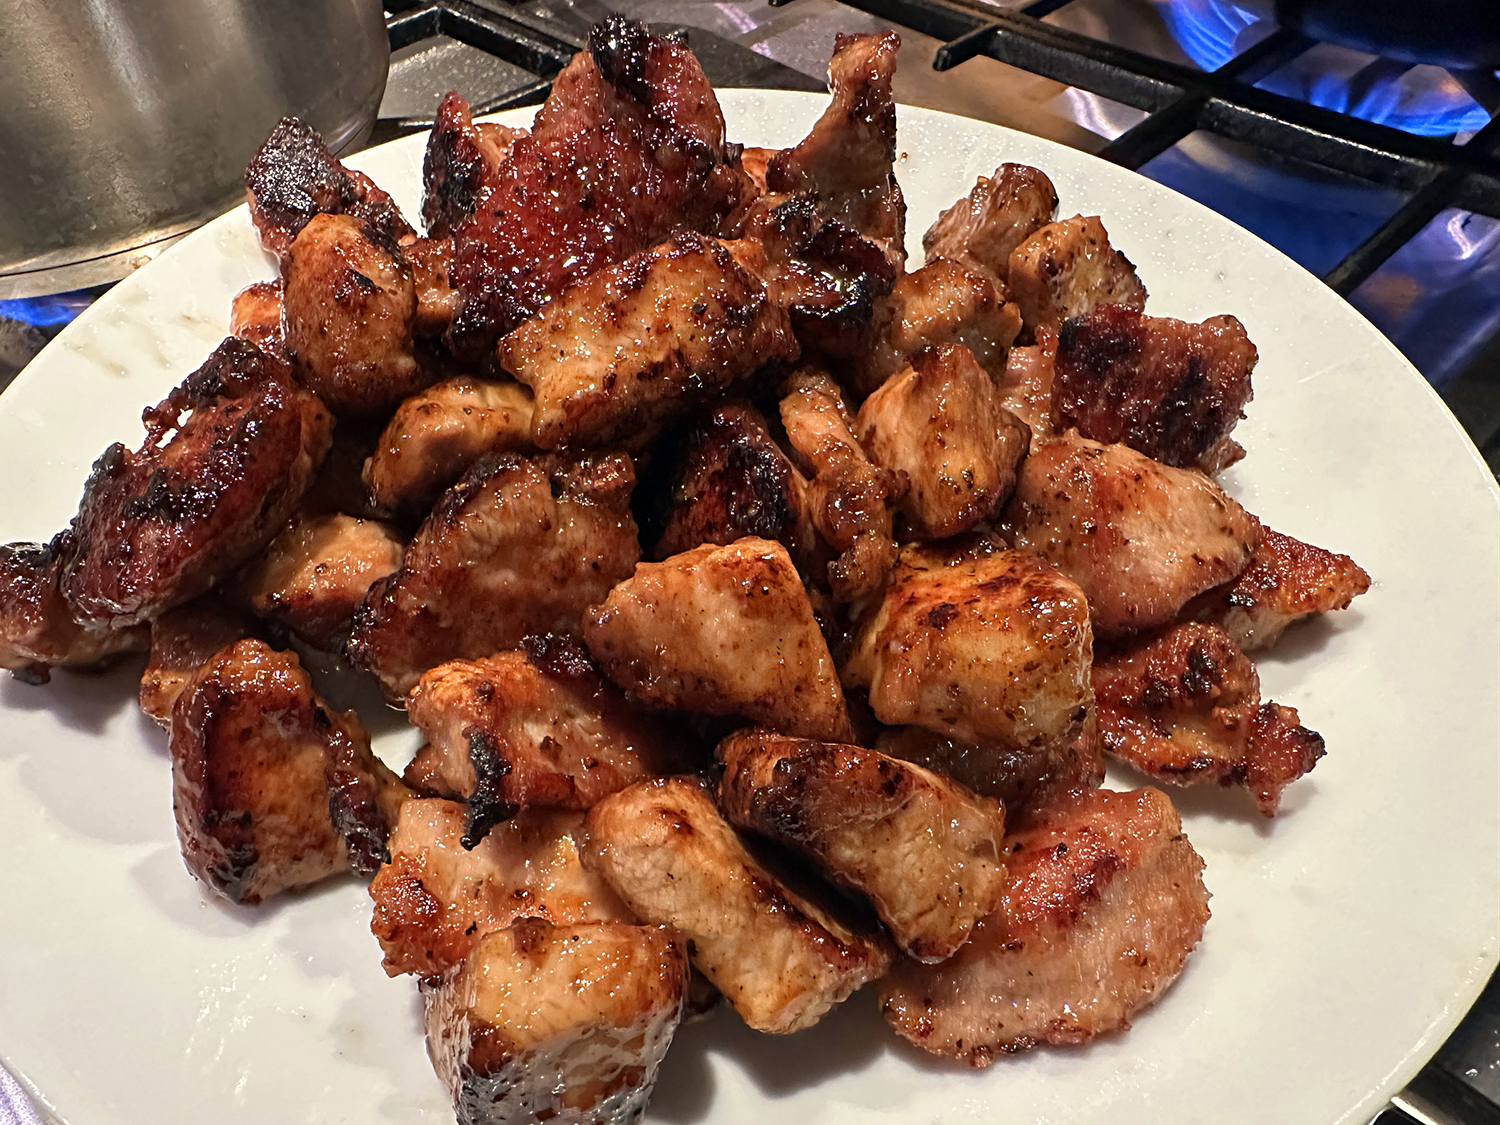
- Drizzle the honey mustard over the sausages and vegetables, and toss or shake to coat. Flip the sausages. Sprinkle with almonds, if using. Roast until the sausages are cooked through and the vegetables are golden and tender, another 10 minutes or so. Season to taste with salt and pepper.
Recipe by Ali Slagle for NYTimes Cooking