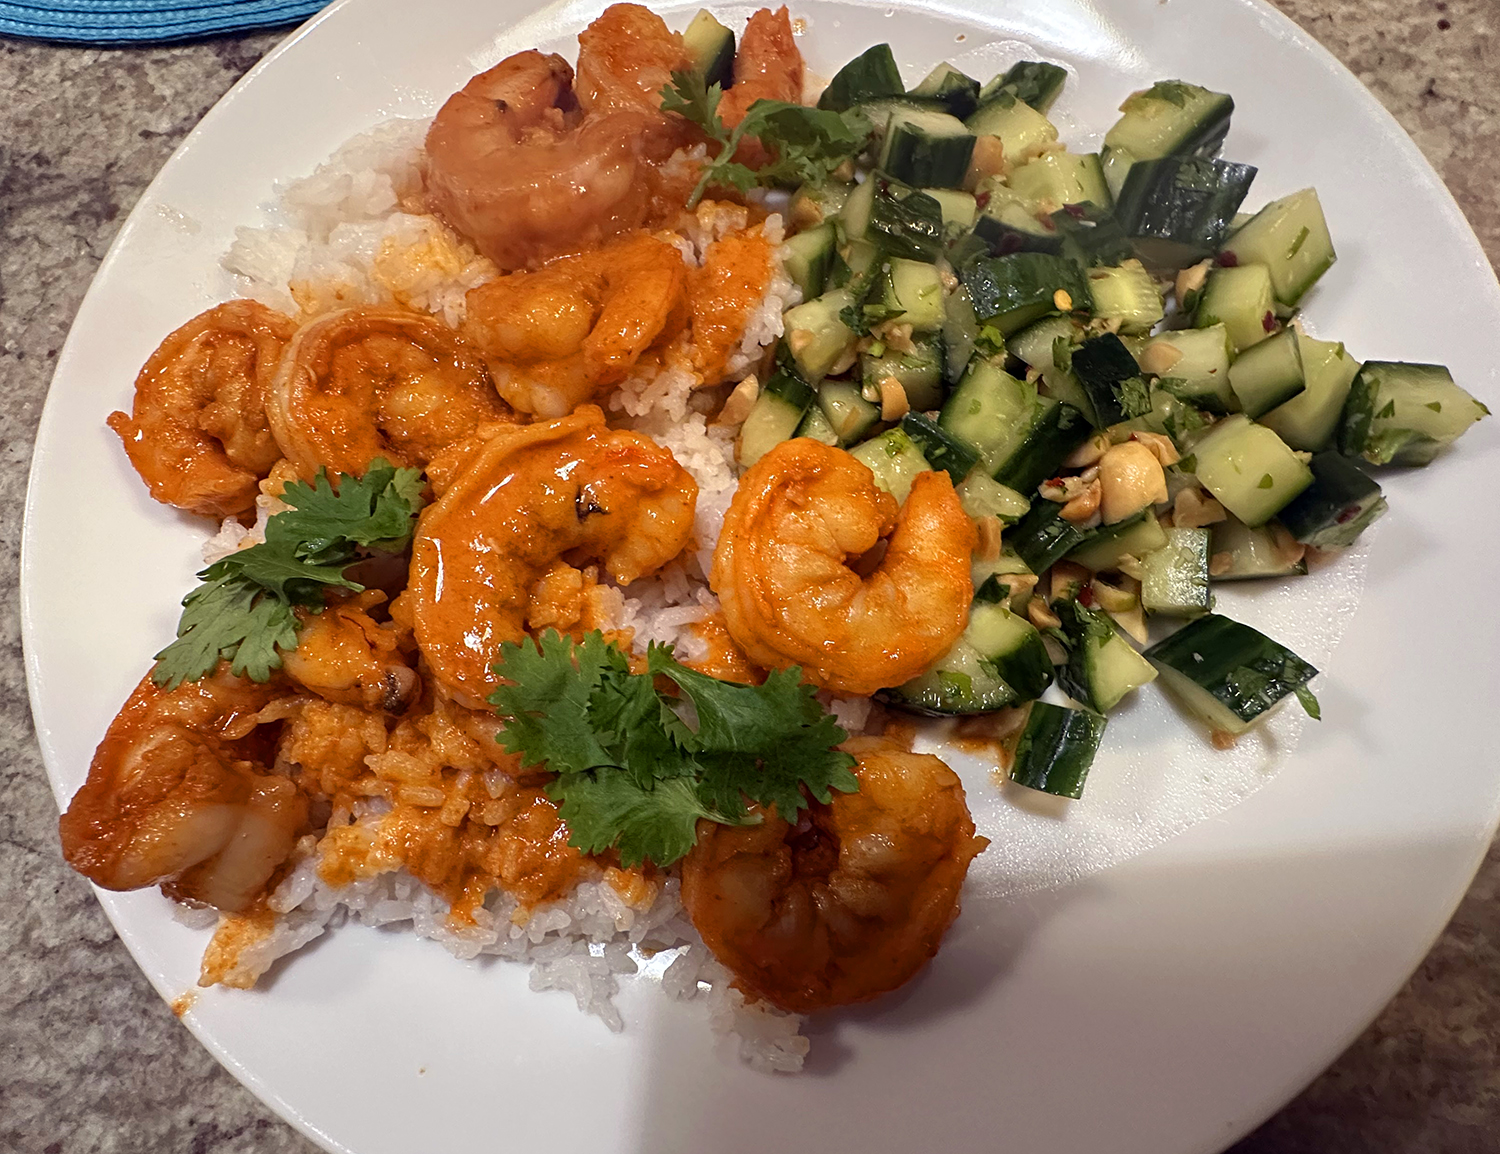
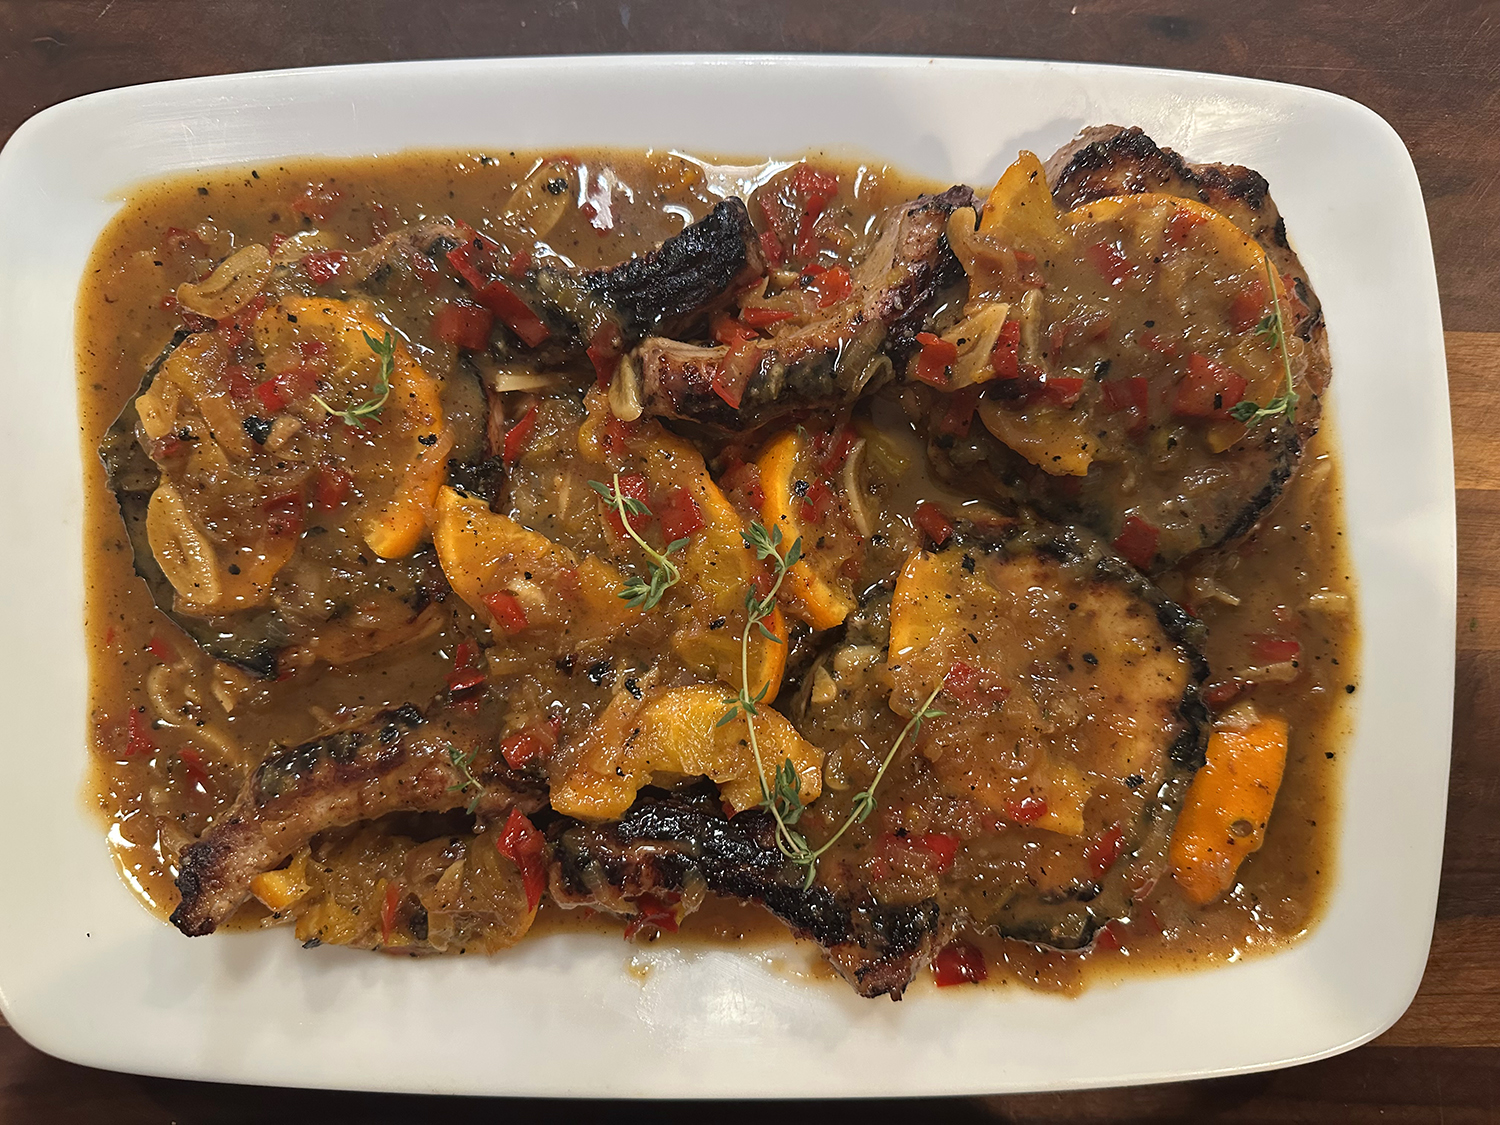
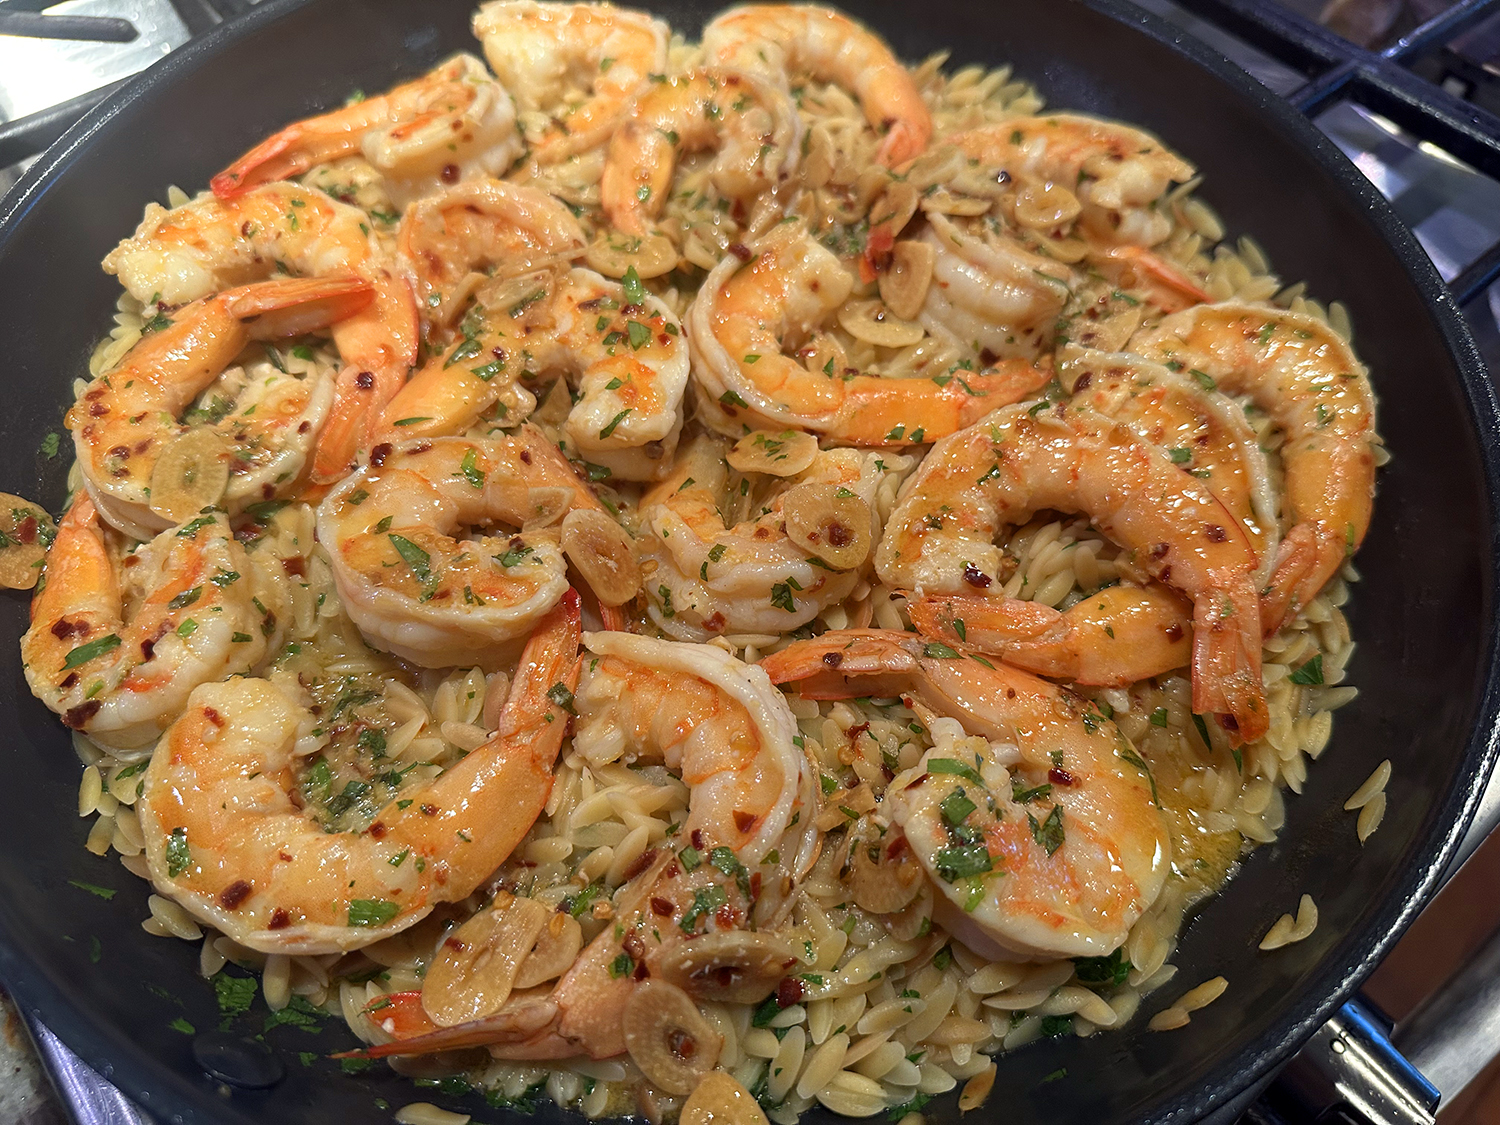
For a delicious and simple one-dish dinner, this lemony shrimp scampi is served over a bed of tarragon-and-parsley-flecked orzo. Lightly toast the orzo before simmering to impart a faint nutty flavor and toasty aroma.
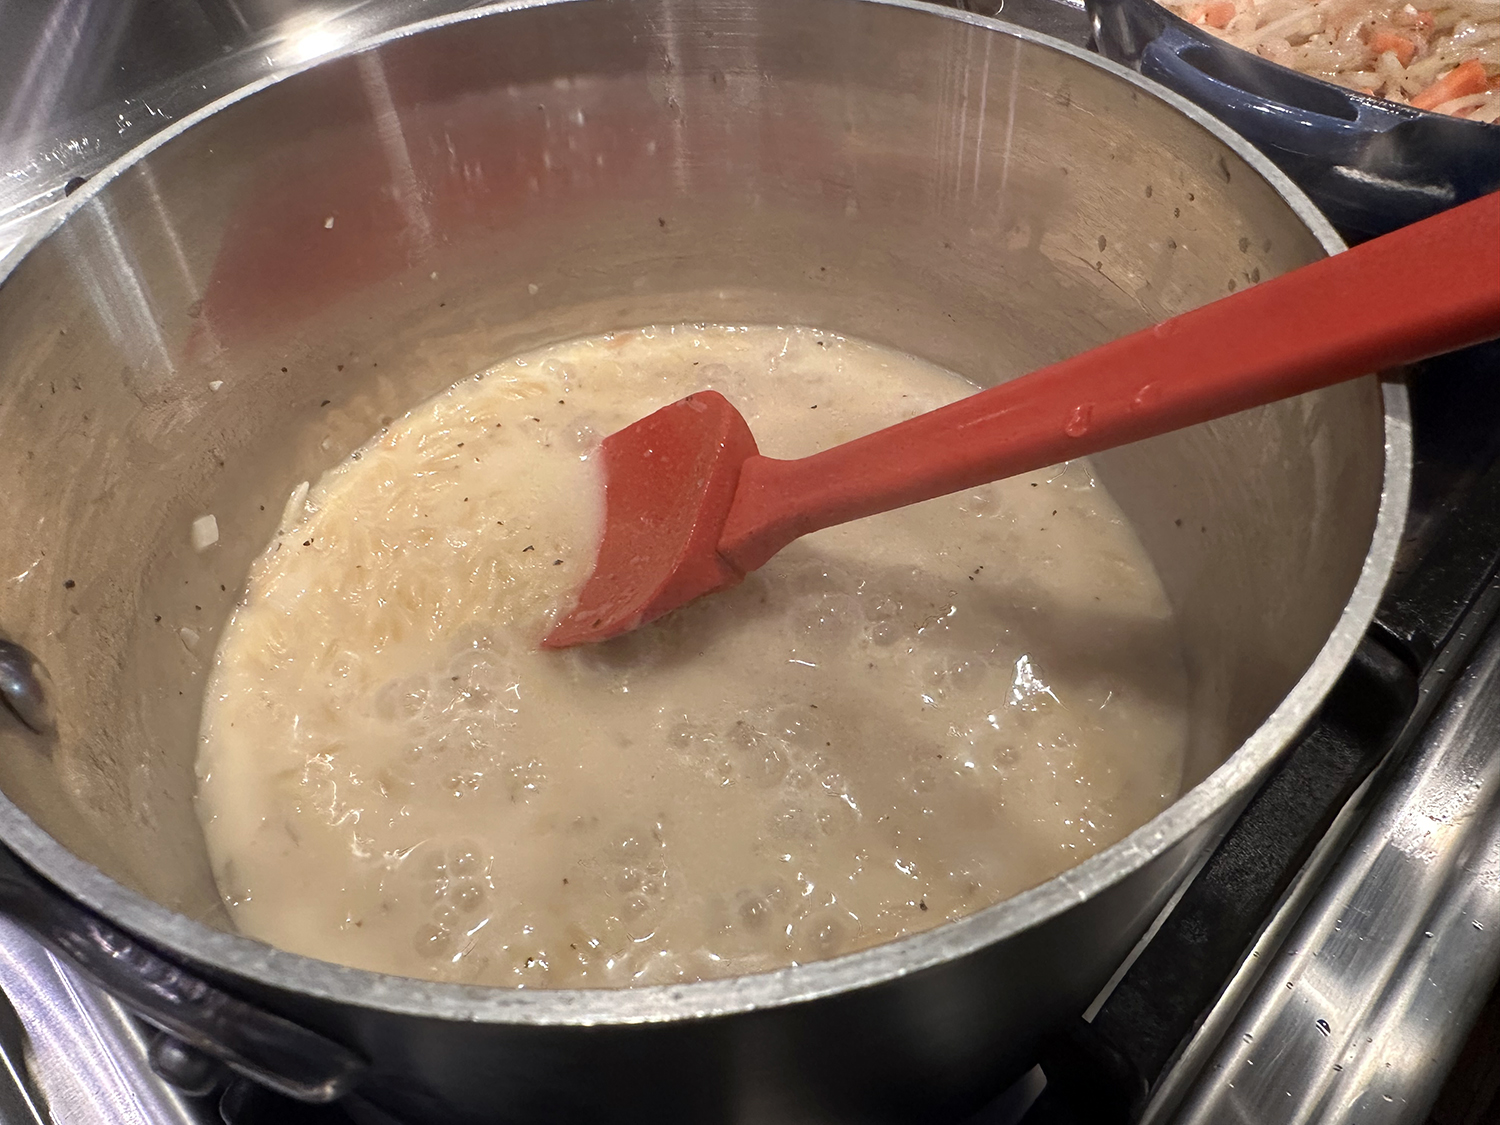
The orzo will continue to absorb some liquid after you add the shrimp and re-cover, so don’t worry if it still looks a little soupy when you take it off the heat — you don’t want the skillet to be completely dry.
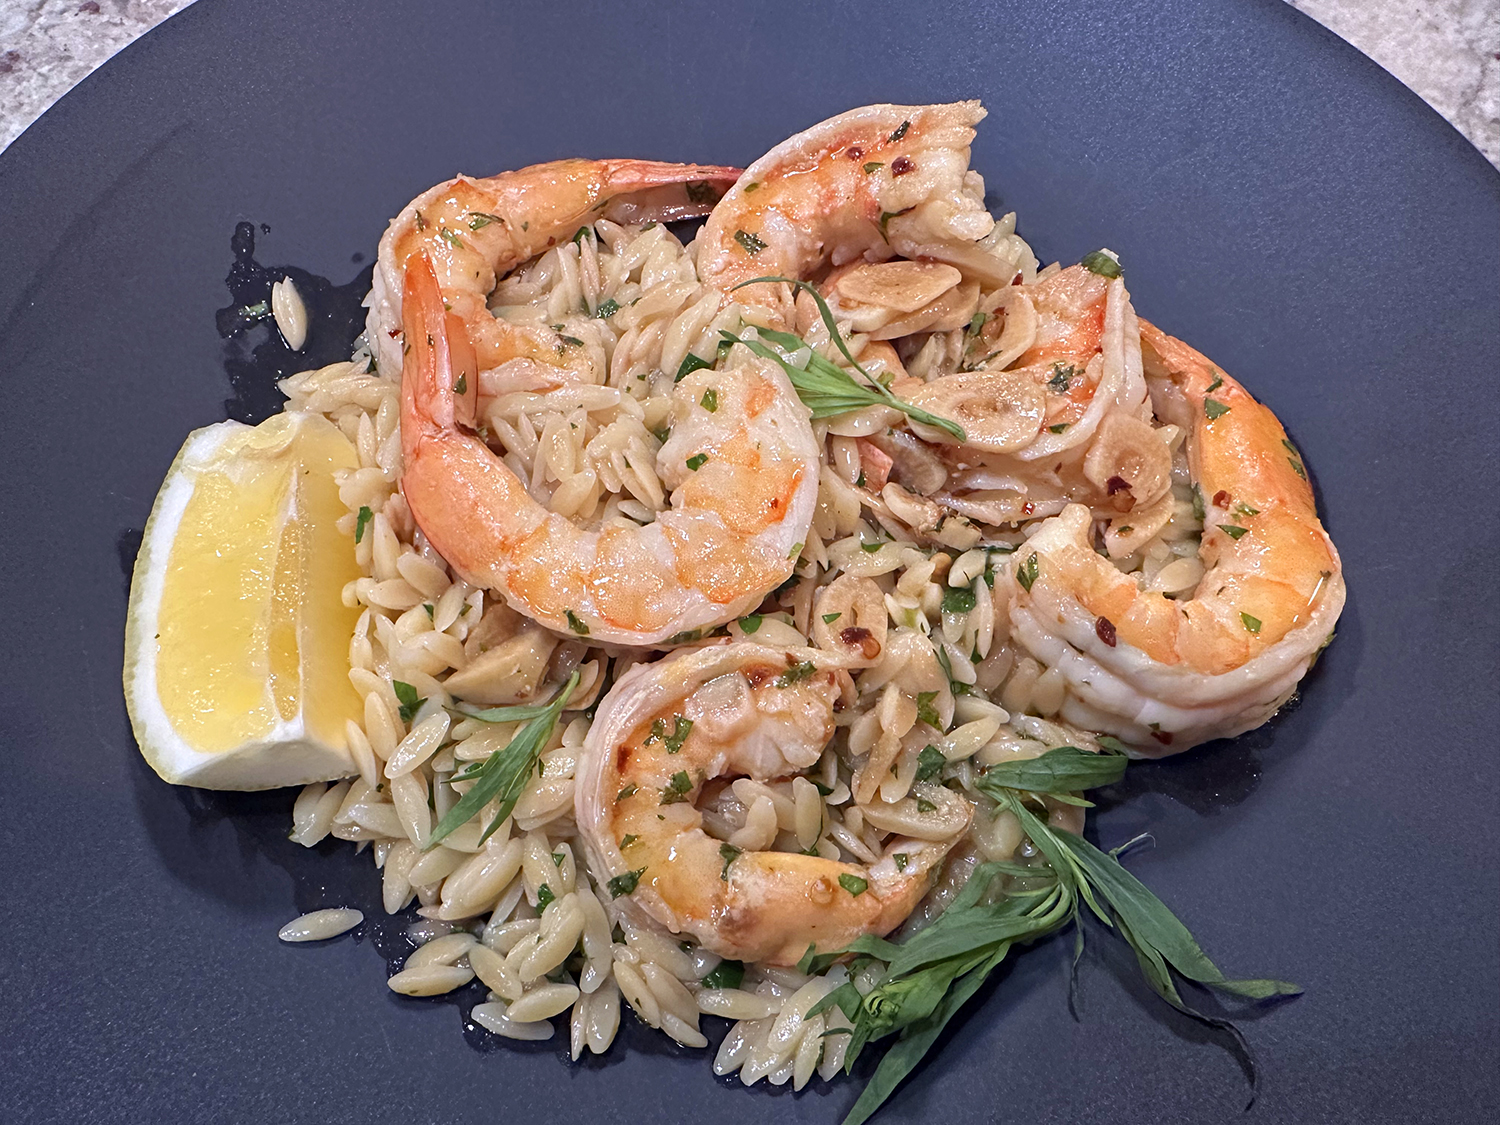
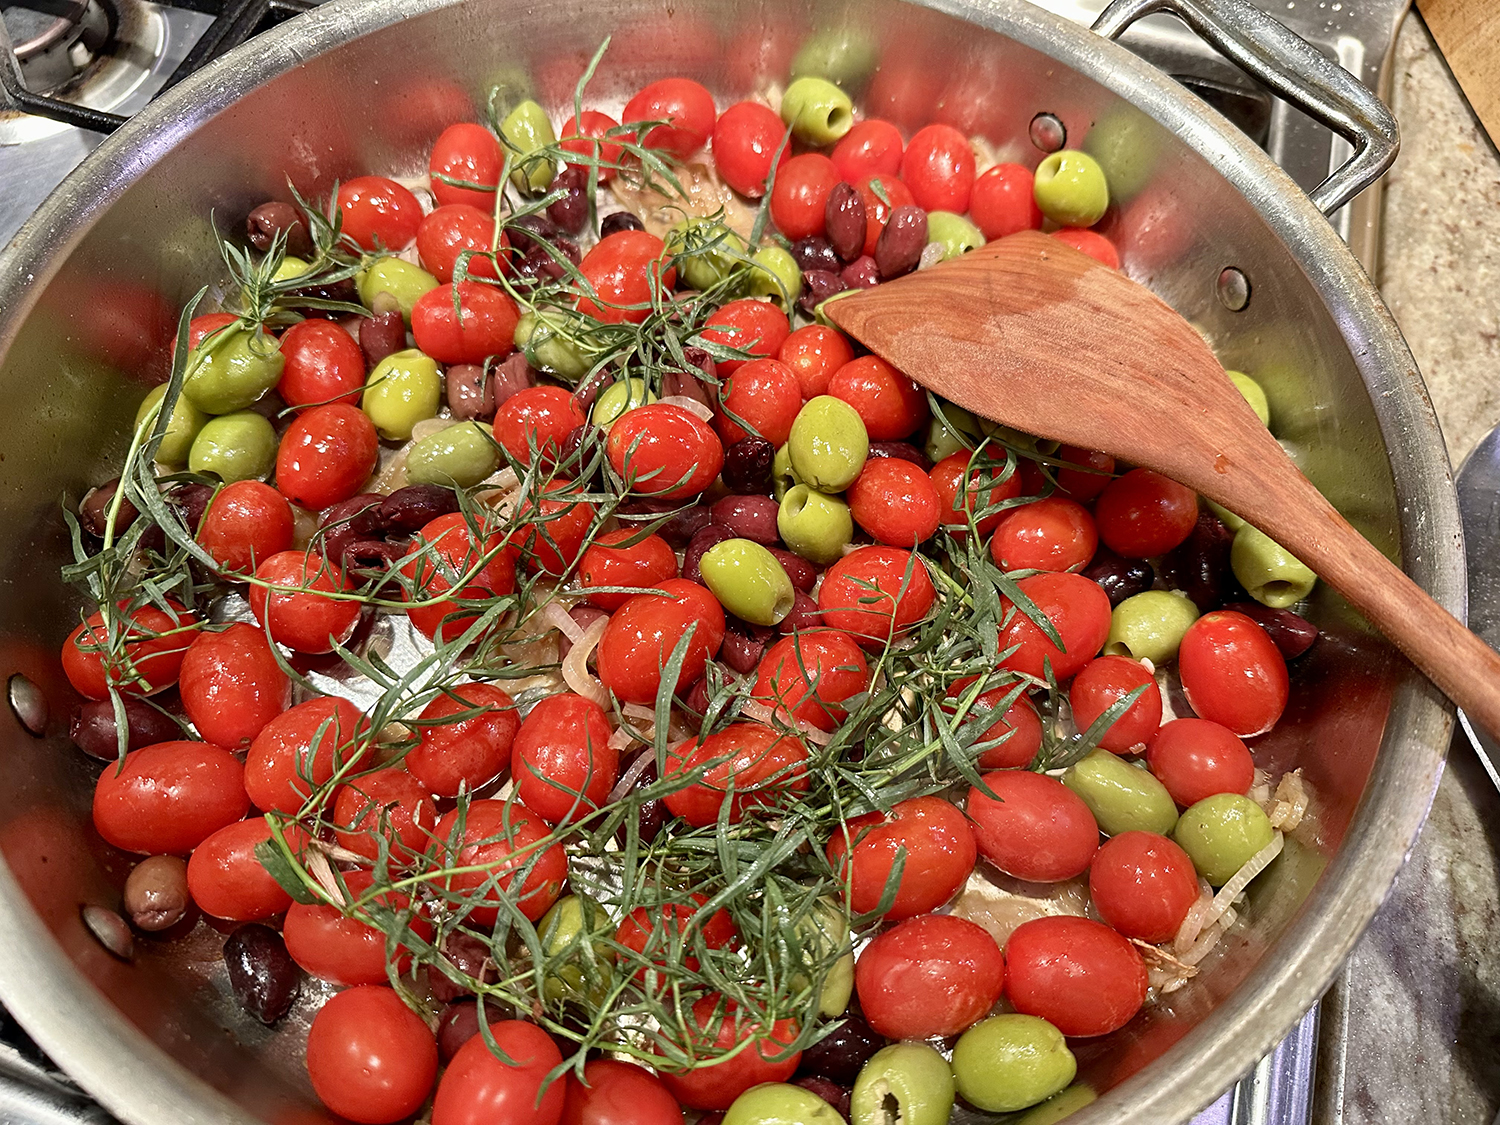
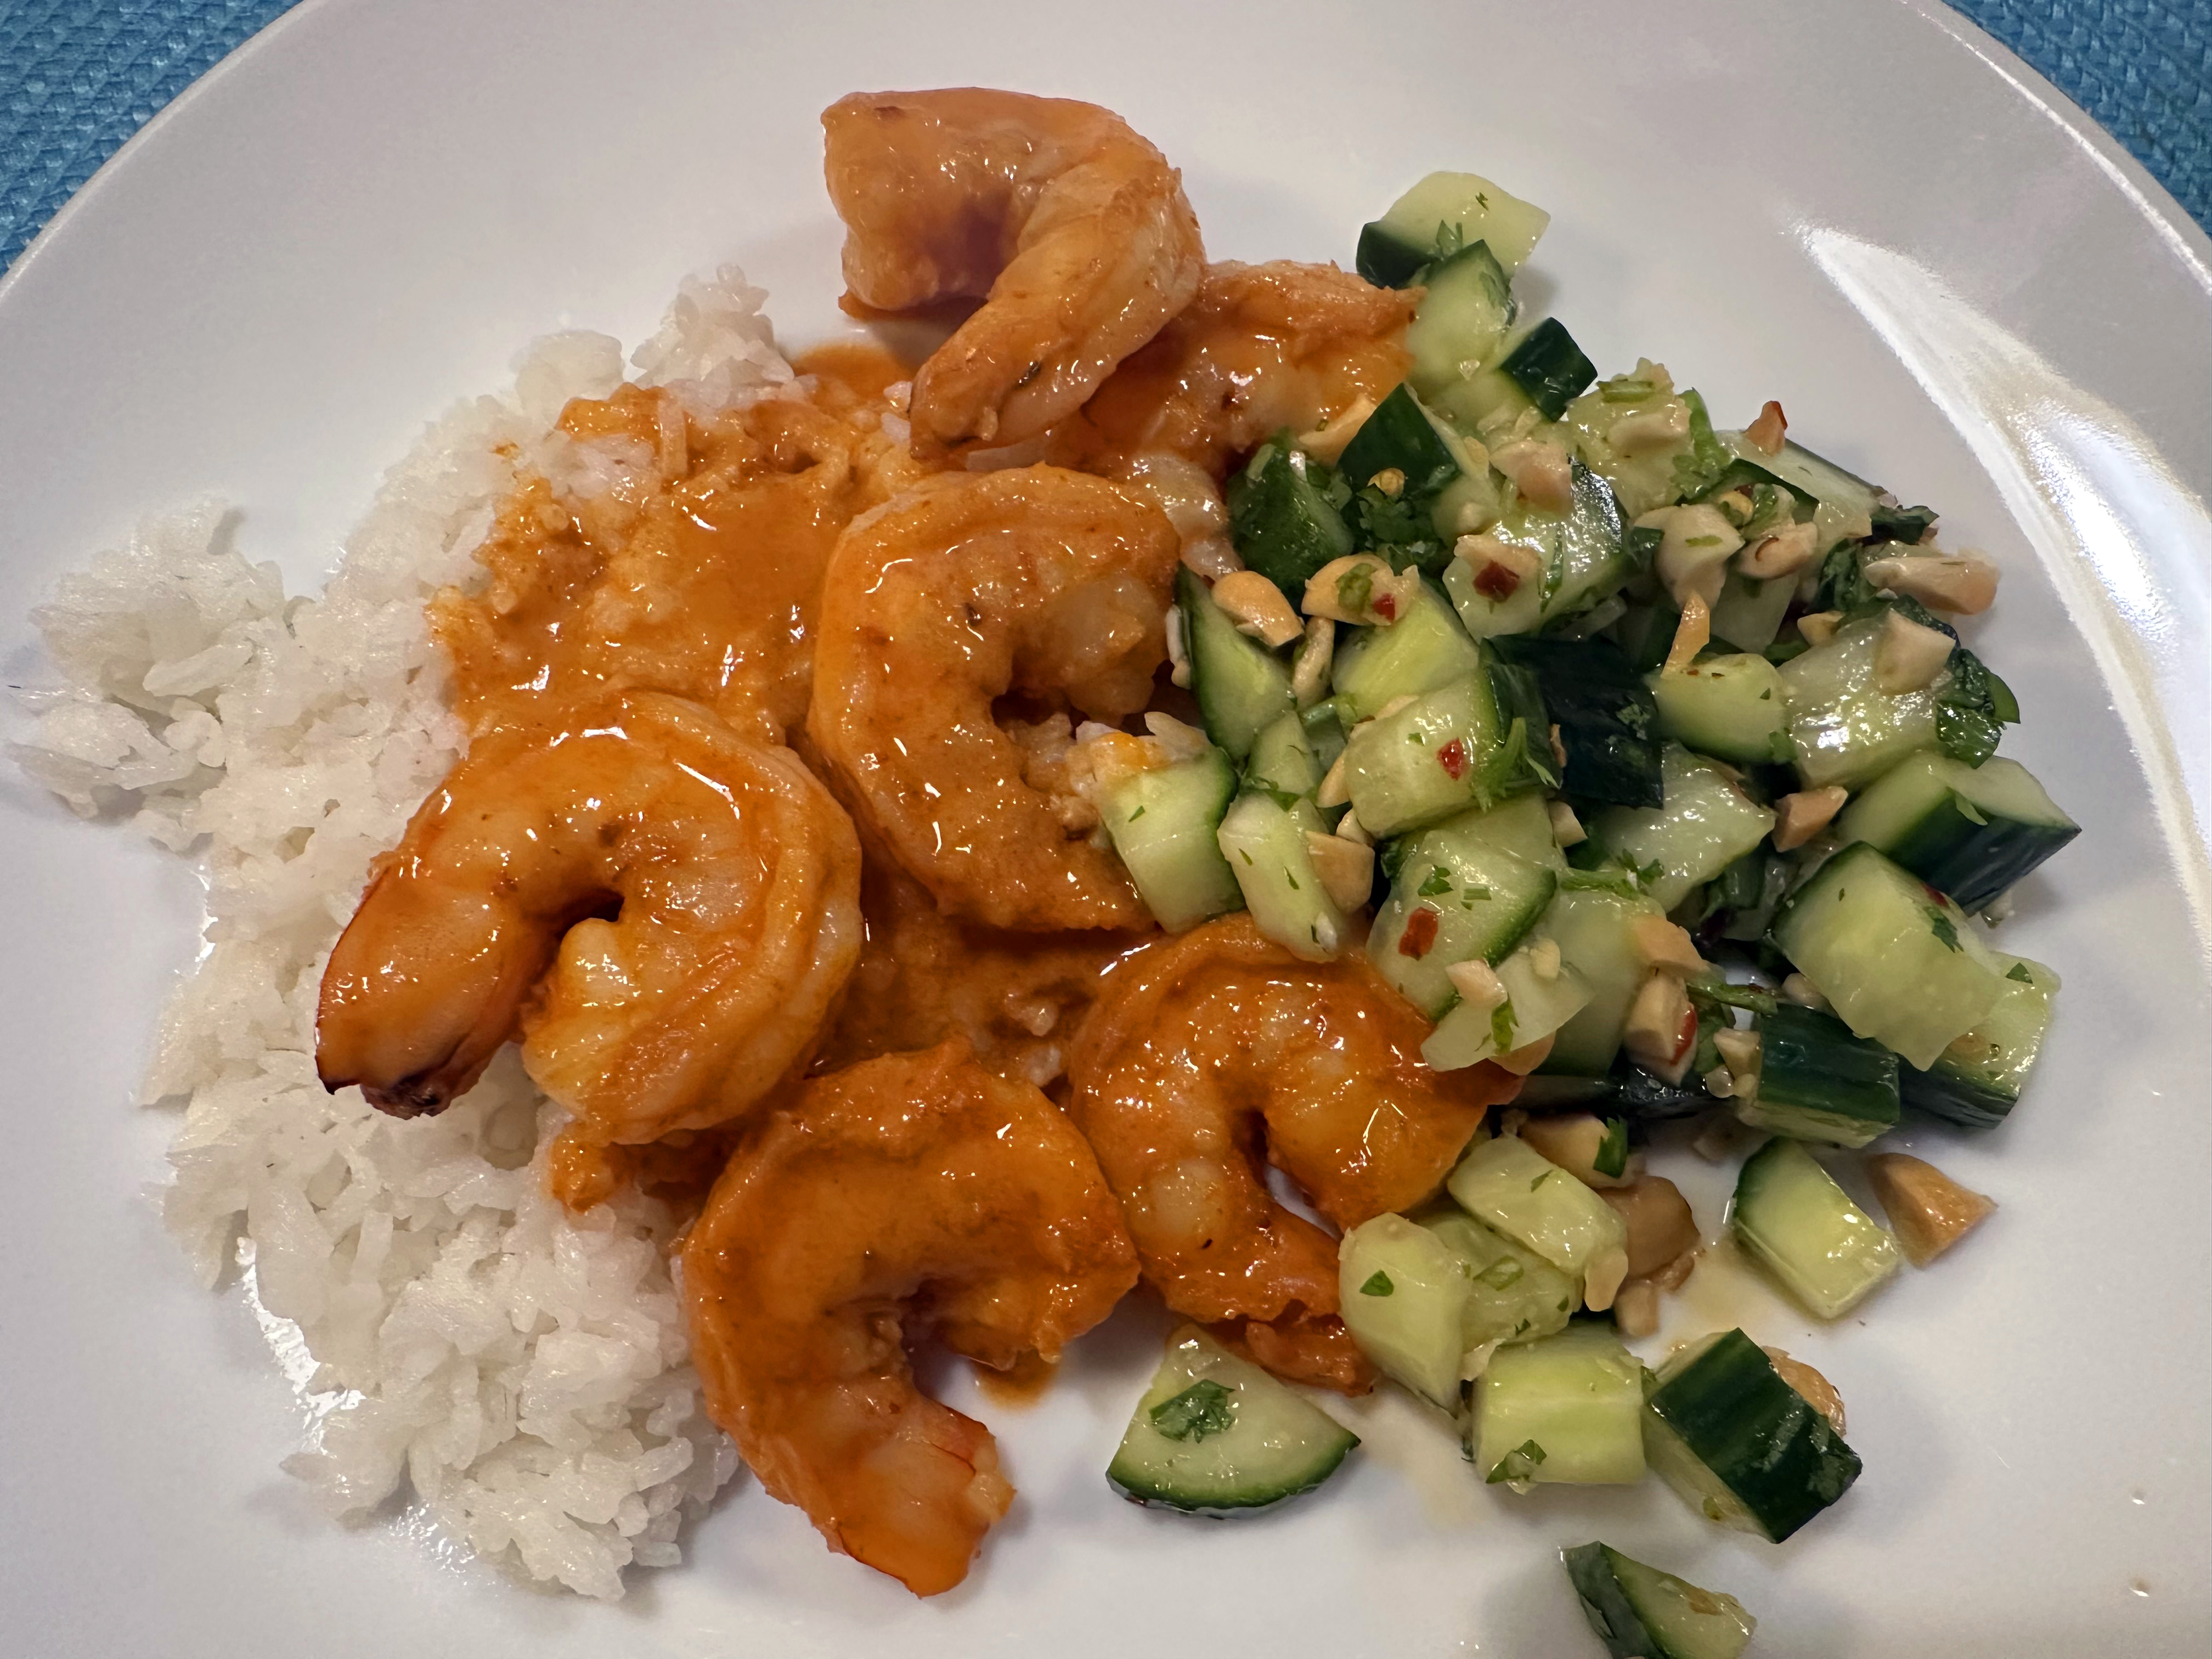
Fresh tarragon brings an anise-like pop of flavor to the classic garlicky white wine sauce in this version of shrimp scampi. Serve the shrimp over creamy, herb-flecked orzo, or crusty bread if you are short on time. The Hubs suggested if you dislike tarragon, use cilantro instead and swap out the lemon juice and zest with lime for a Mexican riff.
F&W suggests you might pair this one-skillet dish with with a fresh, crunchy side, such as Celery and Apple Salad or Wedge Salad with Candied Bacon.
*Since we had homemade shellfish stock on hand, we used it instead of chicken stock. This makes the dish pescatarian.
Lemon-Tarragon Shrimp Scampi with Orzo

Ingredients
- 1/4 cup unsalted butter
- 2 Tbsp. extra-virgin olive oil, divided
- 4 garlic cloves, thinly sliced
- 1/2 tsp. crushed red pepper
- 1/2 cup (4 oz.) dry white wine
- 1 tsp. kosher salt
- 1 tsp. grated lemon zest plus 1/4 cup fresh lemon juice (about 2 medium lemons),
- divided
- 1 lb. jumbo (16/20) peeled and deveined raw shrimp, tail-on
- 8 oz. orzo (about 1 1/3 cups)
- 2 cups chicken stock*
- 1 cup water
- 1/4 cup finely chopped fresh parsley
- 1 Tbsp. chopped fresh tarragon, divided, plus more for garnish


Directions
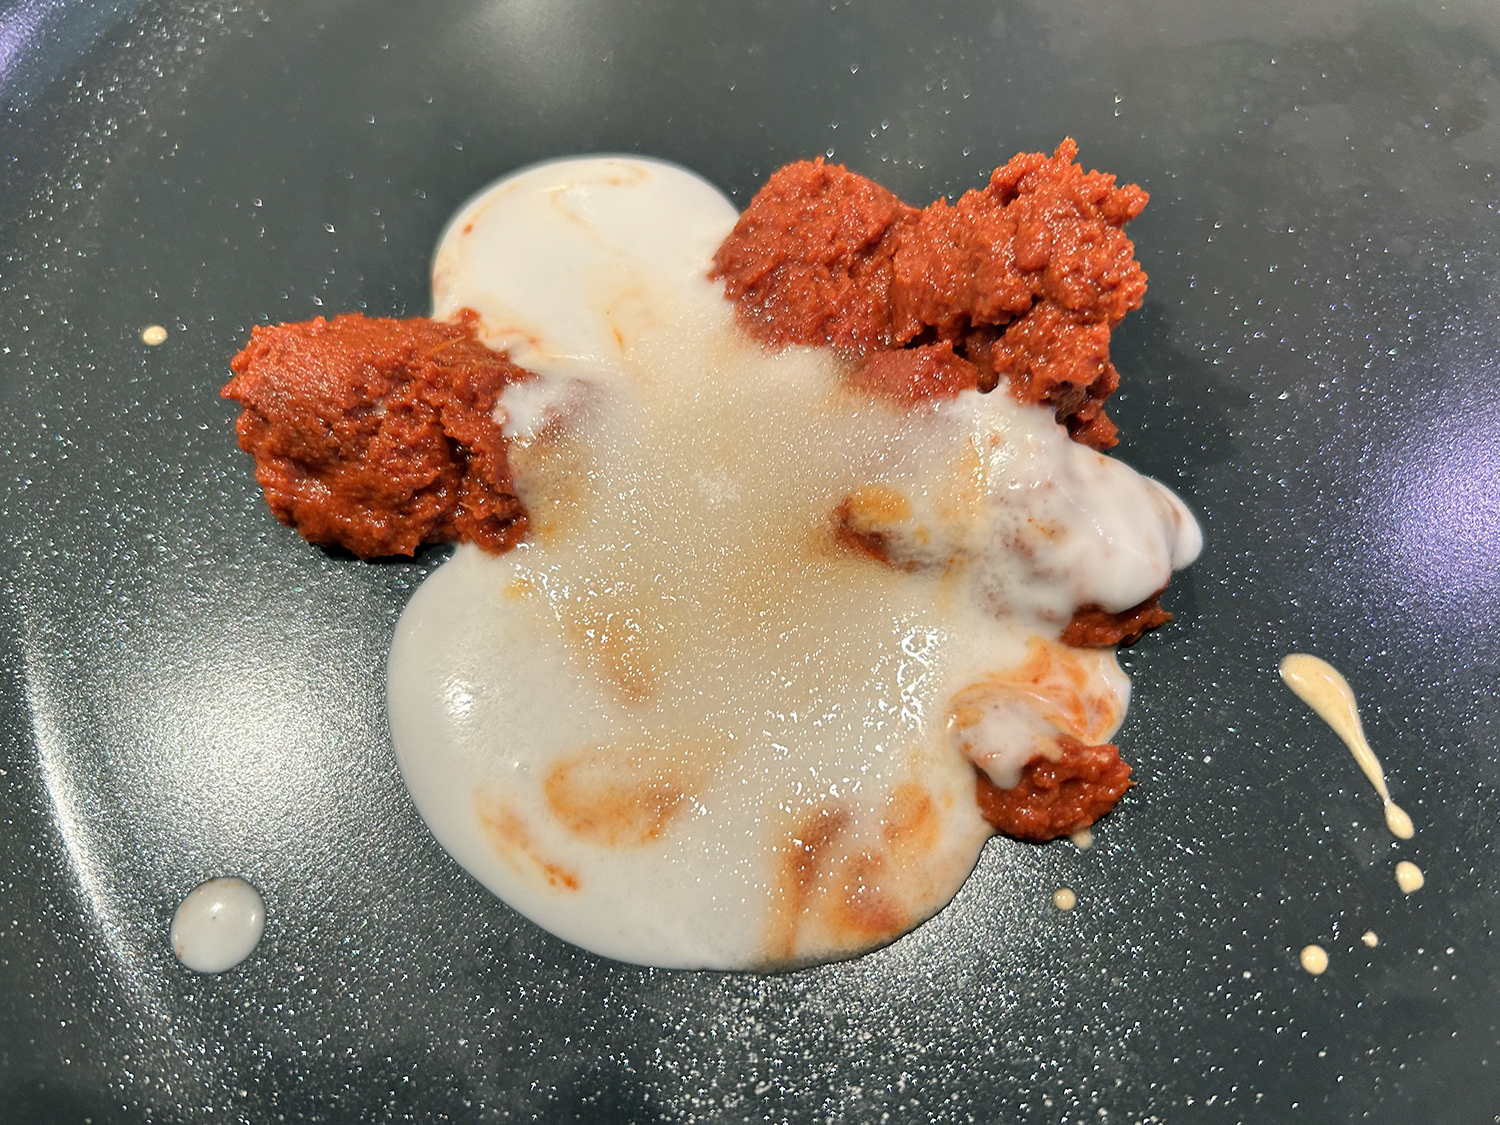
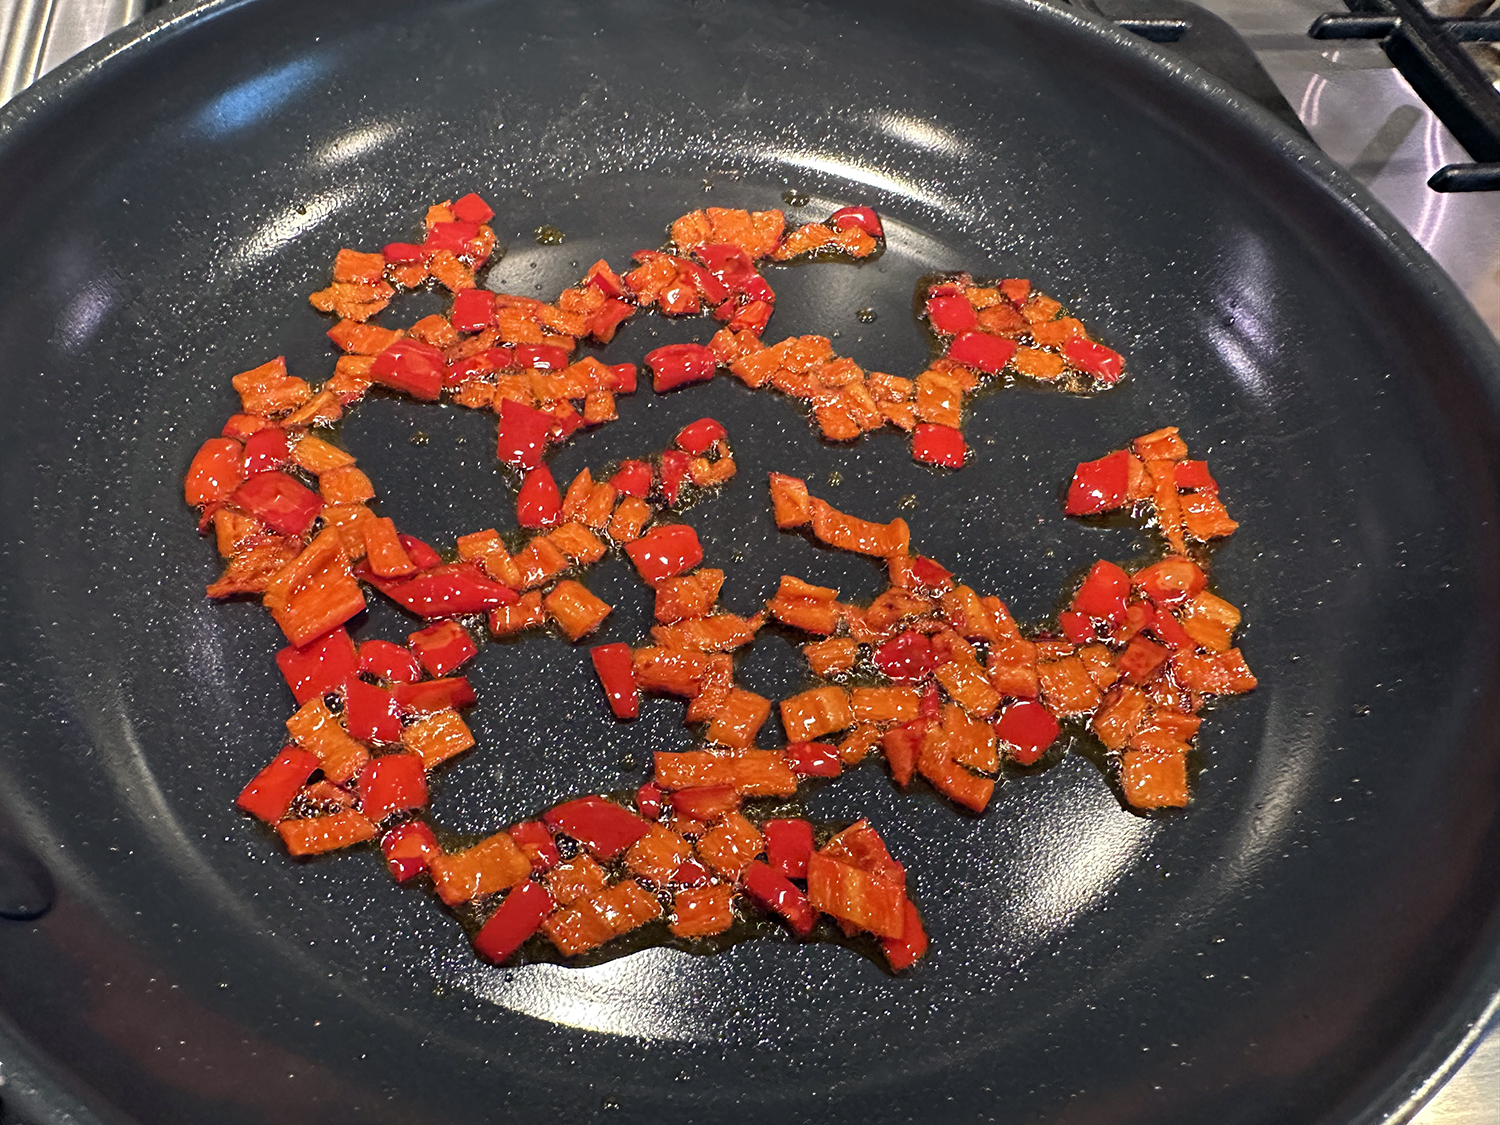
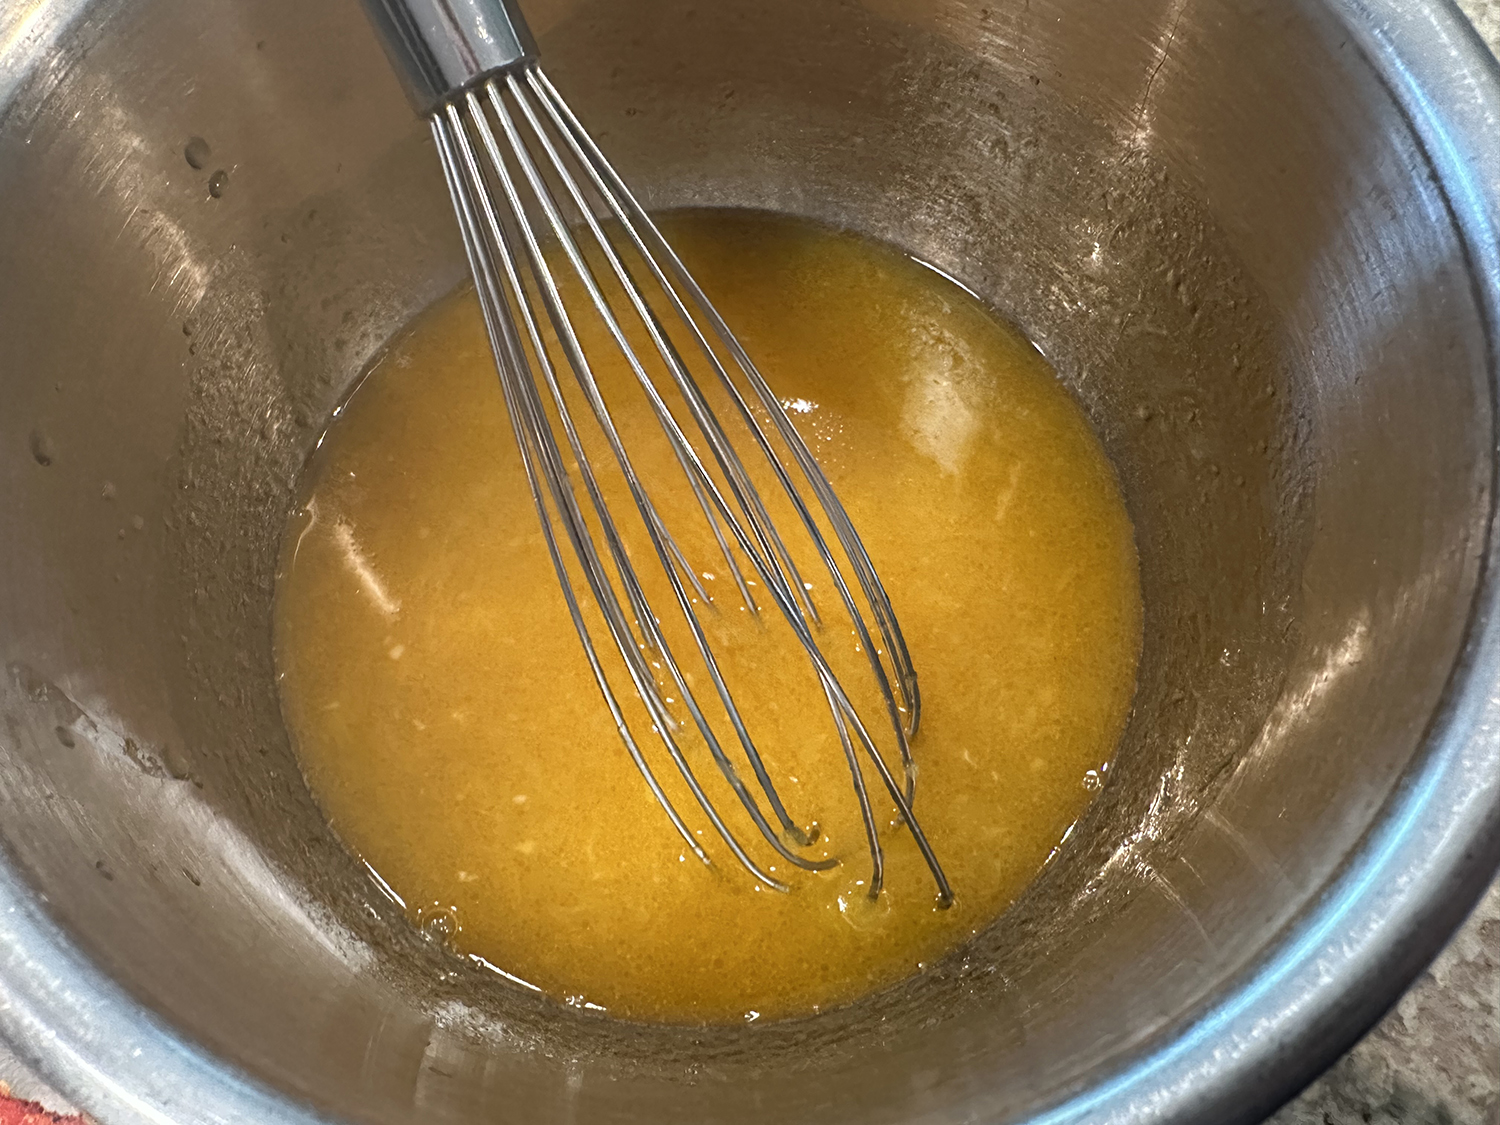
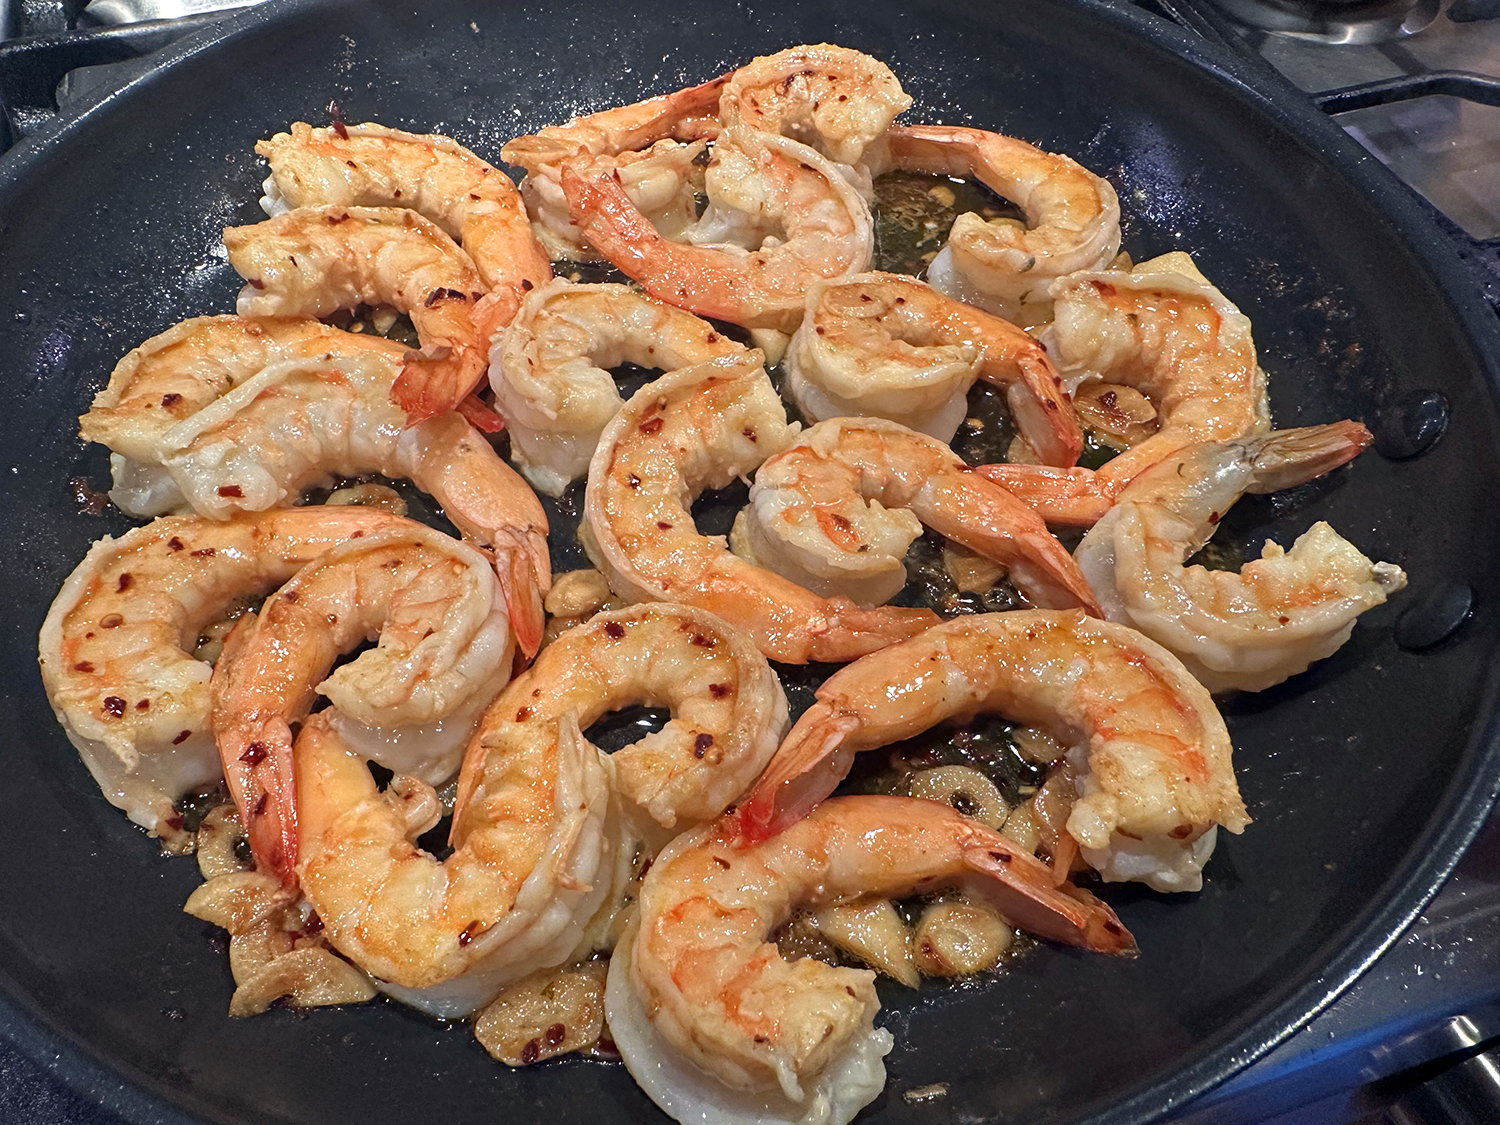
- Heat butter and 1 tablespoon oil in a large skillet over medium-high. Add garlic and crushed red pepper; cook, stirring constantly, until fragrant, about 1 minute. Stir in wine, salt, and lemon zest; cook, stirring occasionally, until wine is slightly reduced, about 3 minutes.
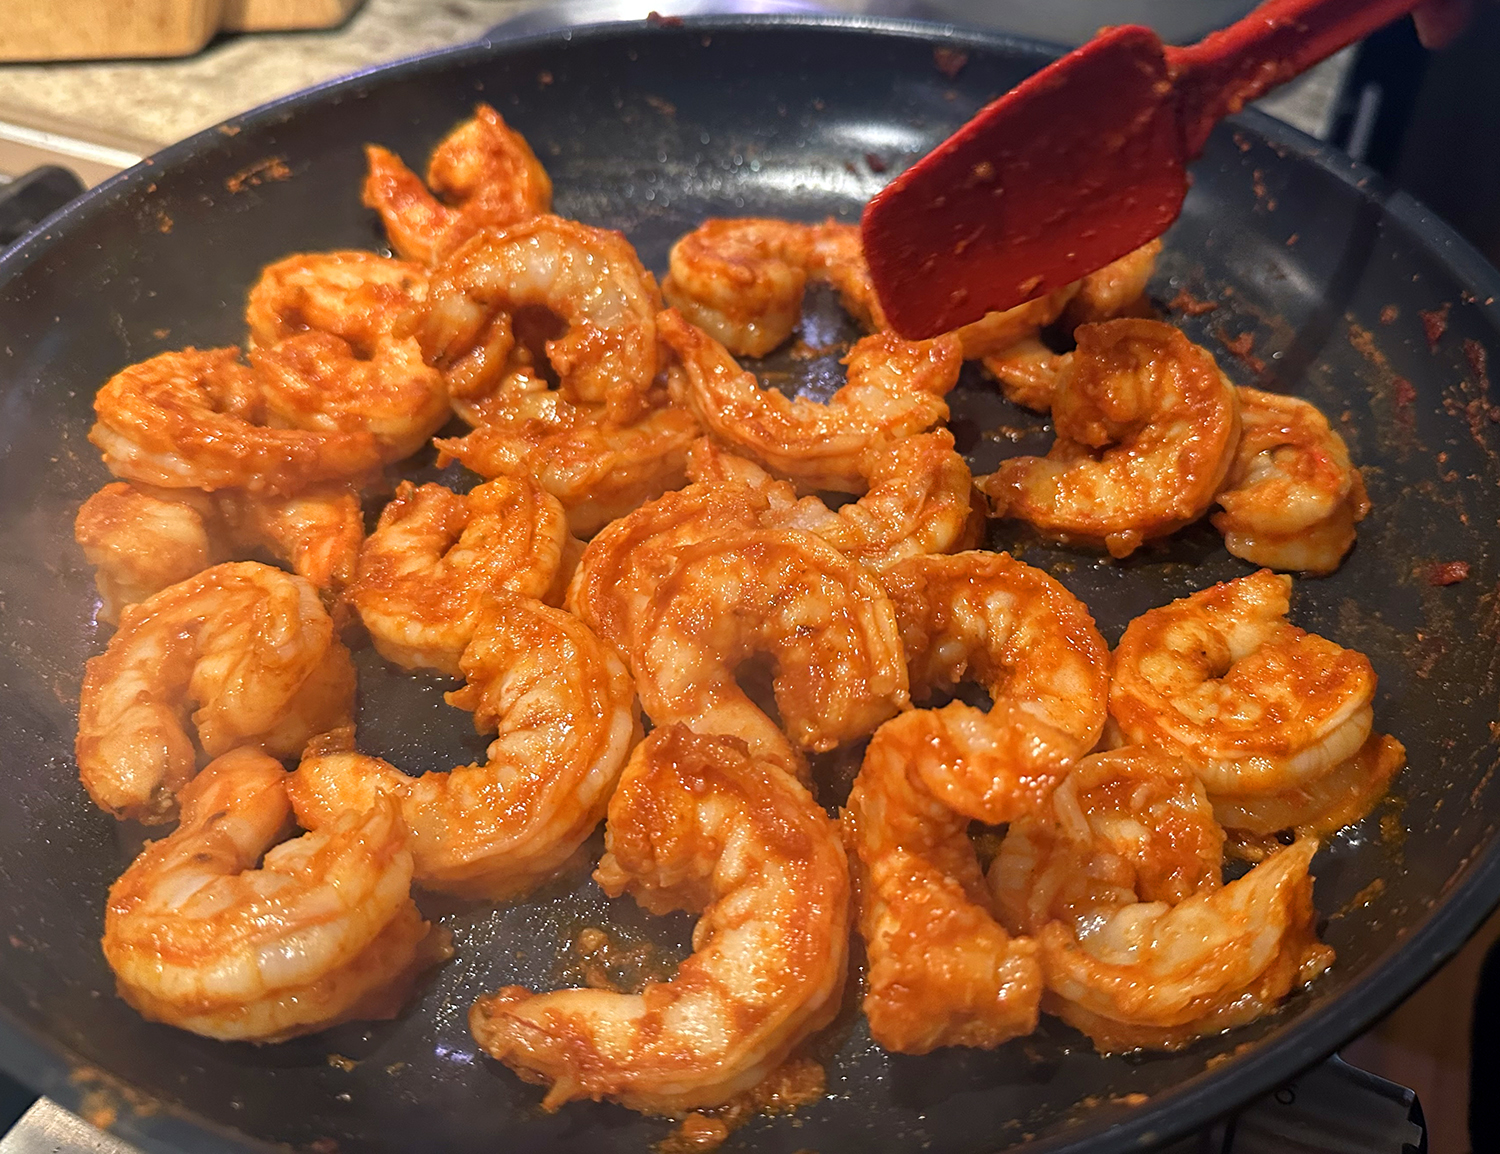
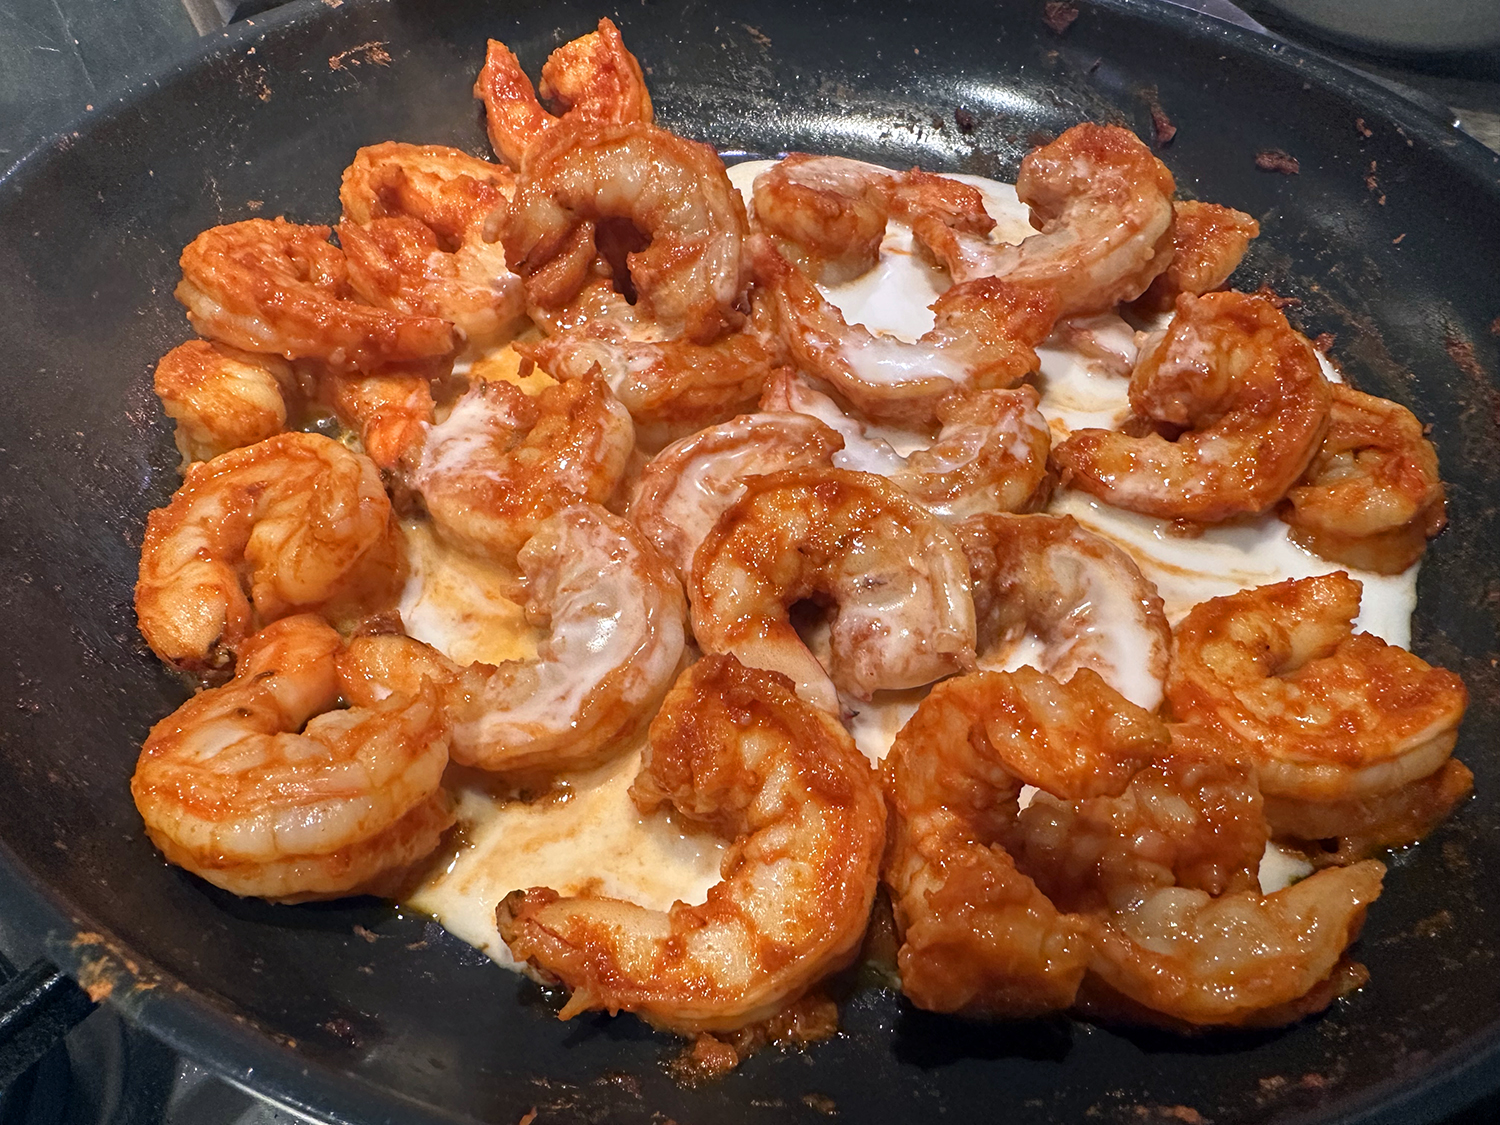
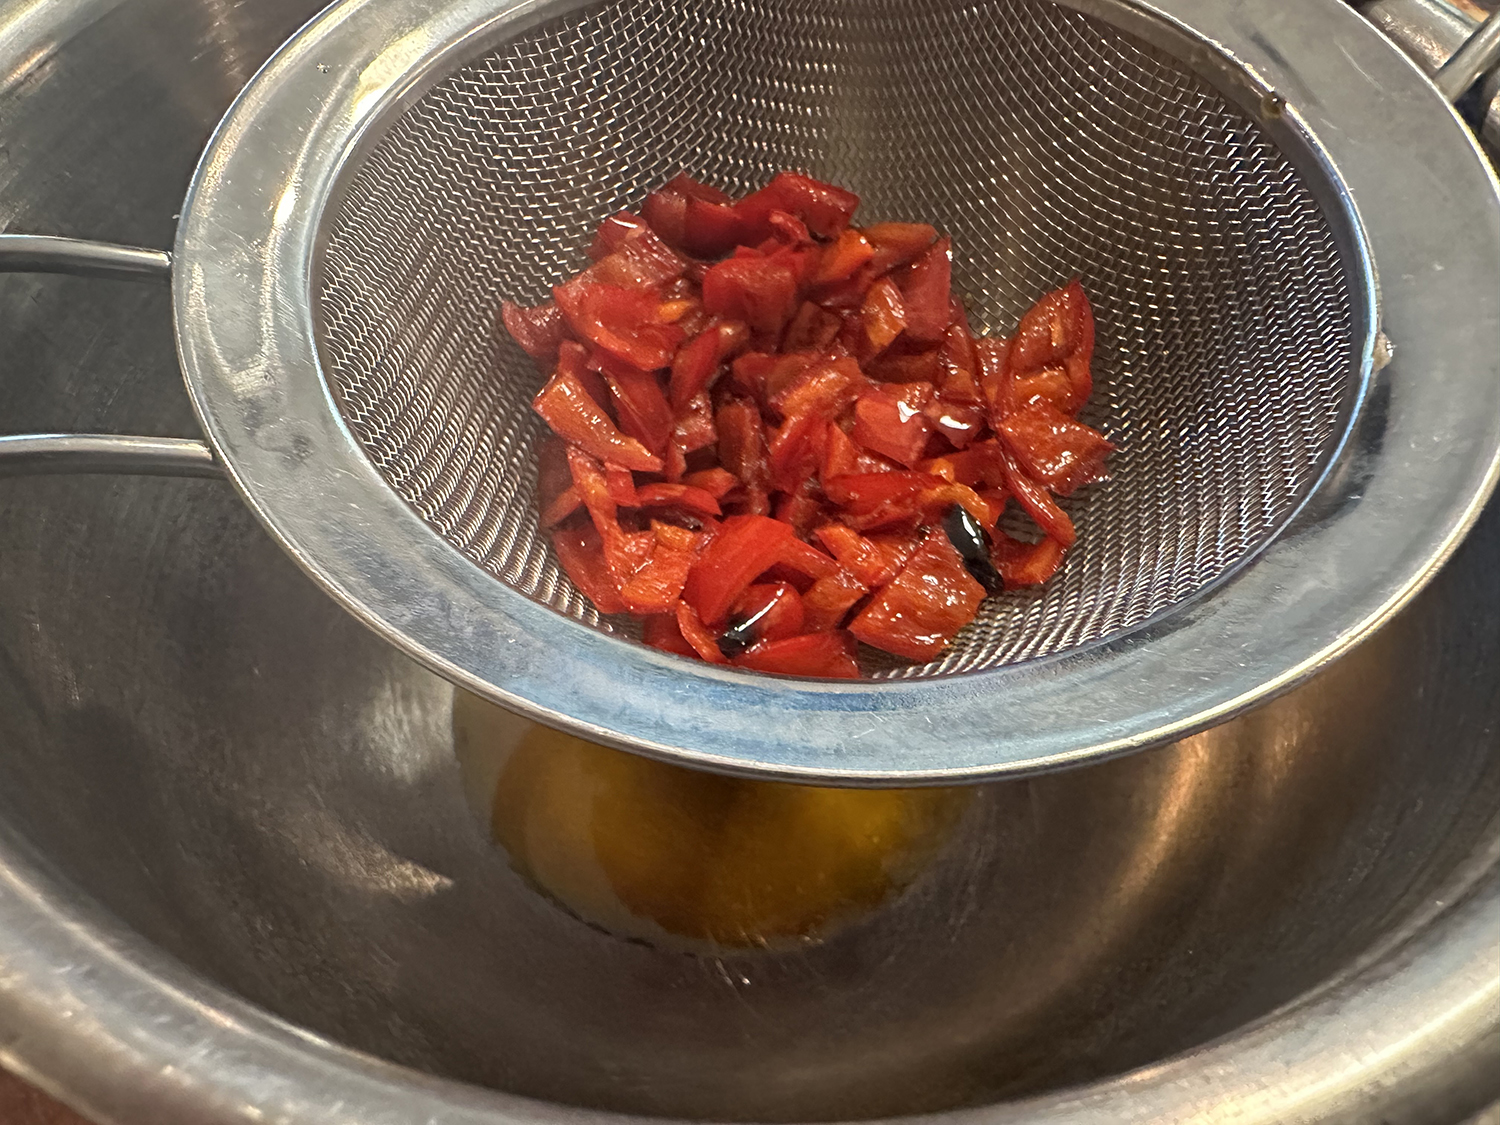
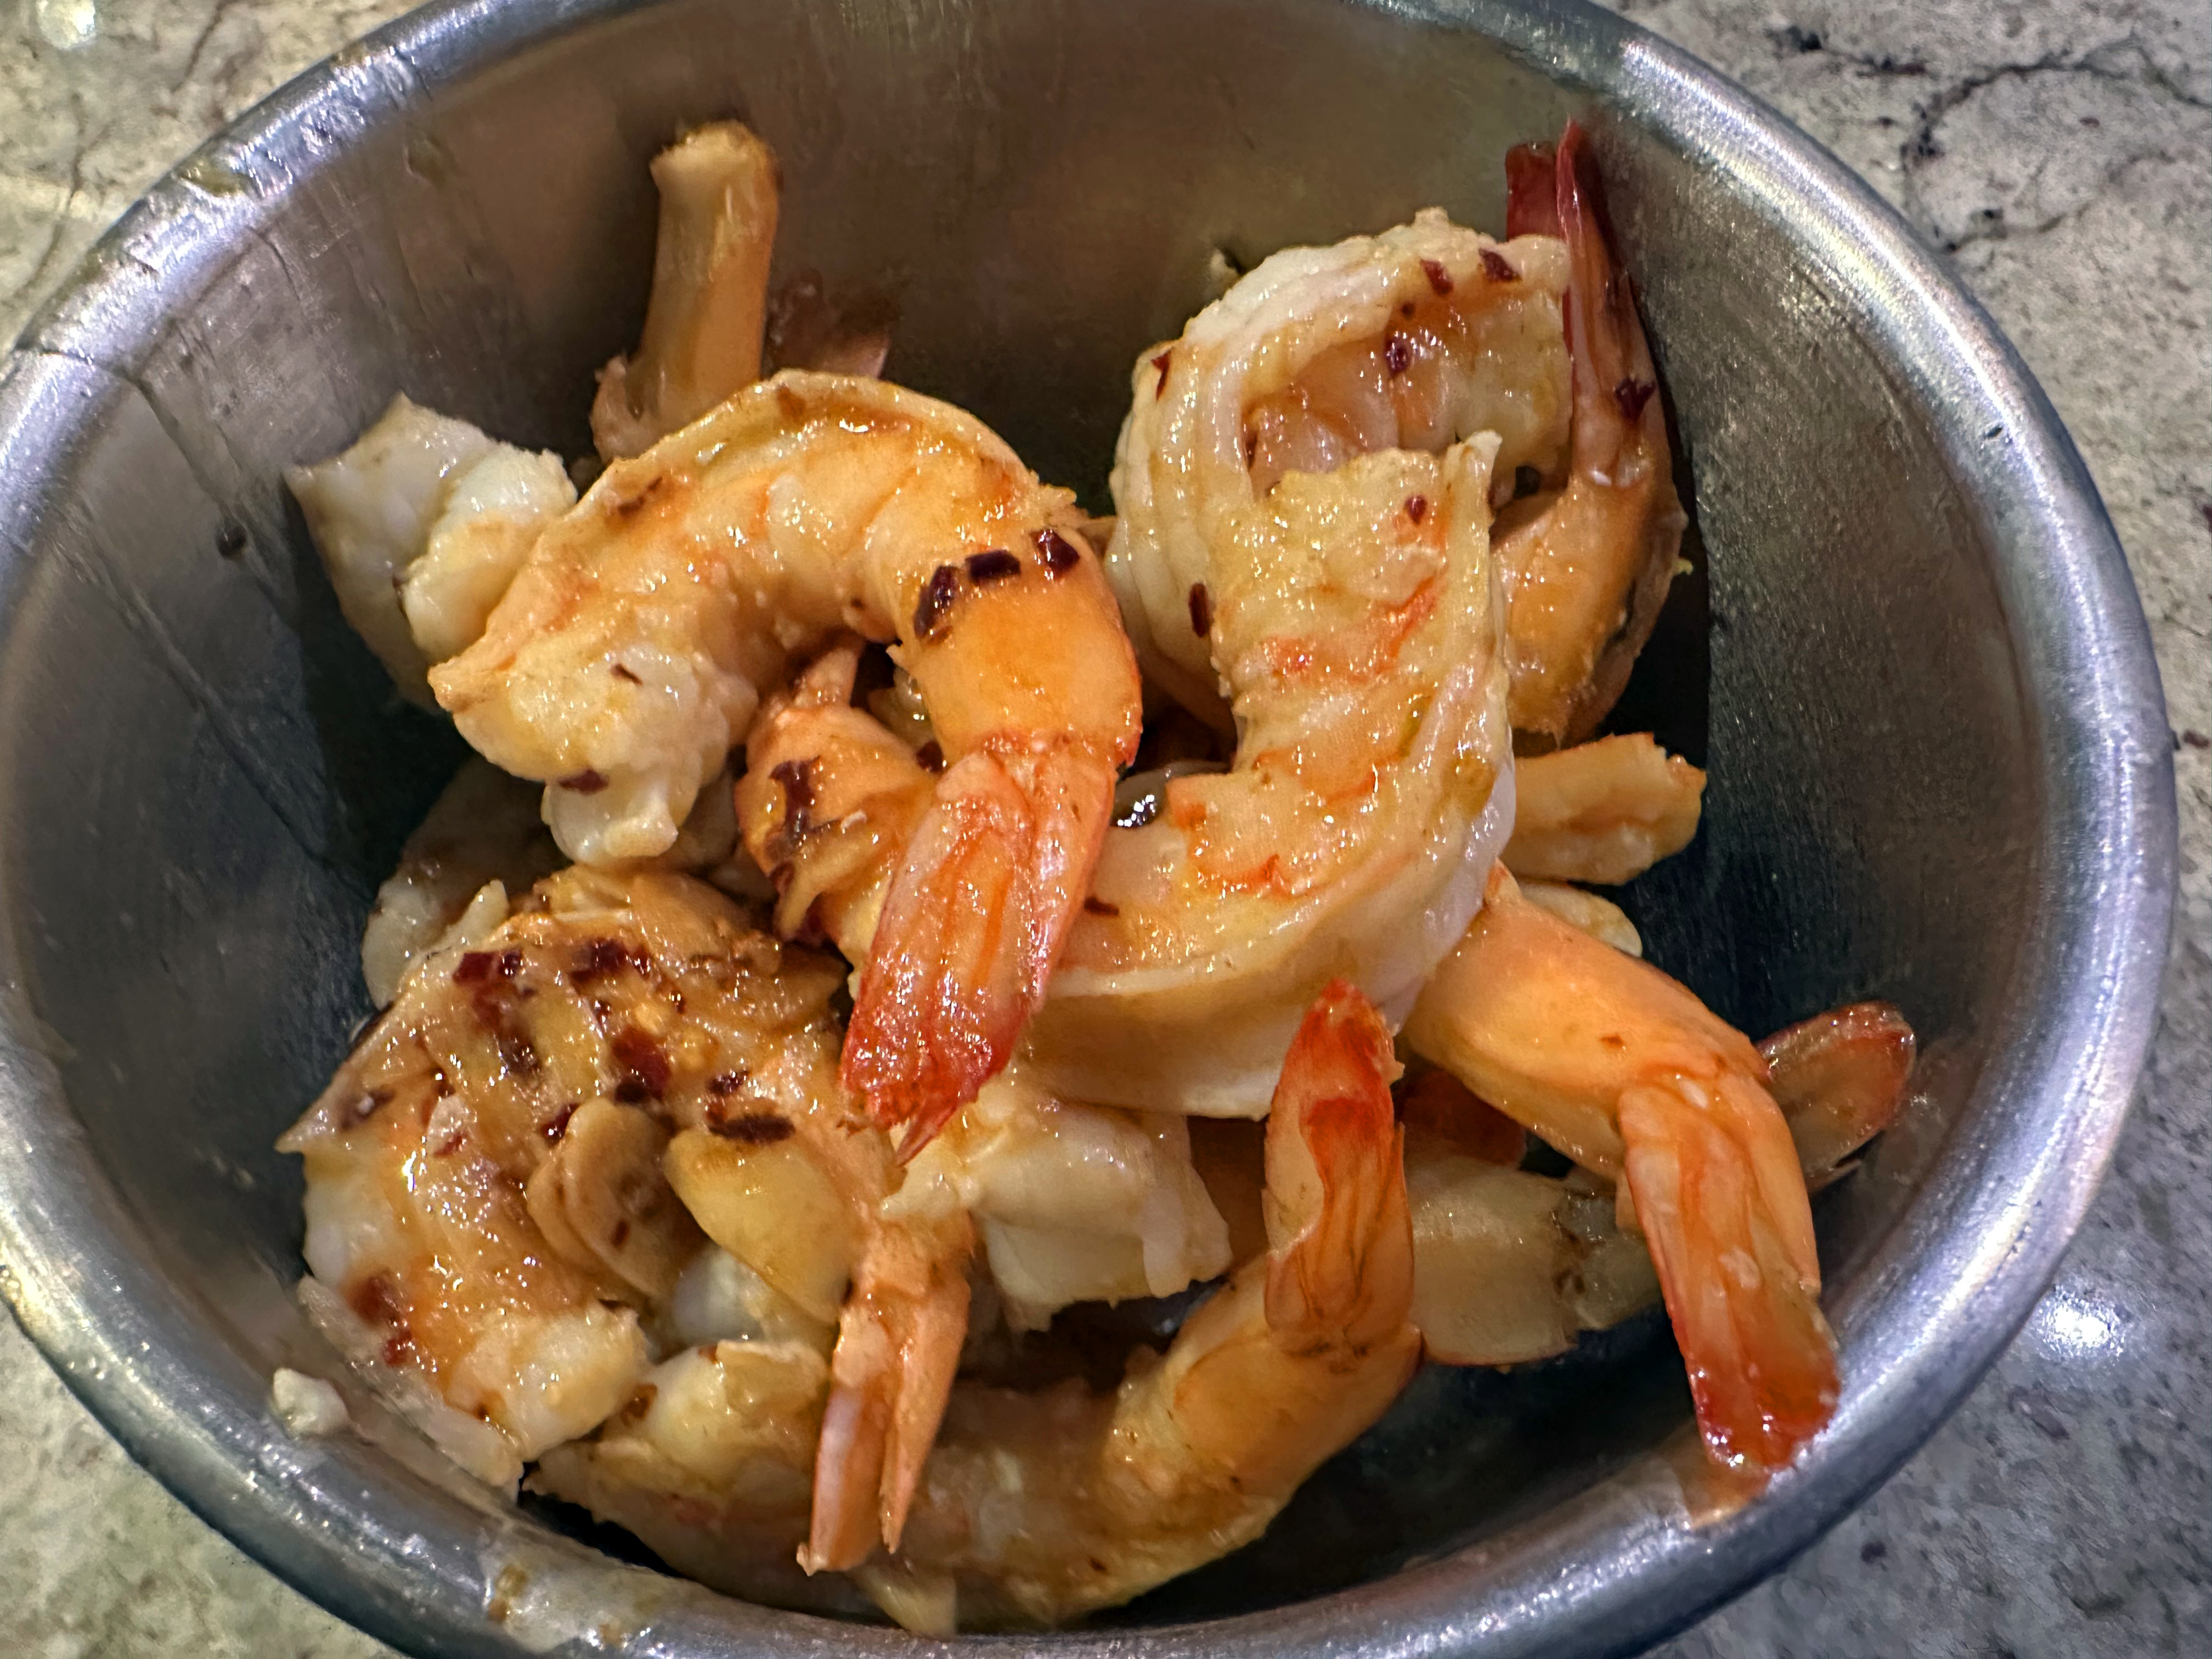
- Add shrimp in a single layer to sauce in skillet; cook until shrimp are opaque and just cooked through, 1 to 2 minutes, flipping once halfway through cook time. Transfer shrimp mixture to a medium bowl, and tent with aluminum foil to keep warm; set aside. Wipe skillet clean.
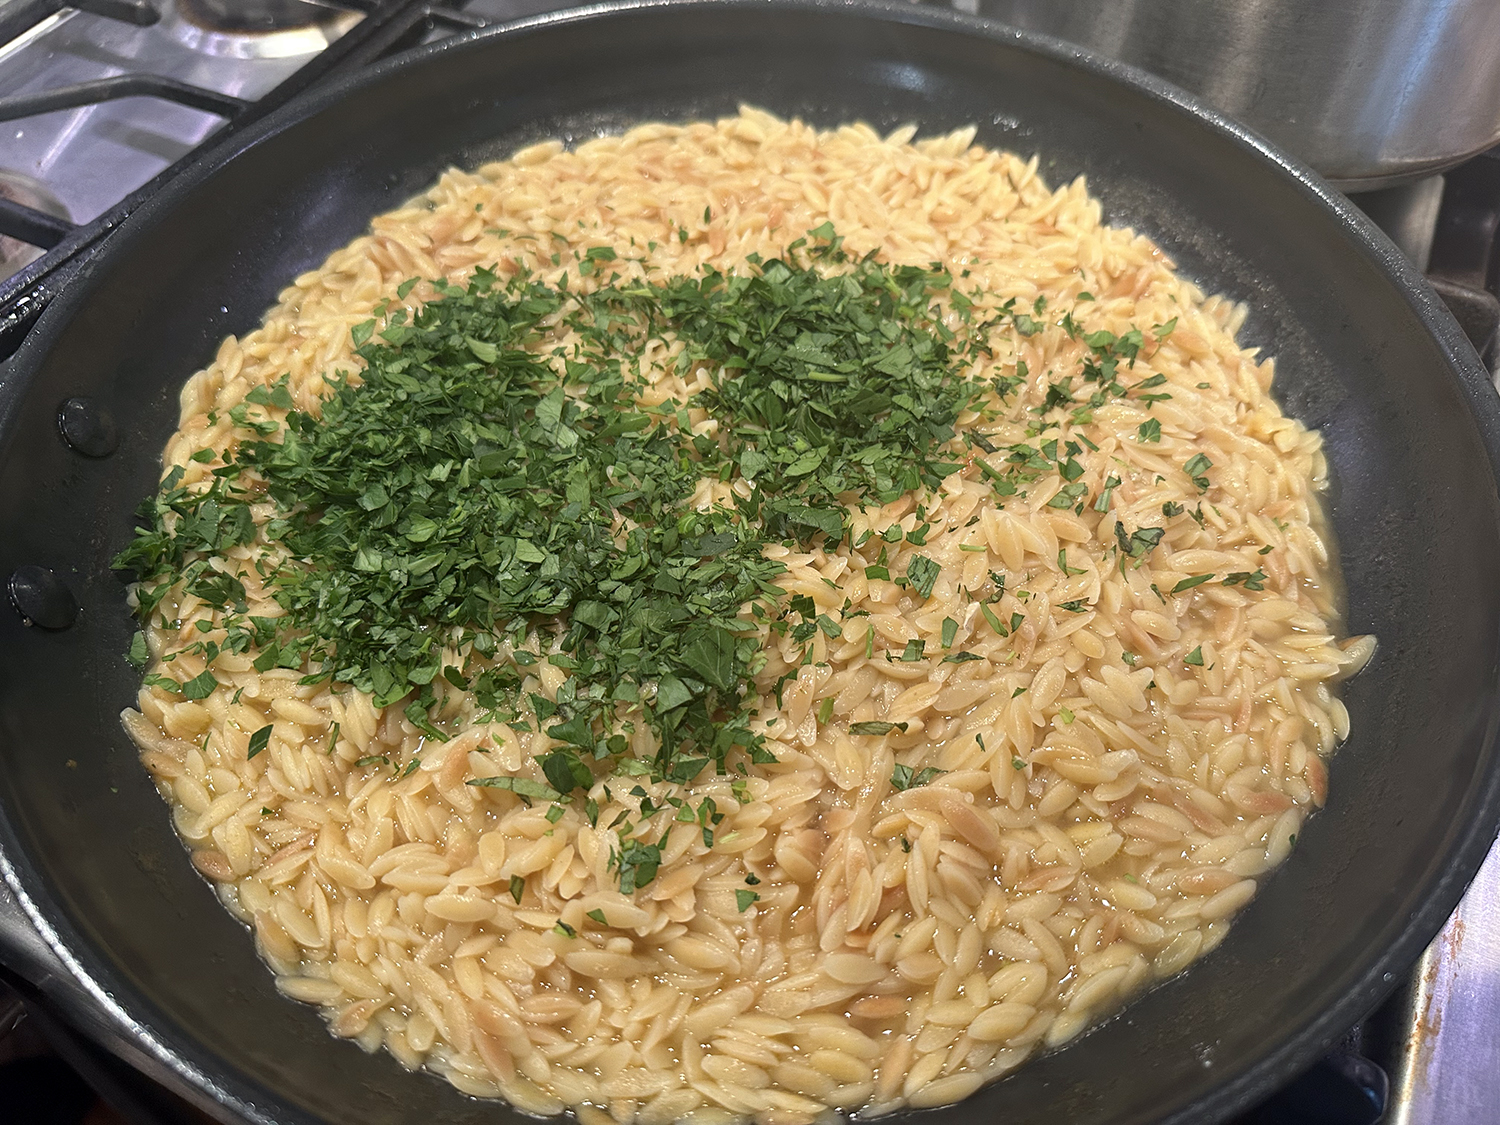
- Heat remaining 1 tablespoon oil in skillet over medium. Add orzo, and cook, stirring constantly, until lightly toasted, about 1 minute. Add chicken stock and 1 cup water; bring to a simmer over high. Reduce heat to medium-low; simmer, uncovered and undisturbed, until orzo is al dente and liquid is mostly absorbed, about 12 minutes. Remove from heat, and add parsley, 2 tablespoons lemon juice, and 1 teaspoon tarragon. Stir orzo mixture using a fork until evenly combined.
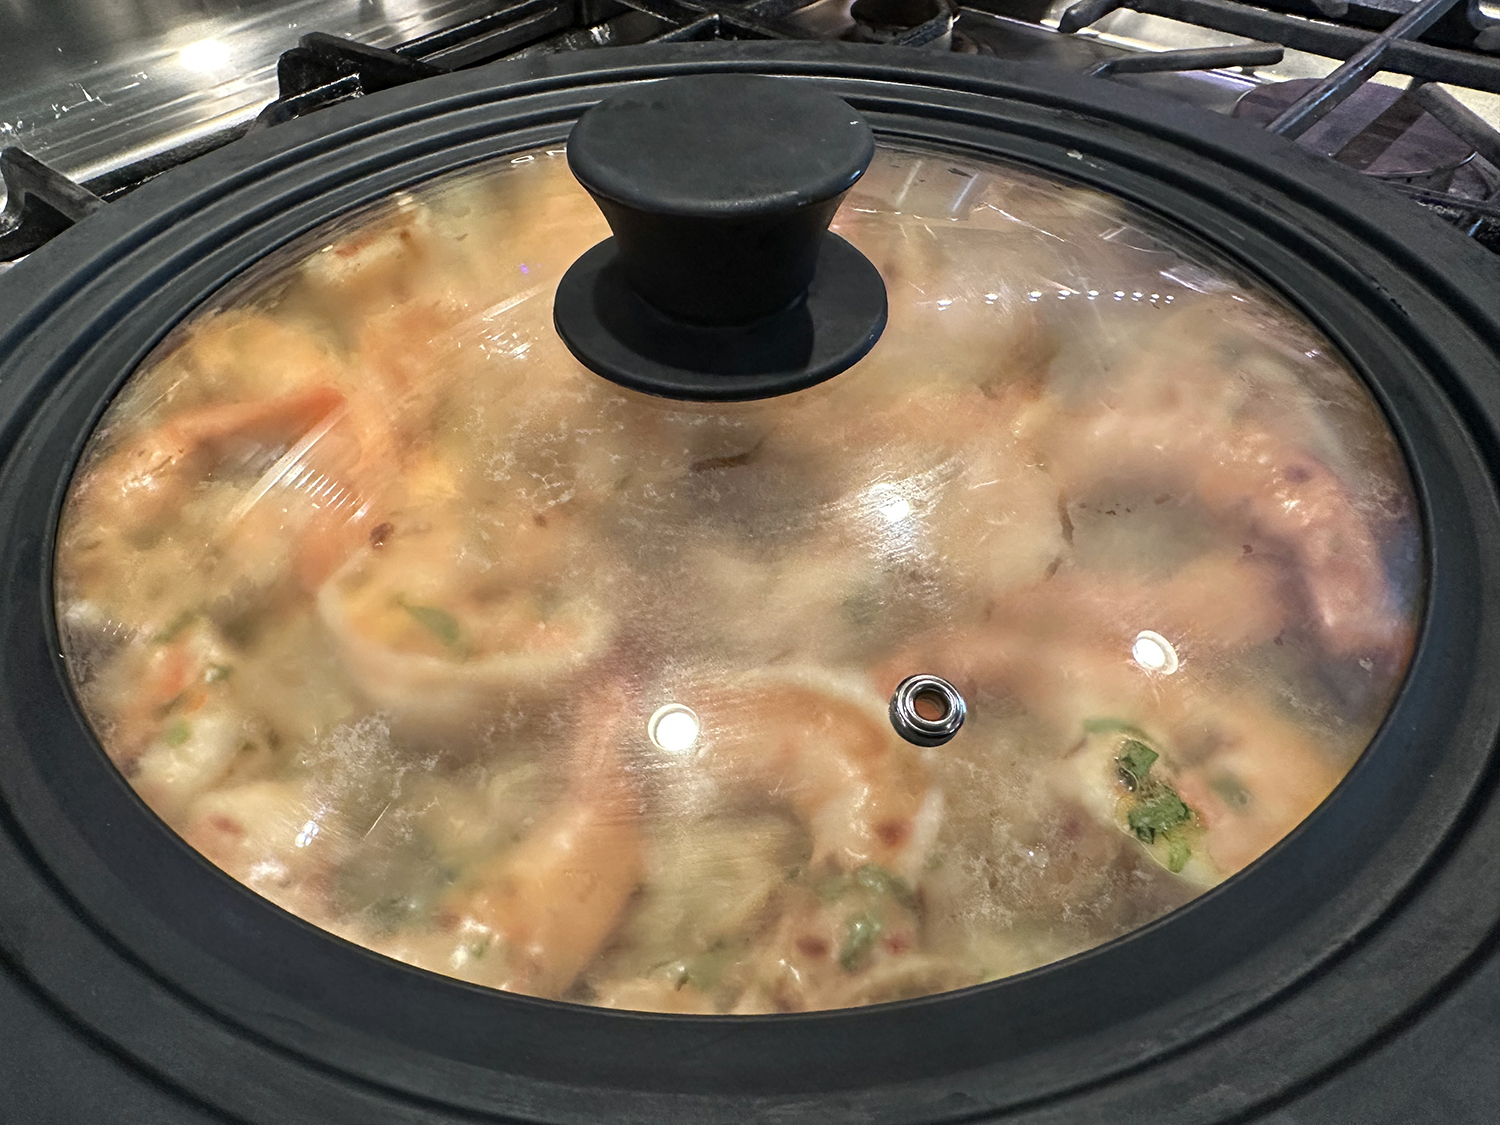
- Stir remaining 2 tablespoons lemon juice and remaining 2 teaspoons tarragon into reserved shrimp mixture. Spoon shrimp mixture over orzo; cover and let stand, allowing residual heat from the orzo to warm the shrimp through, 4 to 5 minutes. Uncover and garnish with additional chopped tarragon; serve immediately.
Recipe by Paige Grandjean for Food & Wine