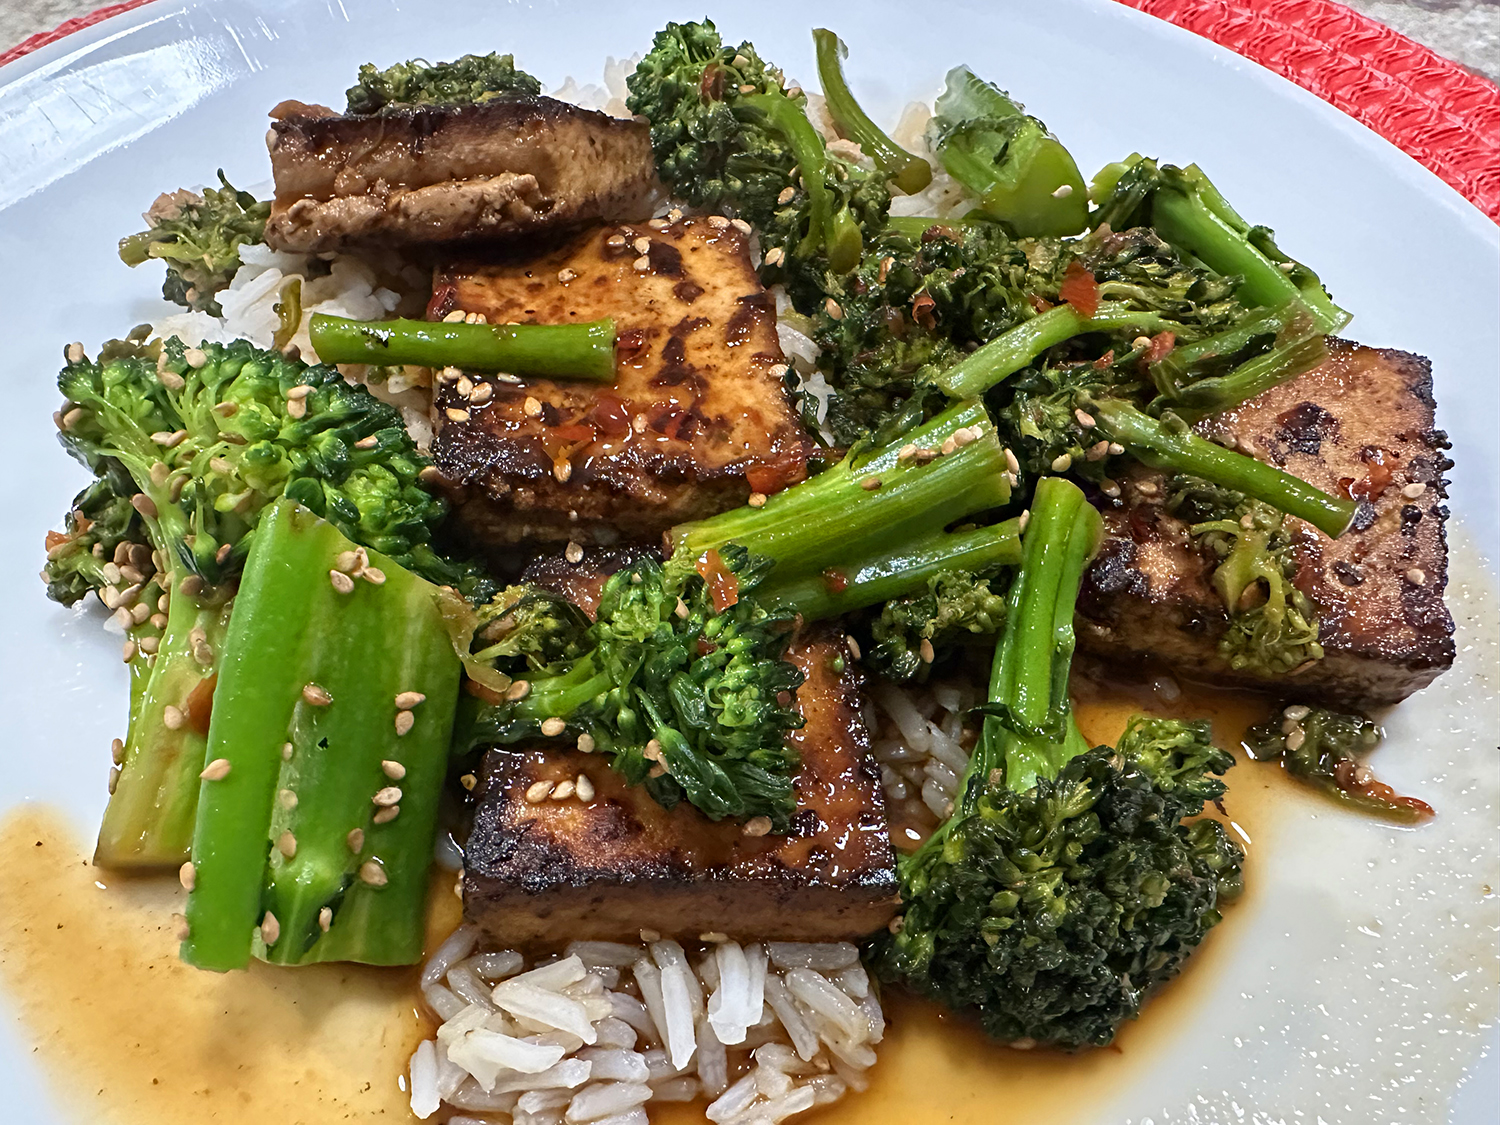
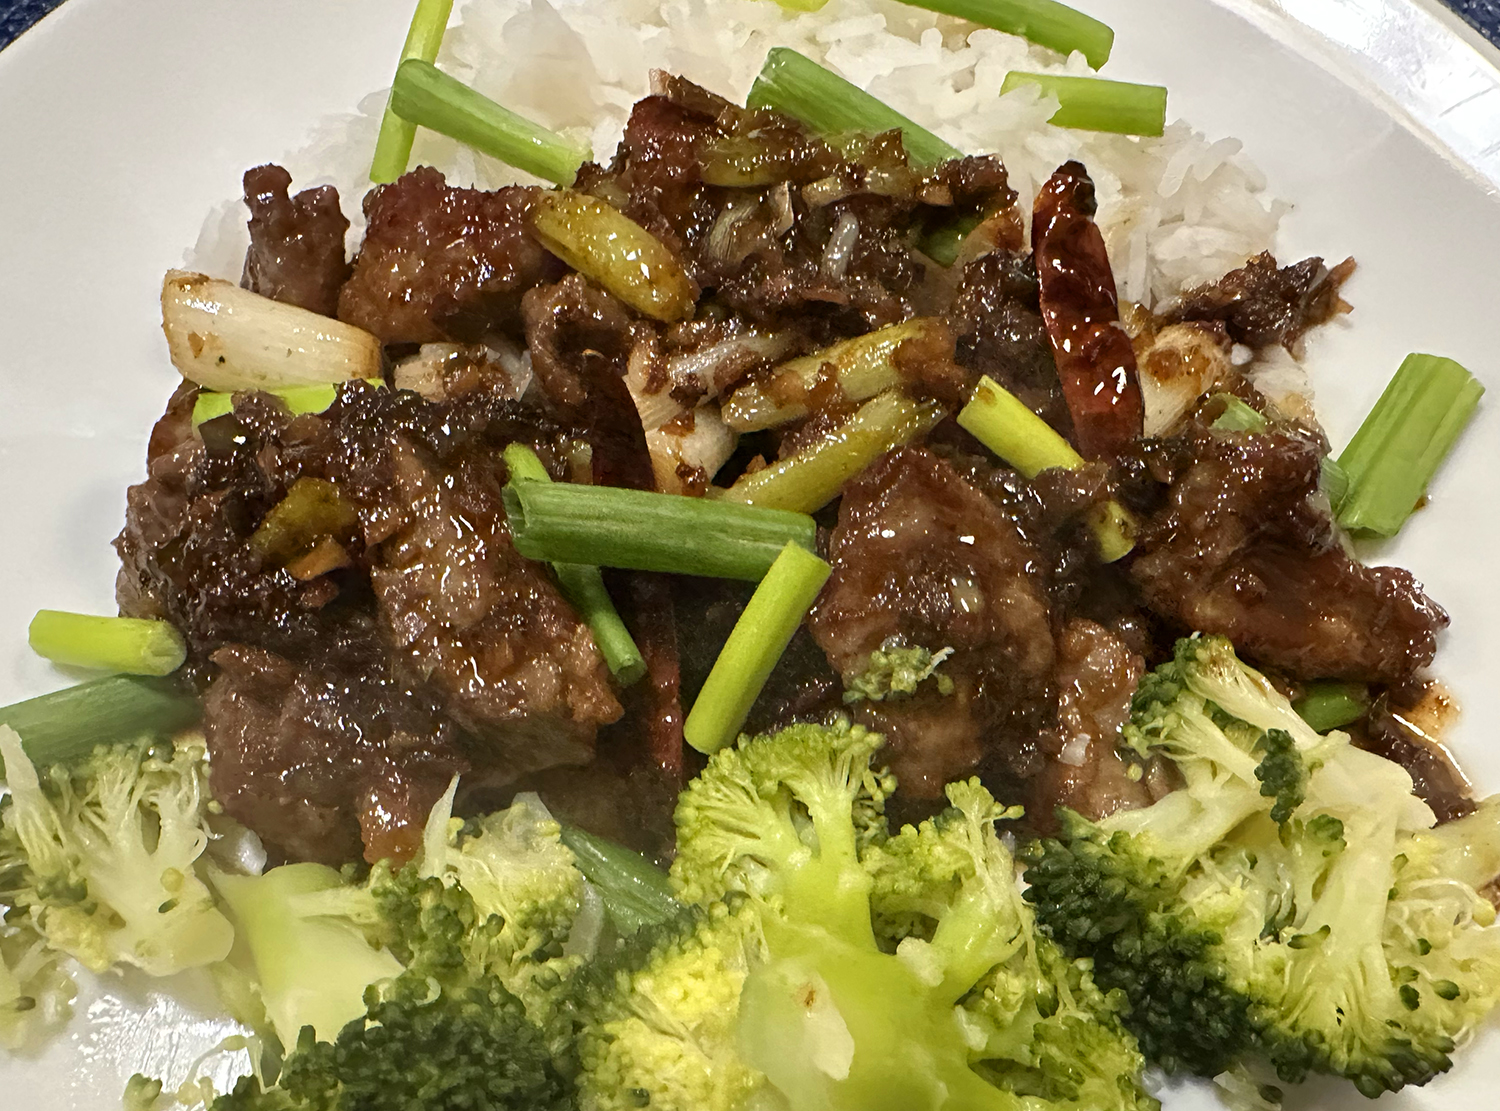
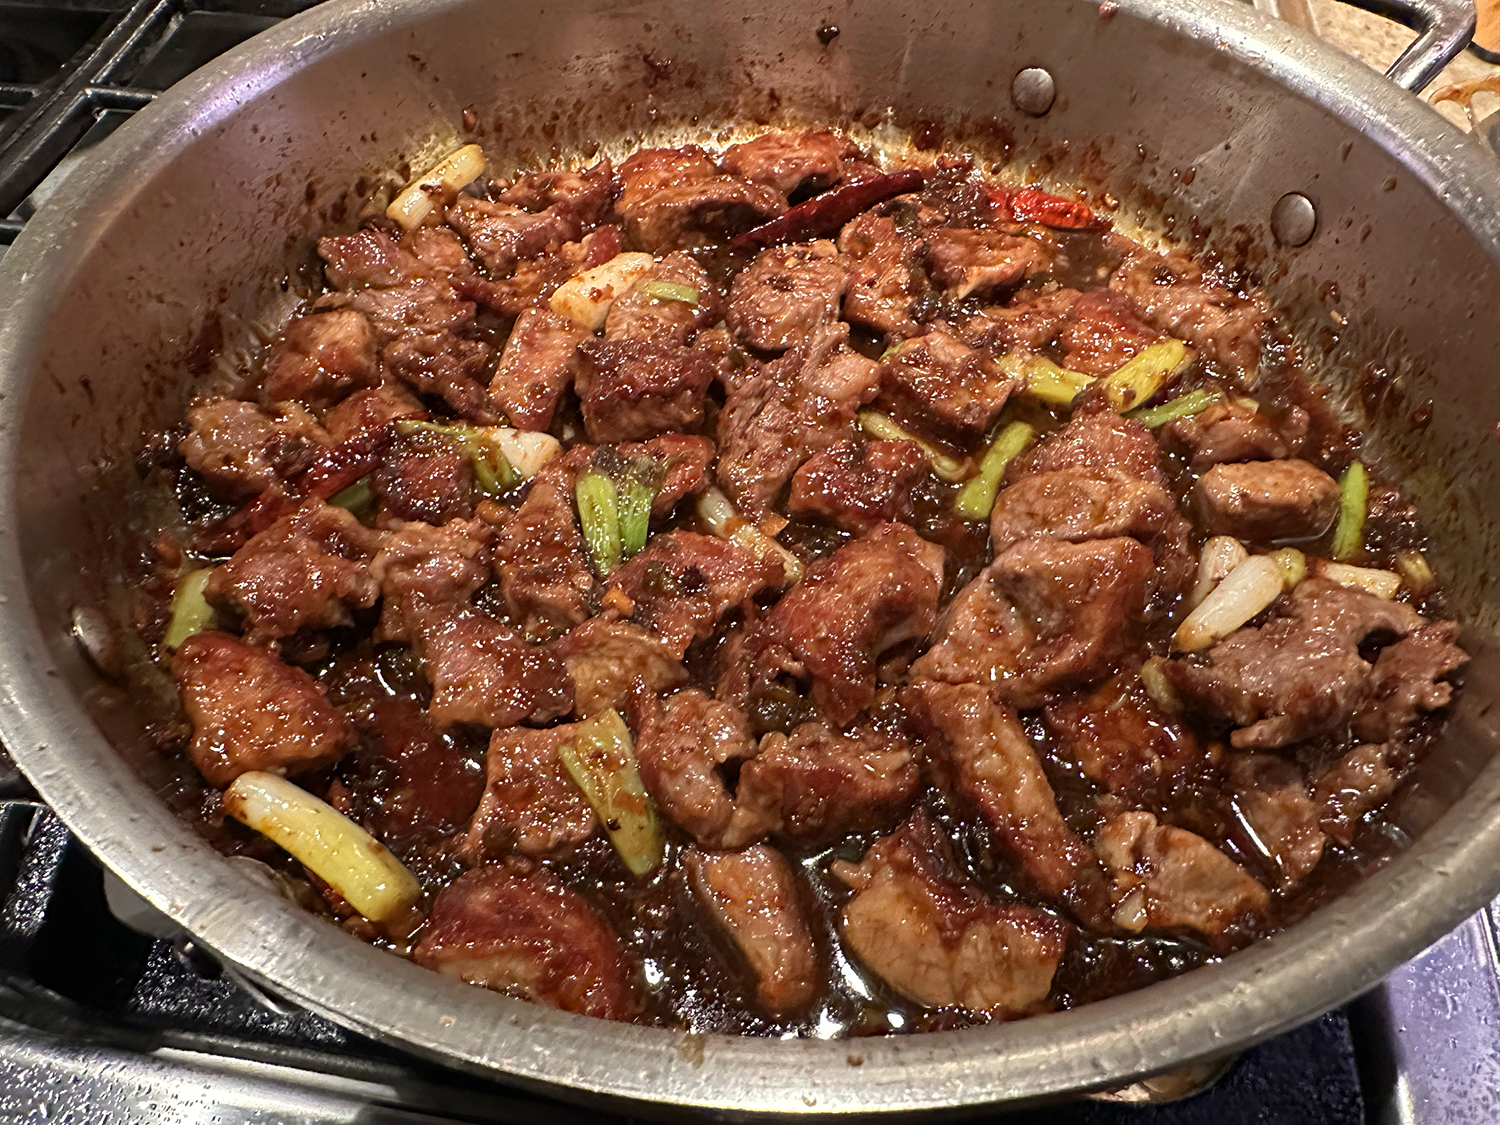
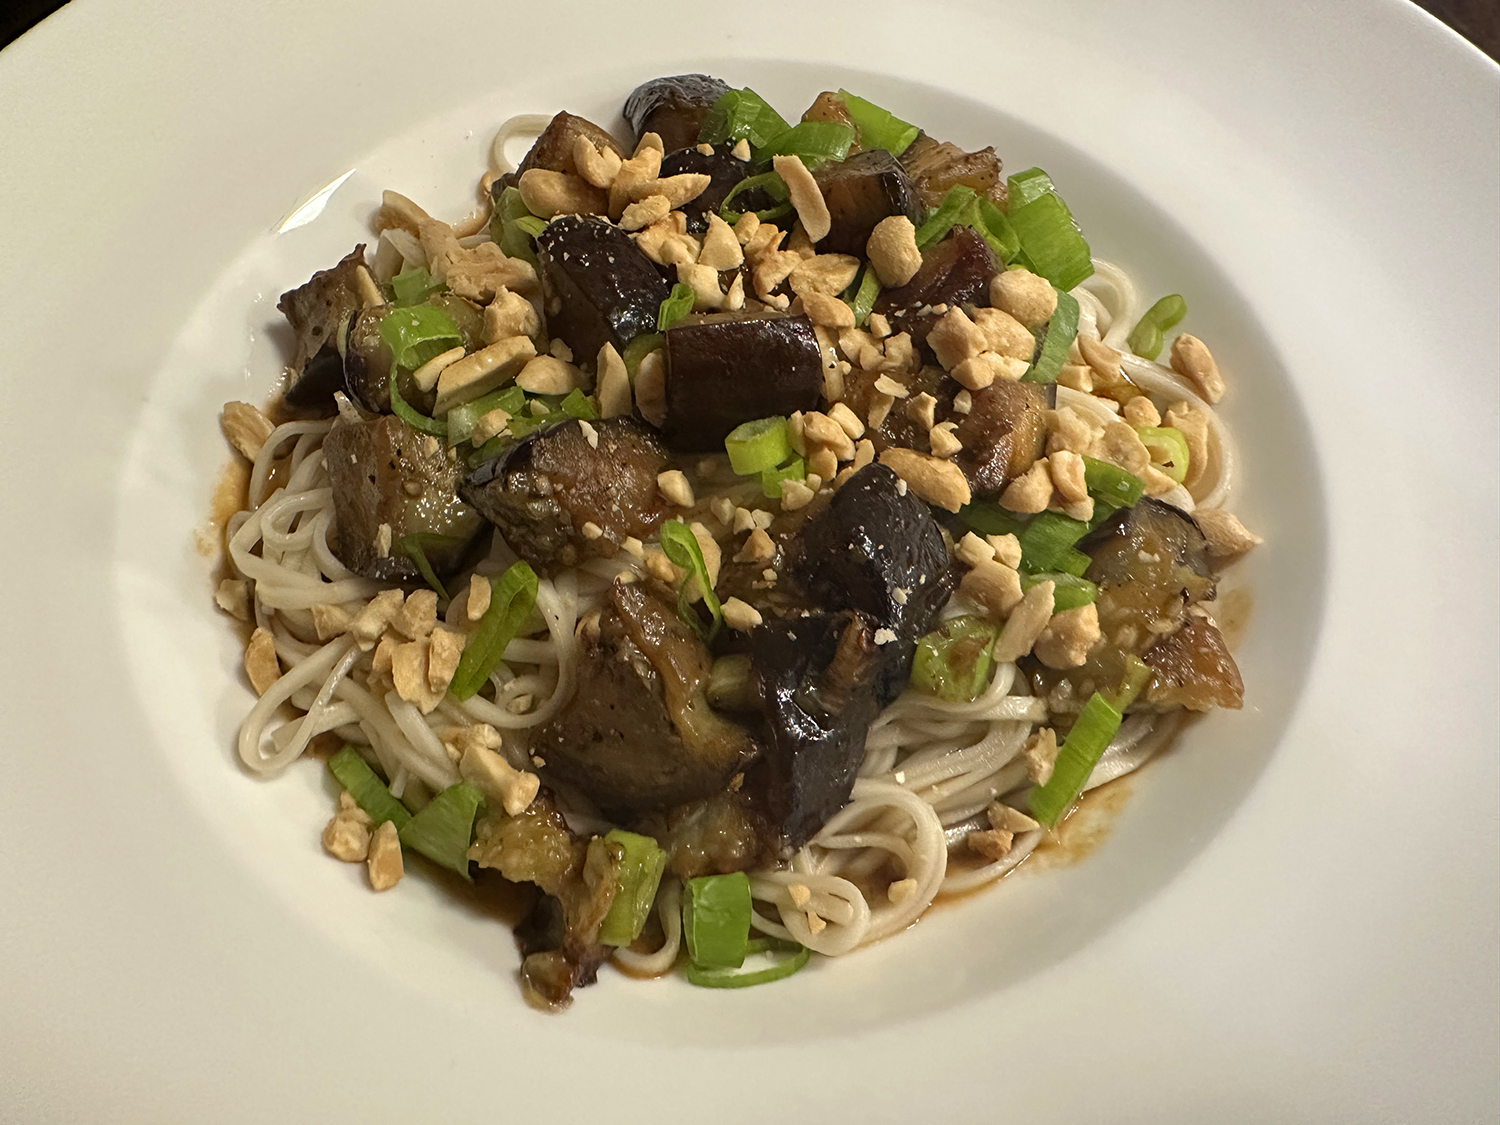
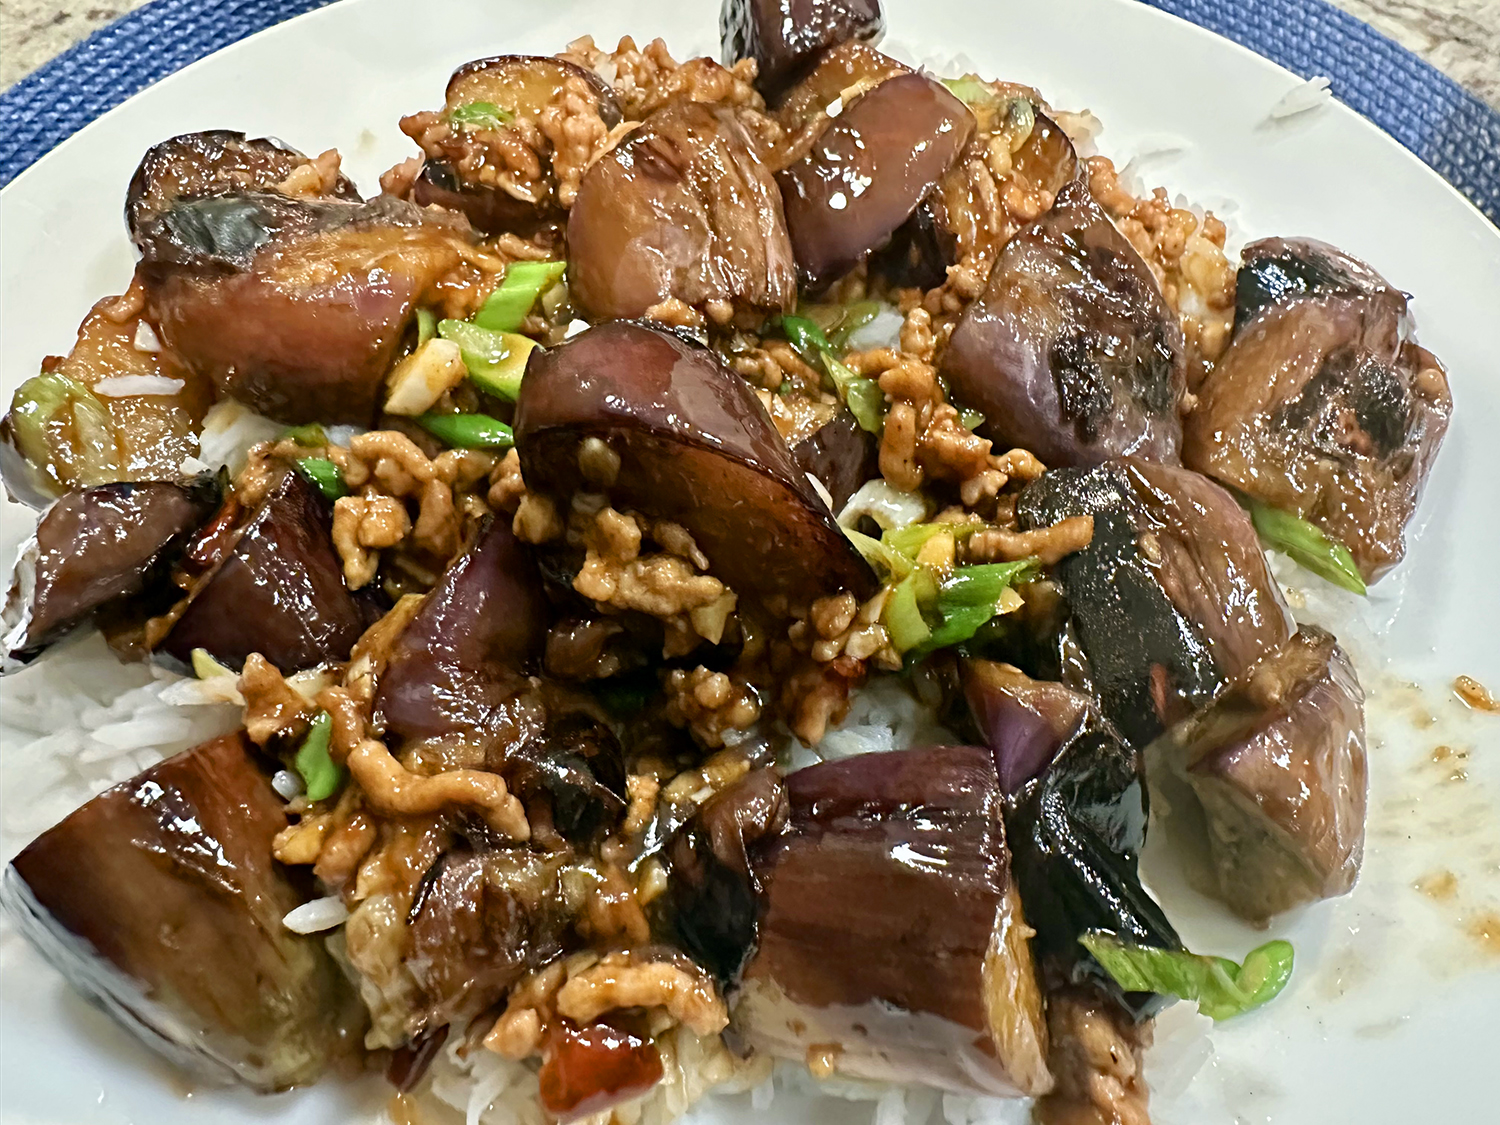
As you may know, Chinese eggplant with garlic sauce is a familiar sight in many Chinese restaurants. The credit for this delicious version goes to the Woks of Life with its soft, creamy eggplant seasoned with pungent, fragrant seasonings. The eggplant is super tender and seared, does not require deep-frying, and has a perfect sweet and savory balance. For a more ample meal, serve over steamed jasmine rice.
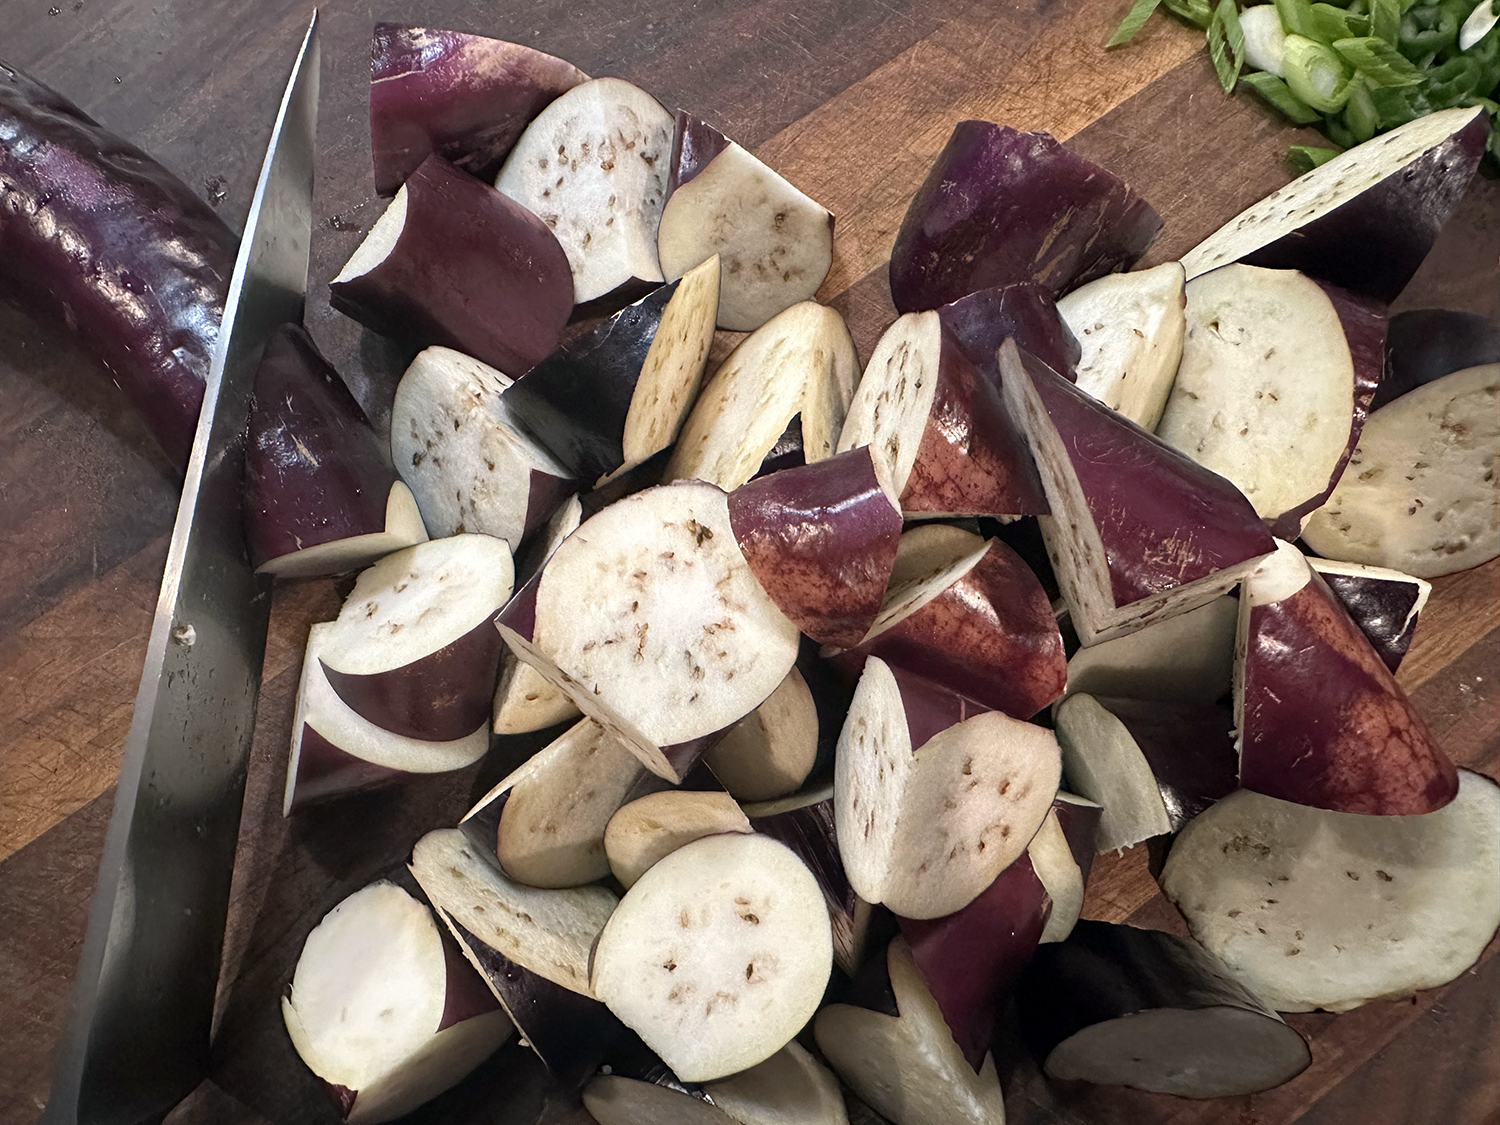
The recipe calls for Chinese or Japanese eggplant, which is longer and thinner than regular globe eggplants. These eggplants also tend to have fewer seeds (and less bitterness), thinner skins, and a more tender texture.
Chinese eggplant is a lighter purple color, while Japanese eggplants tend to be very dark purple—almost black. You can find both varieties in Asian grocery stores, and perhaps even some supermarkets in urban areas these days. If you can’t find Chinese or Japanese eggplant, you can substitute regular globe eggplant. Just know that it will take longer to cook, with its thicker skin and denser flesh.

This recipe calls for 2 tablespoons of minced garlic. Half gets added with the ginger, chilies, and pork in the beginning of the sauce making process, while half gets added to the sauce mixture itself, which you add later. This gives the final dish both an undertone of sweet garlic, as well as a more forward kick of garlic. The garlic sauce has more flavor and dimension.
For a vegetarian rendition, just omit the ground meat. To make the dish completely vegan, simply omit the meat and substitute vegetarian oyster sauce (made with mushrooms) for the regular oyster sauce. No other changes to the recipe are necessary.
As far as number of servings feeding four, we have to disagree. We doubled the amount of ground pork and increased the eggplant by a little more than half. These changes, along with steamed rice, only made three decent-sized servings. We noted these new amounts in the ingredients list below.

Chinese Eggplant with Garlic Sauce
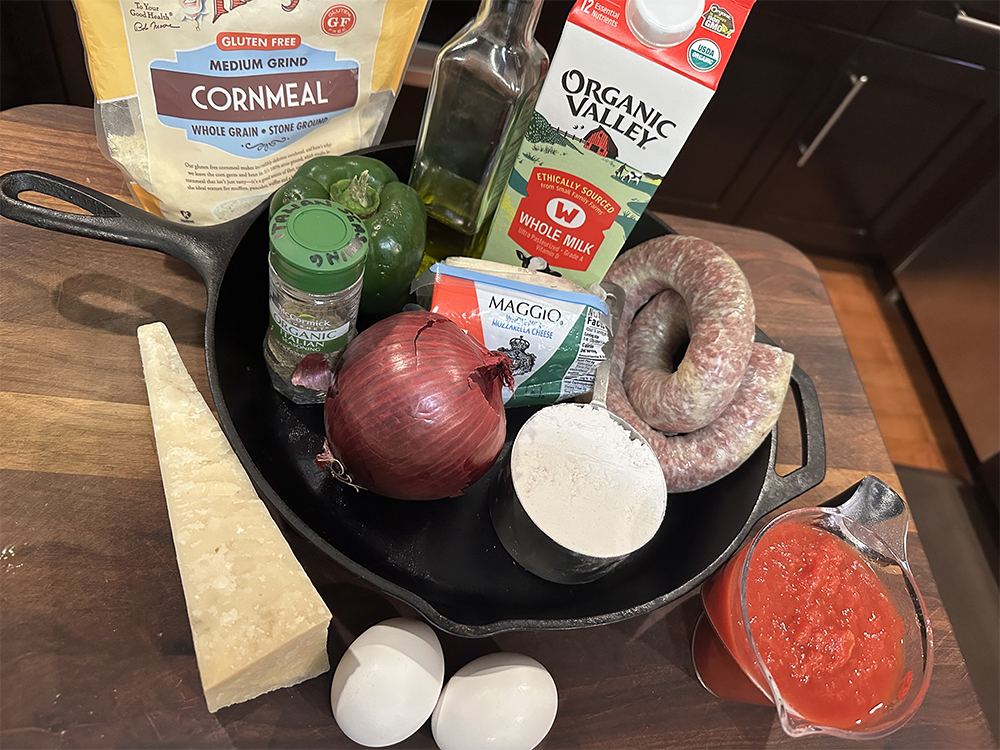
Ingredients
- 1/2 cup hot water
- 1 Tbsp. granulated sugar
- 1 Tbsp. cornstarch
- 1 1/2 Tbsp. oyster sauce
- 1 Tbsp. rice vinegar
- 1 Tbsp. Shaoxing wine
- 1 Tbsp. light soy sauce
- 1 tsp. sesame oil
- 1/2 dark soy sauce
- 1/8 tsp. white pepper
- 2 Tbsp. minced garlic
- 1 1/2 lb. Chinese eggplants (3-4)
- 4 1/2 Tbsp. neutral oil
- 4 to 8 oz. ground pork
- 2 tsp. minced ginger
- 5-10 dried red chiles
- 2 scallions
- Jasmine rice, cooked according to package directions


Directions
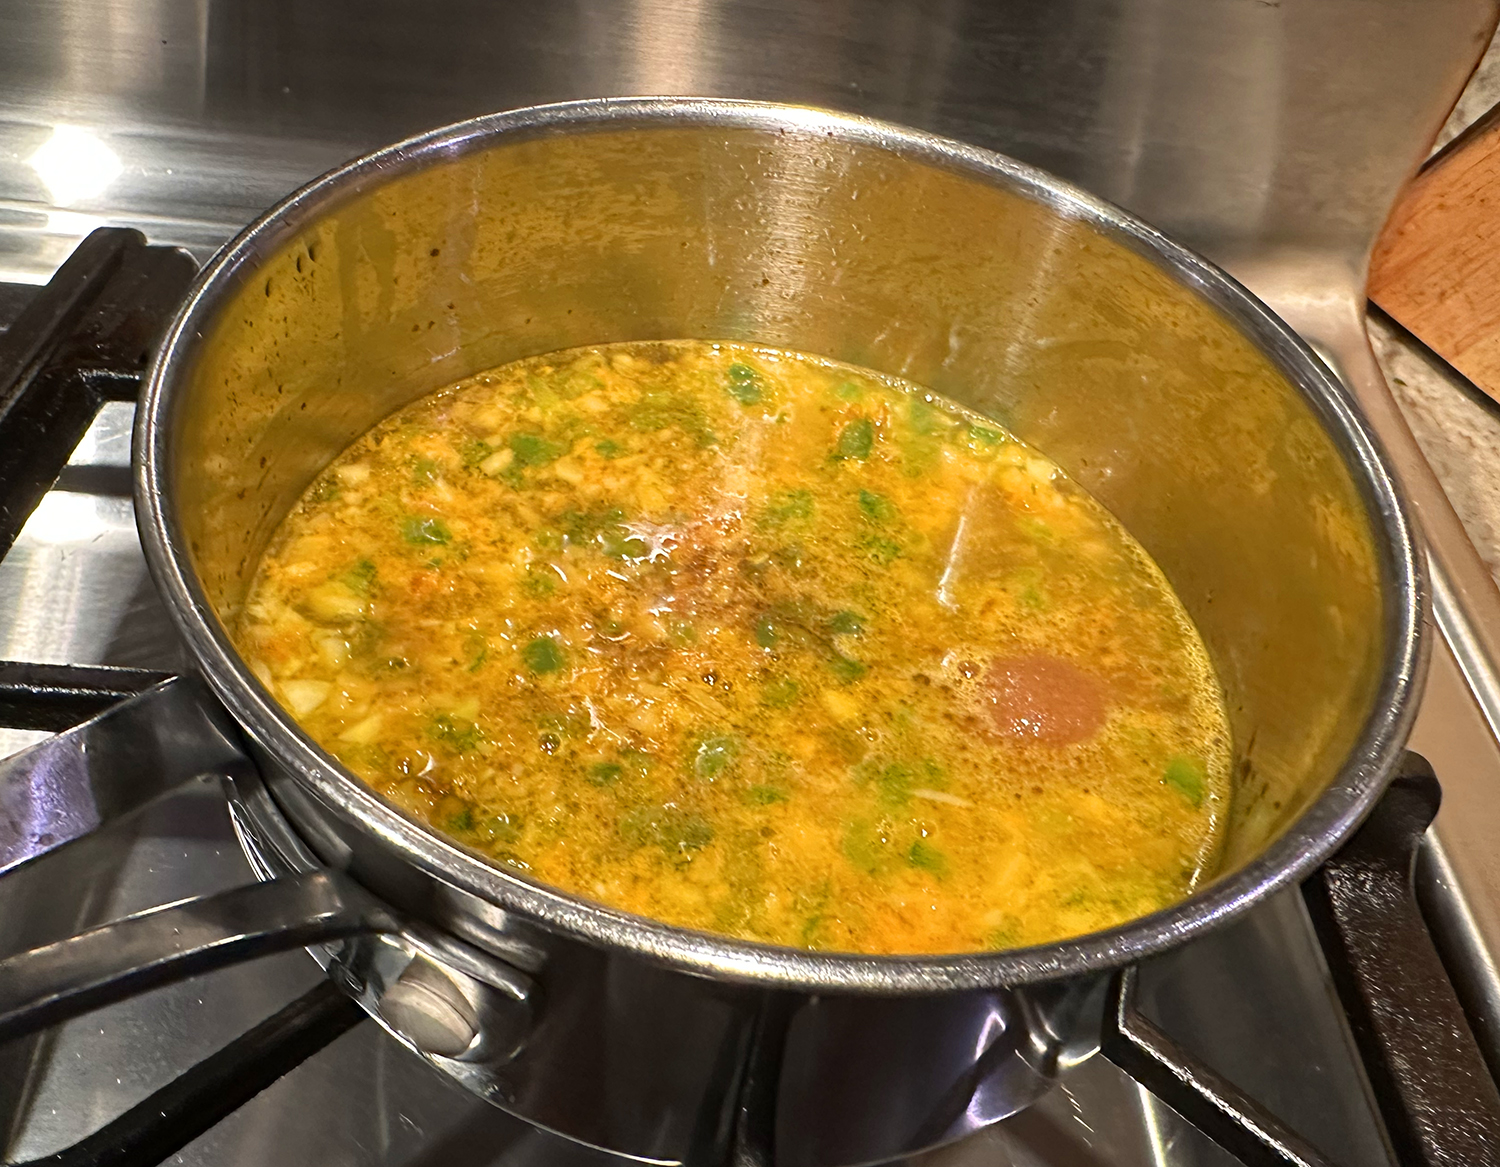
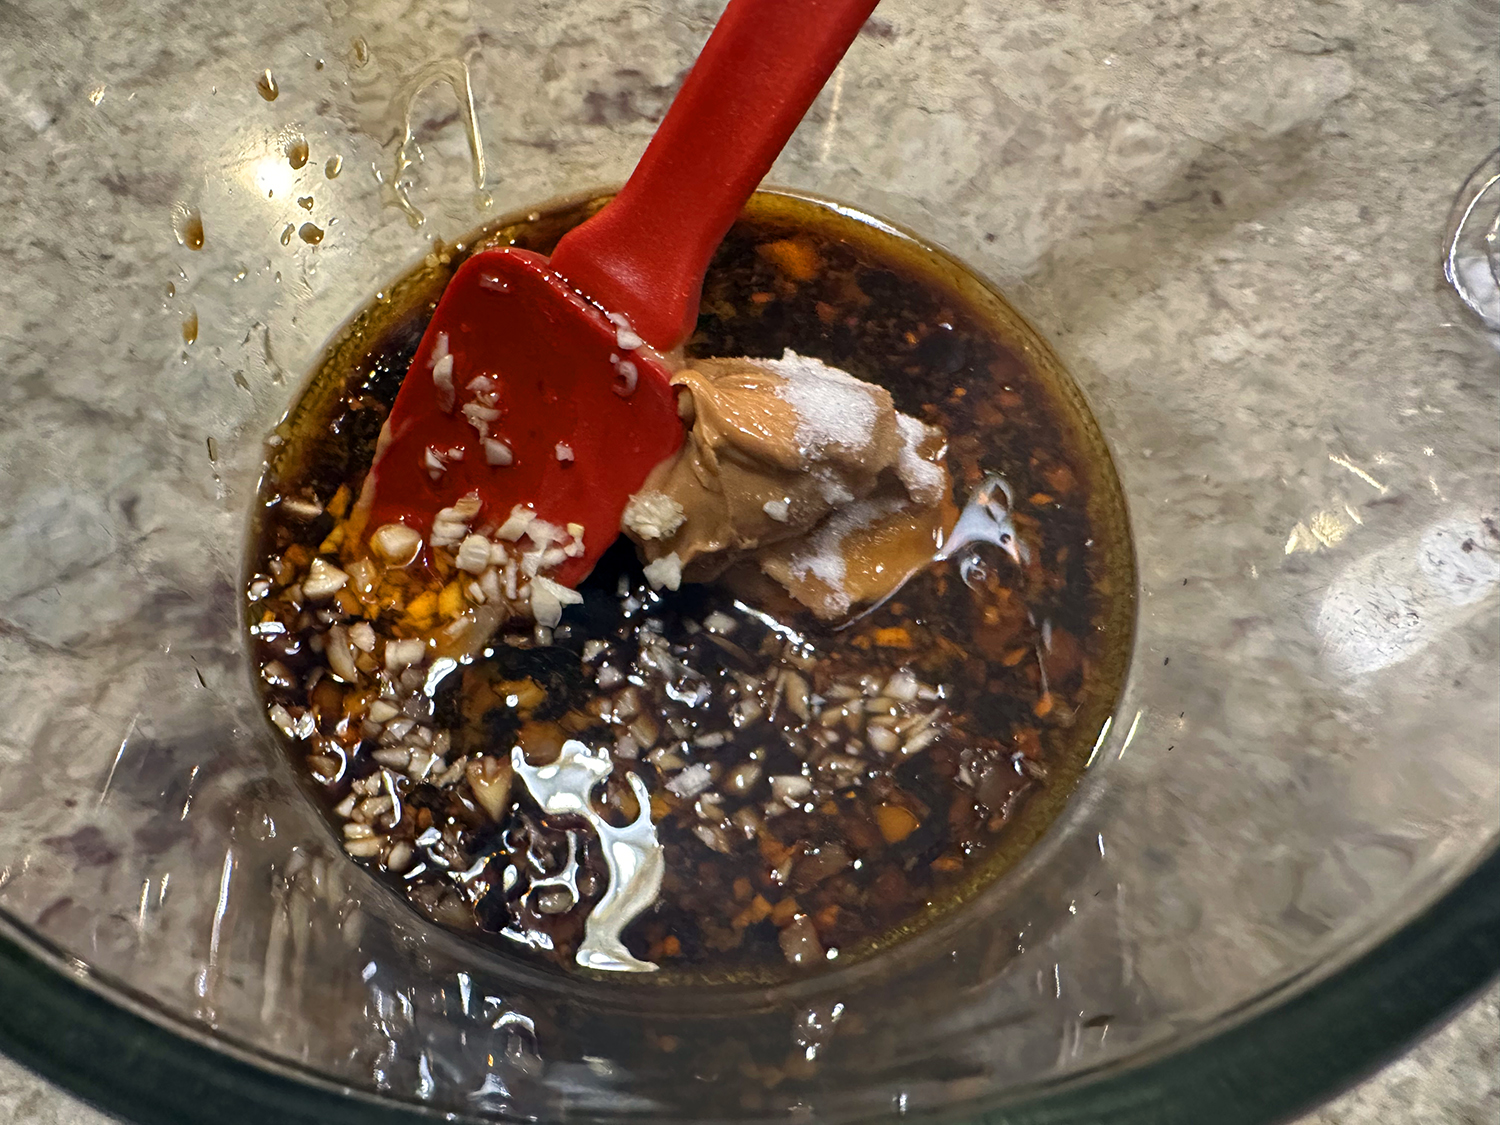
- In a small bowl, add the hot water and stir in the sugar to dissolve. Then add the corn starch, oyster sauce, rice vinegar, Shaoxing wine, light soy sauce, sesame oil, dark soy sauce, and white pepper. Stir in half of the garlic, and set this mixture aside.
- When ready to cook, trim the ends off the eggplants and cut them on an angle rotating the eggplant with each cut. into triangular bite-size chunks. (Don’t leave them out too long or they will turn brown.)
- Meanwhile, cook your rice according to package directions.
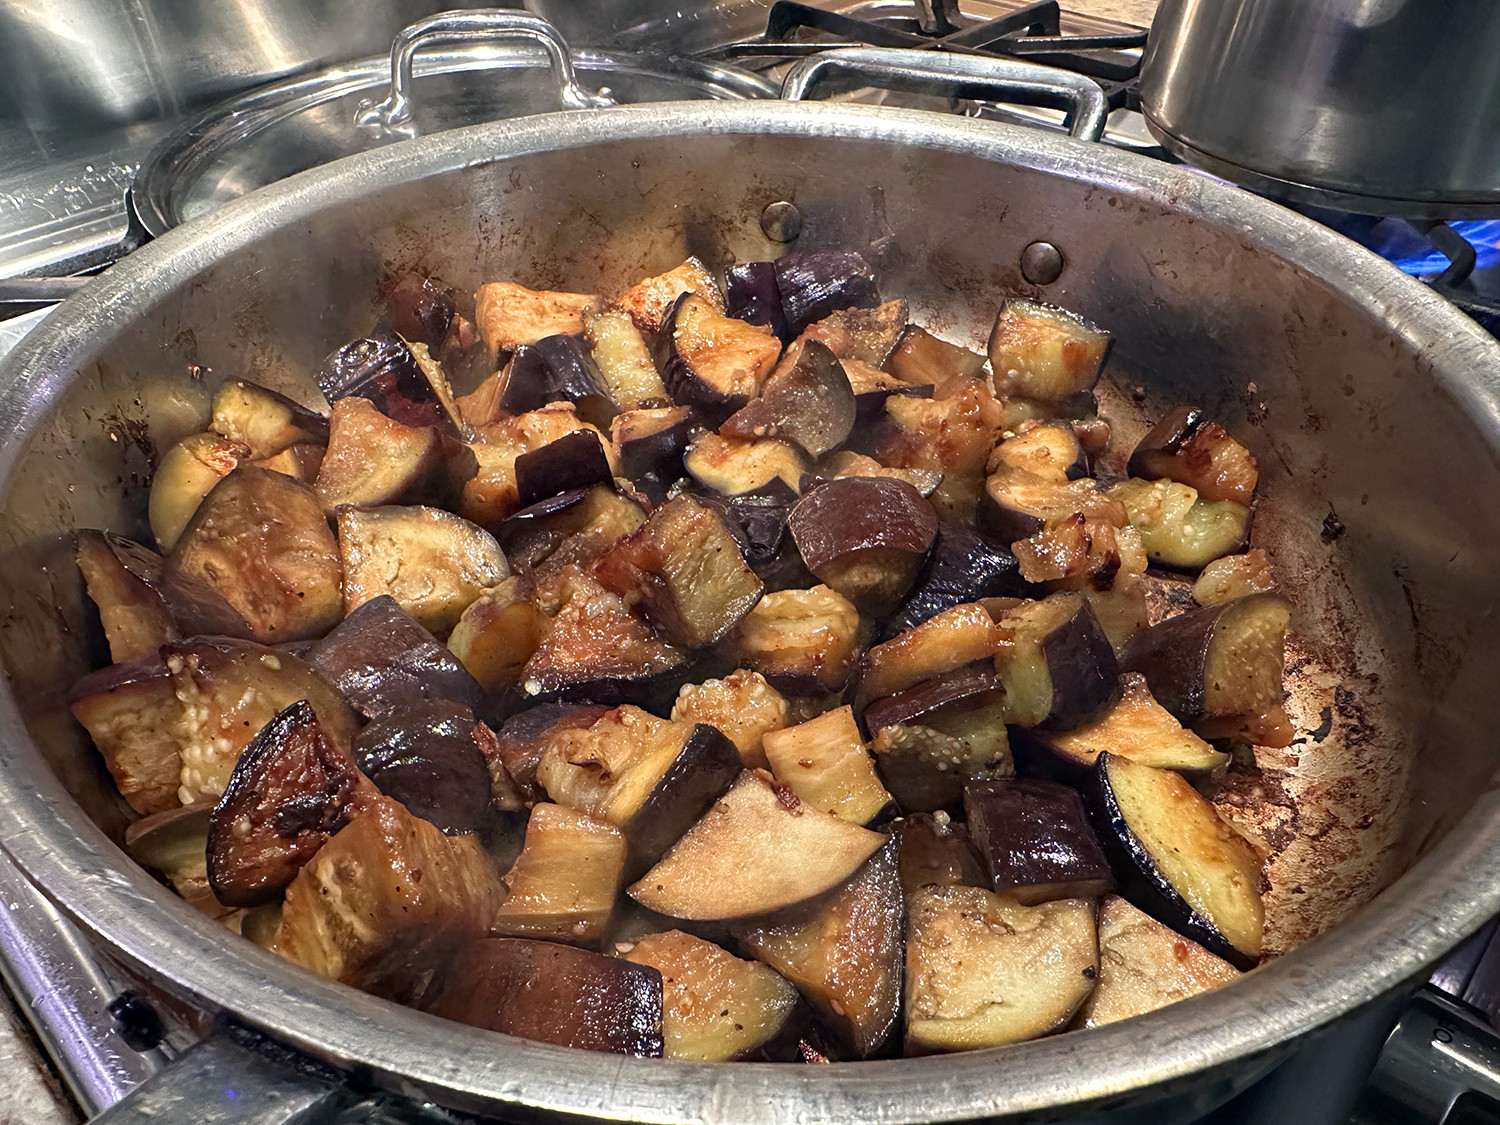
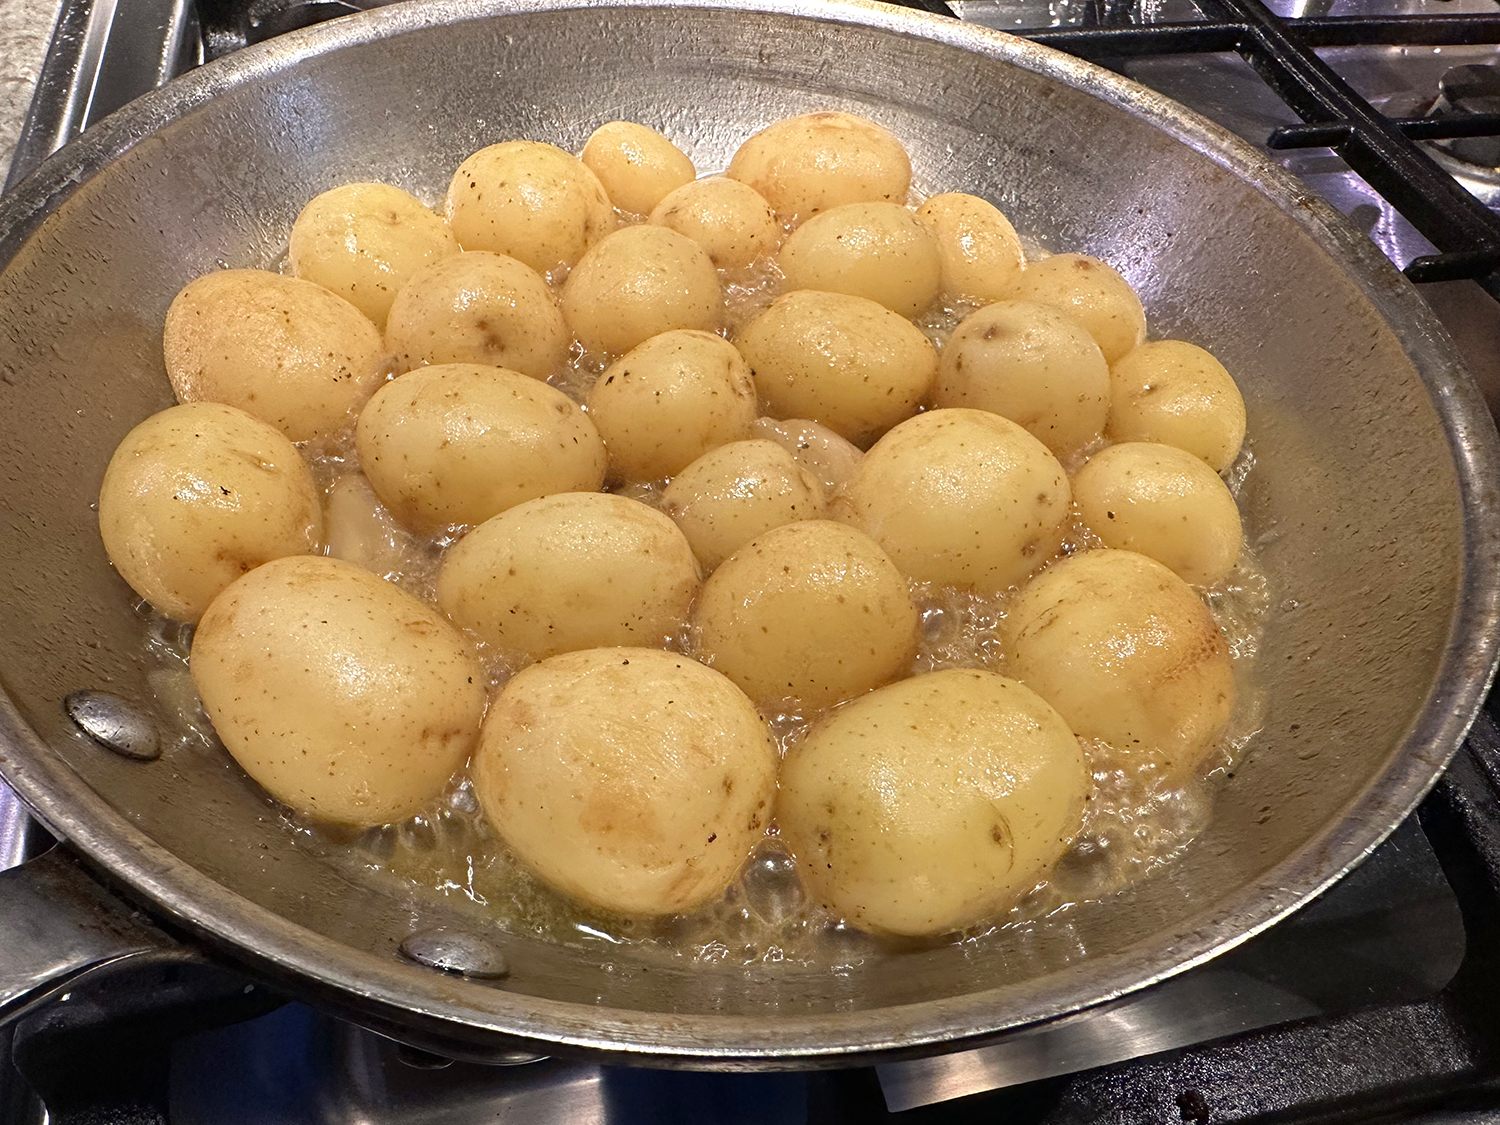
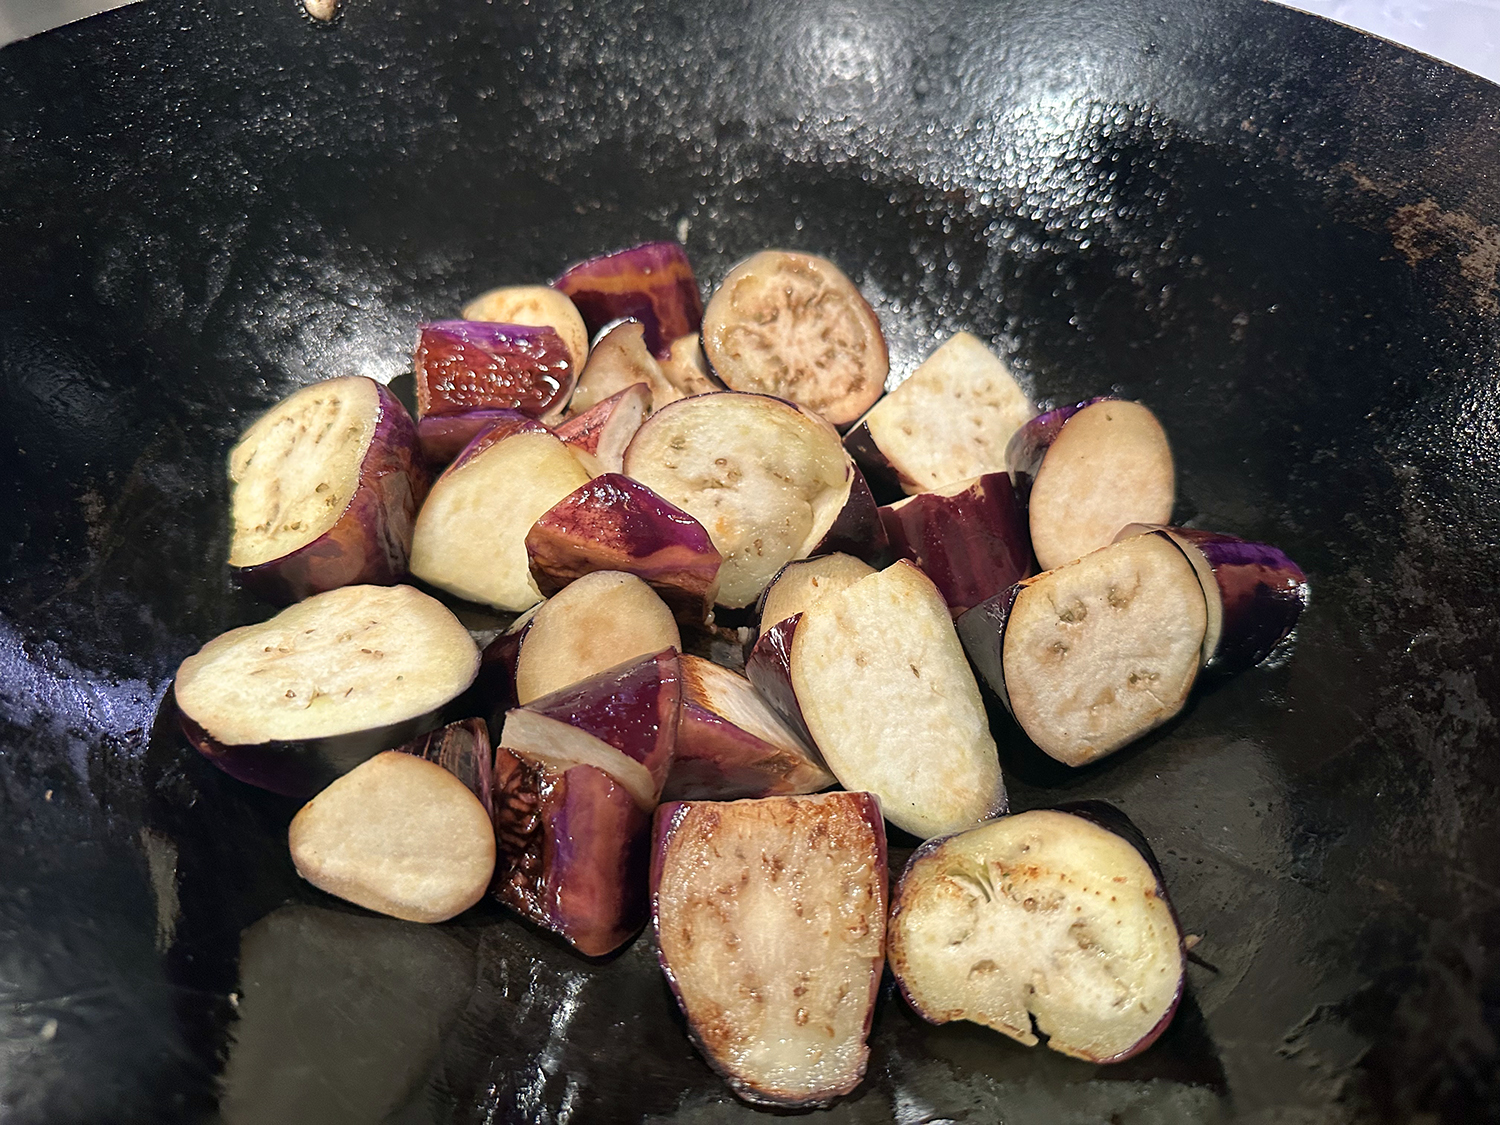
- Heat a wok over medium-high heat until it’s smoking lightly, then pour 1 1/2 tablespoons of the neutral oil around the perimeter of the wok to evenly coat it with oil. Spread the eggplant in a single layer, reduce the heat to medium, and cook for 3-4 minutes, flipping and stirring occasionally, until the eggplant is lightly browned.
- Spread another 1 1/2 tablespoons of the neutral oil around the perimeter of the wok. Continue cooking the eggplant (still in a single layer) for another 4 minutes, stirring occasionally, until evenly seared, soft and slightly translucent. (You may want to do this in two batches, which will add time of course.) Remove the eggplant from the wok and set on a plate.
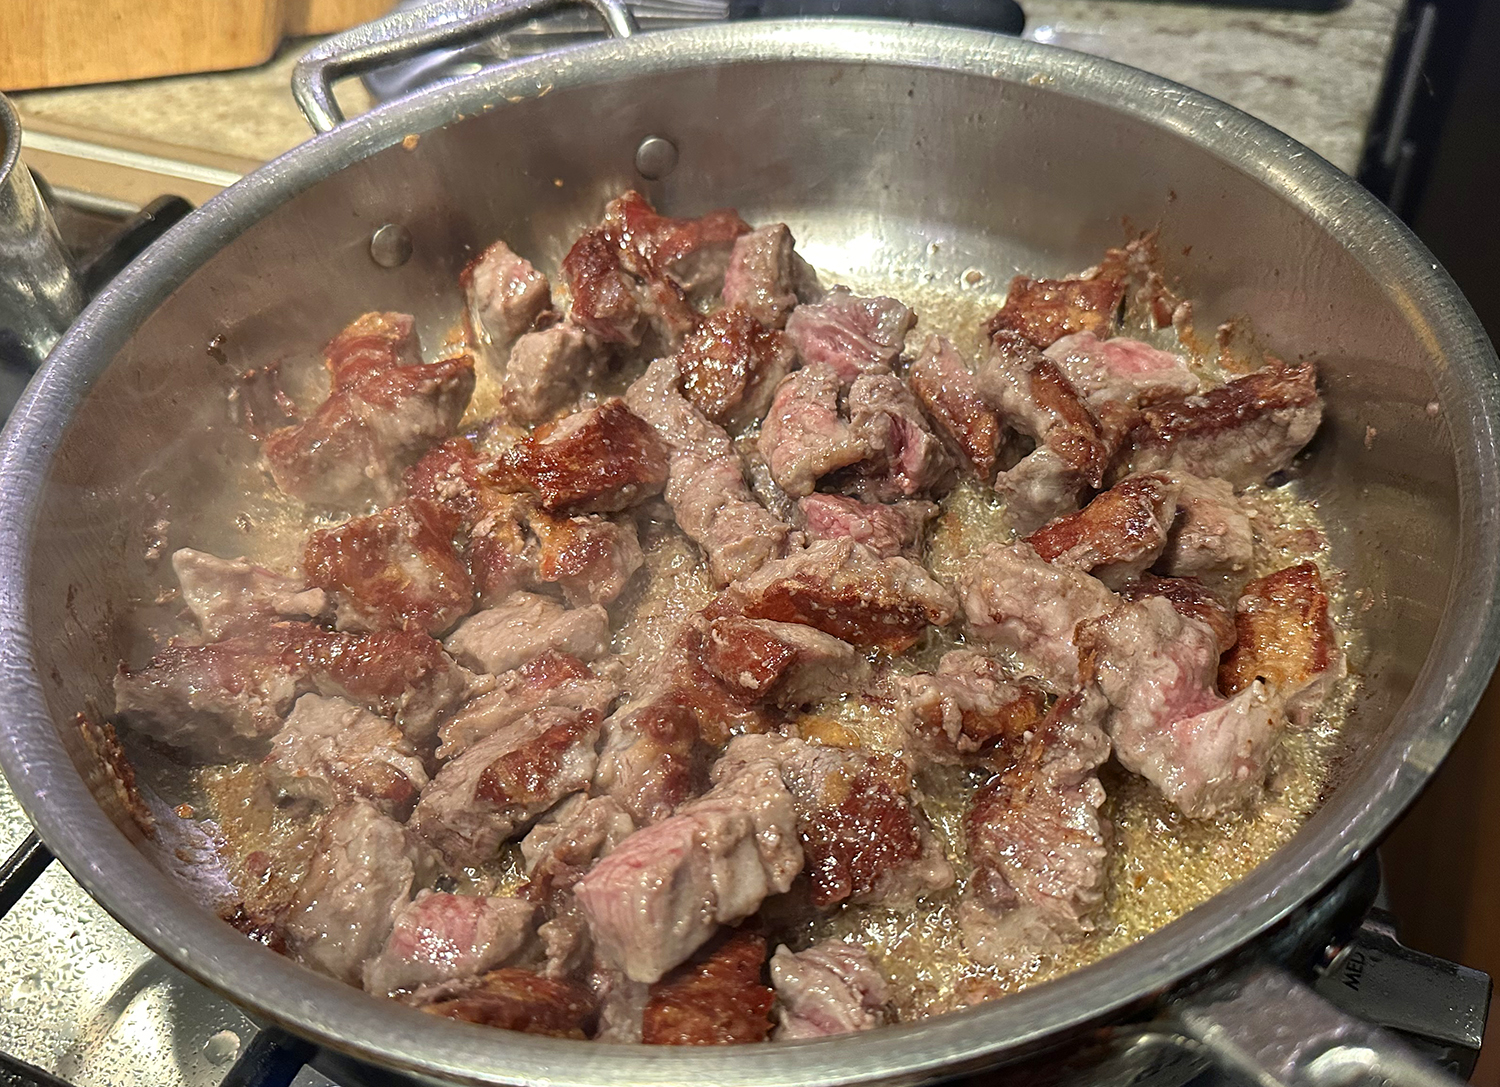
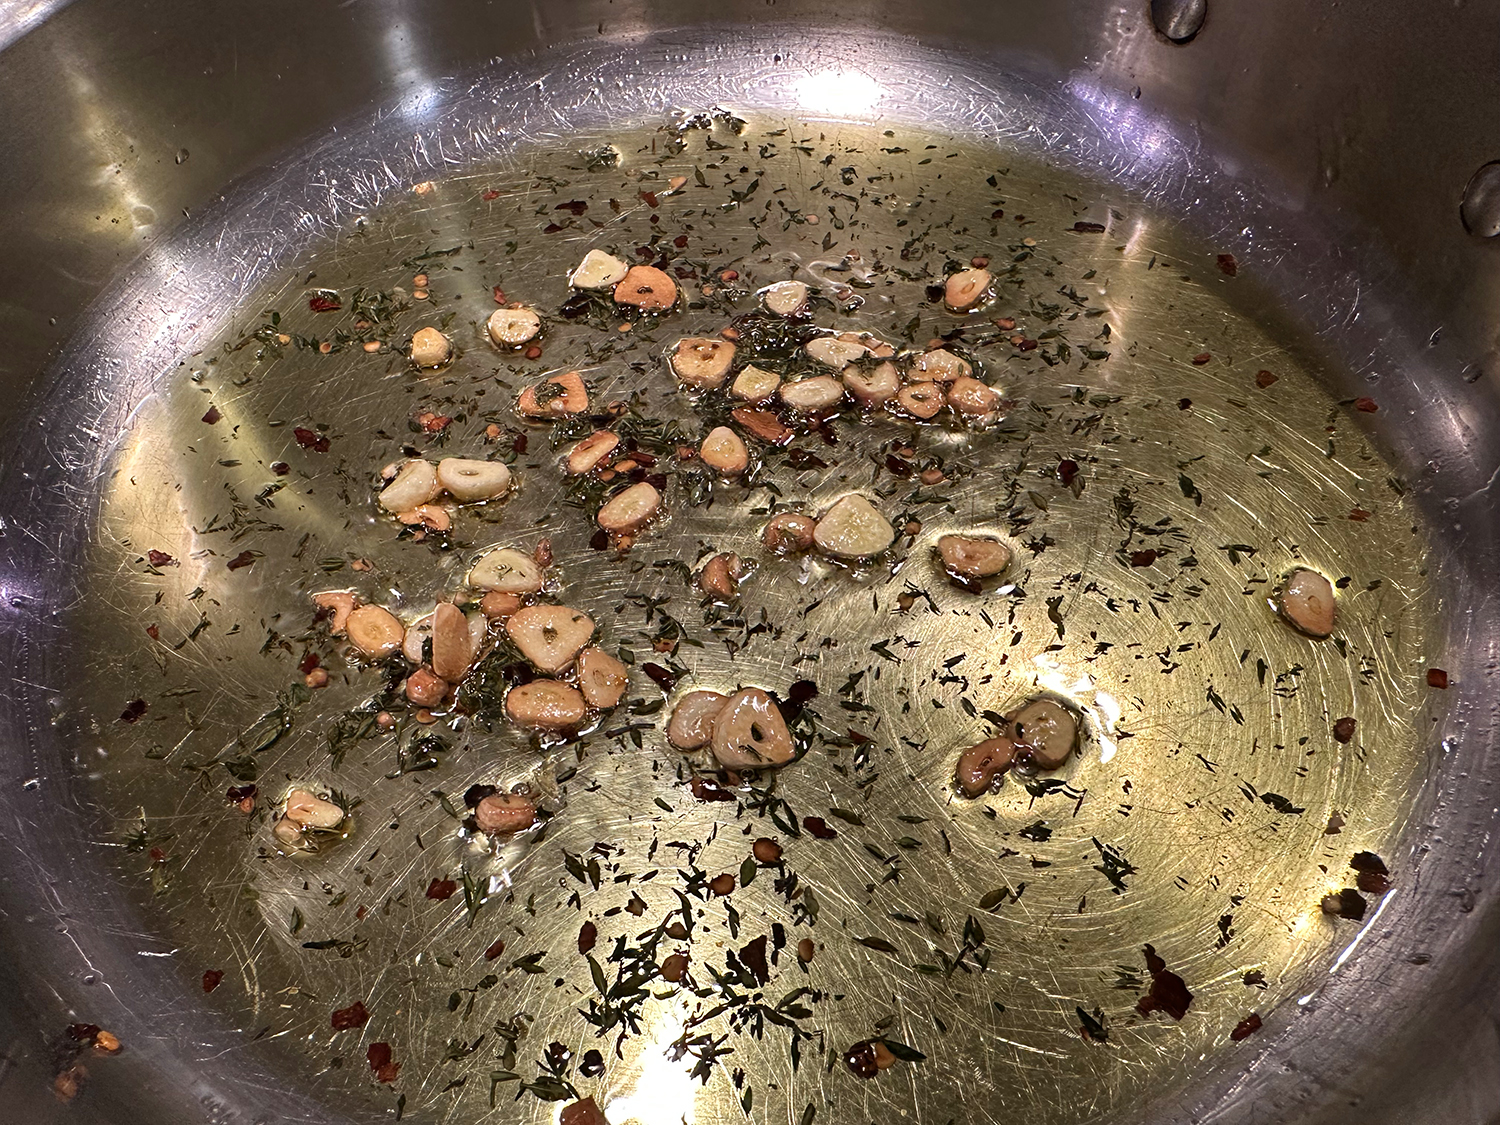
- Increase the heat to high and add the remaining 1 1/2 tablespoons of oil to the wok. Add the ground pork and cook until opaque, breaking it up into small bits as you go. Add the ginger, dried chiles, and the remaining tablespoon of garlic. Cook for 1-2 minutes, stirring constantly, until the aromatics are toasted and fragrant.
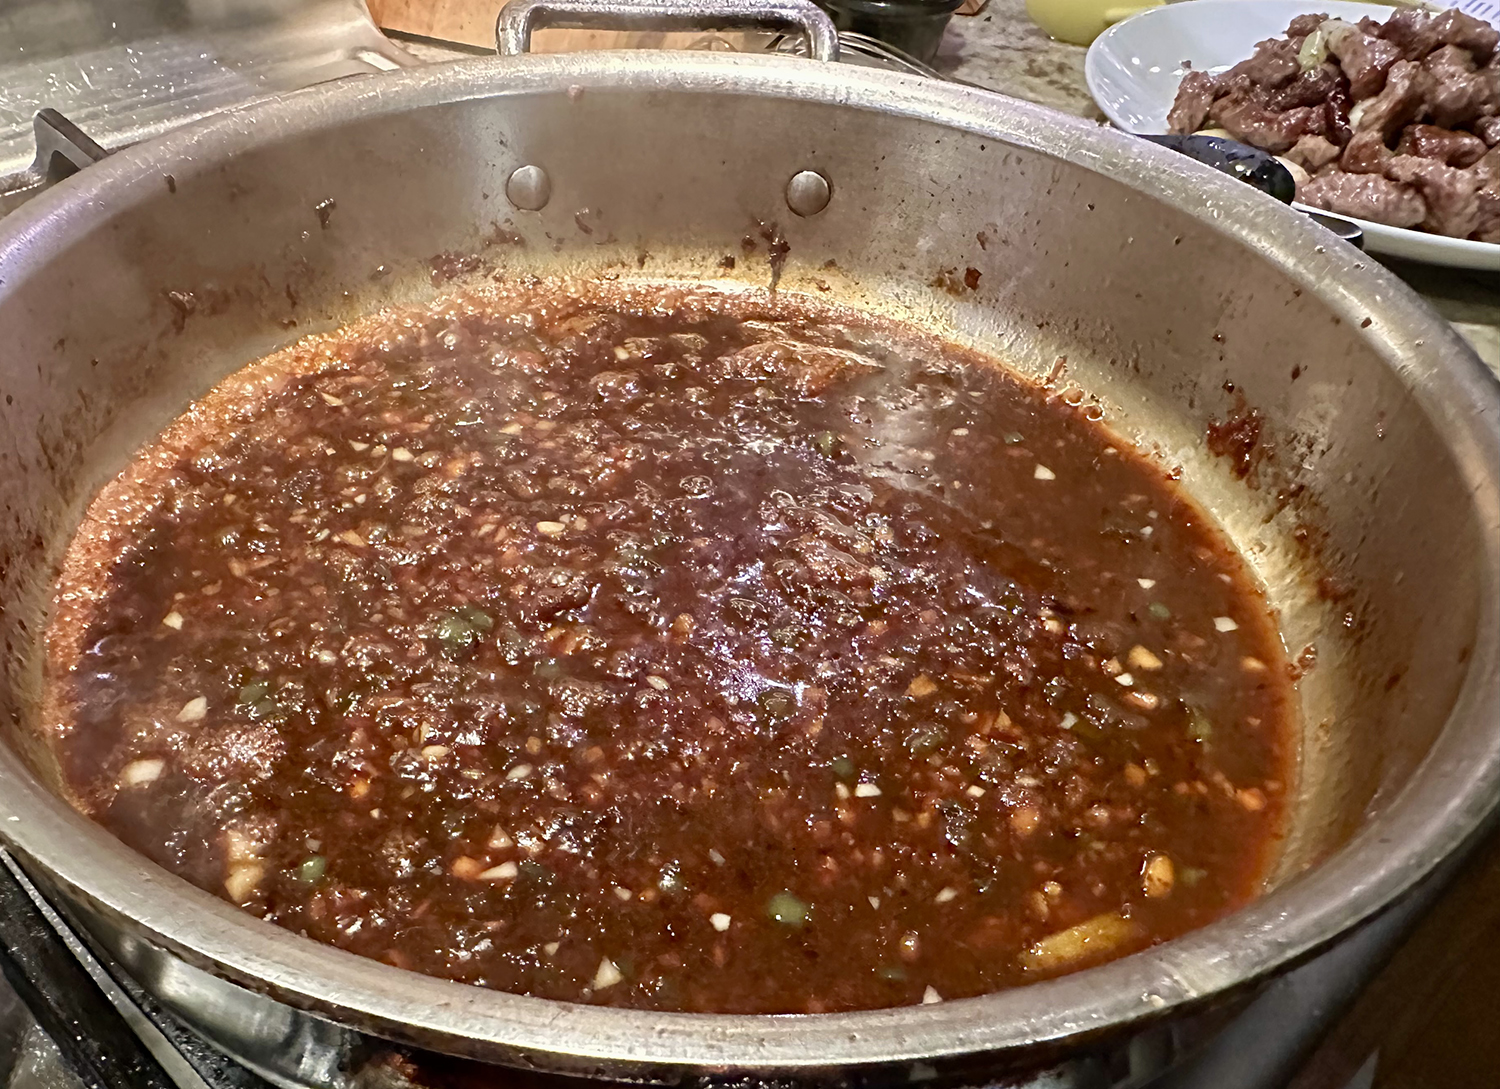
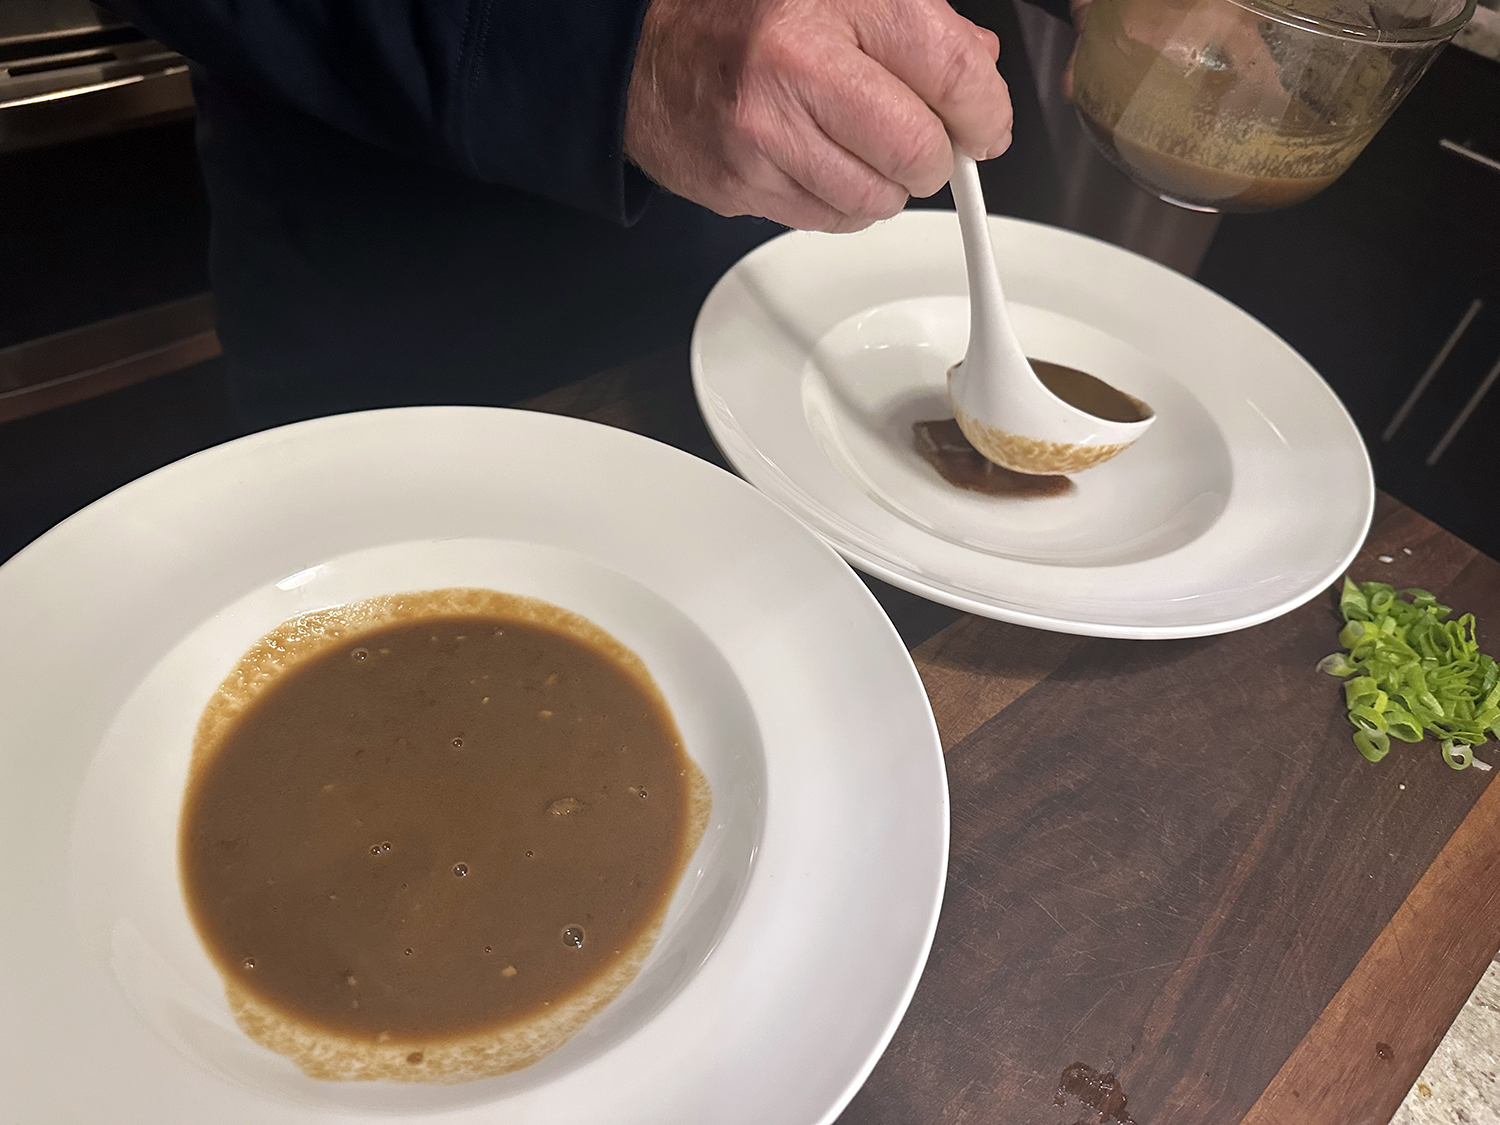
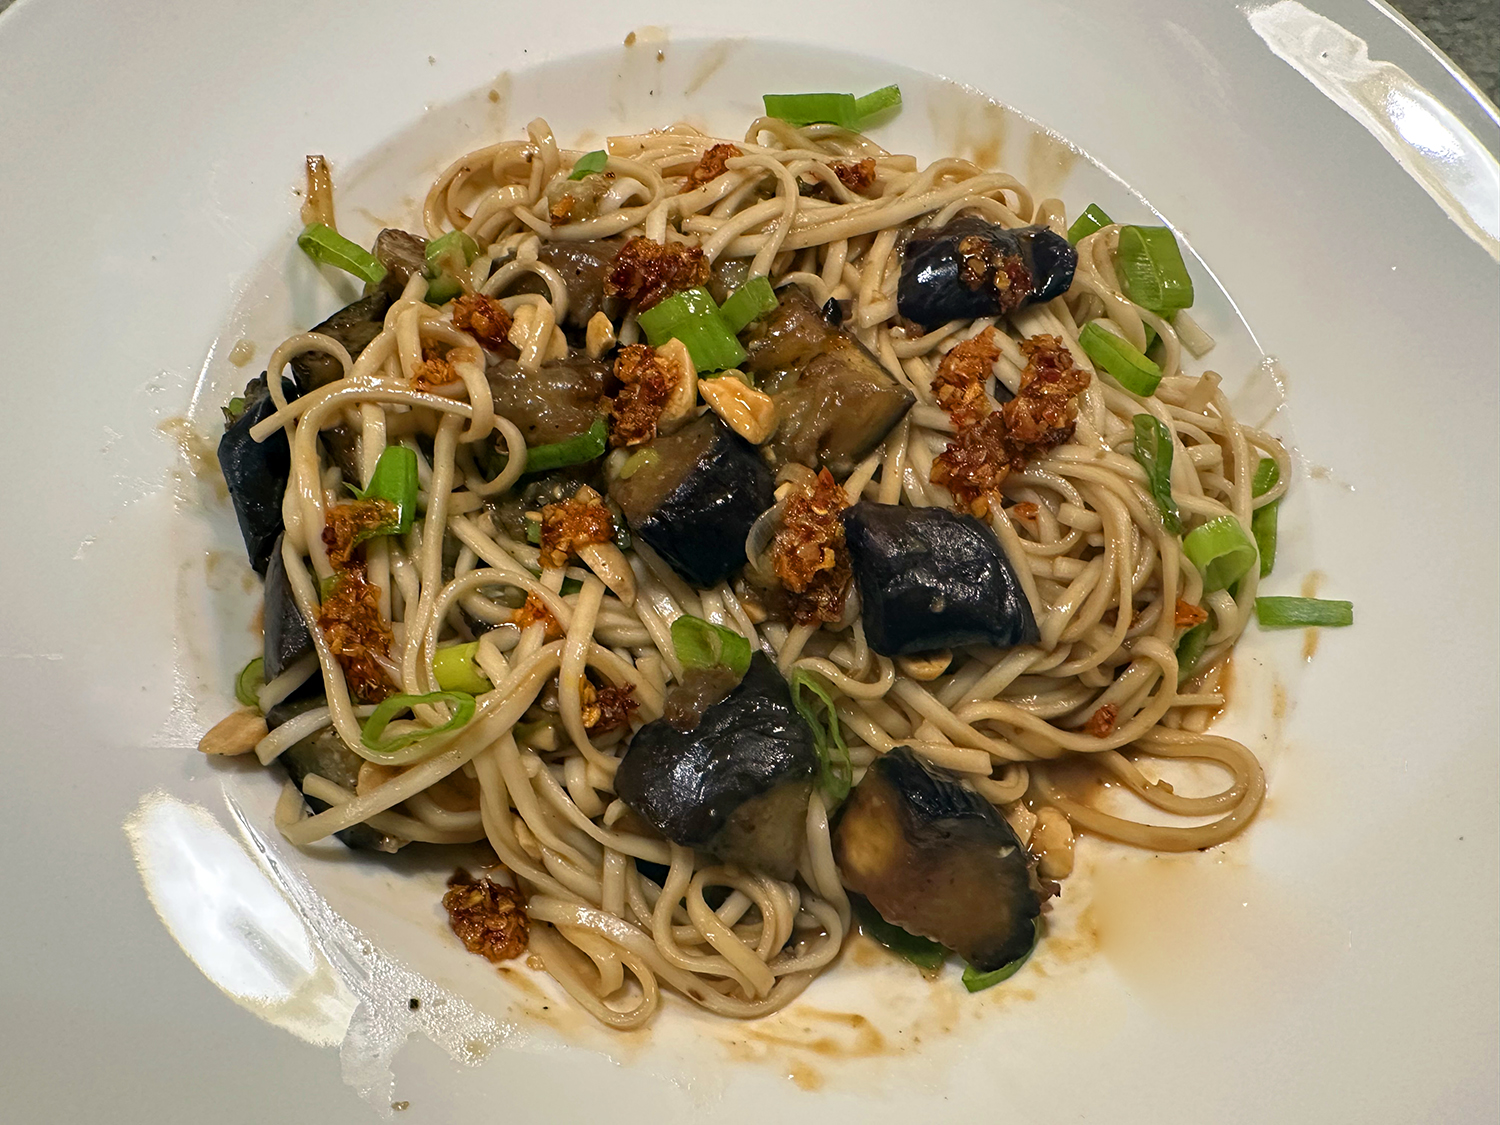
- Add the eggplant back to the wok, and stir-fry until combined. Stir the sauce again to ensure the corn starch is well combined with the liquid, then add it to the wok. Mix well and bring to a simmer, cooking until the sauce is just thick enough to coat a spoon. Stir in the scallions and serve immediately over hot jasmine rice.
Recipe from The Woks of Life