Did you know that Puttanesca sauce originated in Naples Italy? The name derives from the Italian word puttana which translates roughly to “lady of the night,” or “in the style of the whore.” Puttana in turn arises from the Latin word putida which means stinking. It’s a wonder how this tasty dish became associated with such sordid content, but I’ll leave you to research that aspect… There is a lot of disagreement about the origins, and the authorities on Italian food seem to be wary of making a definitive statement about it.
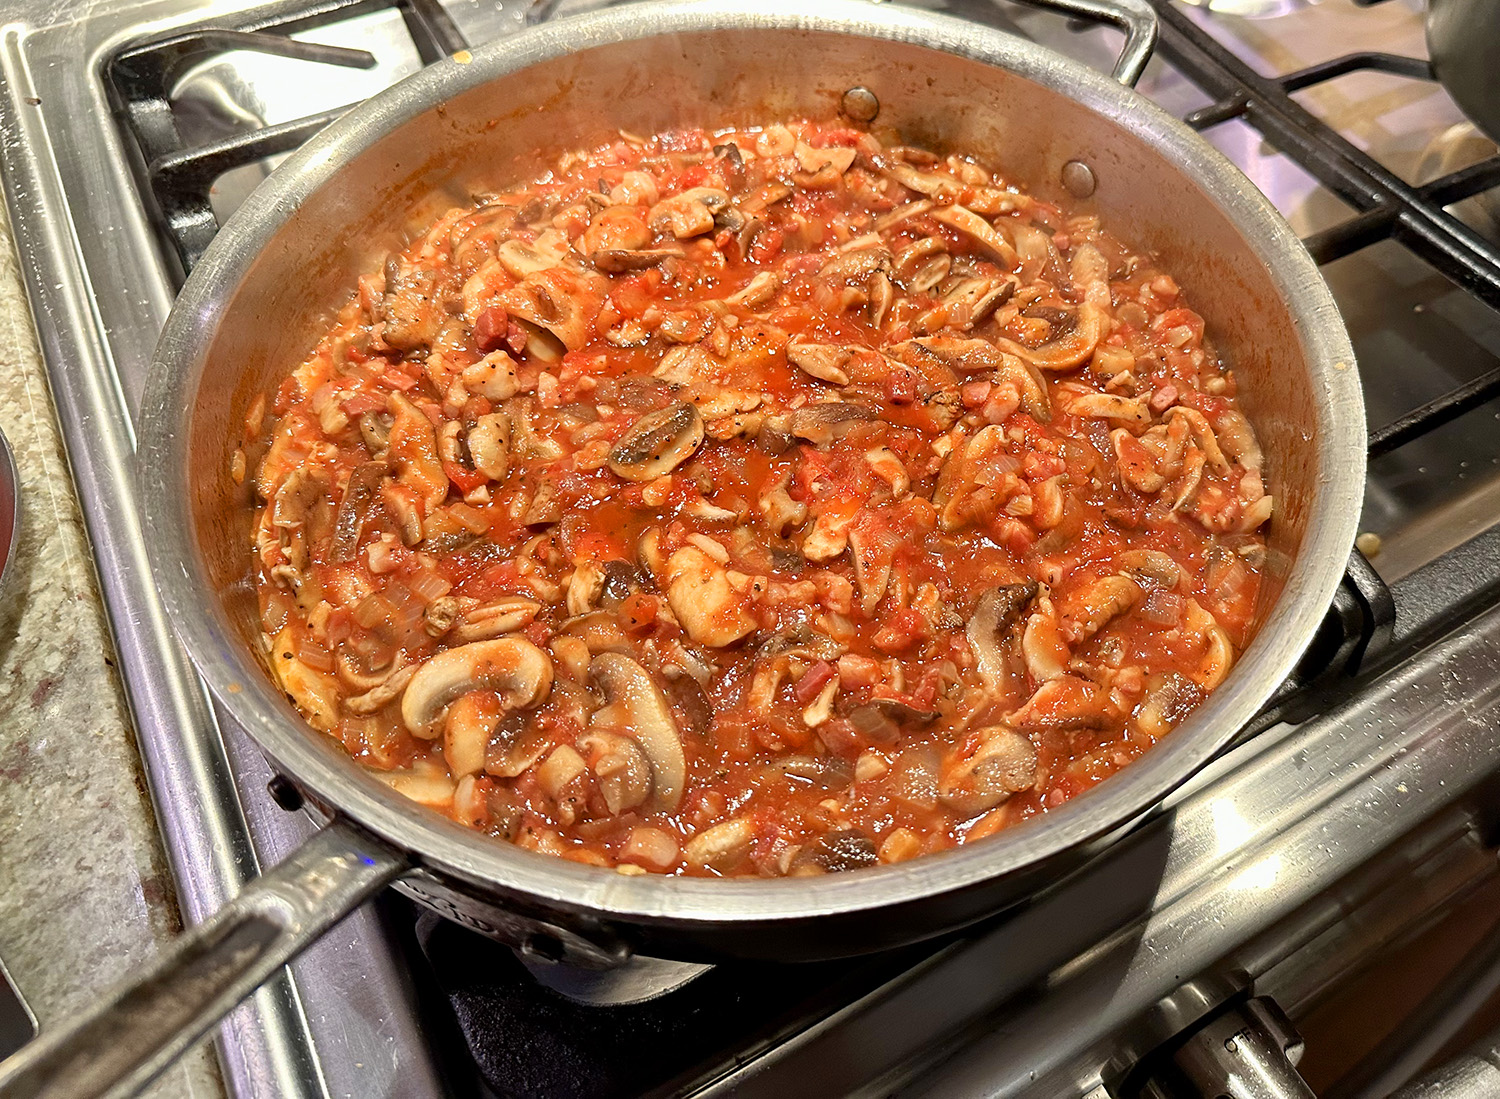
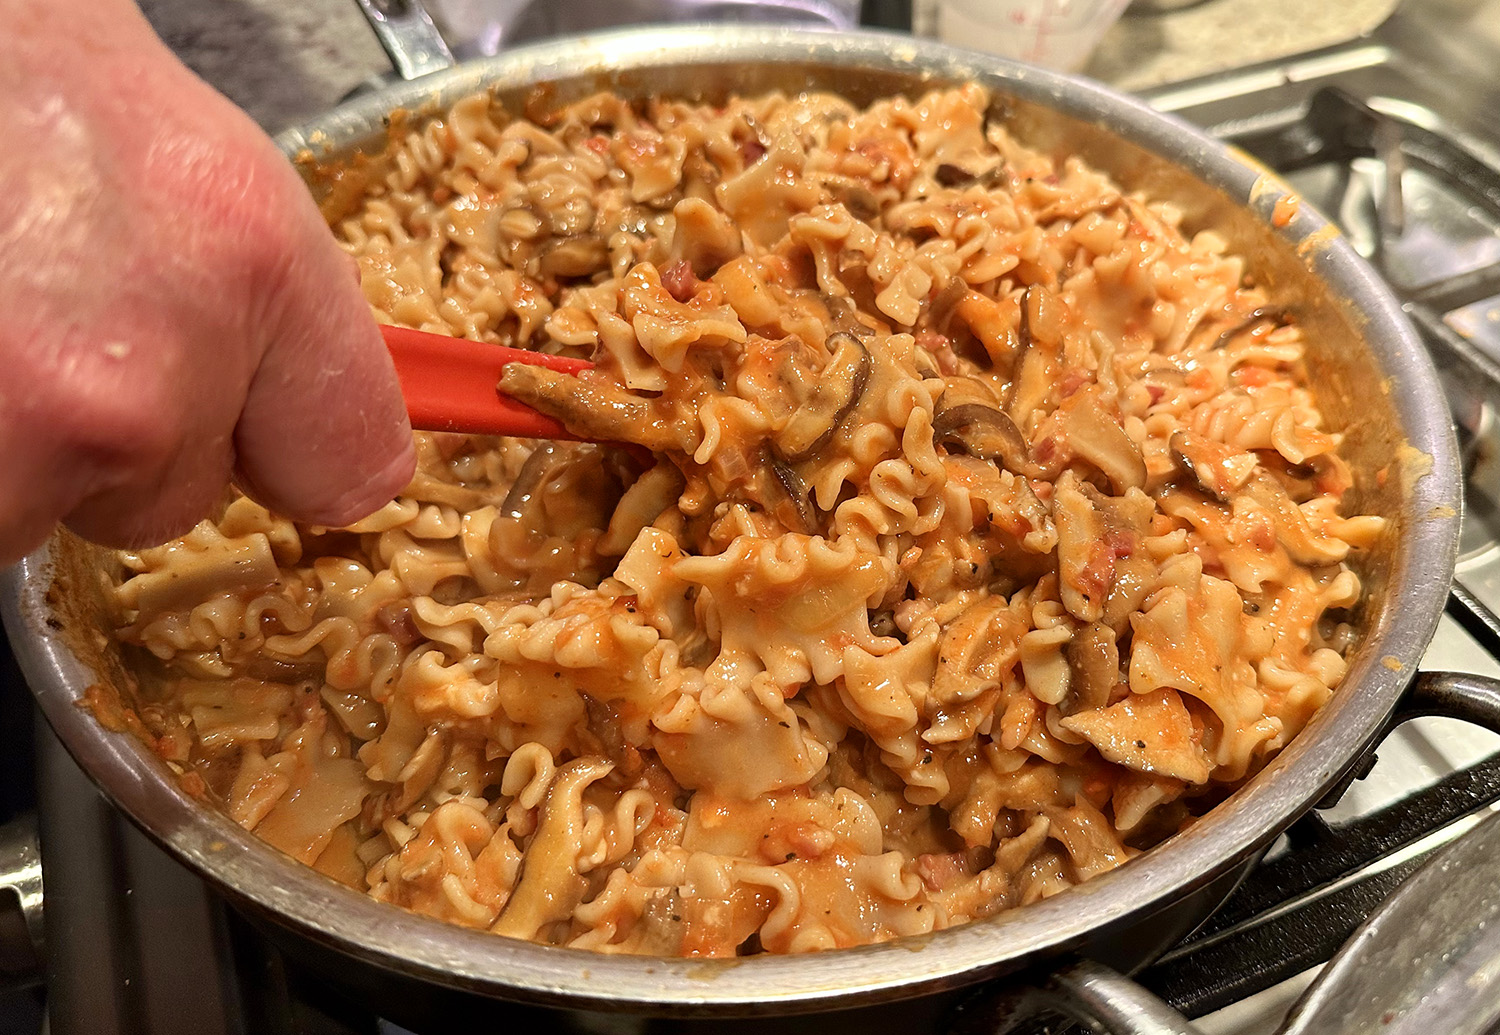
OK, so let’s get to the delicious recipe. Puttanesca is made from tomatoes, black olives, capers, anchovies, onions, garlic, and herbs, usually oregano and parsley but sometimes also basil; we used cilantro for a change of pace. This particular version leaves out the anchovies, but you could easily add some in if desired.
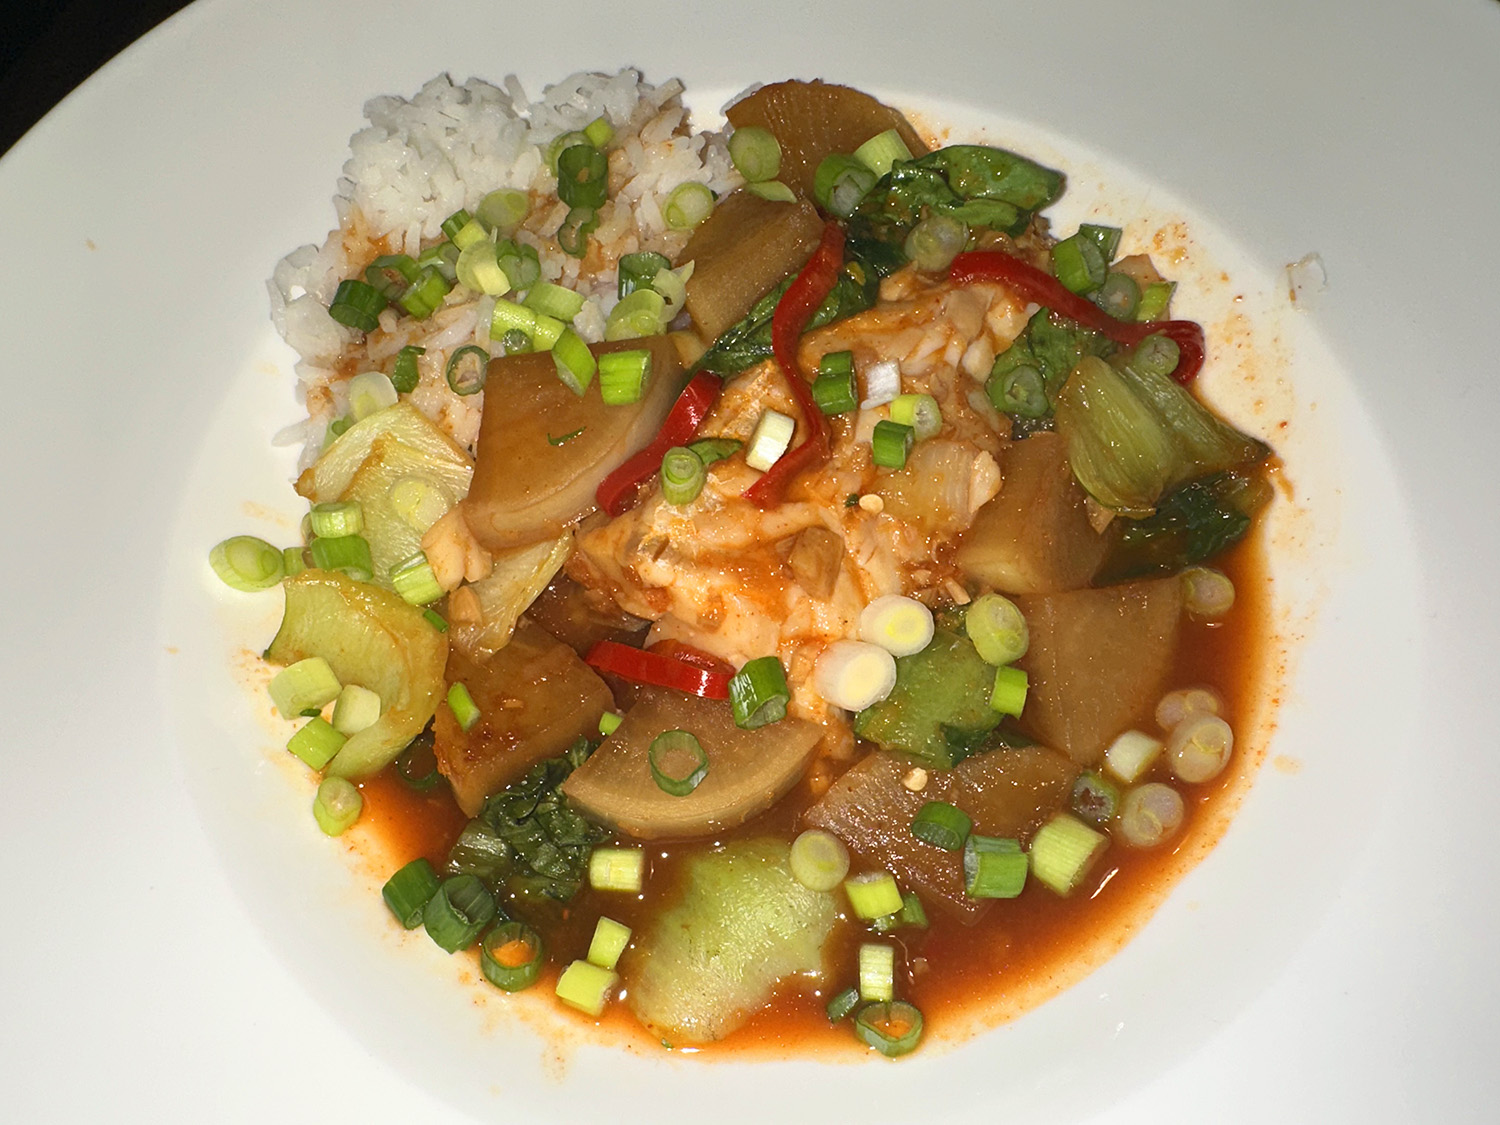
It is an easy sauce, briefly cooked, and is very fragrant and spicy. We paired it here with a Lemon-Garlic Rice, but fell free to use a simple steamed rice.

Braised Tuna Puttanesca
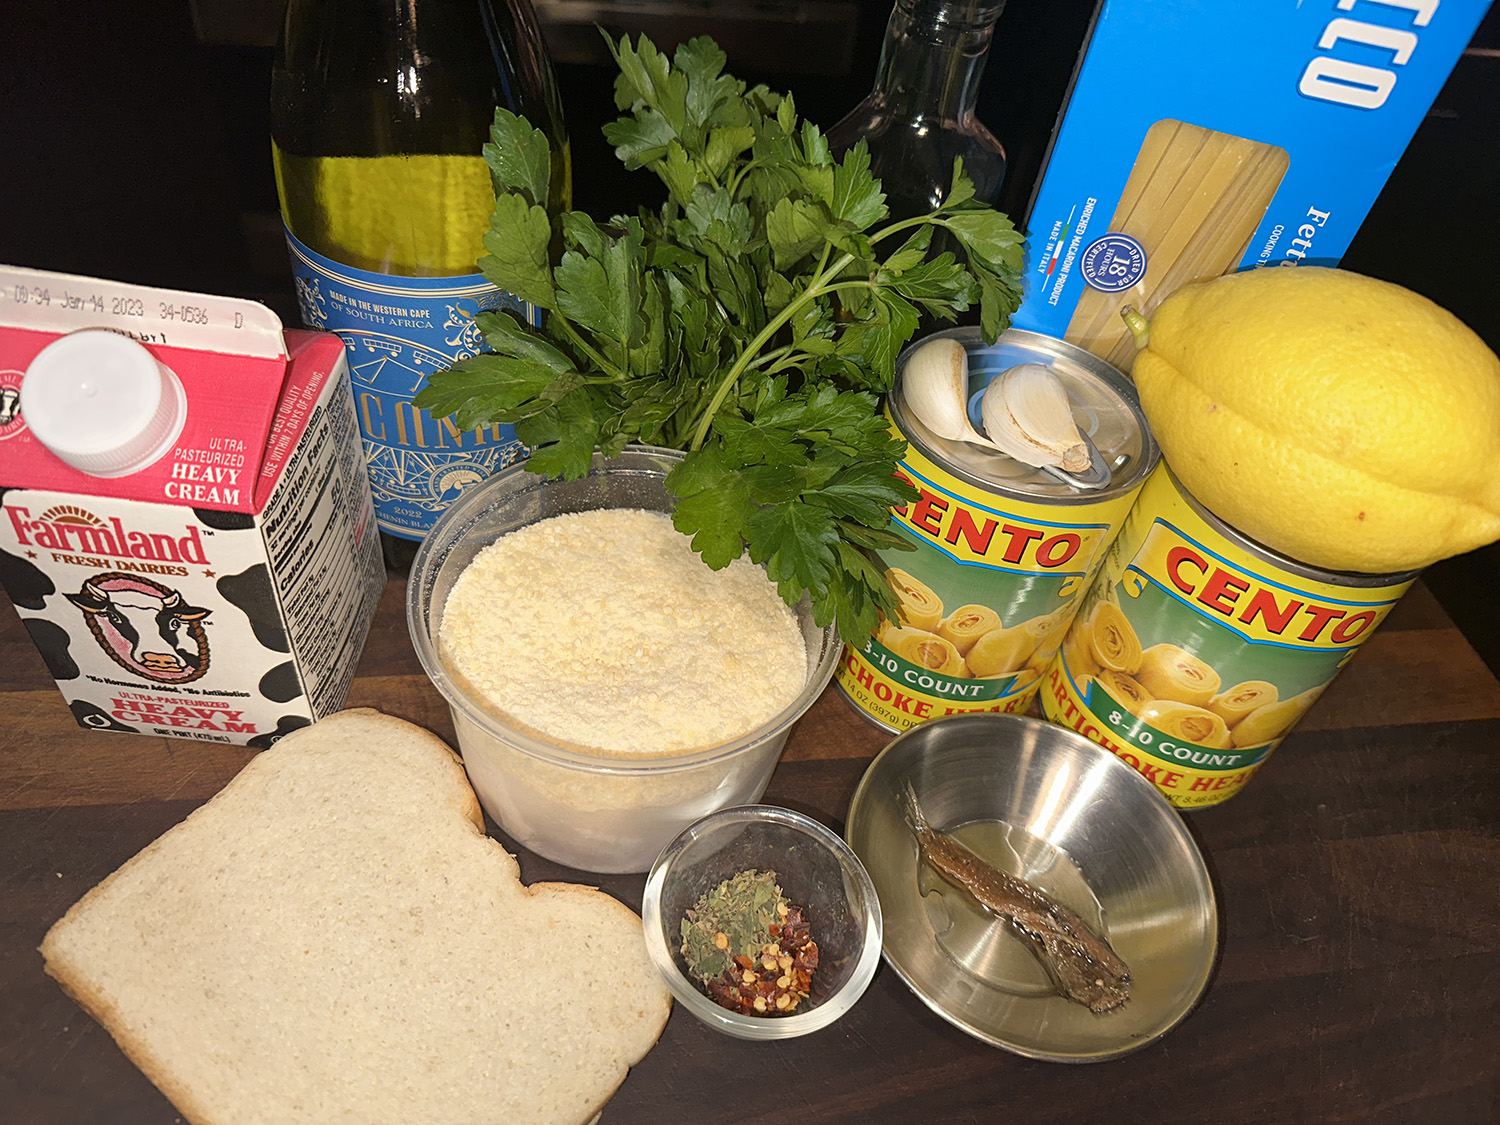
Ingredients
- 1/4 cup extra virgin olive oil
- 1 1/2 cups onion, thinly sliced
- 2 Tbsp. garlic, minced
- 28-oz. can whole tomatoes, crushed with hands
- 1/4 cup capers, rinsed
- 1/3 cup pitted olives, black or green, or a mix, sliced
- Pinch red pepper flakes
- 1 1/2 cups dry white wine
- 4 tuna steaks, about 6 oz. each
- 1/4 cup cilantro, chopped
- 1/4 cup slivered almonds, toasted
- Lemon Garlic Rice (see recipe below)


Directions
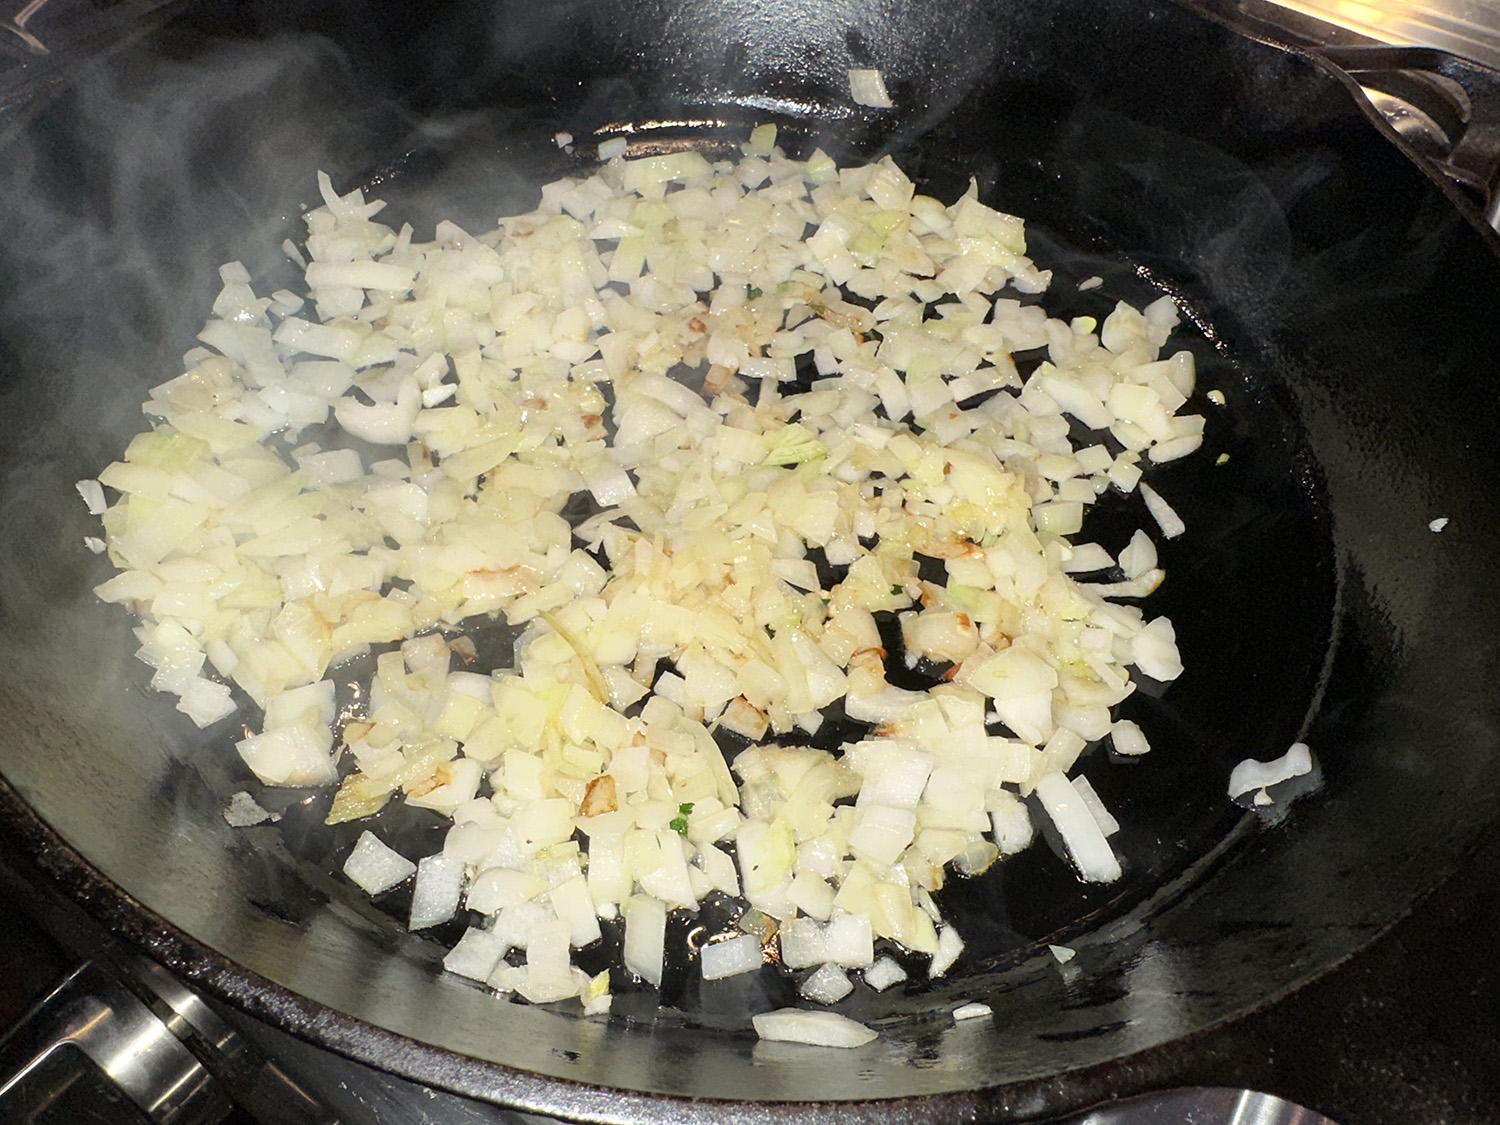
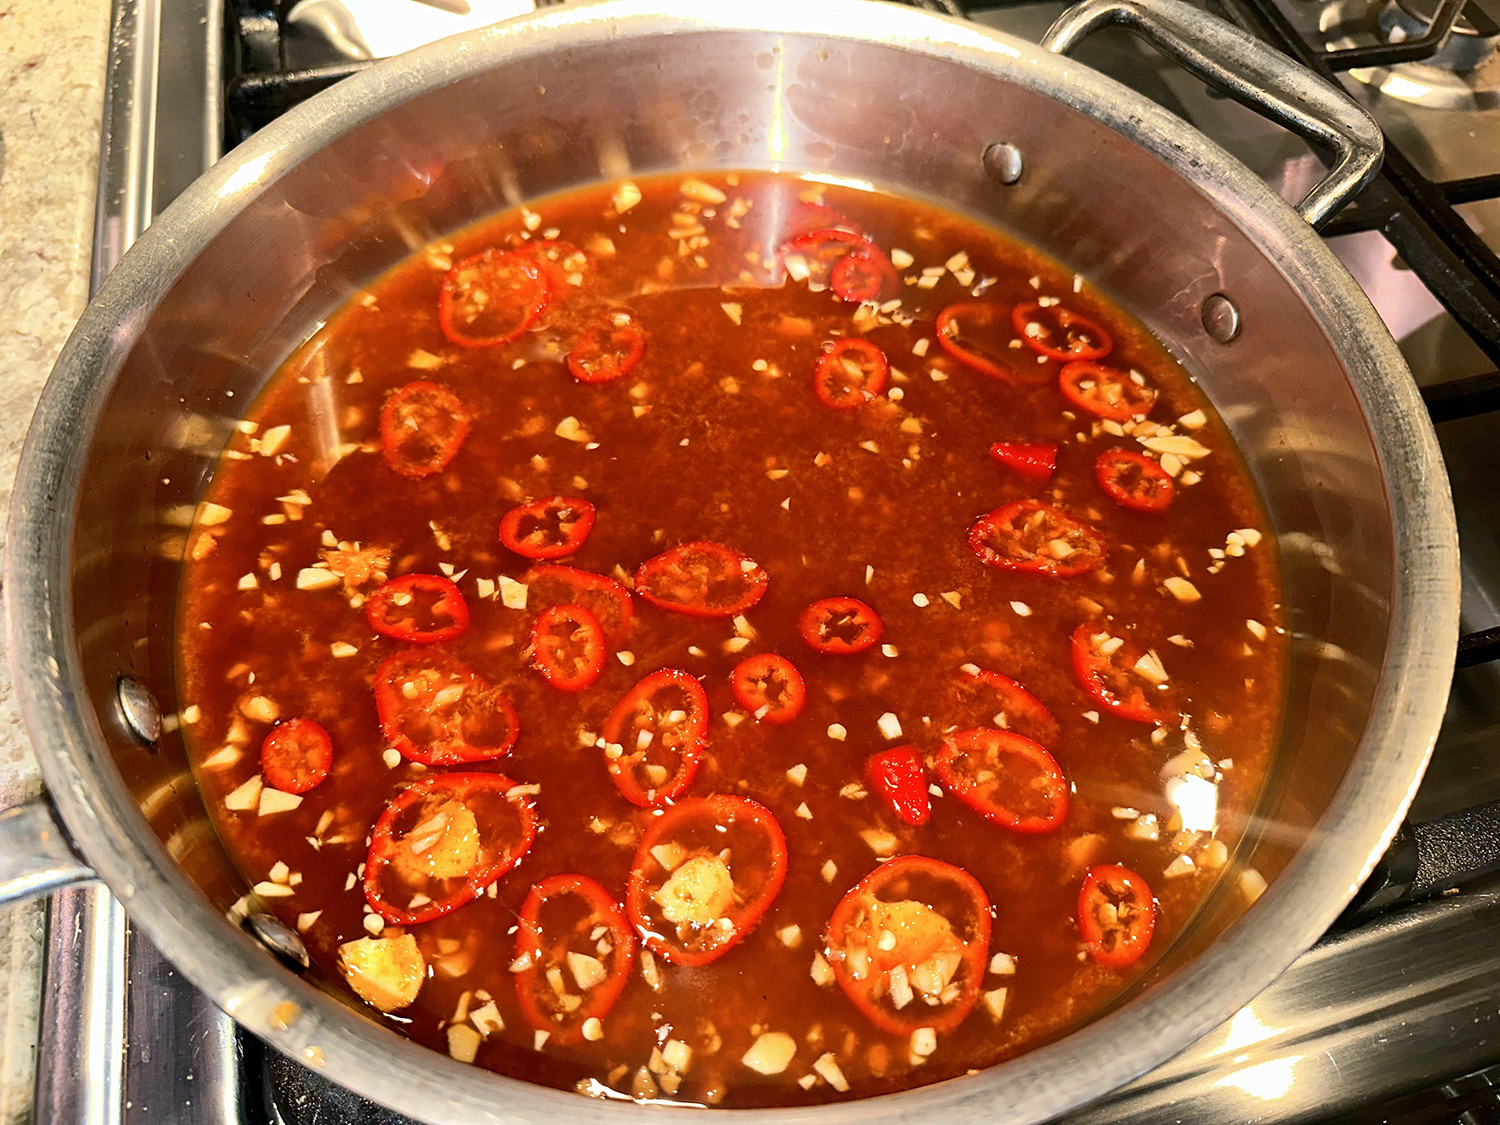
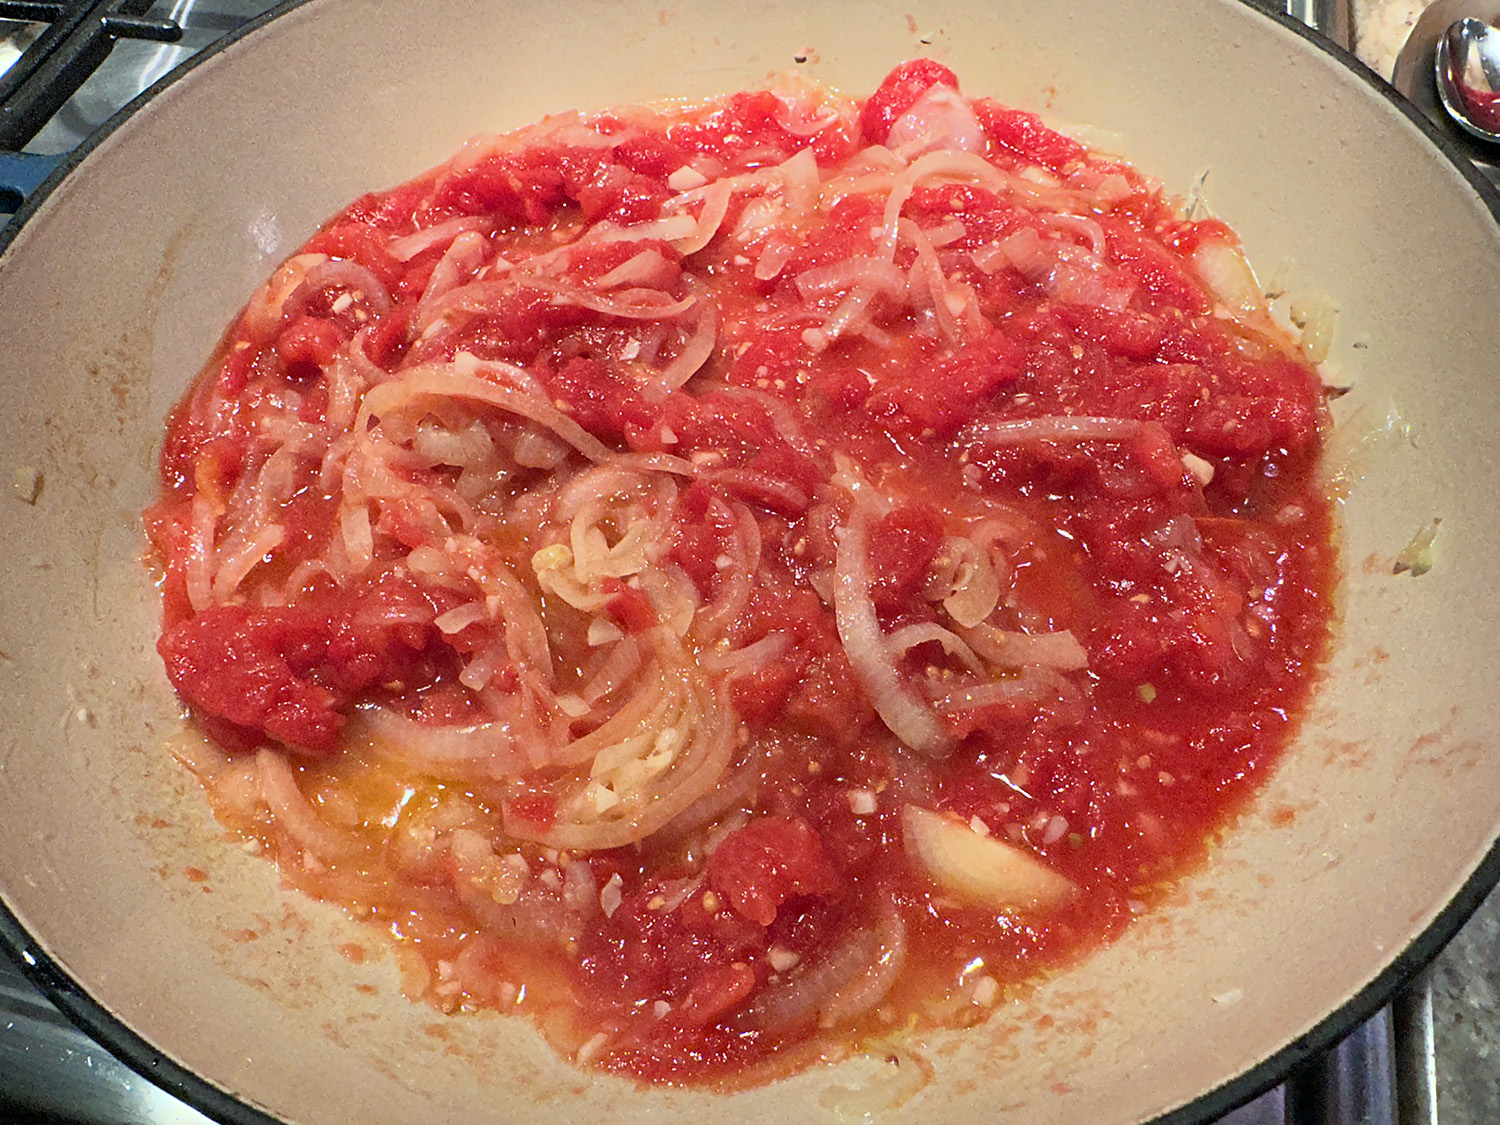
- Heat oil in large saute pan. Add onions and cook for about 4 minutes.
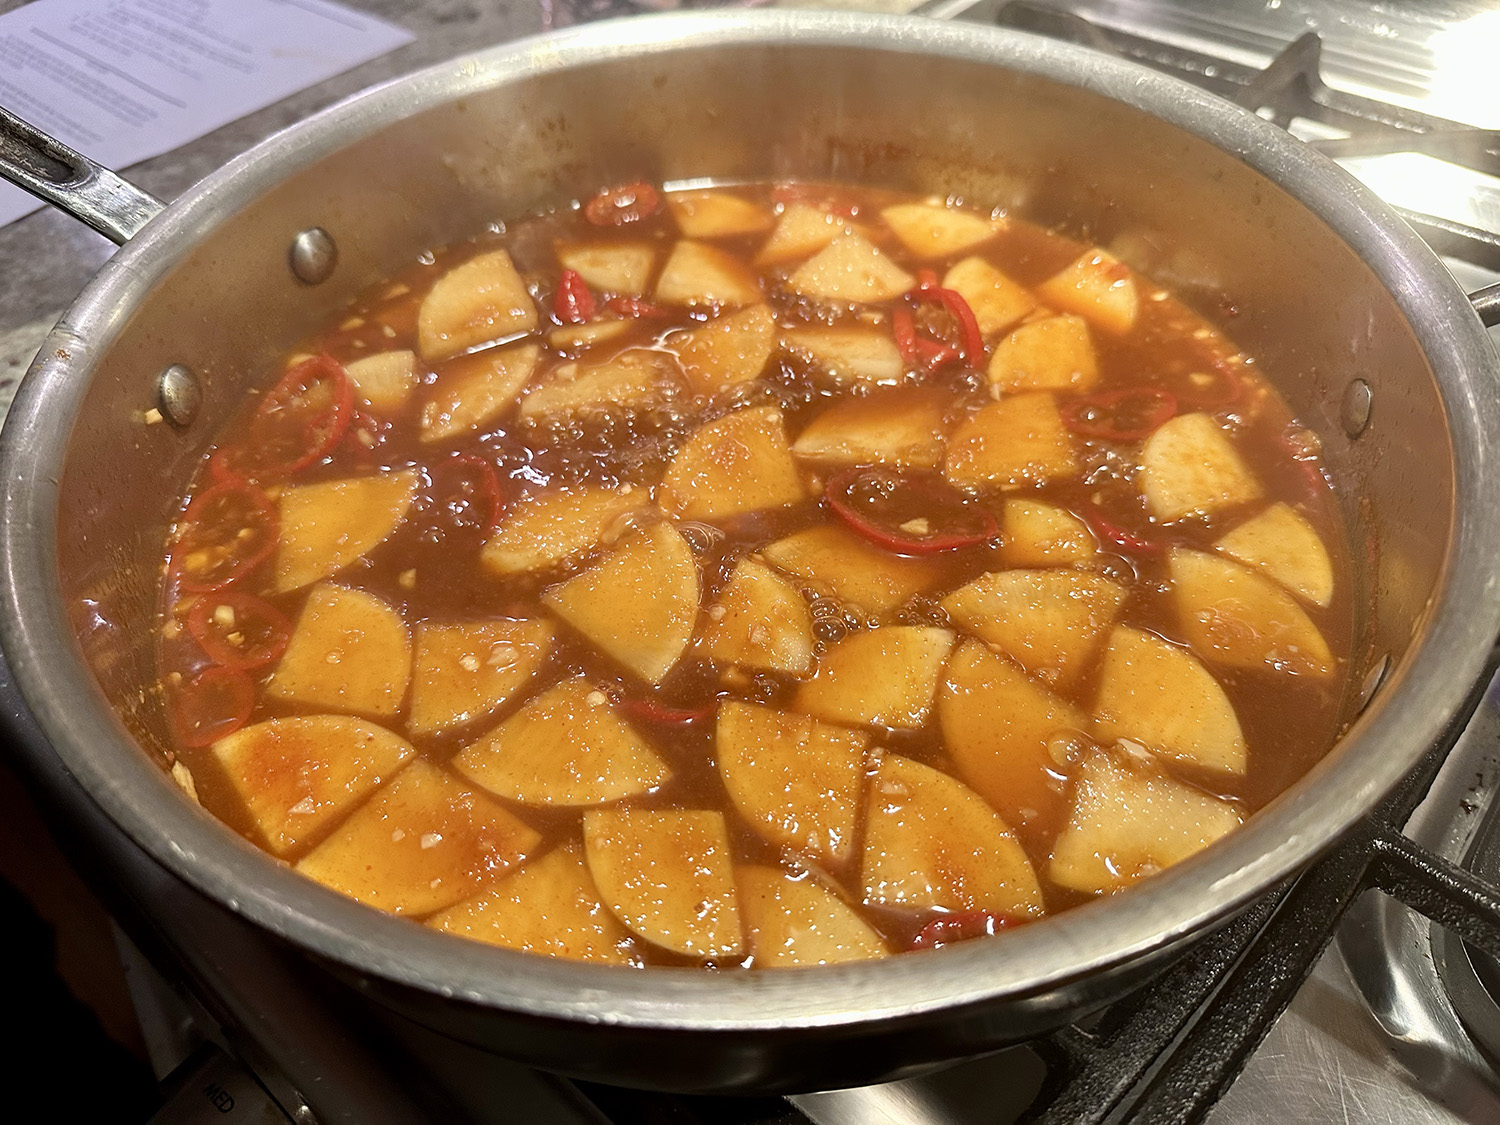
- Add garlic and cook 1 minute. Add tomatoes; saute until softened, about 3 minutes.
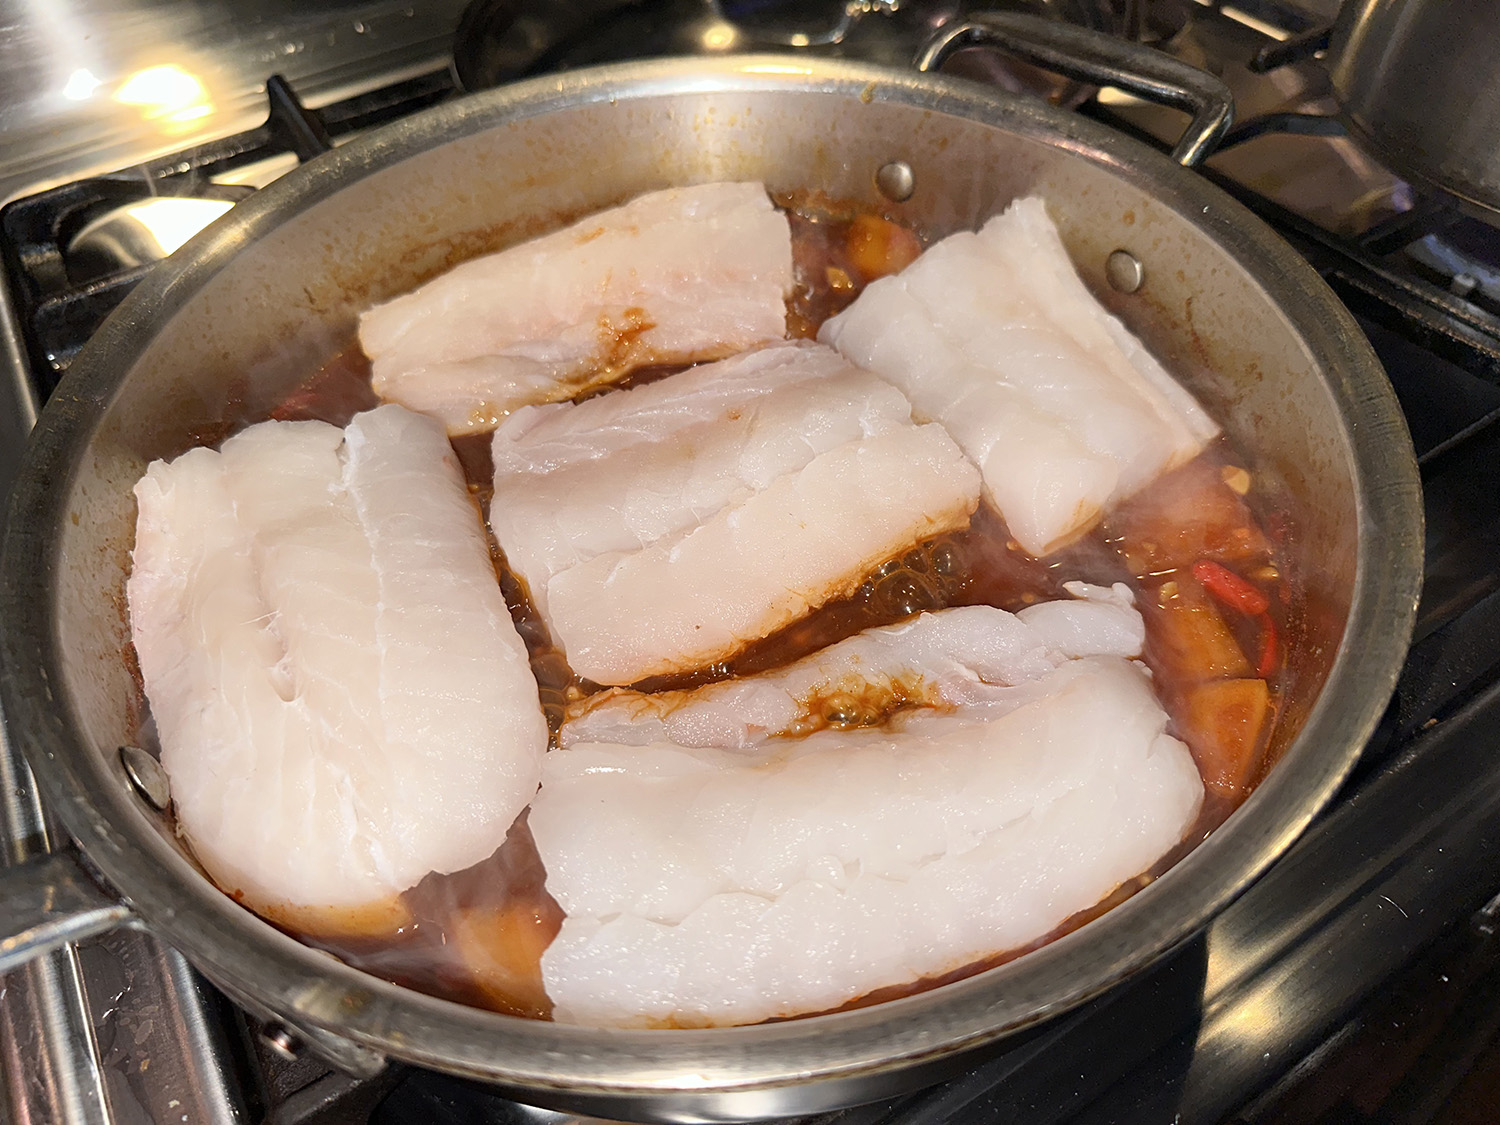
- Add capers, olives, pepper flakes and wine. Bring to simmer. Add tuna steaks. Reduce heat to low. Cover and simmer for 10-15 minutes. Remove tuna and keep warm.
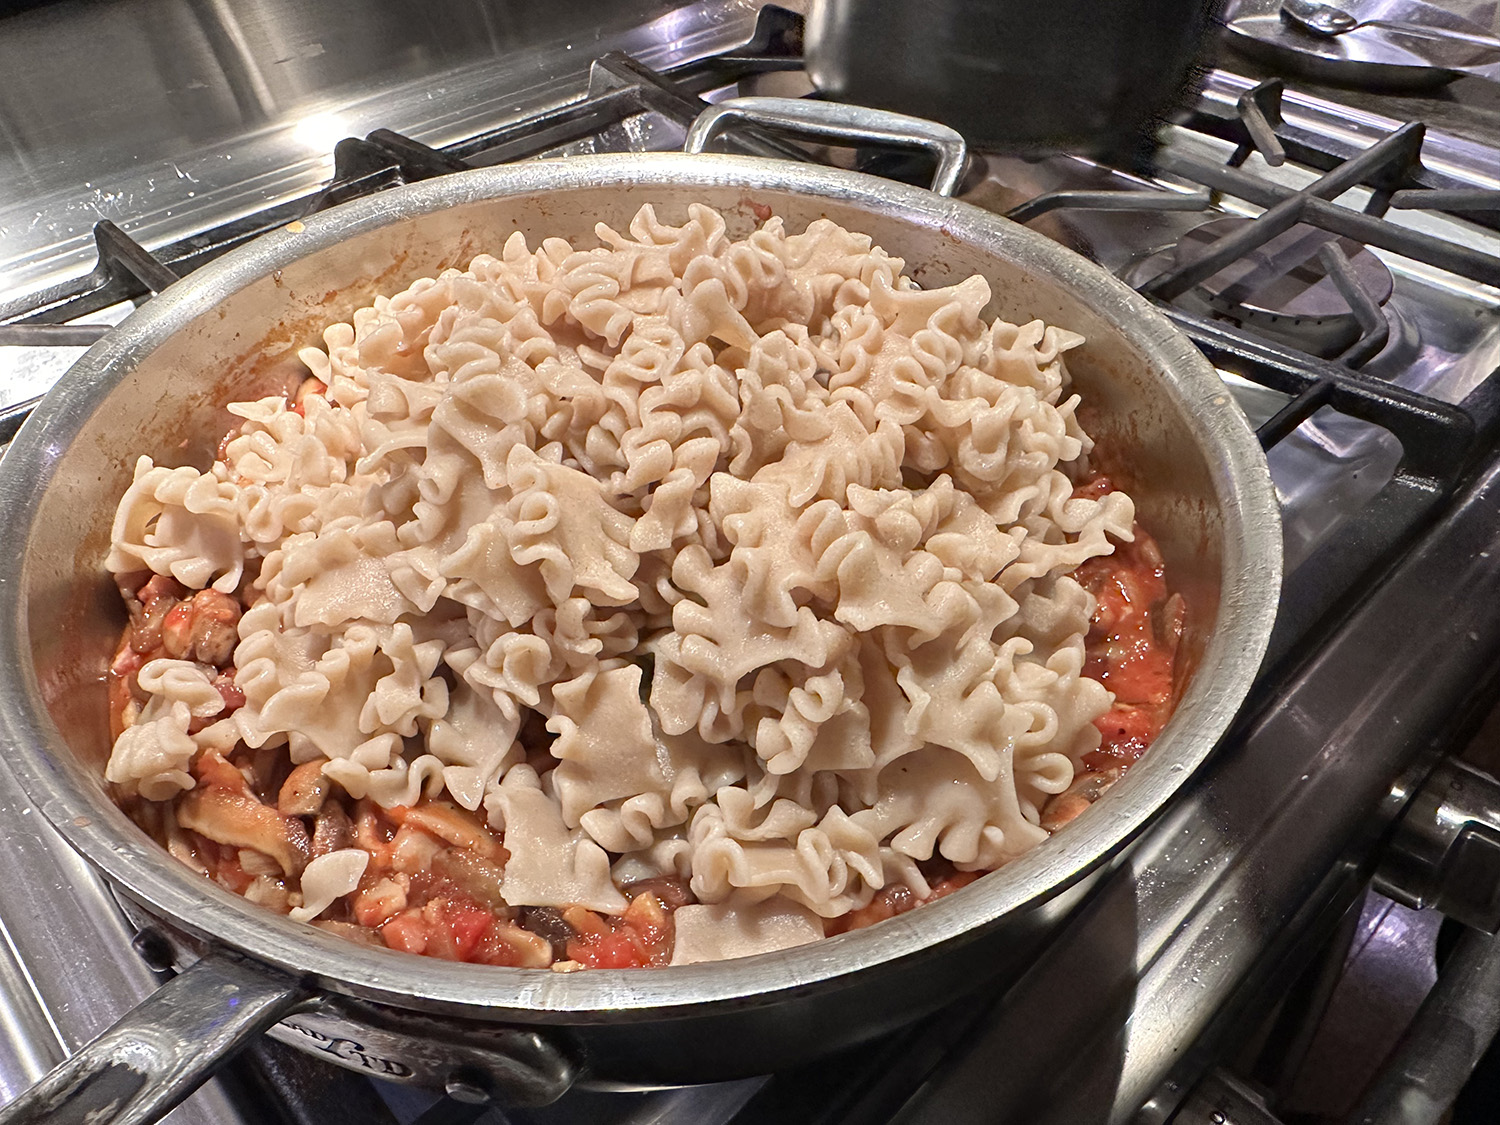
- Reduce sauce to desired consistency. Stir in cilantro. Serve tuna with warm sauce and sprinkle with slivered almonds.
- Serve with Lemon Garlic Rice, (see recipe below).
Lemon-Garlic Rice
Lemon-Garlic Rice
Ingredients
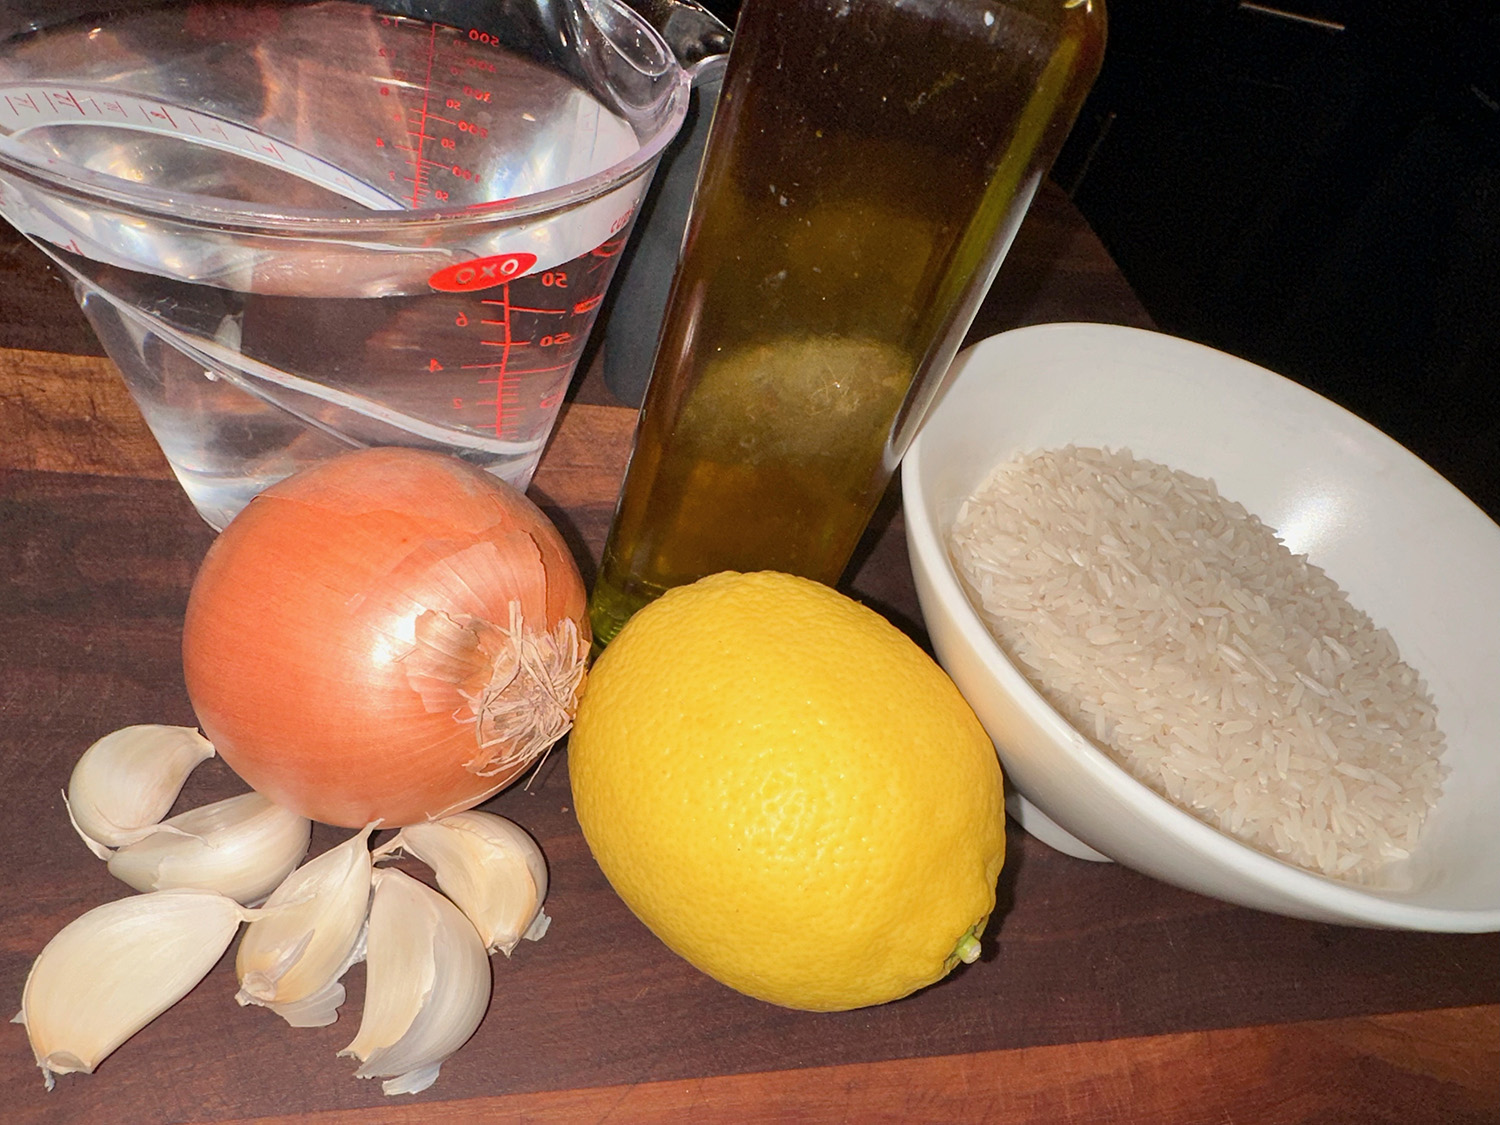
- 2 Tbsp. olive oil
- 1/2 cup onion, minced
- 2 Tbsp. garlic, minced
- 1 cup long-grain white rice, uncooked
- 2 cups water
- Pinch salt
- 1/2 lemon, juiced
- 2 Tbsp. chopped cilantro
- 1 lemon, zested
- Black pepper


Directions
- Heat oil in saucepan over medium high heat. Add onion and cook until soft.
- Add garlic and cook one minute.
- Add rice and toss to coat with oil. Add water, a pinch of salt and lemon juice. Bring to a boil. Cover and reduce heat to low. Simmer until all liquid is absorbed.
- Remove from heat, fluff with fork, toss with lemon zest and chopped cilantro. Season to taste with salt and pepper.