Here’s a dish that earns its place in your weeknight rotation — vivid, fragrant, and ready in about 30 minutes.
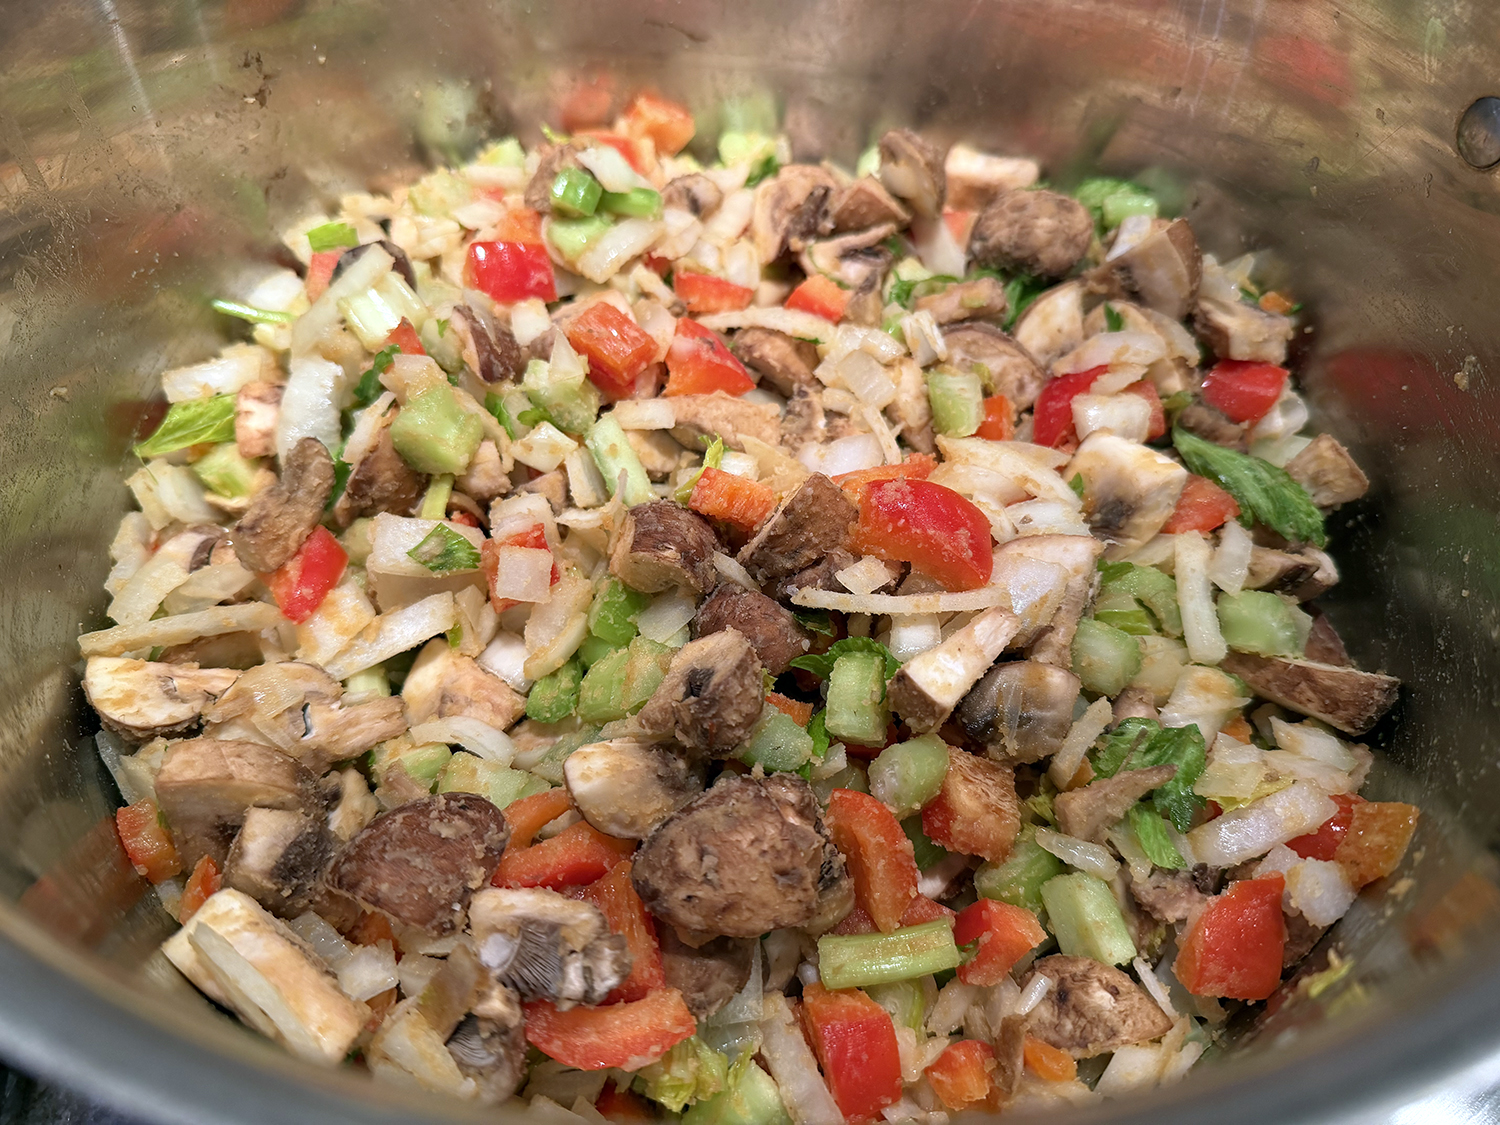
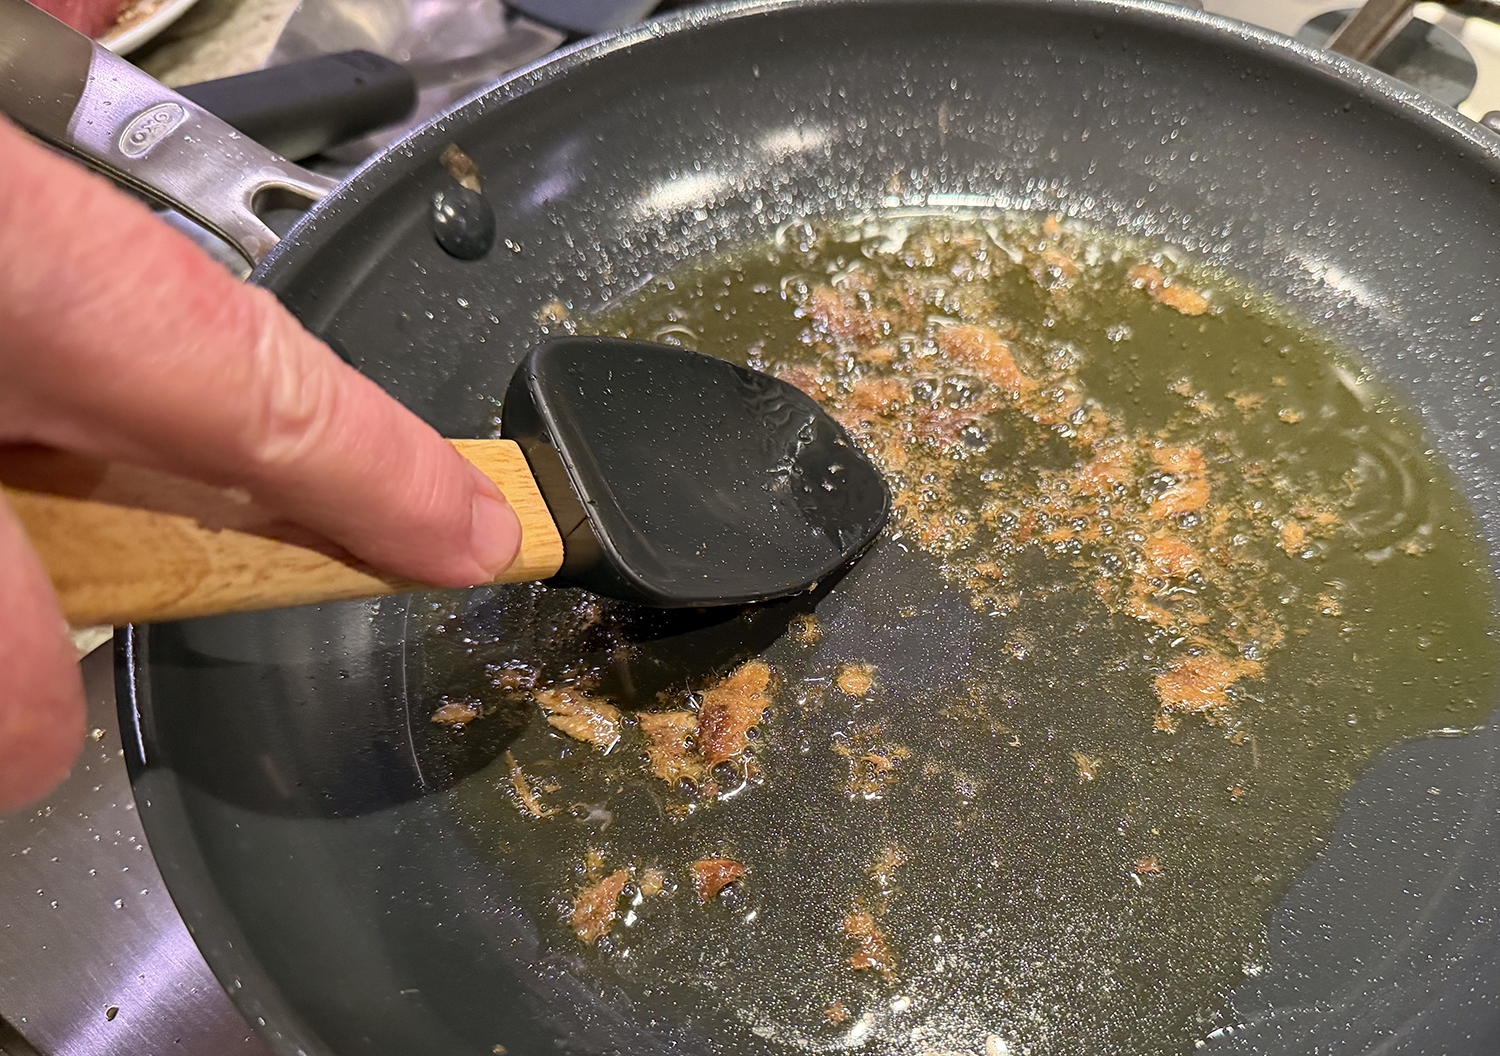
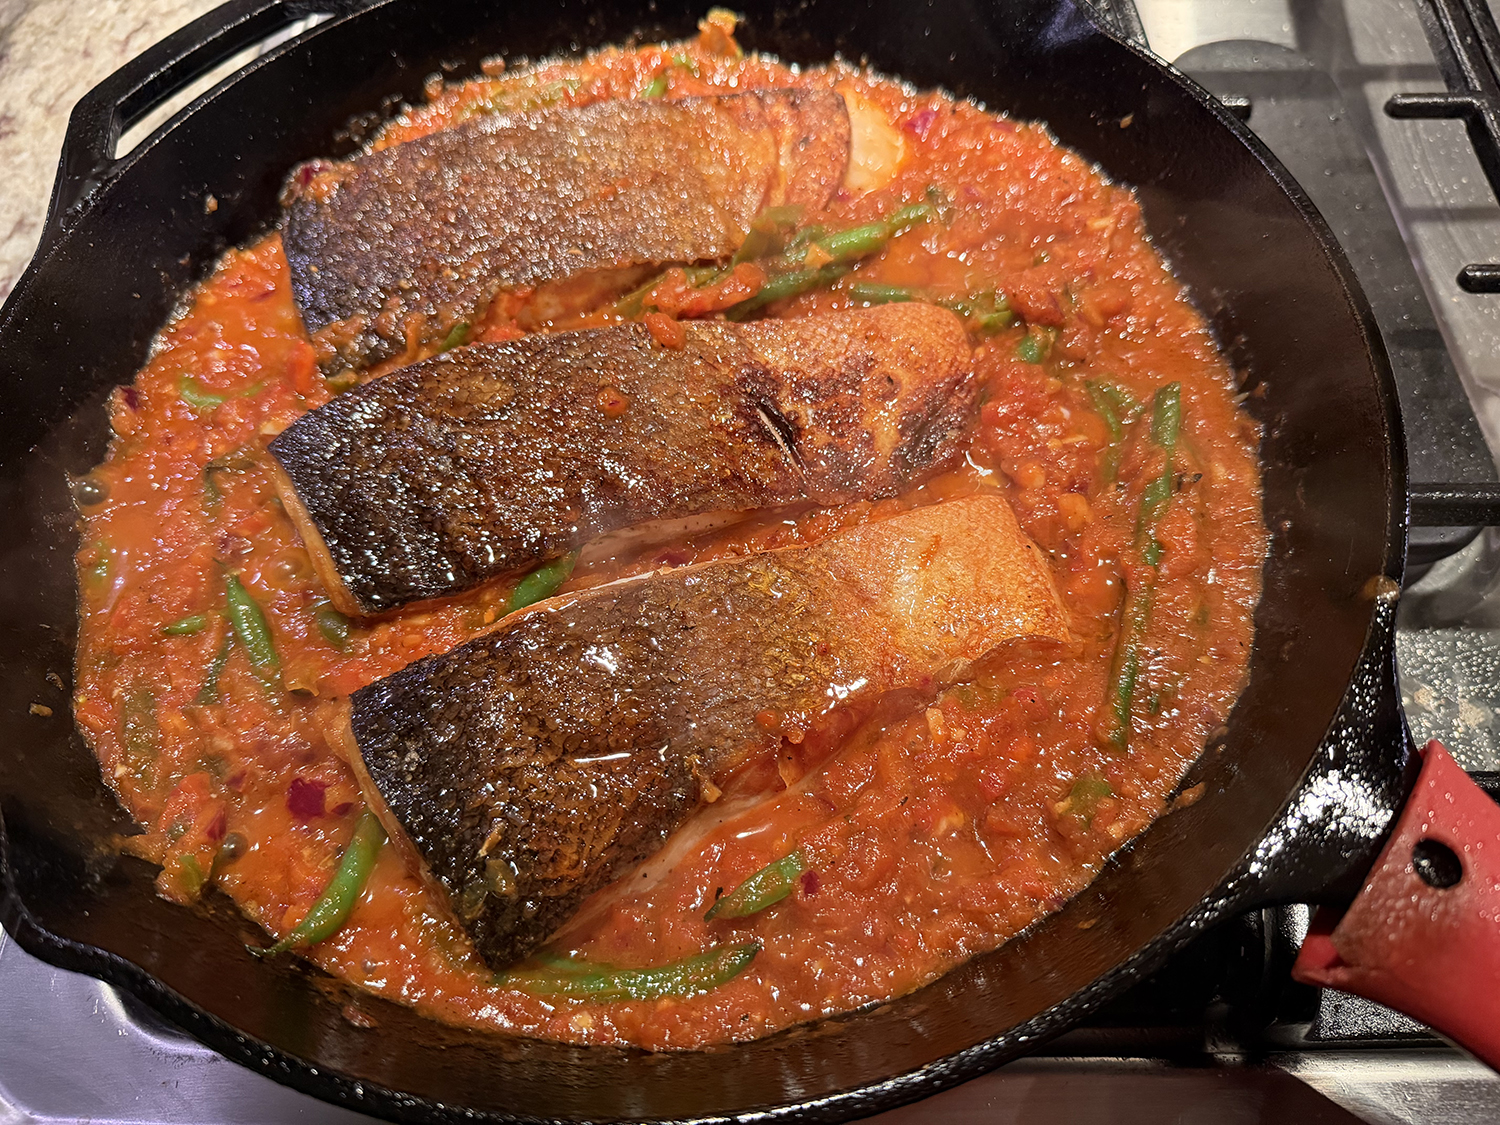
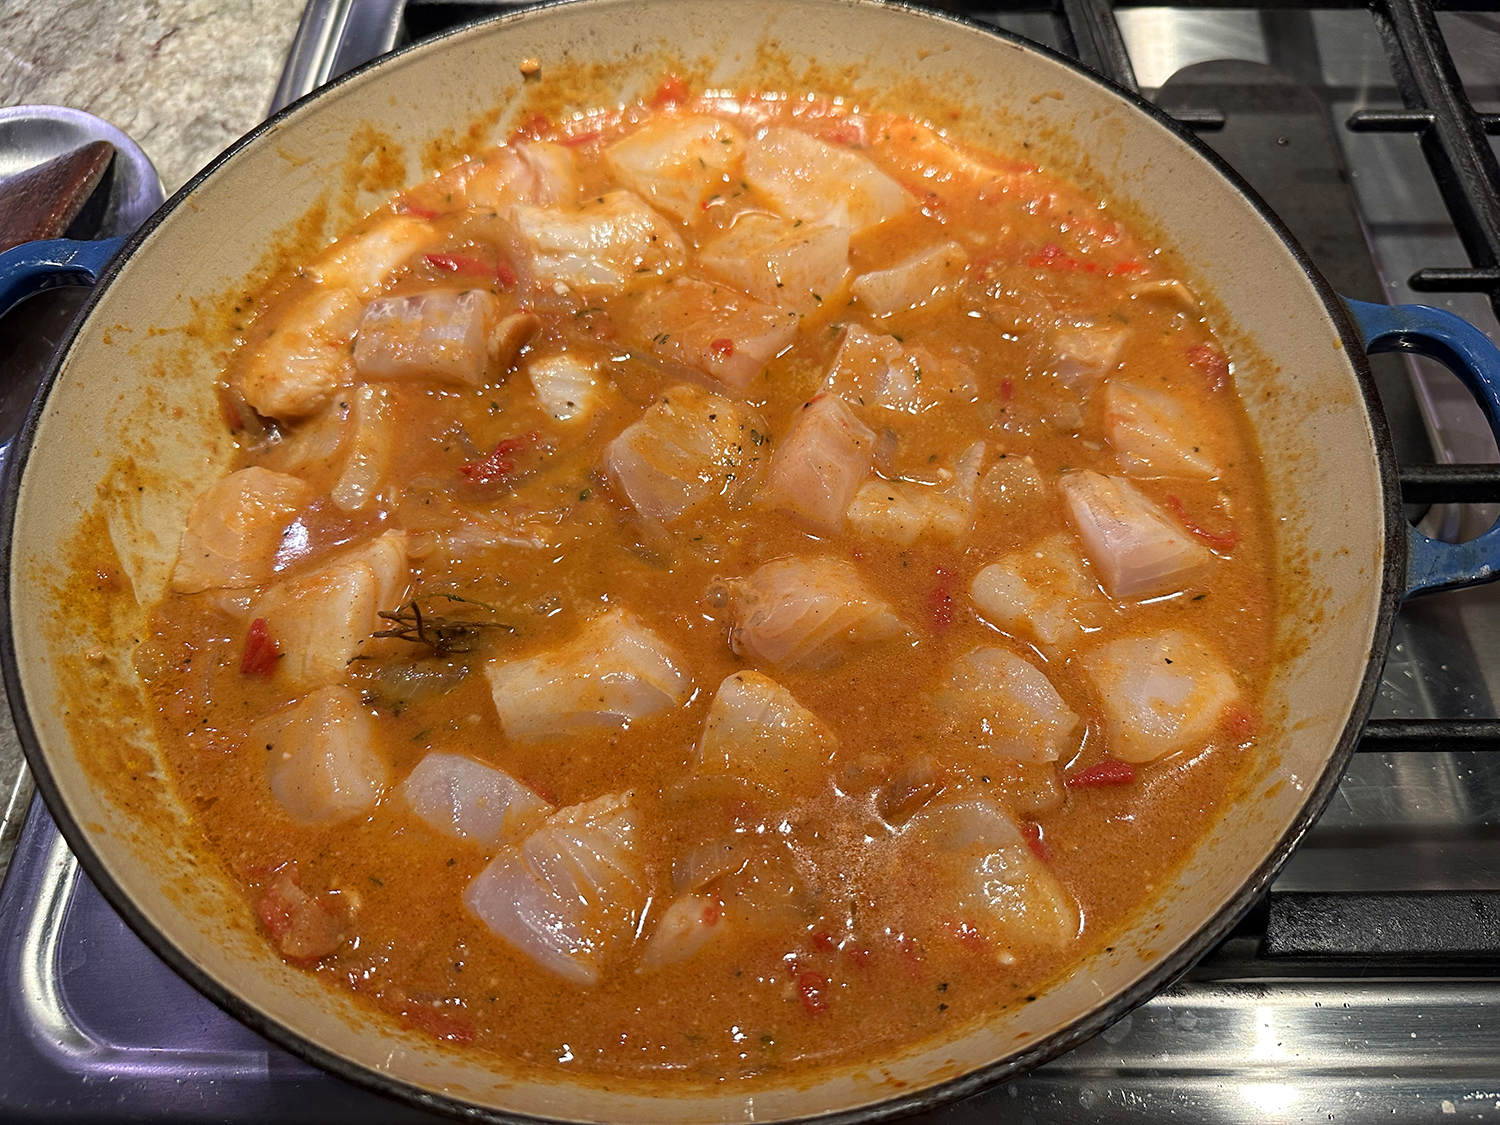
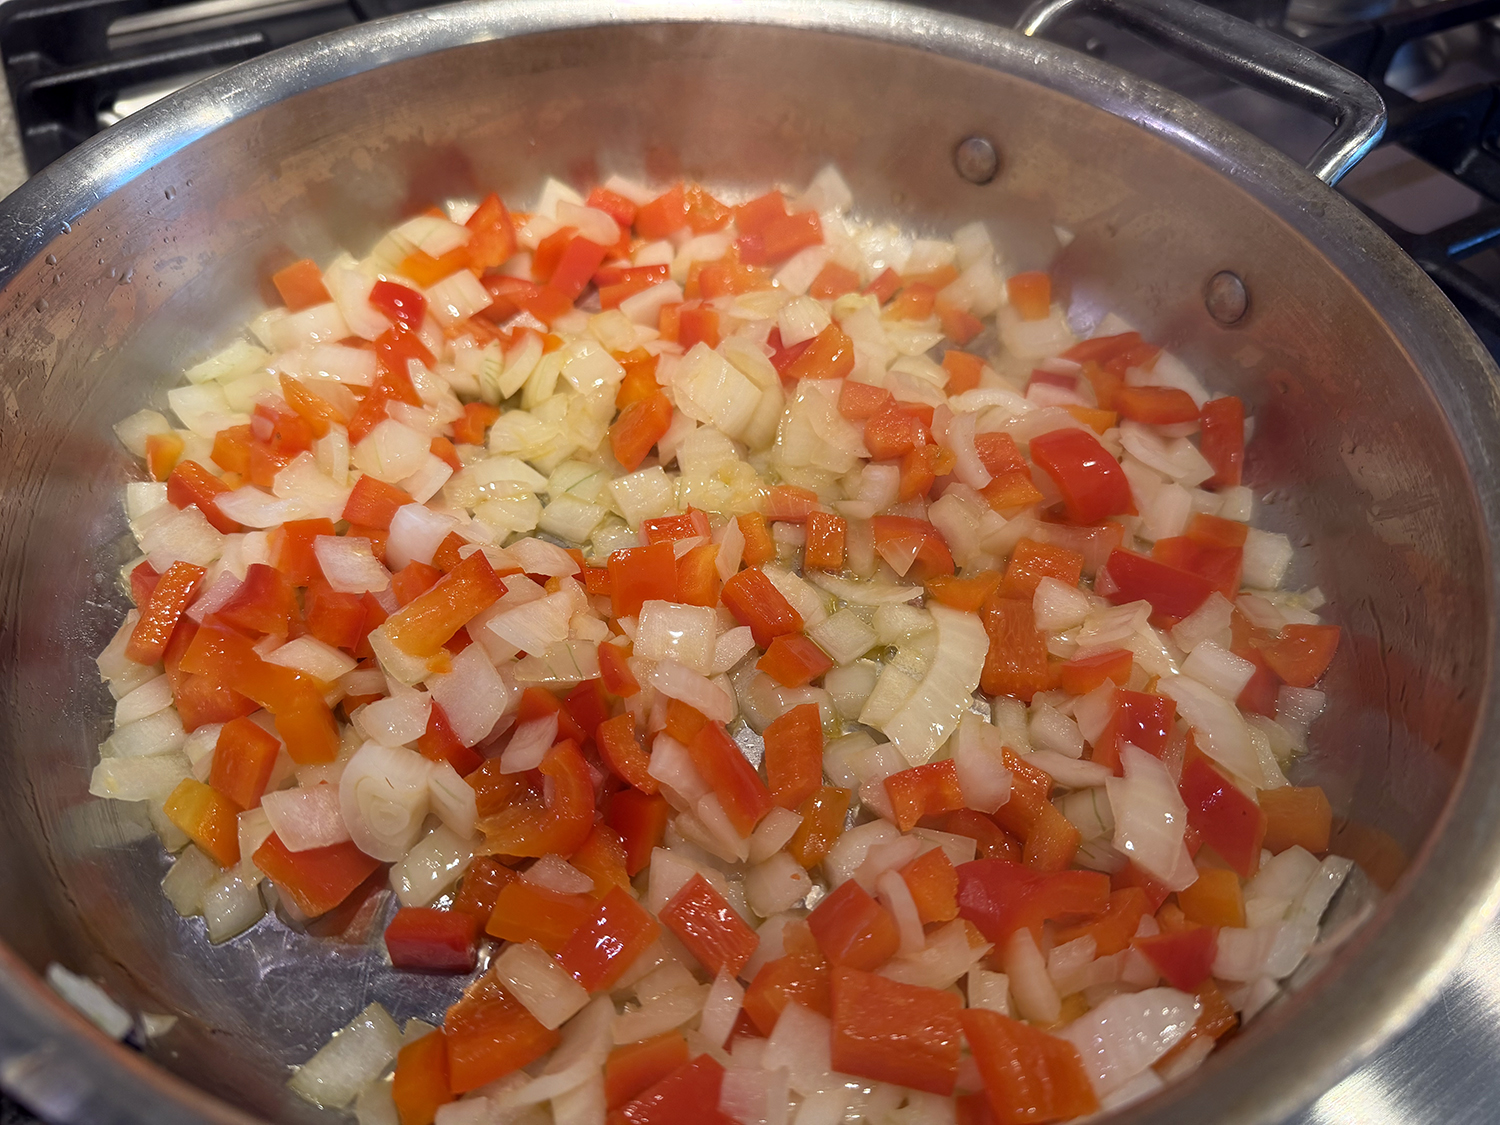
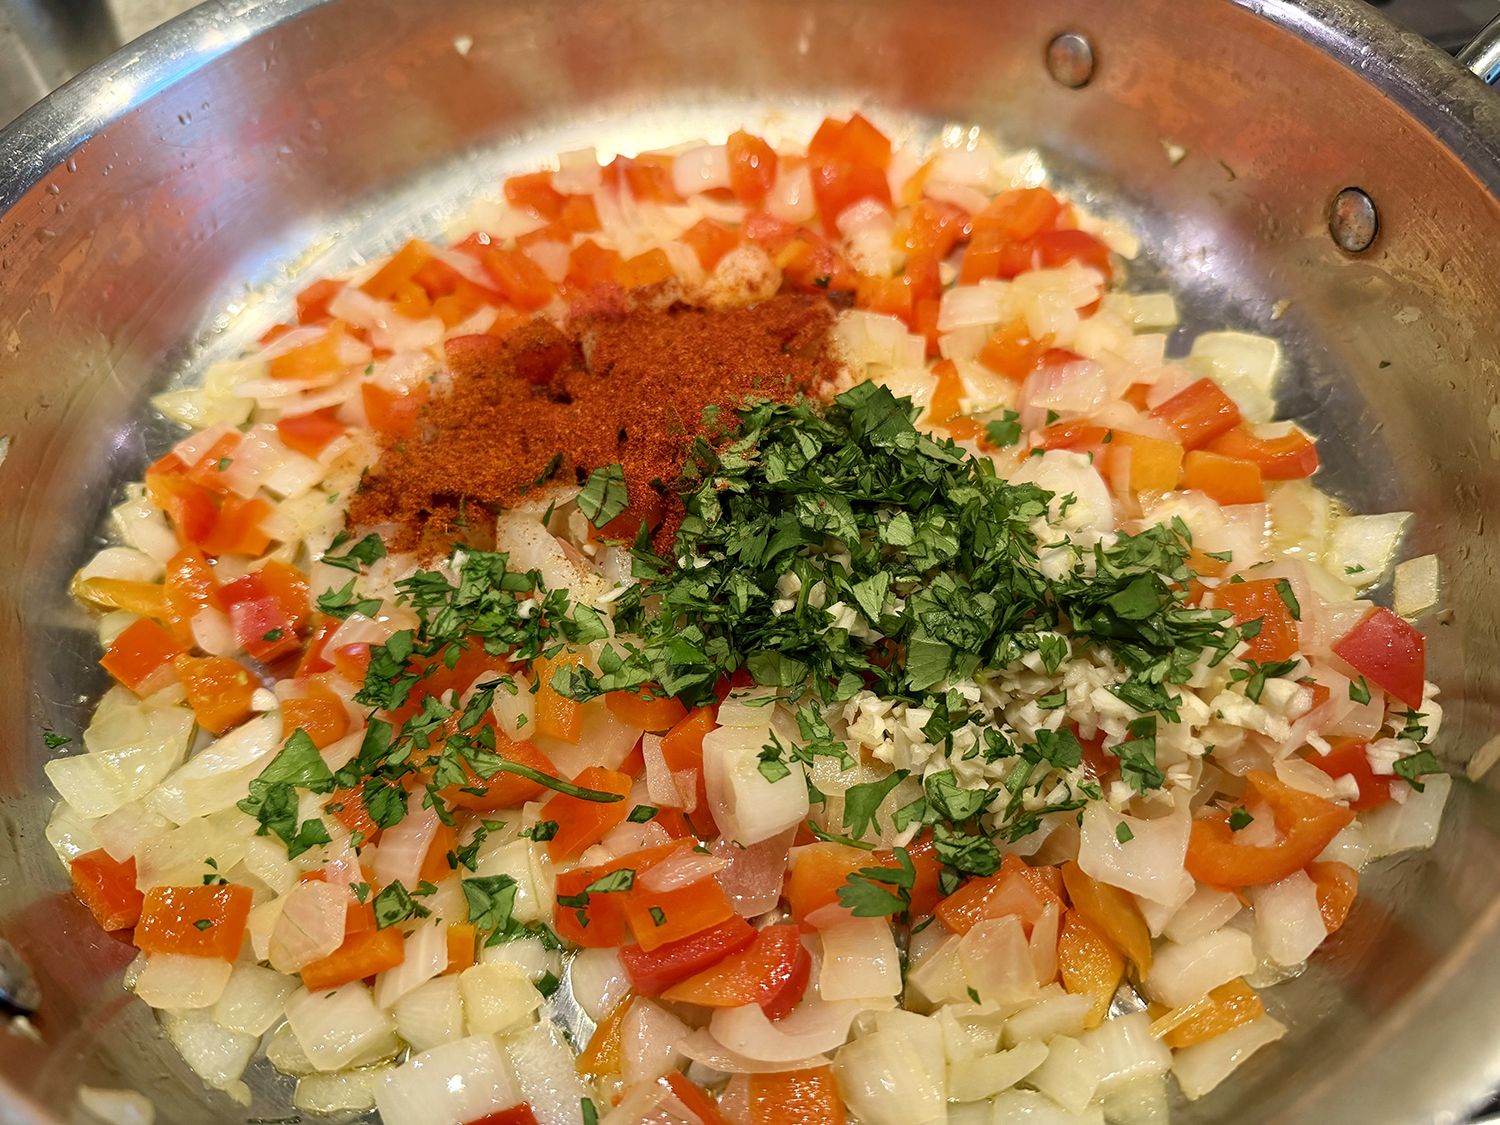
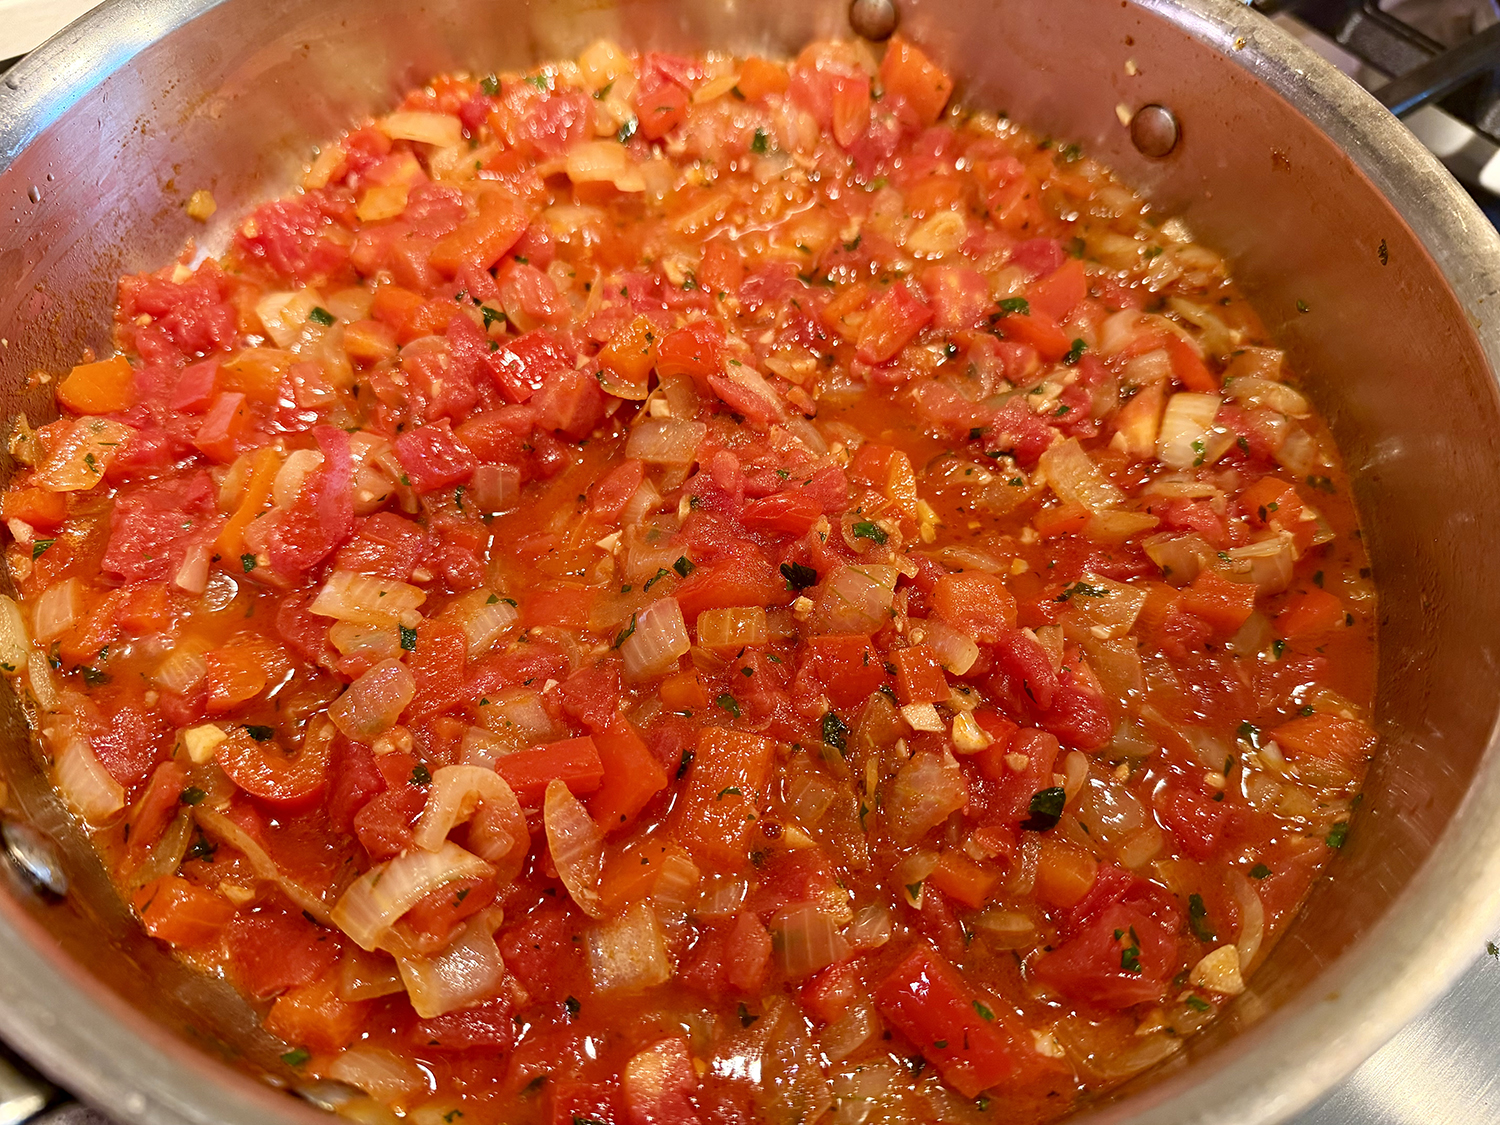
The base begins with a generous slick of oil in a wide skillet over medium-high heat. Sautéed onion and red bell pepper soften into sweetness while sliced garlic blooms into the pan, releasing its perfume before the diced tomatoes go in, they collapse into a jammy, brick-red foundation. A bit of cayenne goes in early so its heat has time to mellow and weave through everything.
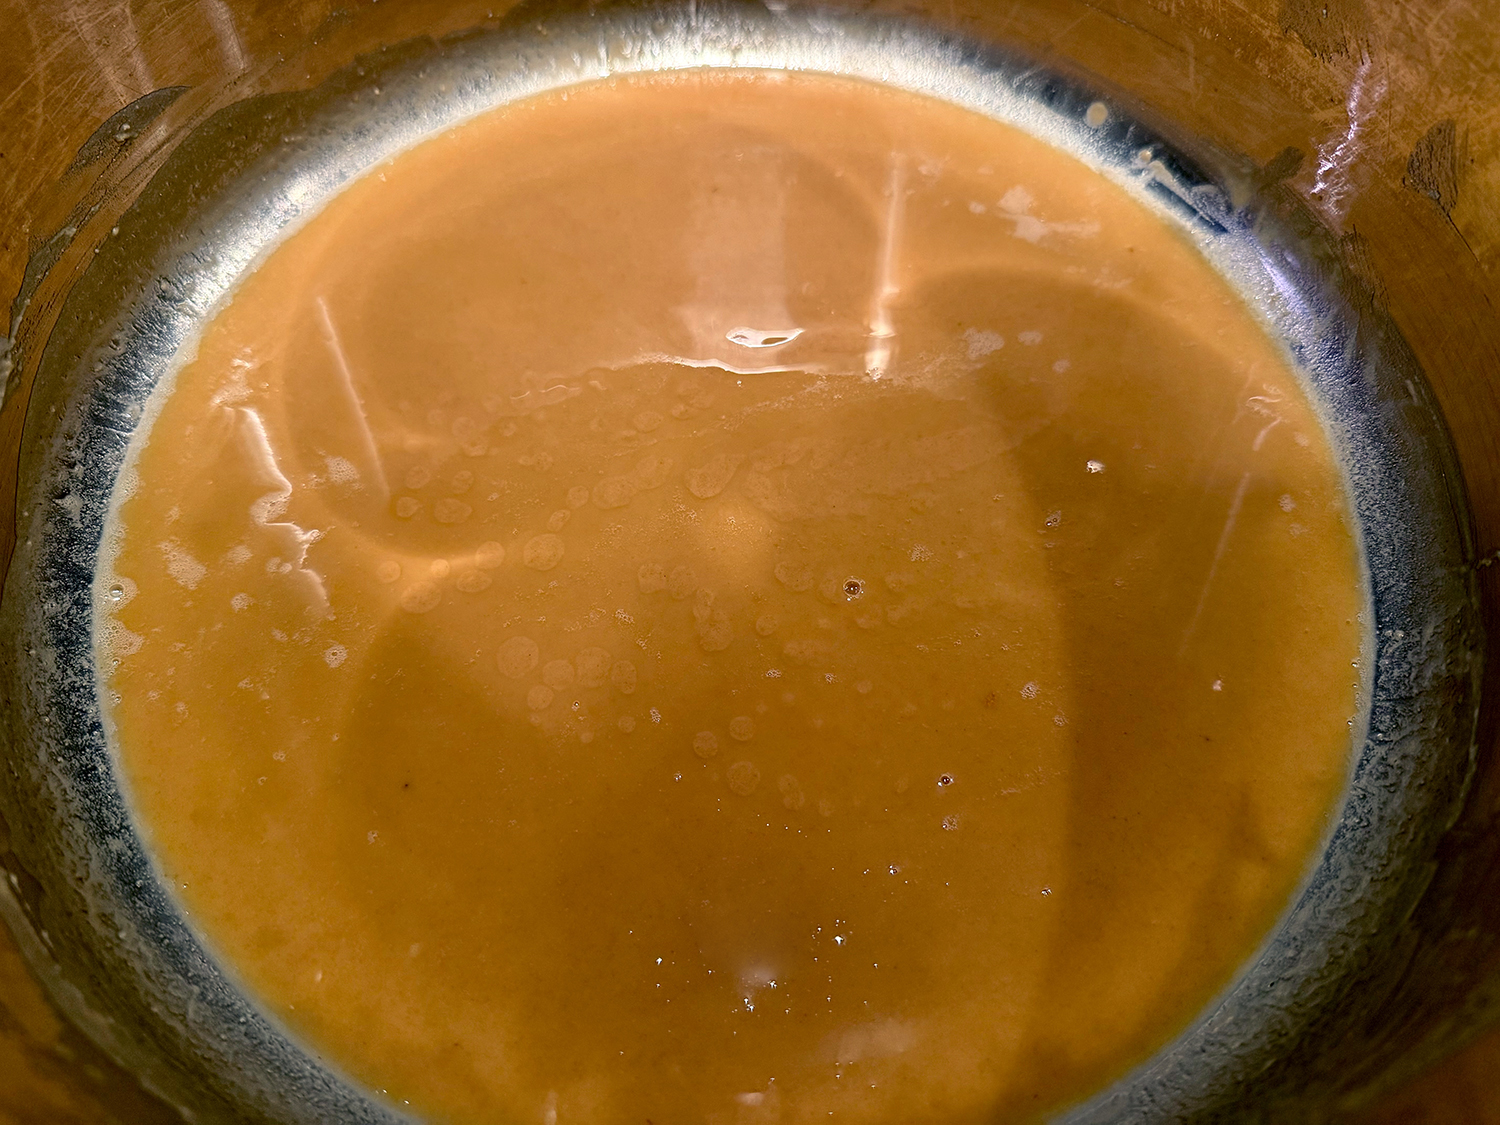
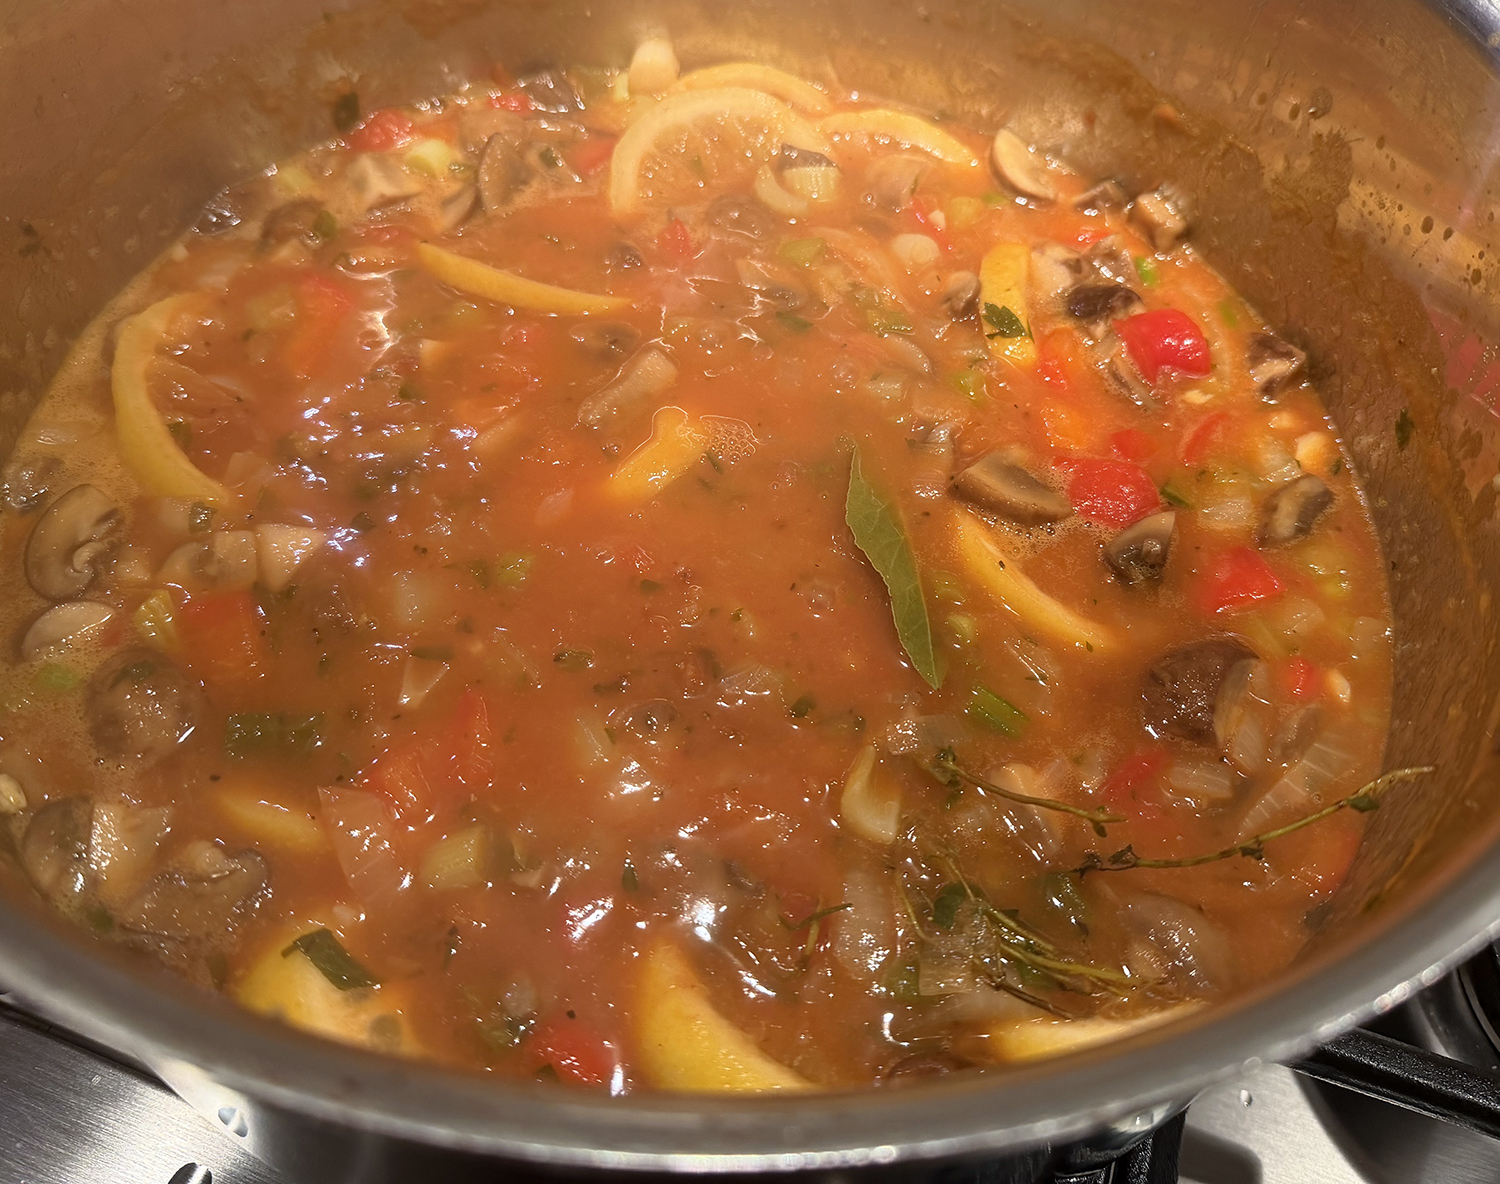
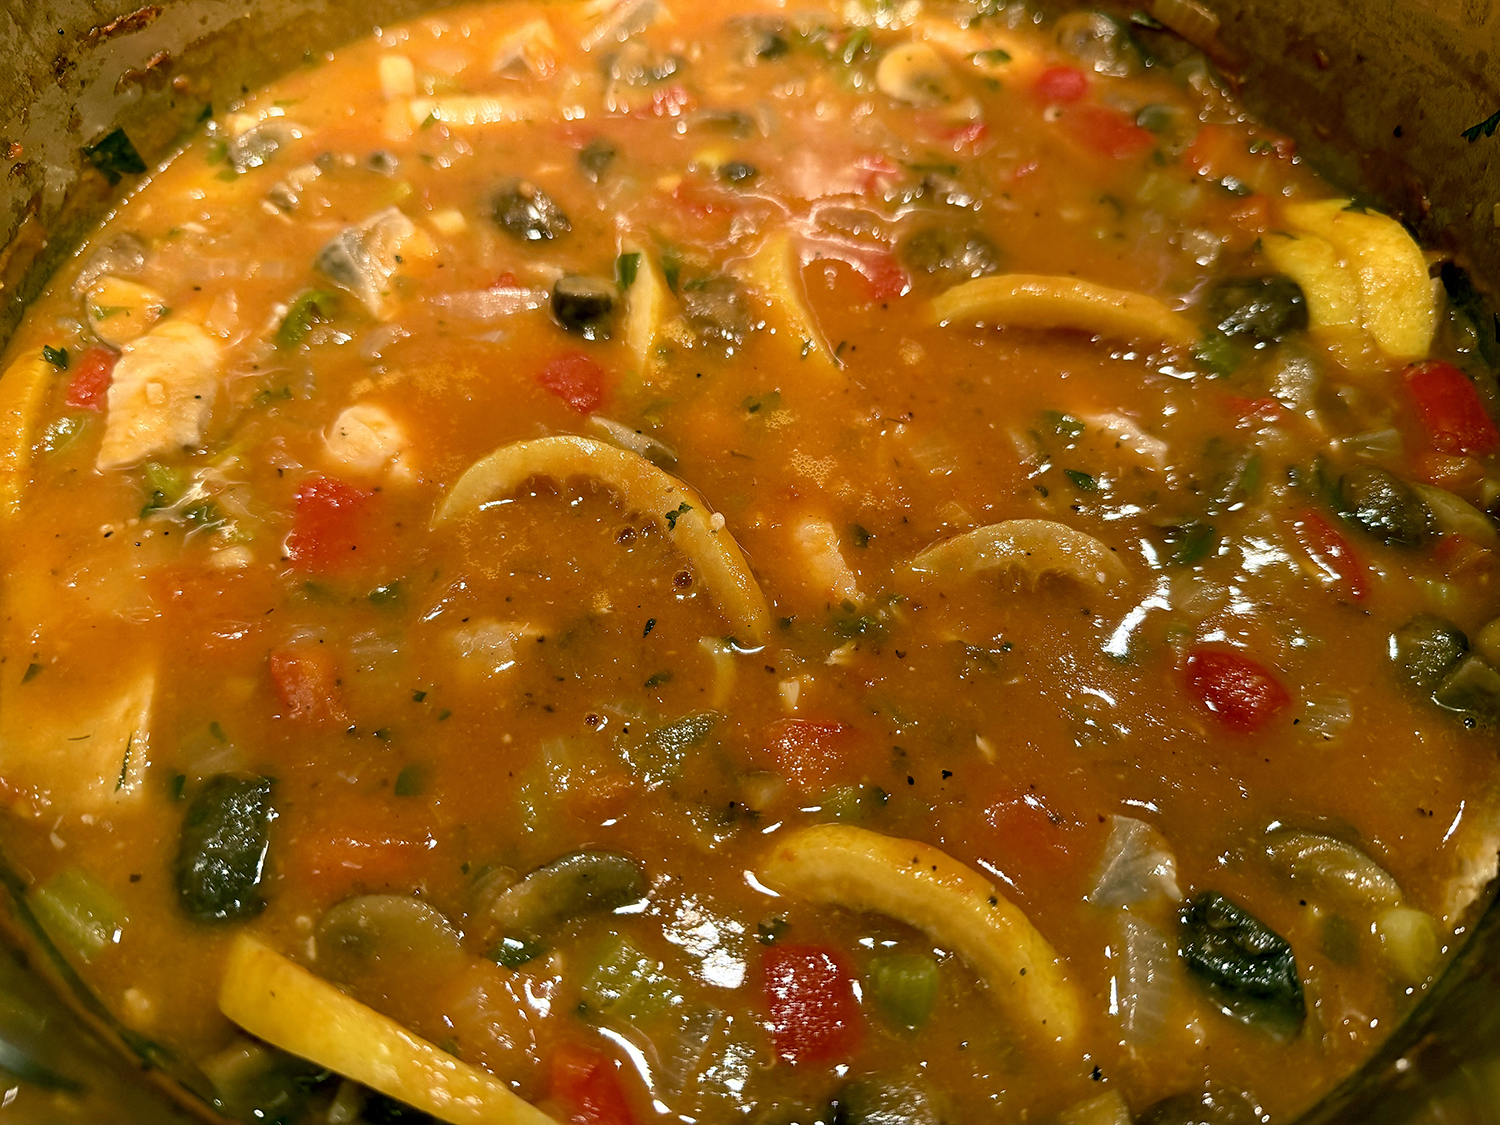
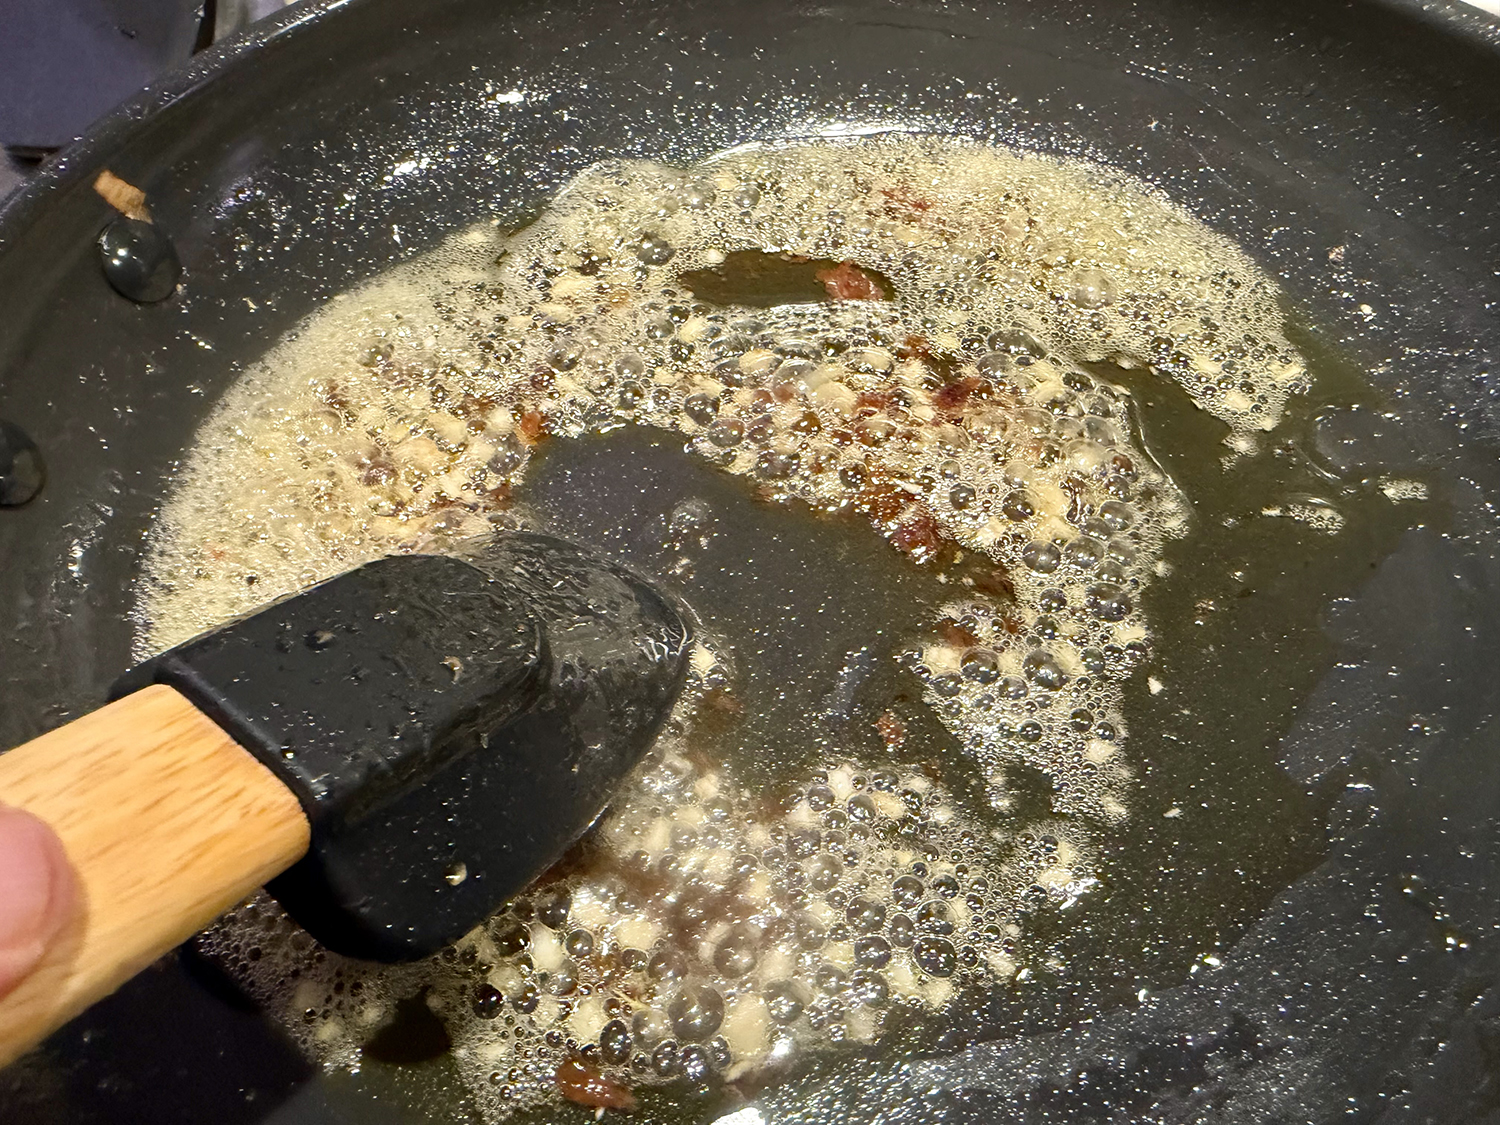
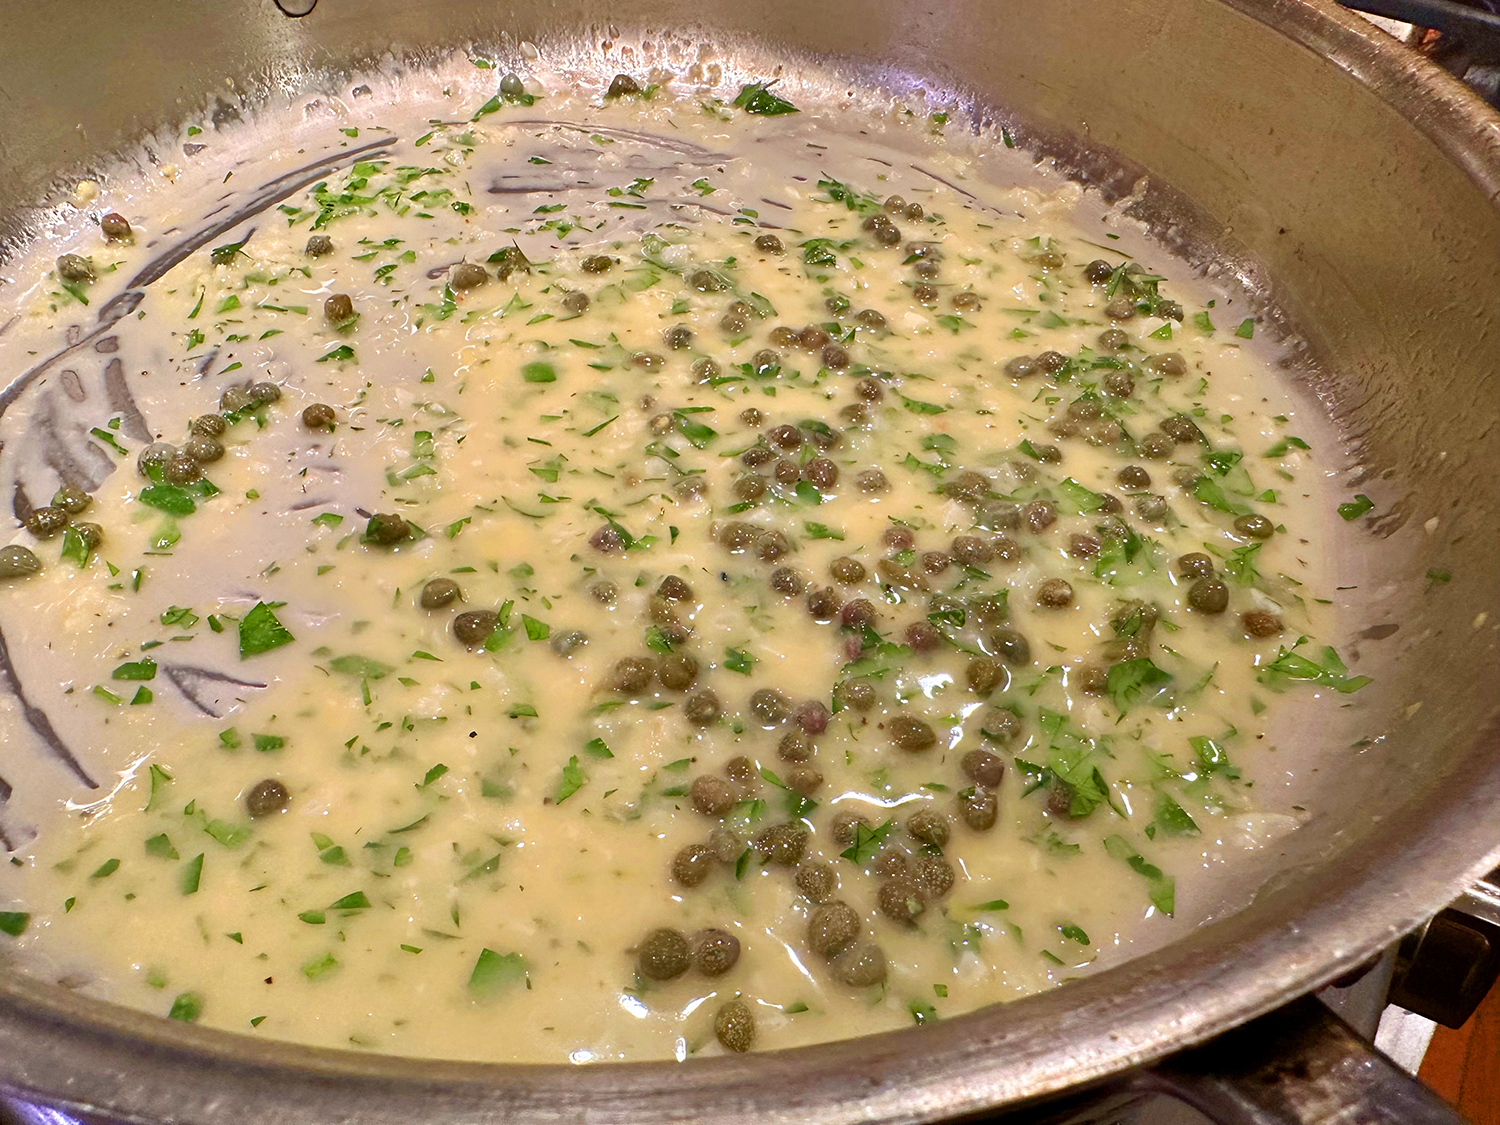
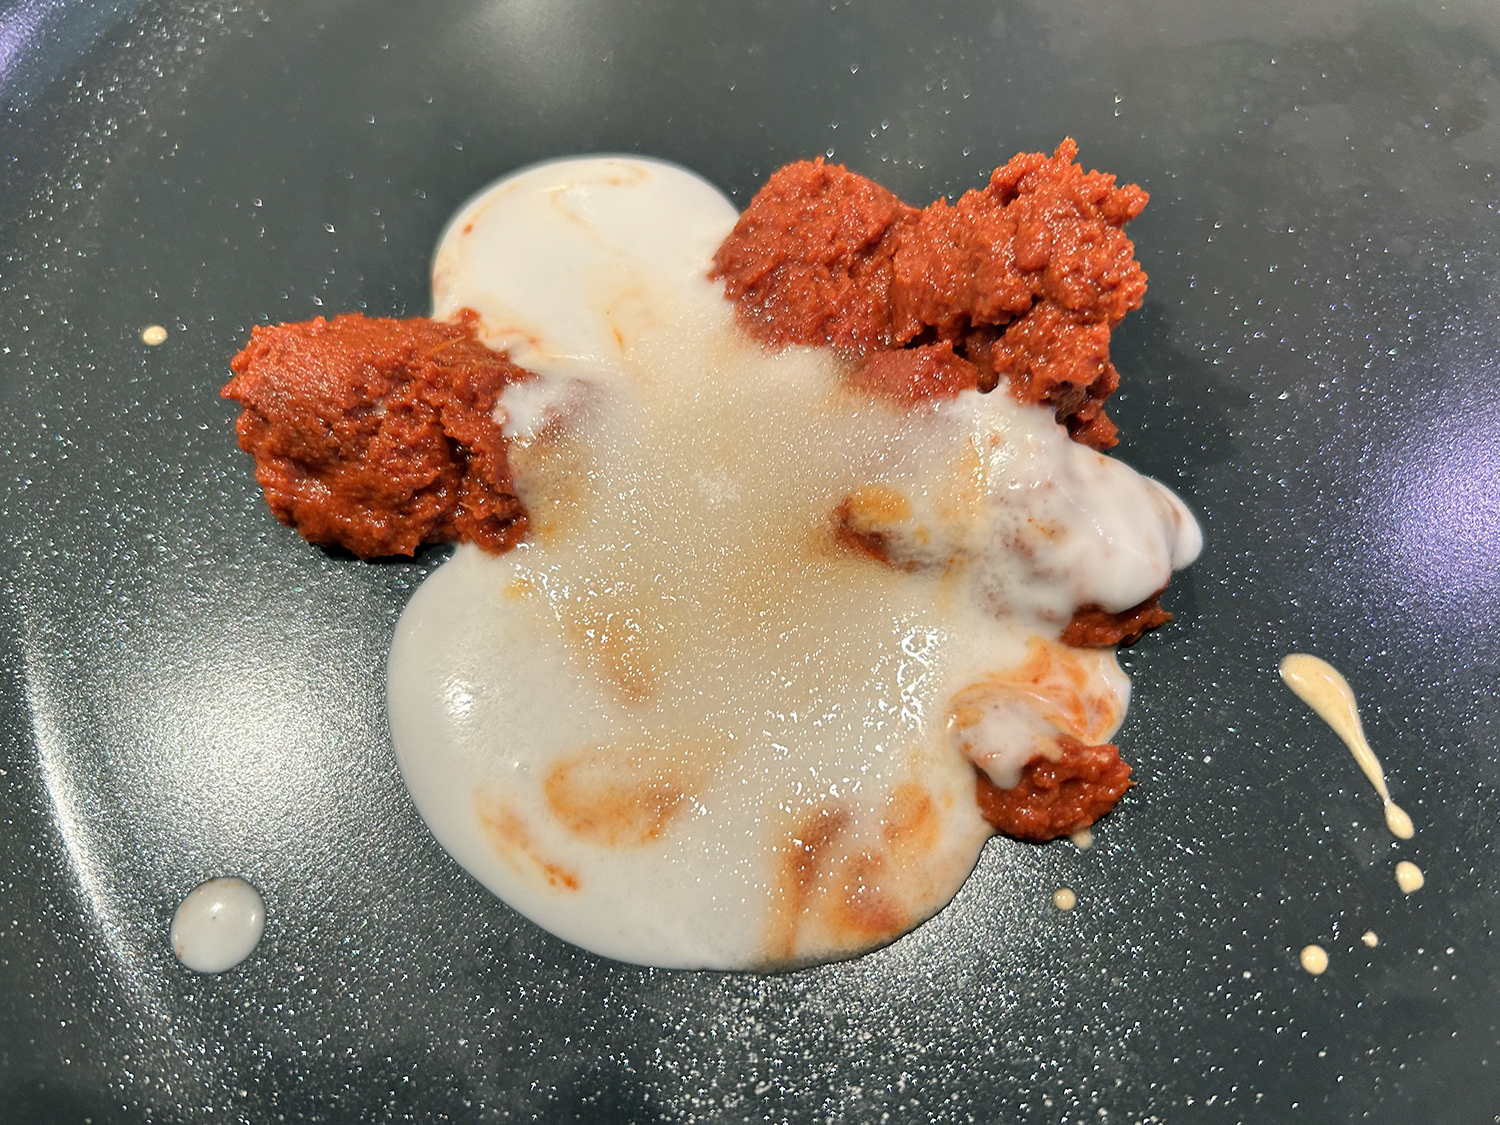
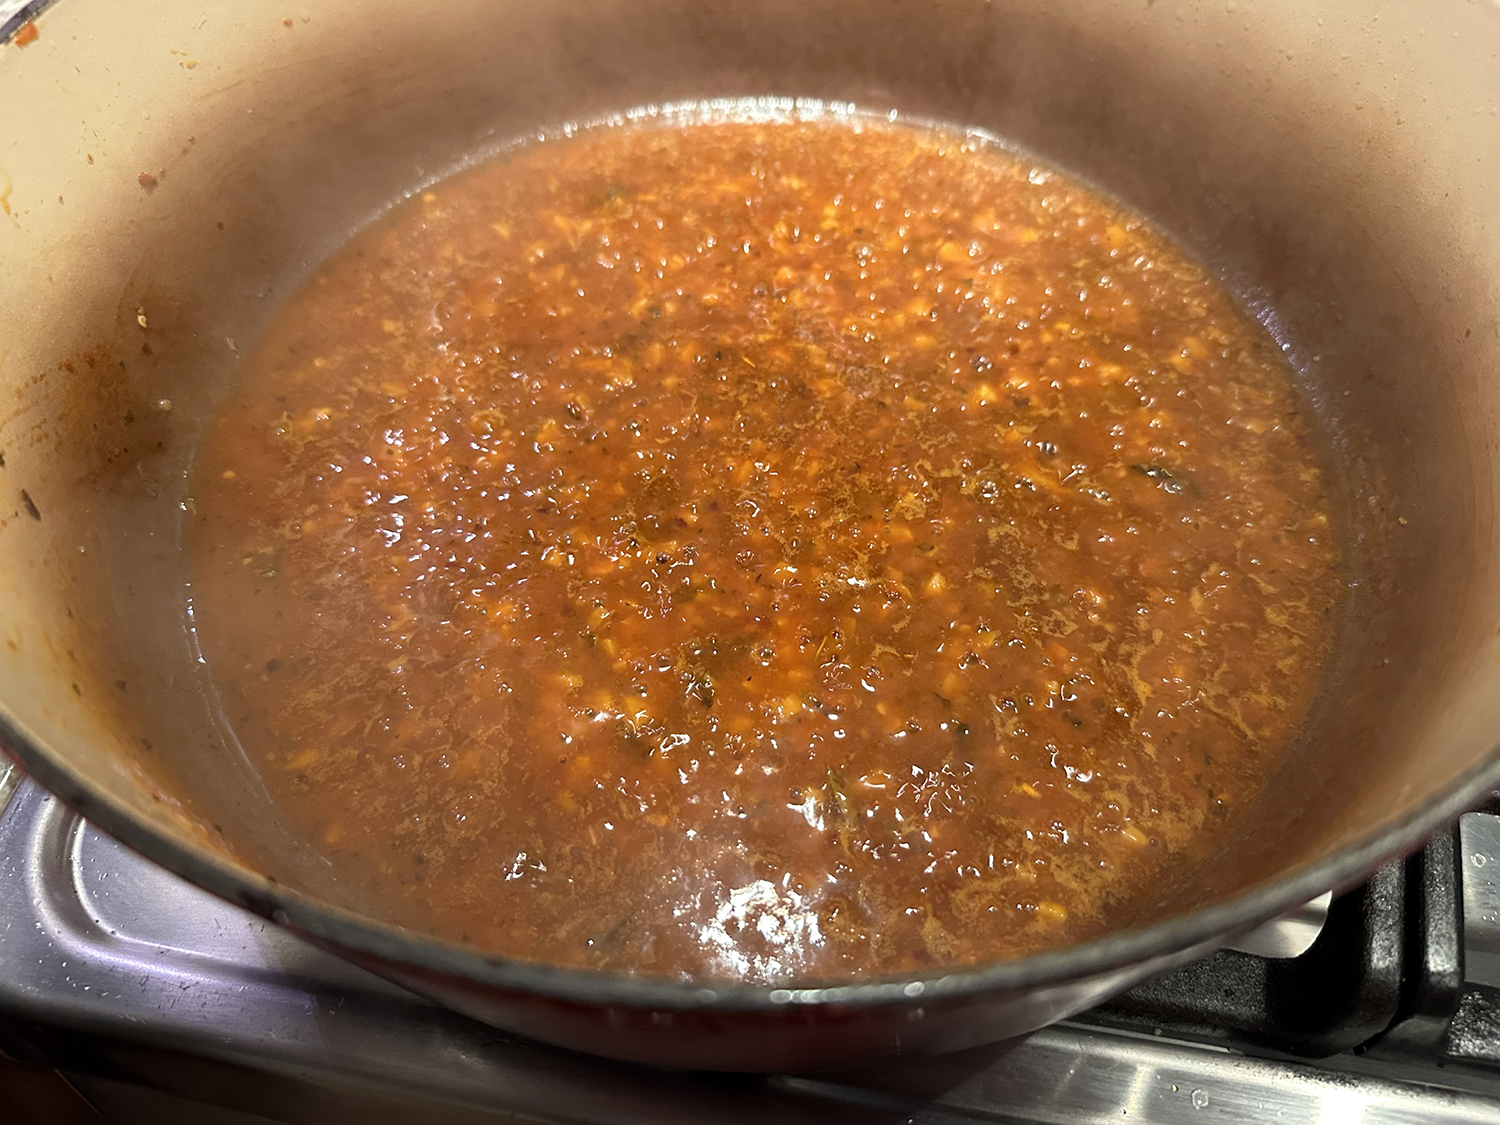
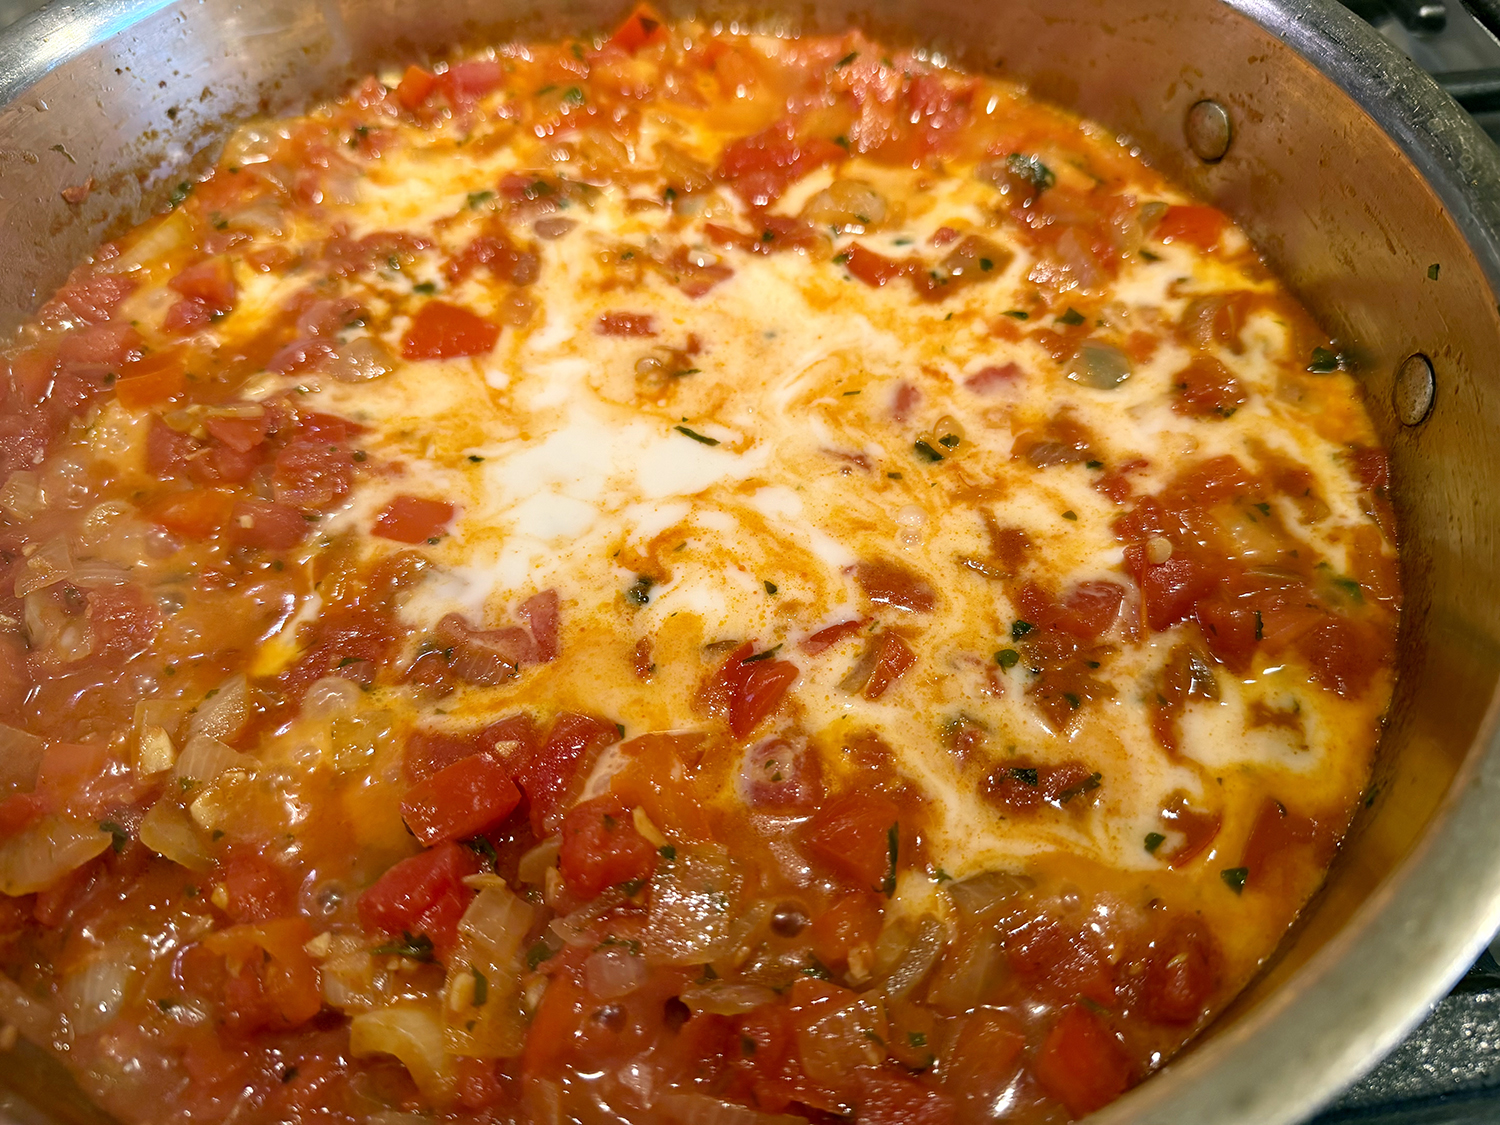
Then comes the pour of coconut milk that transforms the whole dish, cascading into the tomato base and the two swirl together into a blush-toned, velvety sauce. It simmers a few minutes until it thickens just slightly at the edges, concentrating the flavors. The aroma at this point — sweet coconut, bright acid, gentle heat — is already intoxicating.
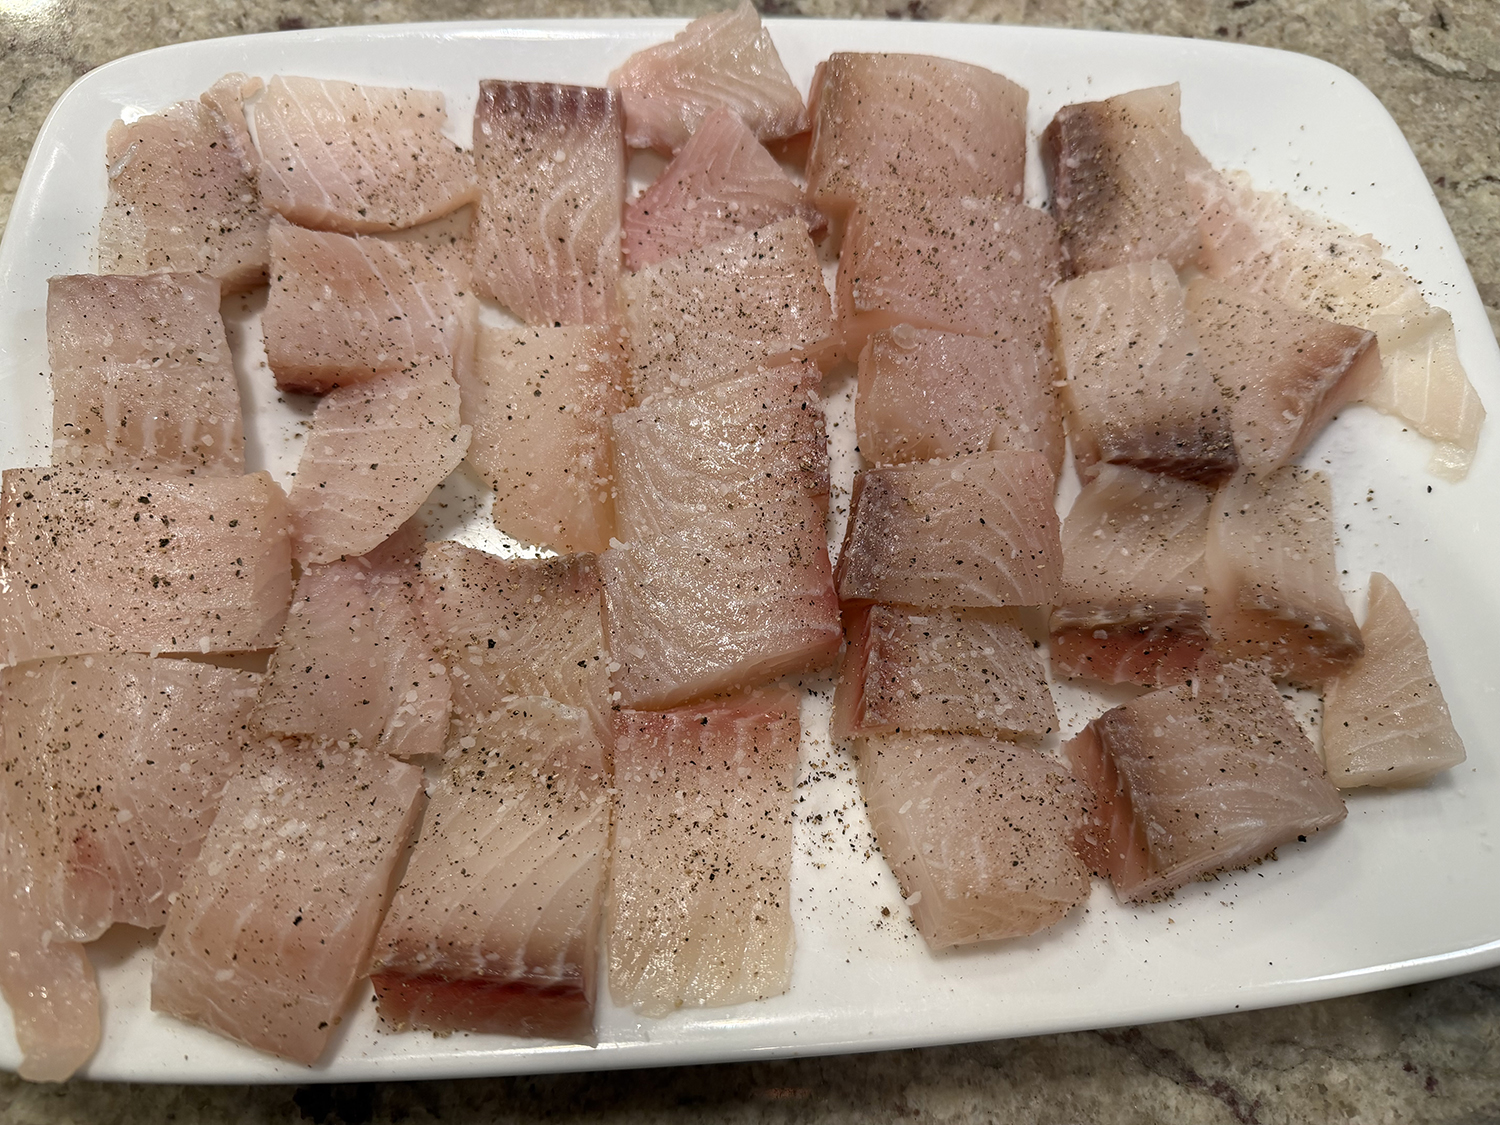
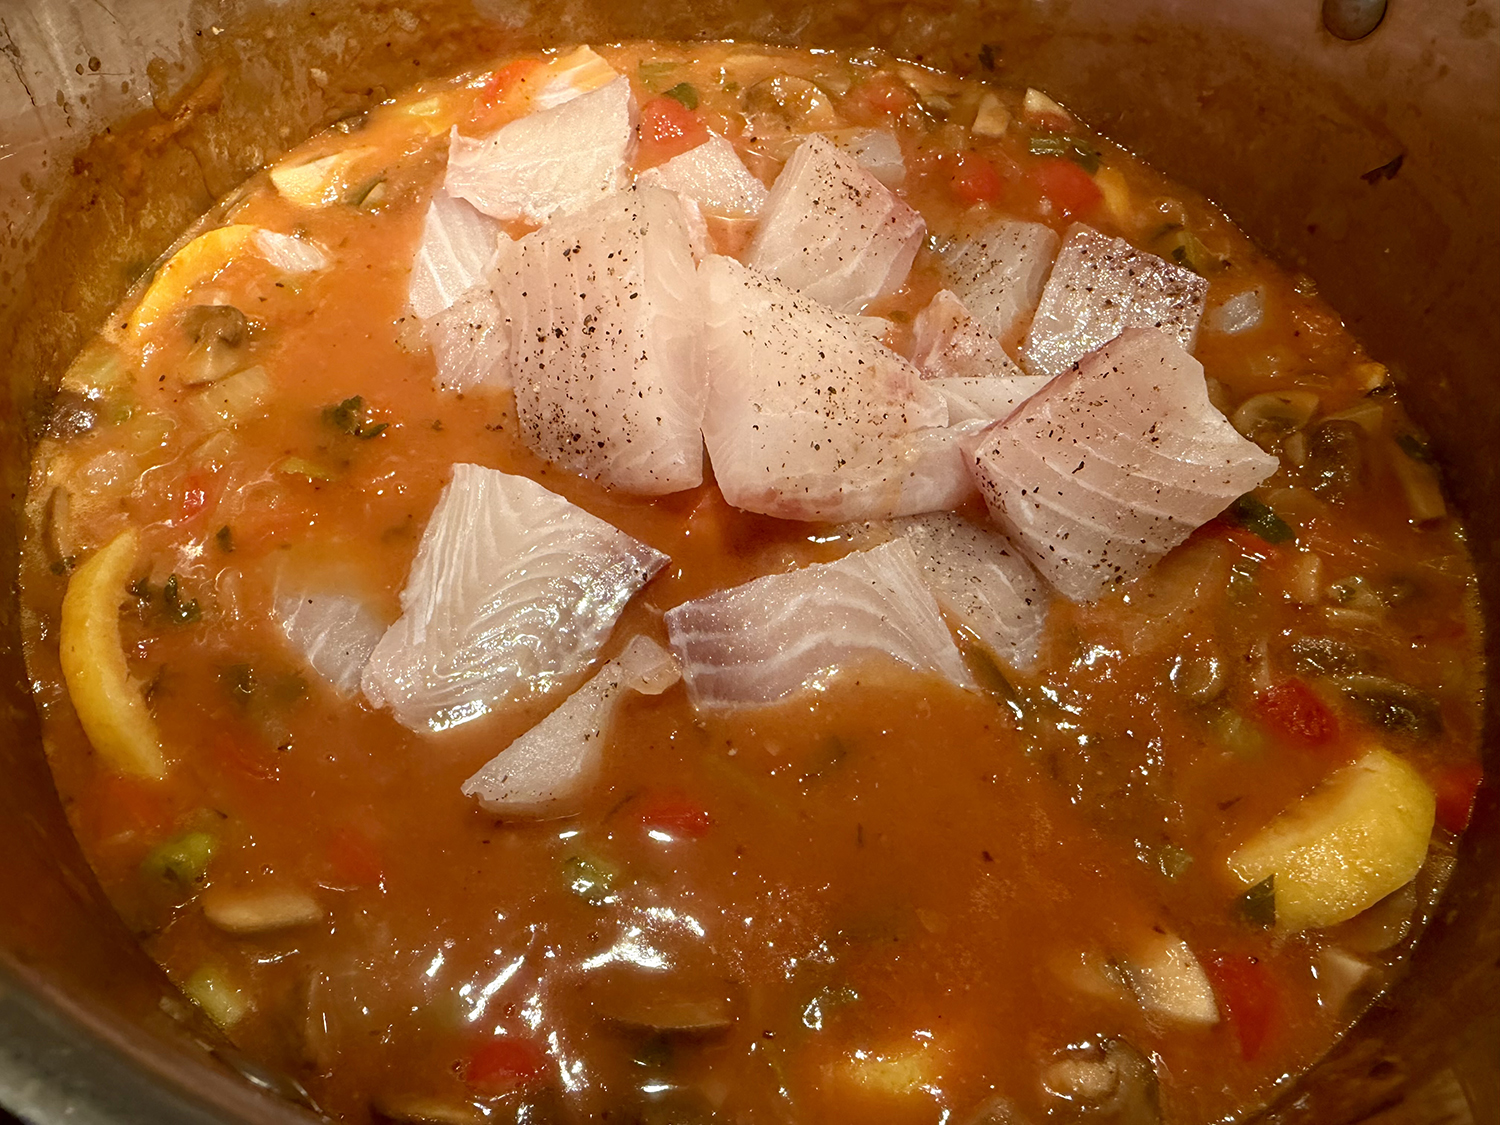
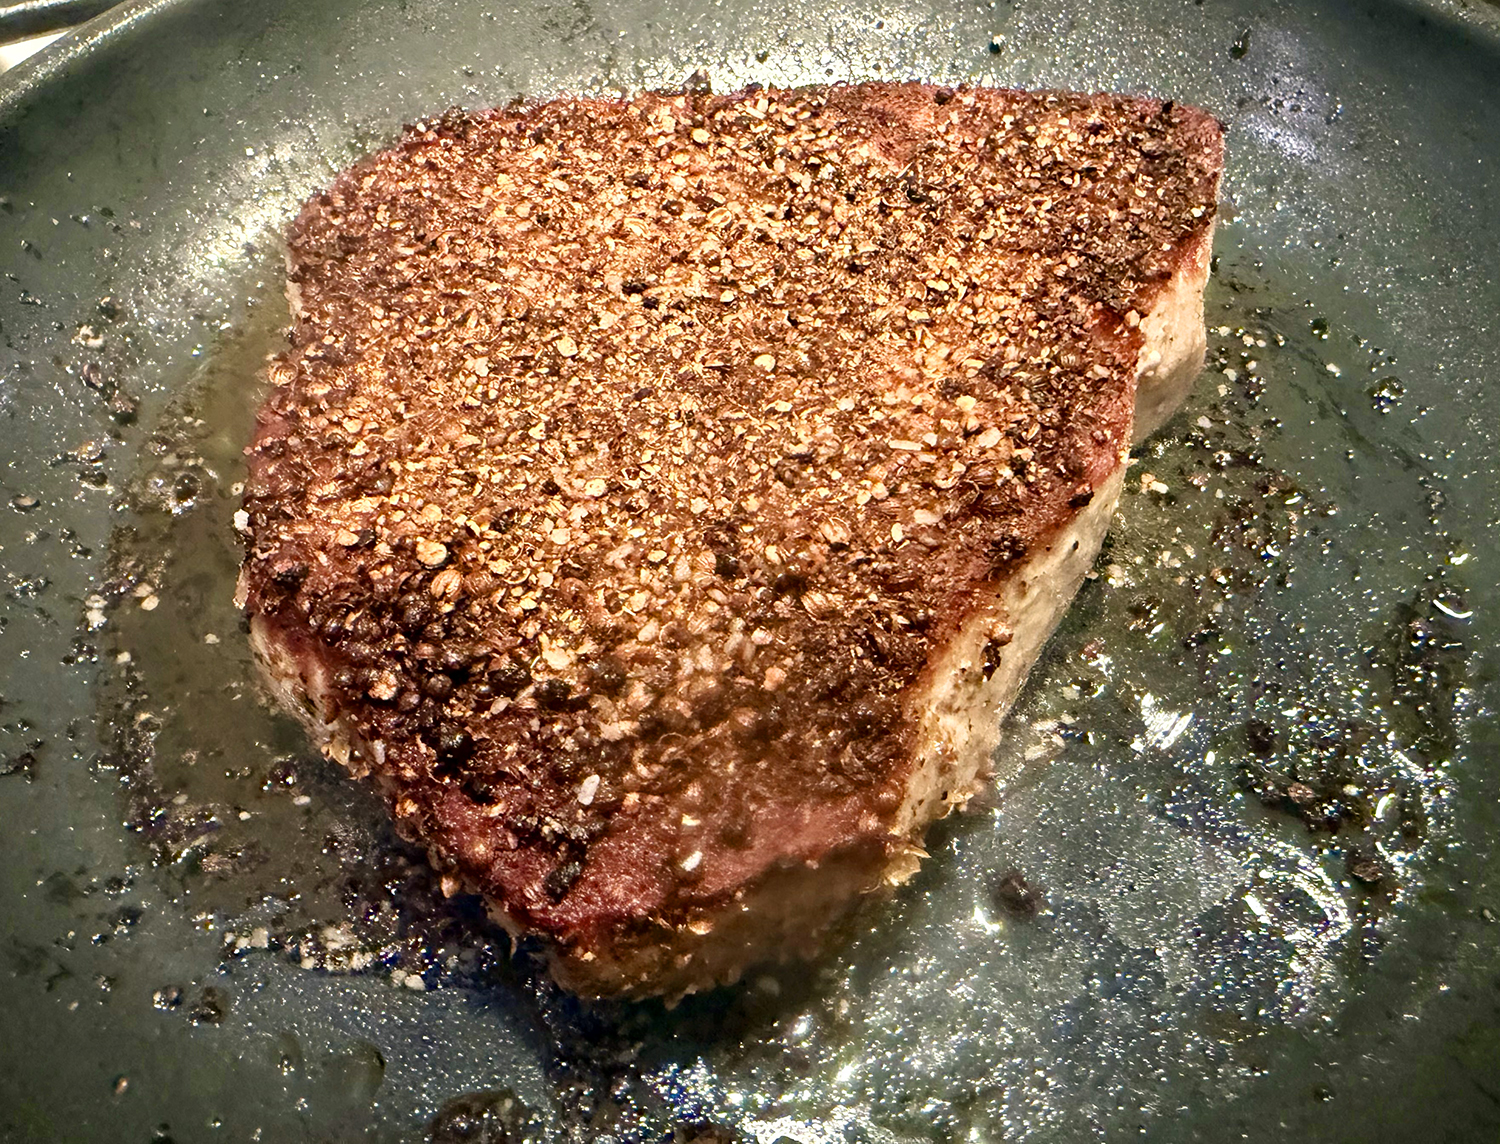
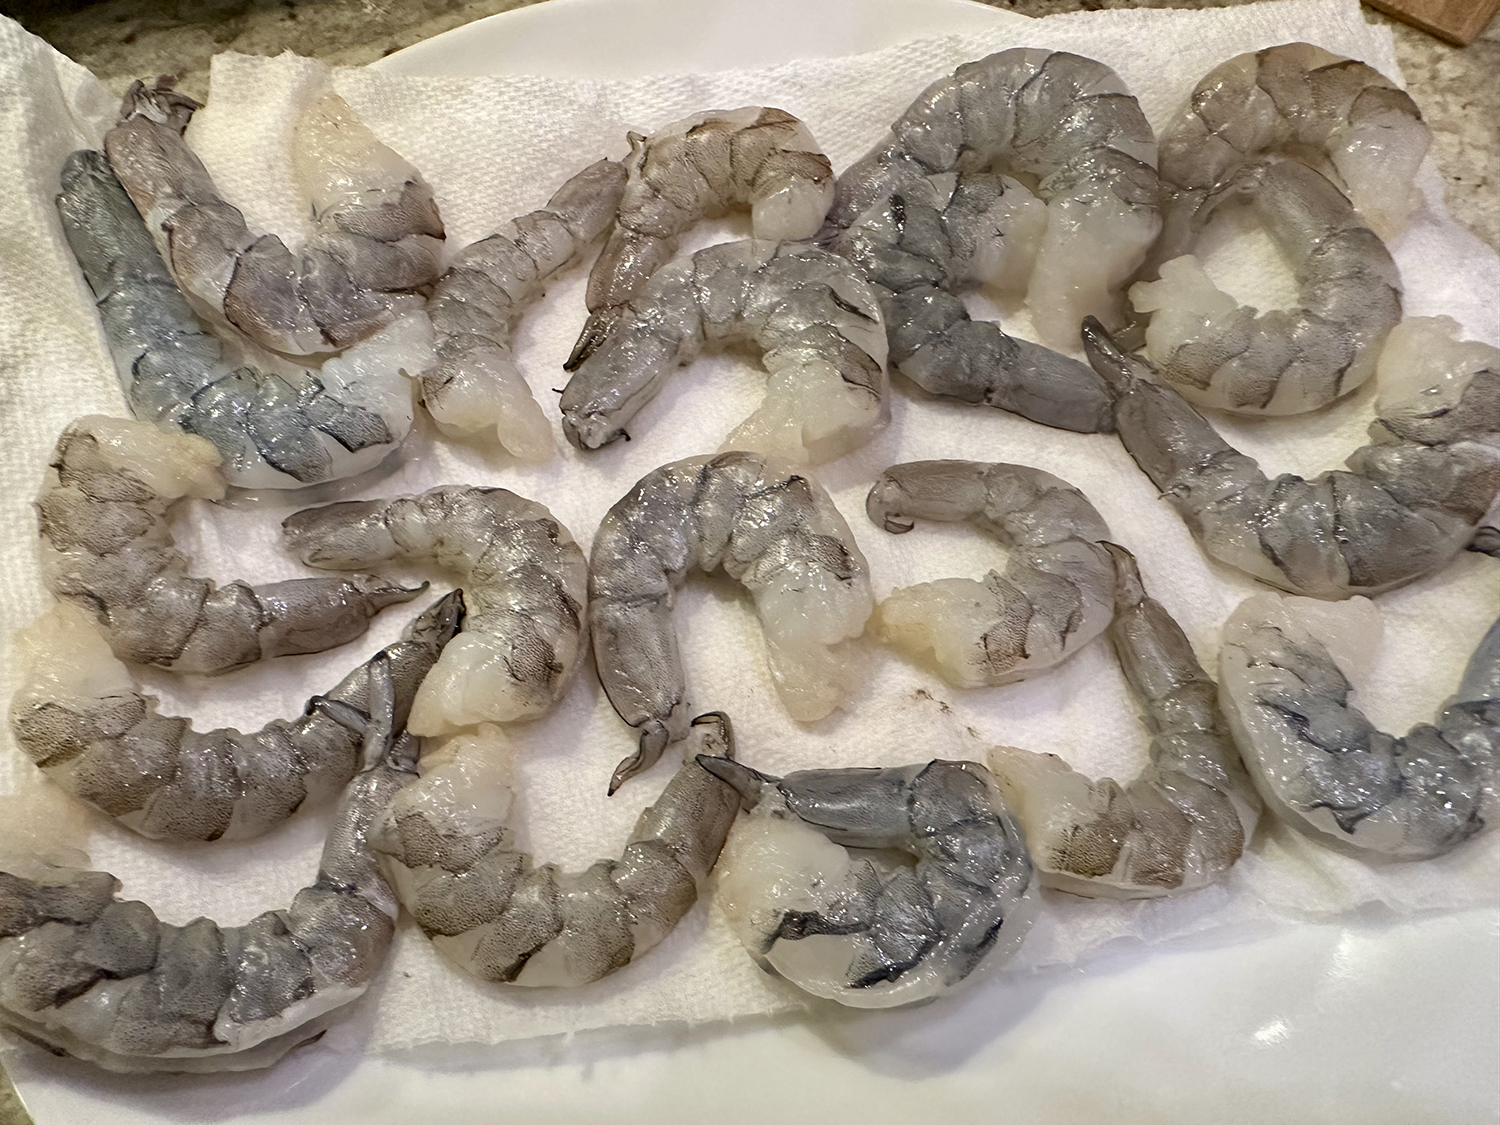
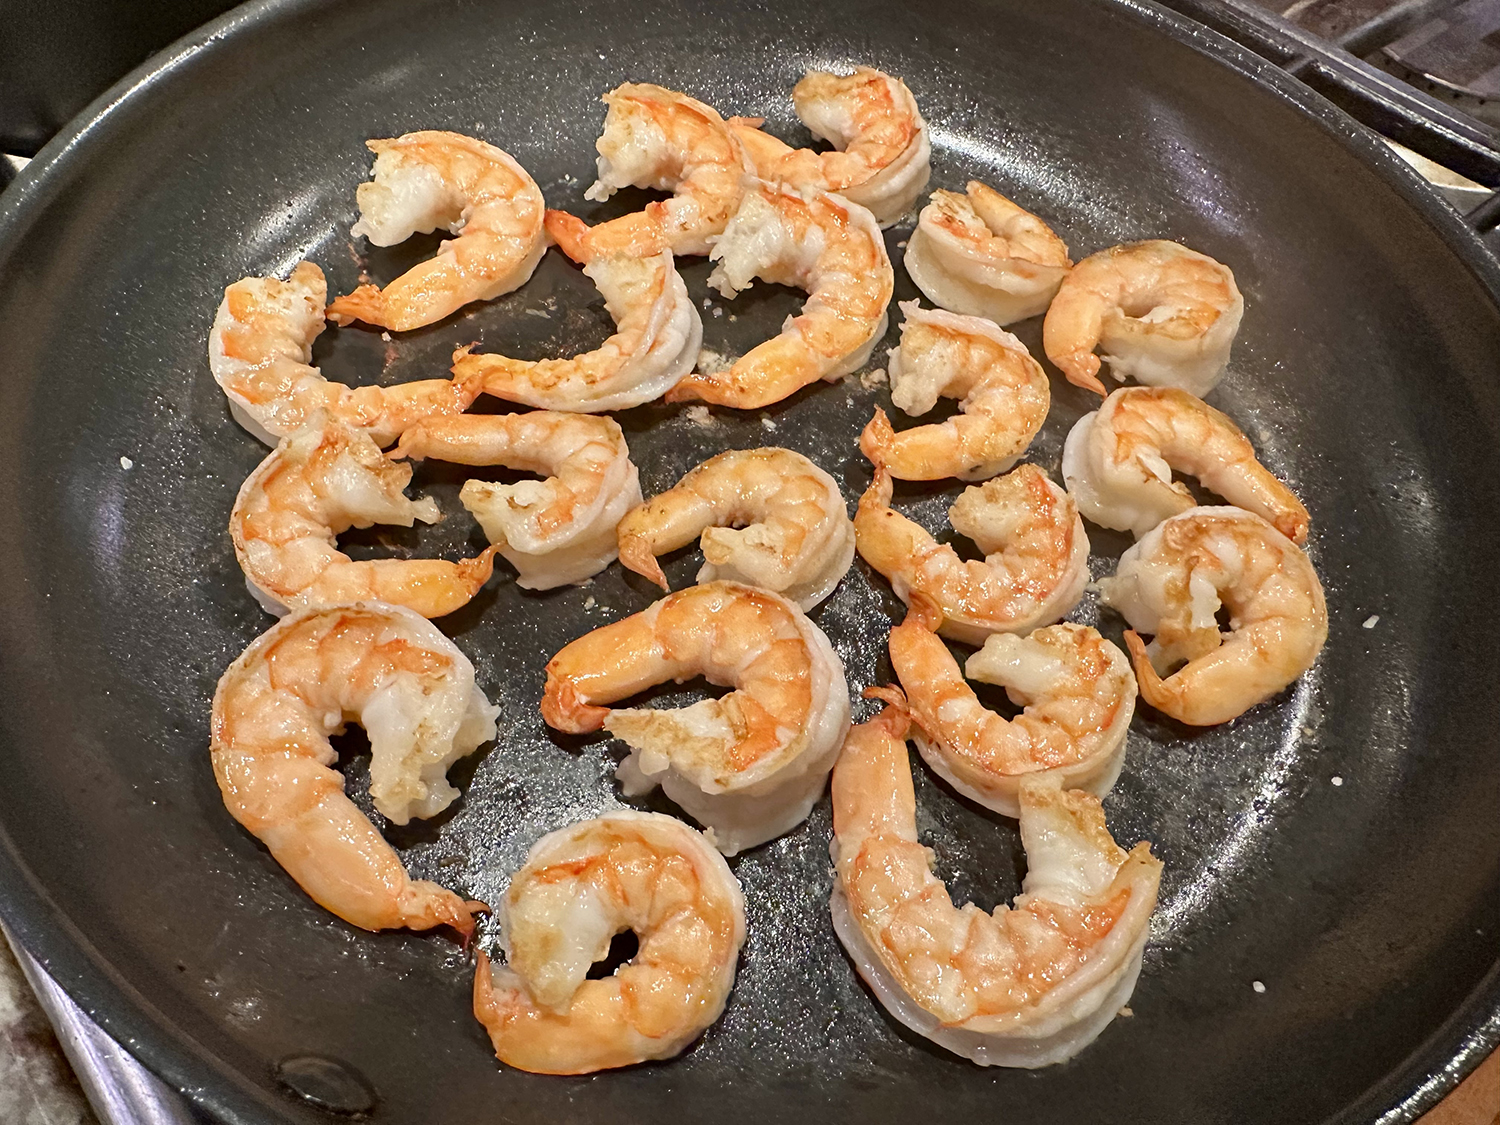
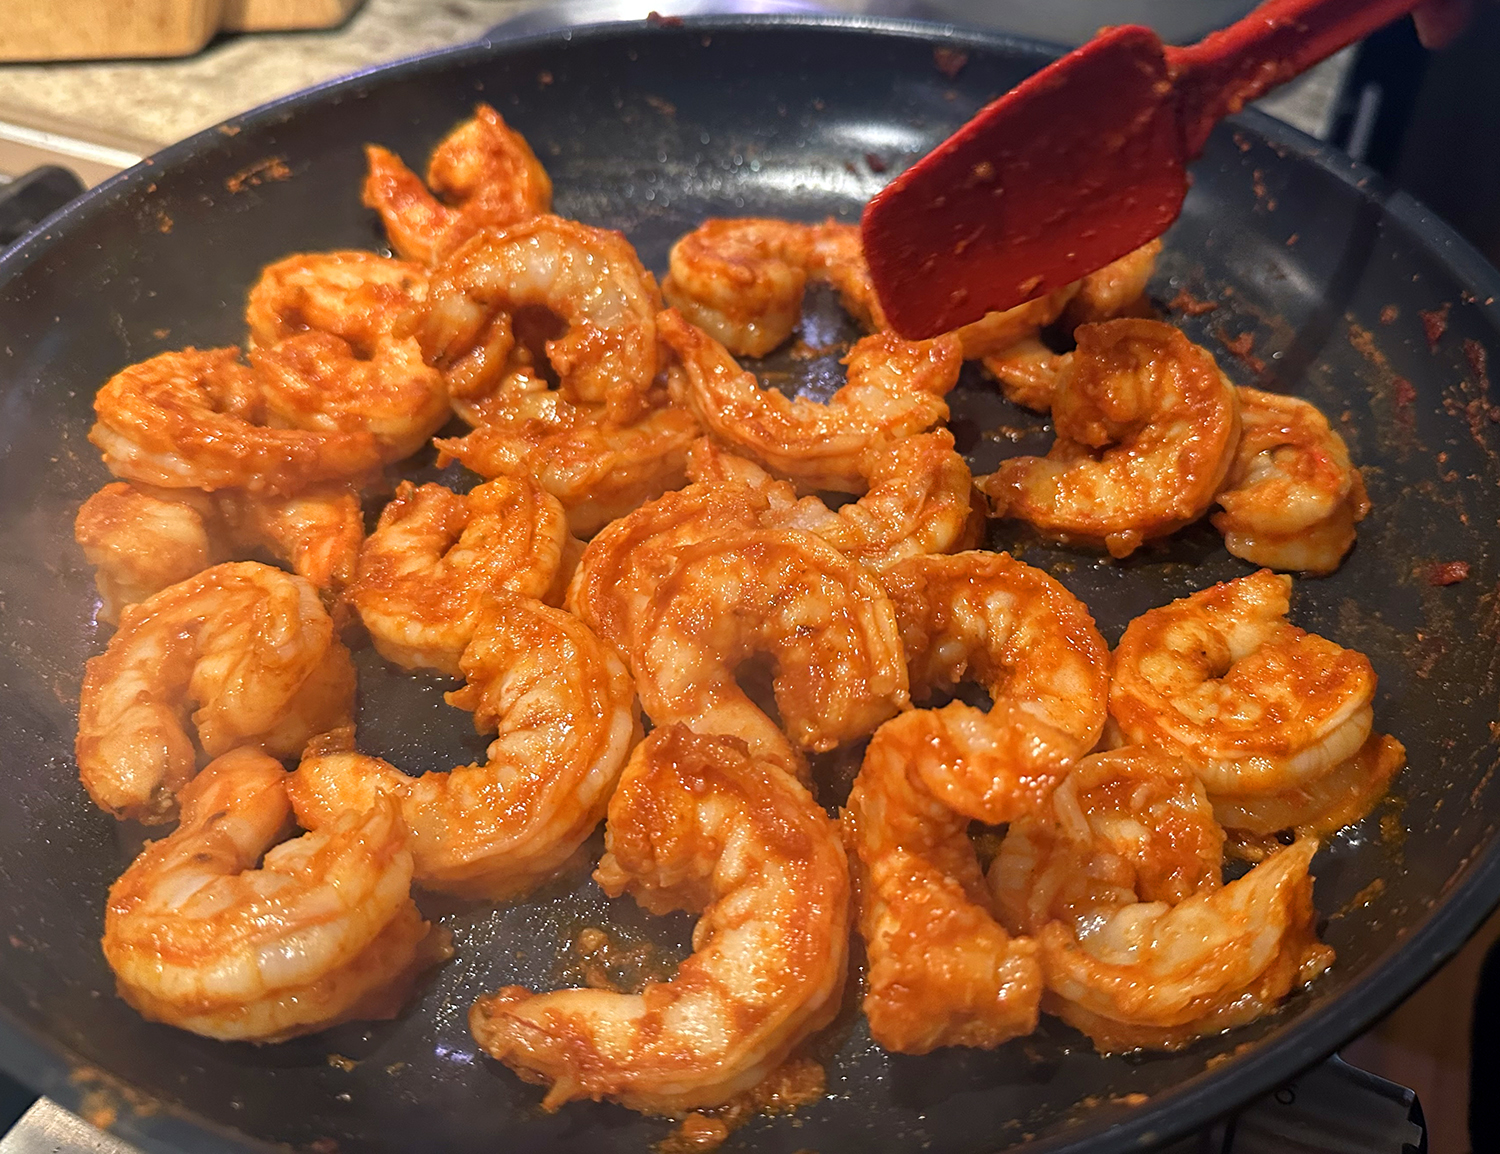
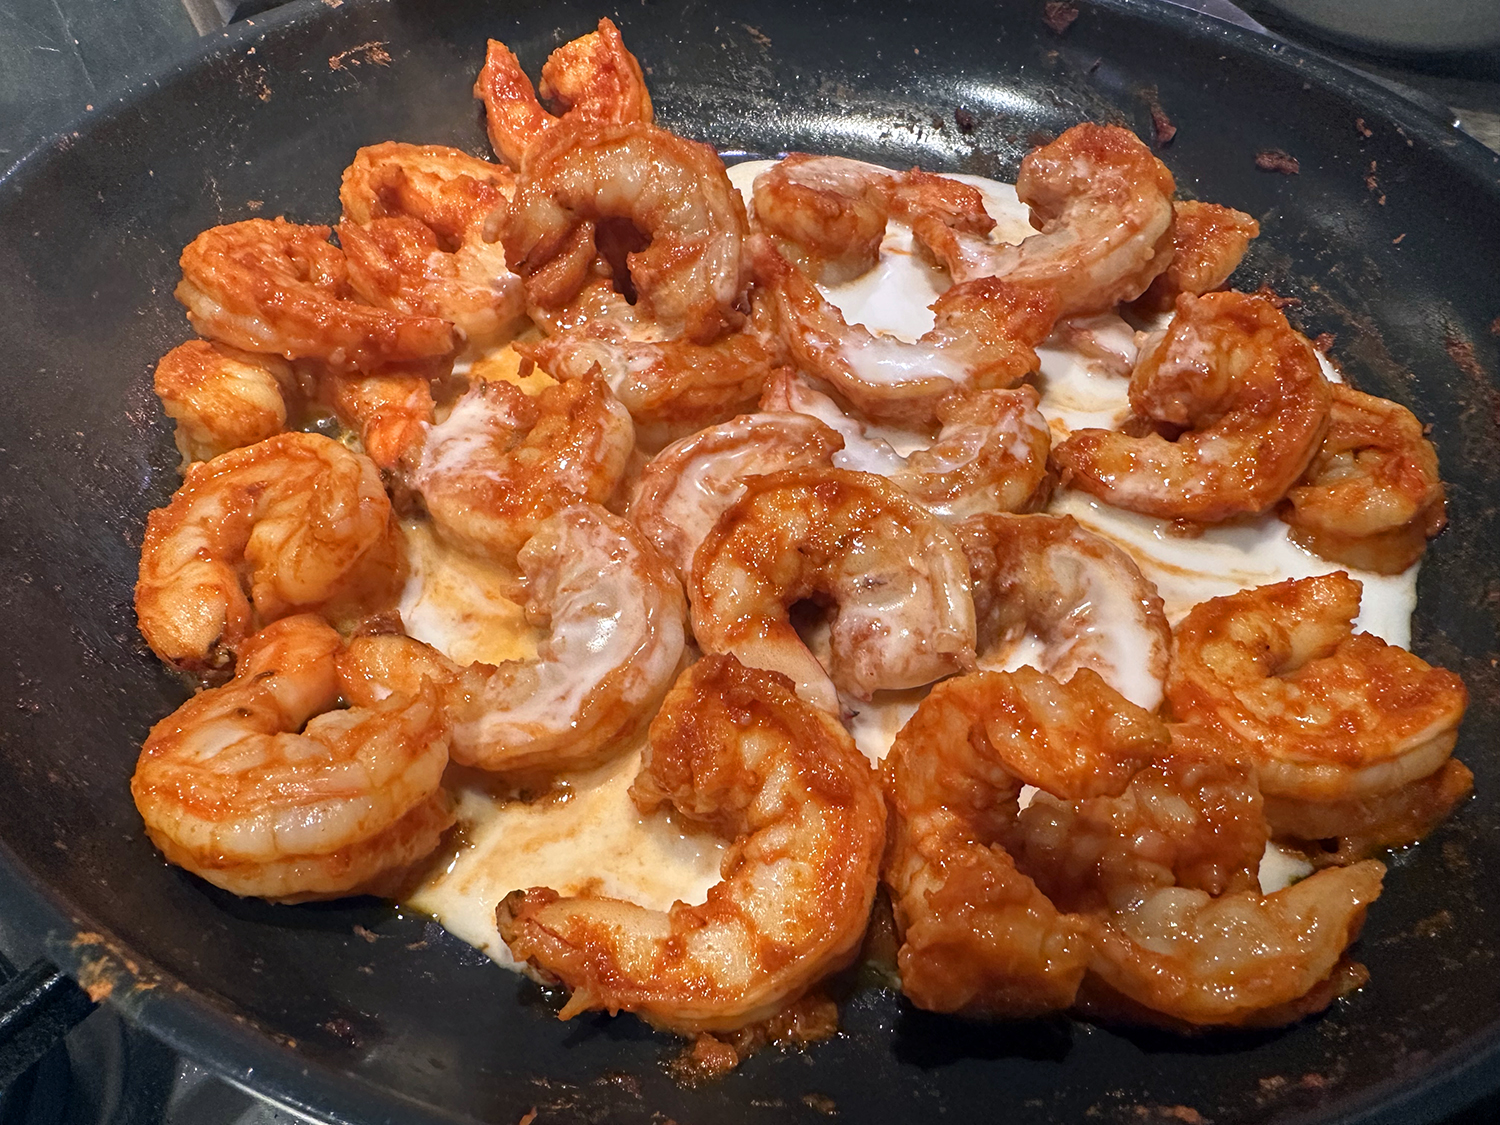
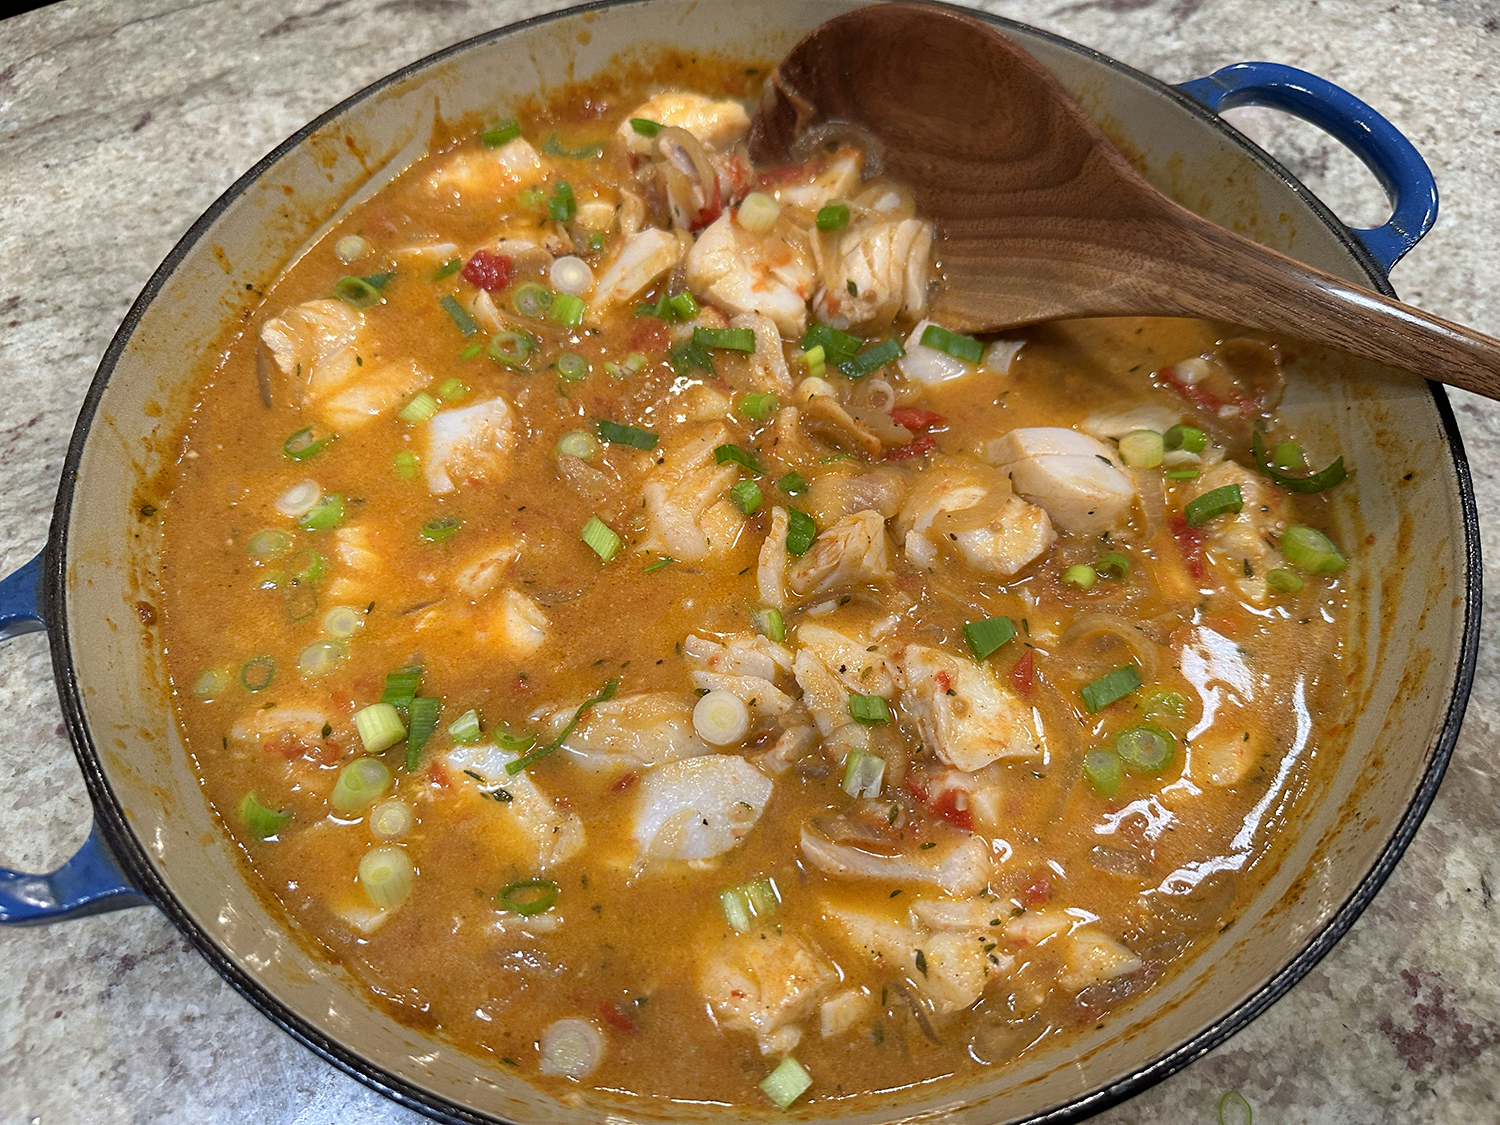
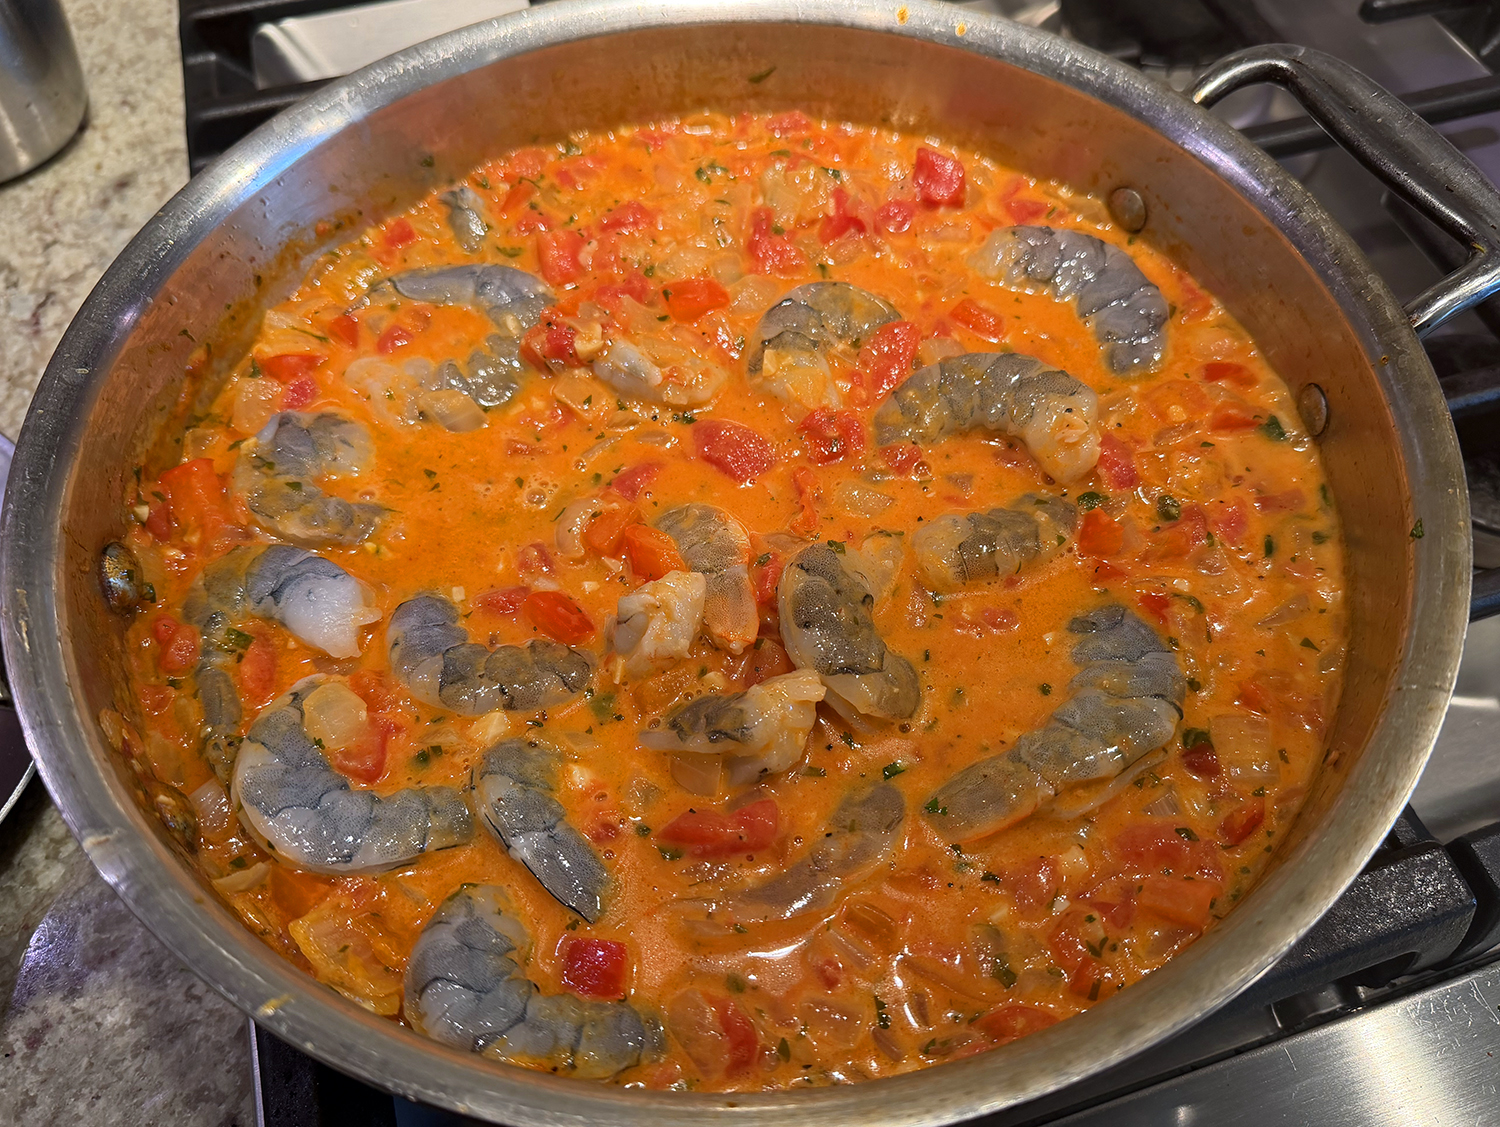
In go the shrimp, large and pink-edged, nestled down into the sauce. They need only three or four minutes, curling into plump little crescents as they turn coral and opaque. Pull them off the heat the moment they’re just cooked through; a minute too long and you’ve lost the magic.
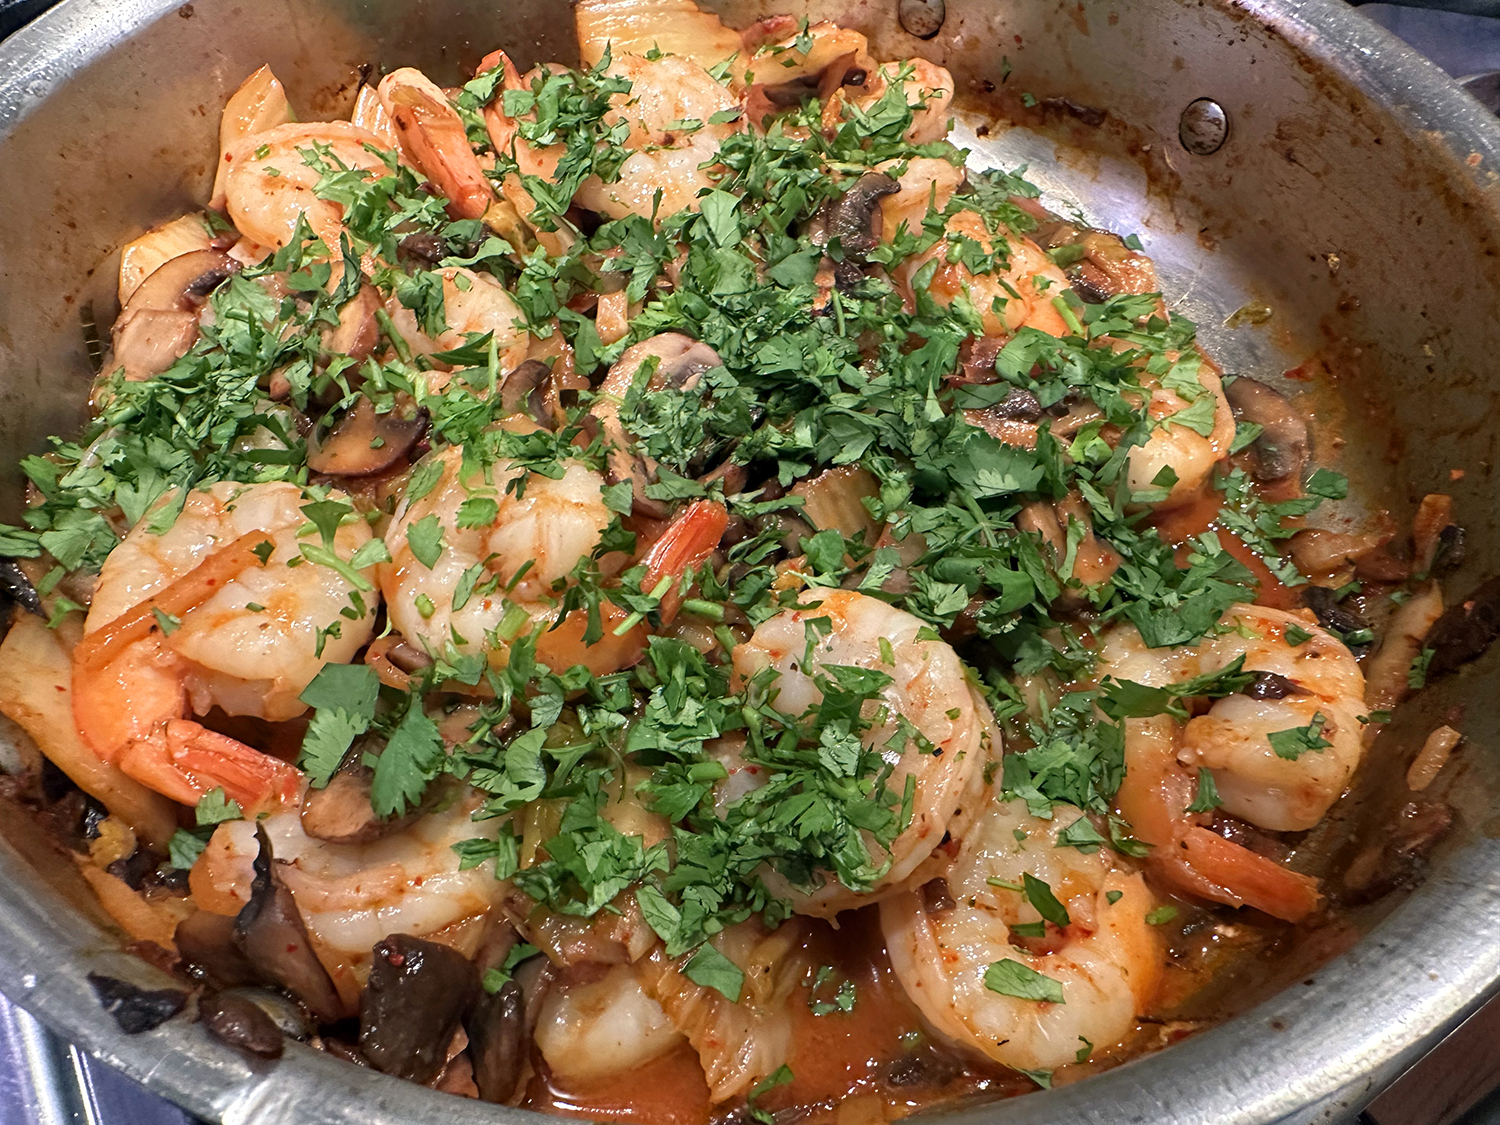
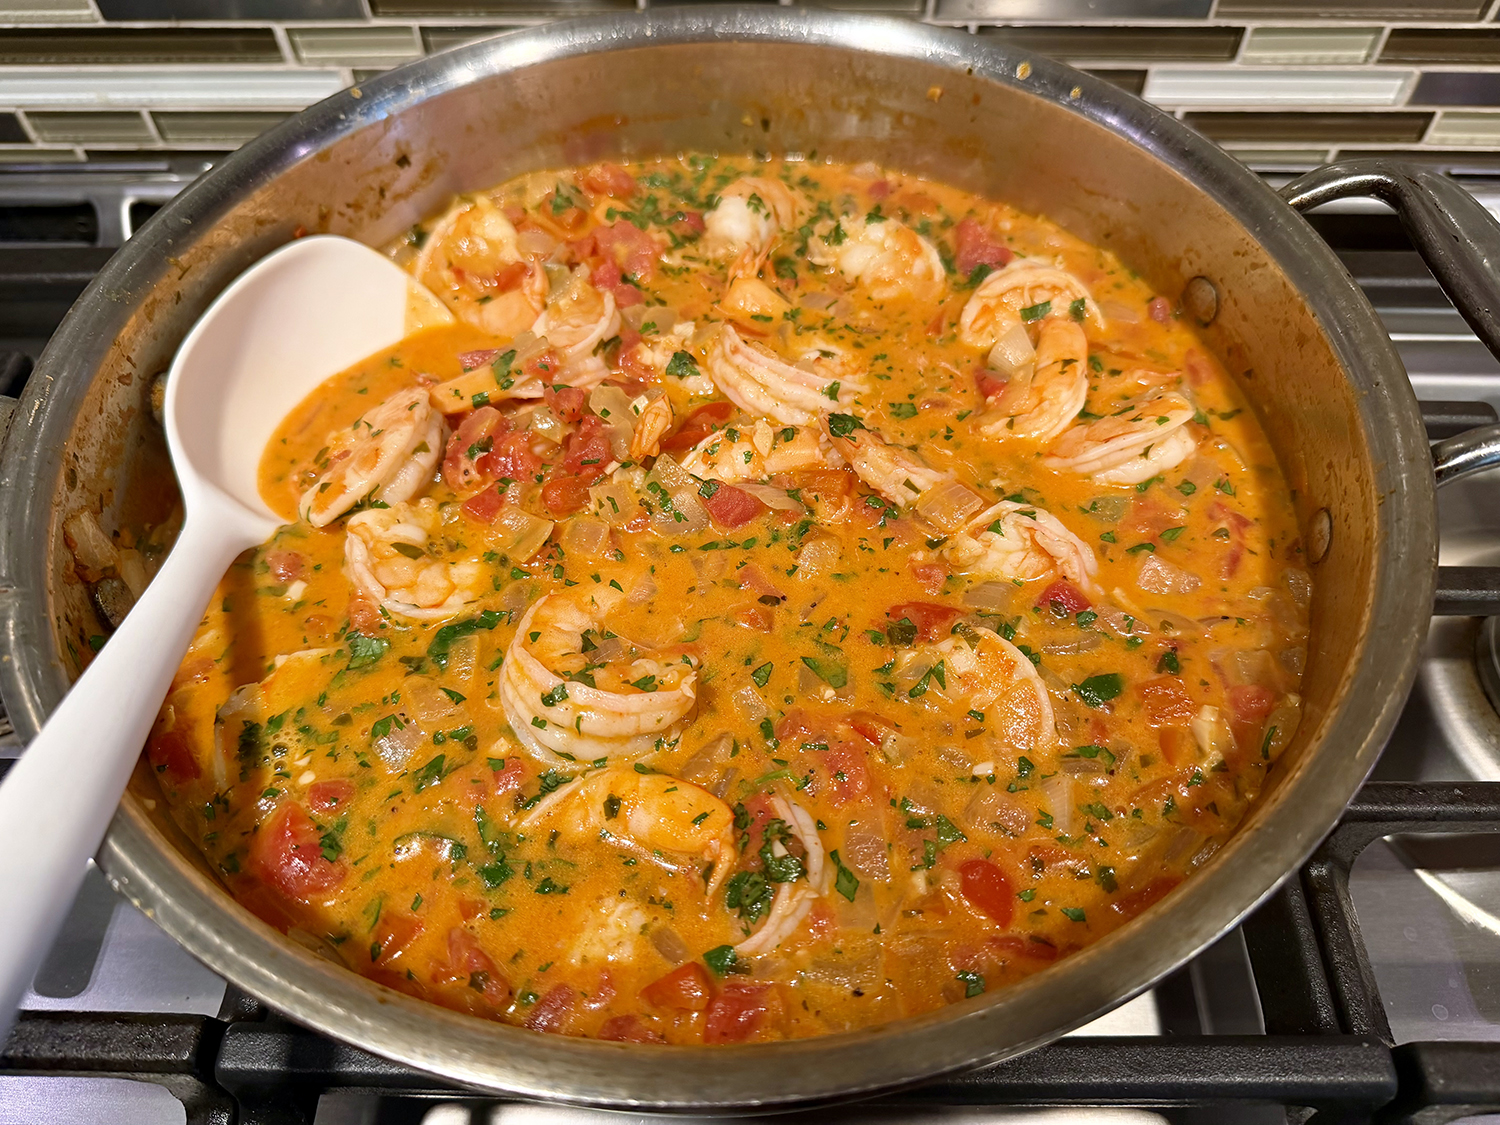
A generous squeeze of fresh lime goes in off the heat, lifting the whole pot with brightness. The sauce tastes rounder, more alive. Then the remaining cilantro — not stirred in but showered lavishly over the top, so the heat just barely wilts the leaves and the fresh green scent rises up in a cloud.
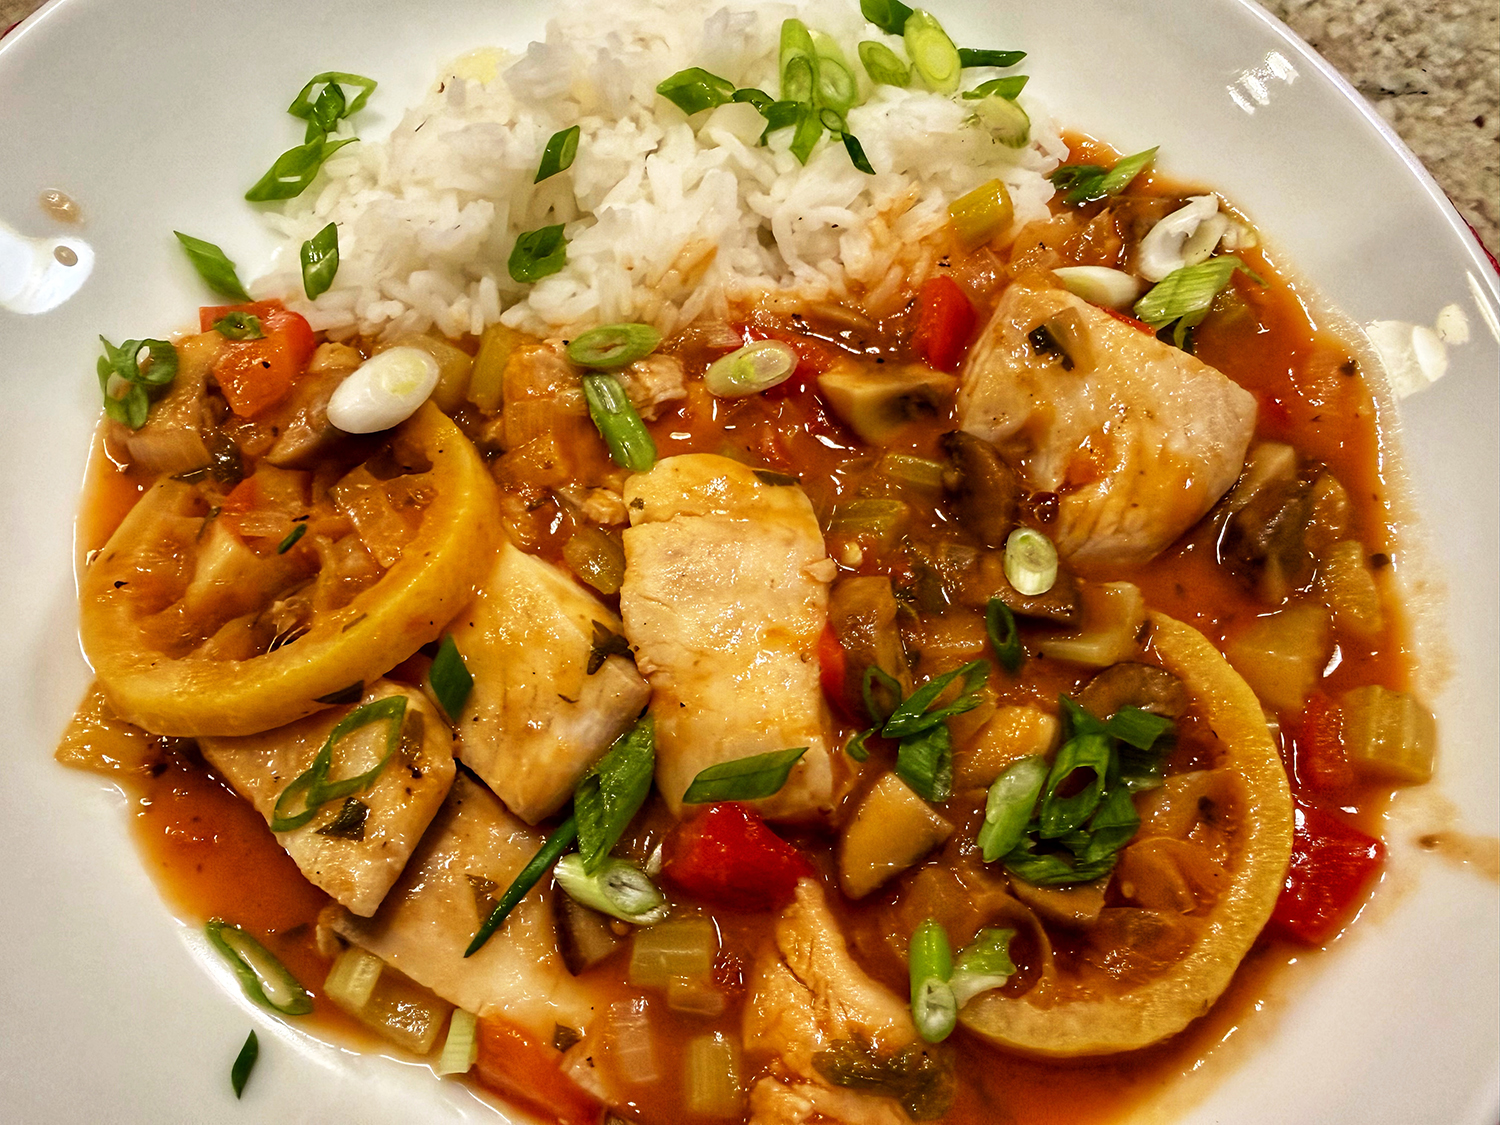
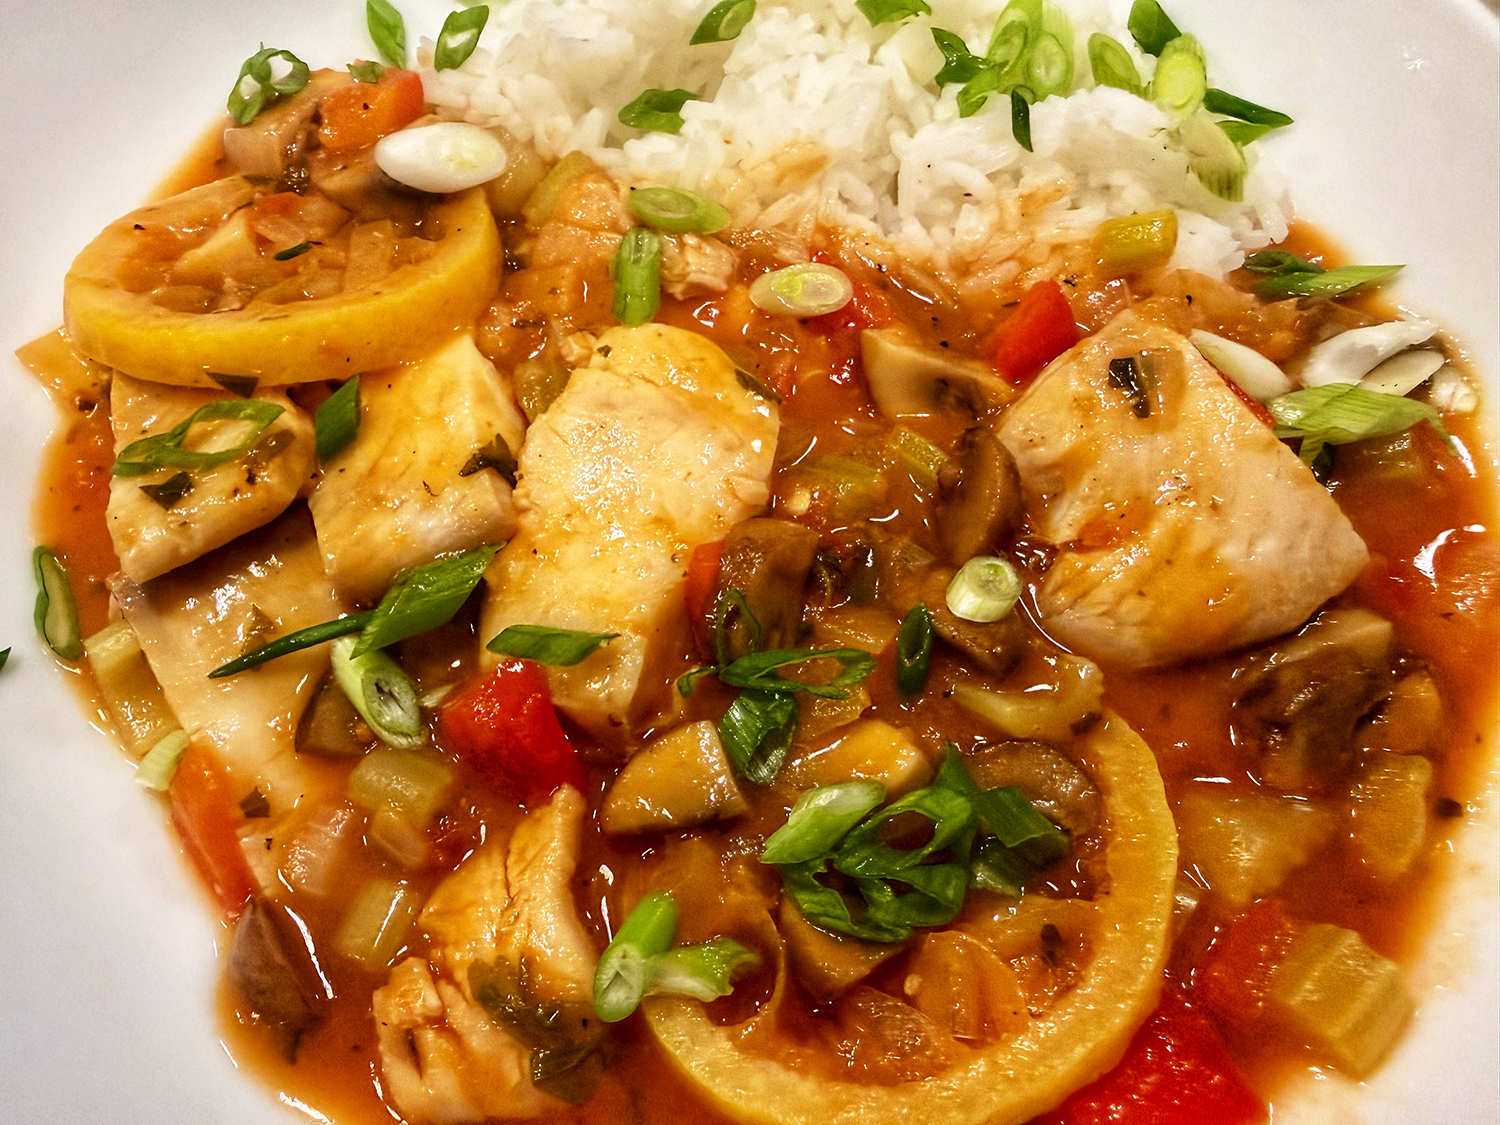
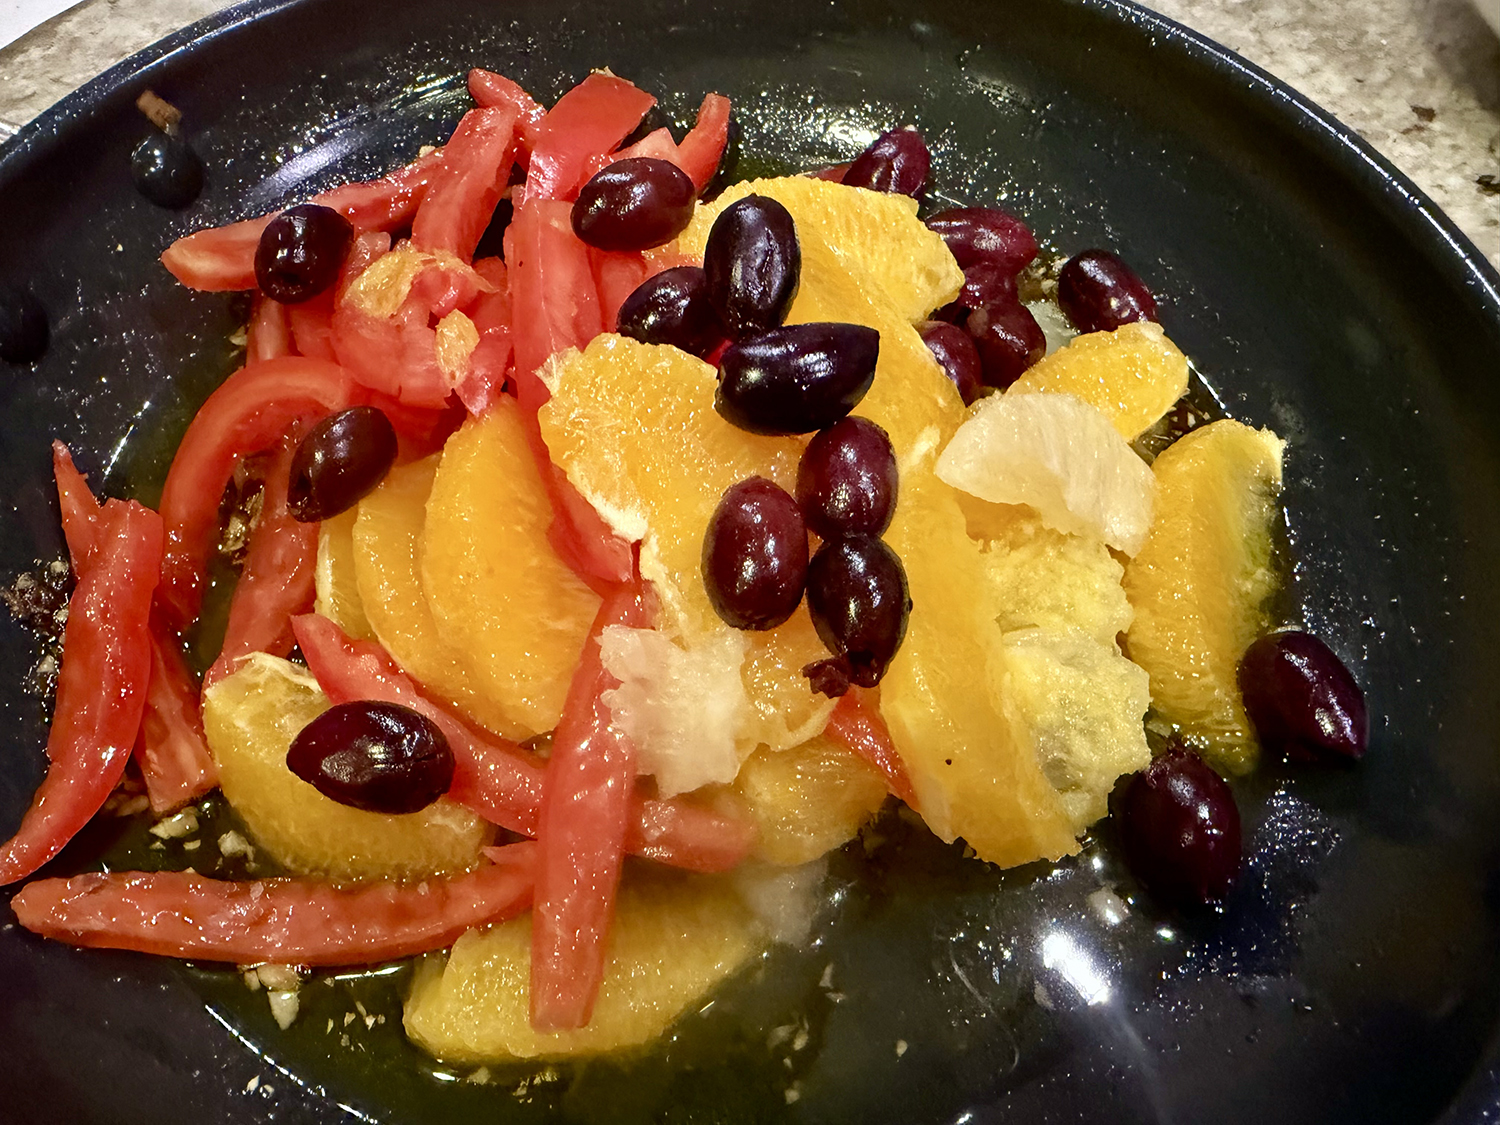
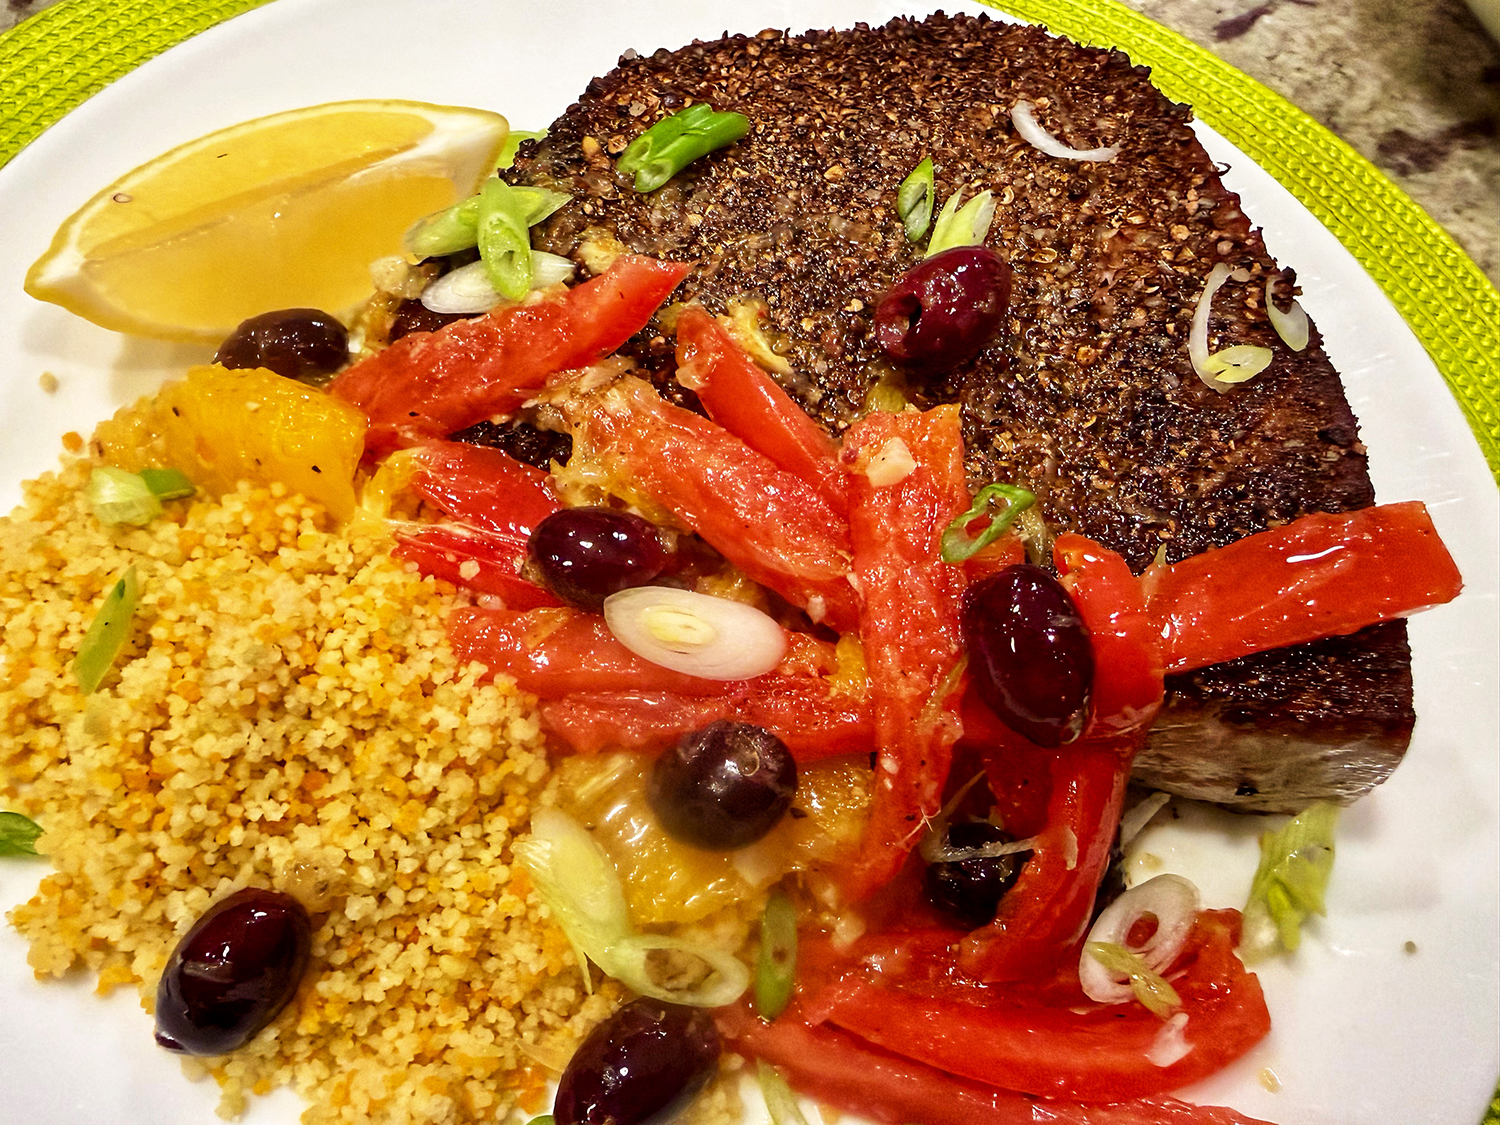
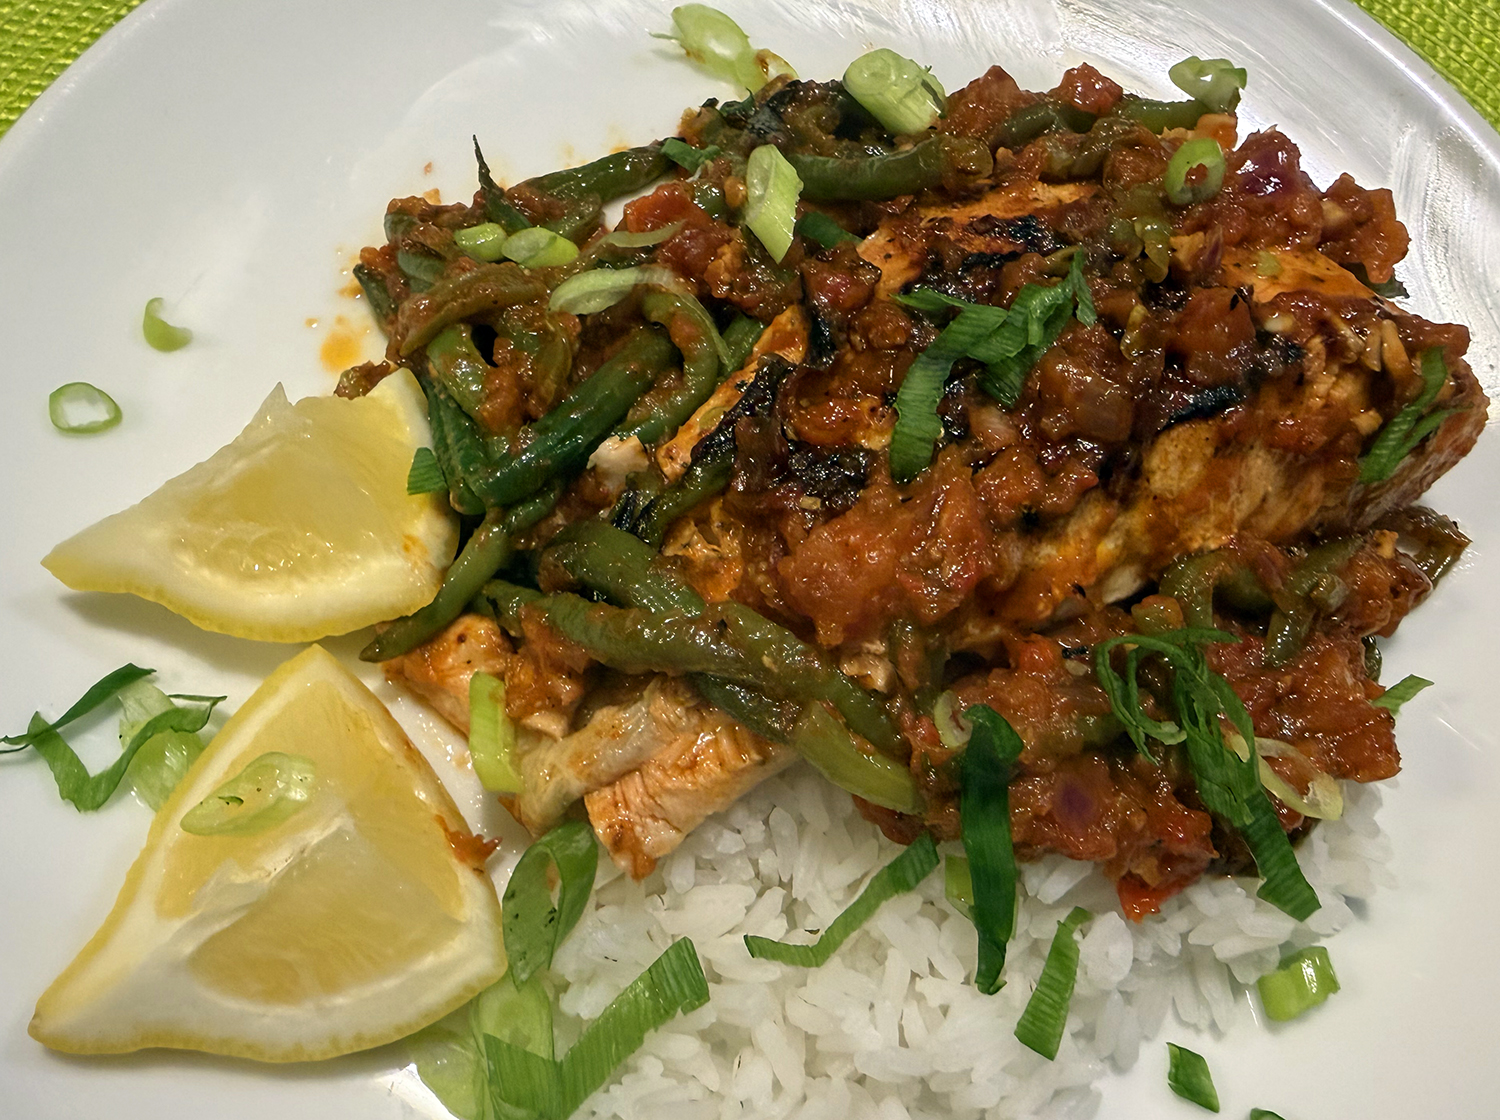
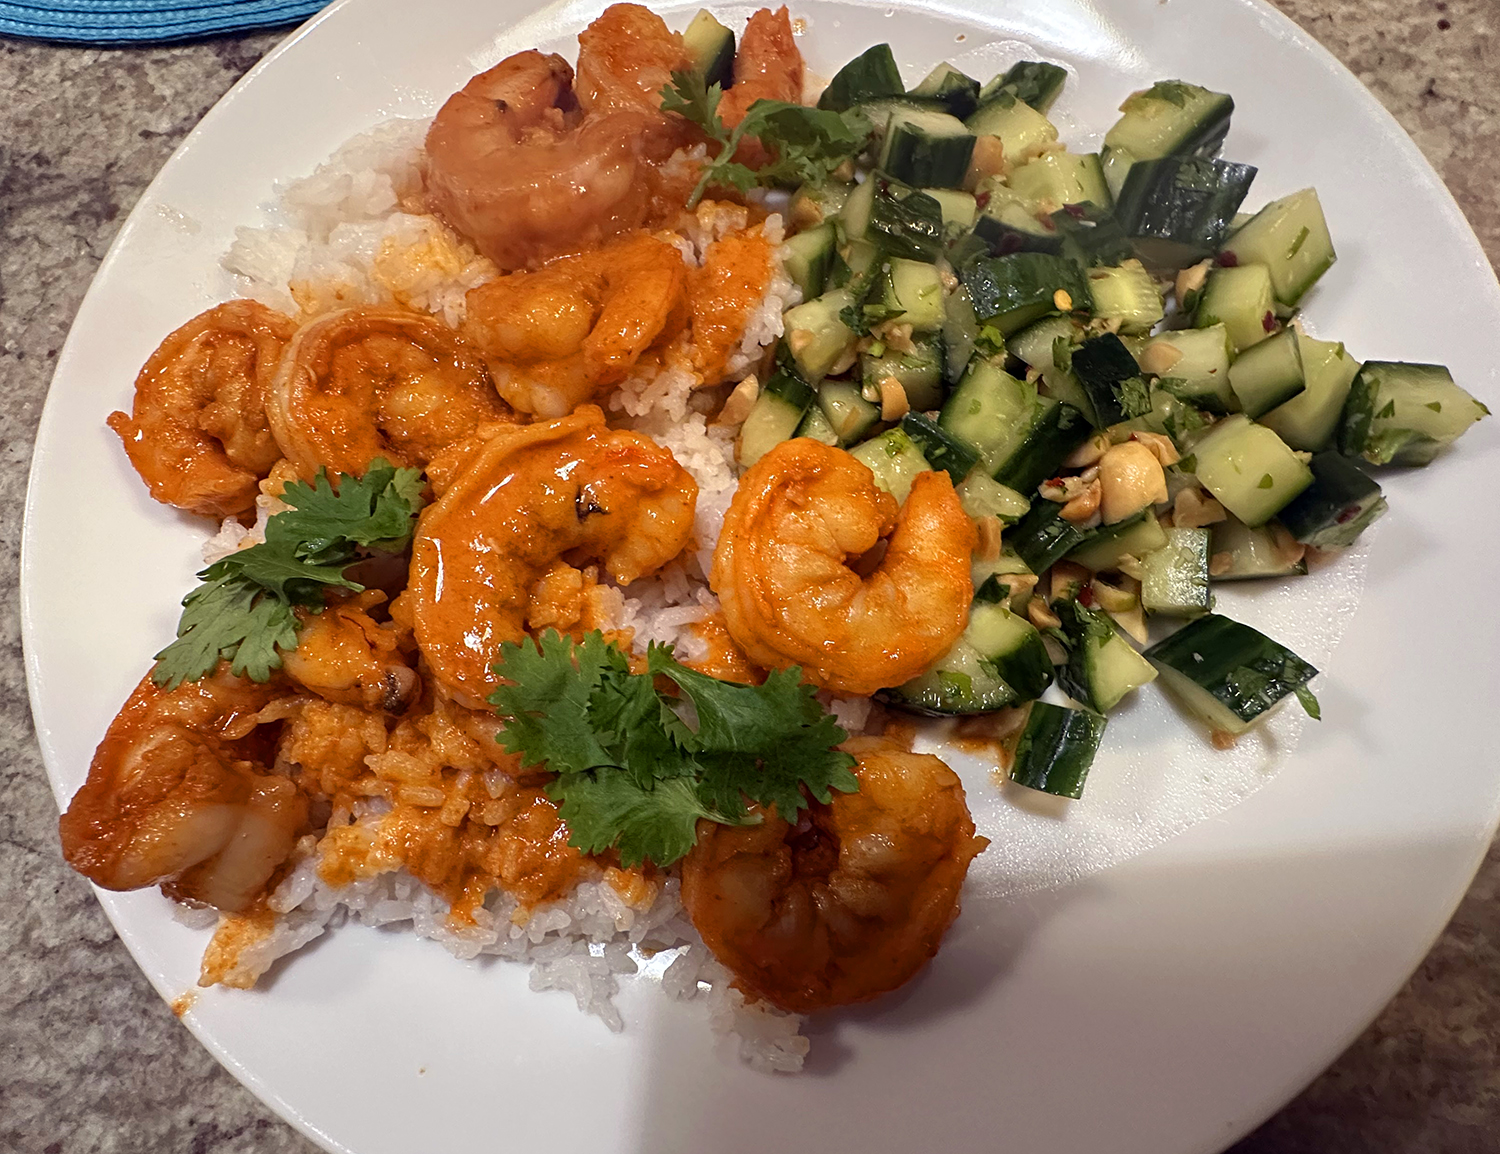
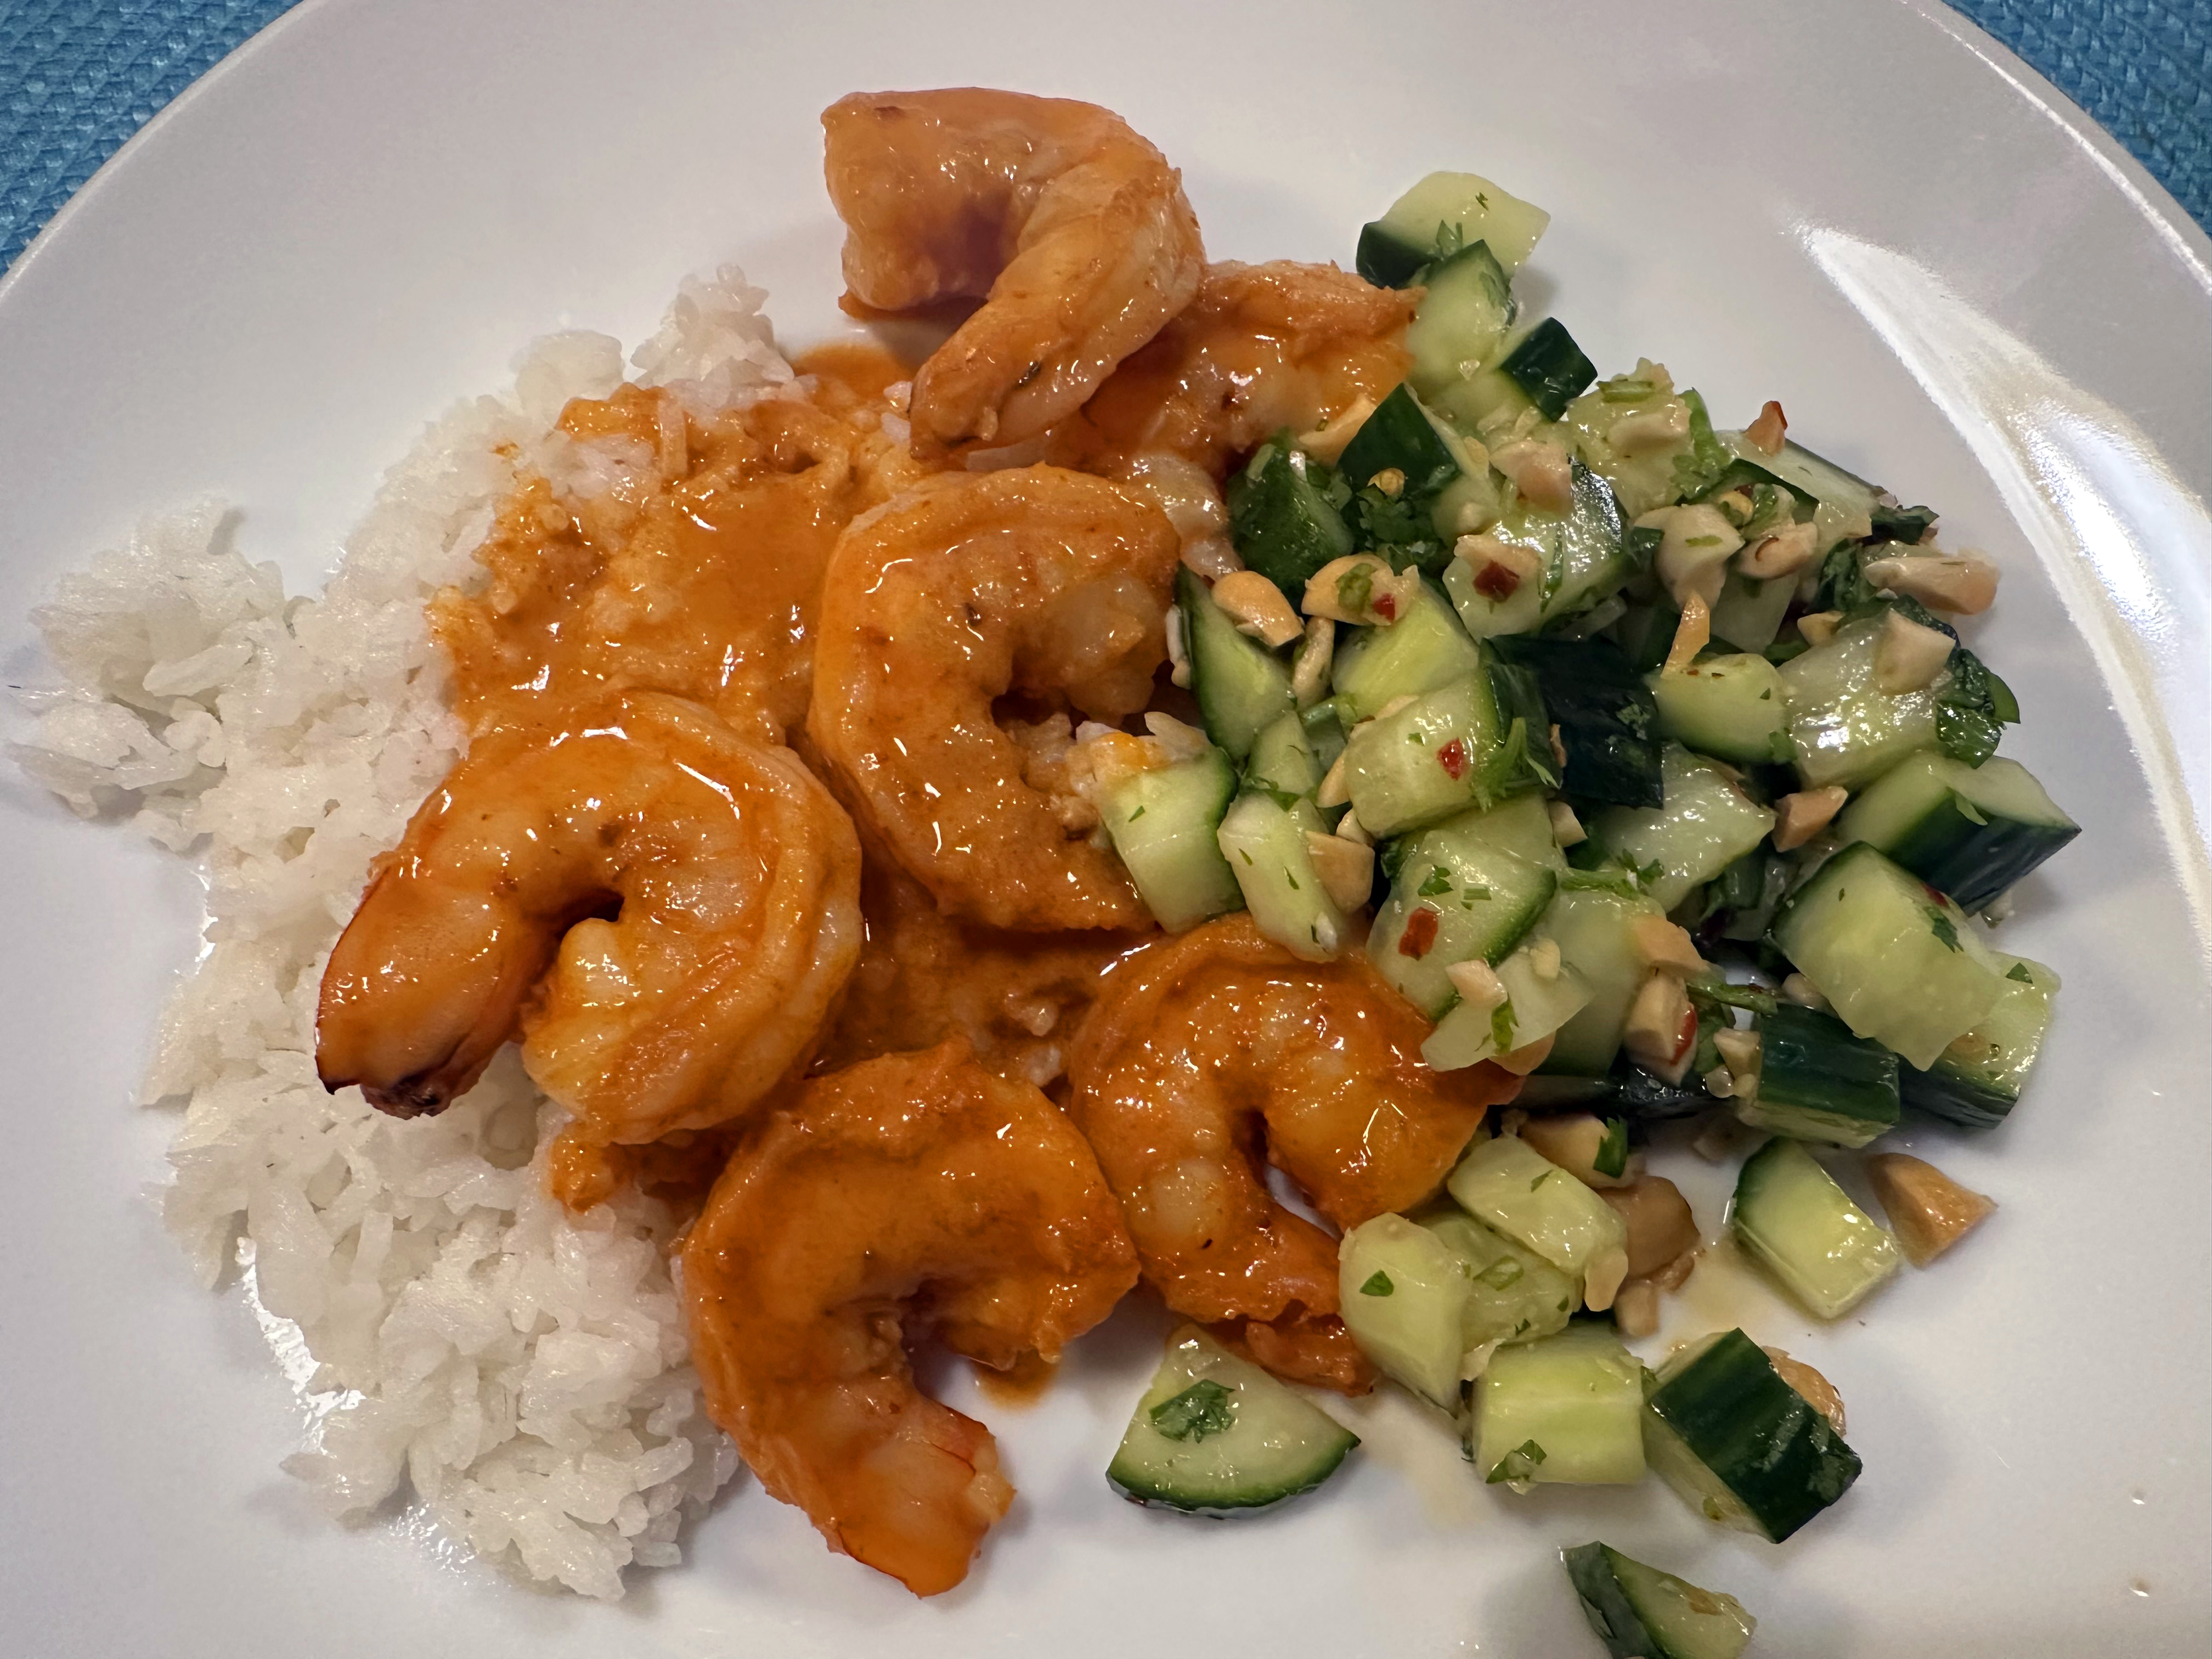
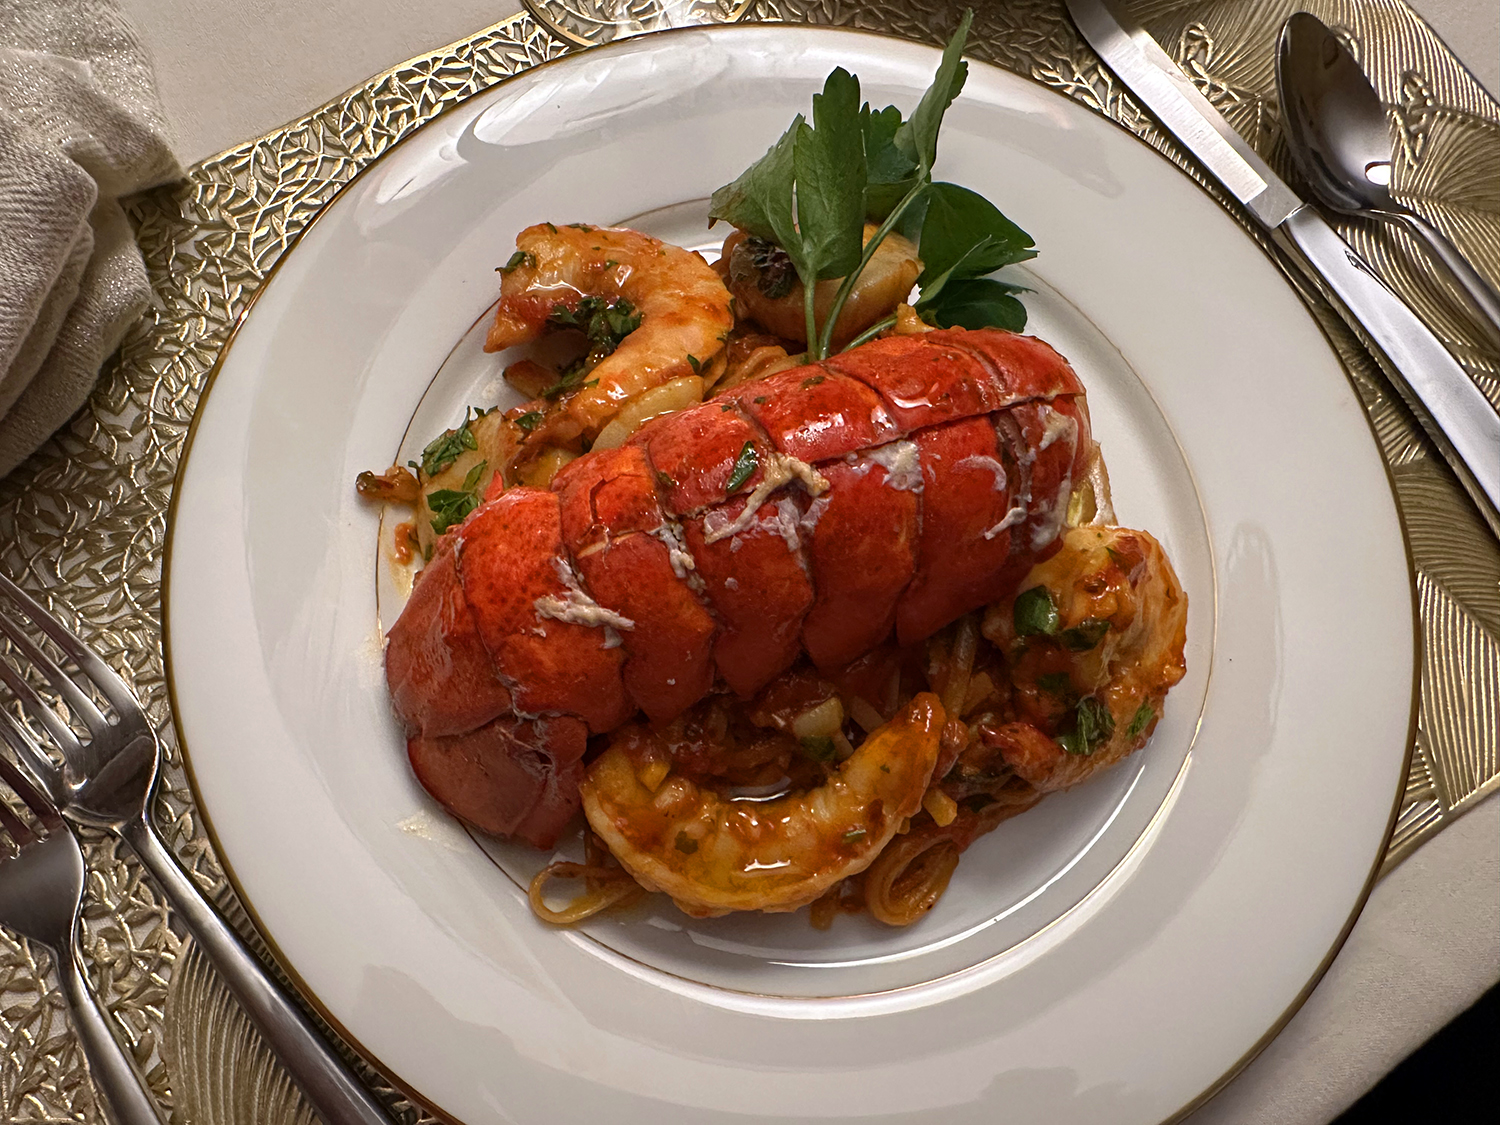
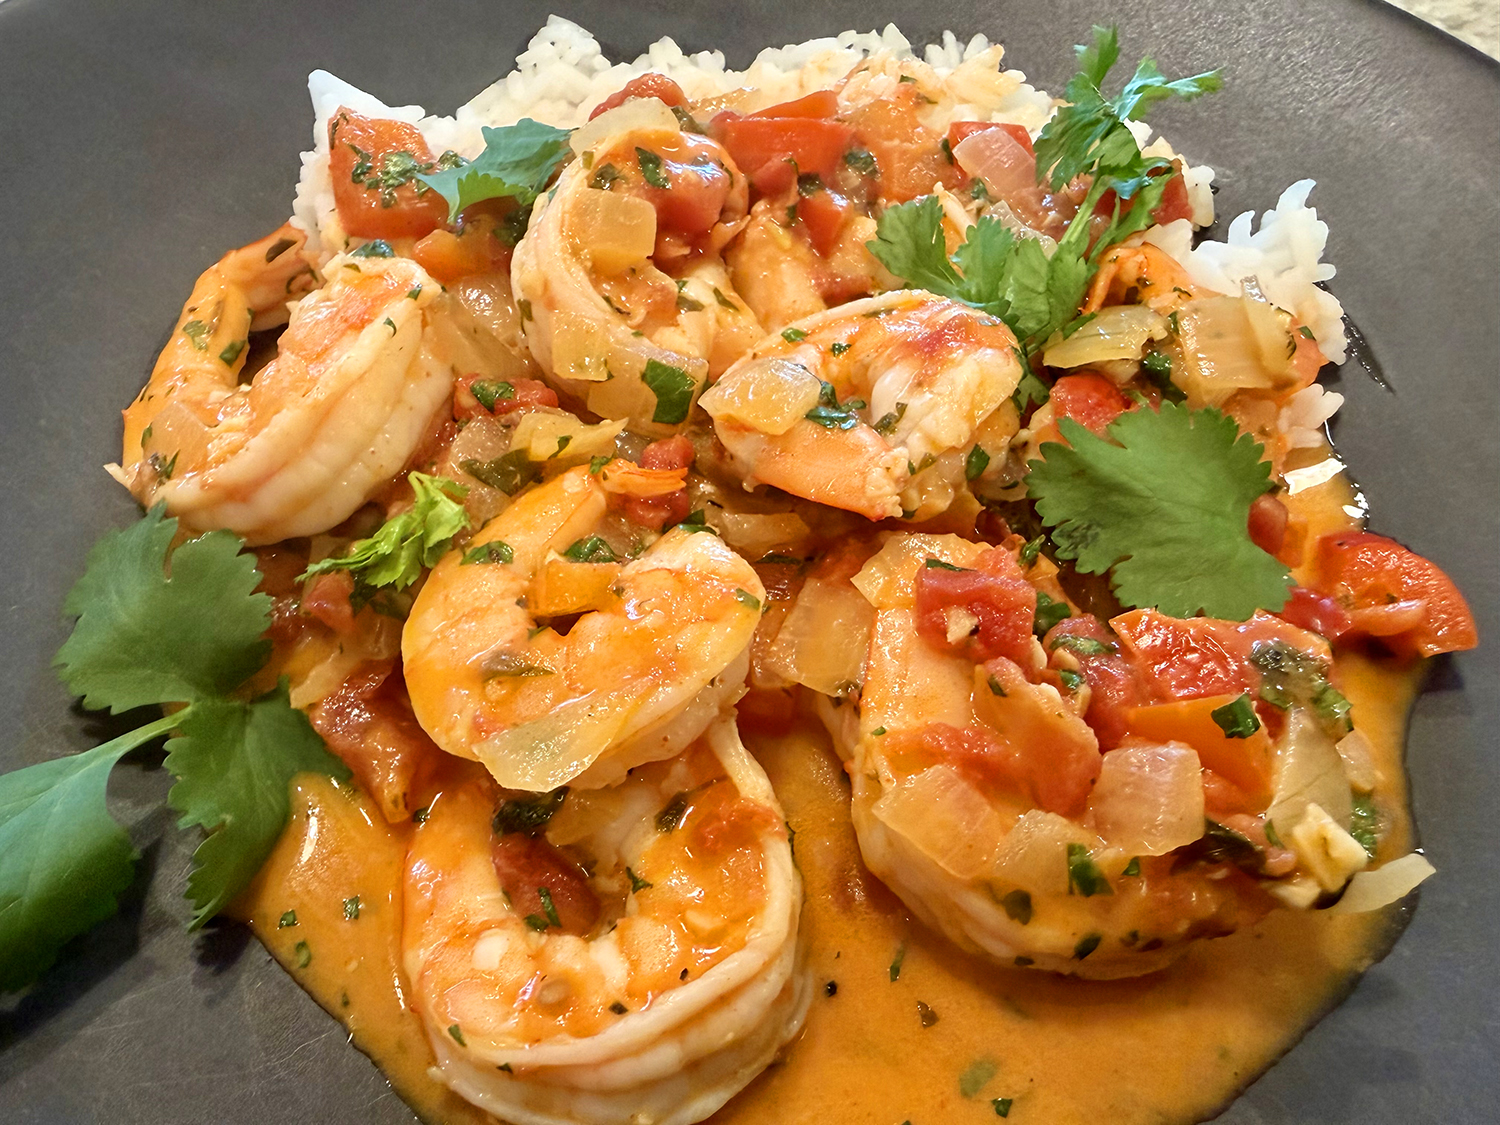
Ladle it into wide, shallow bowls over steamed white rice, which soaks up the coral sauce greedily. The first spoonful delivers everything at once: the briny sweetness of the shrimp, the lush coconut body, the tart lime cutting through, the slow warmth of cayenne building at the back of the throat, and the clean, herbal finish of cilantro.
It tastes far more laborious than it is. The whole dish is an argument that weeknight cooking doesn’t have to mean compromise — just good technique and the right few ingredients working together.
Brazilian-Style Shrimp Stew
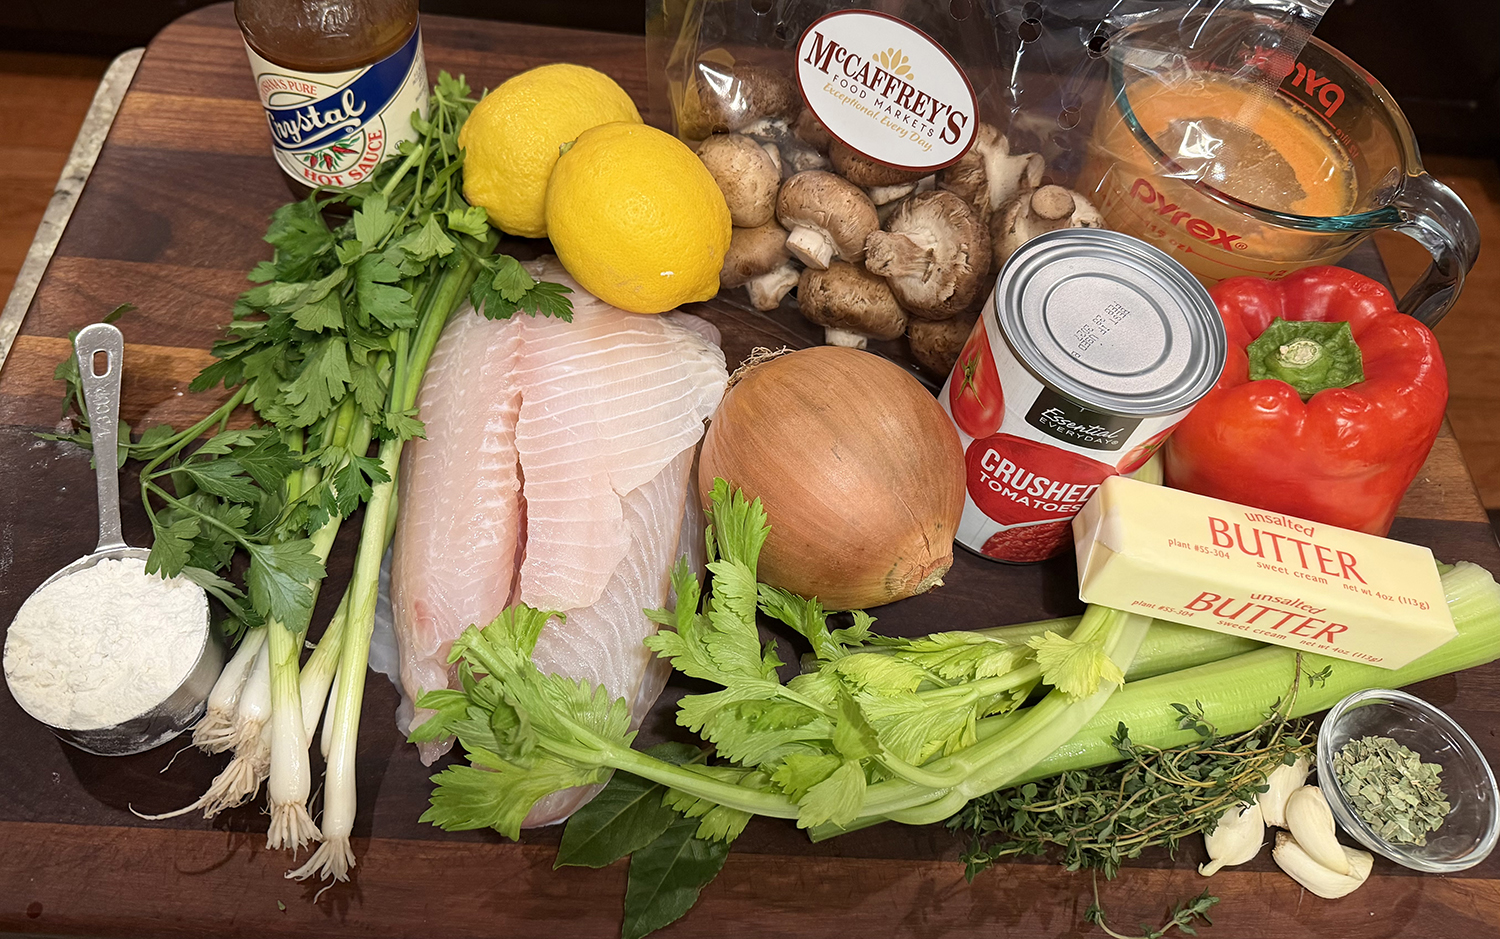
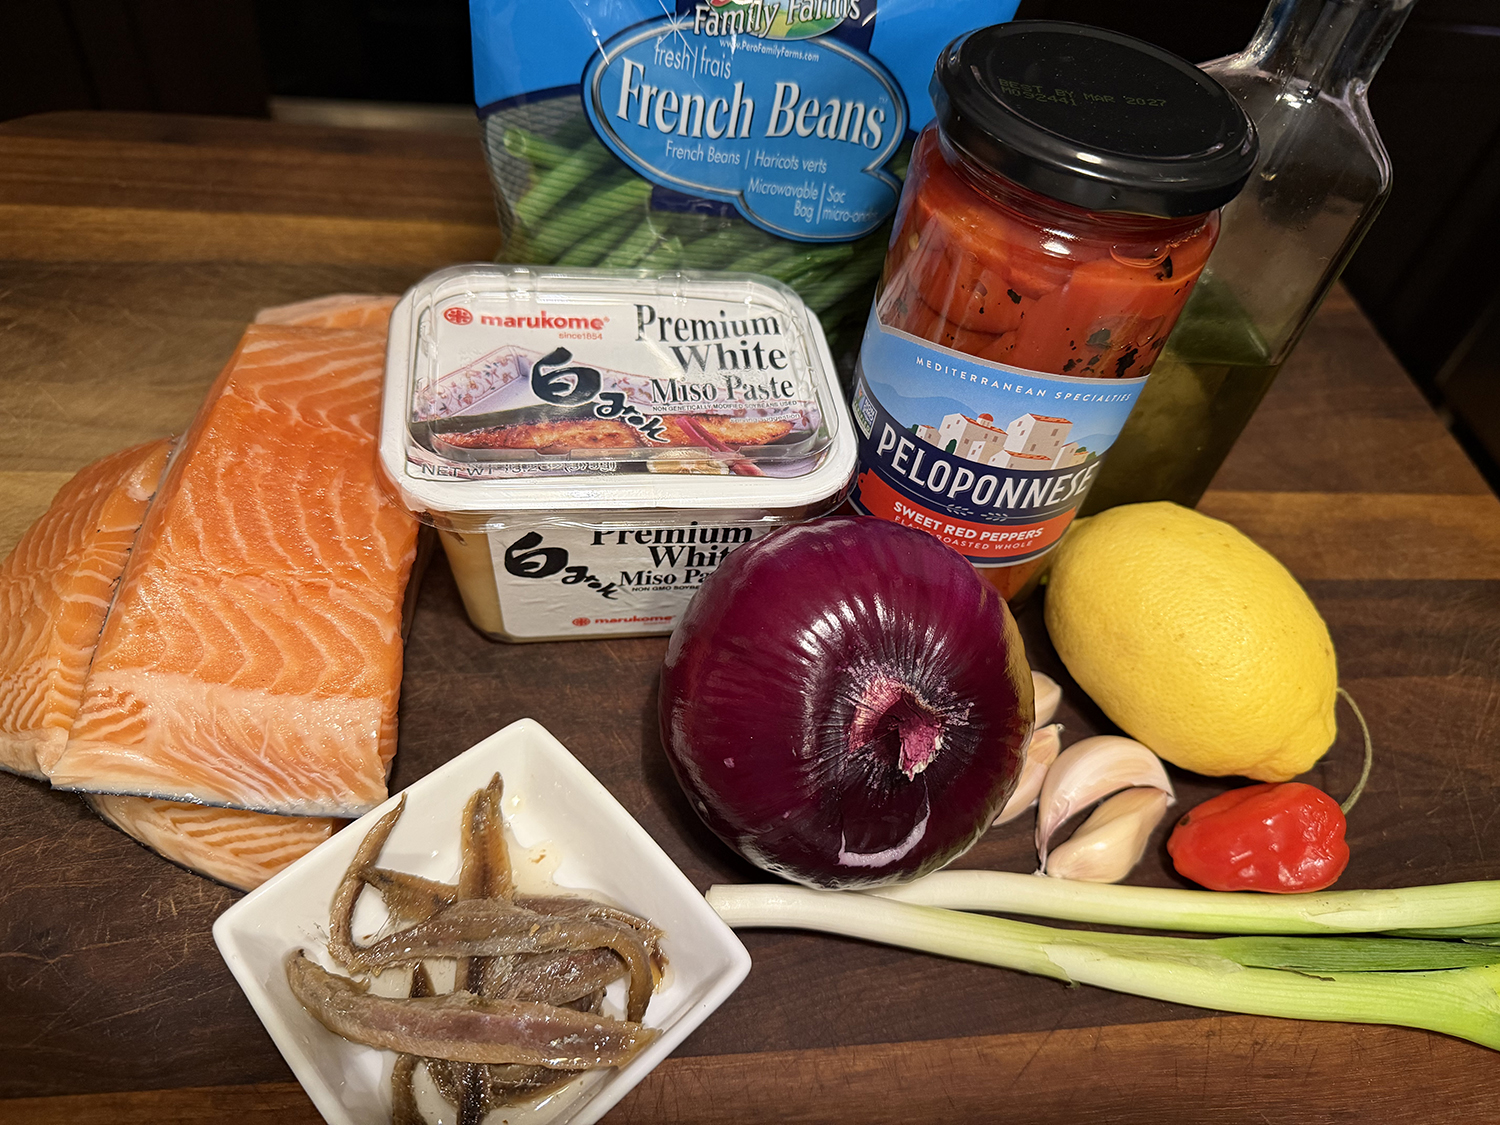
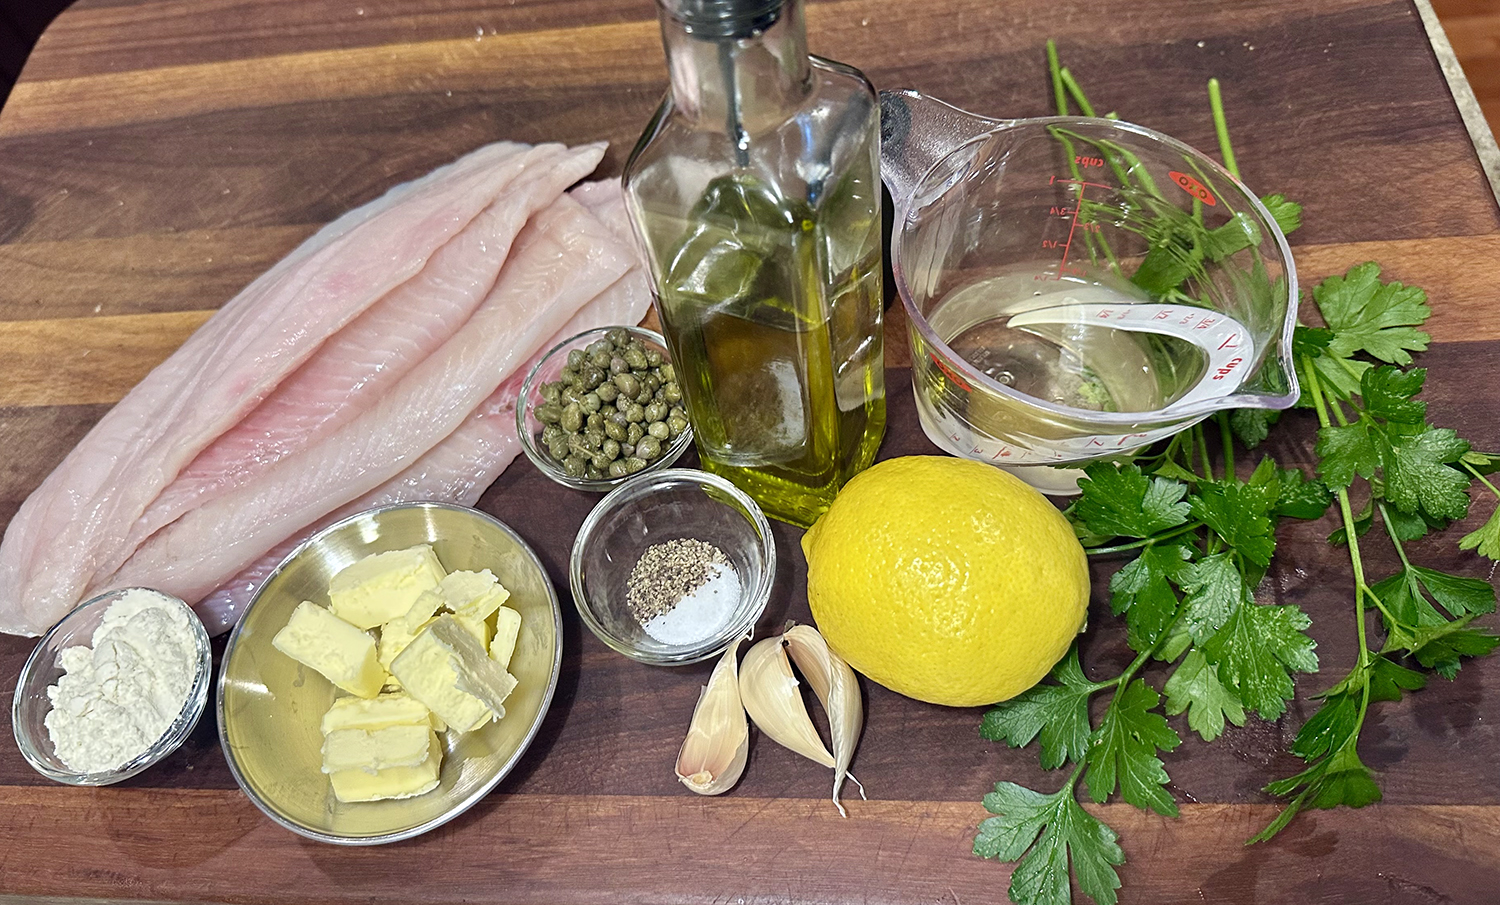
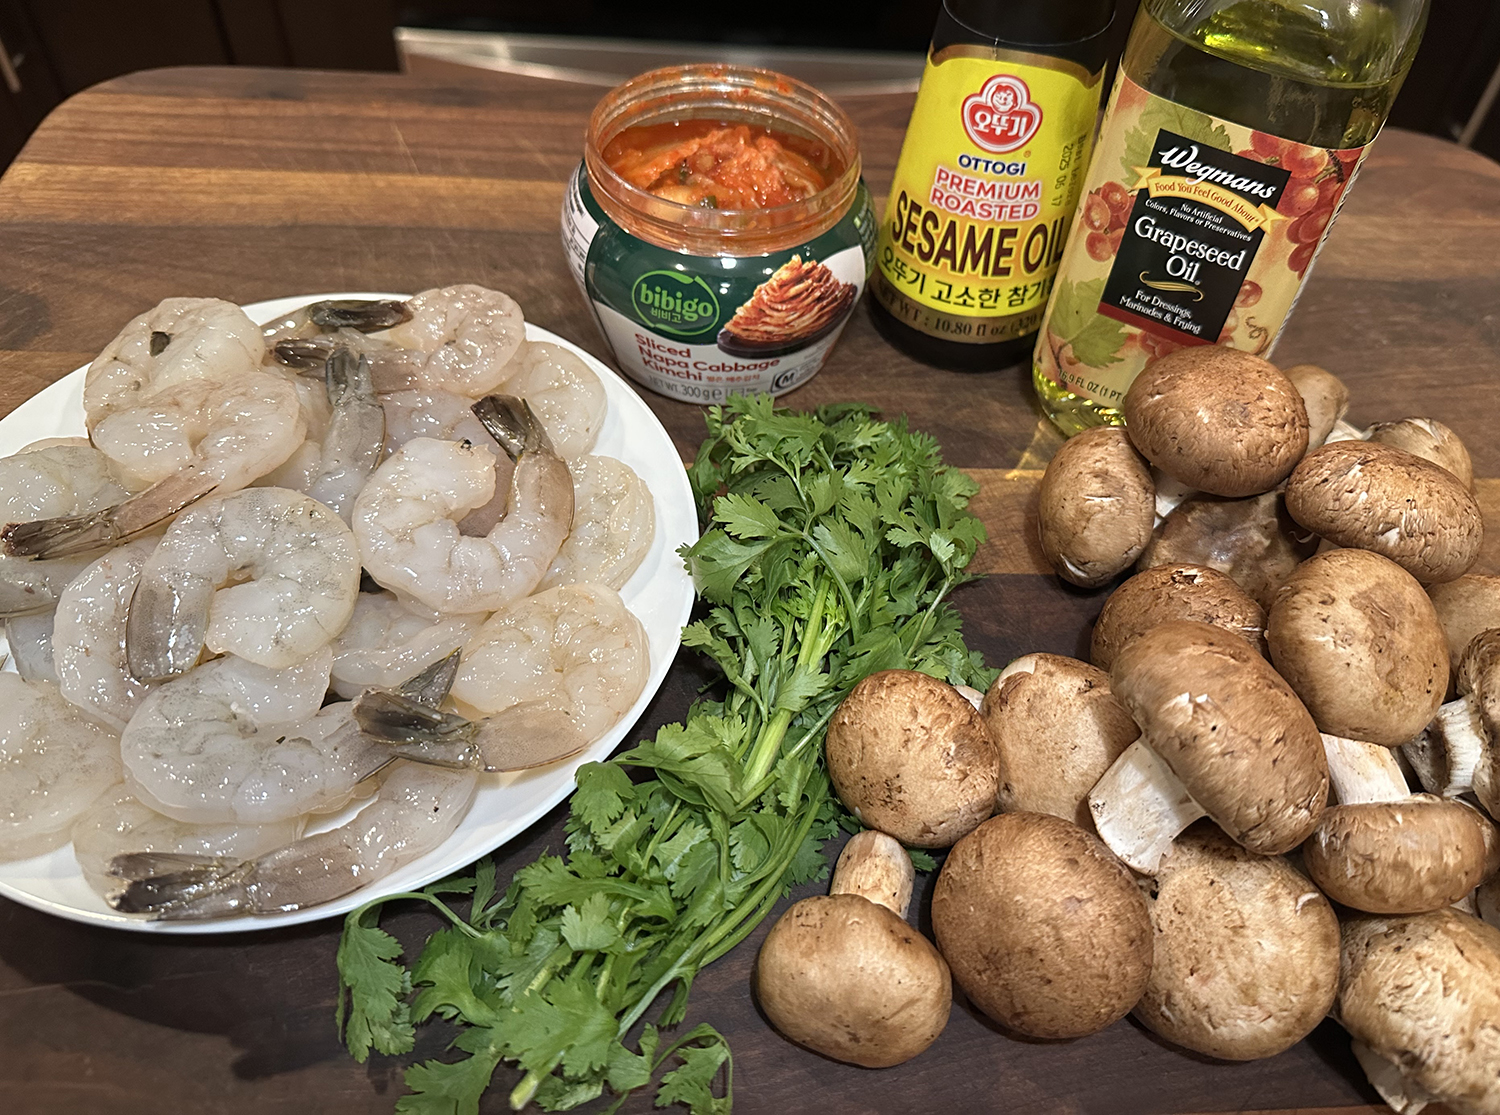
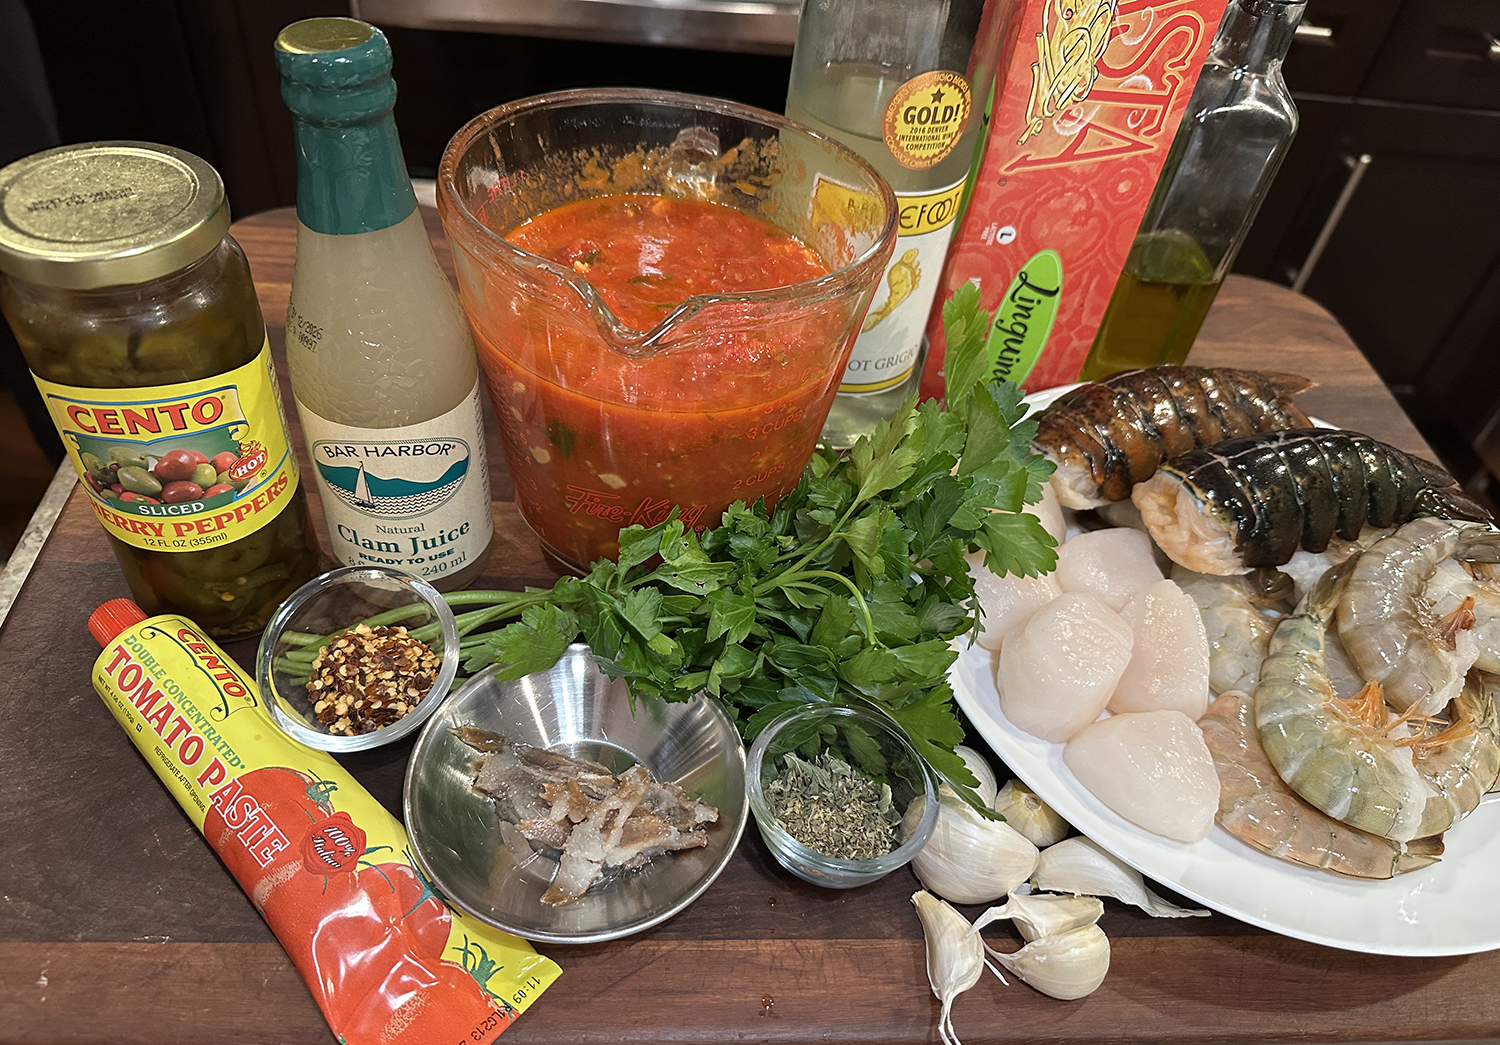
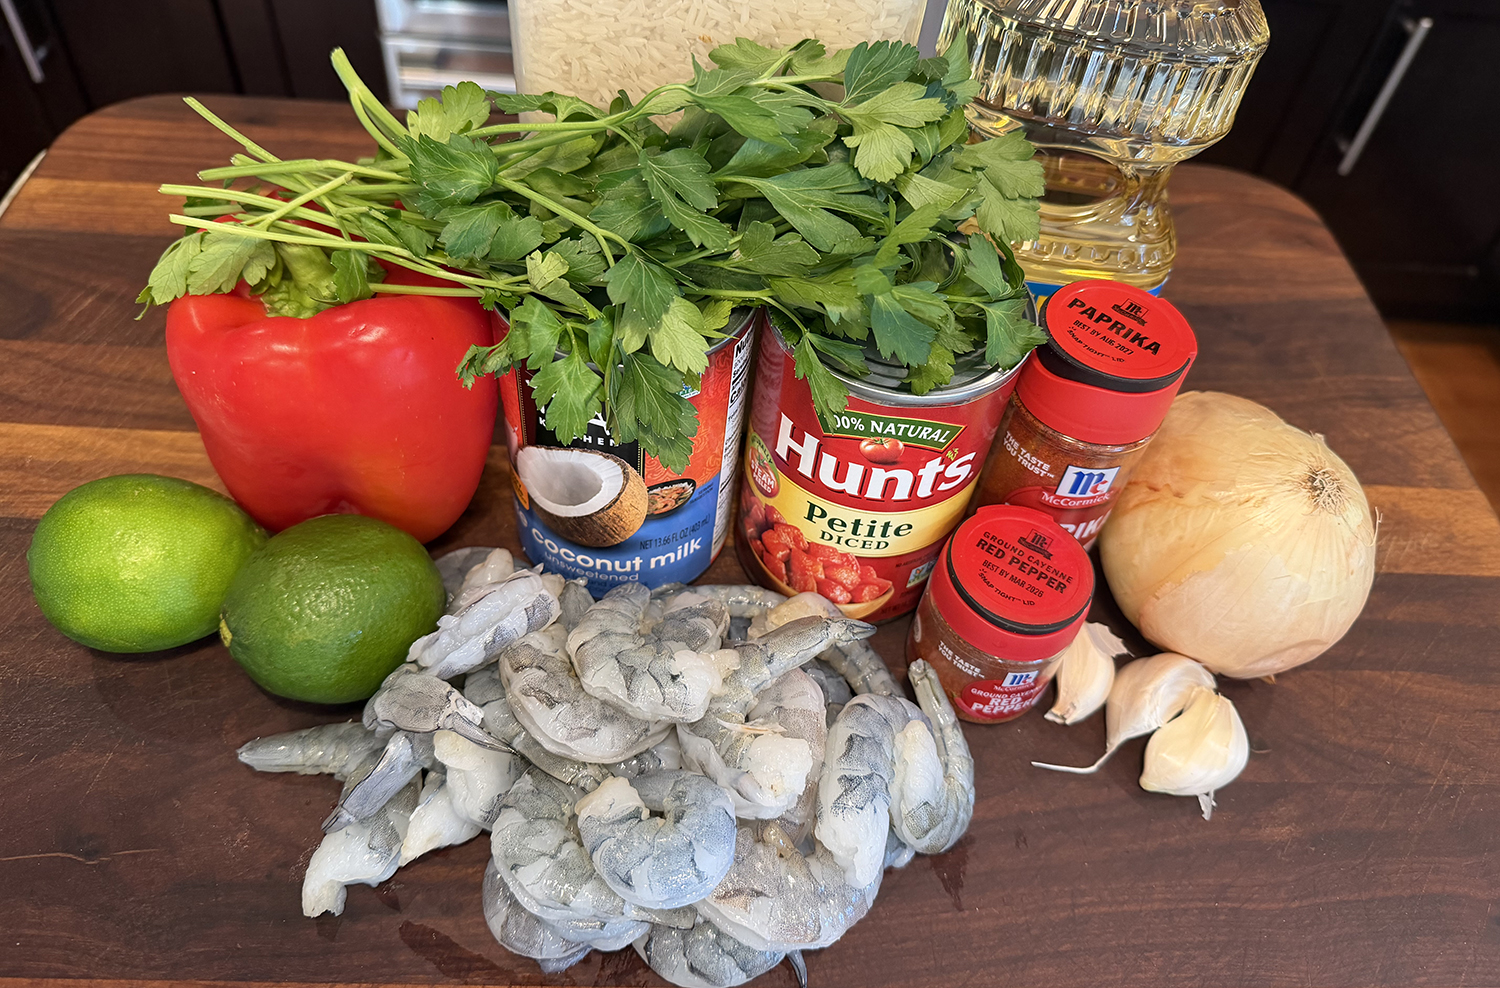
Ingredients
- 2 Tbsp. olive oil
- 1 medium yellow onion (8 oz.), diced
- 1 medium red bell pepper, diced
- 4 Tbsp. chopped fresh cilantro, divided
- 3 garlic cloves, minced or finely grated
- 1 tsp. sweet paprika
- 1/4 tsp. cayenne pepper, more to taste
- 1 14.5-oz. can no-salt-added diced tomatoes, with their juices
- 2 Tbsp. fresh lime juice (from 1 to 2 limes)
- 1/2 tsp. fine salt
- 1/4 tsp. freshly ground black pepper
- 1 cup light coconut milk (from one 13.5-oz. can)
- 1 1/4 lbs. large shrimp (26-30 count), peeled, deveined and tails removed
- Cooked rice, for serving (optional)

Directions
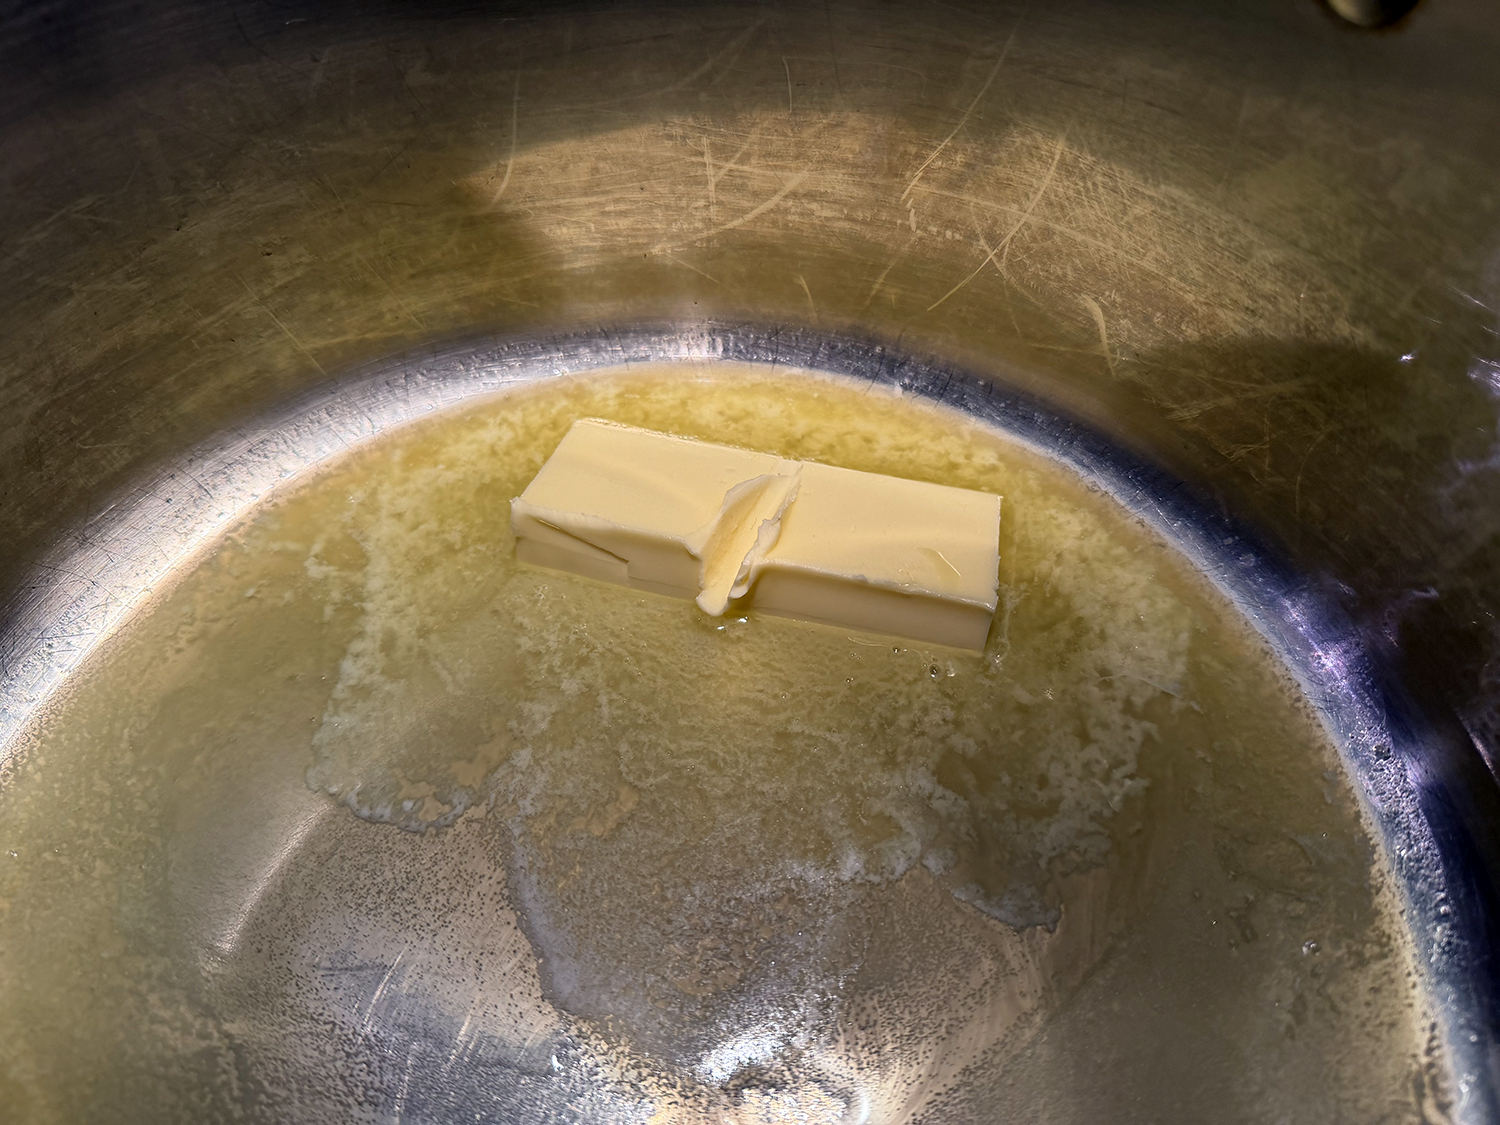
- In a large (12-inch) high-sided skillet over medium heat, heat the oil until shimmering. Add the onion and bell pepper, and cook, stirring occasionally, until softened, about 5 minutes.
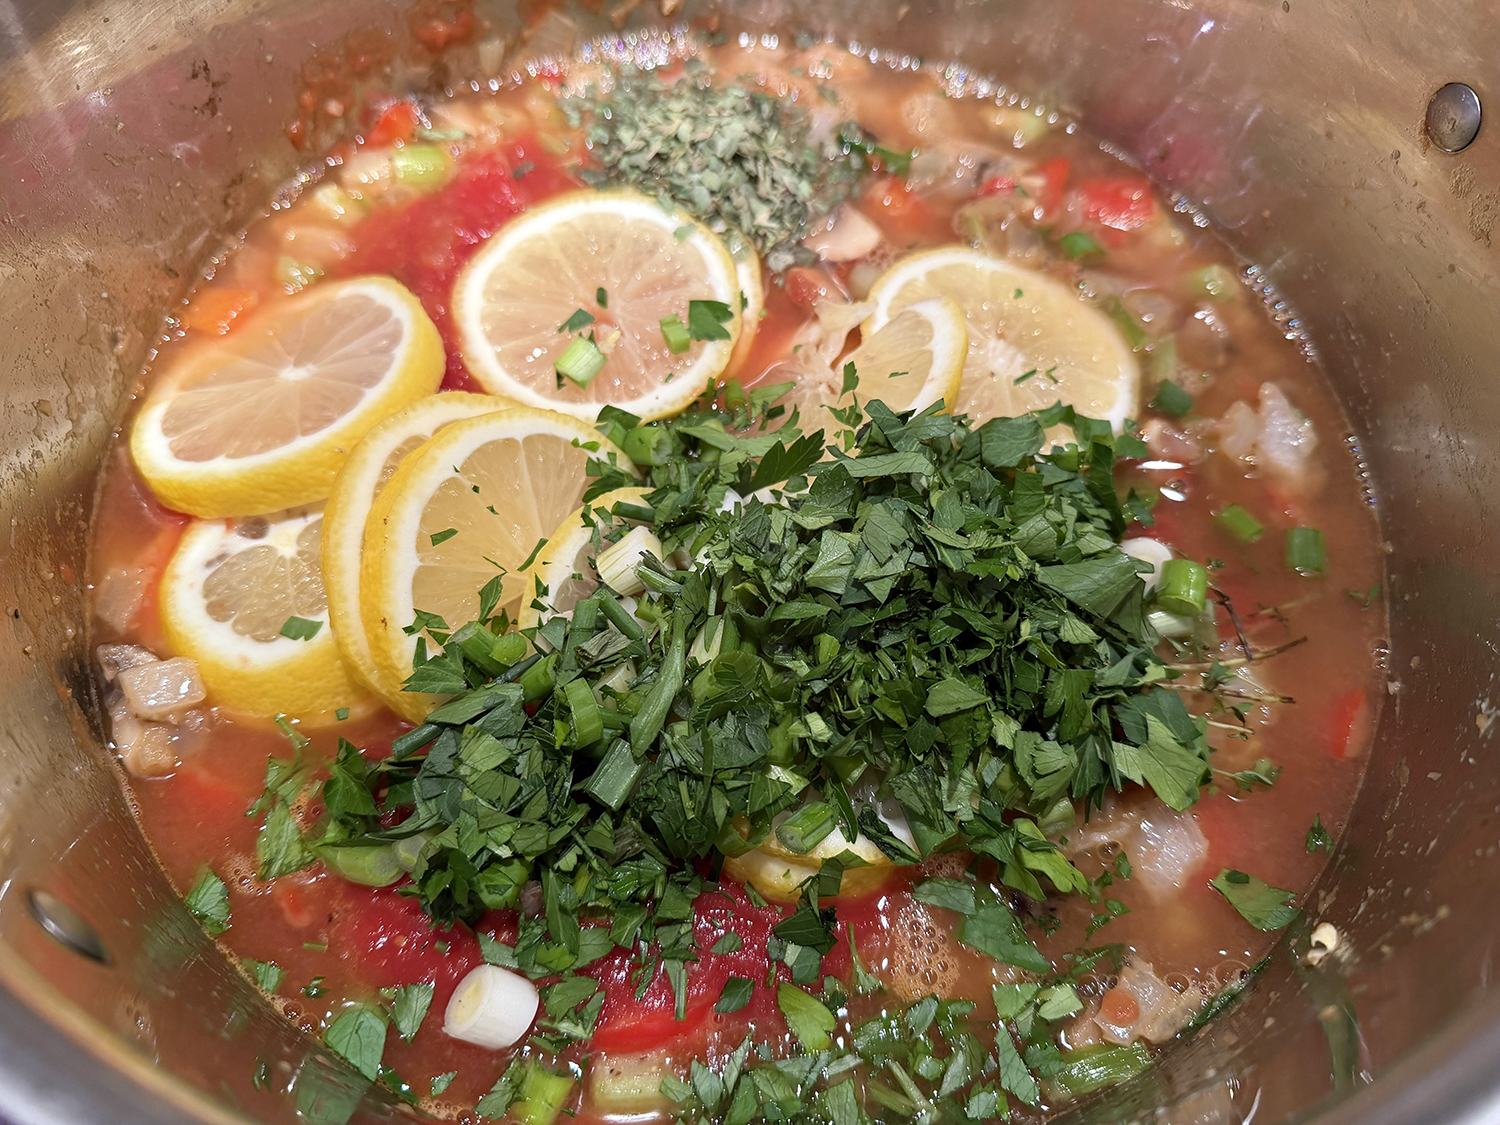
- Add 1 tablespoon of the cilantro, the garlic, paprika and cayenne pepper, and cook, stirring, until aromatic, about 30 seconds. Add the tomatoes, with their juices, followed by the lime juice, salt and black pepper, and stir to incorporate.
- Increase the heat to medium-high and bring to a boil. Cook until the liquid reduces slightly, about 5 minutes, then add the coconut milk and return the mixture to a boil.
- Stir in the shrimp, reduce the heat to medium and simmer, stirring occasionally, until the shrimp are cooked through, opaque and pink, 3 to 5 minutes.
- Garnish with the remaining 3 tablespoons of cilantro and serve, with rice, if desired.
Adapted from a recipe by Ellie Krieger